
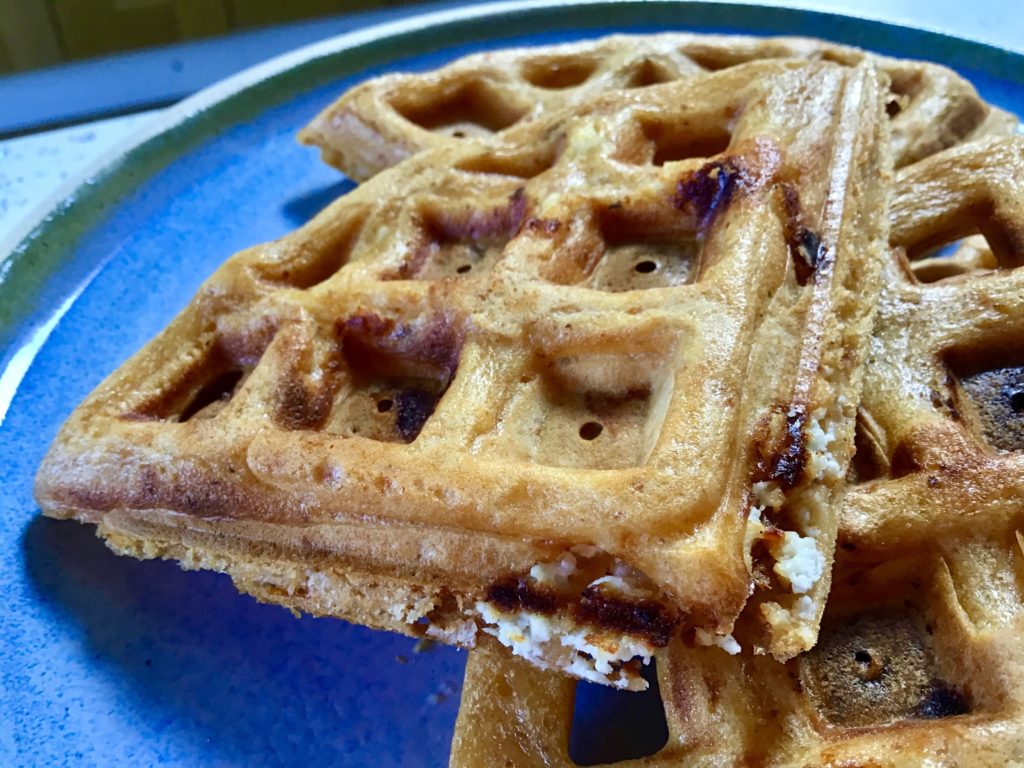
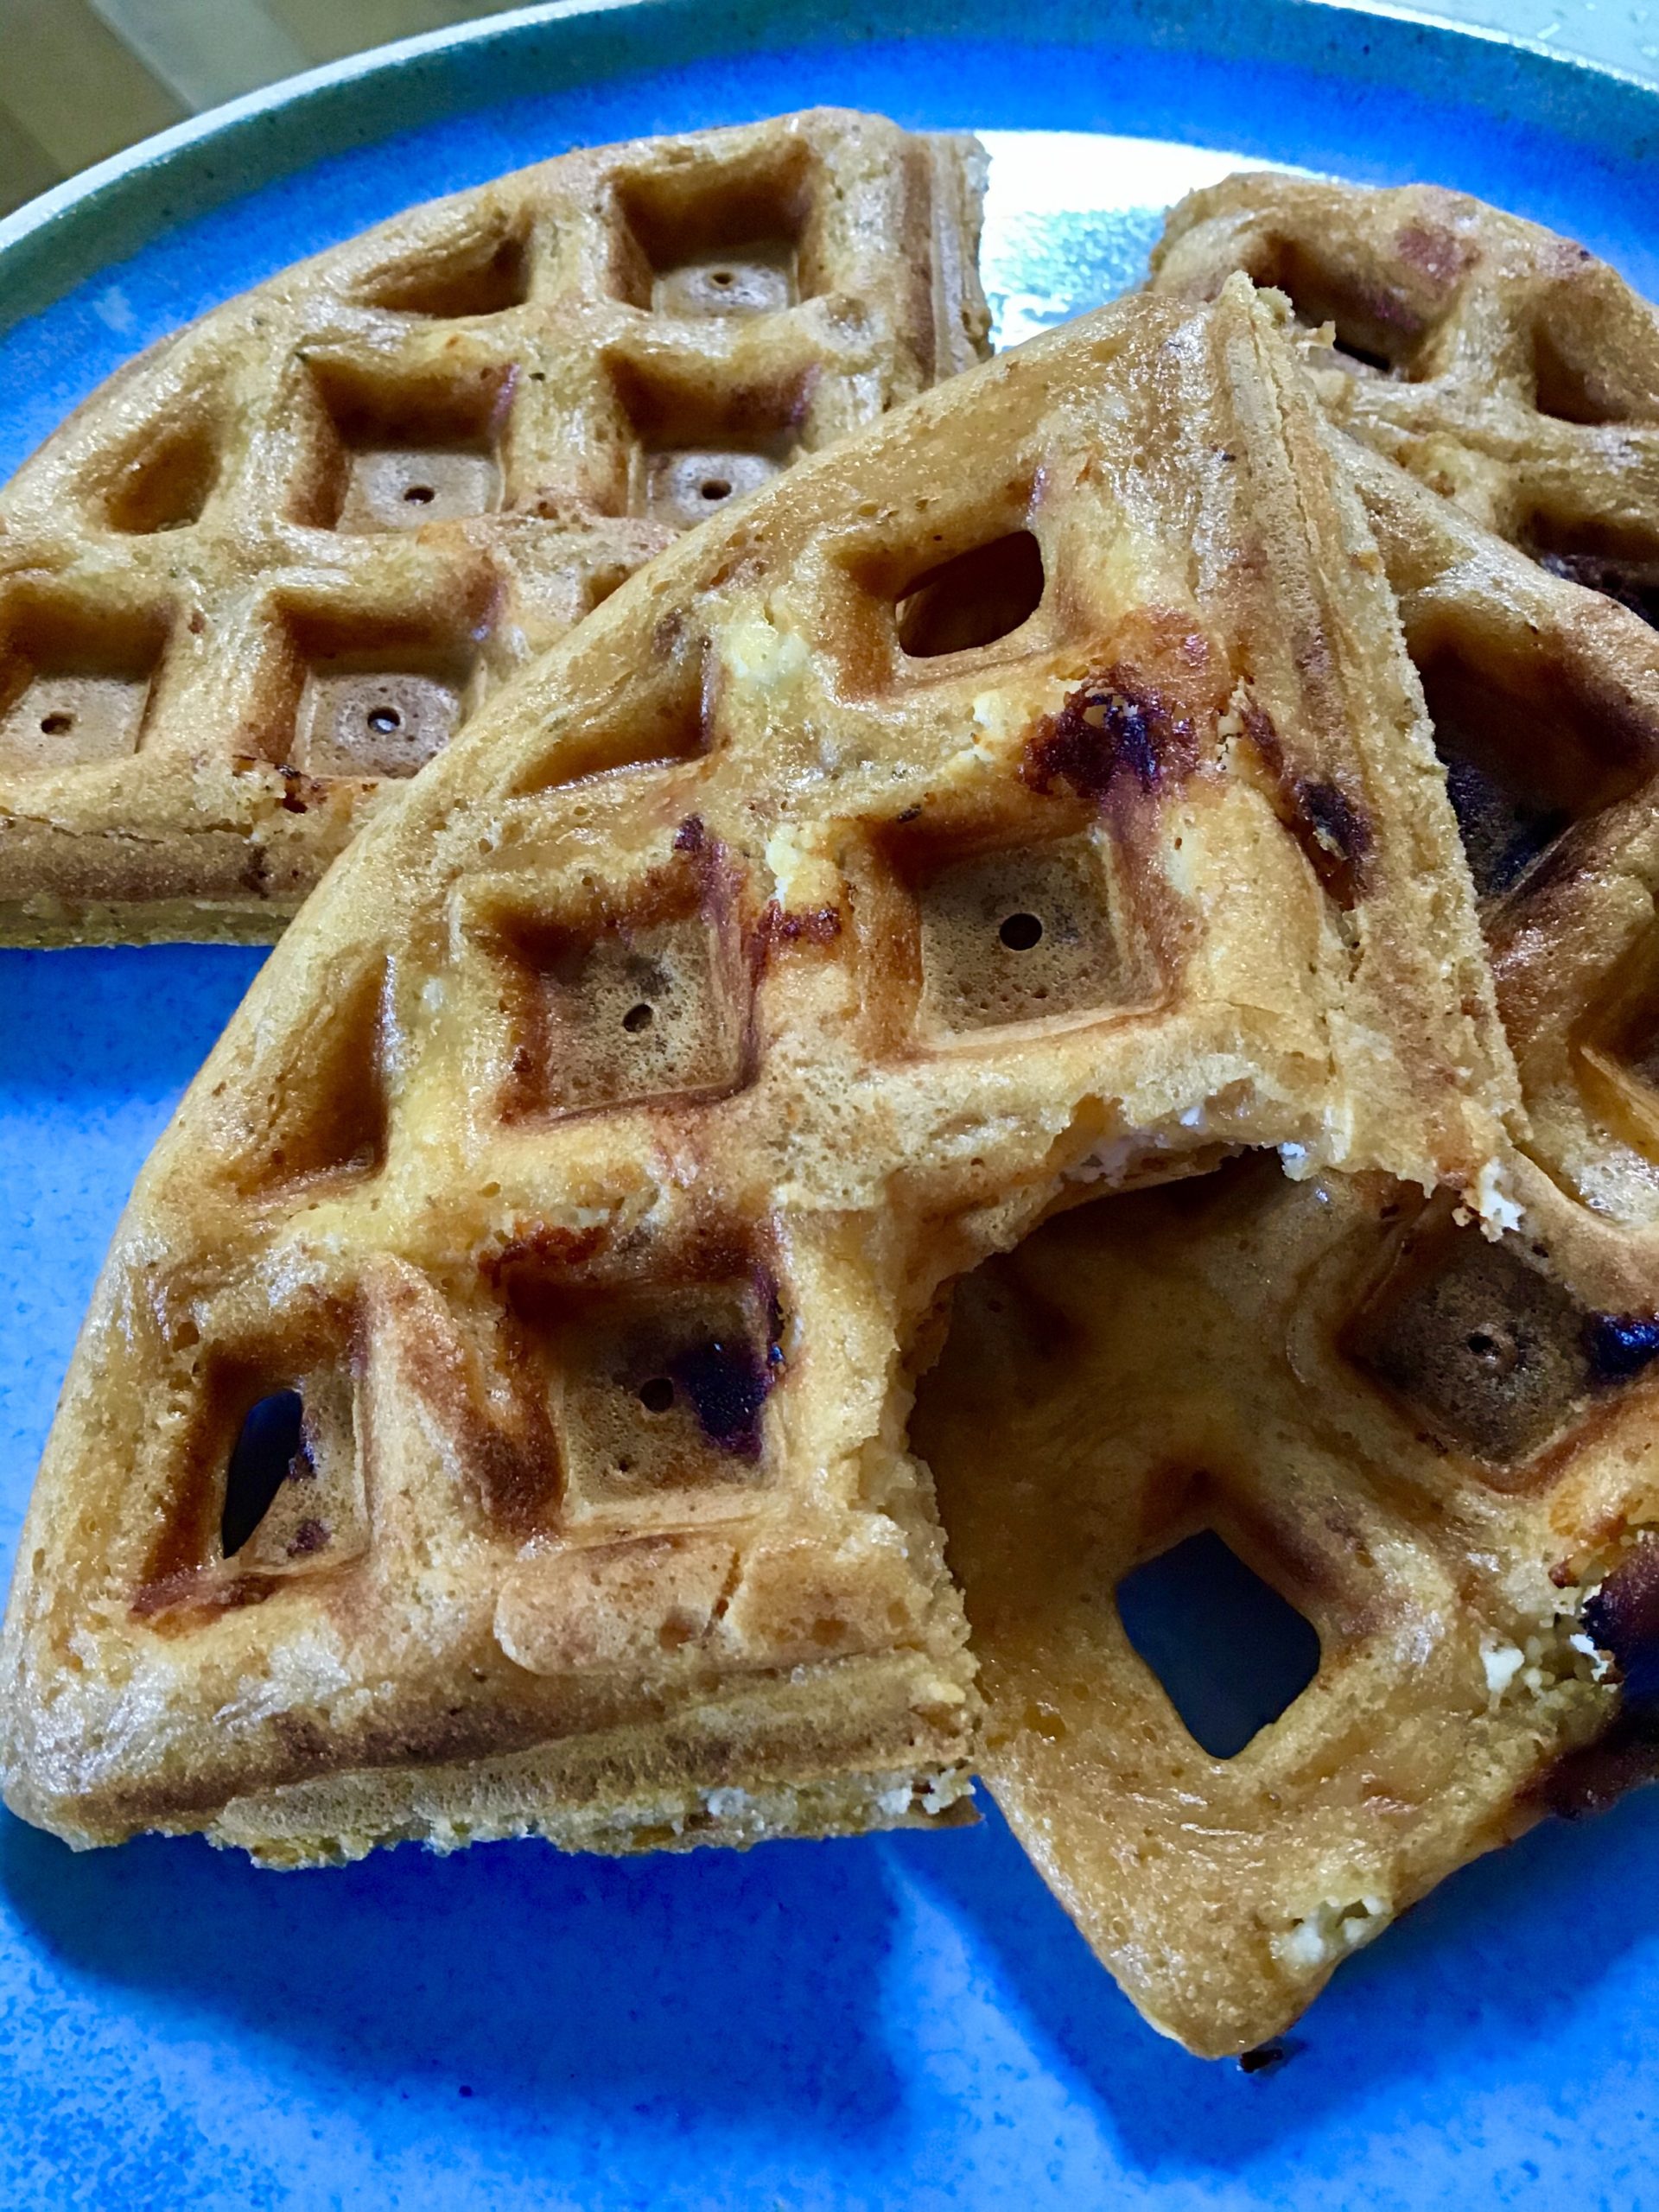
Let me introduce you to my most recent creation….it all began when I bought a waffle maker recently, possibly a huge mistake for my waistline, but so much fun to play with!
Making waffles with starter adds the lovely flavour we all adore, as well as a great texture.
I’m a savoury eater, so you could convert this easily for a sweet option but let me assure you that these are worth trying.
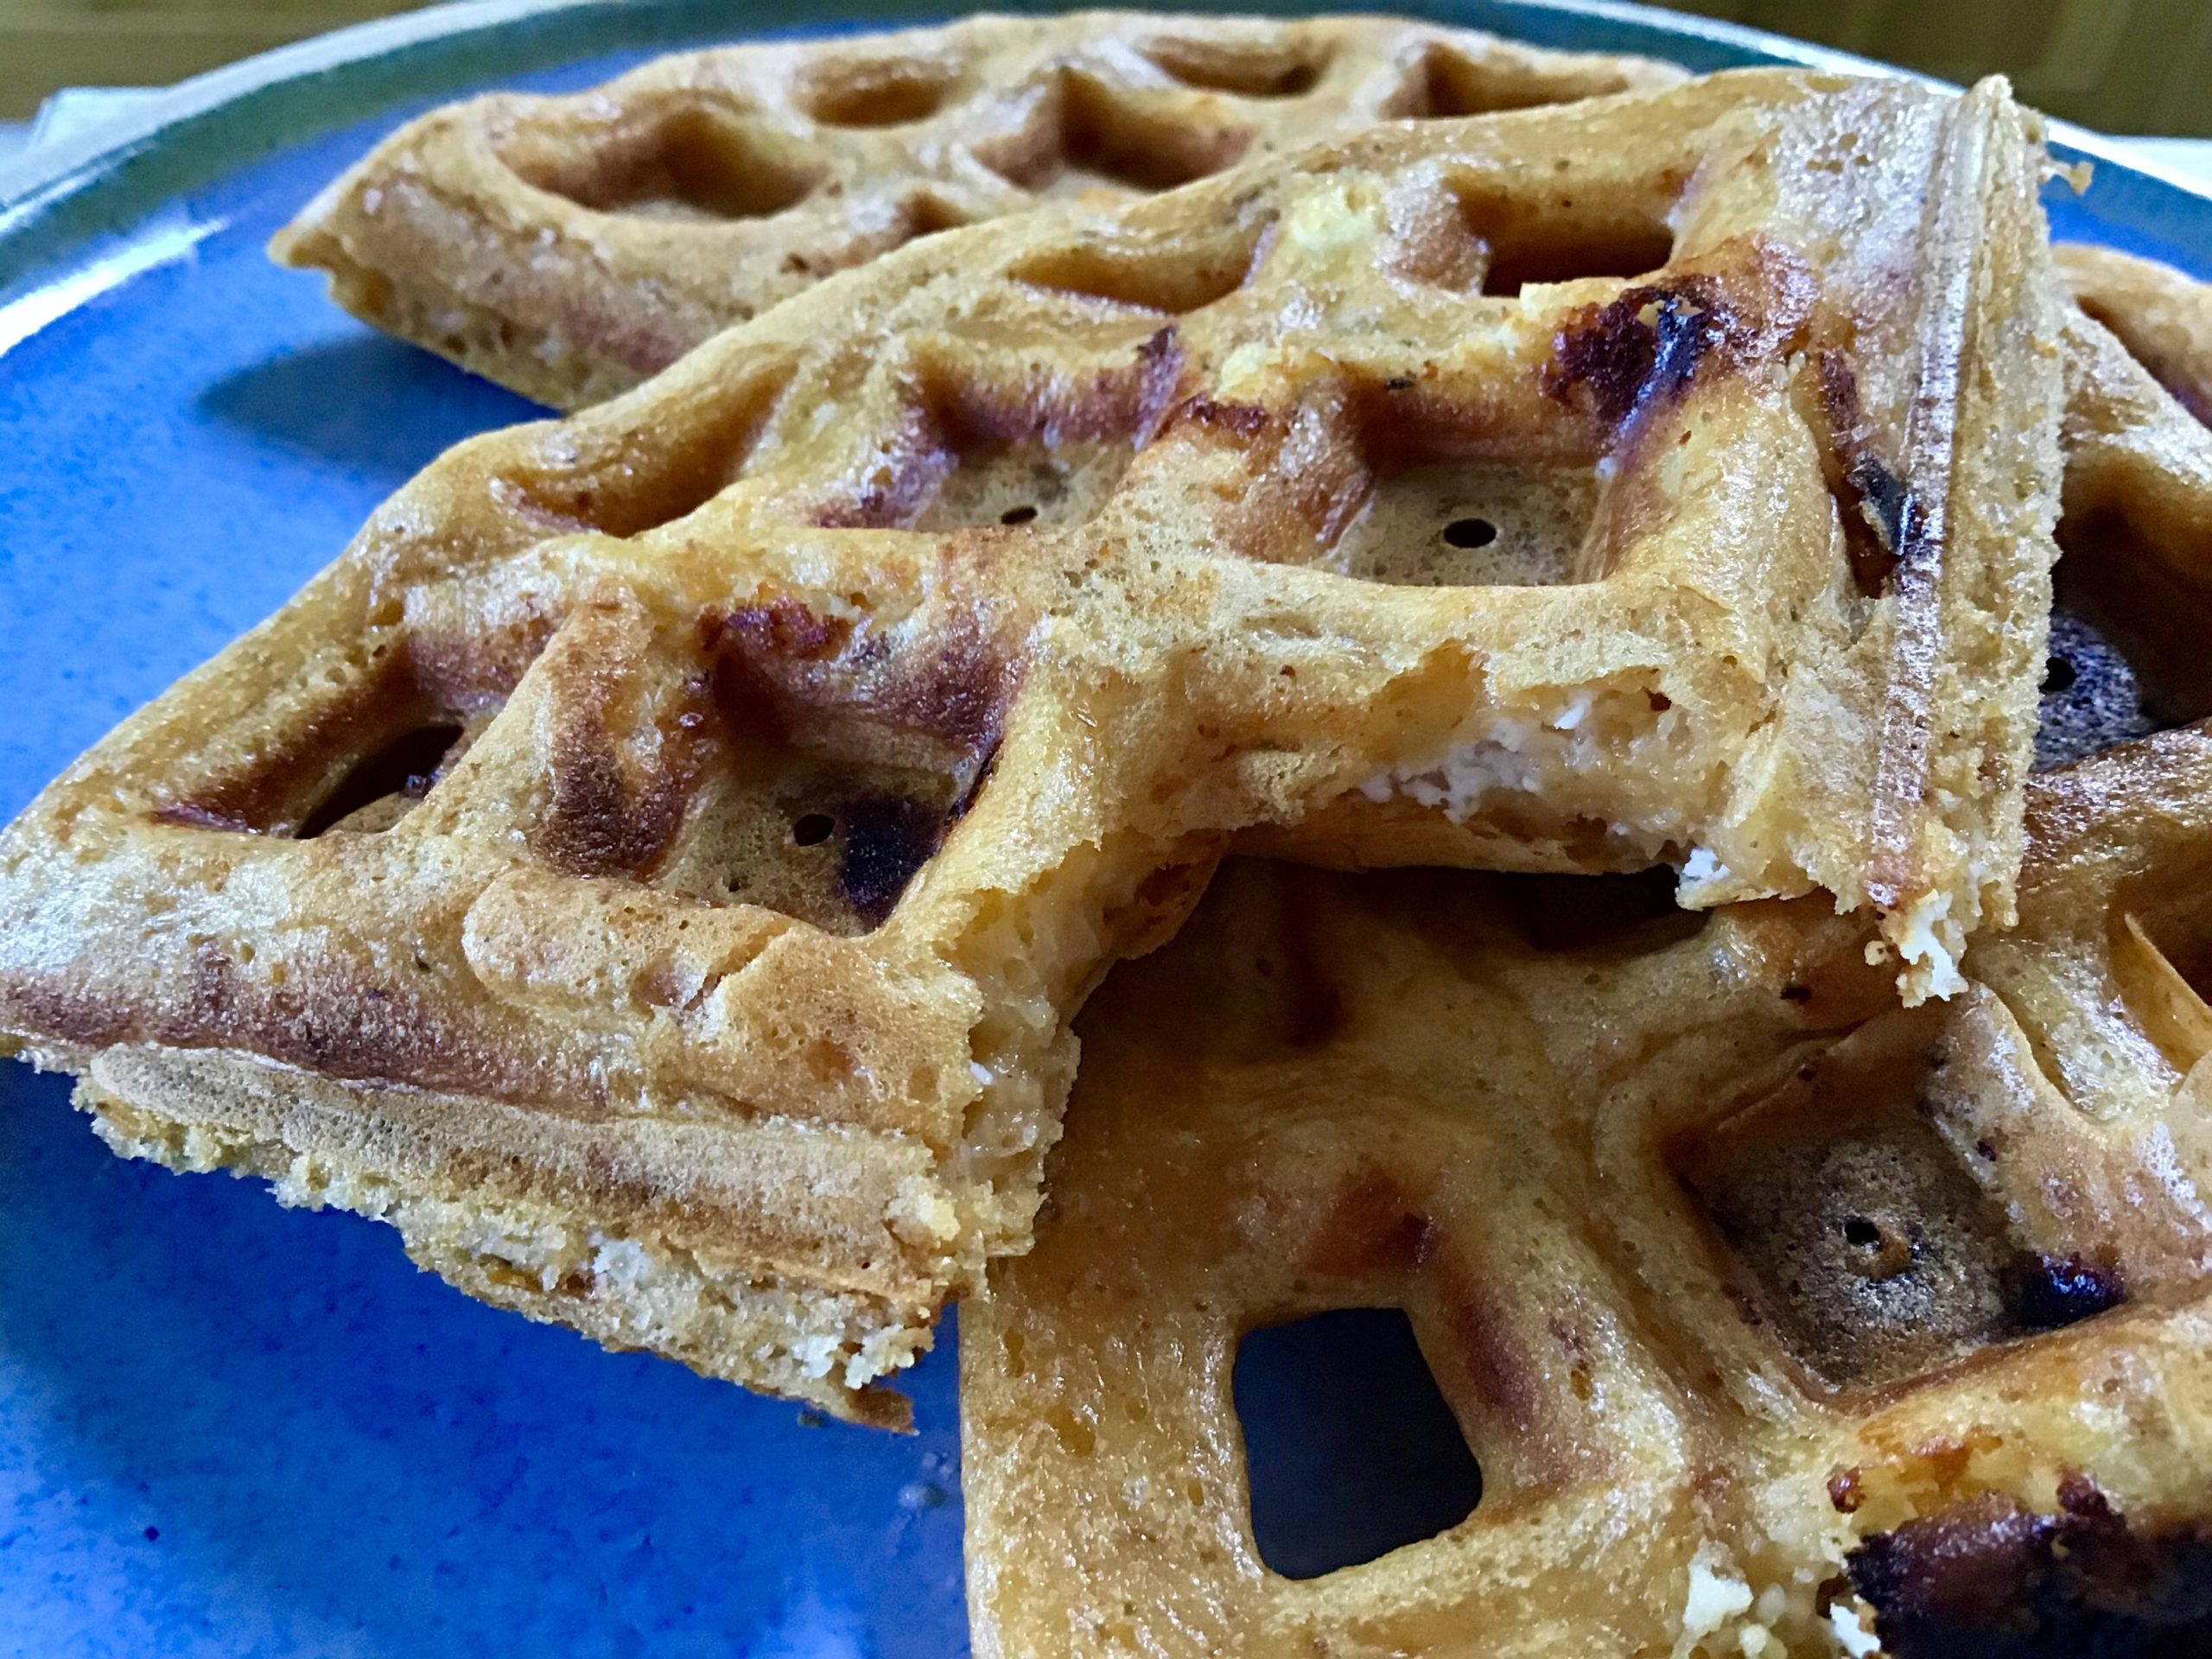
I used just starter, egg, goats cheese and some tomato pesto. It’s great way to use discard if you’re making a new starter, or using up some if you’ve been building up too much, or feed up your starter for the purpose then portion out what you need for the recipe.
You could also use less starter and top up the rest of the mixture with flour and water. Personally I prefer them made with all starter for the flavour.
Ingredients
Makes 1 round/4 quarters (double the quantities for 2 rounds)
200g starter (discard, unfed, fed and active and stirred down)
OR 100g starter, as above, plus 50g flour of your choice & 50g water
1 large egg
50g crumbly goats cheese (or cheese of your choice)
25g pesto of your choice (or harissa, chilli sauce, whatever you fancy)
Method
Heat your waffle maker to maximum.
Stir all of the ingredients together well, but don’t break up the goats cheese too much. Let it sit for 10 minutes to thicken.
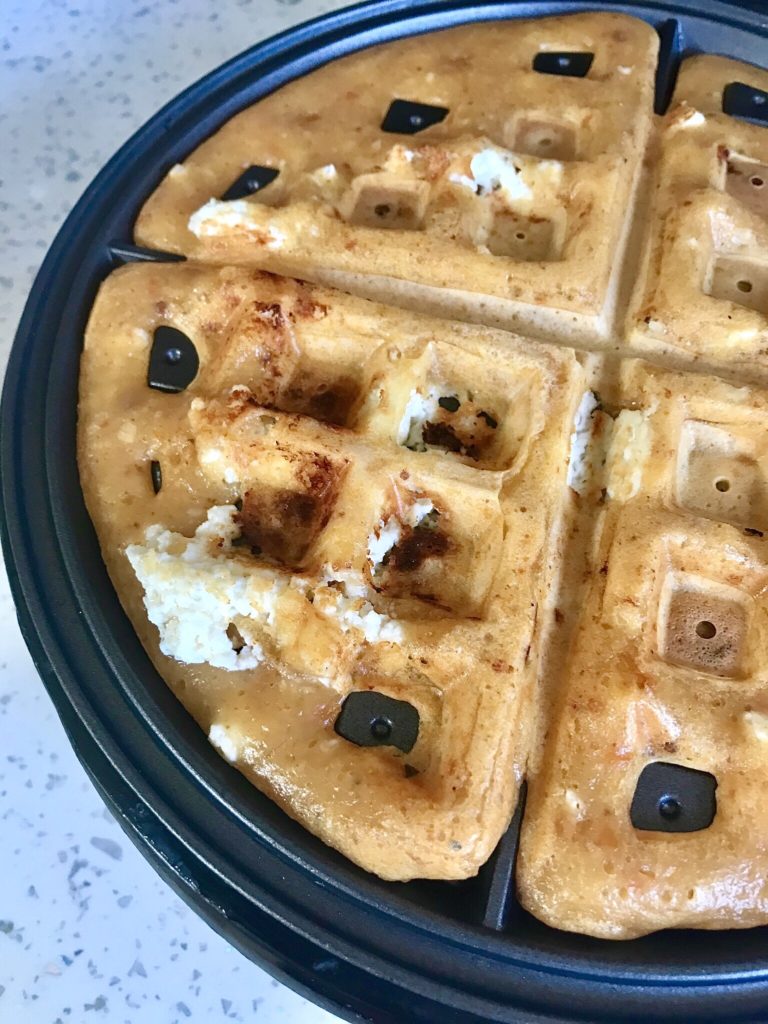
Once the waffle maker is ready, pour all of the mixture in (it all fitted perfectly in mine, assess how much yours needs from your own experience), close the maker and cook for 10-15 minutes or until there’s no more steam coming from your maker.
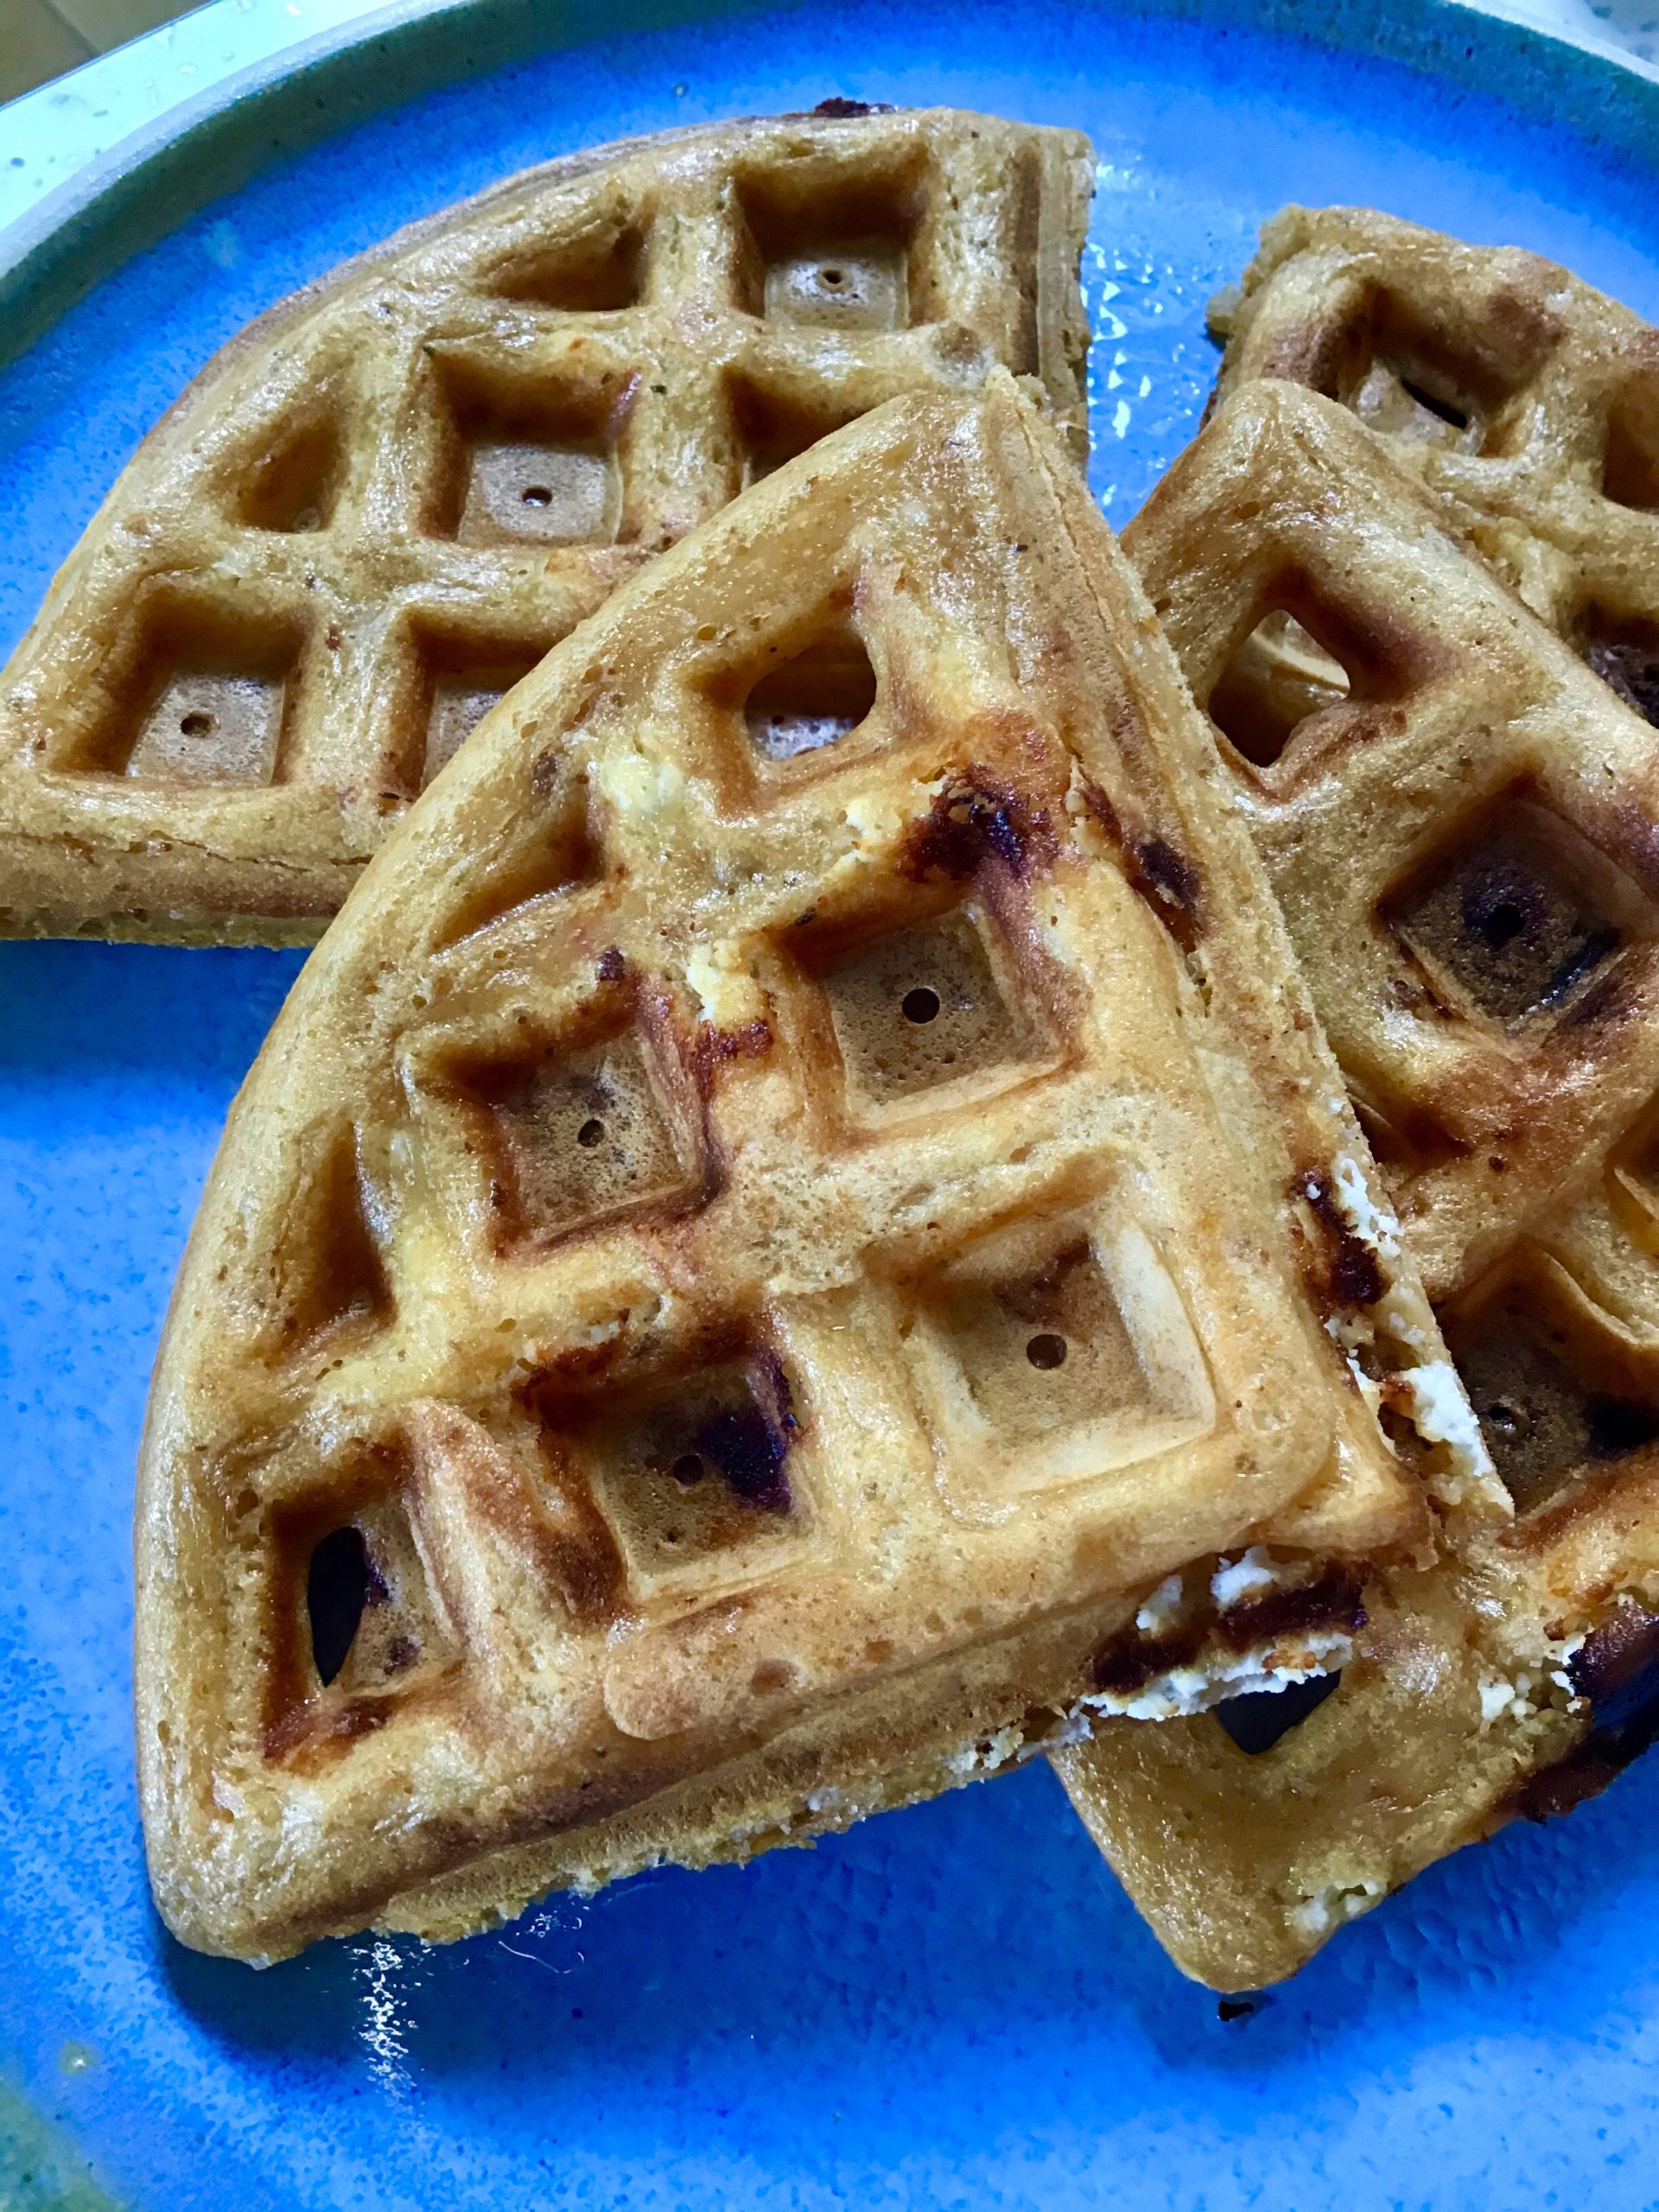
Carefully ease the cooked waffles from the maker, cut into quarters and serve.
Tuck in as soon as cool enough to hold!
If you don’t have a waffle maker, maybe add a little extra flour and try these as pancakes or flatbreads?
My waffle maker is made by Netta and I ordered it on amazon.