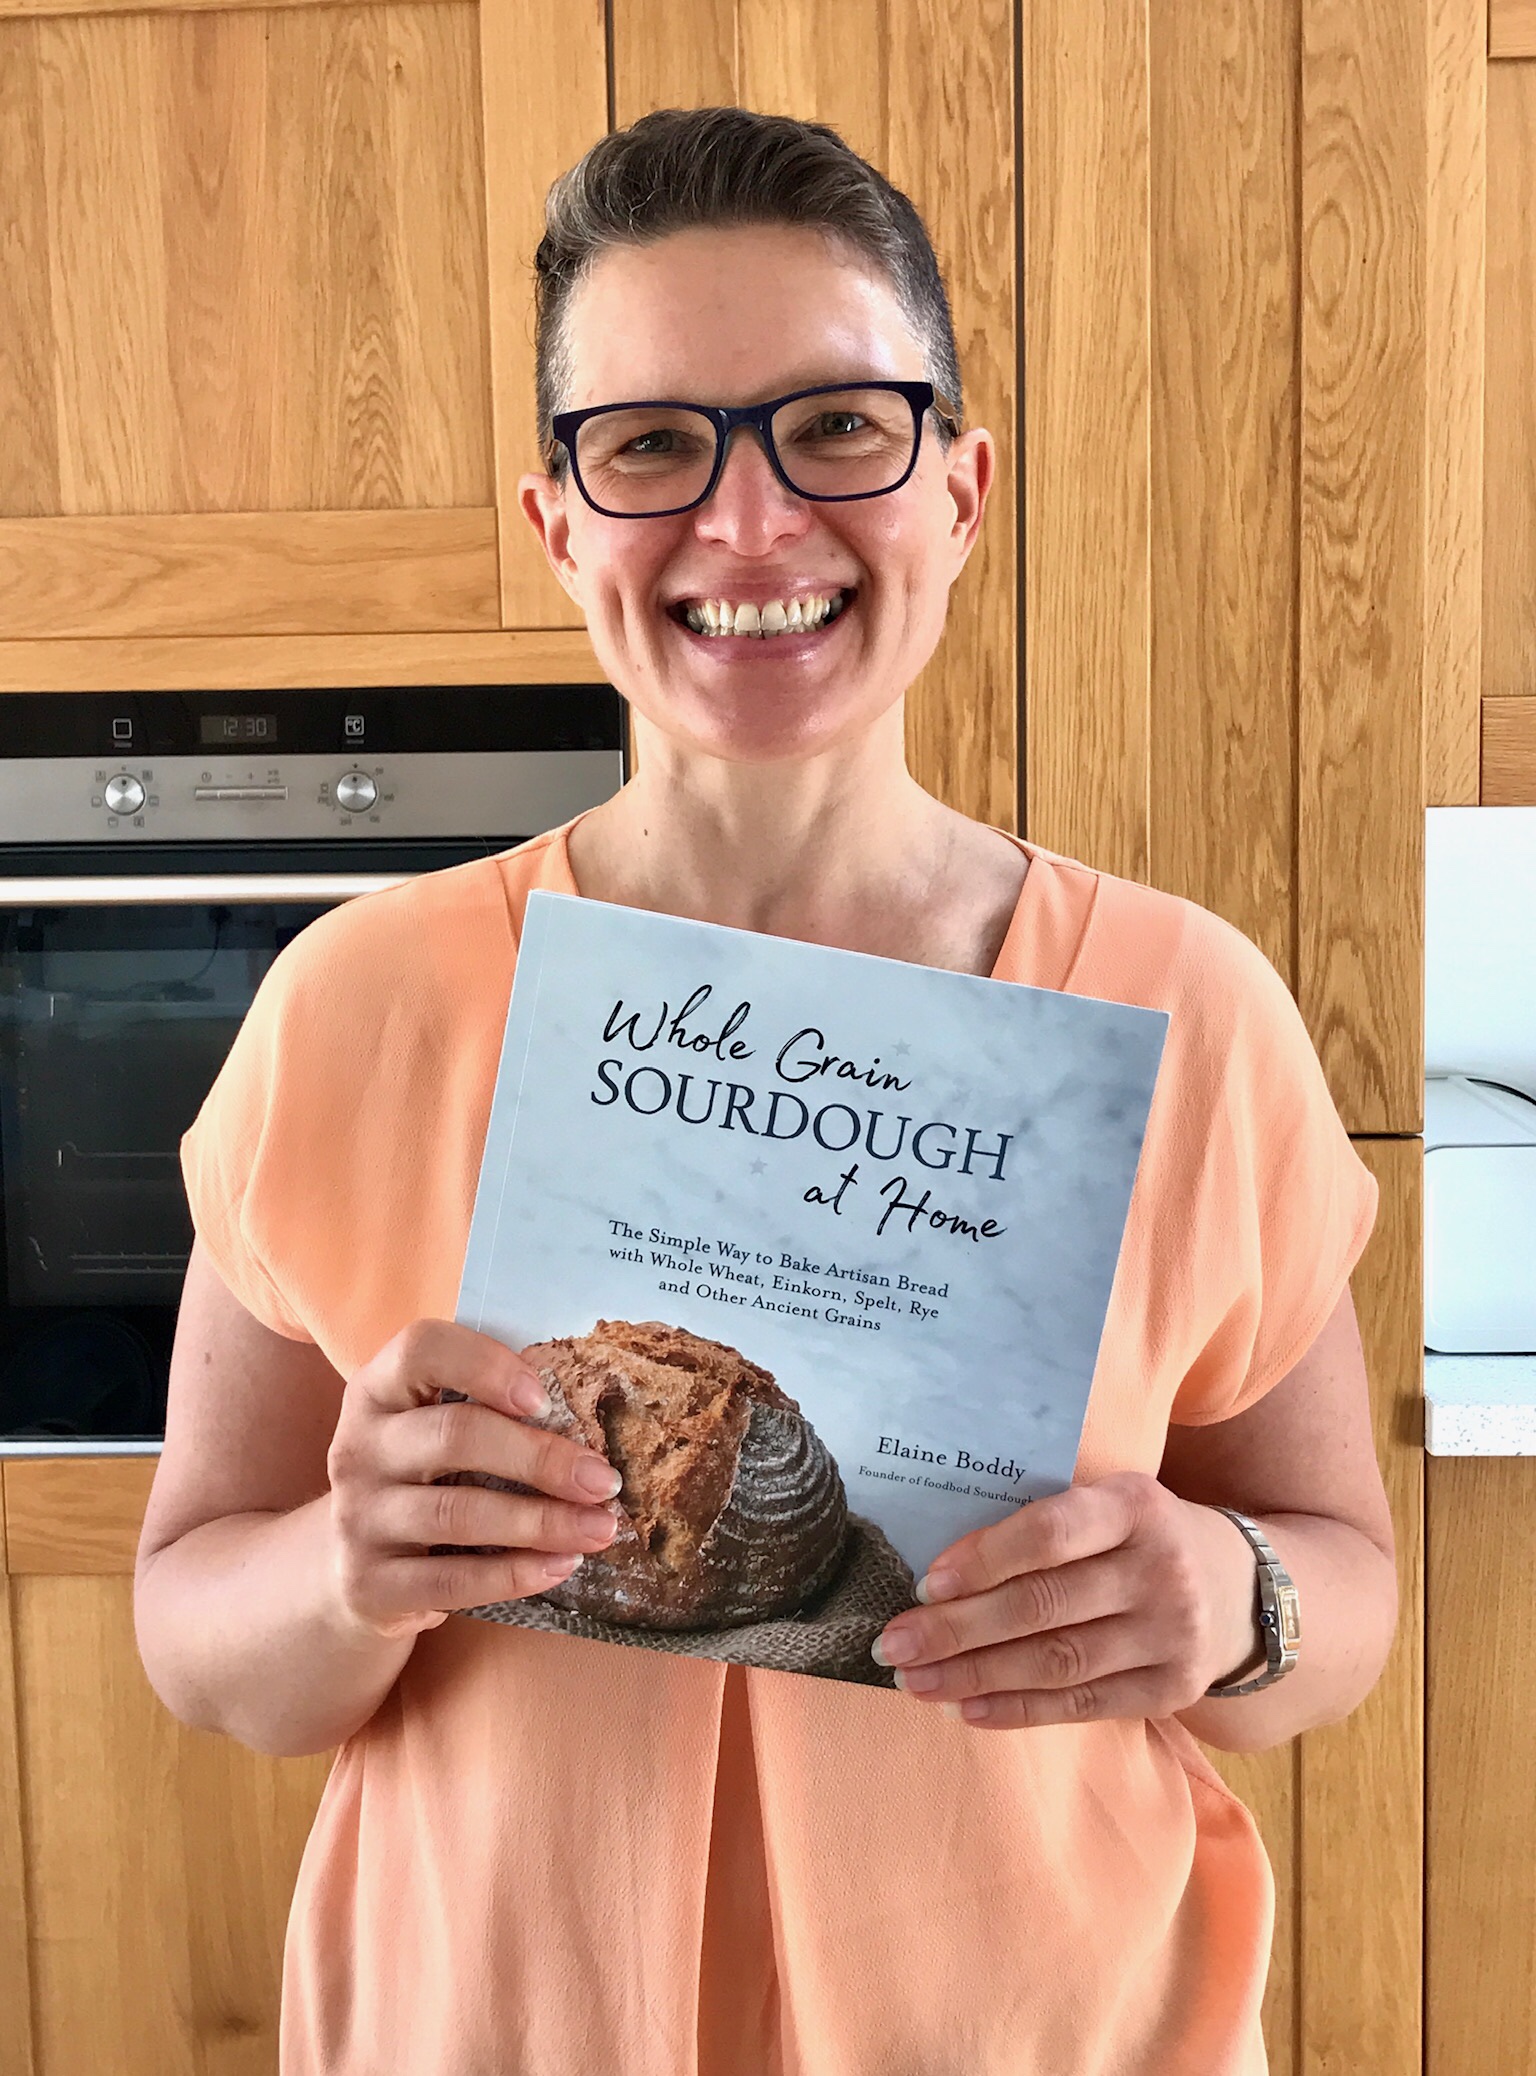
Spiced spinach sesame seed sourdough flatbreads…

My flatbreads served with a plate full of leftover roast vegetables, ajvar, zaatar and tahini

I do like a ‘chuck it all in a bowl and see what happens’ kind of creation, which is what these were…I’ve made many spinach flatbreads in the past, but this was the first time adding some starter. It adds an extra flavour and of course, all that sourdough goodness we love!

These are also packed with great healthy ingredients and are a great way to get kids eating spinach! You can use them as flatbreads or make bigger rounds and use them as a pizza base.

Equally great the next day, the flavours continued to develop

This recipe can serve as a basis for something you might fancy making, you can swap out the ingredients for things of your choice or just follow it as it is. I’ve included the spices I used, feel free to swap these for your favourites, an Indian inspired spice mix works well too.

Ingredients

200g starter (this can be discarded starter, unfed, or fed for the purpose)

250g baby spinach leaves

150g flour of your choice, I used buckwheat flour

50g toasted sesame seeds

3 tablespoons tahini or olive oil

3 garlic cloves, peeled

2 teaspoons tabil spice mix (toasted even amounts of coriander, cumin and carraway seeds, ground)

2 teaspoons pul biber chilli flakes

2 teaspoons paprika

Salt and pepper to taste

All in the bowl

Method

In a blender whizz up the everything expect the sesame seeds, starter and flour. Run it until the spinach and garlic are finally chopped.

Scoop it all into a mixing bowl, stir in the seeds, then fold in the starter and flour.

Cover the bowl and leave the dough to settle and develop.

Now you can leave the dough for an hour, or several or overnight. The longer you leave it the more the flavour will develop, it may even prove and little and puff up.

When you want to cook your flatbreads, heat your oven to 180C fan/200C non fan.

Turn the dough out onto a floured surface and break off portions. Shape them into round then flatten them out to 1/2cm thick.

Place them onto a oven tray. Either bake immediately or cover and allow them to prove again for an hour before baking.

The uncooked dough is such a great colour and smells amazing

Bake for 10-15 minutes until slightly puffed and darker in colour.

Eat warm or store for later, they’re even better after 2-3 days, and can easily be reheated in a toaster.

Enjoy!

I hope you like them!

More top tips…

Some more top tips for you and answers to the questions I am most often asked…
🌟🌟🌟🌟
Give your starter time, it may look like it’s doing nothing, but it’s building strength, stick with it
🌟
If your starter is thin with tiny bubbles, add extra flour to thicken it up, it needs the extra food
🌟
If your starter has a layer of murky liquid in the top, it’s not ruined, it’s just hungry. Feed it! And make sure you are not keeping it anywhere too warm, the heat will make it constantly thin and weak
🌟
Don’t keep your starter in the oven with the light on, it’s too hot, it will work too fast and always be too thin and weak
🌟
The flour you have made your starter from does not need to match the flour in your dough
🌟
Follow the process steps and allow your dough time to do its work
🌟
Don’t leave dough on the oven overnight with the light on, it will over prove and be spoiled
🌟
Check out all of the info on my site about flour, weather, scoring, storing, the FAQs, baking times takes, there’s lots of free info there for you
🌟
Check out the equipment list, and….
🌟
If you don’t have a banneton, line a similar sized bowl with a clean tea towel and sprinkle it with rice flour
🌟
If you don’t have rice flour, grind some uncooked rice, it’s the same thing
🌟
You can use any covered oven proof pan just make sure it’s big enough
🌟
Sourdough is a wonderfully slow process, let it happen and enjoy it, it will be worth it
🌟
Watch your dough and not the clock
🌟
Give your dough time to double overnight; depending on the temperature overnight this may take shorter or longer than my usual times stated in my master recipe
🌟
If your dough is soft and spreads, use 25g less water in your dough next time
🌟
If you dough spreads when you turn it out in the pan, but bakes up to a lovely loaf, don’t worry about the spreading, enjoy your loaf
🌟🌟🌟🌟
Always my biggest and most important tip:
🌟🌟🌟🌟
If it tastes good IT IS GOOD!
🌟🌟🌟🌟
Don’t focus on looks and holes and scoring, they don’t make it taste any better, enjoy what you’ve created, it’s amazing x x
🌟🌟🌟🌟

Top tips for new sourdough creators…

The massive surge of interest in sourdough during the lockdown has been amazing, I am literally inundated with messages and emails from dawn til dusk. A lot of them are from people asking for help as they make new starters, others are asking about how to use the various flours they’ve managed to get hold of.

If you’ve recently joined the sourdough fun and are making a starter, have made one, or are struggling getting flour, I thought I’d share some tips in case it’s useful..

*You only need small amounts of flour to make a sourdough starter.
*You can use any flour to make a starter, ideally not gluten free flour although it can be done, it will be a lot weaker.
*You don’t need to feed your starter the same flour it was made from if you’ve now run out.
*Once your starter is established, you only need to feed it to use it, daily feedings are no longer necessary.
*It doesn’t need feeding again to store it.
*Only feed your starter what it needs to generate what you need for your recipe, this way there’s no waste and you’re not using unnecessary flour.
*You don’t need to work to ratios or percentages.
*The flour you made your starter from does not need to match the flour you make your dough from.

If I can help anyone with their starter do let me know. And if you’ve got random flours and would like some ideas for using them I’m starters or doughs, let me know too.

Goats cheese and pesto sourdough waffles

Let me introduce you to my most recent creation….it all began when I bought a waffle maker recently, possibly a huge mistake for my waistline, but so much fun to play with!

Making waffles with starter adds the lovely flavour we all adore, as well as a great texture.

I’m a savoury eater, so you could convert this easily for a sweet option but let me assure you that these are worth trying.

I used just starter, egg, goats cheese and some tomato pesto. It’s great way to use discard if you’re making a new starter, or using up some if you’ve been building up too much, or feed up your starter for the purpose then portion out what you need for the recipe.

You could also use less starter and top up the rest of the mixture with flour and water. Personally I prefer them made with all starter for the flavour.

Ingredients

Makes 1 round/4 quarters (double the quantities for 2 rounds)

200g starter (discard, unfed, fed and active and stirred down)

OR 100g starter, as above, plus 50g flour of your choice & 50g water

1 large egg

50g crumbly goats cheese (or cheese of your choice)

25g pesto of your choice (or harissa, chilli sauce, whatever you fancy)

Method

Heat your waffle maker to maximum.

Stir all of the ingredients together well, but don’t break up the goats cheese too much. Let it sit for 10 minutes to thicken.

Once the waffle maker is ready, pour all of the mixture in (it all fitted perfectly in mine, assess how much yours needs from your own experience), close the maker and cook for 10-15 minutes or until there’s no more steam coming from your maker.

Carefully ease the cooked waffles from the maker, cut into quarters and serve.

Tuck in as soon as cool enough to hold!

If you don’t have a waffle maker, maybe add a little extra flour and try these as pancakes or flatbreads?

My waffle maker is made by Netta and I ordered it on amazon.

Bee pollen sourdough…

I was very lucky recently to be sent some bee pollen by one of my very kind Instagram followers. I’ve had bee pollen before, but not like this, this one is a vibrant yellow with lovely fat granules. Sourdough loves bee pollen, it loves the natural wild yeast and sugars that it brings to the party.

For this loaf I played with a new starter adding bee pollen to it from the beginning, and you’ll see from the photos in the grid below that it went a bit wild! It was very exciting to wake up to. Once I’d stirred it down and fed it again the next morning, it was still active and bubbly and ready to use within an hour.

This is what I used to make this loaf, however, you do NOT need to make a new starter yourself. If you would like to see how much starters like bee pollen, feed up your starter, split some out into a new bowl and feed it for a couple of days with your usual flour and water and a good amount of bee pollen before giving it a go. Or if you fancy making a new starter with some, then go for it! I didn’t measure out the bee pollen, I used a dessert sized spoon amount each time I added some.

Top left: the bee pollen;
top right and bottom left: my happy starter after an overnight bee pollen feed; bottom right: an hour after a feed of flour and water that morning

To make my loaf, I used my master recipe, exactly as it is (link on the left of your screen) with this bee pollen boosted starter. You can also add the bee pollen to your dough instead.

For this loaf I used my 28cm long oval banneton and baked in my 30cm long oval pan from a cold start for 55 minutes. It’s all in my recipe 👍🏻

And this was inside the cut loaf. You can see the yellow tint from the bee pollen. Although bee pollen is sweet it does not make your loaf sweet using this small amount, but it does make the sourness more mild, and really produces a great texture, really fabulously chewy! It was a lovely loaf to eat.

If you do try it, I hope you like it!

My sourdough spelt banana bread…

Introducing my sourdough banana spelt bread…I used white spelt flour in this loaf, feel free to substitute it for any flour/s of your choice. I’ve used all and any flour to make this recipe, it works whatever you choose to use. Try it with a mix of white and wholewheat/wholegrain spelt flours, a portion of rye flour, any ancient grain flours, they all work.

The starter adds flavour and texture but not lift in this recipe as it is an immediate recipe. It’s great freshly baked but also good later and the next day once the flavours have developed.

As is my choice, I used a small amount of honey in my loaf. If you would prefer something sweeter please feel free to double it or replace it with 100-150g of your choice of sugar. You could also add chopped nuts, chocolate chips, raisins, whatever you fancy.

Ingredients

200g white spelt flour (I use this one)

100g bubbly active starter

50g runny honey

50g softened butter

1tsp bicarbonate of soda

1/2tsp baking powder

1 egg

3 medium/2 large ripe bananas, roughly mashed

An extra banana if you want one for decoration, sliced

Method

Either grease or line a 2lb/900g, 23 x 13cm/9” x 5” loaf tin

Mix all of the ingredients together well, but not over mixed, spoon the mixture into the loaf tin.

Place into your cold oven, turn it up to 160C/320F fan/convection, 180C/360F non fan/convention and bake for 50-60 minutes or until a metal skewer comes out clean.

Eat!

Sourdough Uzbek flatbreads…

I’ve been wanting to try making ‘Lepyoshka’ Uzbek flatbreads ever since I saw my friend Sally make them and, of course, I wanted to convert them to sourdough. So this week I did!

I purchased the stamp from this Etsy seller a few weeks ago especially; they’re so lovely, it would be easy to fill your cupboard with them!!

I was very happy with my first attempt, you can just about see the pattern created by the special stamp, but moreover, with the addition of yoghurt in the dough they tasted great. They were lovely immediately from the oven, still good a few hours later, and then again just as tasty the next day when heated up again in the toaster.

To make them I made a stiffer dough than usual by using a mix of wholemeal and white flour, plus the yoghurt in place of water. I used a 0% fat Greek yoghurt (just because that’s what I had available, I’d use full fat next time) so it added a real tang to the flavour, and an almost cheesy taste once baked.

To use the stamp and stop it from sticking to the dough I dunked it in water for each use, then firmly pressed it into the dough and pulled directly back up and out again.

For these I used up lots of young starter, from the starters I’ve been playing with in my kitchen recently, and less yoghurt, but you don’t need to. You could use less of your established starter and more yoghurt to create the same consistency in the dough.

Ingredients

300g young starter

100g thick Greek yoghurt

200g strong white bread flour

50g strong wholemeal flour

20g olive oil

1tsp salt

Method

I used my usual master recipe process to create and build up the dough, then placed the bowl in the fridge overnight for it to develop, as well as to protect it from the warm night.

The next day I let the dough come back up to room temp, sprinkled the counter with water then turned the dough out onto the counter and cut it into equal(ish) portions.

I rolled these into balls, flattened them out with my fingers and pressed them into rounds.

I placed each round onto a tray lined with parchment paper and I then used a spoon to flatten out a circle in the middle into which I pressed the stamp.

I then placed them in a cold oven, turned it up to 220C fan and baked them for 17-18 minutes.

The result is a lovely soft edge with a crunchy thinner stamped middle.

I will definitely be making these again, and adding them to my courses 🙂

Buttermilk and tahini sourdough loaf…

In my Facebook group, ‘sourdough with foodbod’, I recently launched a new challenge to feed a portion of our starters with something new, the aim being to have fun and to see what we might create, some ideas will work, and some won’t, and that’s the fun of it…

We always feed our starters the best possible flour and water, but what would happen if we fed them something totally different? A different liquid, or a different type of flour, or something instead of flour? Just to see what would happen, what the reaction would be, what the flavour outcome might be..? The possibilities are endless!

**For this challenge, I highly recommend using just a portion of your precious starter, and keeping the rest safe and sound. So for example, I fed my lovely Star and separated some portions of her into new bowls to have some to play with without affecting my standard cherished base amount. I always always make sure that I keep an unadulterated base amount of my precious, beautiful Star whatever sourdough experiments I do.

For this loaf I fed 50g of Star with my favourite buttermilk & tahini sauce; to make the sauce I blended 50g of tahini with a 284ml pot of buttermilk.

And as you can see, Star liked it as much as I do! This photo above shows the mix after 8 hours.

This photo above shows the mix the next morning.

This produced a firm spongy starter, very much like a low hydration starter or ‘pasta madre’, full of lovely texture.

To make the dough I added more tahini to some water (I blended 50g of tahini with 450ml of water) and used that in the dough to add even more flavour, and it worked perfectly. The resulting loaf had a nice crust, and a close crumb, due to the dairy element, and a lovely subtle flavour of sesame seeds. I will definitely do this again.

To try the flavour, you could add the tahini to the dough whilst using your standard starter, or you could play with it like it did.

This is what I did..

Day 1

I fed 50g of Star with 30g of strong white bread flour + 30g of my buttermilk & tahini sauce (details above), covered and left on the counter

8 hours later I fed the whole mixture 50g of strong white bread flour + 50g of buttermilk & tahini sauce, covered and left on the counter overnight

Day 2

I had a bowl of lovely textured thick happy starter, as seen above.

To mix up the dough I used:

100g of the buttermilk & tahini starter

500g of strong white bread flour

350g of a water and tahini mix

1tsp salt

I then followed my usual process to work with the dough and bake her the next day.

The dough was lovely and firm, a joy to score, and it baked beautifully from a cold start.

The crumb was closer than other loaves might be, this is due to the dairy element. You could really smell the tahini in the bread and you could taste it in each bite without it being too strong.

Definitely a success in our house!

If you decide to experiment with your starter, do tag me and #starterfun wherever you share it, and enjoy the fun! I’ve already got more experiments to share, coming soon…

Leftovers loaves…

You know how it is, you open your baking cupboard and you’ve got various bags of flour, with various amounts left, but not enough for an entire dough…

So the only thing to do is to throw them all together and hope for the best?! That’s what I did this week. And these loaves were the outcome..

These include portions of strong white bread flour, malted multigrain flour, khorasan flour and a seeded flour mix, all thrown together in various quantities to make up my normal 500g amount of flour for my master recipe.

As you can imagine, I was happy with the outcome!

I love seeing how the activity in Star and then the dough after it’s overnight prove translates into the dough…it never ever gets boring!

Happy Baking!