
*Sourdough starter is created by mixing flour and water so that the natural wild yeast in the flour ferments and creates your starter.
*If making sourdough is new for you, do not be discouraged if you starter takes longer to get active than mine – stick with it, it will happen!
*Tap water is usually fine, if you are not sure, use boiled and cooled water, you can use it at room temperature or cool; do not use distilled water.
*The flour that I use is in my white starter is strong white bread flour. This is the flour from Matthews Cotswold Flours that I prefer to use in my starter here in the UK. Or I recommend KAF bread flour in the US.
*You can also use strong wholemeal/wholewheat (I use this one) flour and any ancient grain flours with the same steps and it will work equally well. If the mix feels dry with any of these flours, add a little extra water. See example photos of how a wholewheat starter might look here.
*Keep it on your kitchen counter. Resist the temptation to leave it somewhere overly warm. Sourdough responds to temperature; cold can slow it down, and heat can speed it up – but it can also go too fast! I have seen far too many new starters being made to become thin and weak from being kept too warm. I made this white starter in the photos with room temperatures between 15C/60F and 20C/68F; 18C/64F works perfectly but is not a necessity.
*If you live in a hot country, or are trying to make a starter during warm summer months, check out these guidelines
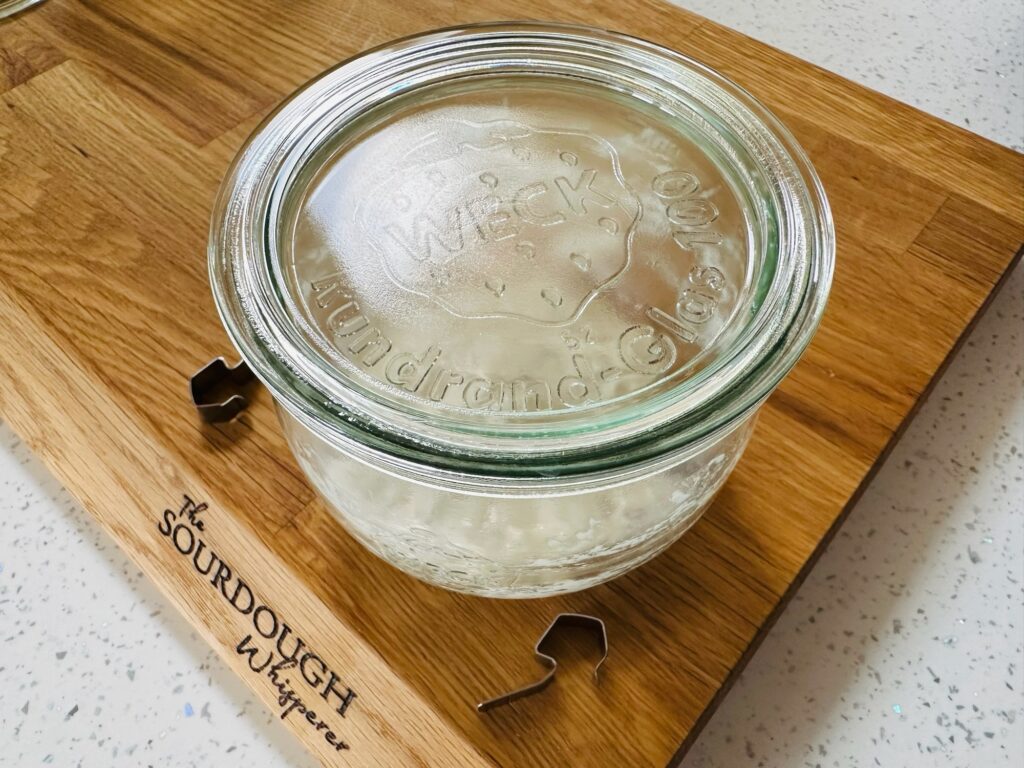
*I always use lidded glass bowls for my starters, they’re easier to use than jars; and glass rather than plastic. I use Weck 744 580ml tulip jars, minus the seals. See my shop page for suppliers.
*When instructed to discard some of the starter, you really need to discard it. Do not be tempted not to, or to start keeping too much starter. If you keep too much you will make your starter slow and sluggish.
*I use small quantities to make starters as you really do not need big quantities to make a starter; you will therefore also have little waste, but when you do need to discard, put the spare starter in a bowl and use it in recipes. Resist the temptation to keep it and end up with endless bowls of bits of starters.
*Stir with clean stainless steel spoons and forks.
*Beware of fruit flies, they love sourdough, so keep the bowl out of their reach.
*Choose a name for your starter!
Below are the step by details of how to make your starter, and you can watch the whole process and hear lots of tips in my video HERE. The video will give you a much better view on making your starter and what to look for, the steps below back up the info and give you a written guide.
Day 1
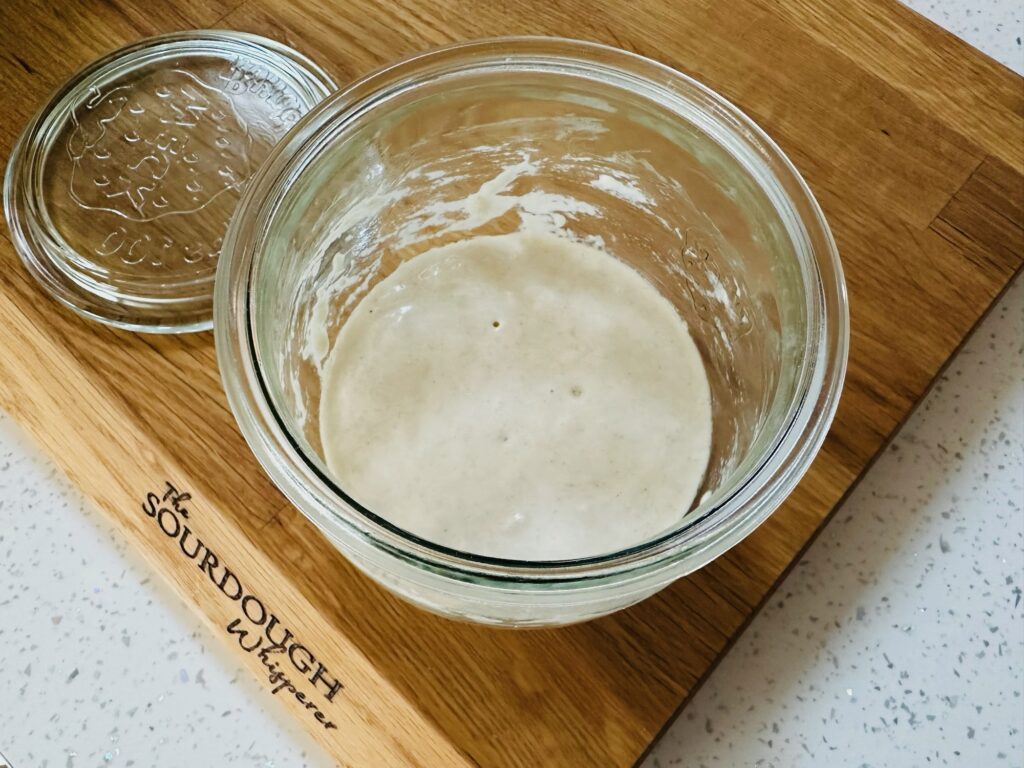
Mix 50g water + 50g flour in a bowl, stir well, scrape down the sides of the jar and mix it all in, it will be nicely thick, and loosely cover it, allowing gasses to escape.
Leave the bowl on the kitchen counter.
Day 2
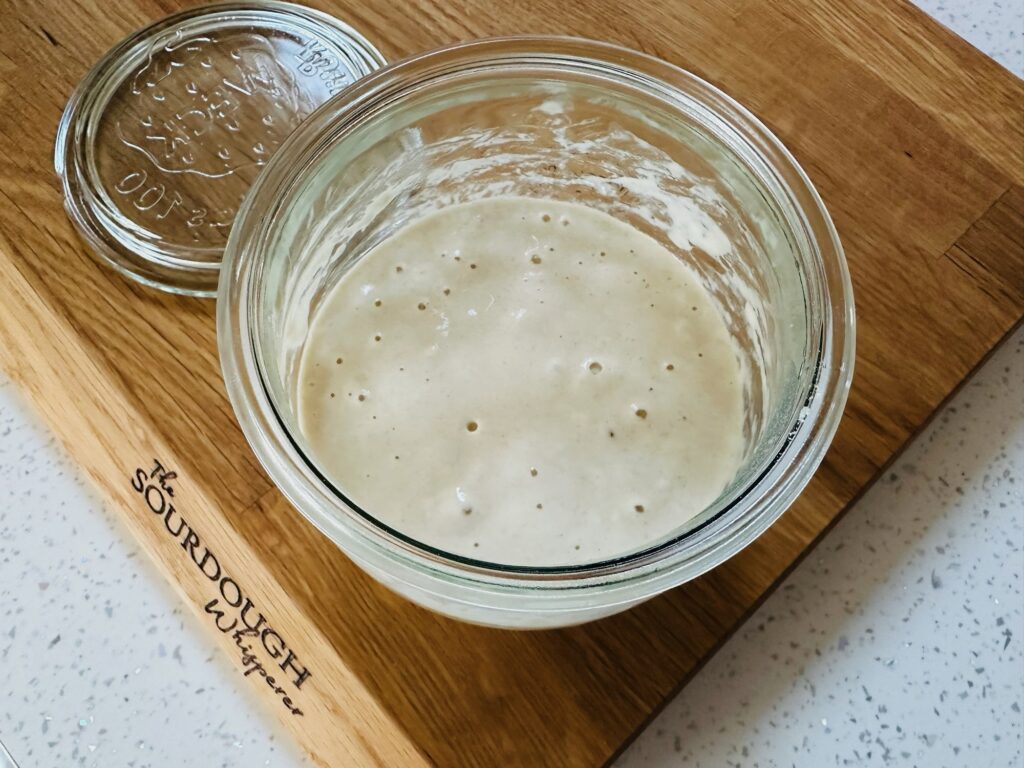
Add 30g flour + 30g water, stir well, scraping down the sides of the bowl again to mix it all in, loosely cover again and leave on the counter, as above.
You may have some bubbles already; the mixture may already be very glutinous & bouncy once fed.
Day 3
Add 30g flour + 30g water, stir well, scraping down the sides of the bowl to mix it all in, loosely cover and leave on the counter, as before.
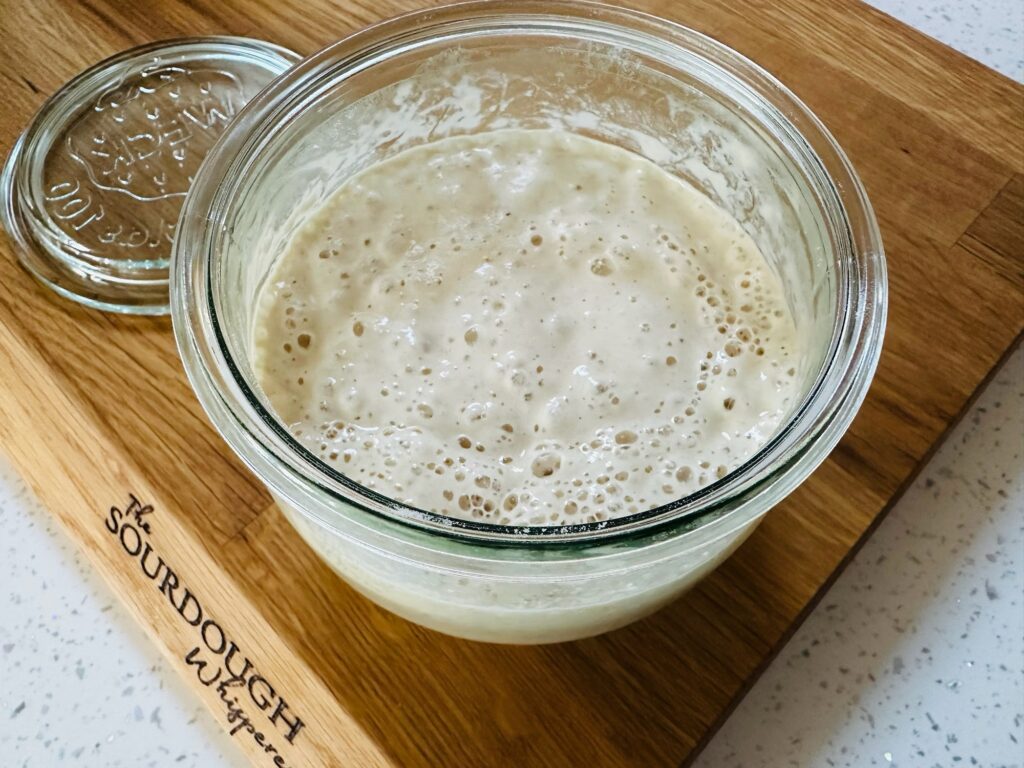
Day 3 and into day 4
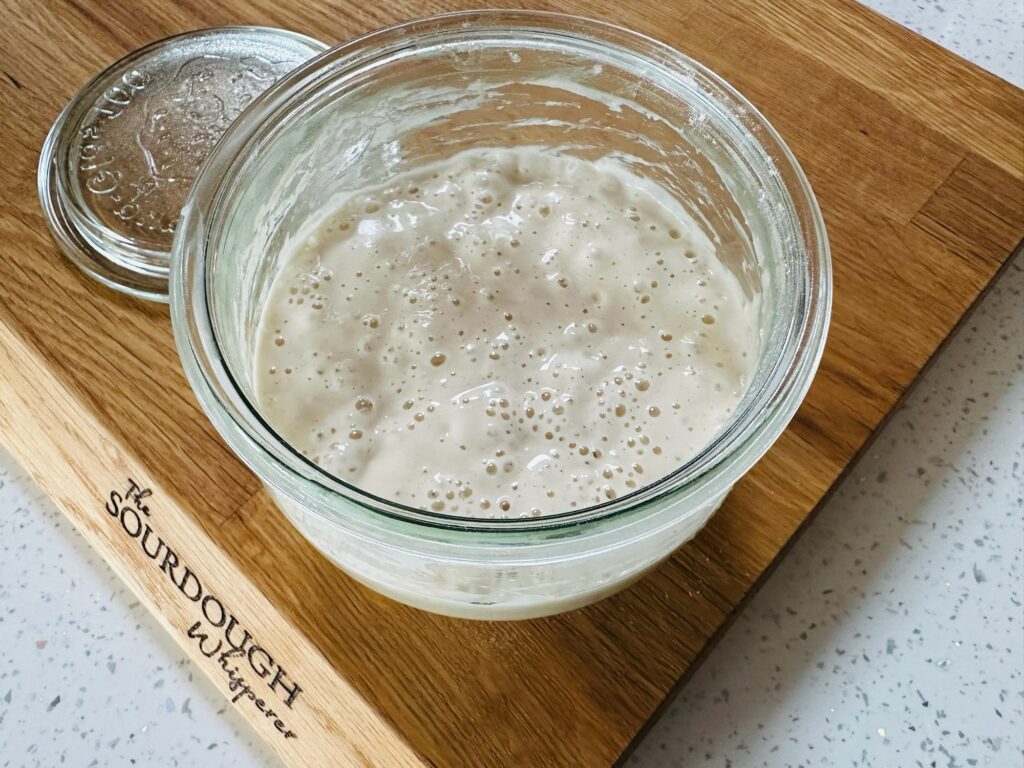
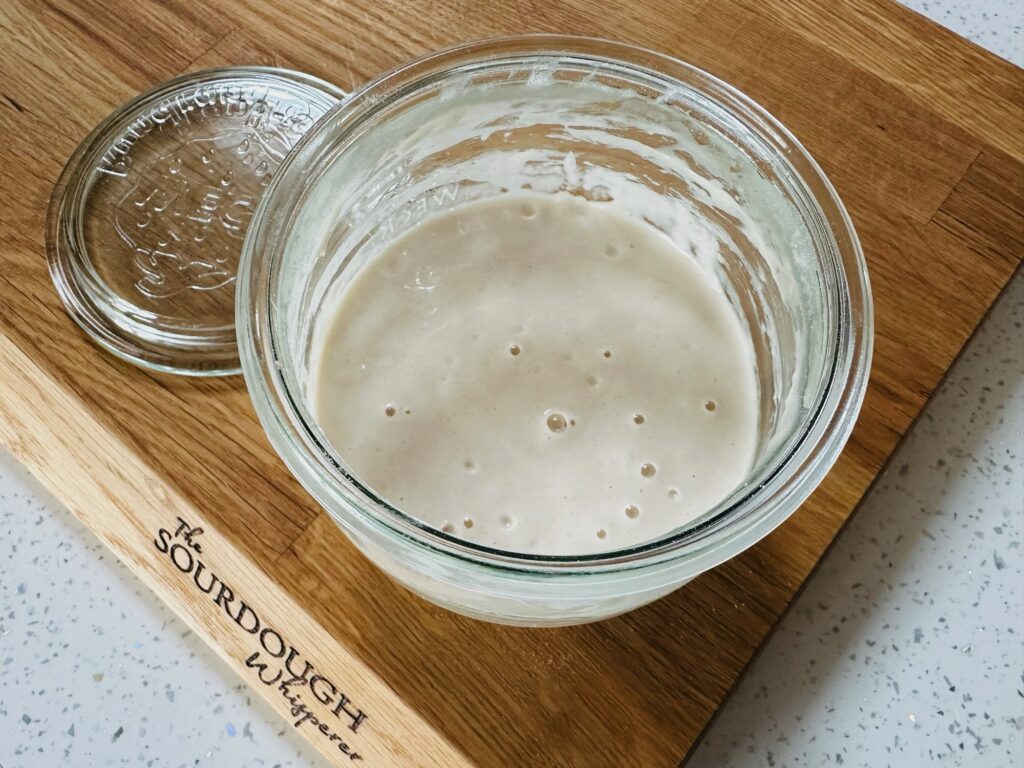
Around this time it will look really bubbly; this is the good bacteria at work, do not be fooled that it is ready to use! The bubbles may even subside over the next few days but then they will return and stay.
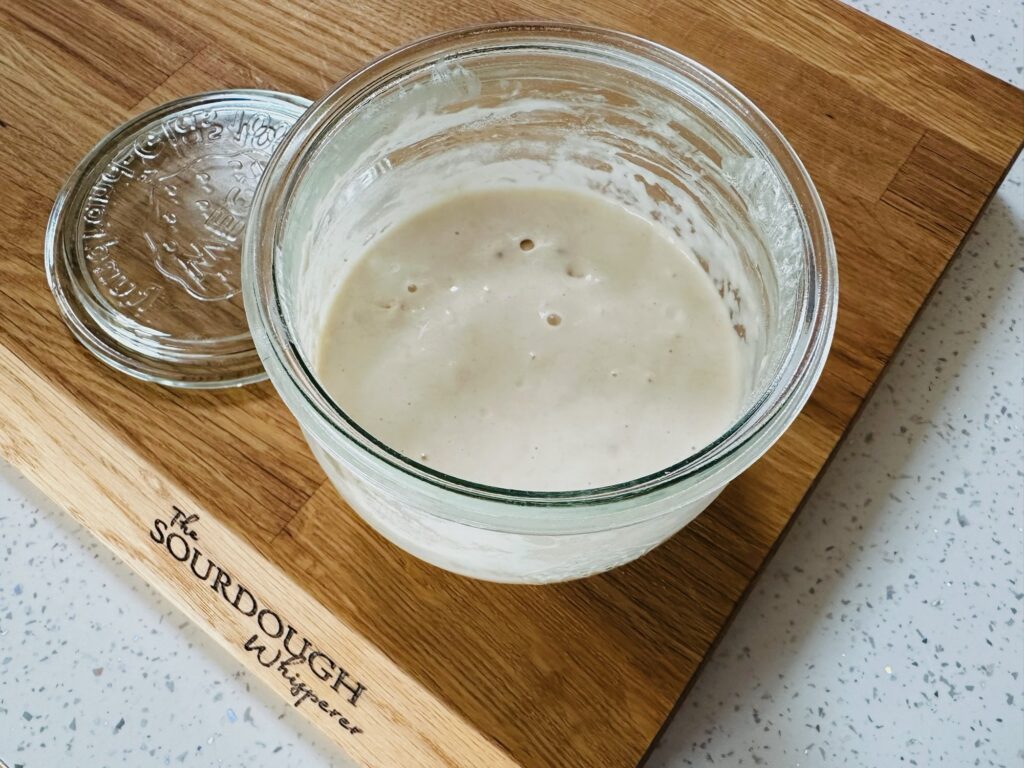
Discard half of the contents; I know it looks fab, and it’s exciting right now, but you really do have to remove half I’m afraid. It’s a necessary part of the process and ensures that you keep it lean.
Add 30g flour + 30g water, stir well, scrape down the sides of the bowl, loosely cover the bowl and leave on the counter, as above.
Your starter may be smelling vinegary, that is all normal, it is the fermenting process happening.
Day 5
Add 30g flour + 30g water, stir well, scrape down the sides of the bowl, loosely cover the bowl and leave on the counter, as above.
Day 6
Discard half of the contents of the bowl.
Add 30g flour + 30g water, stir well, scraping down the sides of the bowl, loosely cover the bowl and leave on the counter, as above.
Day 7

Add 30g flour + 30g water, stir well, scraping down the sides of the bowl, loosely cover the bowl and leave on the counter, as above.
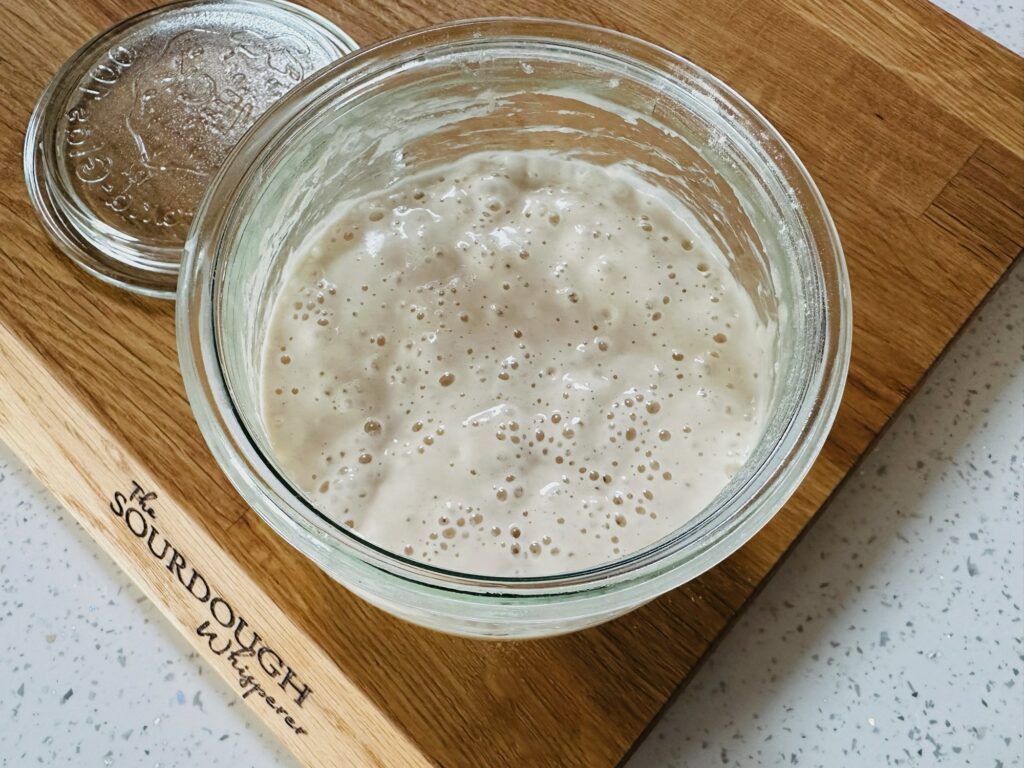
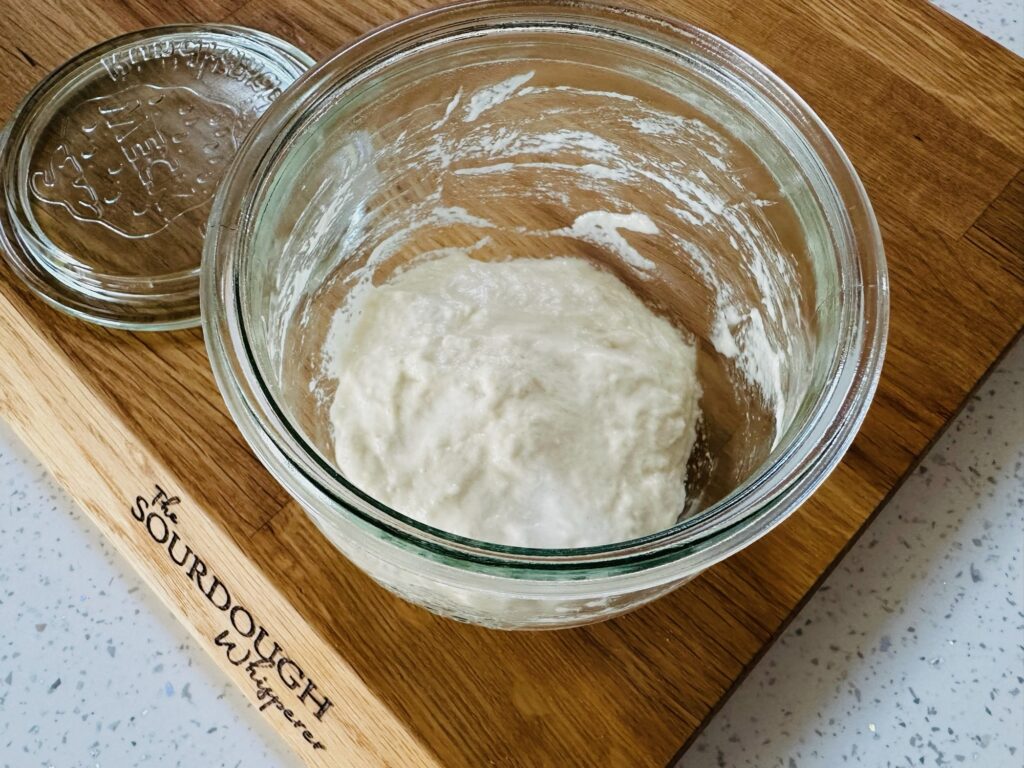
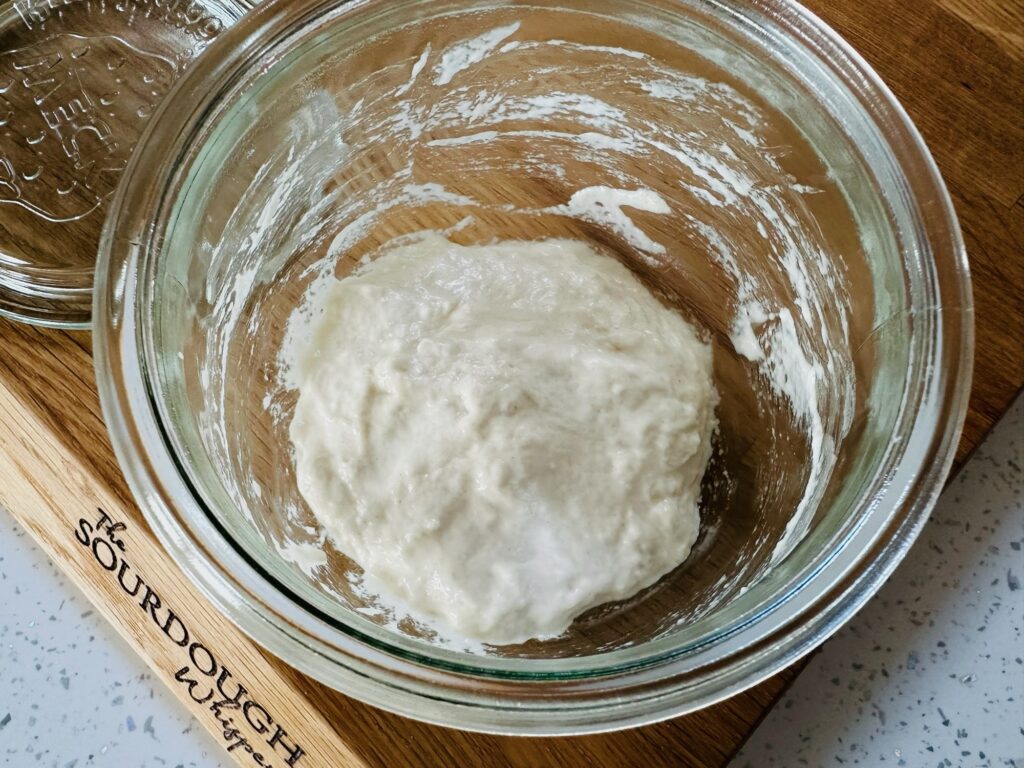
If your starter grows again in the same way by the next day, it’s ready to use, the consistency should be thick and glutinous, and once it has been fed and bubbly, the bubbles should be all the way through the liquid; but if you are not sure, keep doing the same discarding and feeding until your starter routinely grows a few hours after it’s been fed 3 days in a row. Do not get disheartened, sourdough is a slow process, it requires time and patience and it will all be worth the wait.
Starters also get stronger in power and flavour the older they get. The more you use it, the better it will get. A key thing to do is to get to know your starter. Feed and watch how it behaves, how long it takes to be bubbly and active and make a note of the room temperature and time to help you plan your bakes in the future.
For the answers to any questions you’ve got about your starter watch my full FAQ video here.
PLEASE NOTE: if at any point your starter develops a murky grey liquid across the top, it is fine! Do not worry, it is not ruined, it is just hungry. It might have been warmer and has worked harder and faster during the previous period of time and now needs feeding. Just stir it, stirring in the liquid and feed as usual.
This liquid is often called ‘hooch’ and by stirring it in you help build the flavour if your starter.
If you starter becomes a thin liquid at any time, feed it flour only and thicken it up then manage the thickness as you continue making it, it is just responding to your environment. It may be that you need to feed it more flour than water for a few days.
Moving on…
Once your starter is established, keep the lid firmly shut tight, if using a Weck jar add the clips only, and store it in the fridge between uses. This puts your starter to sleep whilst you do not need it.
From this point you no longer need to keep discarding and feeding, when you’re going to use it, feed it to use. Always keep a base amount of around 50-100g and always feed the whole starter each time you want to use it, that way you build its strength with every use.
Note: you may have read about or used the ‘float test’ to test if your starter is ready. This is not a reliable test and I do not use it.
Having fed my starter and allowed it time to get active, I assess my starters readiness by stirring it, dispersing the bubbles, and seeing how quickly and heartily the bubbles come back, when they come back quickly and abundantly, she is ready. If I stir the starter and the bubbles disperse and do not come back immediately, she is not ready.
Refer to the rest of my website for details on how to use and maintain your starter, and to make your first loaf.
If you like my website and you would like to support me, click here to buy me a ‘cup of tea’. Thank you xx