My final proof sourdough rolls…

The rolls are made using my master recipe dough again, but this time direct from the banneton, maybe my simplest method for making rolls yet!

Following the overnight prove, bring the dough gently together and place it into a well rice floured banneton, cover, and place it in the fridge as per the recipe process.

You can then use this whenever you are ready to make the rolls; I have used dough that’s been in the fridge for 3 hours and up to 31 hours and everything in between to make these rolls. The point being that you can have the dough ready to use whenever you need it.

It gives you full control over the timing – you don’t need to held hostage by the dough!

When you’re ready, sprinkle some water onto your counter surface.

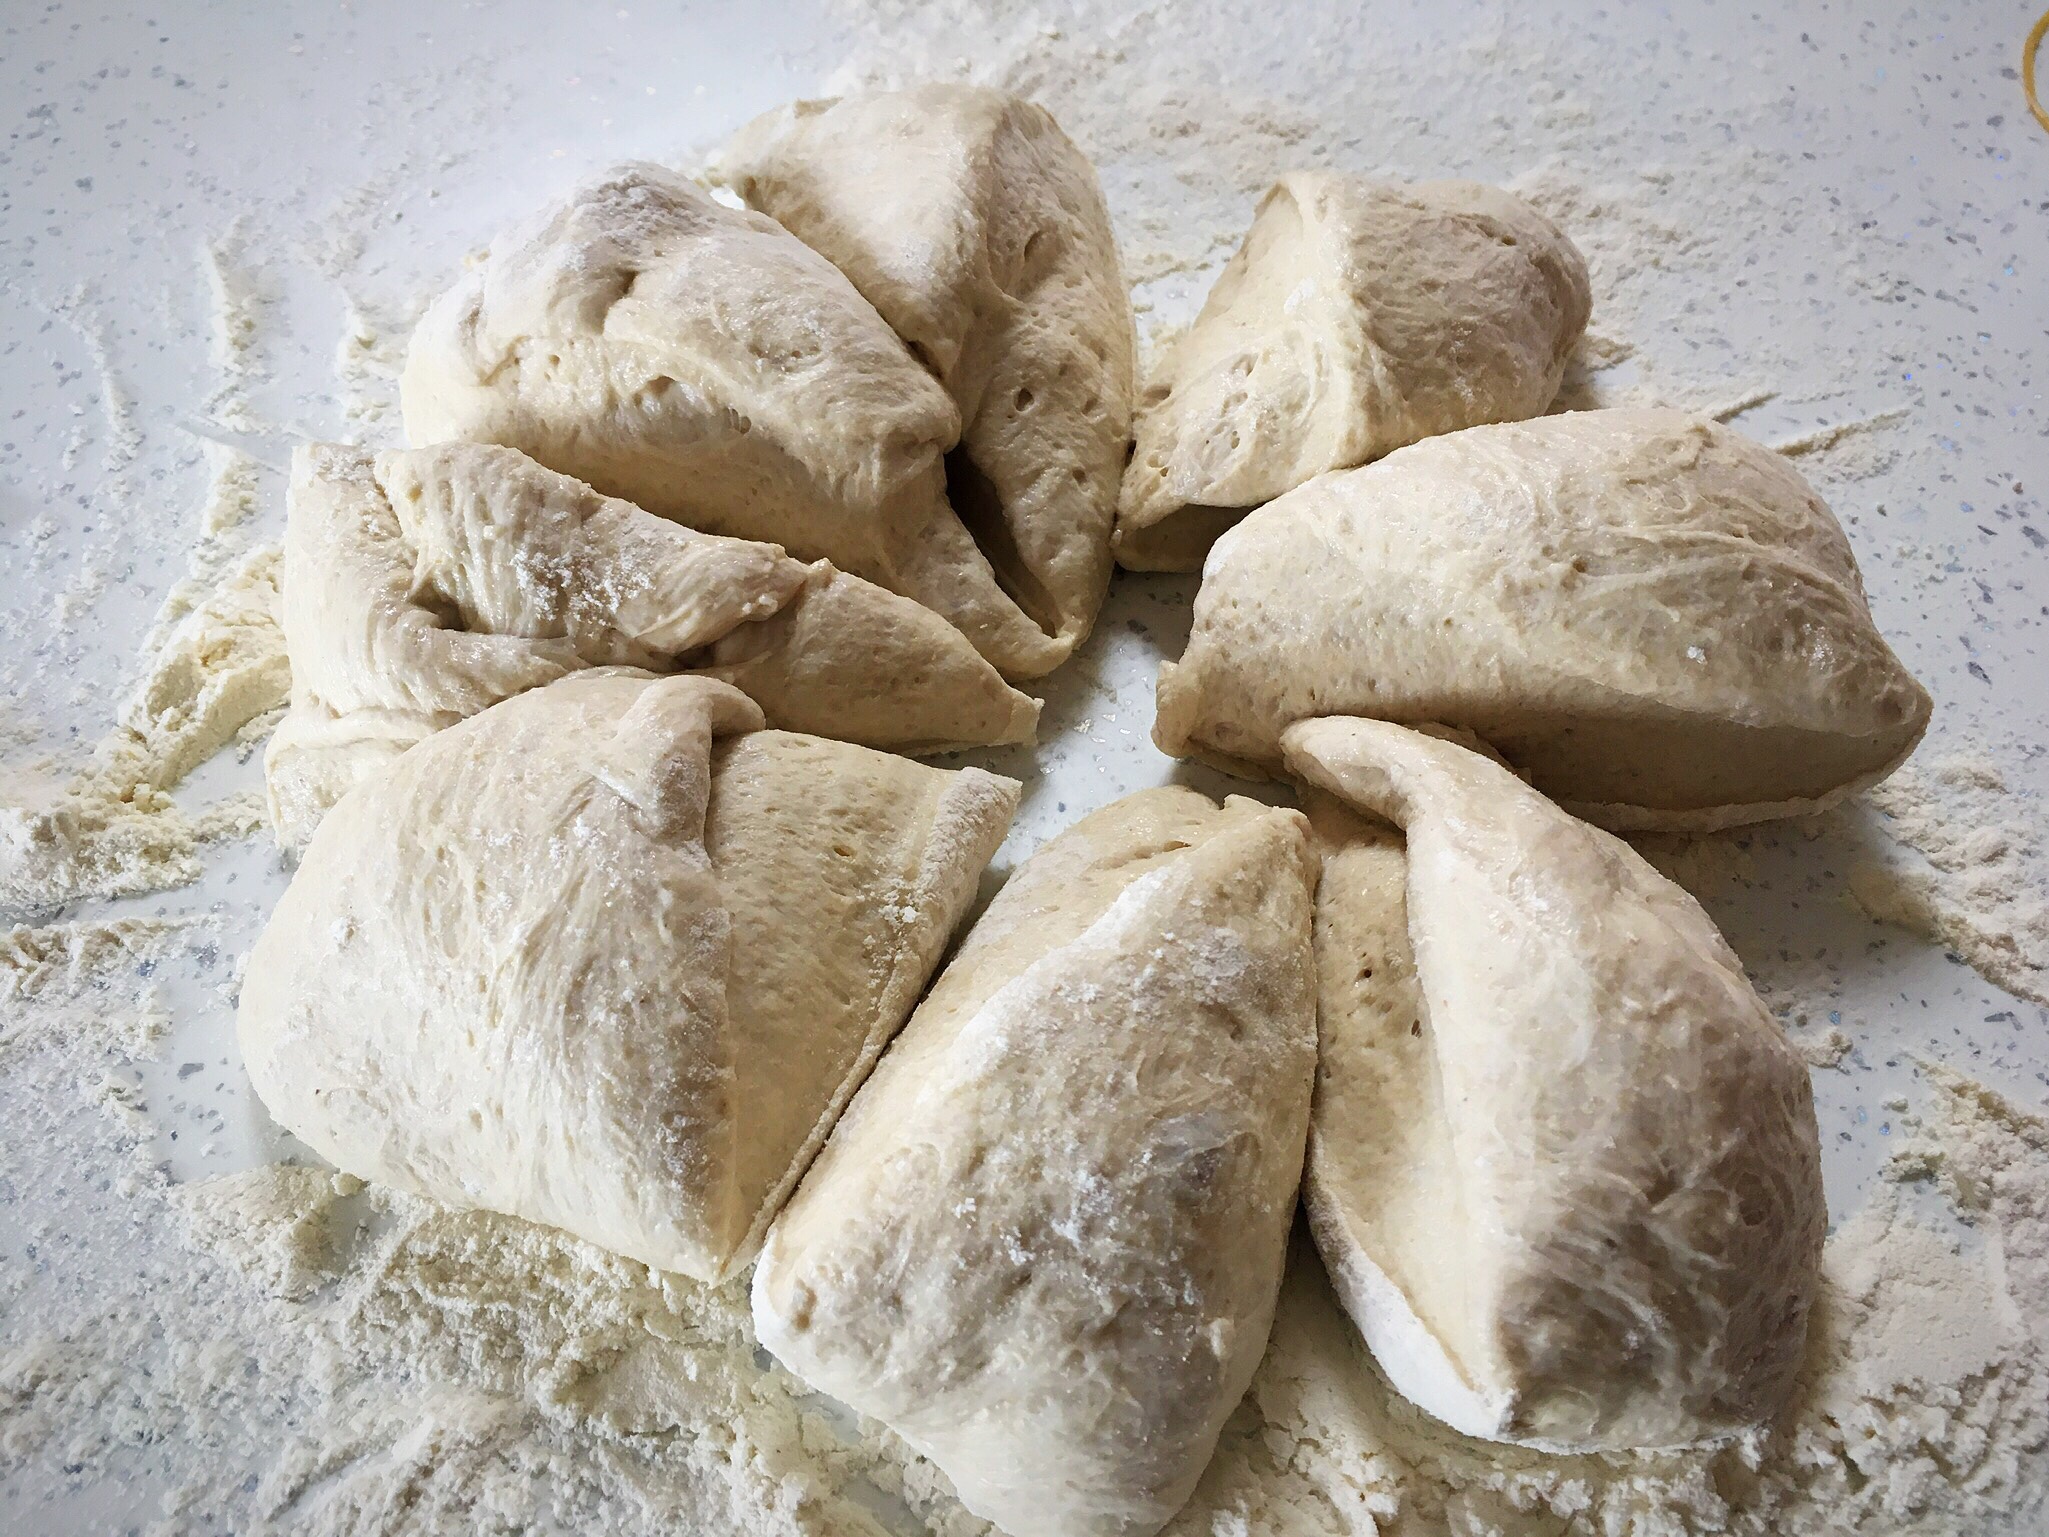
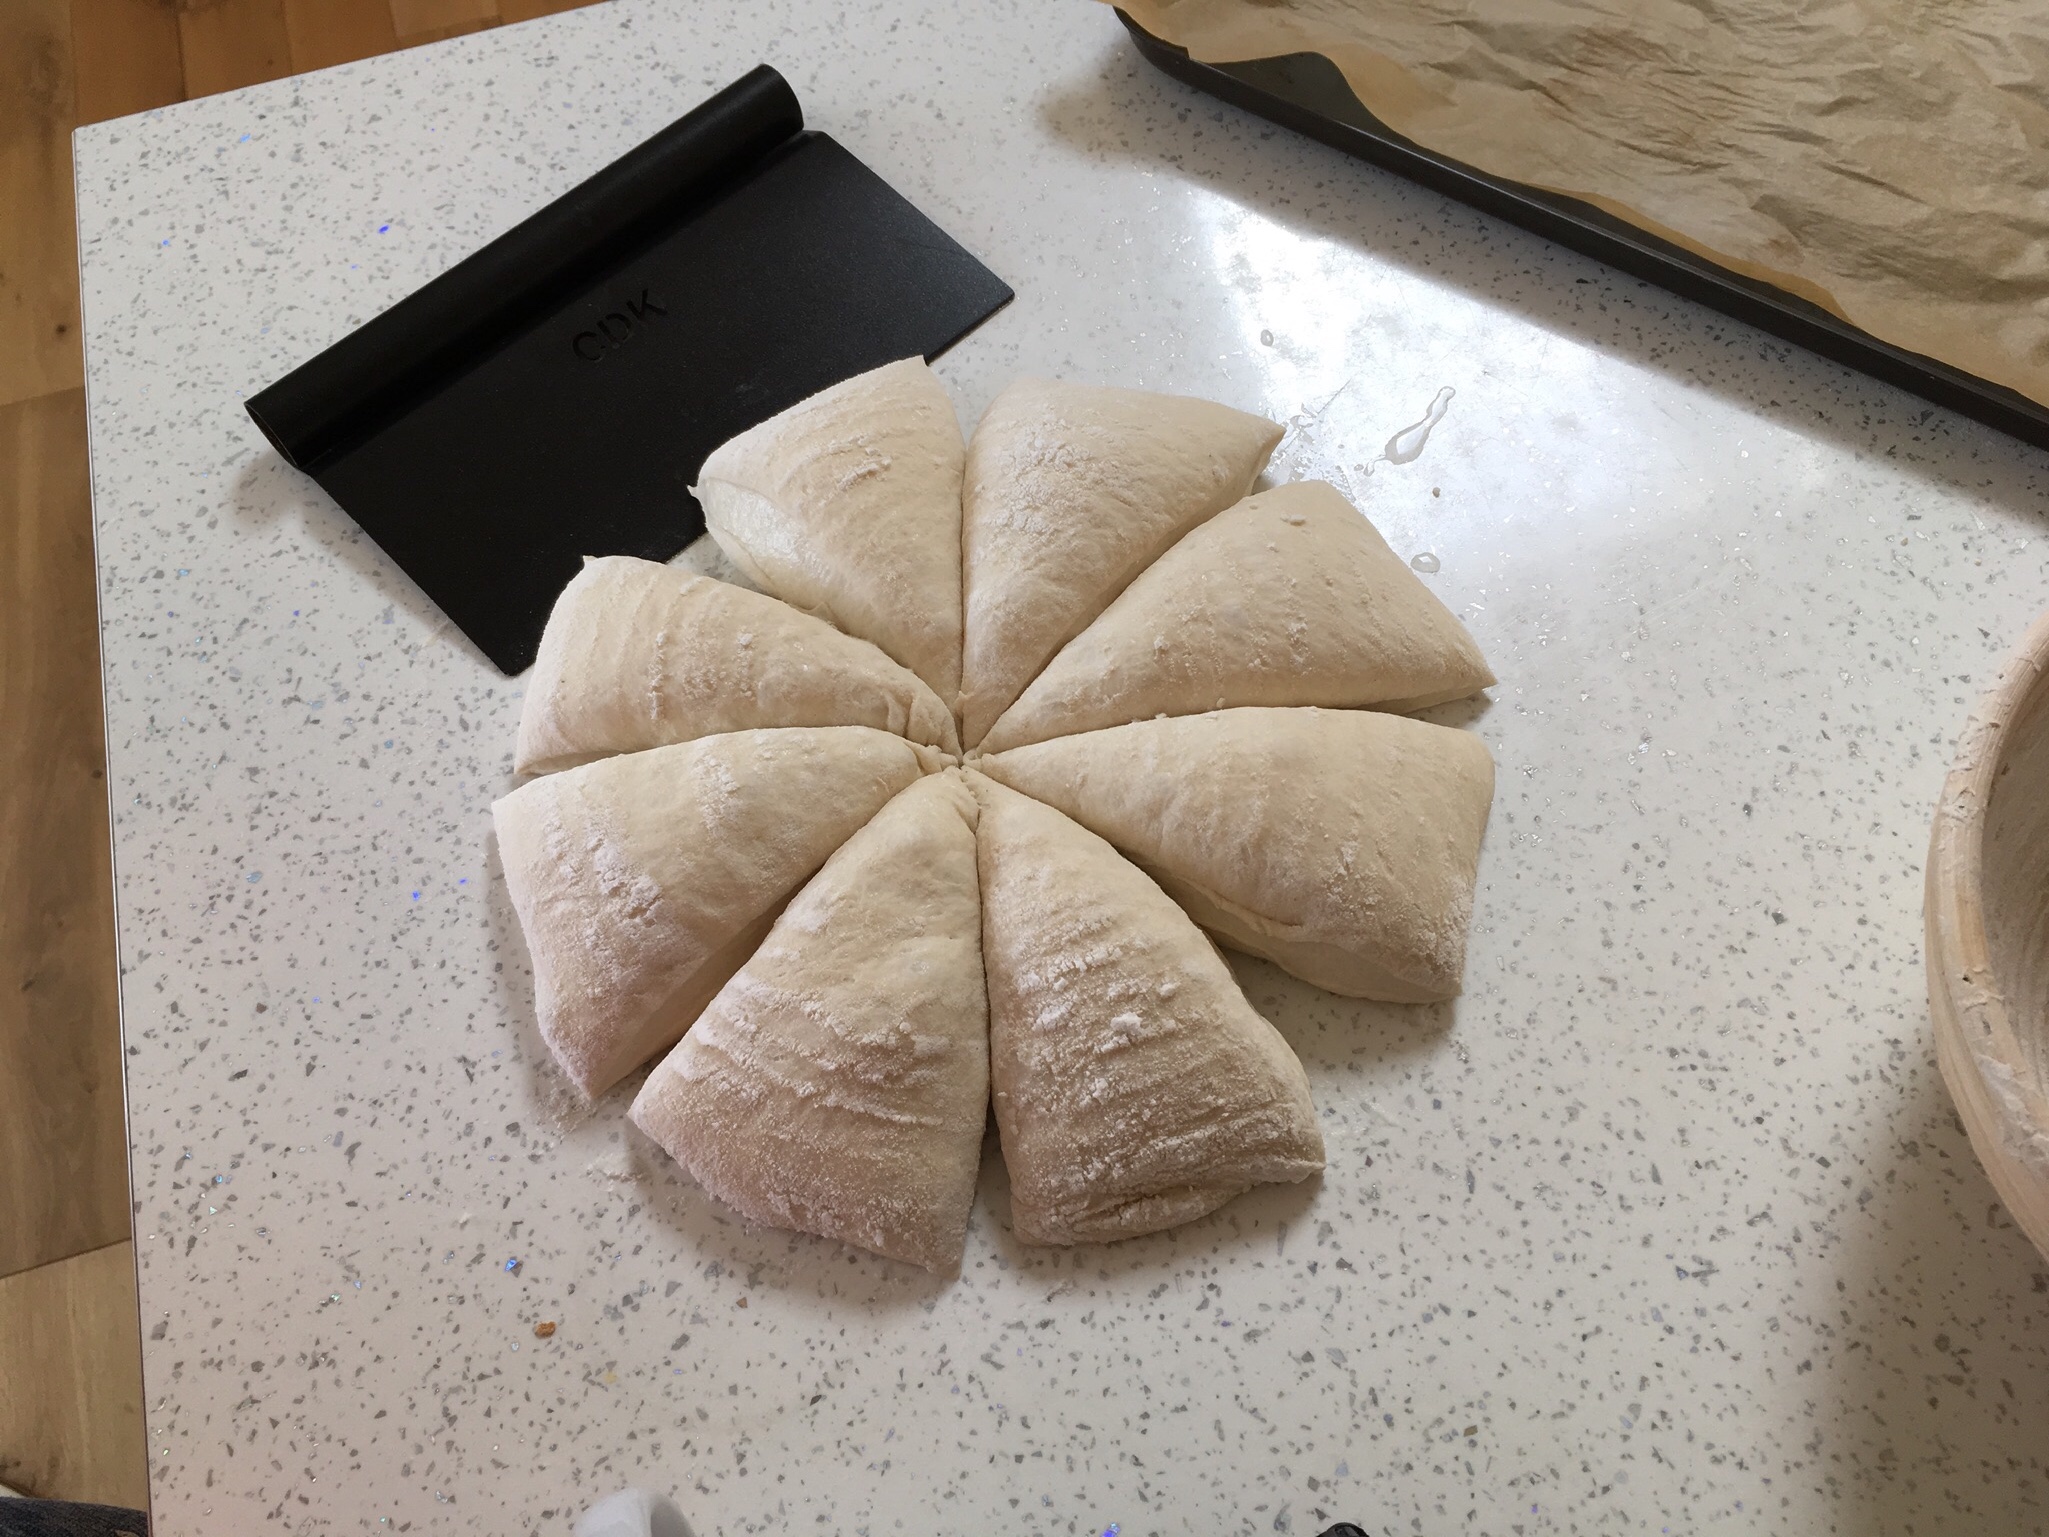
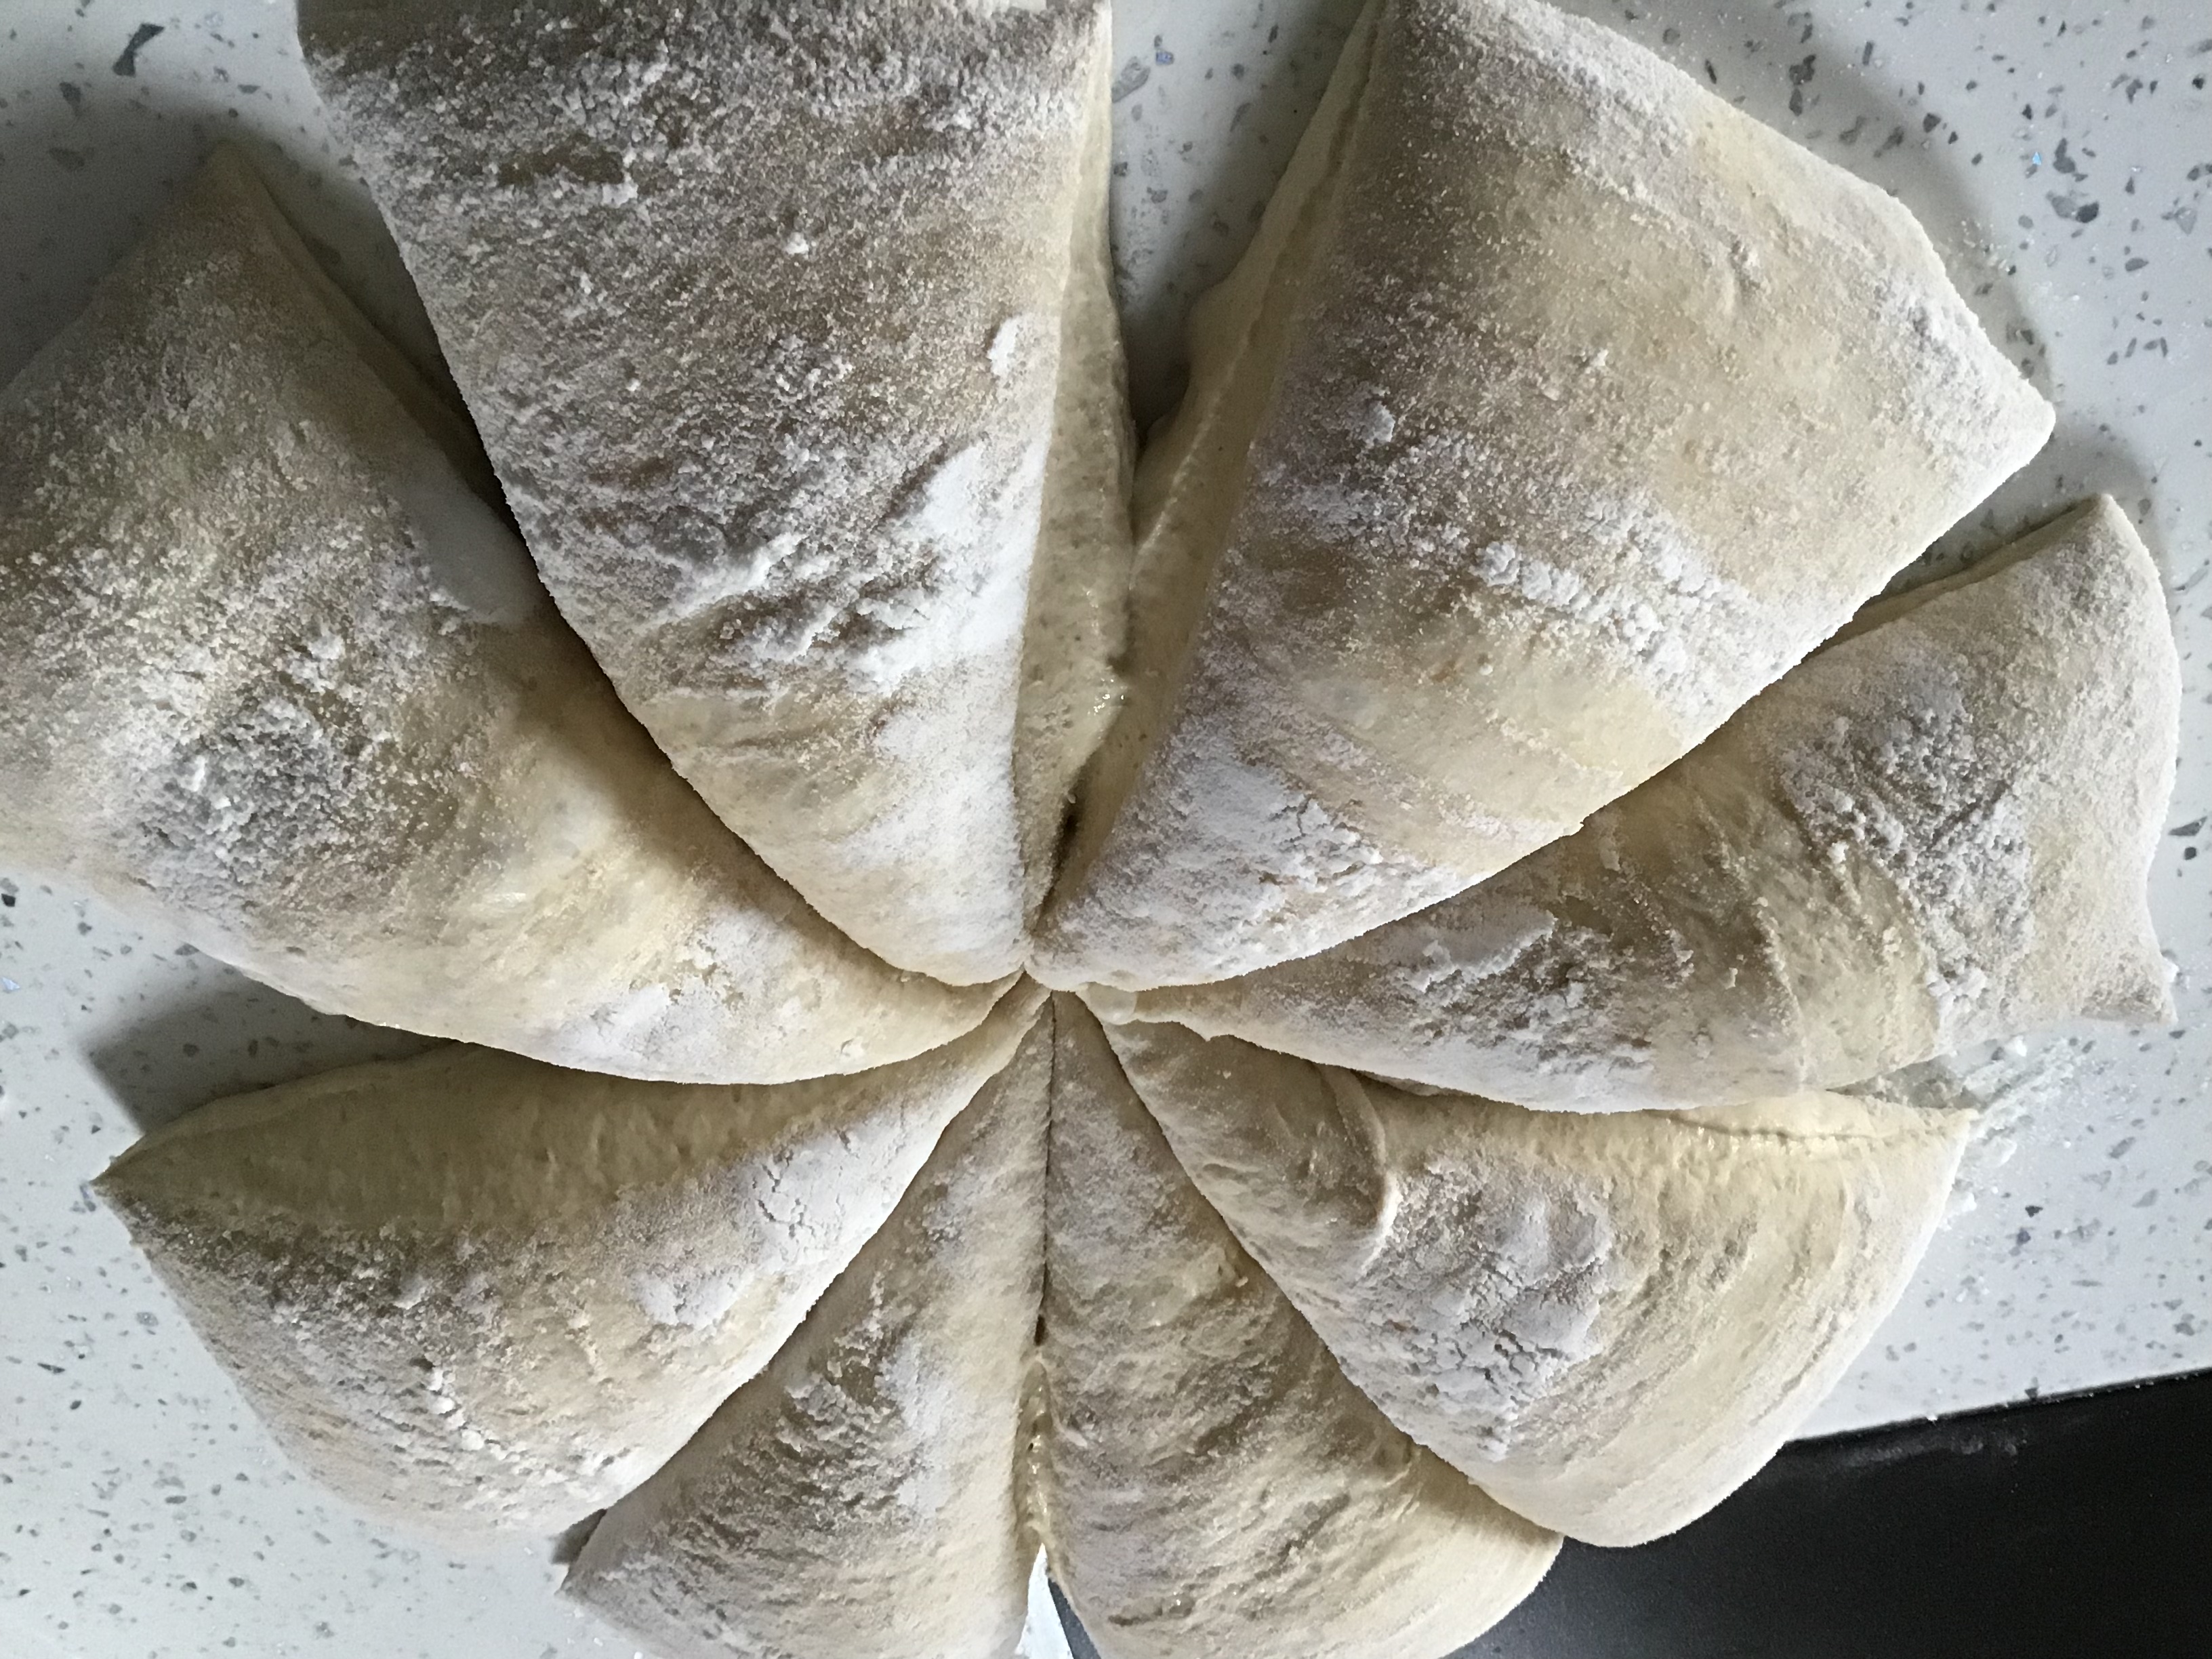
Turn the dome of dough gently out onto the counter.

Using a dough cutter, cut into 8 or 12 wedges.

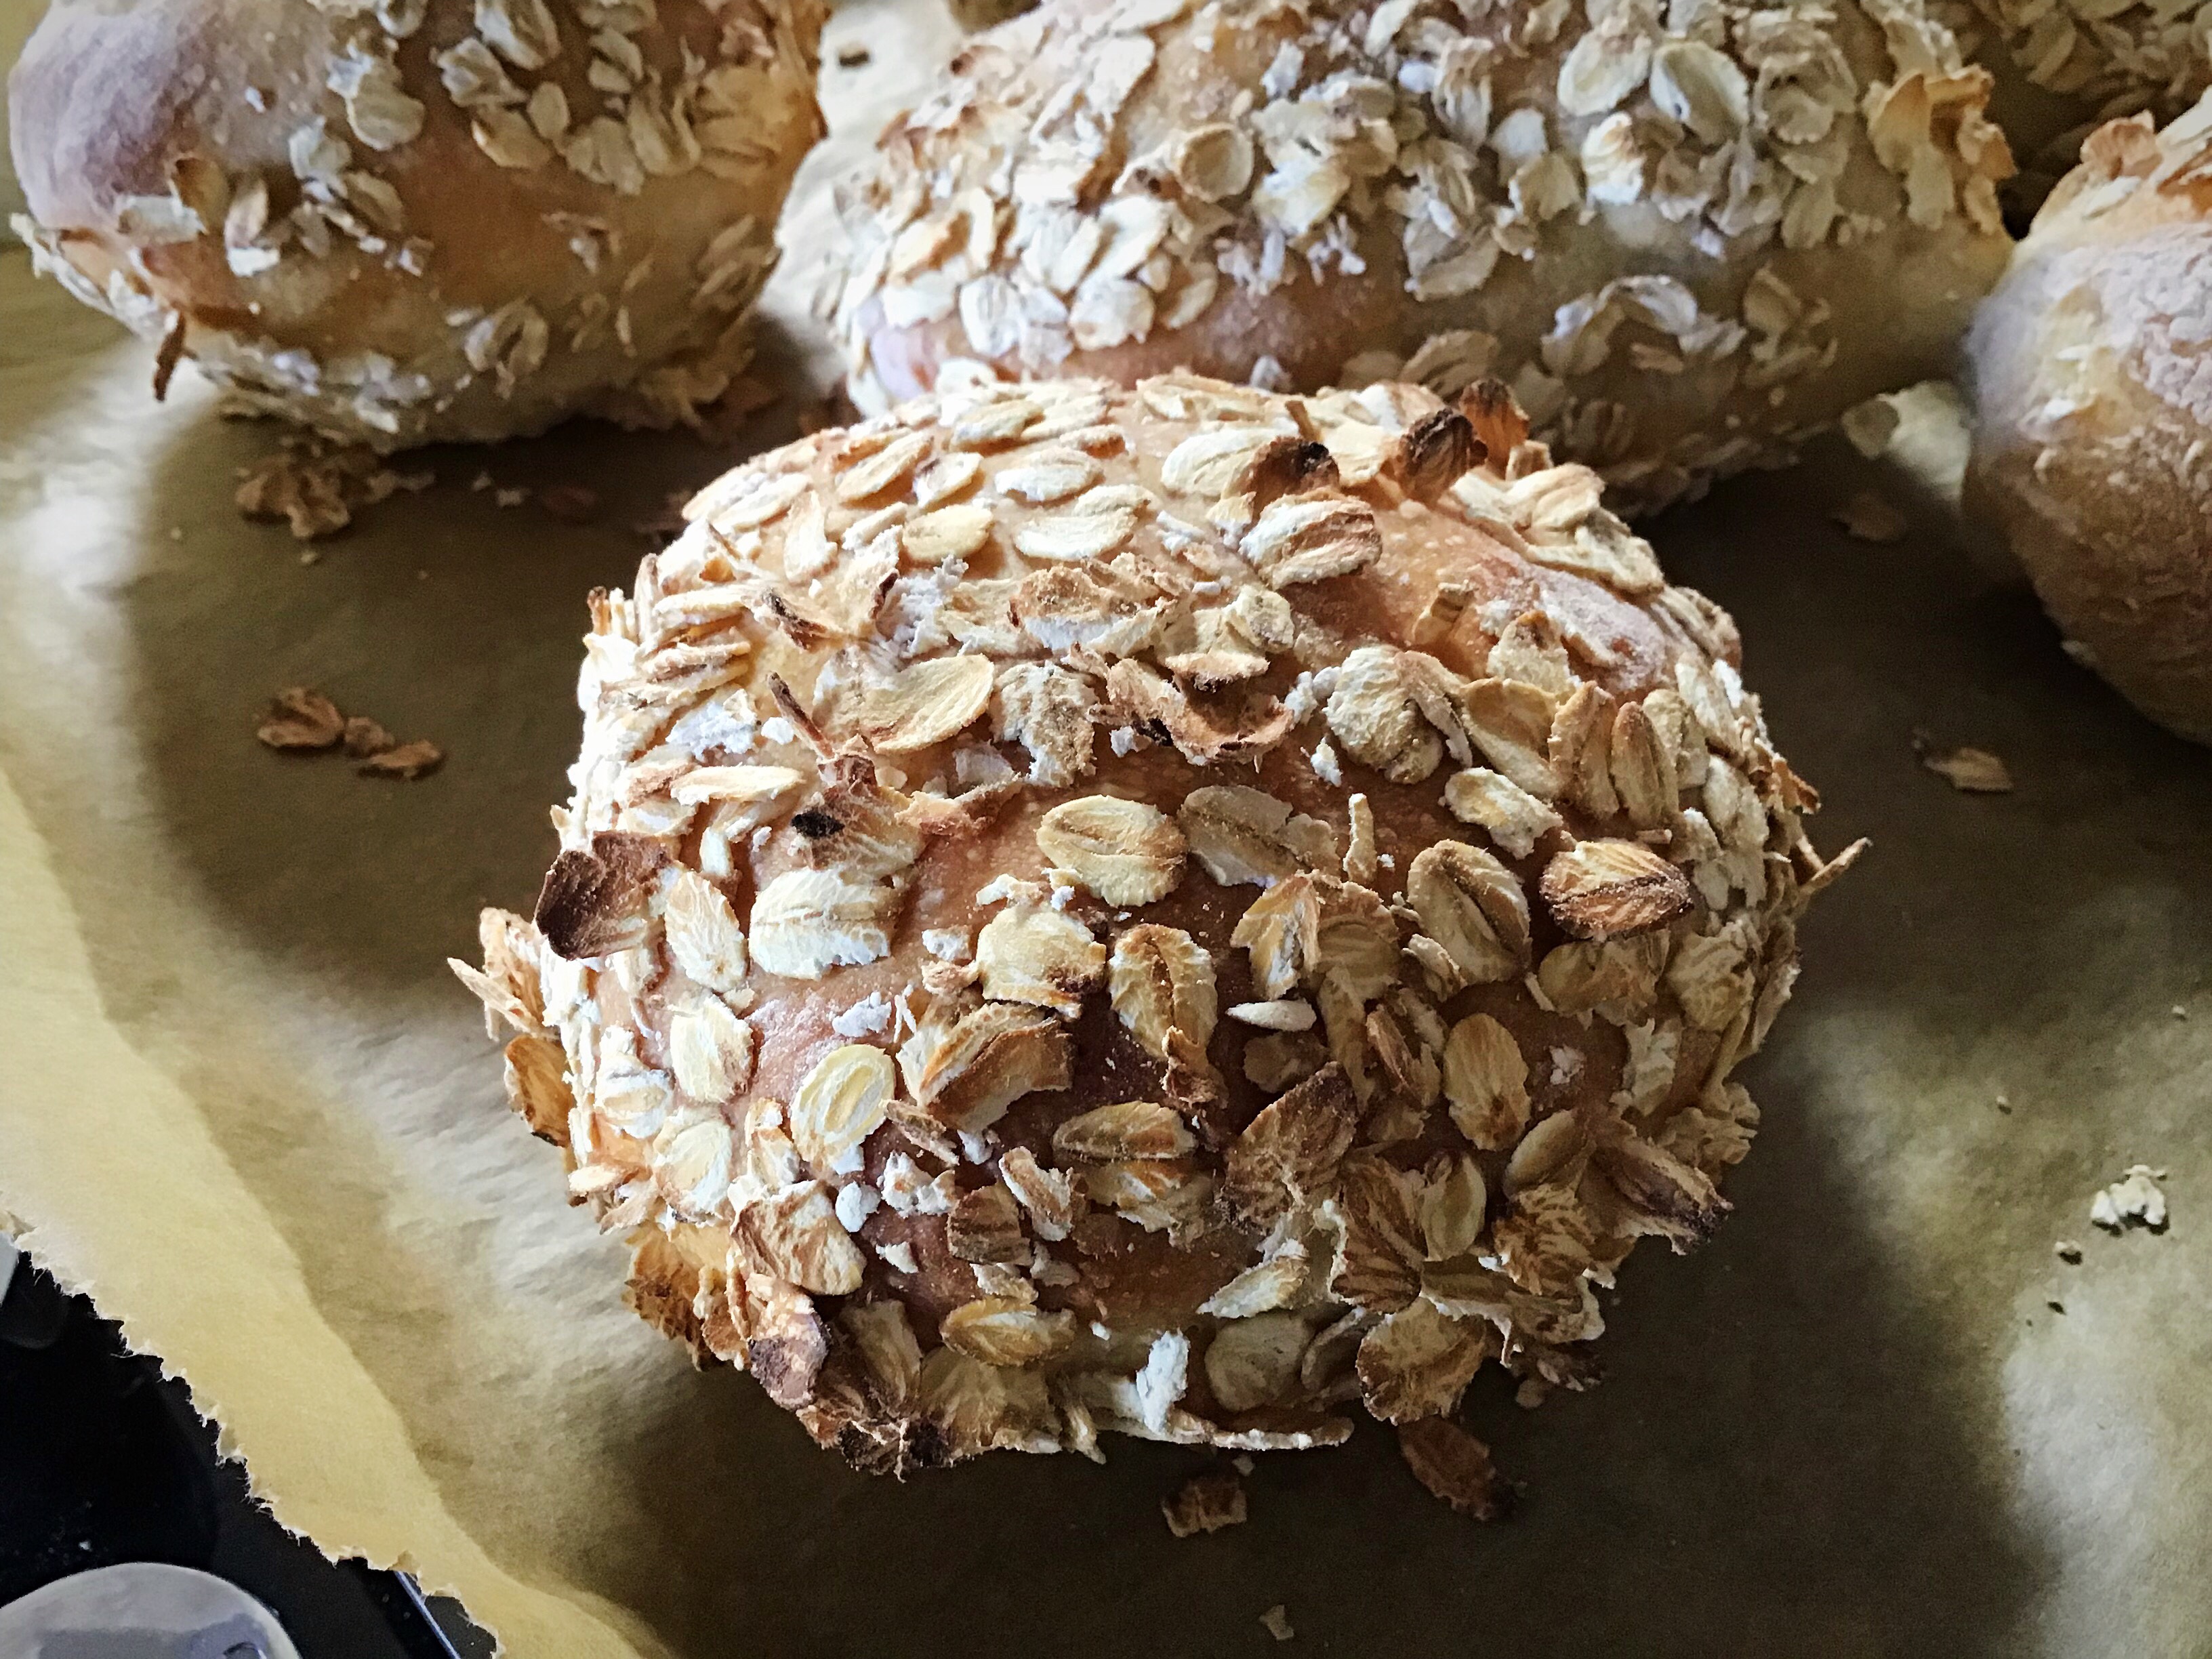
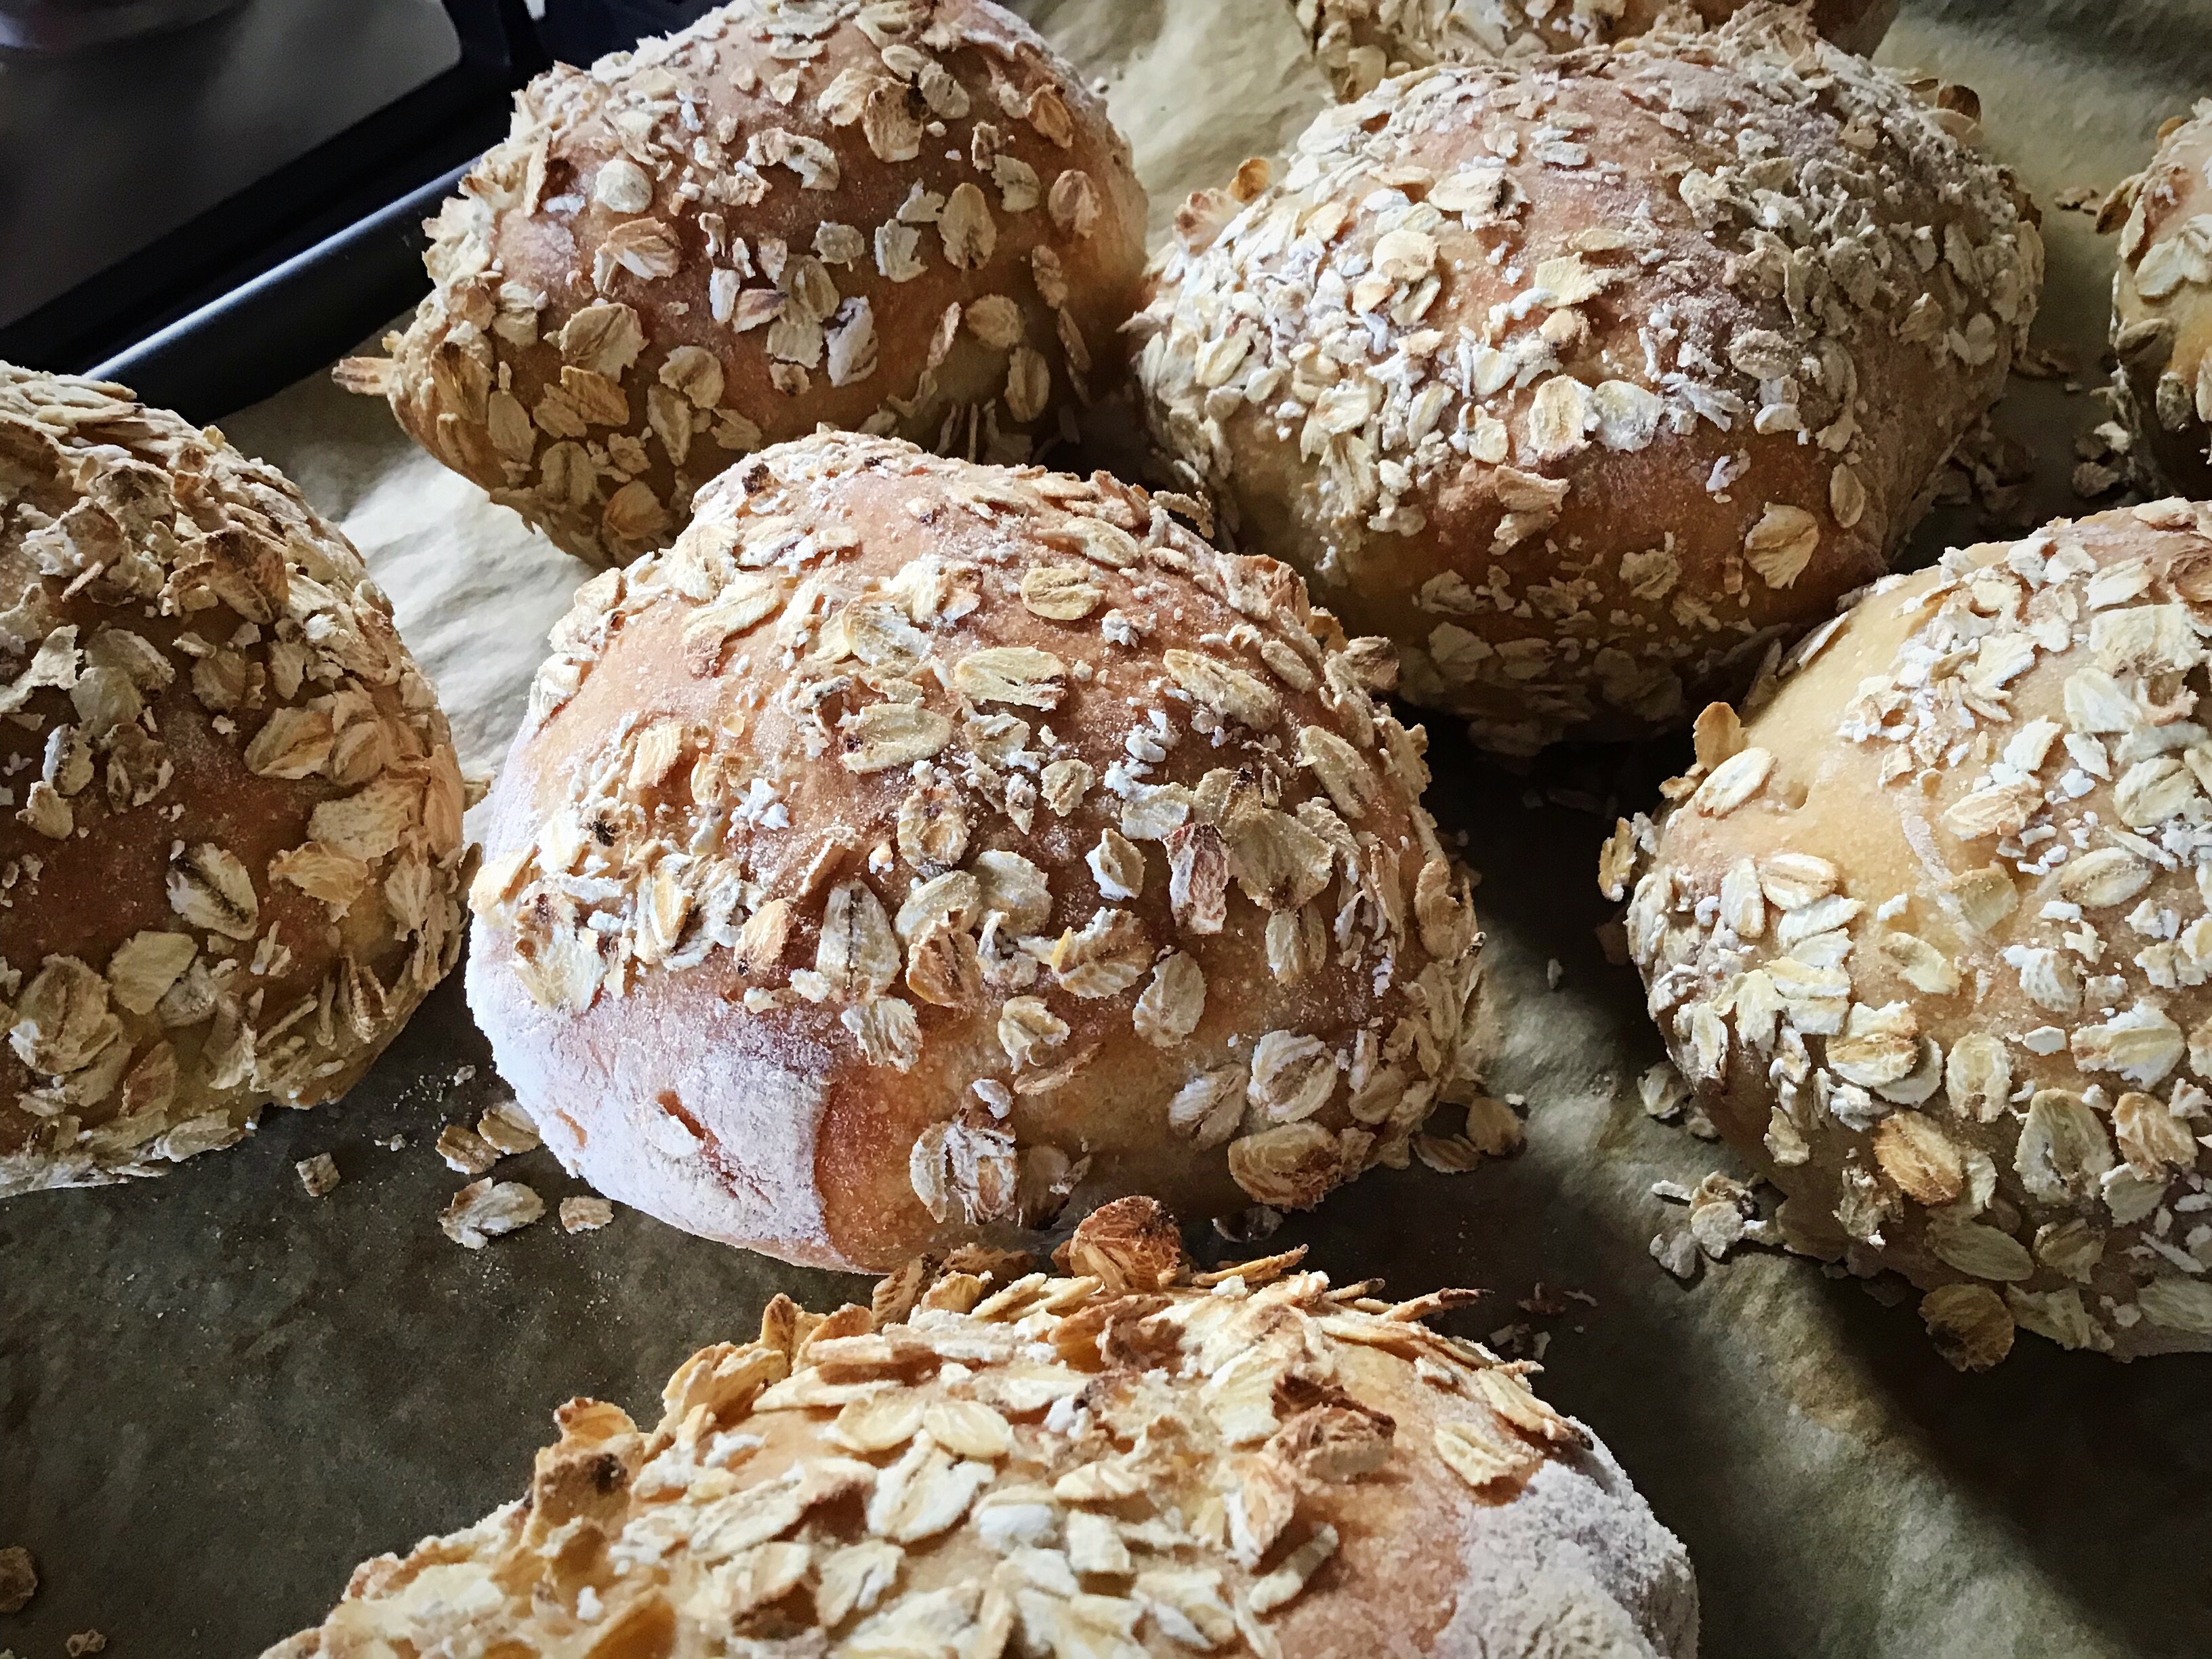
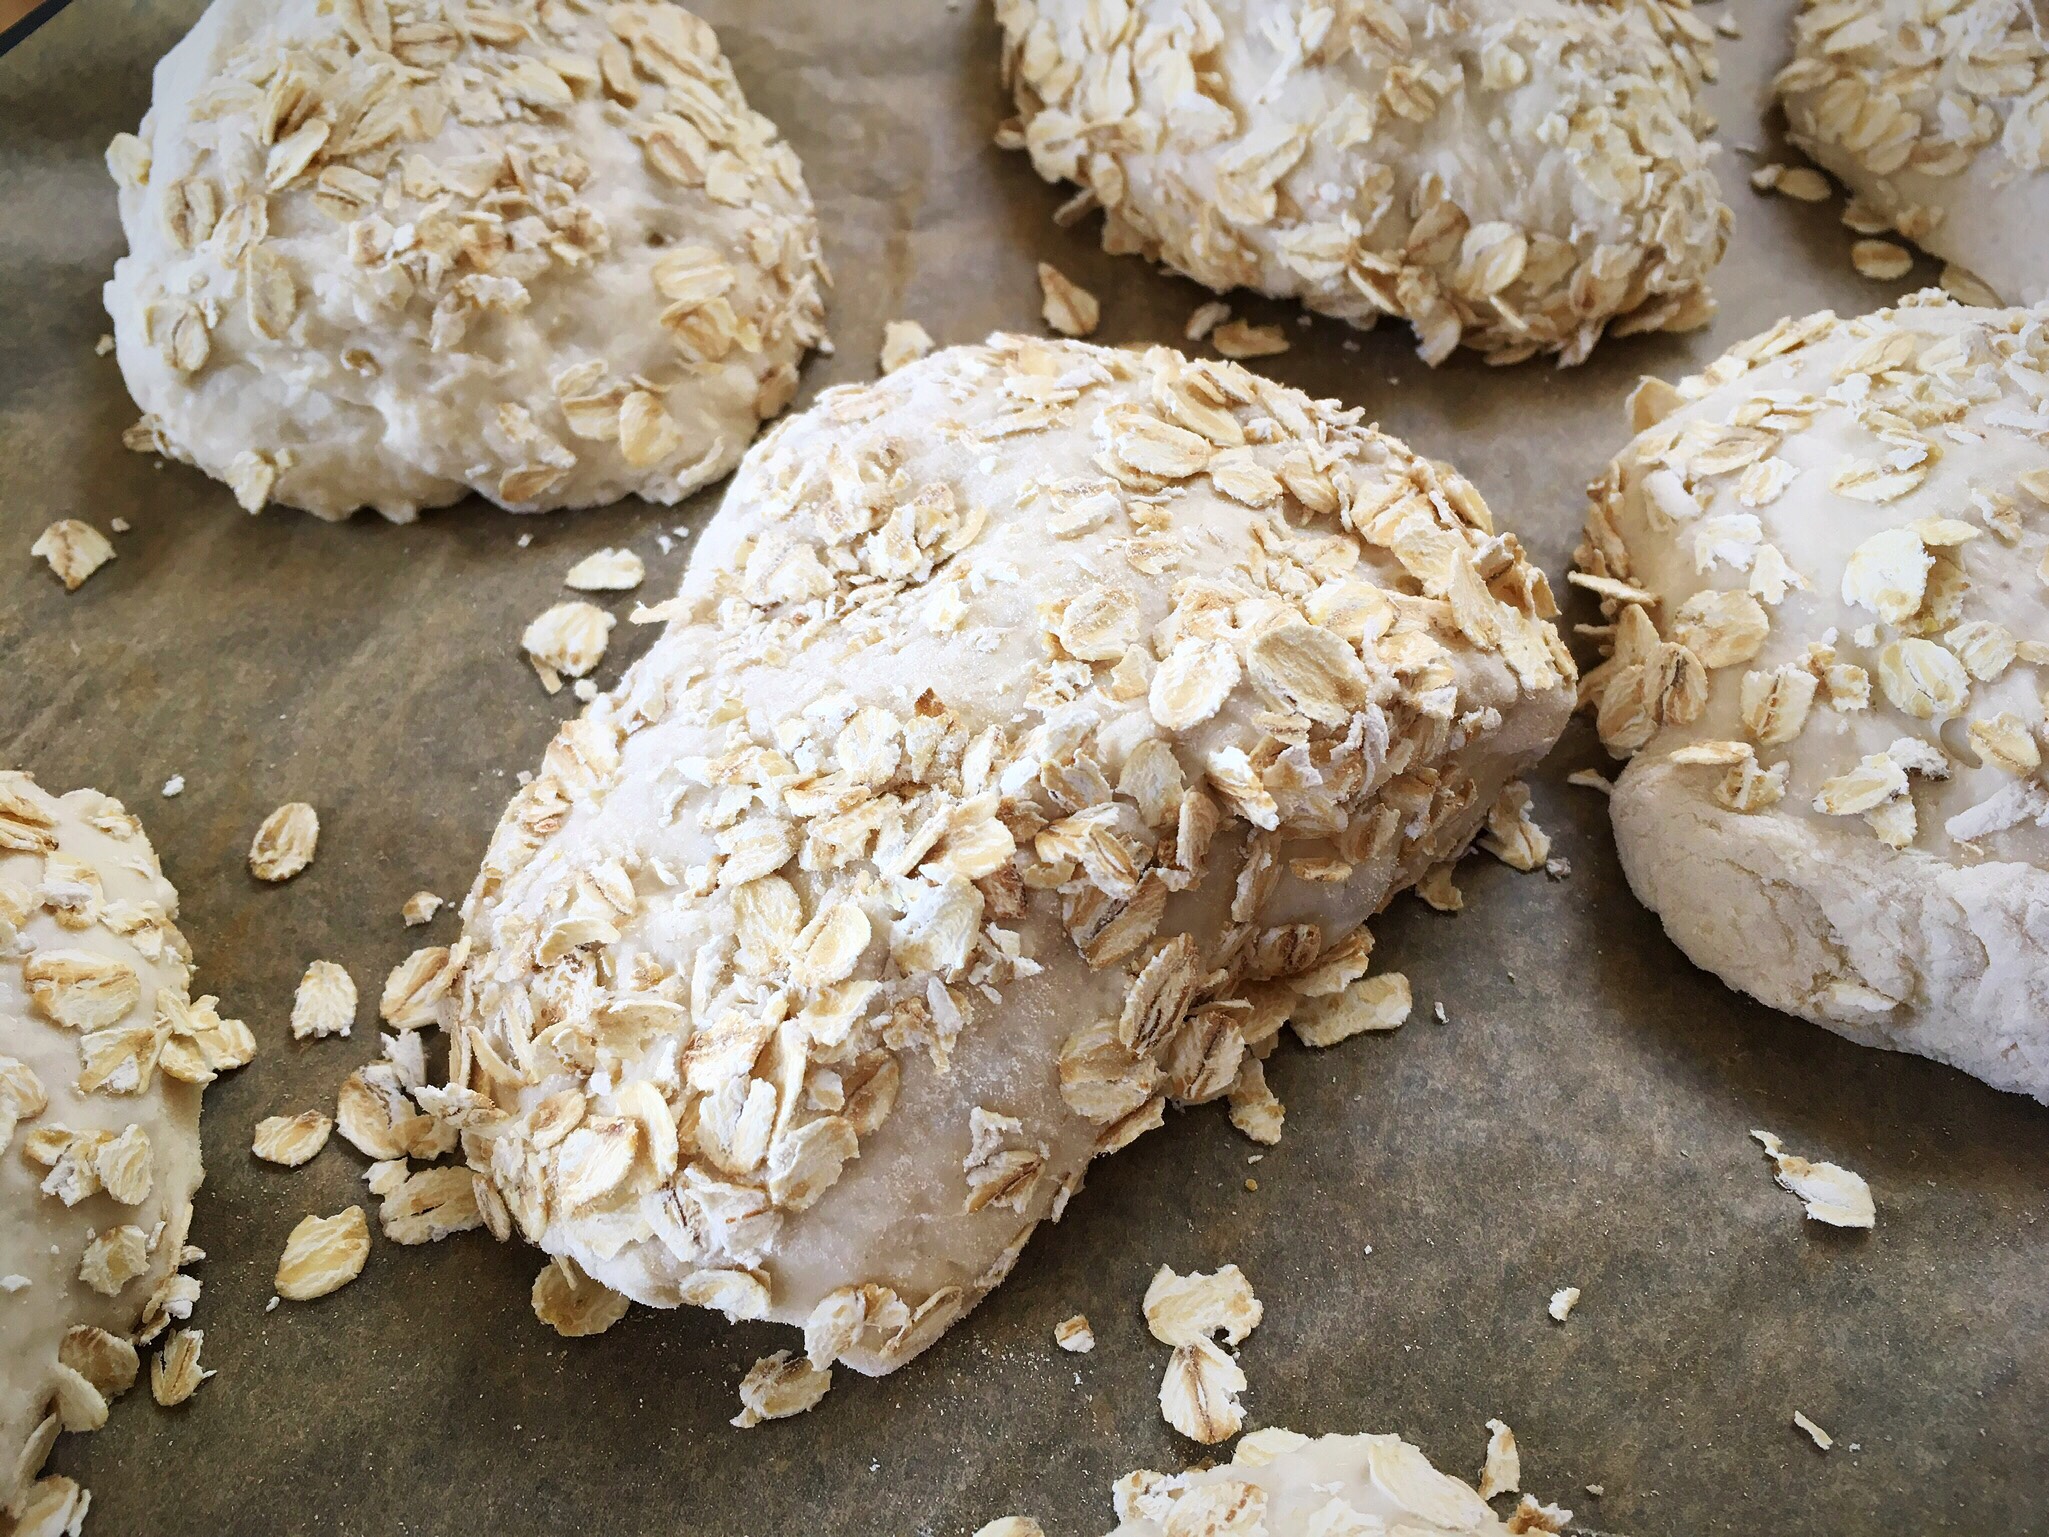
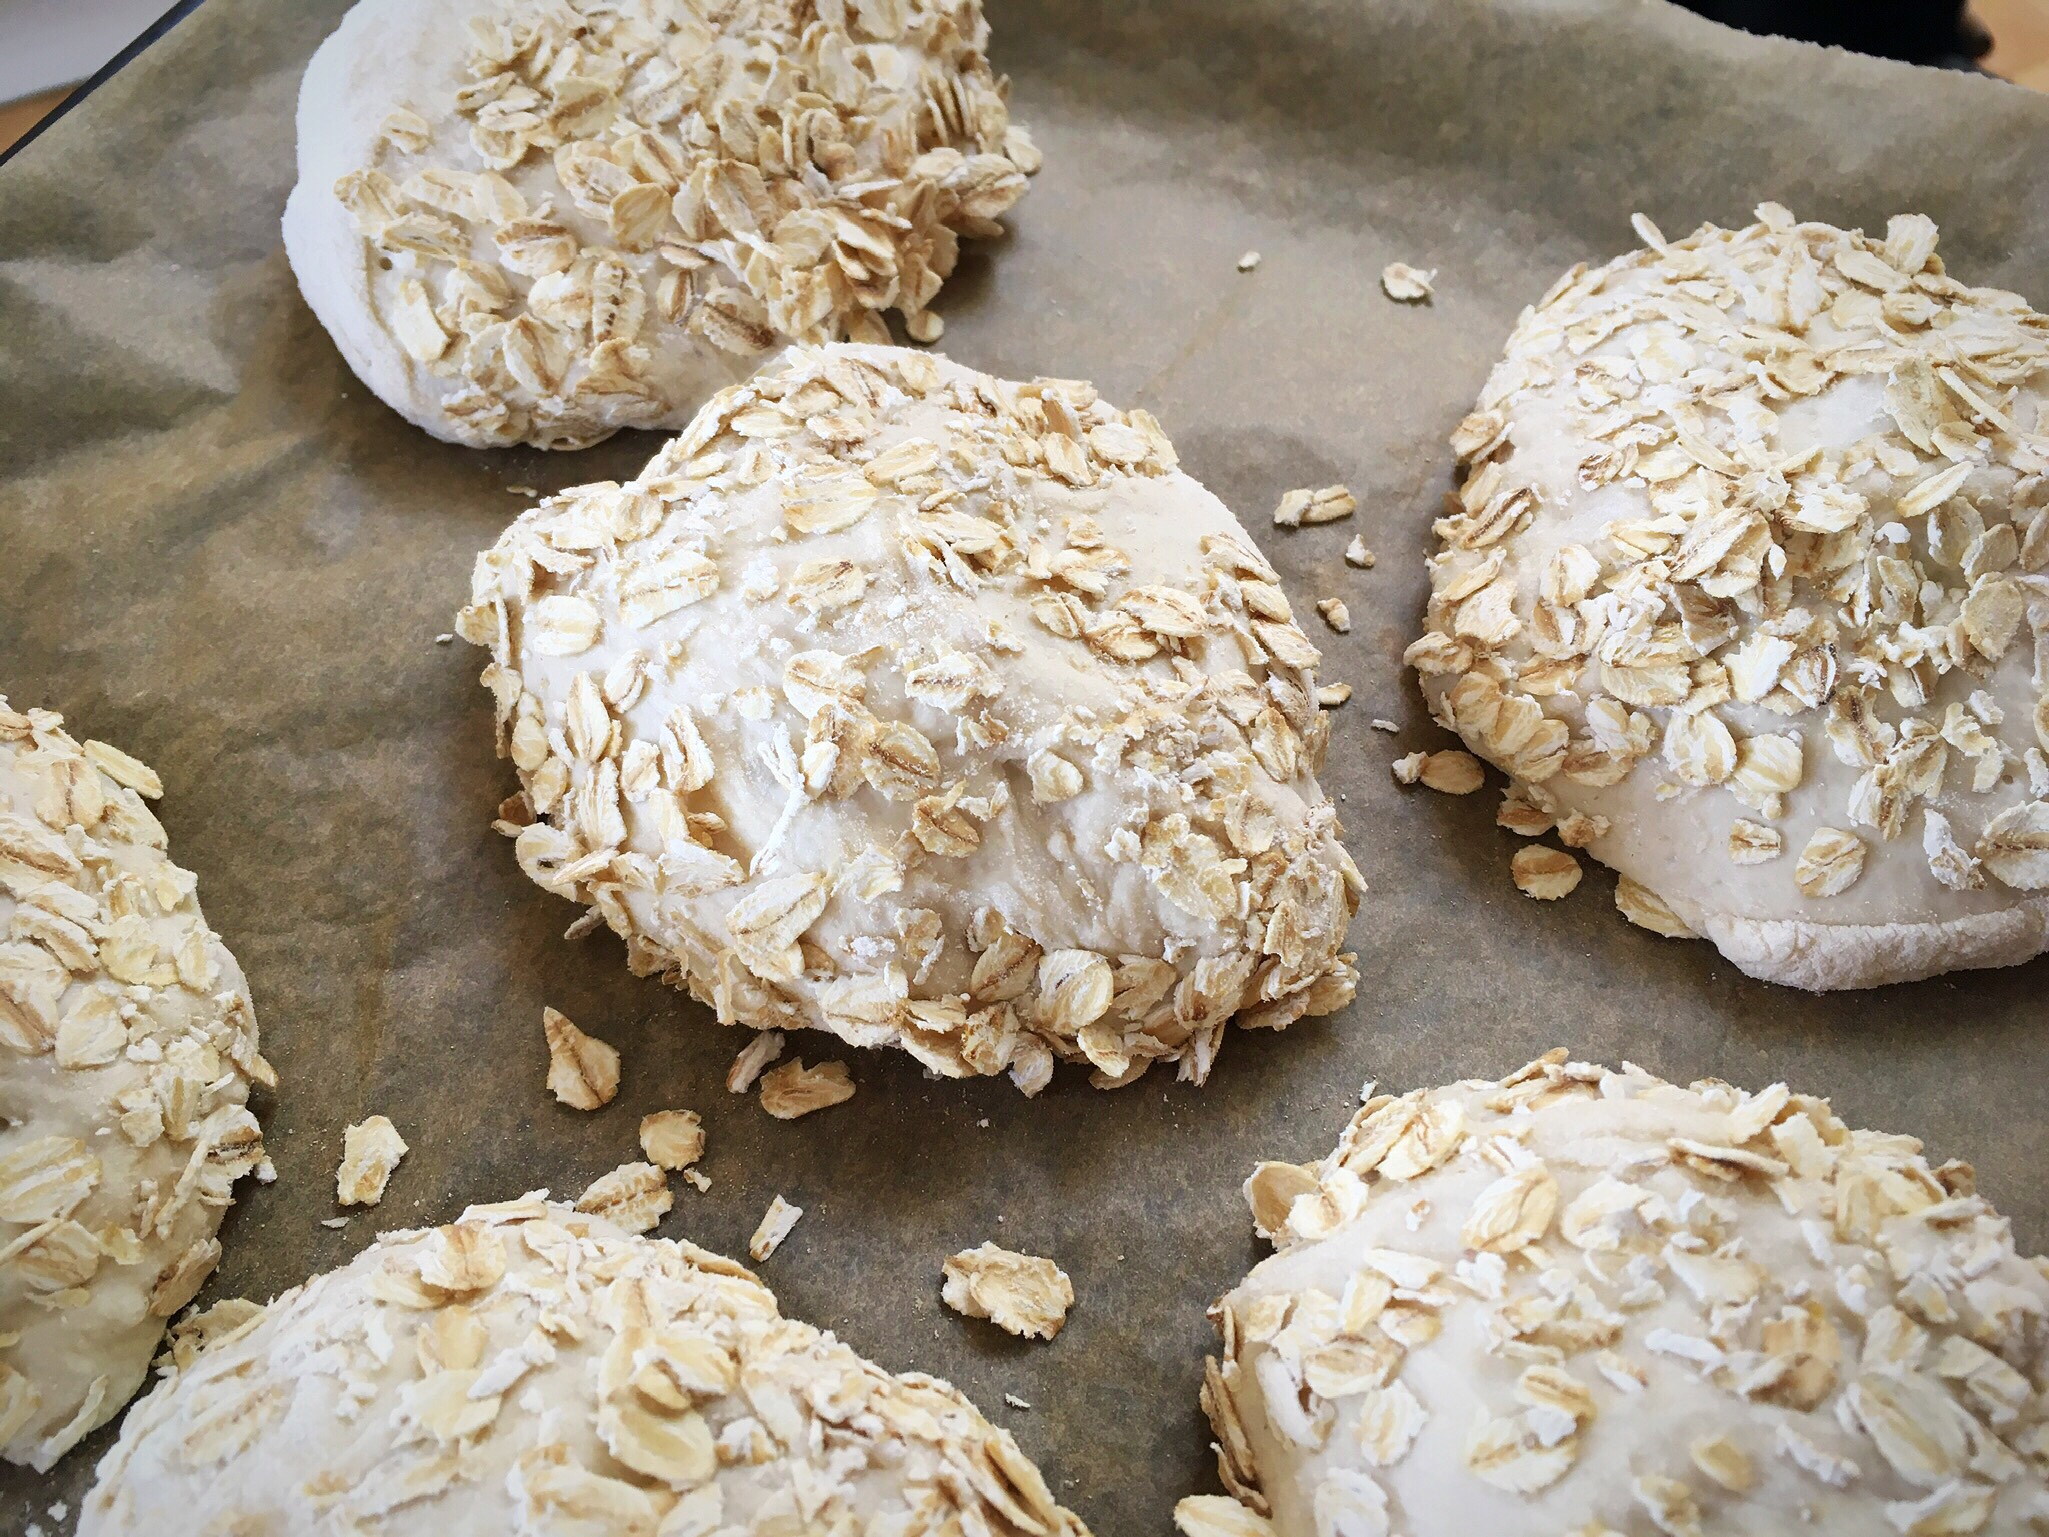
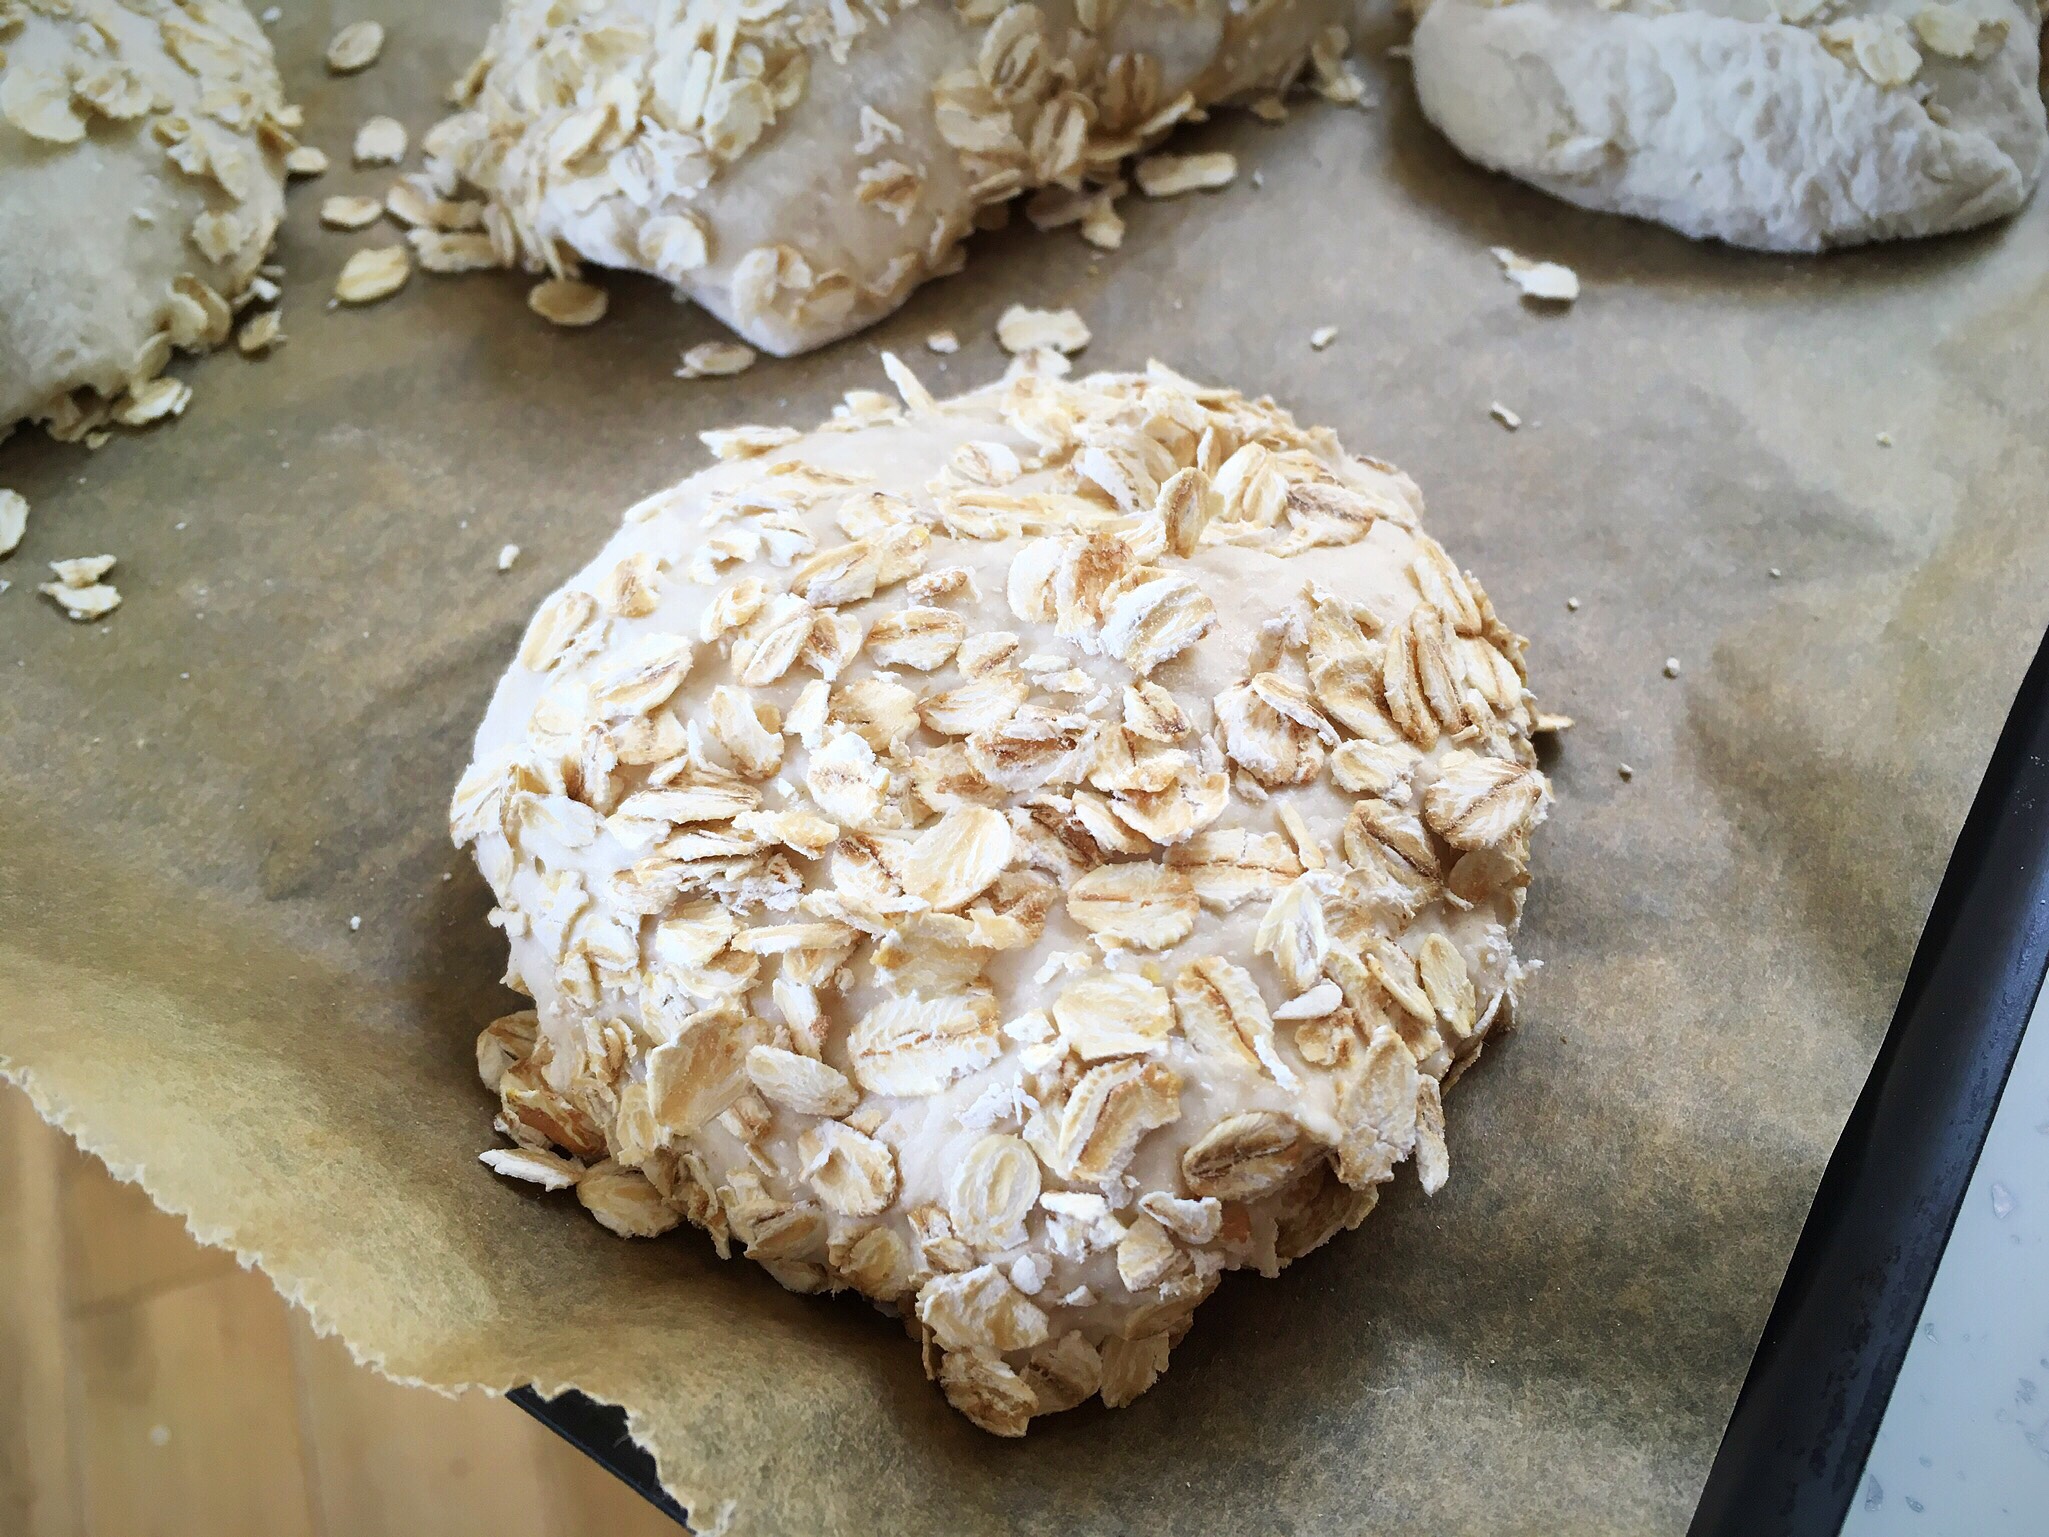
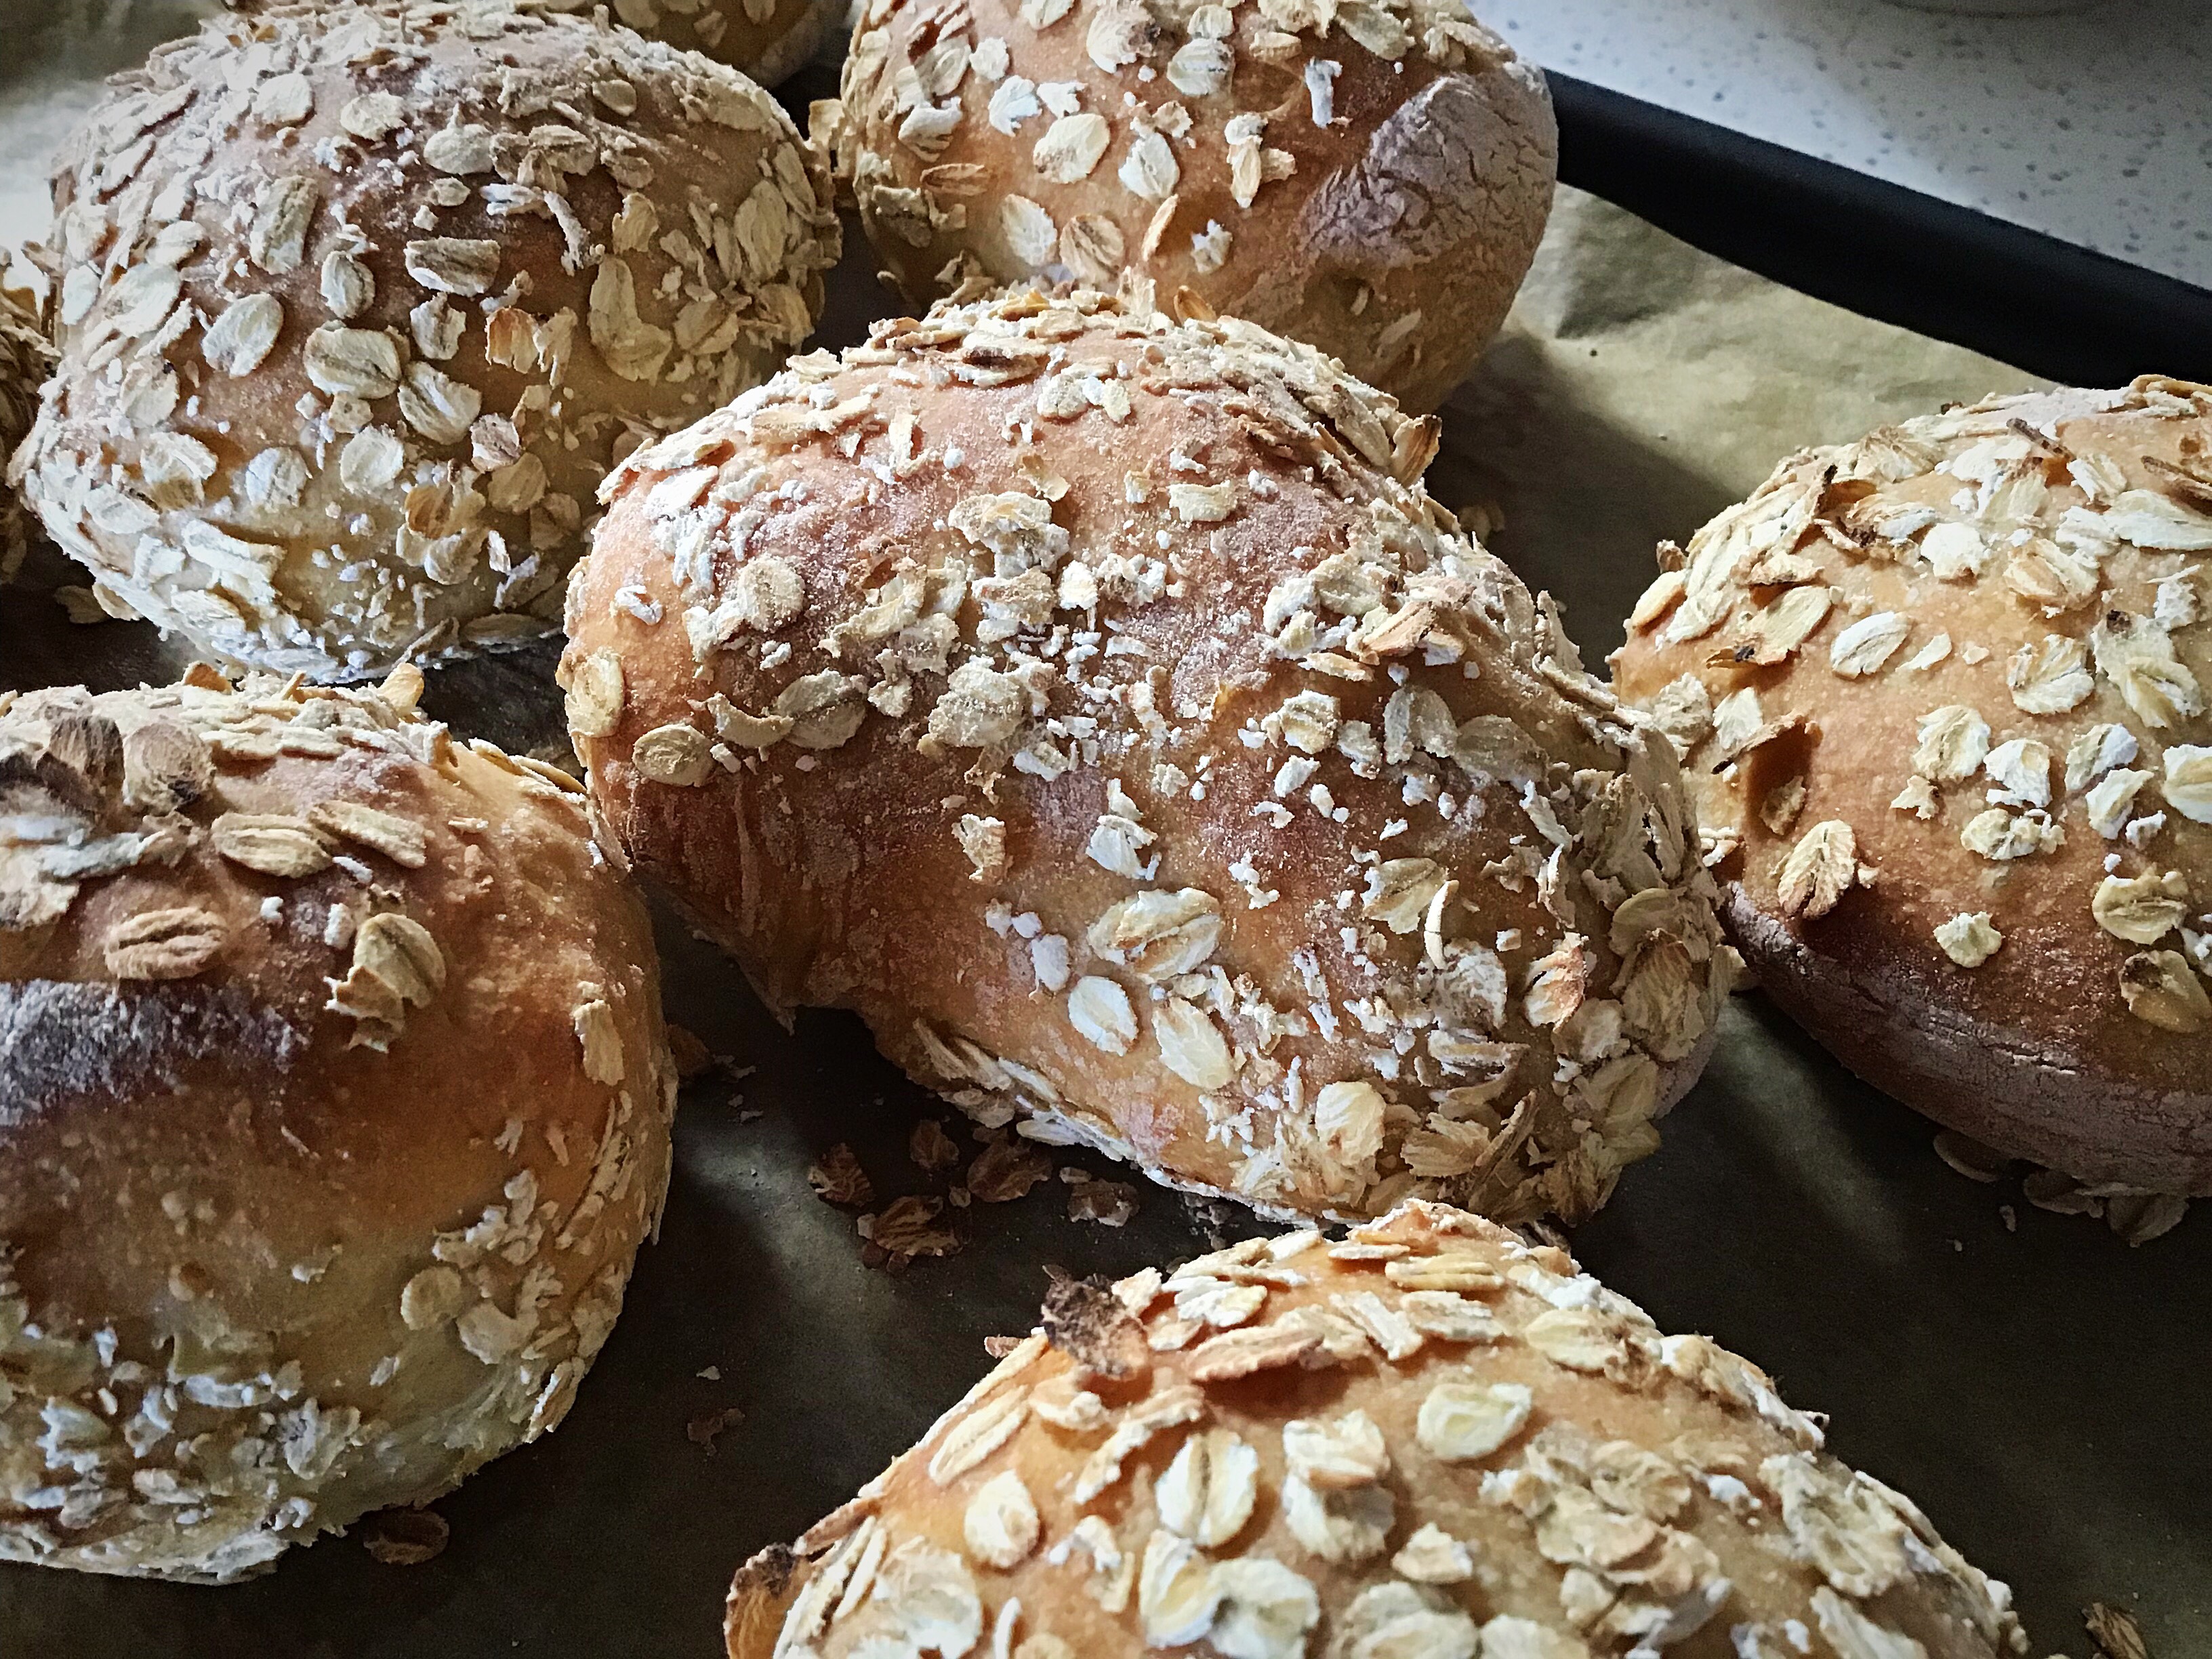
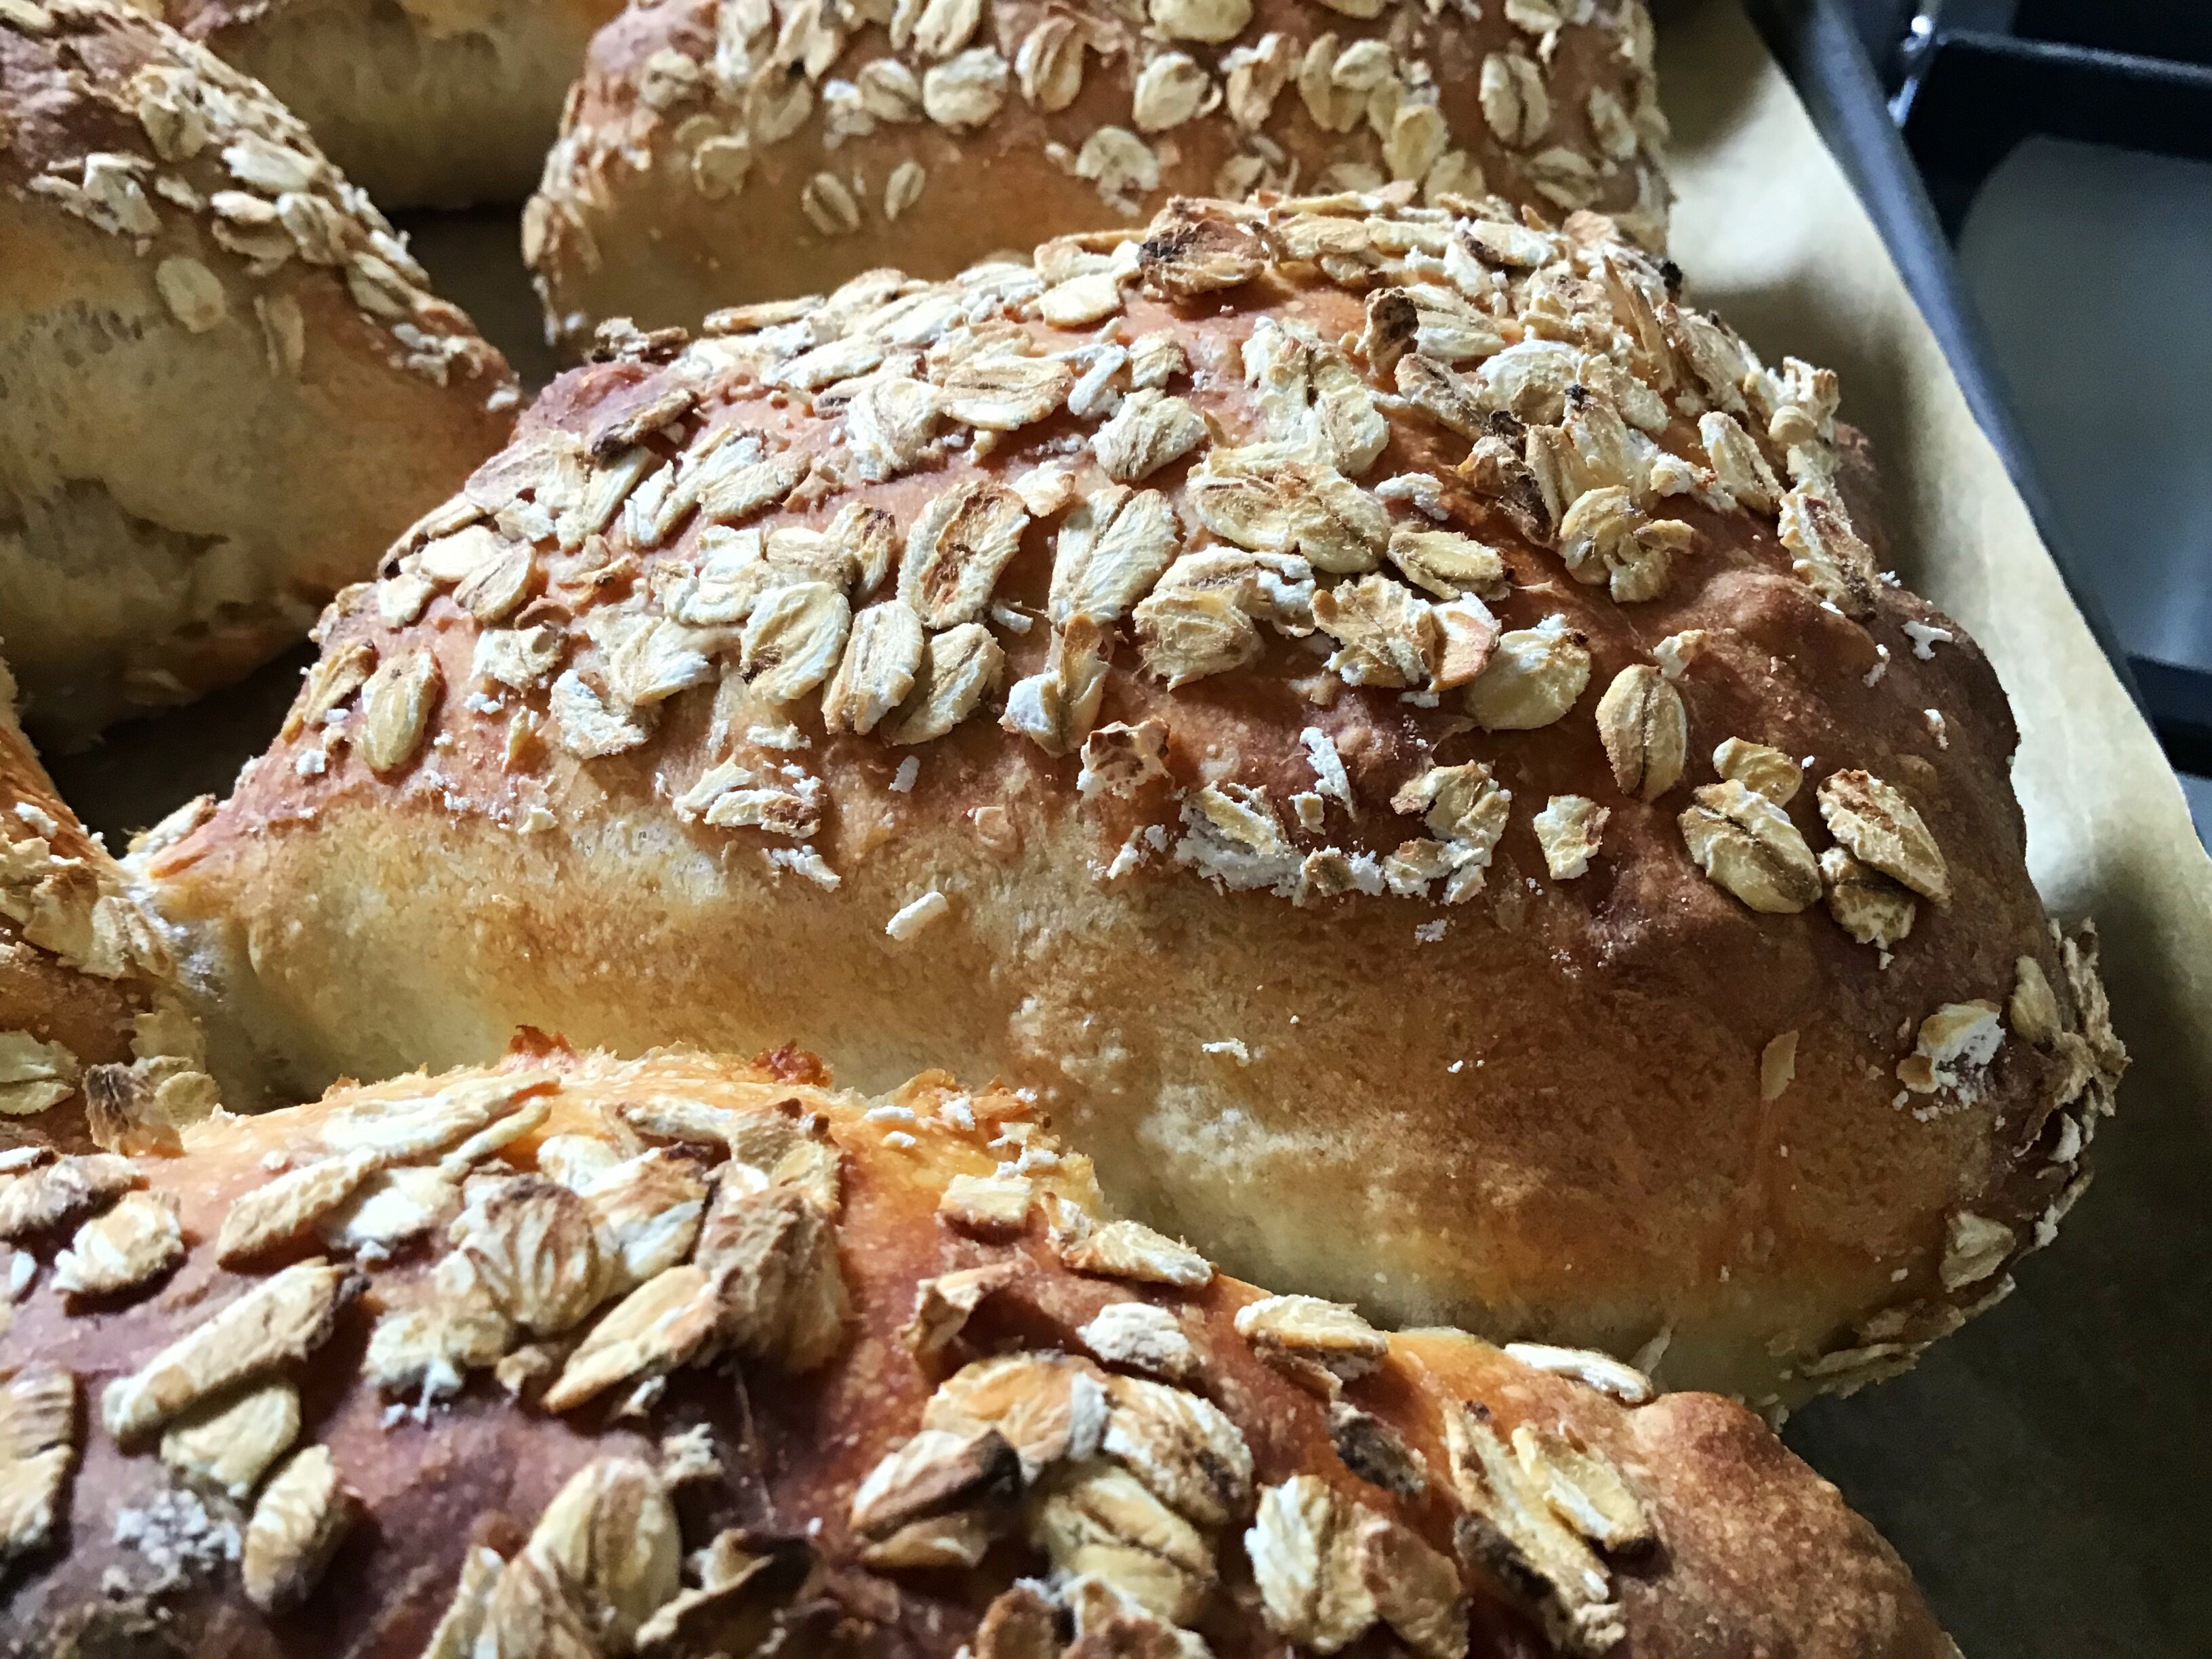
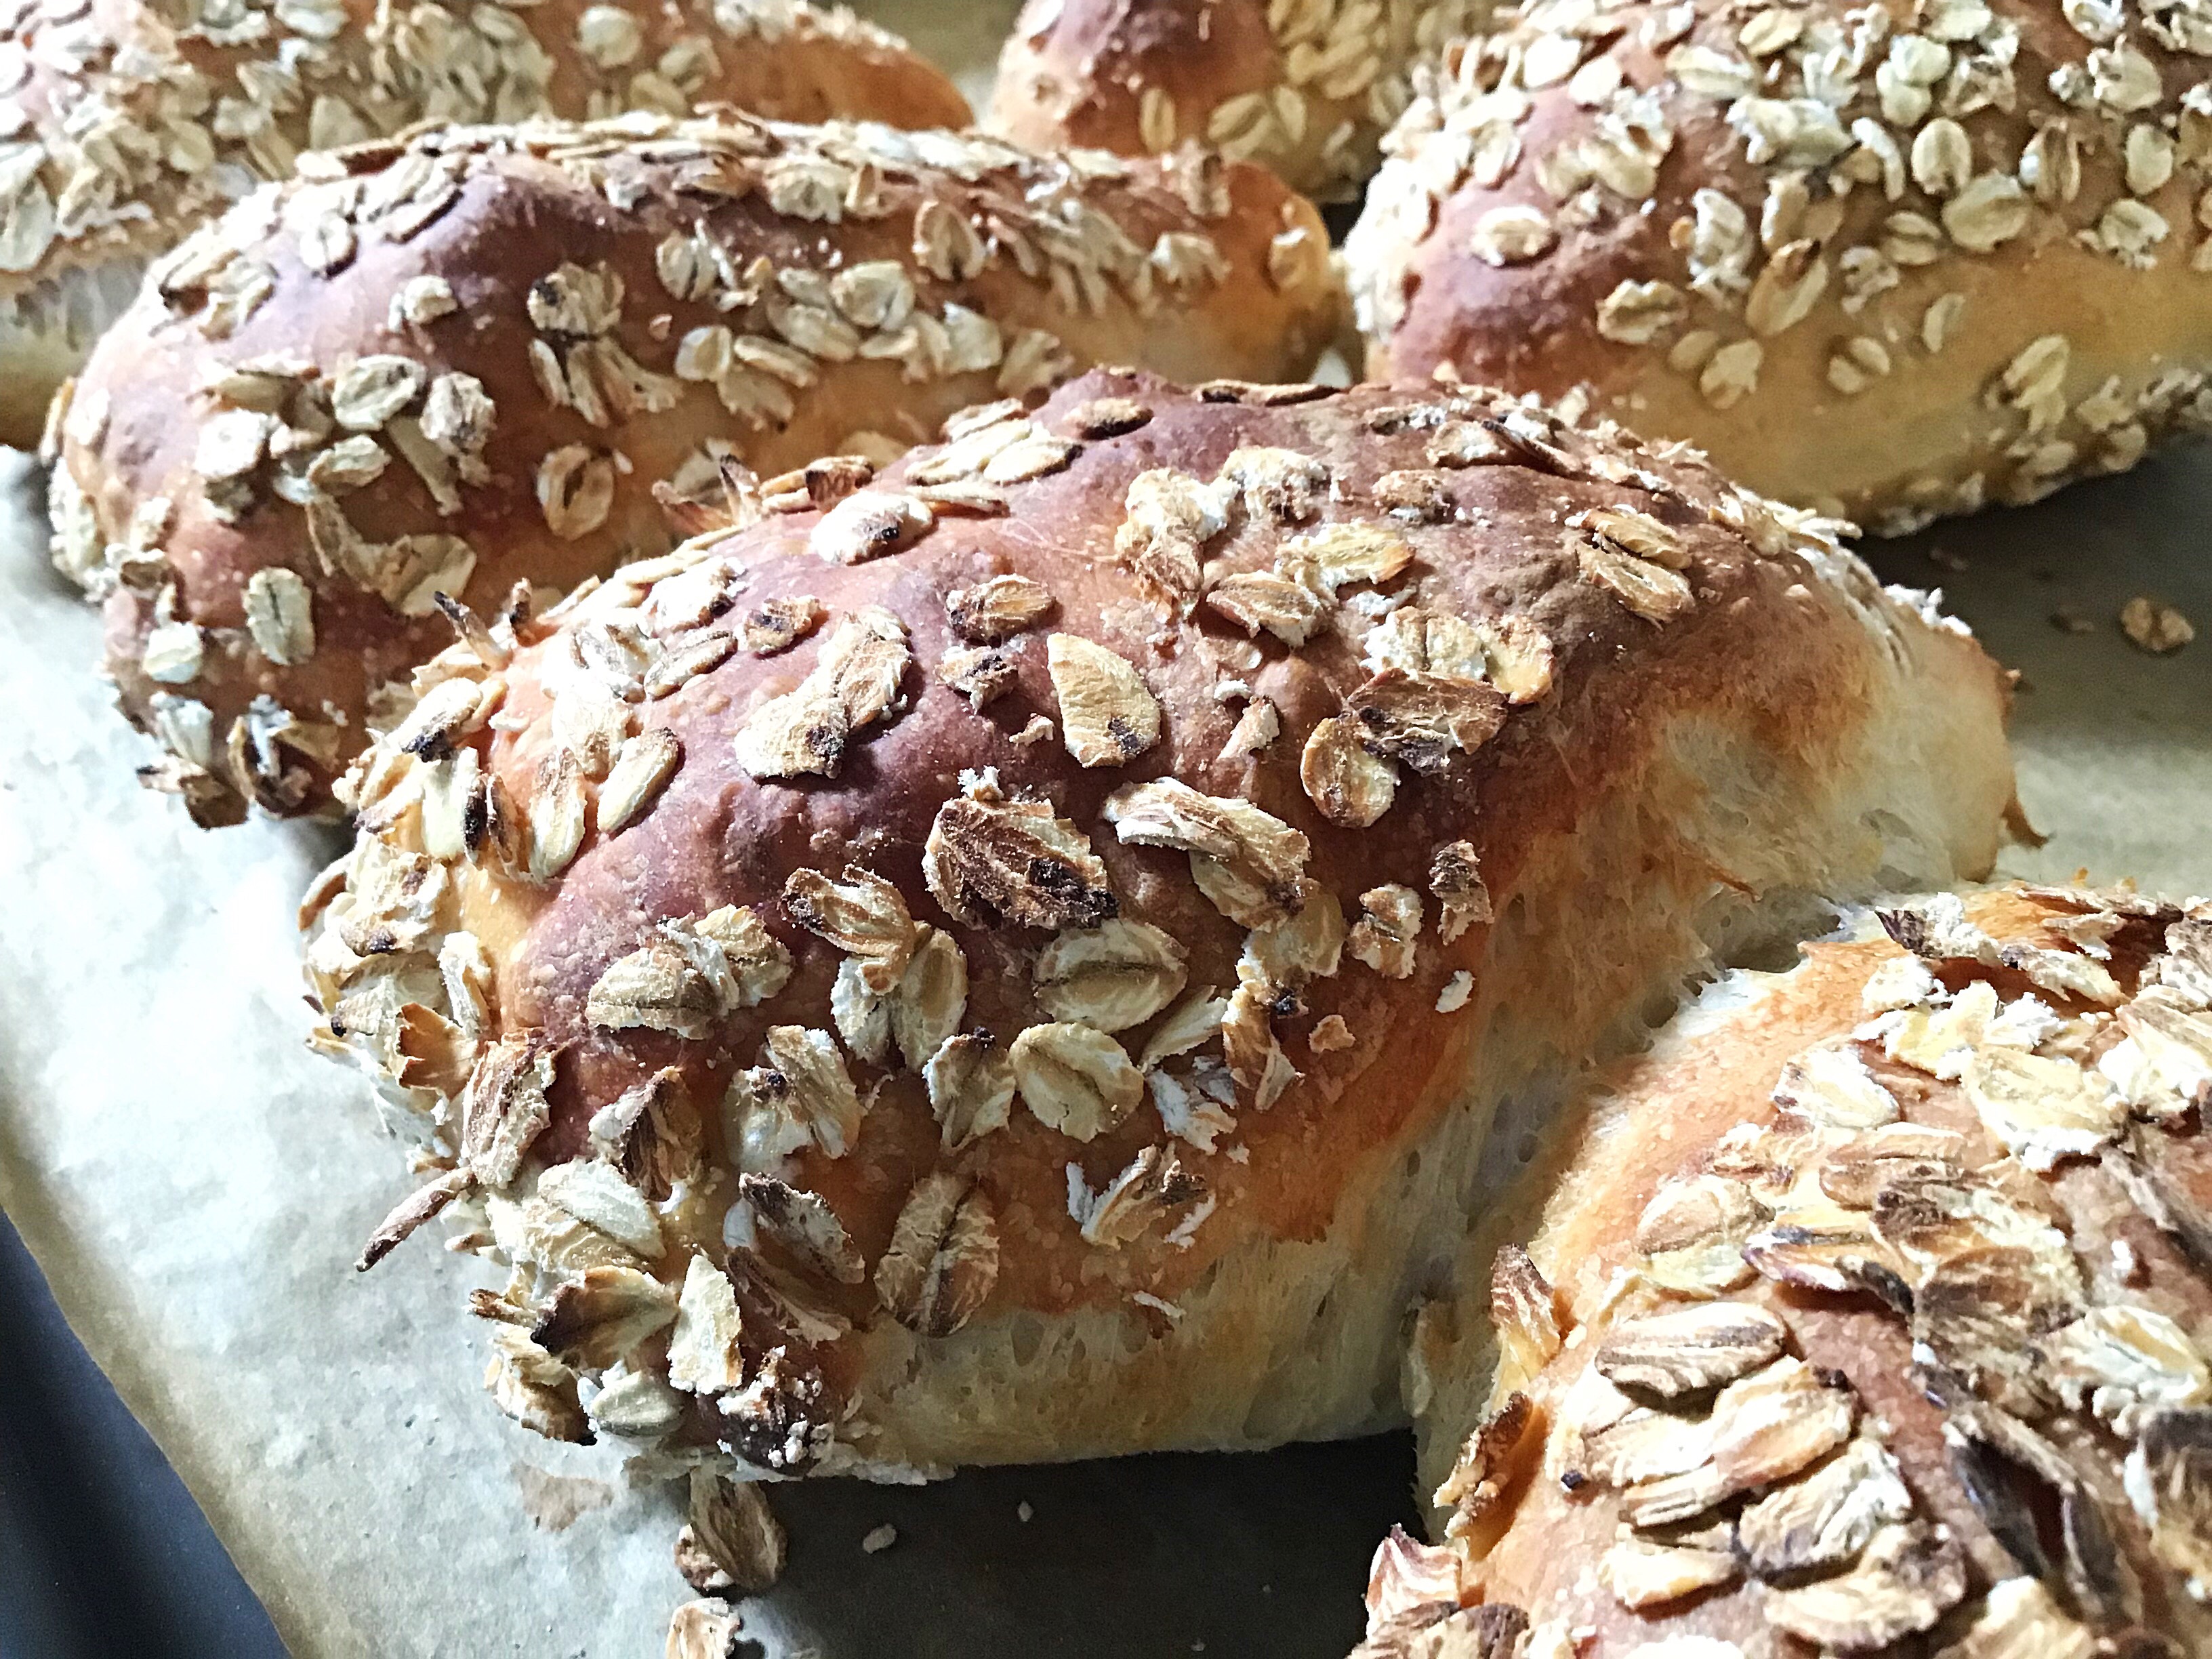
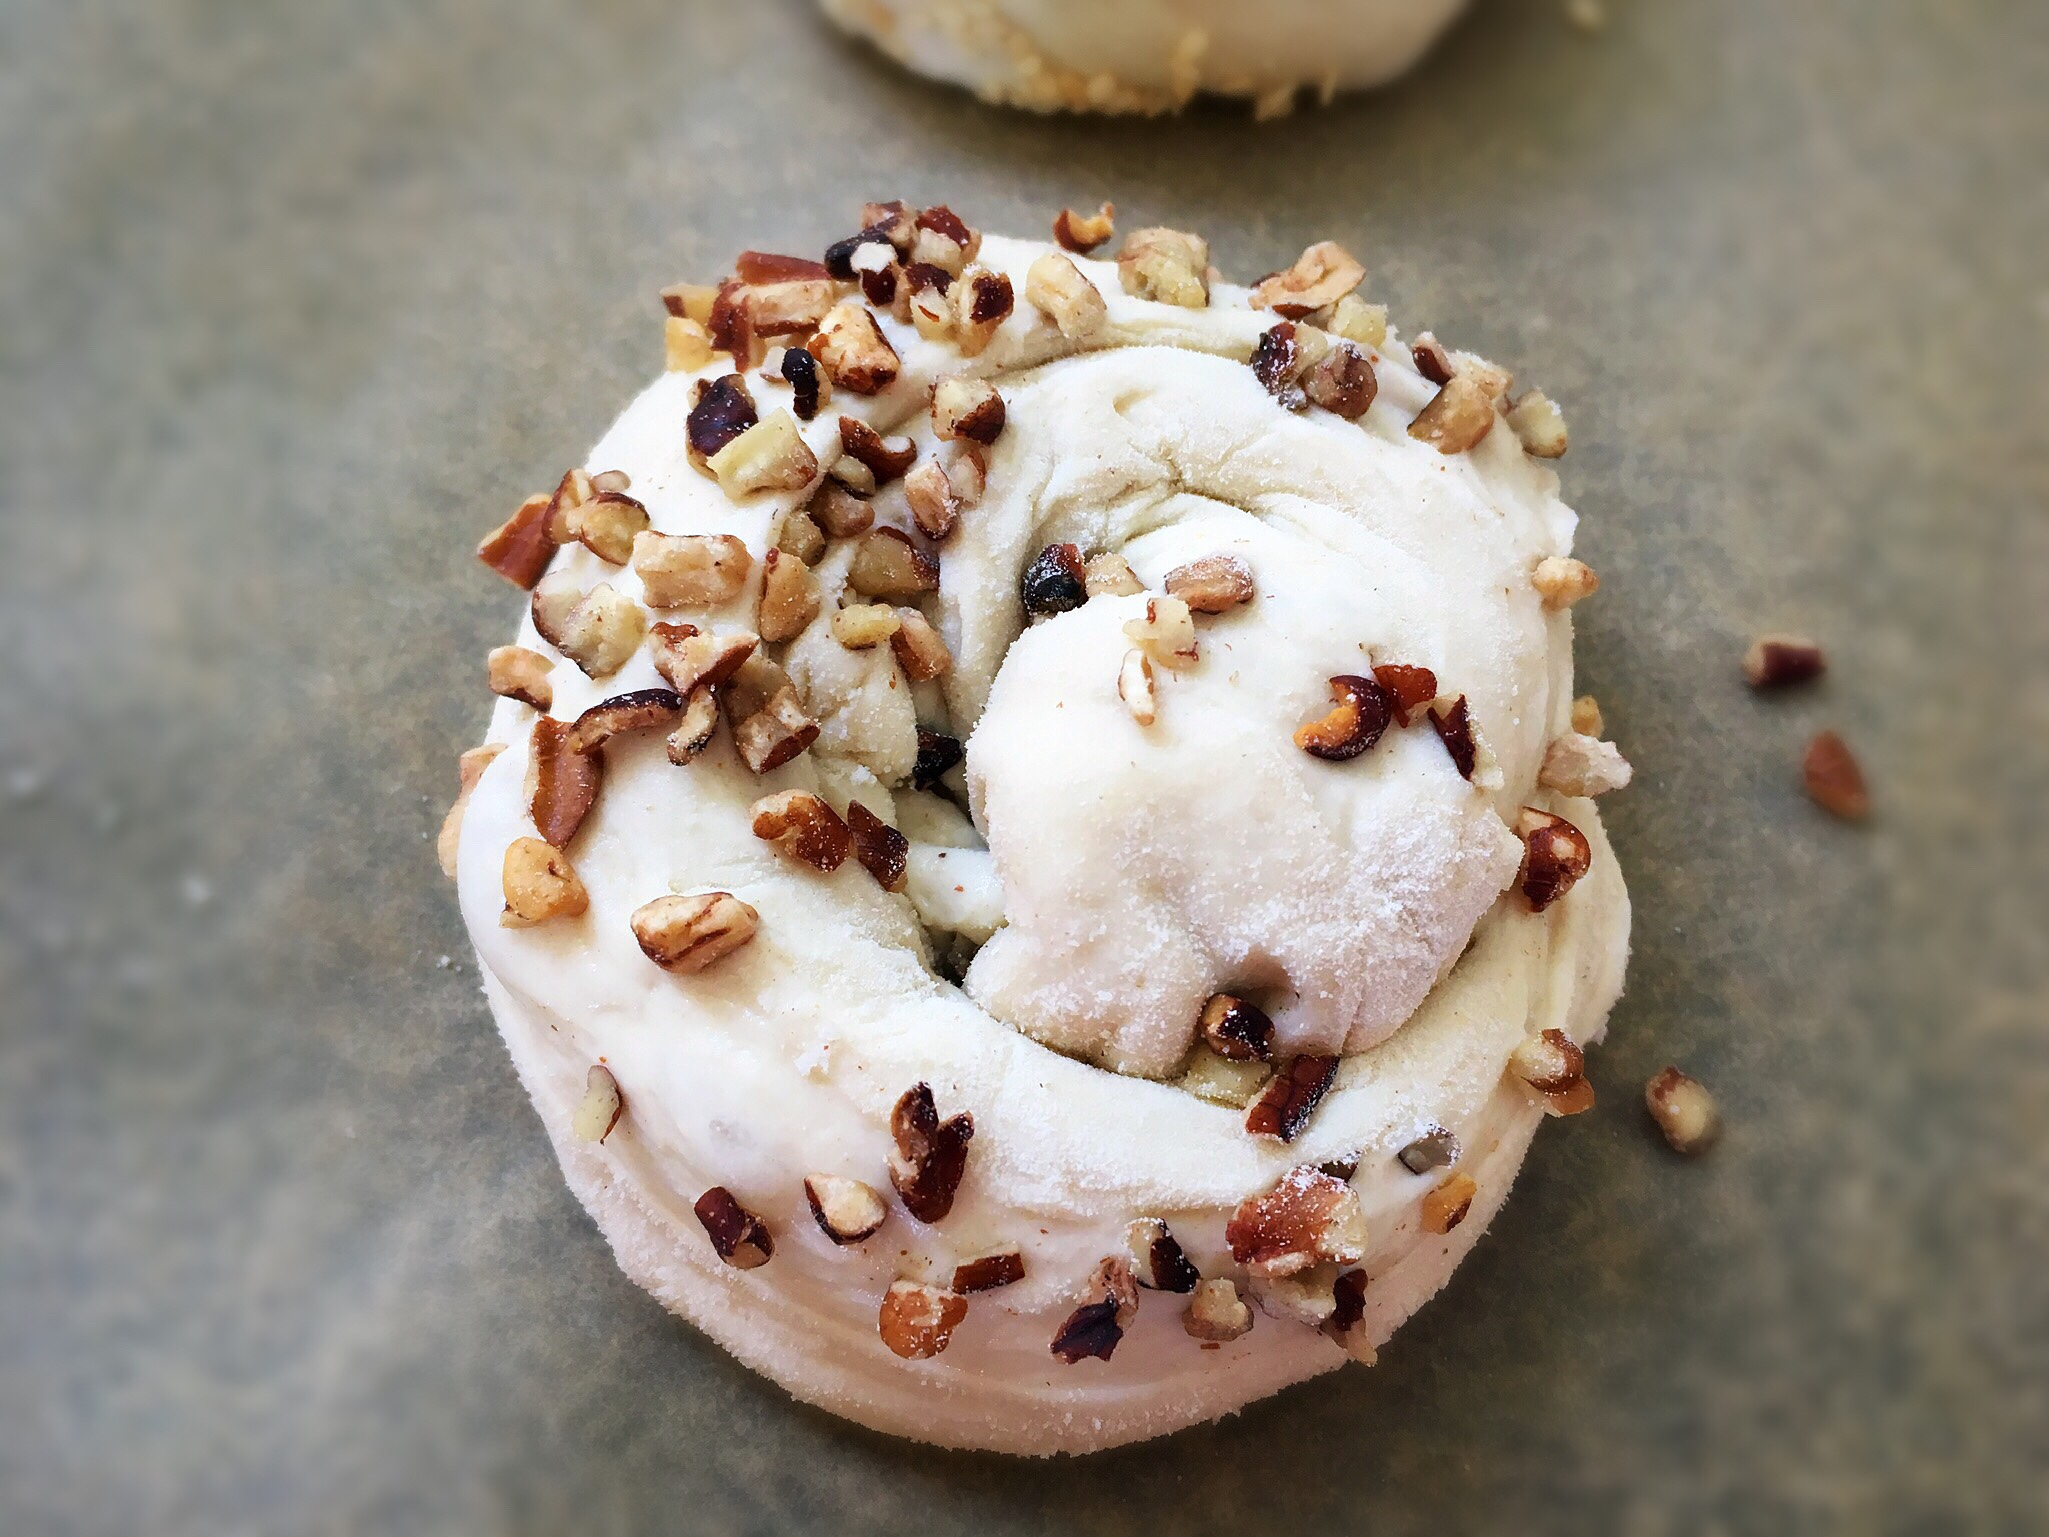
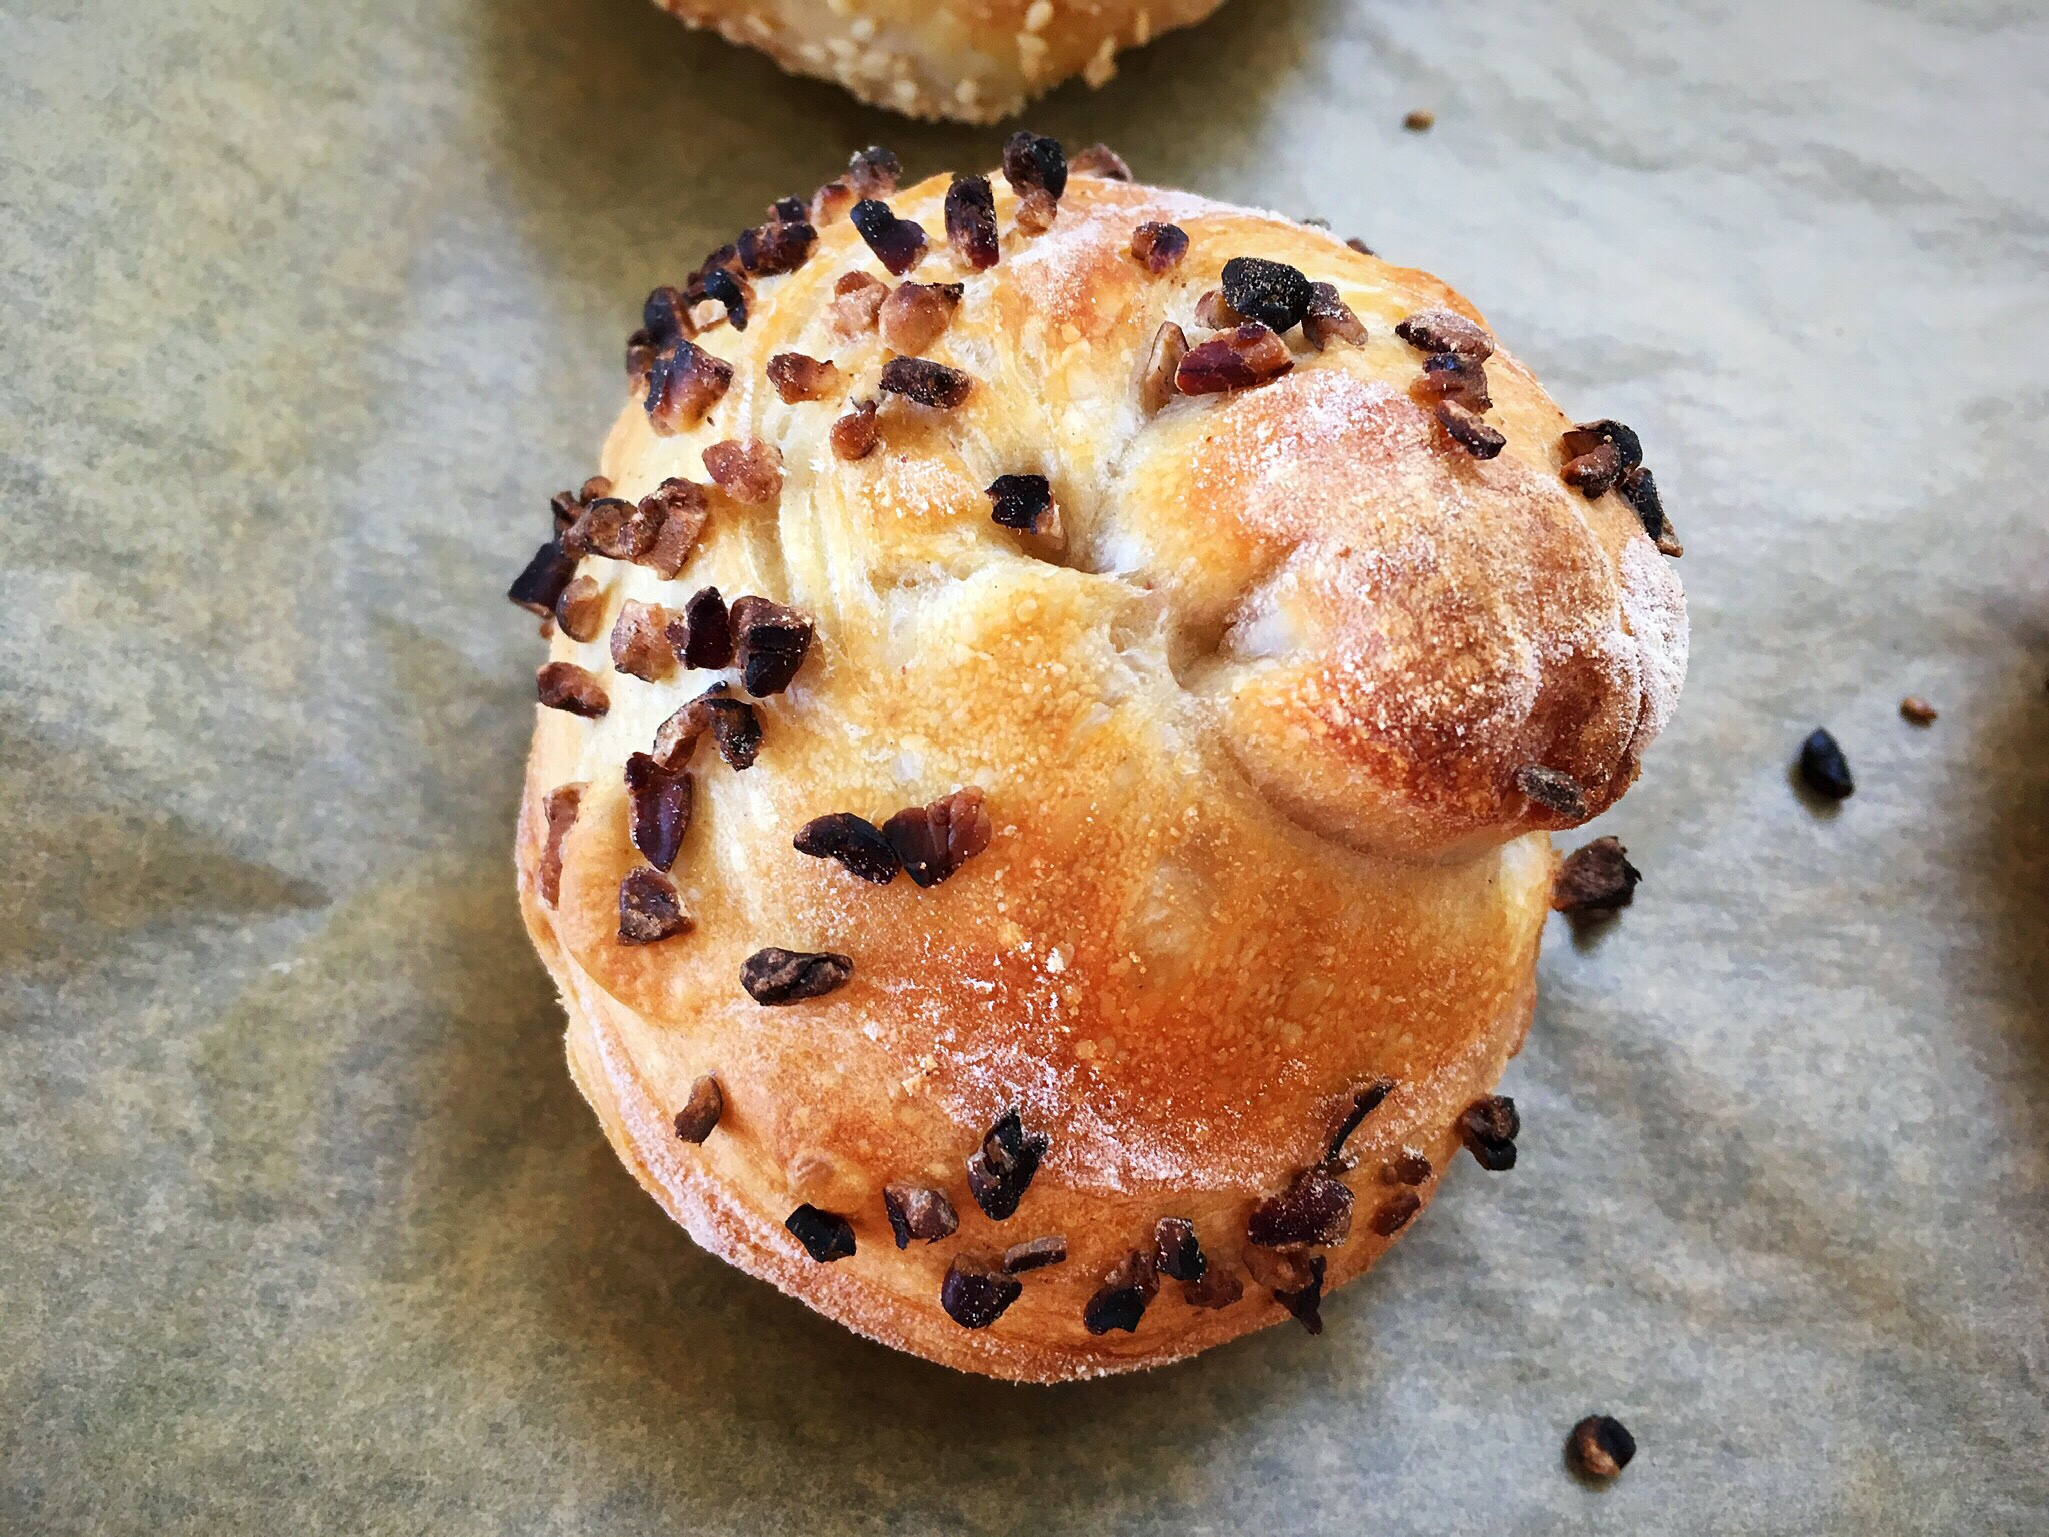
*At this point you can gently place the pieces of dough into chopped nuts, seeds, oats (as baked below), whatever you like. You can try and keep the wedge shape or wind them into other shapes, or just splodge them on the tray (see the photos below of a chopped pecan studded roll made by placing the cut wedge into the chopped nuts then wound into a swirl).

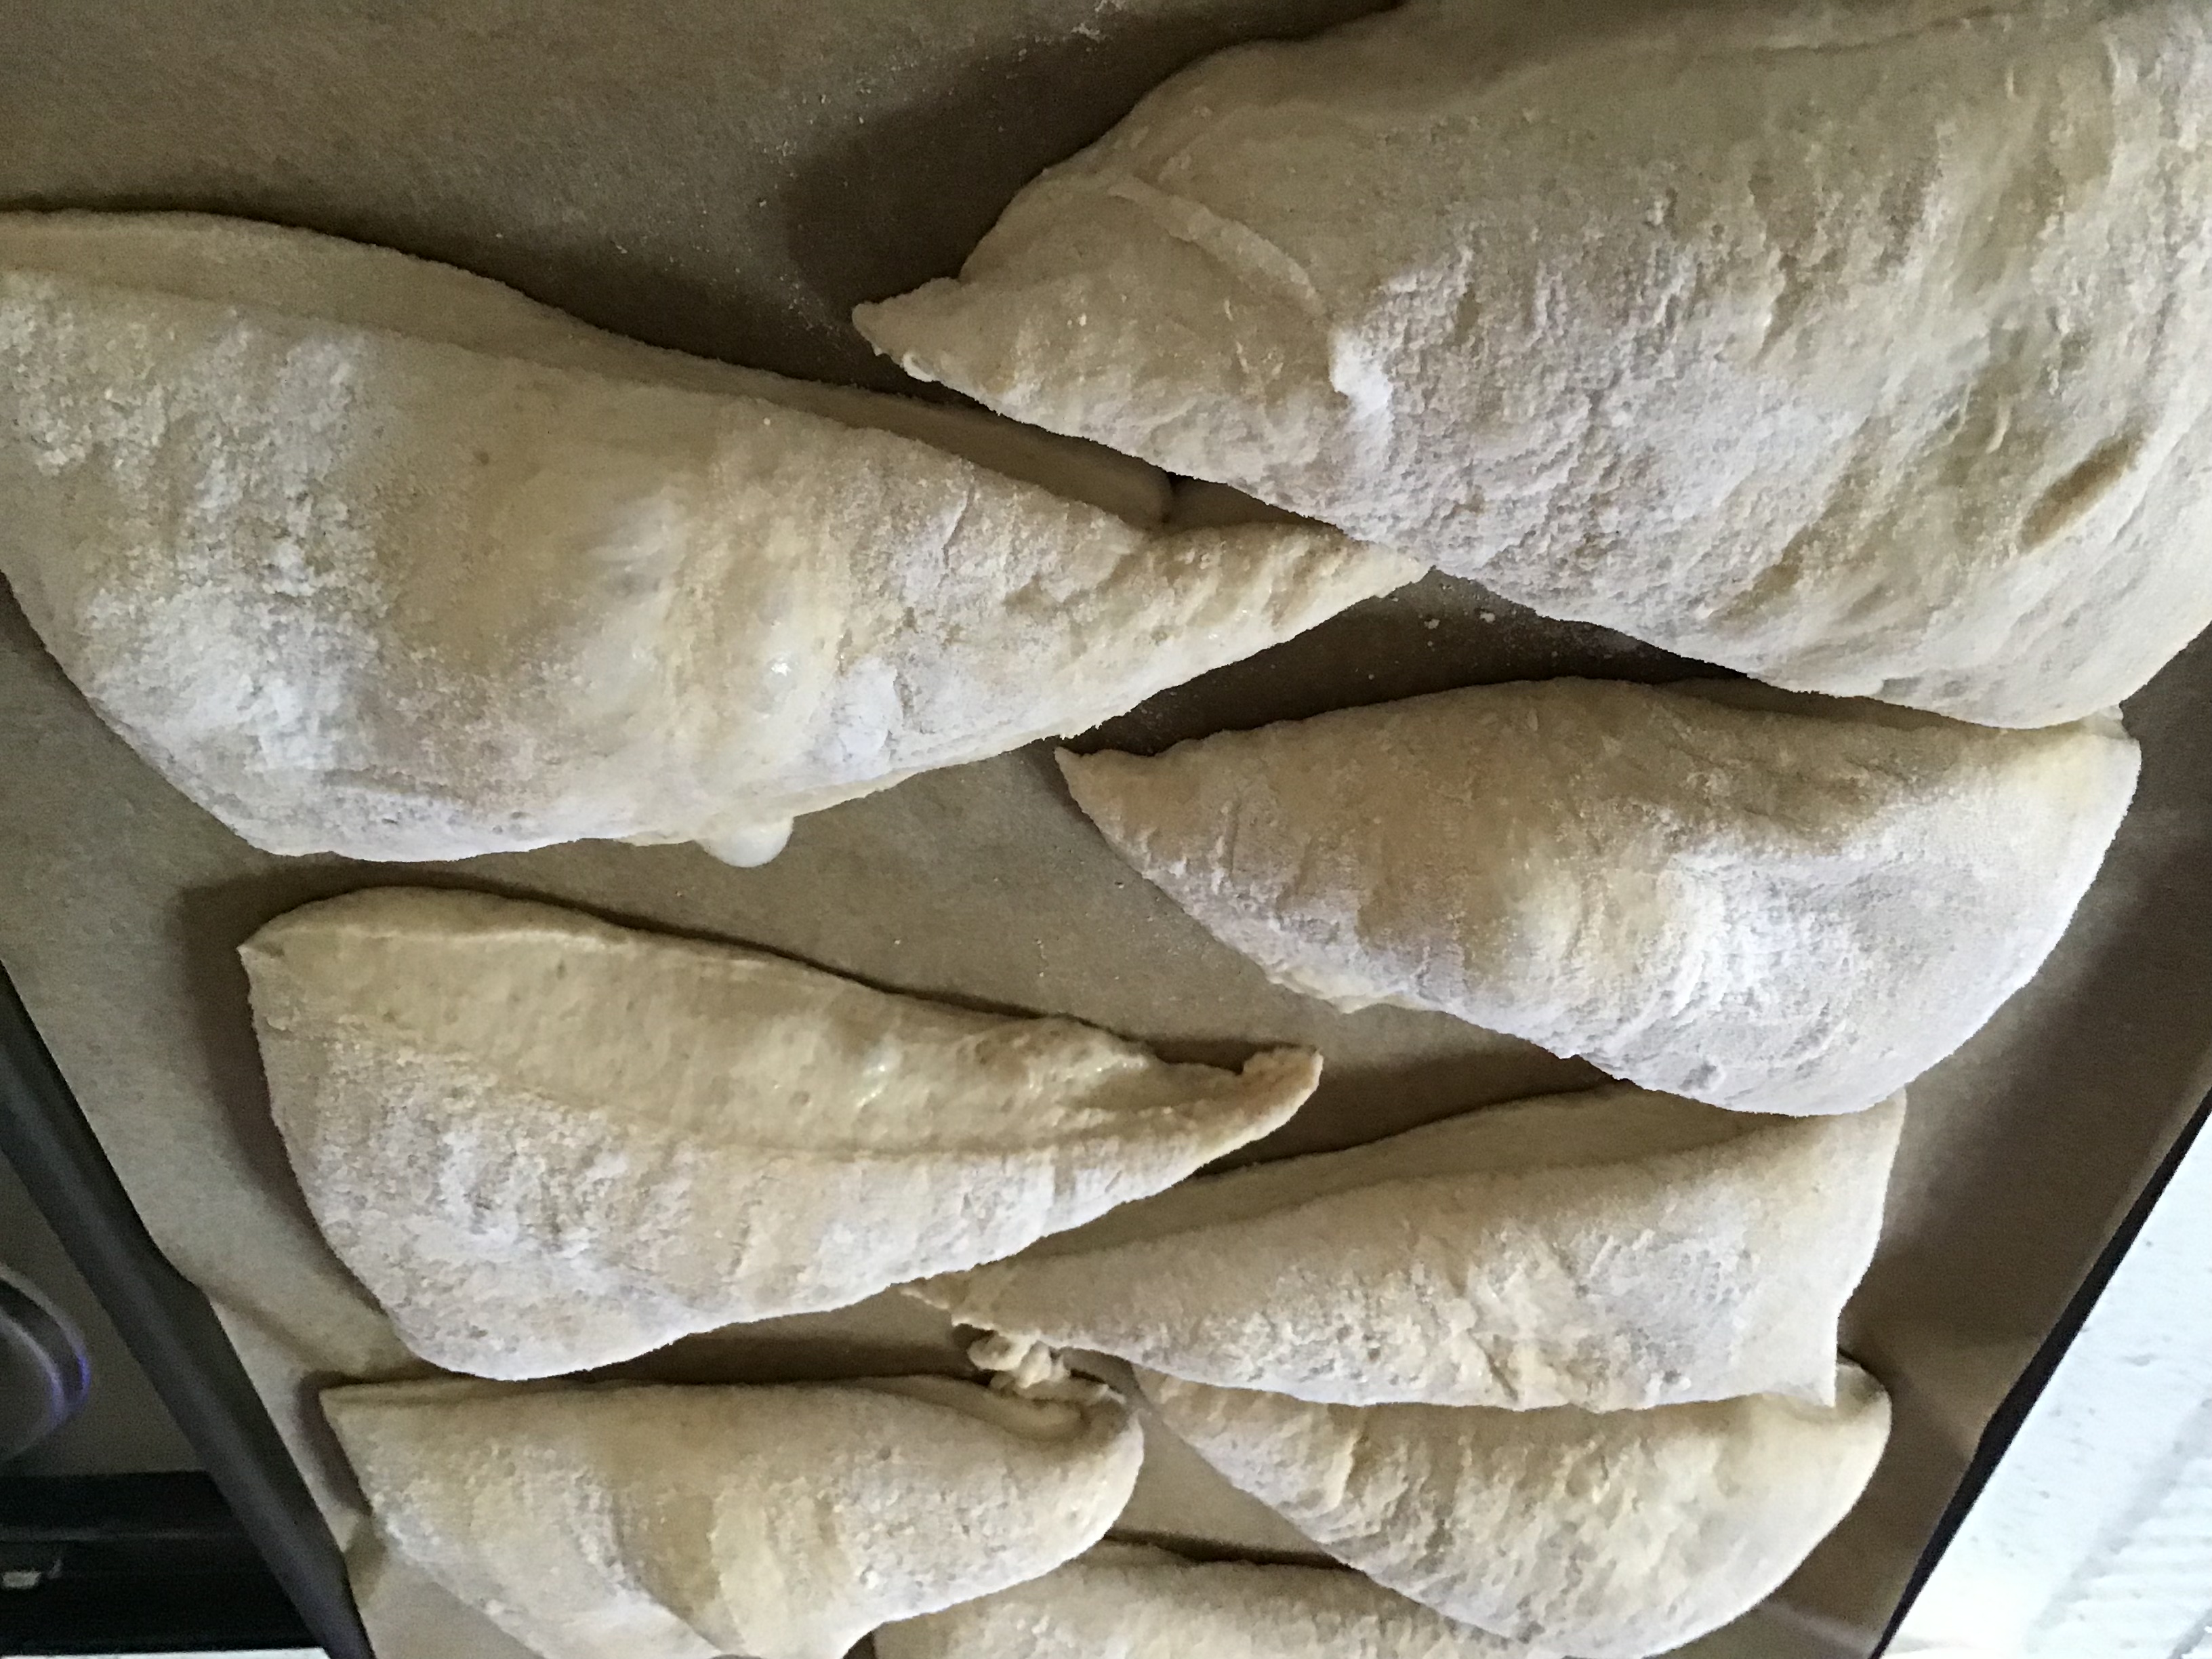
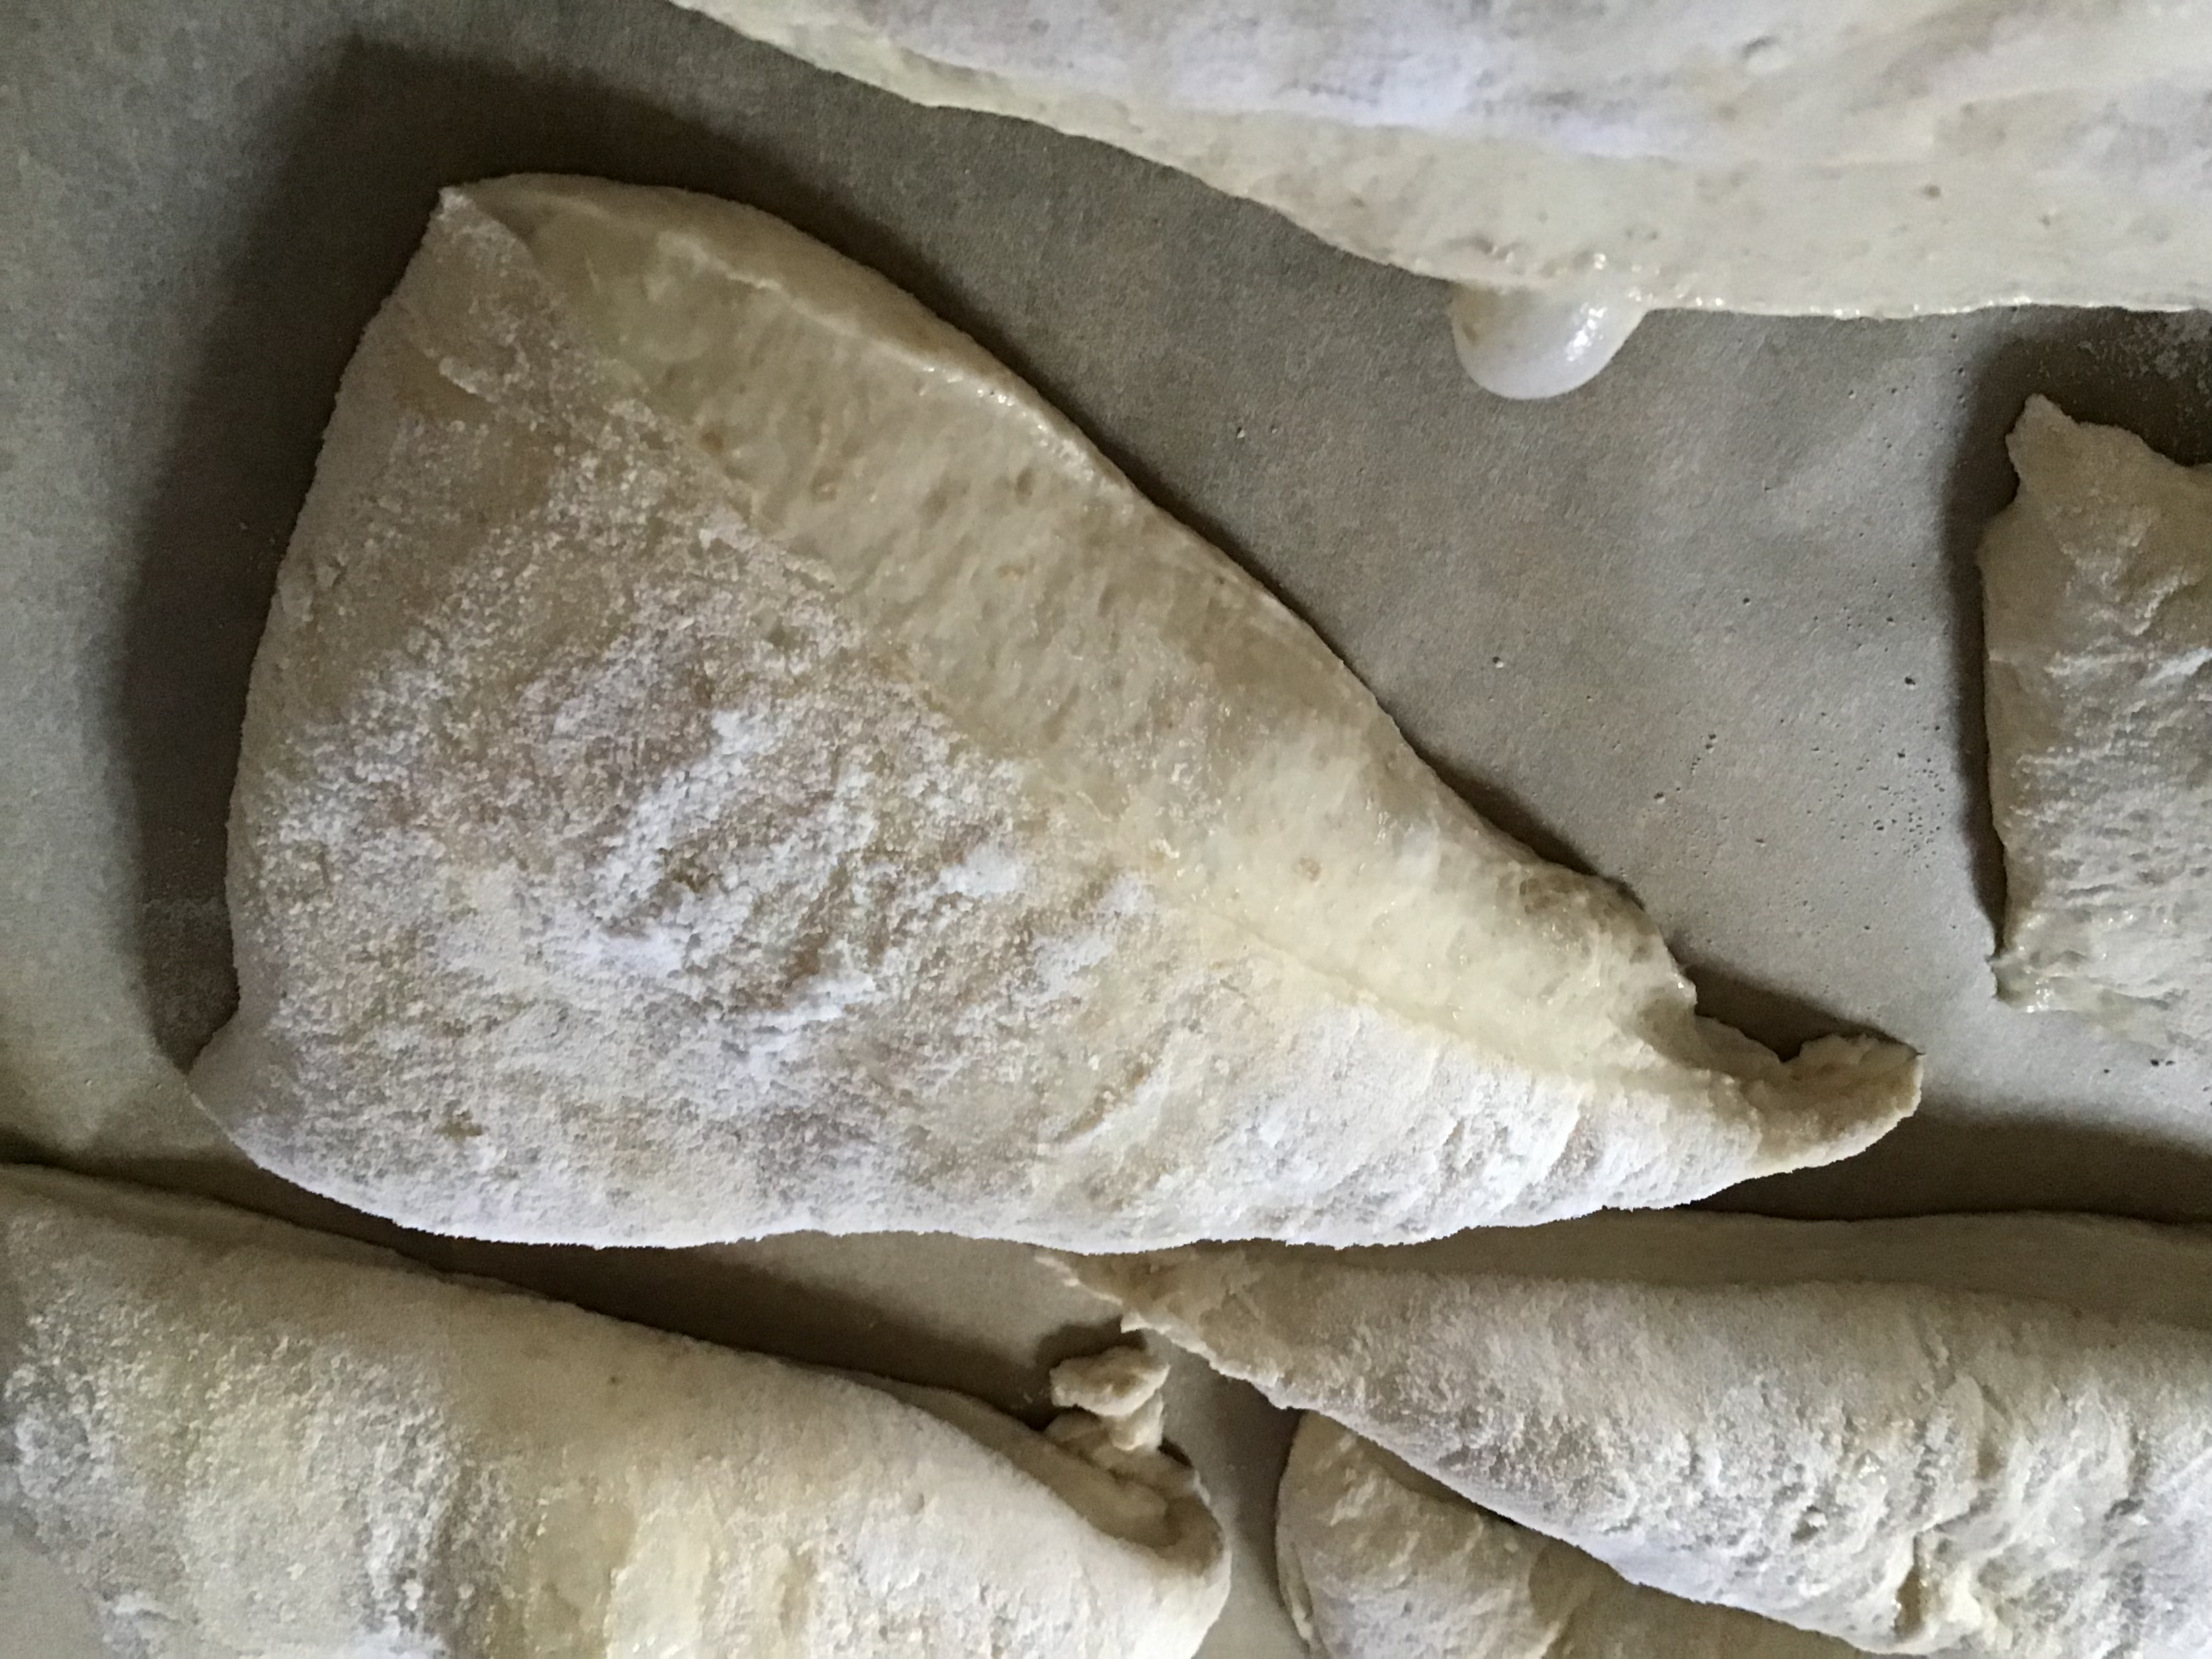
Place the wedges onto a prepared tray.

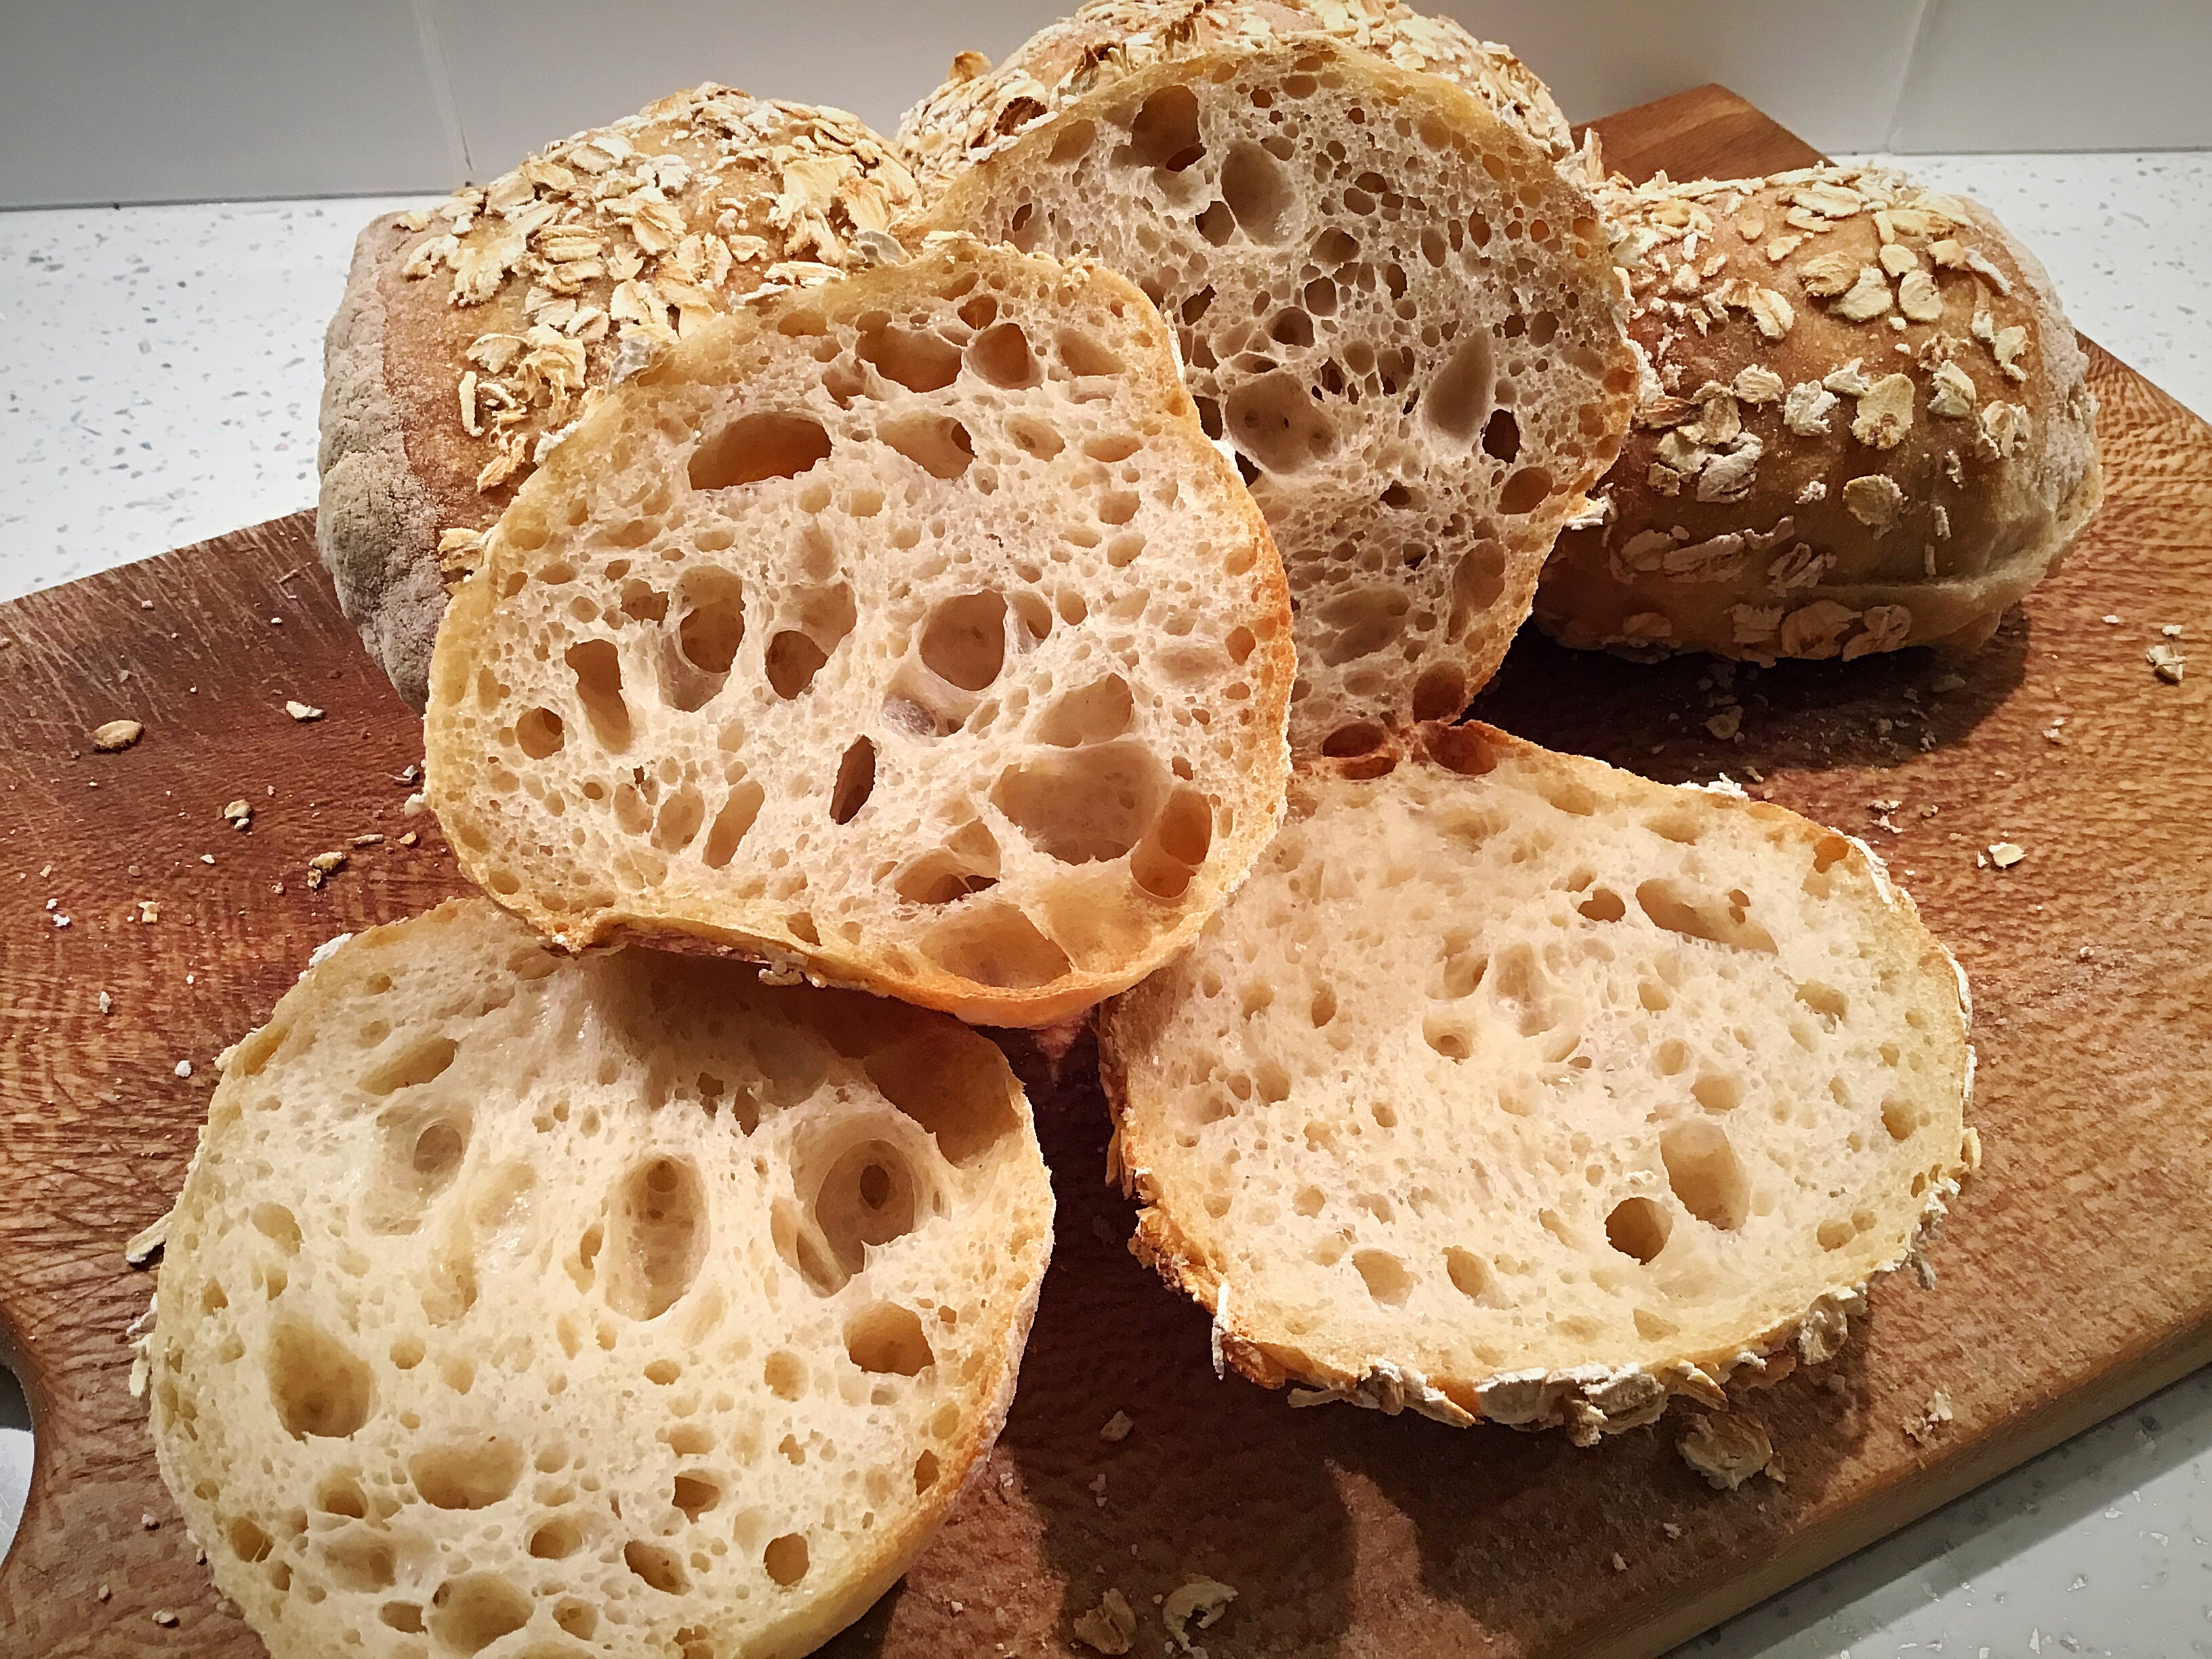
You can now bake these from cold start, or in a preheated oven.

They don’t need to be covered and no steam is required.

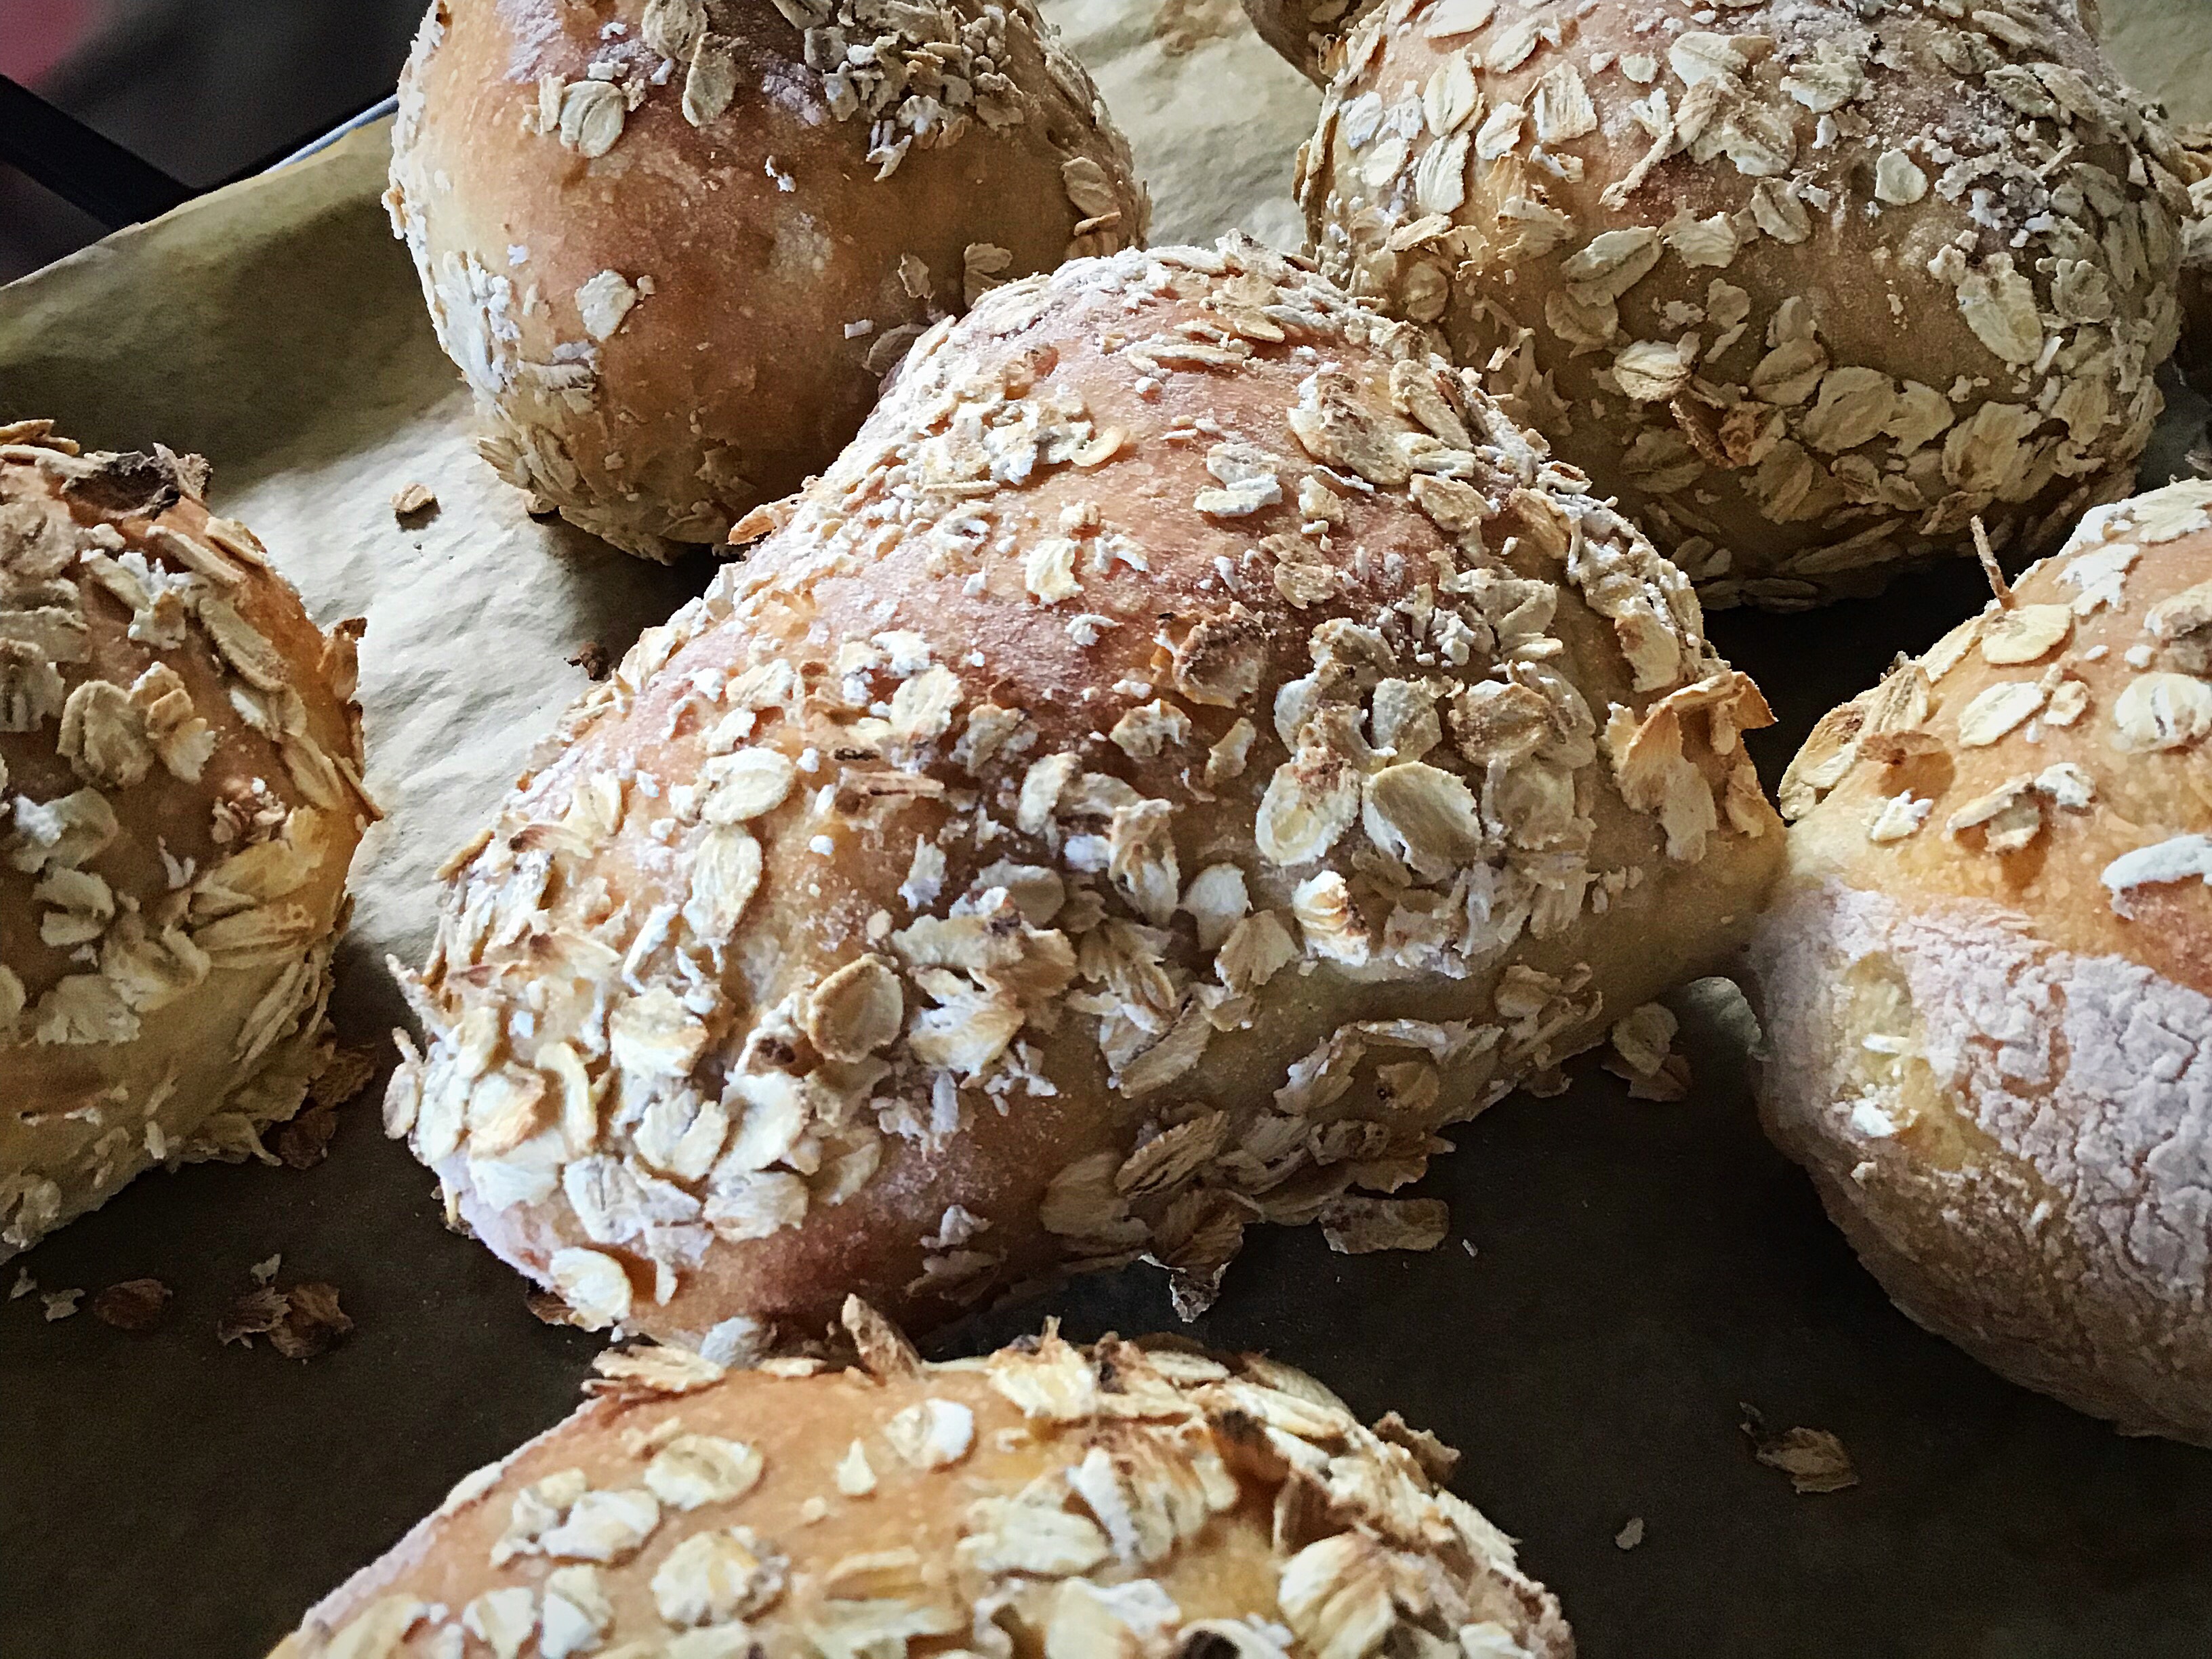
Cold start: Place the tray into the cold oven, turn it up to 220C fan, 240 non fan, 450F, and bake for 20-25 mins until browned and risen

Hot start: Preheat the oven to 220C fan, 240 non fan, 450F, and bake for 20-22 mins until browned and risen

To see this in action, check out the video on my YouTube channel showing exactly how I make them: https://youtu.be/YCVqTOJwzSY

Happy Baking!

Rustic easy sourdough rolls…no shaping required…

If you’ve tried making sourdough rolls and struggle with the shaping and looking after those lovely bubbles…this is for you…

Don’t bother!

These rolls were made by just cutting up the dough, gently placing the sticky edges in some oats, then putting them onto the baking tray. Simple.

How to make them…

Follow my master recipe up to and including the overnight prove. (Feel free to mix up the flour/flours you use in the dough, see the other recipes in my recipe index for various ideas).

The next morning gently pull the dough into a loose ball and place it onto a floured surface.

NOTE: if your dough has proved overnight and is reaching the top of the bowl or hitting the shower cap by the early morning but you’re not ready to use it yet, gently do one round of pulls and folds to calm it down a bit, then cover it again to allow it to grow and fill the bowl again over the next 2-3 hours for when you want to use it.

Using a dough knife or cutter, cut the dough into 8 equal-ish pieces.

*HANDLE VERY GENTLY THROUGHOUT*

You’ll find that the edges that you’ve cut into are very sticky; you can now either place the cut shapes directly onto a parchment lined baking tray, or gently place the sticky edges in some oats or sesame seeds before placing onto the baking tray.

You can now either bake them immediately, or after sitting for 10 minutes, or place the tray in the fridge for 1-3 hours then bake when you’re ready.

You can cook these from a cold start oven or in a preheated oven.

Cold bake: place the tray into a cold oven, turn the dial up to 200C fan assisted (220C non fan), and bake for 25 mins or until browned

Preheated oven: heat the oven to 200C fan assisted (220C non fan) and bake for 20 mins or until browned.

Place on a rack to cool briefly, eat at will!