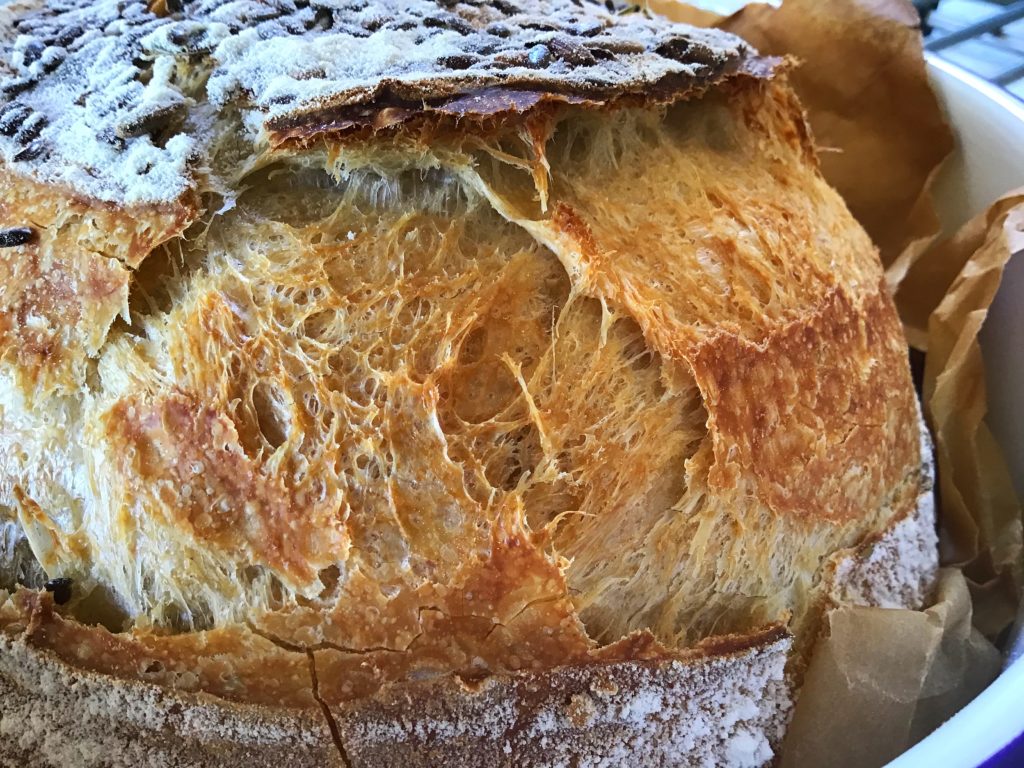
Below is a set of timetables based on my master recipe process to show how it can be tailored to fit into your life and environment; this is not an exhaustive list and will hopefully show how you can amend the process for yourself as necessary. Please do contact me for any clarification or assistance.
My typical master recipe timetable (these timings can move slightly either way, typically starting a bit later as the weather warms up, maybe leaving a bit longer when it is cold)
- At 9am I take my Star from the fridge
- At 11am I feed her at room temp
- I then cover her again and leave her to do her work; she is typically ready between 3 and 5 hours depending on the temperature
- I put my dough together around 4pm
- I perform the first set of pulls and folds between 60-90 minutes later
- Between then and 9pm, I perform 4 more sets of pulls and folds at whatever random intervals, just when I am passing the bowl; they do not need to be timed
- I then cover the dough with my shower cap and leave her on the counter overnight; I have done this successfully up to 20C /70F
- In the morning, typically around 7am, maybe later if it is been a cold night and she needs a bit longer, I pull the dough together and place it into the banneton and into the fridge
- I then bake it direct from the fridge, when I am ready, after a minimum of 6 hours, typically more like 10 hours
Master recipe in higher temperatures and/or humidity
I follow this method if my overnight temperature is going to be over 20C/68F, or if it is into the 20C’s/70F’s in my kitchen during the day, and especially if it is particularly humid too, and the dough is therefore working faster.
When you are ready..
- Take your starter from the fridge, ideally around lunchtime
- Feed it once it is come to room temp
- Cover again and leave it to do it is work, it will probably be ready to use between 1-2 hours depending on the temperature
- Put your dough together once the starter is ready
- Perform the first set of pulls and folds an hour later
- Over the next 2 hours, perform 3 more sets of pulls and folds
- After this time, leave dough to sit at room temp for 2-3 hours; this will give it some time to do some proving at room temperature without going too far
- Pull the dough together and place it into the banneton and into the fridge overnight
- Bake the next day, direct from the fridge, when you are ready, morning or afternoon
Work day timetable
- Feed starter direct from fridge before going to work (by feeding it cold it takes it longer to respond which is what we want on this occasion)
- Leave it somewhere that is not too warm to do it is work whilst you are out; during this time it may get active then start to quieten down again depending on your starter, that is fine
- Once home from work, use the starter directly without feeding again, and put the dough together
- Perform the first set of pulls and folds an hour or so later
- Over the next 2 hours, perform 3 more sets of pulls and folds
- Leave dough to sit at room temp overnight
- In the morning, before work, pull the dough together and place into the banneton and into the fridge
- Bake when you get home from work
An alternative timetable based on feeding the starter the night before
- Feed your starter and leave it out all night, hopefully at a temperature below 18C/65F; it may be a bit deflated by next morning but hopefully still a bit bubbly
- Put dough together the next morning when you are ready
- After an hour, perform the first set of pulls & folds
- Over the next 2-3 hours, perform 3 more sets of pulls and folds
- Cover the dough and leave it somewhere not too cold
- Before going to bed, pull the dough together & place it into banneton & into fridge
- The next day, bake direct from the fridge when you are ready
If you like my website and you would like to support me, click here to buy me a ‘cup of tea’. Thank you xx
