UPDATE: this was the first ever time I had made pizza with my master recipe. I have since made many more sourdough pizzas and have tested and perfected my process and have these recipes fully written up and detailed in my books, The Sourdough Whisperer and Easy Everyday Sourdough Bread Baking.
The Sourdough Whisperer: https://foodbodsourdough.com/my-new-book/
Easy Everyday Sourdough Bread Baking: https://foodbodsourdough.com/my-new-book-for-2023/
You can now also find a new and updated version of my pizza making here: https://foodbodsourdough.com/pizza-dough/
ORIGINAL POST: This recipe uses the dough created using my master recipe process and then using it to create the pizza of your choice; the dough can be made up of the flour/s of your choice to create different flavours & textures…

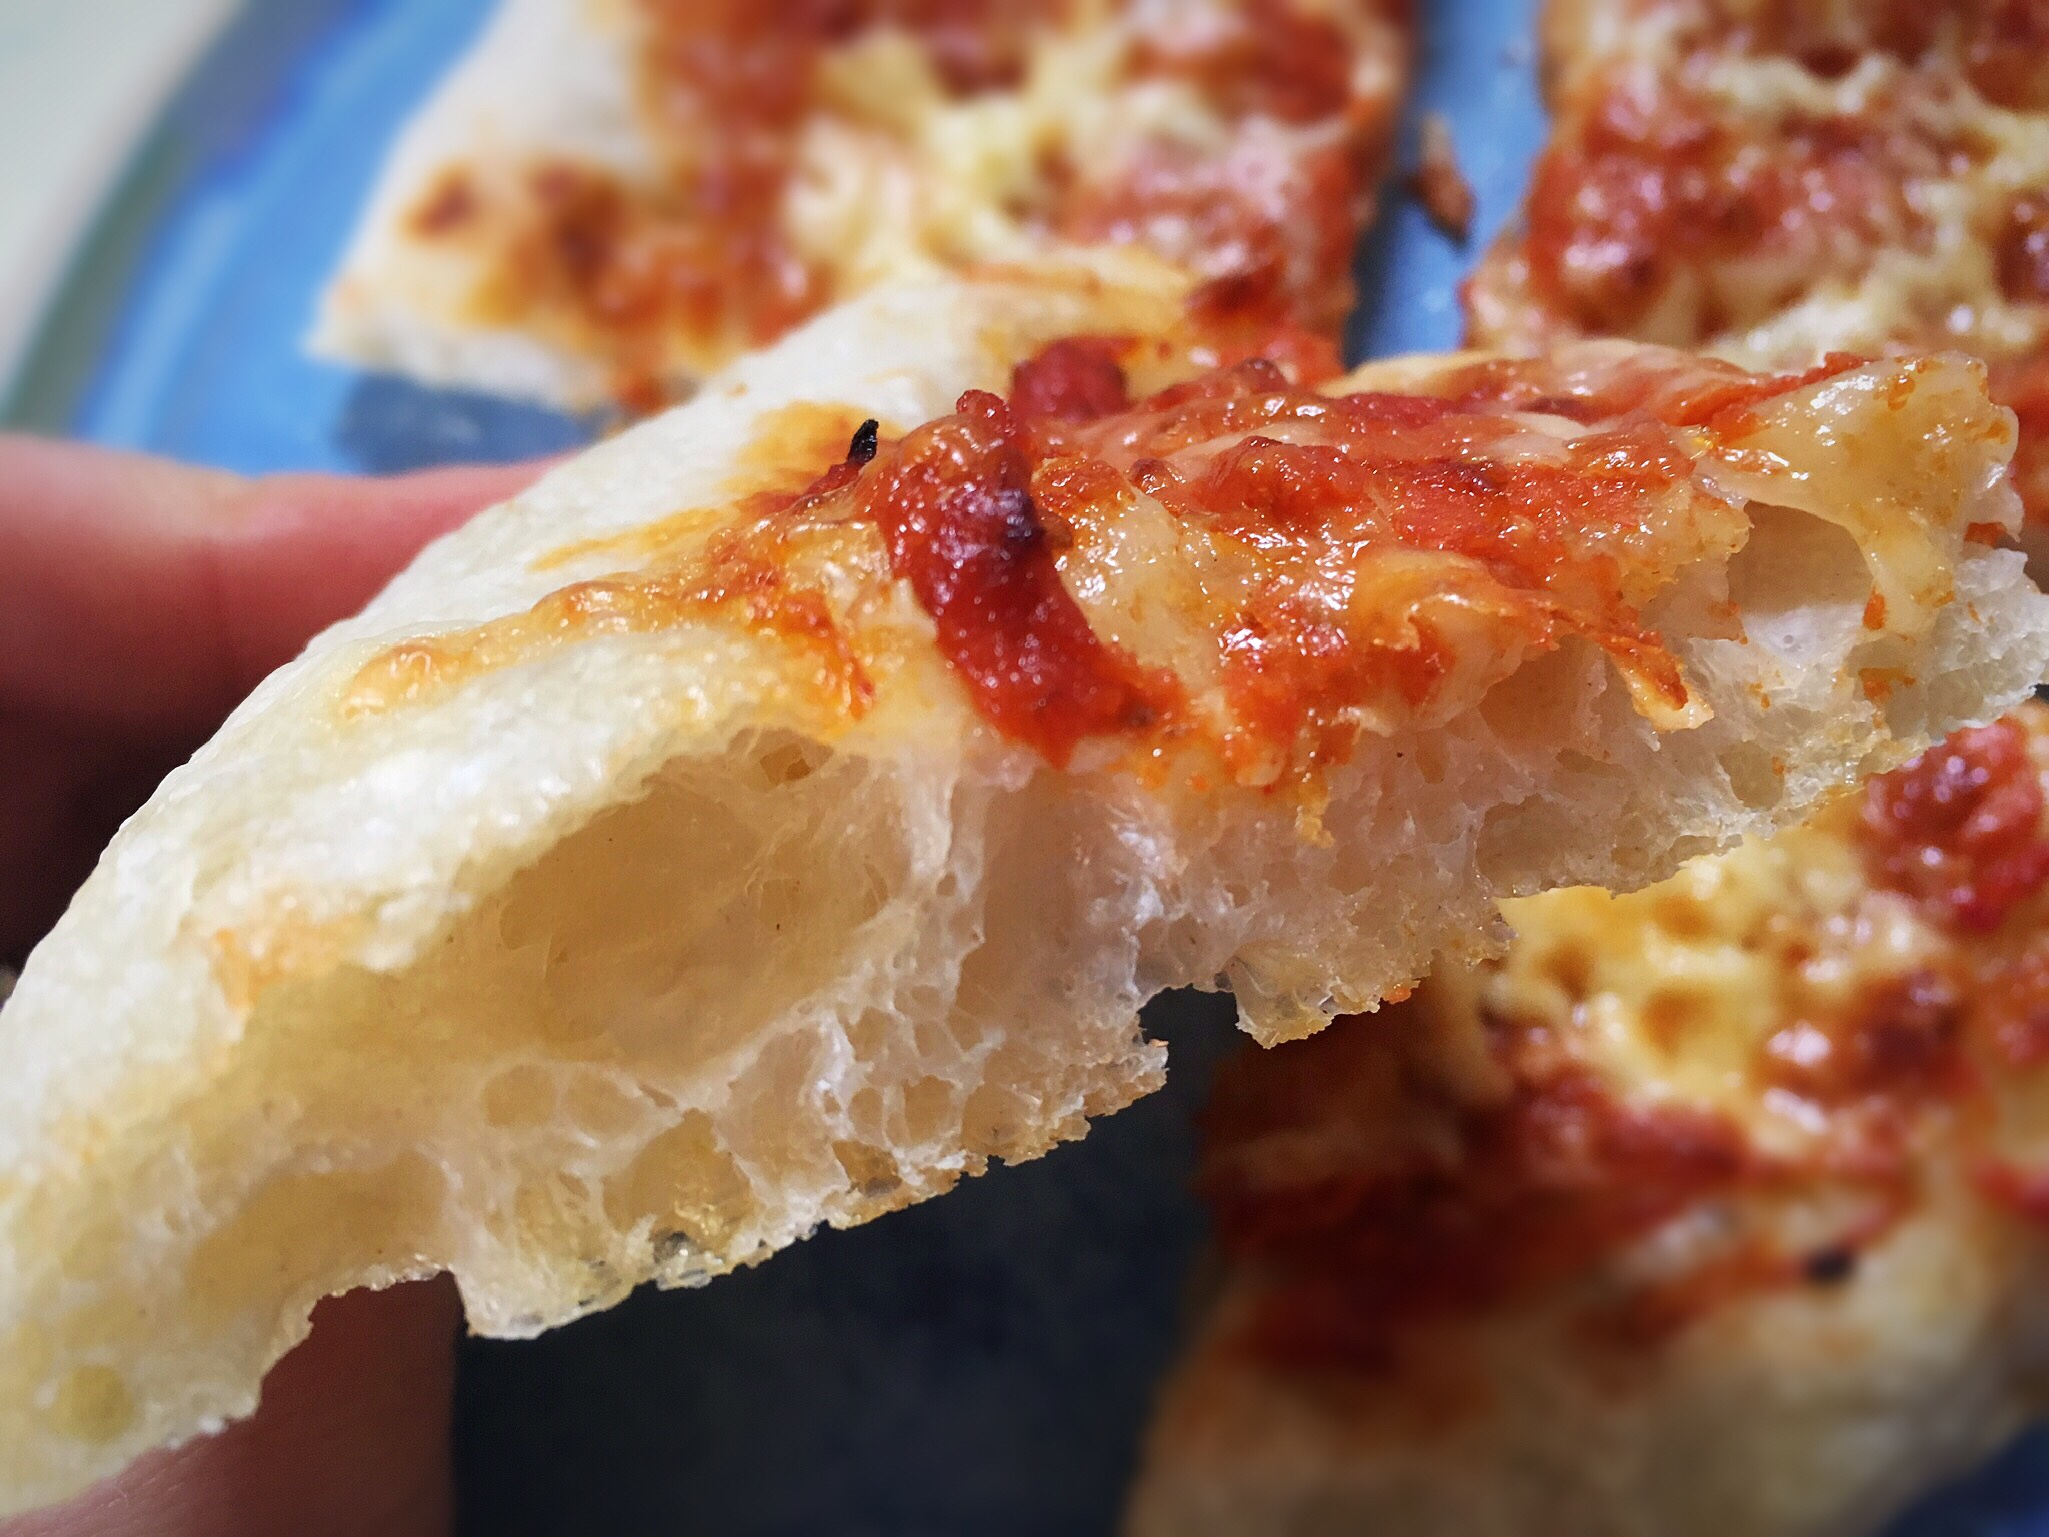
The outcome being a lovely textured, holey, tasty pizza base!
The key is how to manage and store the overnight dough ready for when you want your pizzas. I have got 2 methods below, each designed to make it simple to fit the dough in with your timings, and not the other way round!
Method 1.
The morning after the overnight prove, you will hopefully have a lovely big bowl of well proved dough, place the covered bowl in the fridge. If the dough hasn’t reached the top of the bowl already, just place it in the fridge to bring the activity to a halt until you want to use it.
When you know when you want your pizzas to be ready for, remove the dough from the fridge an hour or so beforehand and let it warm up a bit.
Cover your work surface with water, flour or olive oil.
Turn the dough out from the bowl onto your surface and cut into portions, 2, 4 or 6, depending how big you would like your pizzas to be.
Let it sit for 10 minutes.
**I use a foil lined baking tray to cook my pizzas, liberally drizzled with olive oil (I like the crust it generates when baked). However, you may prefer using semolina, polenta/corn meal, flour, whatever your choice under the dough, directly onto your baking tray or baking implement of your choice. If you’re using a pizza stone, prepare the dough on a board or tray ready to be able to move it across to your stone as you usually do.
After 10 minutes place the dough on your chosen bakeware, and start to gently use your finger tips to push the dough out into a thinner rounder shape, or shape of your choice. You will need to let it sit for a few minutes and then do it again as the dough will bounce back.
Preheat the oven to 220C fan/240 non fan/460F.
Give your dough one final push out, spread with sauce of your choice and toppings of your choice, and bake for 12-15 minutes until the base is cooked and the cheese is bubbling.
Enjoy!
Method 2.
In the morning you will hopefully have a lovely big bowl of perfectly proved dough. Cover your work surface in flour, water or oil, and turn the dough out onto the surface.
Prepare your baking tray, I drizzle olive oil over my foil lined tray as stated above.
Portion the dough into 2, 4 or 6 pieces.
Let it sit for 10 minutes.
Place the pieces onto your prepared baking tray and use your fingers tips to push it gently out into a round; it will want to bounce back so let it set for a while and do it again.
Once you’ve got it pushed out to the thinness and size that you want, cover the whole tray with a large plastic bag, or place cling film over the dough, and put the whole tray in the fridge.
It can now sit in there until you want to use it, I’ve let mine sit in the fridge all day in the past.
You can now use this dough directly from the fridge, you don’t need to let it warm up or come to room temperature, you can just add your toppings and bake.
If you’re more comfortable letting it come to room temperature before baking you can do that too.
Preheat the oven to 220C fan/240 non fan/460F, and bake for 12-15 minutes until the base is cooked and the cheese is bubbling.
Enjoy!

Beautiful blistered base, and it tastes SOOOO good!