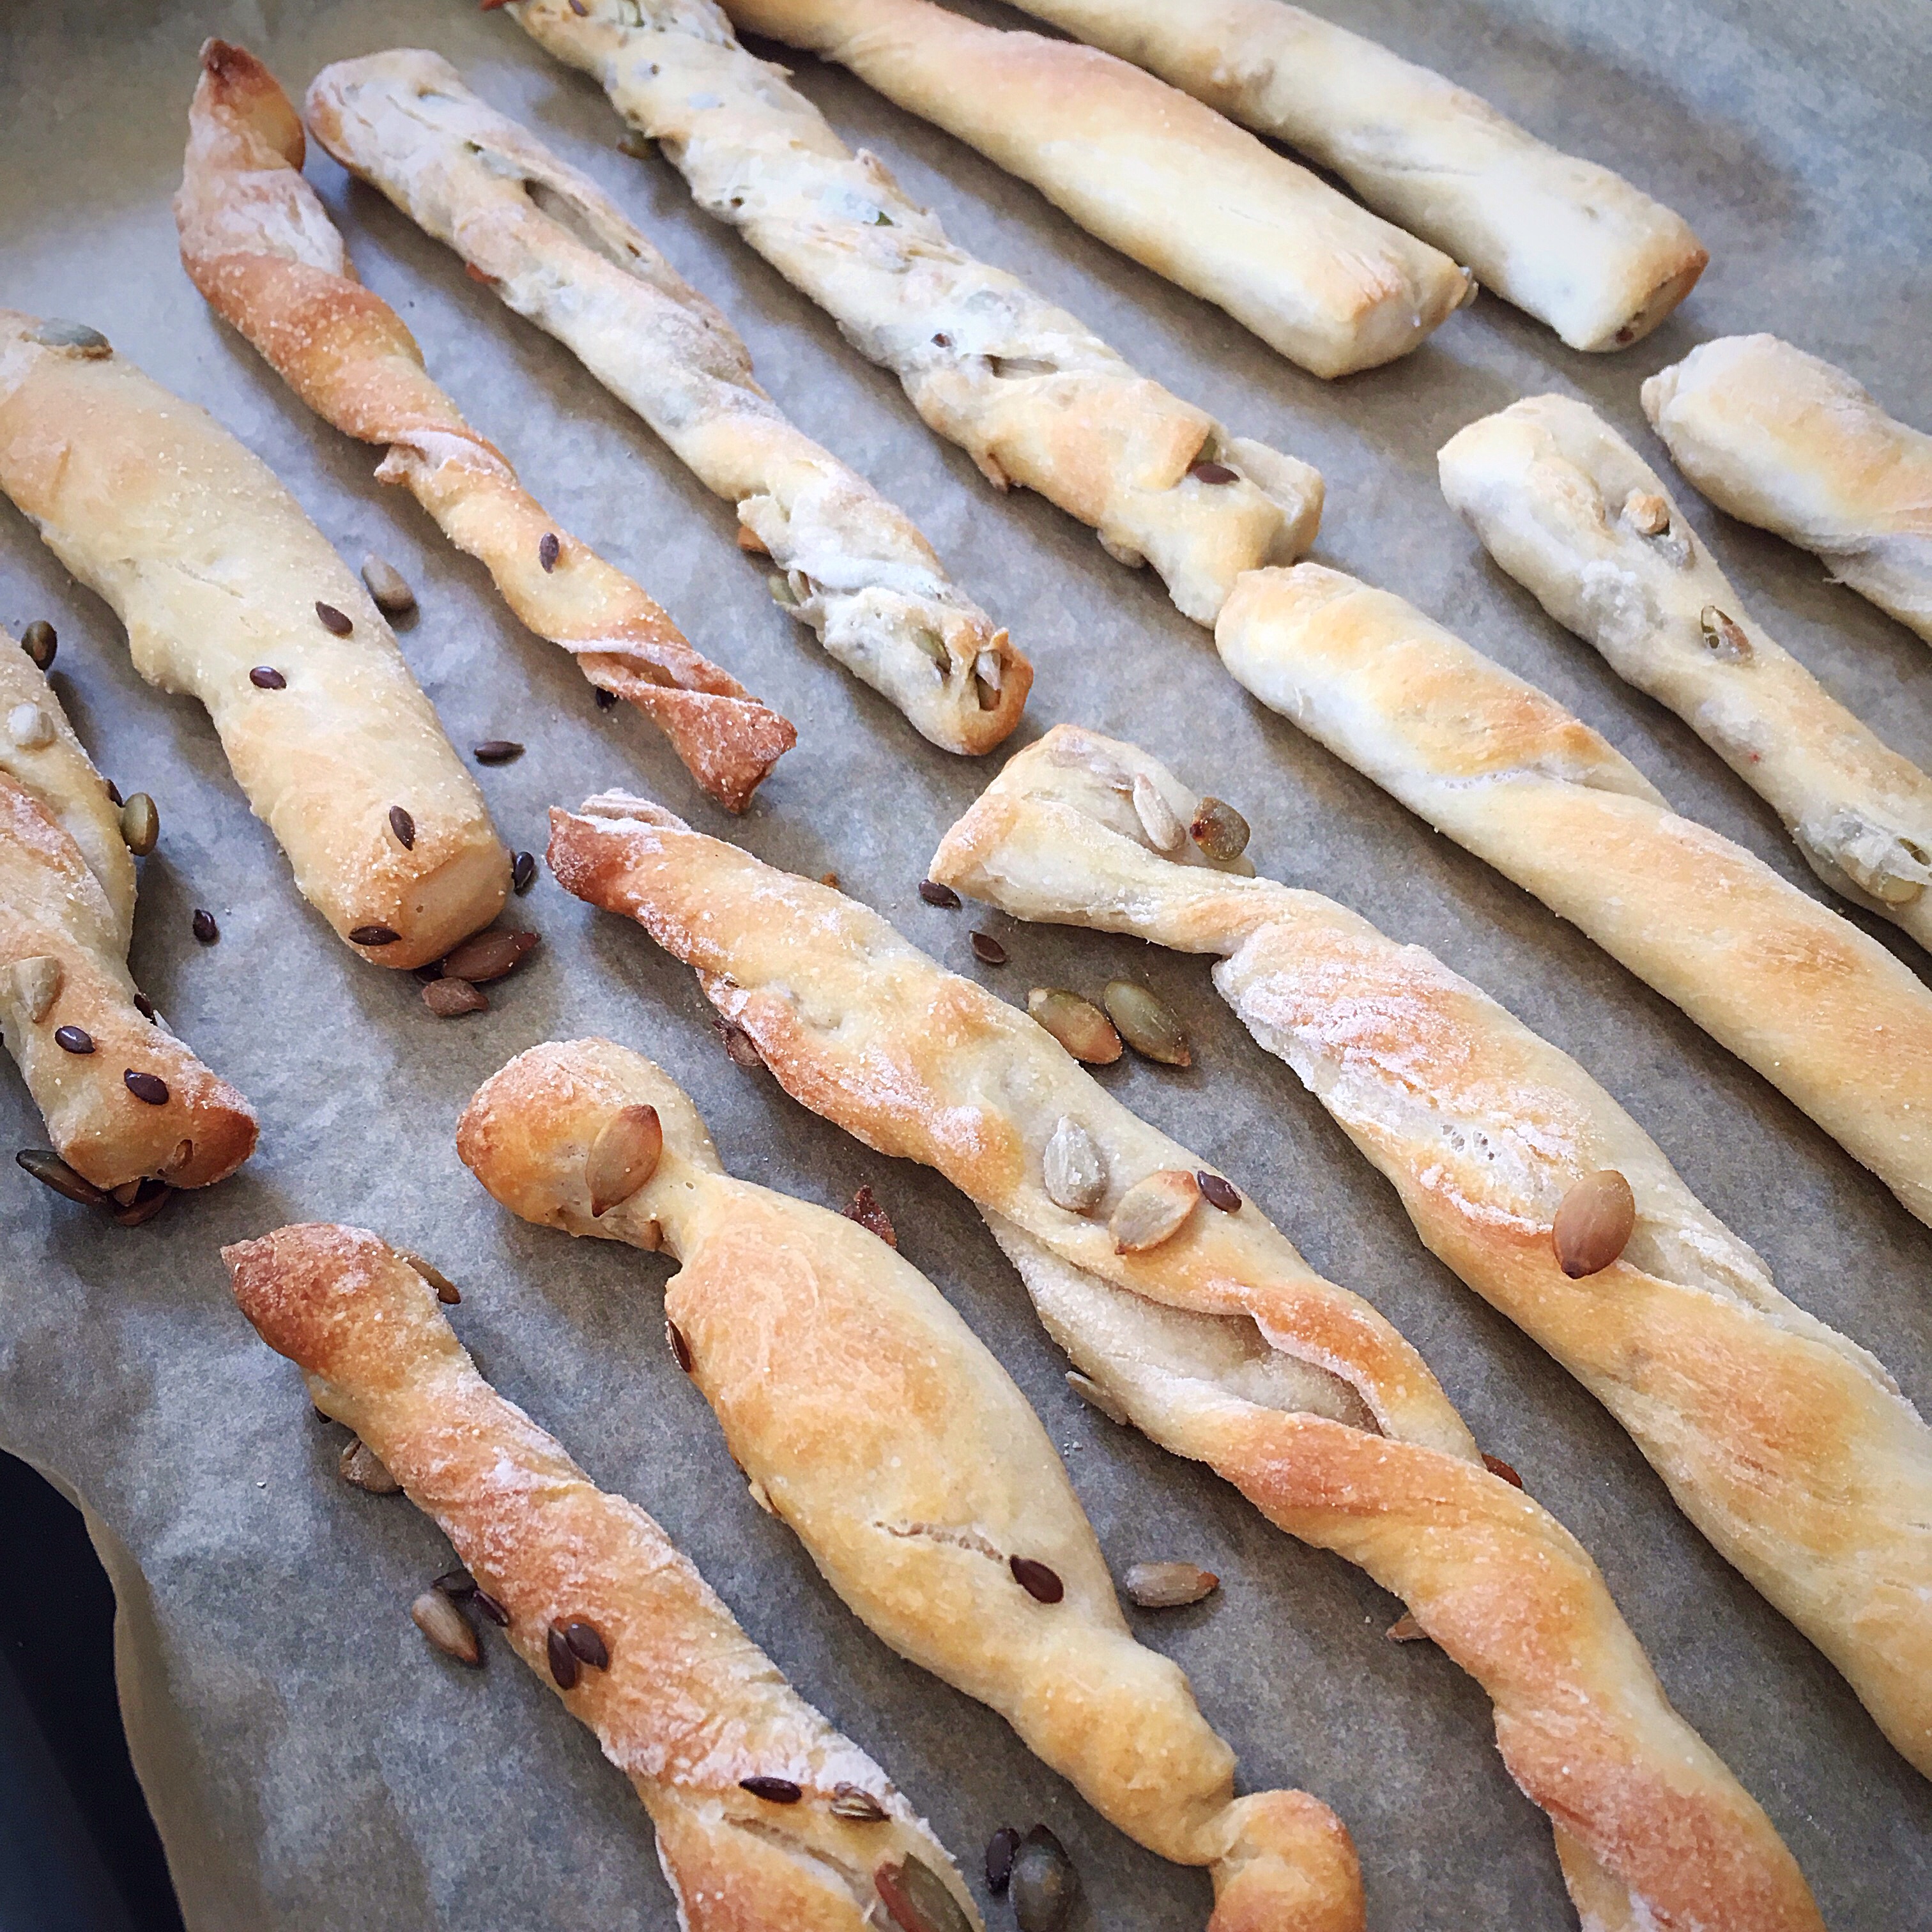
I devised this recipe especially for my courses, it’s a great way to use sourdough starter in a different way, it’s fast and it tasty!!!!
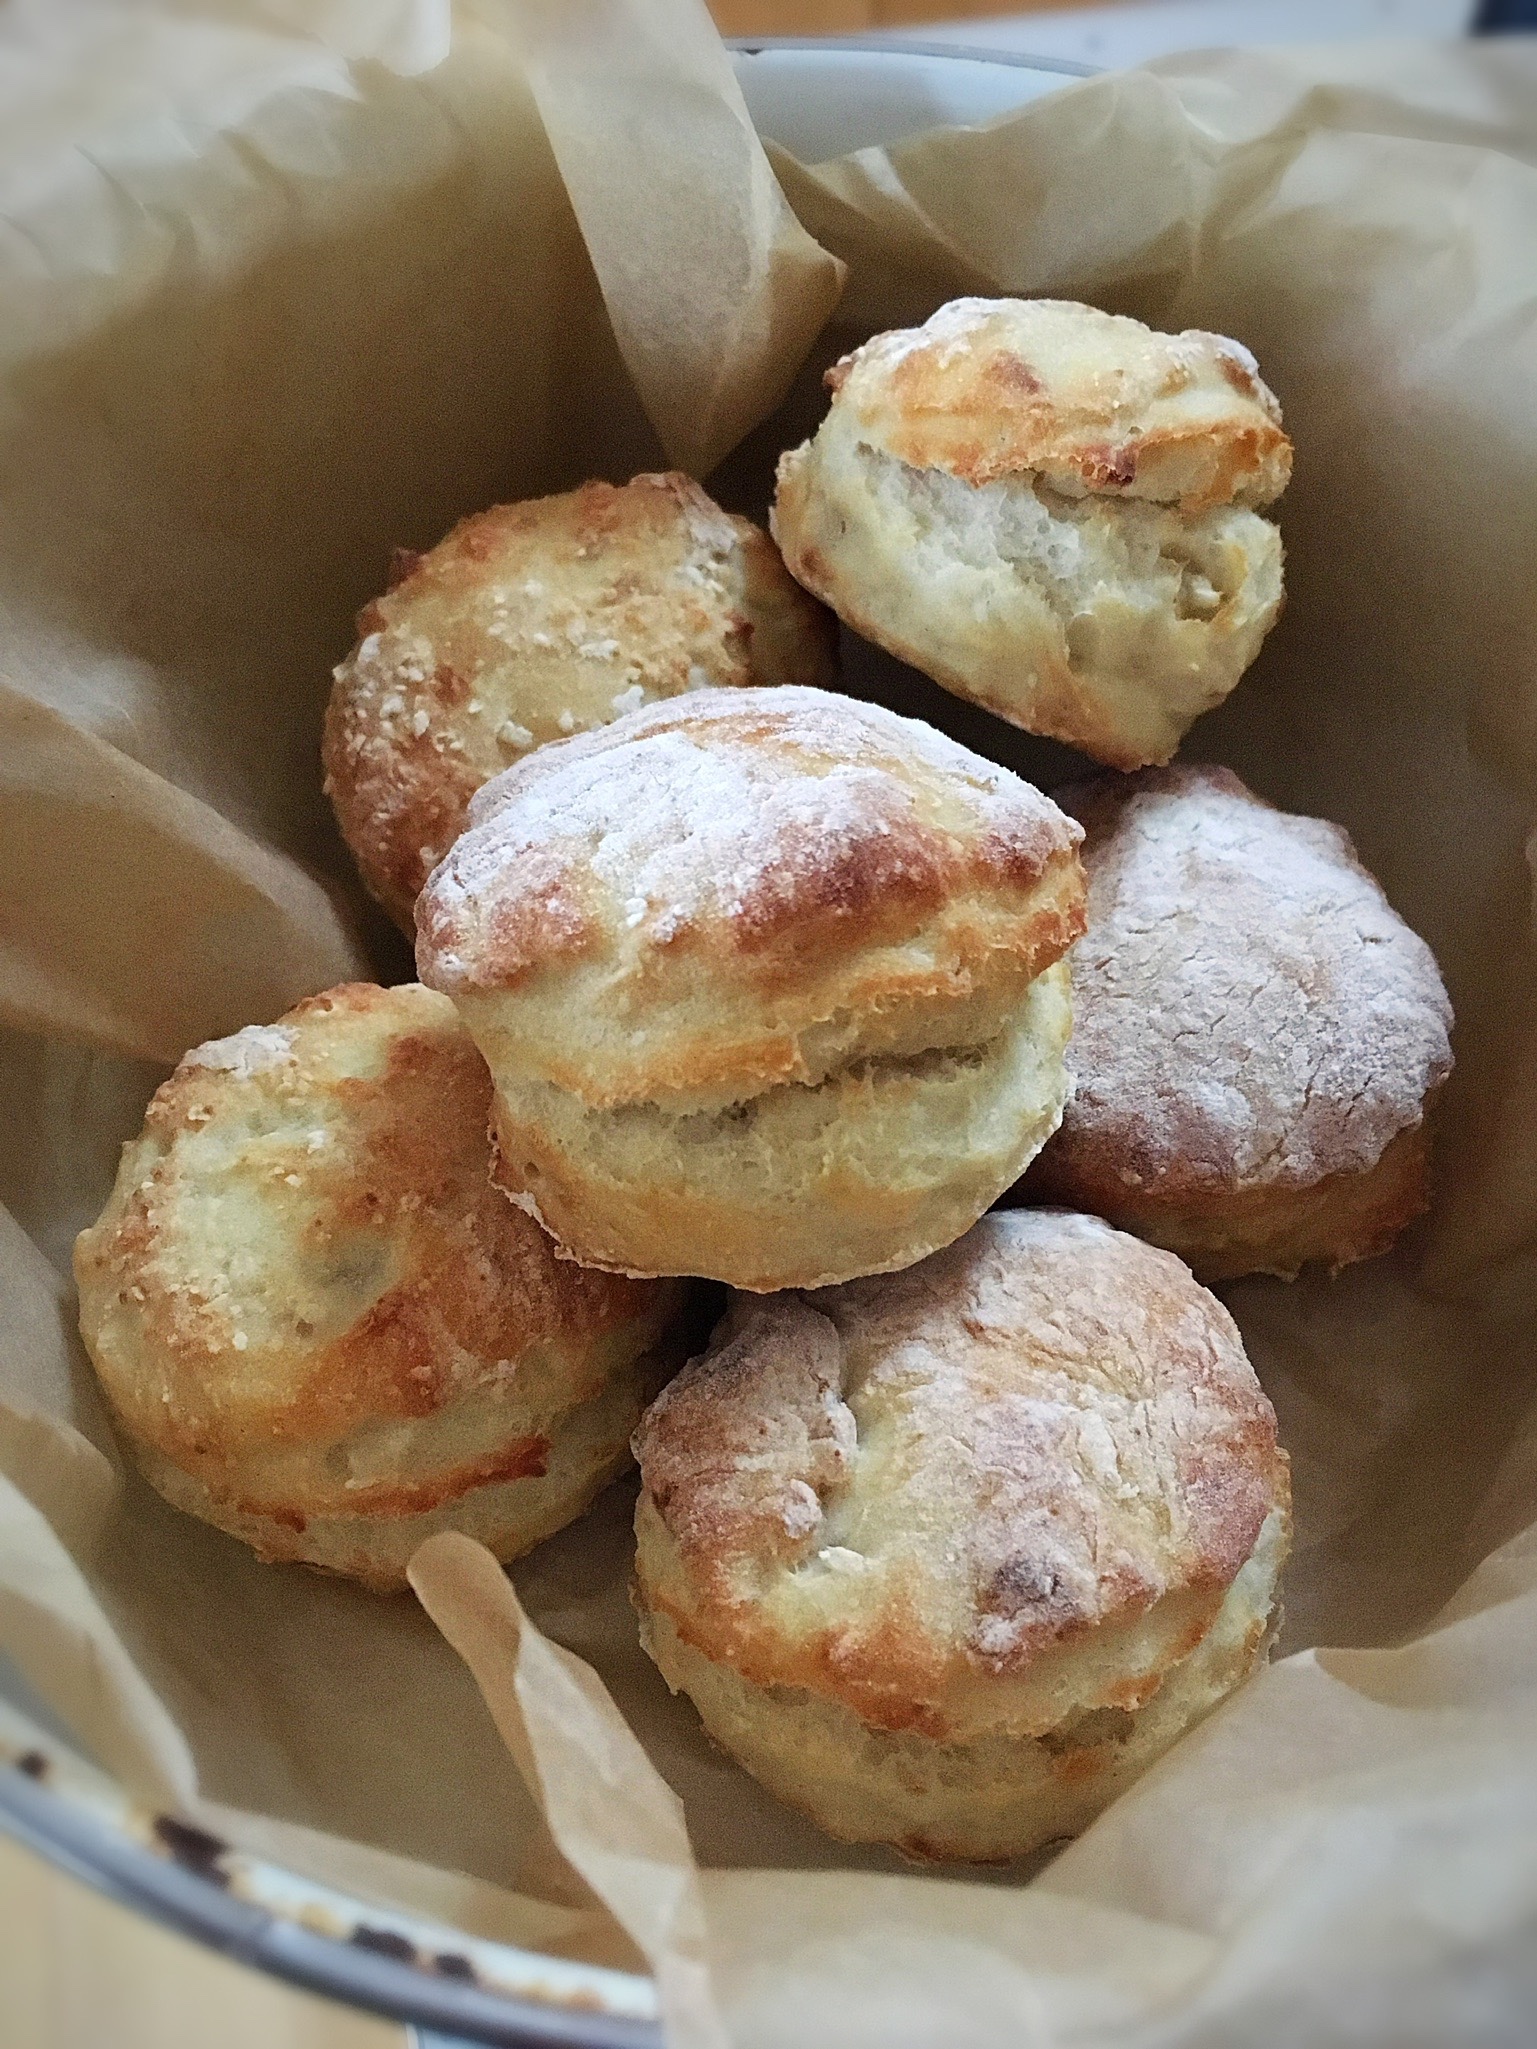
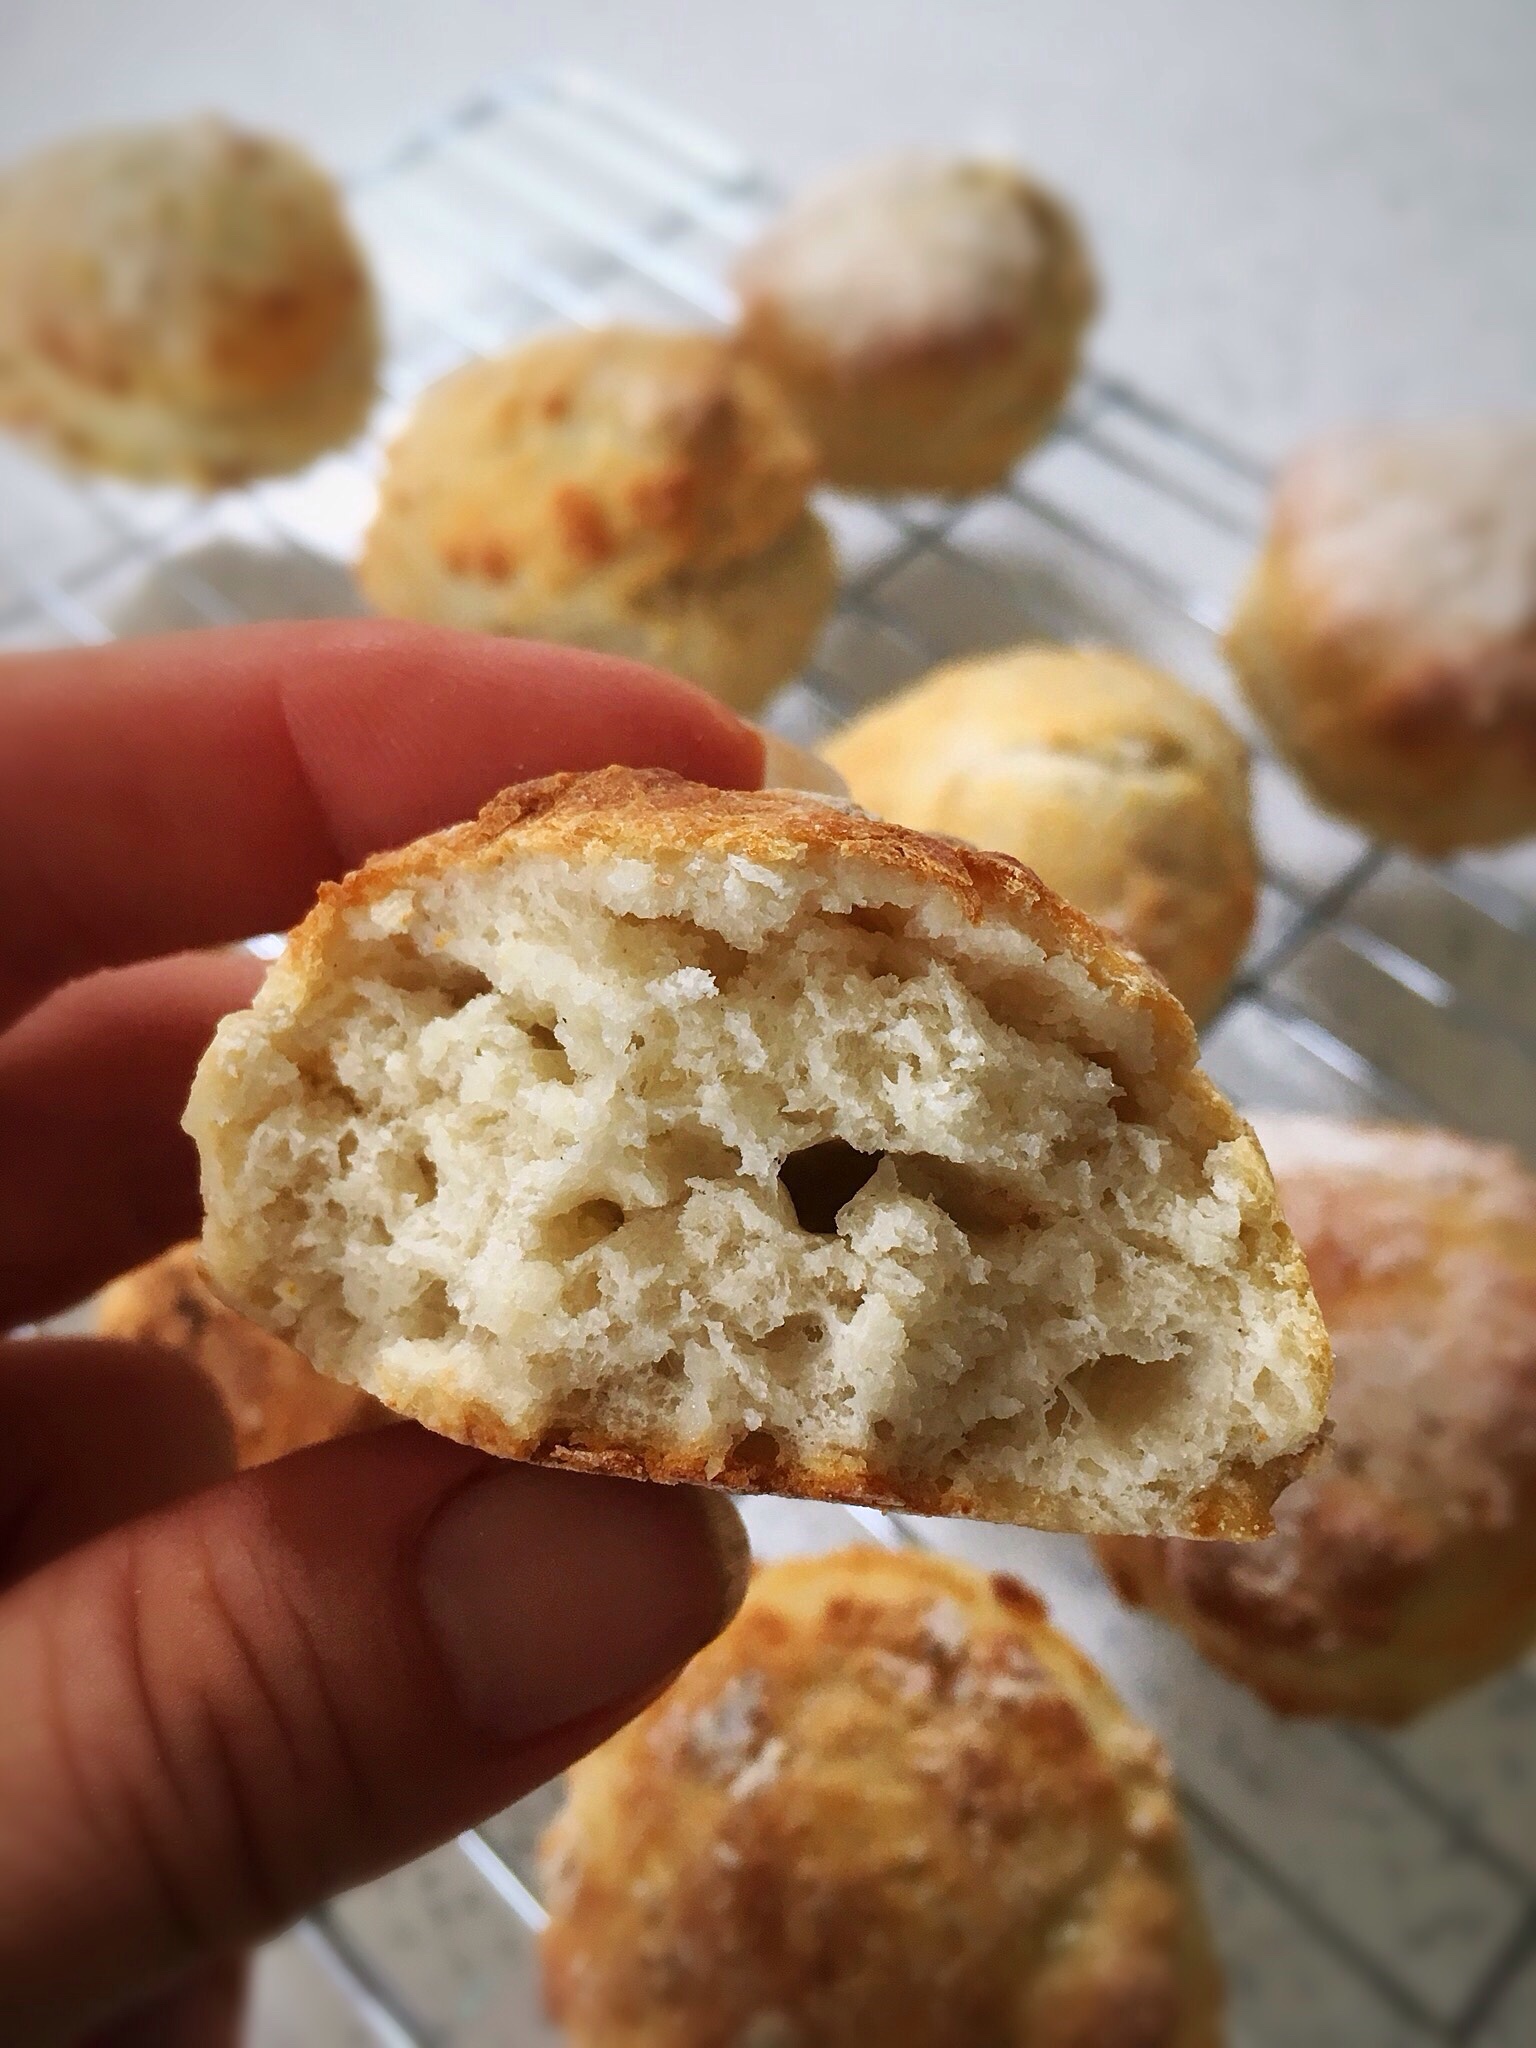
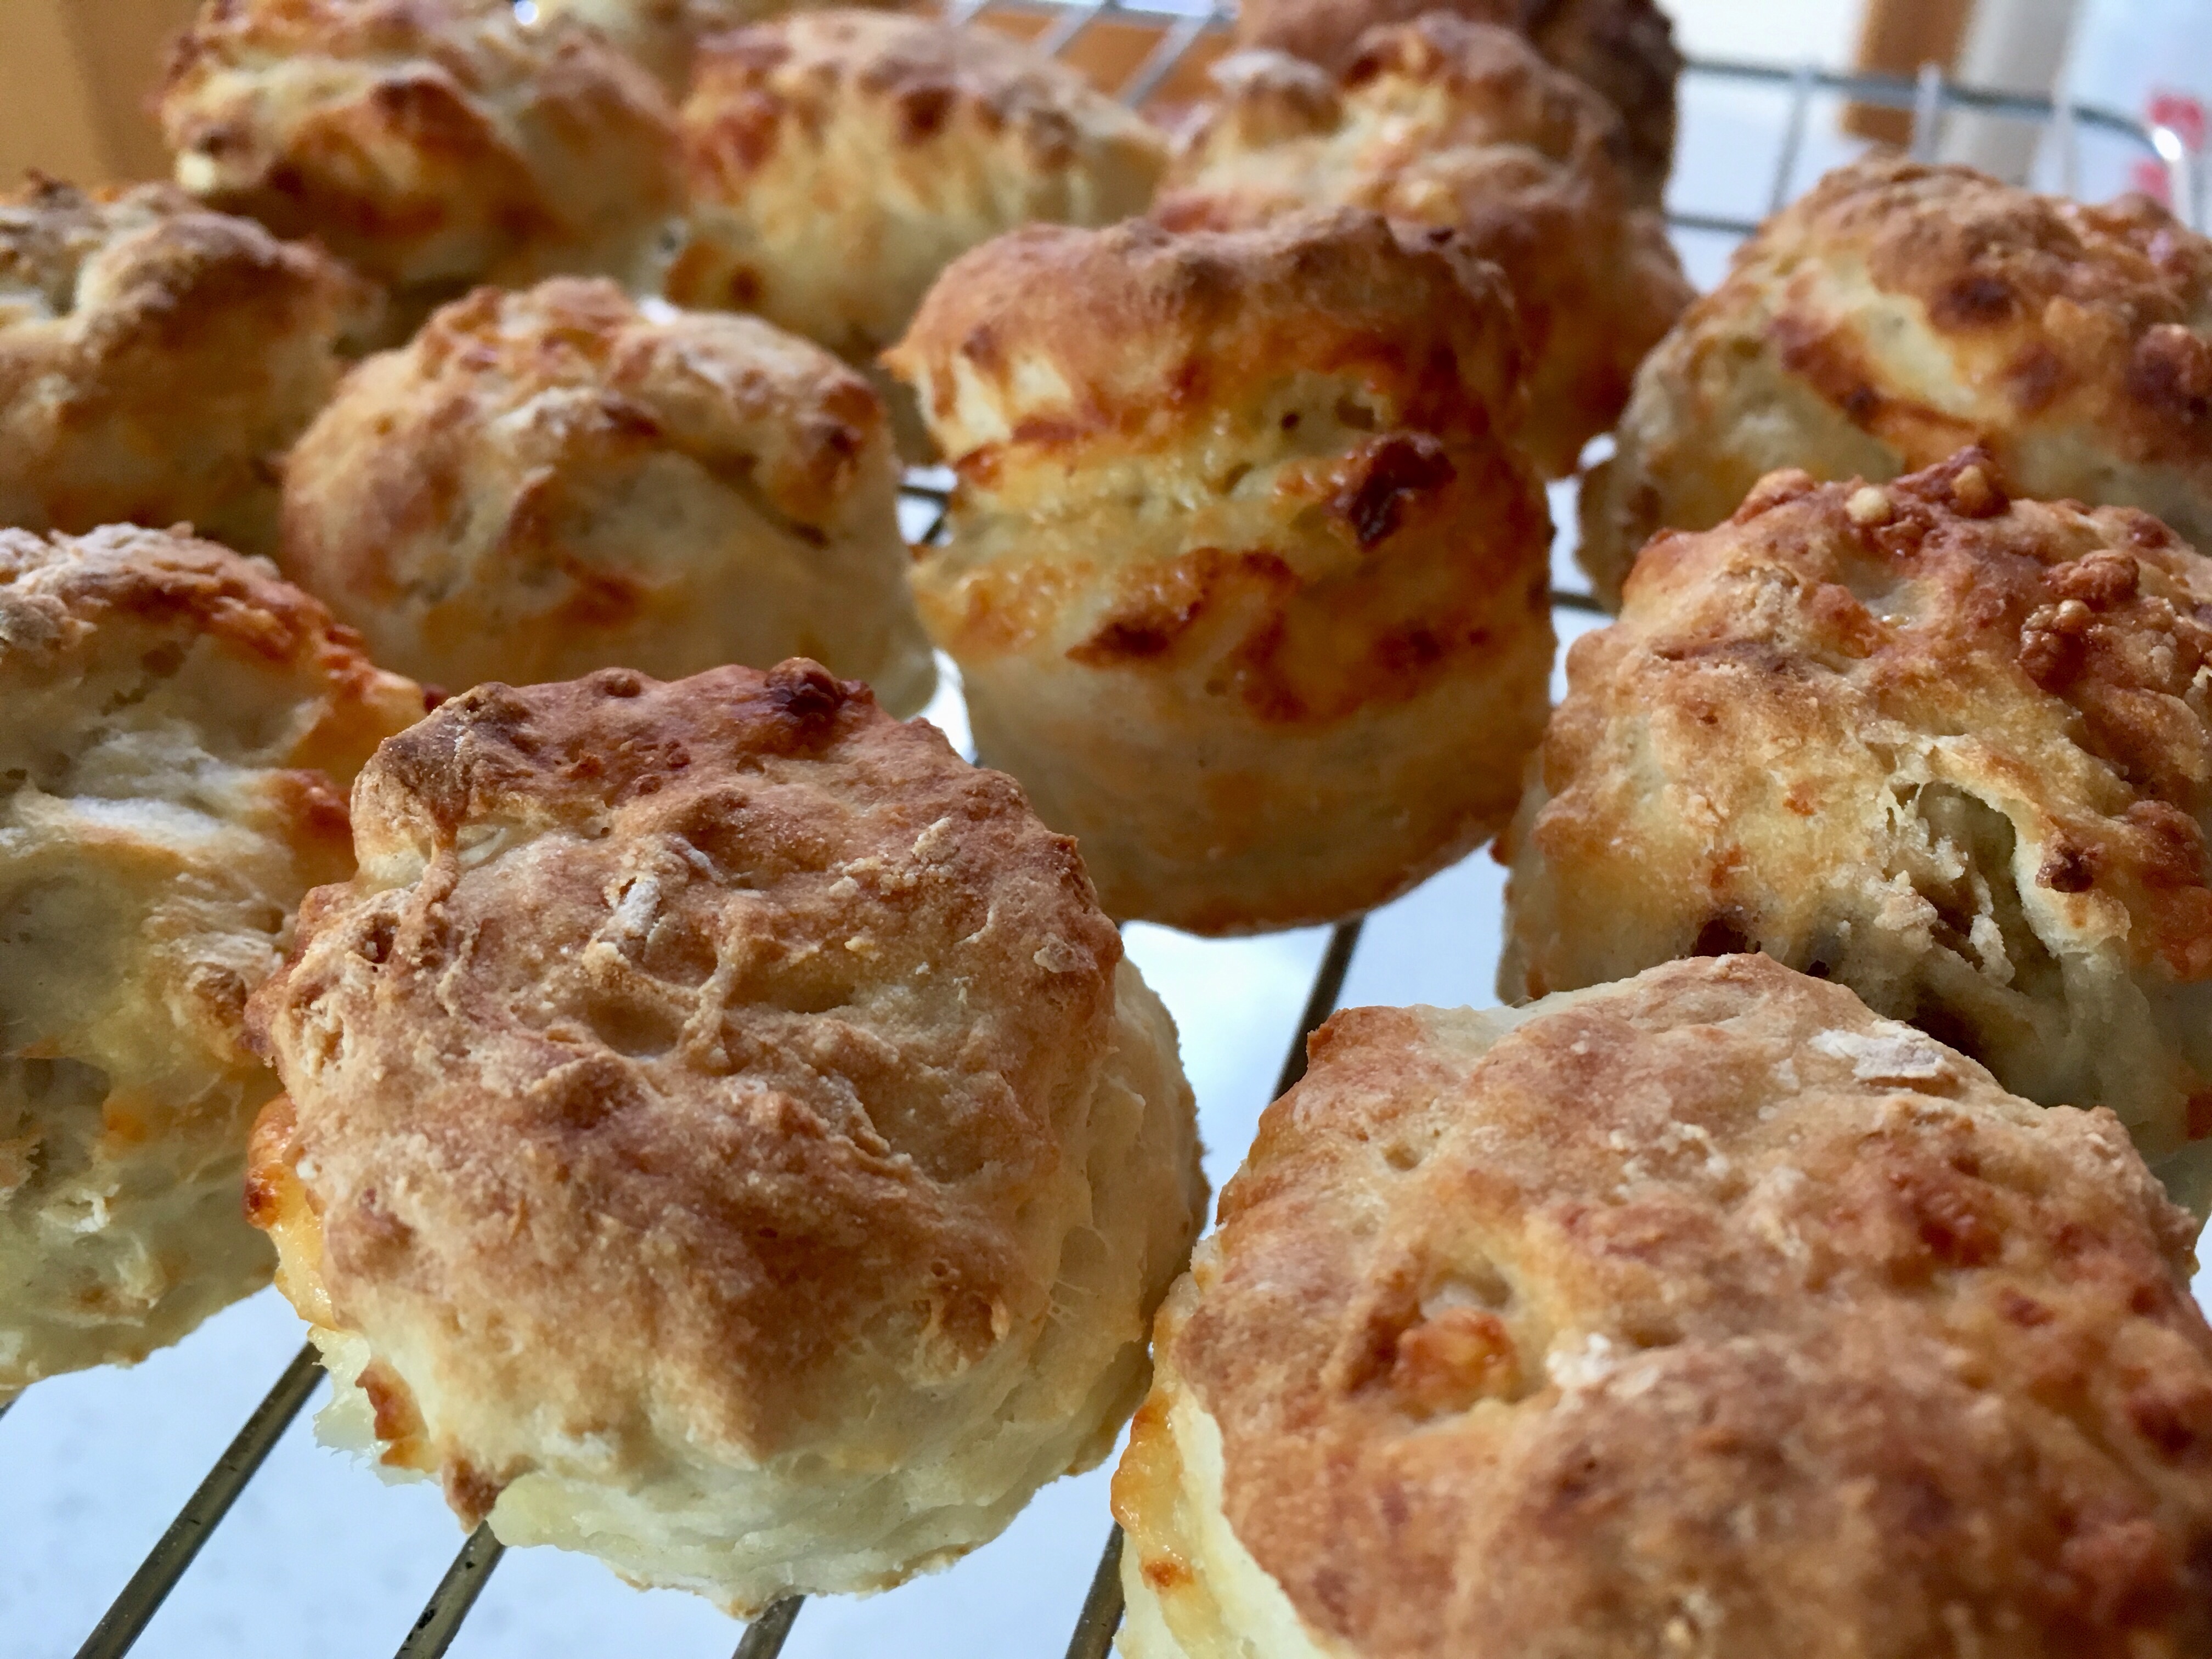
These are based on American ‘biscuits’, which in the UK we would call savoury scones. In my recipe there is no butter; the butter is replaced with bubbly sourdough starter, this gives them a great sourdough flavour as well as a chewier texture than usual.
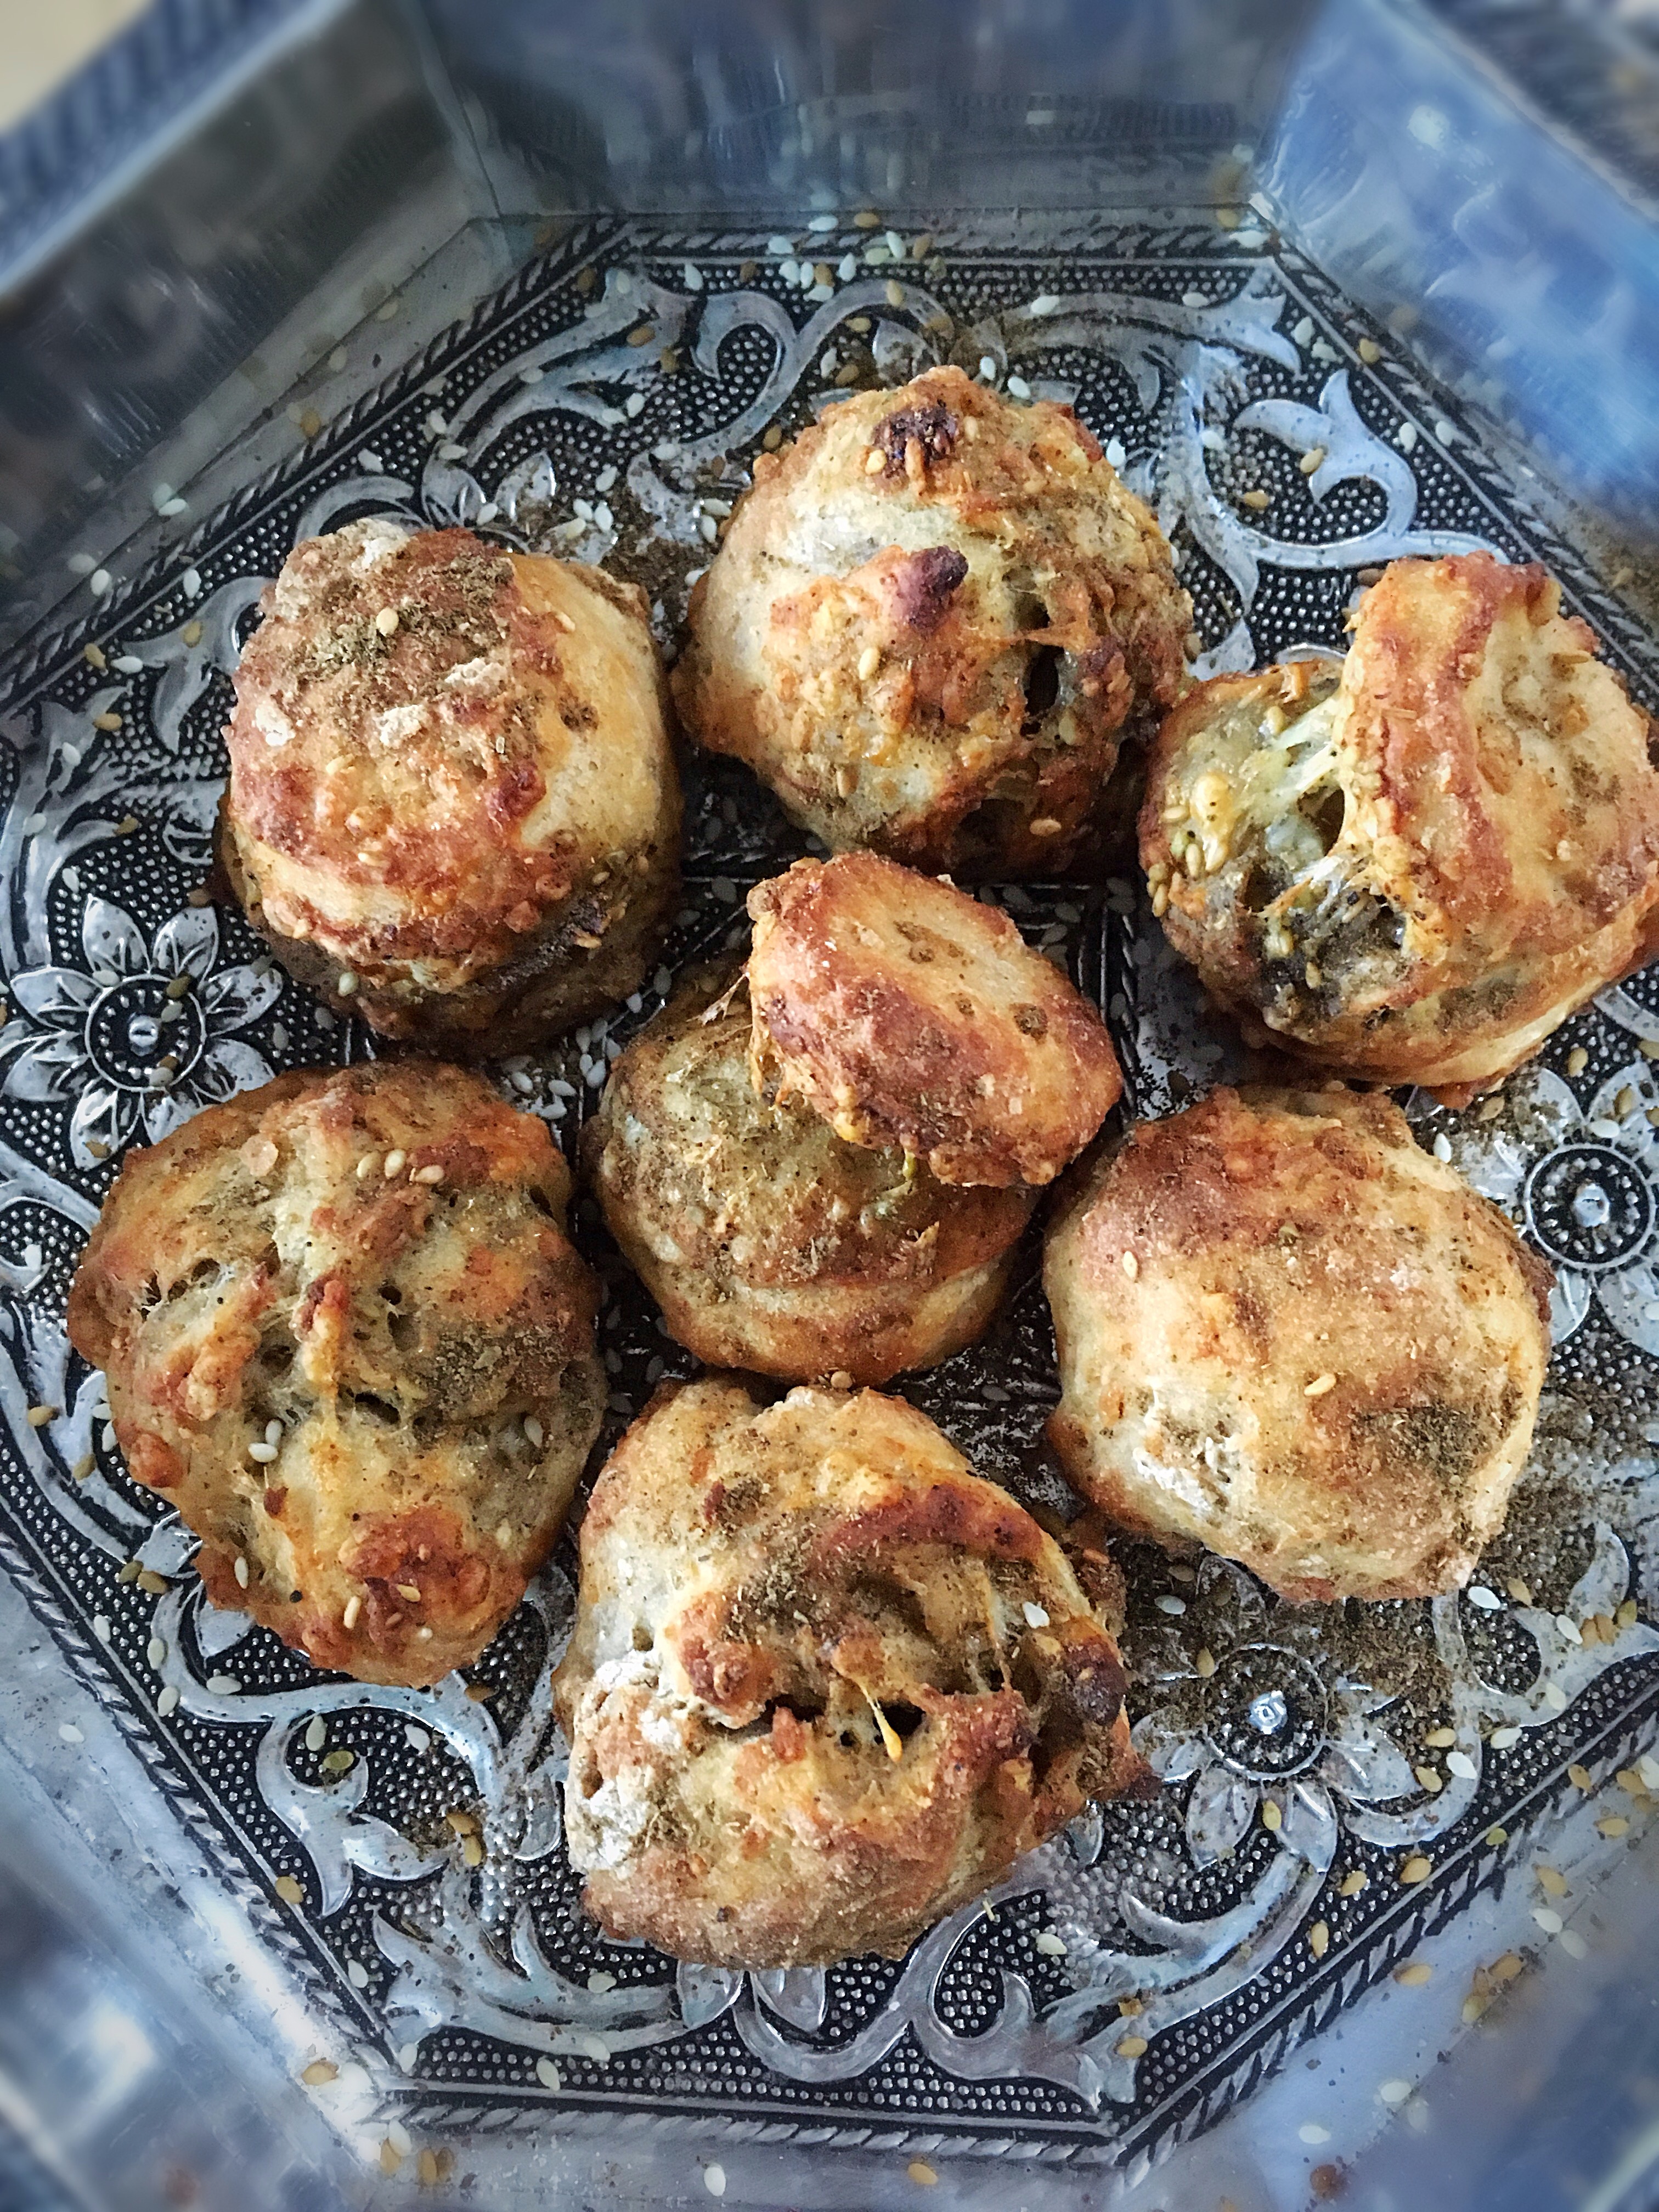
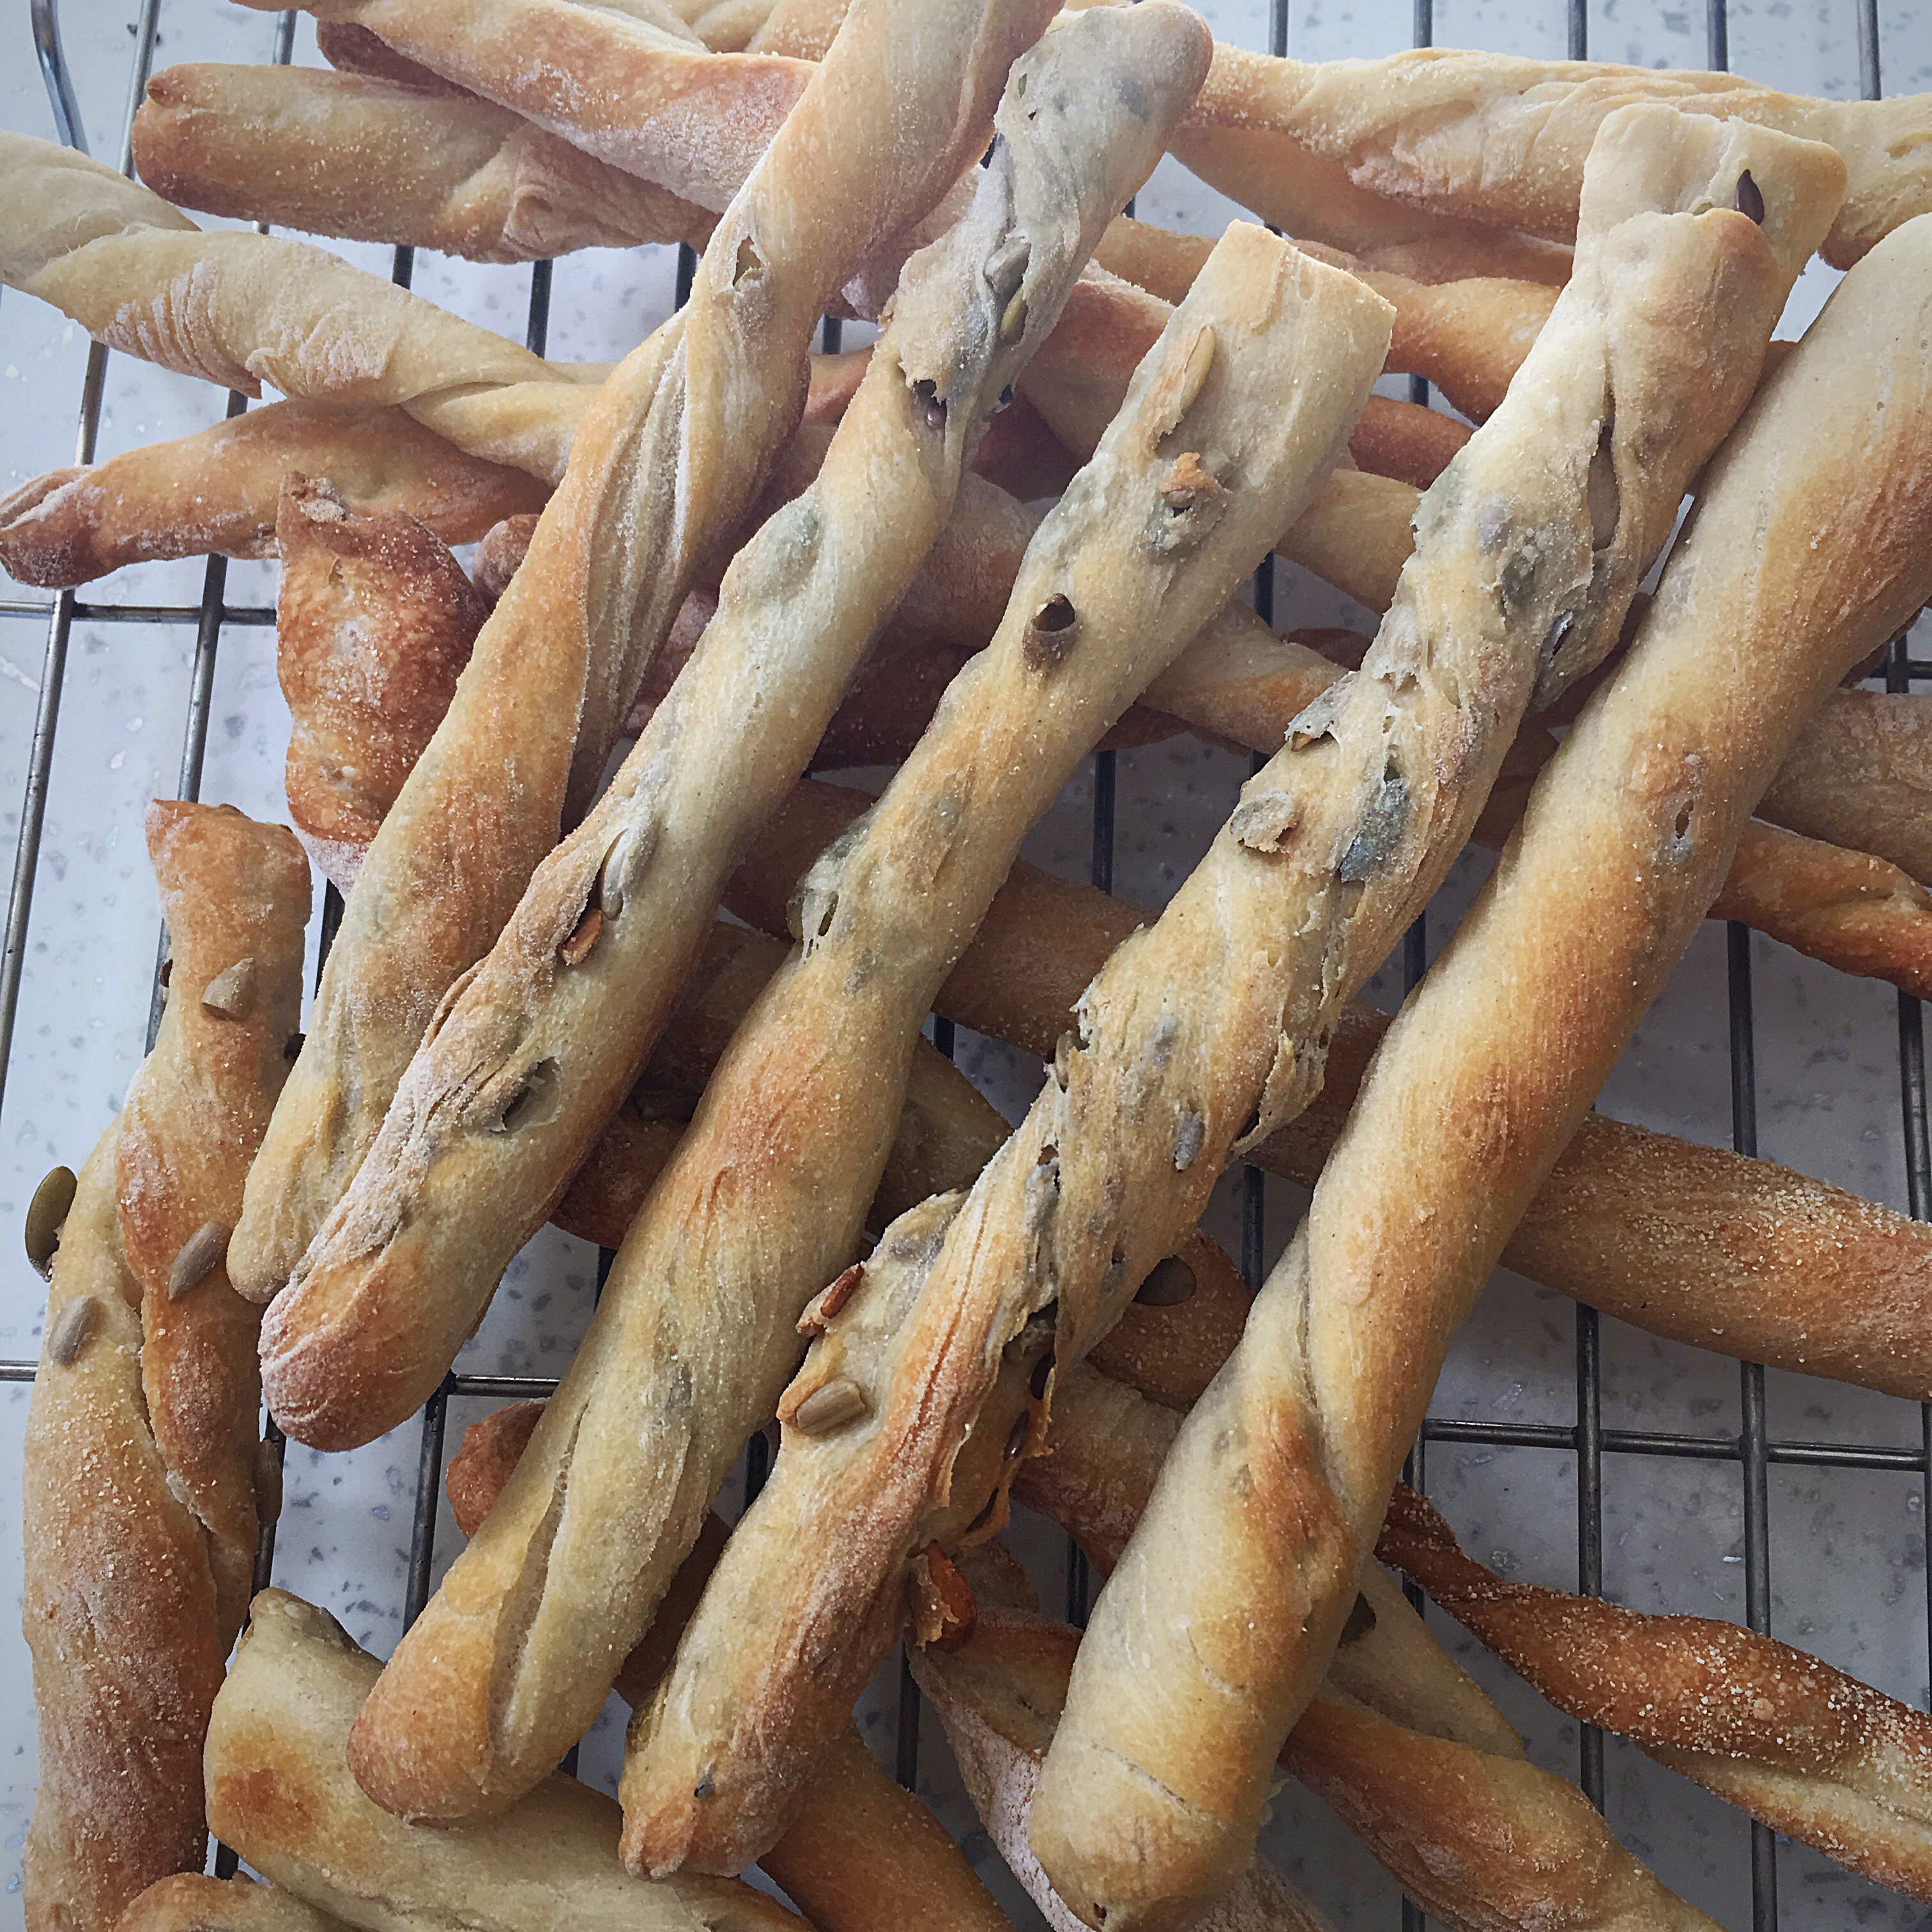
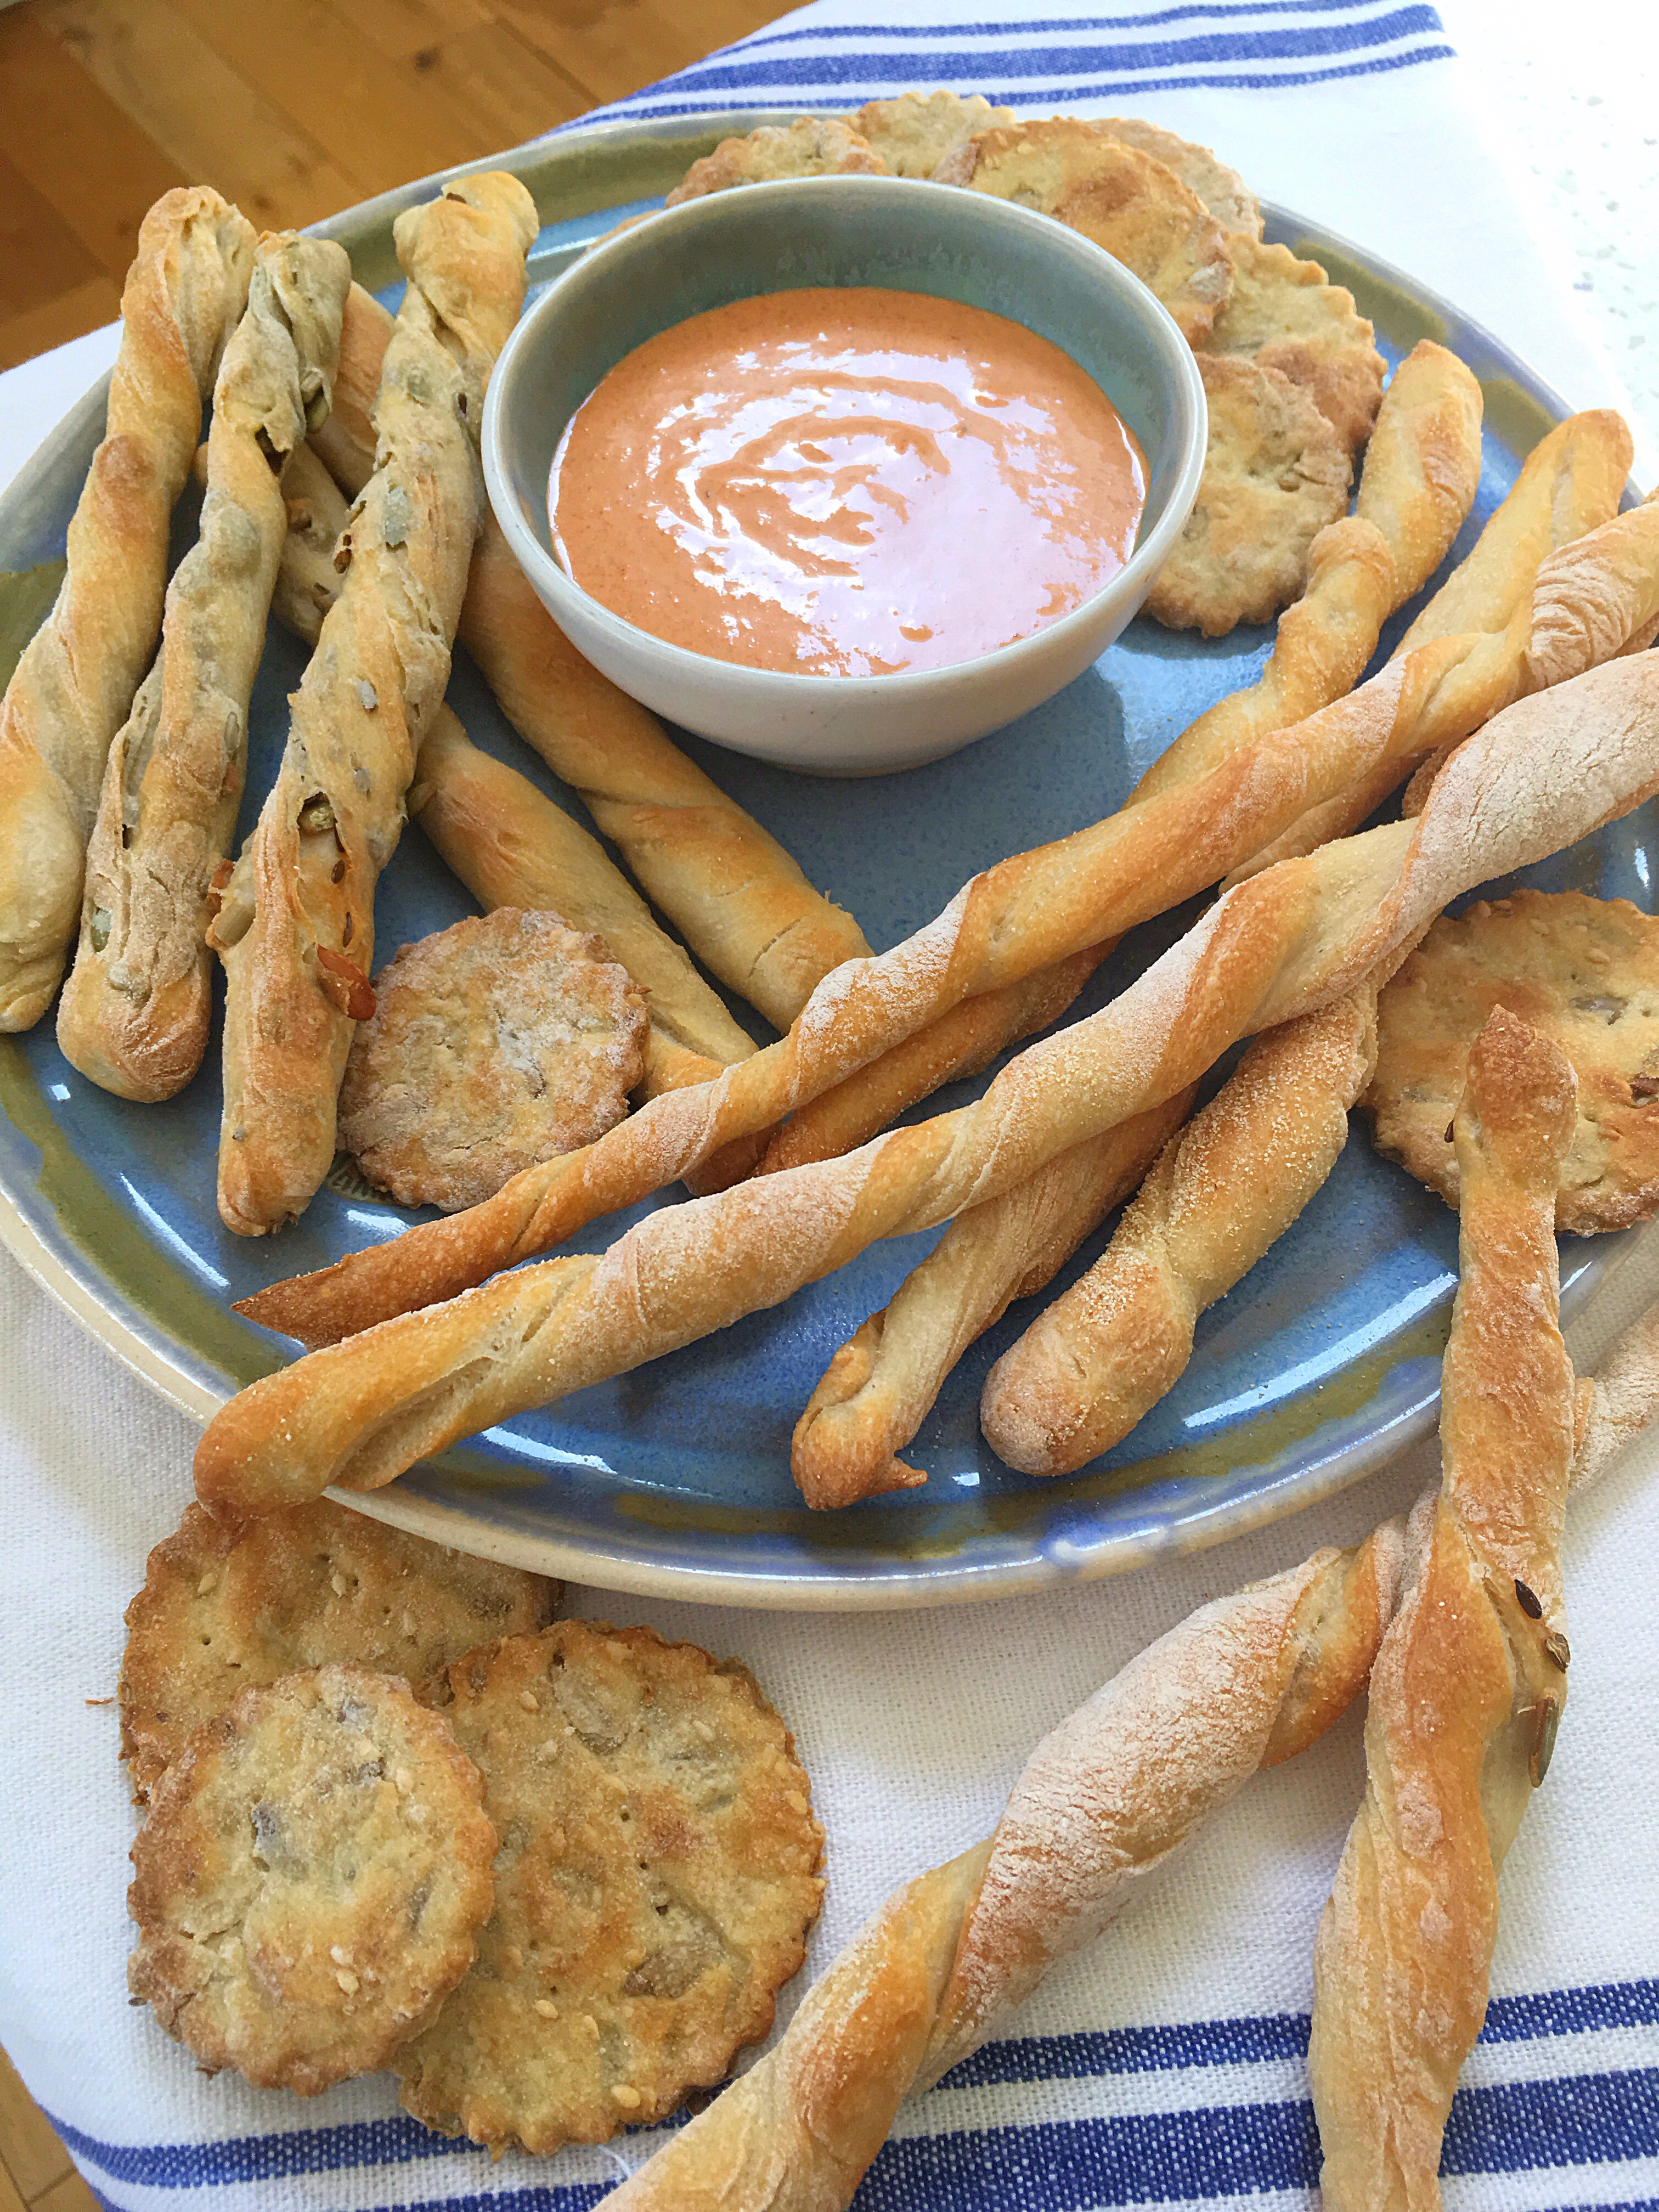
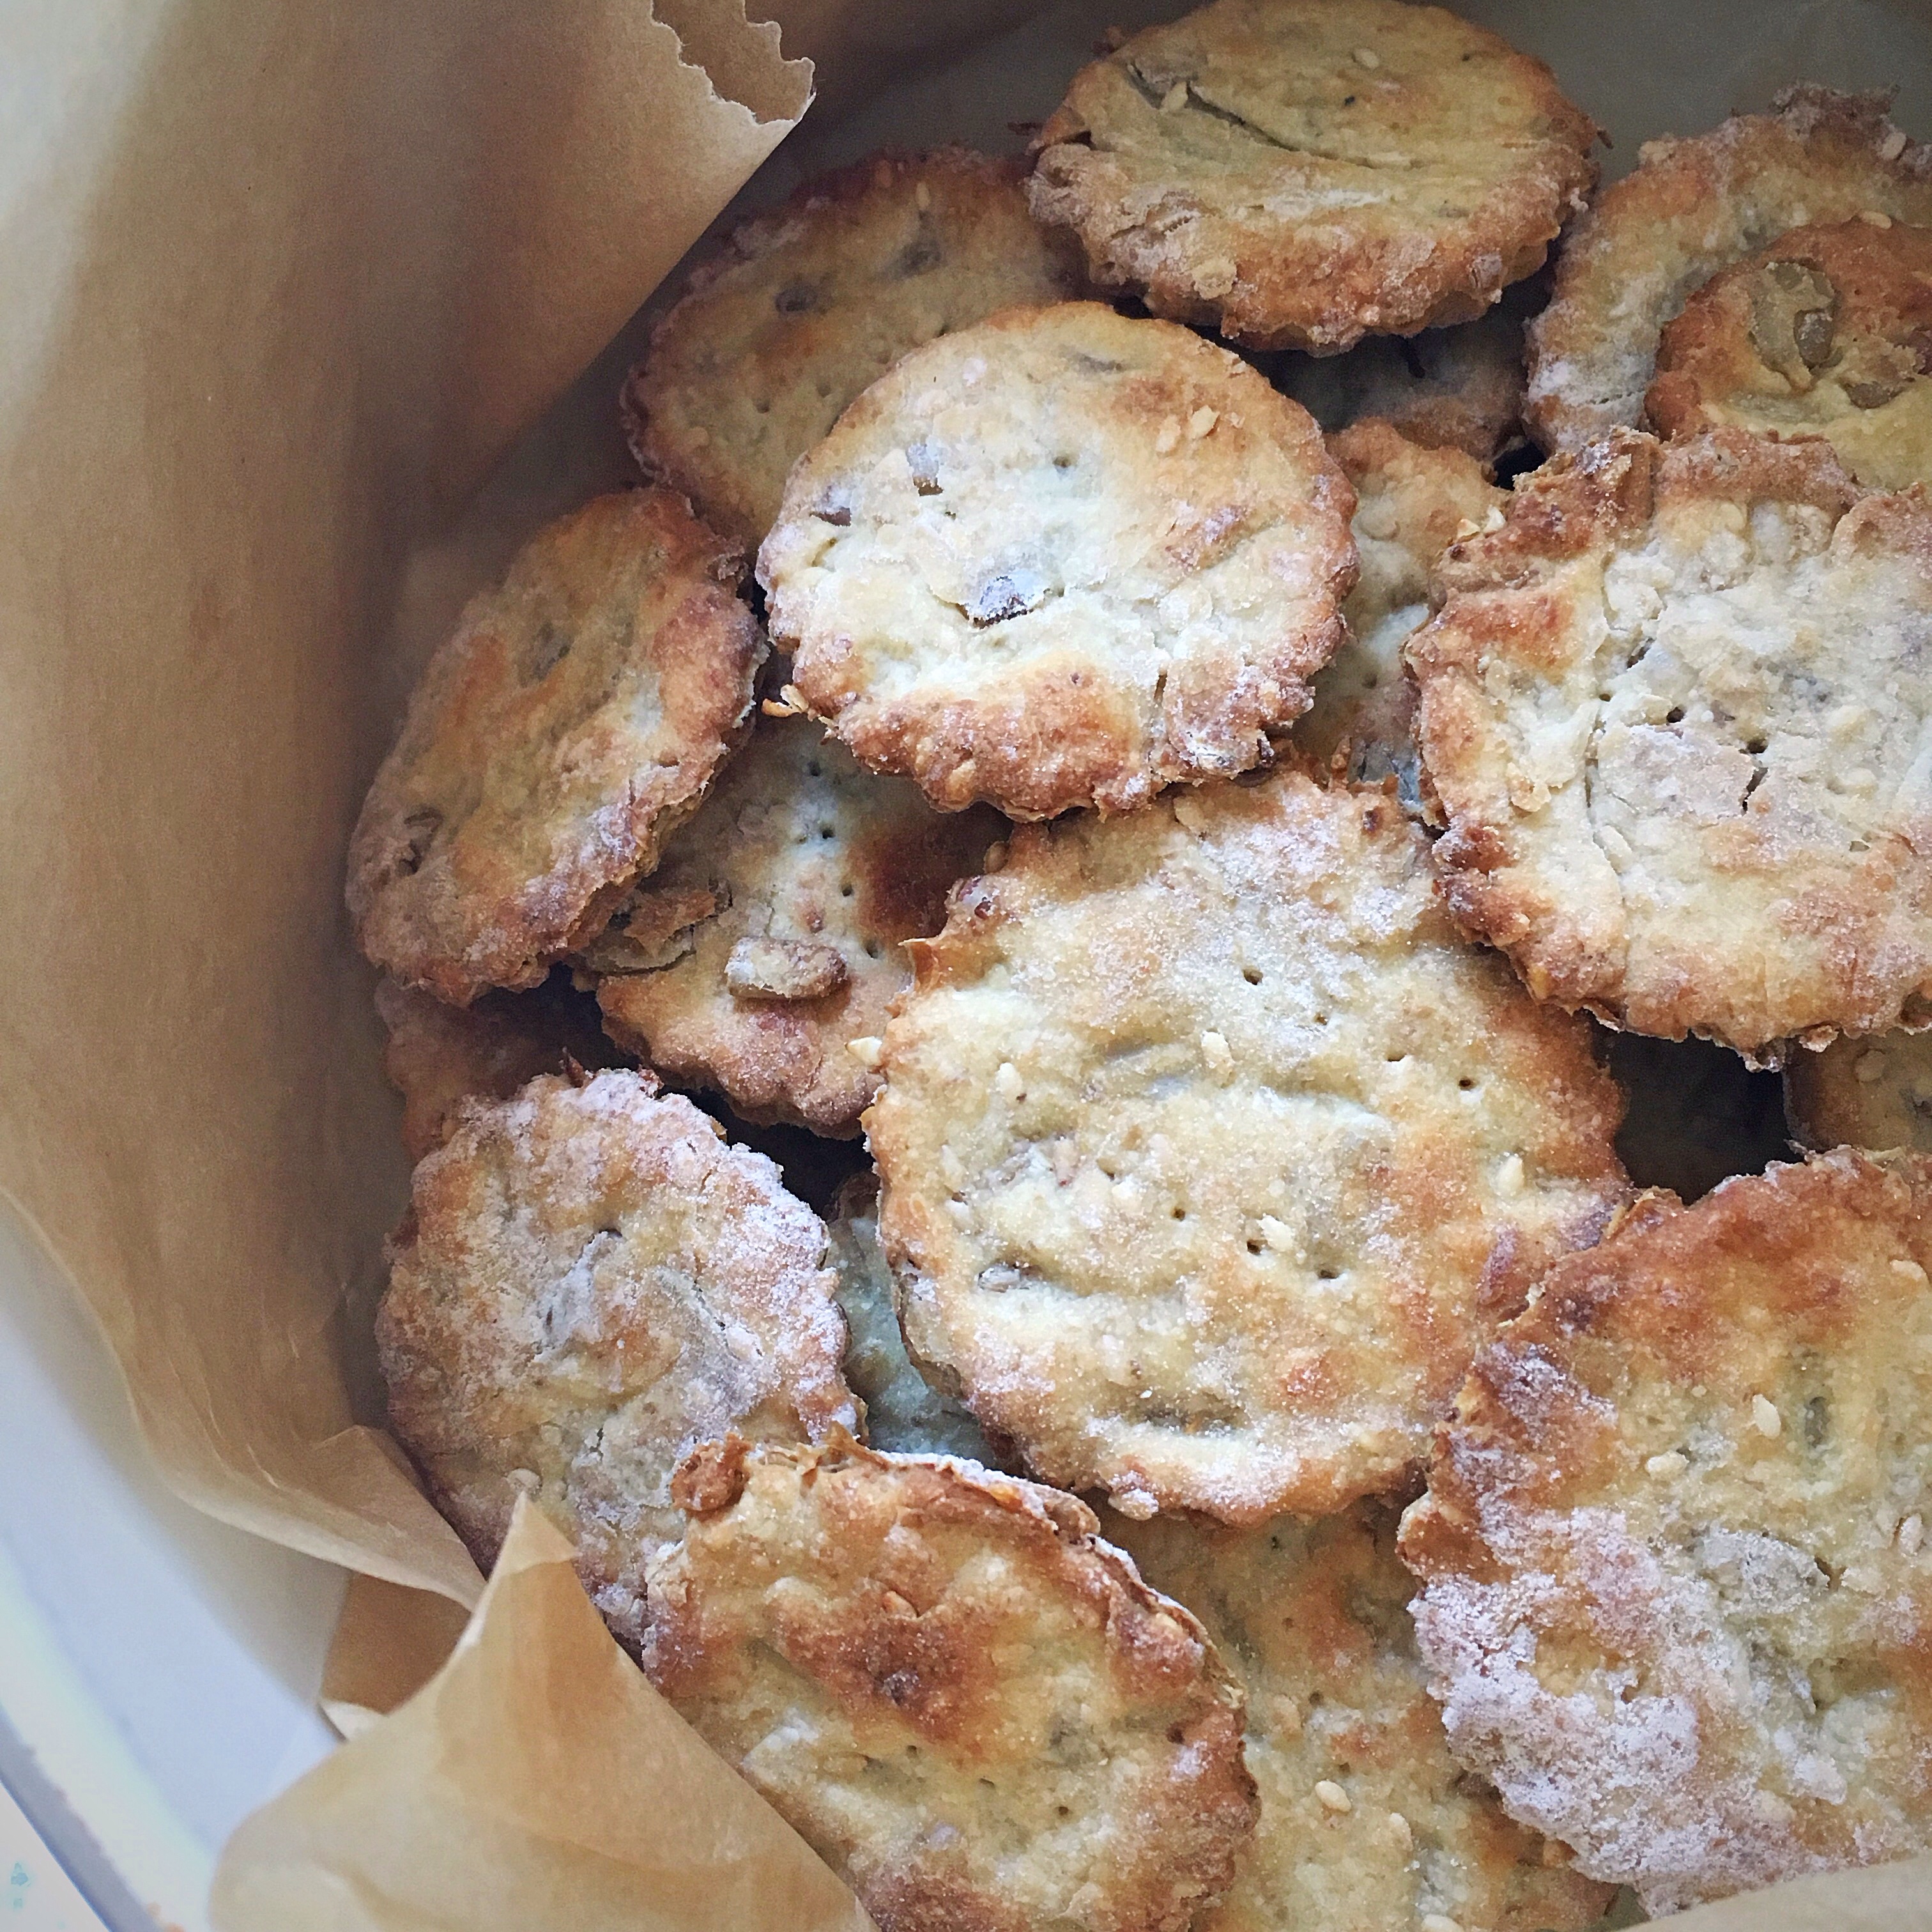
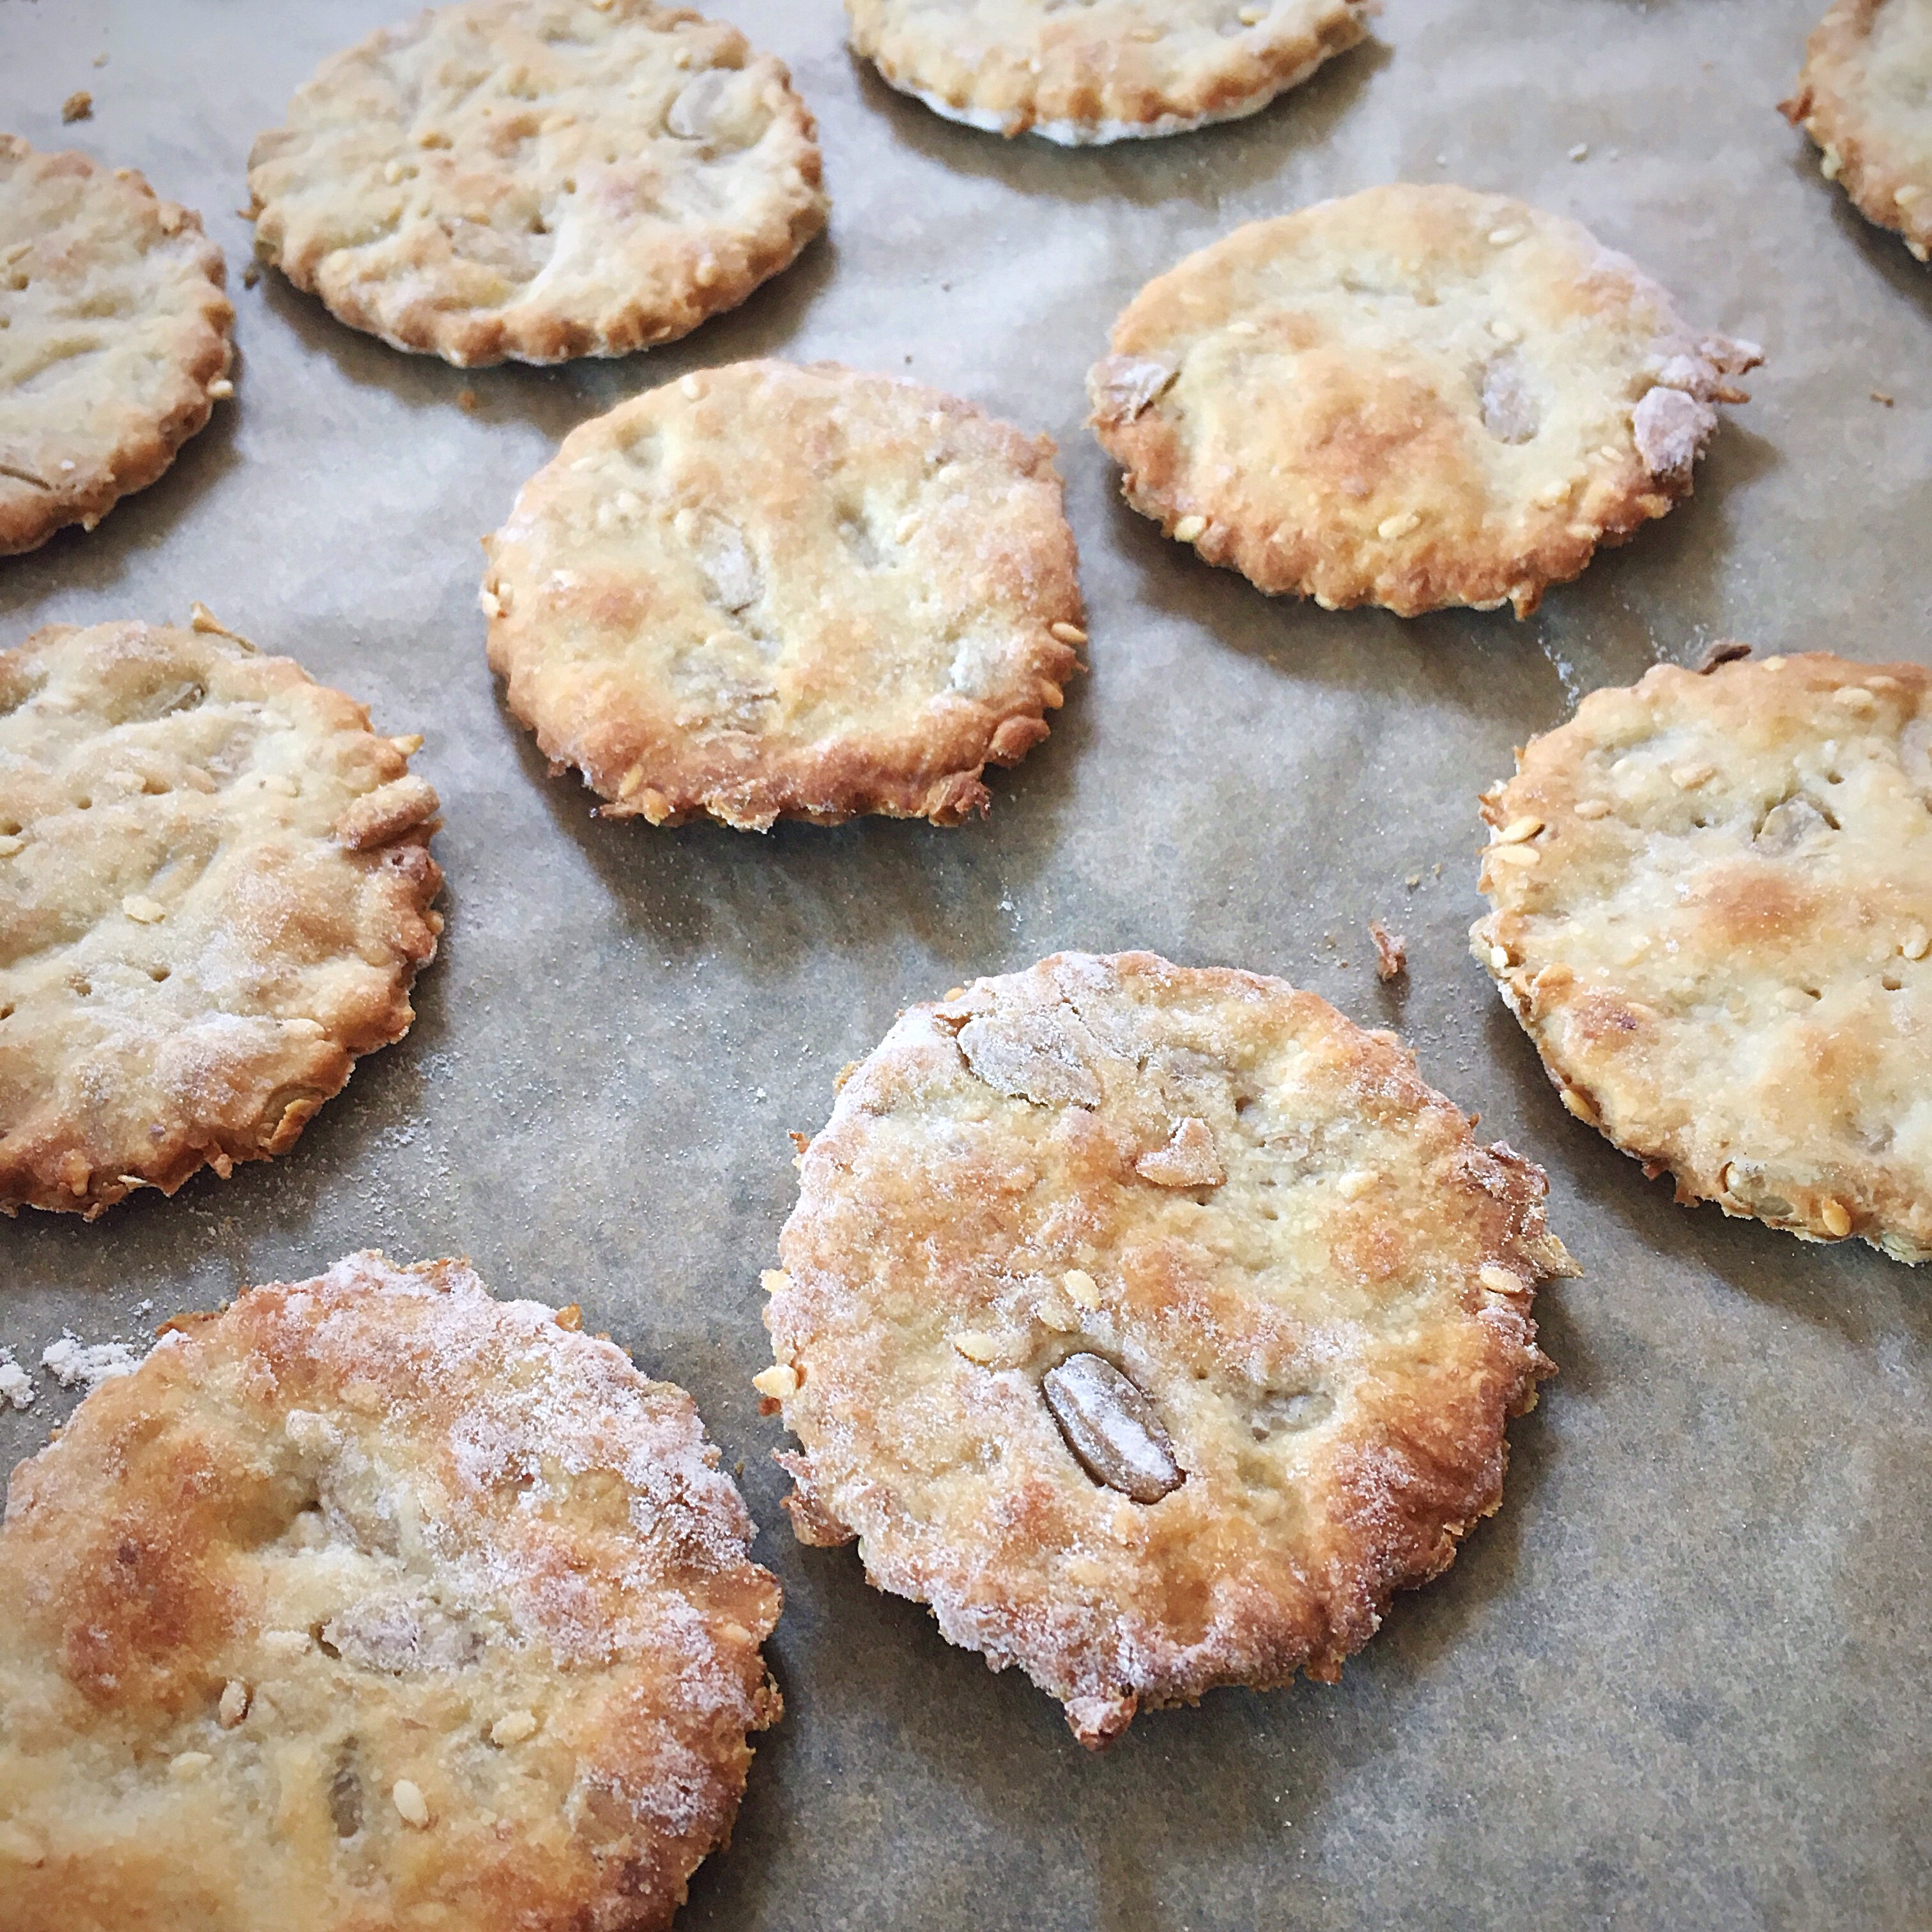
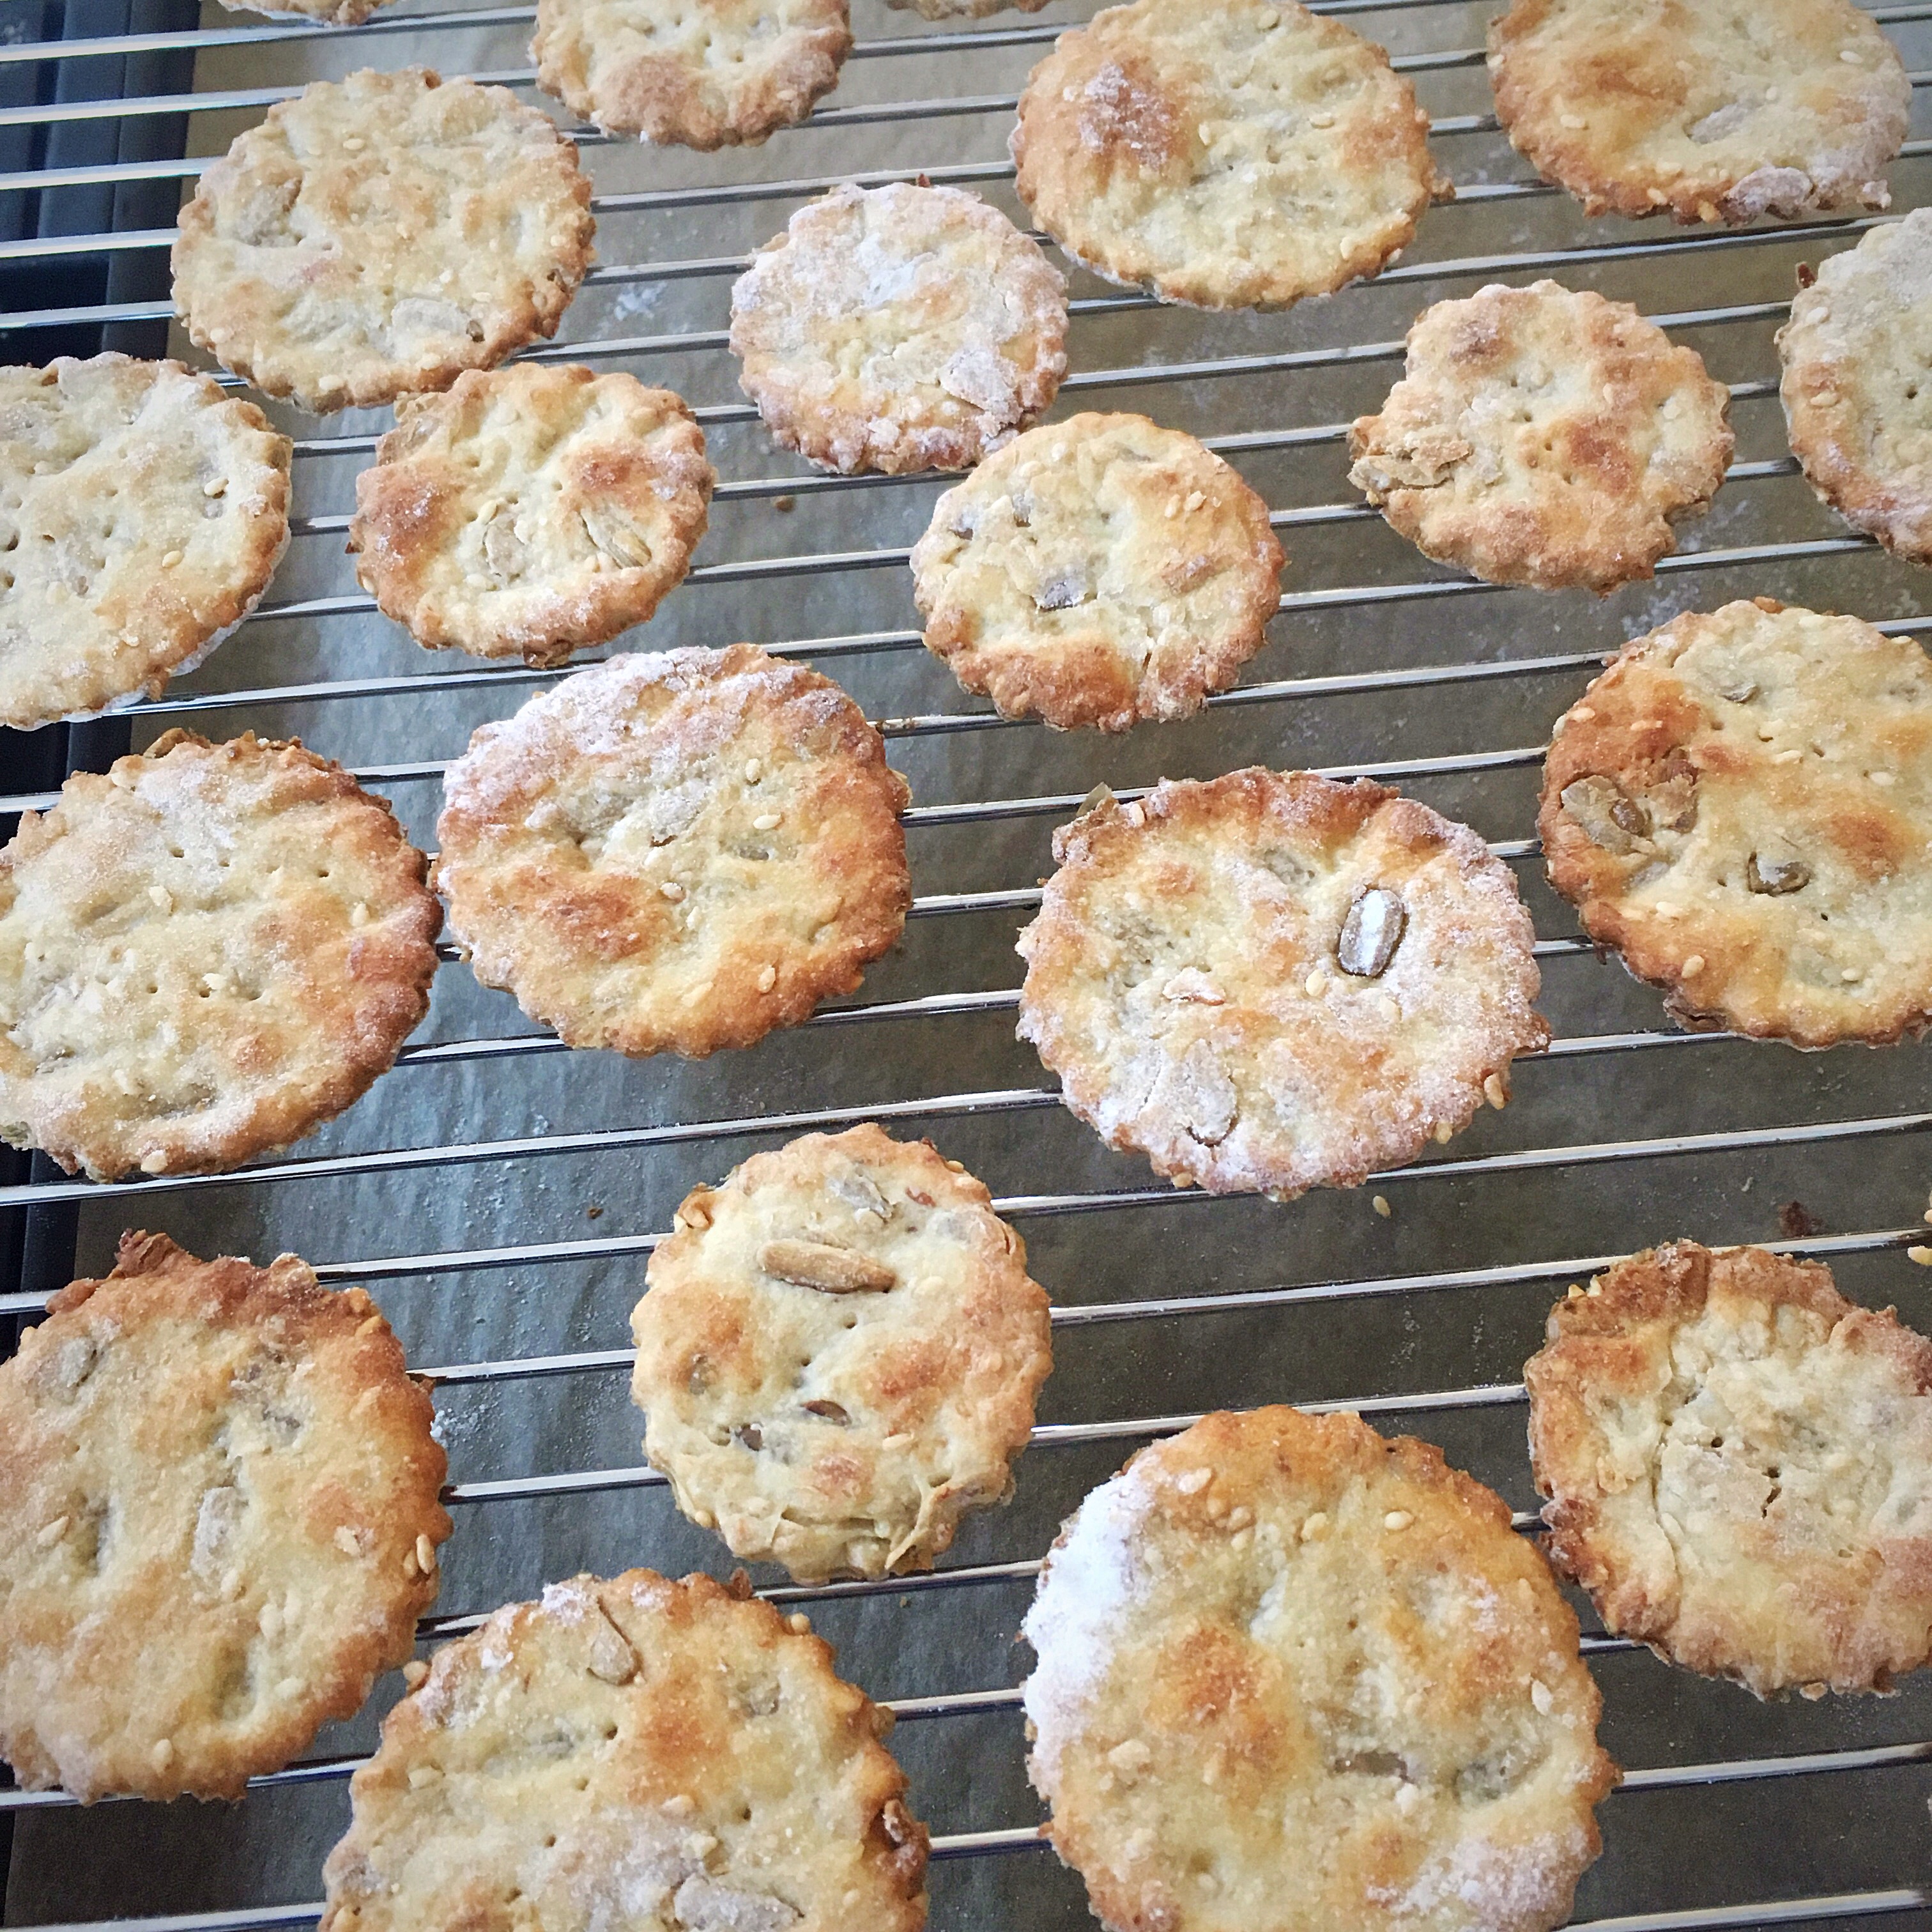
They’re great plain, and even better with added cheese, or like those above, a concoction such as cheese and za’atar…the possibilities are endless!!!
Ingredients
350g plain/cake flour
85g bubbly active starter (my starter is 100% hydration i.e. I feed it with equal weights of flour and water; for more details about my starter management, visit the relevant pages on the site, links to the left)
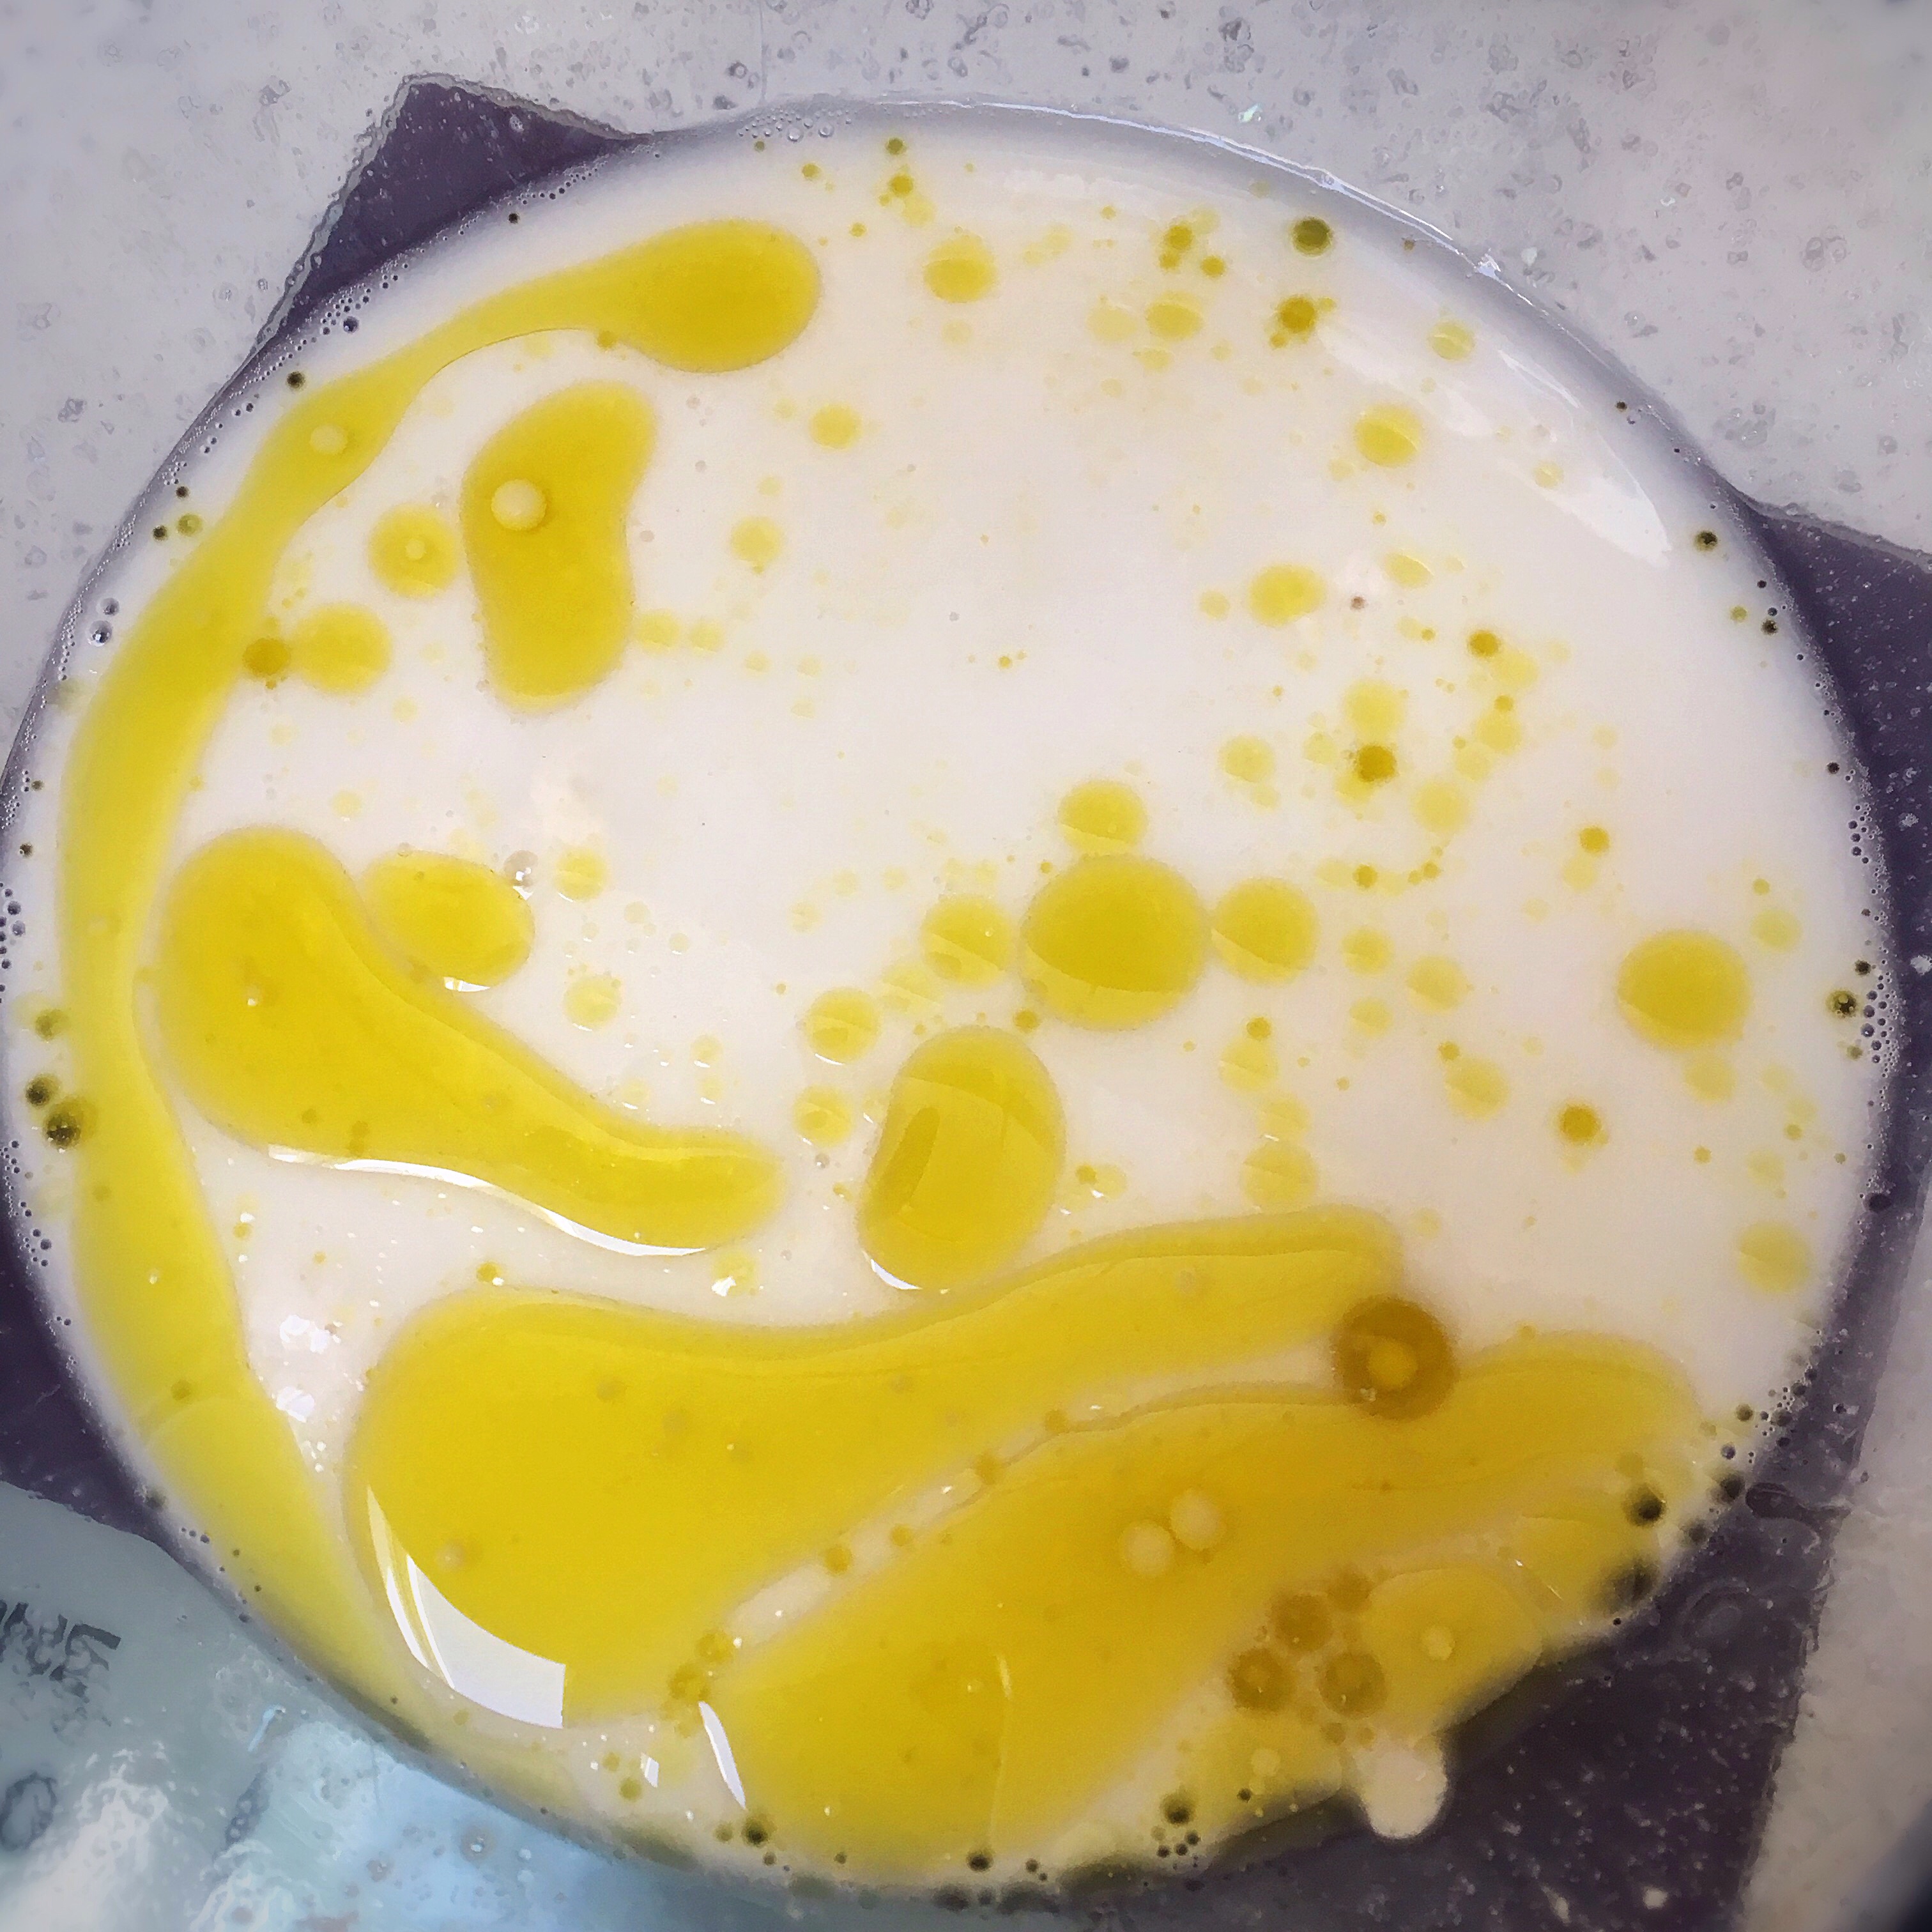
284ml tub of buttermilk or 300g in weight
1tsp bicarbonate of soda
Pinch of salt
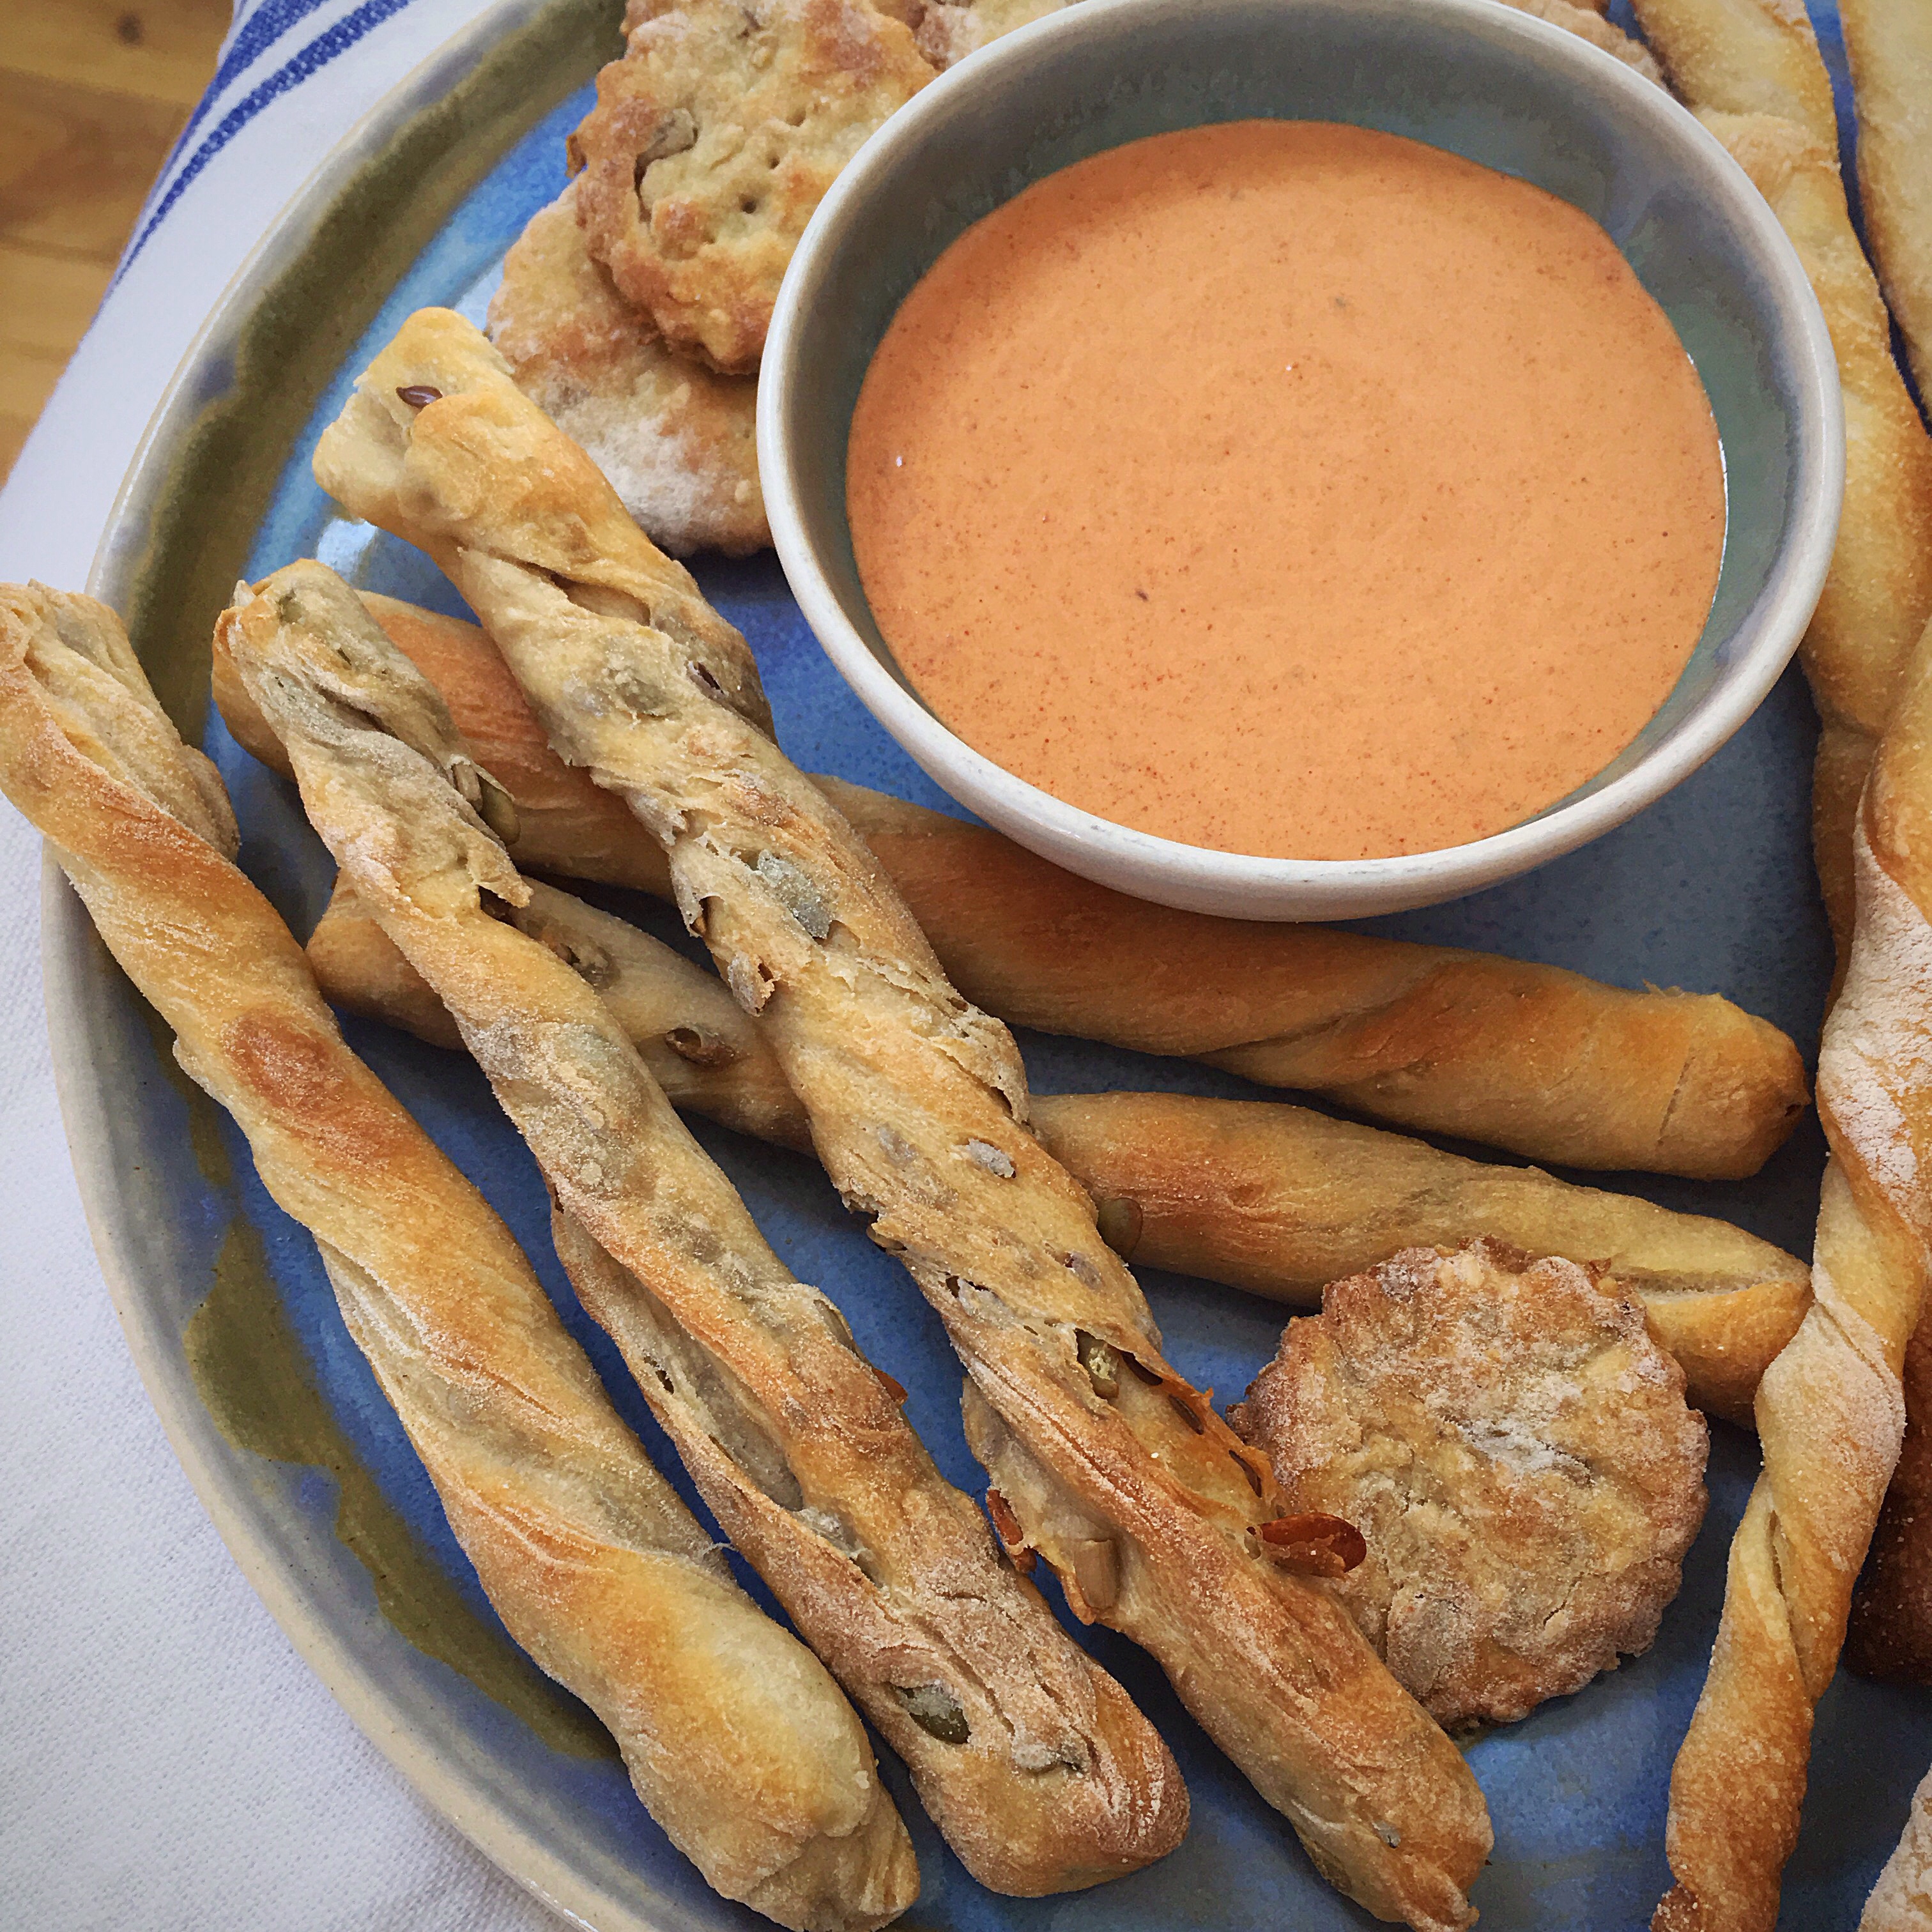
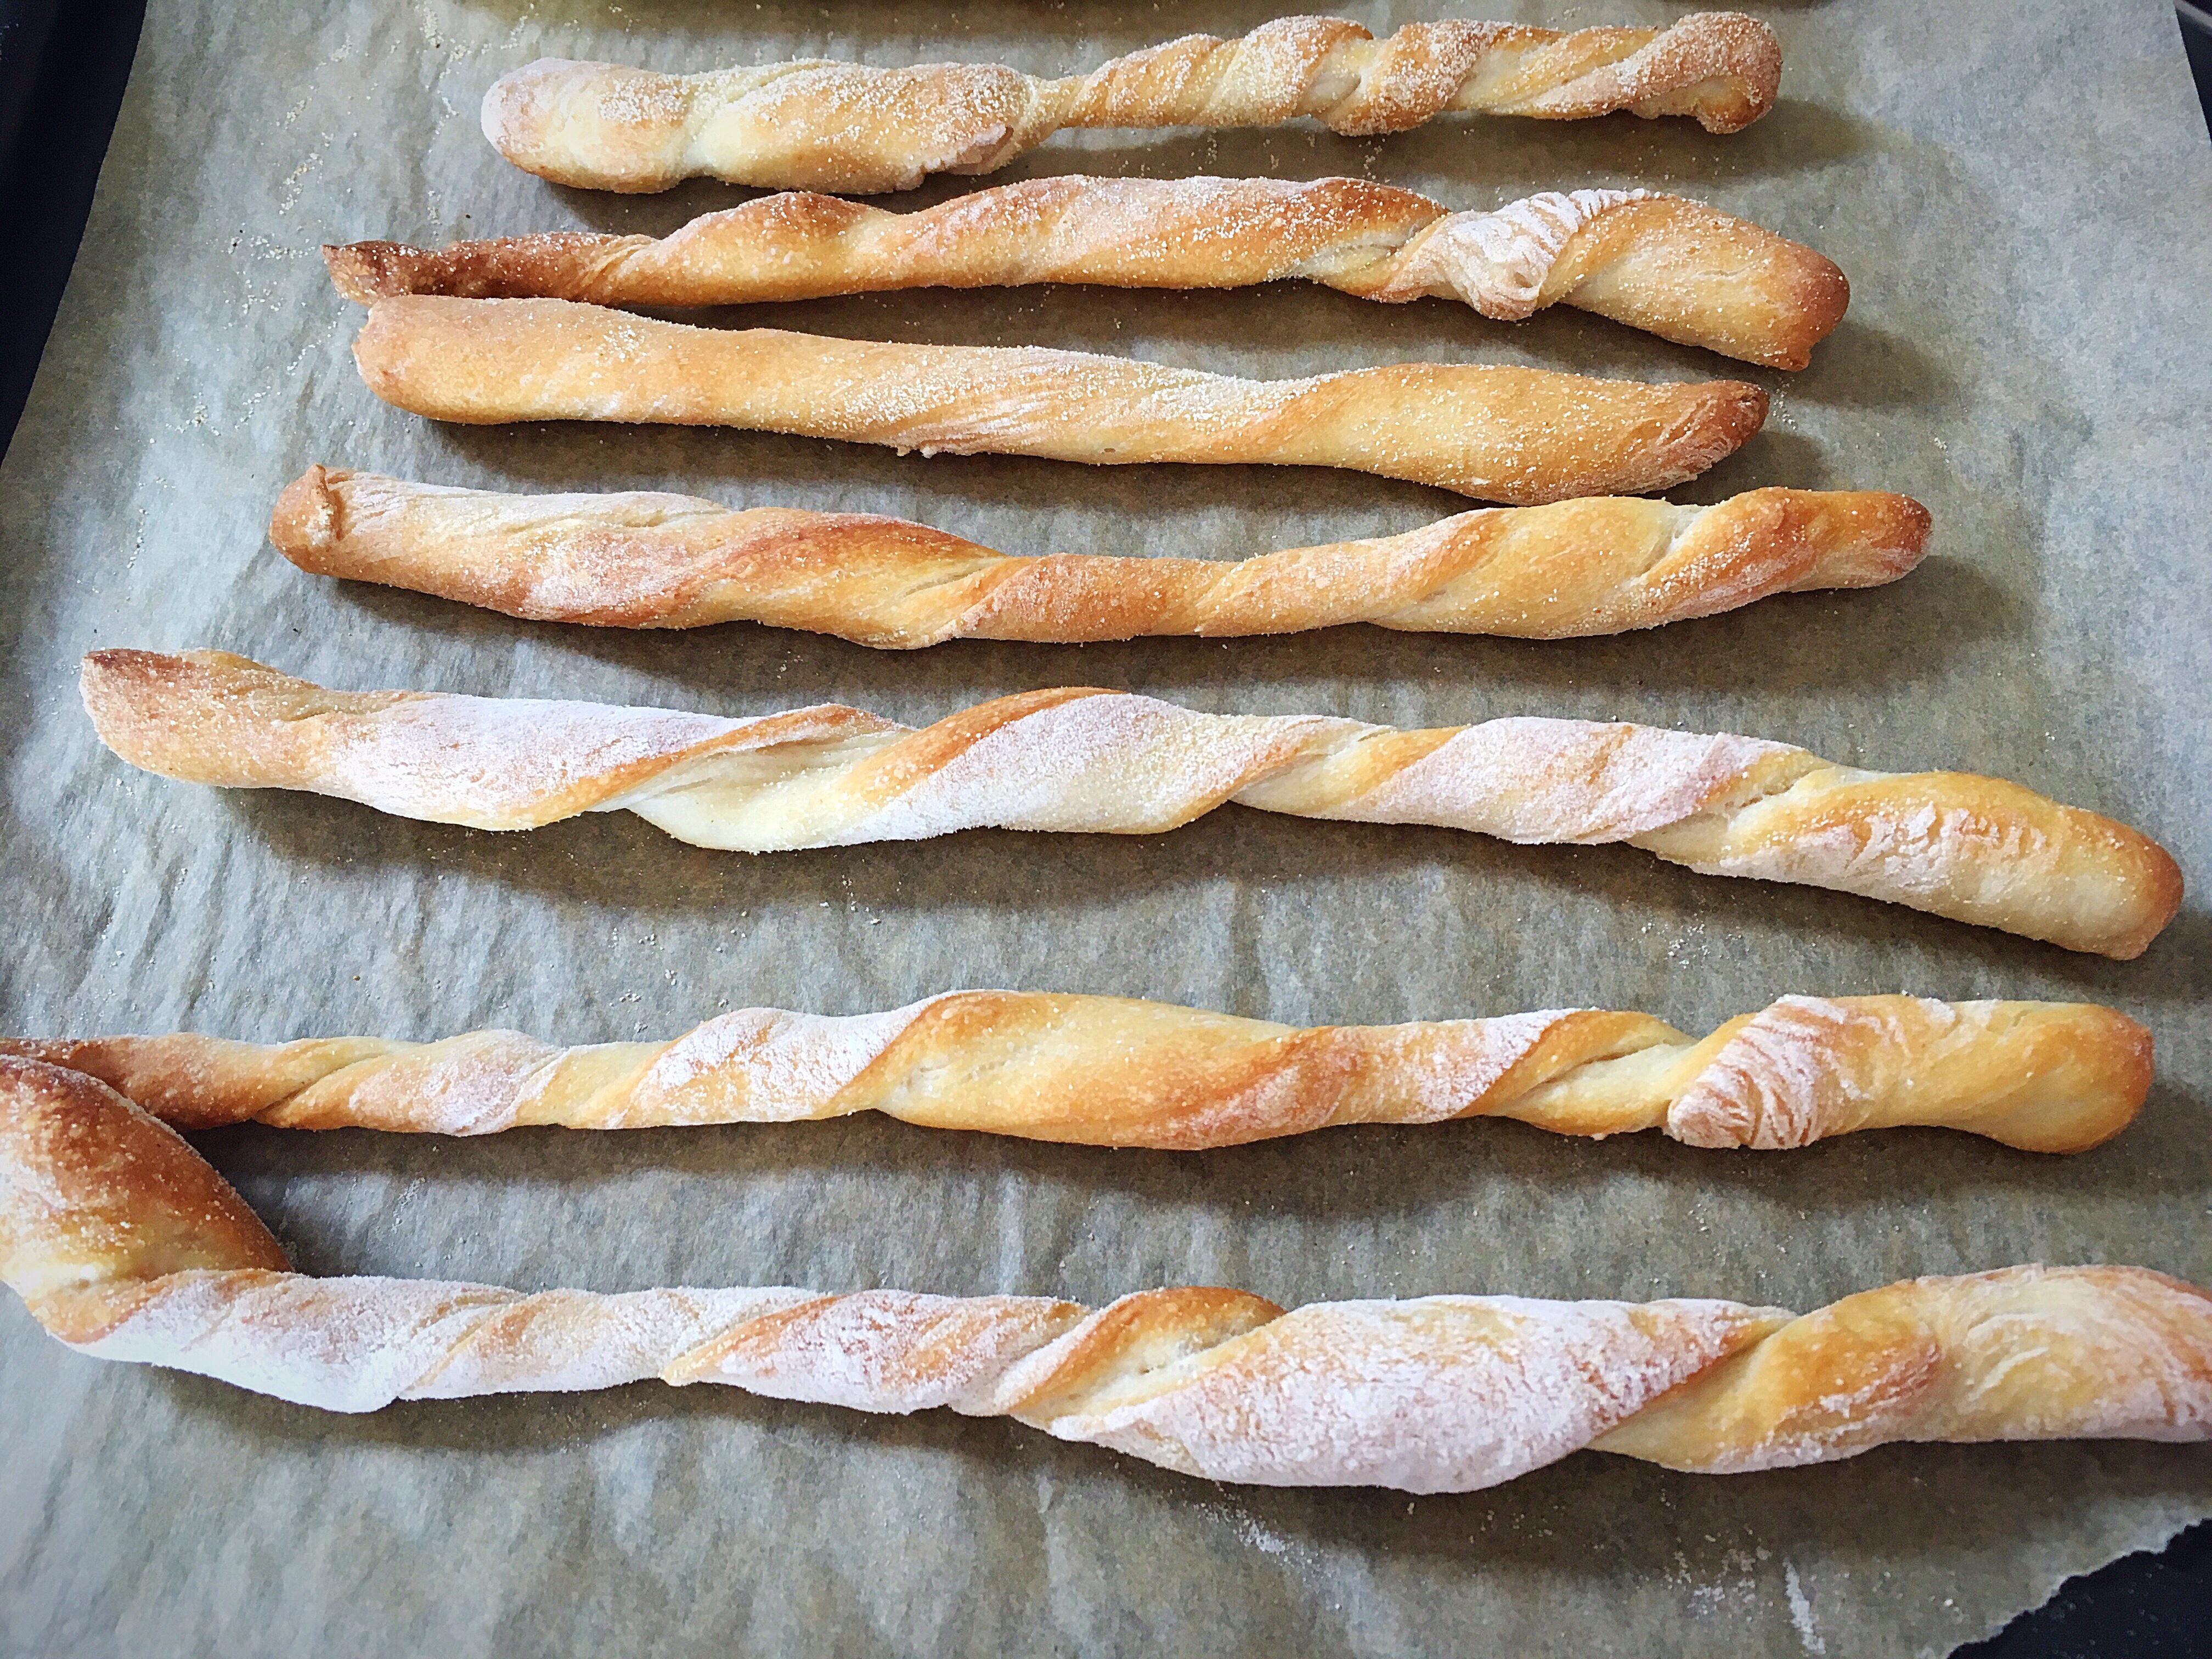
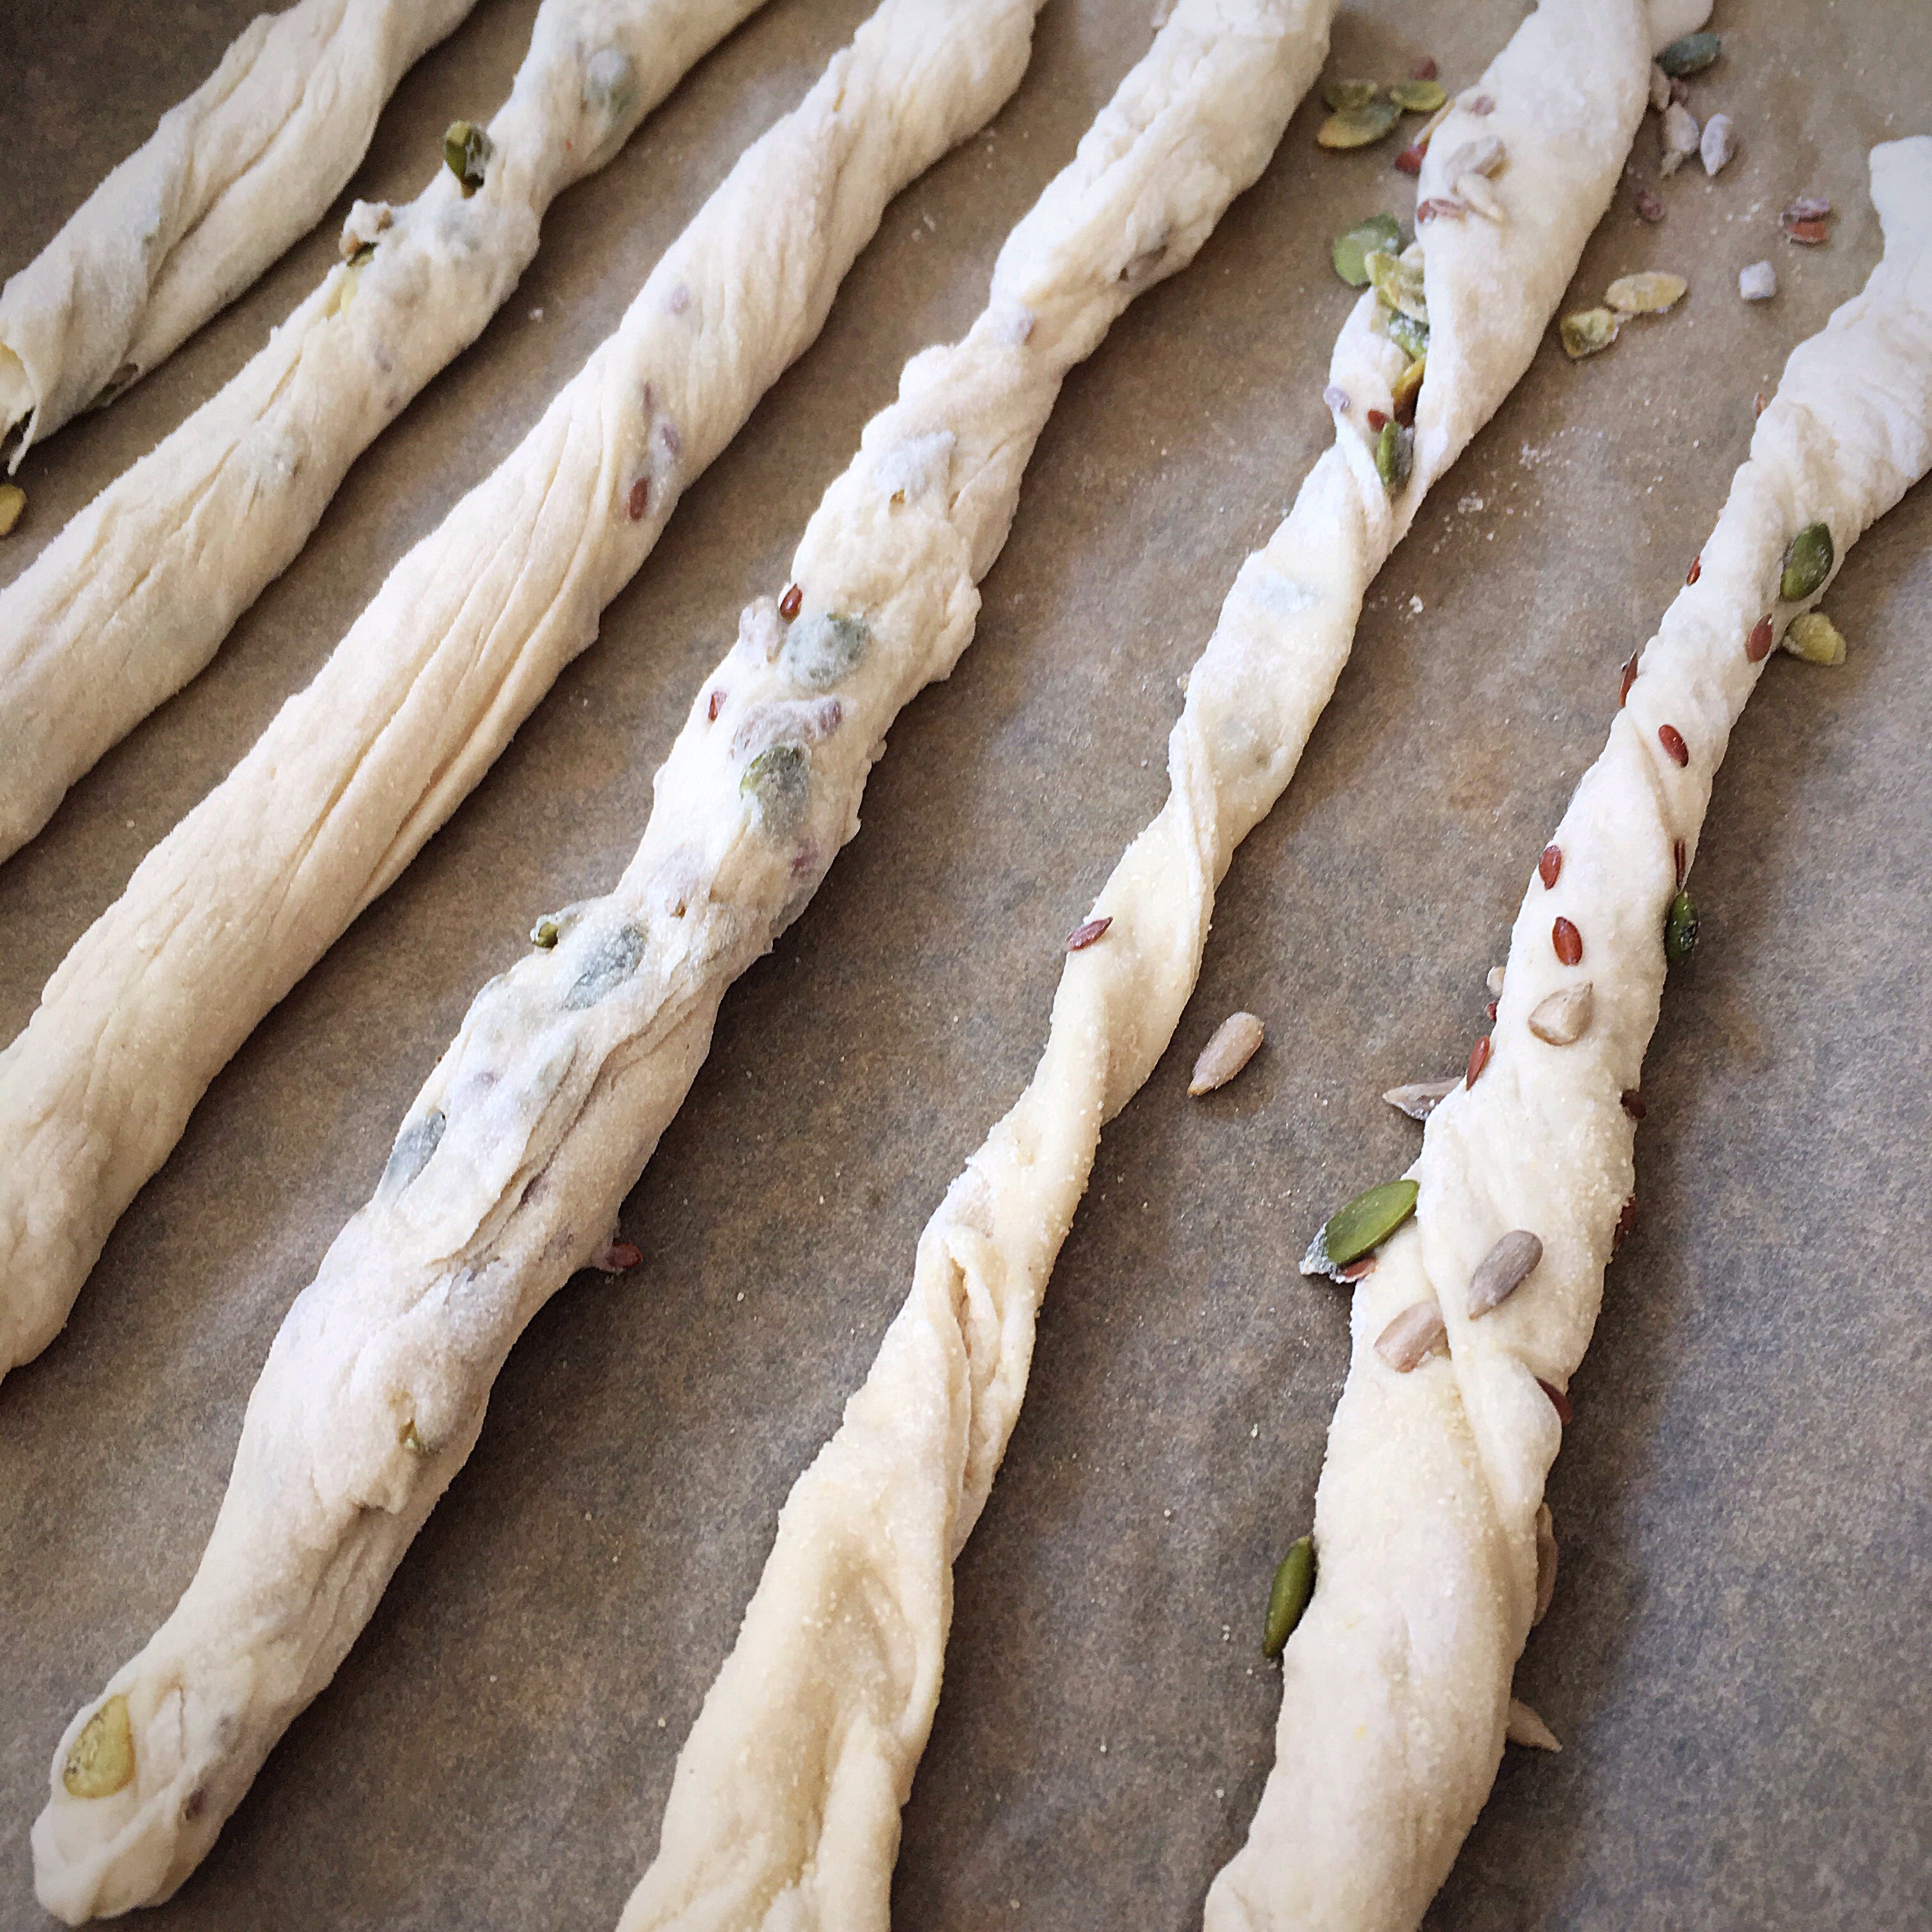
Optional additions: cheese, herbs, spices, nuts, seeds…

Method
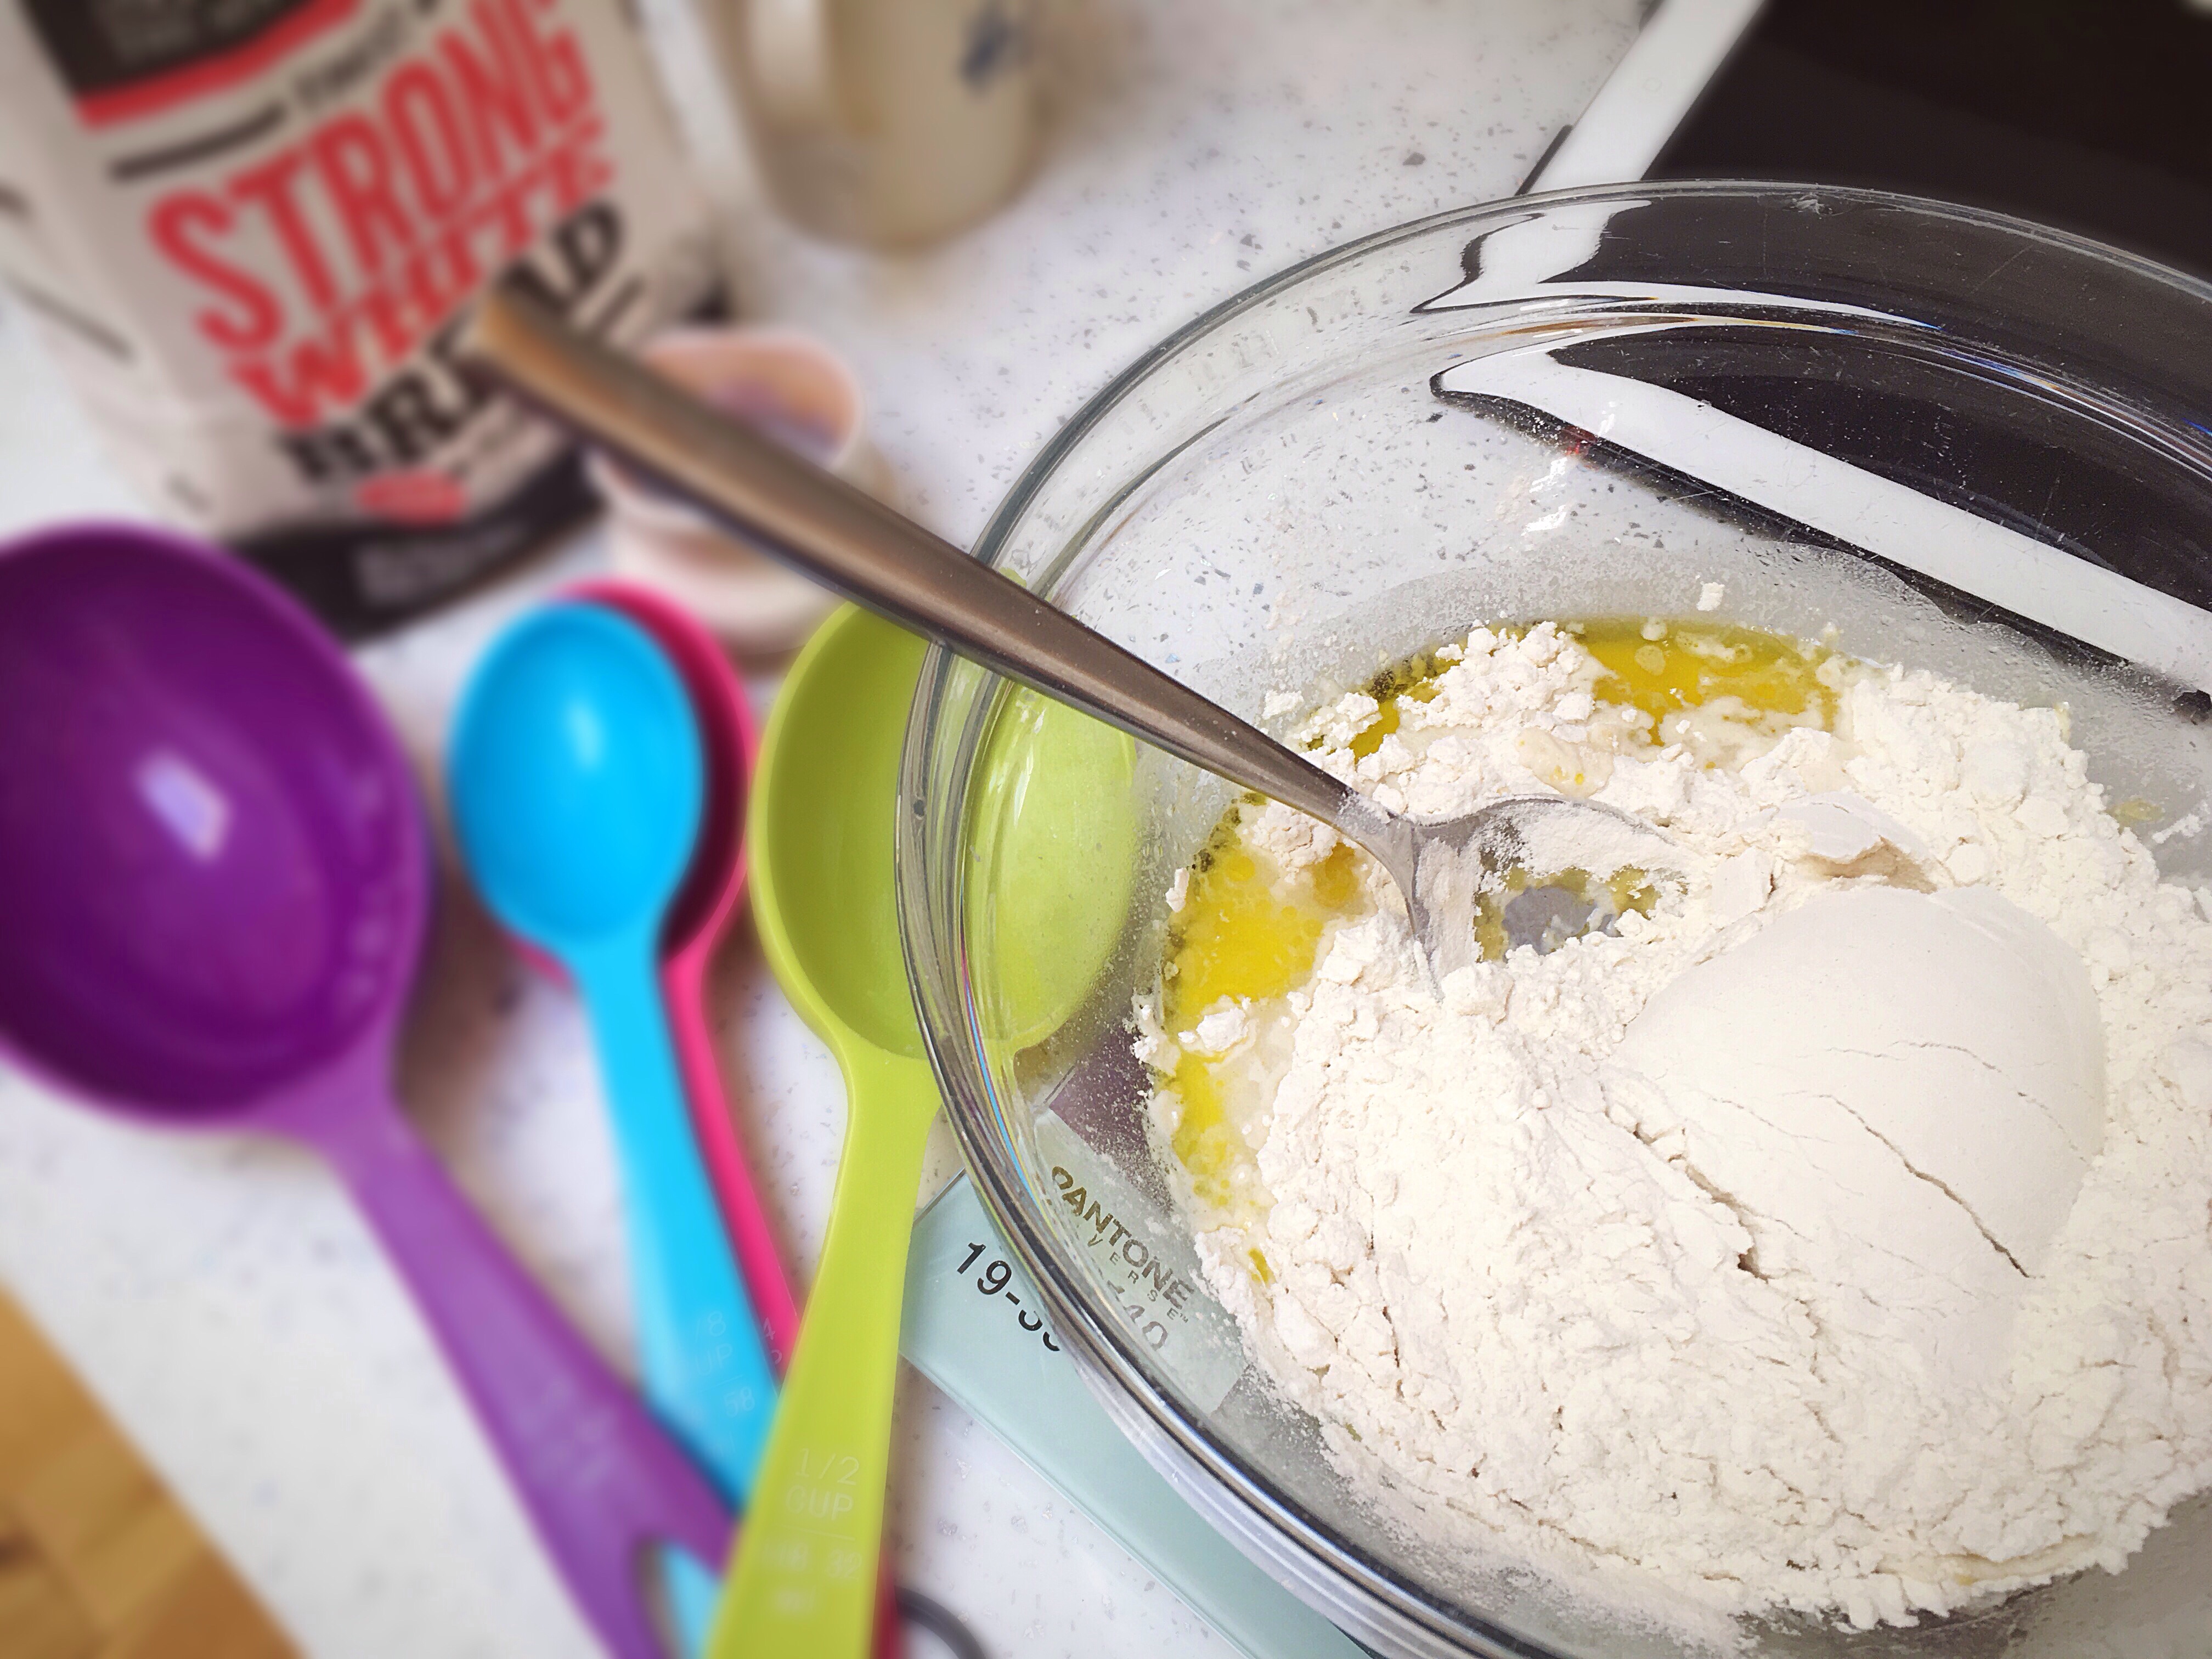
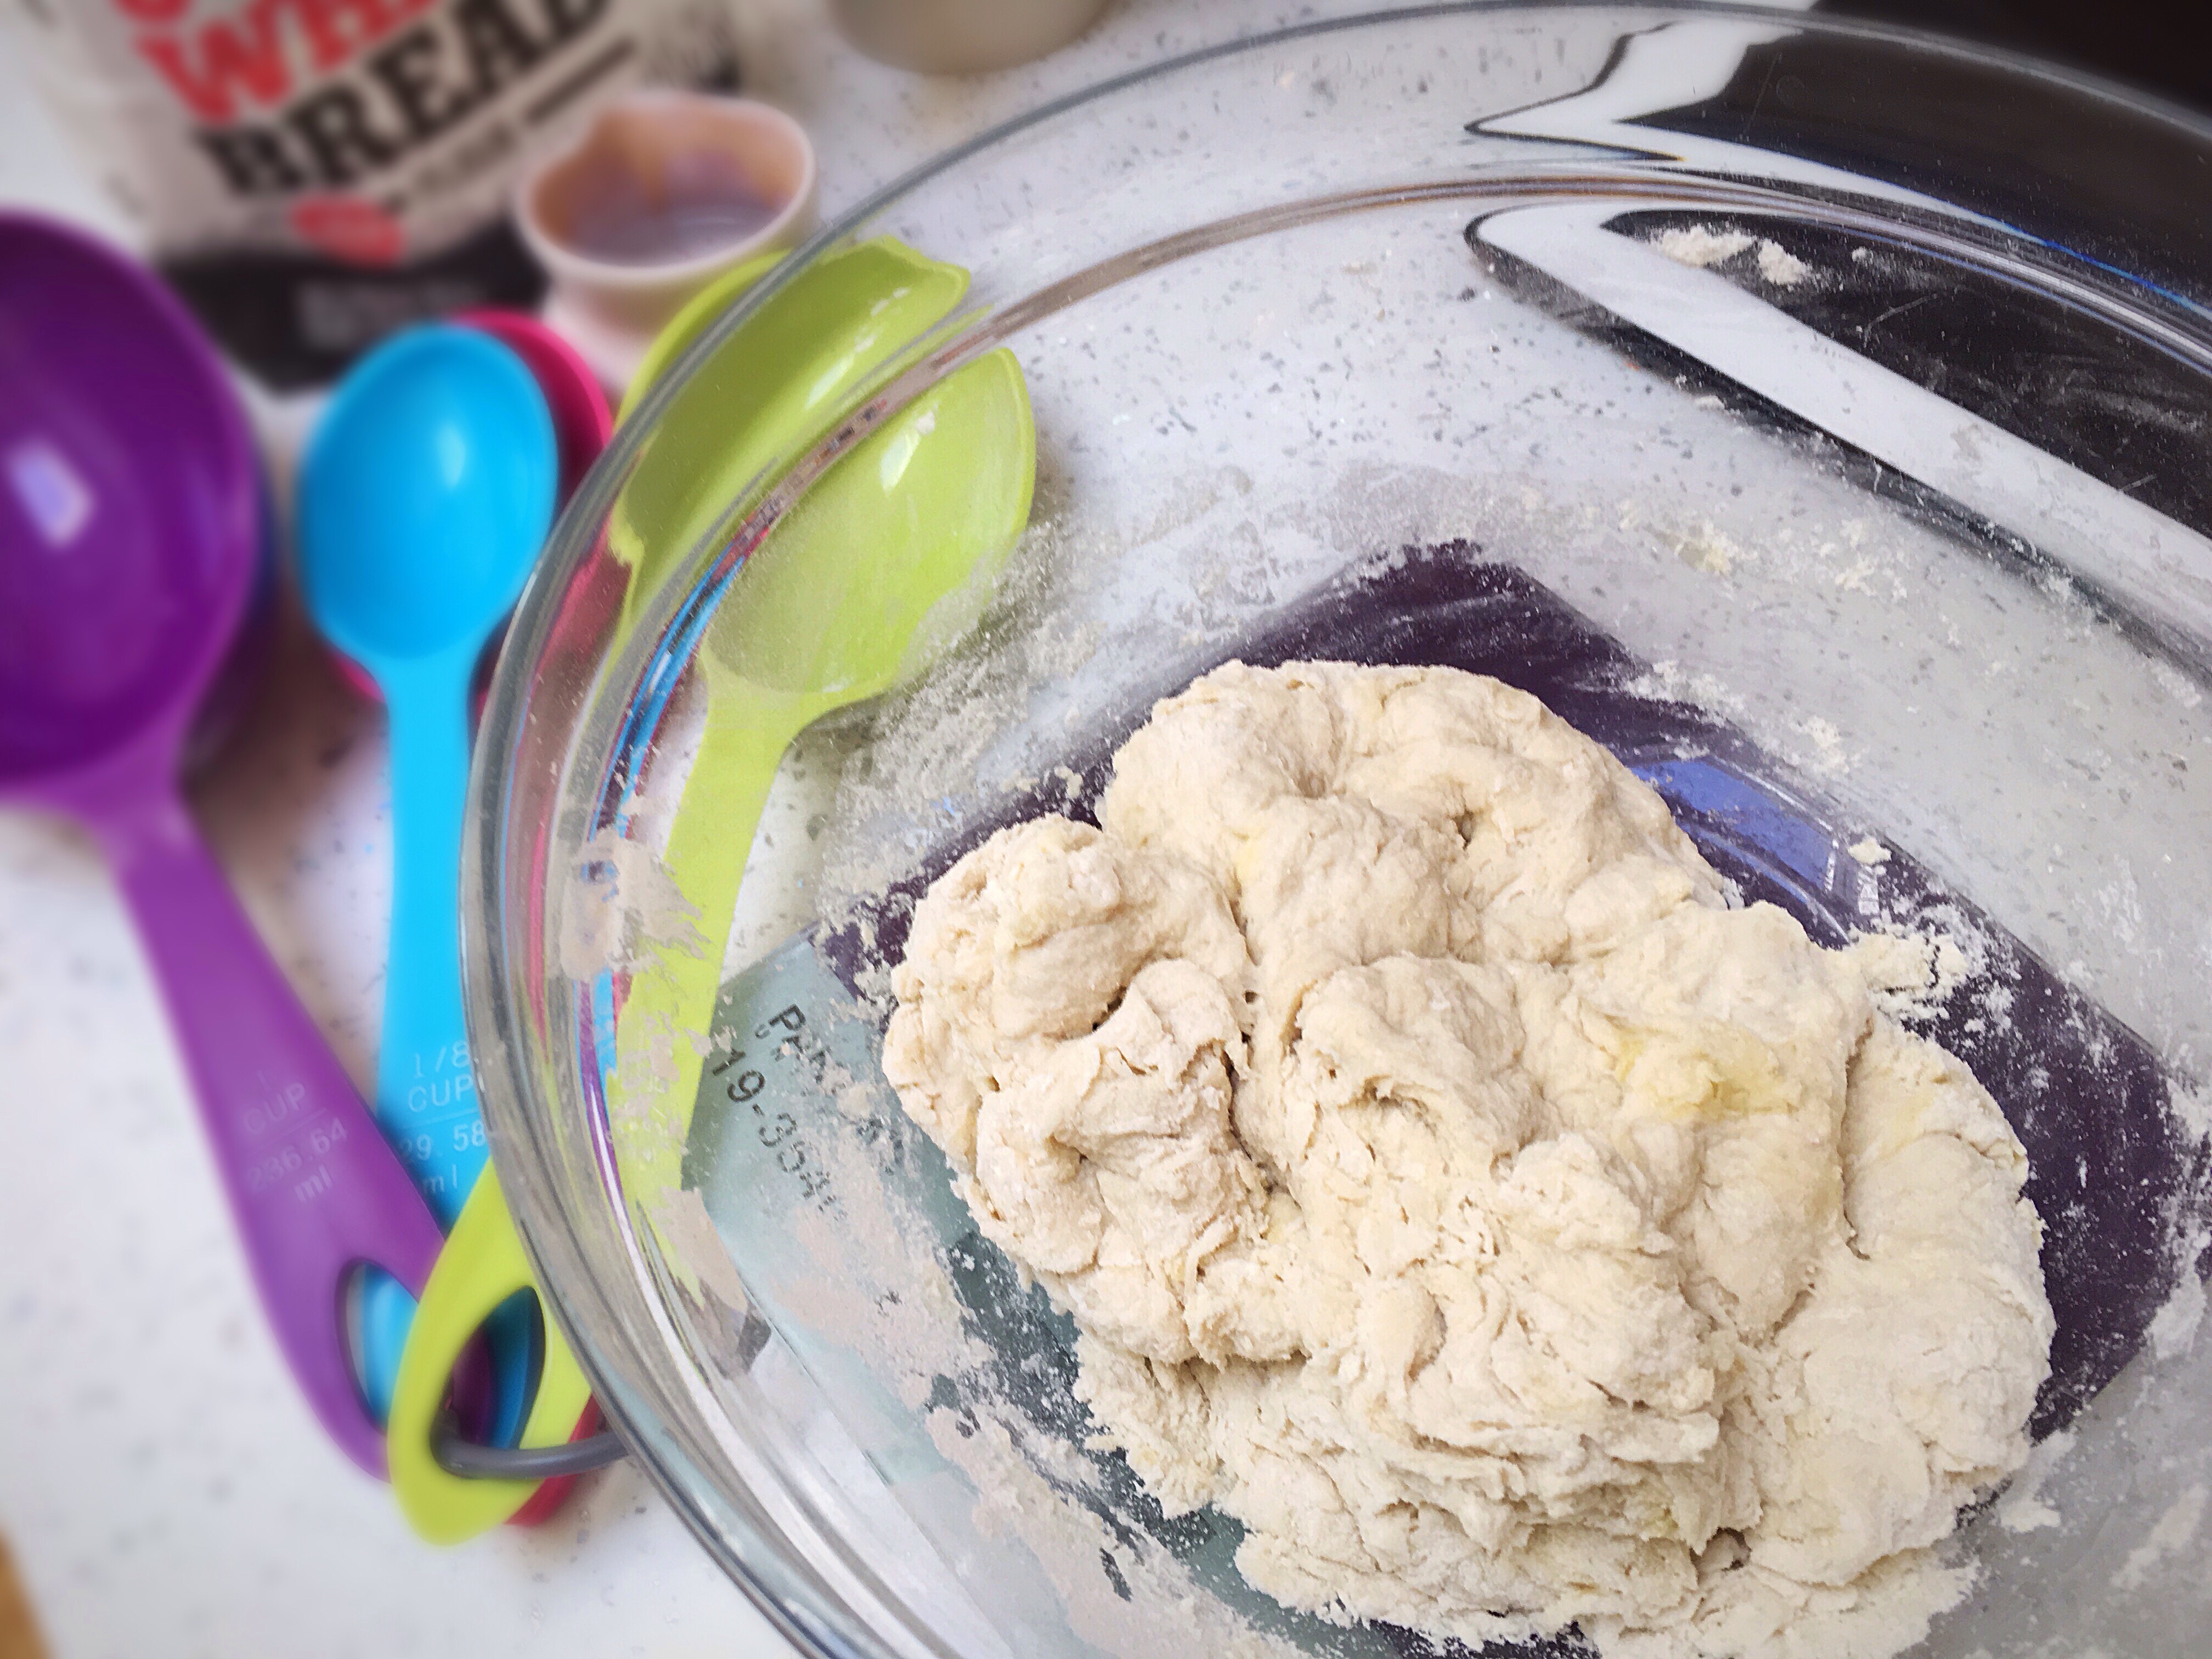
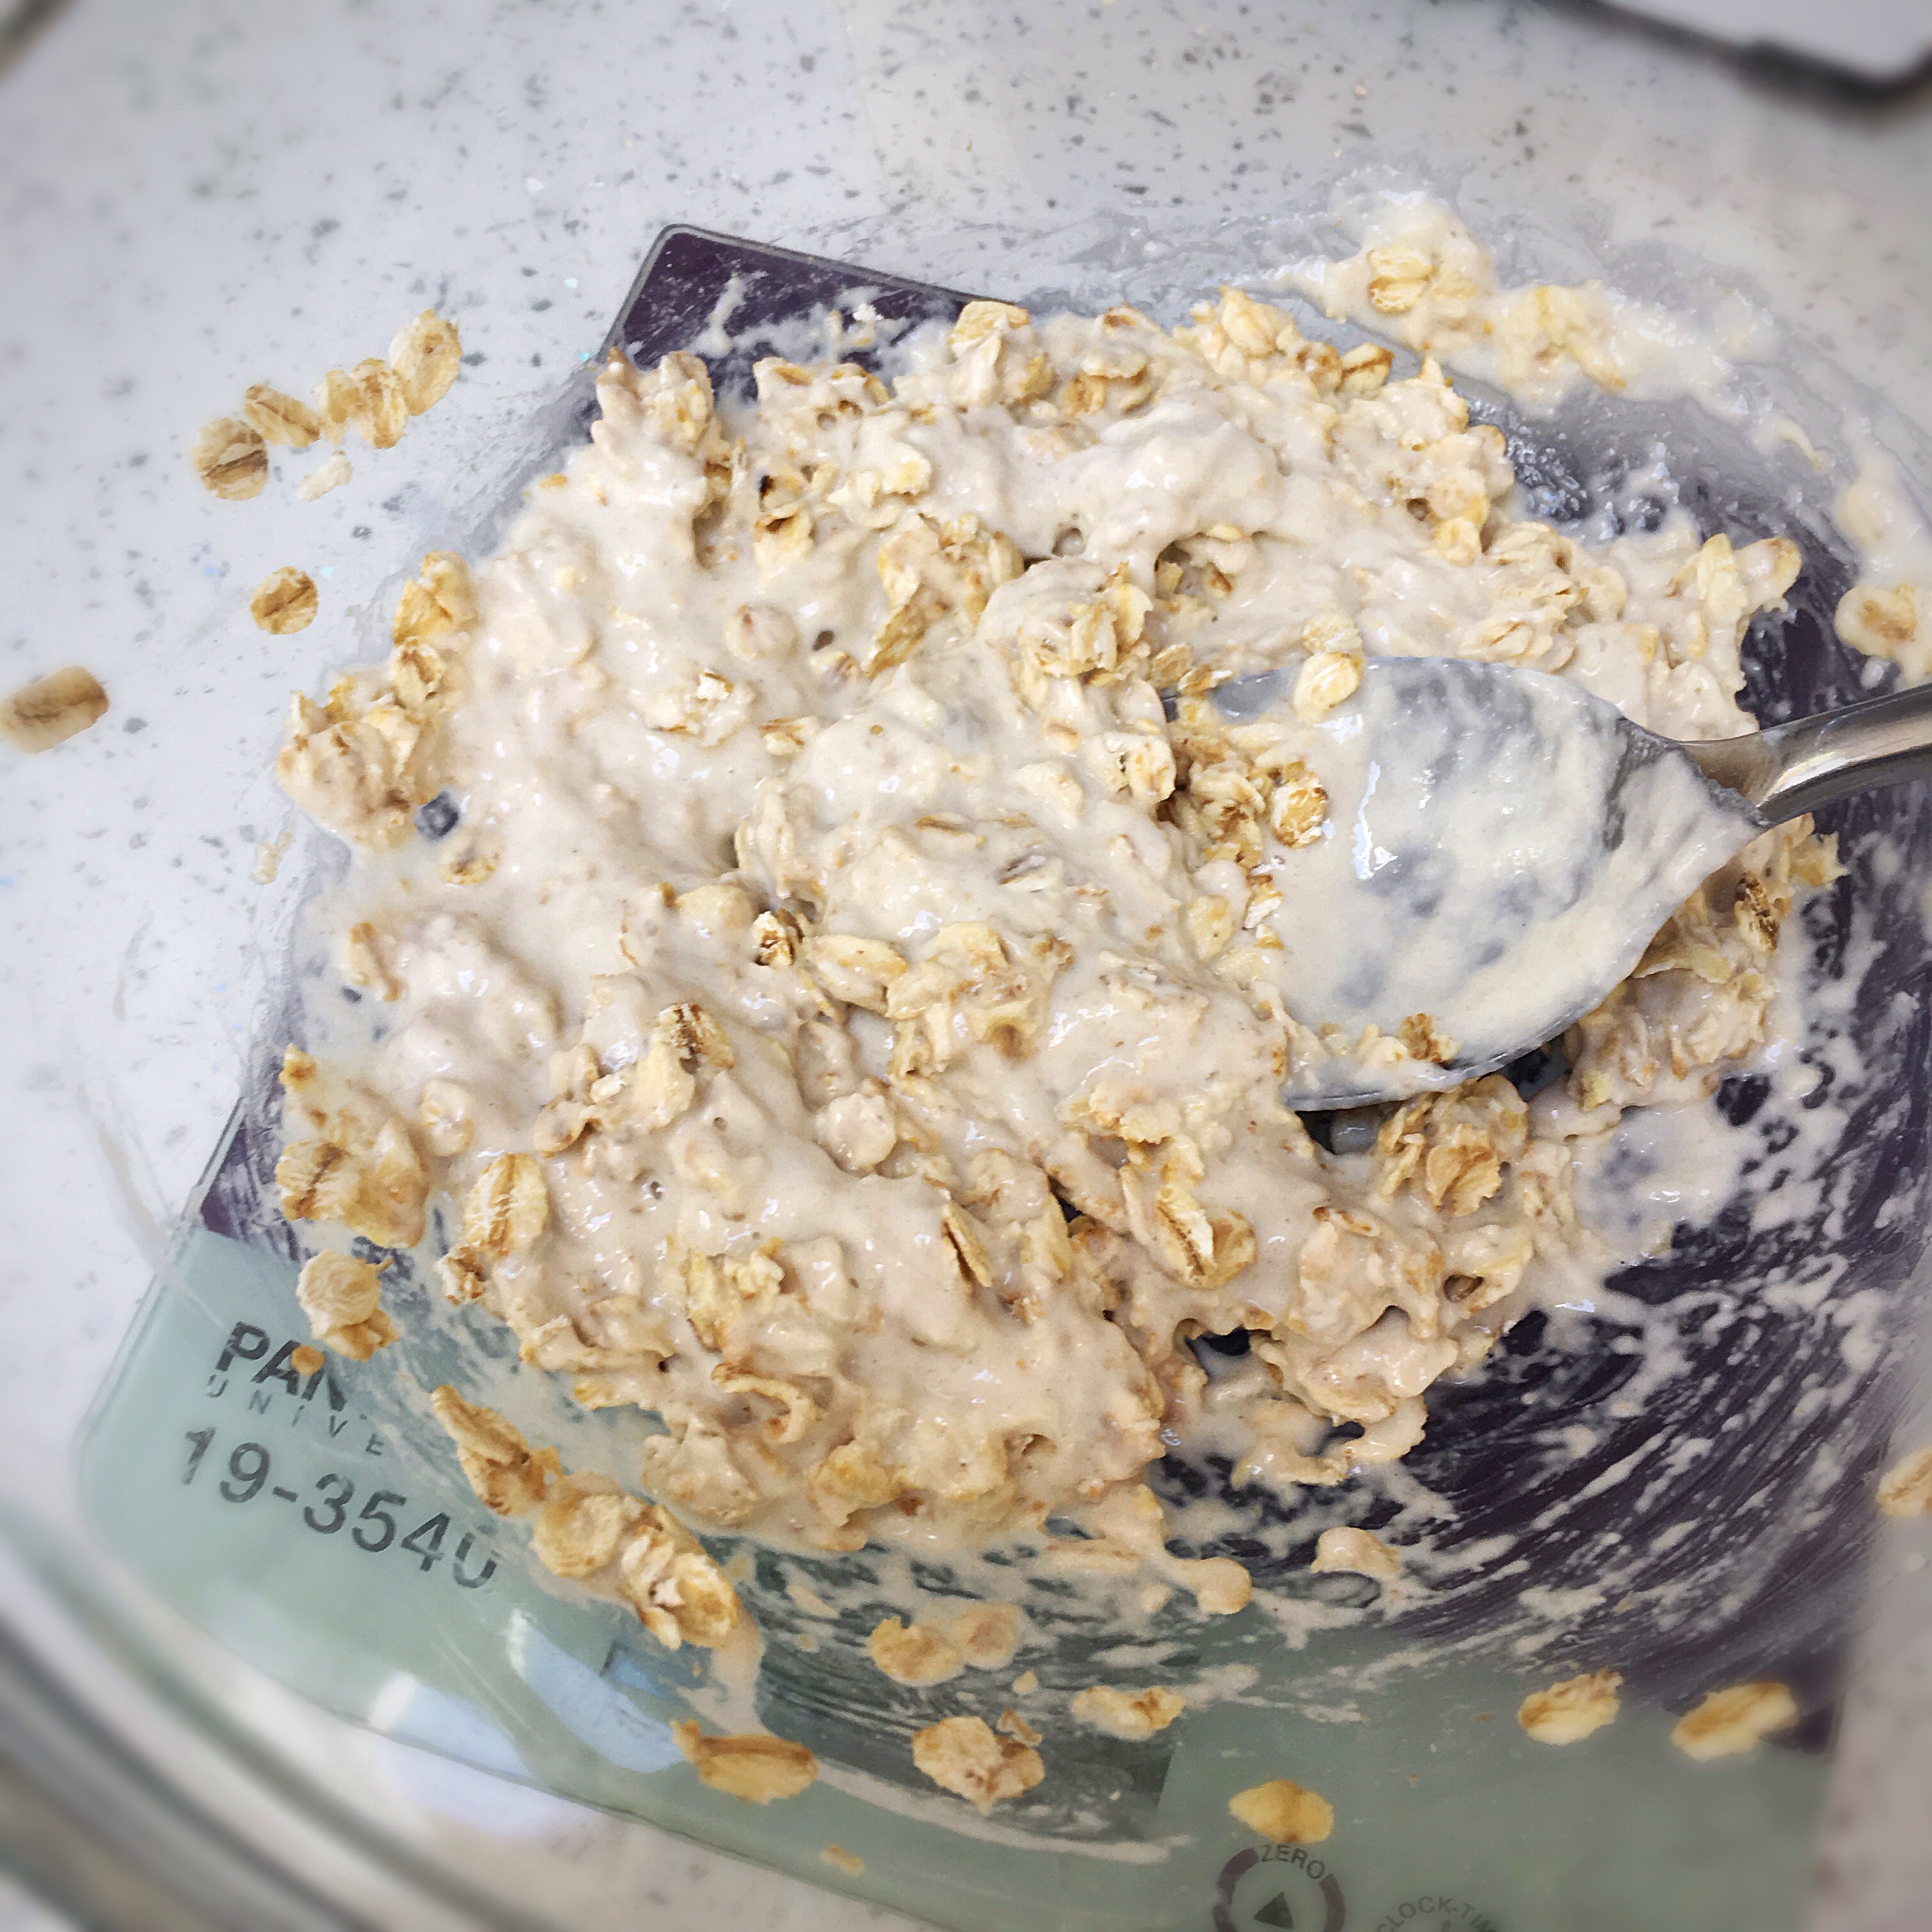
Loosely mix all of the main ingredients together. This mixture does not benefit from being overworked so resist the temptation to handle it too much. It does not need to be kneaded, just brought together like you would with pastry.
Preheat the oven to 200C fan/convection, 220C non fan/non convection.
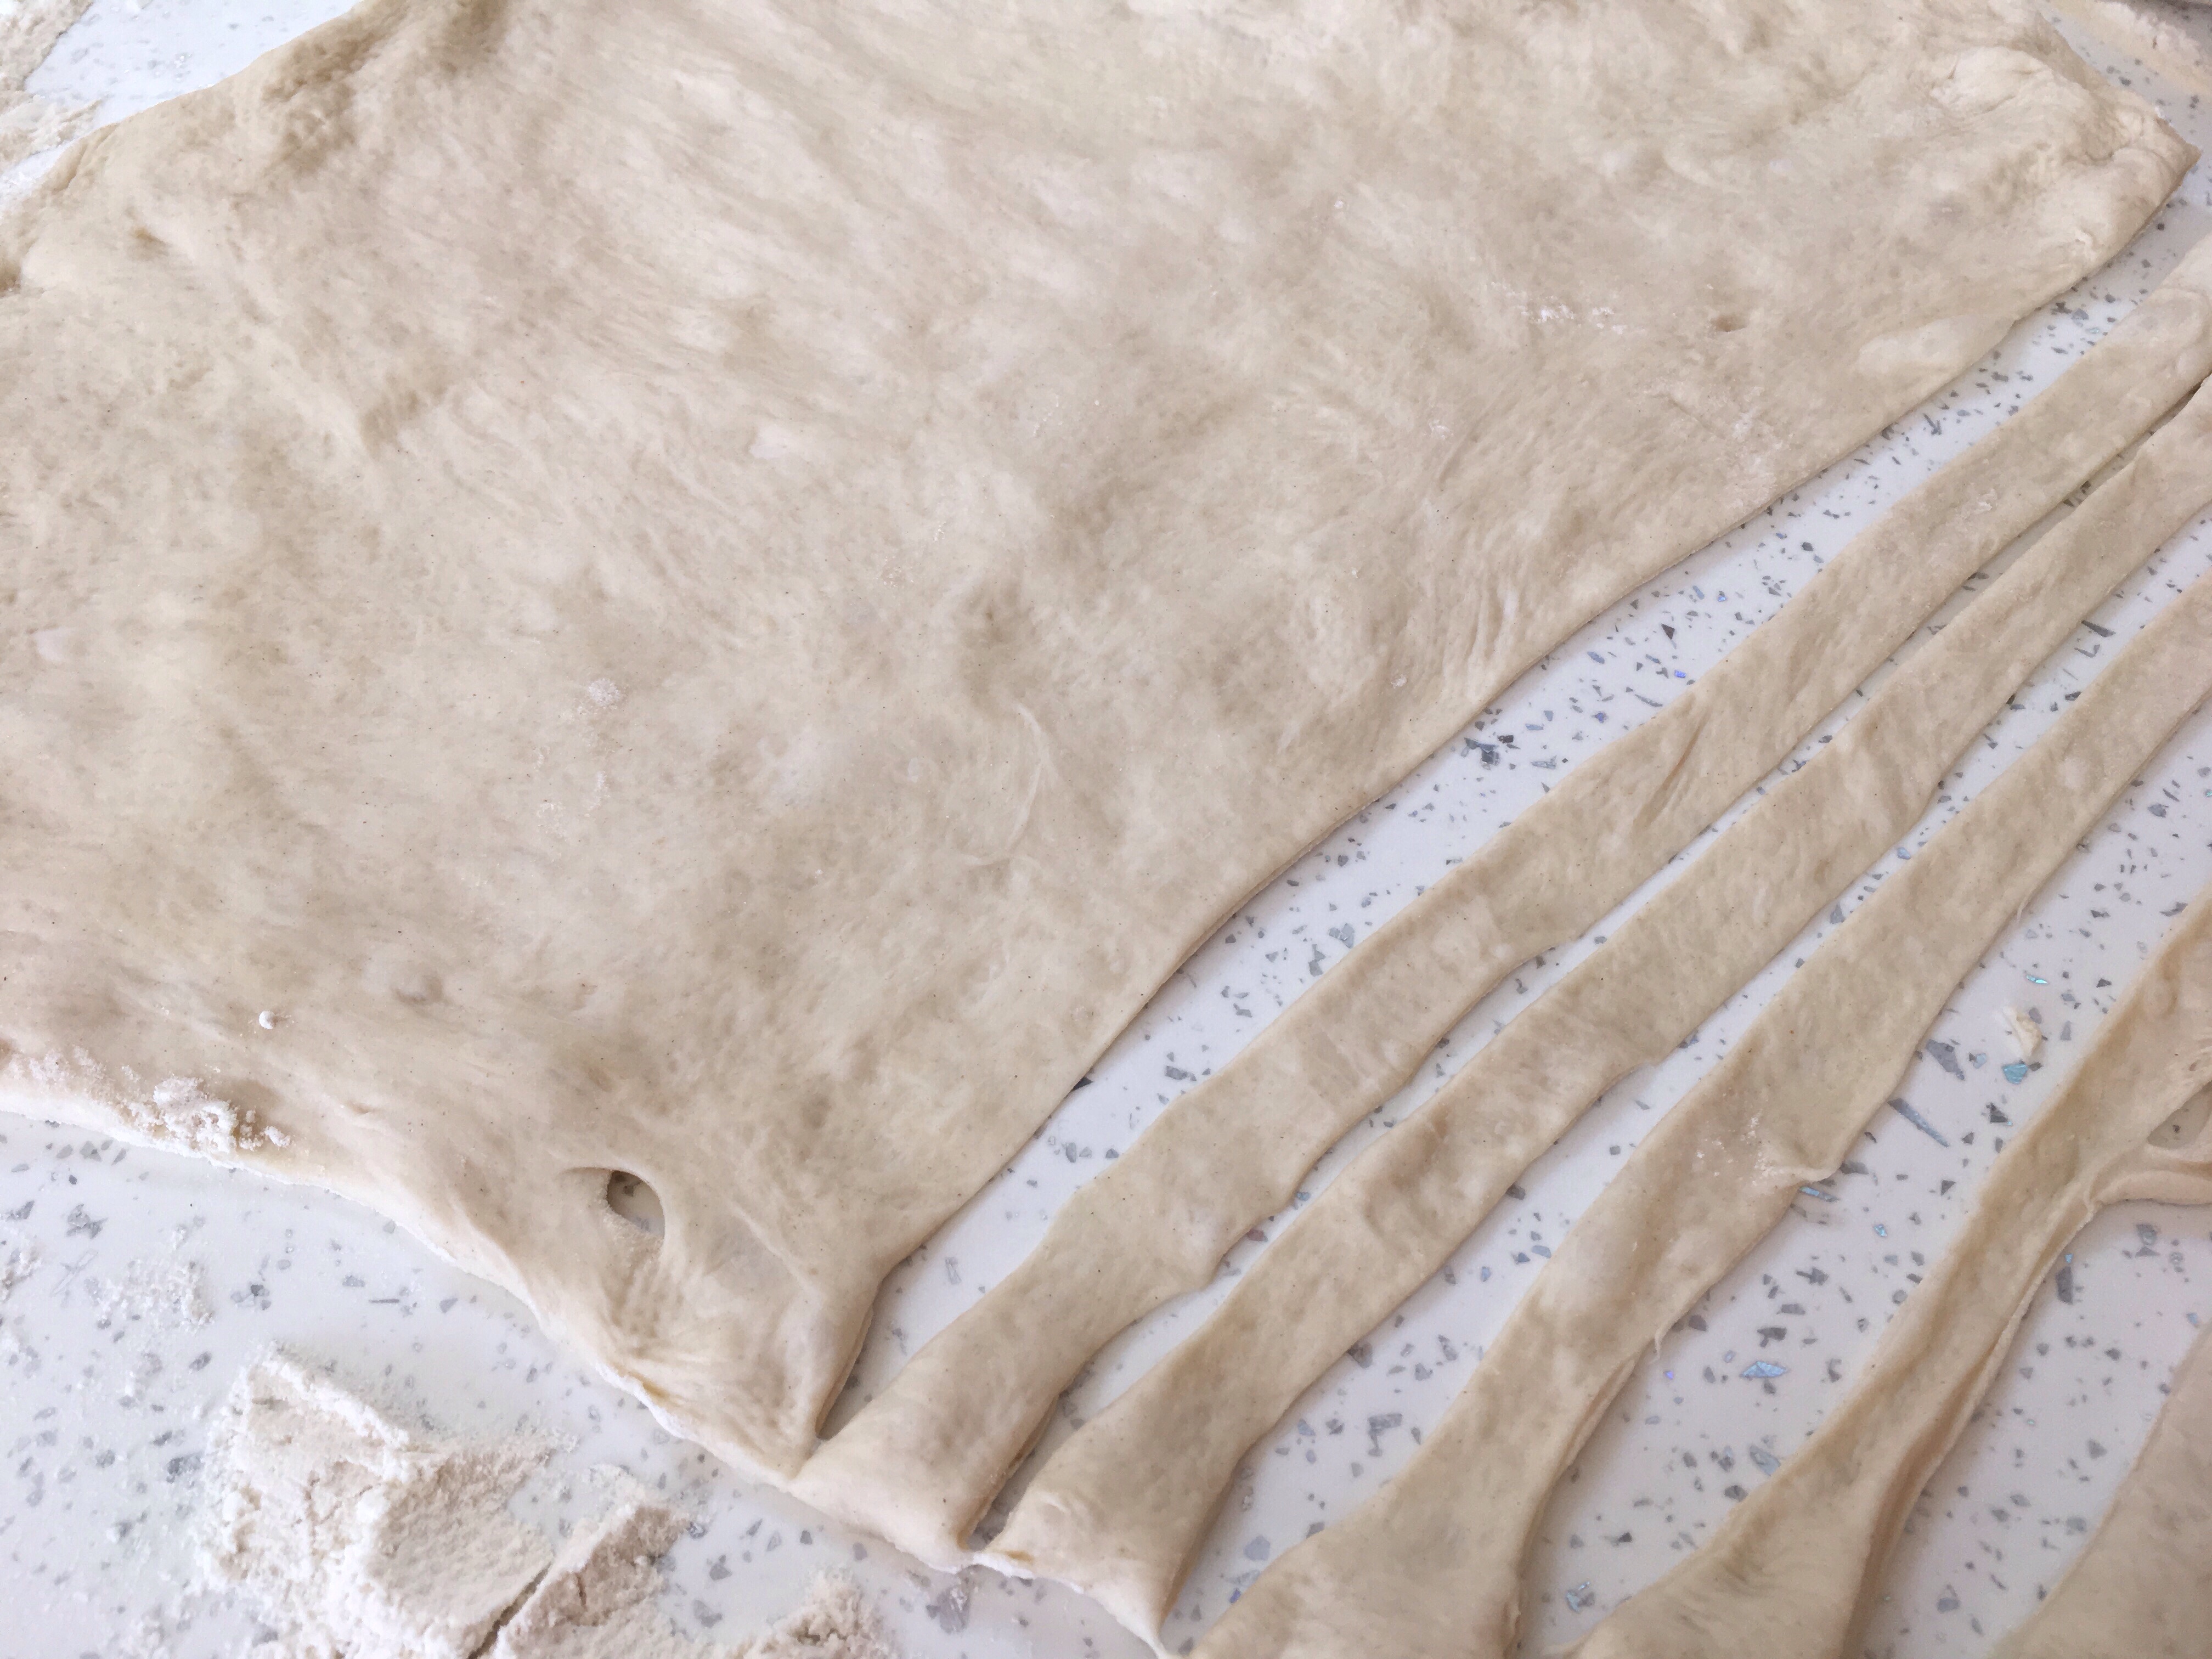
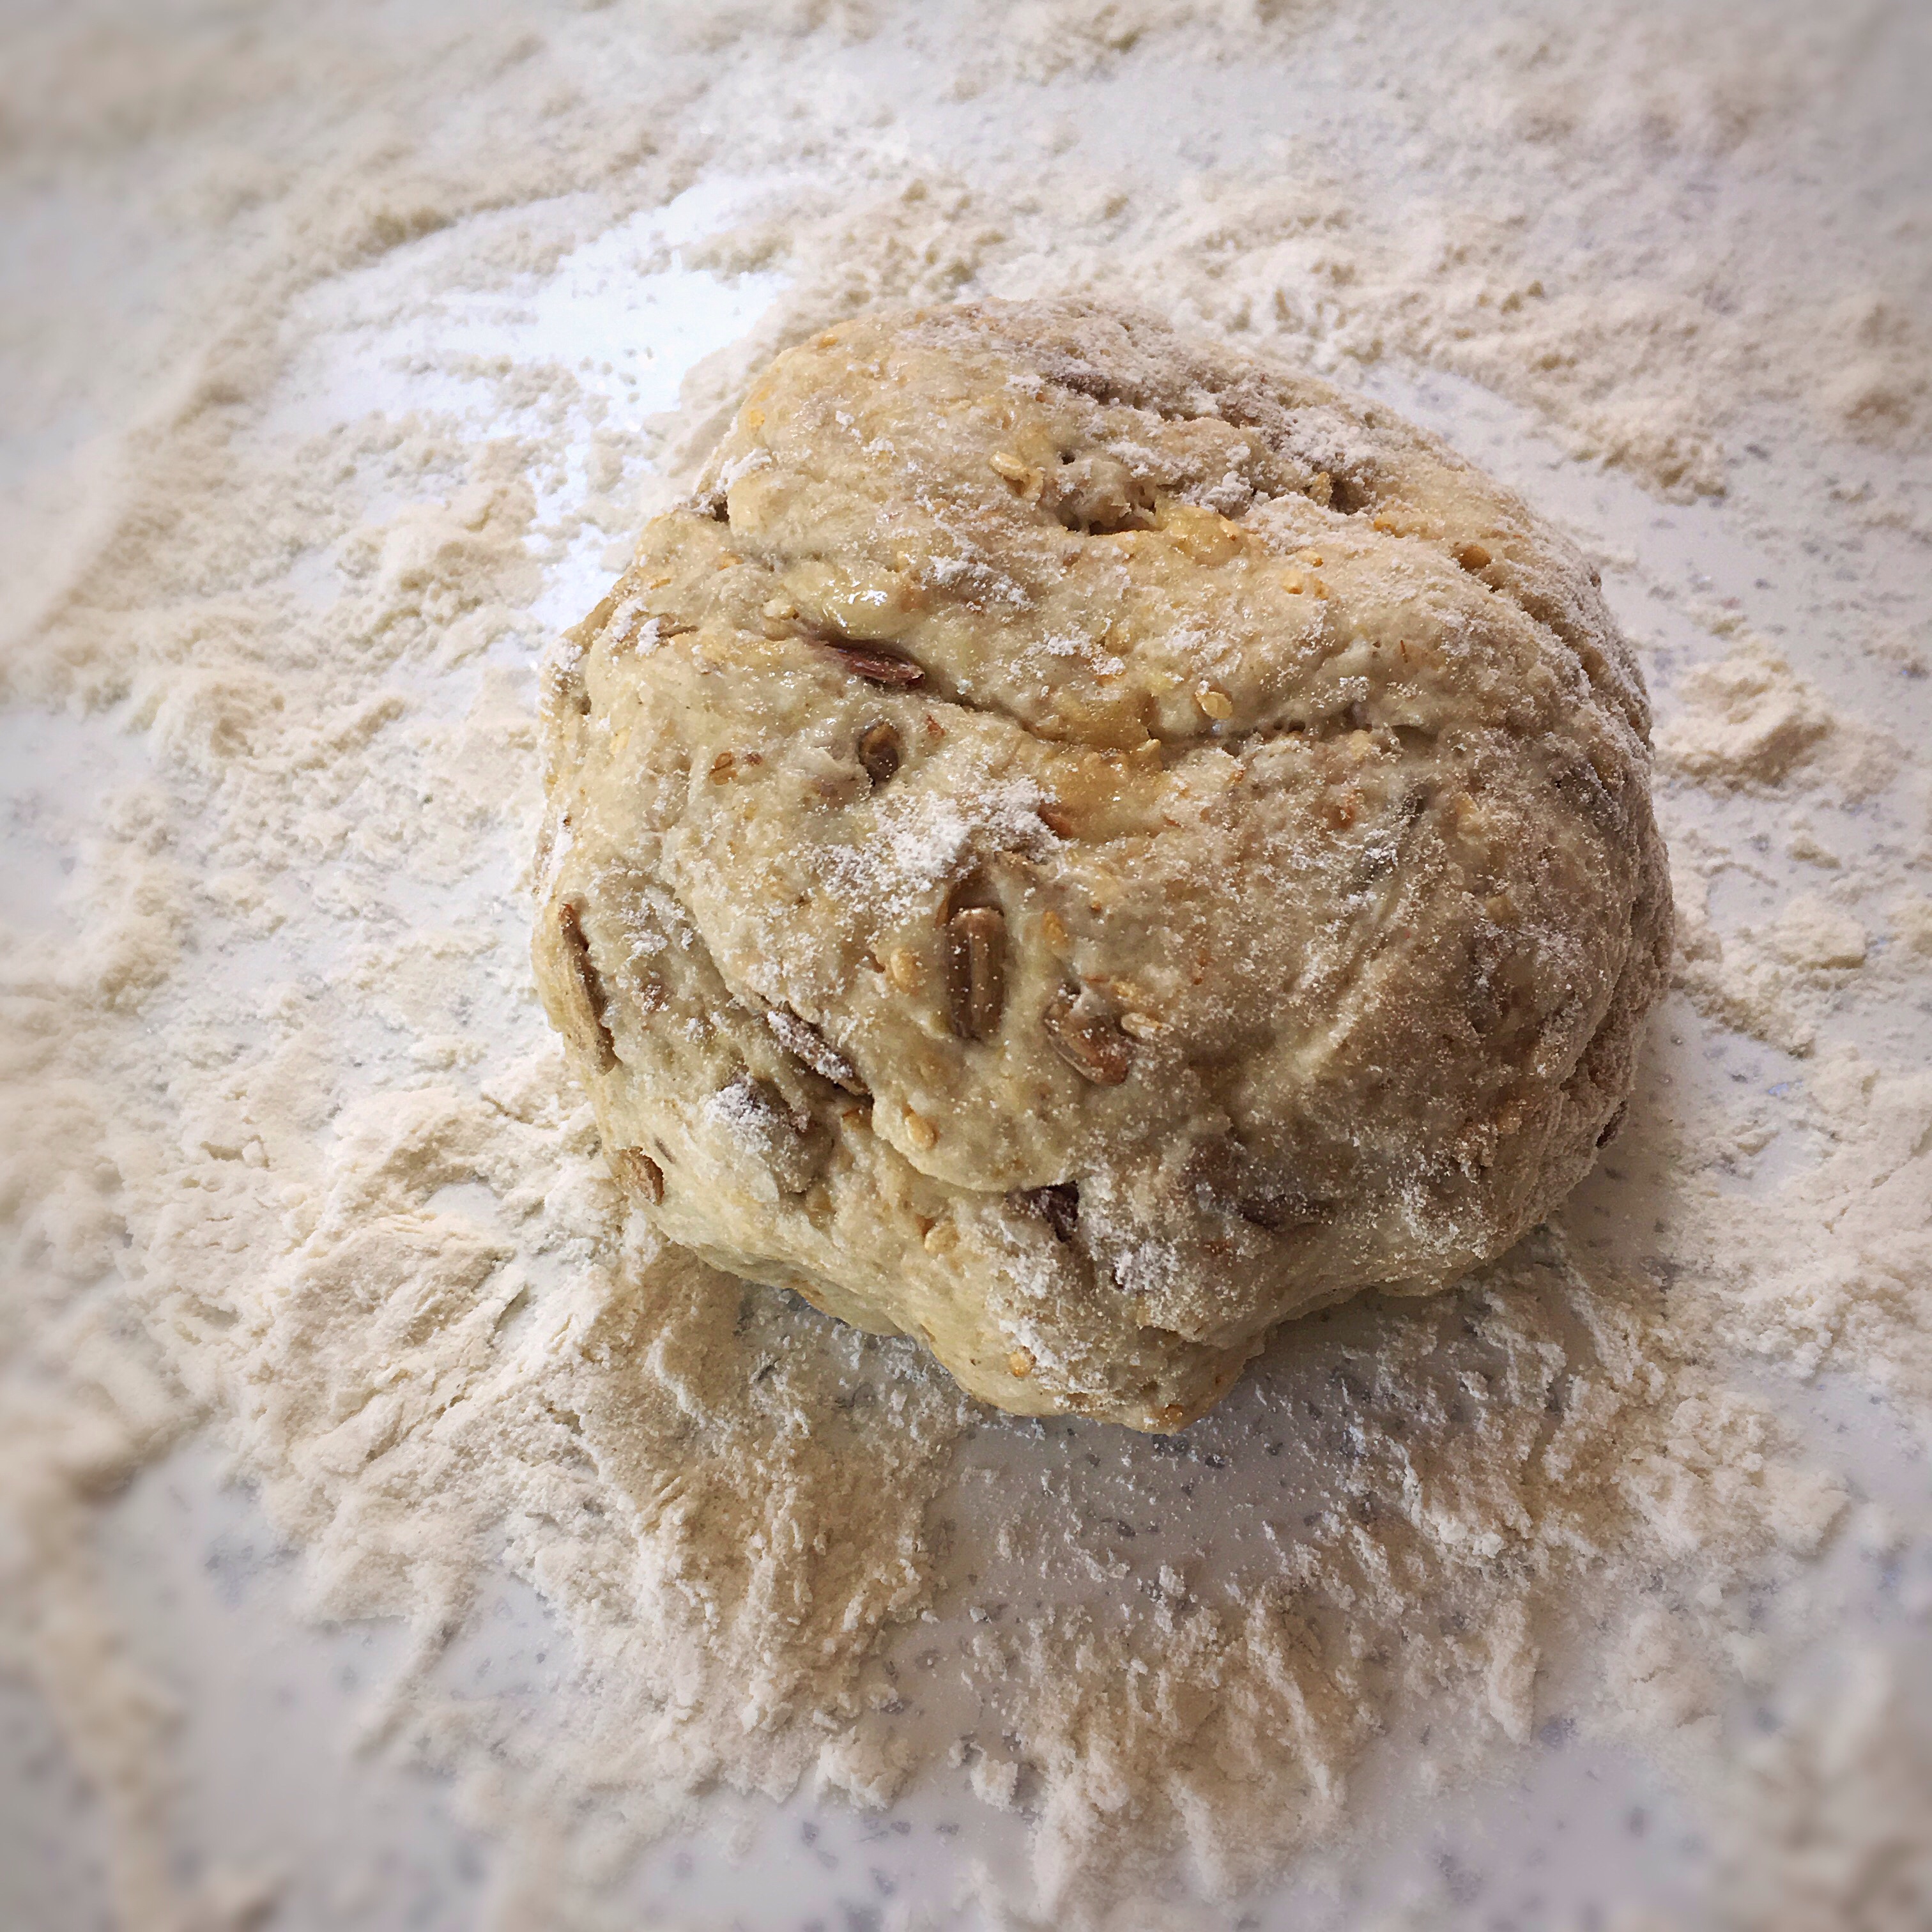
Turn the mix out onto a floured surface, spread and push the dough with your hands to flatten it out to a 2cm thick layer.
Line a large baking tray with parchment paper.
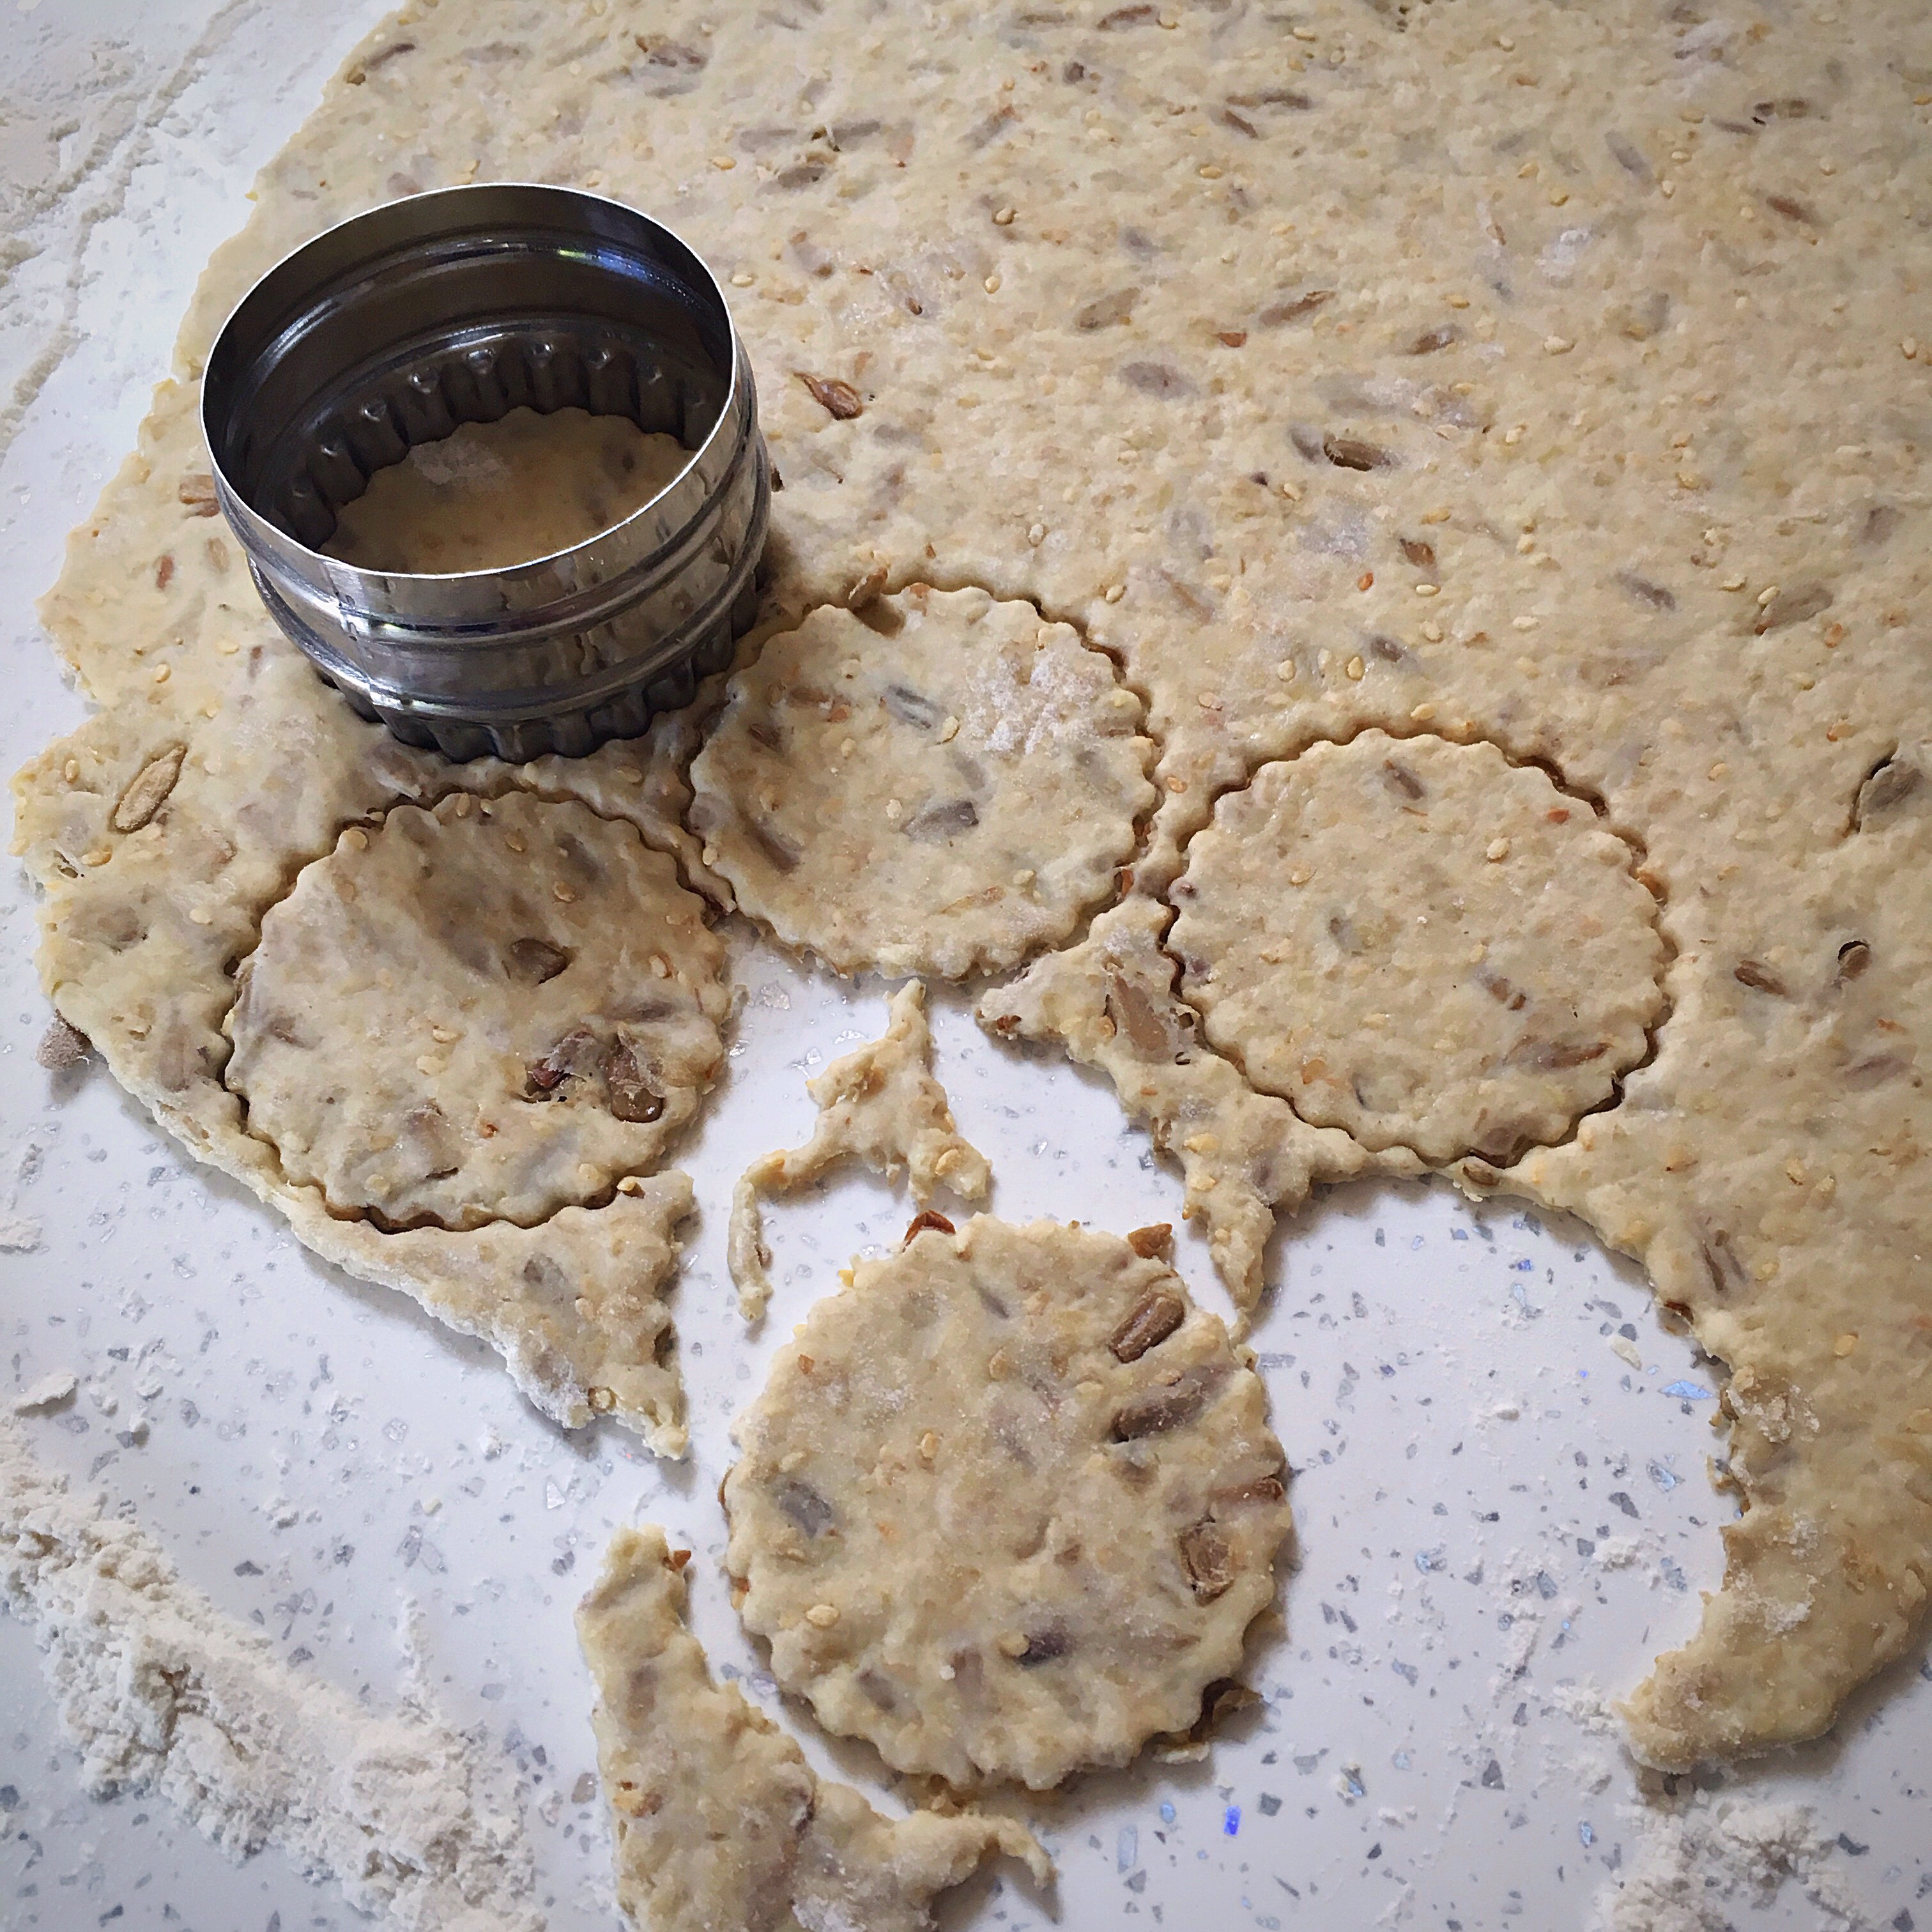
Use a 5 or 6cm cookie cutter to cut out the scones. Push the cutter directly downwards and remove directly upwards, do not twist it to cut the dough otherwise you will lose the edging and the rise.
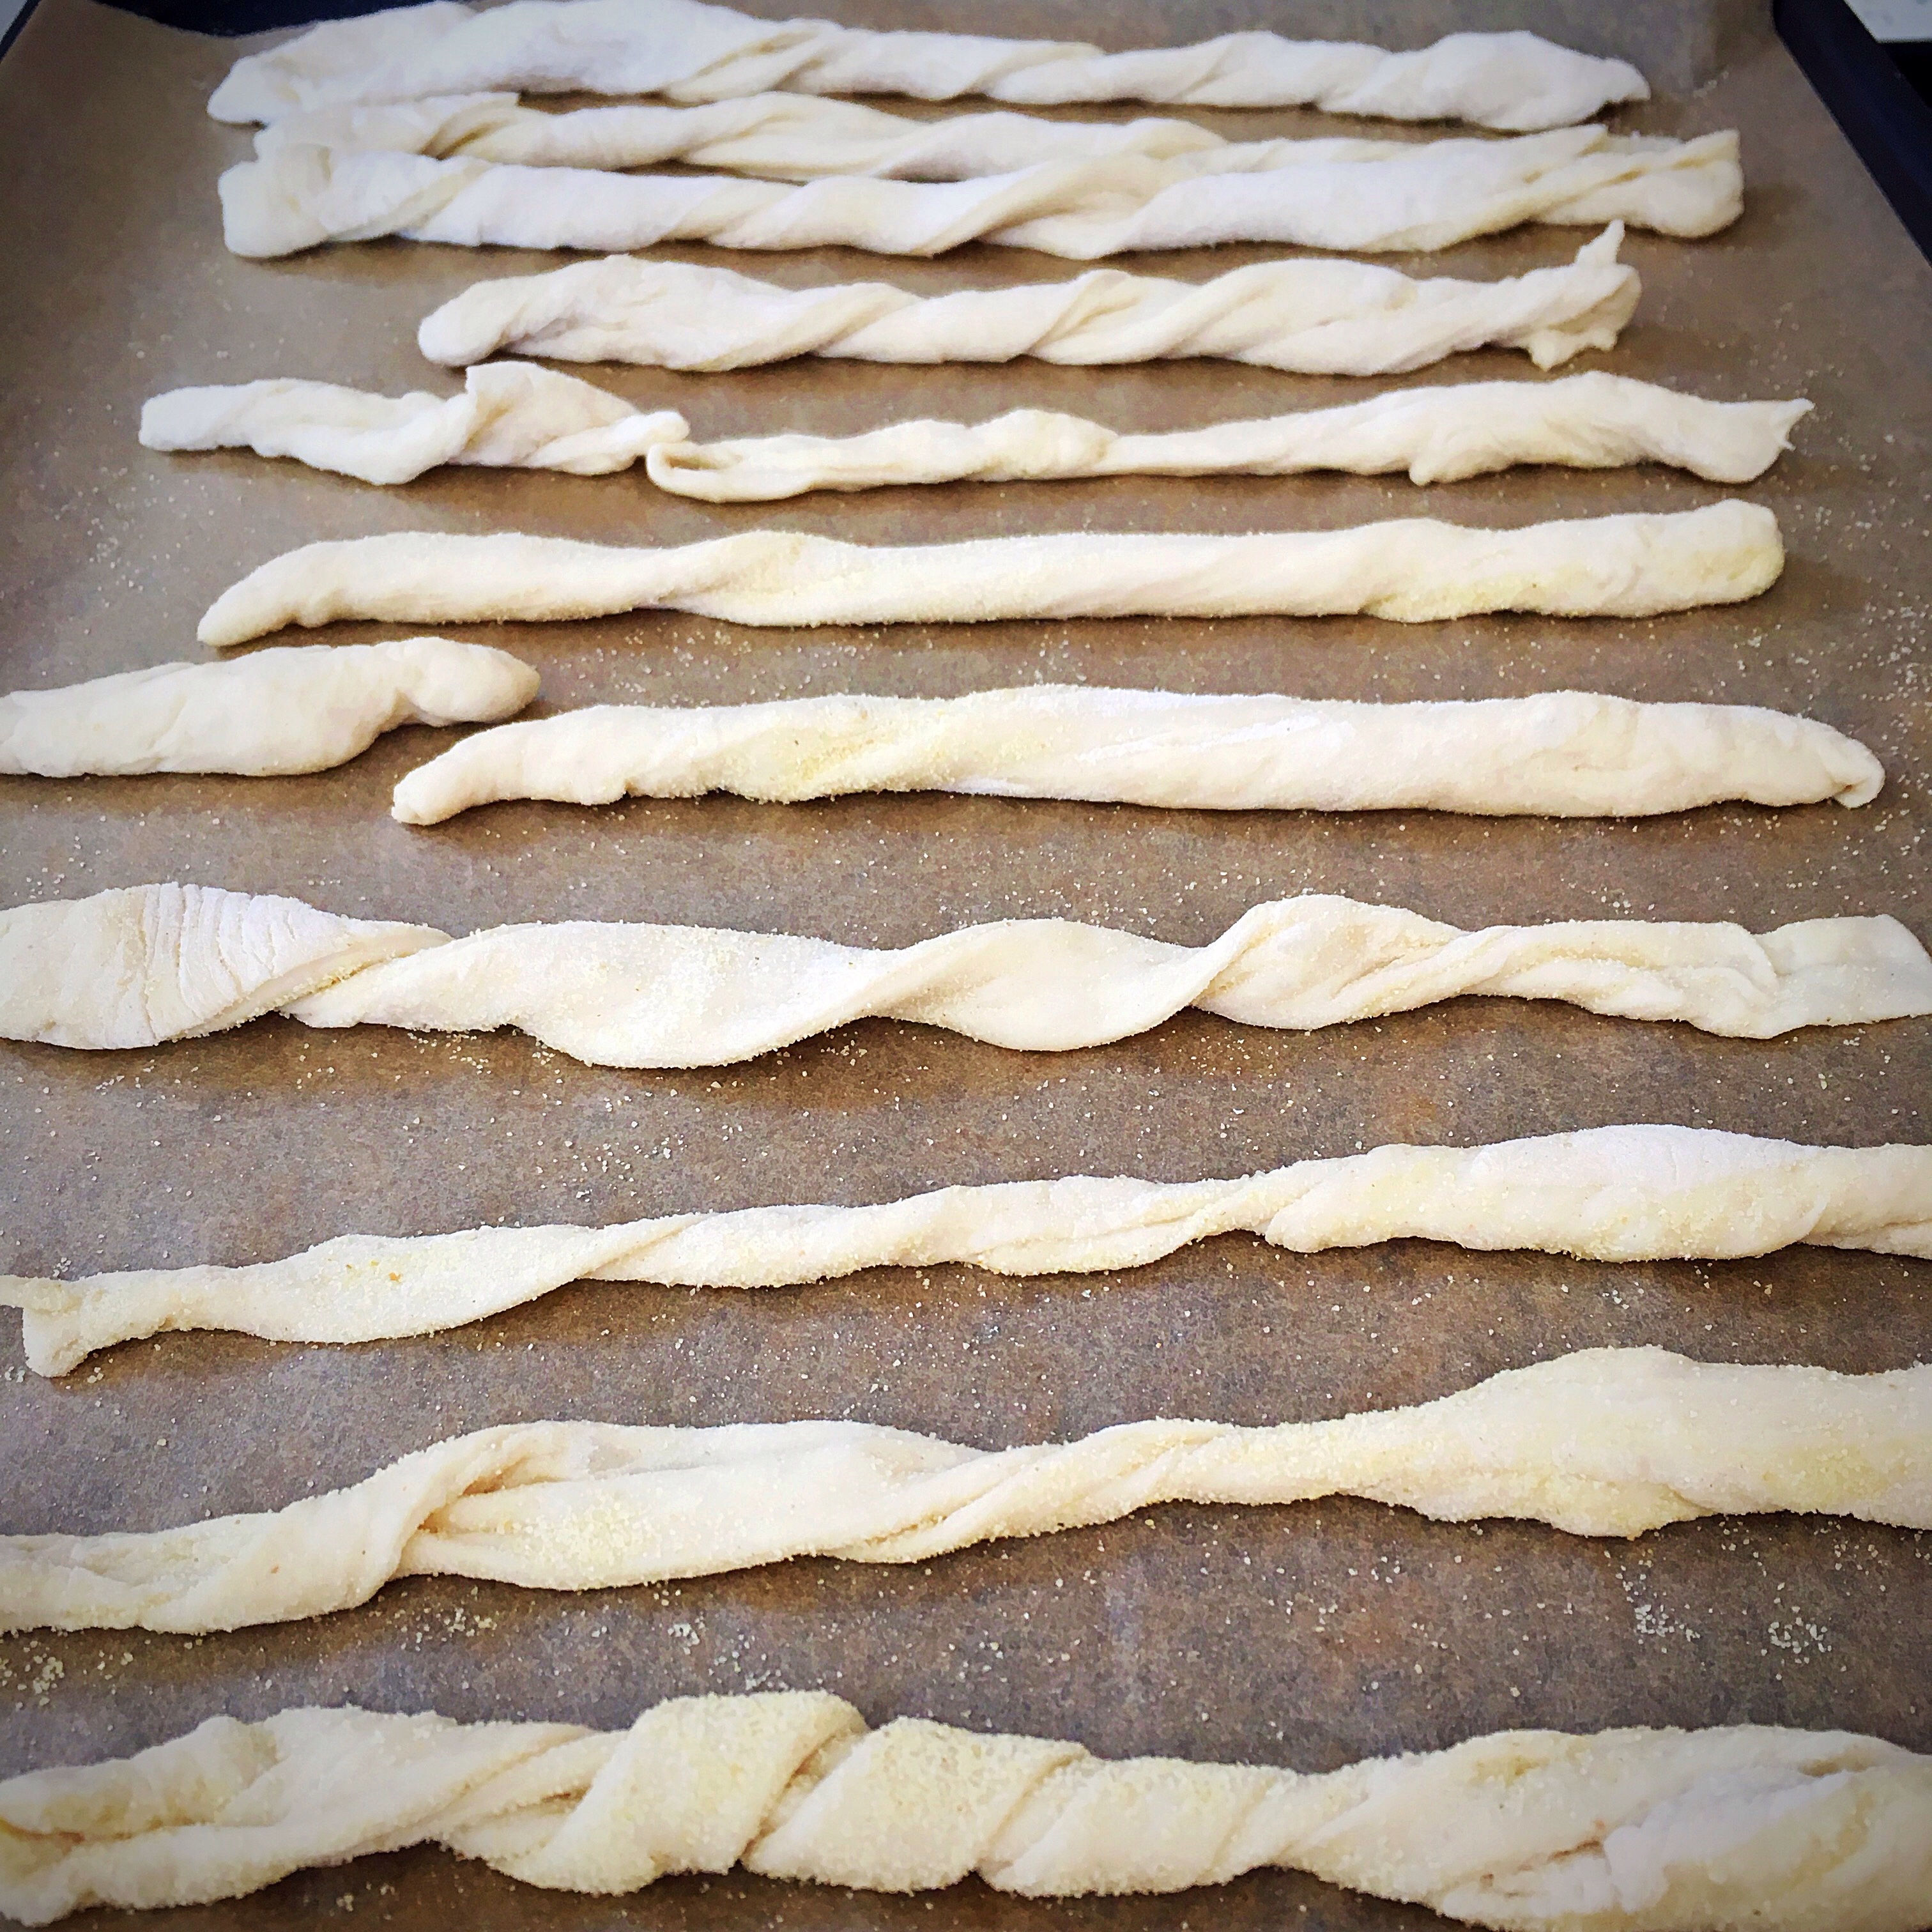
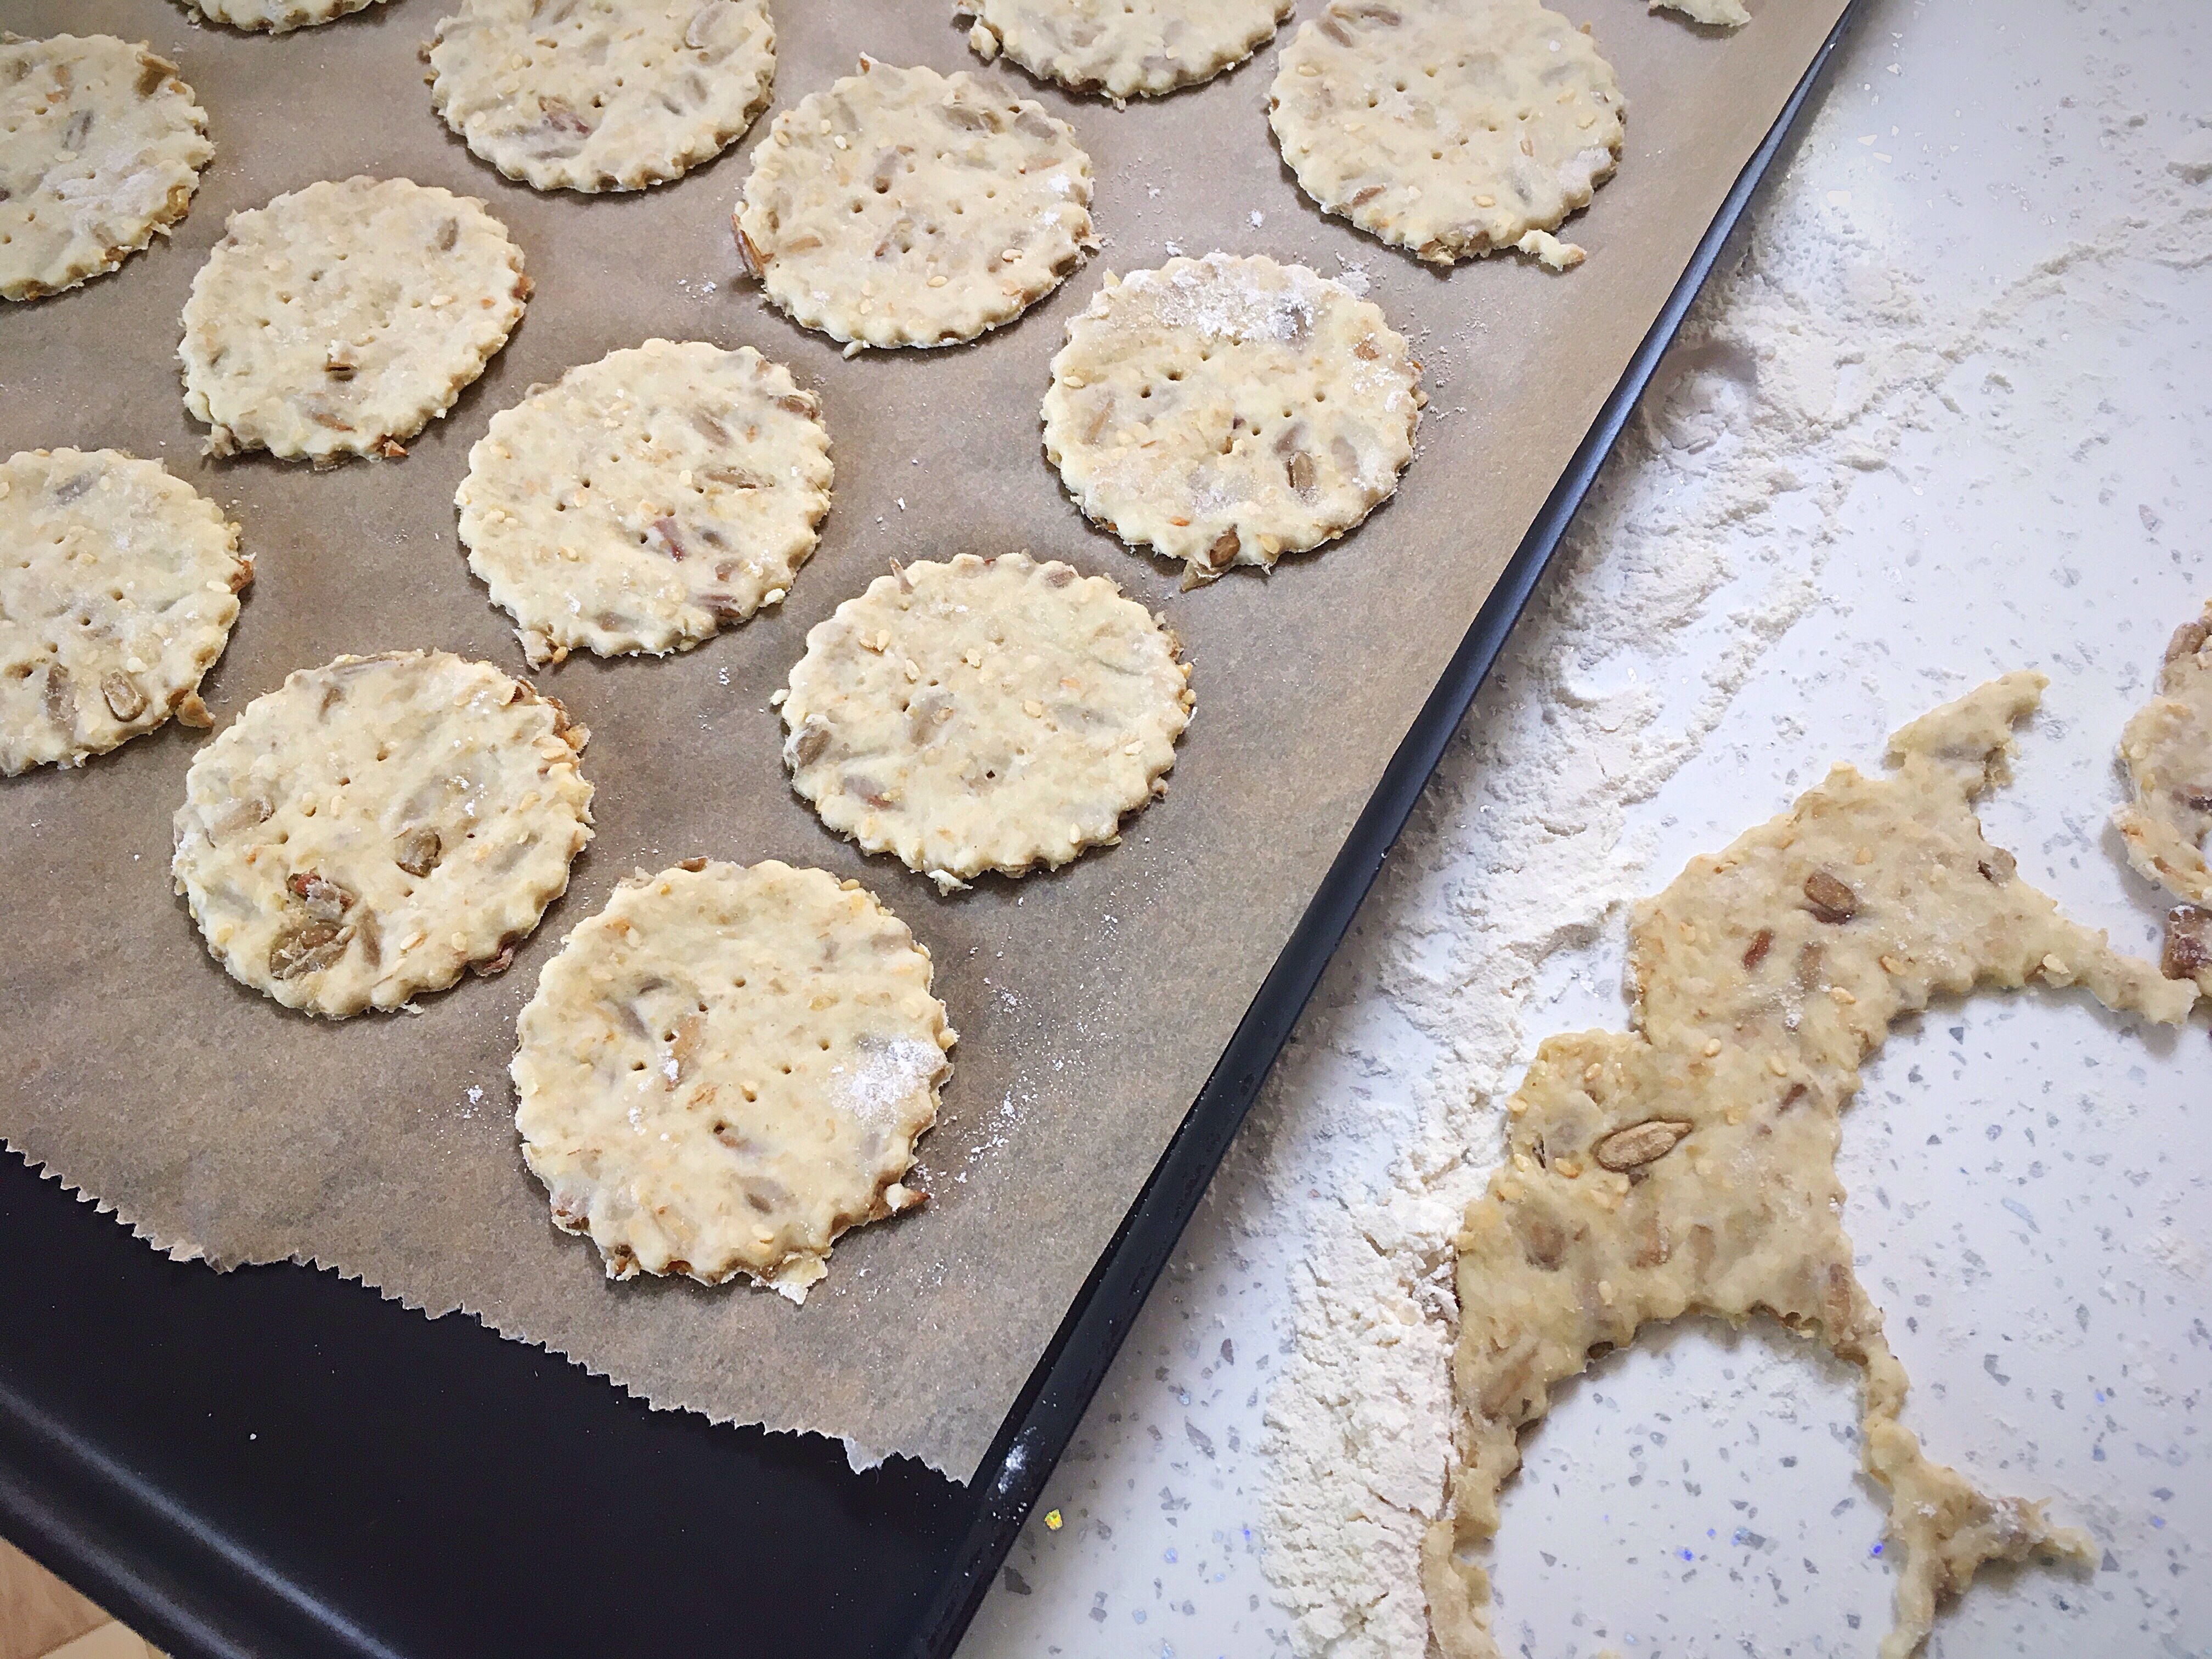
Place them evenly on the baking tray. They can be close together as they don’t spread outwards very much.
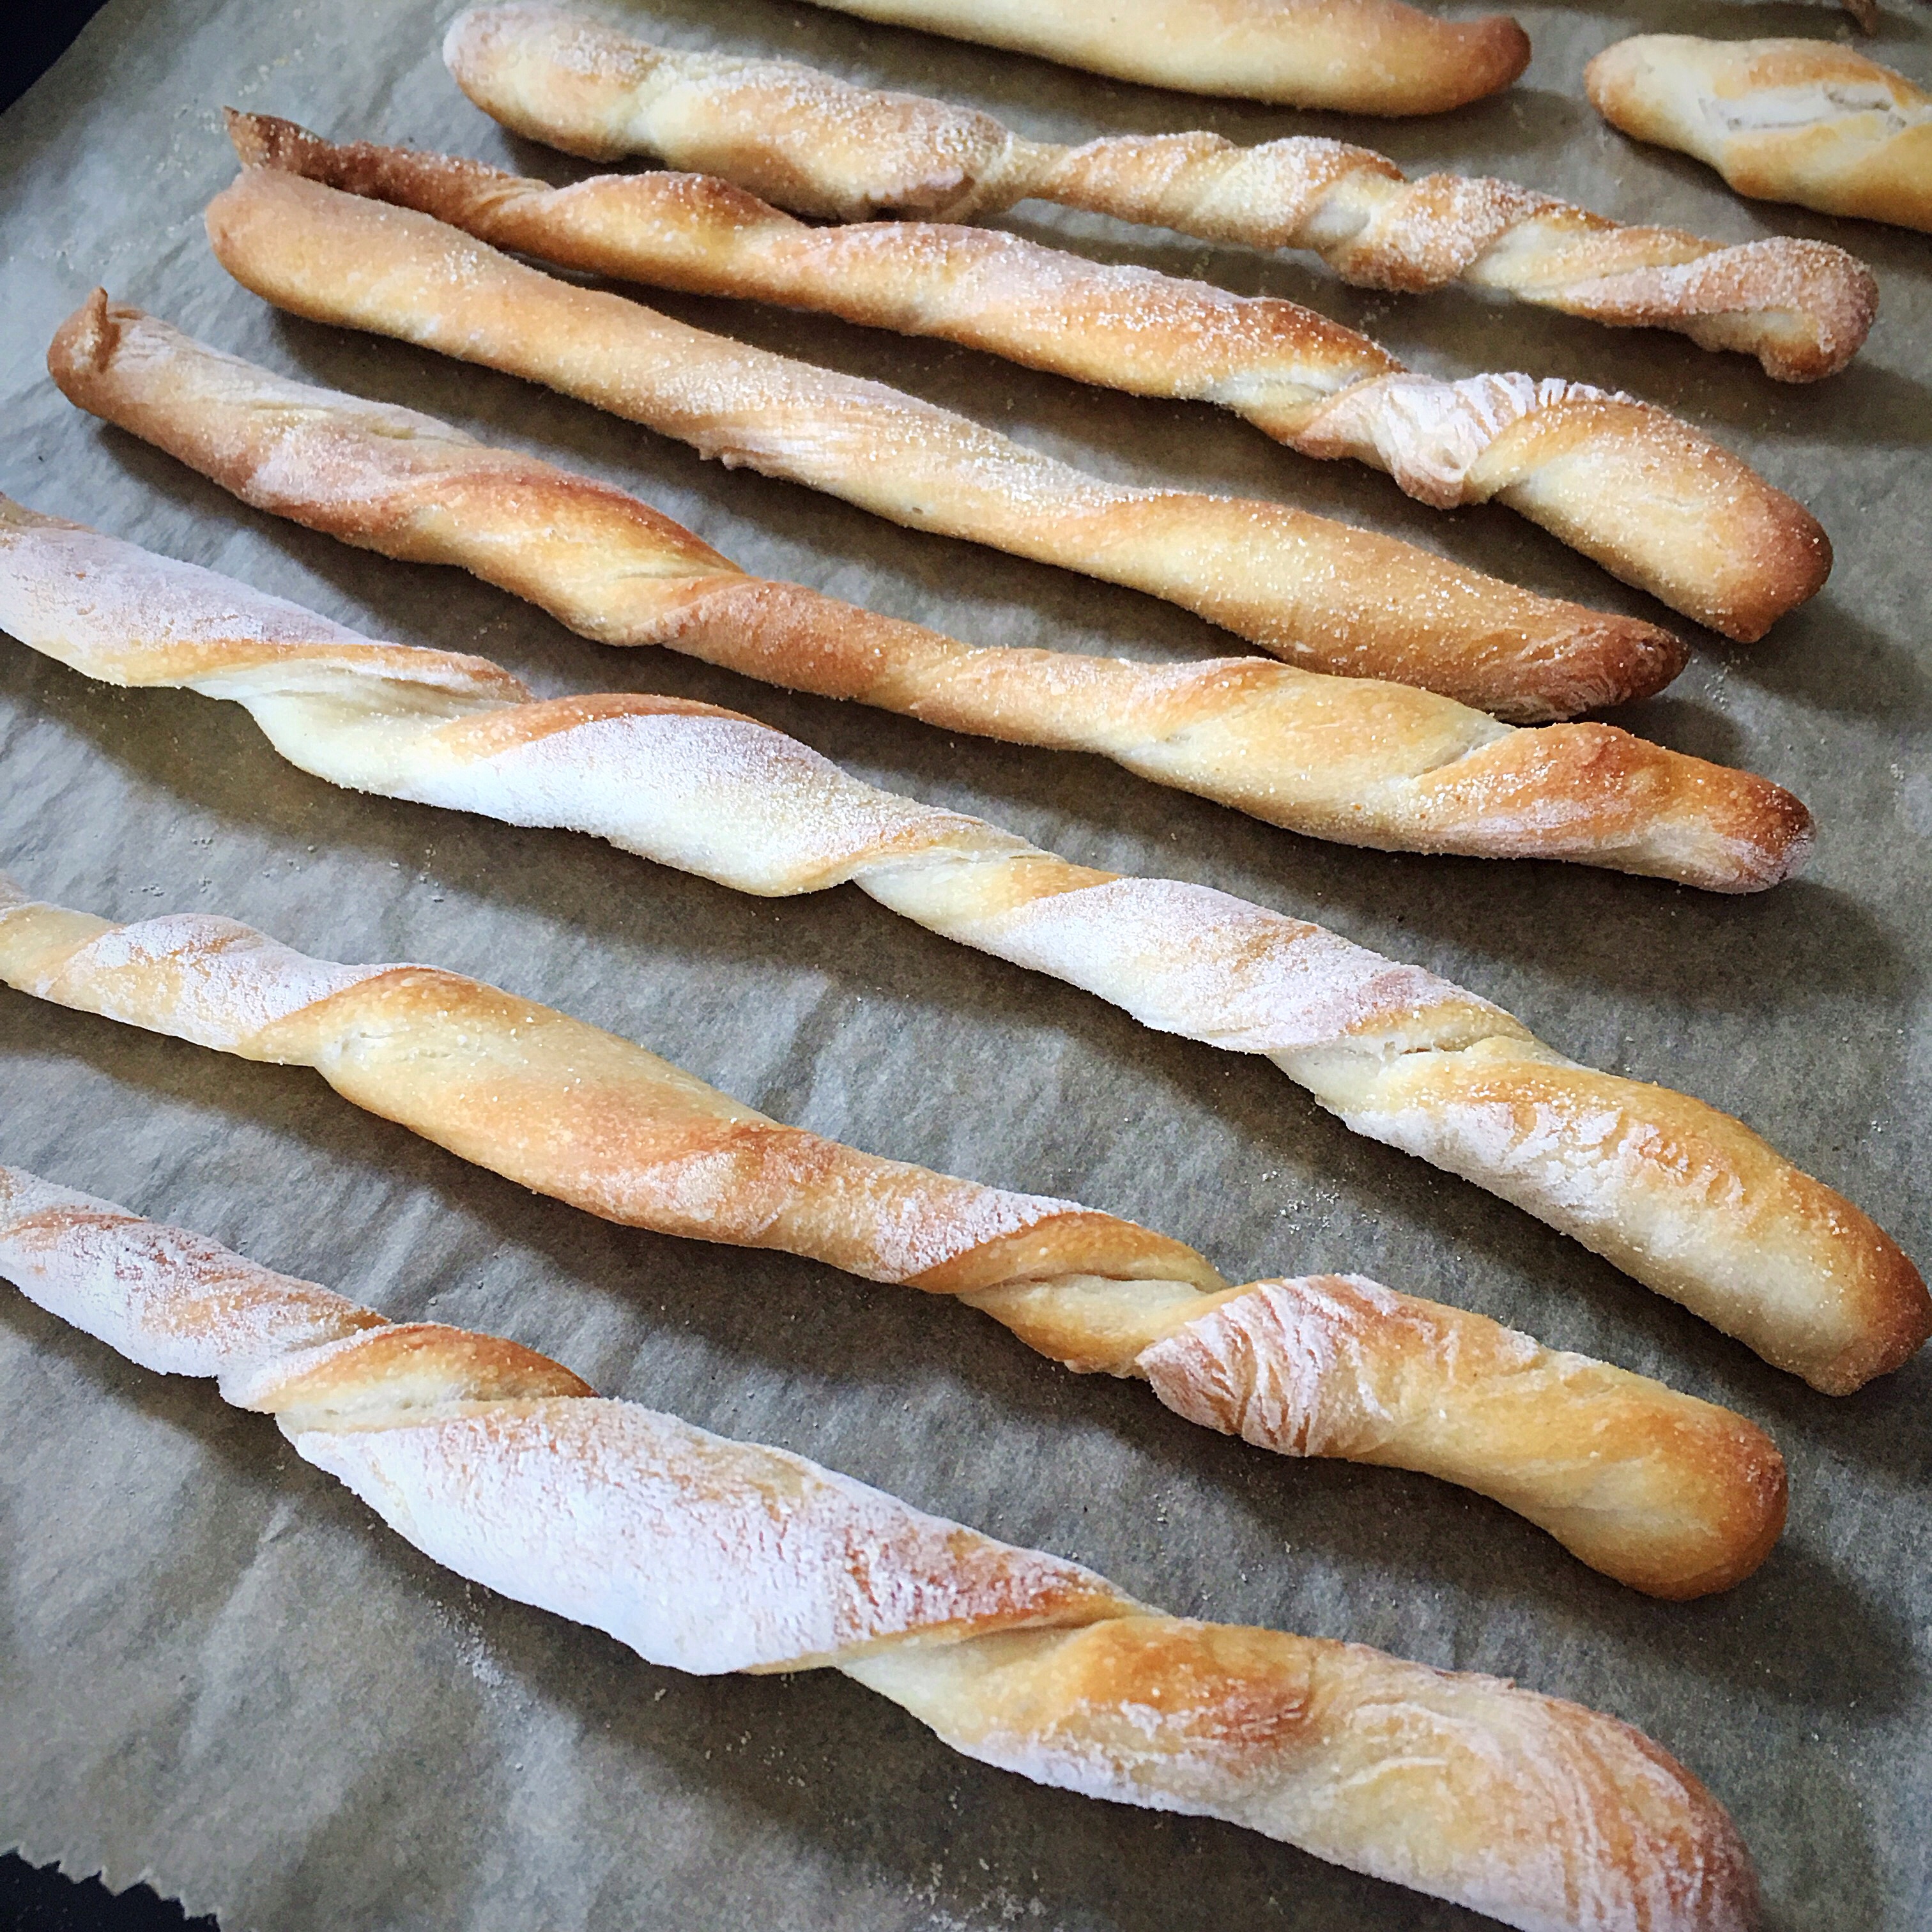
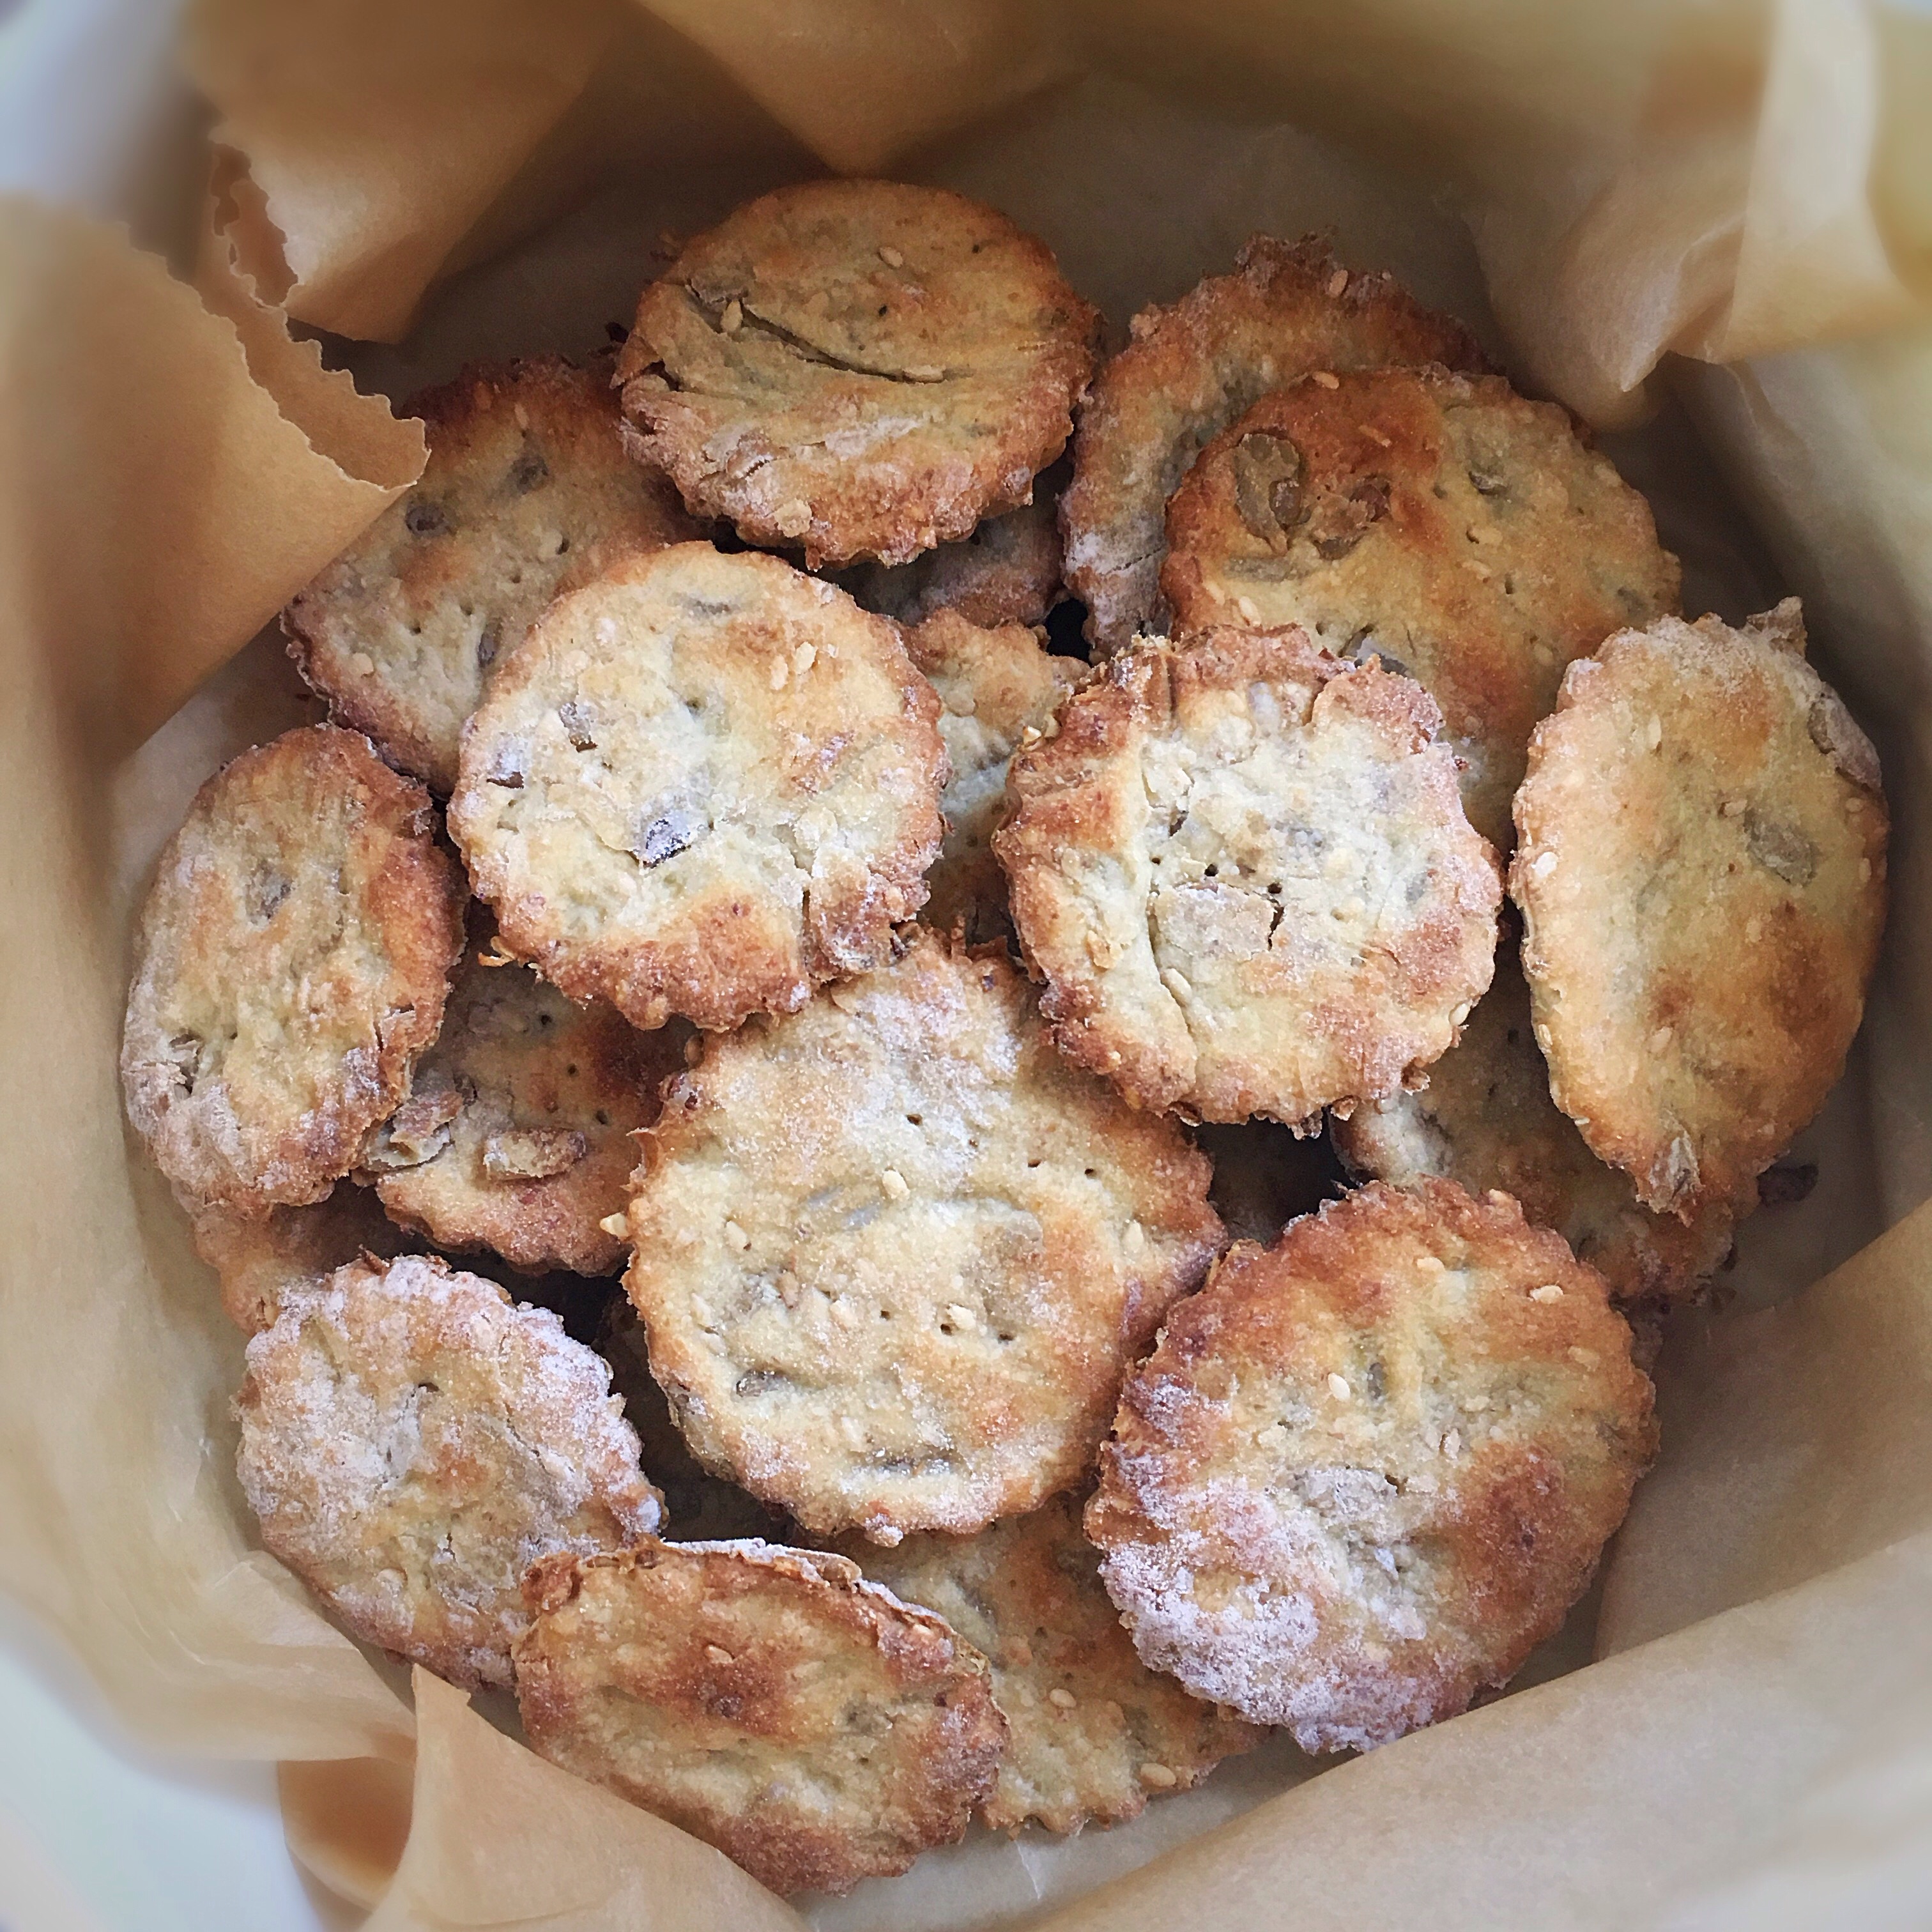
Bake for 16-18 minutes until nicely browned.
Remove and place the scones on a rack to cool – resist eating immediately and burning your mouth!