Welcome to Sourdough September, a month that celebrates sourdough created by the Real Bread Campaign in 2013 to raise awareness of this fabulous super bread and encourage people to appreciate real sourdough by making their own or seeking out genuine sourdough to purchase.
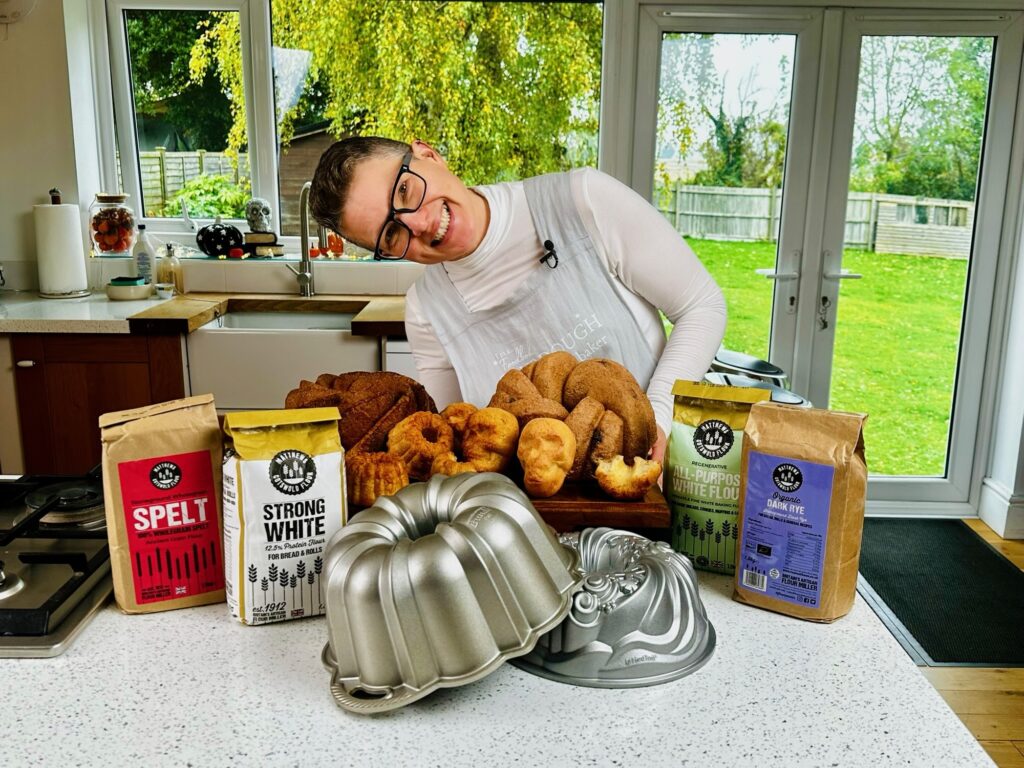
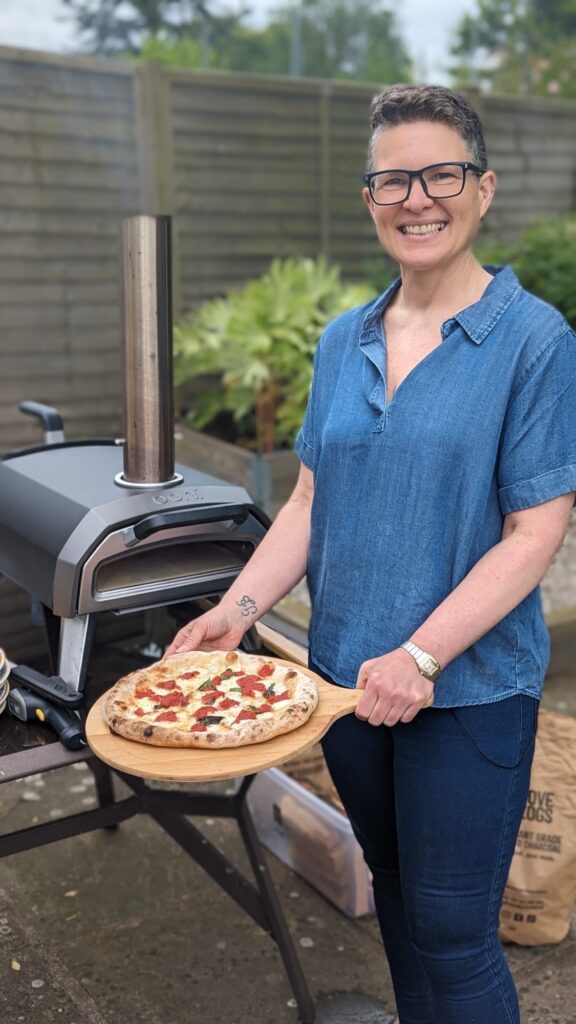
So why bother? It’s just bread isn’t it? You may be thinking that sourdough is ‘trendy’, just a load of hype, and really not worth the faff of making your own. Well, let me tell you a bit more about it and reassure you that it’s totally worth it! I’m Elaine from Foodbod Sourdough and hopefully I can answer those questions for you..
Firstly, let’s address the hype:
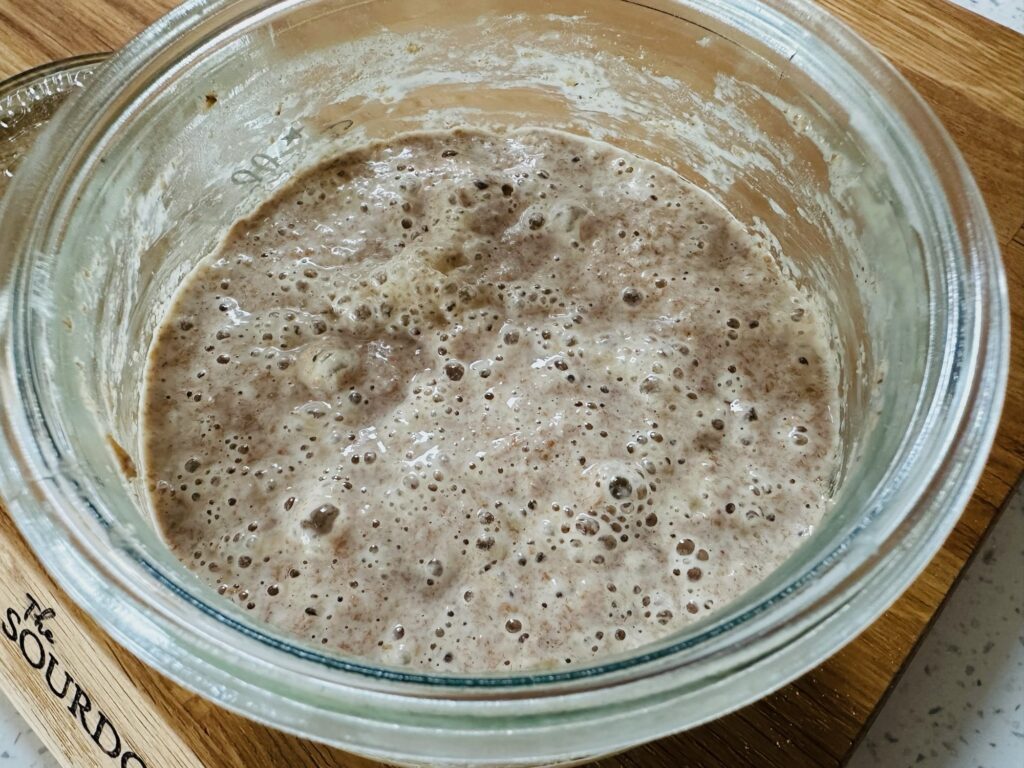
It may seem like sourdough has had a revolution recently, but even before lockdown it was gaining a constant momentum, but sourdough is not new, it is the actually oldest form of risen bread, dating back thousands of years. Before sourdough all bread was flat, made mostly with just flour and water. I like to think that one day someone left some mixed flour and water untouched for longer than they meant to and saw it rise and bubble, and bingo, the first sourdough starter was born, as was the advent of risen bread, and with it, a more satisfying kind of bread, something with more chew and fulfilment, and far healthier than any other.
That mix of flour and water that grew and bubbled away did so due to the natural wild yeast in the flour fermenting with the water, when this is then mixed with a bigger portion of flour and water to create dough, the same effect occurs, but because it’s a bigger mix, the fermentation takes longer and during this time it starts to break down the gluten in the flour and as a result makes sourdough the most easily digestible bread there is; if you’ve ever eaten bread and become bloated and lethargic as a result, try eating sourdough instead because due to the effect of breaking down the gluten, you won’t get the same outcome, it will be much more gentle on your stomach. Sourdough also has a lower glycemic index so it doesn’t spike blood sugar levels, and provides more nutrients than non sourdough bread.
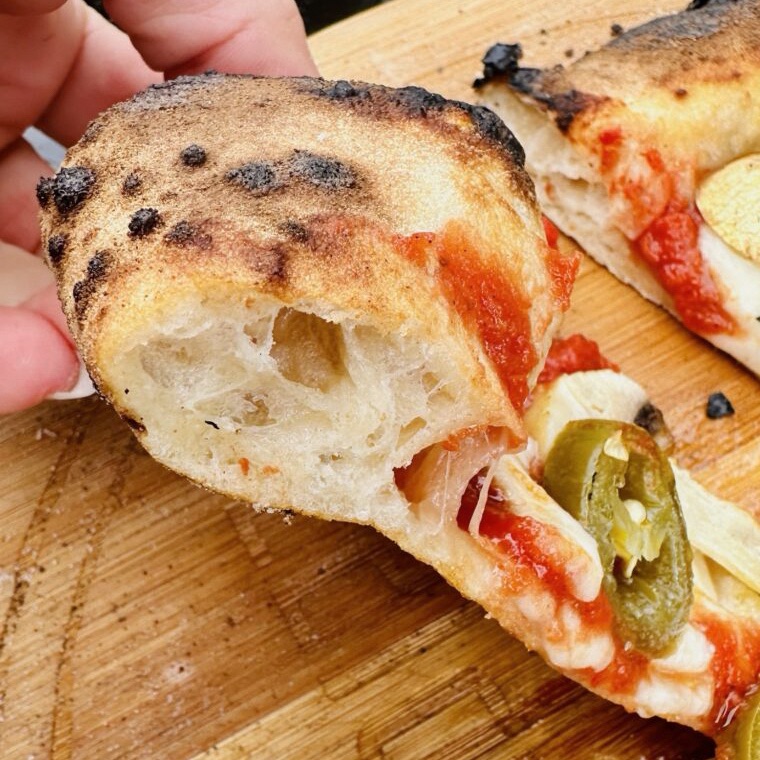
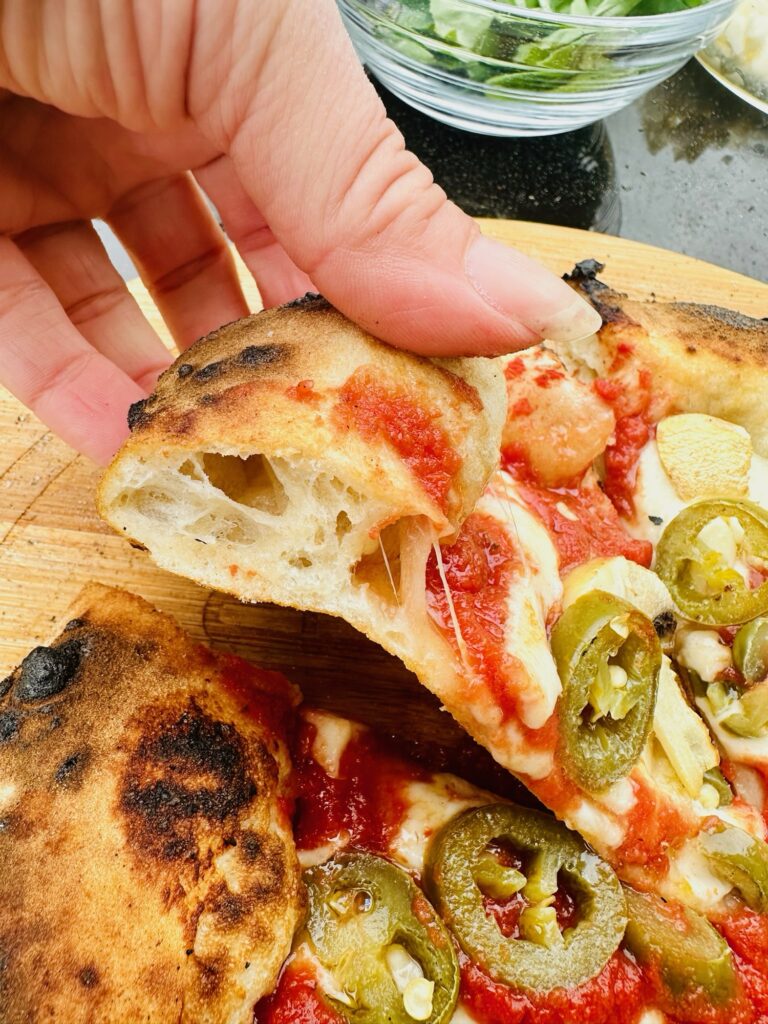
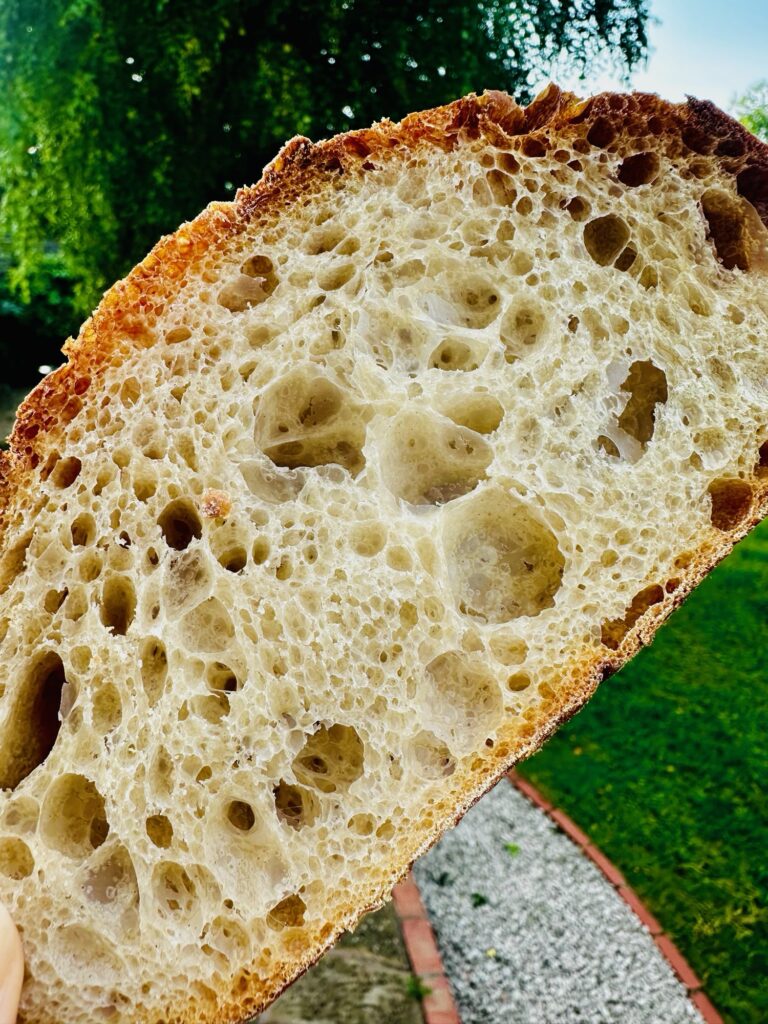
And if you don’t find any of that a good reason to try sourdough, it’s also a lot more fulfilling and satisfying than other bread due to the texture and chew that it provides, and the fact that it’s a good source of protein. So if you want to eat the best form of bread, make it this one.
So yes, it deserves the hype!
Secondly, let’s address the faff:
Many people have over complicated the process of making sourdough, adding unnecessary steps, fear, stress and ‘faff’ to what in reality is a simple and enjoyable process. As a result people approach making sourdough with fear and low expectations, but it doesn’t have to be that way.
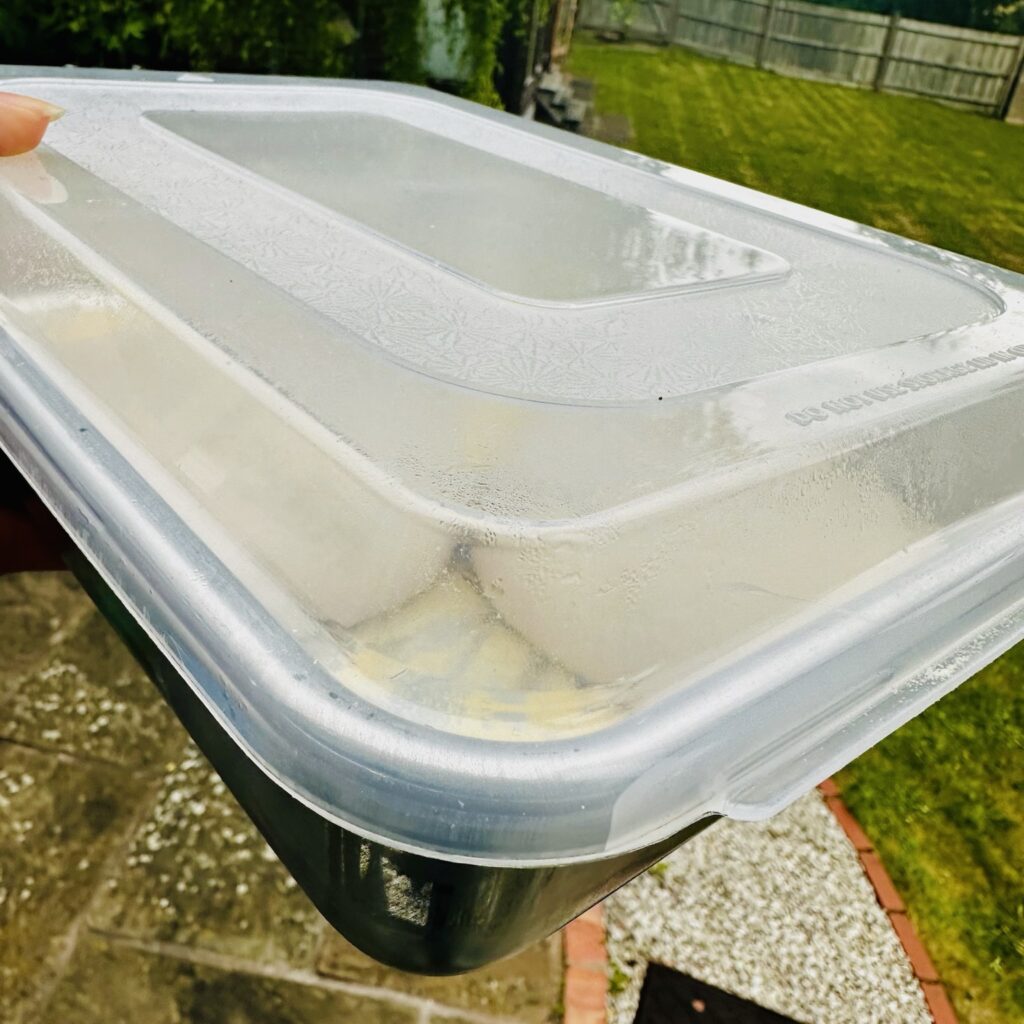
Which I where I come in – I take all of that faff and completely disregard it. You can take a huge percentage of what you’ve read about making sourdough and ignore it. You don’t need a science degree, you don’t need to pay a babysitter to look after your starter, you don’t need to give up all of your free time, you don’t need to get up in the middle of the night, you can easily and simply make sourdough in any kitchen, in any part of the world, with equipment you’ve probably already got, and without it invading your home life. You have full control of the whole process and can produce this bread to fit the requirements of your tastes and home. Tapwater, a clean jar with a fitted lid, and some good flour, and you’re ready to go.
So if you fancy making some of this fabulously tasty, healthy bread, in the simplest possible way, check out all of my information online, check out all of my resources:
Website: https://foodbodsourdough.com/
Instagram: https://www.instagram.com/elaine_foodbod/
YouTube: https://www.youtube.com/c/foodbodSourdough
Most importantly, enjoy it all!