Welcome to my master recipe process.
Please note: I have included a gallery of step by step photos below to compliment the written process or you can watch the entire process on YouTube here.
My recommendation is, if this is your first time using my master recipe, please read it all through in conjunction with the video and notes before starting. Please let me know if you would then like me to clarify anything for you. And most importantly, have fun!
Before you begin:
Feed all of your starter with 30g of strong white flour + 30g of water and stir it well, it does not need to be stirred excessively, it does not need to be smooth, a thick lumpy mix is fine. Cover the container again, sit it on your counter, and allow it to become fully active and ready to use, this can take 3-4 hours if you starter is as active as mine, it will take longer if your starter is less active or your kitchen is cold, it may take less time if your kitchen it warm.
If you keep it in the fridge, take your starter from the fridge and let it come up to room temperature before feeding, or, if you use your starter daily and it lives on the counter, feed it directly from the counter.
If you think that the mix feels a bit thin, add extra flour to thicken it up. Check out this page; for more information about your starter.
Once your starter is bubbly and active, start putting your dough together.
Time required: The process for making this loaf encompasses nearly 24 hours but the actual hands on input required is very little, 30 minutes at most.
Ingredients
50g starter
350g water
500g strong white bread flour*
Salt to taste
*see my recipe index, flour notes or book for flour/mixes options. If you are new to sourdough, I highly recommend using a good quality strong white bread flour as your starting point. This is the flour I use here in the UK from Matthews Cotswold Flours for my standard loaves. In the US I recommend using King Arthur Bread flour which will find here. Once you have mastered the process with a good strong white bread flour like these, the possibilities are endless!
This recipe makes 1 loaf.
Method
Step 1: Start this process when your starter is ready, around mid/late afternoon works well, I tend to begin making my doughs between4-5pm.
In your mixing bowl, mix the 50g of starter with the 350g of water; the water can be cold, cool or room temperature, it does not need to be a particular temperature. Stir the starter and water loosely together just to lift the starter off the bottom of the bowl.
Next, add the 500g of strong white bread flour to the bowl, and 1 teaspoon/4g of salt. (Please note that I only use a small amount of salt in my recipe, this suits my tastes; please feel free to increase it.)
Mix it all together loosely, so that it’s pretty ragged but all the flour and water is mixed; I tend to use a stainless steel tablespoon for this first rough mix, or use your hands, whichever you prefer. I follow this up using a bowl scraper to clean round the bowl and make sure it is all nicely roughly mixed together.
Cover the bowl with a shower cap or cover of your choice, and leave it for an hour or so on the kitchen counter. You do not need to time this, it does not need to be exact, around an hour is fine, if it is a bit longer, it will also be fine.
NOTE: You will see this process being called the ‘autolyse’ or pre-mix. I just call it the first stage.
*Put the rest of the starter in the fridge, you only ever need to keep around 100g of starter and you DO NOT need to feed it again after use, just store it, covered, in the fridge until you need it again.
Step 2: After an hour, remove the cover, and start to lift and fold the dough to build up the structure in the dough, wake up the gluten, and bring it into a smooth ball of dough. Literally pick up a small handful of dough from one side of the bowl, lift it and fold it over the rest of the dough to the other side of the bowl. Then turn the bowl and repeat the process, do it about 20-25 times maximum, until its a smooth ball.
Please note: you will only need to perform this many pulls and folds on this first occasion; after this, far fewer pulls and folds will be required to pull the dough into a ball before covering and leaving it again. You do NOT need to perform 20-25 each time. At this point the dough will be at its stickiest, from this point it will become less sticky with each handling.
Watch my full video to see all of the processes, including the lifting and folding action.
Cover the bowl again with your same cover, and leave it out on the kitchen counter.
Step 3: Over the next few hours, perform sets of the pulls and folds/lifting and folding actions 2 to 4 more times; these do not need to be done at fixed time periods apart, as long as you fit in sufficient sets during that time, that’s the key. I aim for 4 sets in total. The dough will not be starting to grow at this stage.
Each time you perform these pulls and folds, stop when the dough comes into a ball, that is the dough telling you it has had enough handling at that stage.
Step 4: Complete the final set, pulling the dough into a nice firm ball, then re cover the bowl, and leave it on the counter overnight. This is often termed as the ‘bulk fermentation’ period.
The ideal temperature for this is between 18C – 20C for 8-10 hours. If it is a lot colder than this, it will take longer, just give it a few more hours. If it is warmer it risks over proving, see my hints and tips and FAQs for assistance on how to prevent it.
Step 5: Next morning, the dough should have really grown within the bowl, to at least double, with a smoothish, slightly domed surface. There should be a nice structure to the dough, it does not need to bubbly, just grown.
Now, get your banneton out and sprinkle it with rice flour even if it has been prepared beforehand. It needs to be really well floured, all the way up the sides, so that the dough doesn’t stick.
*If you have a new banneton, see the equipment page for how to prepare it.
To place the dough into the banneton, perform a final round of pulls and folds with the dough, enough to bring it into a nice ball again, it should be bouncy and happy and you should be able to feel the structure in your dough. Do not worry about being heavy handed, and definitely do not be too gentle or nervous; if you have followed the steps and built up a good strong dough, you could sit on it and it would still bounce back amd bake well. So aim to create some tension in the dough so that it holds a ball on its own and sits proud on the middle of the bowl quite happily.
Lift and place the ball of dough, smooth side down into the banneton. Move the dough gently aside to be able to sprinkle rice flour down the sides of the dough. And ensure that you sprinkle some rice flour all over the top of the dough too to stop it from sticking to the parchment paper.
Cover it again with a shower cap/cover, and put it in the fridge for an absolute minimum of 3 hours, and up to 24 hours, the longer you leave it, the more the flavour will grow. I usually leave mine for an average of 10 hours. This means you can leave it there all day whilst you’re at work, or out for the day, and bake it on your return should you wish.
This is often call the ‘final proof’.
Step 6: After this time, you can choose whether to bake from a preheated or cold start; I bake all of mine from a cold start, it may sound counterintuitive, but I promise it works.
If you choose to preheat: preheat the oven now to 220C/425F fan/230-240C/450F non fan.
Remove the dough, in the banneton, from of the fridge once the oven is ready, line your enamel roaster with a sheet of parchment baking paper. Place the tin over the top of the banneton, then invert it/turn it all over together to turn the dough into the pot.
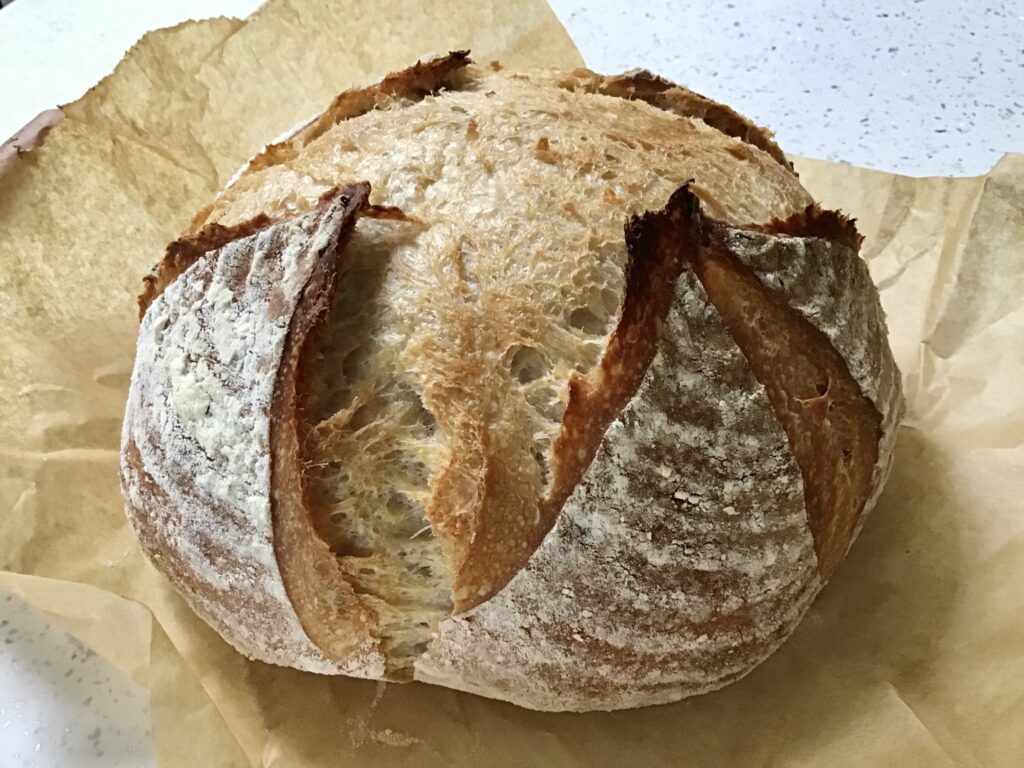
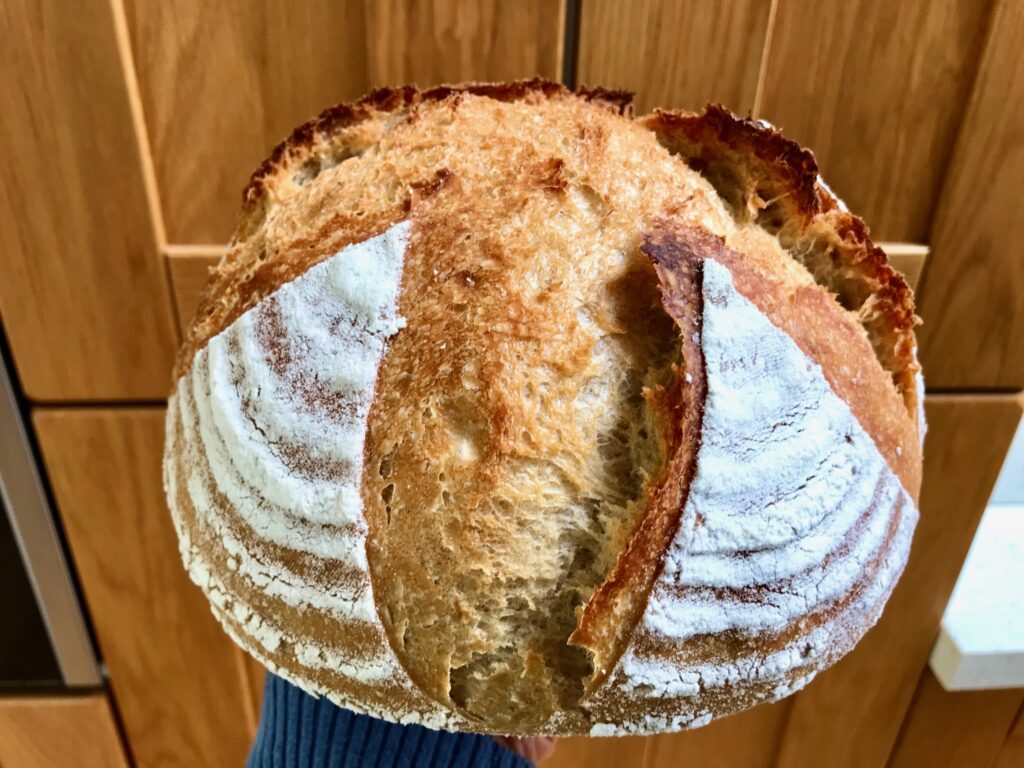
You should now have a lovely dome of dough, that holds it shape, decorated with a pattern of concentric flour rings from the banneton. Score the top of the dough with a lame or a clean razor blade, put the lid on and bake it for 50 mins.
To bake from a cold start: place the dough into the pan as above, score, put the lid on and place the pan into your cold oven. Turn the oven up to 220C/425F fan/230-240C/450F non fan and a timer on for 55 mins, leaving the lid on for the whole time. The time required in the oven starts from the point you place the pan into the cold oven and switch it on, not from the time the oven reaches the required temperature. For more information about cold baking read more here.
Leave it to bake: DO NOT be tempted to peek, do not open and close the oven, resist any urge to do so to look at it.
Step 7: After the 50 or 55 minutes, remove the whole pan from the oven, carefully take the loaf from the pan, tilt it whilst still wearing your oven gloves to remove the parchment paper from the bottom, (and keep it to use again like I do) then leave the loaf on a rack to cool.
If after the required time, you prefer a darker loaf or you feel that yours look pale, you can remove the lid and bake for a further 5-10 mins; I prefer to keep the lid on for the entire bake as I like the colour I get.
Wait AT LEAST an hour before you slice into it. If you cut into the loaf too soon, it will still be cooking, and steam will fill all of those carefully crafted holes and make the bread gummy.
Enjoy!
*Please note: if you preheat your oven you do NOT need to preheat the pot. If you are using a cast iron Dutch oven, or heavy pot of any kind, you still don’t need to preheat the pot. Bake as per below and if when you lift the lid, the loaf seems a bit pale or blonde, put it back in the oven for 5-10 mins to brown.
Below is a set of images showing the steps of my process but the video shows it better:
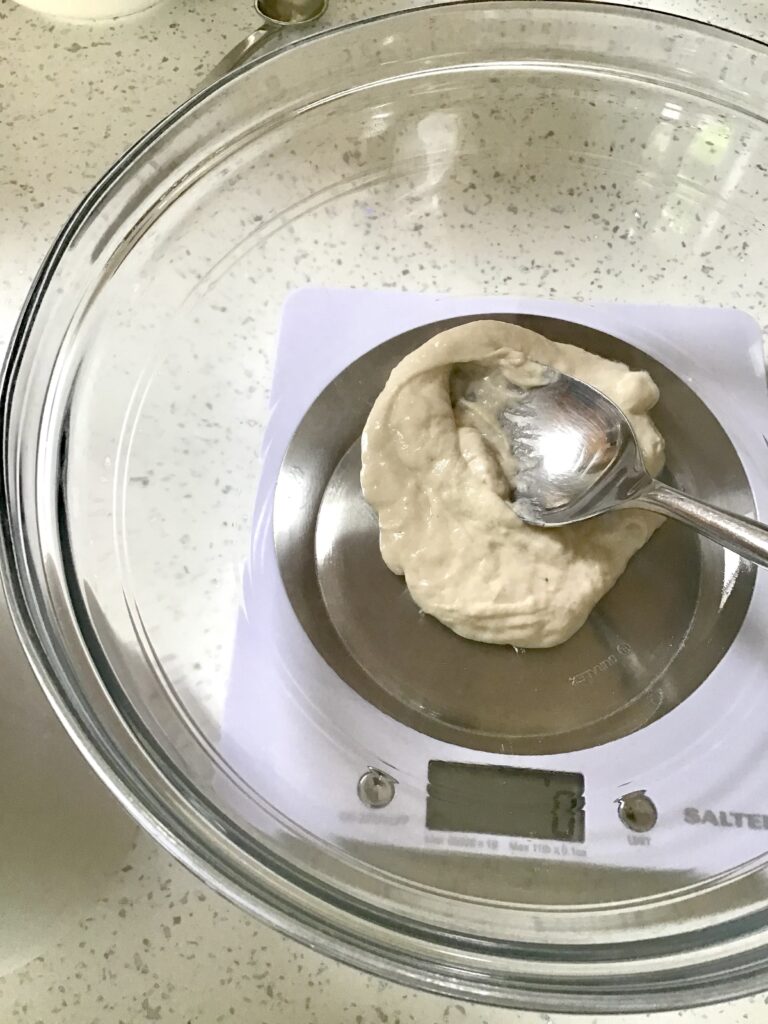
50g starter 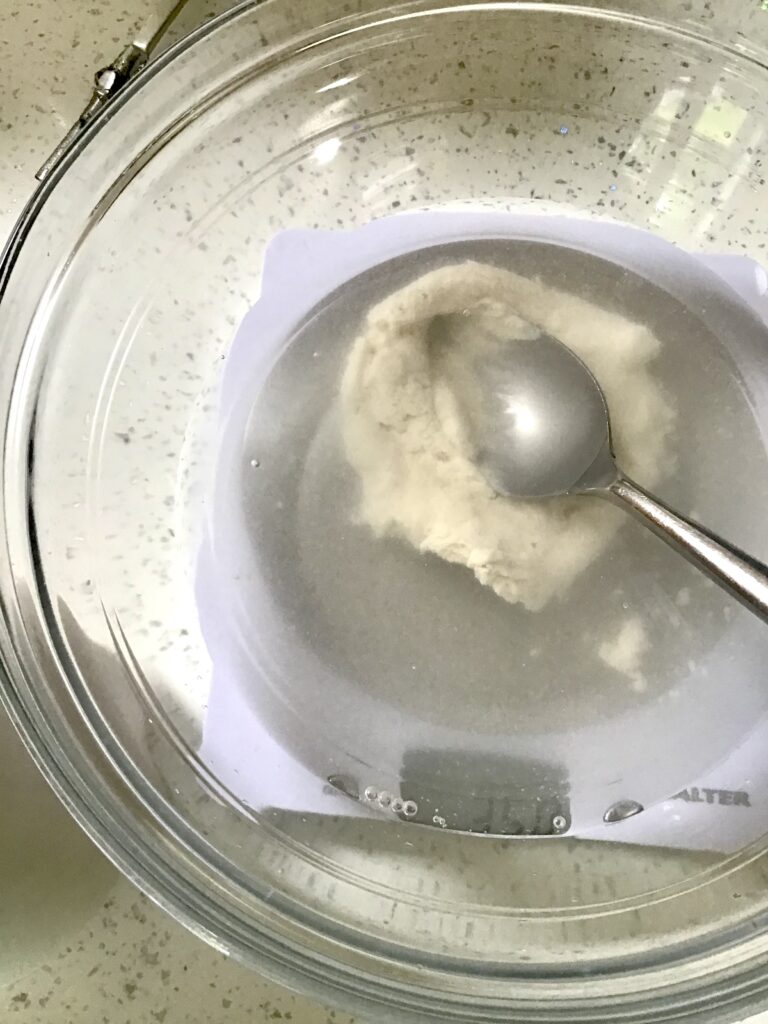
350g water 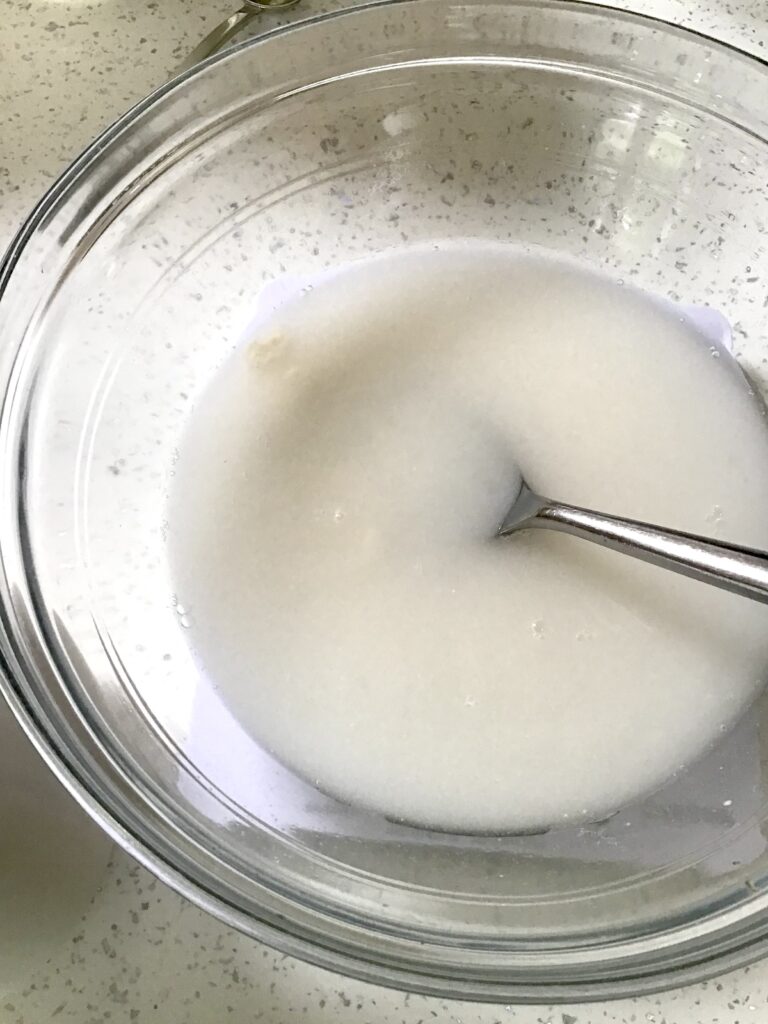
Stir 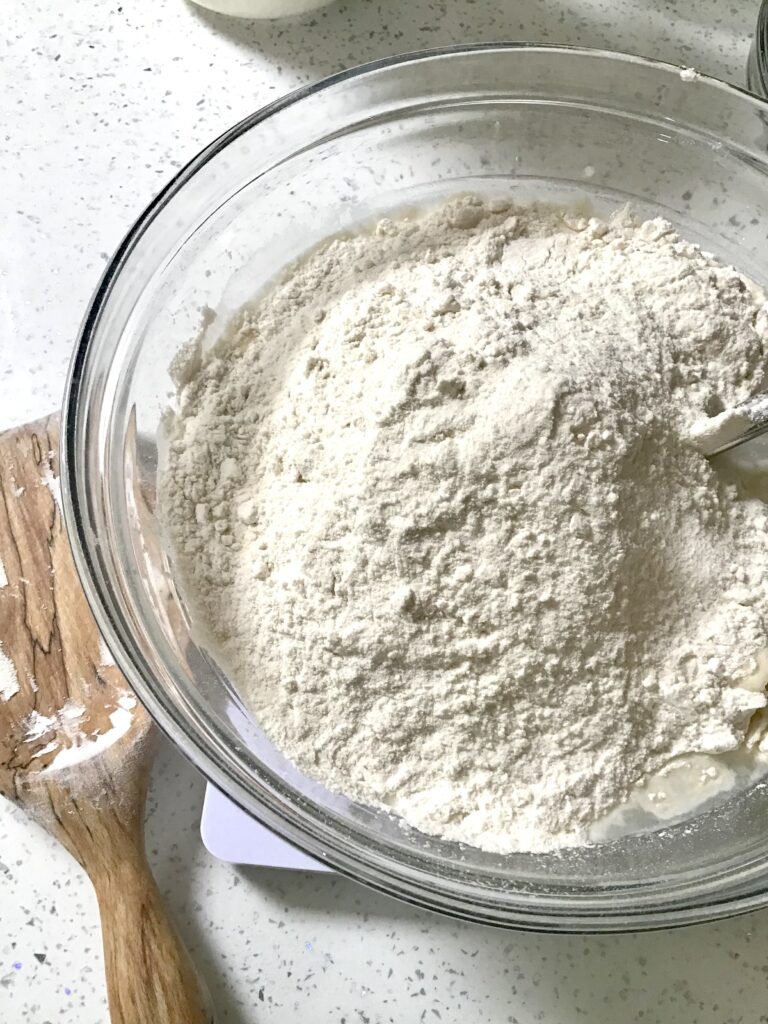
500g flour 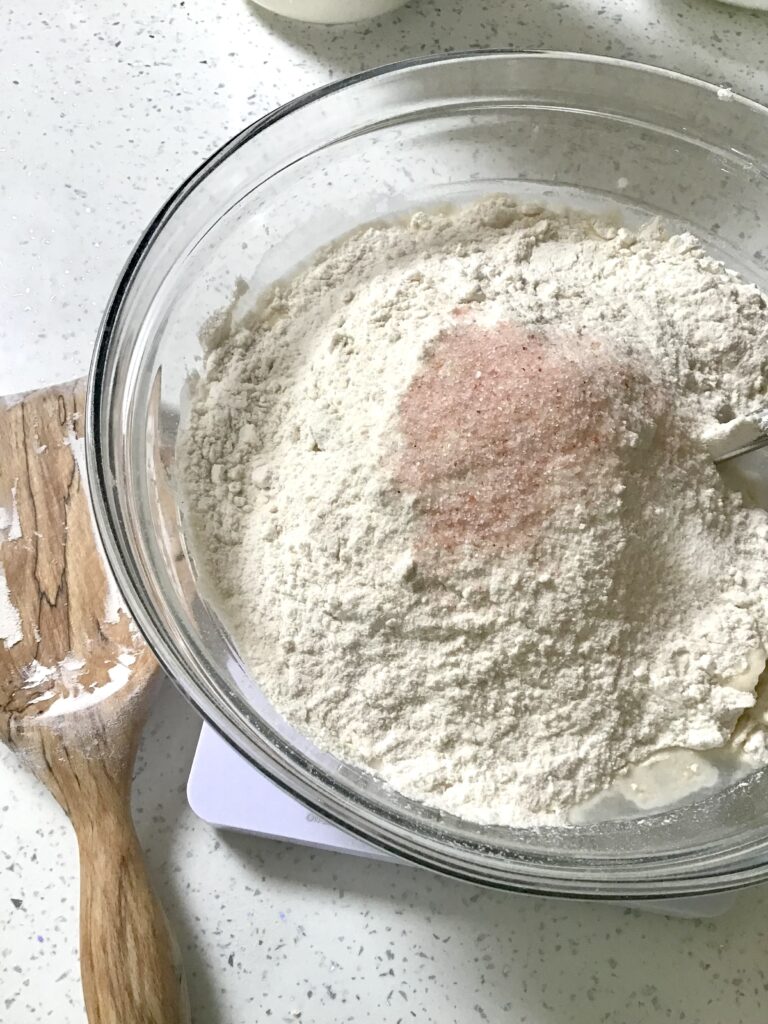
Salt to taste 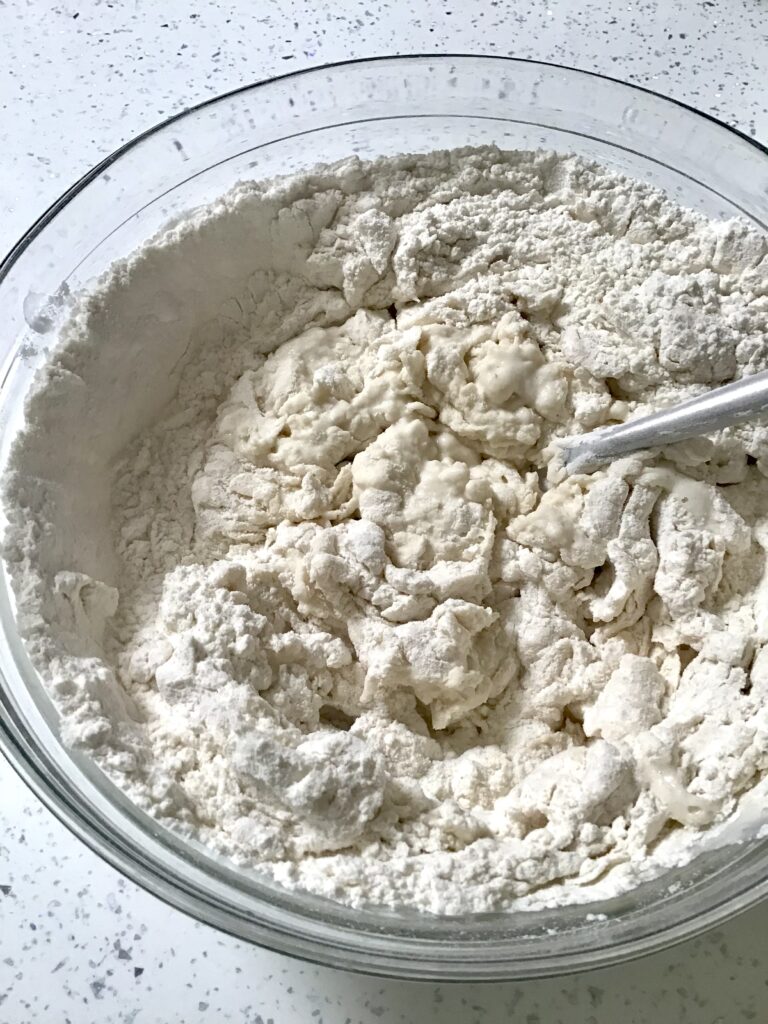
Mix 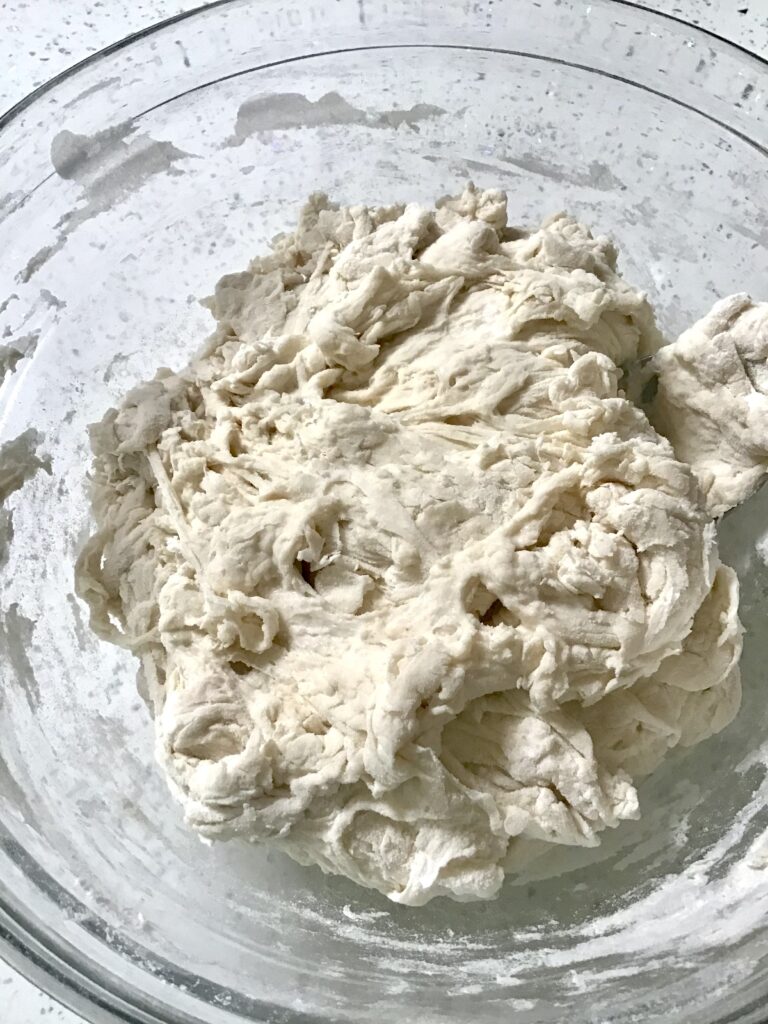
Rough mix 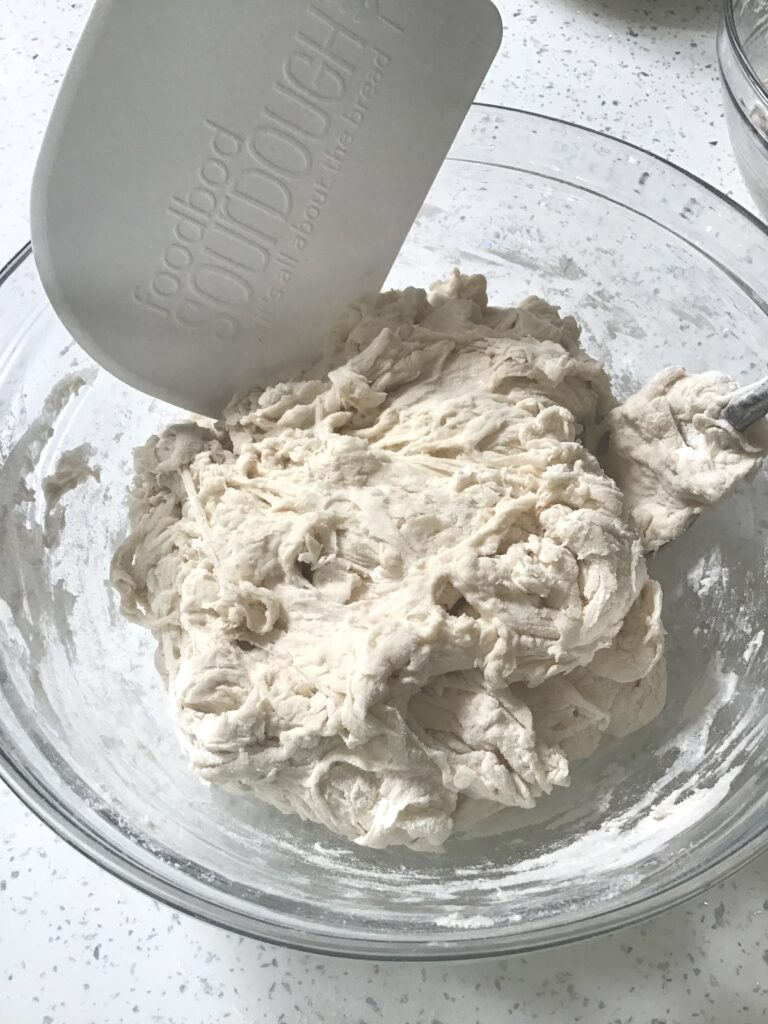
Scrape down with bowl scraper 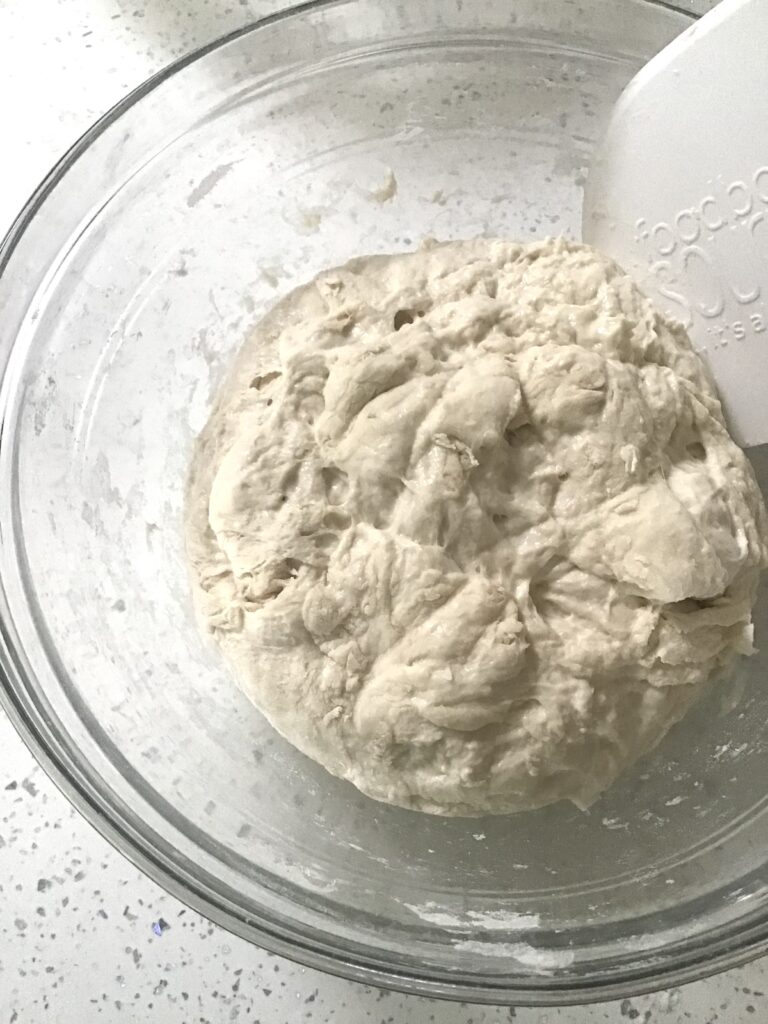
Roughly mixed, ready to cover 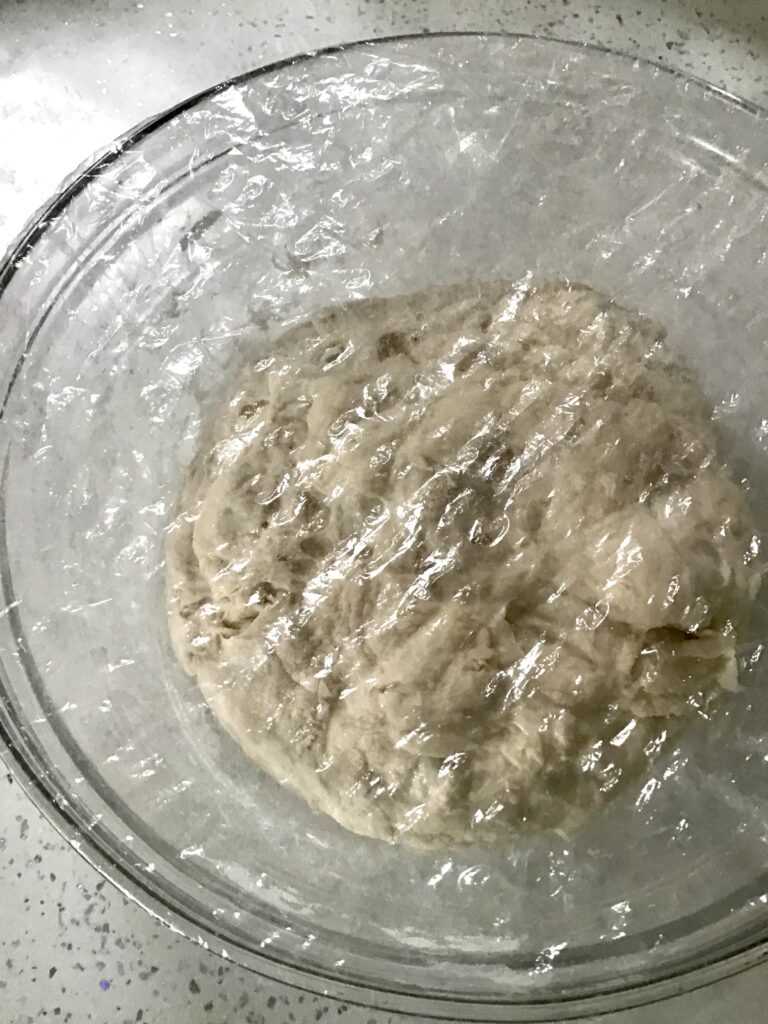
Cover and leave 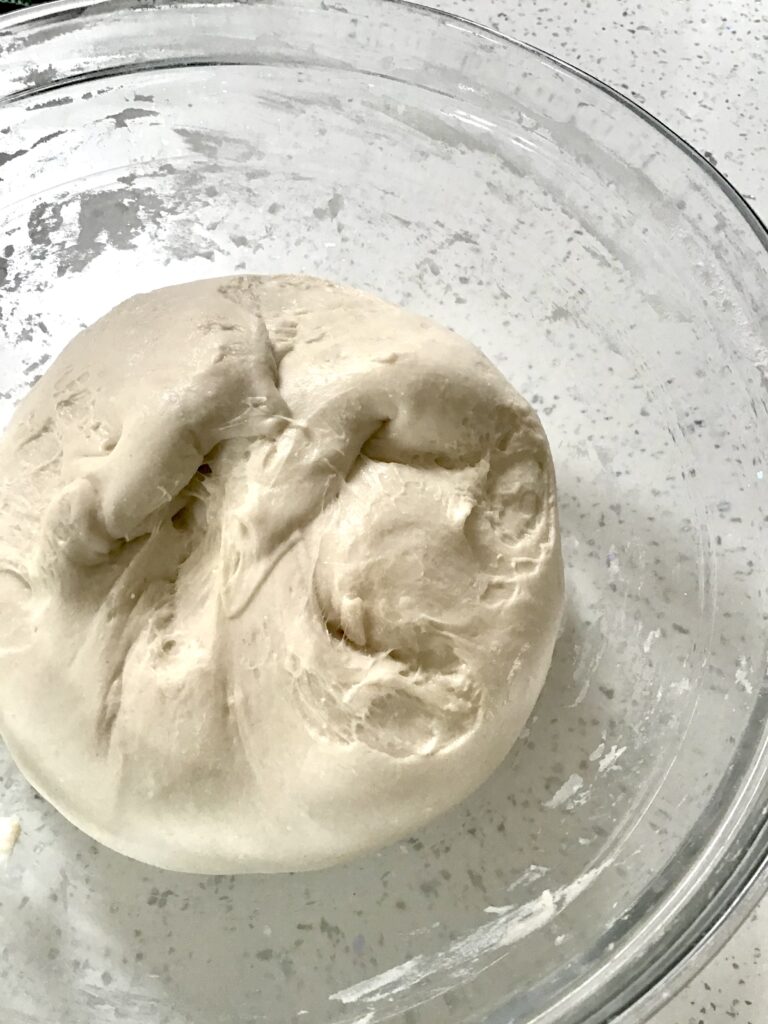
After the first set of pulls & folds 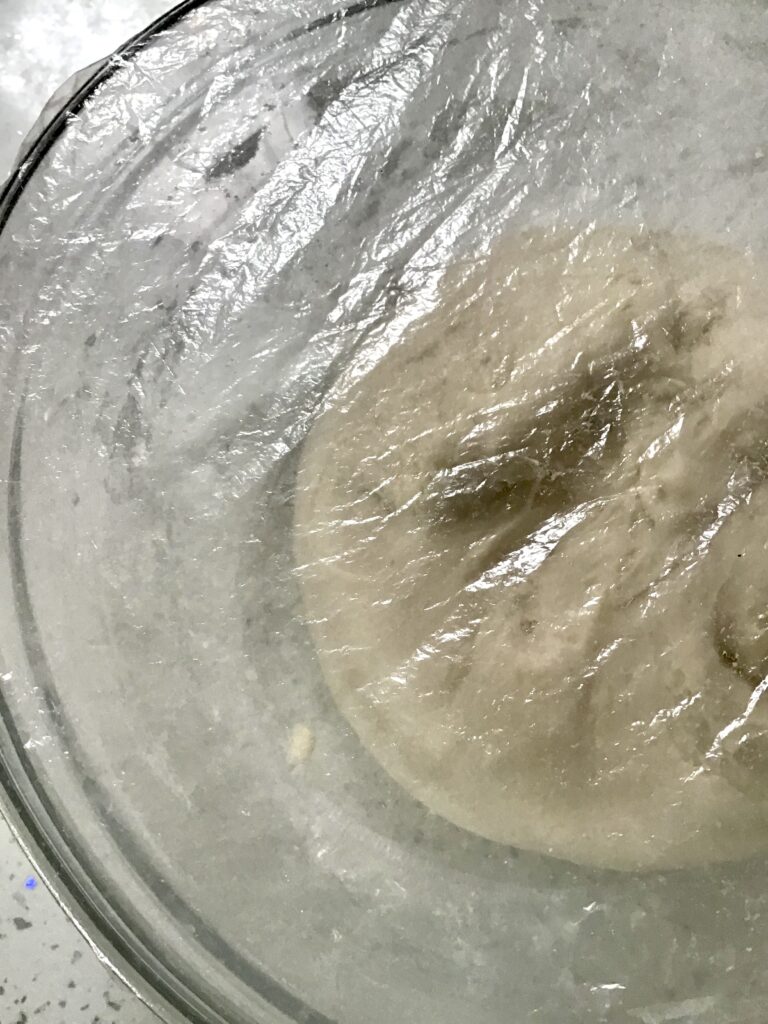
Cover again 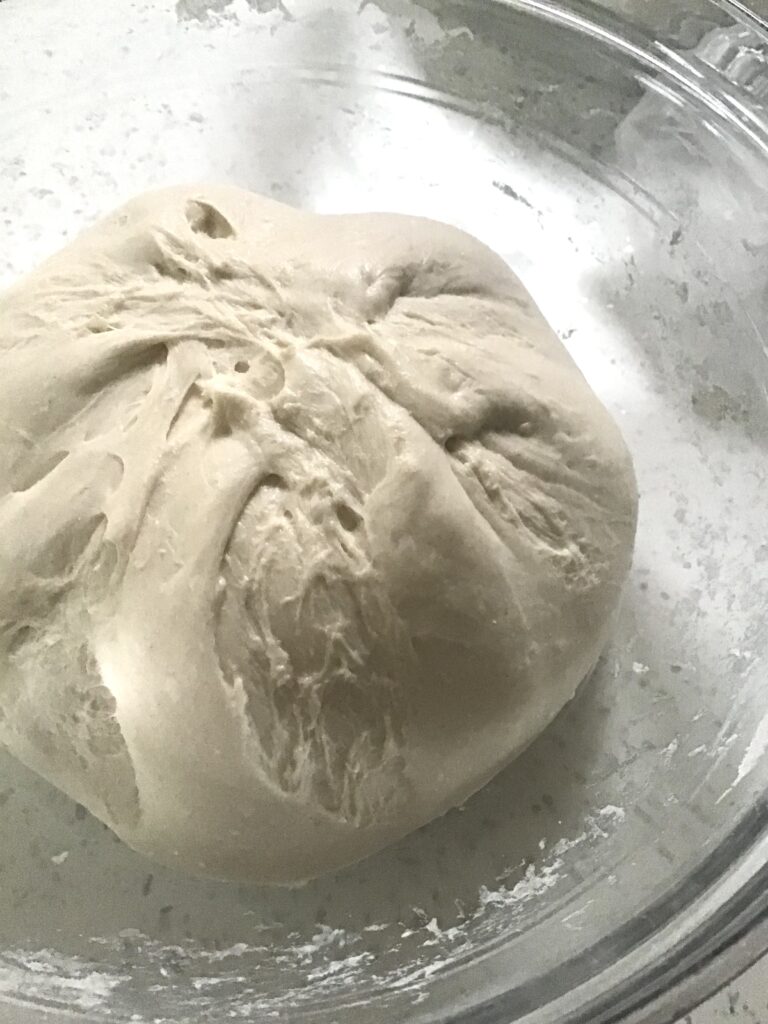
After the final set of pulls & folds 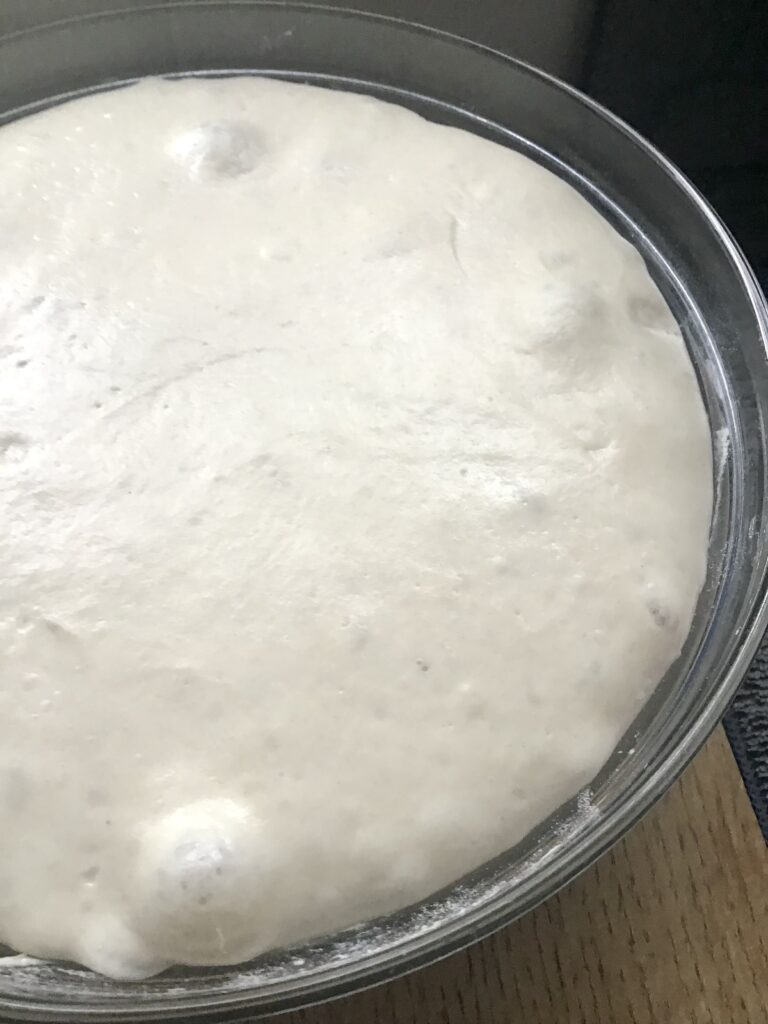
In the morning 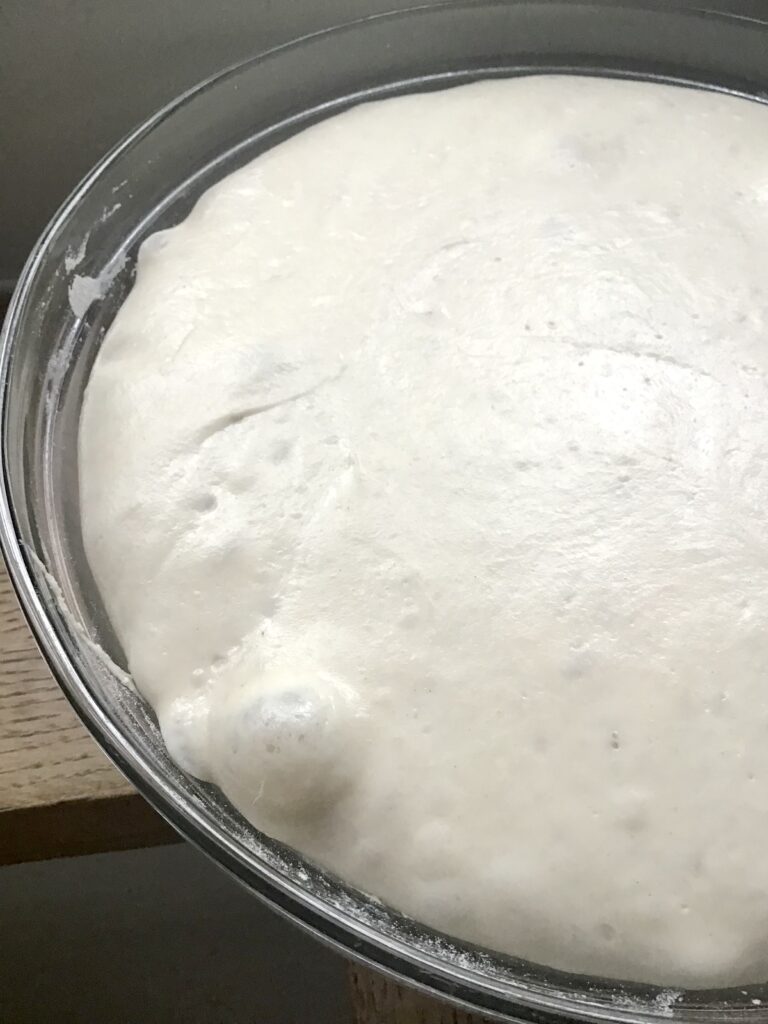
Beautifully proved dough 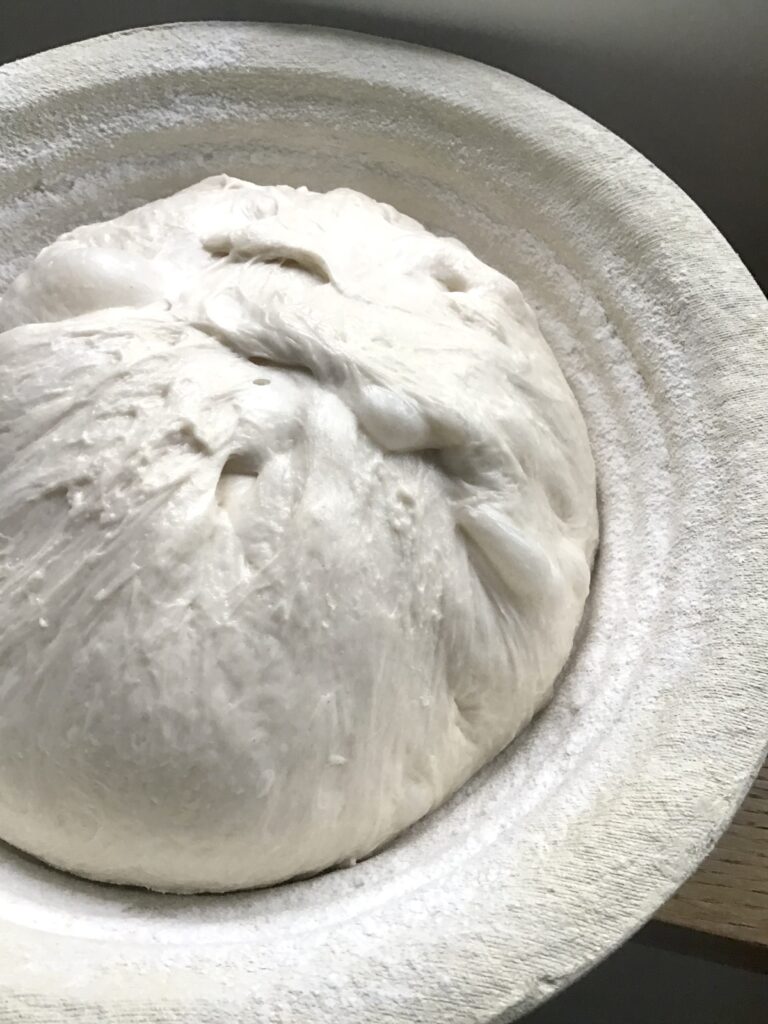
Pulled together.. 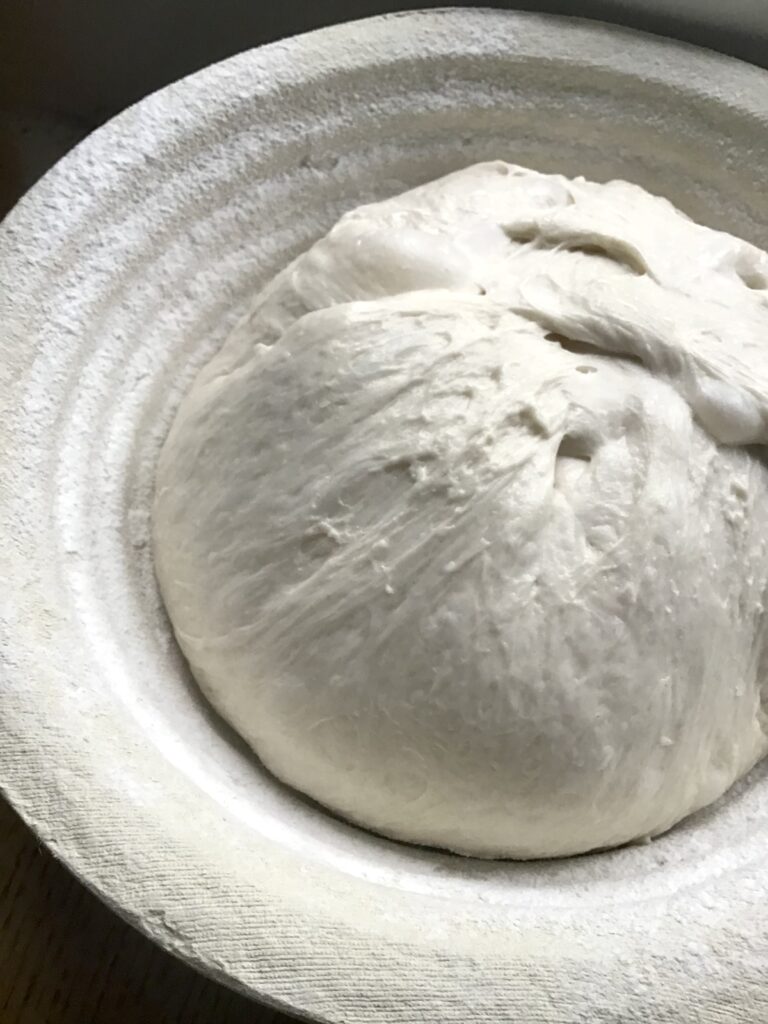
and into banneton, cover, into fridge 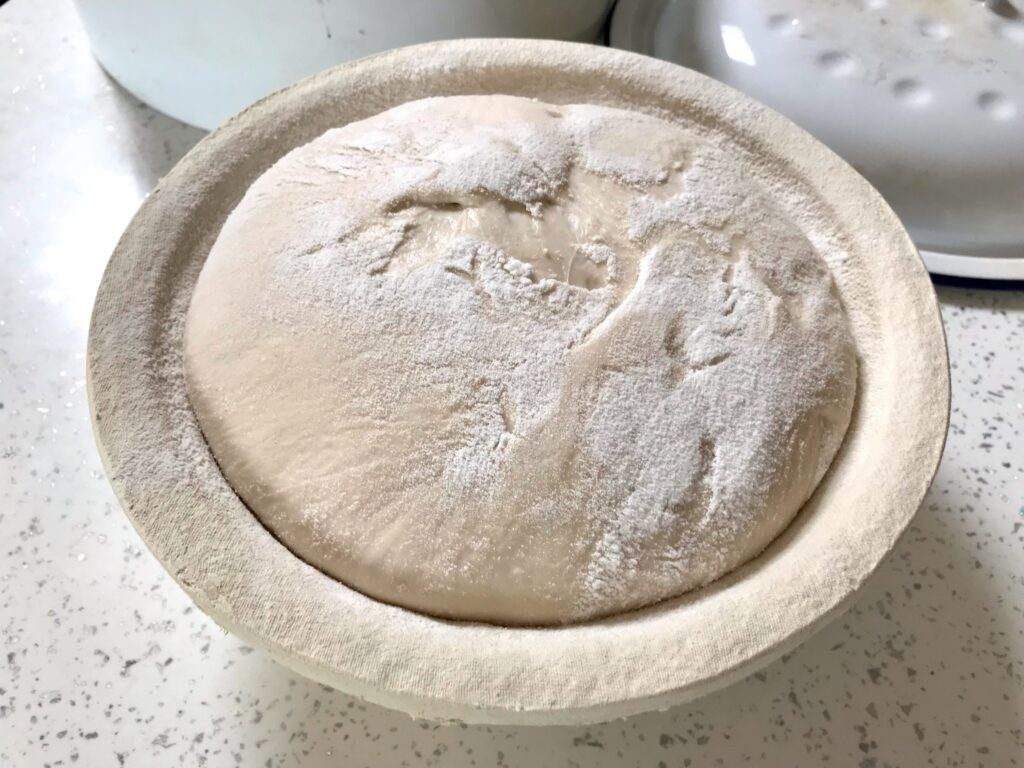
After 6 hours in the fridge 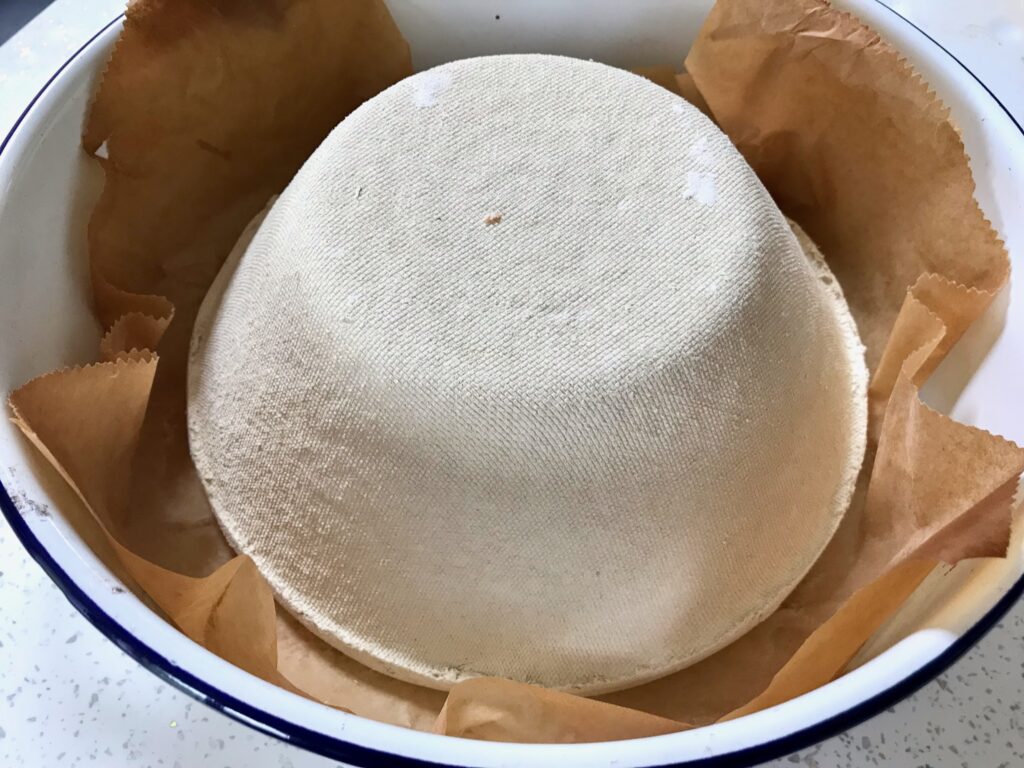
Turn out into lined cold pan 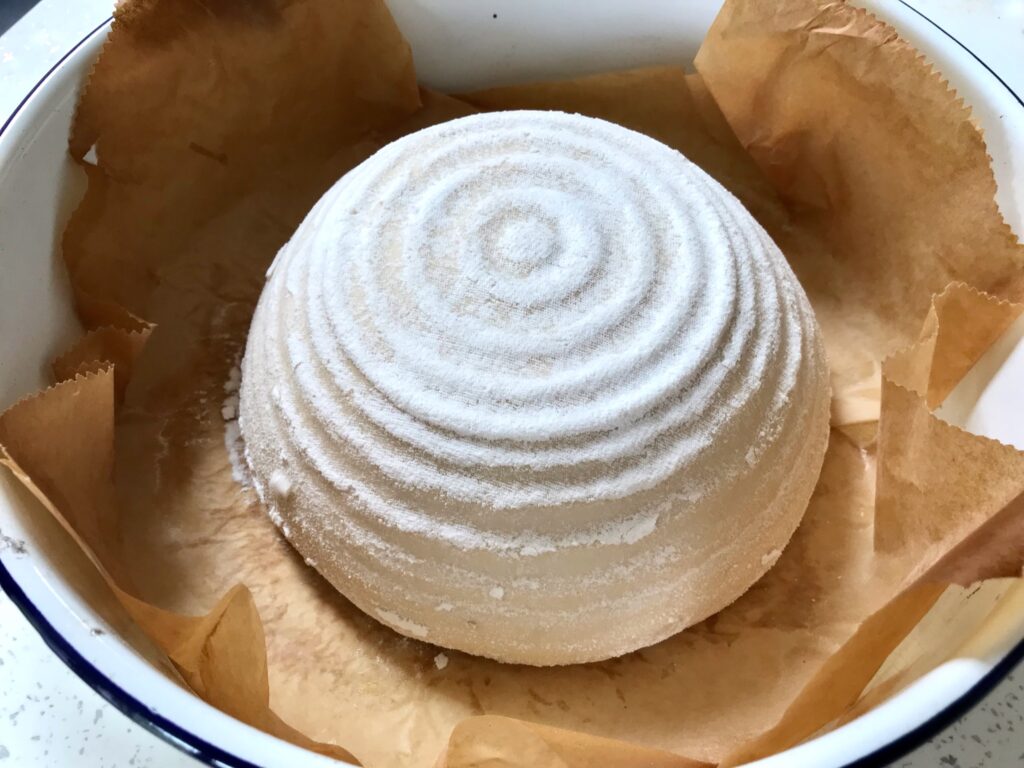
Firm dome of dough 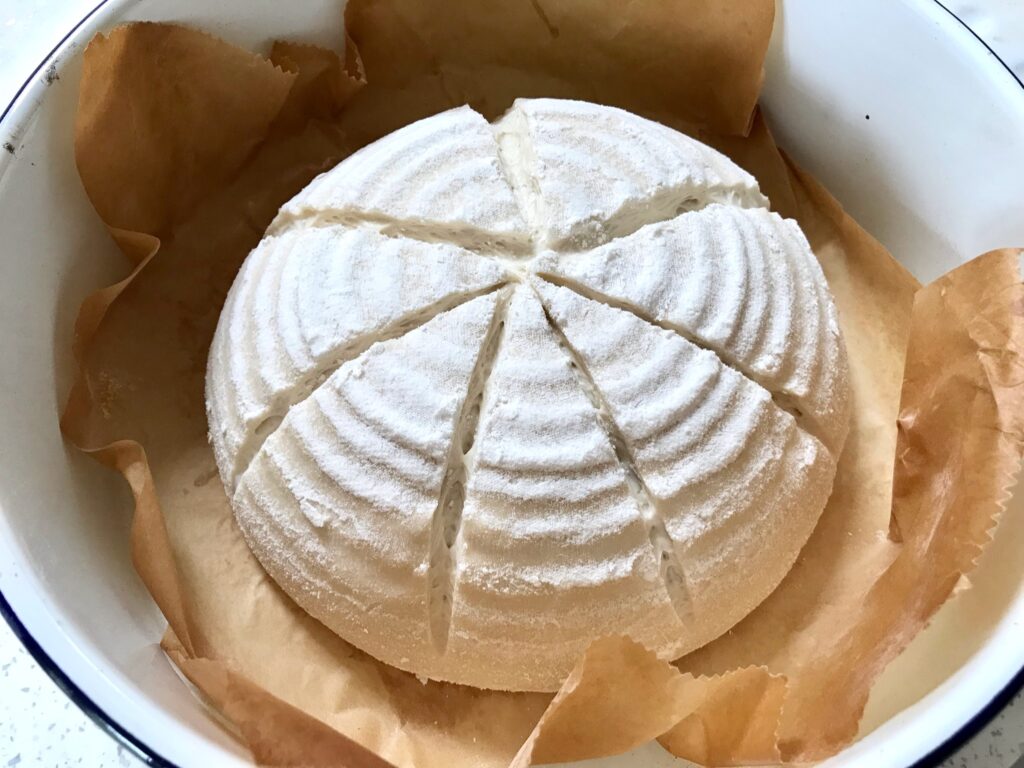
Scored 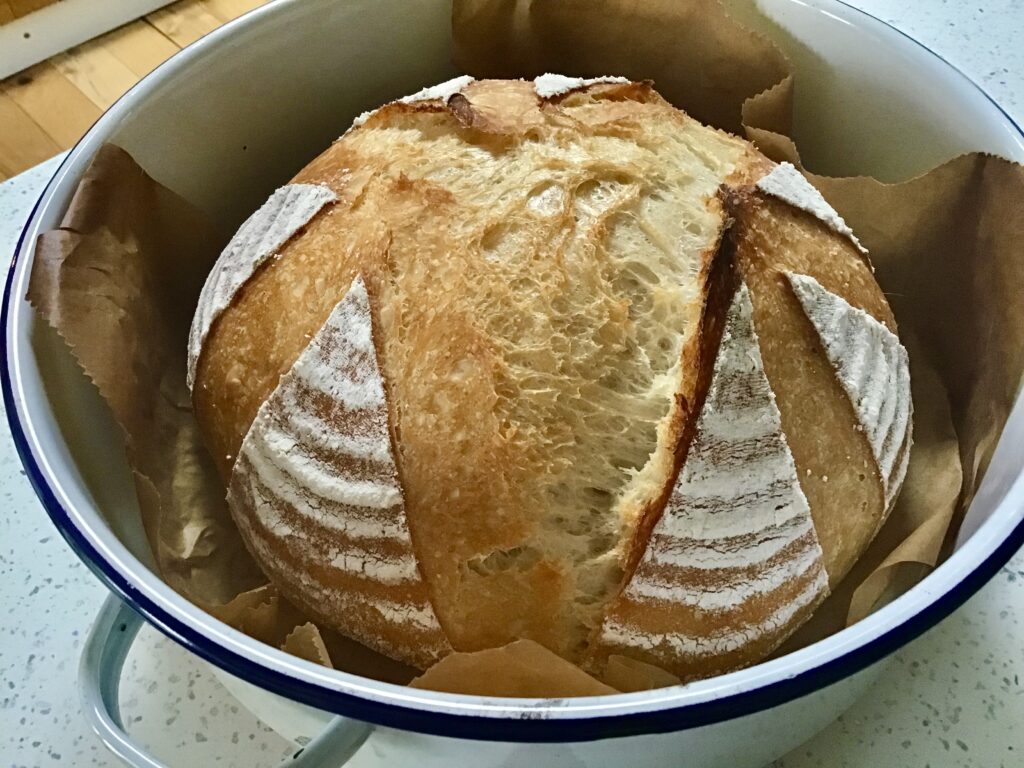
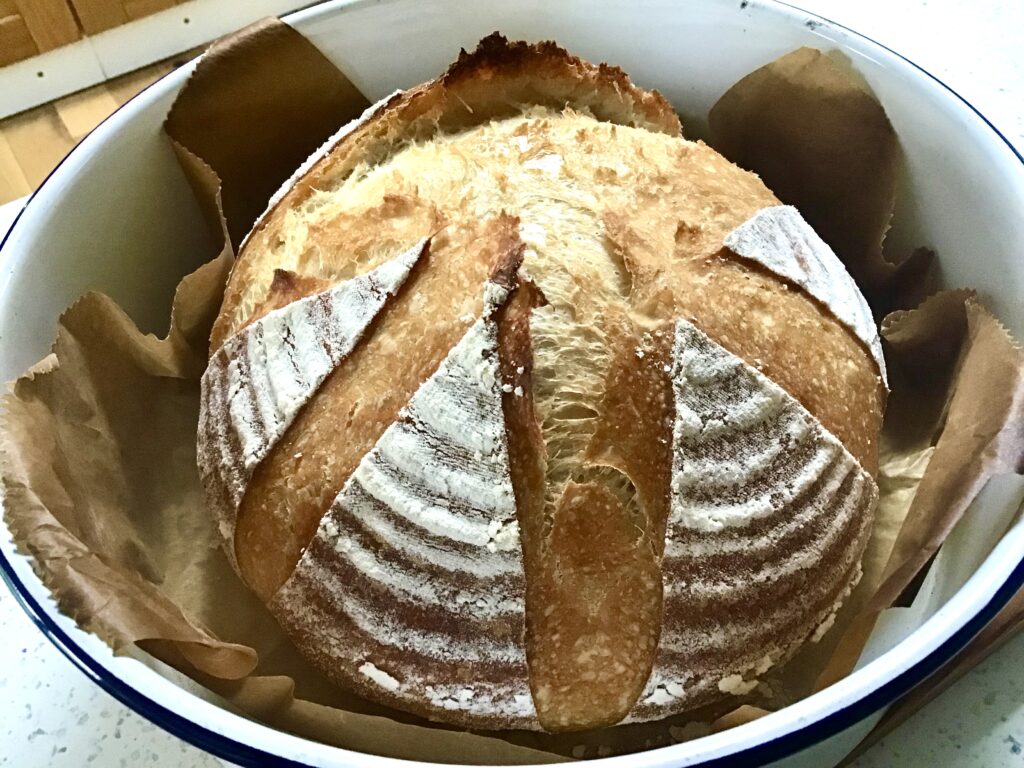
Baked! 
Cool and eat 🙂
For more information for your sourdough success, read my page about flour, check out more hints and tips for your sourdough making, see my baking timetables for fitting sourdough into your life, scoring your dough and storing your dough
Once you have mastered this process and feel comfortable using the starter and managing the dough, the possibilities are endless, and addictive! I would strongly advise that you get comfortable with sourdough using non organic strong white bread flour before you start experimenting; it is a perfect learning ground.
And then, experiment at will!
For more sourdough ideas, check out my recipe index for more ways to use your dough, try new flours, bake from a cold start, and have more sourdough fun!
Follow me on Instagram for day to day sourdough news, share your bakes with me on Facebook, and always feel free to contact me with any questions. If you found this page useful, buy me a cup of tea x