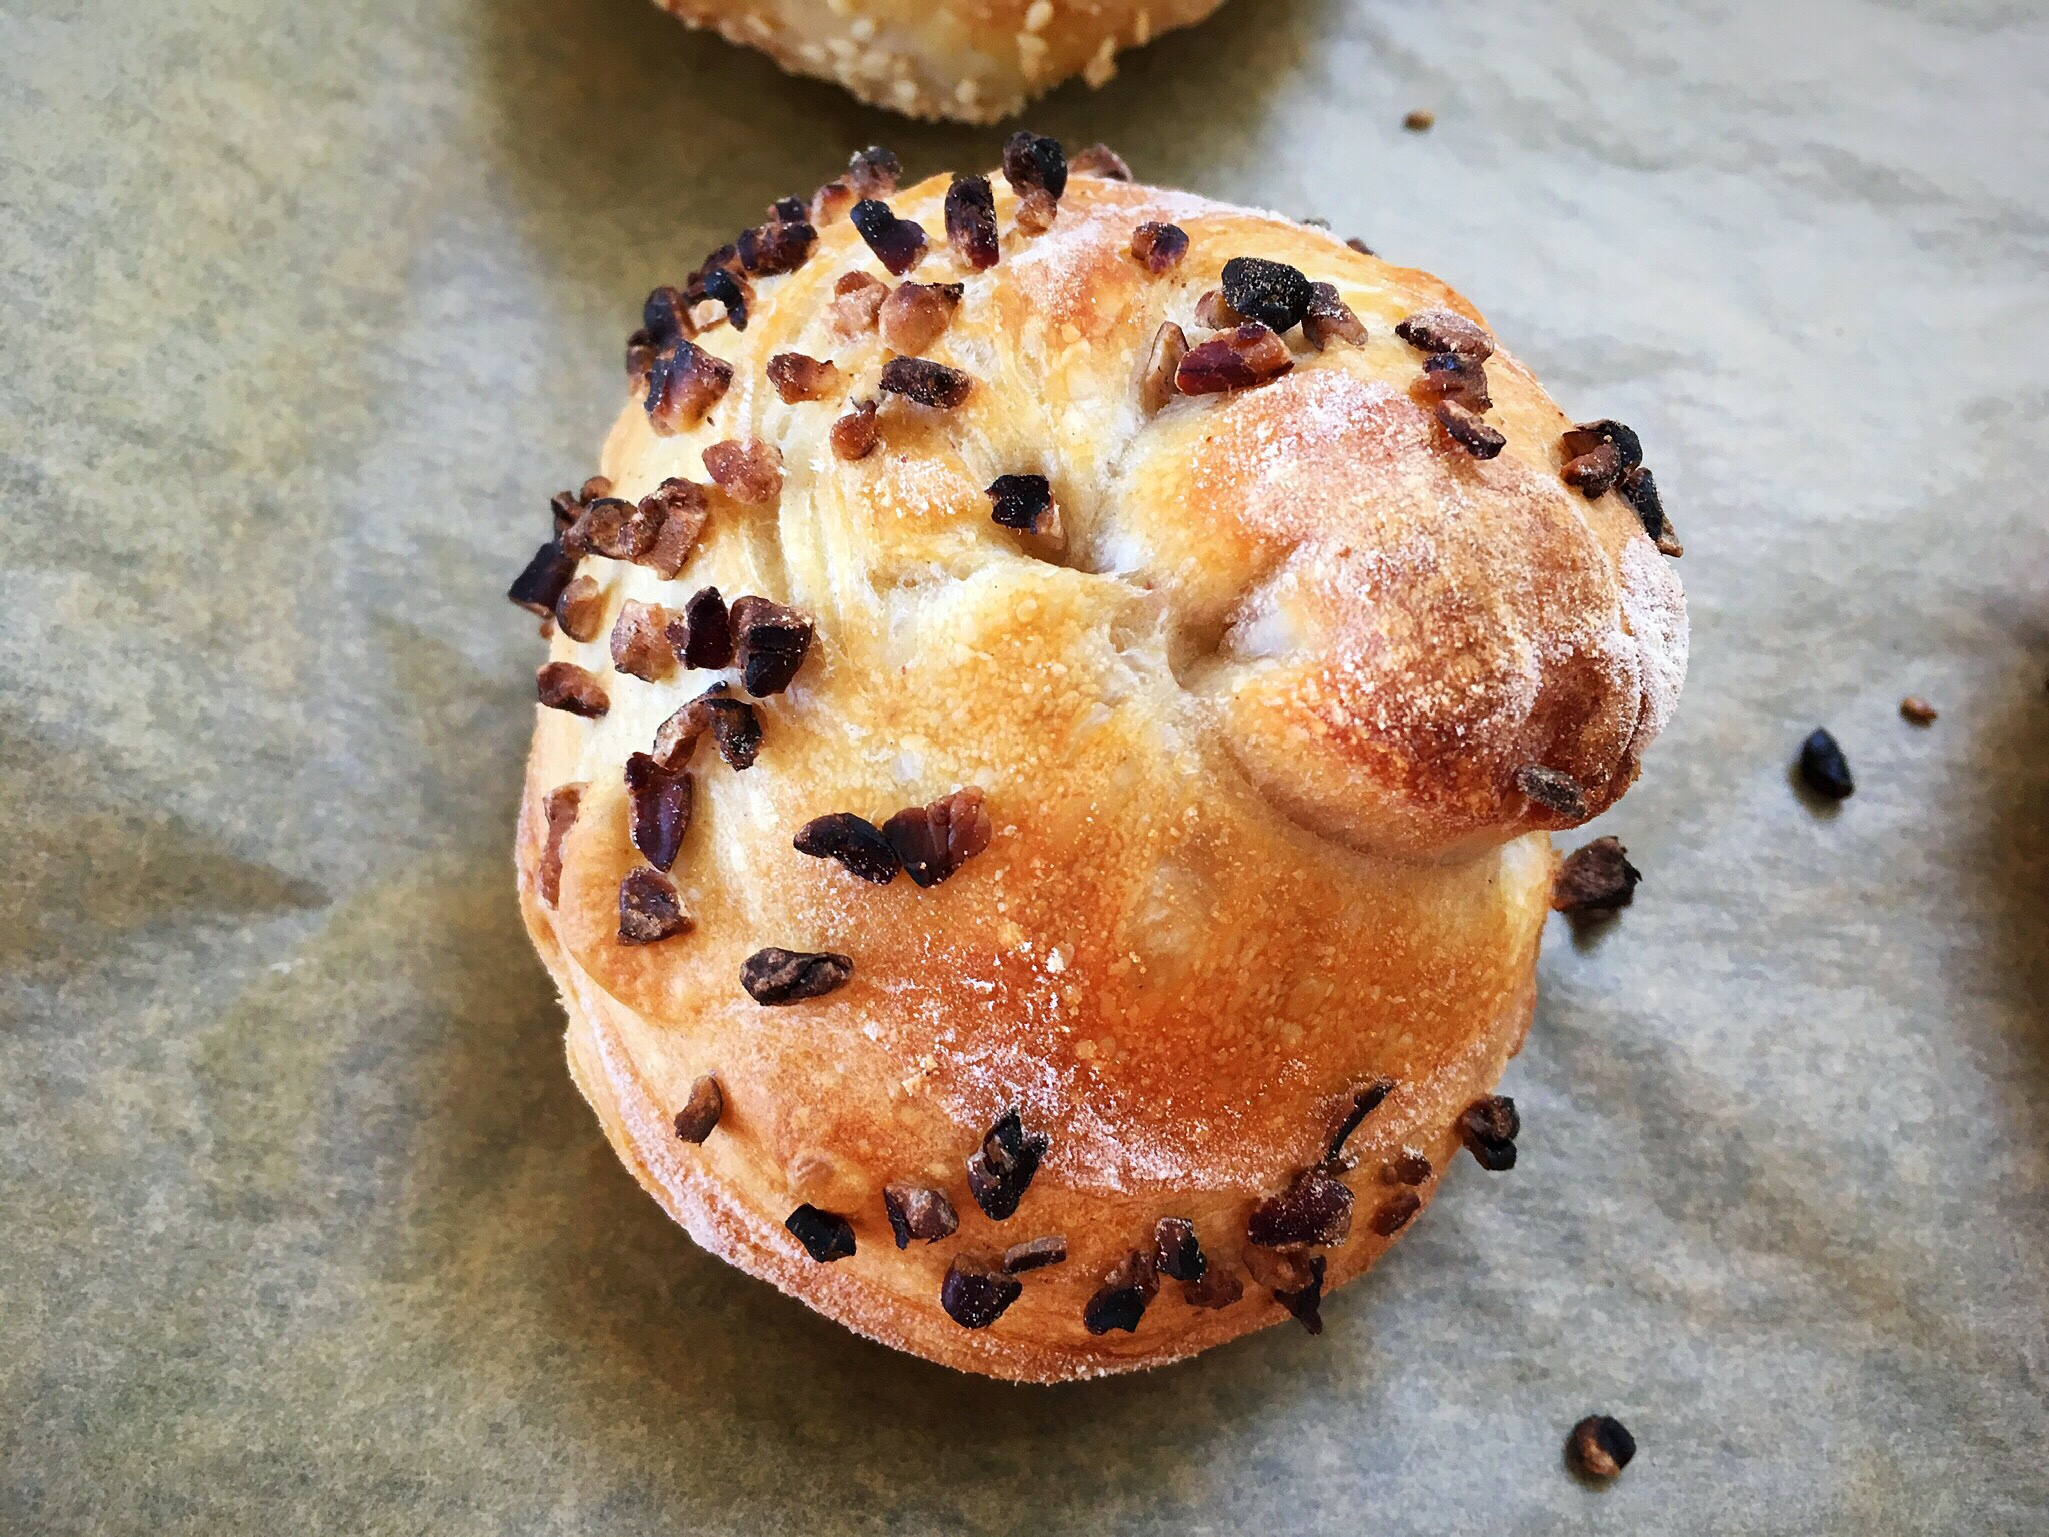
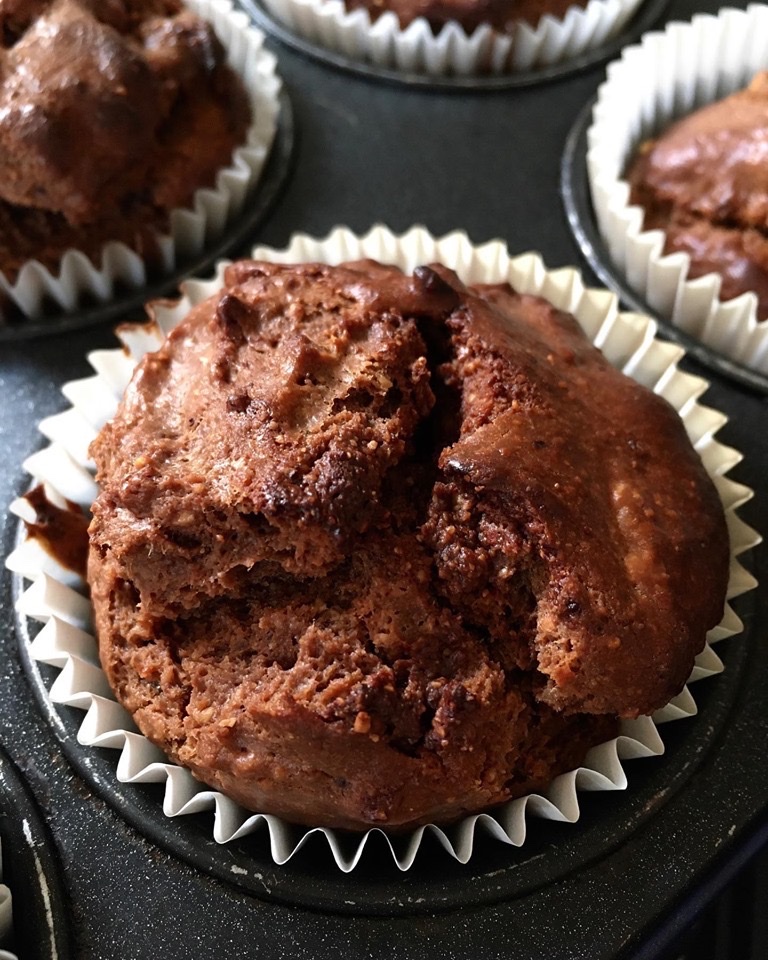
Introducing my hazelnut cacao choc chip sourdough muffins!

I recently whizzed up some hazelnut cacao butter by blending roasted peeled chopped hazelnuts with cacao powder, a squeeze of honey and a little rapeseed oil.
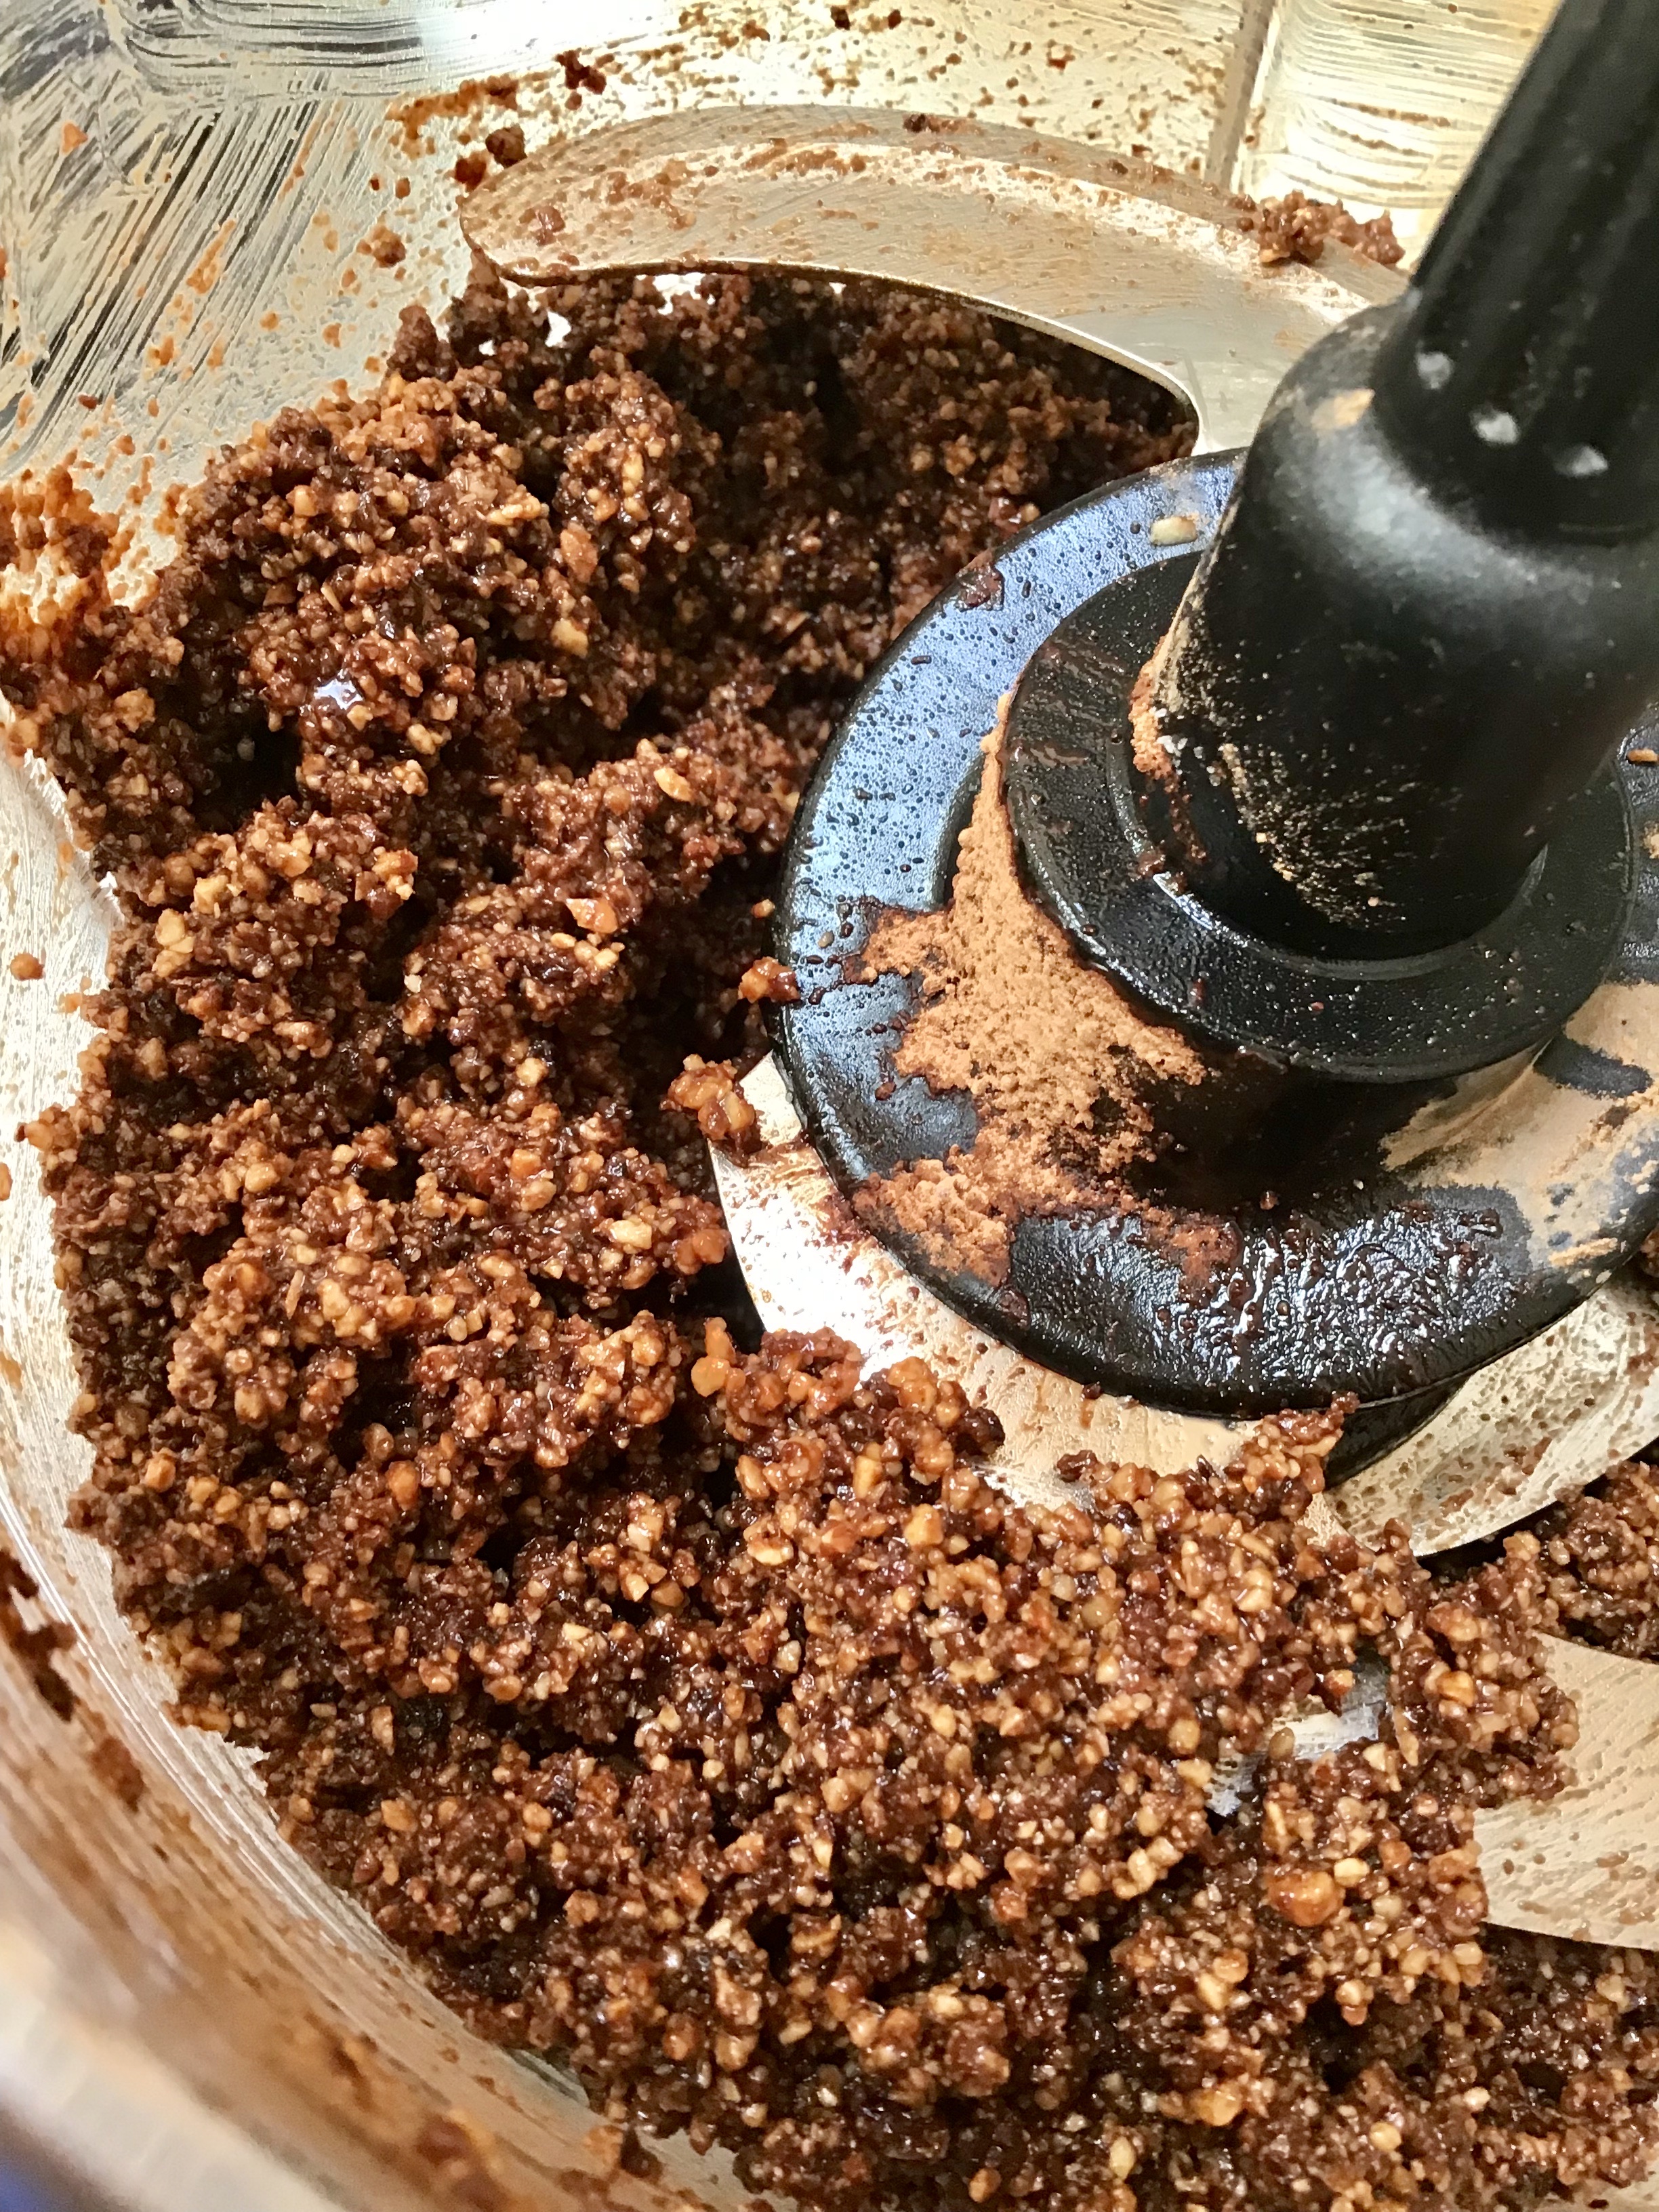
I only added a small amount of honey to take the edge off the bitter cacao powder as I don’t like overly sweet things, but it can easily be made sweeter for other tastes. You can also use cocoa powder instead of cacao.
I ended up with quite a lot of it so I thought I’d play with some. Consequently these muffins are packed with it!!
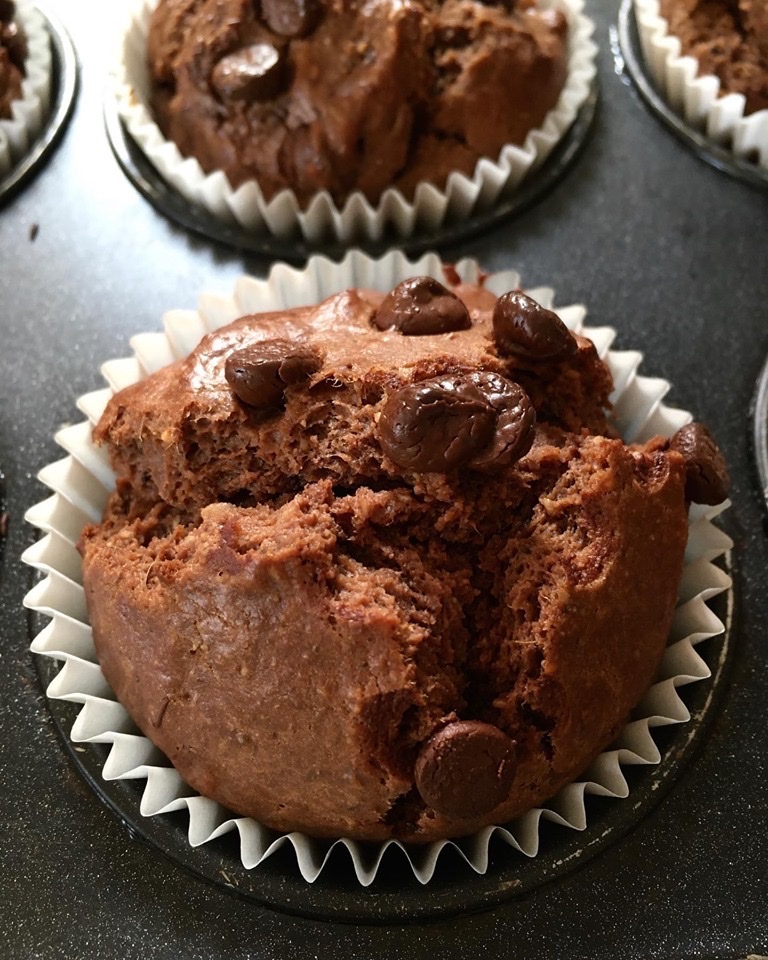
Healthy, protein packed, sourdough beauties!
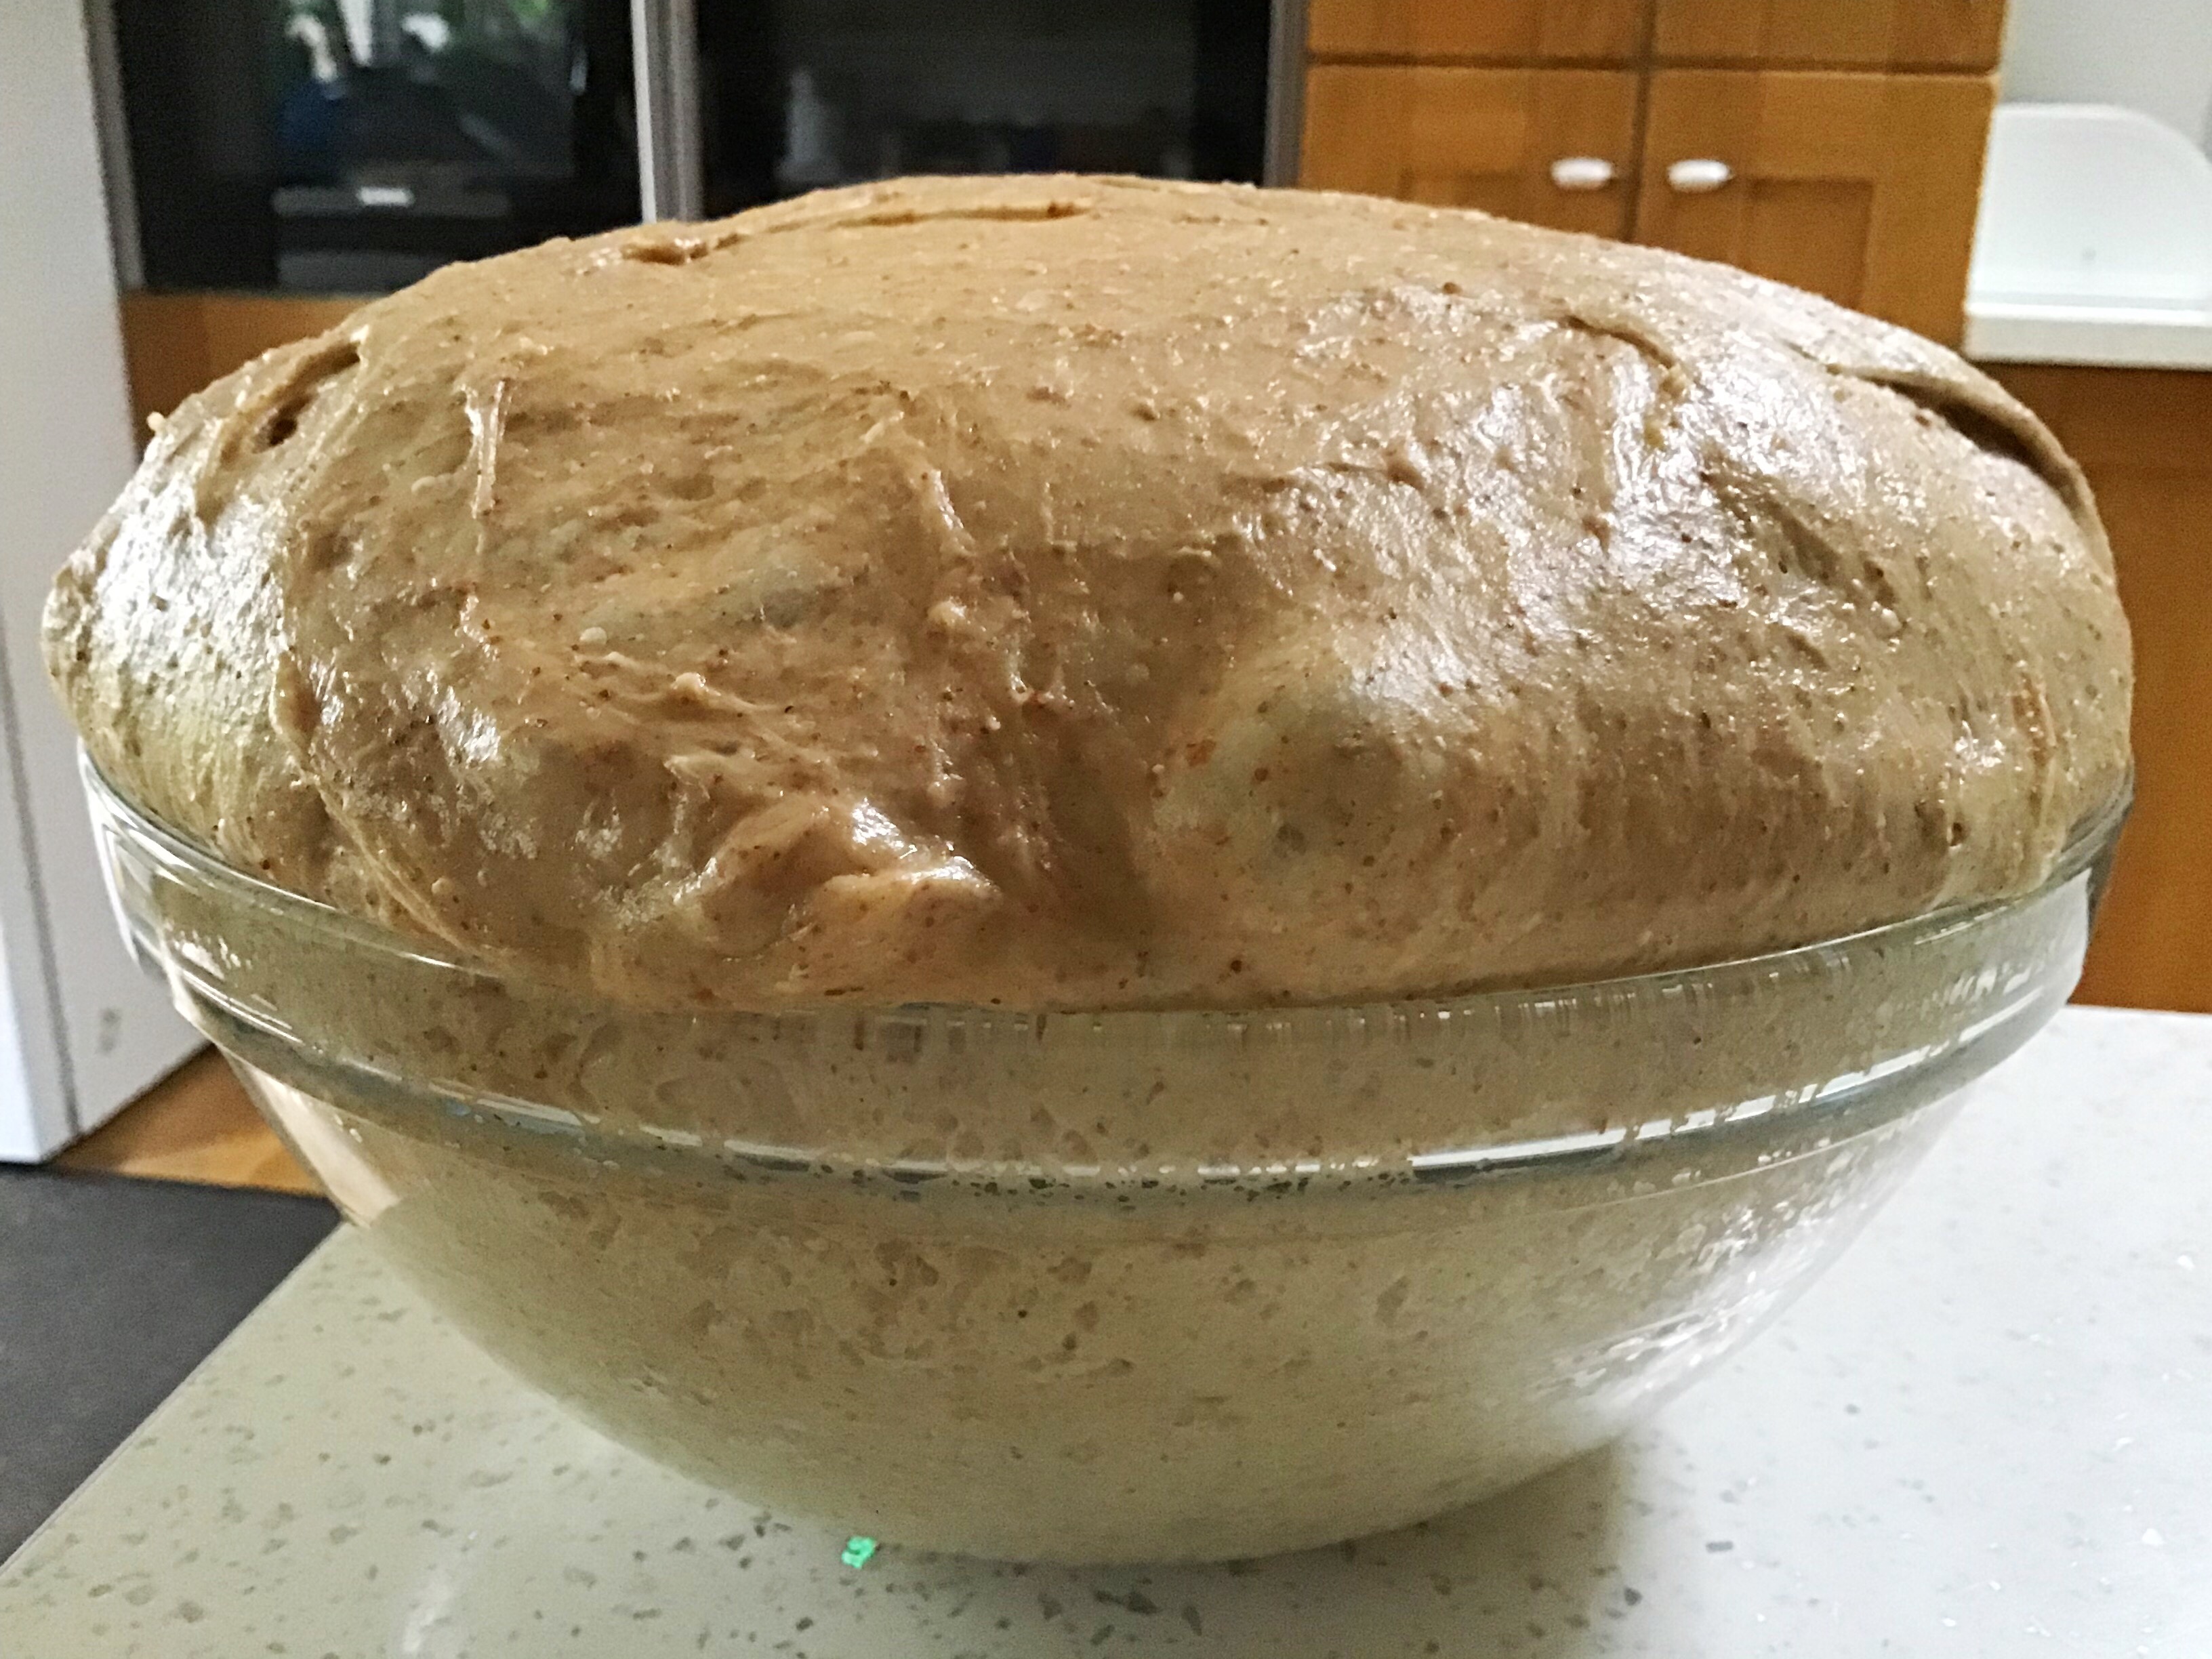
This is what I mixed up:
50g active starter
300g hazelnut cacao butter
200g oat milk
200g plain flour
2 teaspoons baking powder
2 eggs
I added a handful of chocolate chips to half of them.
I made half of them without the choc chips or added sugar, for me to test some, but you might prefer things sweeter than I do so feel free to add sugar or honey to the mixture.
I mixed the ingredients all together well but careful to not over mix it.
Spooned the mixture into 12 muffins liners.
Baked at 200C fan/220C non fan for around 18 mins until a sharp knife came out clean.
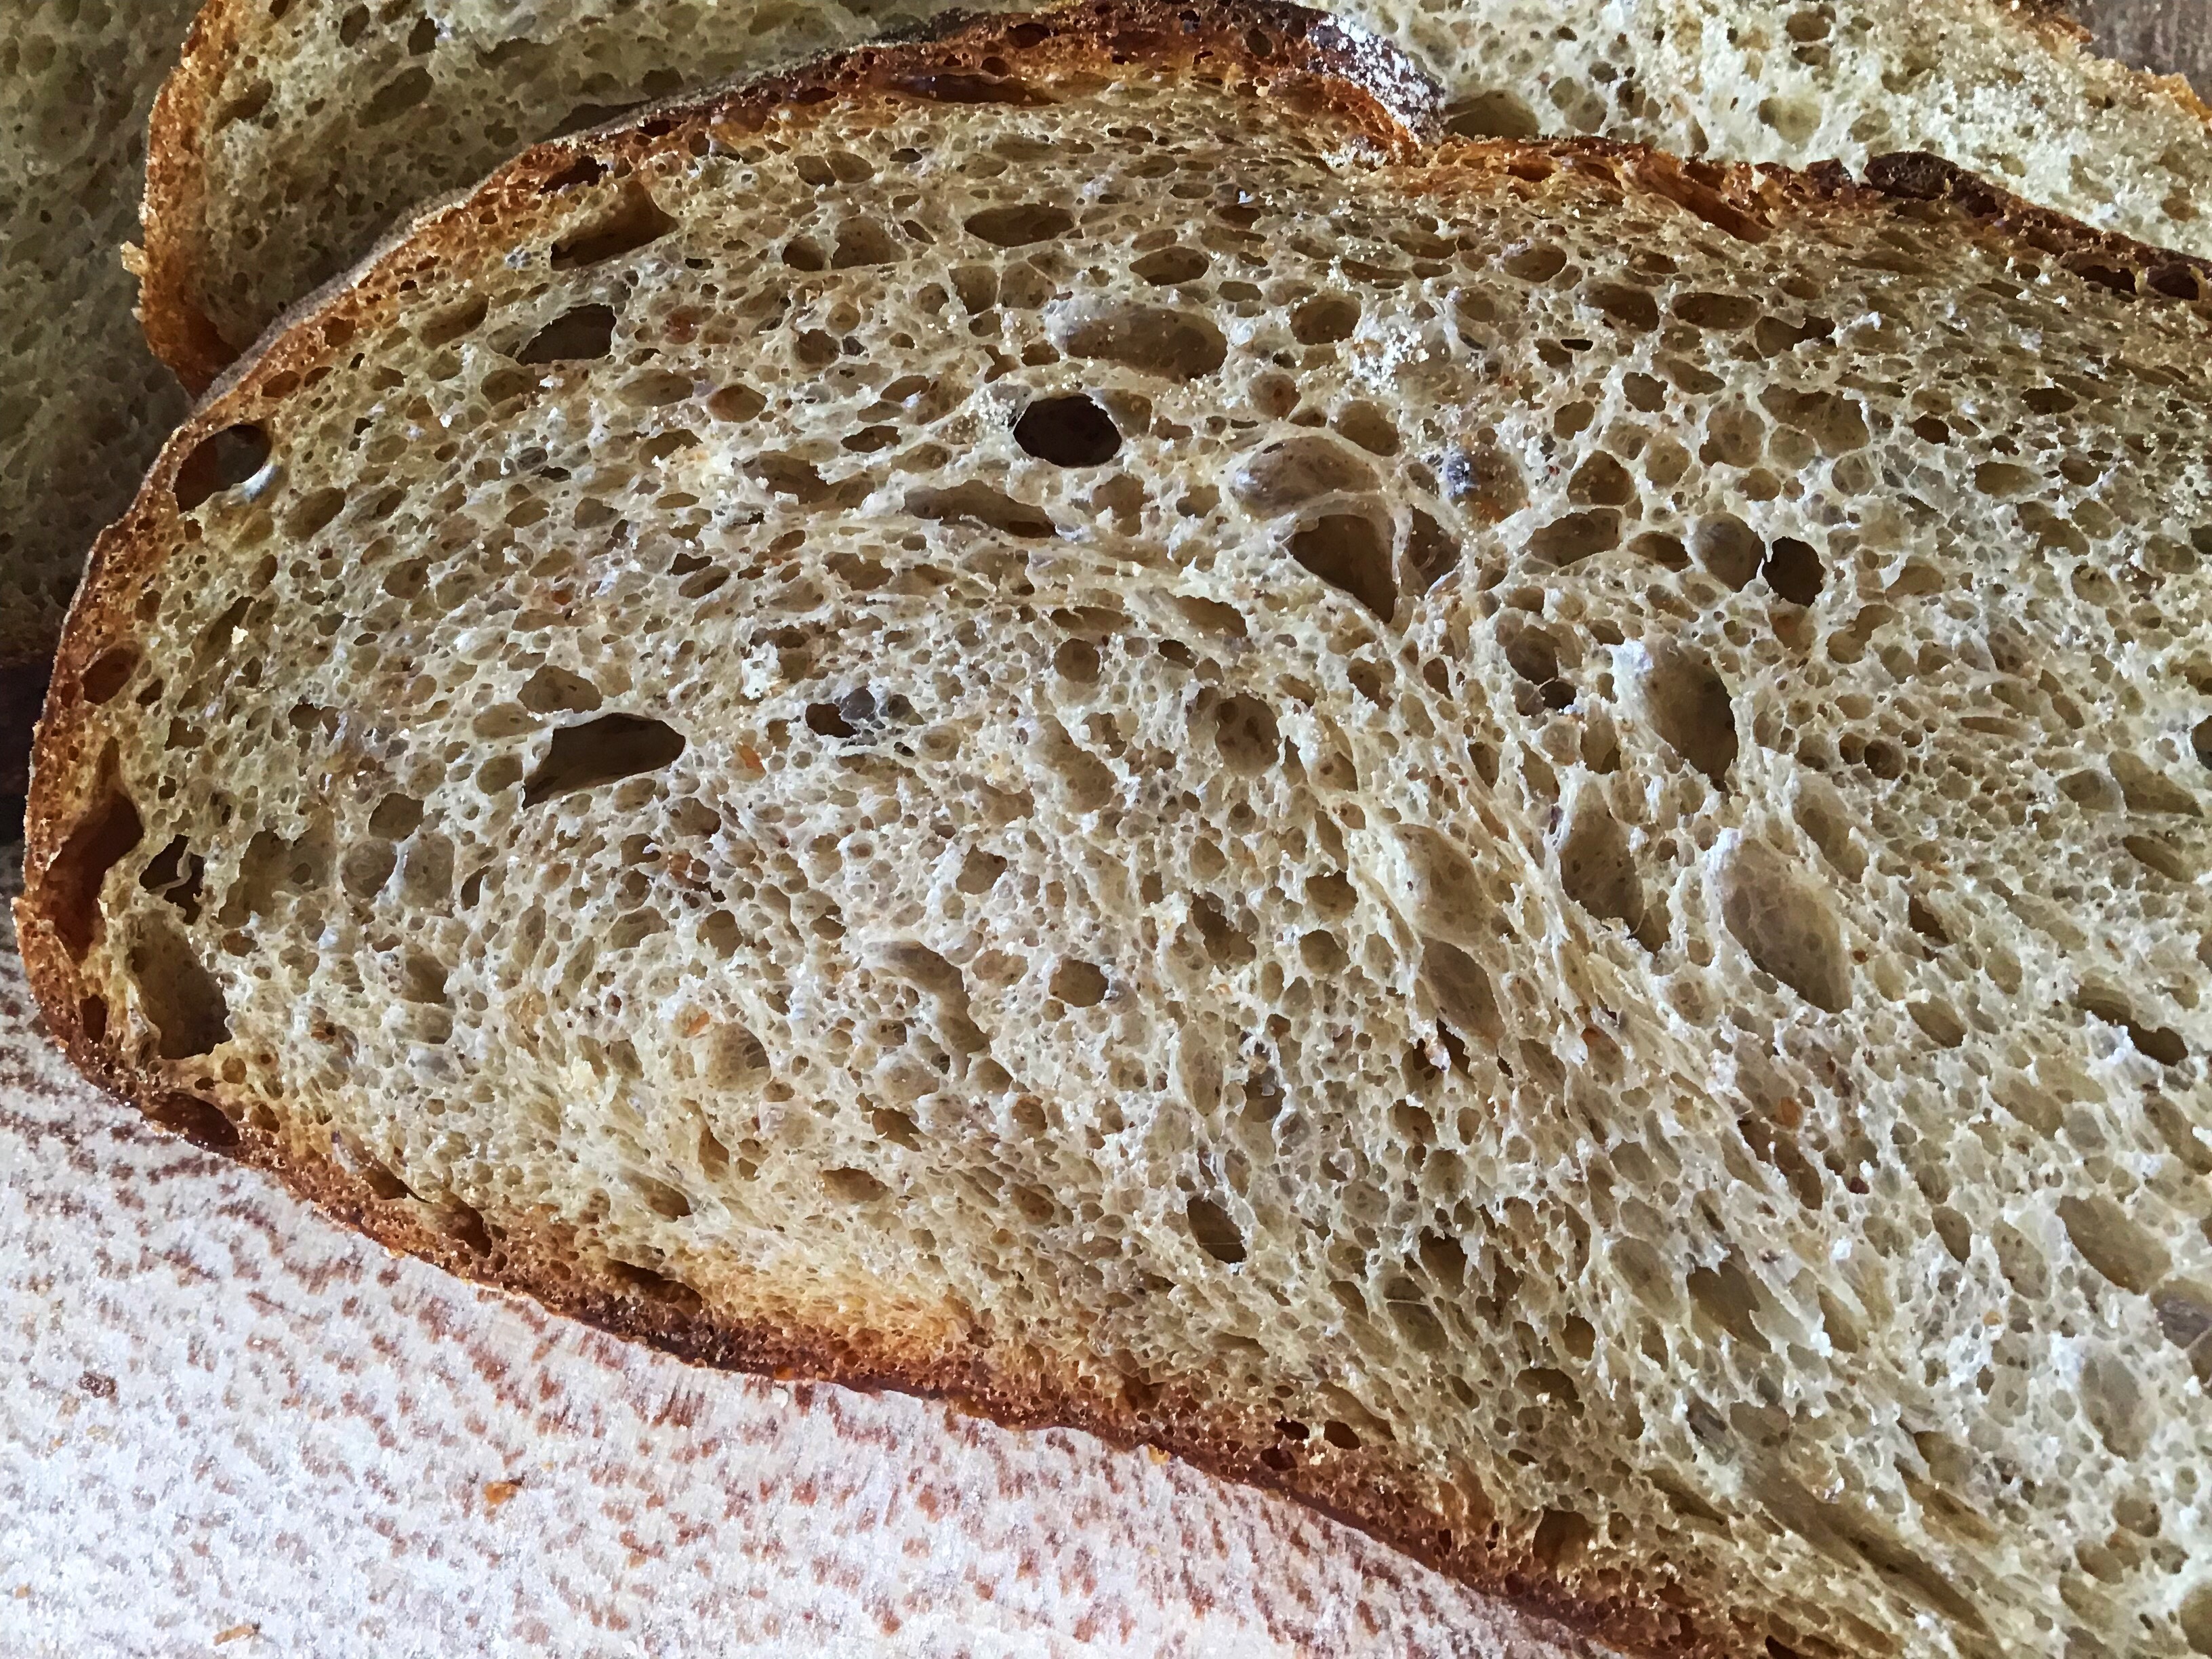
They came out with lovely crunchy tops and soft interiors. For me, they tasted better later and the next day once cooled and the flavours had developed. The sponge stayed soft and lovely even the day after that. I was definitely happy with these.
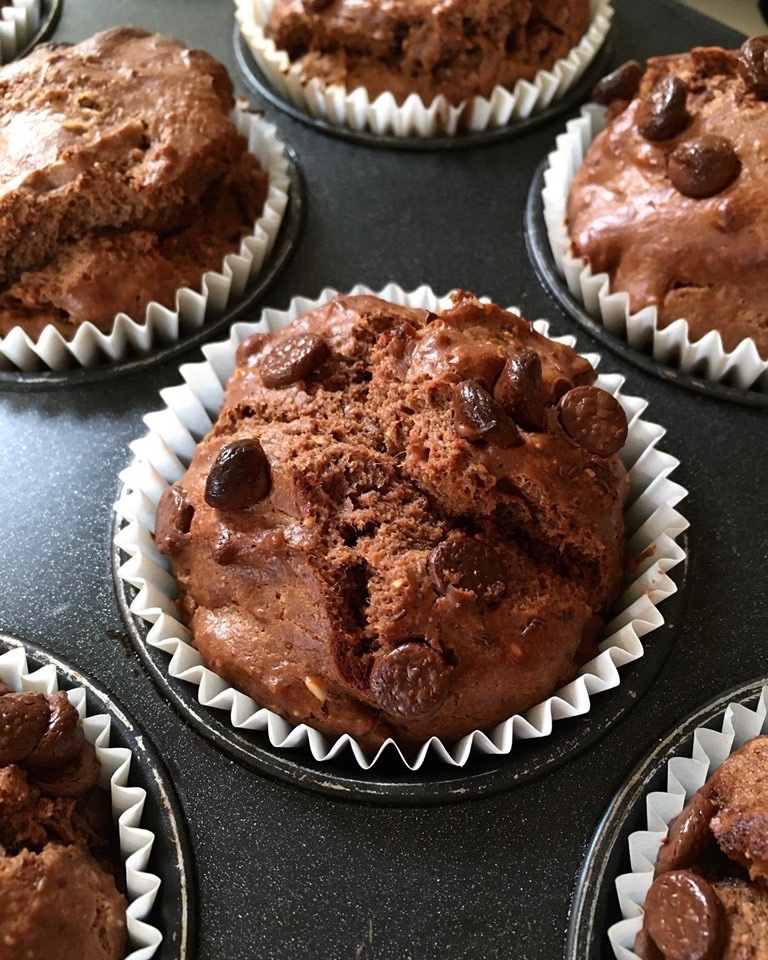
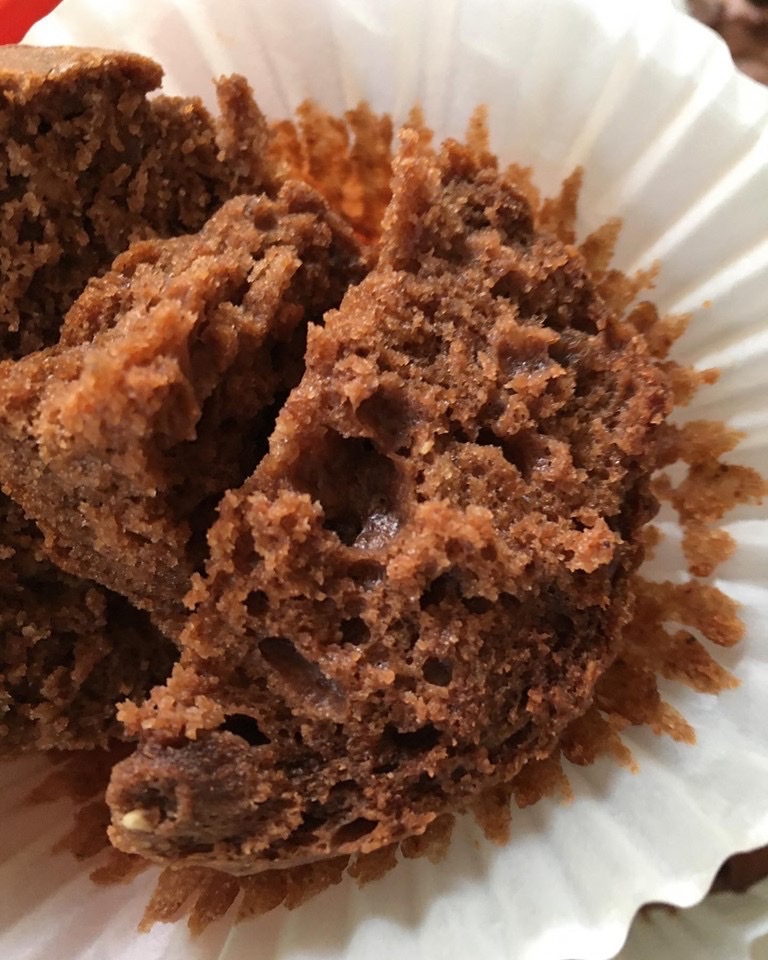
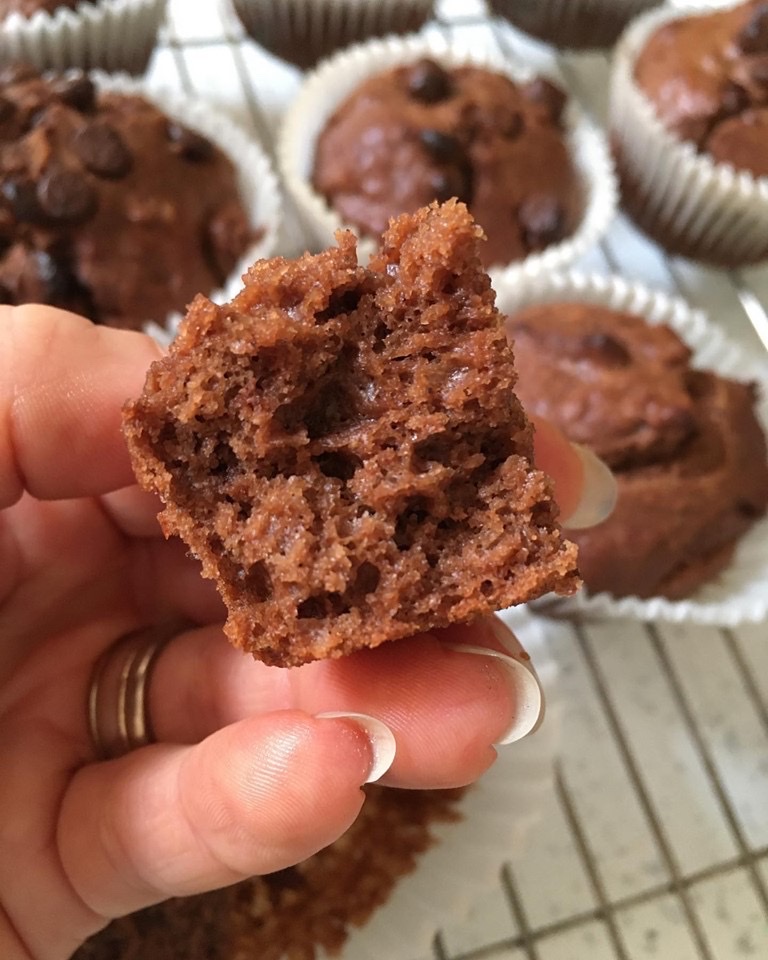
Look at that light fluffy sponge! So lovely!
Feel free to substitute the oat milk for milk of your choice, plain flour for white spelt flour or all purpose flour, and my hazelnut cacao butter with hazelnut cocoa butter or hazelnut for a really sweet hit! You could also increase the amount of starter for more of a sourdough flavour, and reduce the amount of flour and milk. Have a play!
Happy Baking!!!