This recipe is inspired by a lovely lady and amazing sourdough baker called Anita (sourdough_mania) that I follow on Instagram; the dough is lovely, beautifully smooth and wonderfully springy, and the baked outcome is really tasty. If semolina is just something you remember being offered with school lunches in the UK, this will totally blow those memories away!
So I’m sharing my experience and recipe; I added some oil to the original recipe to tighten up the crumb for my purposes, but you don’t need to include it…
EDIT: a note about the semolina…
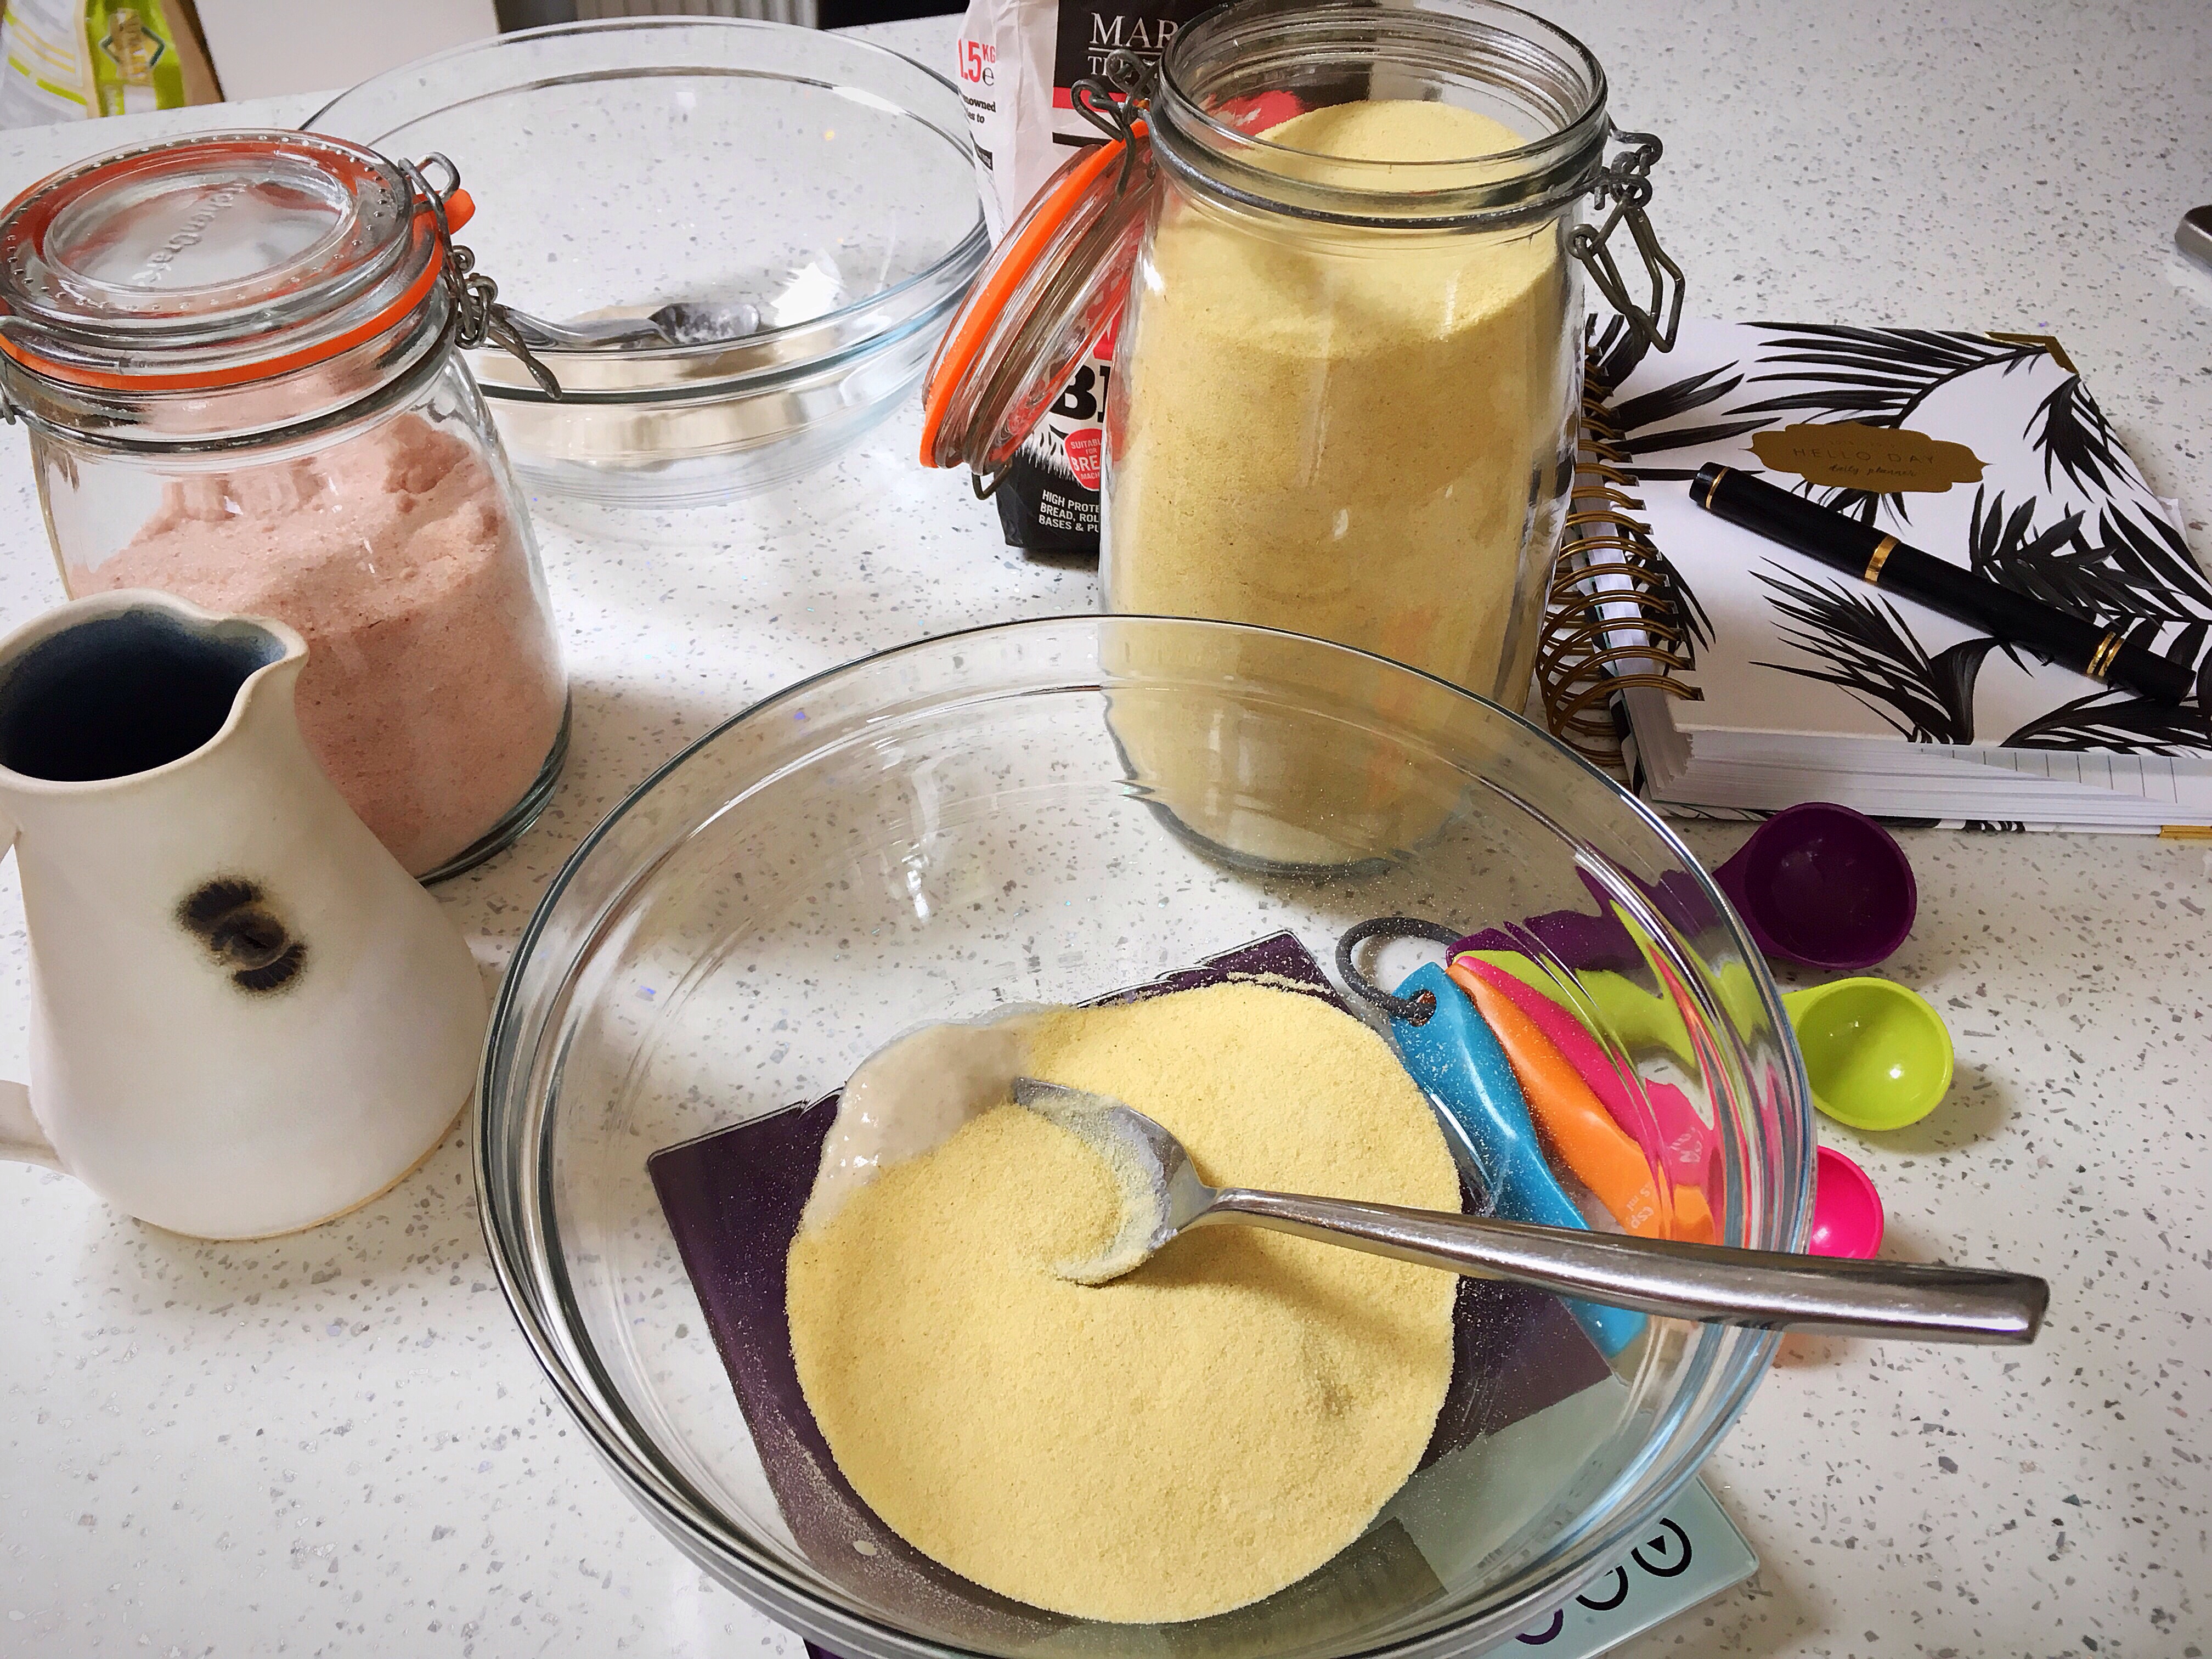
I use coarse ground semolina. This can be found in most supermarkets and any Asian food shop. It is also sometimes referred to as semolina flour which tends to be a finer texture, and which will also work in this recipe, but even the supposedly ‘coarse’ one is still pretty fine!


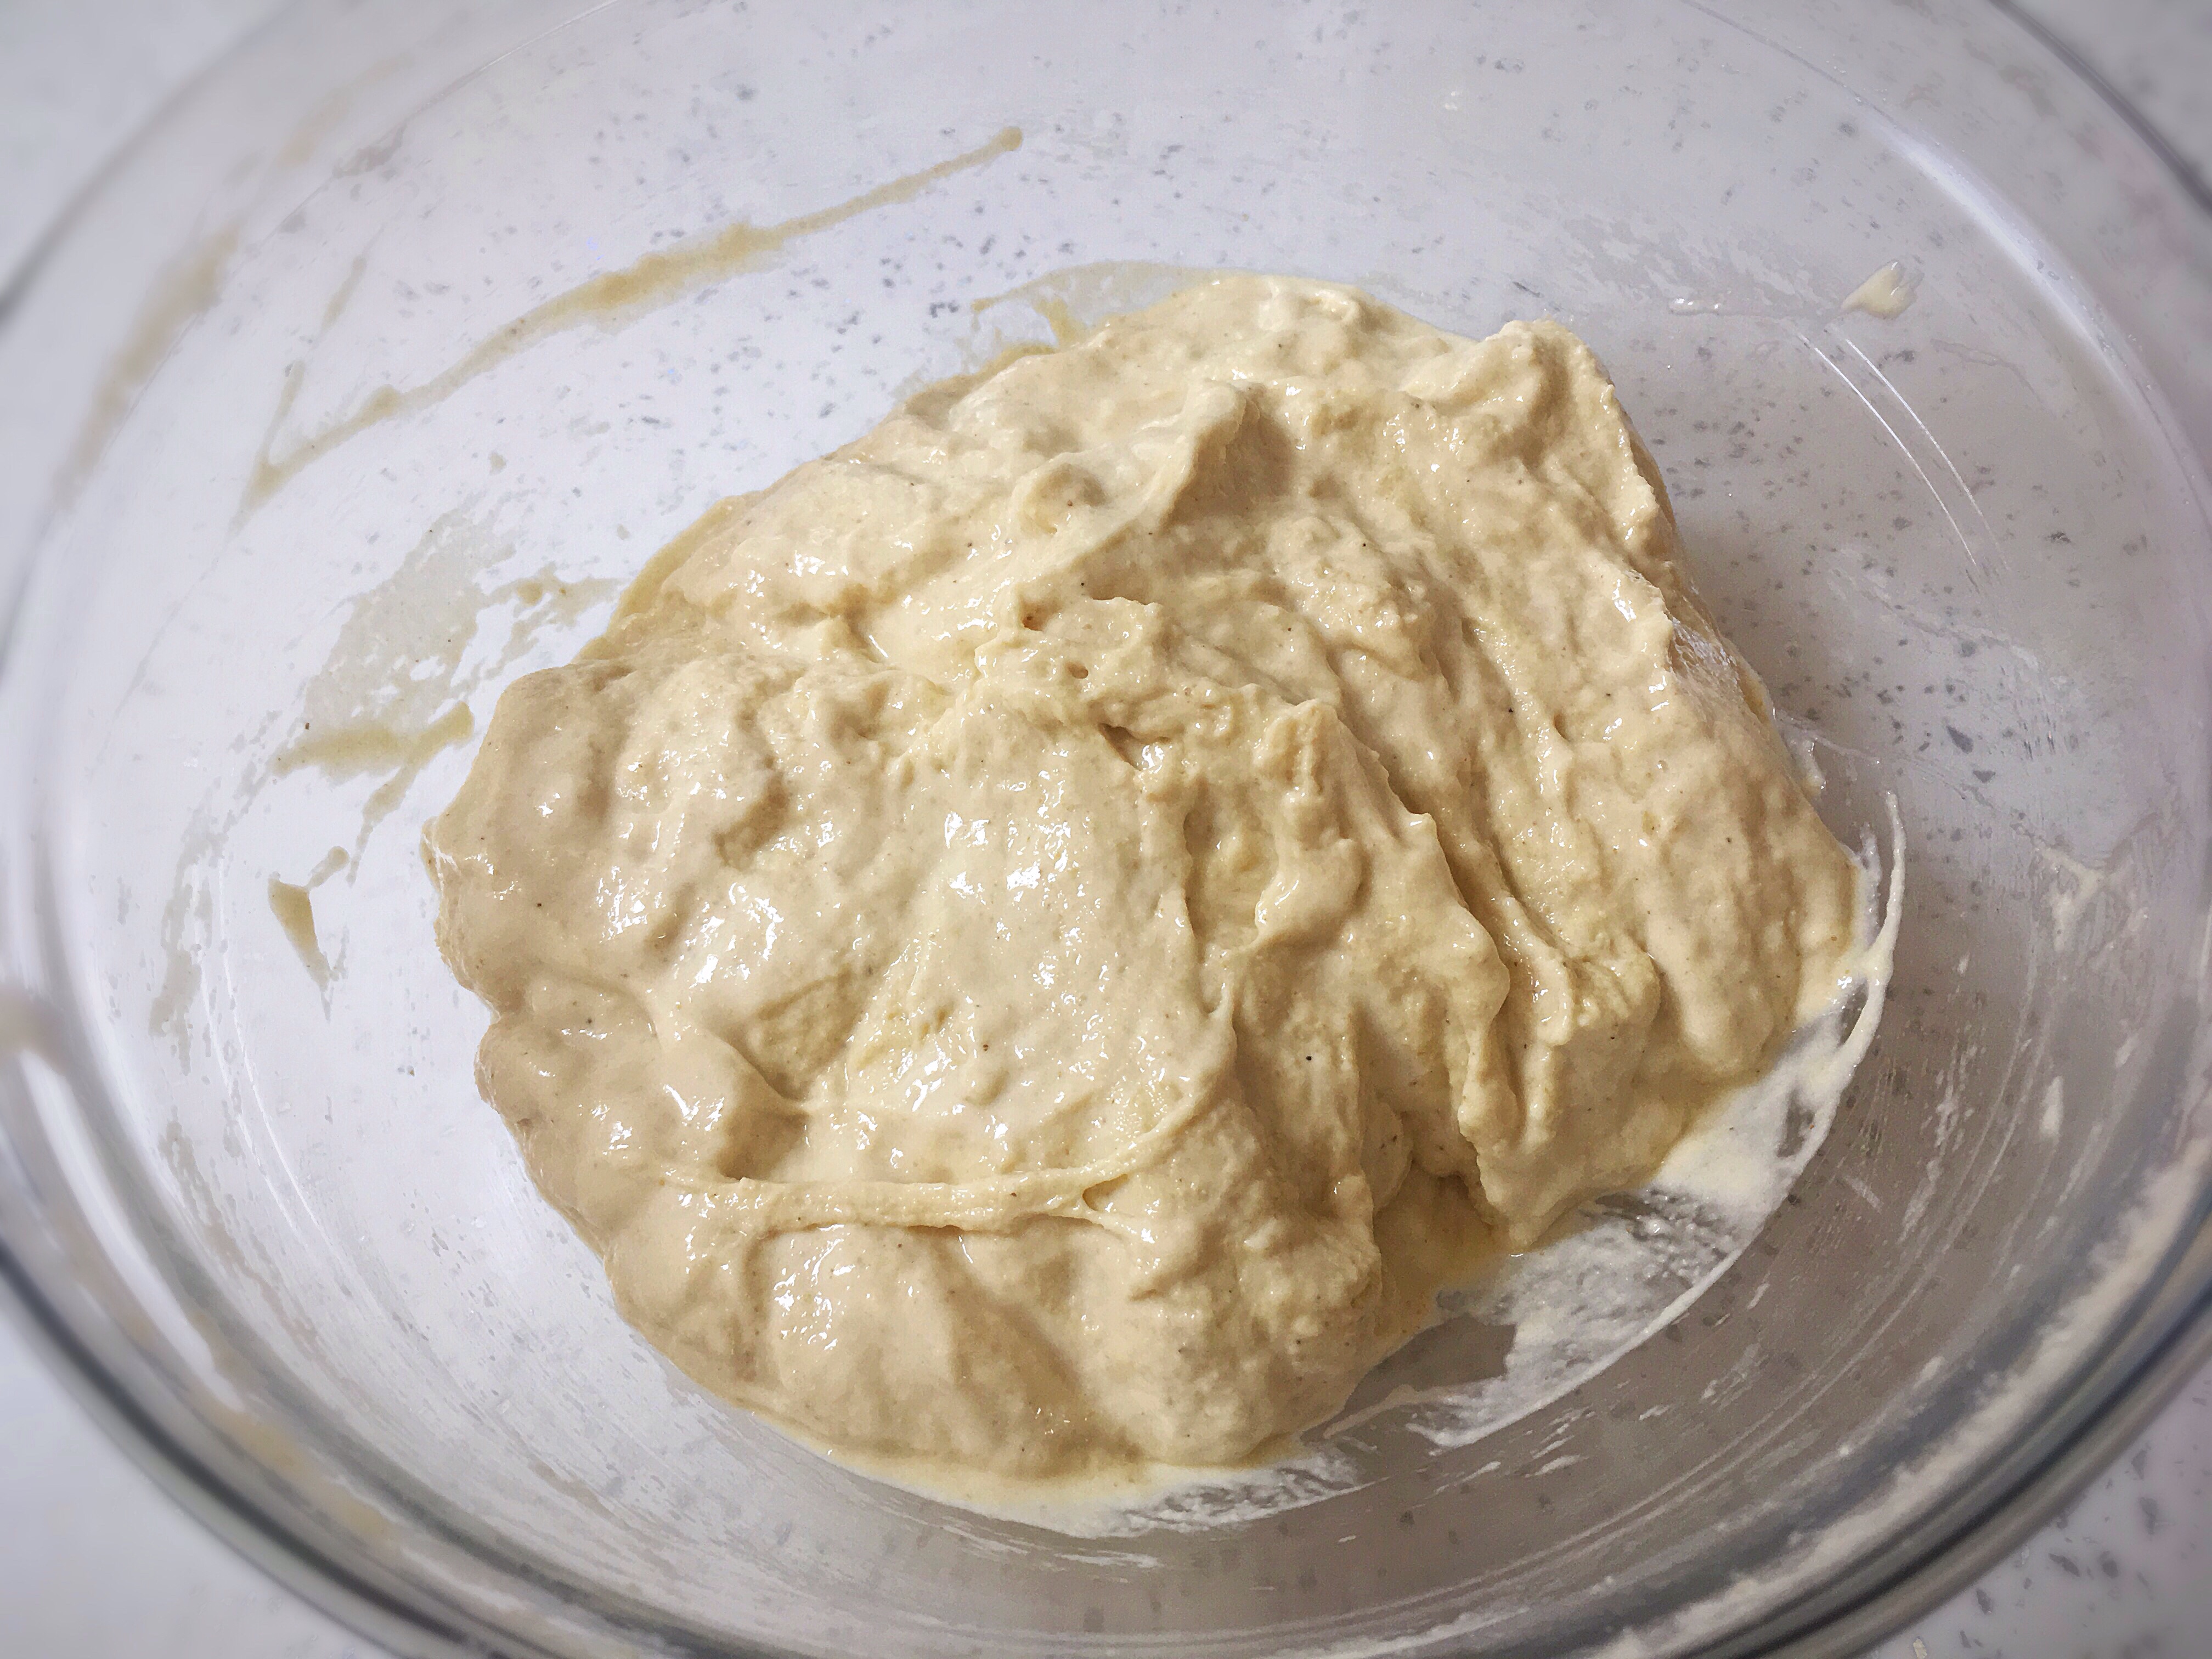
NOTE: this recipe is four days in the making, although not labour intensive during that time, and I do think it’s worth it. I tried making a shorter overnight version and the outcome wasn’t as good as the full four day version, although I will be experimenting with that further. All of the love and care does create a lovely, bouncy dough.
It is a VERY soft dough though and it does need to be cooked straight from the fridge. If you leave it out of the fridge for a while before cooking, my experience is that it will lose its form and spread as you bake it.
Recipe
Preparing your starter:
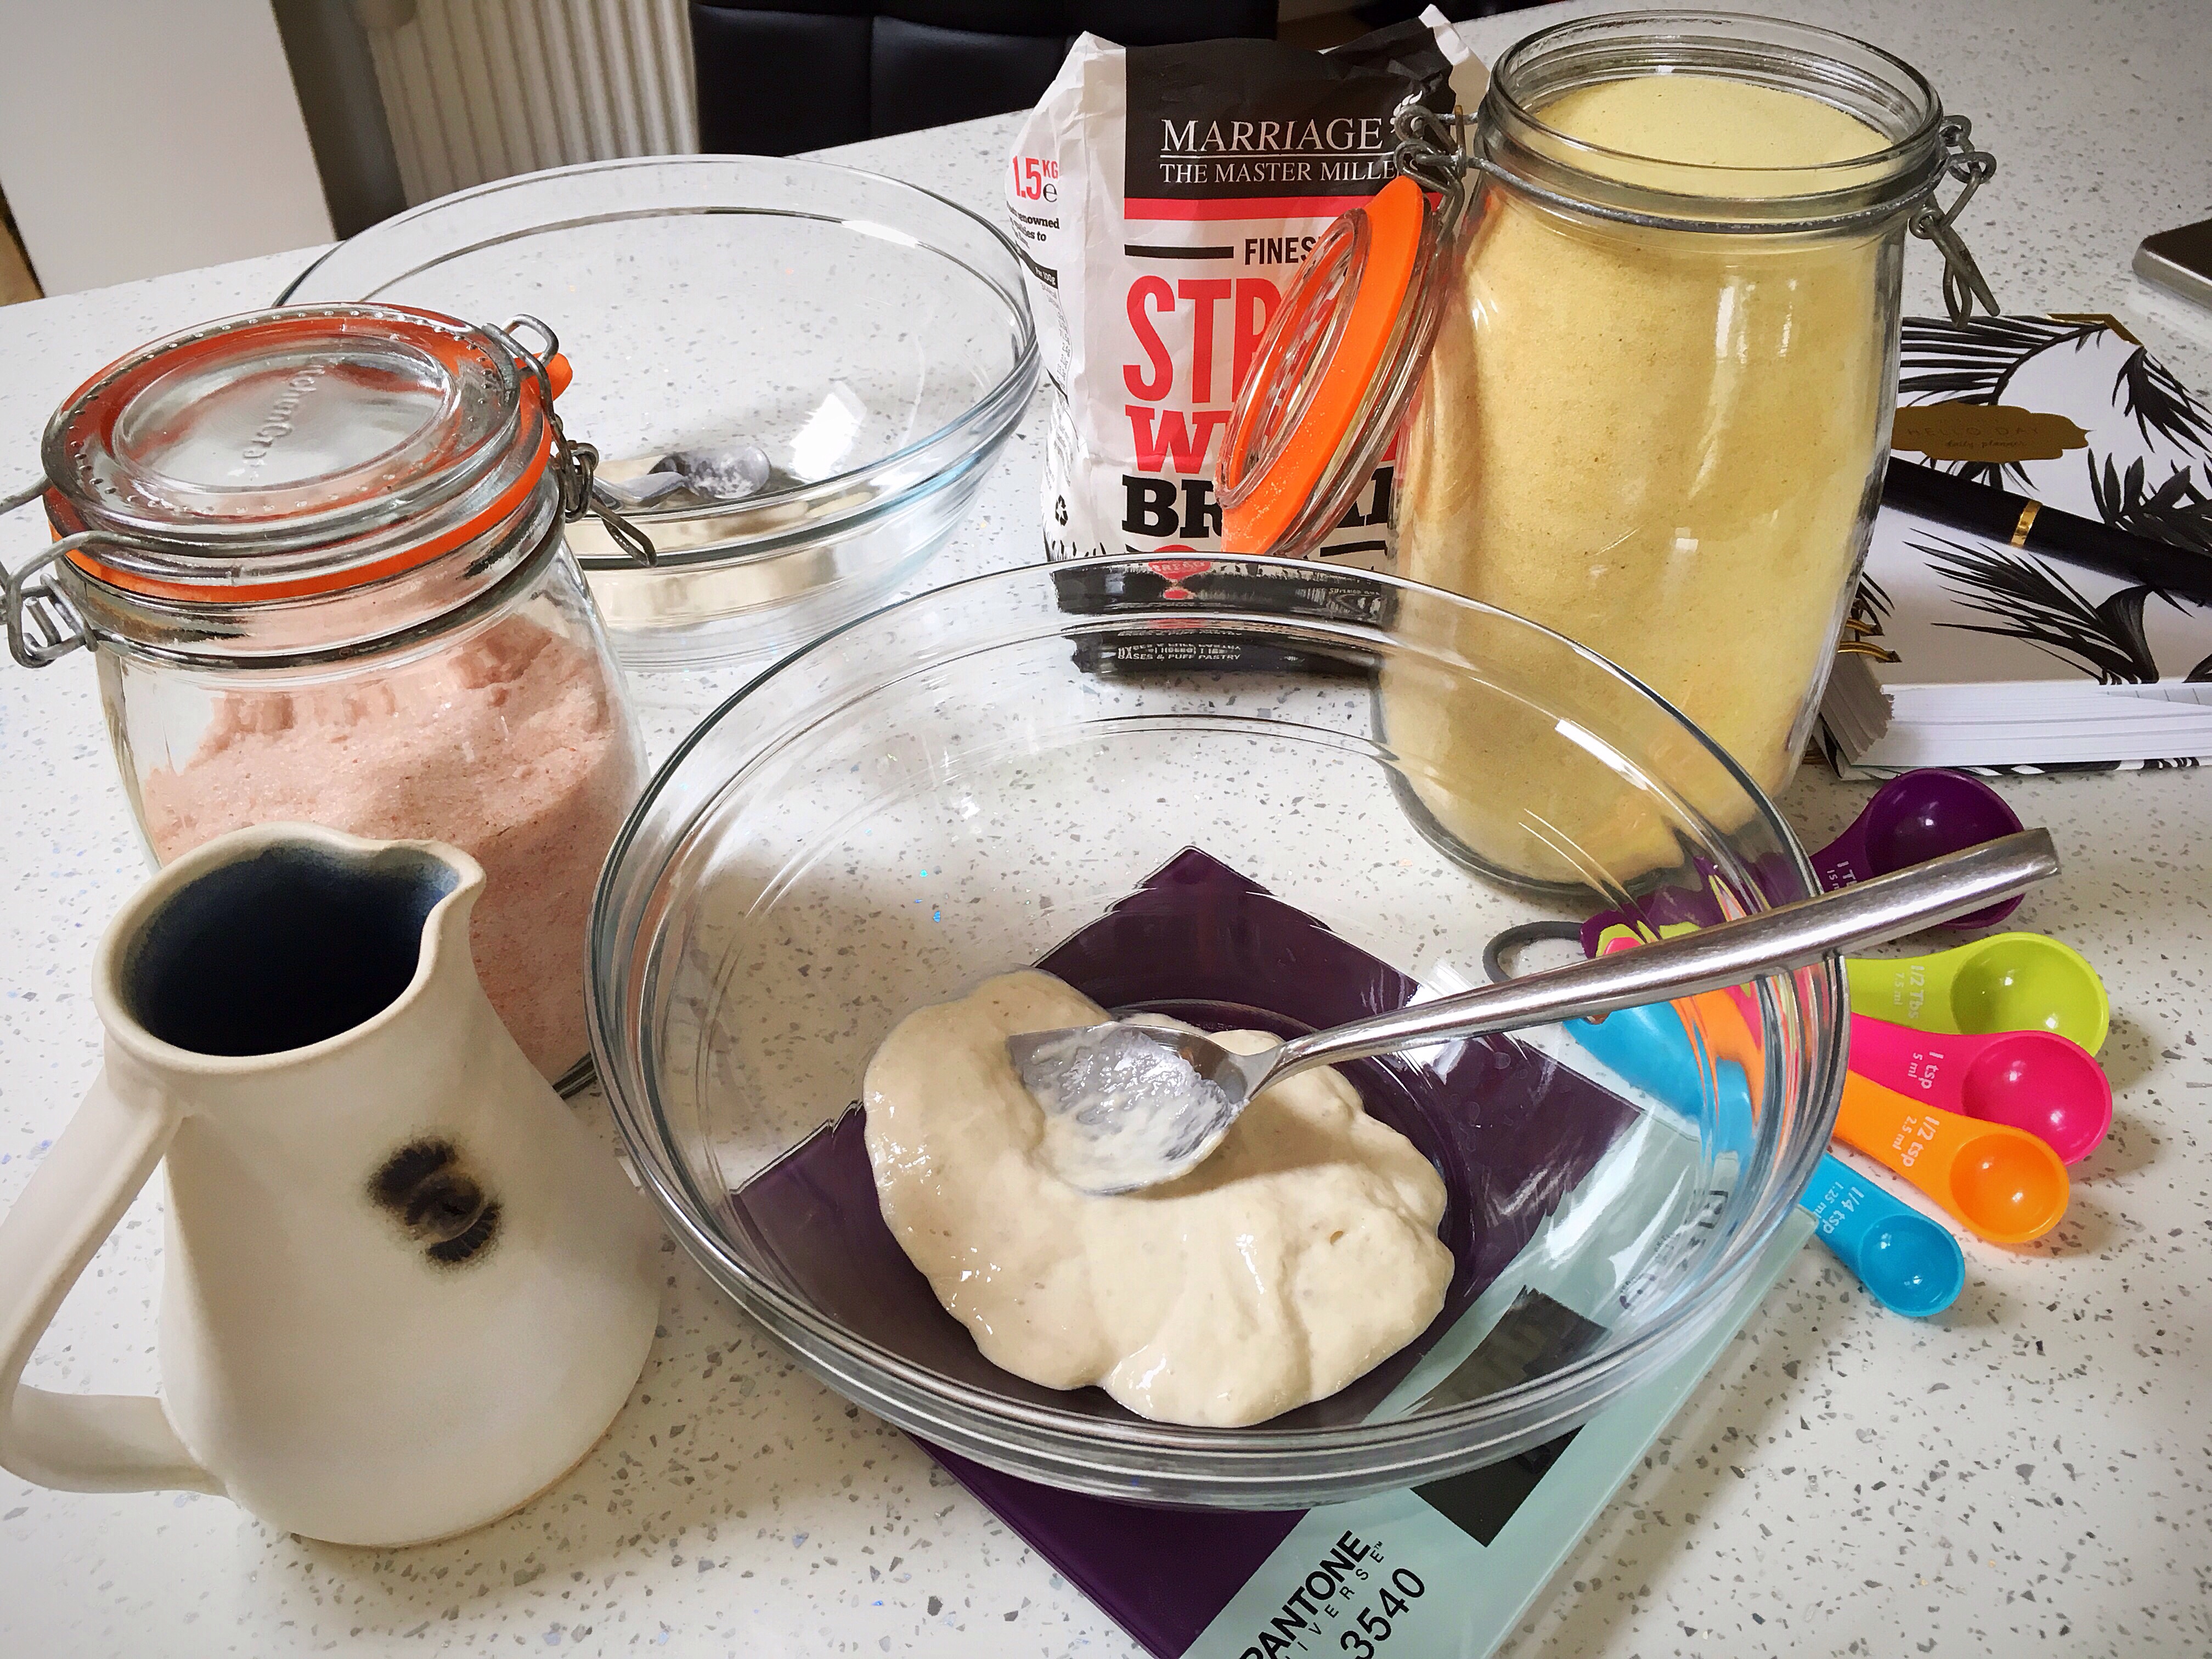
Feed your starter. I know that if I feed Star with 40g of strong white bread flour & 40g of water, she will yield the necessary 70g of bubbly starter. Once your starter is lovely and bubbly, begin..
Day one: mix together..
70g bubbly starter
70g ground semolina
70g water
…and leave out overnight.
In a separate bowl mix together…
310g ground semolina
180g water
1tbsp oil (optional)
…and leave in fridge overnight.
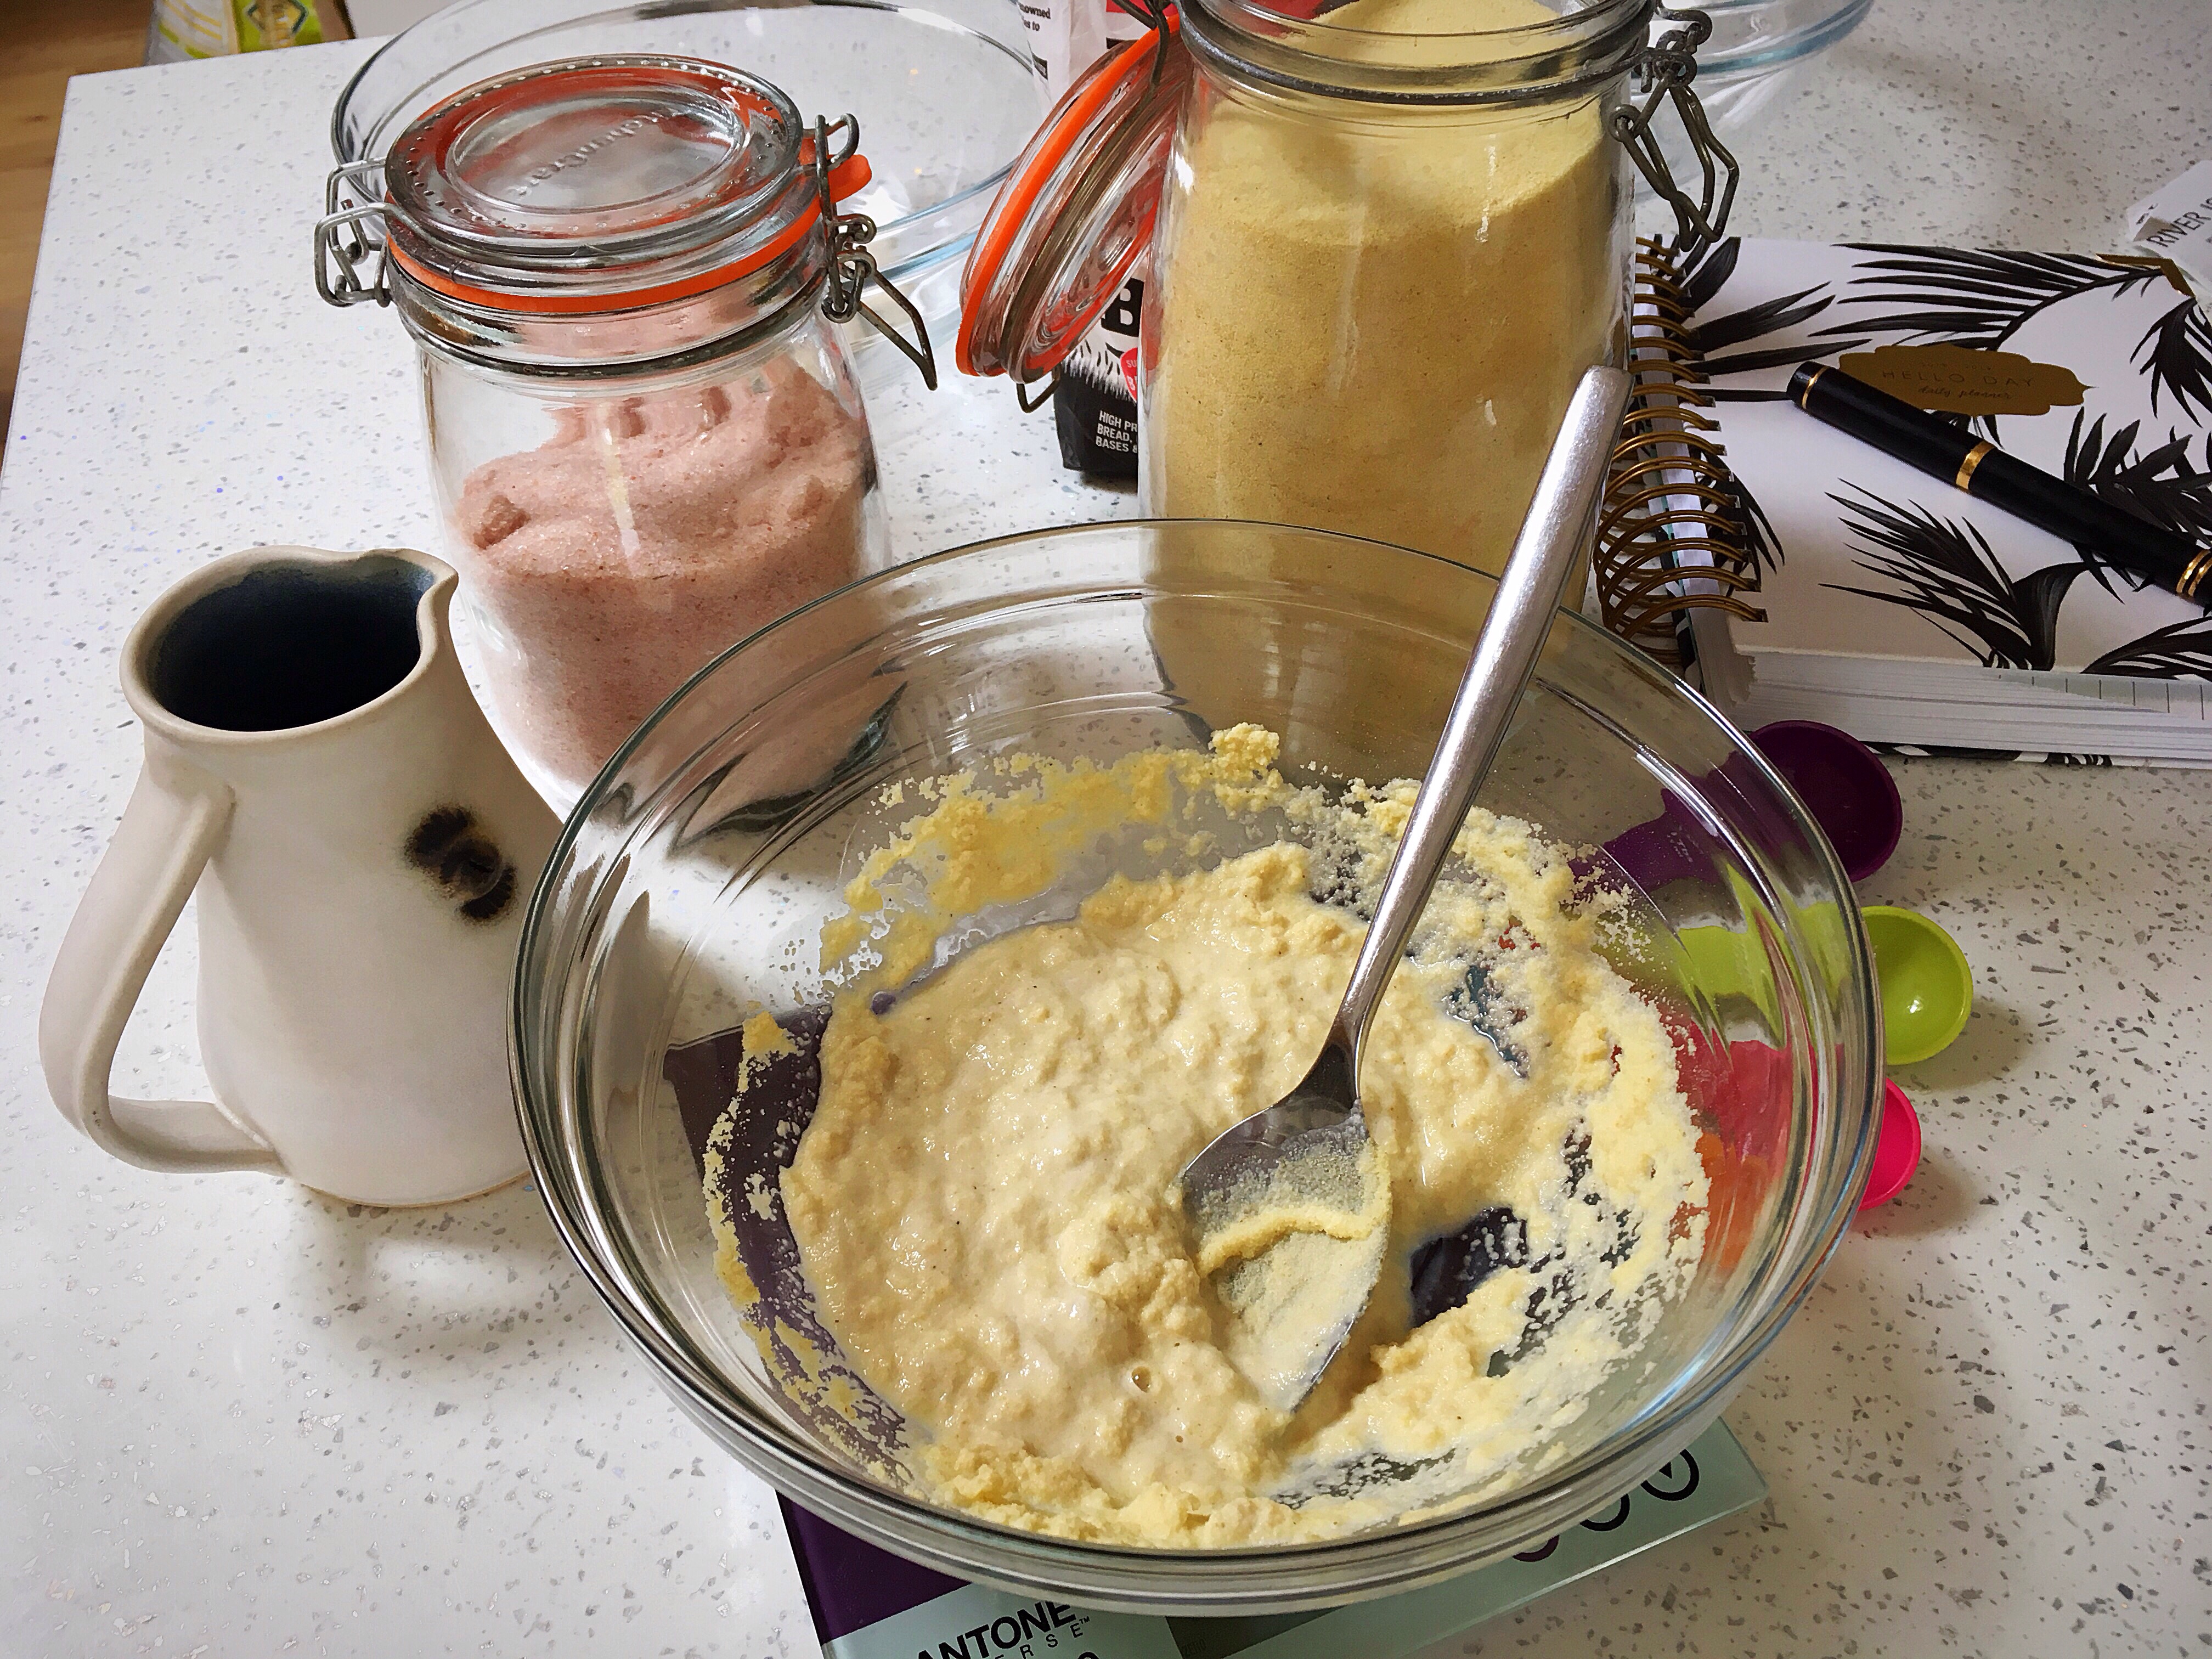
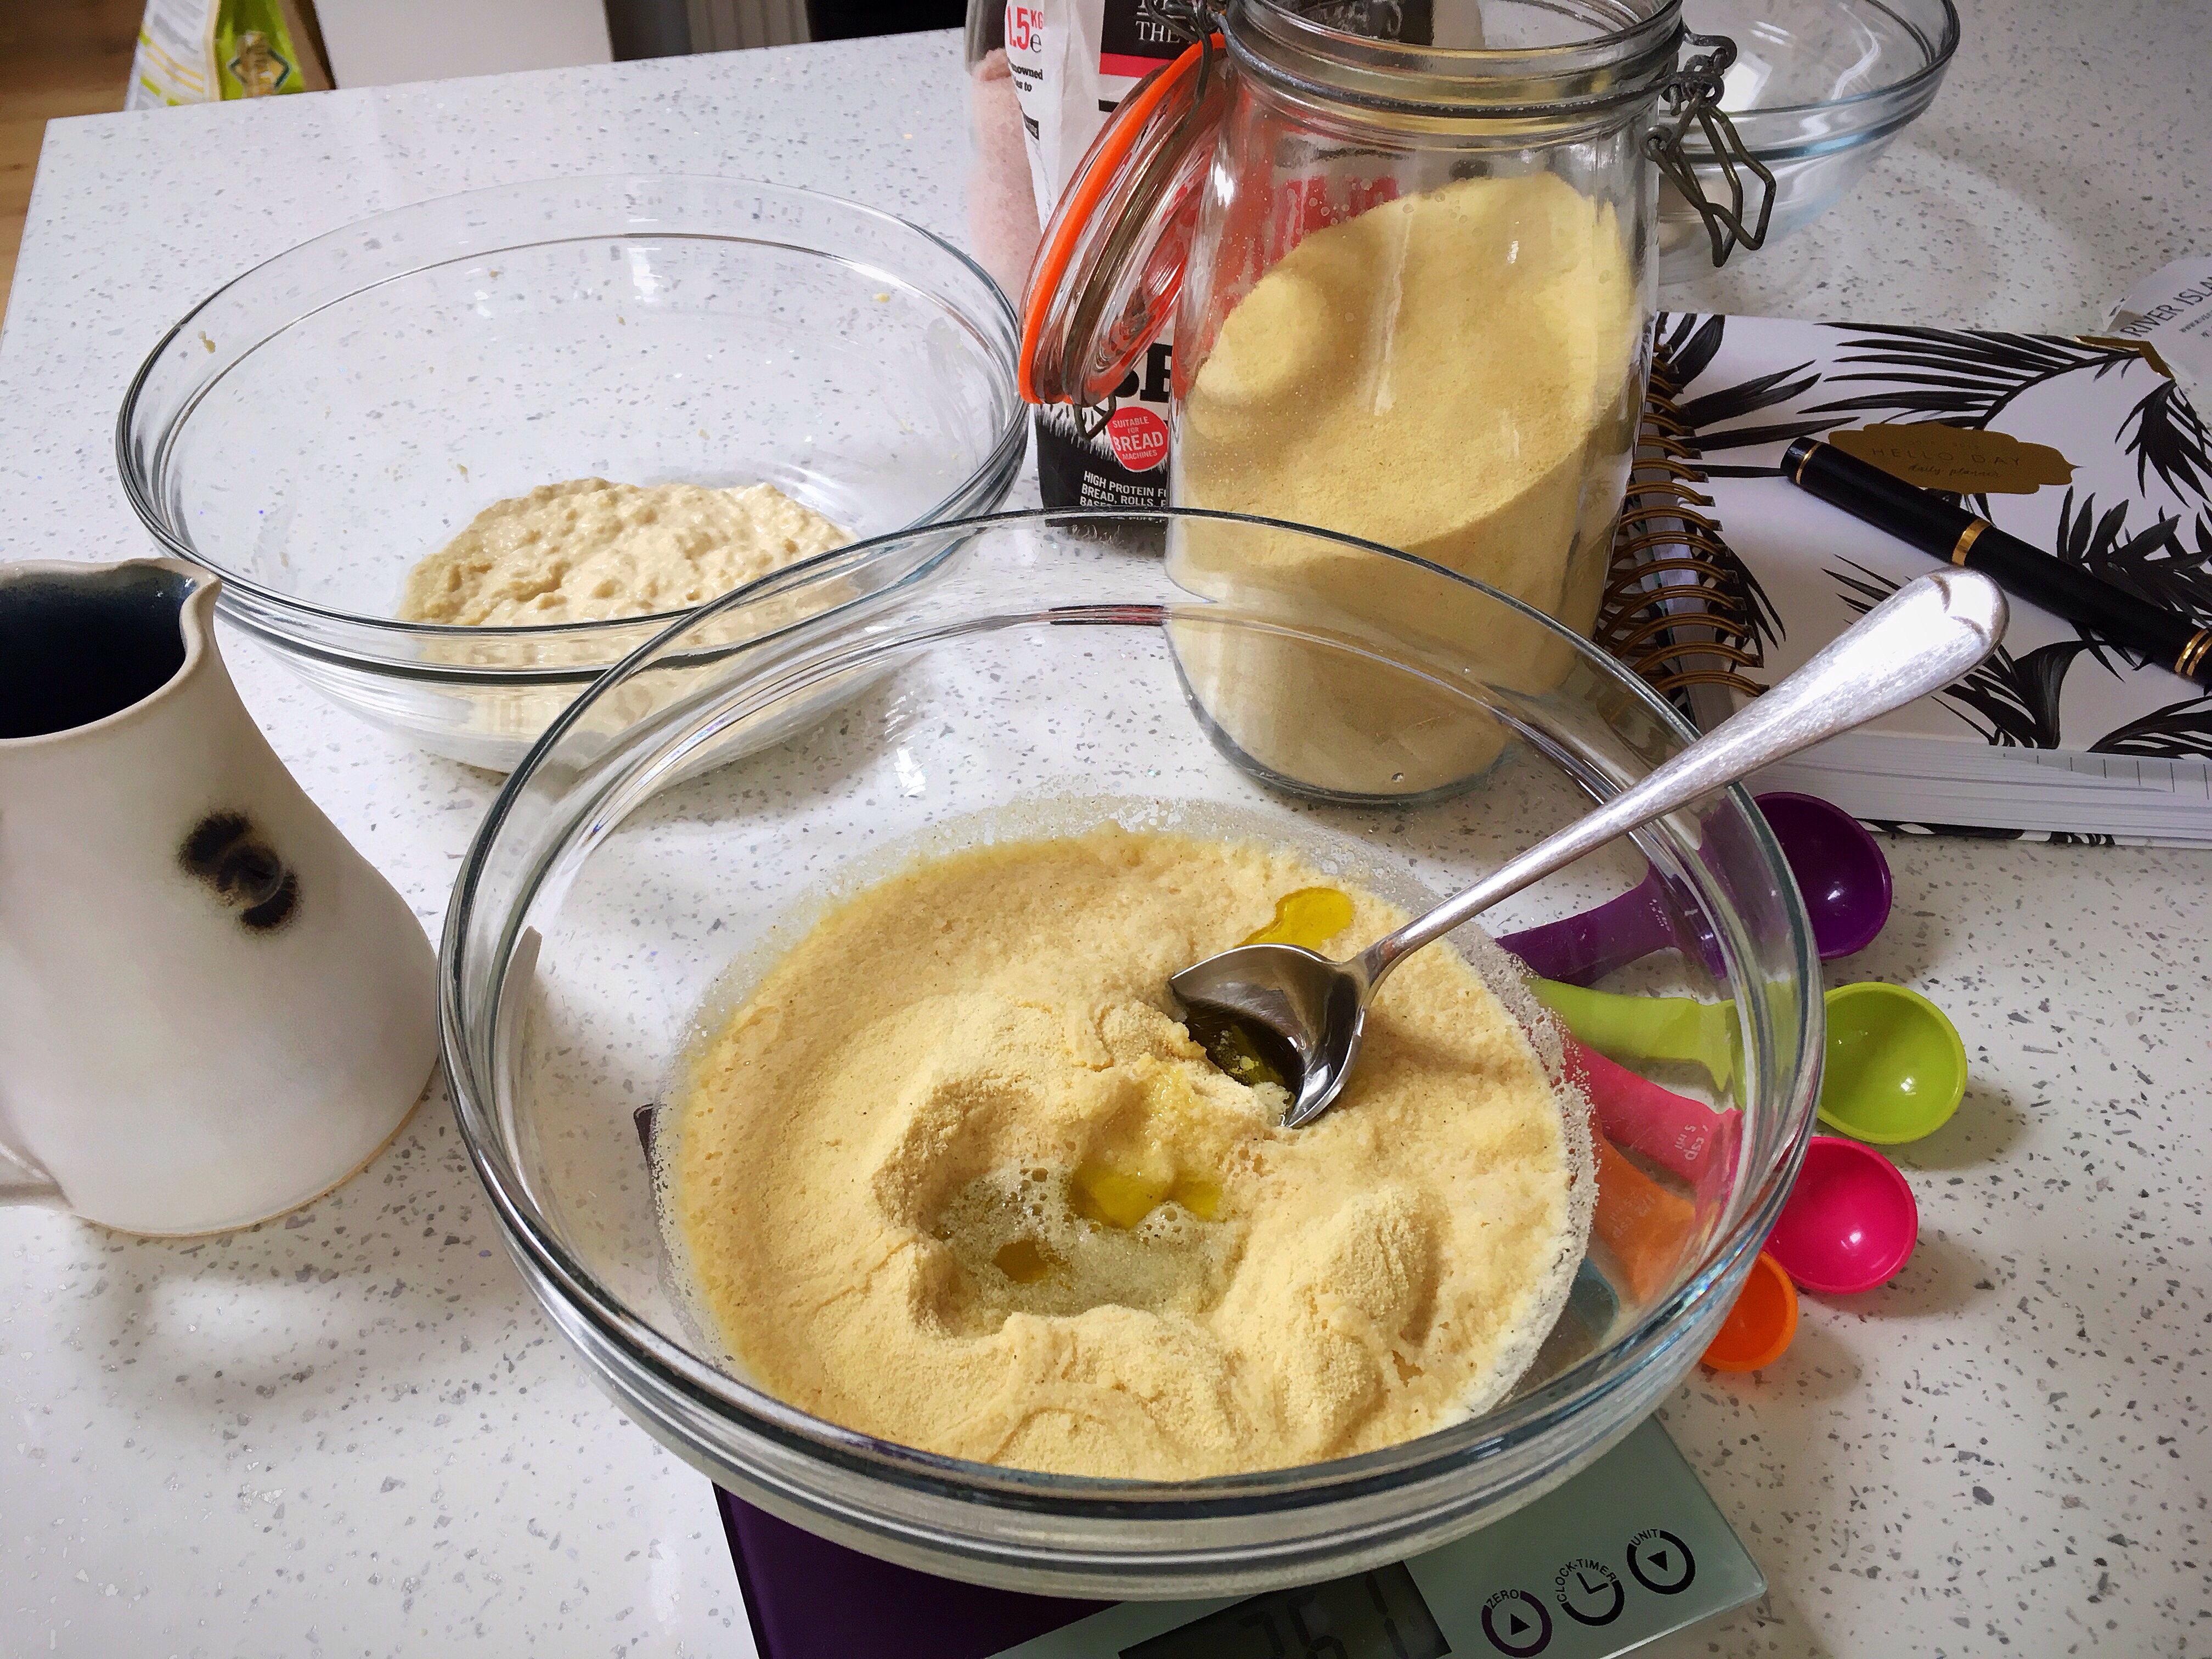
Day two: remove the semolina/water/oil mixture from the fridge to soften up and make it easier to mix with the starter.
Your starter should be lovely and bubbly and alive now. Add 1tsp salt to it, then mix it into the semolina/water/oil mixture. You’ll need to get your hands in to mix it really well.
Keep it out of the fridge like this for 2-3 hours and during that time, perform a series of 5 stretches and folds on the dough, each set only needs to be a few pulls and folds to pull the dough together. Then cover the bowl and return it to the fridge.
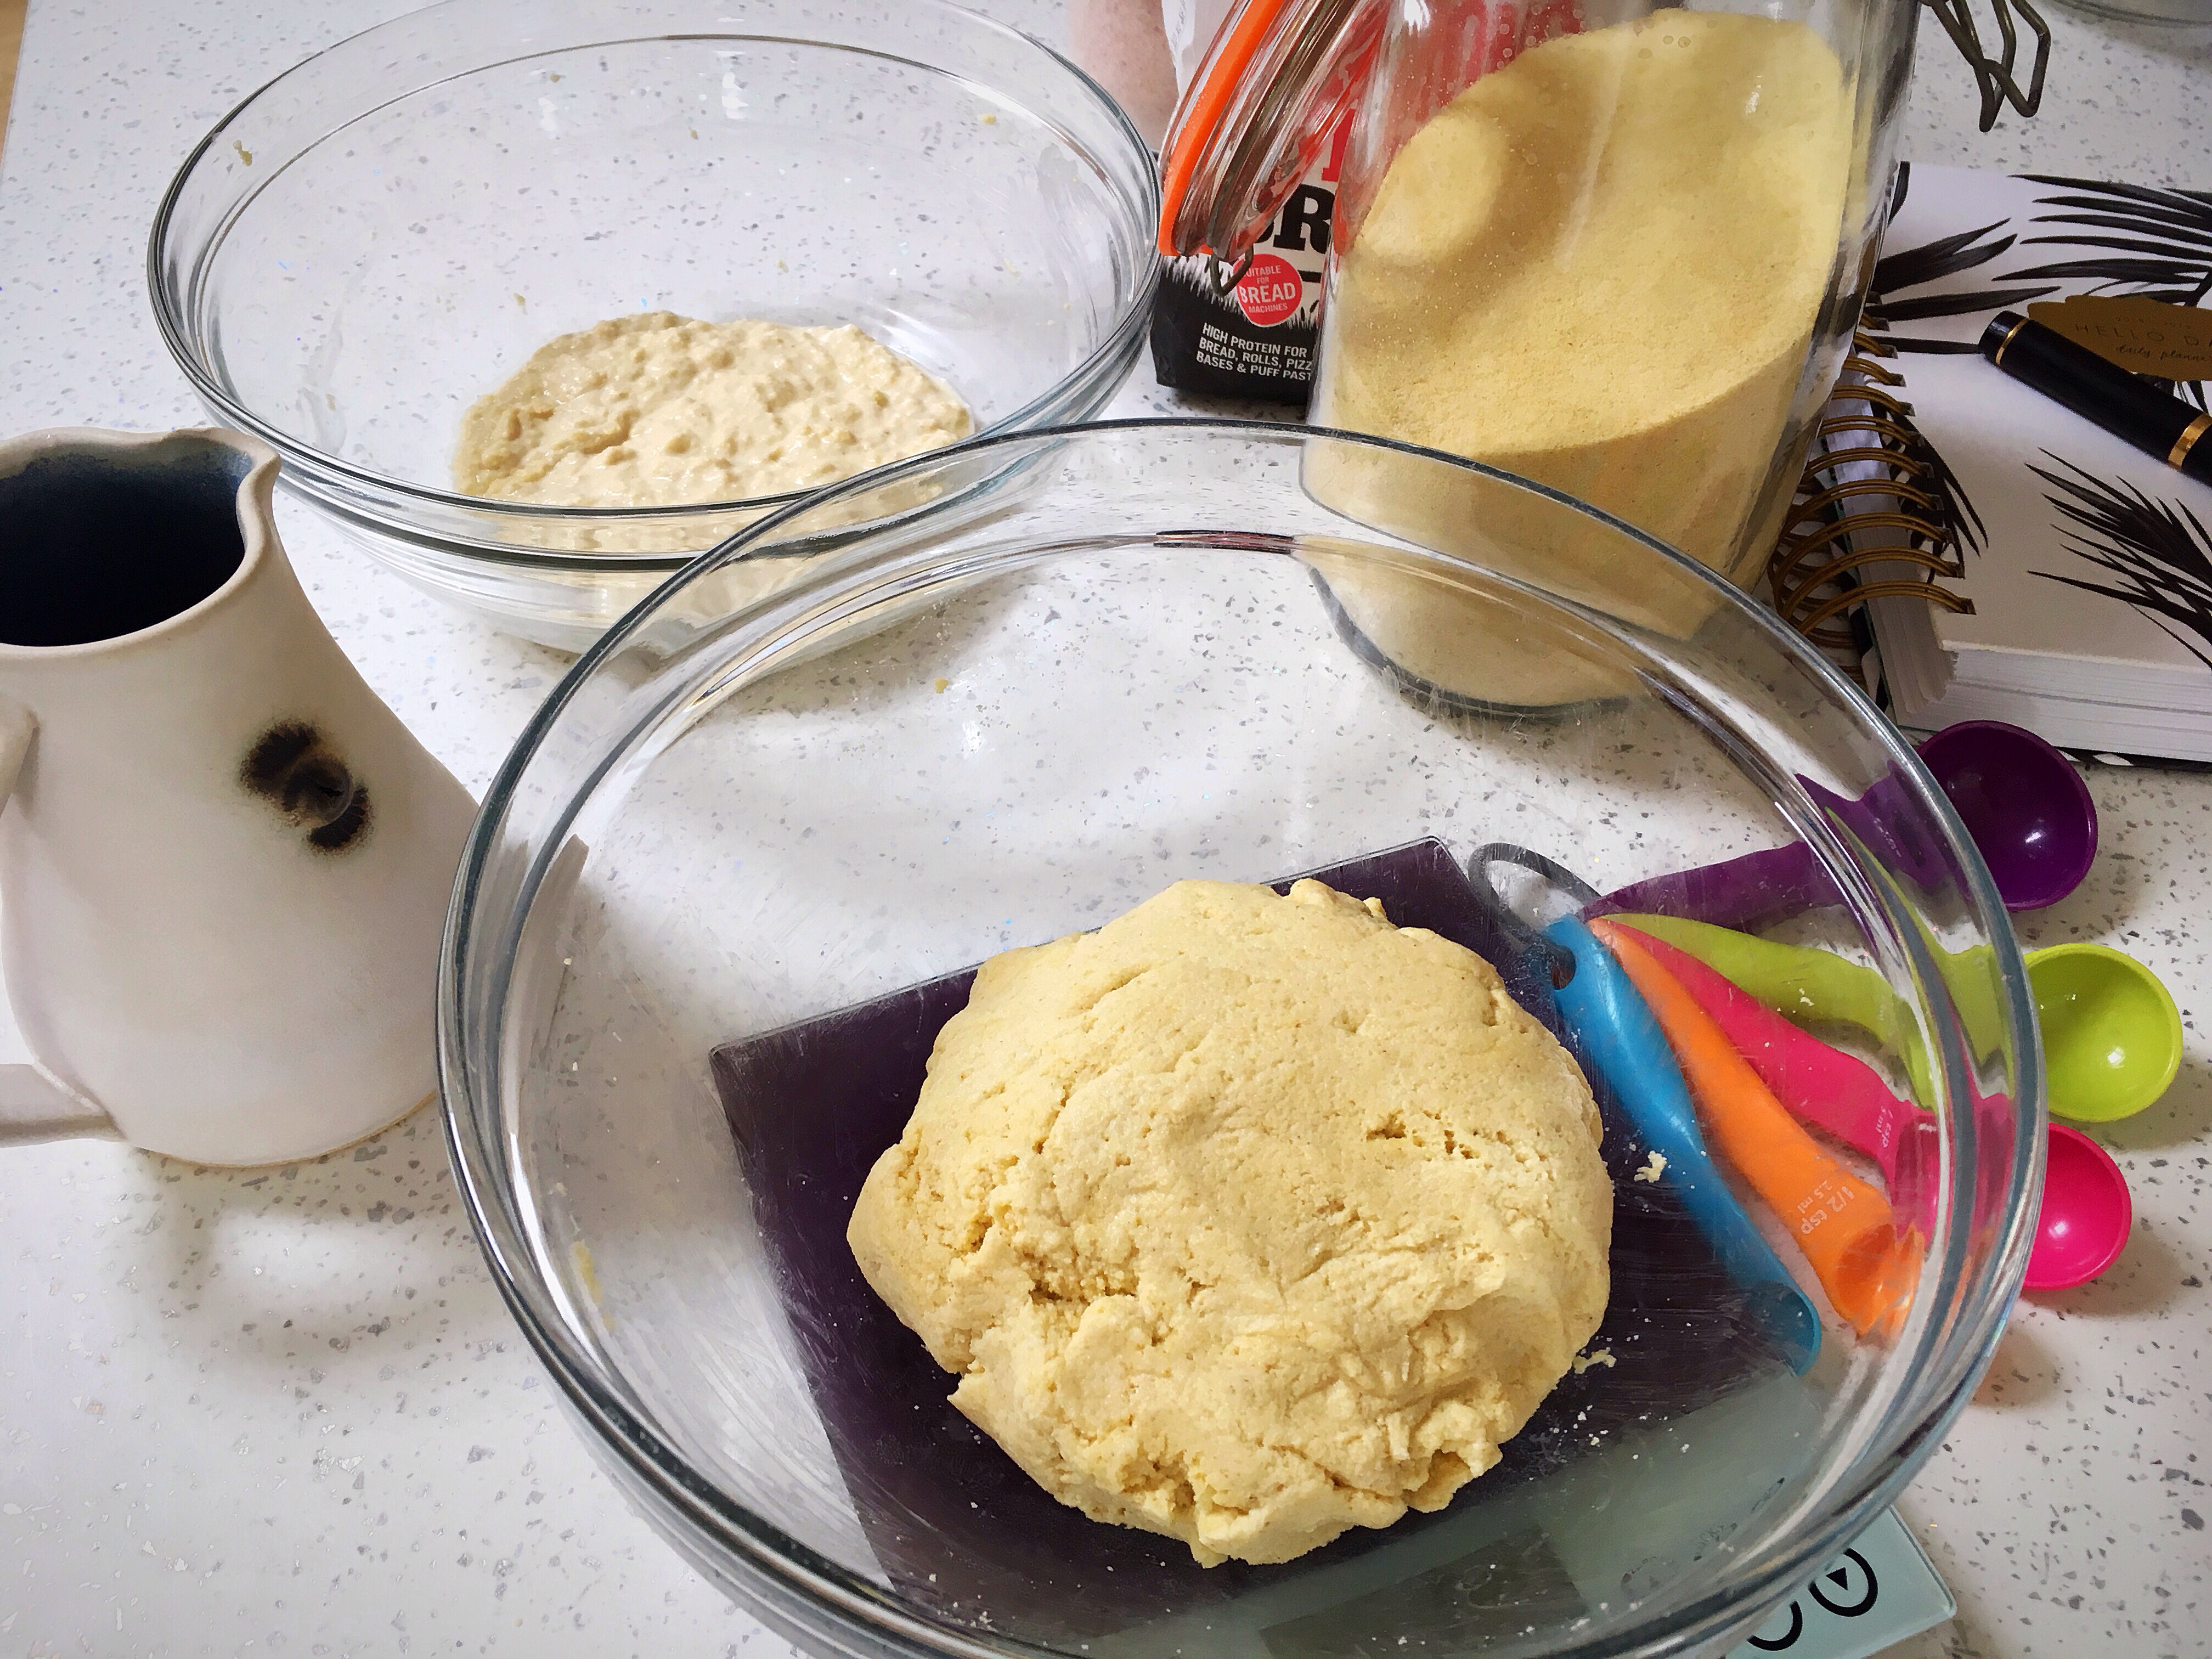
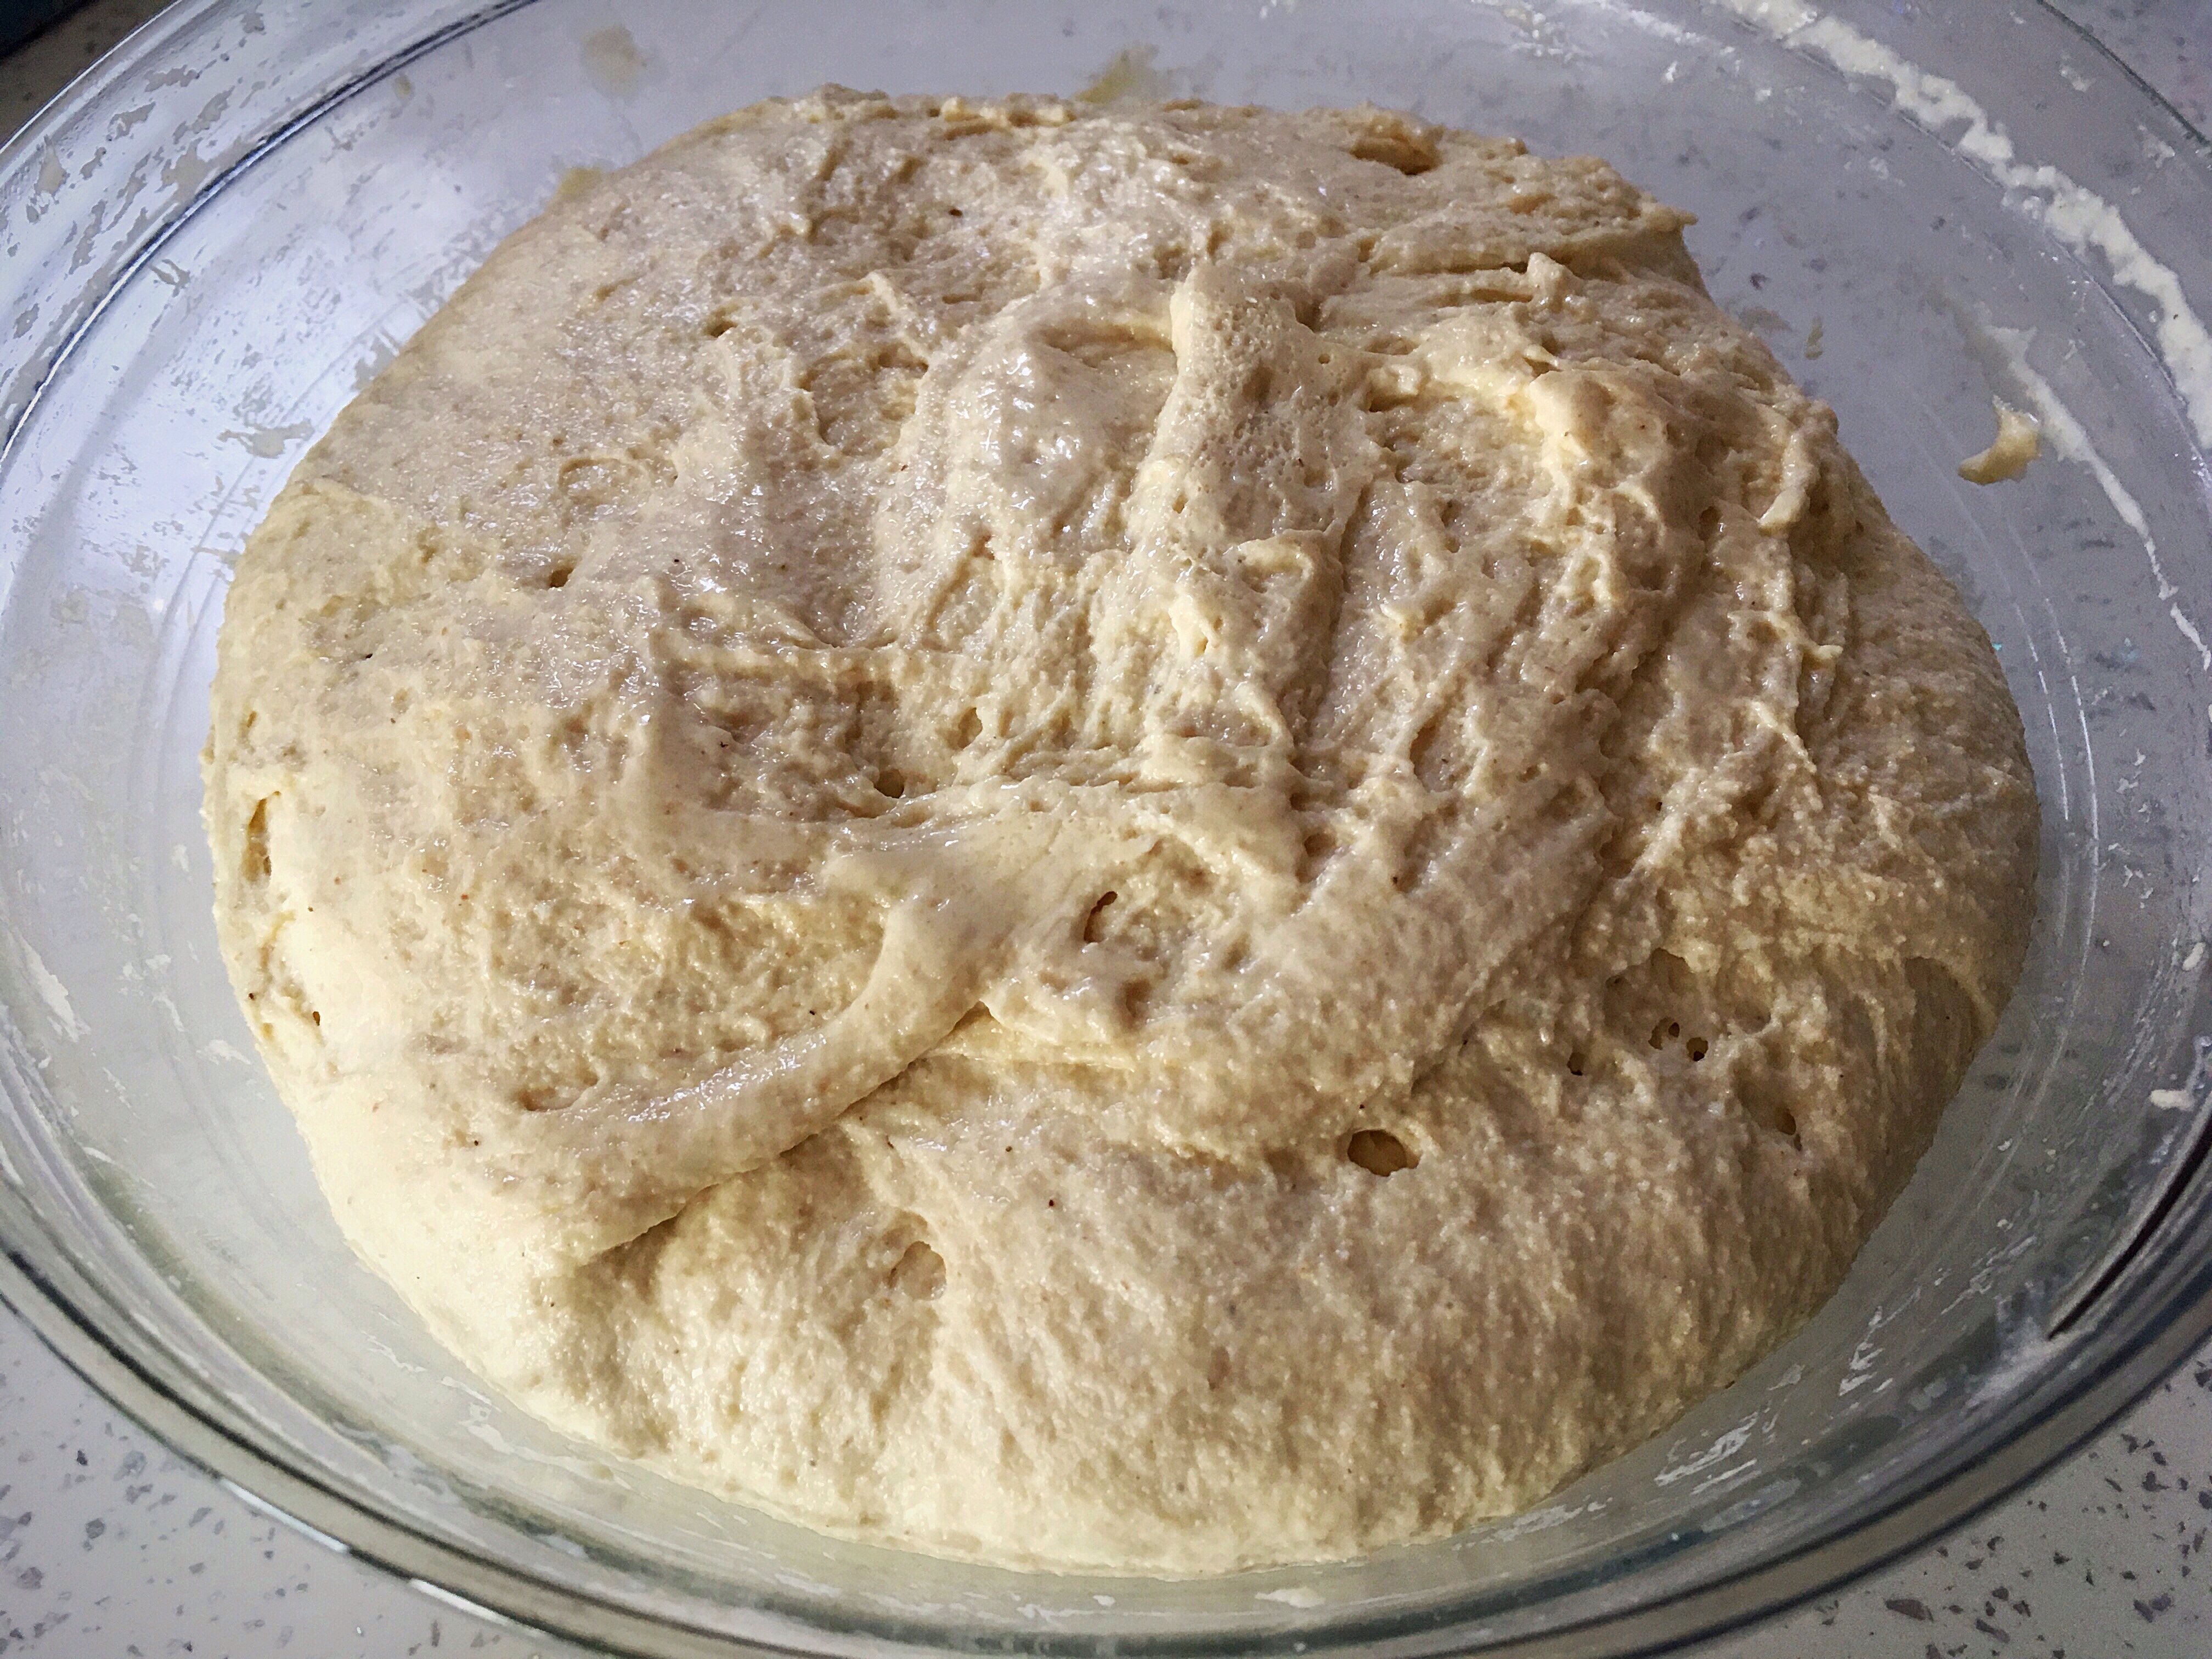
Day three: remove the bowl from the fridge and leave at room temperature and allow the dough to increase by about 60% (by eye).
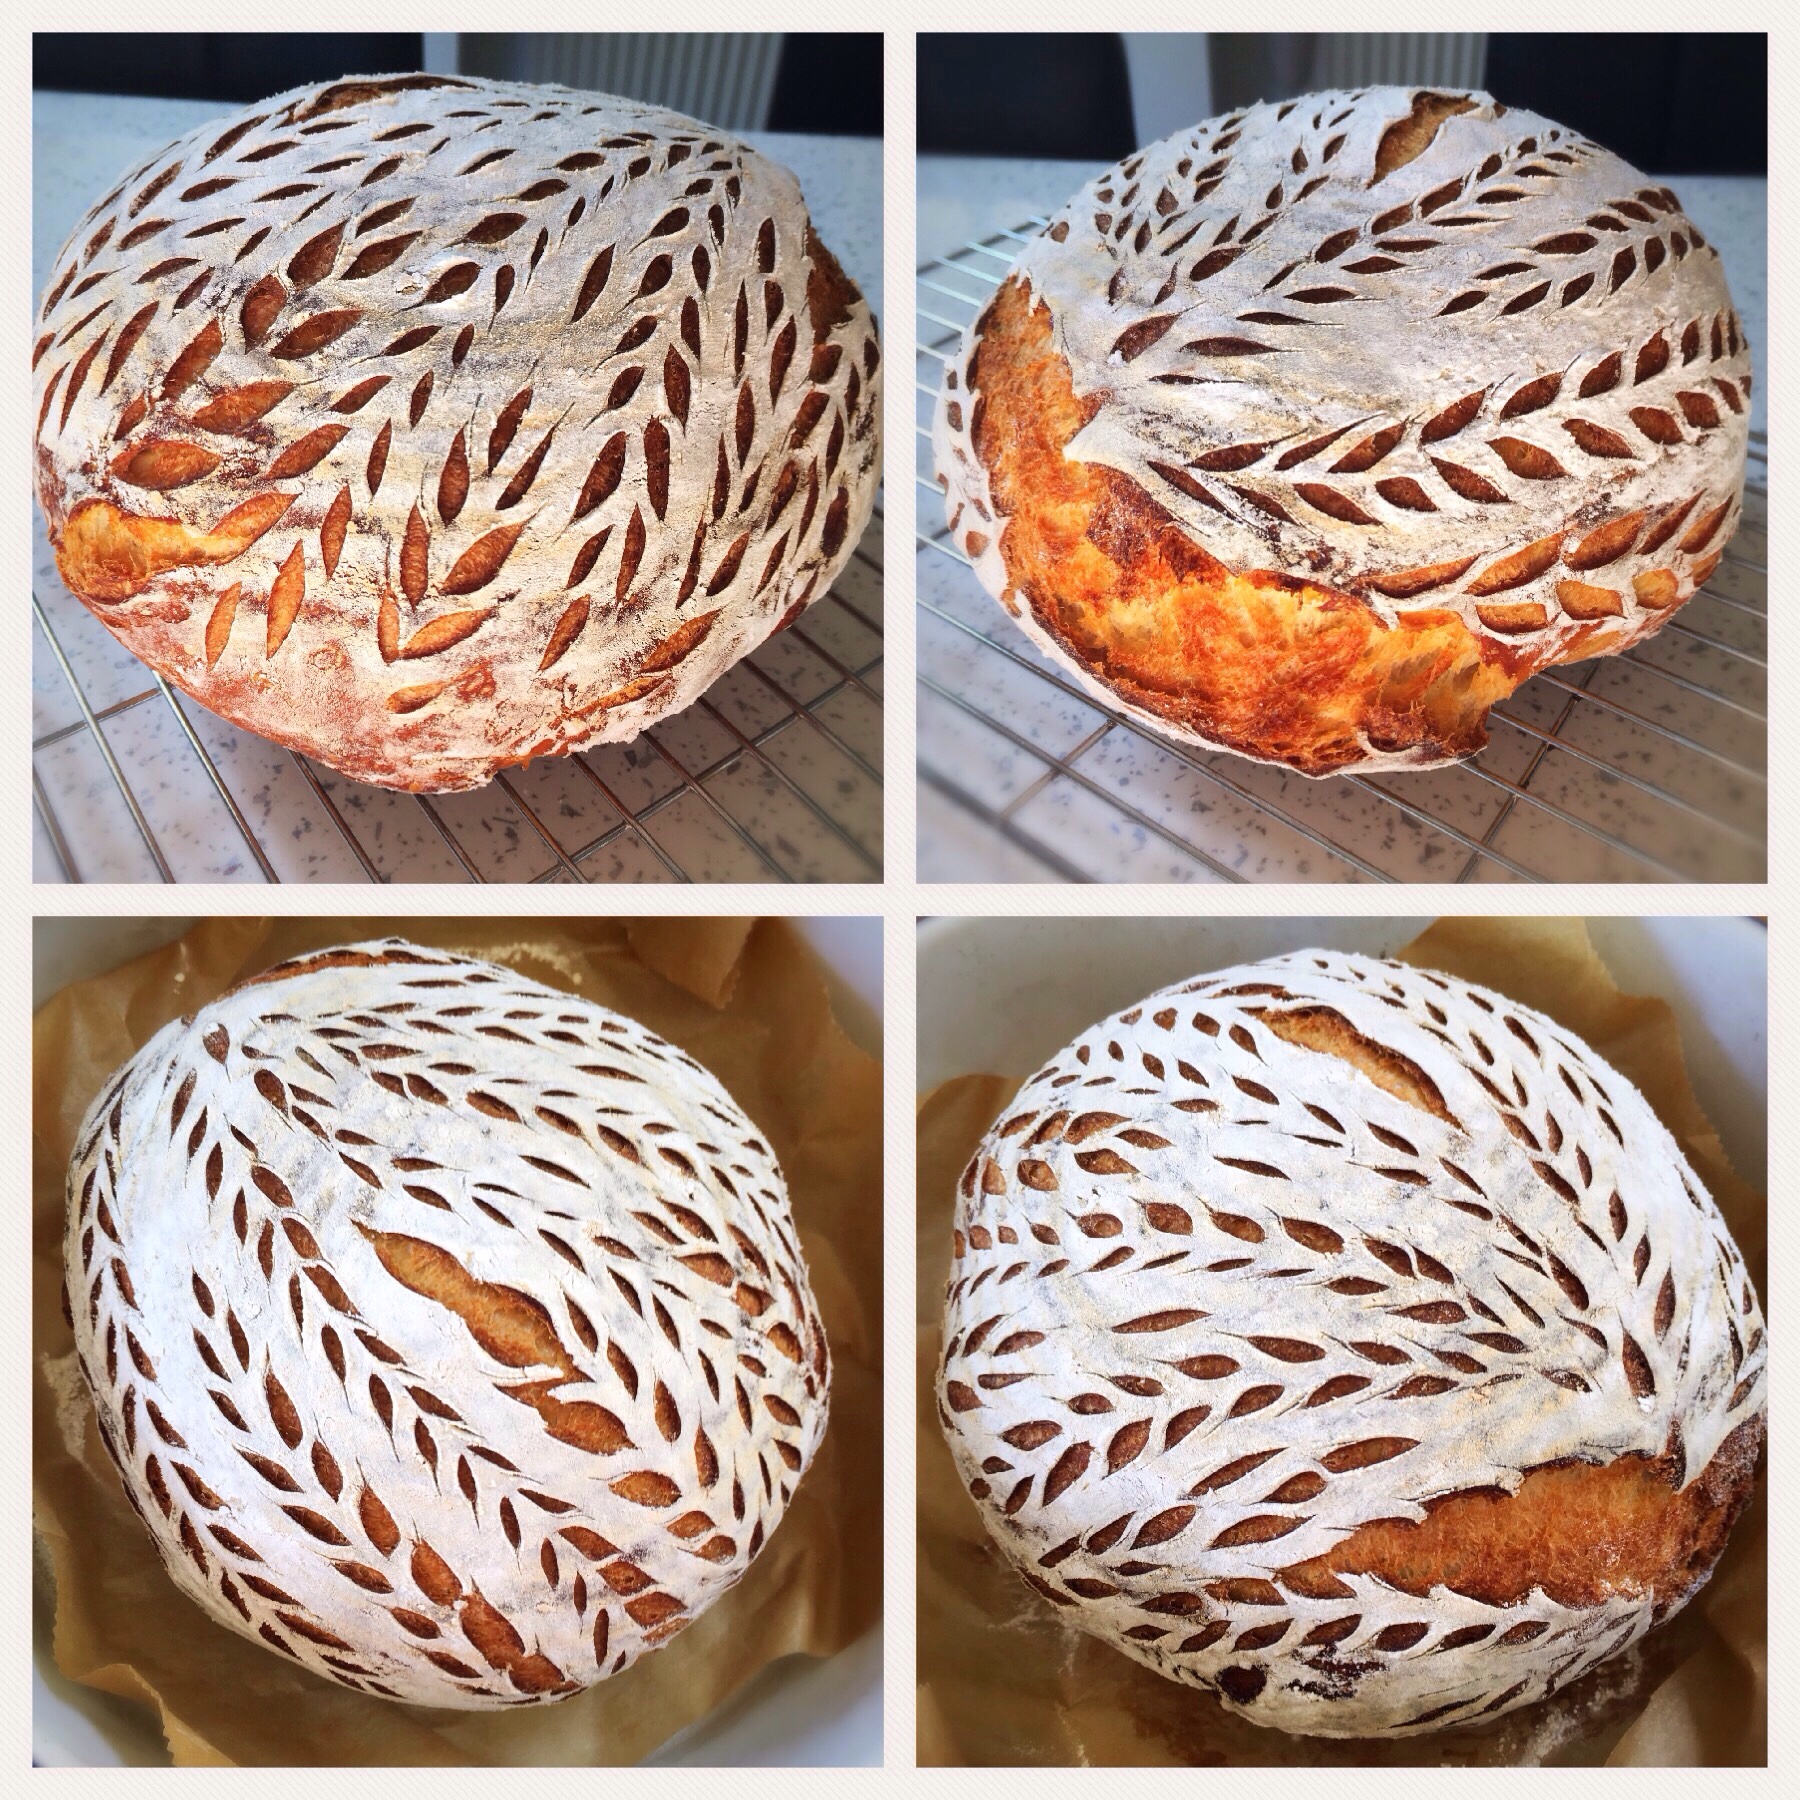
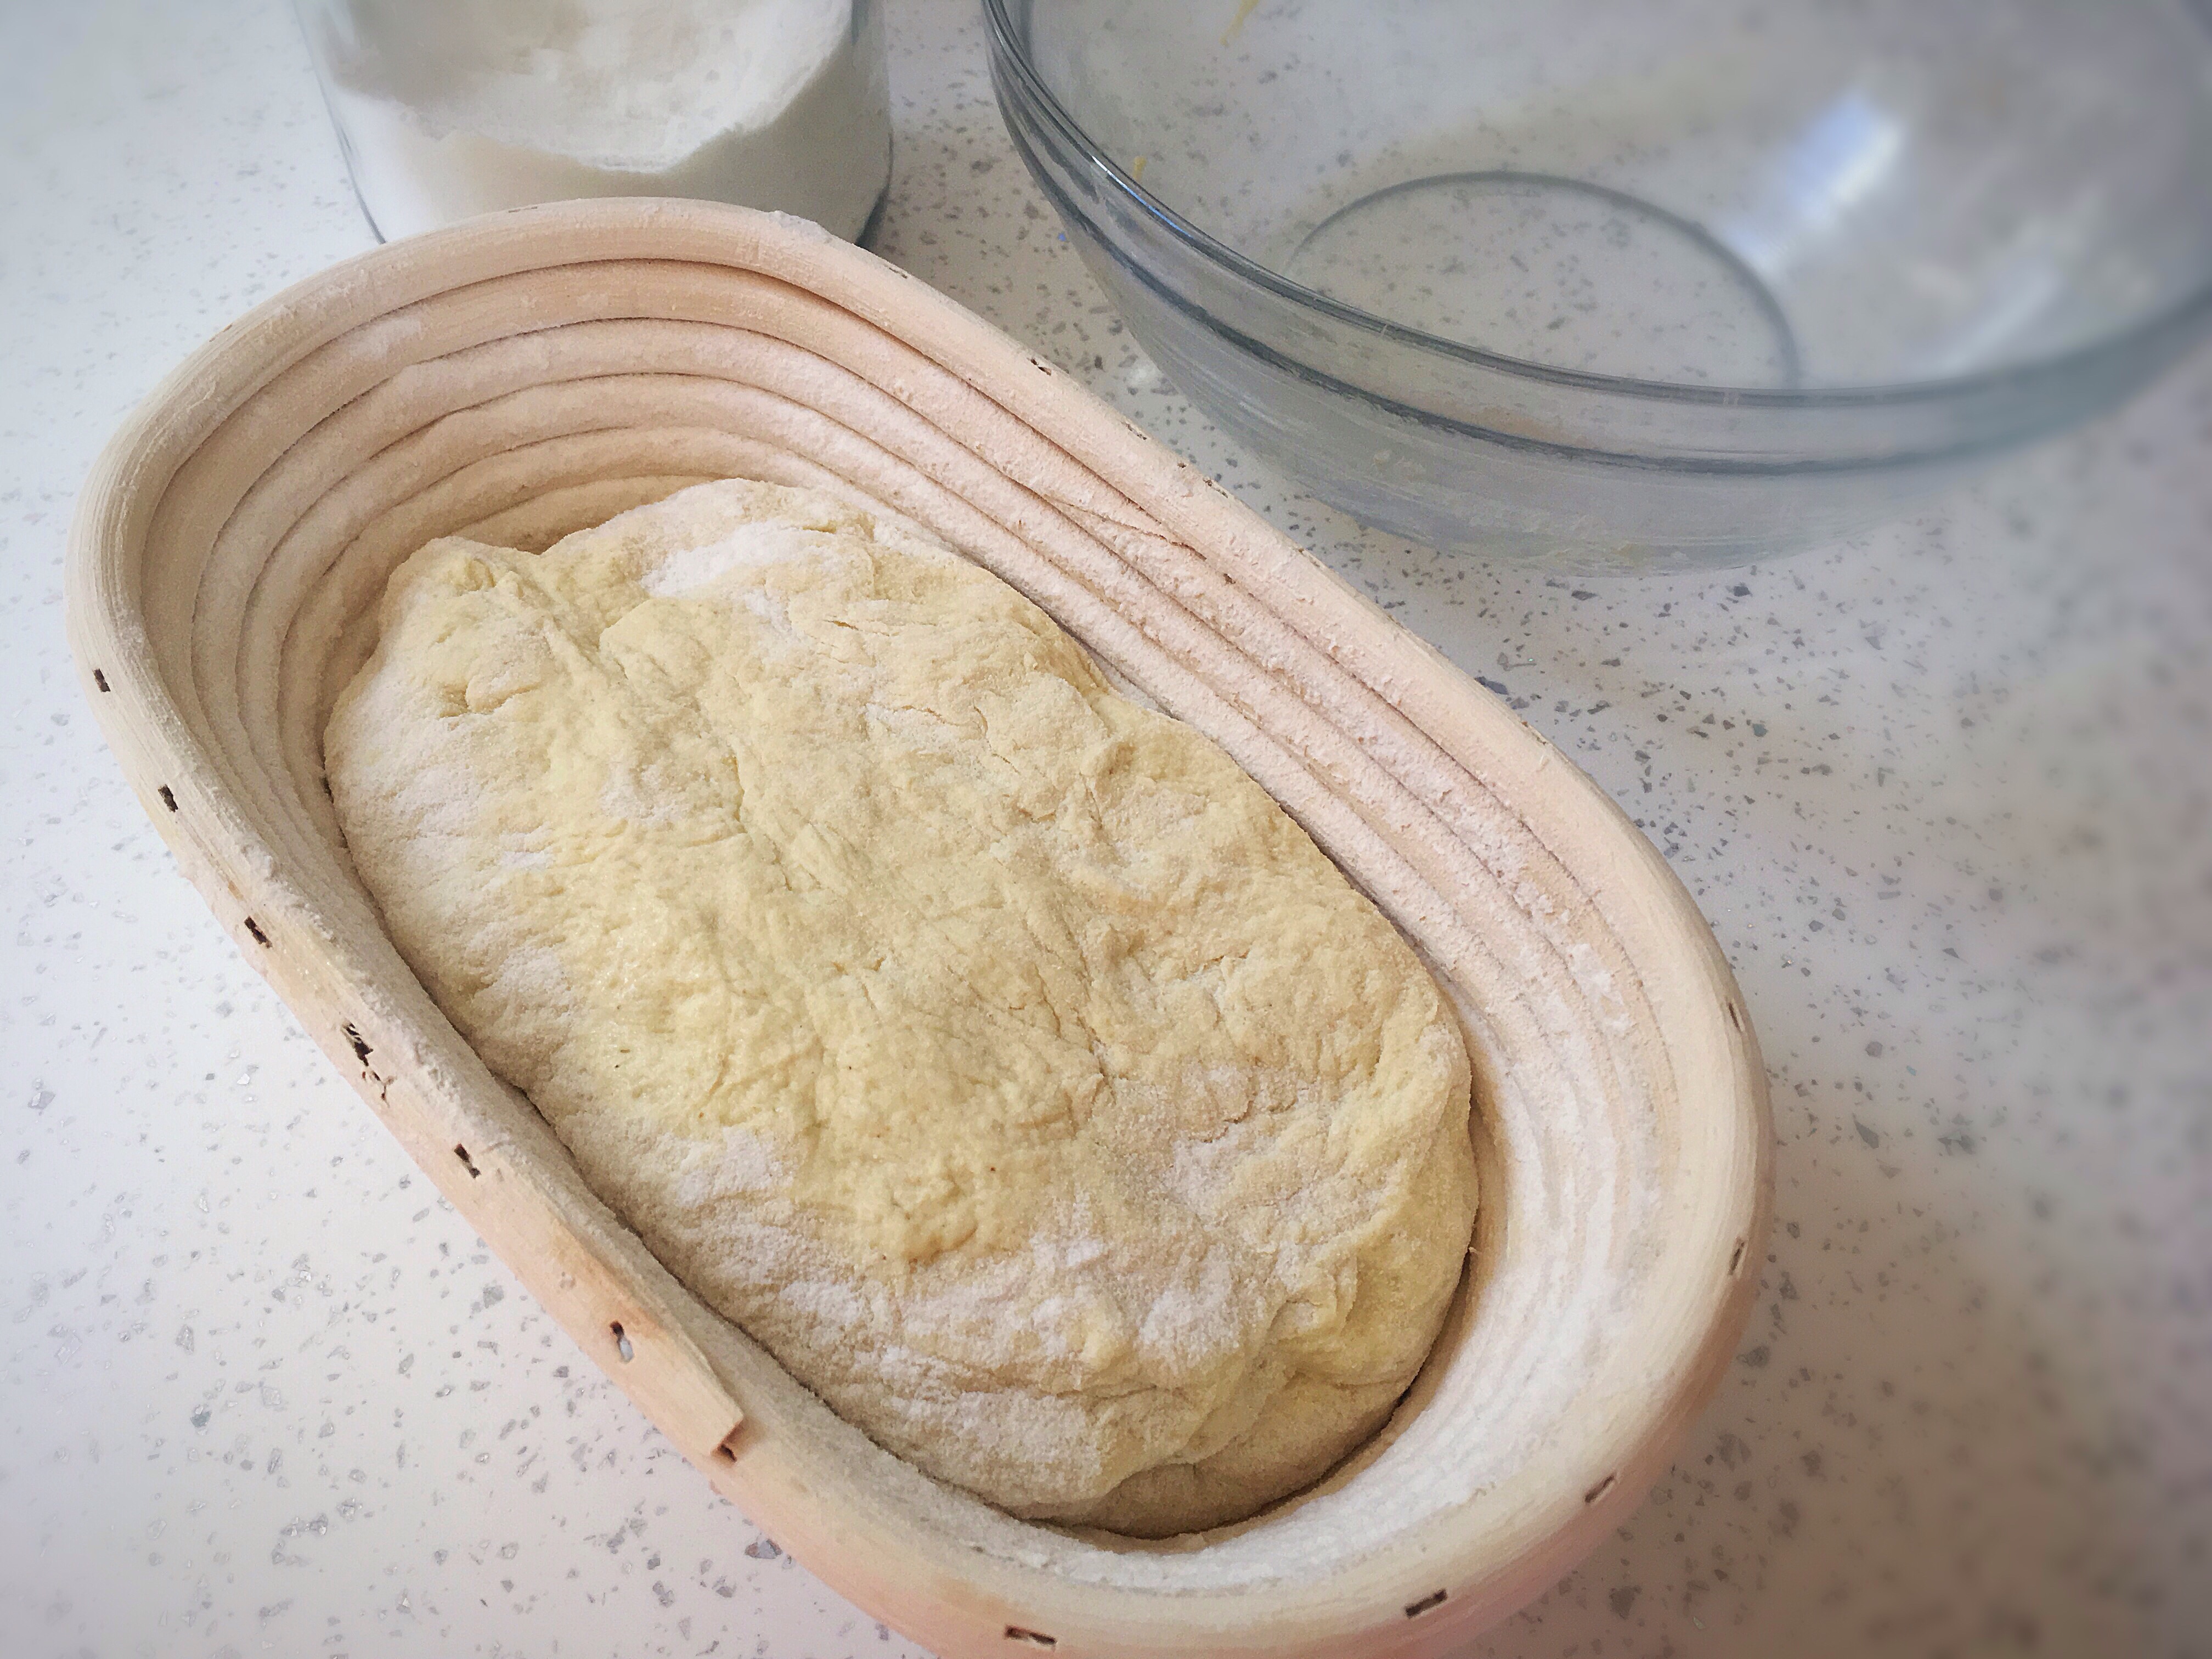
Then shape the dough. I stretch and fold the dough into a ball and place it into a floured banneton.
Cover and put back into the fridge.
Day four: Preheat oven to 275C.
Prepare your choice of bakeware – I bake mine in an enamel roaster on a round of parchment paper. Take the dough from the fridge and place directly into the roaster/on baking sheet, slash and put into the oven.
Reduce the oven to 245C (I use 220C fan), bake with the lid in the roaster for 25 mins, remove the lid and bake for a further 15 mins
EDIT: 12th September 2018
Having made this again twice recently, I found that my loaf started to brown very quickly when I removed the lid, so I ended up putting it back on. Can I suggest baking the loaf with the lid on for the entire 40 mins? If you want to brown it slightly, take the lid off for the last 5 minutes only.
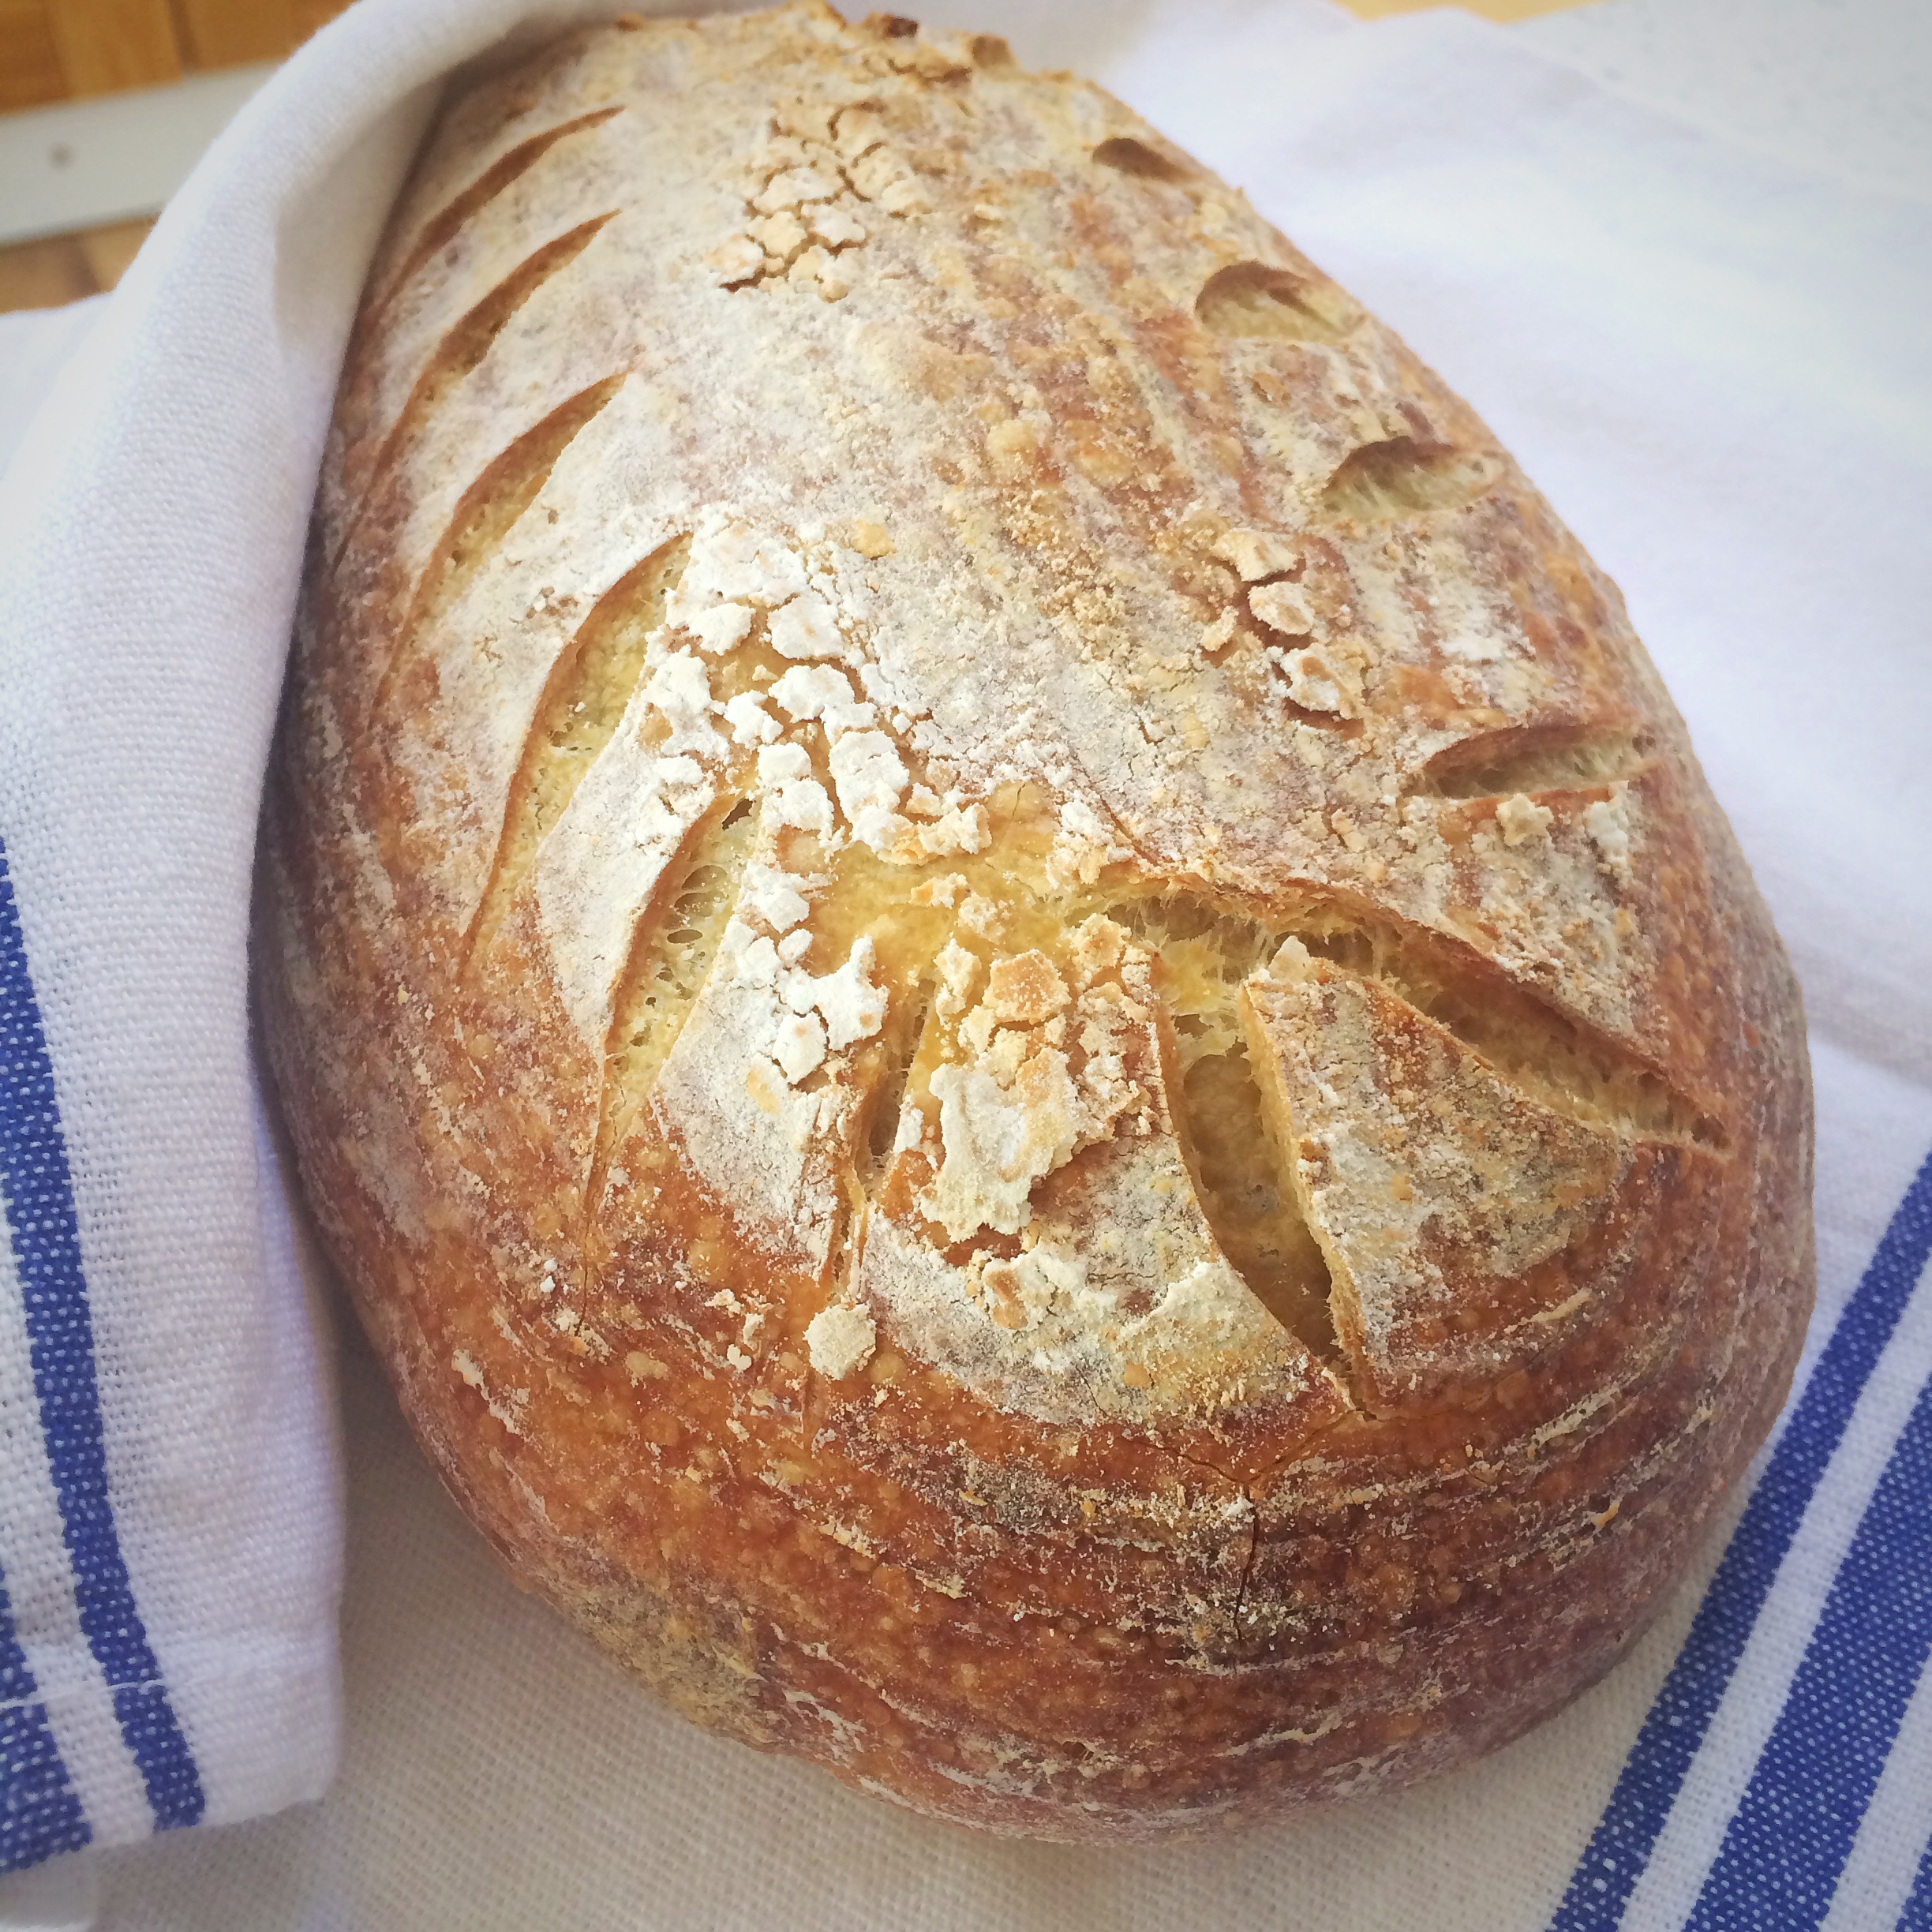
Remove from oven and place on a rack to cool before slicing

Since making this first loaf, I went on to make 3 more in quick succession. For one of them I merely doubled everything and created a monster loaf (above)! It was a beauty though… I’ve also calculated up the quantities to make a 500g (semolina) loaf which is my typical size, and it worked well too.


The quantities were:
112g starter/semolina/water
500g semolina
288g water
1tbsp oil
1tsp salt
Baked for 25 mins covered, 20 mins uncovered


I highly recommend giving it a go!
Happy baking!

 This loaf came about from pure experiment because I had some lovely lively starter and wanted to do something different with it, plus I have always got various cartons of buttermilk to hand nowadays, and so this idea was born.
 Next morning it should have grown and be spongelike. (Bottom 2 photos above – you can see how much it’s grown between the two sets of photos)
 When you’re ready to bake, take the banneton from the fridge and leave the dough to warm up to room temperature whilst your oven warms up.
 After 50 minutes carefully turn the loaf out onto a rack to cool. Allow the loaf to cool for at least an hour before slicing.
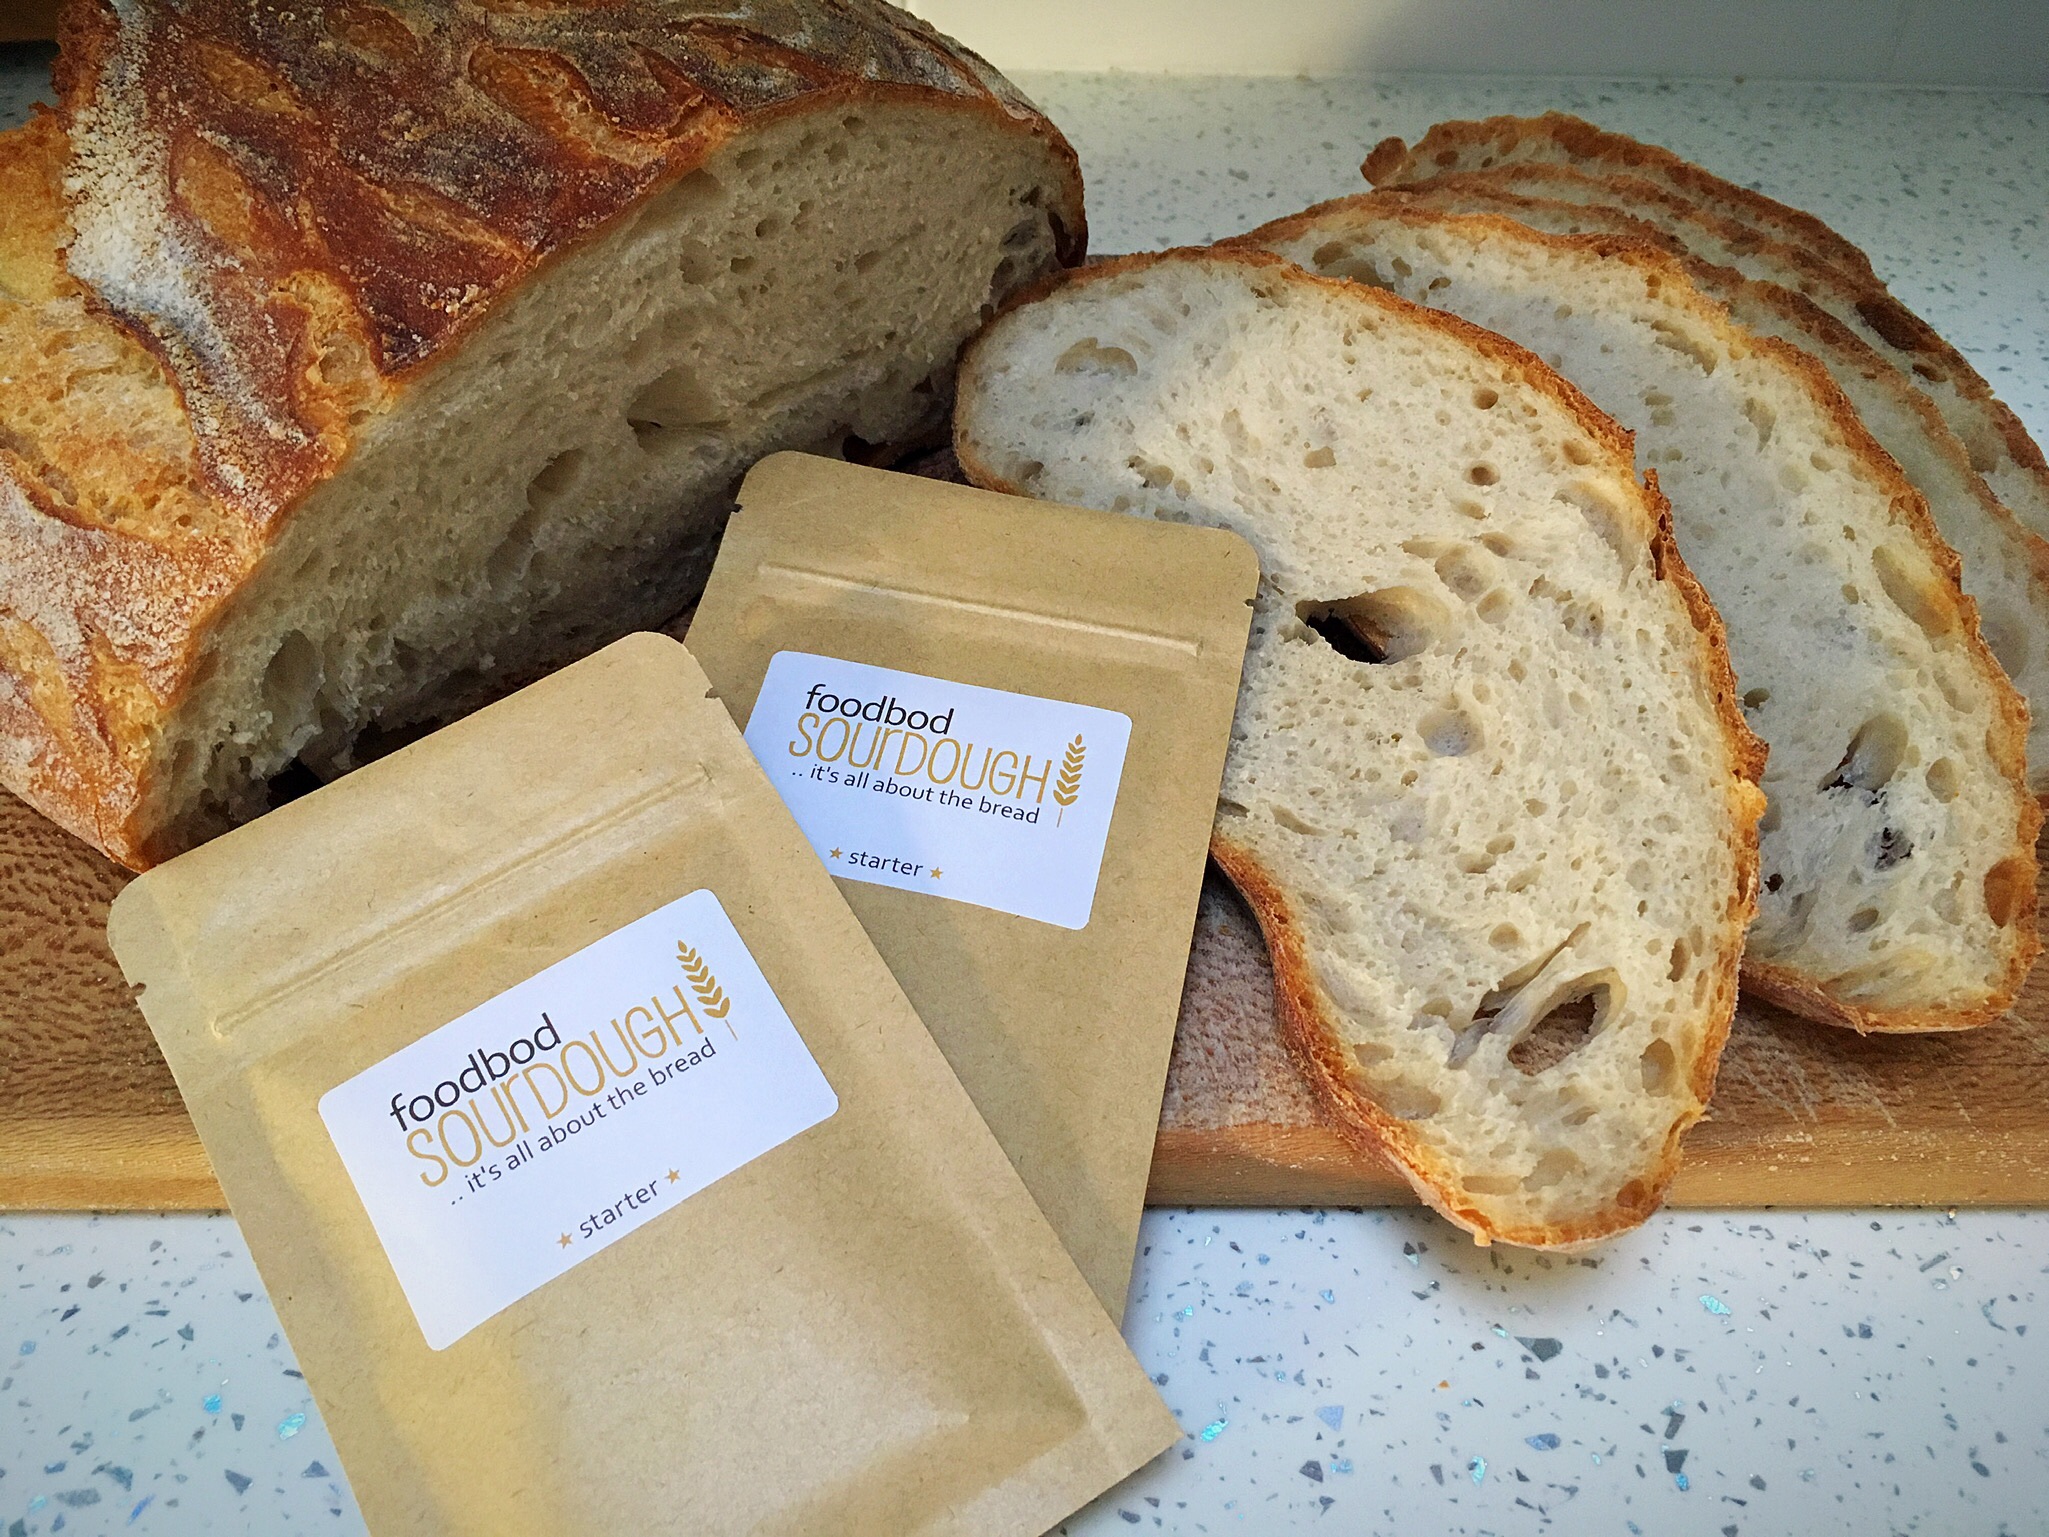
 As you will see, the crumb is closer than a standard sourdough, which is perfect for making my son’s school sandwiches. In fact, the interior of the loaf was softer than any bread of any type I’ve ever baked. I’ll definitely be baking loaves like this again and again.