My final proof sourdough rolls…

A close up of some food that is cut in half

The rolls are made using my master recipe dough again, but this time direct from the banneton, maybe my simplest method for making rolls yet!

Following the overnight prove, bring the dough gently together and place it into a well rice floured banneton, cover, and place it in the fridge as per the recipe process.

You can then use this whenever you are ready to make the rolls; I have used dough that’s been in the fridge for 3 hours and up to 31 hours and everything in between to make these rolls. The point being that you can have the dough ready to use whenever you need it.

It gives you full control over the timing – you don’t need to held hostage by the dough!

A white table with some food on it

When you’re ready, sprinkle some water onto your counter surface.

Turn the dome of dough gently out onto the counter.

Using a dough cutter, cut into 8 or 12 wedges.

A close up of some bread on the table

*At this point you can gently place the pieces of dough into chopped nuts, seeds, oats (as baked below), whatever you like. You can try and keep the wedge shape or wind them into other shapes, or just splodge them on the tray (see the photos below of a chopped pecan studded roll made by placing the cut wedge into the chopped nuts then wound into a swirl).

A tray of uncooked pastries on top of brown paper.A close up of some food on top of a table

Place the wedges onto a prepared tray.

You can now bake these from cold start, or in a preheated oven.

They don’t need to be covered and no steam is required.

Cold start: Place the tray into the cold oven, turn it up to 220C fan, 240 non fan, 450F, and bake for 20-25 mins until browned and risen

Hot start: Preheat the oven to 220C fan, 240 non fan, 450F, and bake for 20-22 mins until browned and risen

A close up of some bread with nuts on itA close up of some bread with nuts on it

To see this in action, check out the video on my YouTube channel showing exactly how I make them: https://youtu.be/YCVqTOJwzSY

A close up of a pastry with nuts on topA close up of some bread on top of a table

Happy Baking!

My master recipe sourdough pizza…

A close up of some pizza slices on a plate

This recipe uses the dough created using my master recipe process and then using it to create the pizza of your choice; the dough can be made up of the flour/s of your choice to create different flavours & textures…

A piece of pizza is being cut into slices.

The outcome being a lovely textured, holey, tasty pizza base!

The key is how to manage and store the overnight dough ready for when you want your pizzas. I have got 2 methods below, each designed to make it simple to fit the dough in with your timings, and not the other way round!

A close up of the crust on a pizza.

Method 1.

The morning after the overnight prove, you will hopefully have a lovely big bowl of bubbly dough; if it is escaping the bowl, gently do a single set of pulls and folds, just go once round the bowl, to pull it loosely together, re-cover it, and place it in the fridge. If the dough hasn’t reached the top of the bowl already, just place it in the fridge to bring the activity to a halt until you want to use it.

When you know when you want your pizzas to be ready for, remove the dough from the fridge an hour or so beforehand and let it warm up a bit.

Cover your work surface with water, flour or olive oil, I use water.

Turn the dough out from the bowl onto your surface and cut into portions, 2, 4 or 6, depending how big you would like your pizzas to be.

Let it sit for 10 minutes.

**I use a foil lined baking tray to cook my pizzas, liberally drizzled with olive oil (I like the crust it generates when baked). However, you may prefer using semolina, polenta/corn meal, flour, whatever your choice under the dough, directly onto your baking tray or baking implement of your choice. If you’re using a pizza stone, prepare the dough on a board or tray ready to be able to move it across to your stone as you usually do.

After 10 minutes place the dough on your chosen bakeware, and start to gently use your finger tips to push the dough out into a thinner rounder shape, or shape of your choice. You will need to let it sit for a few minutes and then do it again as the dough will bounce back.

Preheat the oven to 220C fan/240 non fan/460F.

Give your dough one final push out, spread with sauce of your choice and toppings of your choice, and bake for 12-15 minutes until the base is cooked and the cheese is bubbling.

Enjoy!

A collage of four different pictures with food.

Method 2.

In the morning you will hopefully have a lovely big bowl of dough. Cover your work surface in flour, water or oil, and turn the dough out onto the surface. I use water at this point.

Prepare your baking tray, I drizzle olive oil over my foil lined tray as stated above.

Portion the dough into 2, 4 or 6 pieces.

Let it sit for 10 minutes.

Place the pieces onto your prepared baking tray and use your fingers tips to push it gently out into a round; it will want to bounce back so let it set for a while and do it again.

Once you’ve got it pushed out to the thinness and size that you want, cover the whole tray with a large plastic bag, or place cling film over the dough, and put the whole tray in the fridge.

It can now sit in there until you want to use it, I’ve let mine sit in the fridge all day in the past.

**The top 2 photos in the collage below show the dough before and after being in the fridge. As you can see, the dough continued to work in the cold – my SuperStar in action!

You can now use this dough directly from the fridge, you don’t need to let it warm up or come to room temperature, you can just add your toppings and bake.

If you’re more comfortable letting it come to room temperature before baking you can do that too.

Preheat the oven to 220C fan/240 non fan/460F, and bake for 12-15 minutes until the base is cooked and the cheese is bubbling.

Four different pictures of pizza dough and cheese.

Enjoy!

A close up of some pizza slices on a plateA close up of some pizza on top of a blue surface

Beautiful blistered base, and it tastes SOOOO good!

A piece of pizza is being cut into slices.

And a view of the cooked base…

A close up of some kind of food

I love the crust that the olive oil creates, added to the soft interior.

A pizza sitting on top of a blue plate.A close up of some pizza on top of a blue surface

I hope you like my method and find it useful, and user & life friendly. For more pizza recipes and more, check out my book, The Sourdough Whisperer.

My sourdough pitta breads…


A basket of bread rolls sitting on top of the floor.

Pita or pitta, which ever spelling you use, here’s my sourdough version…

🌟🌟🌟 You can now find a same day sourdough pita recipe in my new book 🌟🌟🌟

As I have with other recipes, I’ve used my master recipe and process to make these. I’ve used 100% strong white bread flour in the dough, and on other occasions I’ve used a mix of strong white bread flour and spelt, and a version with kamut flour; basically, whatever dough you choose to put together (there’s more suggestions in this recipe collection), you can convert it to making rolls, focaccia, pizza dough, or now these pittas.

A close up of a bread on top of a table

Follow my master recipe process up to and including the overnight prove, and then use that dough to create these bread pockets.

NOTE: if your dough has proved overnight and is reaching the top of the bowl or hitting the shower cap by the early morning but you’re not ready to use it yet, gently do one round of pulls and folds to calm it down a bit, then cover it again to allow it to grow and fill the bowl again over the next 2-3 hours for when you want to use it.

When you’re ready to use for the dough for your pittas…

Method

Preheat your oven to 250C and place a tray in the oven to heat up.

Take your overnight proved dough, gently pull it into a loose ball to enable you to turn it out onto a floured surface.

Using a dough knife, cut the dough into 8 pieces, as equal as you can by eye.

A bunch of dough is being cut into pieces

Very gently shape each piece into a ball.

A table with some dough balls and a tablet

Using a rolling pin, roll each ball into a larger flat circle or an oval 2-3mm thick.

A close up of some bread dough on the counter

When the oven is ready, quickly remove the tray from the oven (to maintain the heat in the oven as much as possible), quickly place (or throw!) the rolled pieces of dough onto the tray, place it back into the oven and bake for 5-6 mins maximum.

**Depending on how many you are baking and how big your tray is, you may need to bake these in a couple of batches. If that is the case, roll one set, bake them, then roll the next set and bake them, rather than rolling them all at once and have some of them sitting on the counter for too long.

You should see them puff up during the bake.

Remove from the tray from the oven and place the breads onto a rack to cool slightly before eating, or save for later.

A loaf of bread is sitting on the counter.Two loaves of bread sitting on a pan.

Beware: they will be very hot.

A pan filled with some bread on top of the floor

Enjoy!

A bowl of bread is sitting on the table.

Rustic easy sourdough rolls…no shaping required…


A bunch of nuts are on the ground

If you’ve tried making sourdough rolls and struggle with the shaping and looking after those lovely bubbles…this is for you…

Don’t bother!

A bunch of bread is covered in nuts

These rolls were made by just cutting up the dough, gently placing the sticky edges in some oats, then putting them onto the baking tray. Simple.

A close up of some bread on a plate

How to make them…

Follow my master recipe up to and including the overnight prove. (Feel free to mix up the flour/flours you use in the dough, see the other recipes in my recipe index for various ideas).

The next morning gently pull the dough into a loose ball and place it onto a floured surface.

NOTE: if your dough has proved overnight and is reaching the top of the bowl or hitting the shower cap by the early morning but you’re not ready to use it yet, gently do one round of pulls and folds to calm it down a bit, then cover it again to allow it to grow and fill the bowl again over the next 2-3 hours for when you want to use it.

A bunch of dough is being cut into pieces

Using a dough knife or cutter, cut the dough into 8 equal-ish pieces.

*HANDLE VERY GENTLY THROUGHOUT*

You’ll find that the edges that you’ve cut into are very sticky; you can now either place the cut shapes directly onto a parchment lined baking tray, or gently place the sticky edges in some oats or sesame seeds before placing onto the baking tray.

A close up of some cookies on a tableA close up of some cookies on a pan

You can now either bake them immediately, or after sitting for 10 minutes, or place the tray in the fridge for 1-3 hours then bake when you’re ready.

A round cake covered in white frosting and nuts.

You can cook these from a cold start oven or in a preheated oven.

Cold bake: place the tray into a cold oven, turn the dial up to 200C fan assisted (220C non fan), and bake for 25 mins or until browned

Preheated oven: heat the oven to 200C fan assisted (220C non fan) and bake for 20 mins or until browned.

A close up of some bread with nuts on itA close up of some bread rolls with nuts

Place on a rack to cool briefly, eat at will!

A close up of some bread on a cutting board

My master recipe focaccia..

A close up of some food on top of a table

This lovely vision was created by using my master recipe process and converting it to make focaccia; by using my recipe and process all the way through to the morning after the overnight prove, you can then use the dough to create this lovely bread.

NOTE: if your dough has proved overnight and is reaching the top of the bowl or hitting the shower cap by the early morning but you’re not ready to use it yet, gently do one round of pulls and folds to calm it down a bit, then cover it again to allow it to grow and fill the bowl again over the next 2-3 hours for when you want to use it.

A close up of a pizza with some type of herbs on it

For this focaccia, I scaled down the quantities of my usual recipe, but you can keep them exactly as they are to make a bigger loaf than mine, or use the quantities below to make a smaller version.

Ingredients

300g strong white bread flour

210g water

30g bubbly active starter

1/2tsp salt or to taste

Additions: rosemary, garlic, or whatever you fancy!

Method

*The details for my master recipe and process are in links to the left of your screen.

Following the process up to the morning after the overnight prove, prepare a large baking tray by liberally drizzling it with a good amount of olive oil.

Using a bowl scraper or your hands, gently ease the bubbly risen dough from the bowl and let is fall onto the tray; it will pretty much plop onto the tray, which is fine, just take care not to handle it roughly or press out any of the lovely bubbles.

Gently turn the dough over so that it is all covered in olive oil and cover loosely with a large plastic bag or cling film and leave it on the counter to prove again for 1.5 – 2 hours.

Heat your oven to 200C fan (220C non fan).

Using your fingertips, push the dough out to a rectangular/oval shape until it’s about 1″/2-3cm thick. Use your finger tips to firmly press dimples all over the dough.

Sprinkle or place whatever toppings you choose over the dough; here I’ve used dried rosemary and sliced garlic (not too thinly sliced).

Bake for 17-18 until browned, or longer if you’re using a bigger dough at the start. If like me your oven has a hot spot, turn the tray round half way through.

A pizza sitting on top of foil covered in cheese.A square pizza with olives and herbs on it.

Ease off the tray and place on a rack to cool. Resist the temptation to cut into it whilst it’s piping hot.

Cut when ready to consume and enjoy!

For more detailed focaccia recipes, check out my books: find focaccia made with added wholegrain flours in this book, or my master focaccia recipe and focaccia pizza recipe in this book.

A close up of some food on a wooden boardA close up of some food on a plate

This makes a lovely holey light focaccia with a nice crunchy base.

A pile of food sitting on top of a wooden cutting board.

Baking sourdough with spelt and kamut/khorason flour…

A close up of some bread on a table

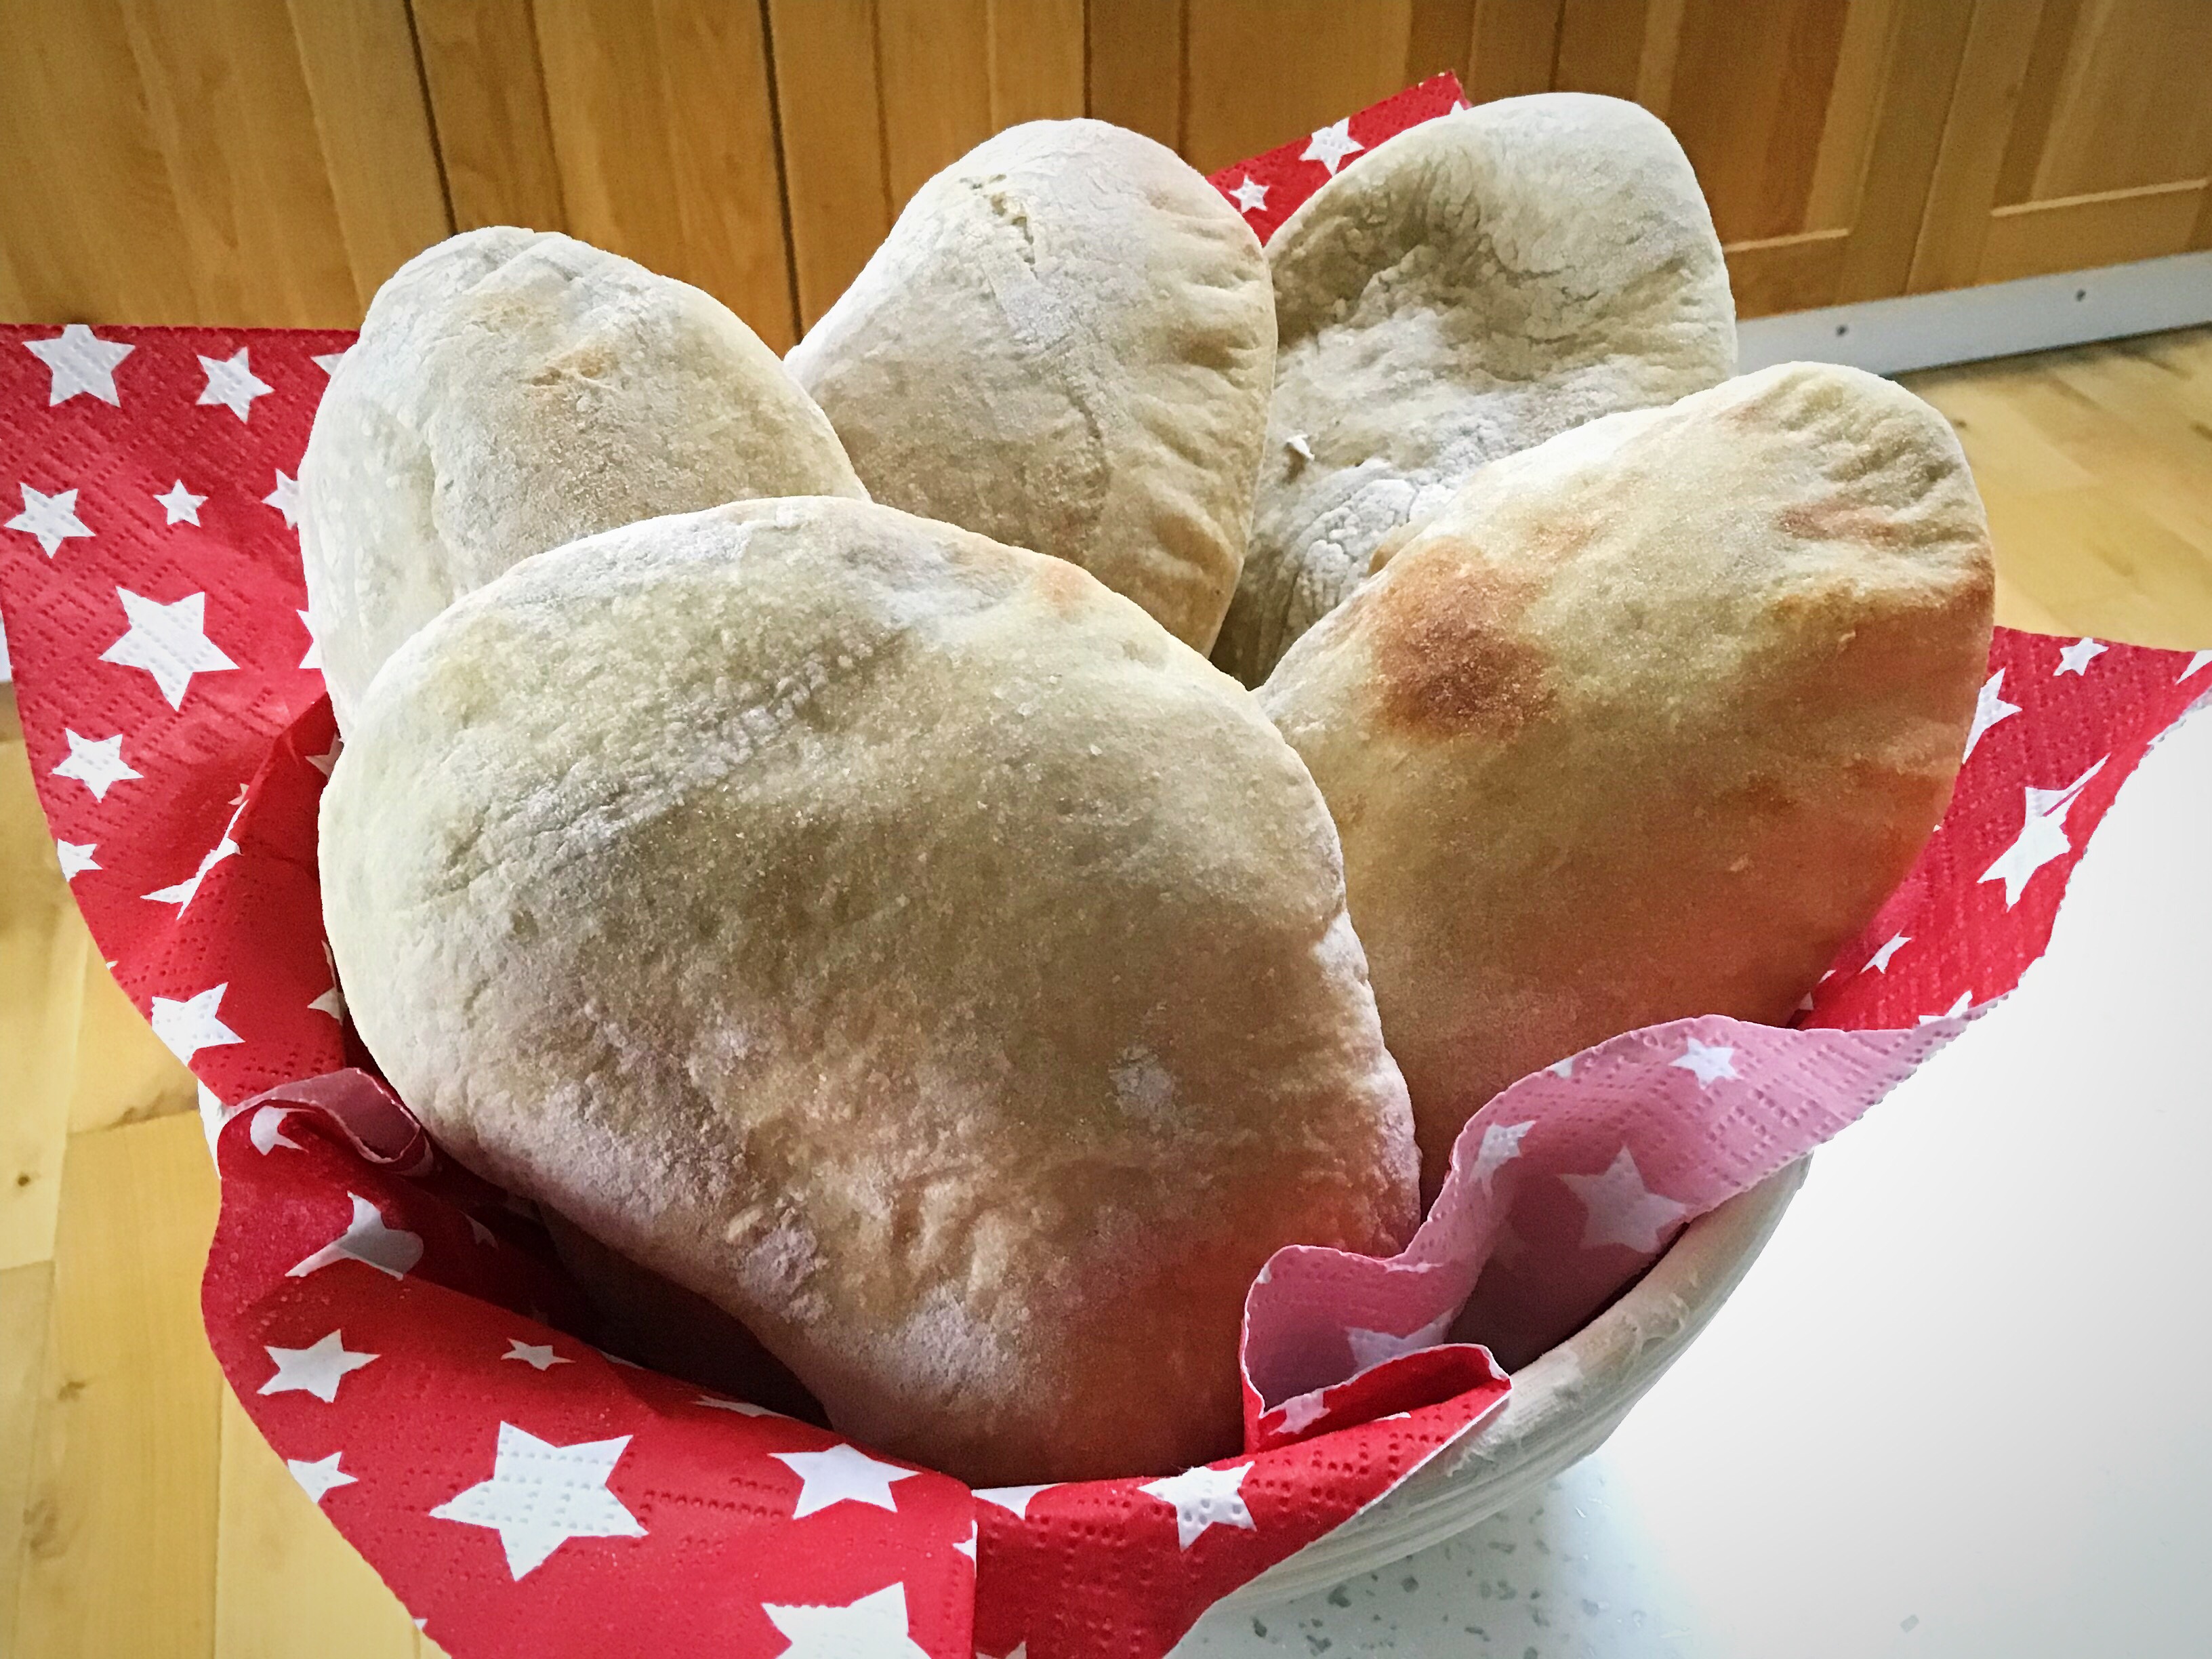
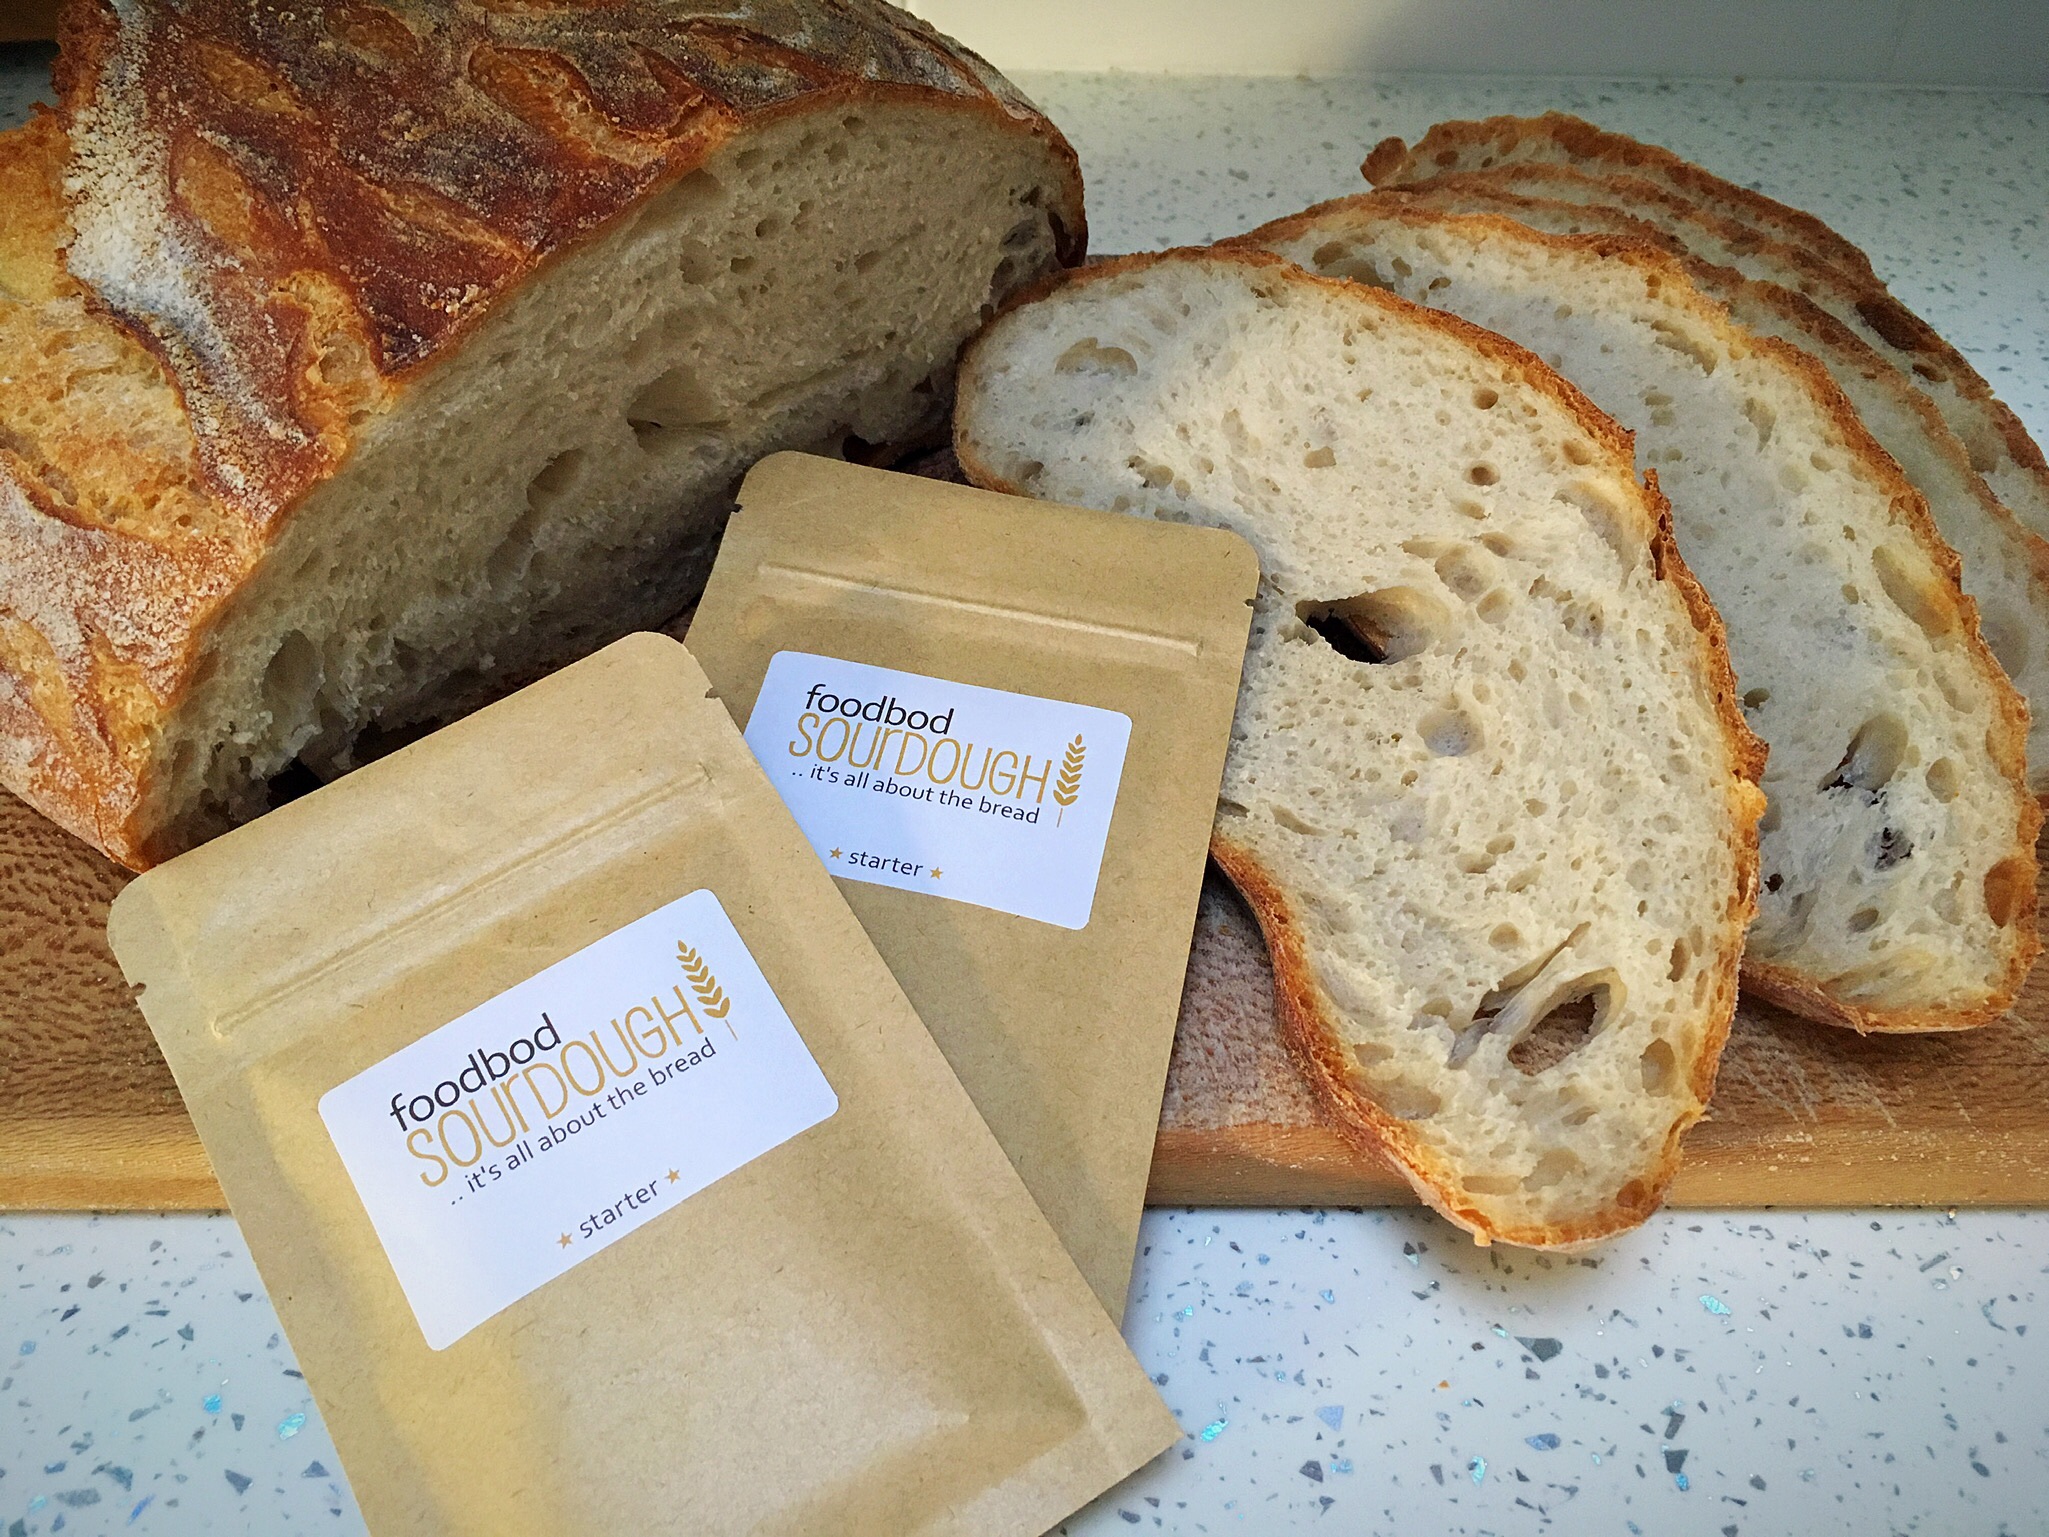
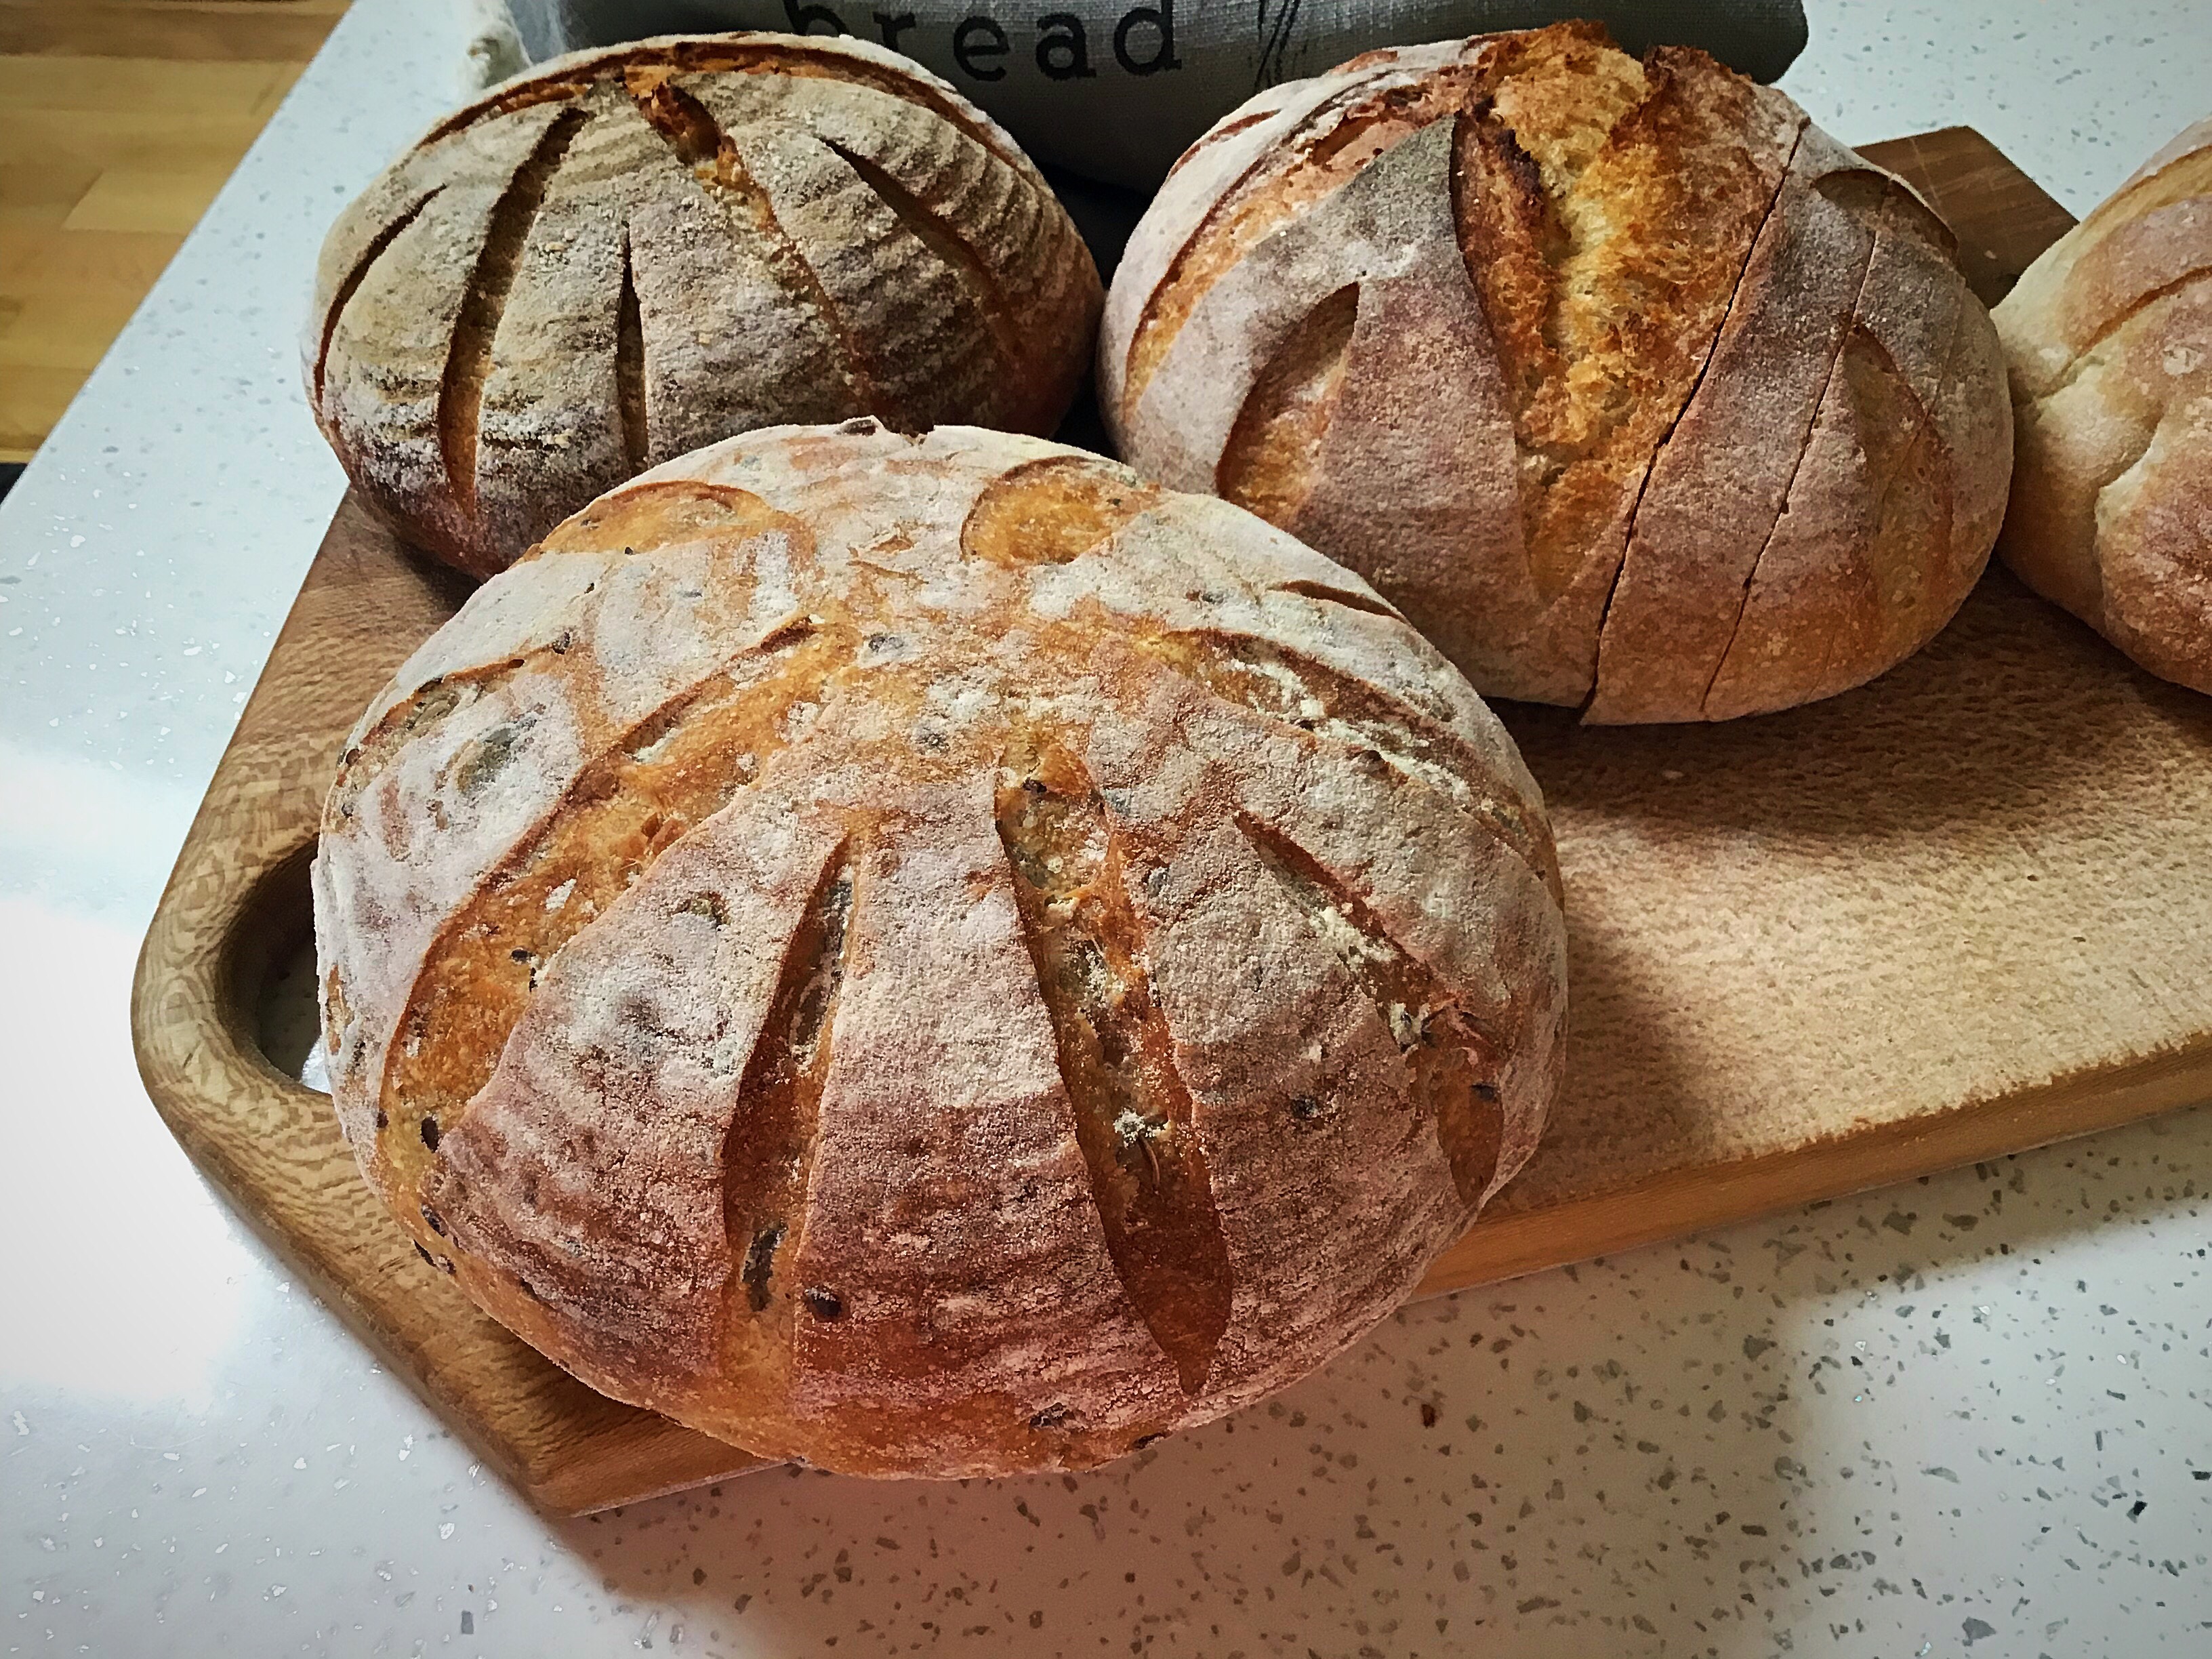
These loaves have been made using my starter and a variety of white spelt flour, kamut/khorason flour, and mixes of the two.

These were experimental to test how the flours would hold up on their own for use in sourdough so this post is to share the outcome. I’ve used both spelt and kamut flour in loaves that included strong white bread flour with great success and flavour, which you can find in my recipe index; this time I wanted to test them out on their own to see how they behaved.

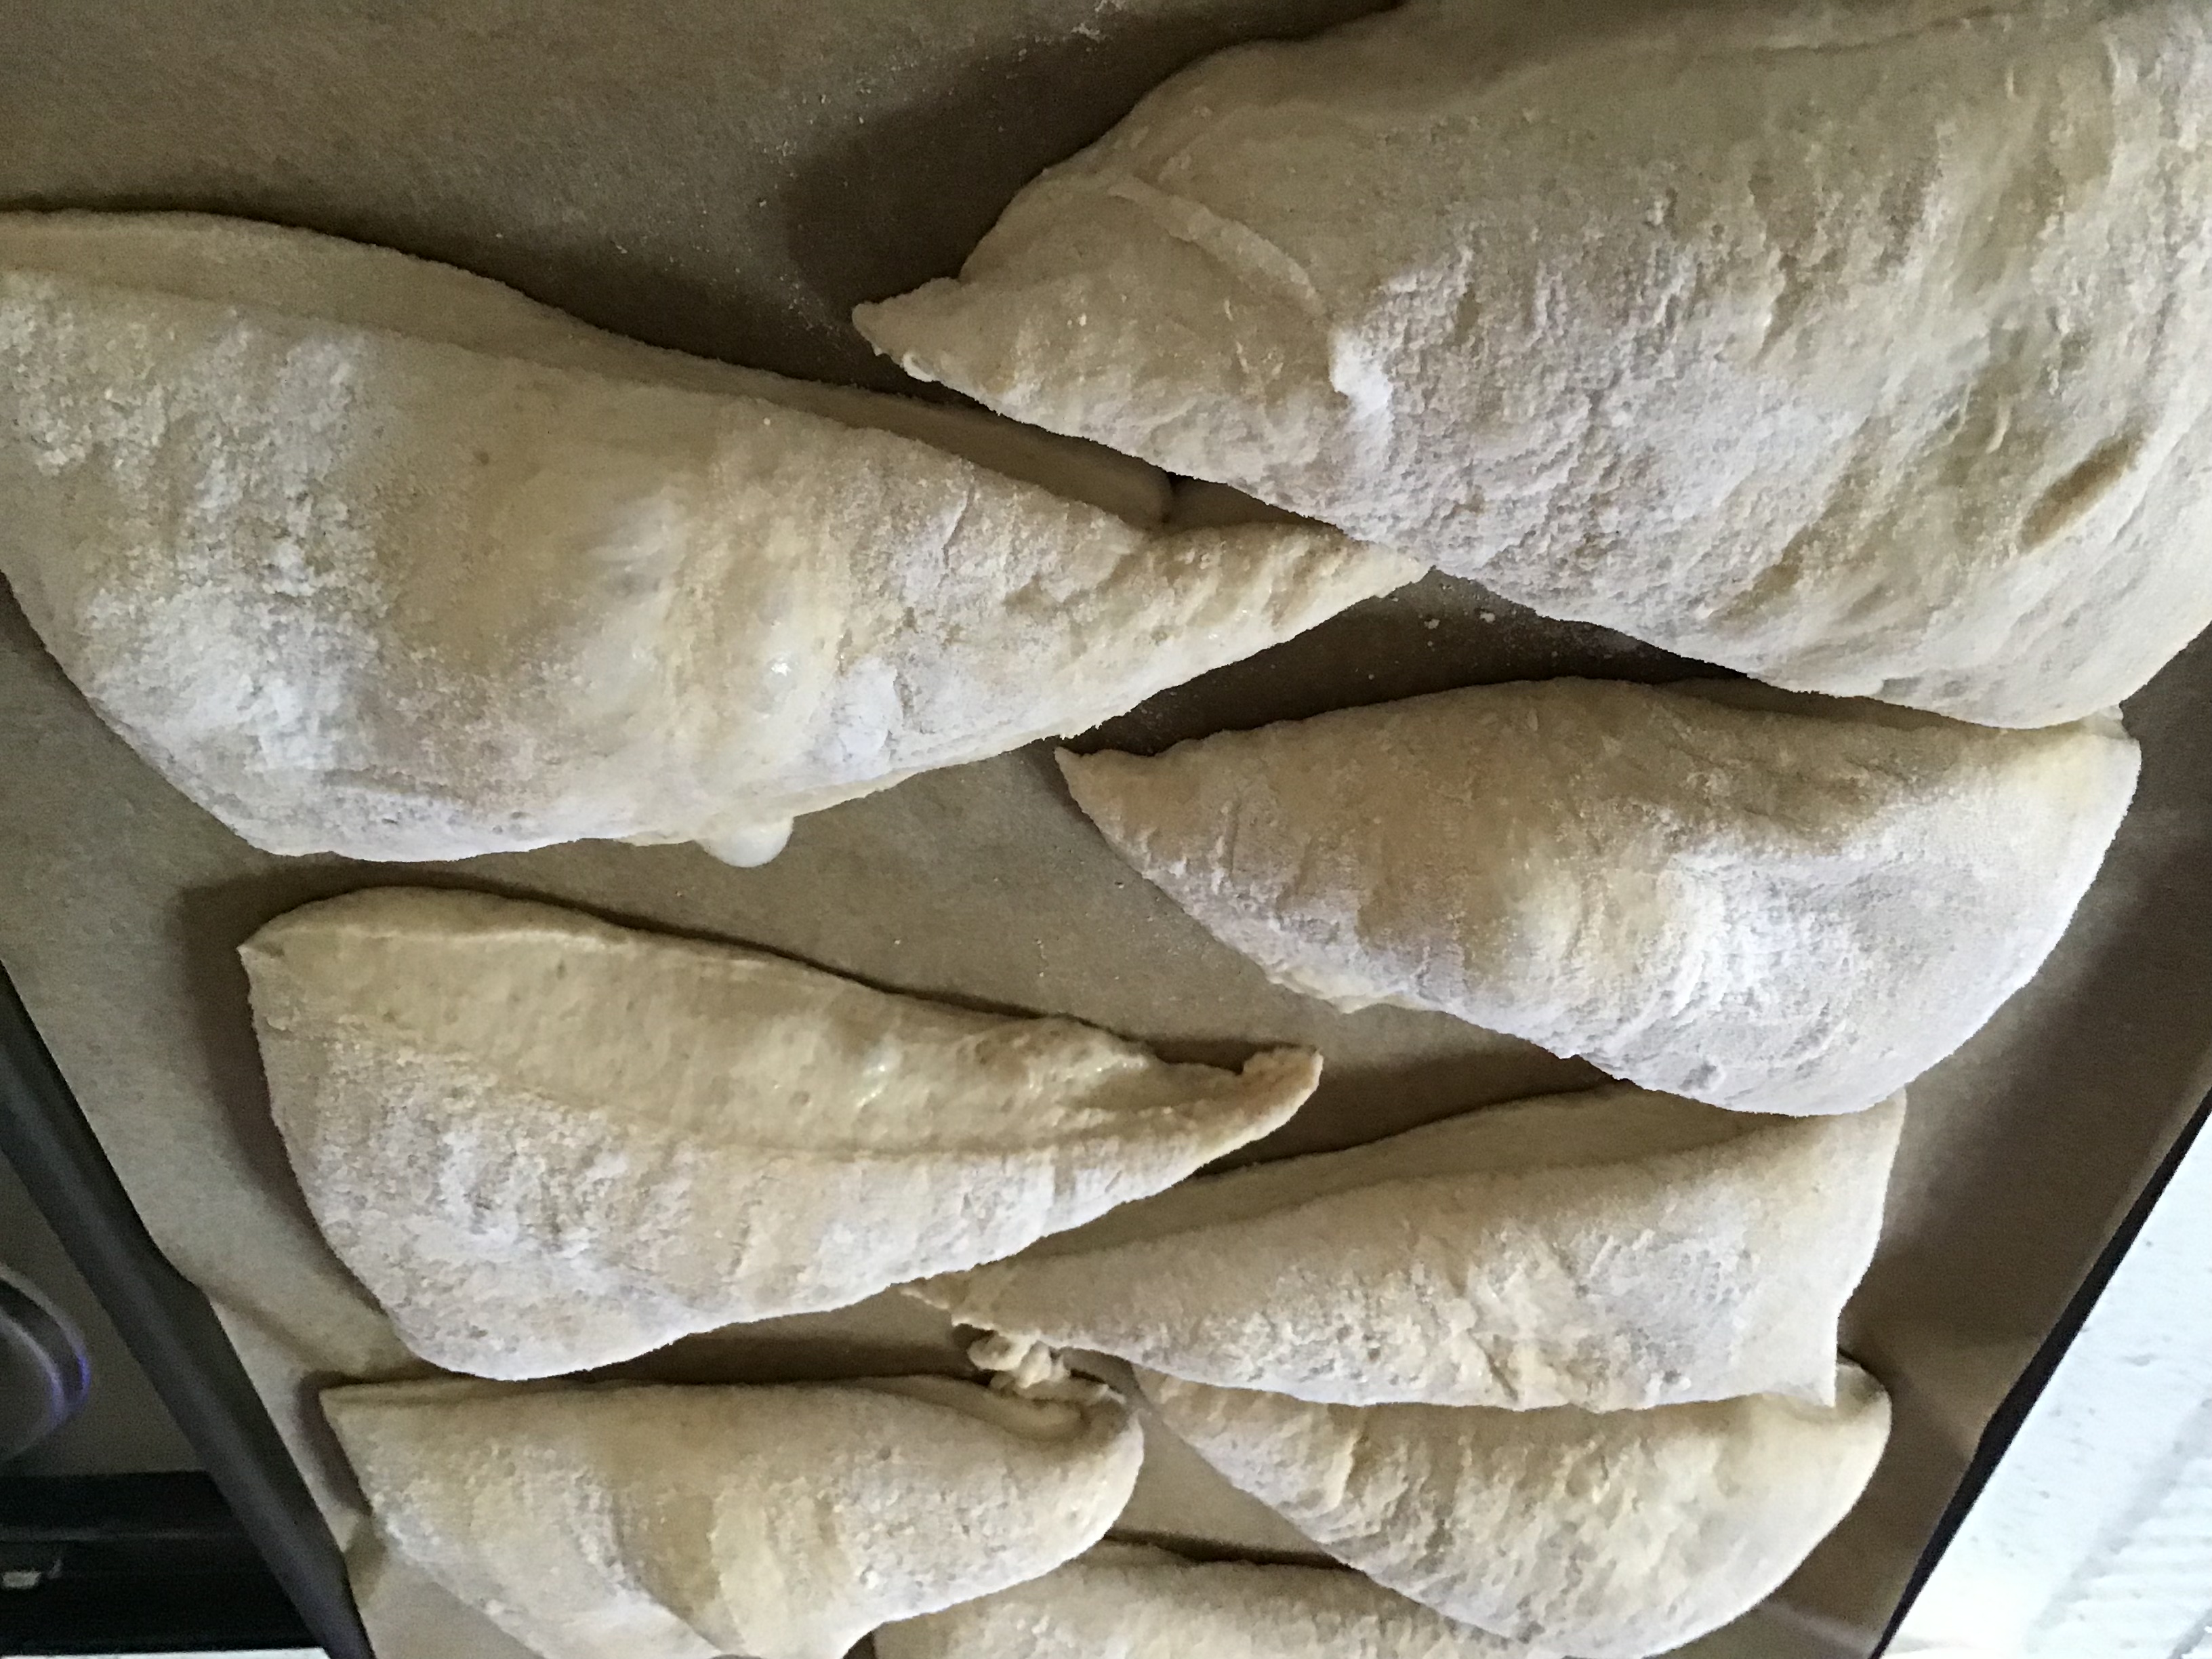
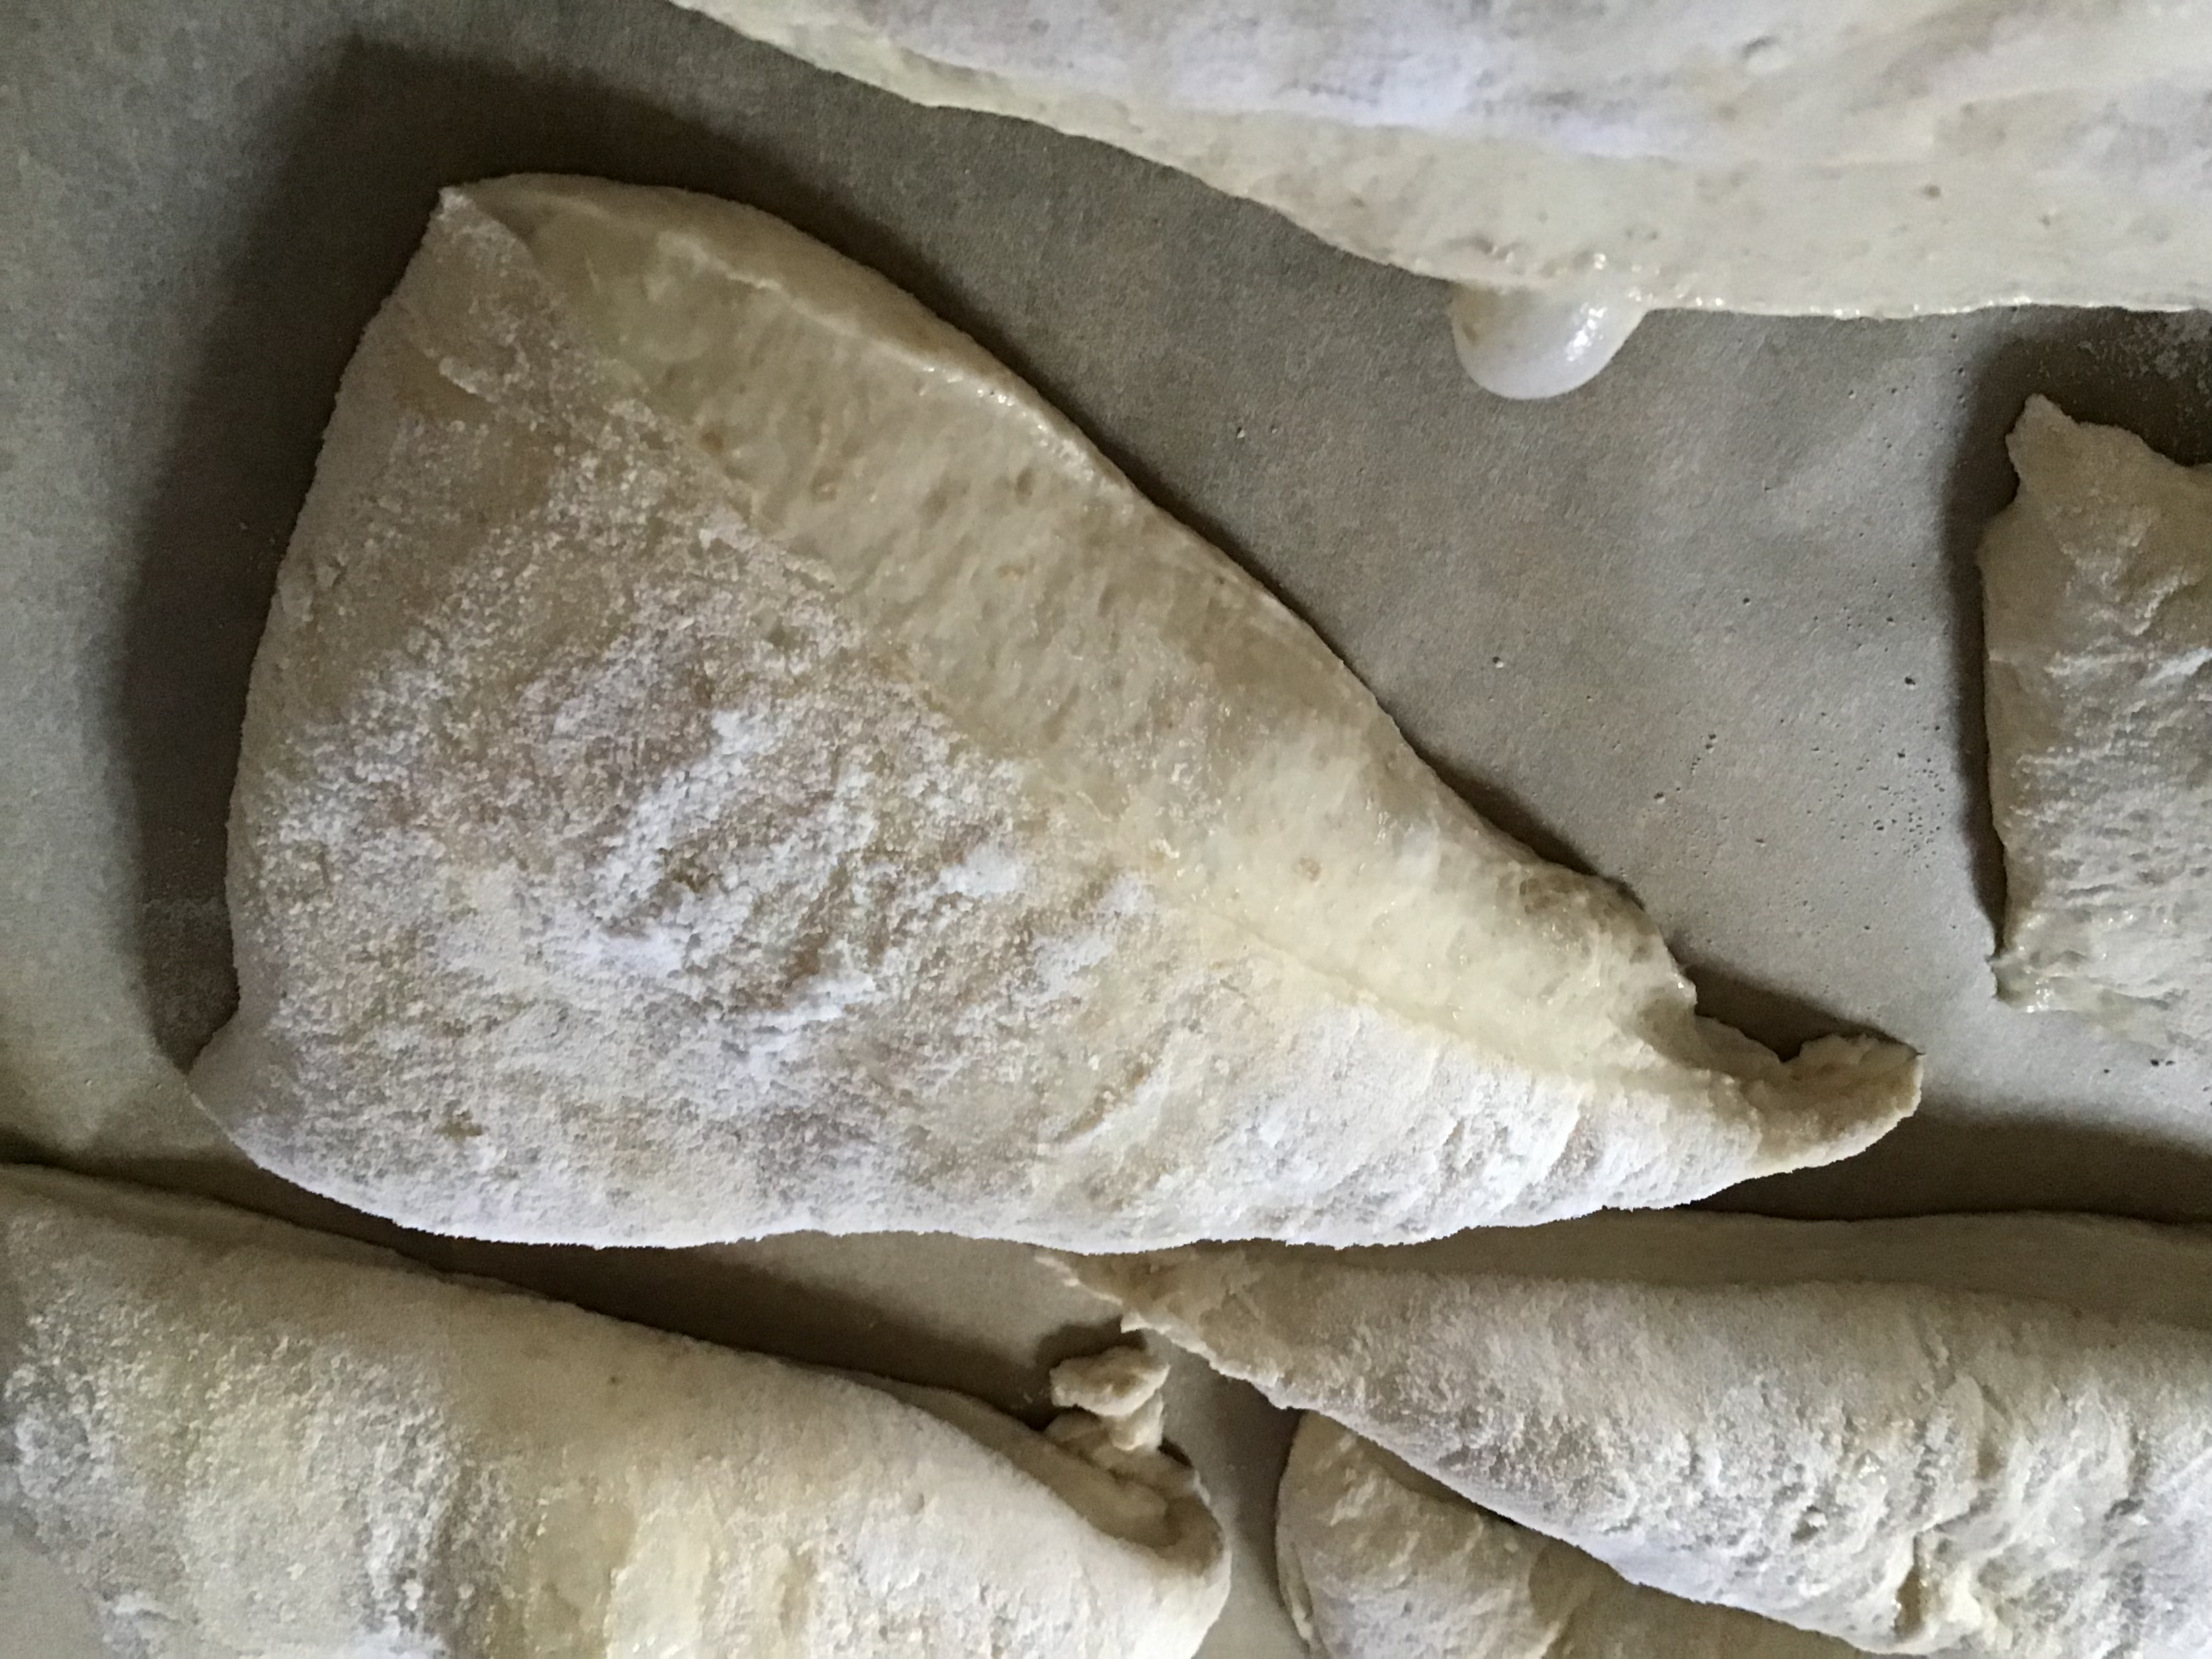
Please note: these loaves were all made with a smaller banneton which is 17cm diameter and 7.5cm deep. This allowed me to use less flour in these trials. The quantities are included at the end of the post.

And: I’ve used my same starter in all of them, fed the usual way with strong white bread flour; you don’t need different starters for different loaves.

Three loaves of bread on a cutting board.

Firstly, let me talk about the actual flours themselves; these are milled from ancients grains. Spelt and khorason (kamut is actually the brand name, the entire grain has a brand!) are wonderfully tasty grains that are lovely and nutty and chewy to eat in their naturally grown form once cooked, I eat them a lot this way.

The flours are milled from those grains.

Being ancient grains, they are quite different from more modern flours, and very different from one another, so considerations have to be taken when using them in your sourdough.

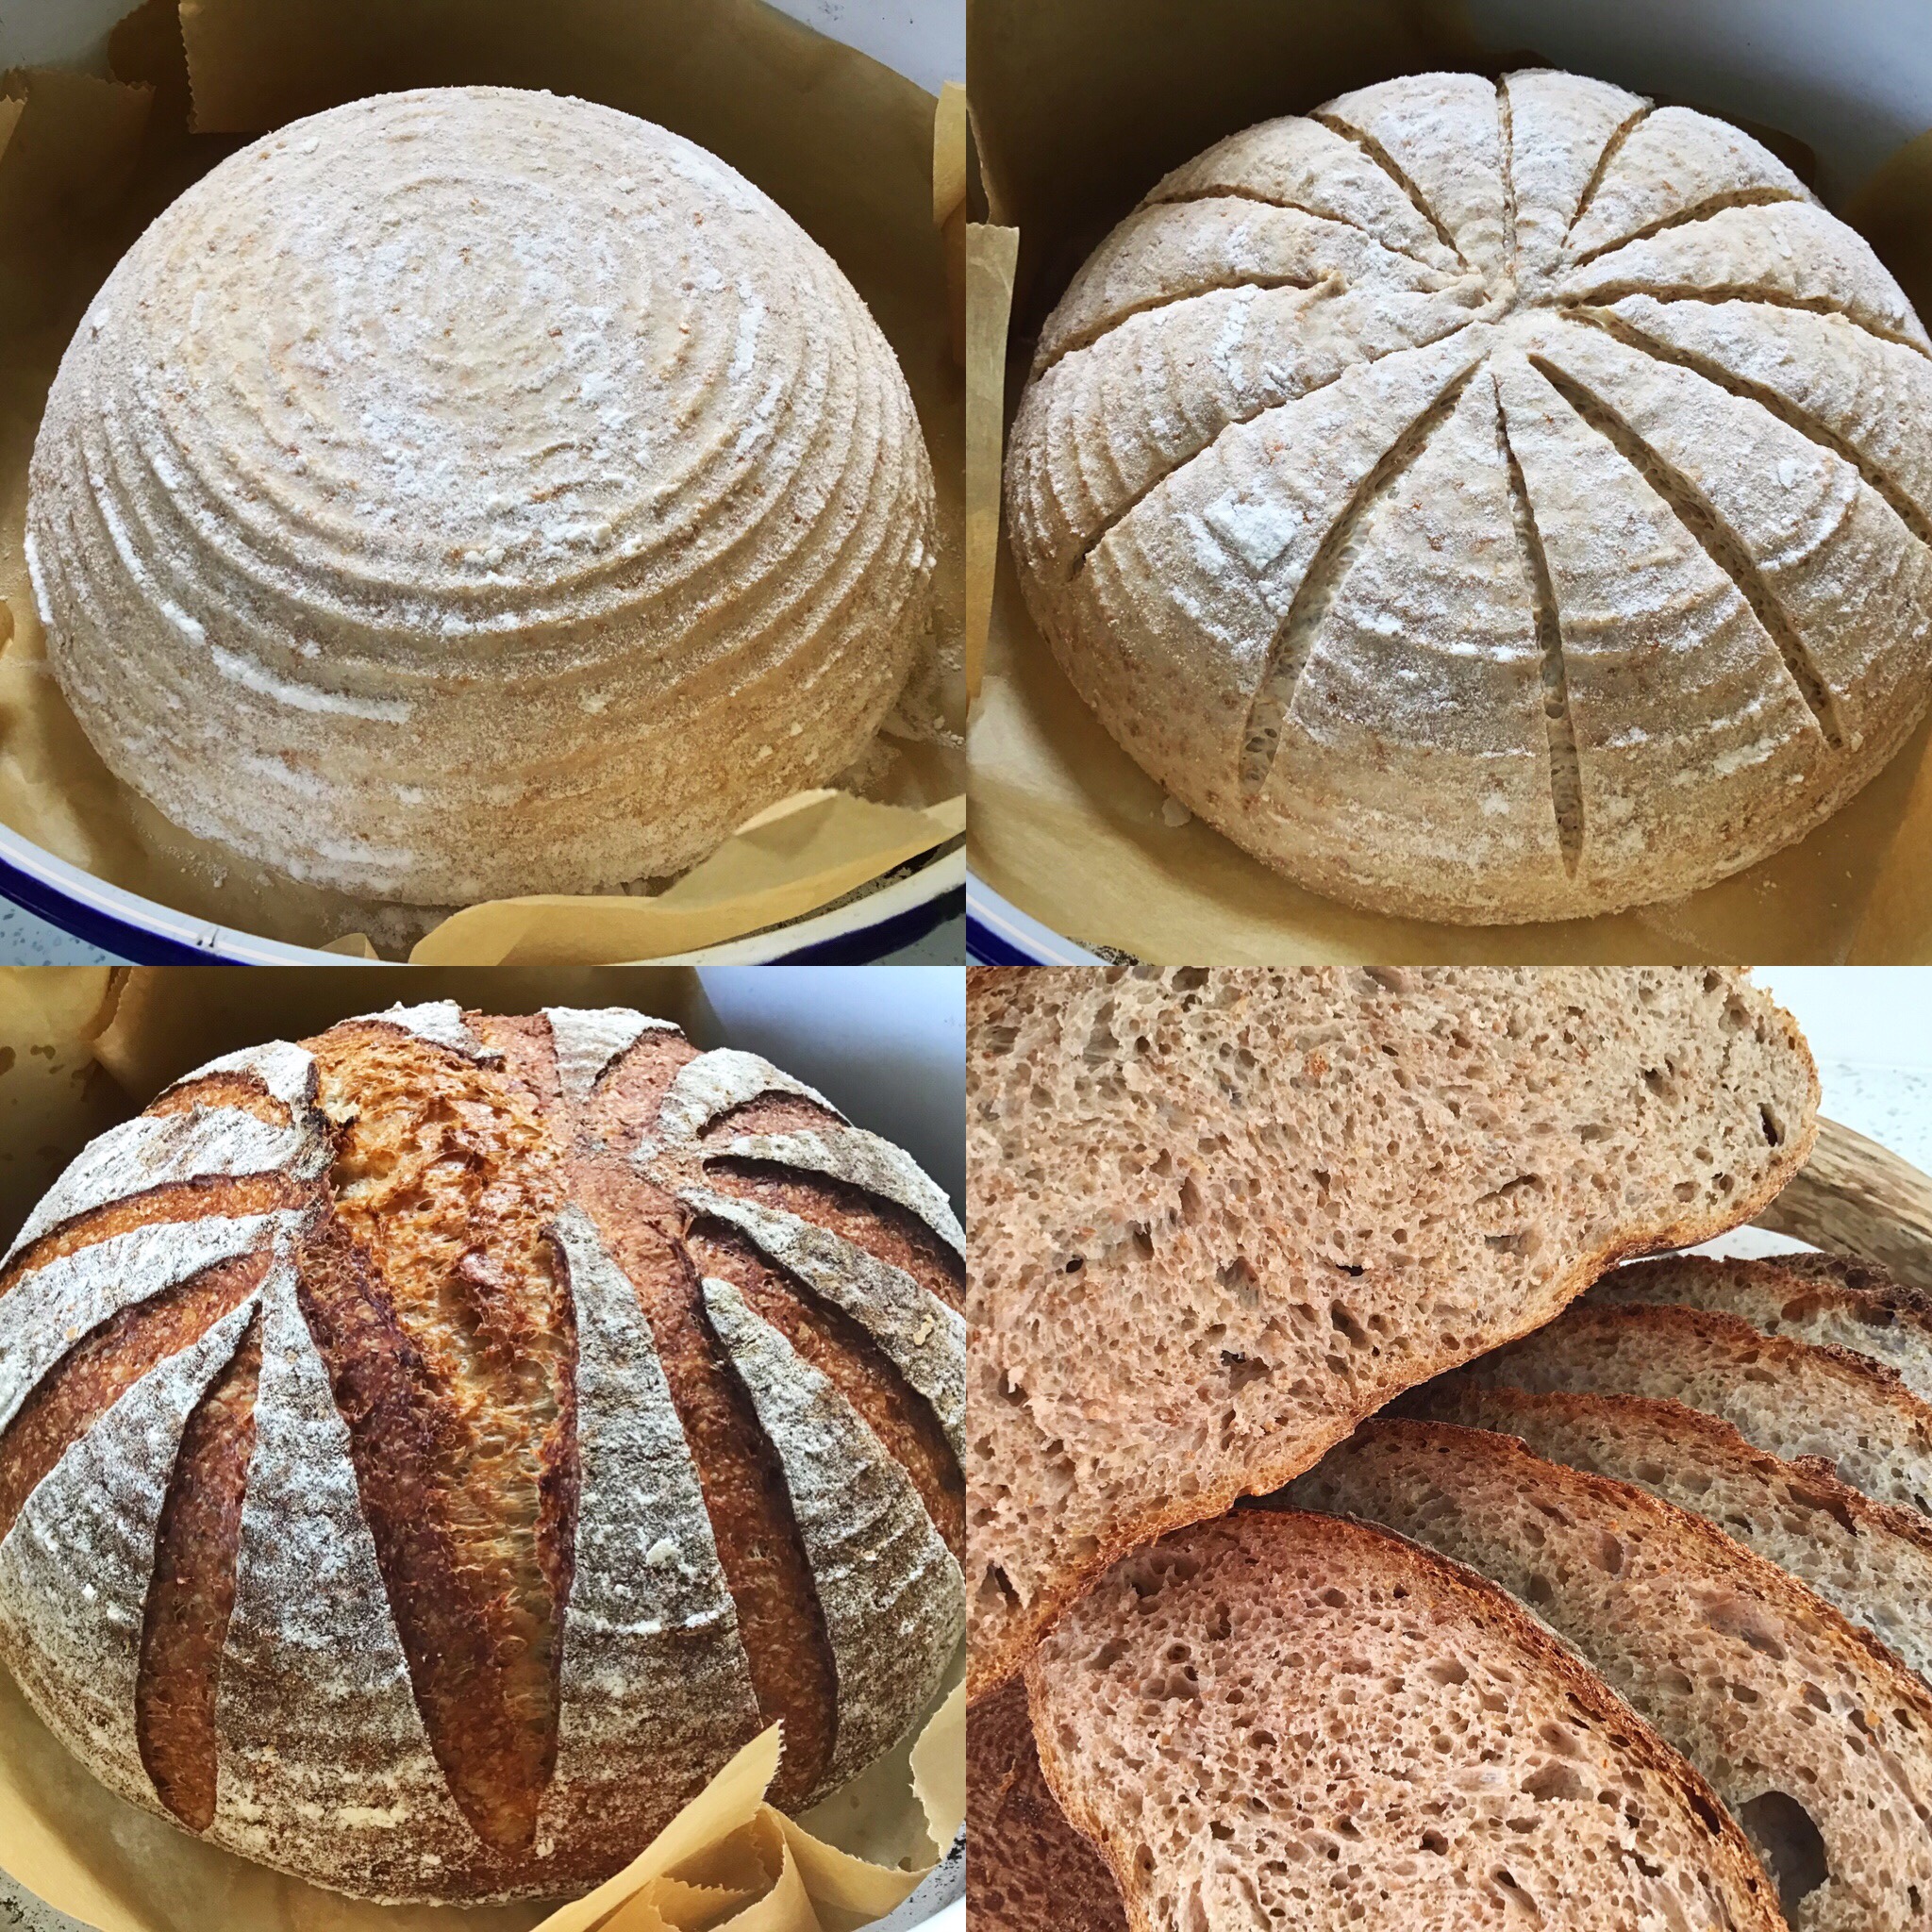
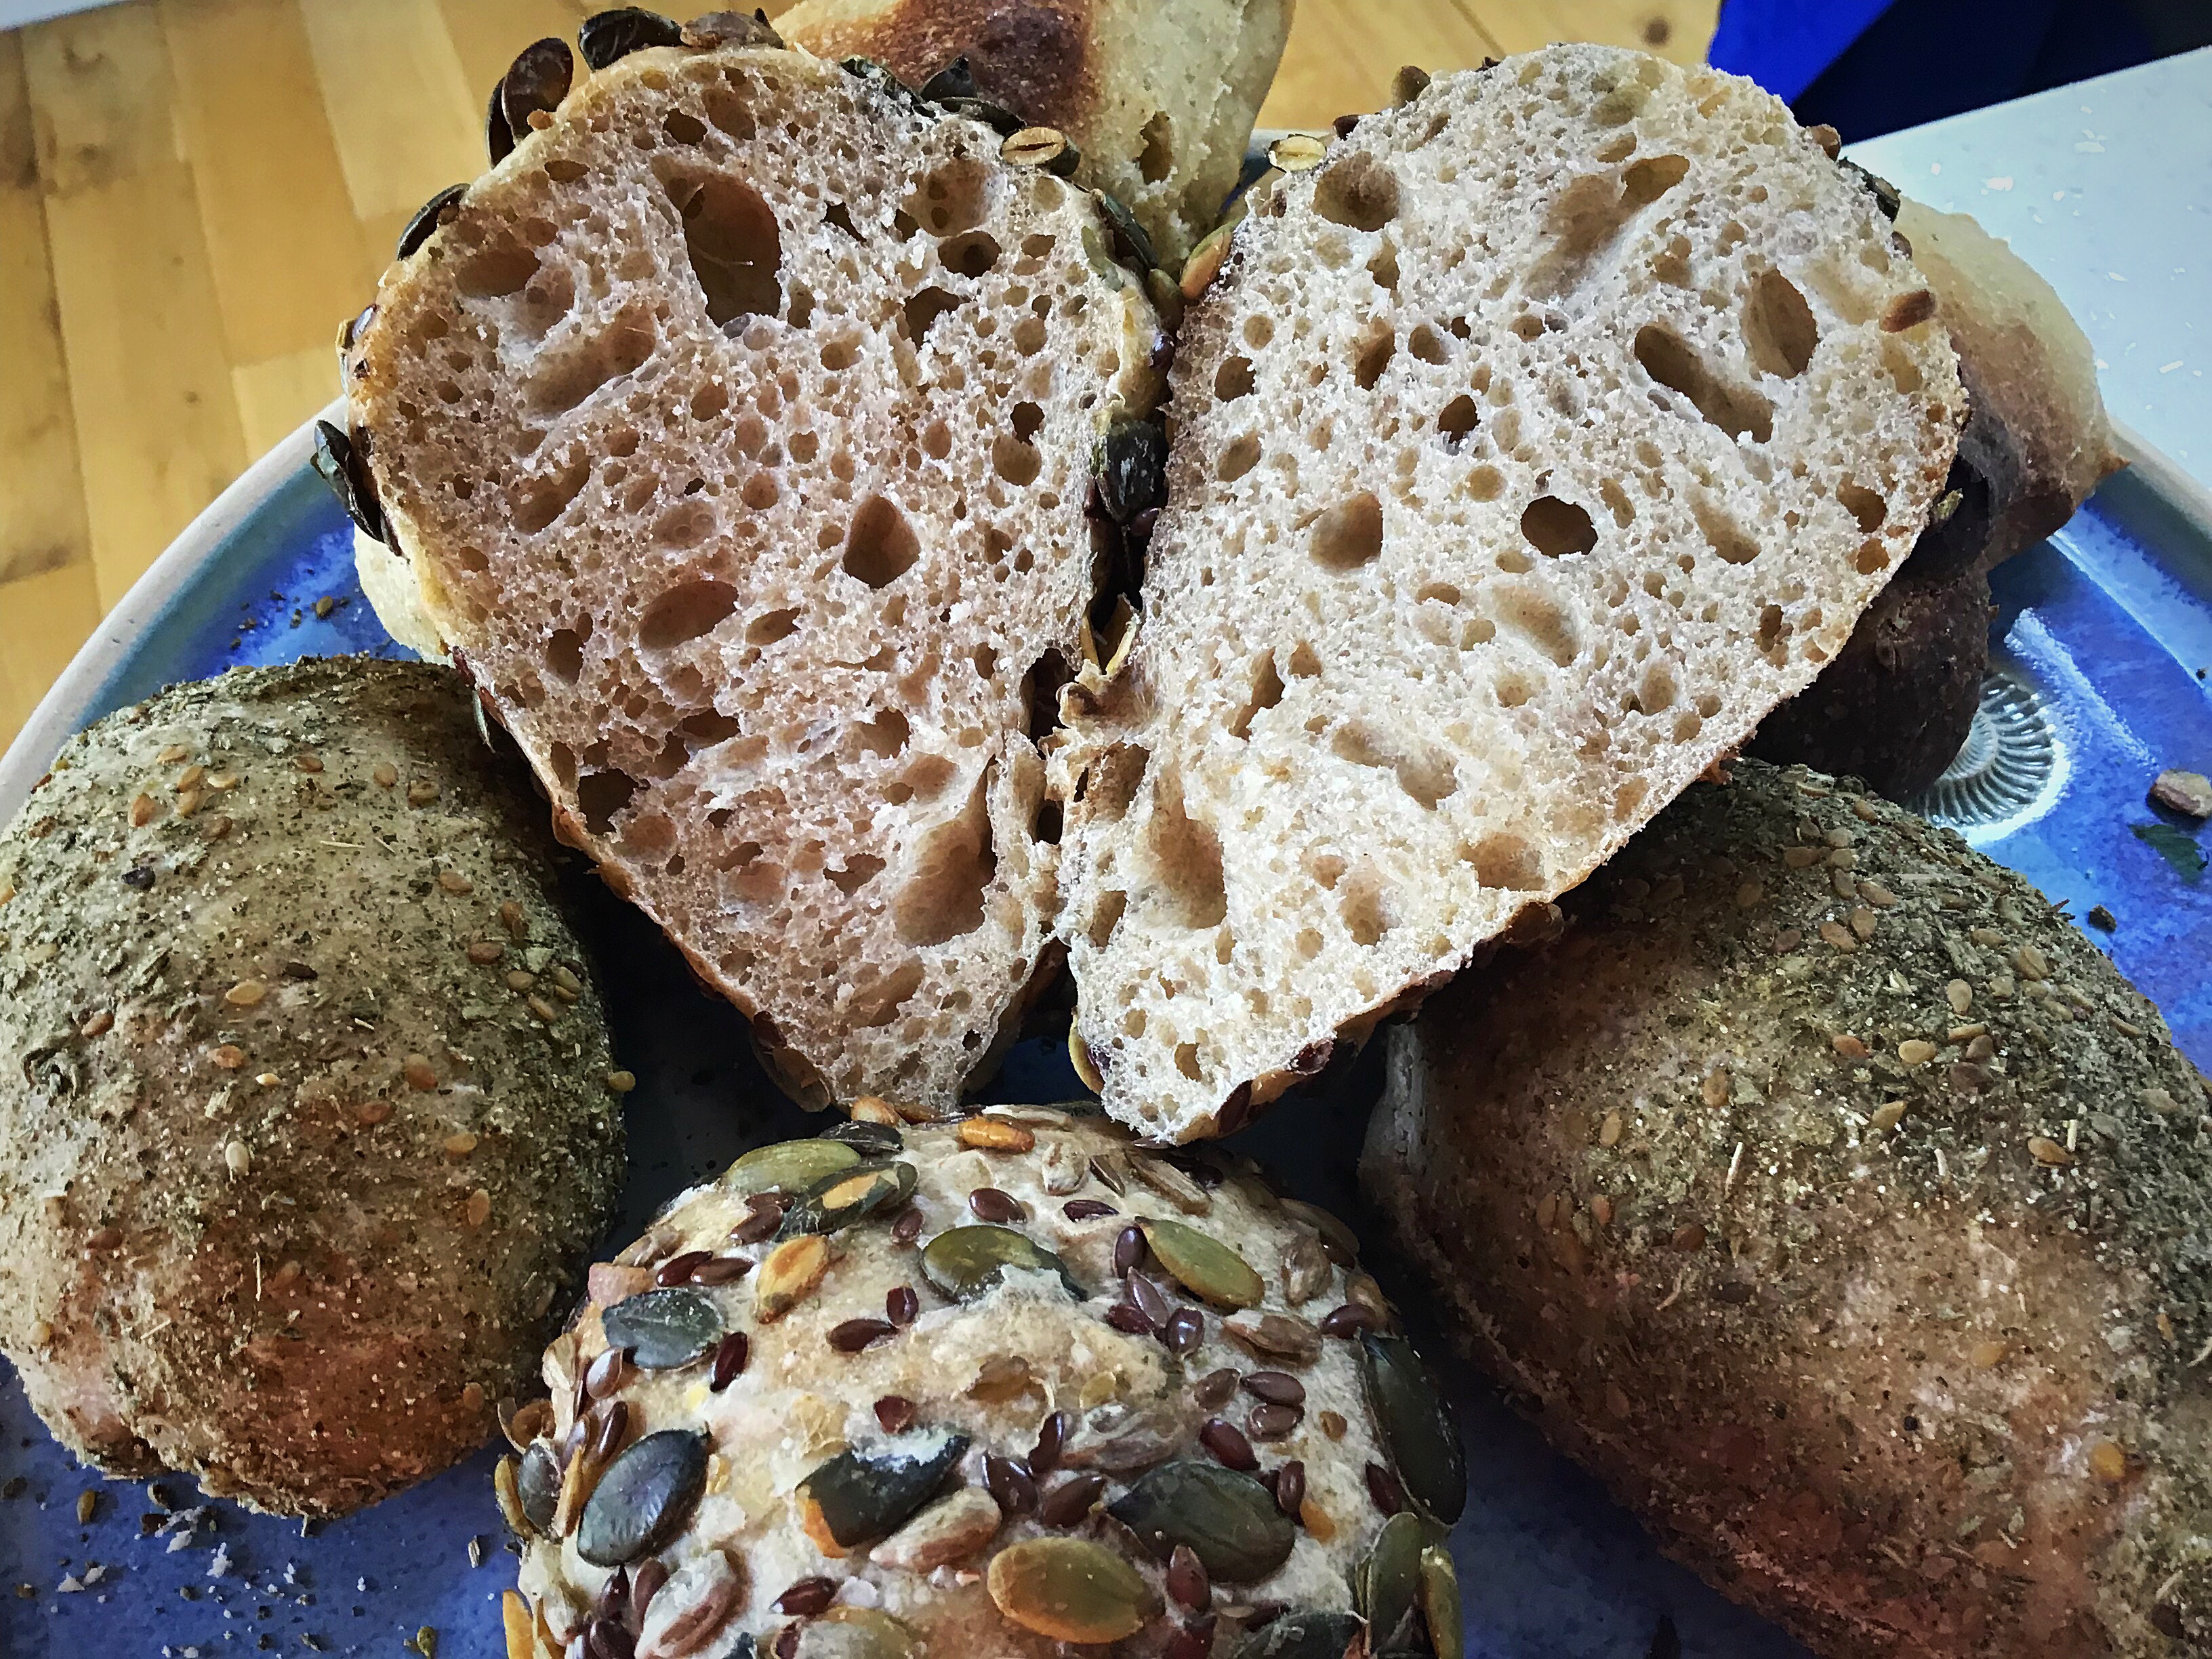
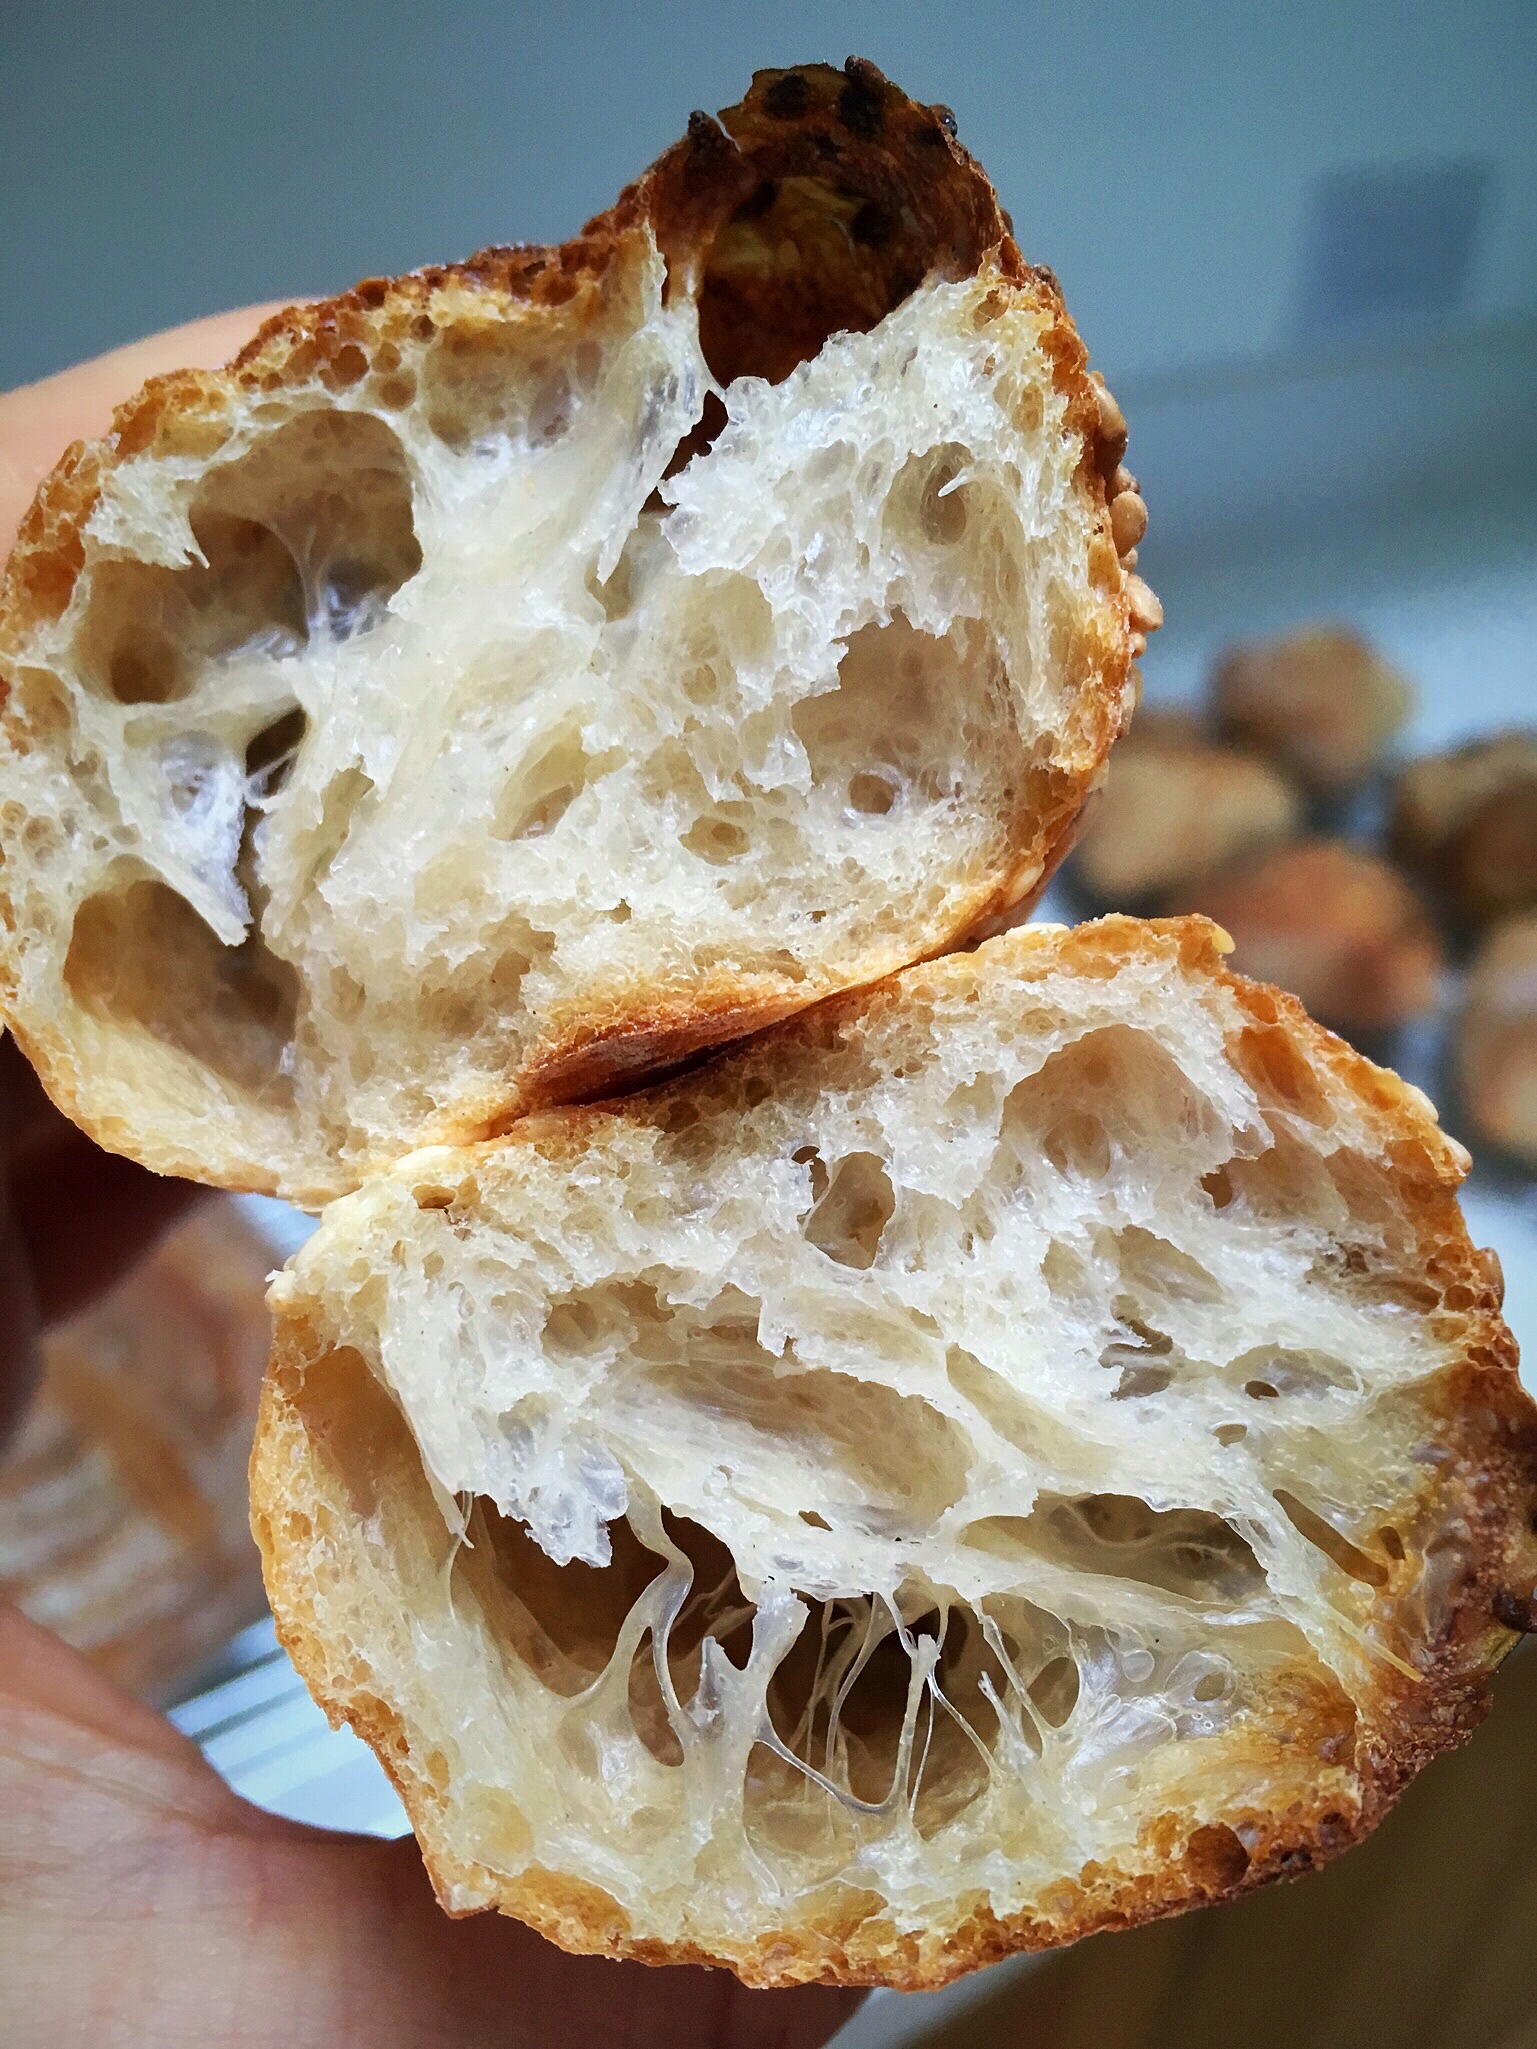
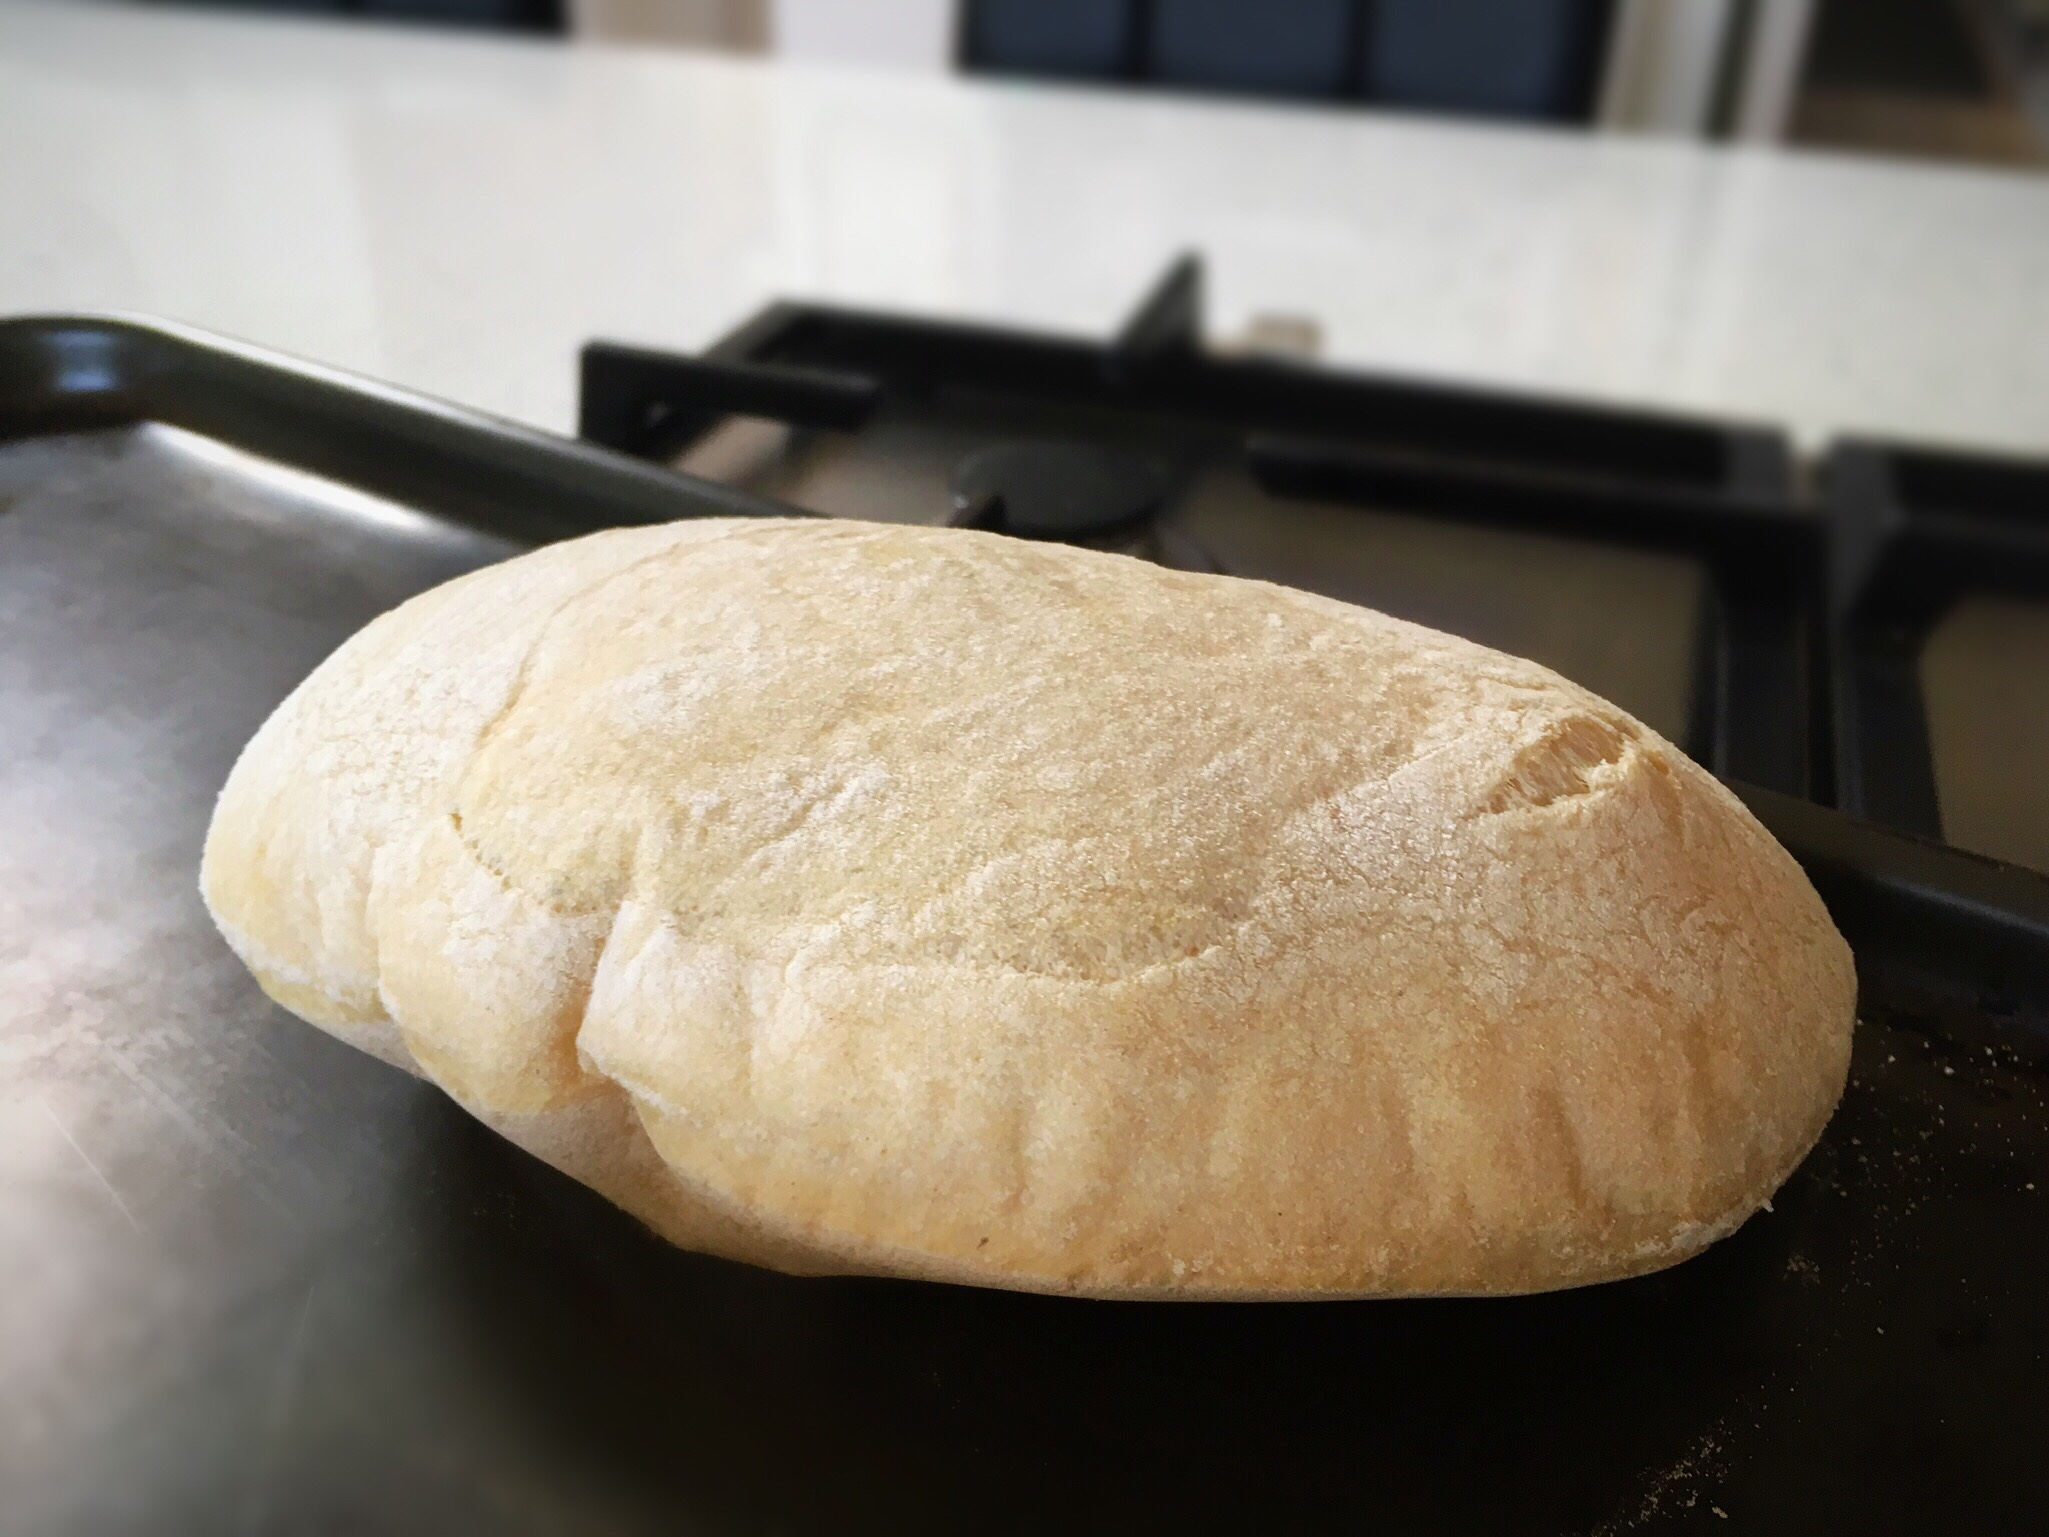
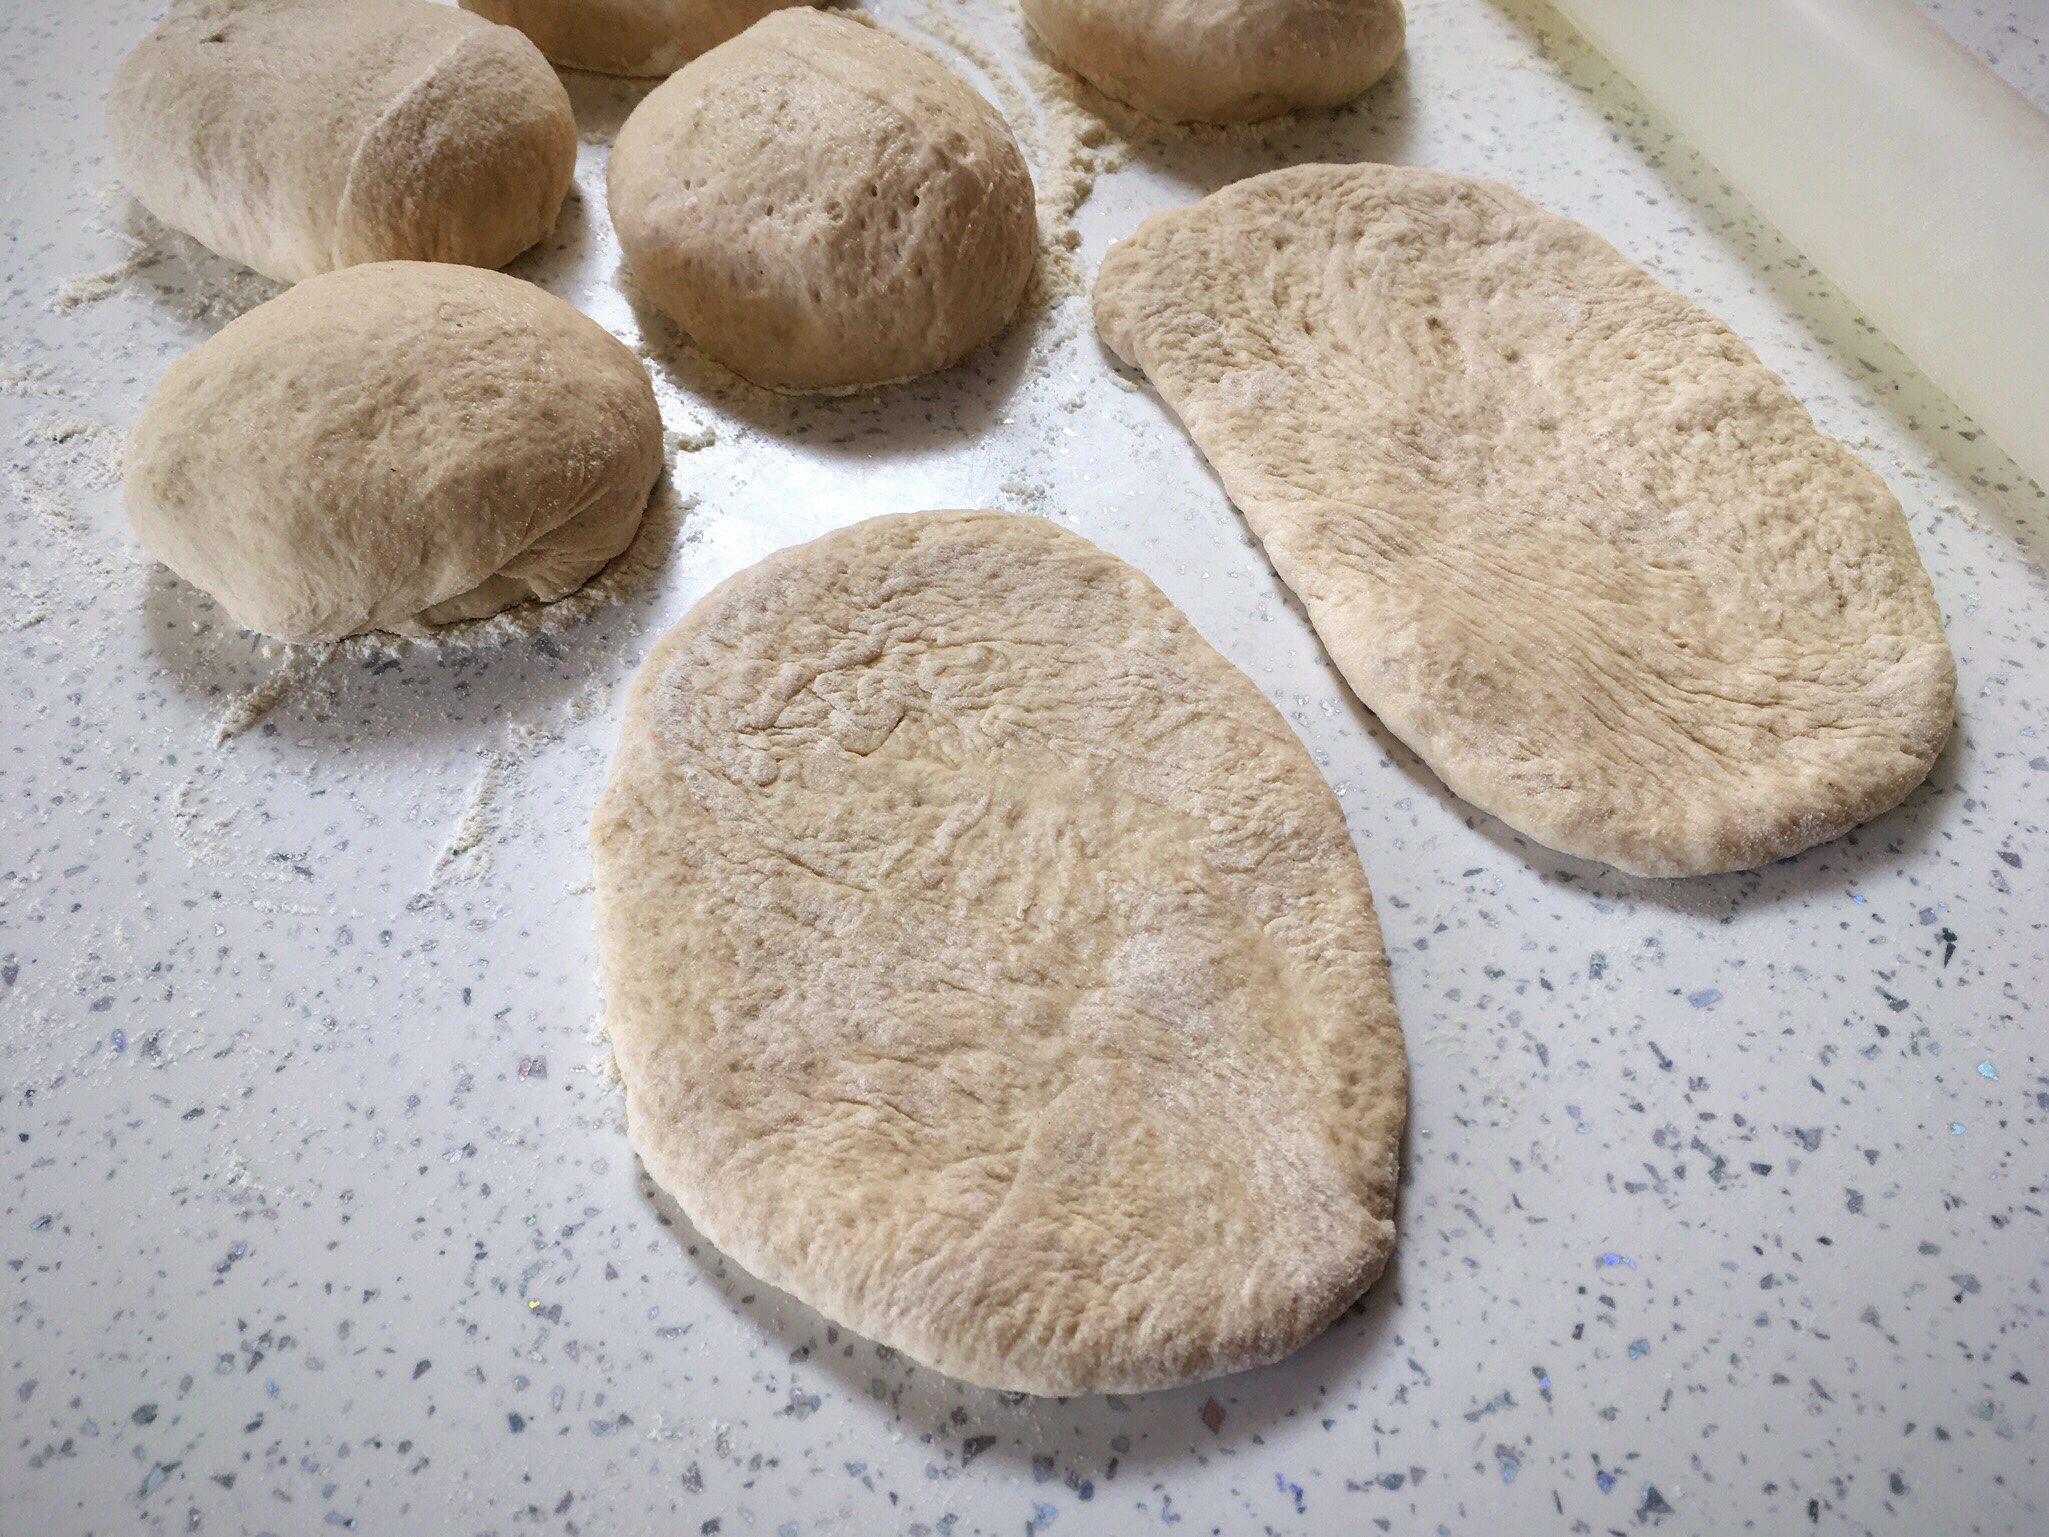
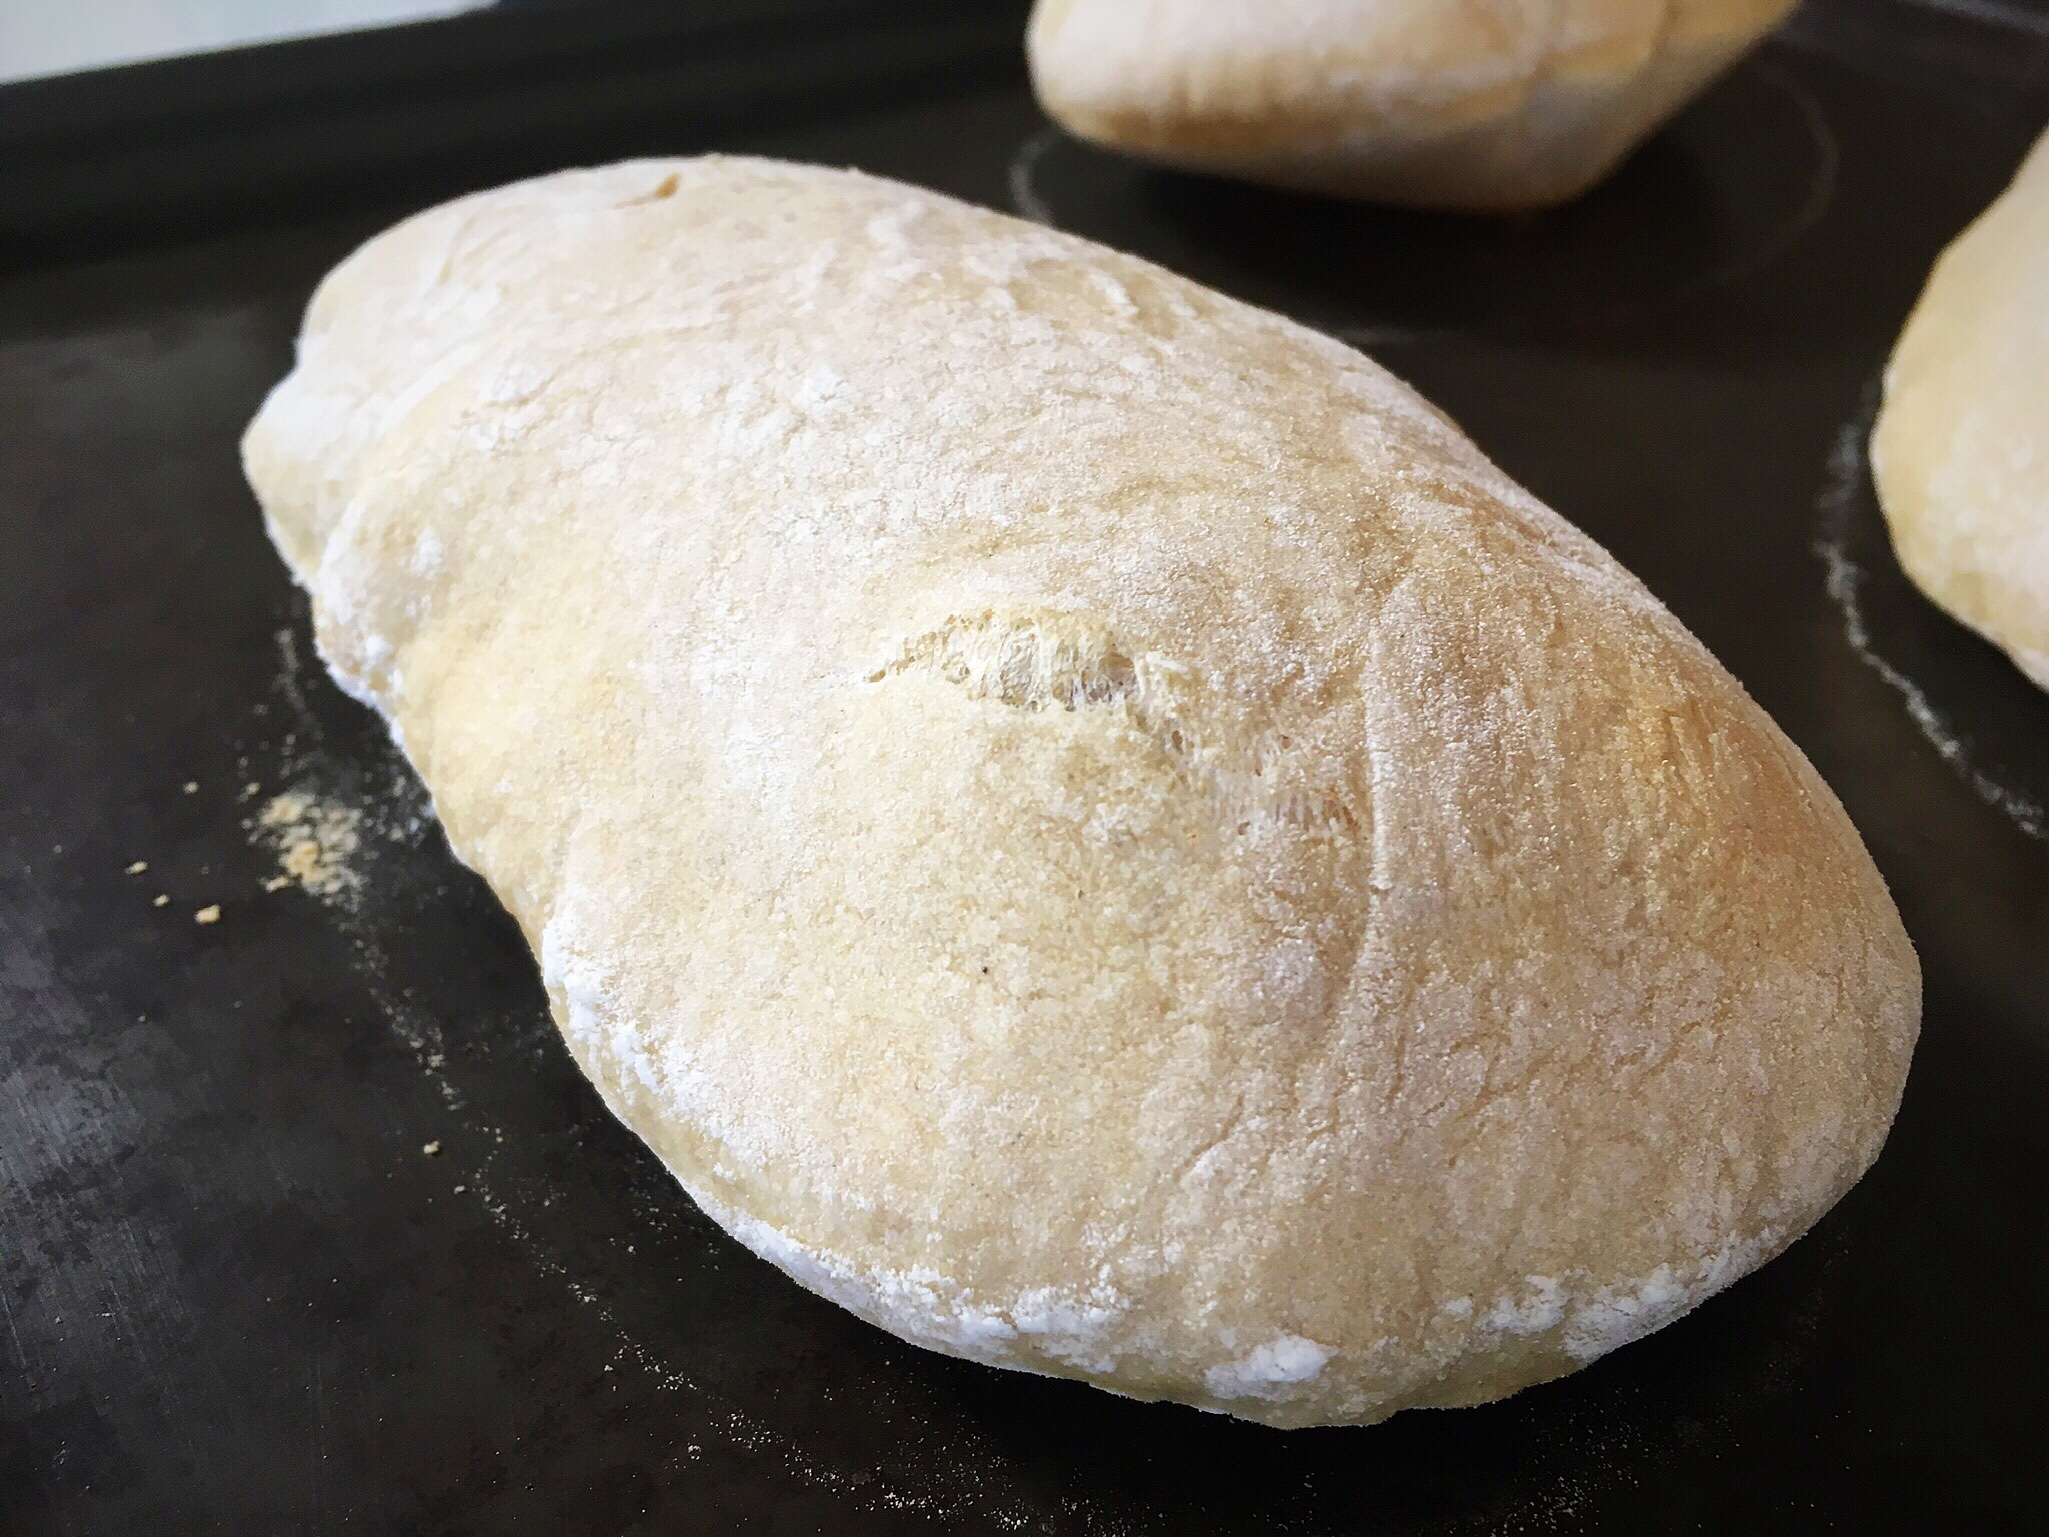
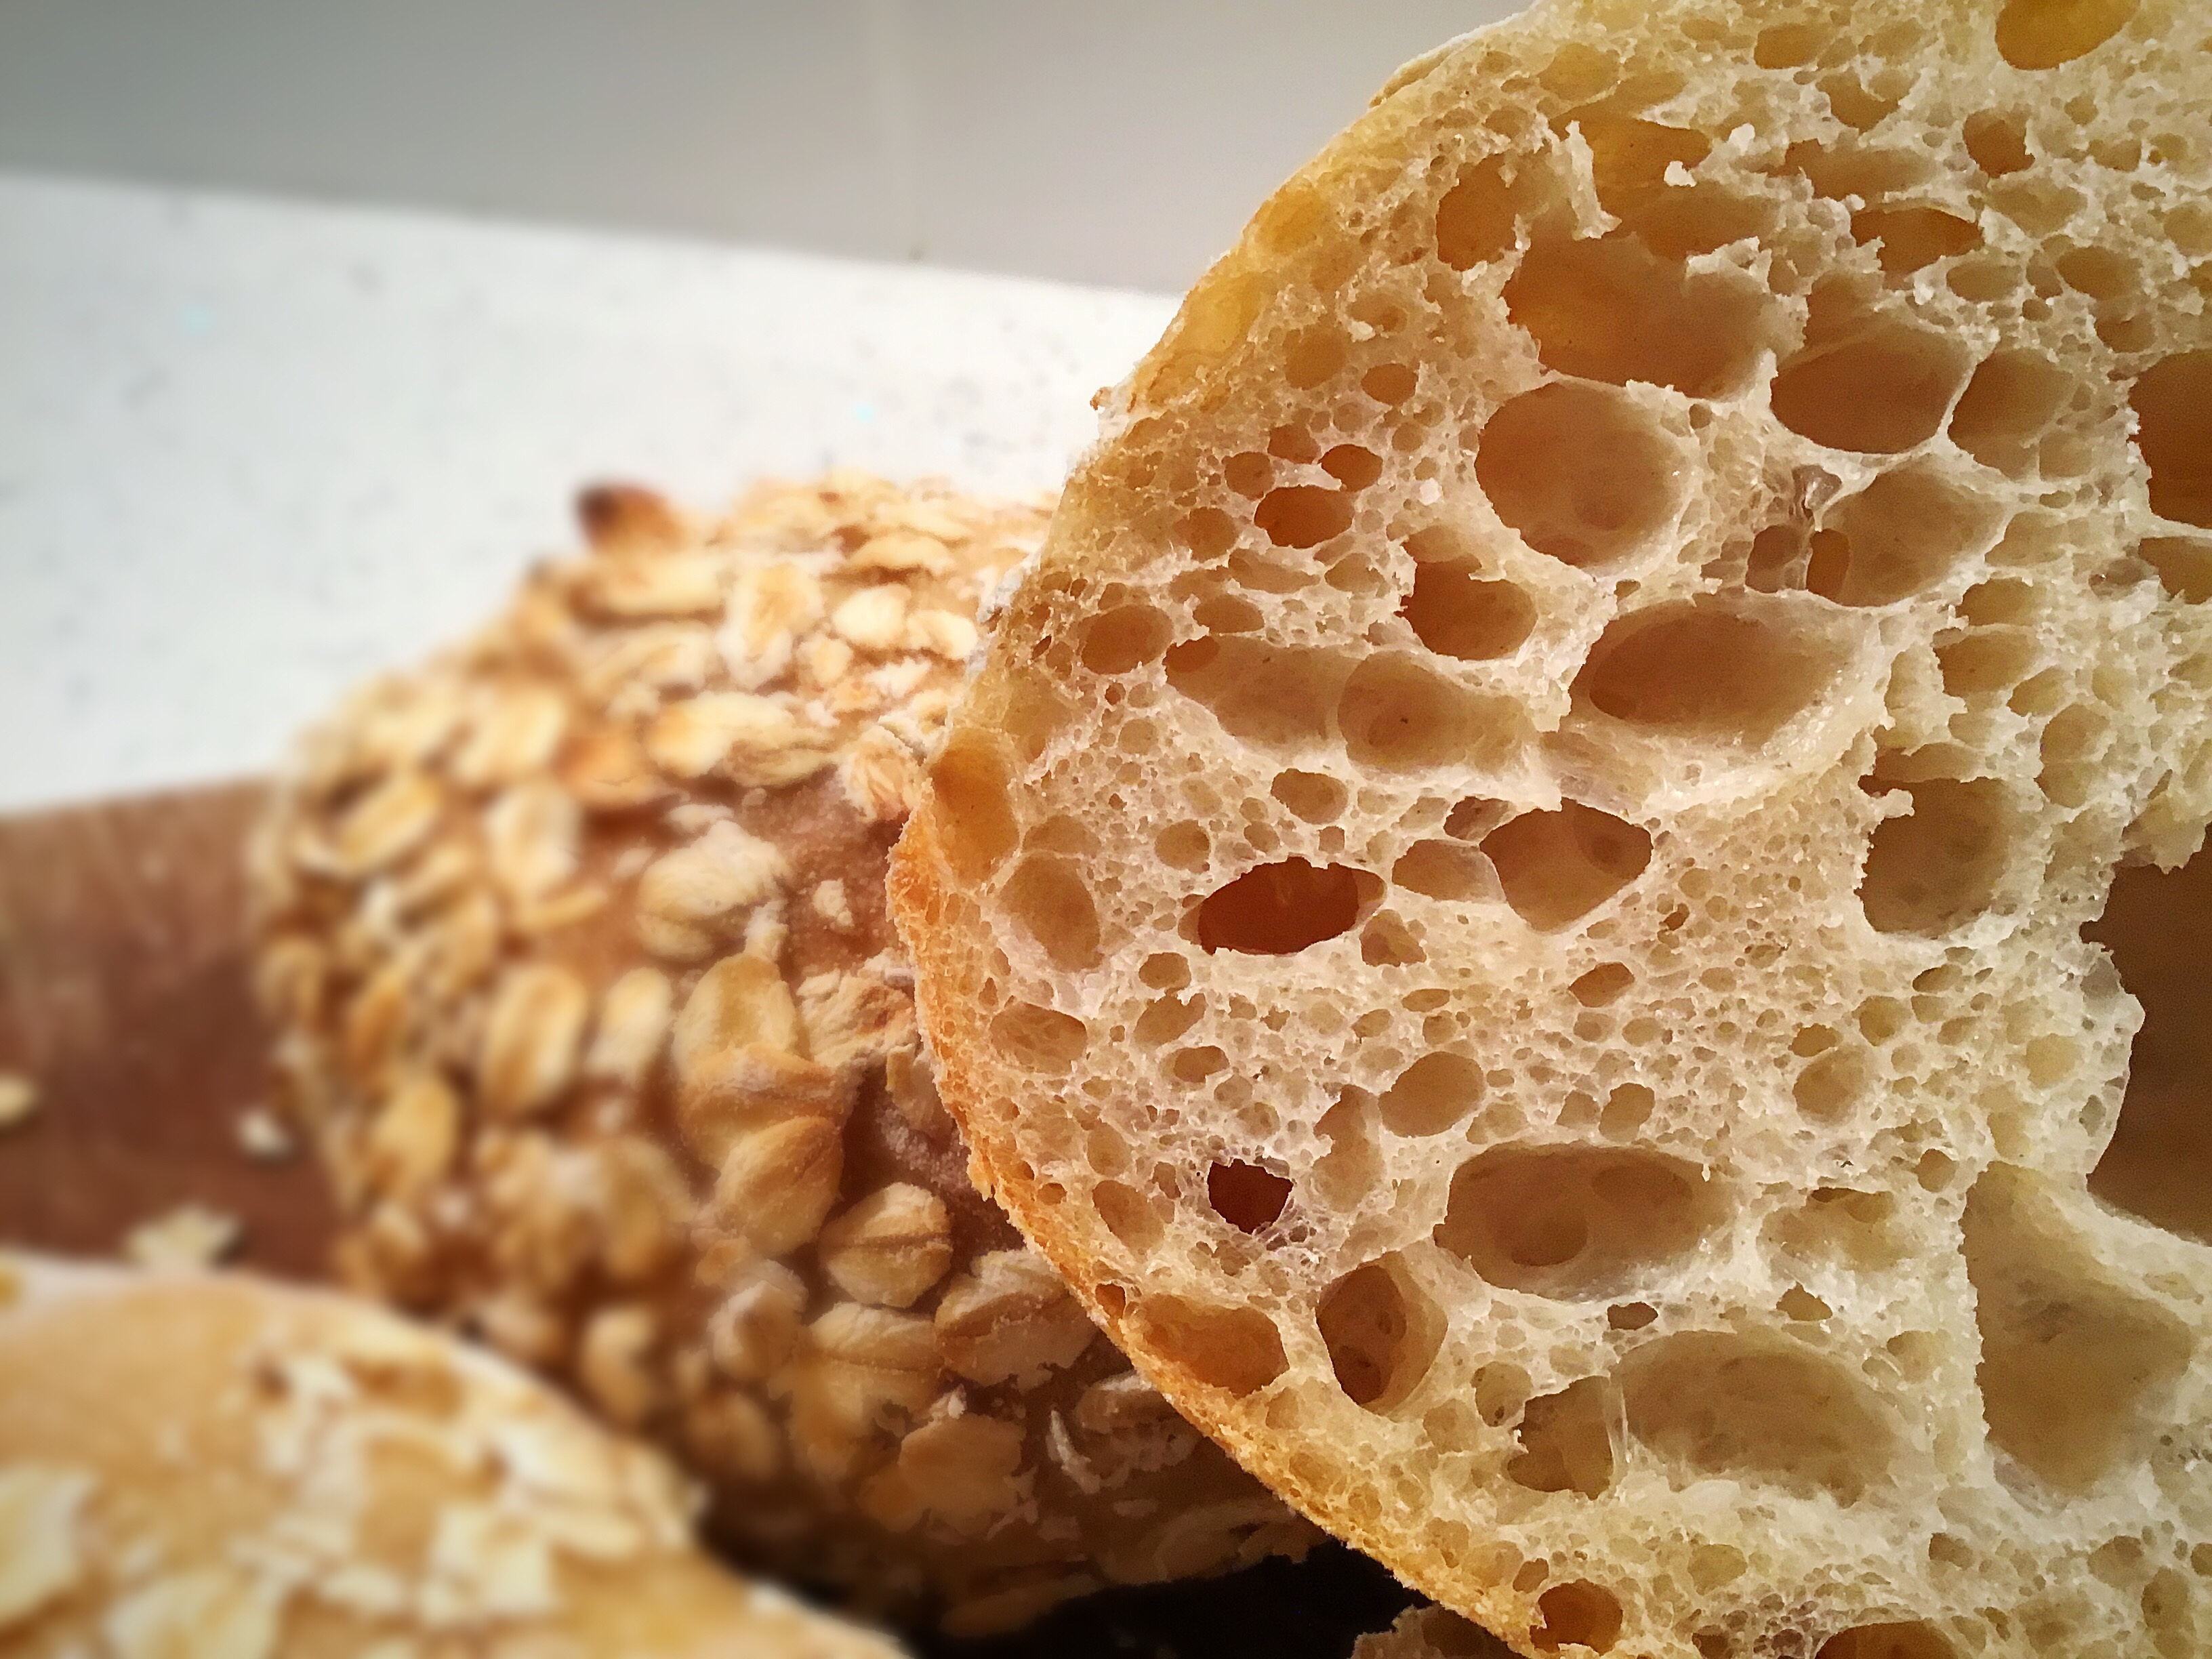
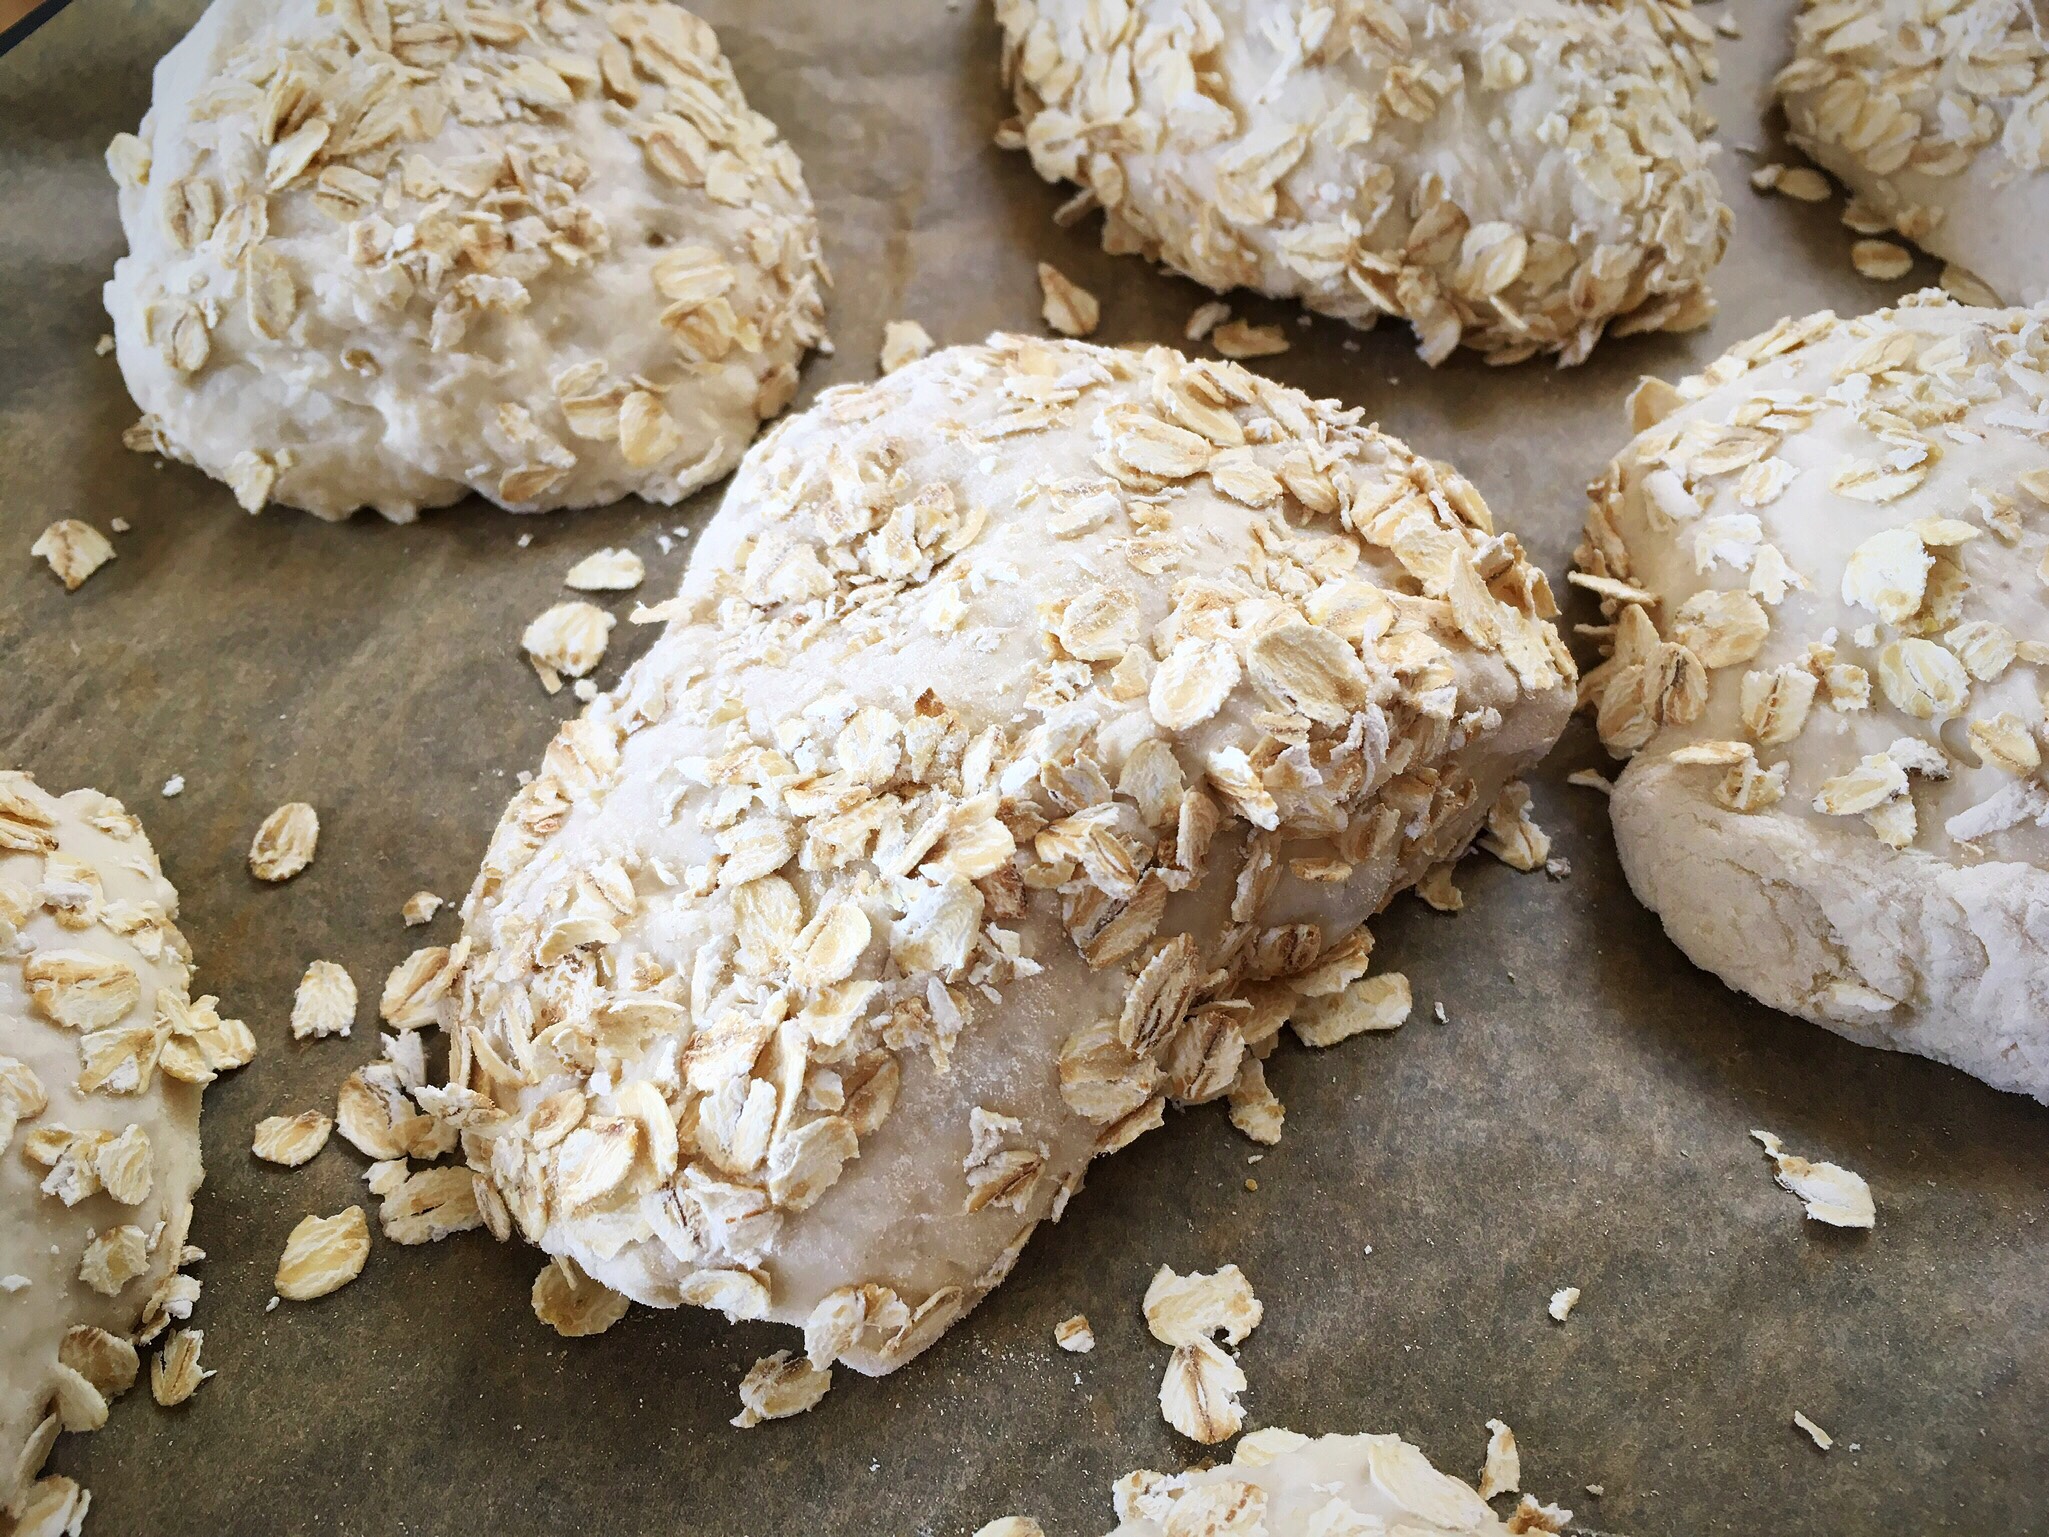
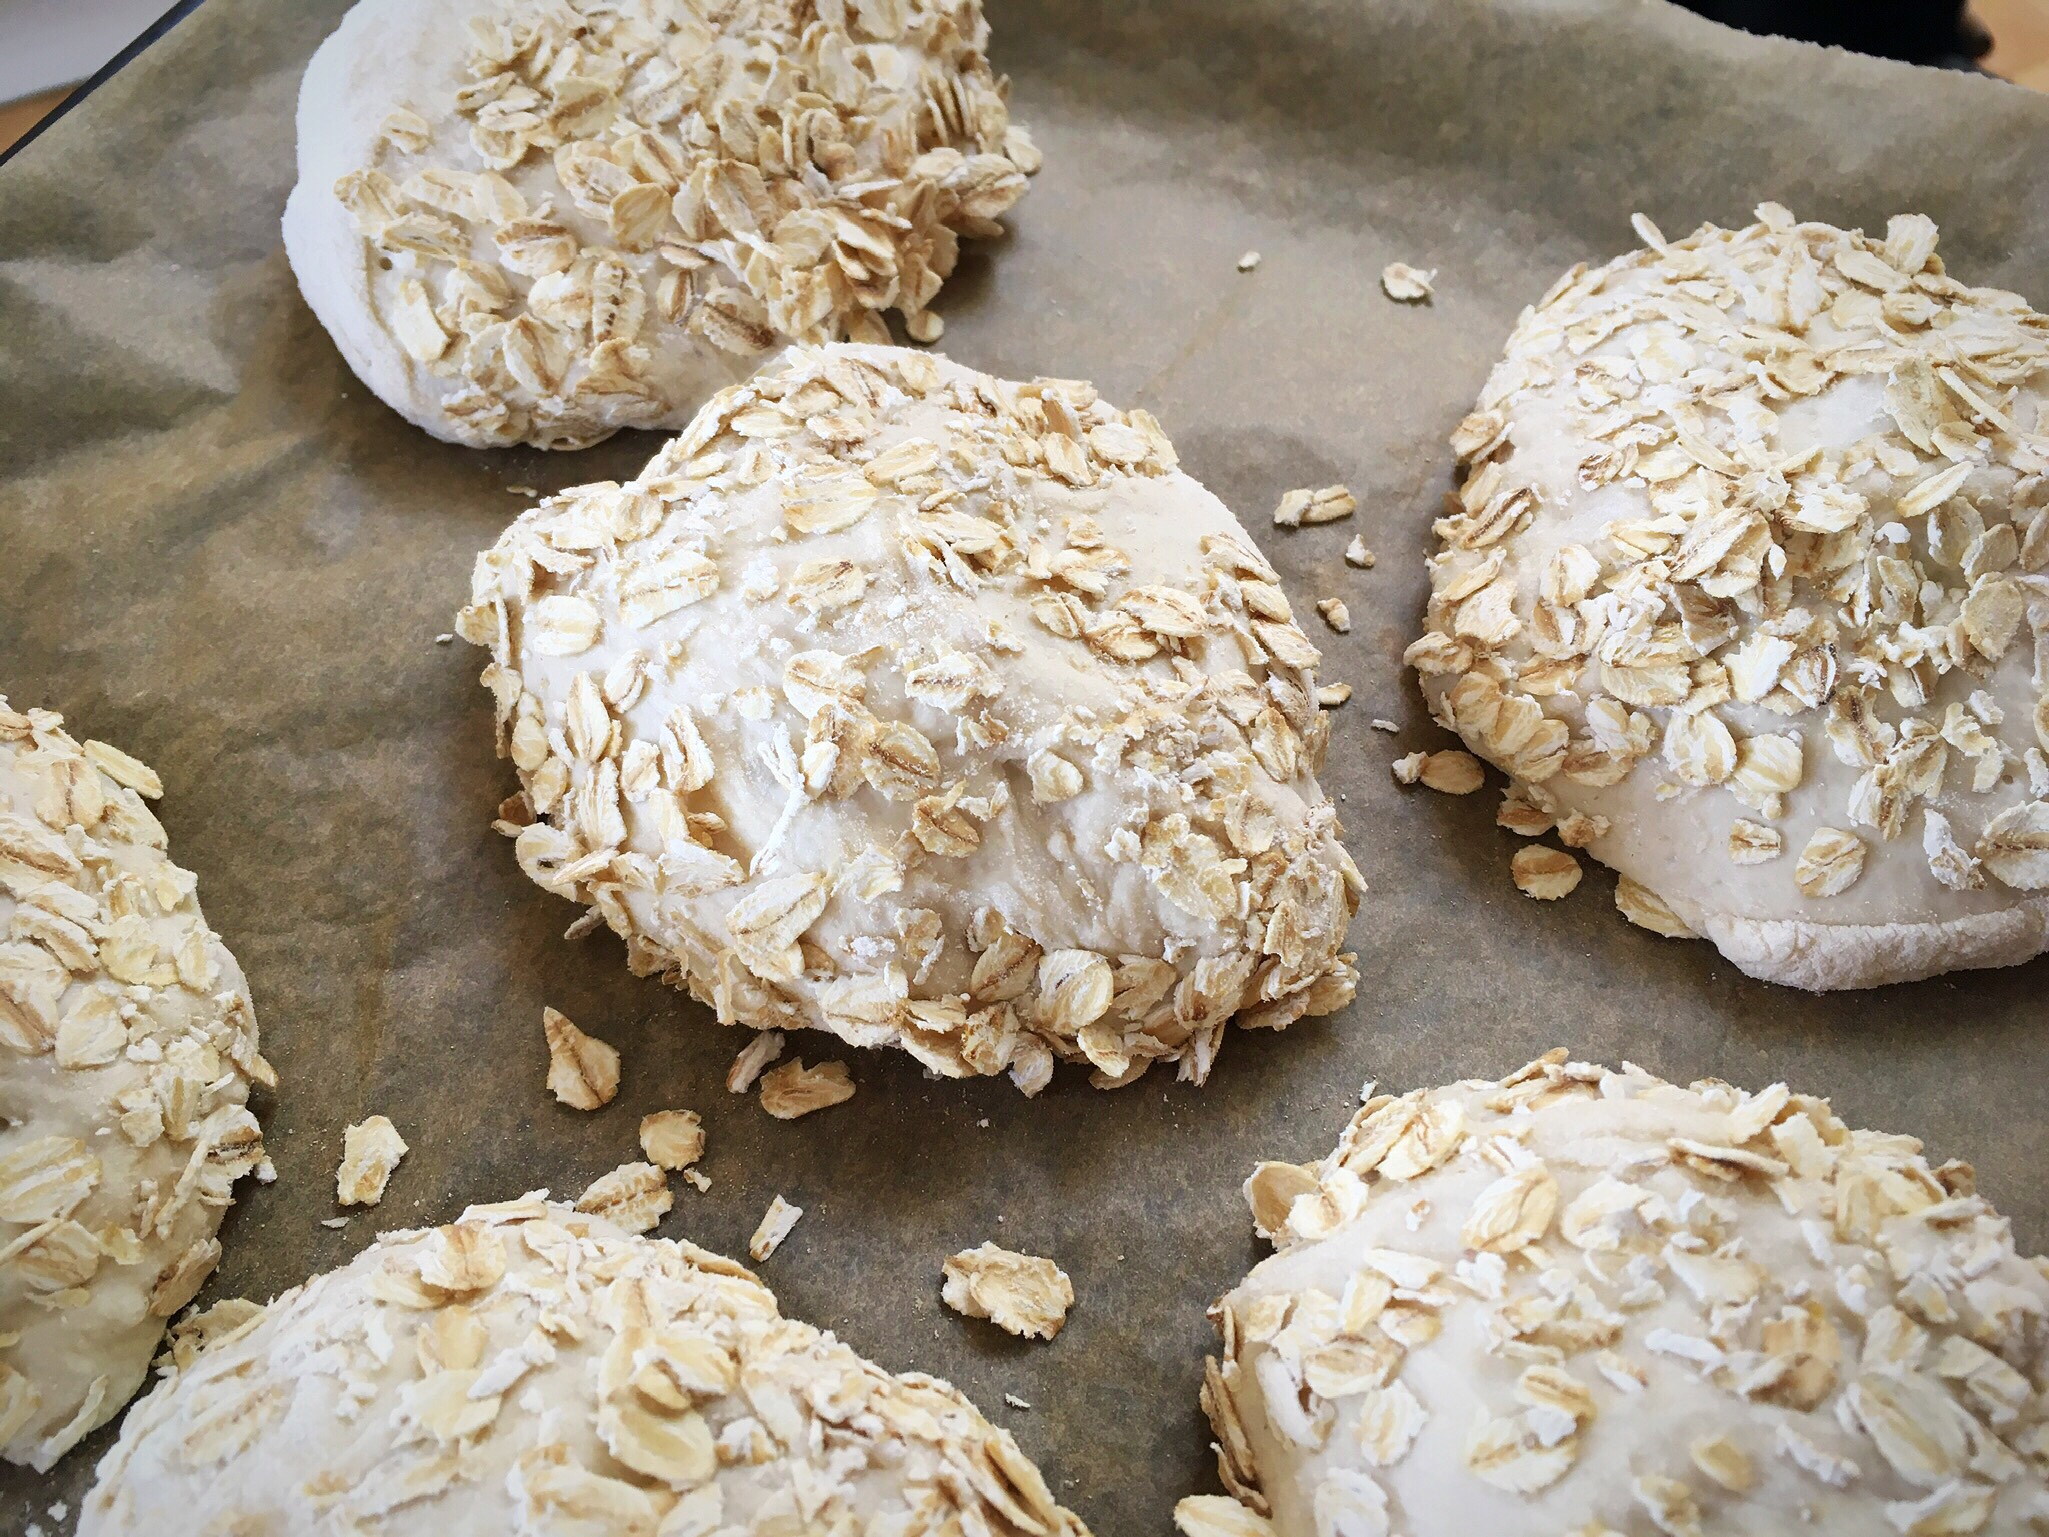
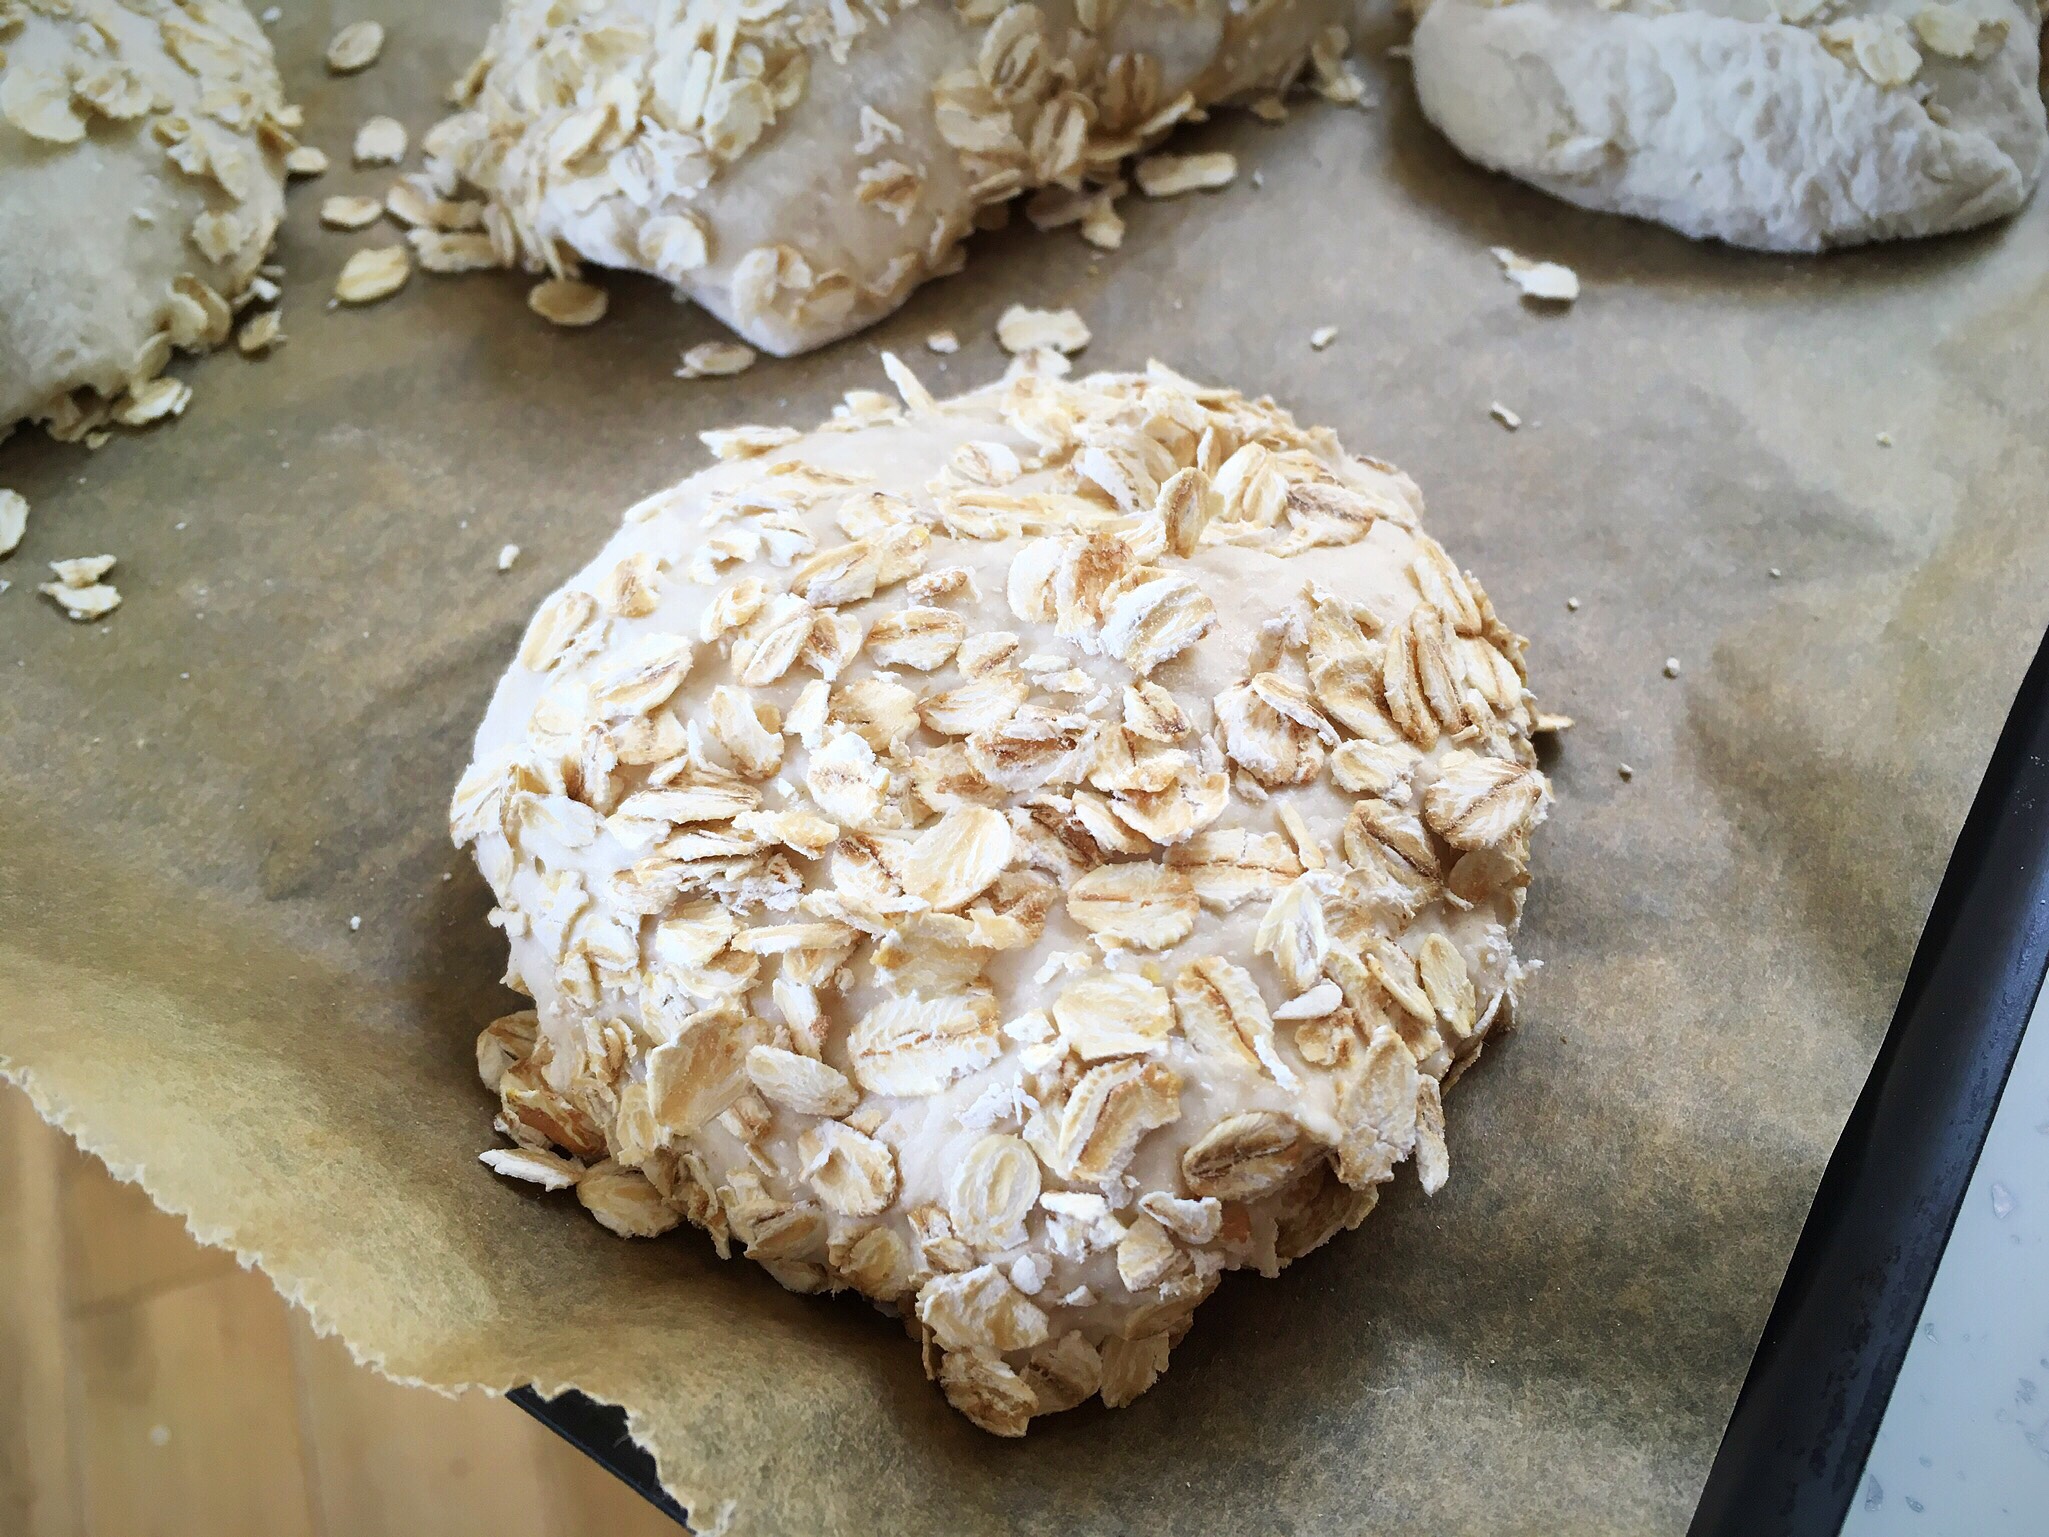
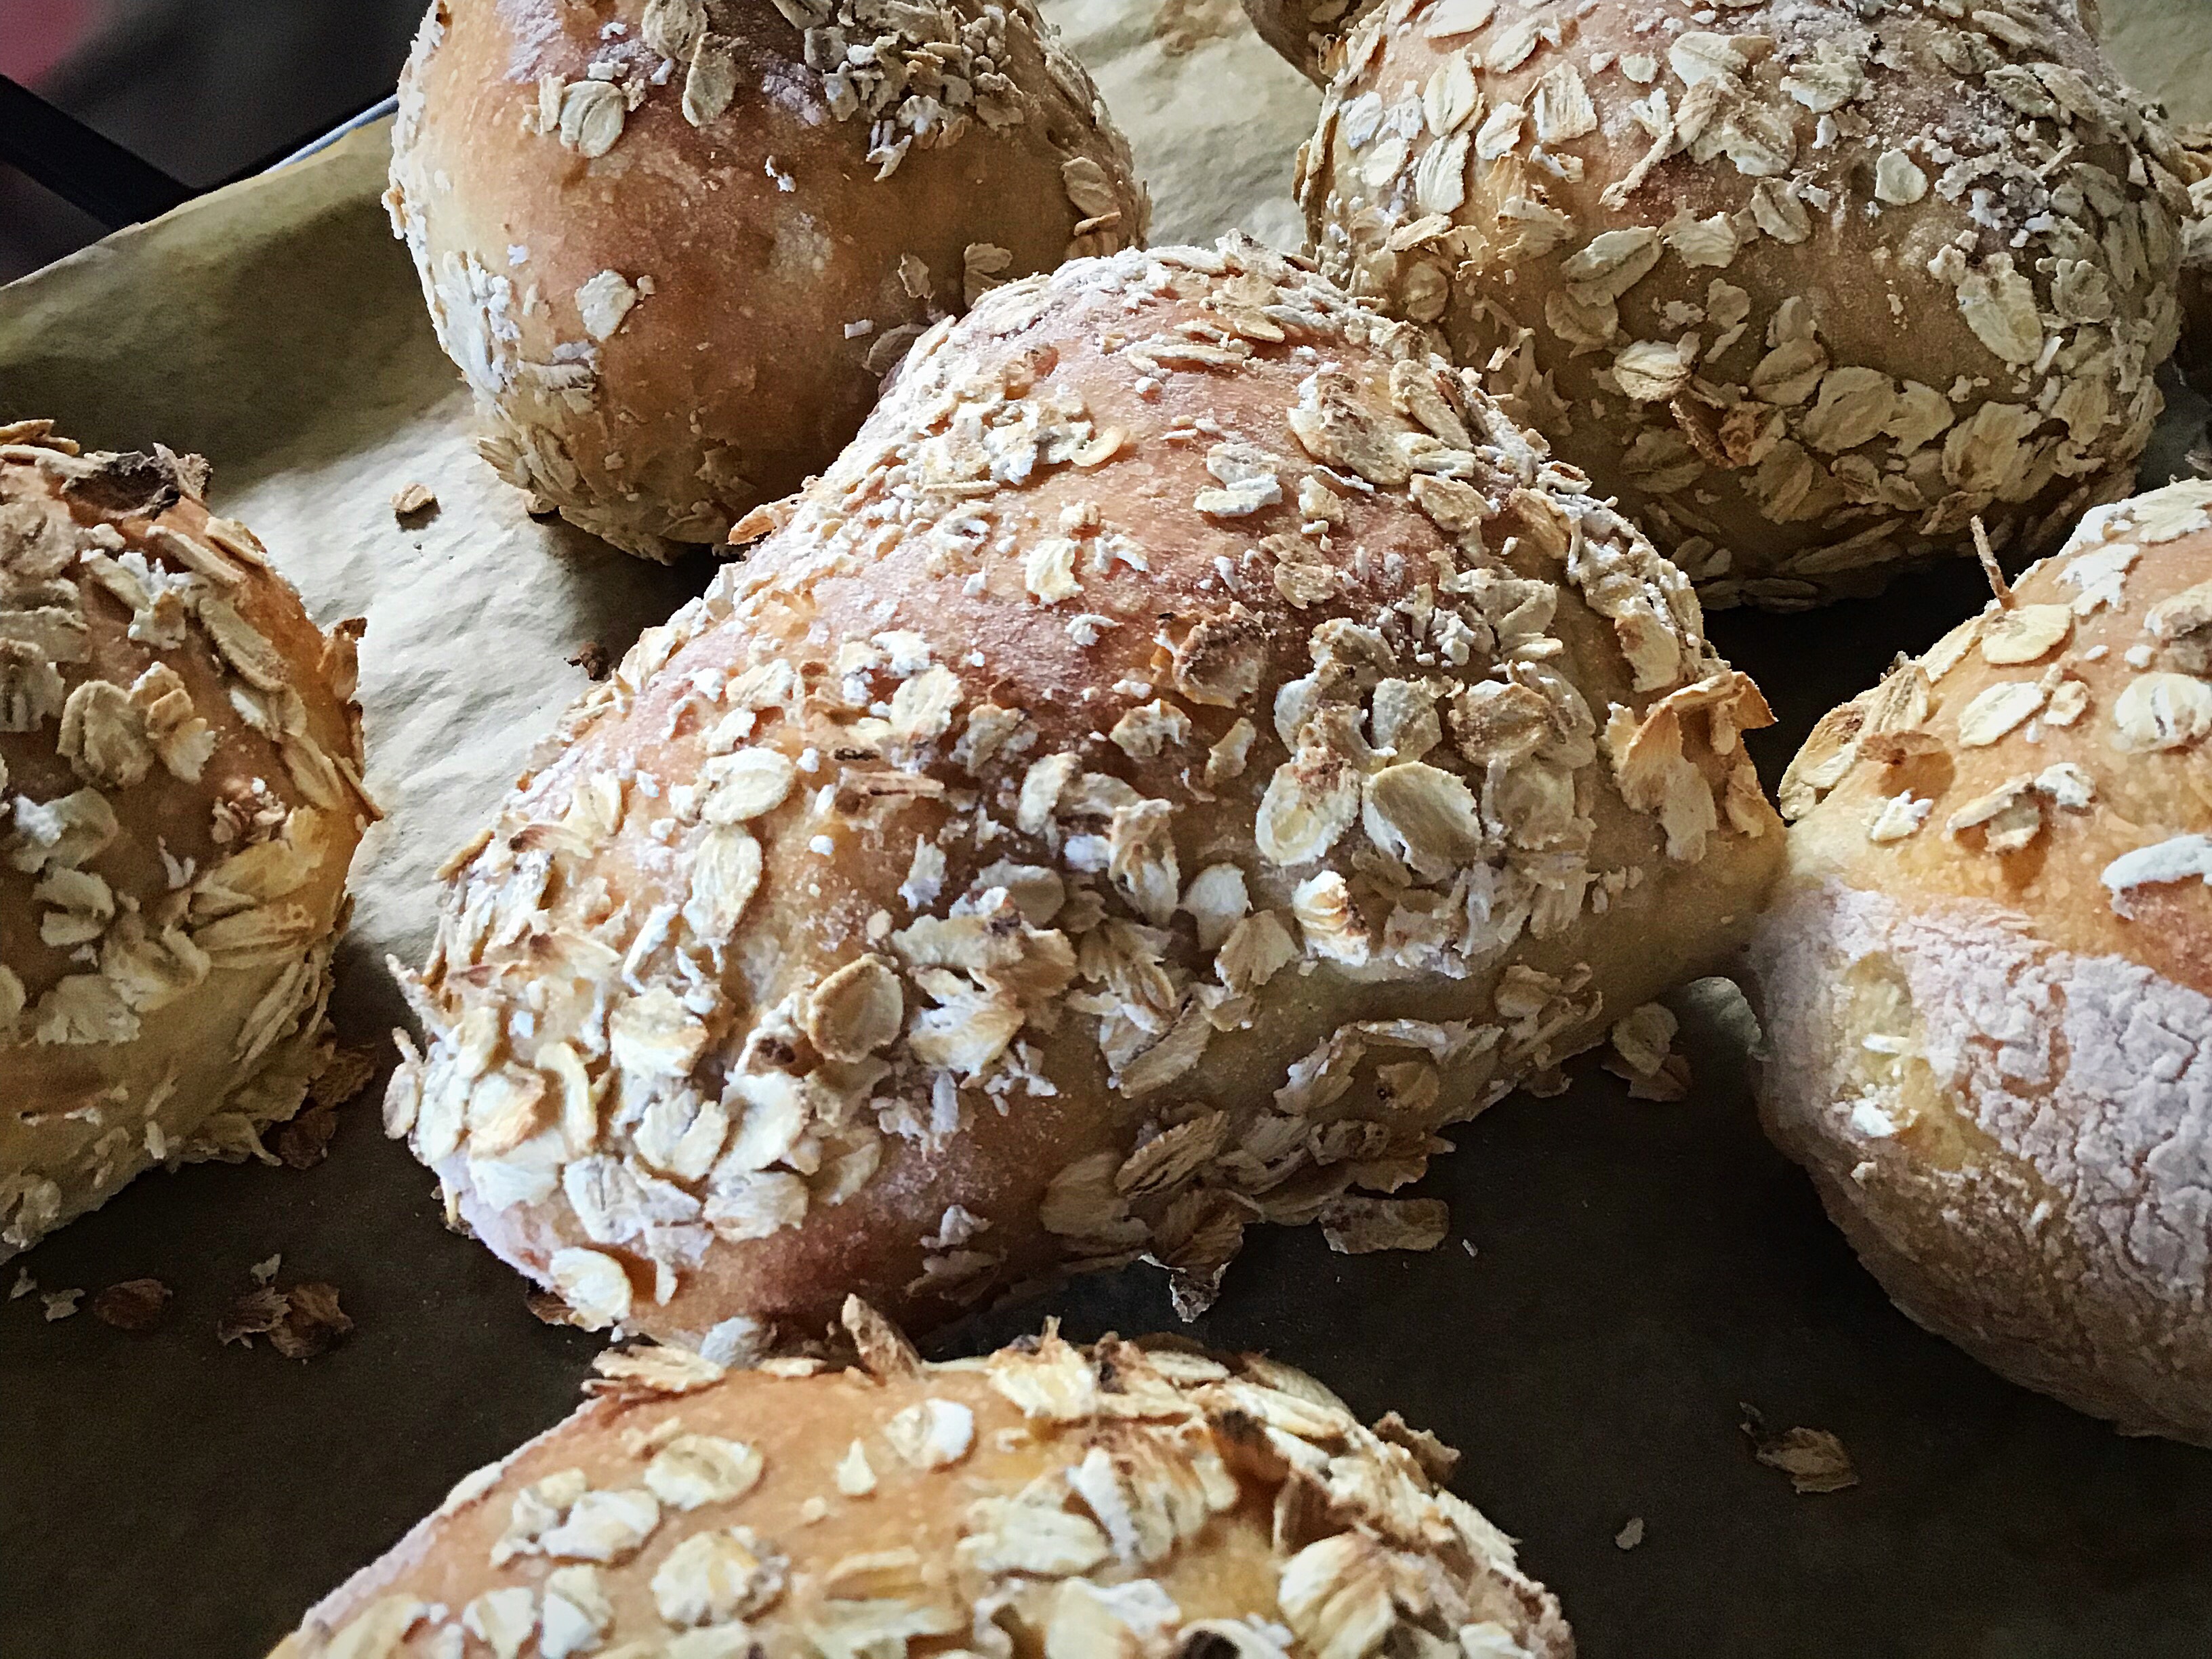
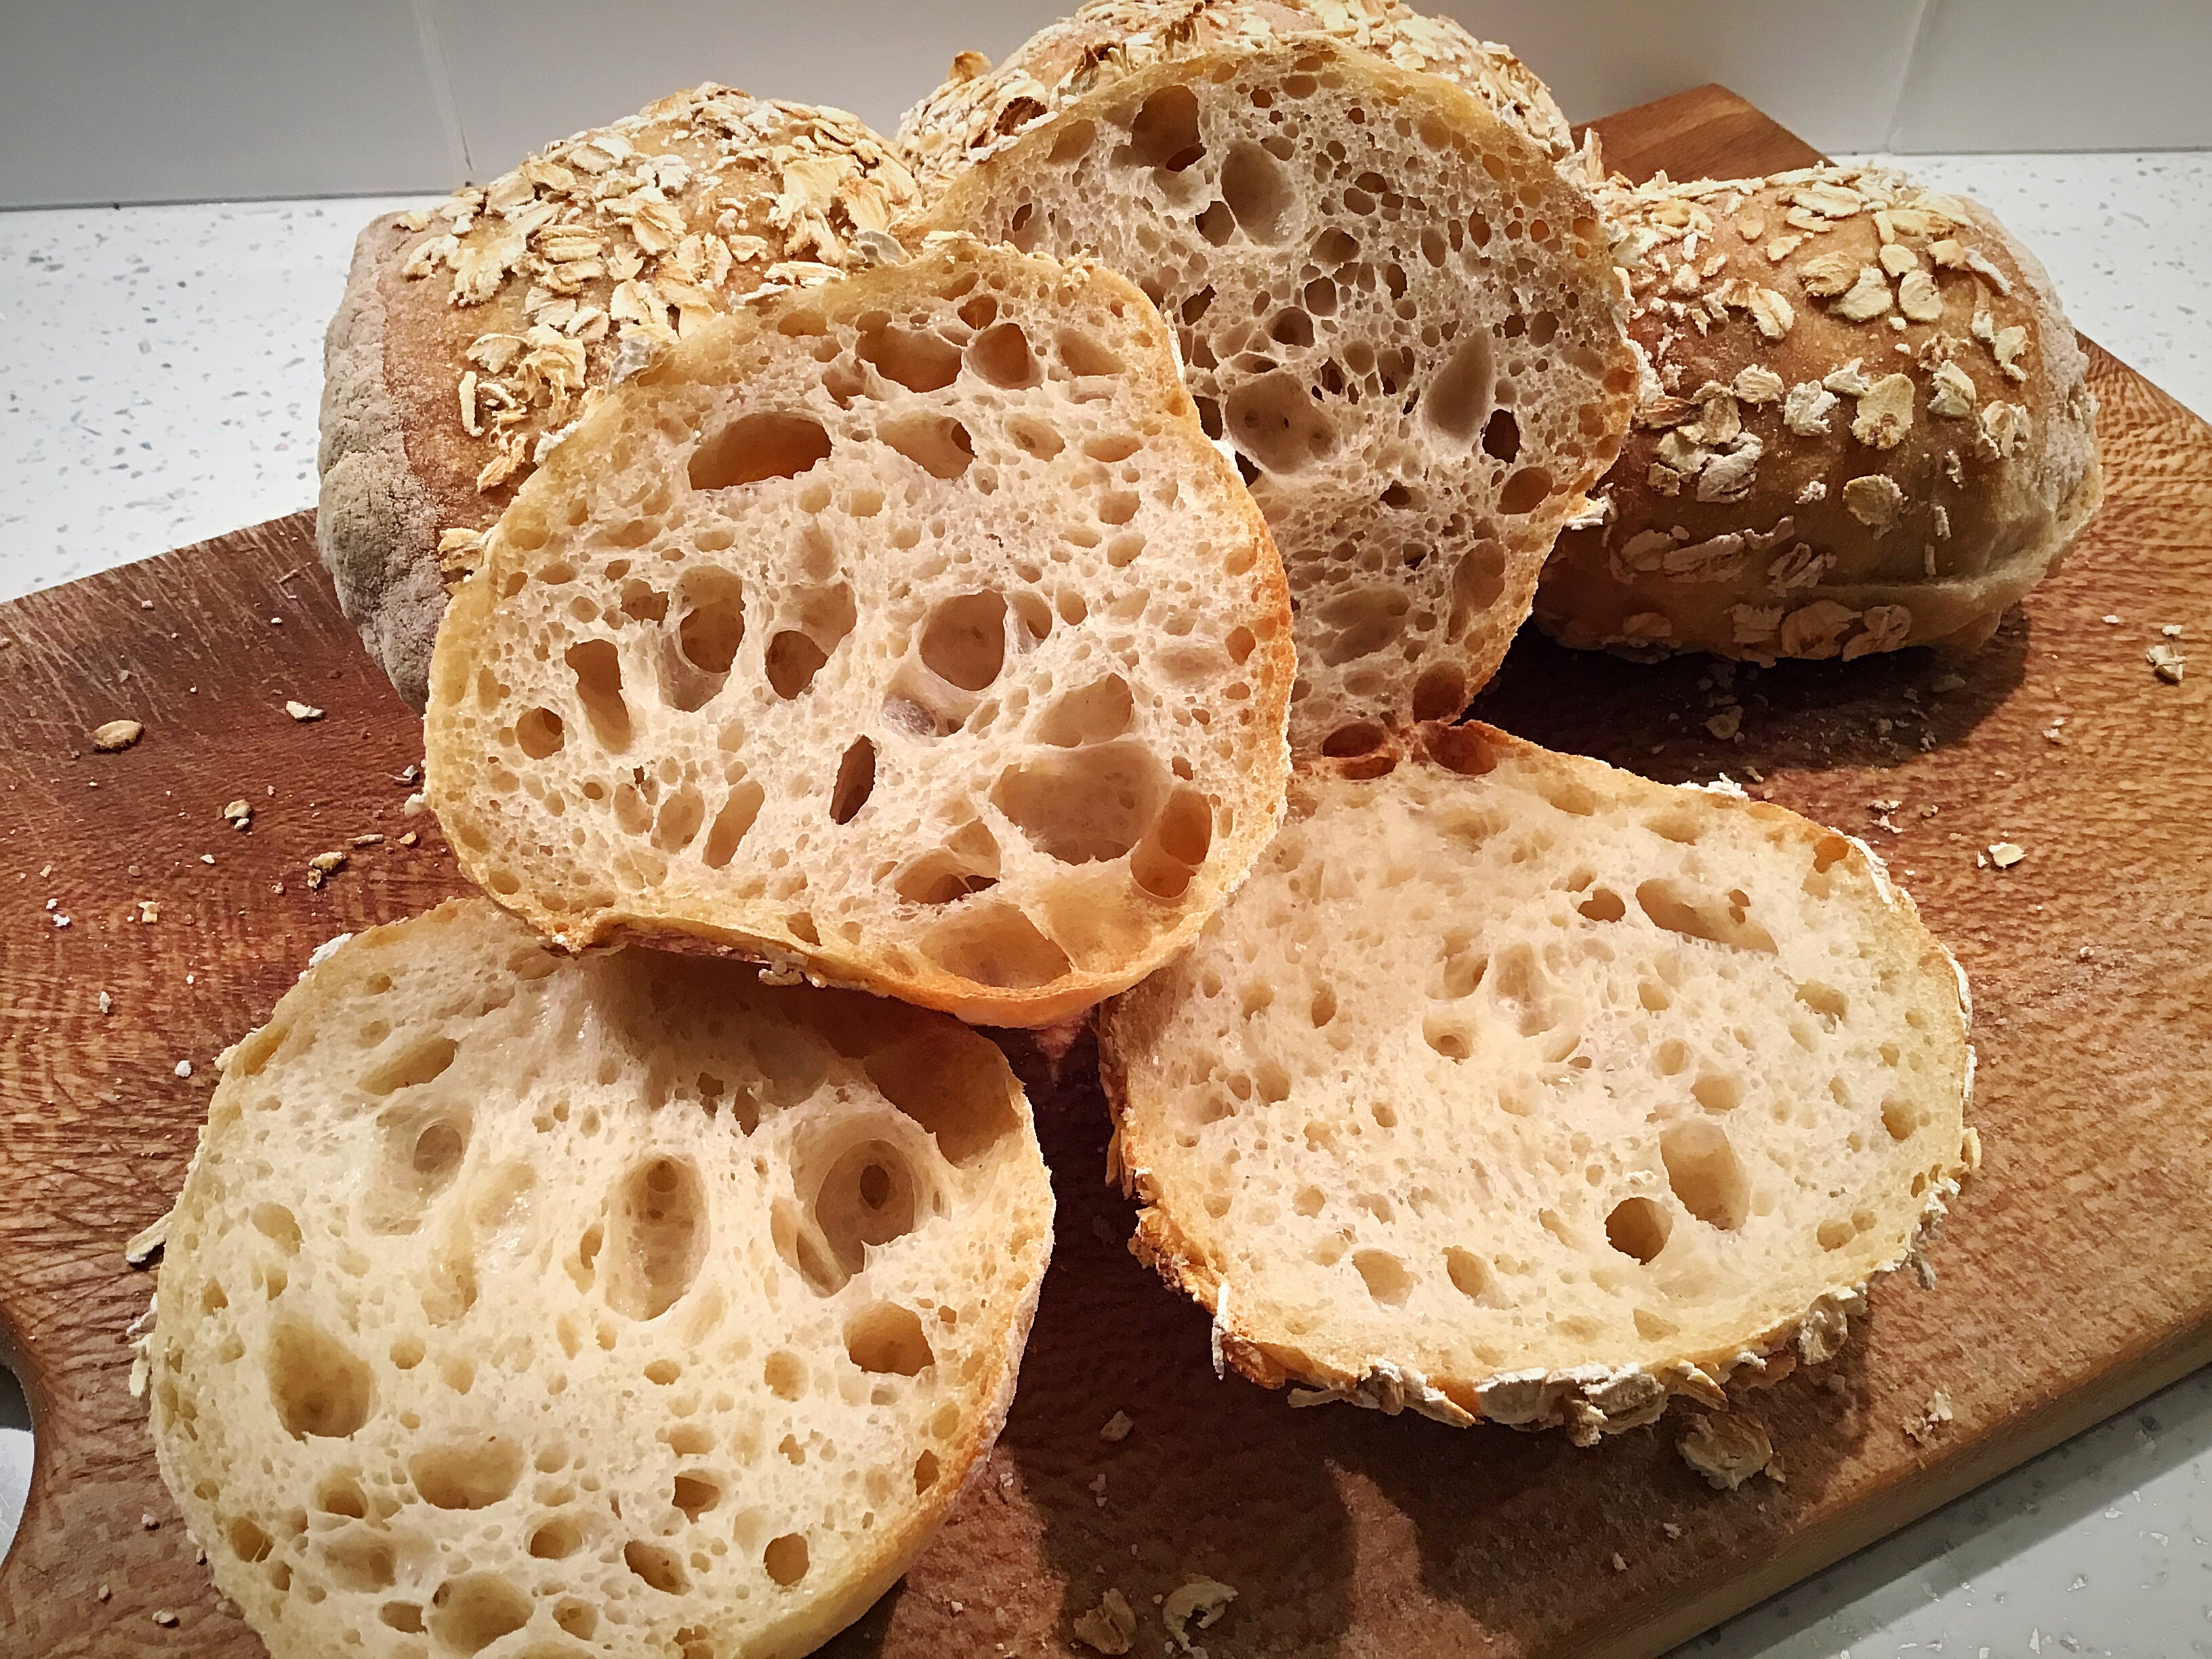
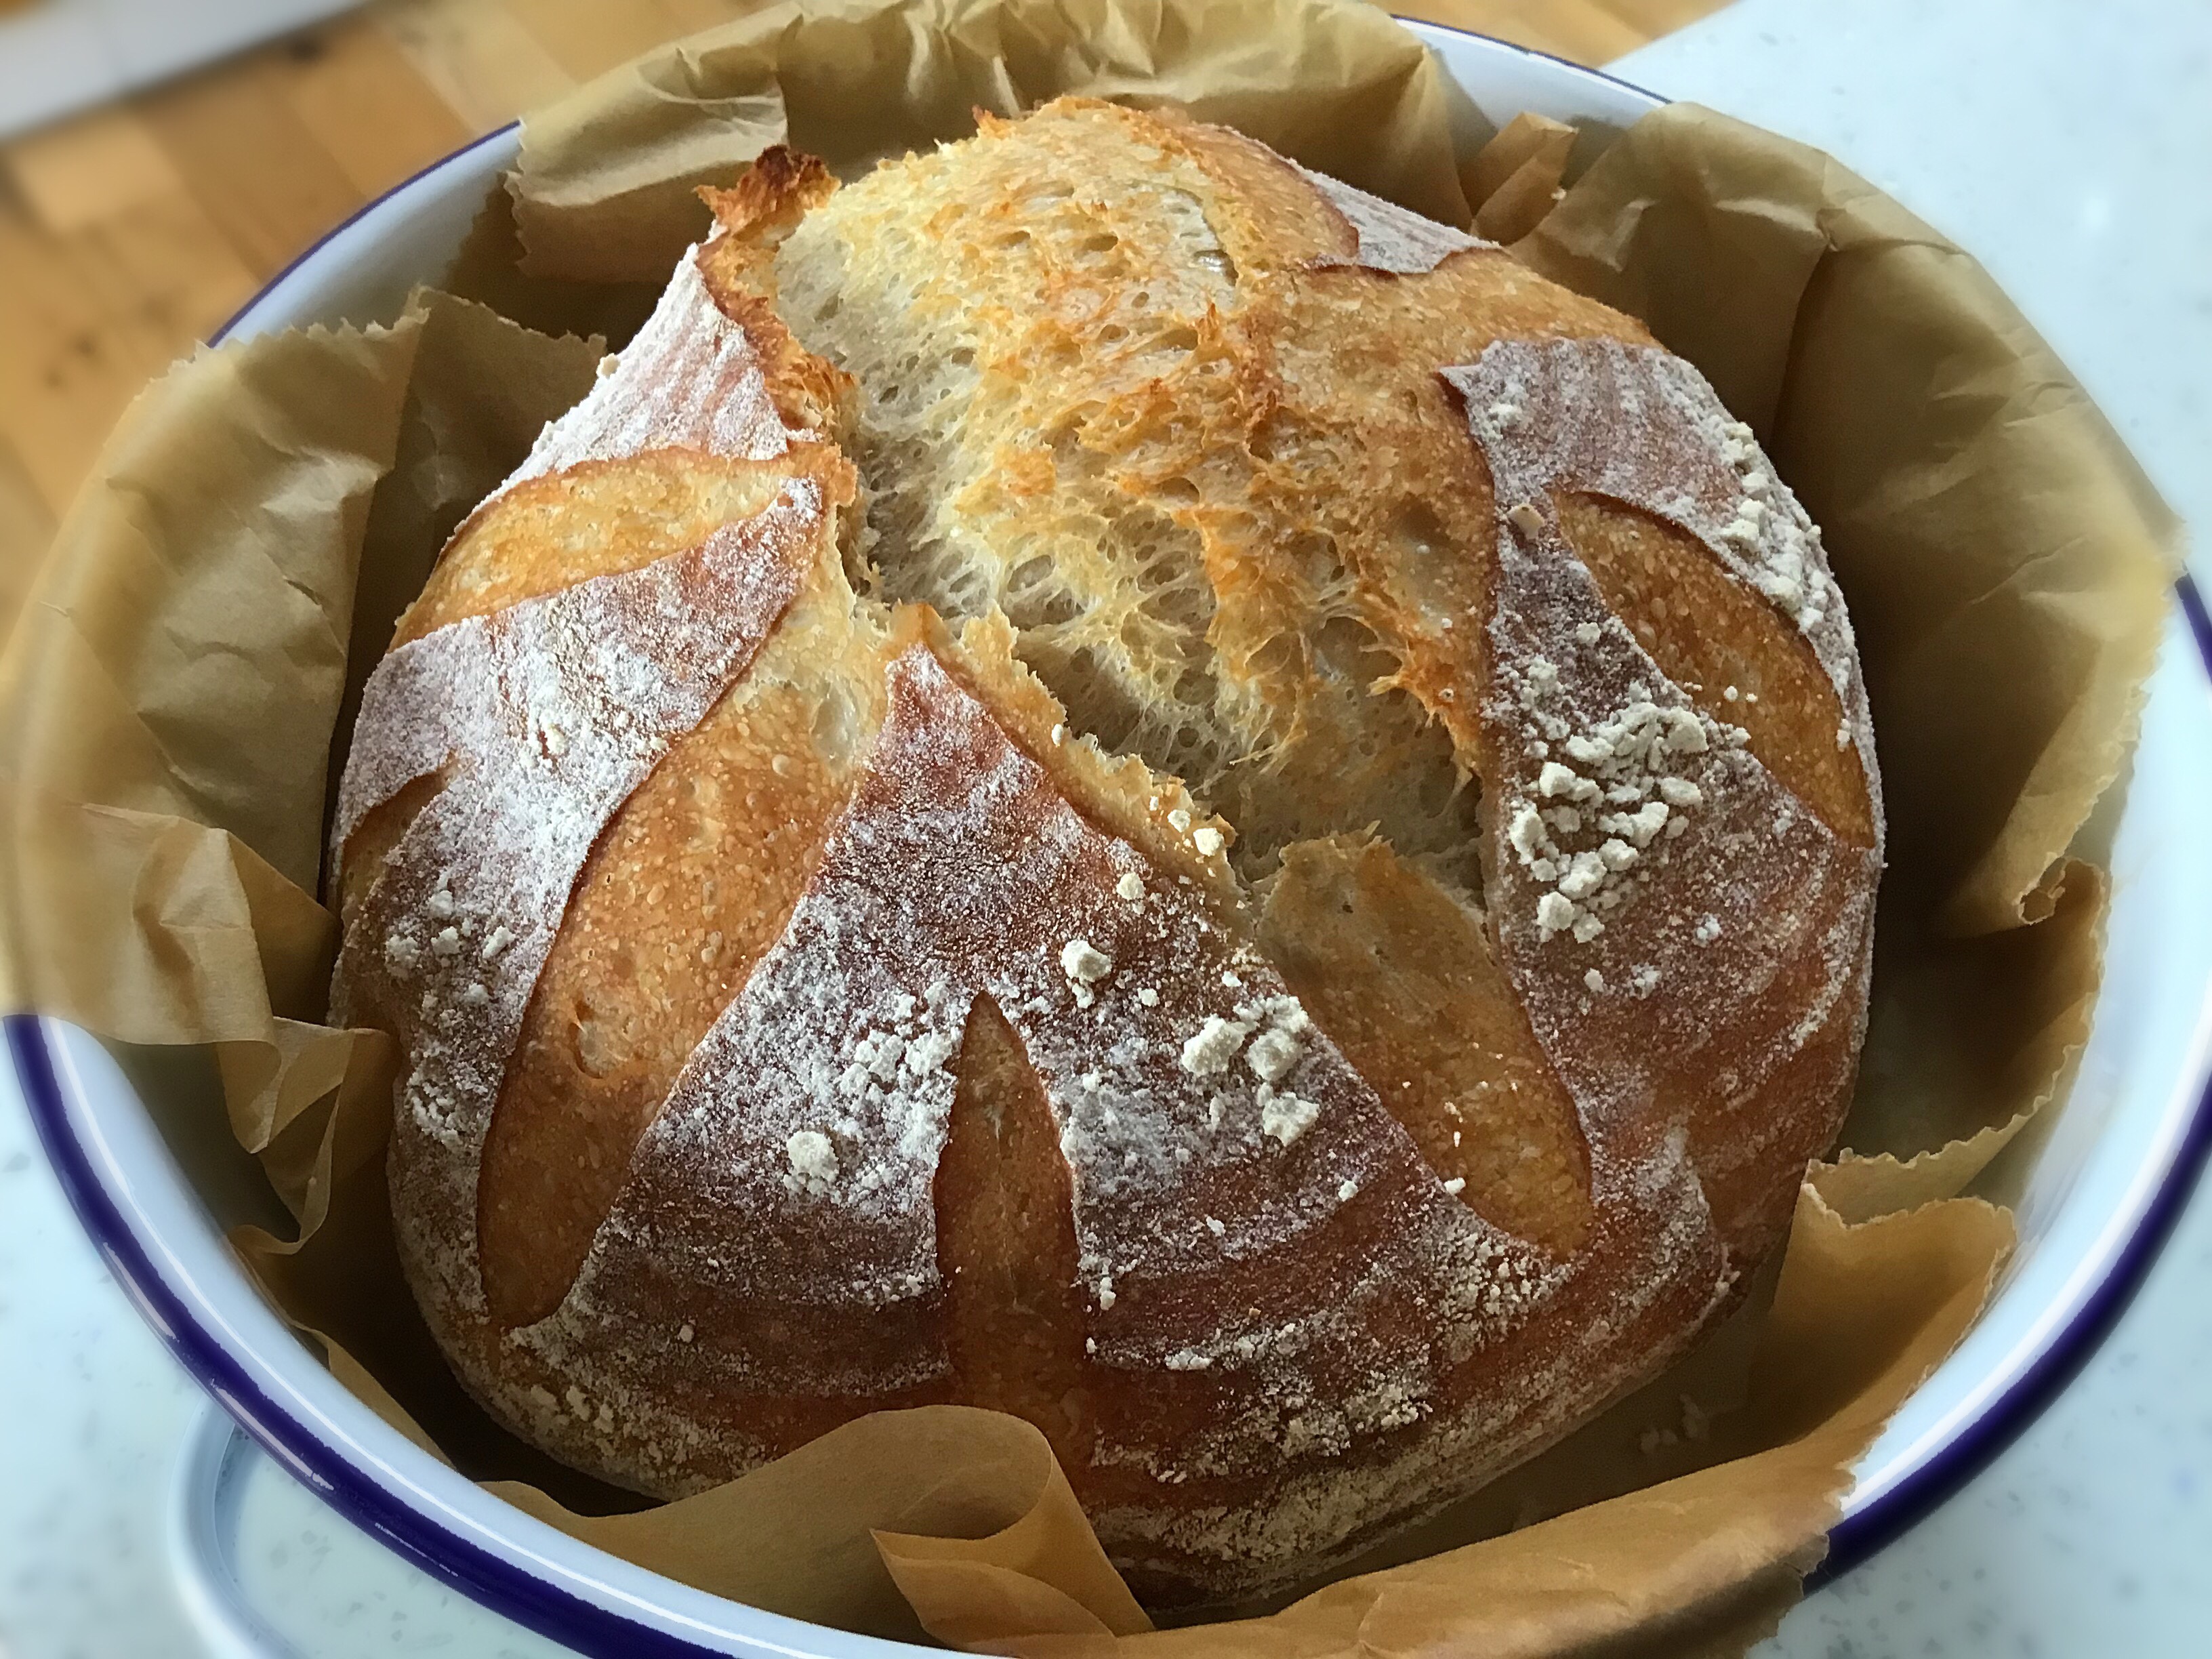
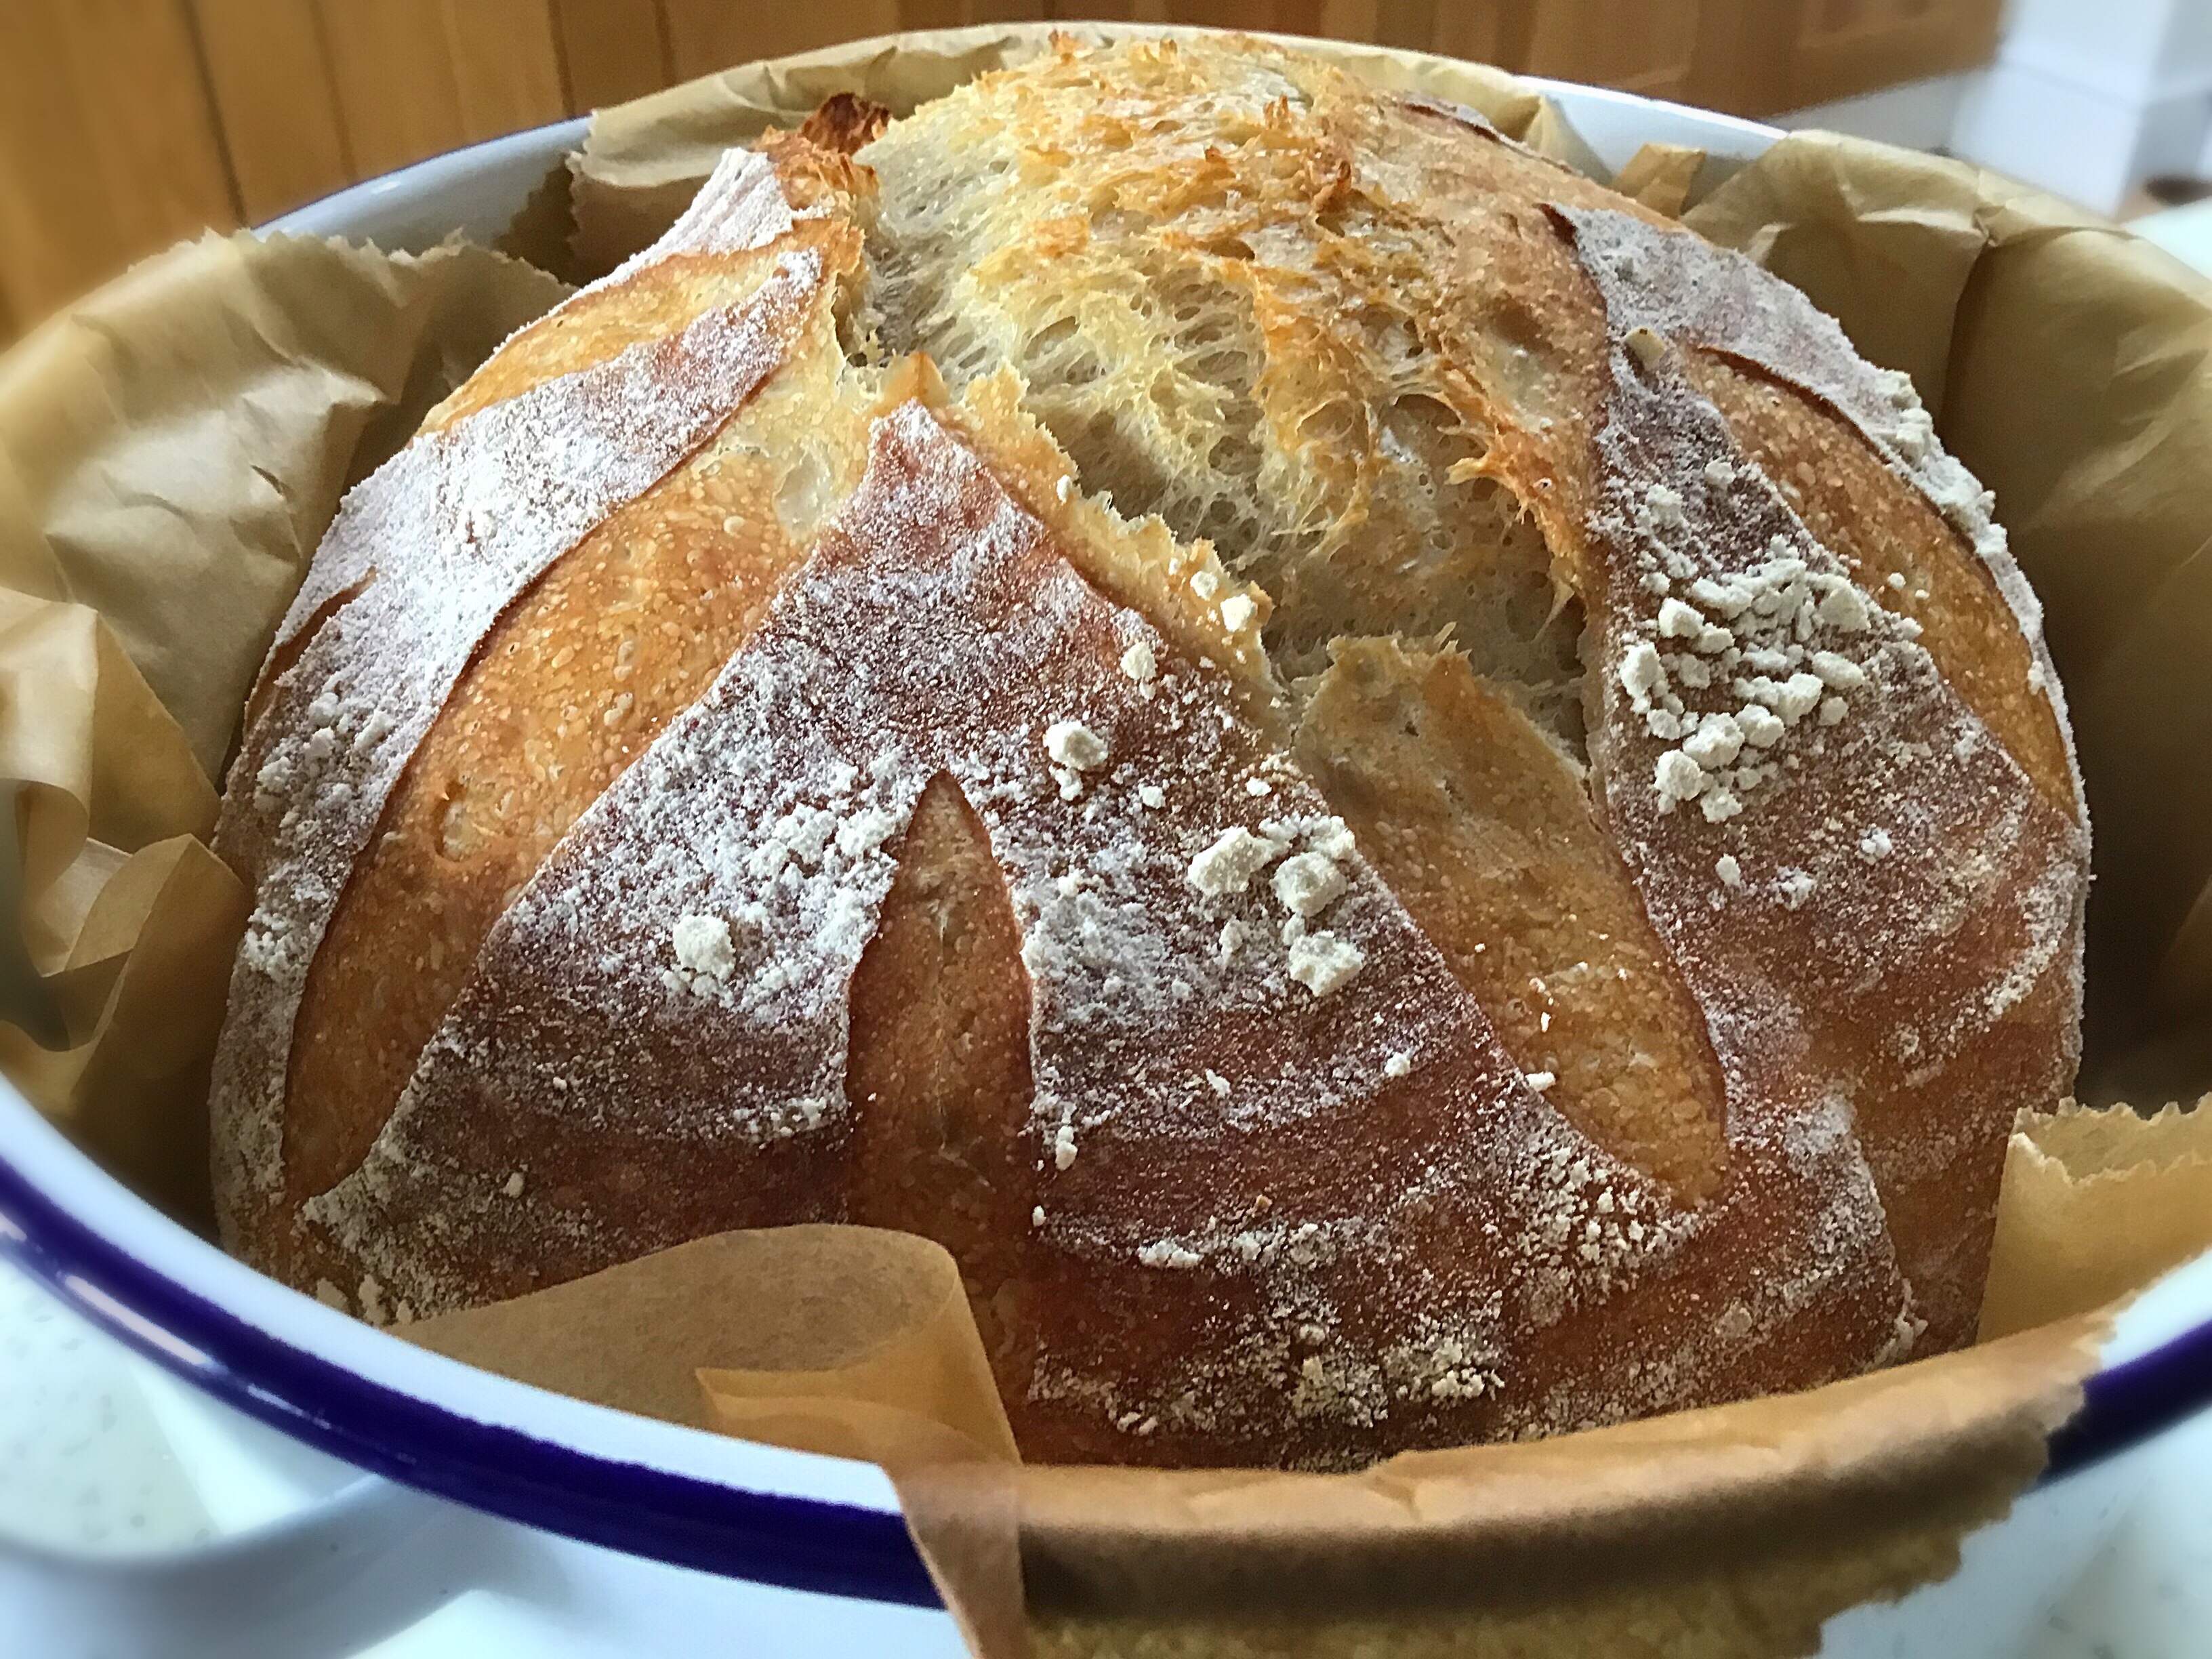
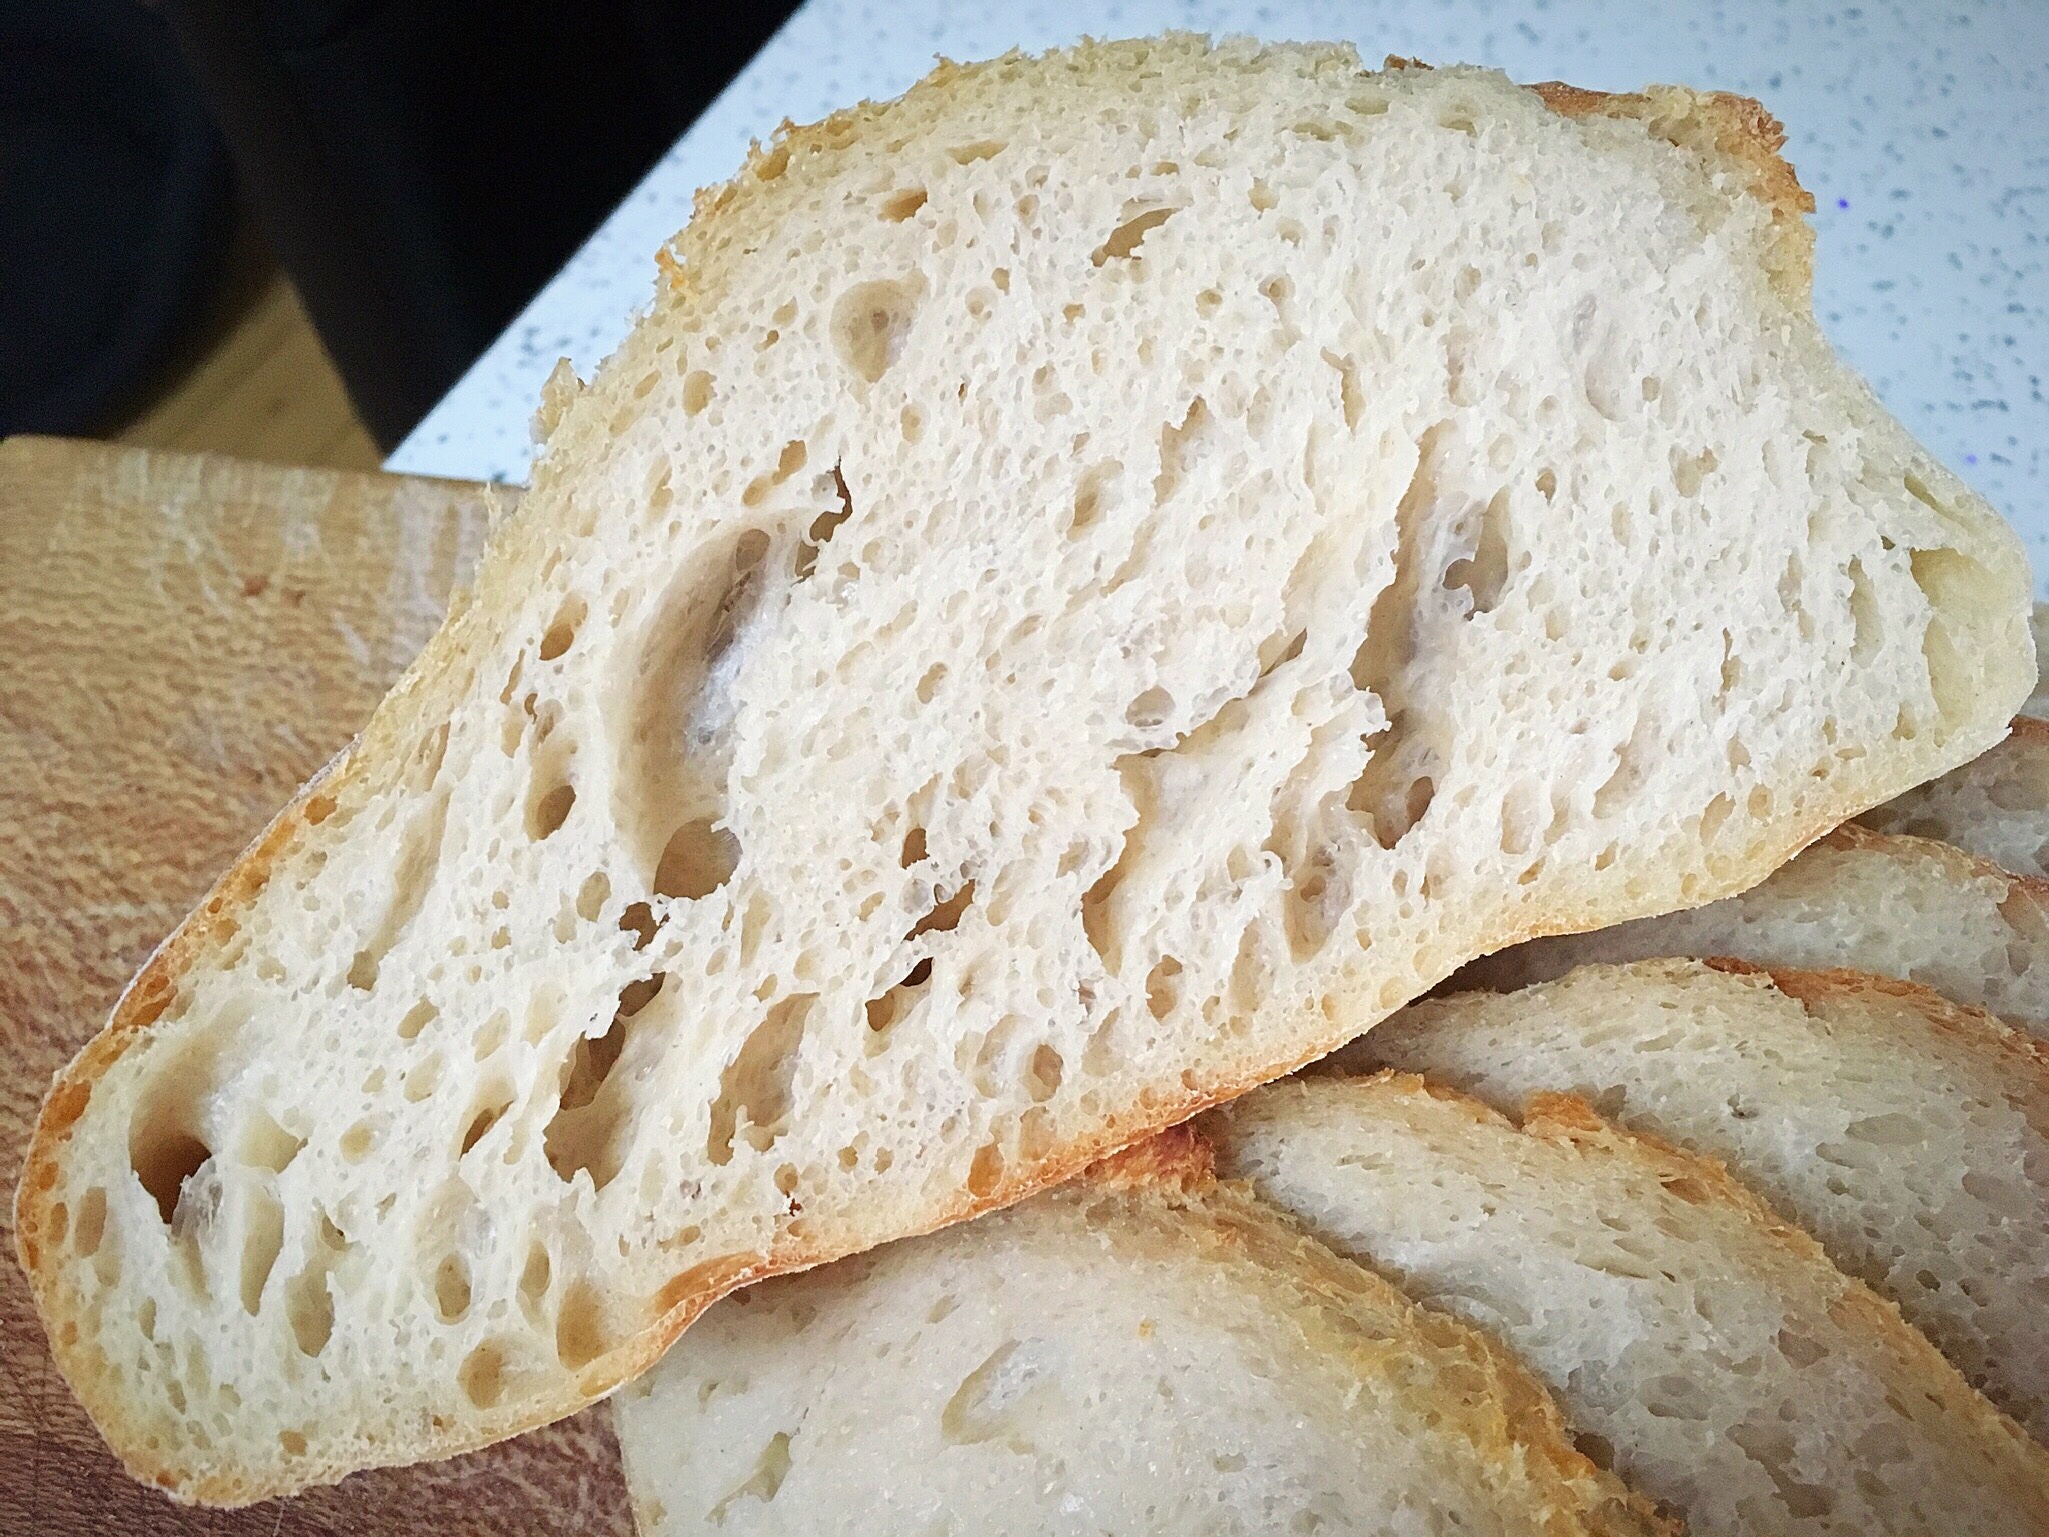
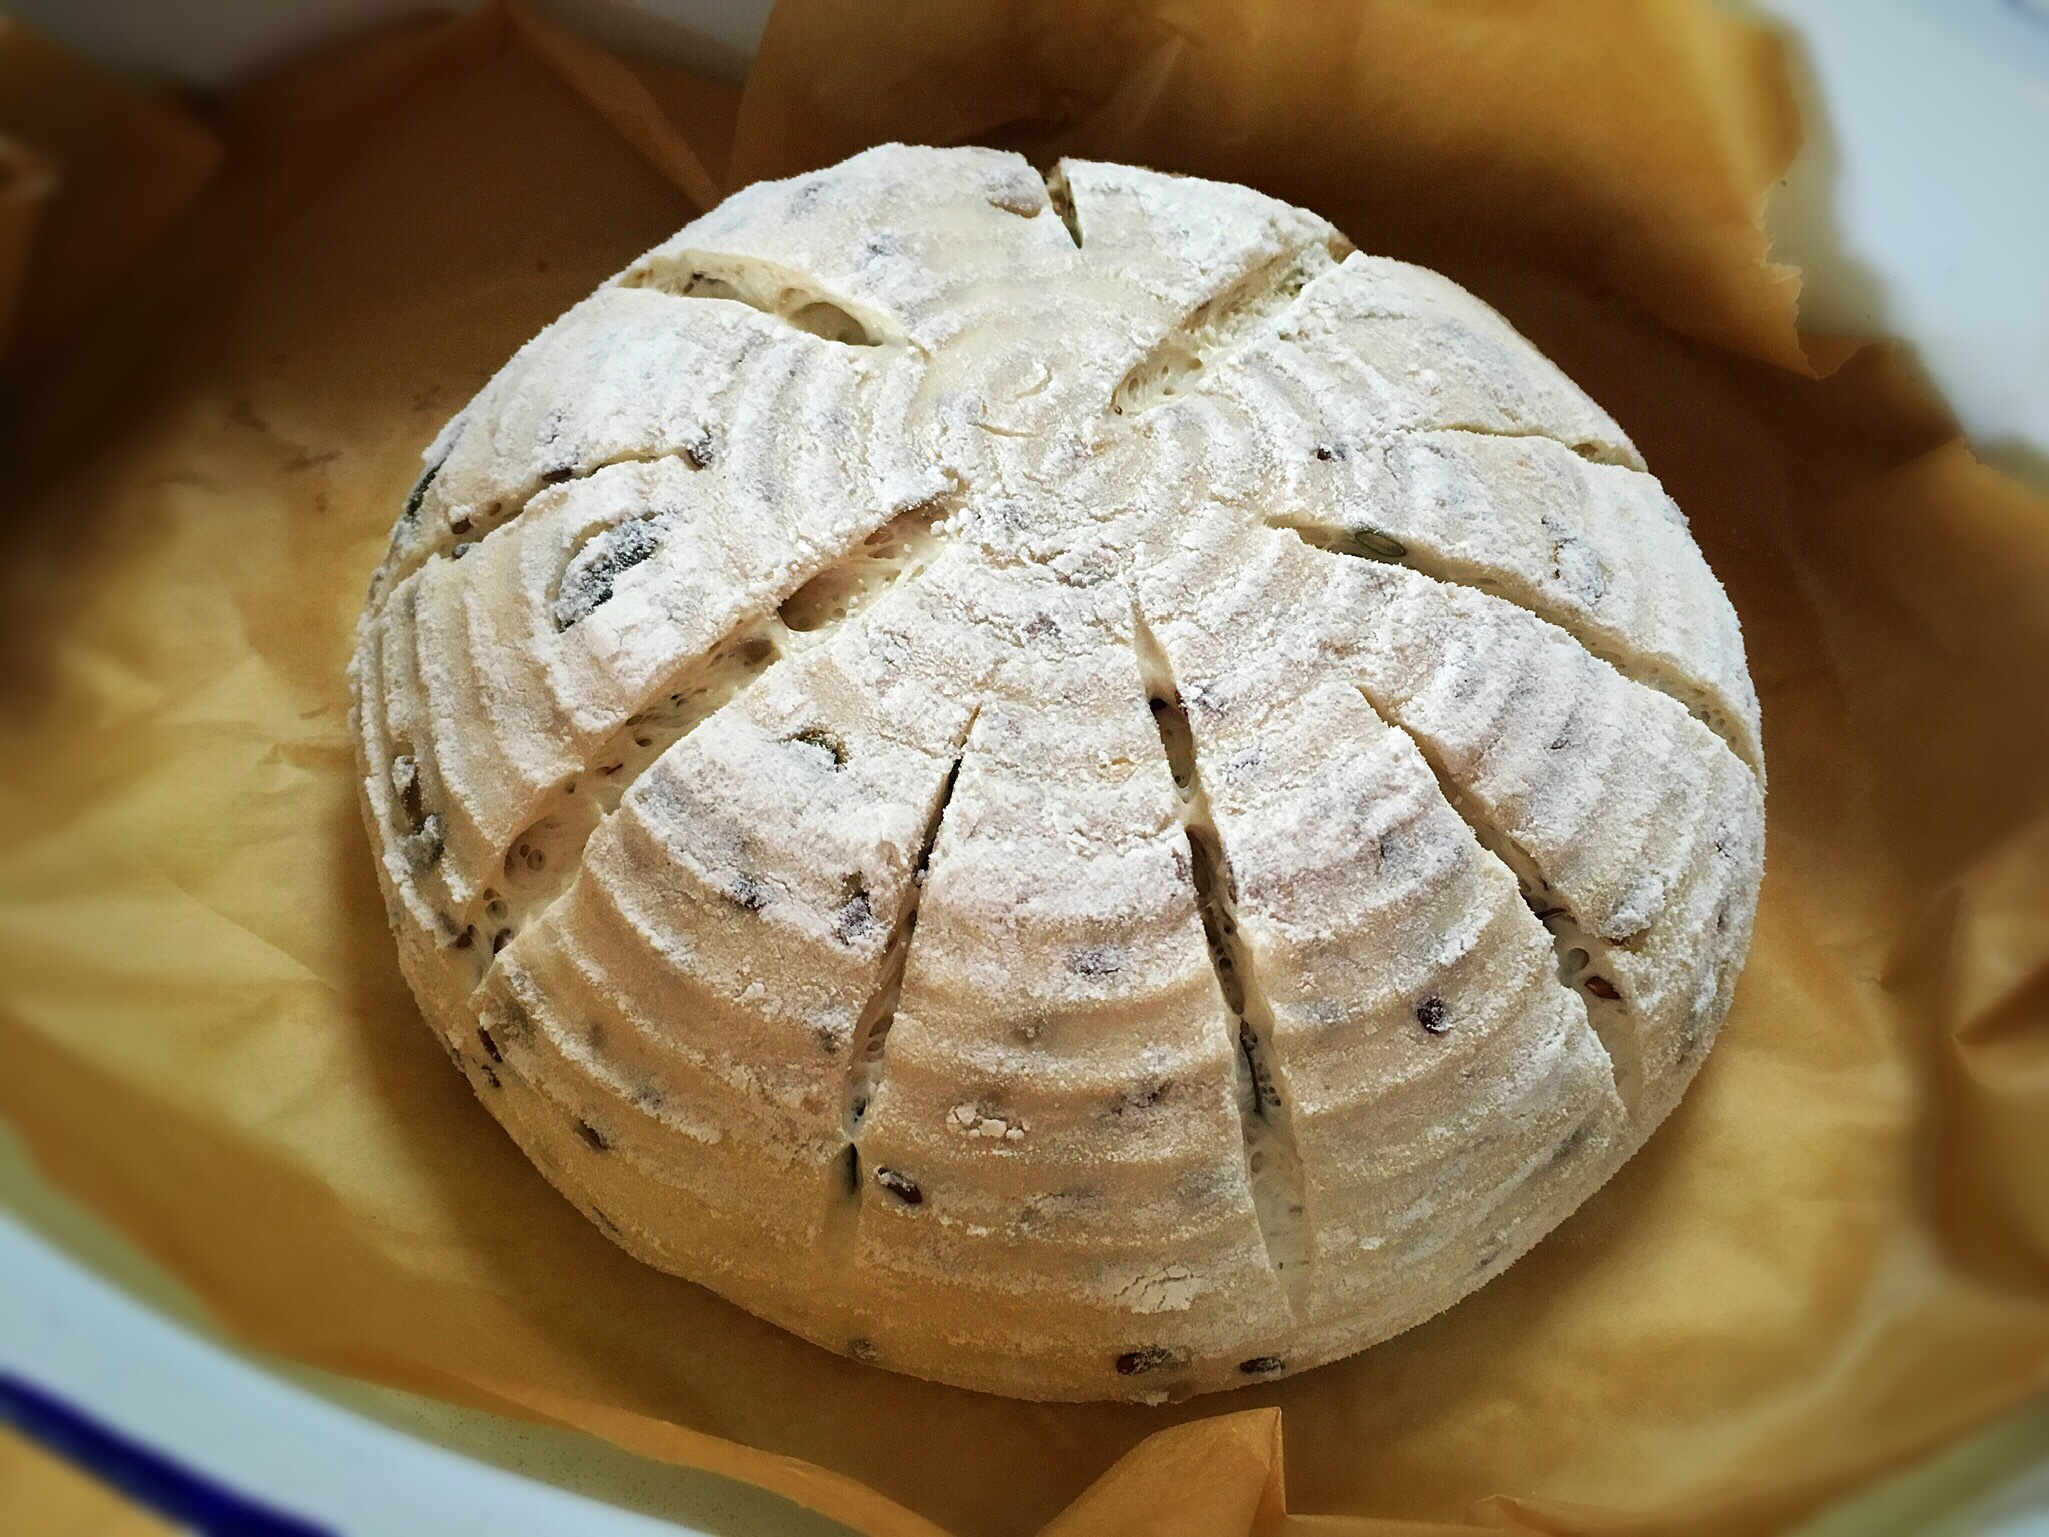
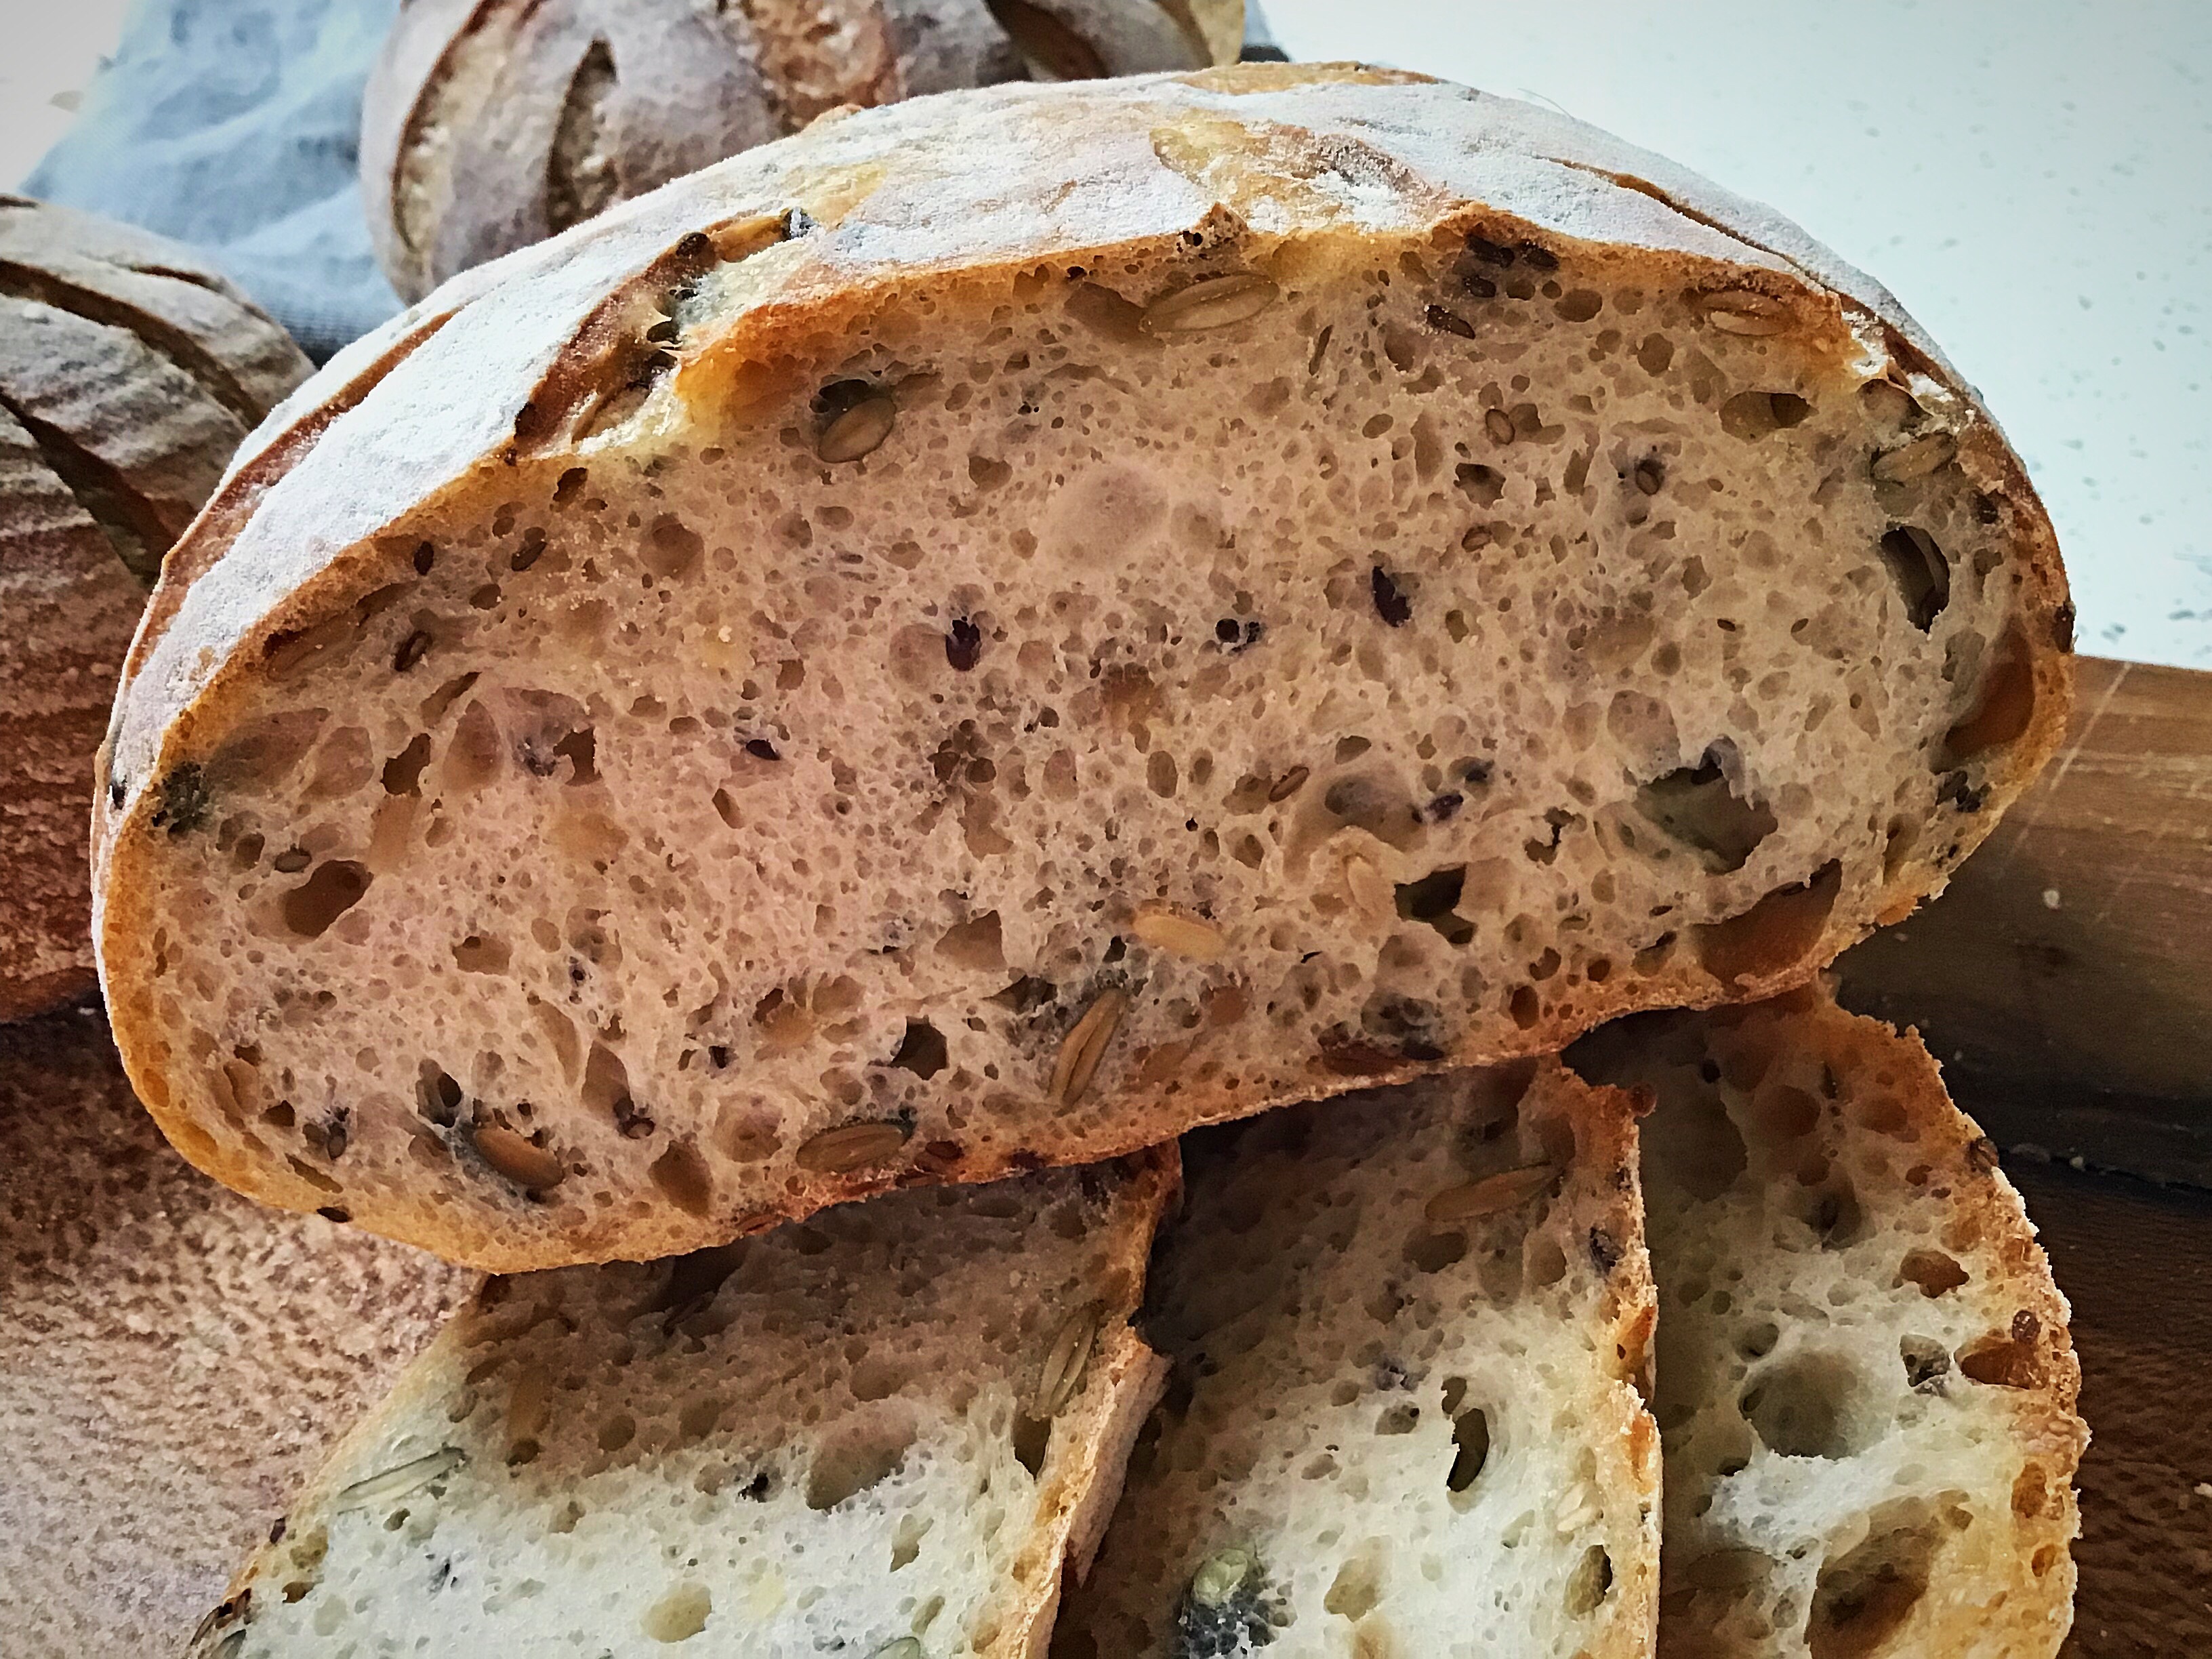
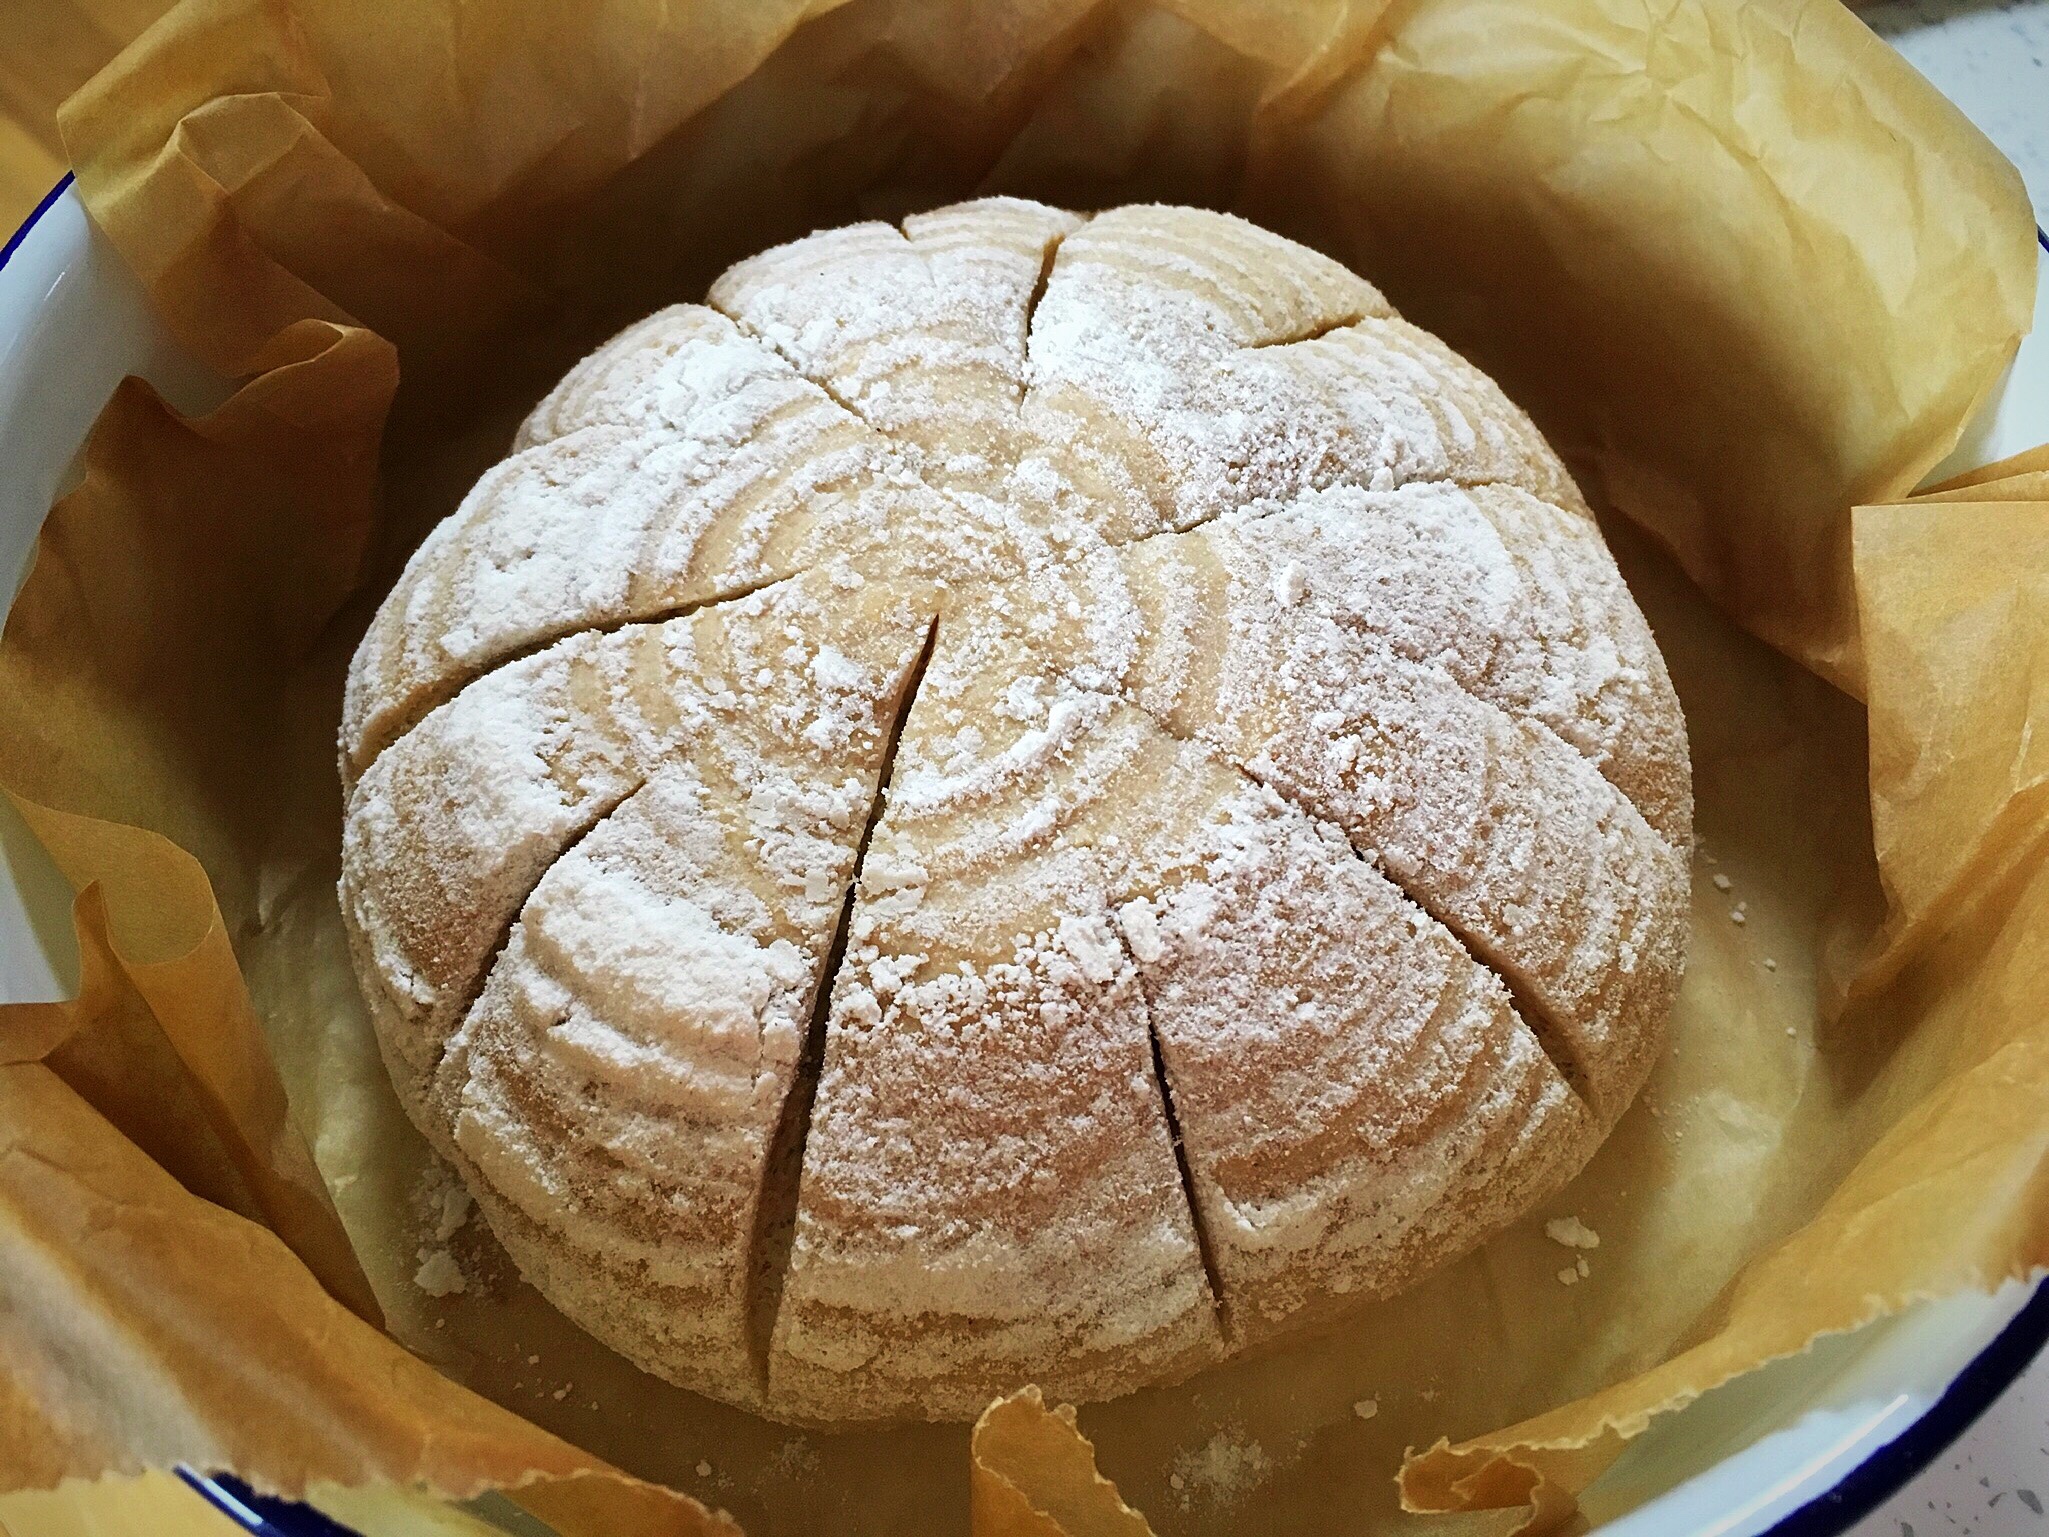
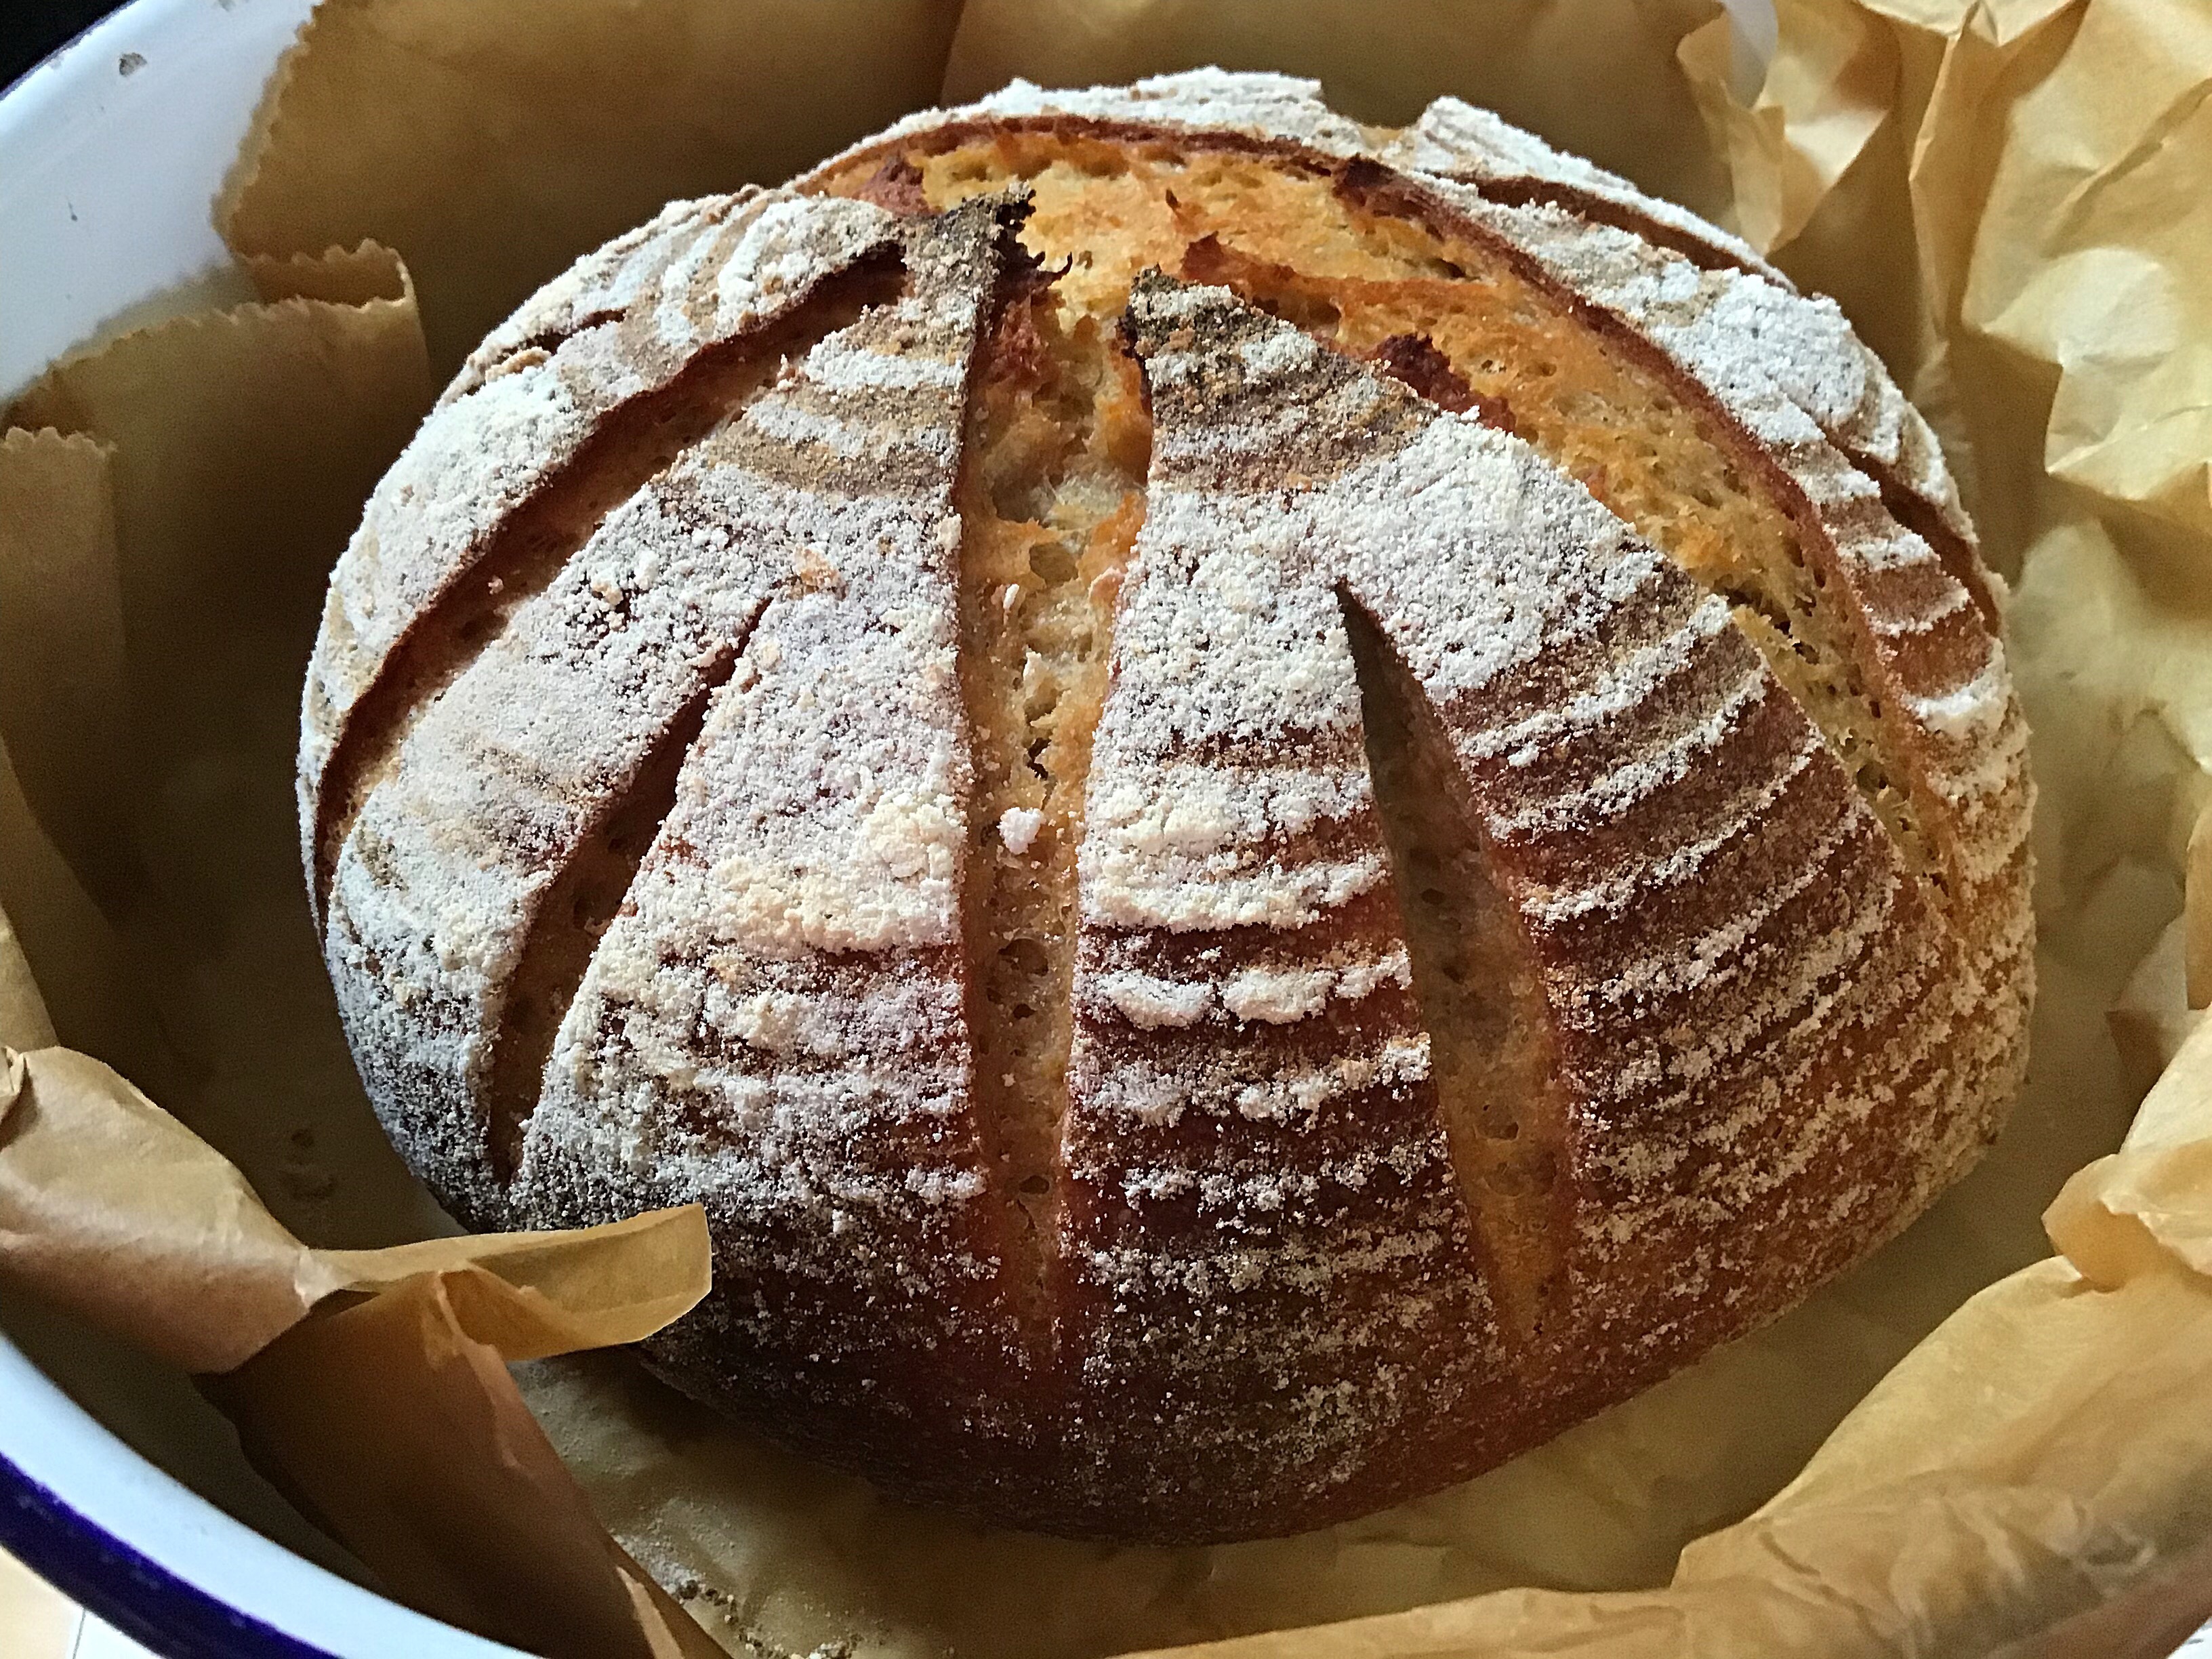
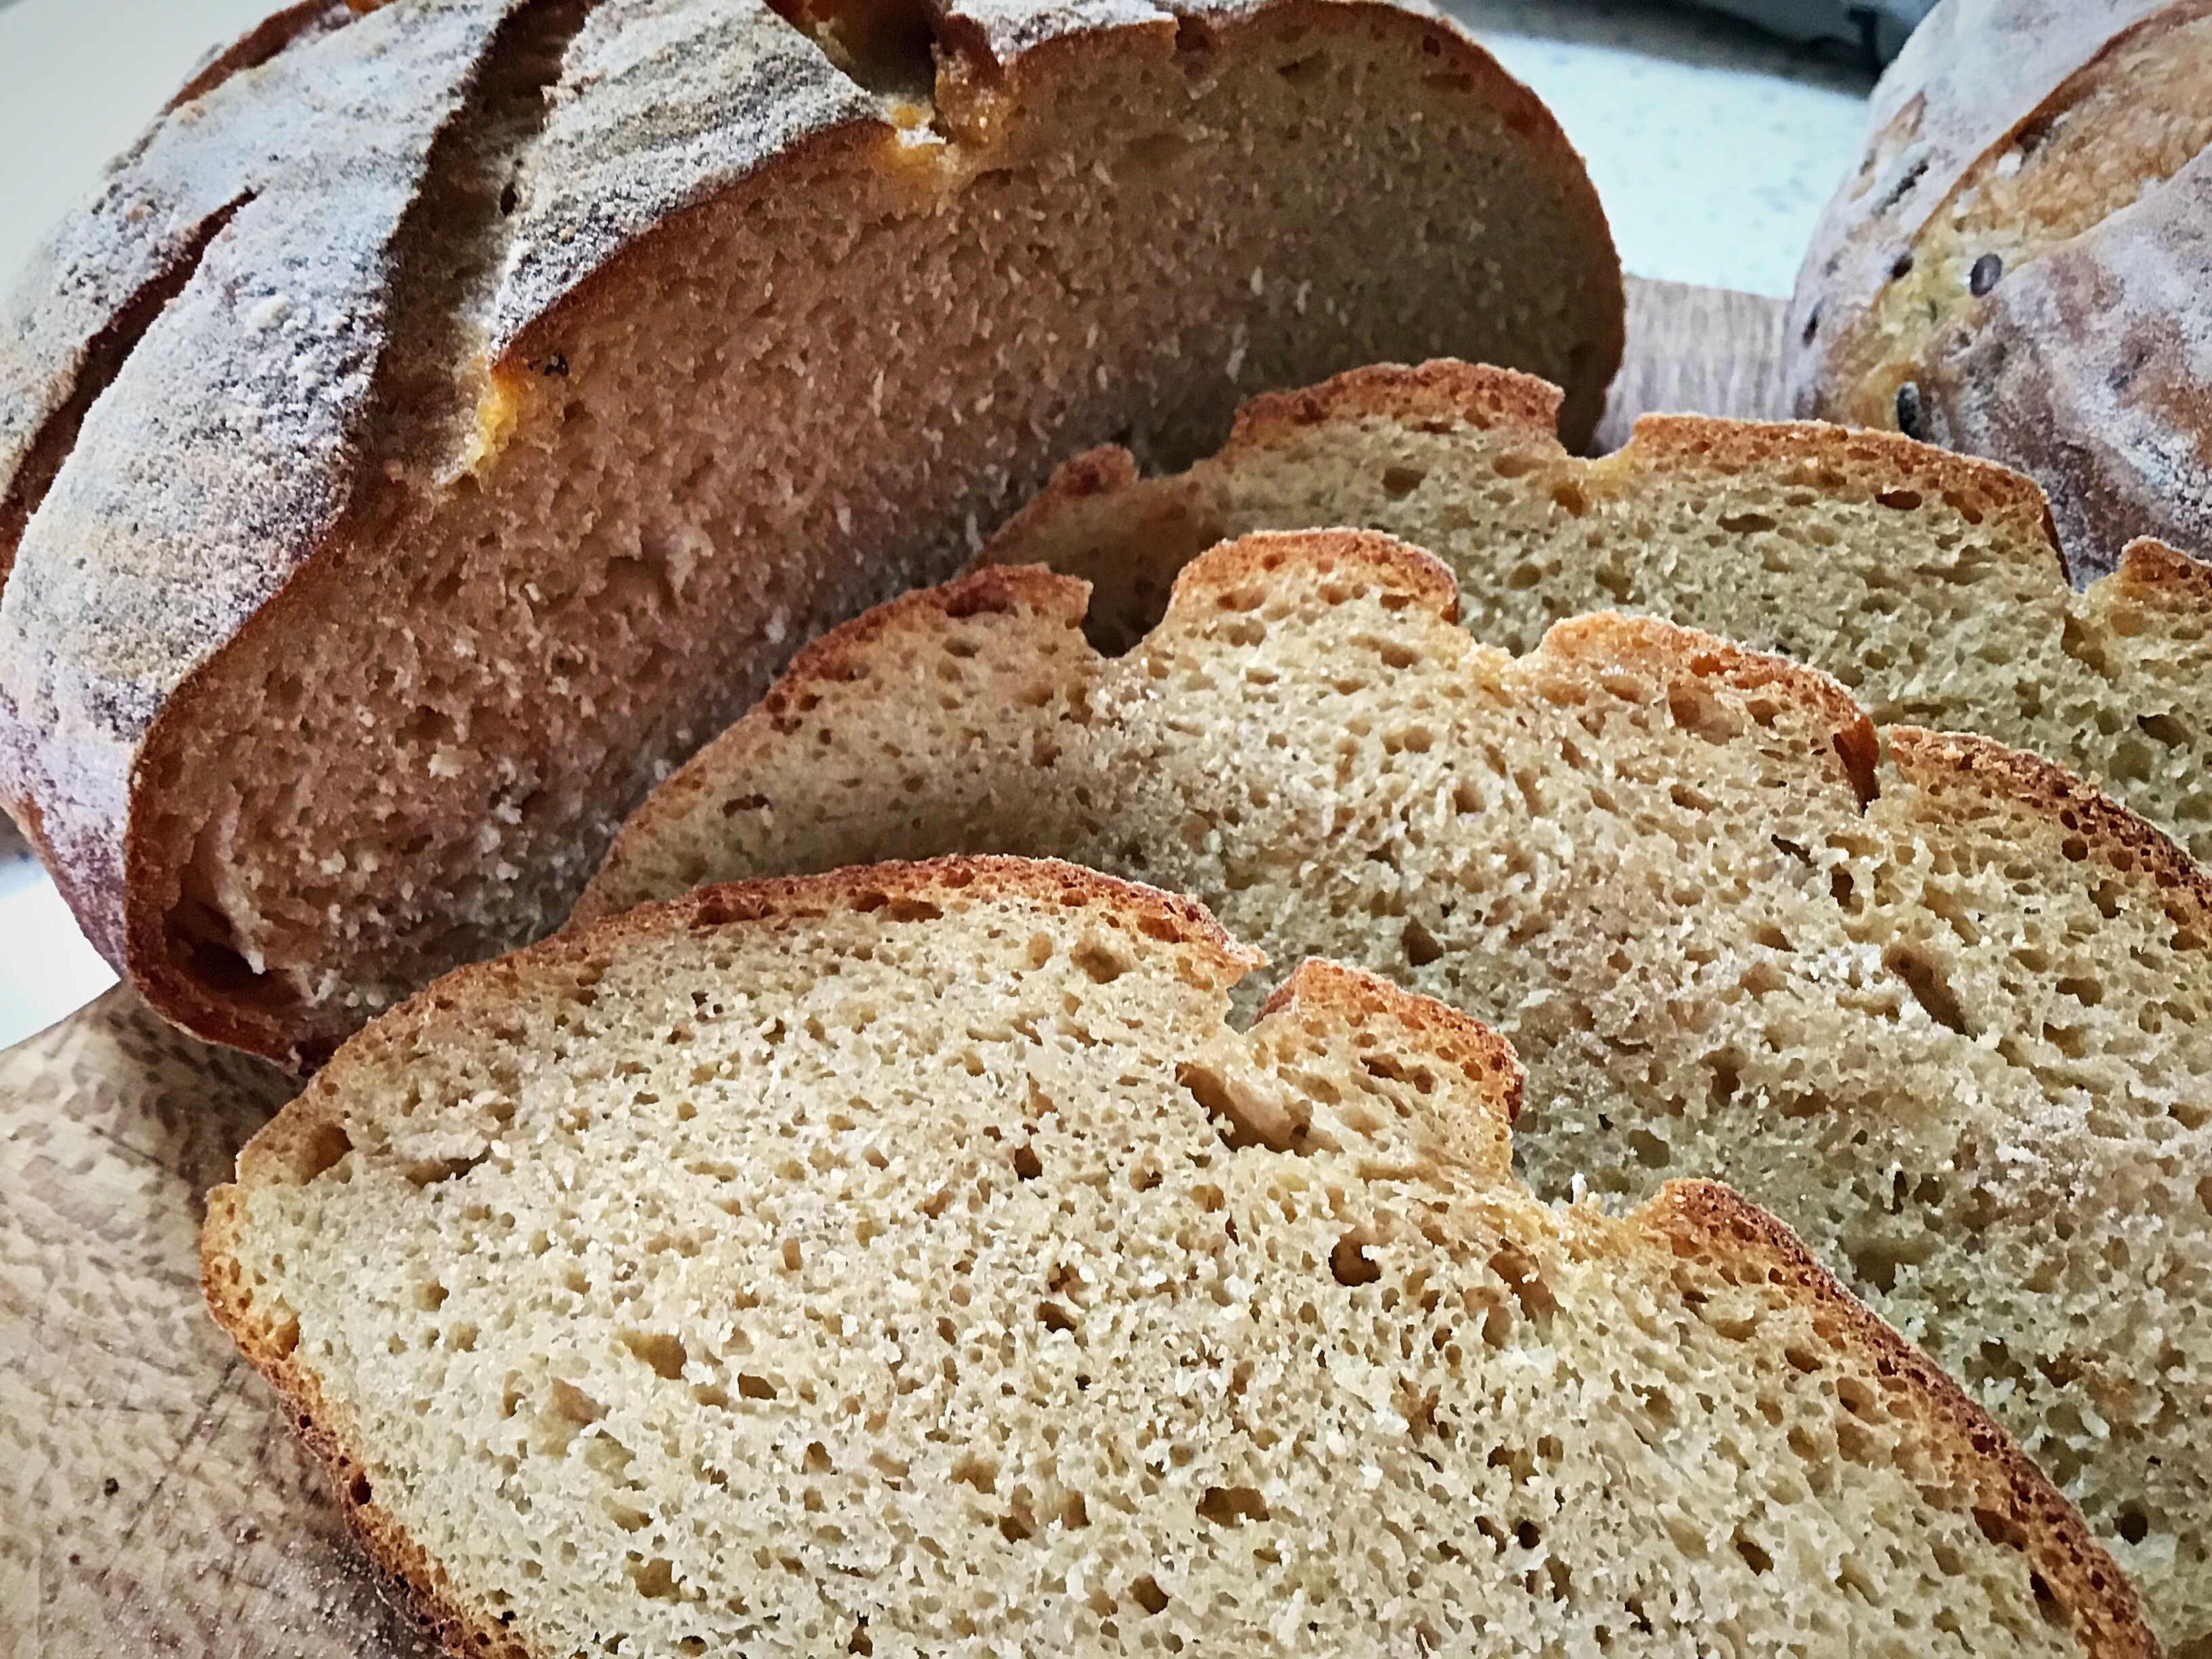
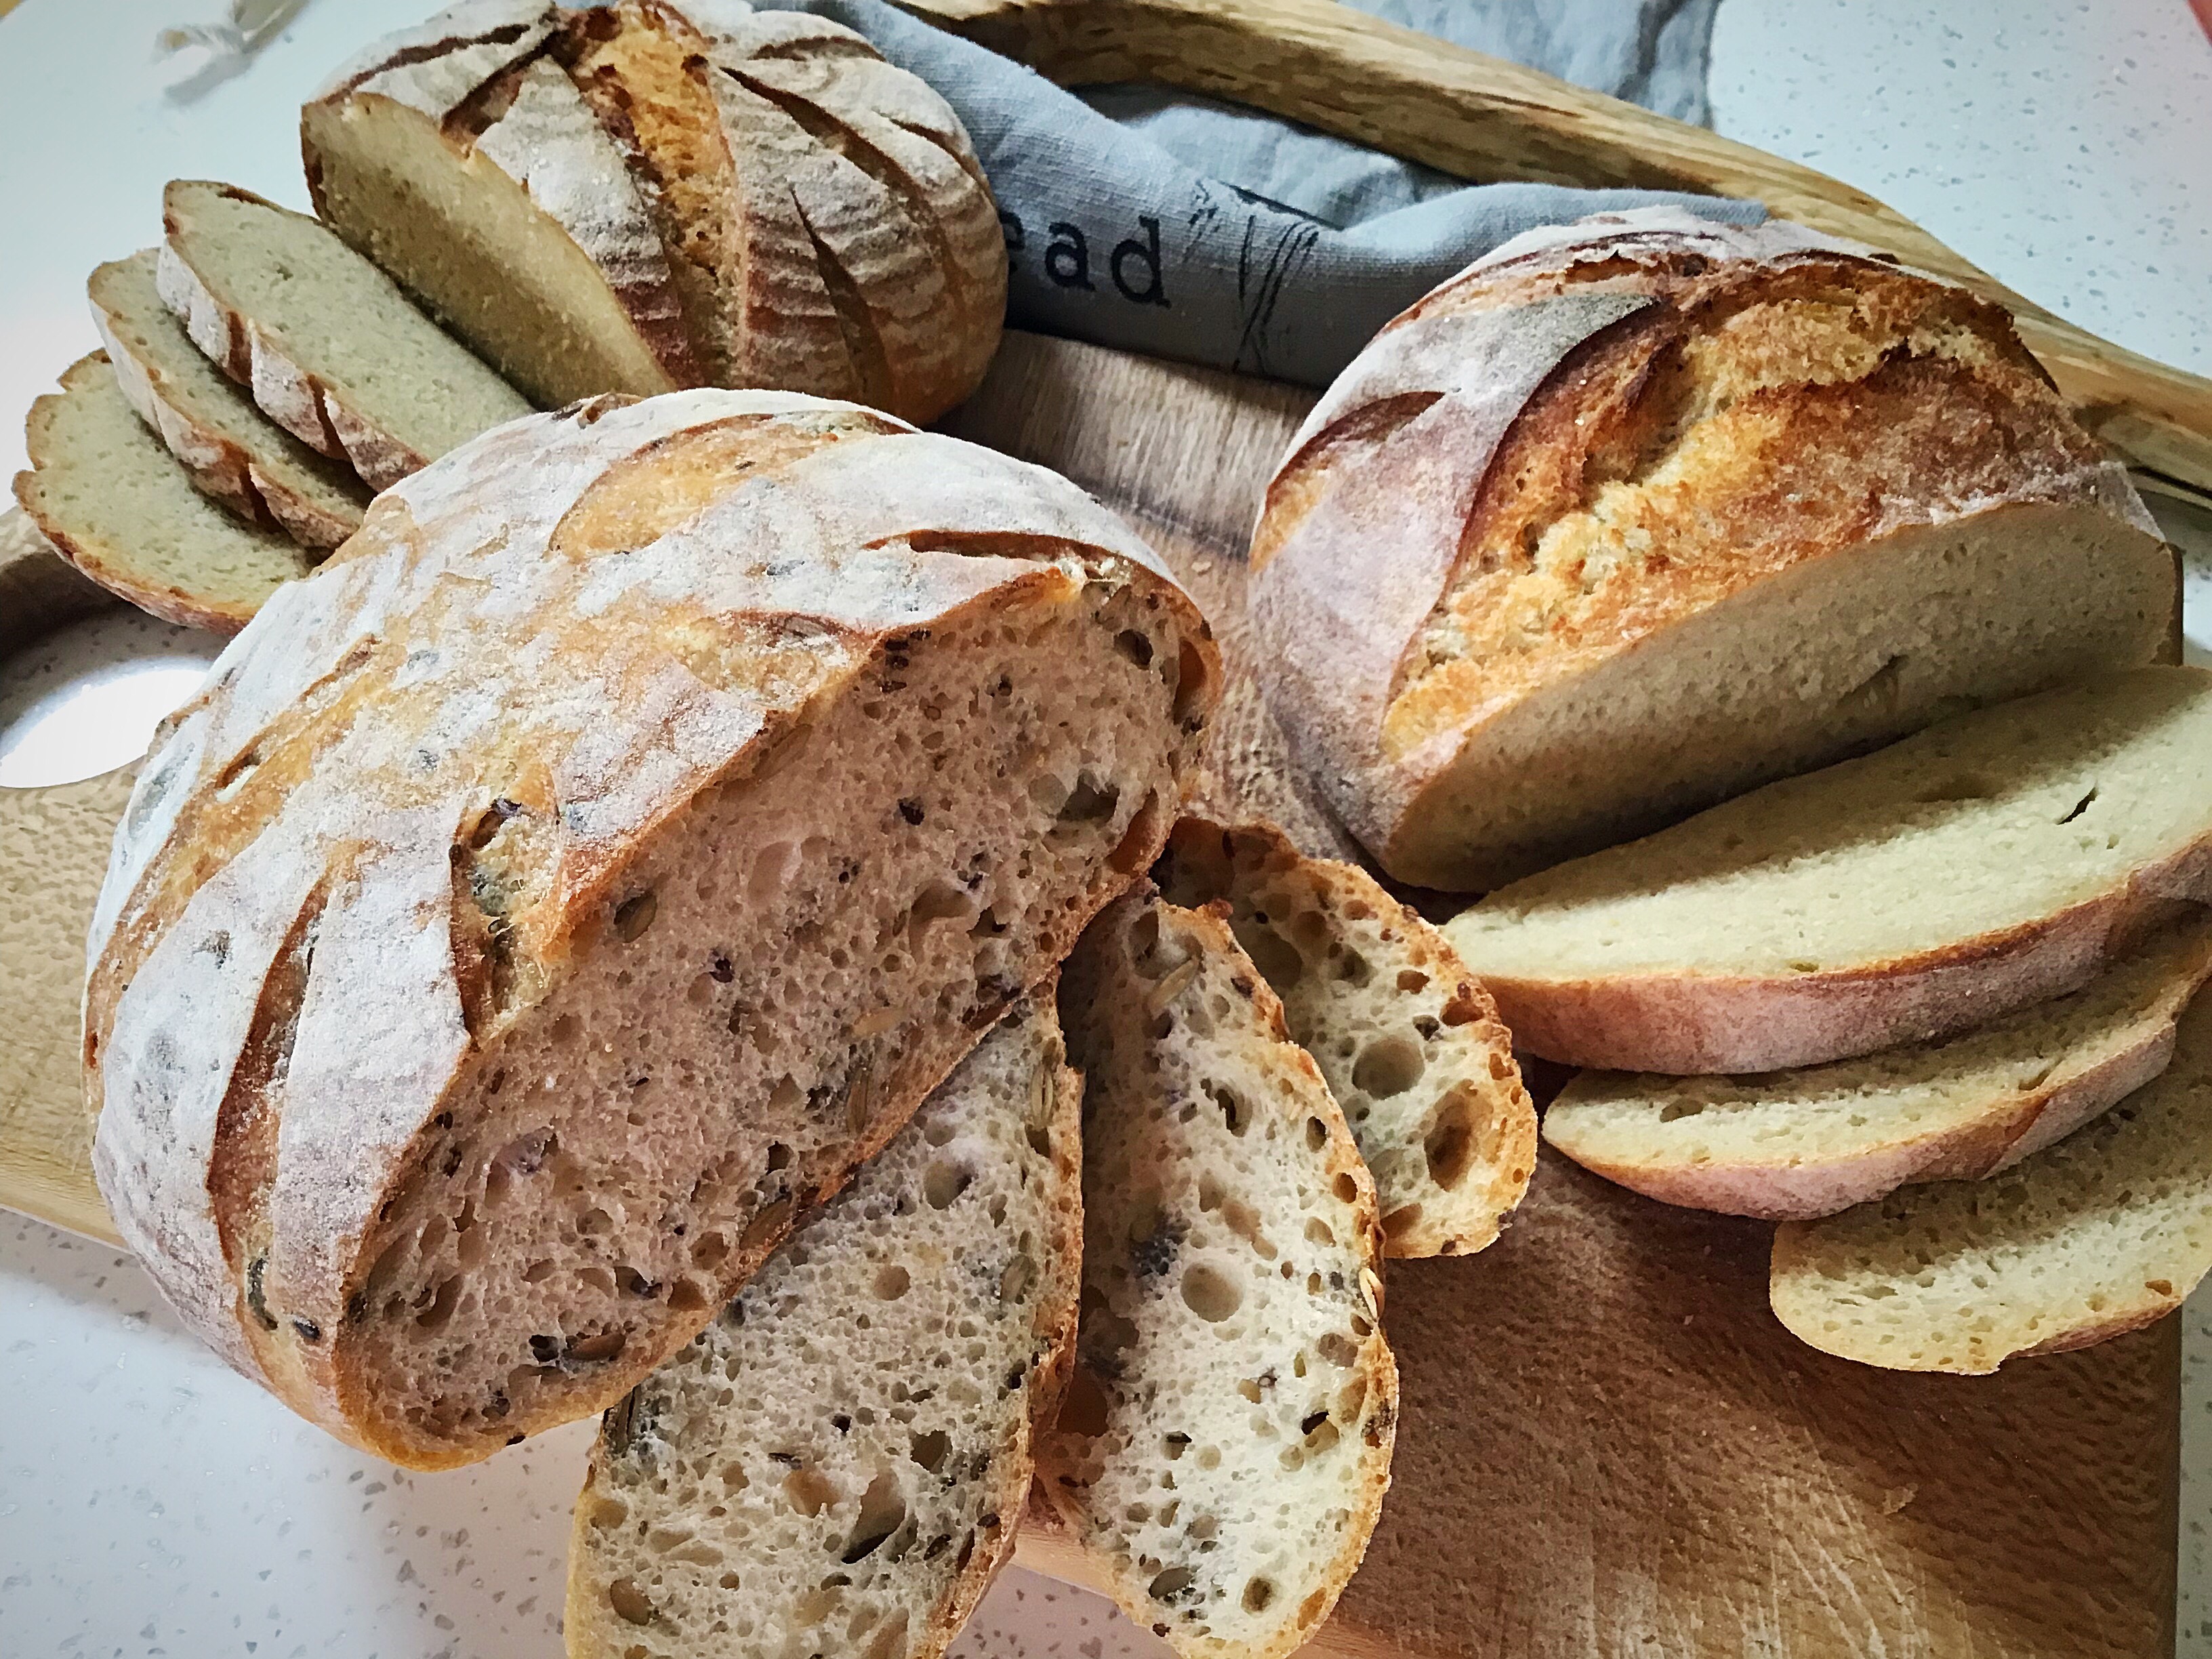
White spelt flour is very soft, it’s a lovely fine gentle flour. It therefore struggles to hold its form if used 100% for a free form loaf such as sourdough because it is not a very strong flour, the protein level is less than 11%, and so it benefits from additions to give it strength to hold its shape. I found that when used on it’s own for a loaf, it still created a lovely dough, it rose well, it baked nicely, the crumb was lovely and light, but it was a bit unevenly shaped once baked. I know from past experience that spelt does not hold its shape so I chose to bake it in a smaller pan (20cm diameter as opposed to me usual 26cm diameter enamel roaster) to give it the benefit of the sides of the pan to stop it from spreading, which it needed. The cut slice shows the shape more.

A loaf of bread in a bowl on top of a table.A loaf of bread in a bowl with a wooden spatula.A close up of some bread on a plate

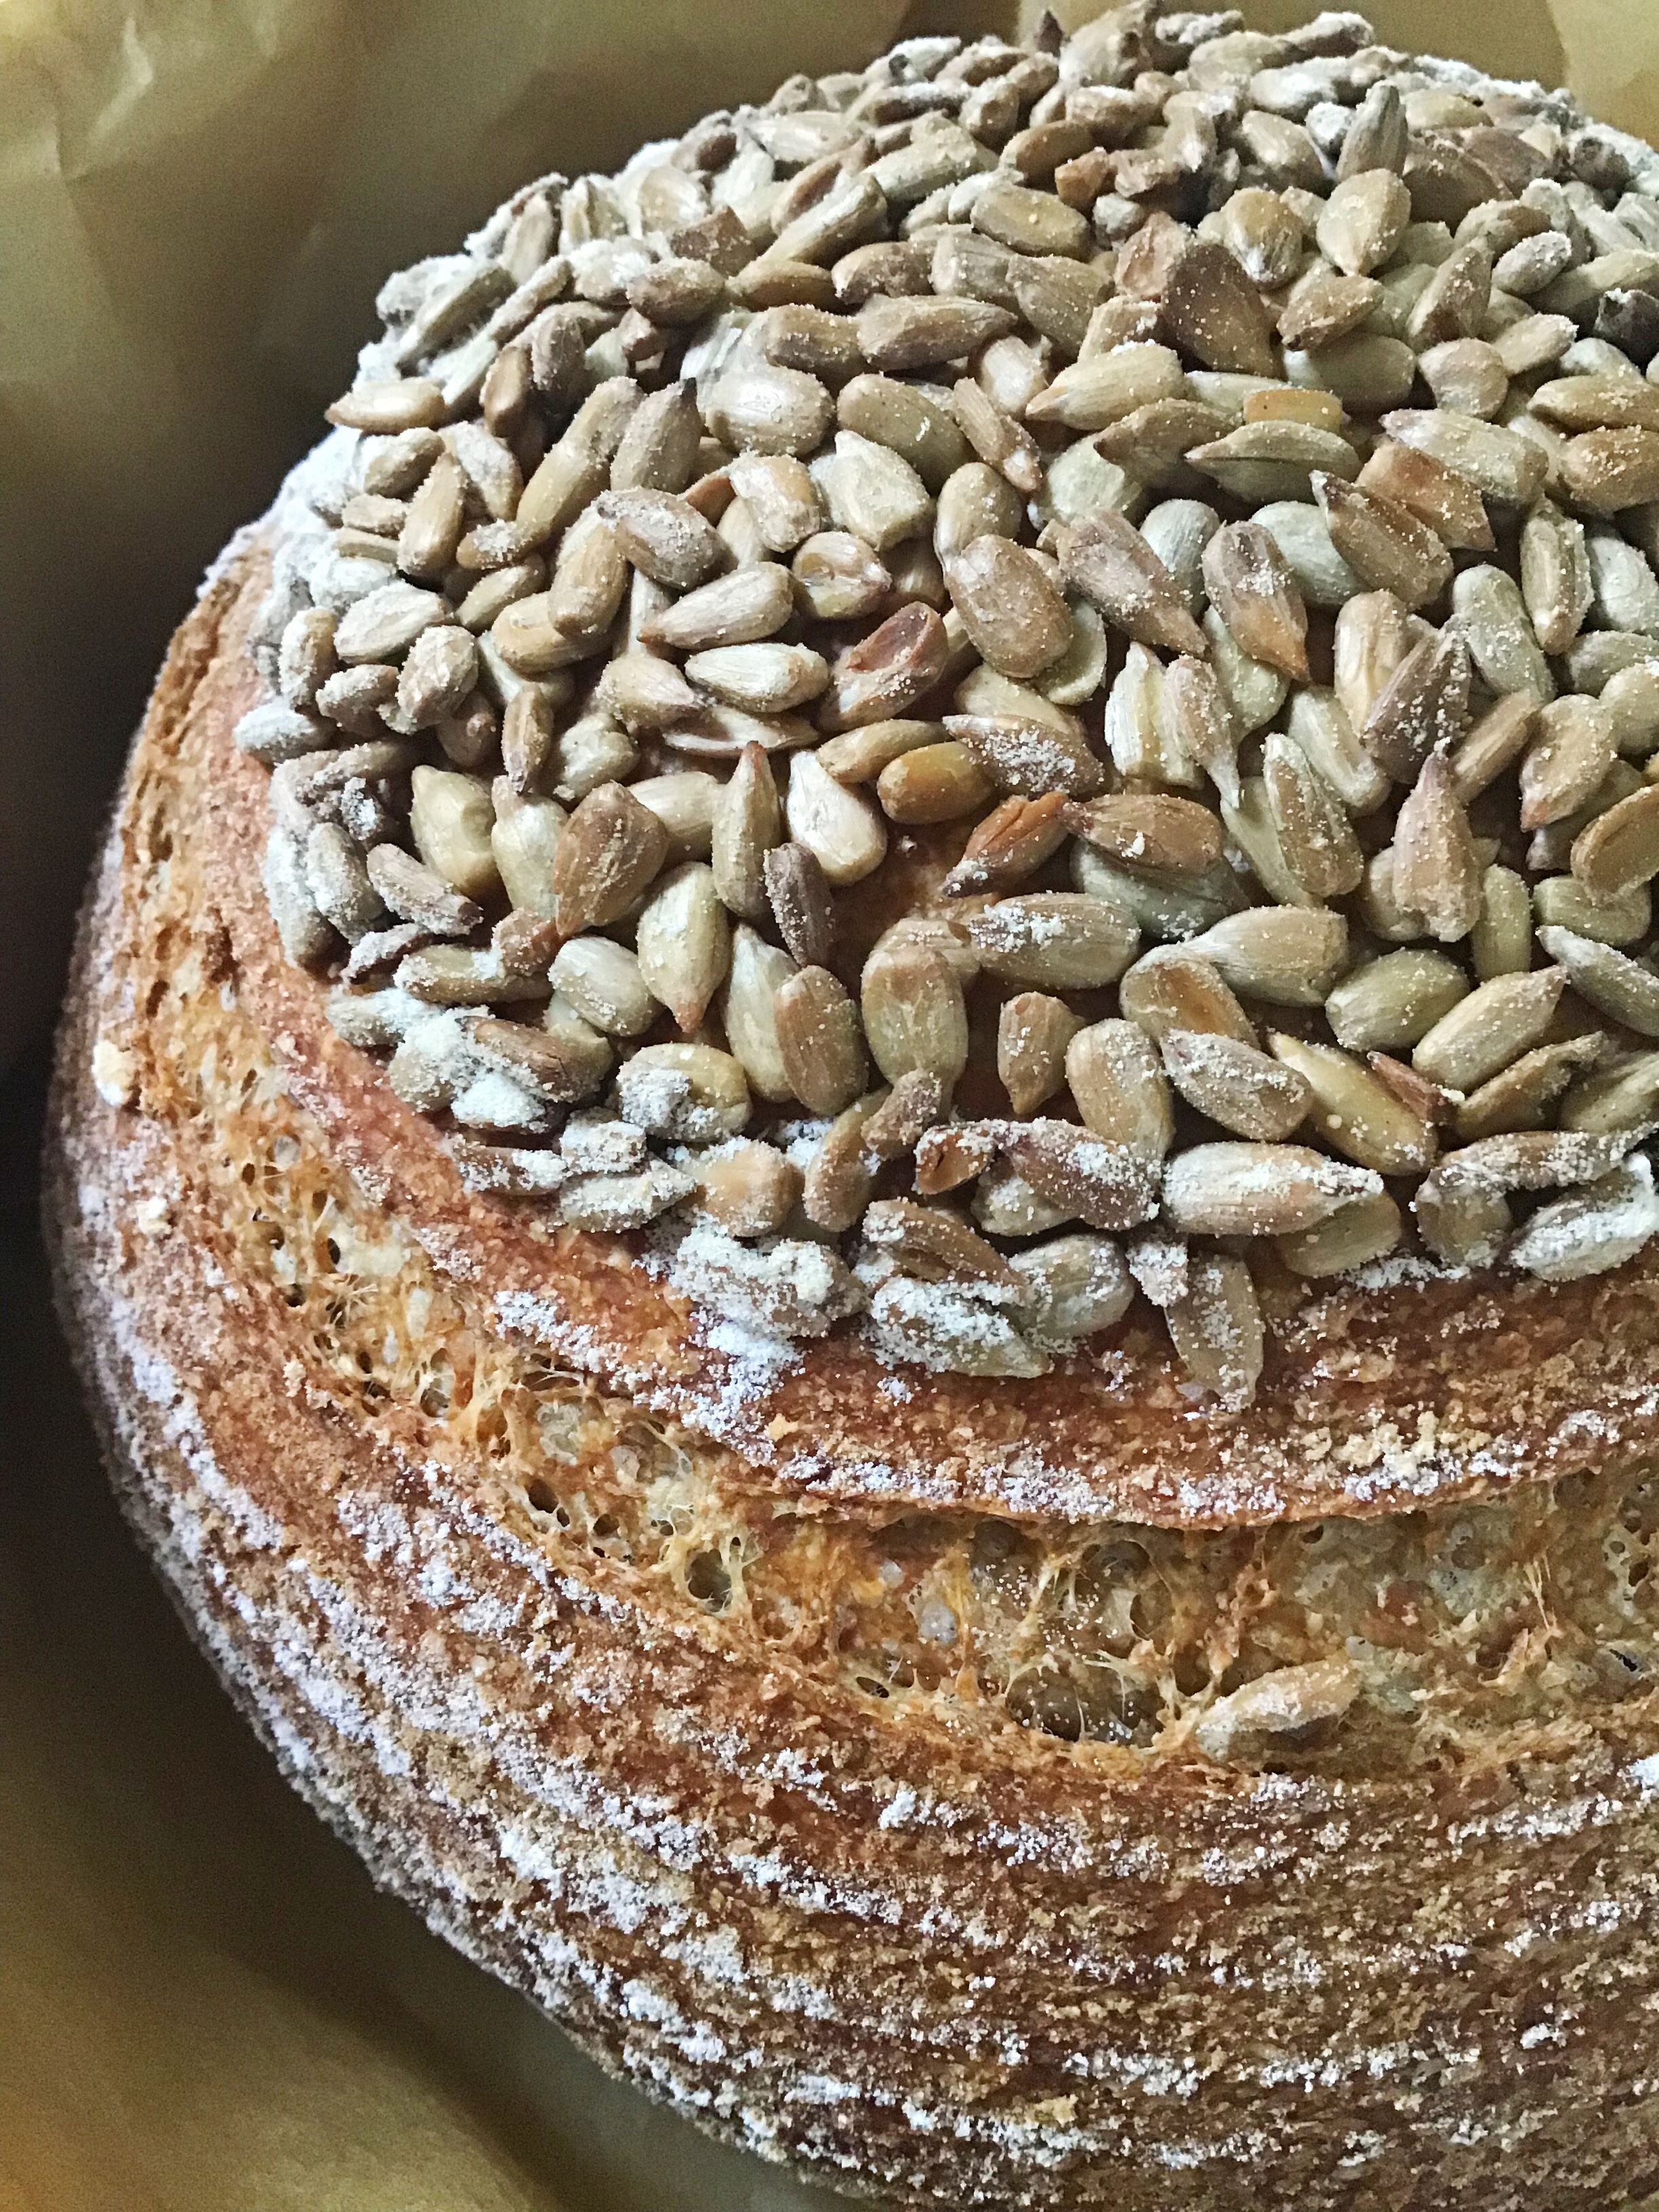
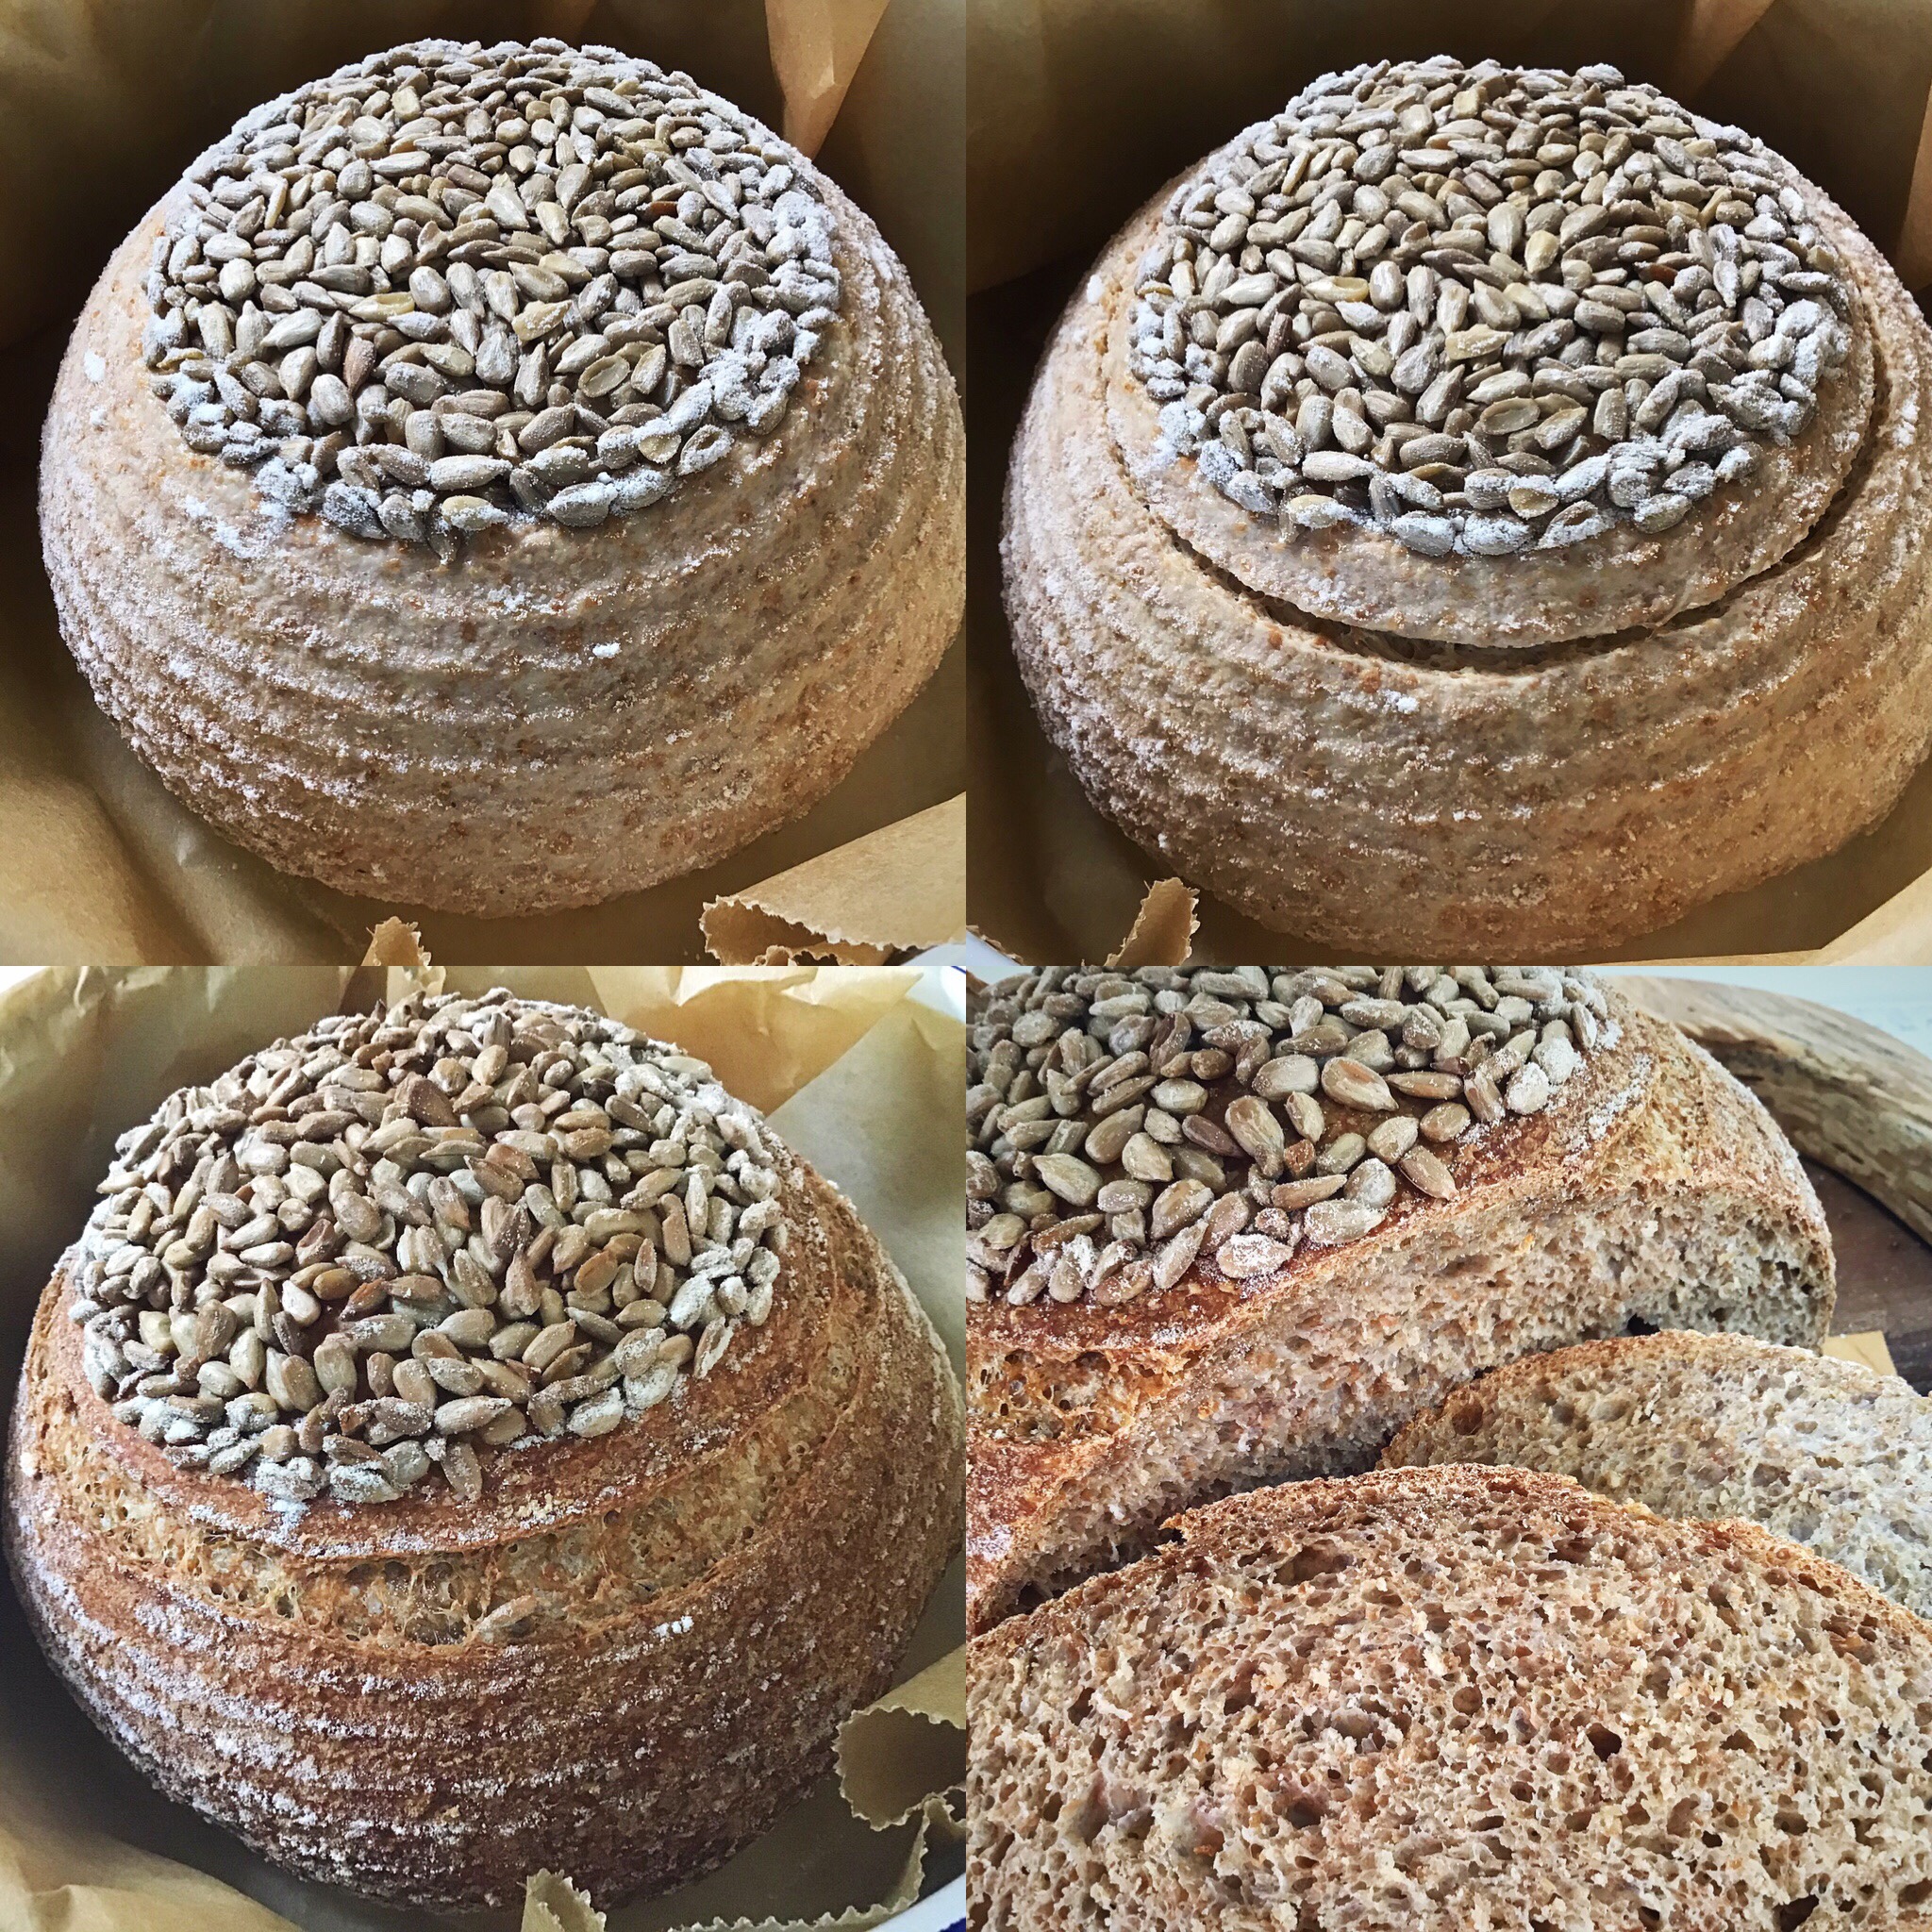
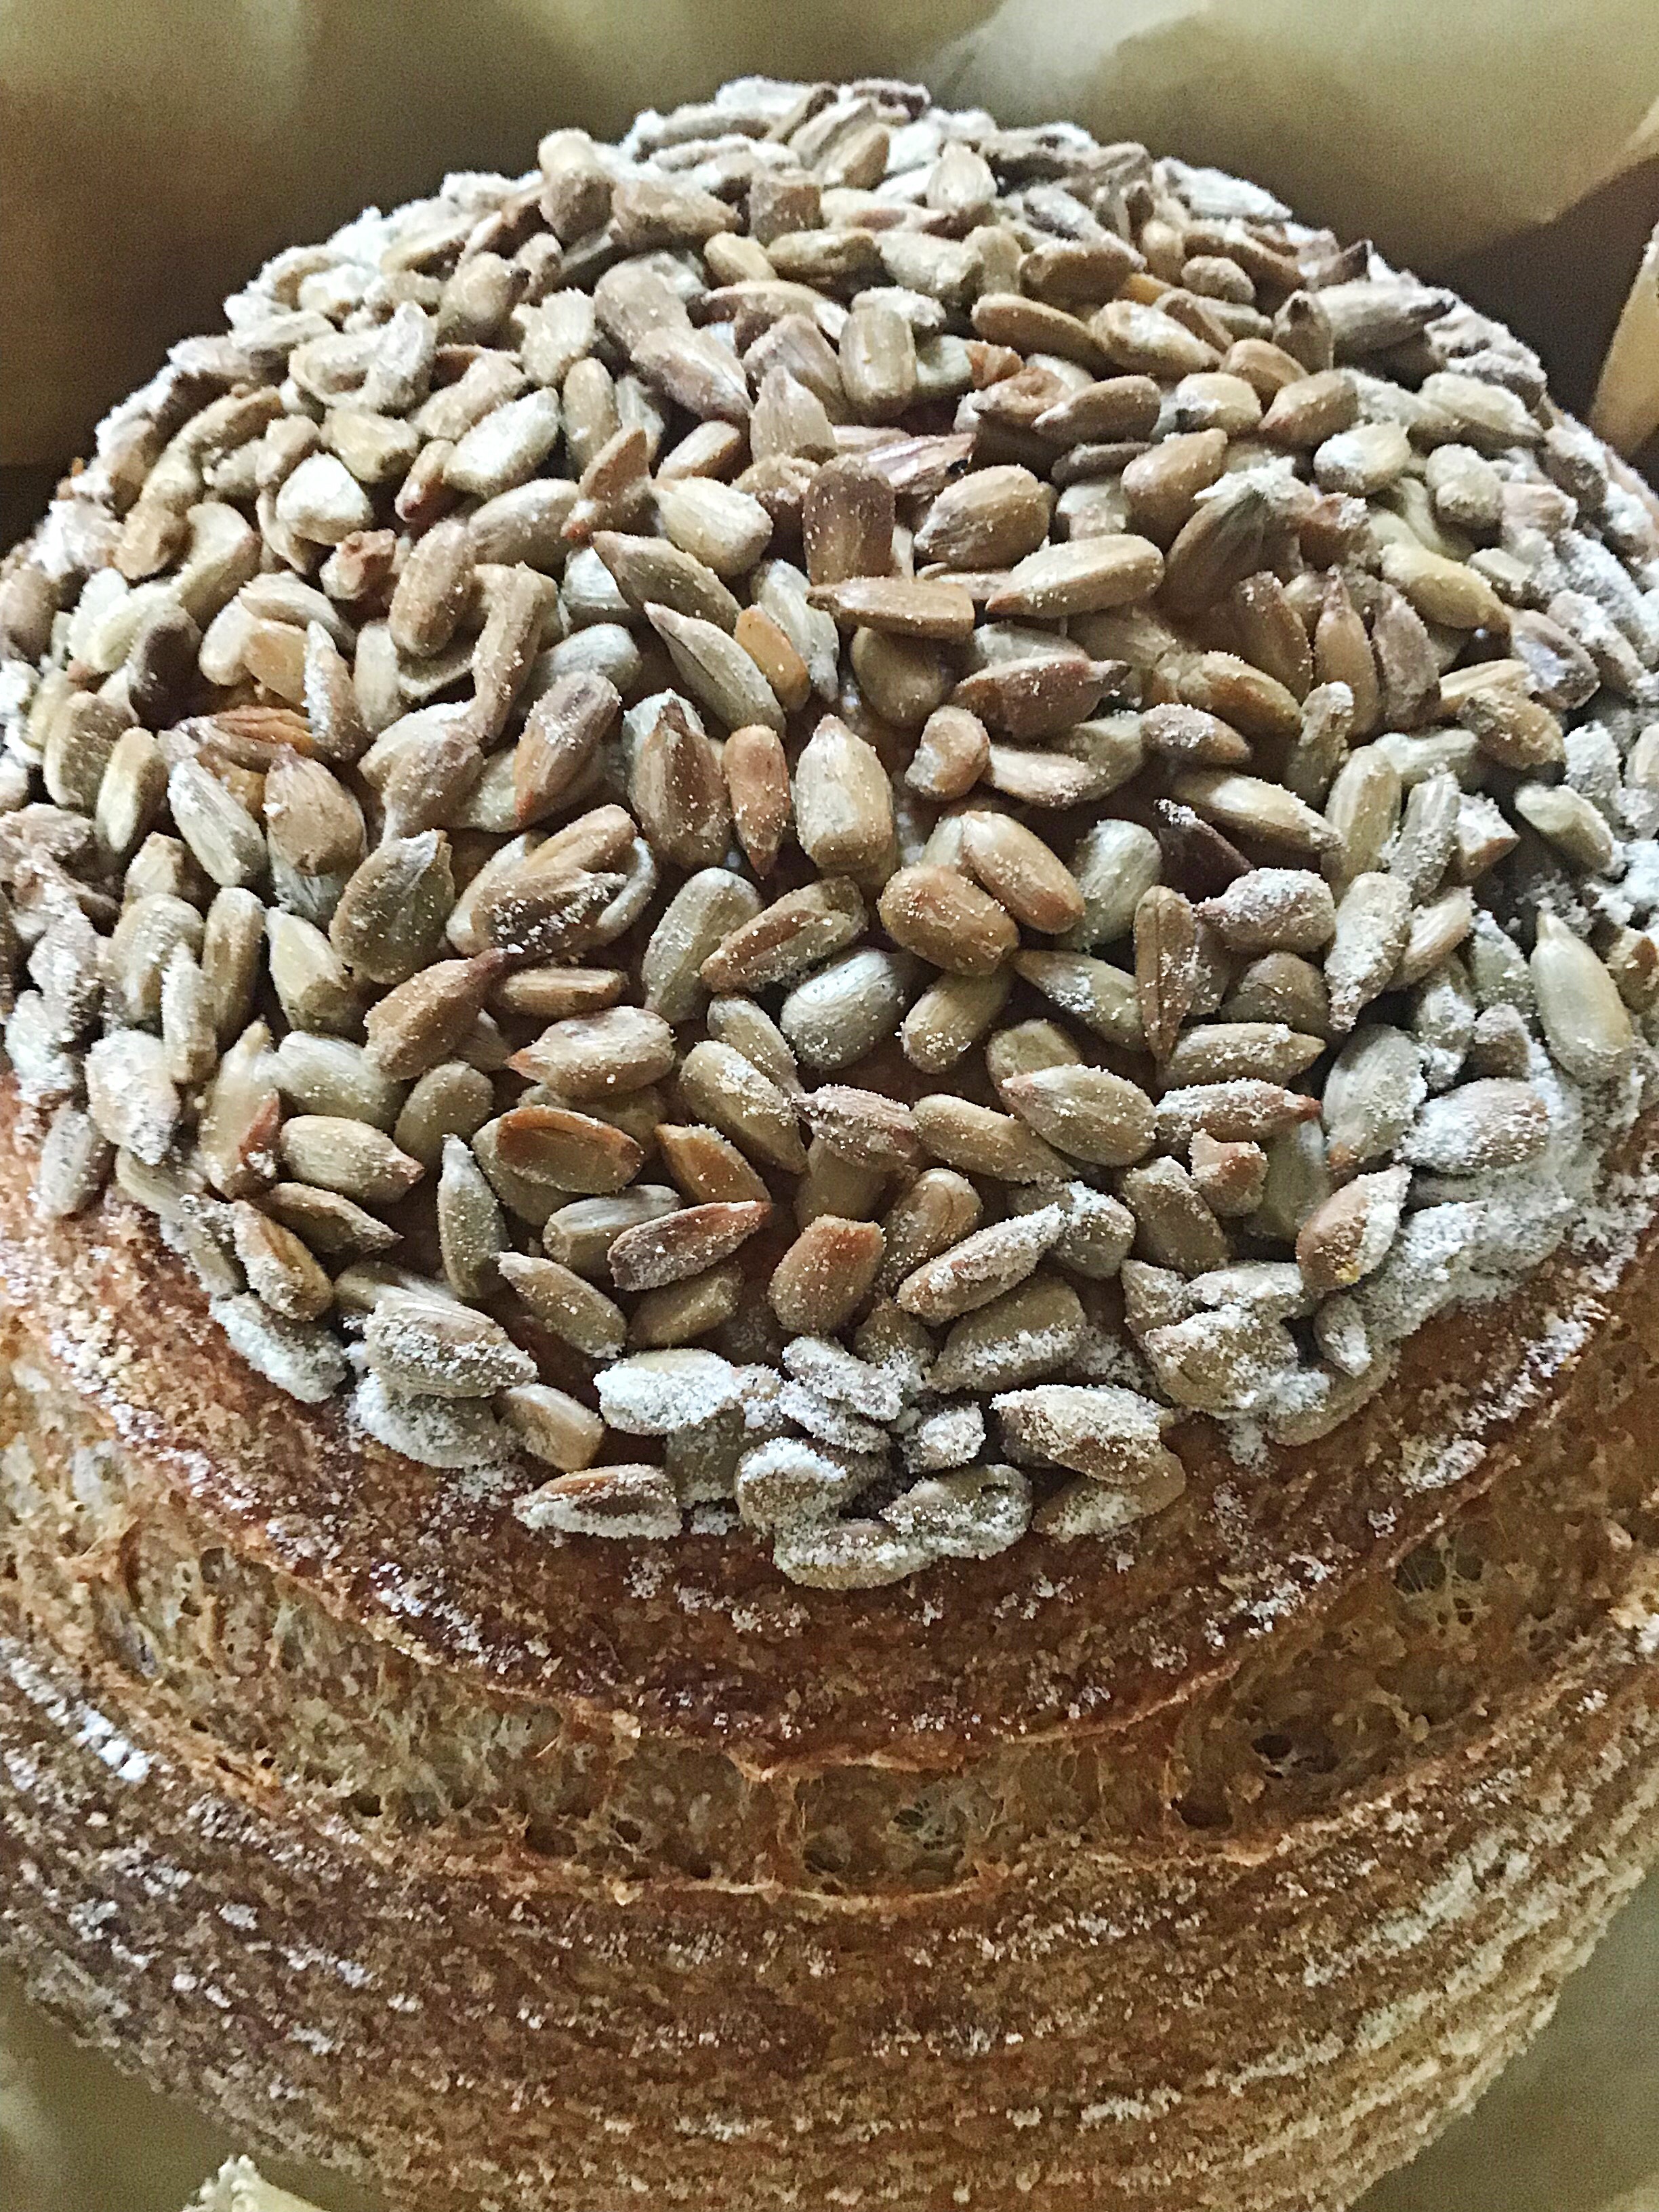
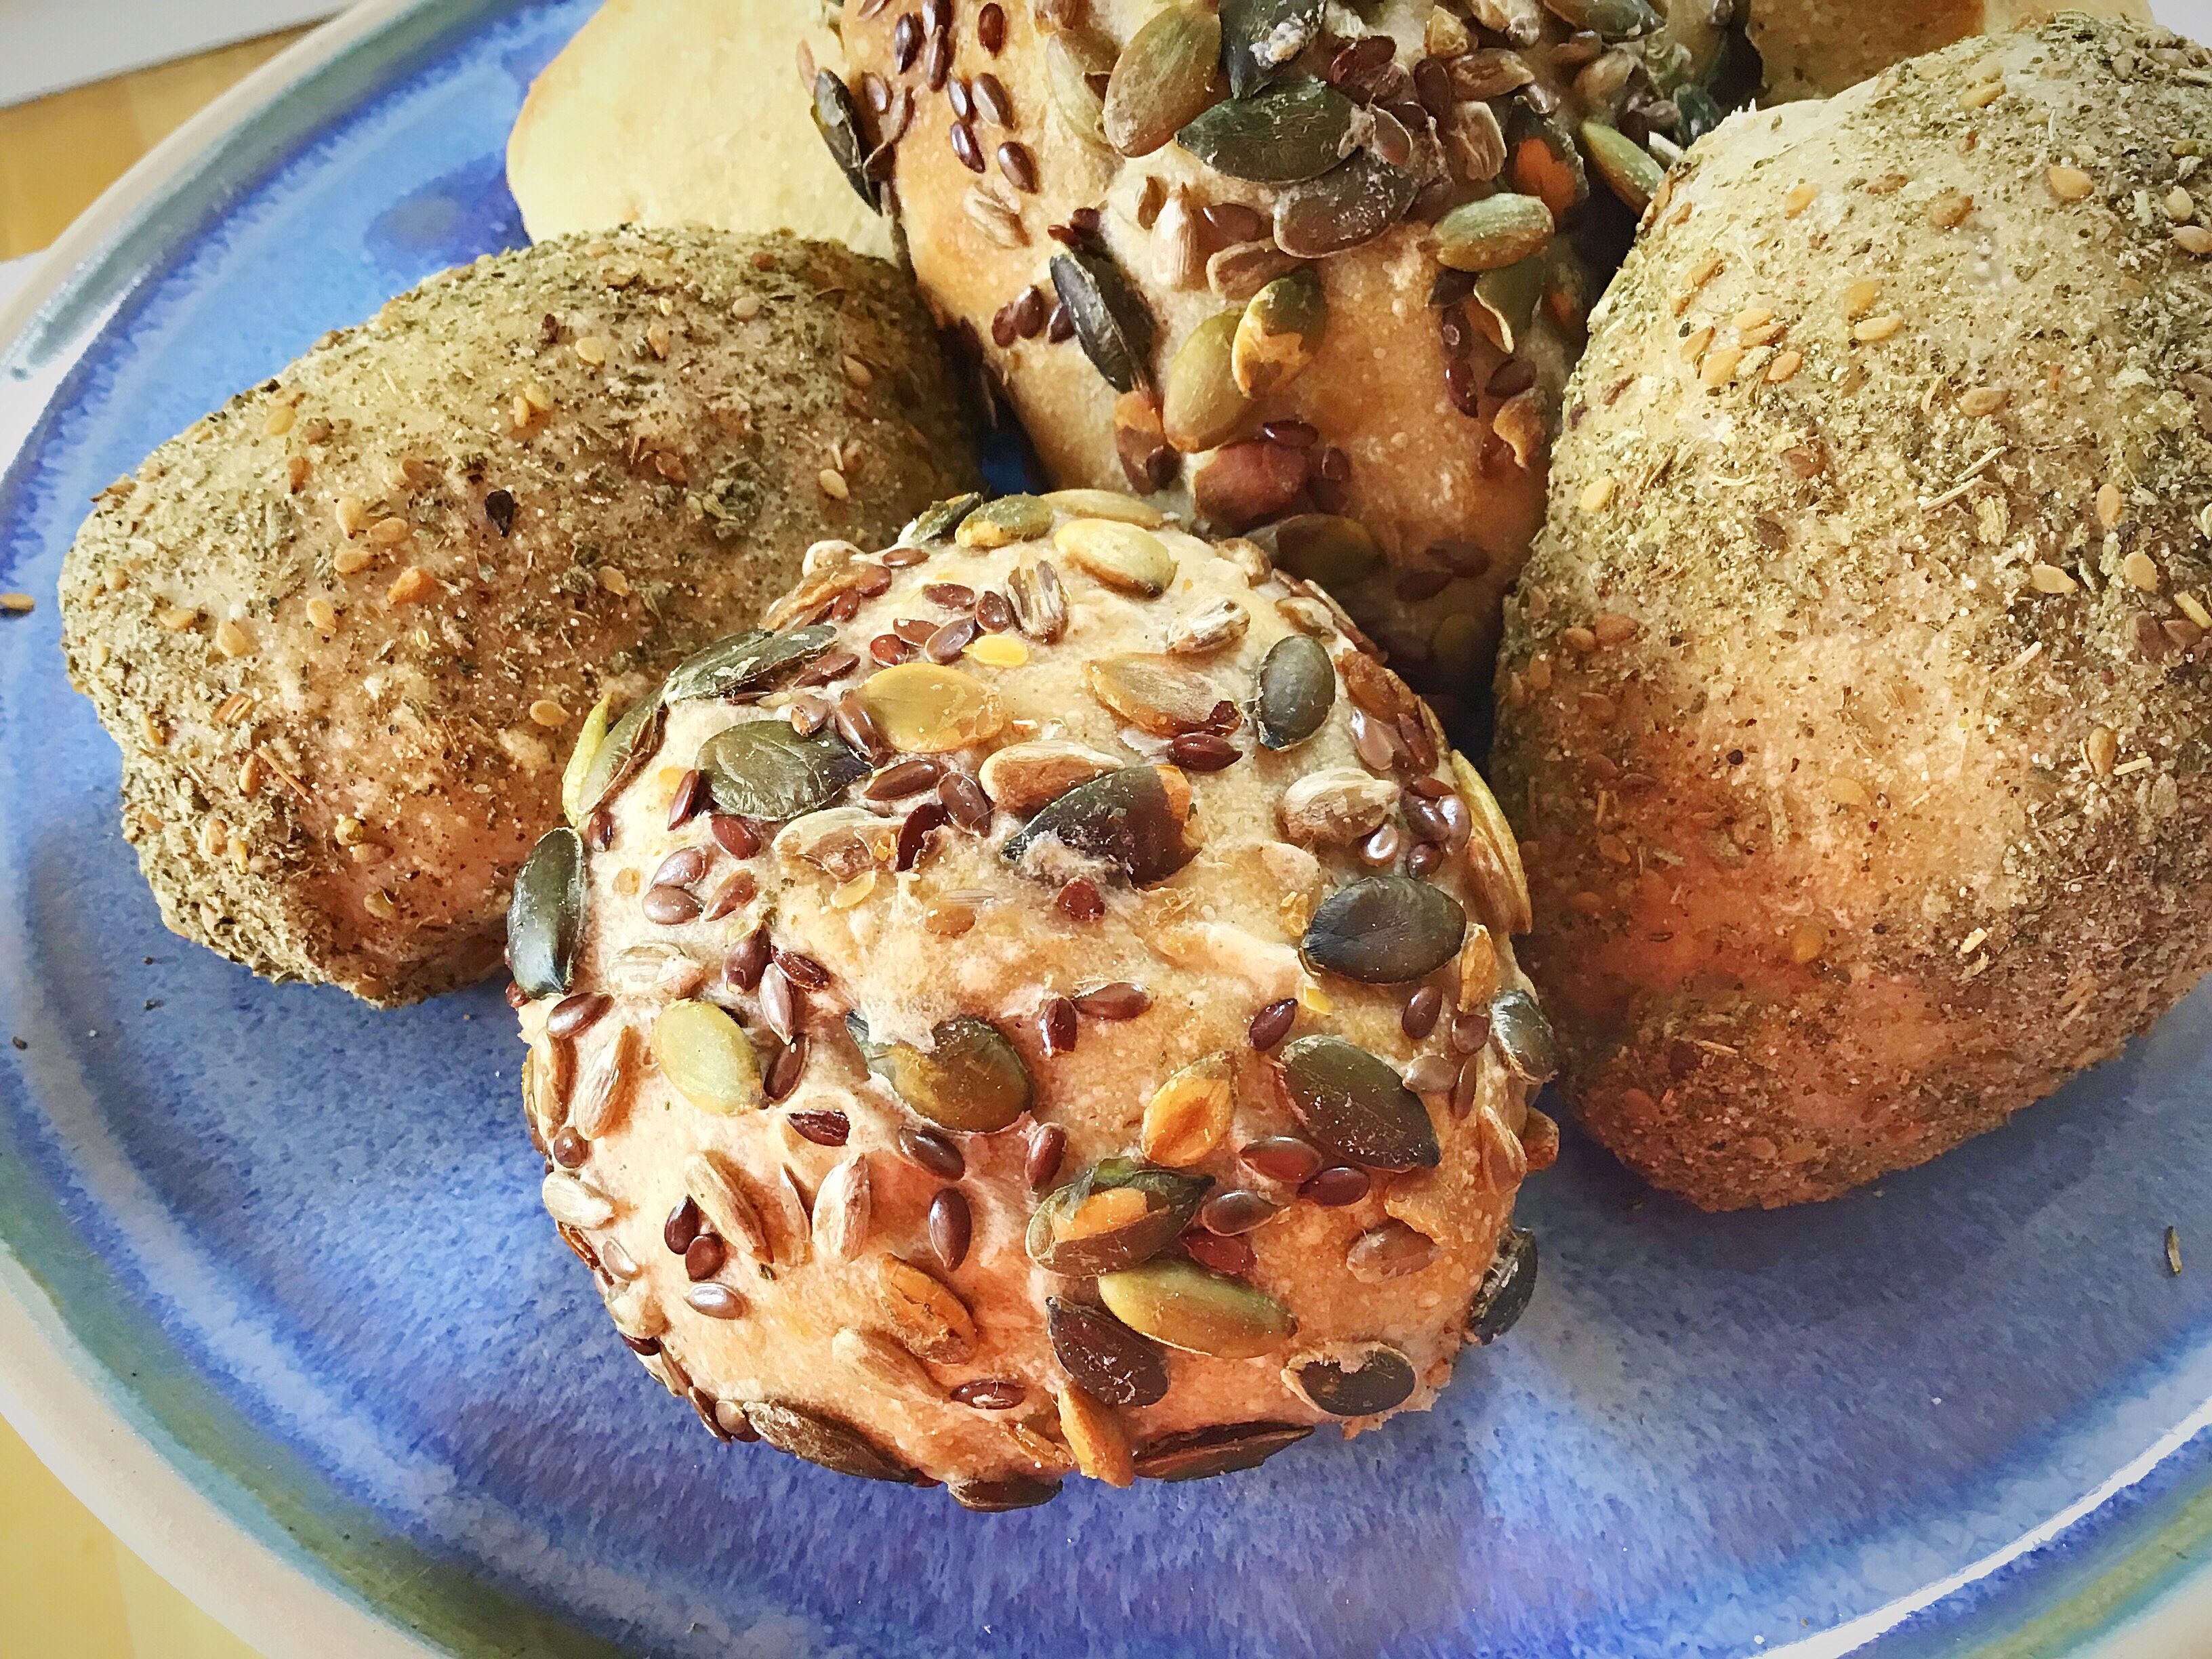
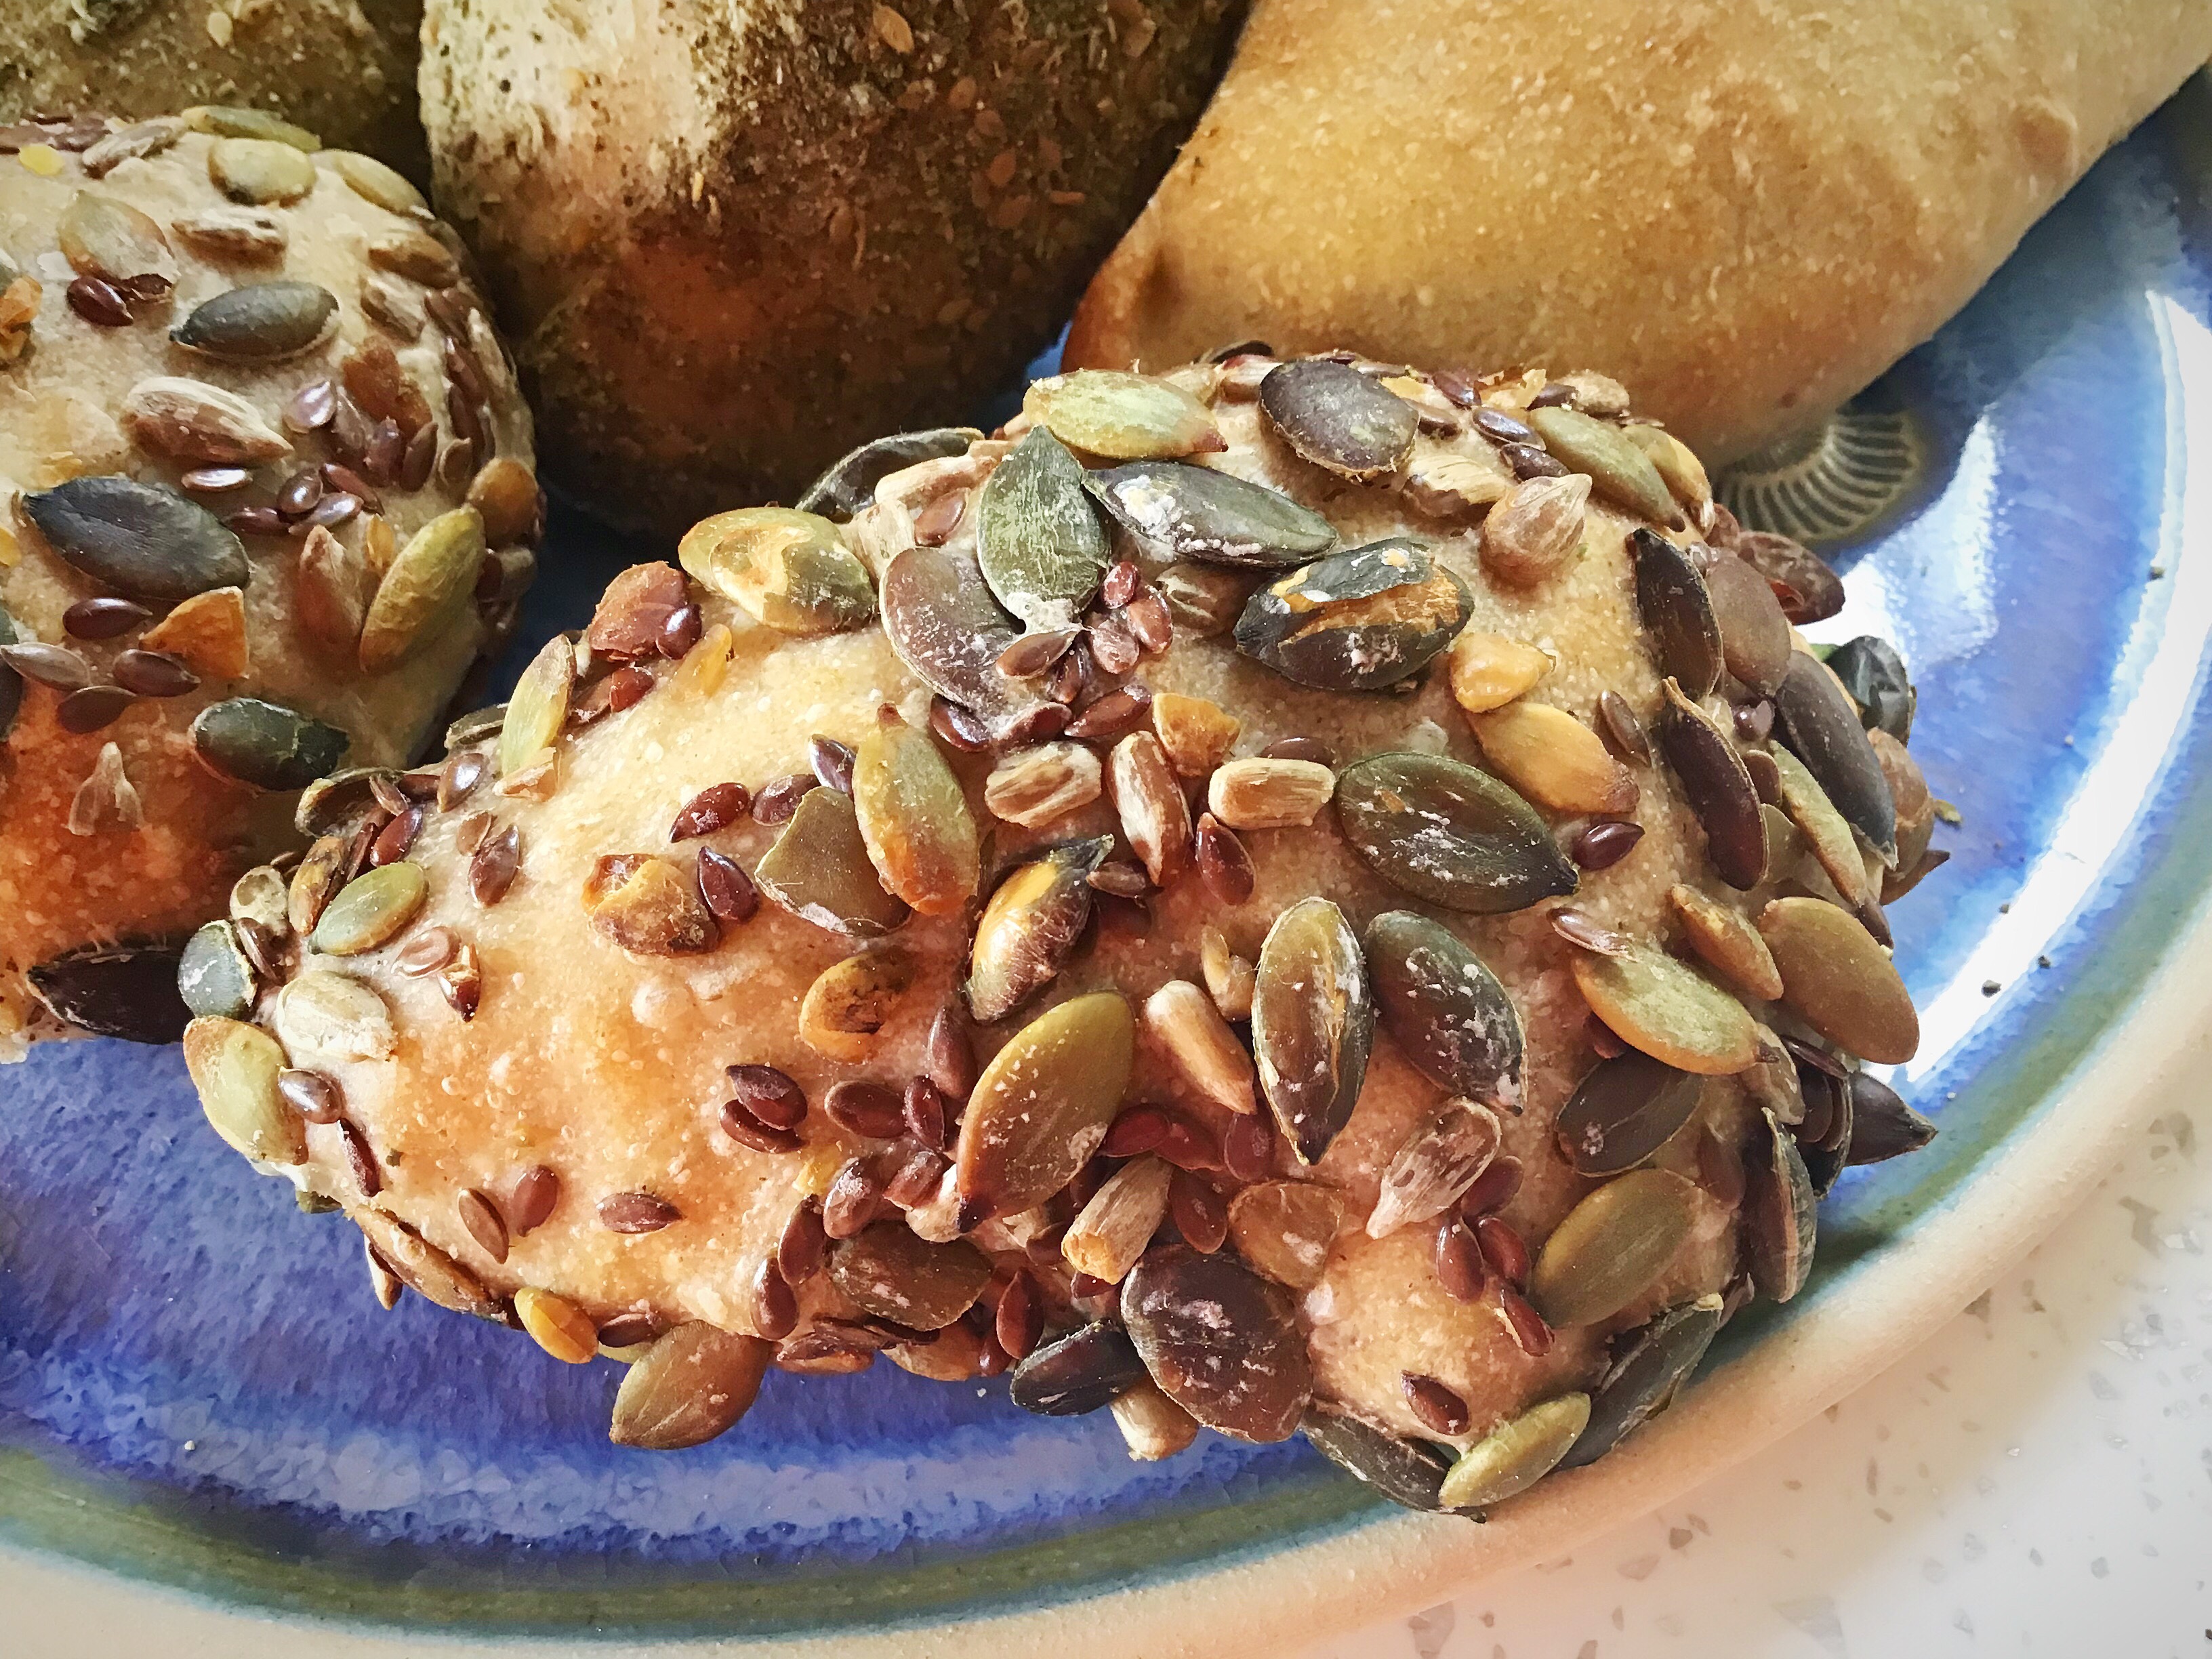
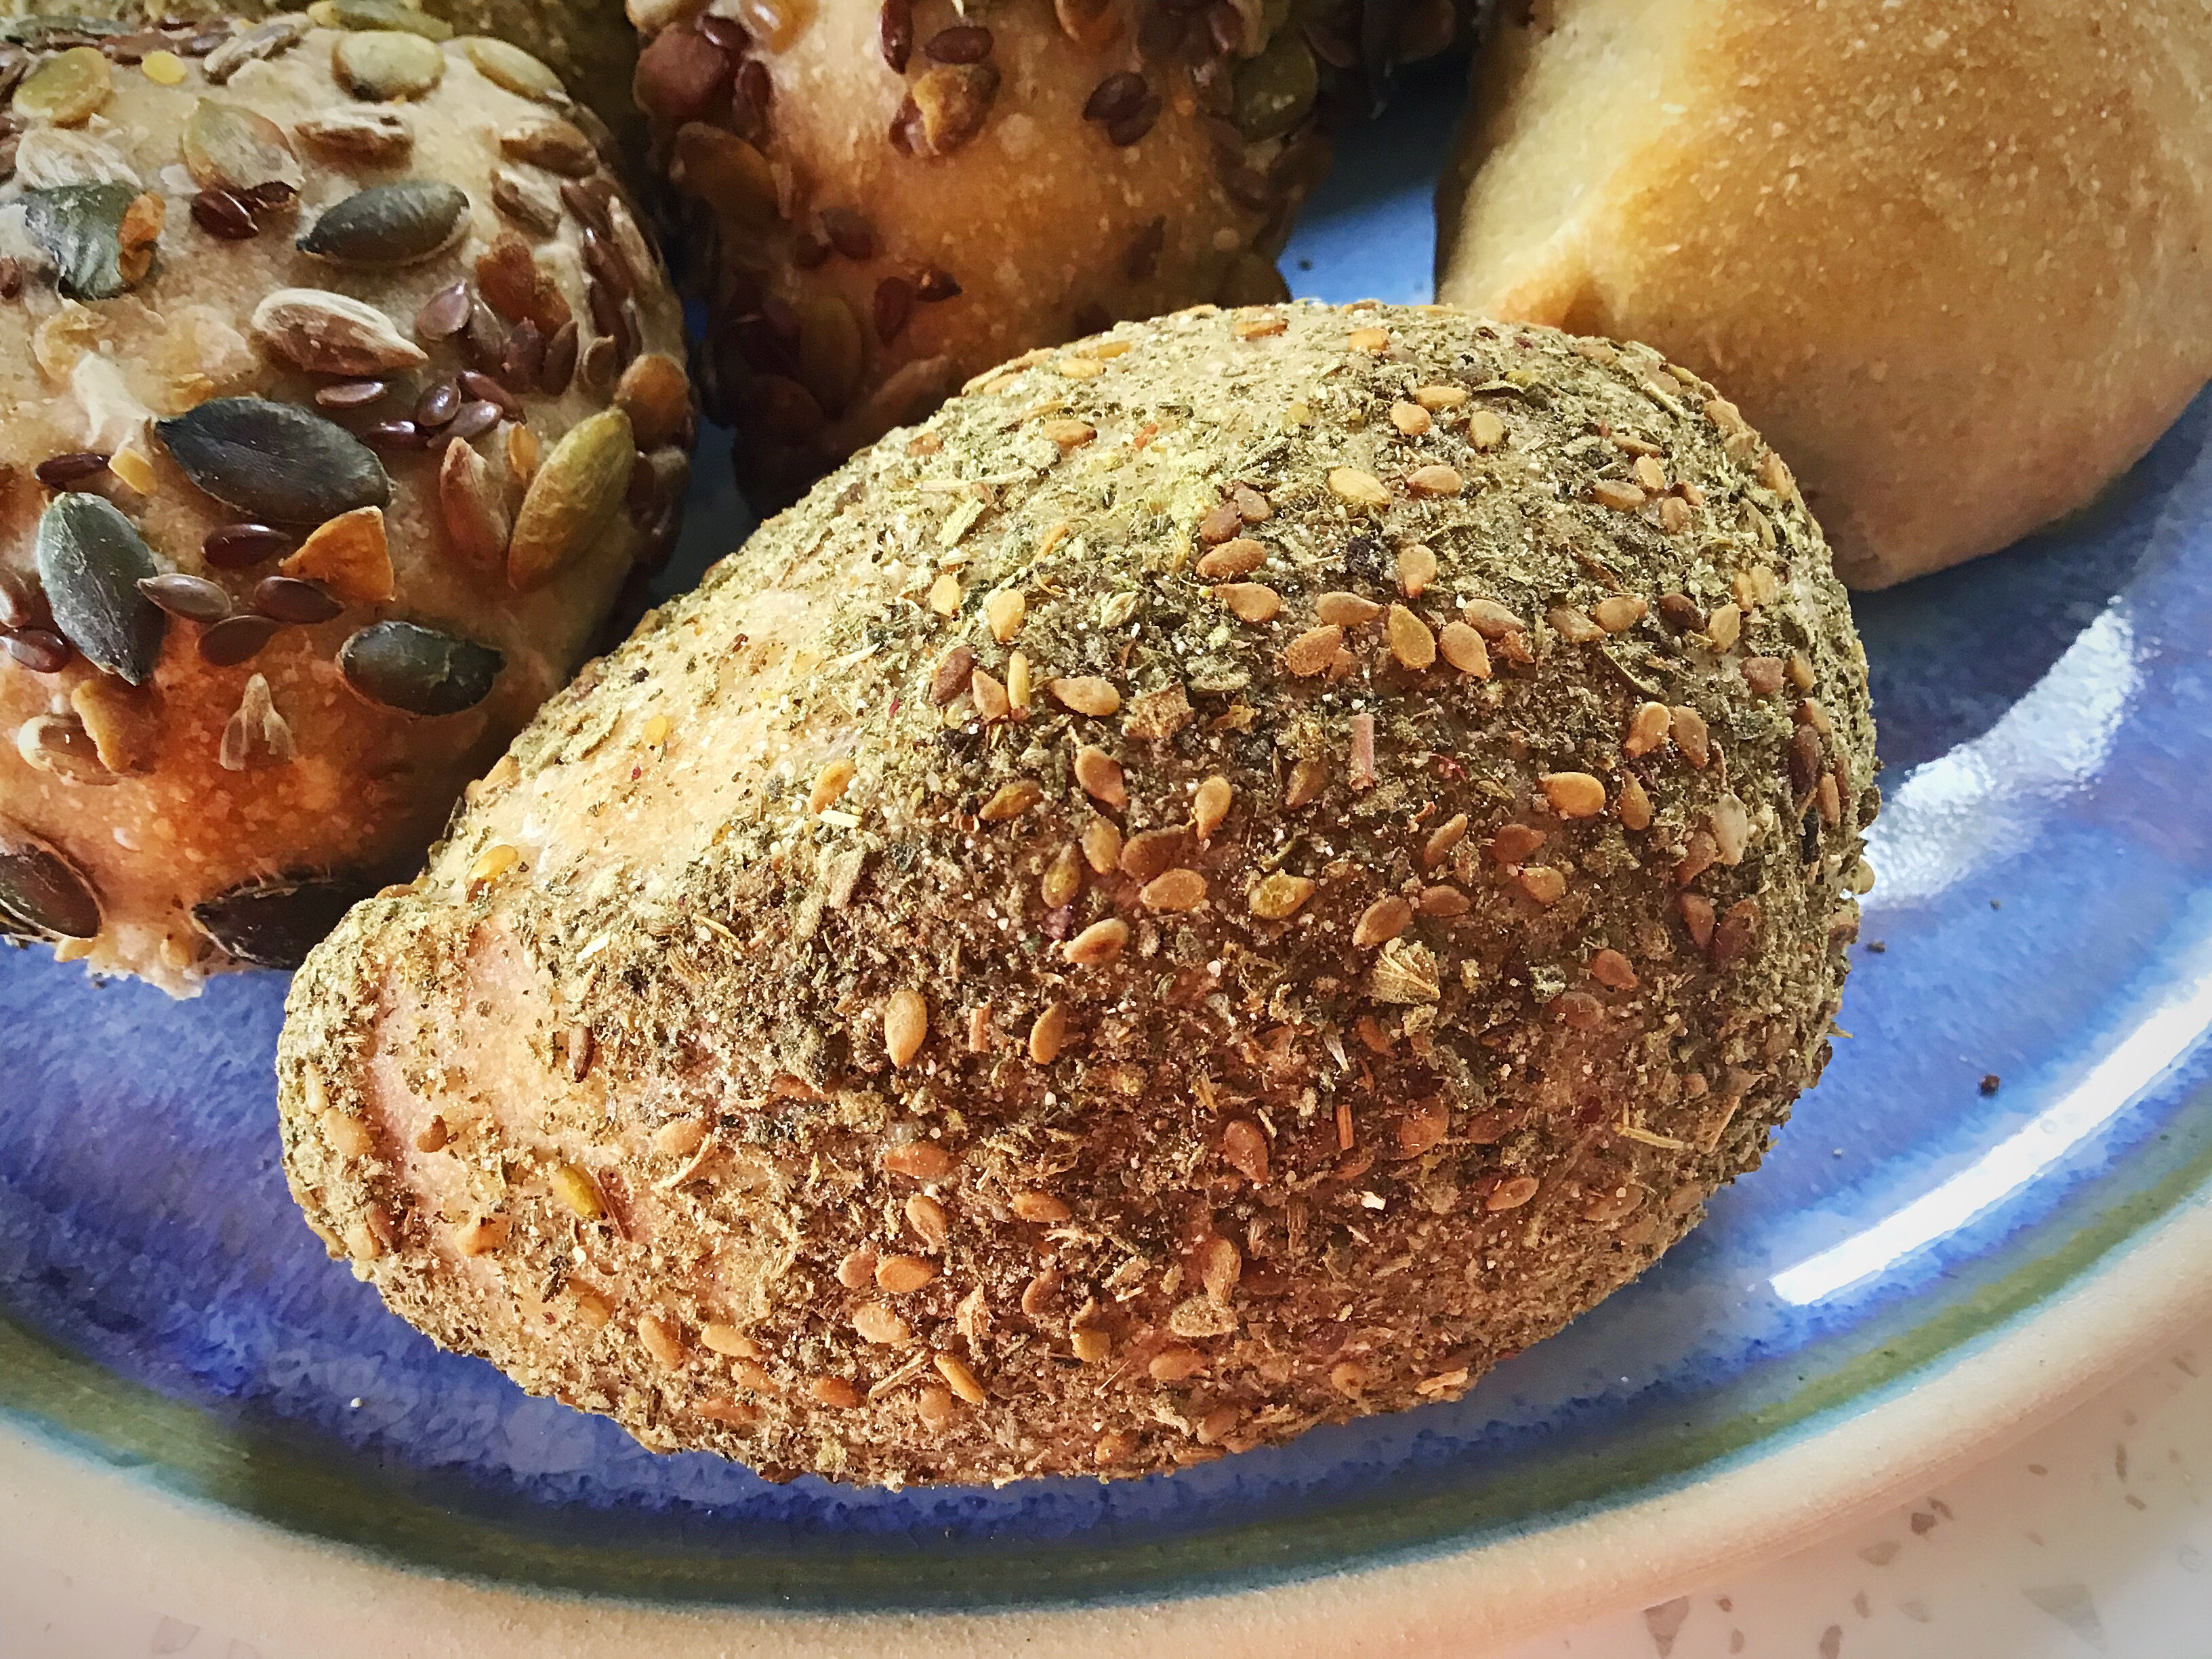
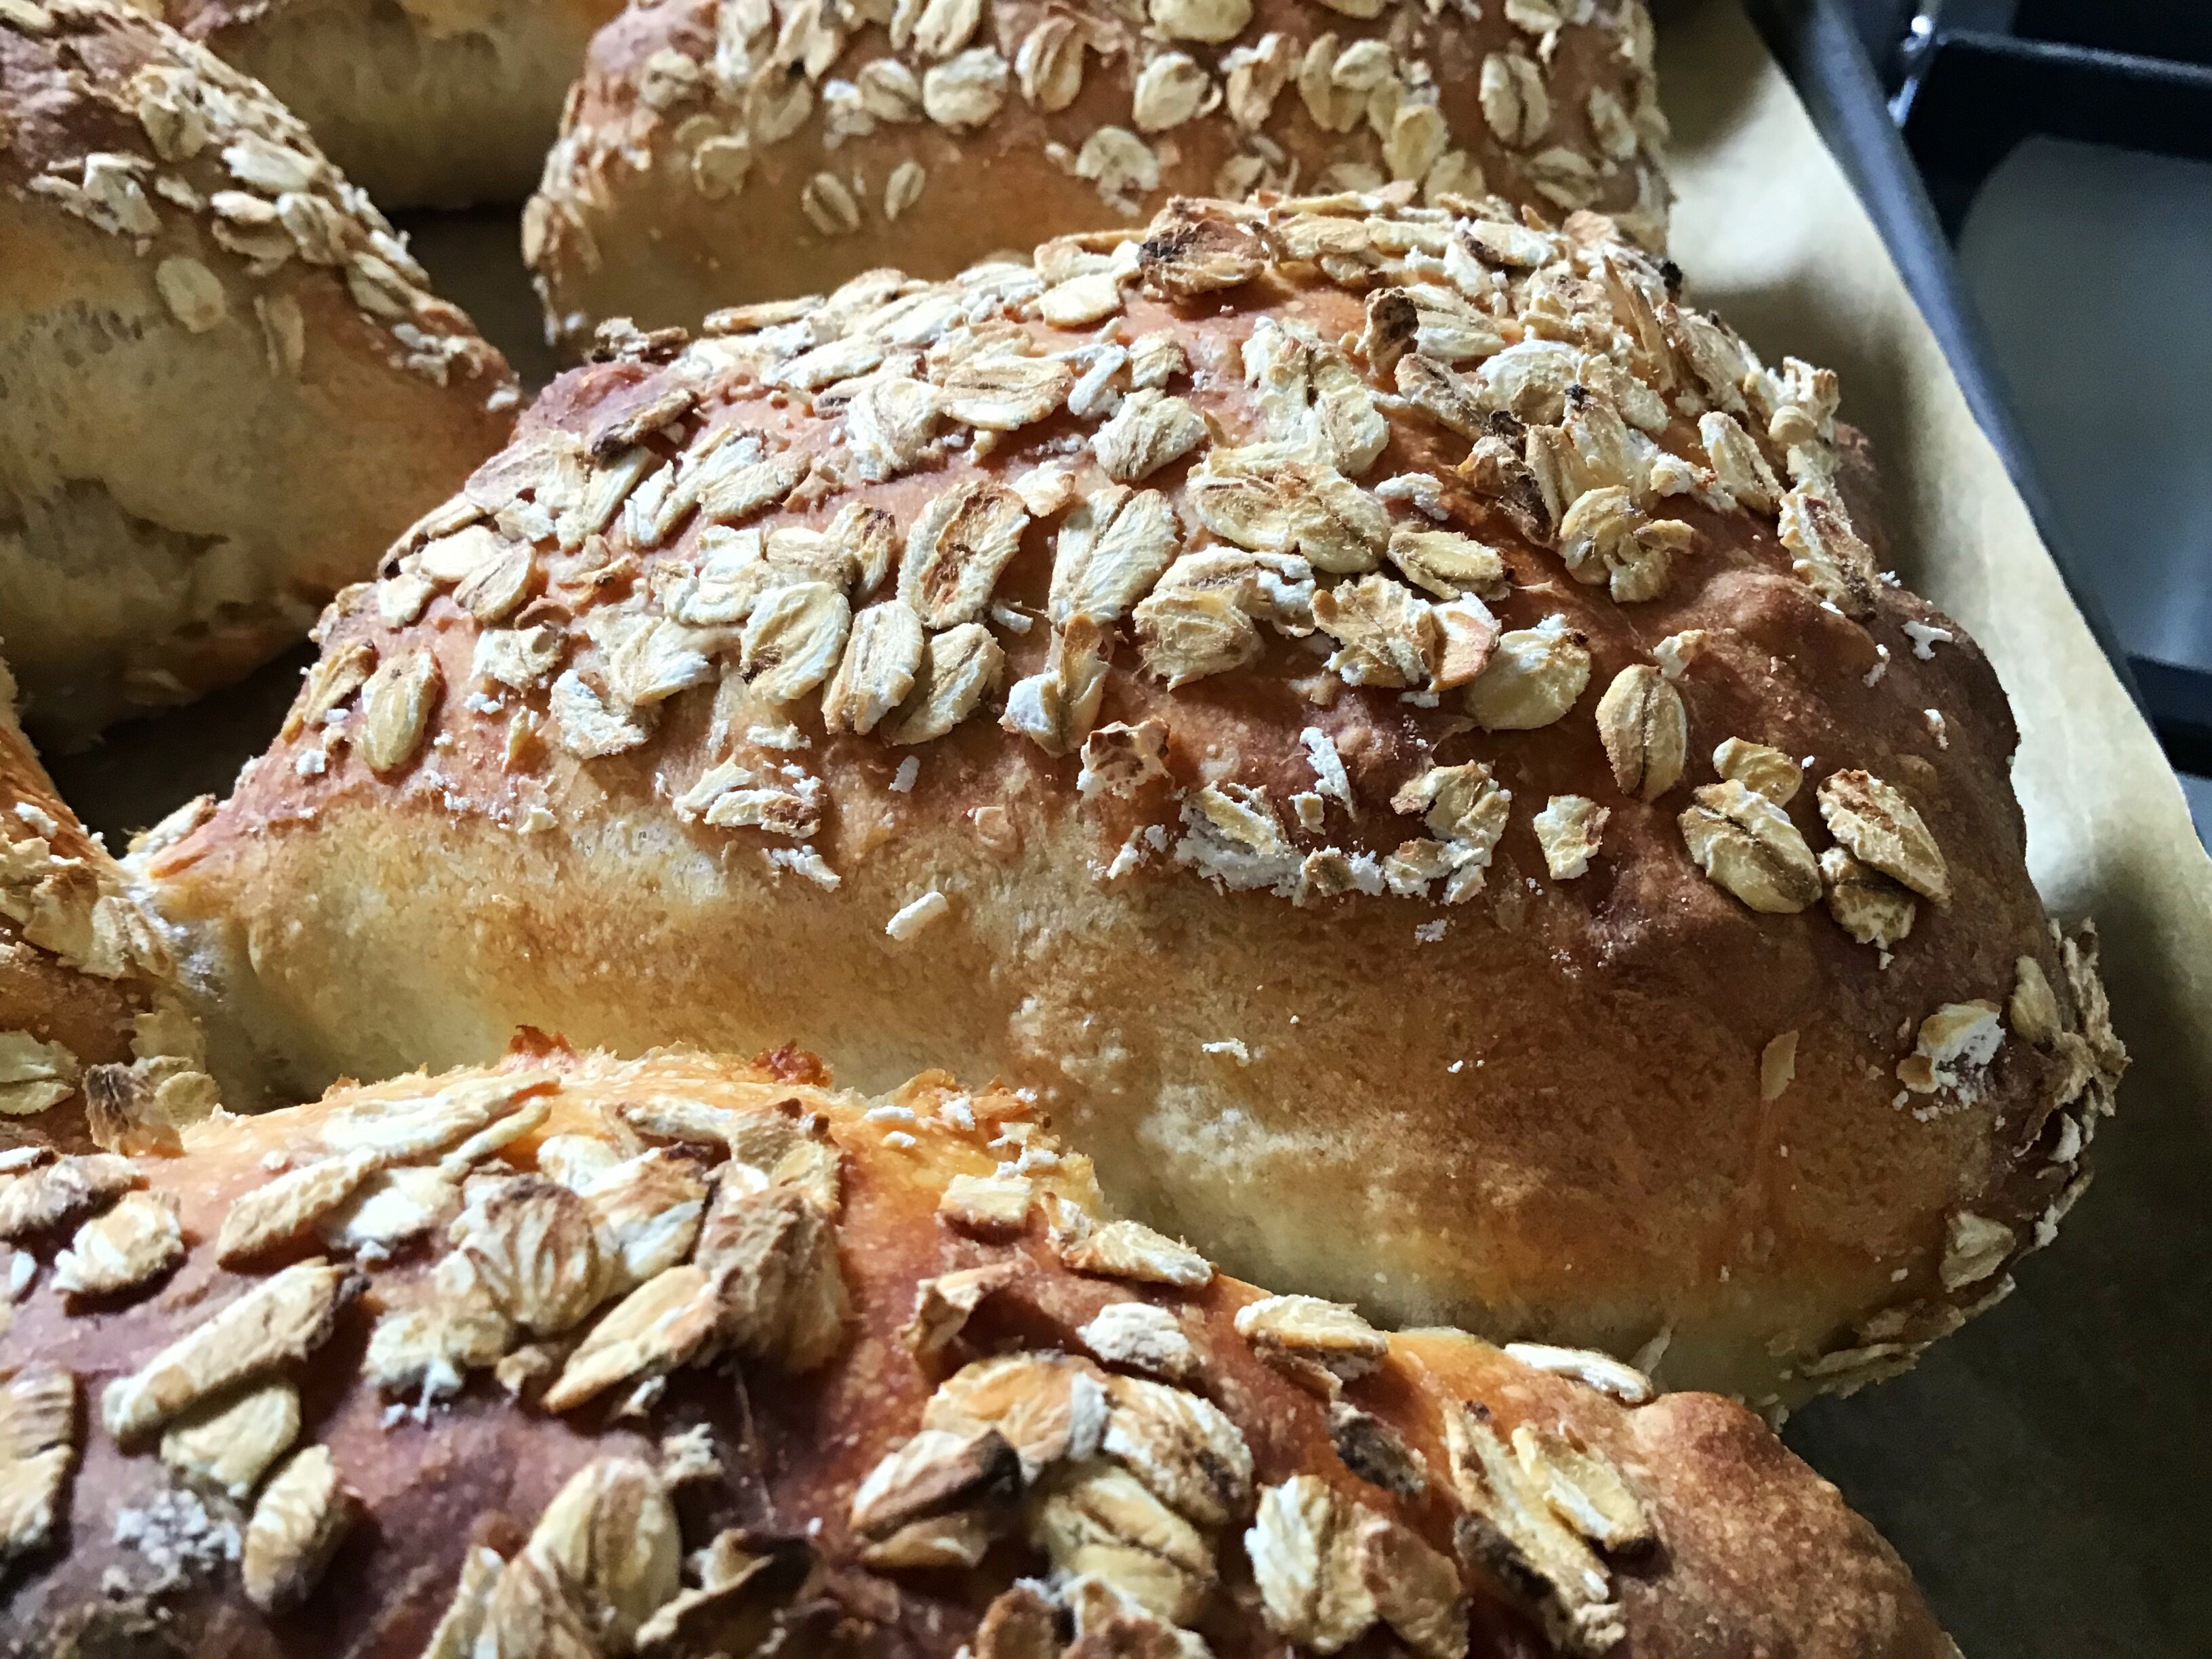
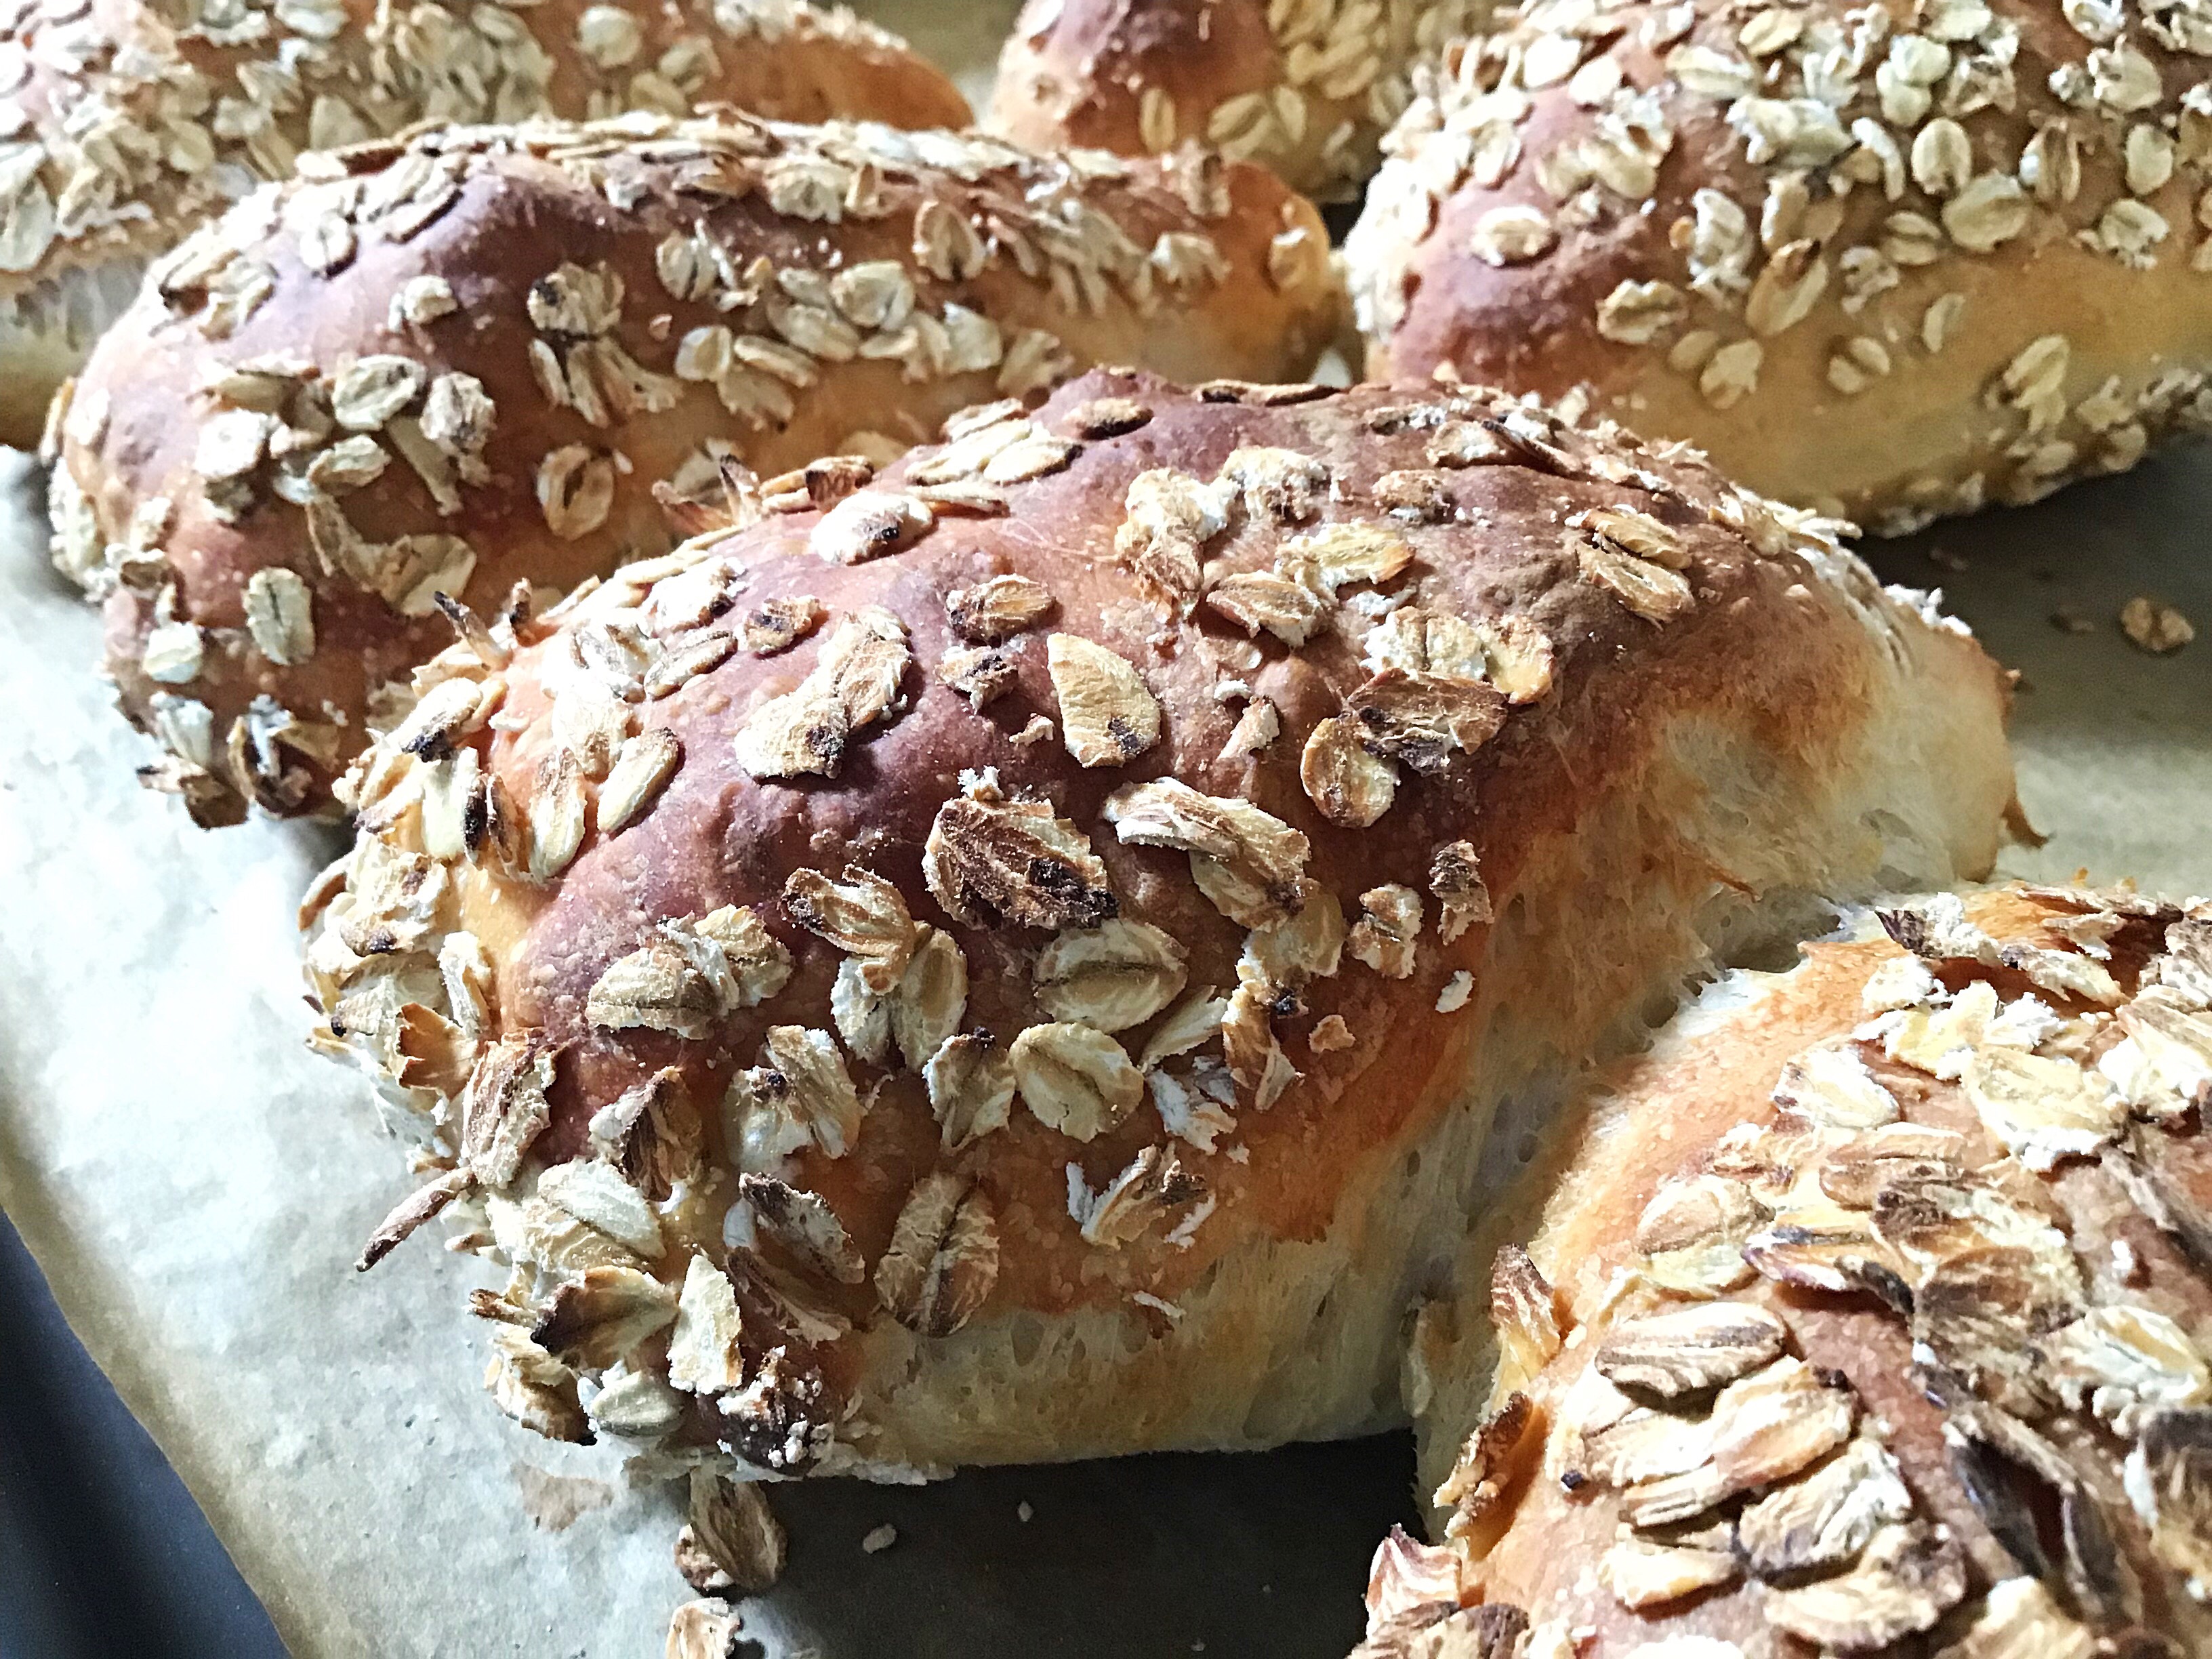
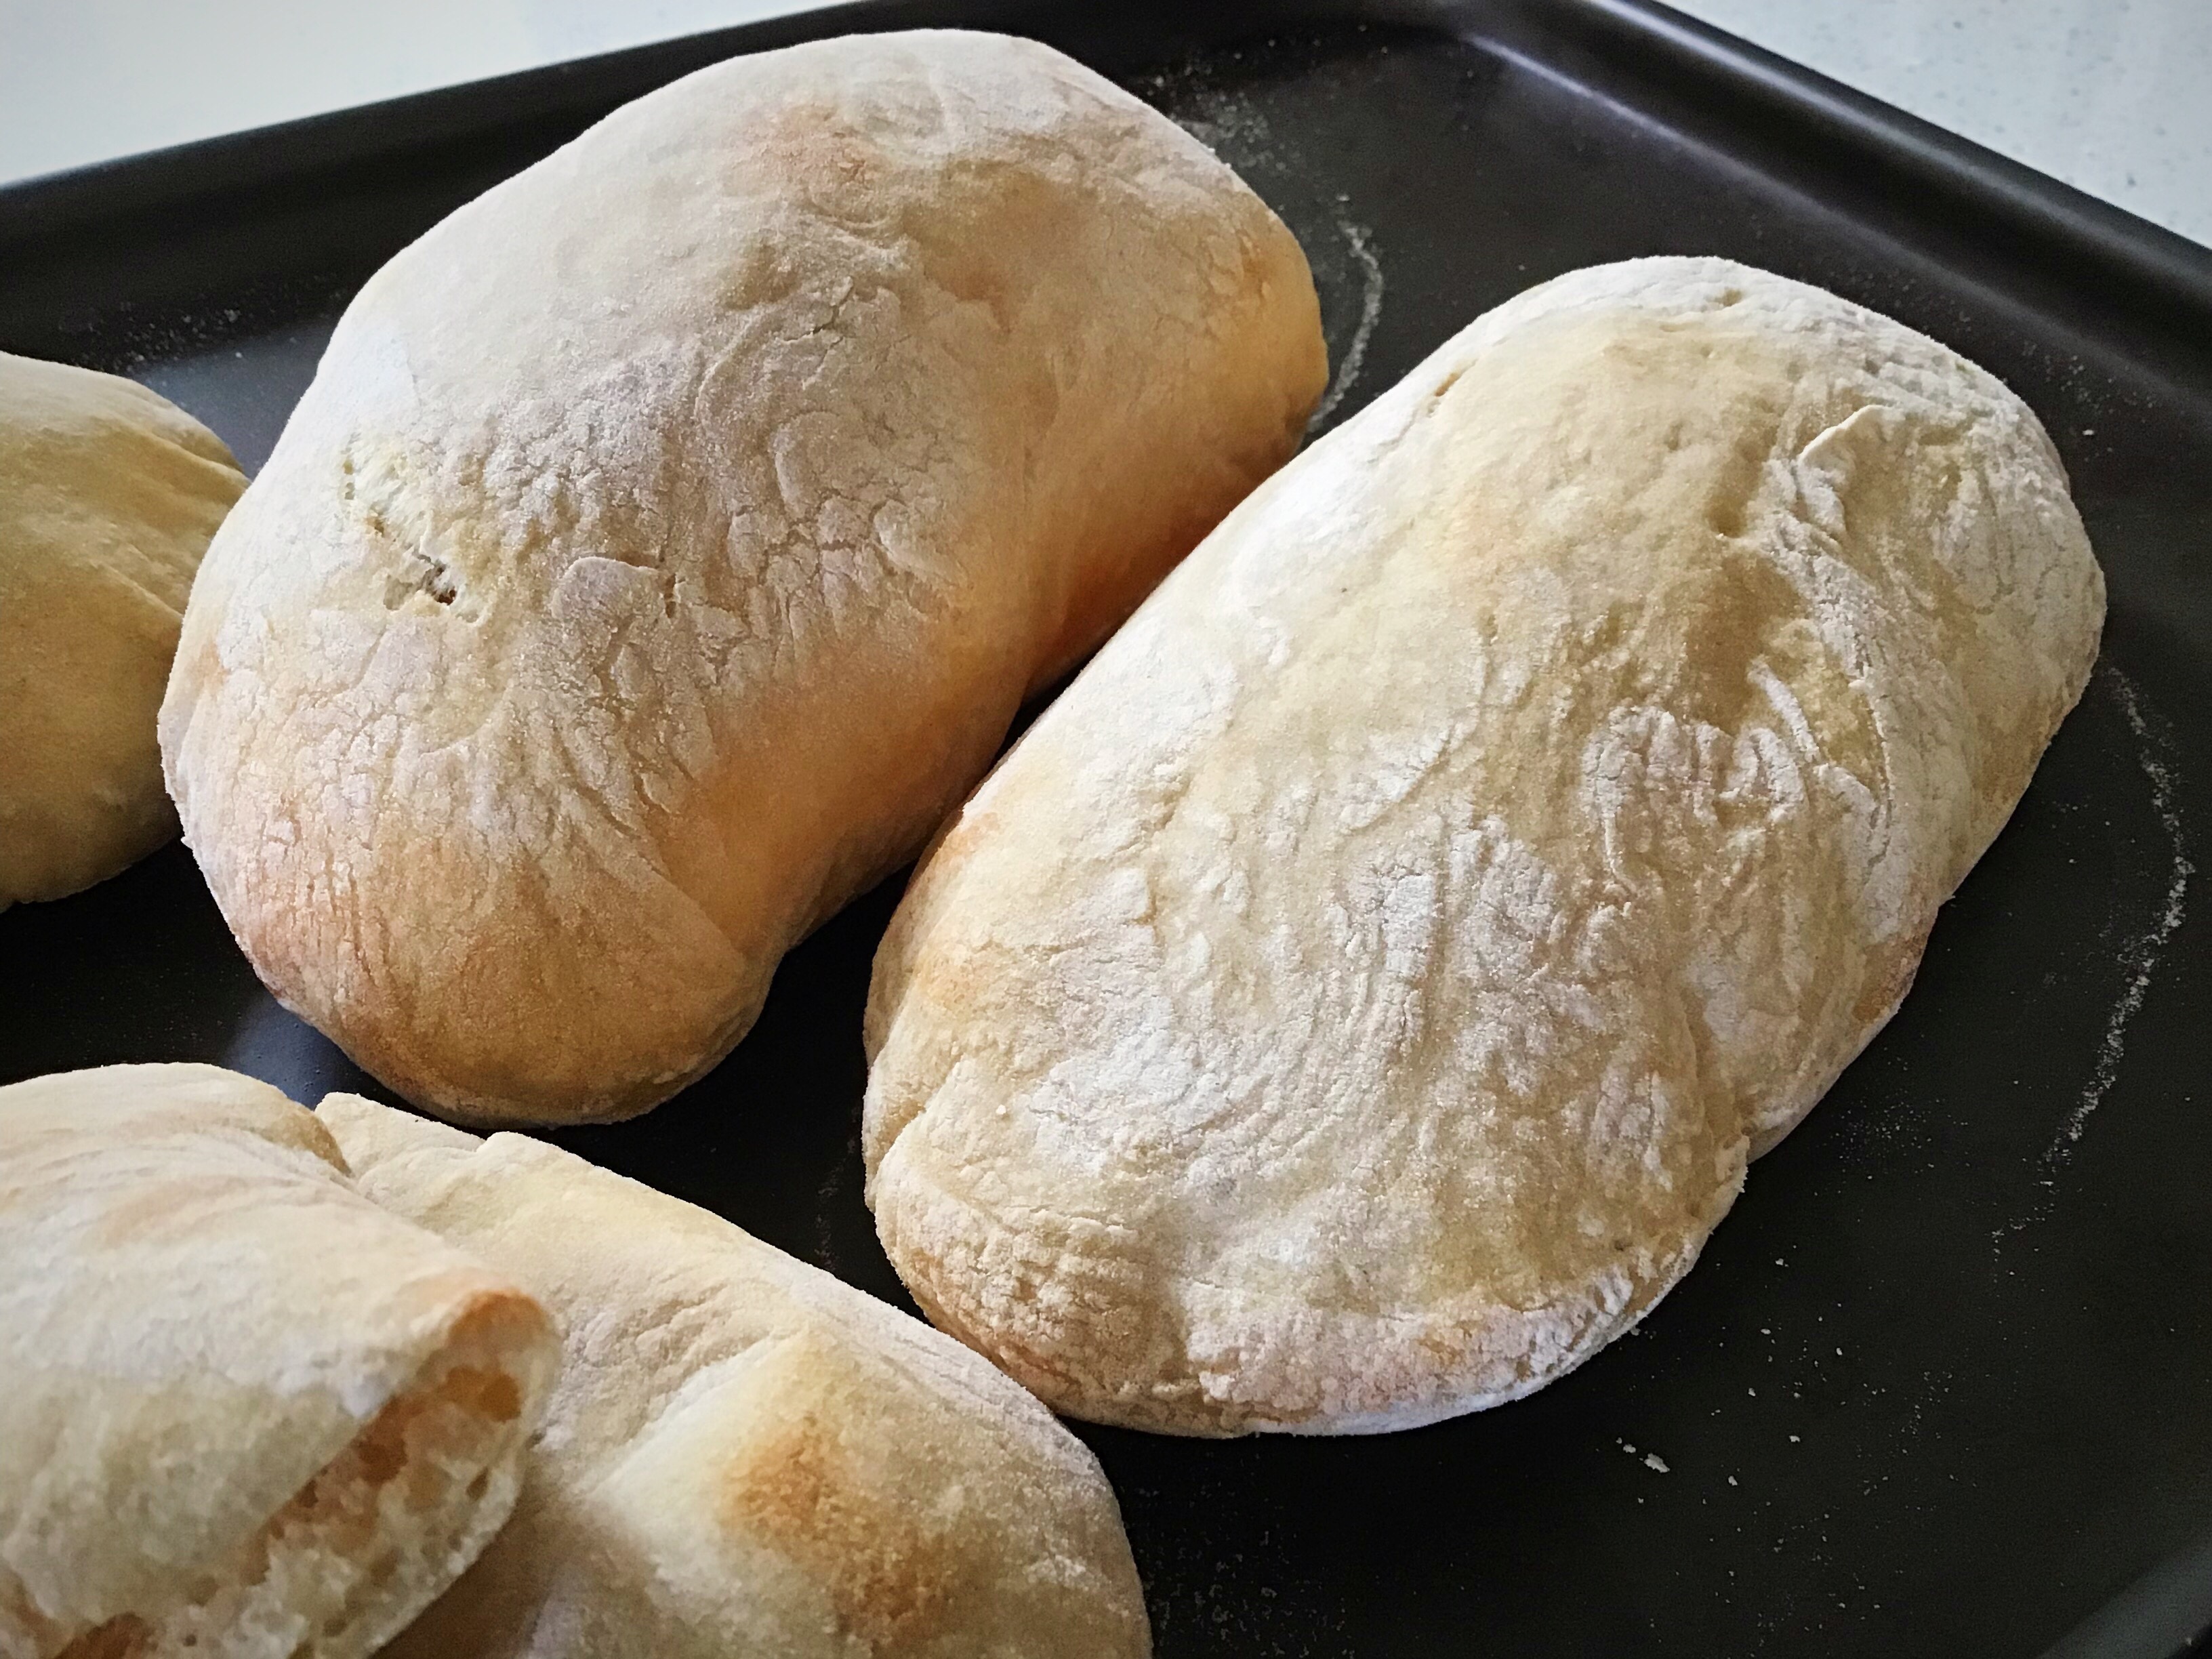
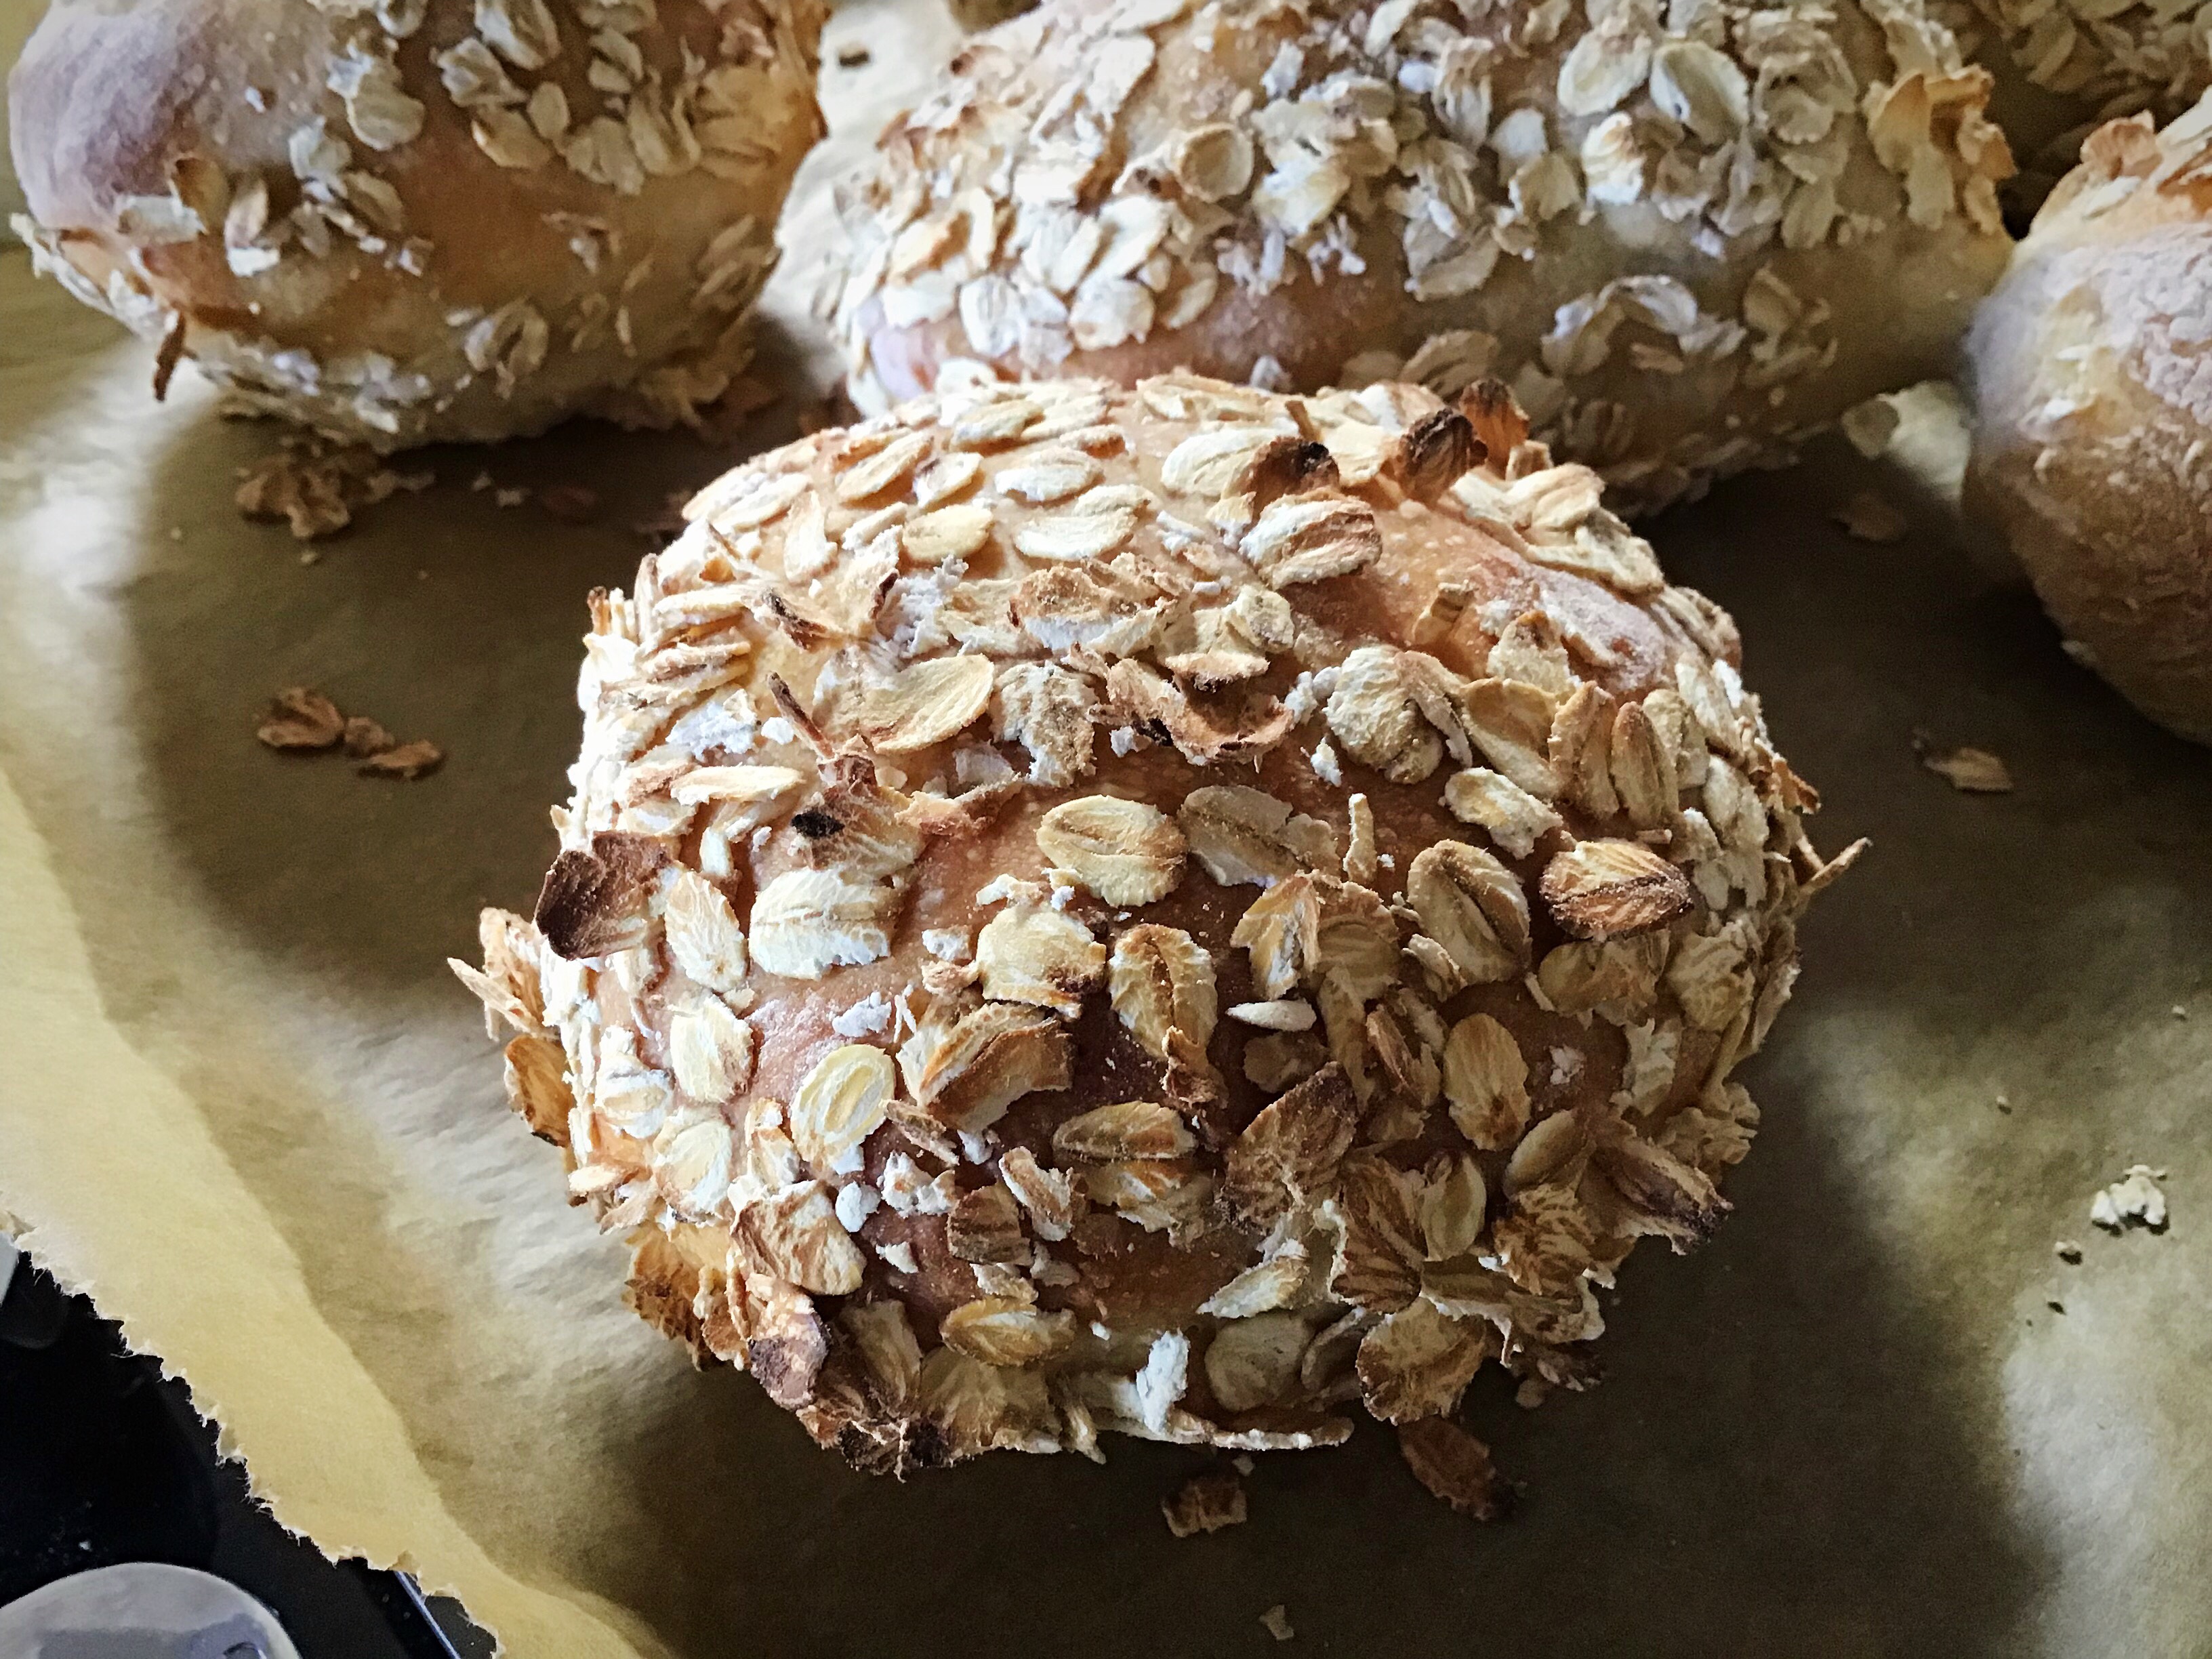
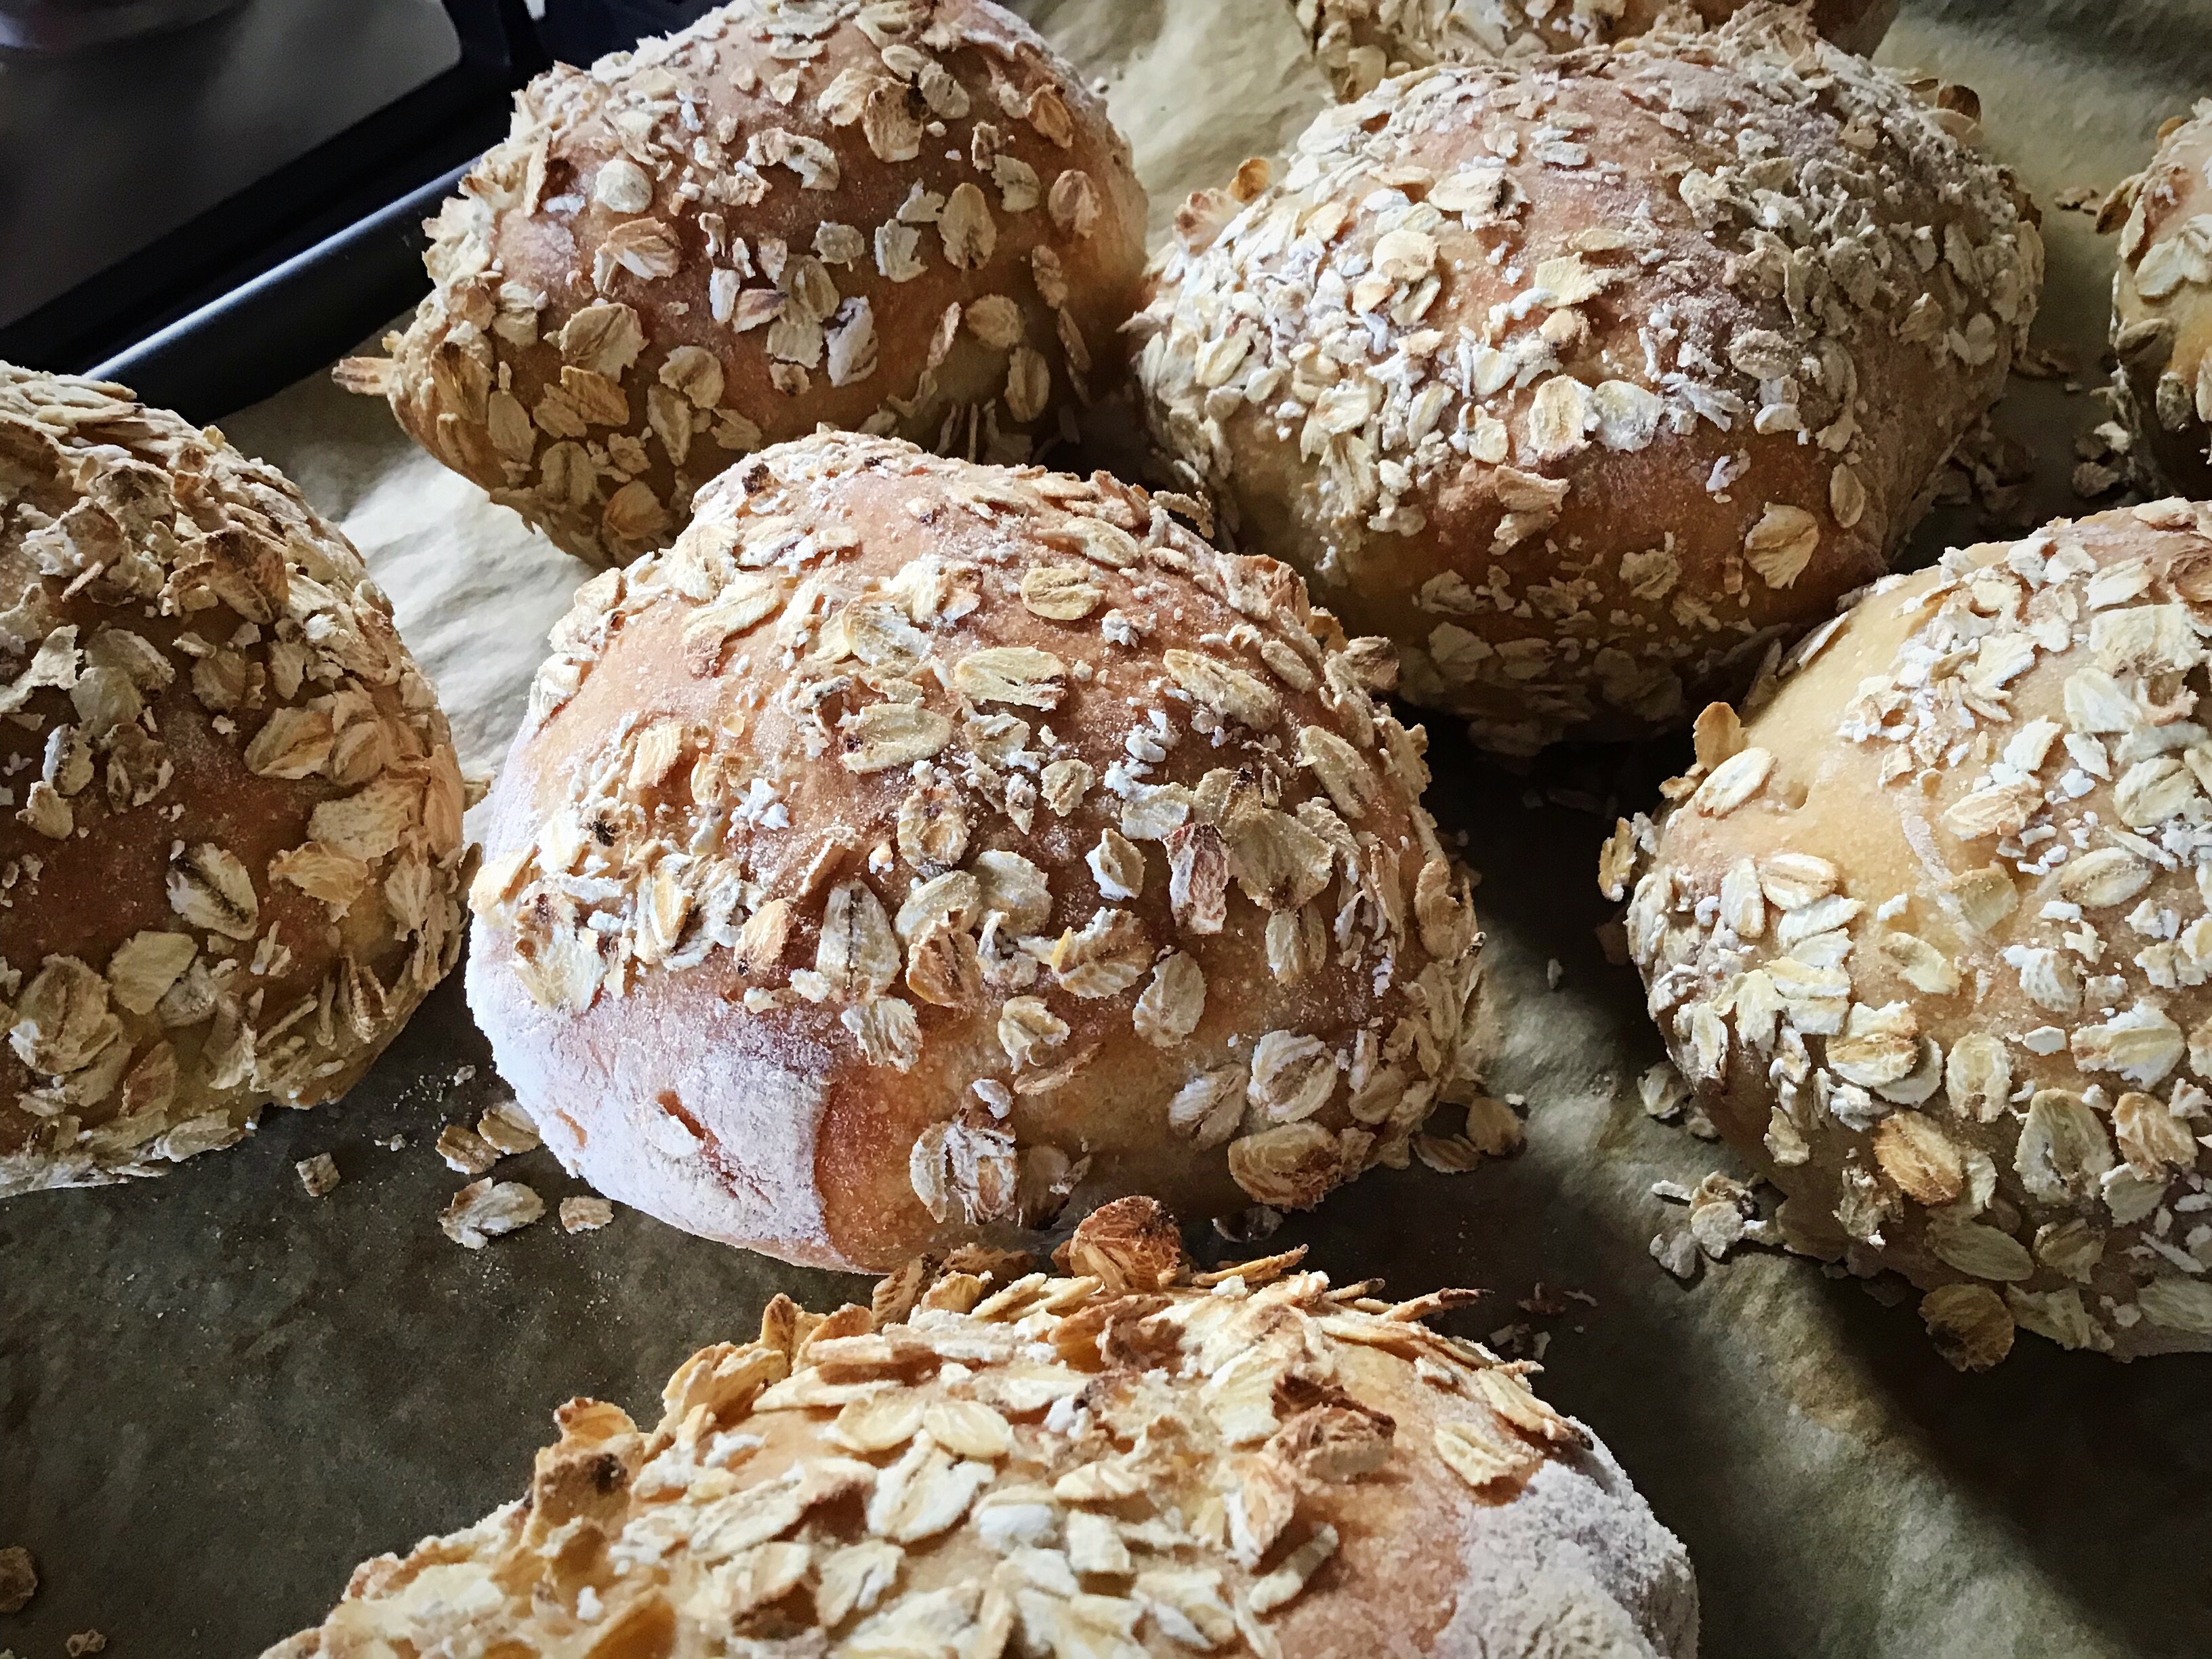
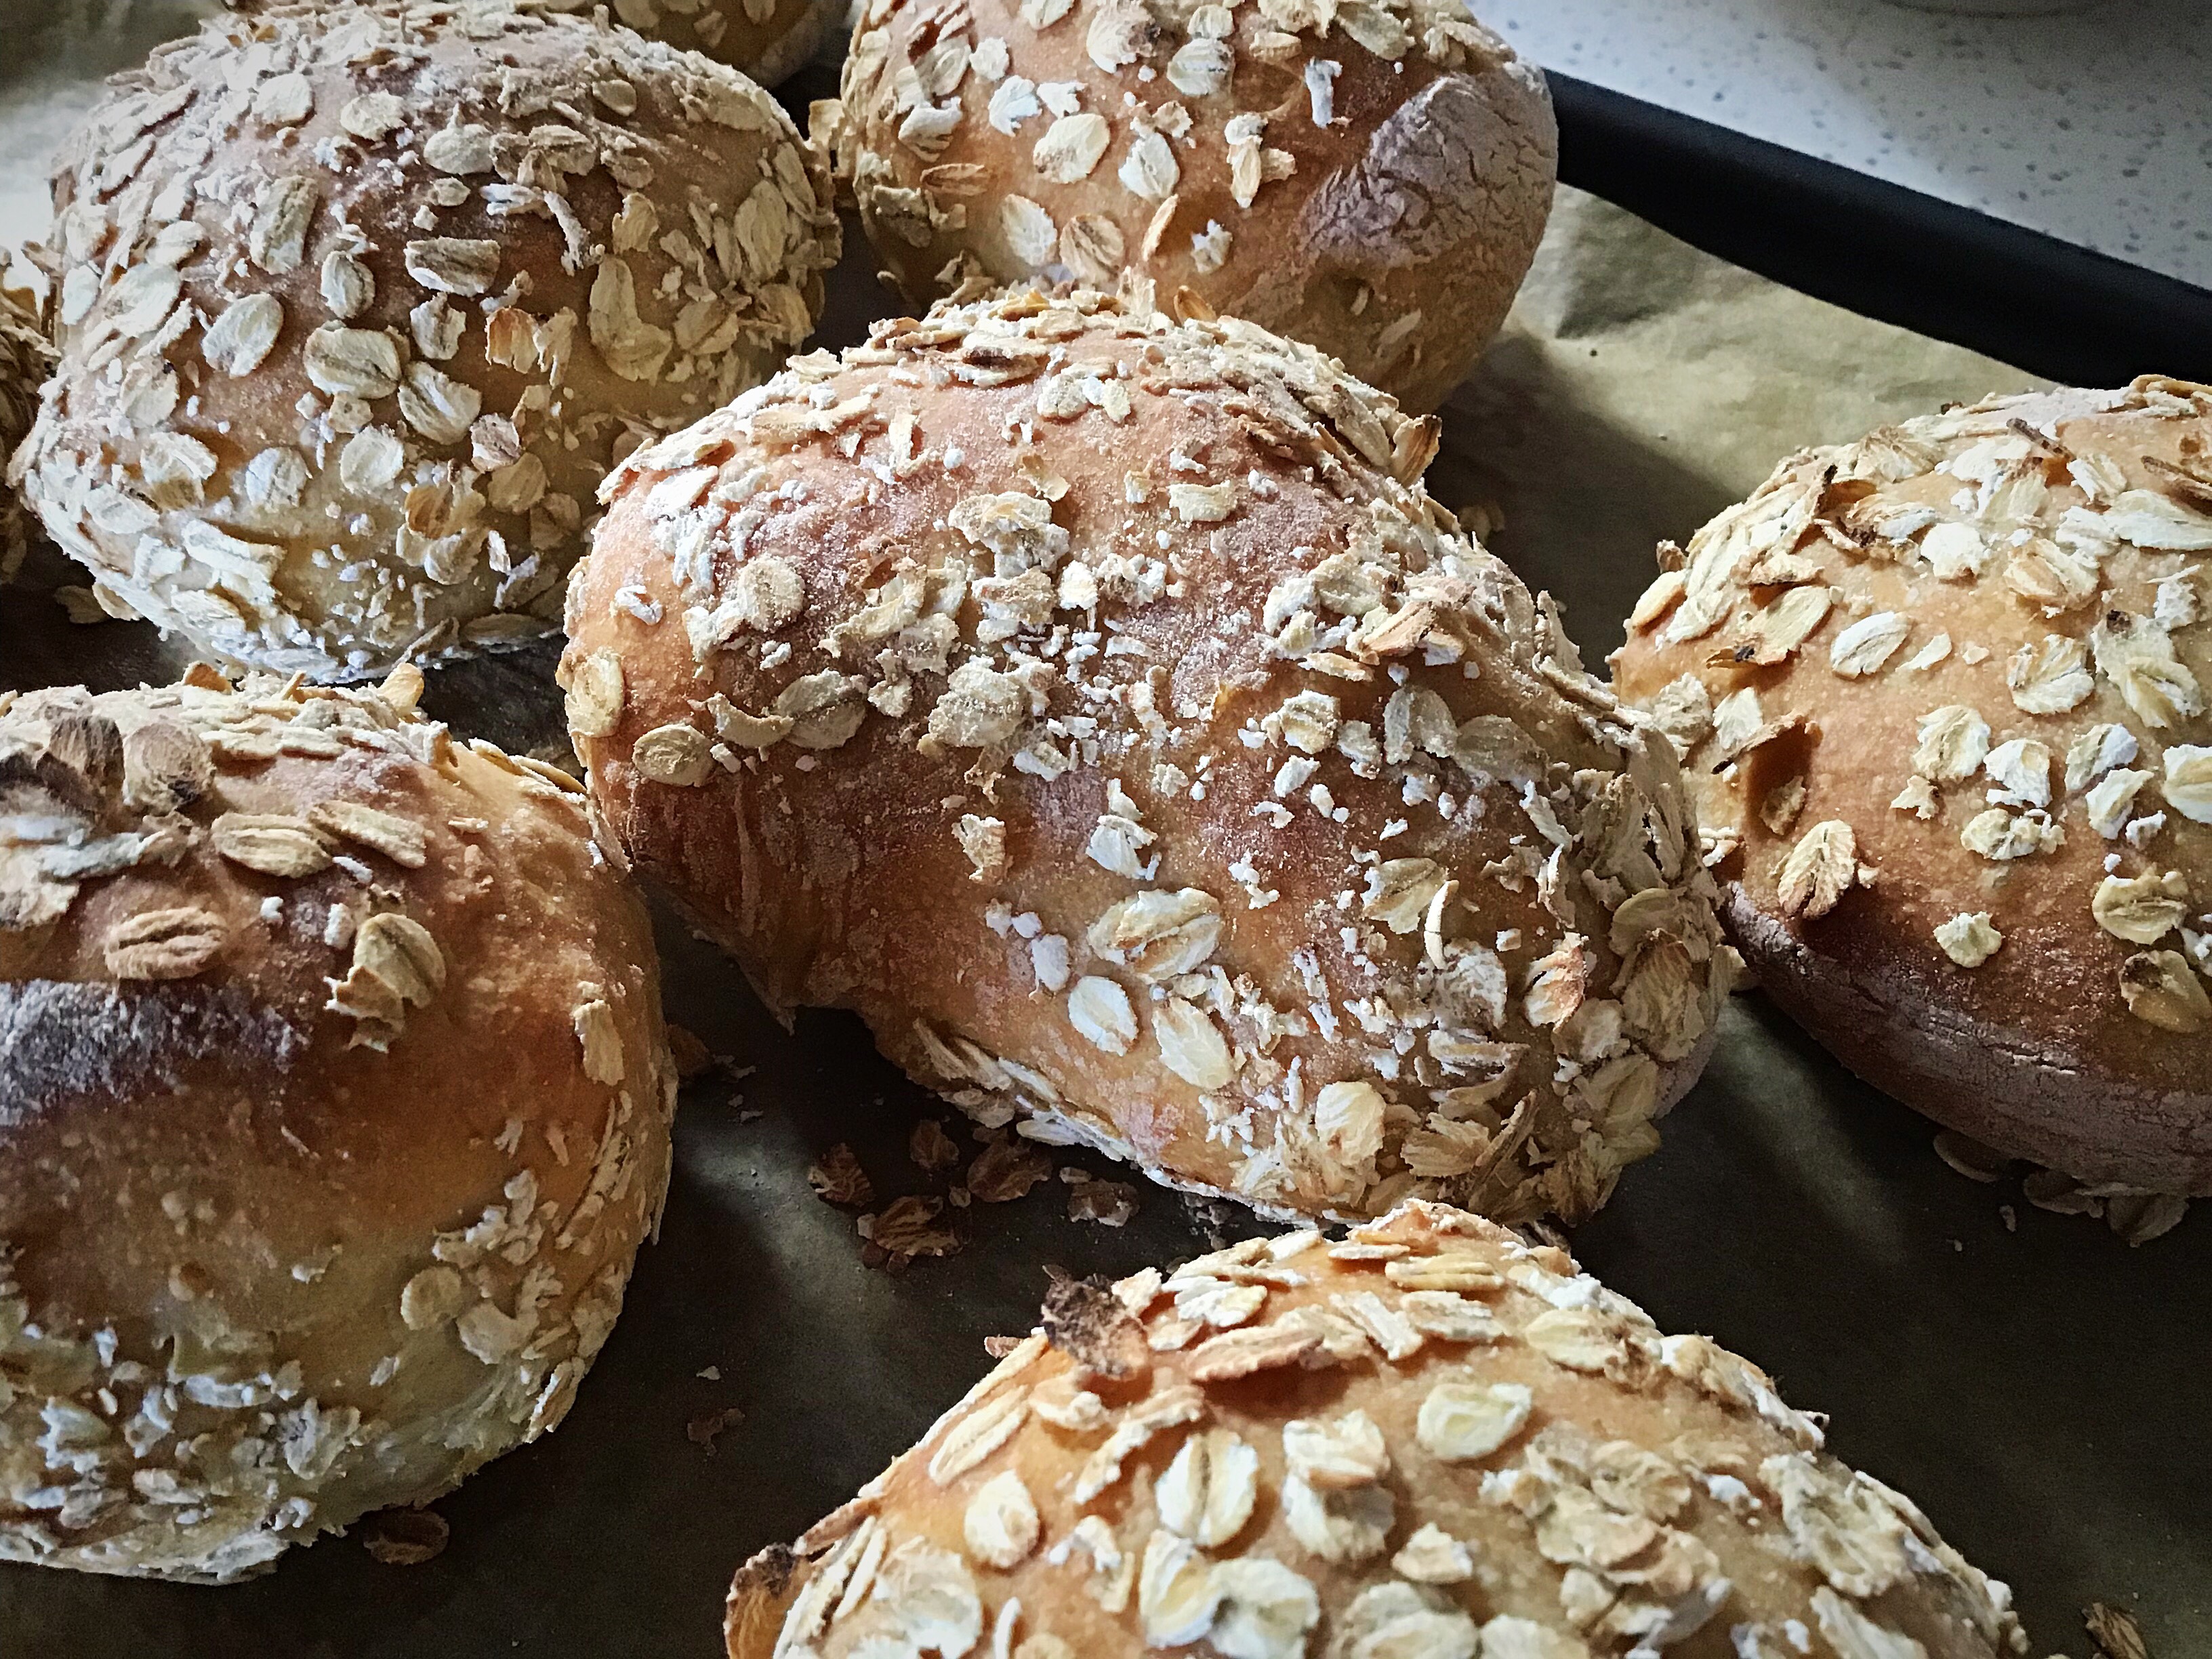
Once I added seeds to the dough, it was a whole different story: they gave the dough structure and it held its shape perfectly, hence being able to use a bigger pan.

A round cheese with many holes in it.A loaf of bread in a bowl on wax paper.A close up of some bread on the tableA close up of some bread on a plate

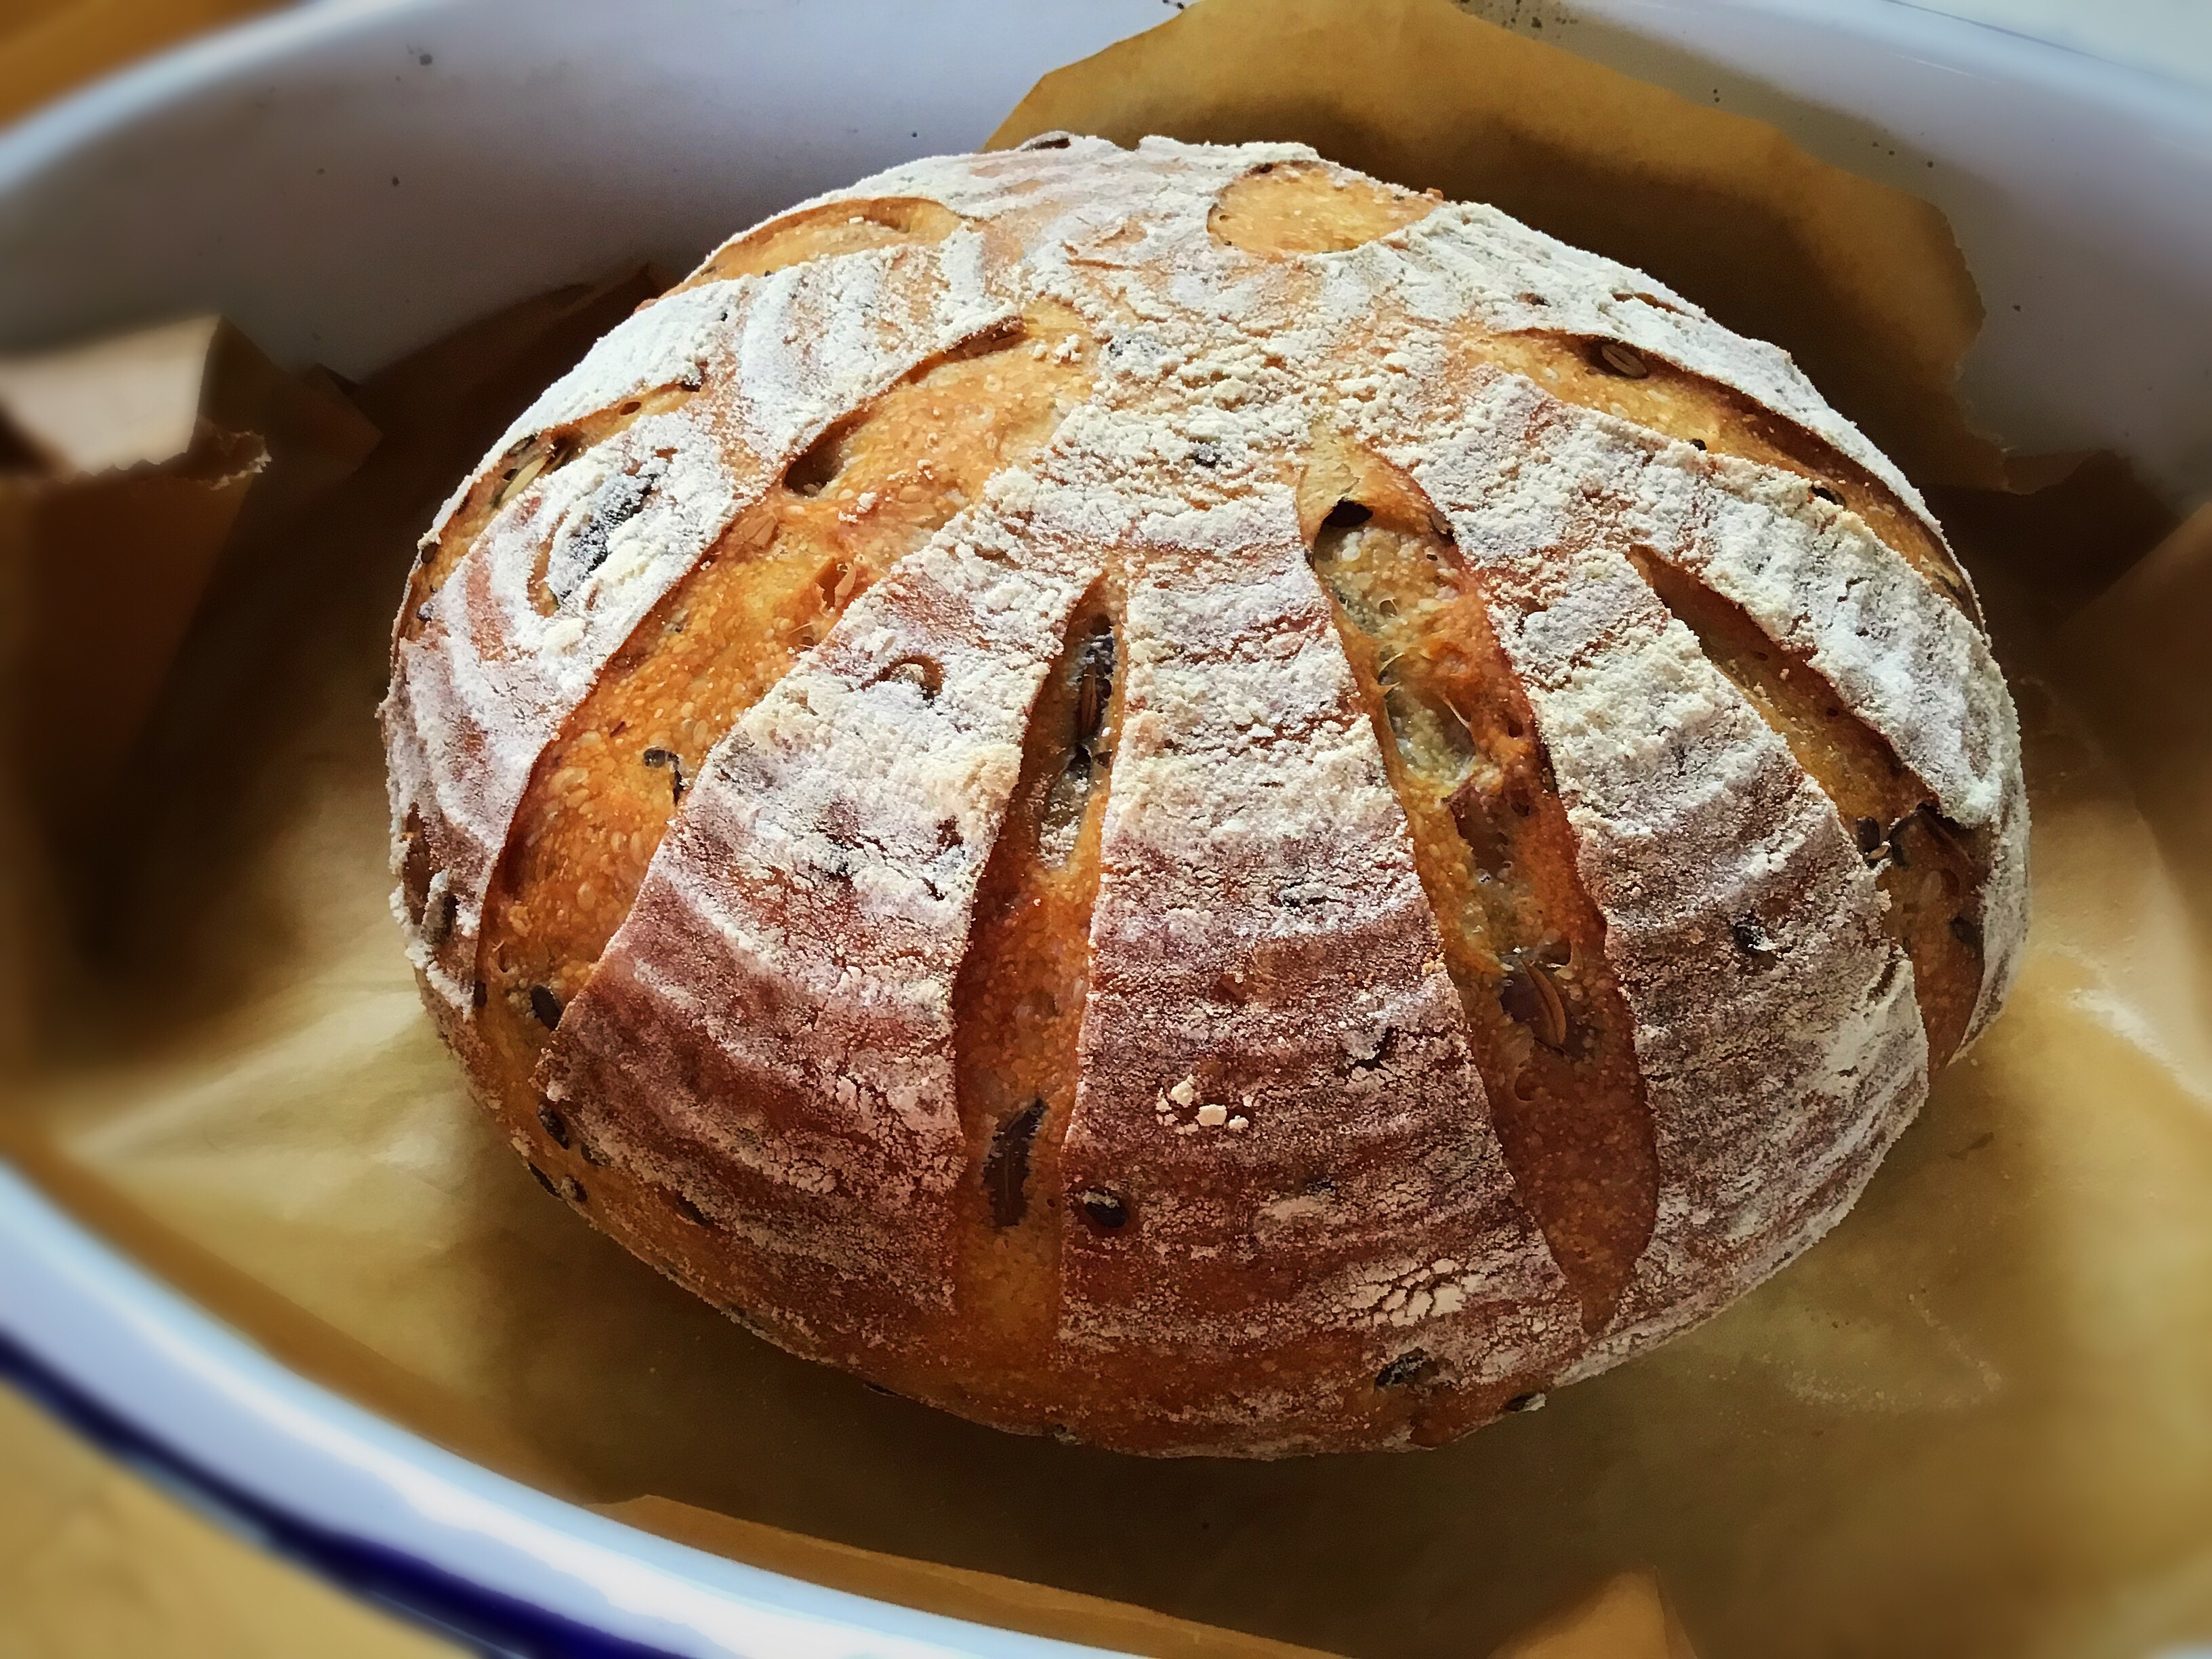
And it tasted great!!!!! I always toast my seeds beforehand which all adds to the flavour.

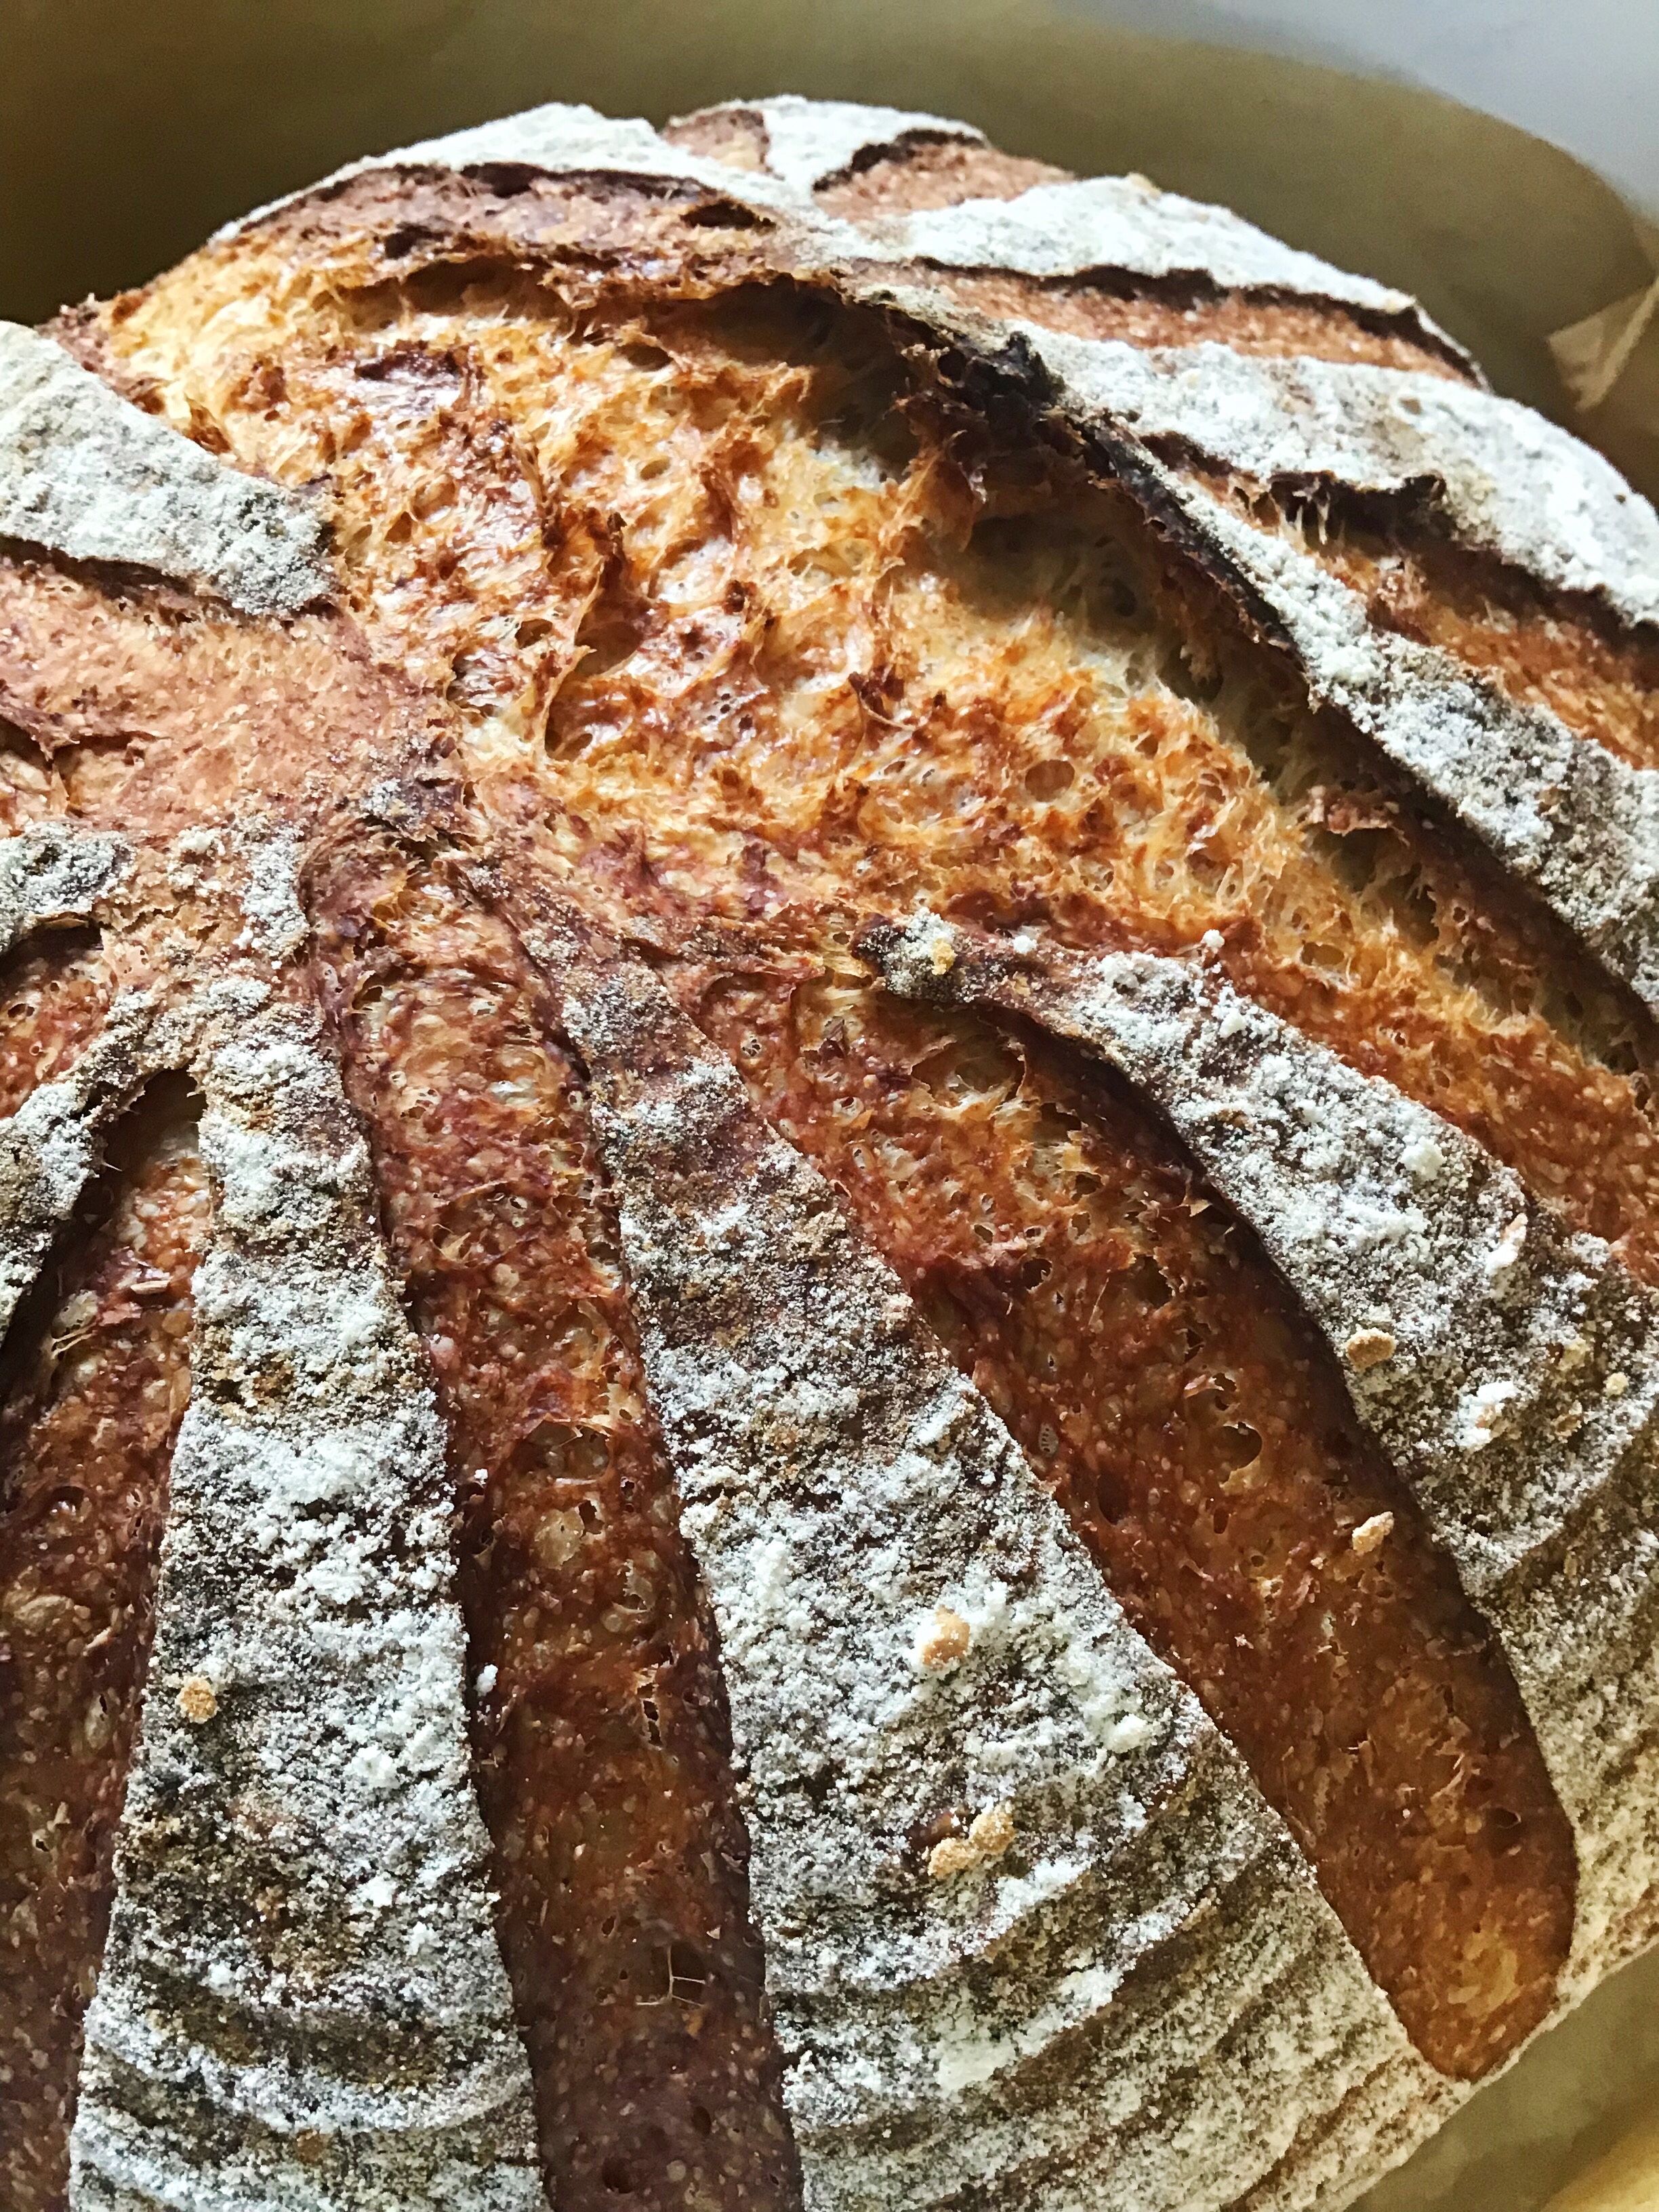
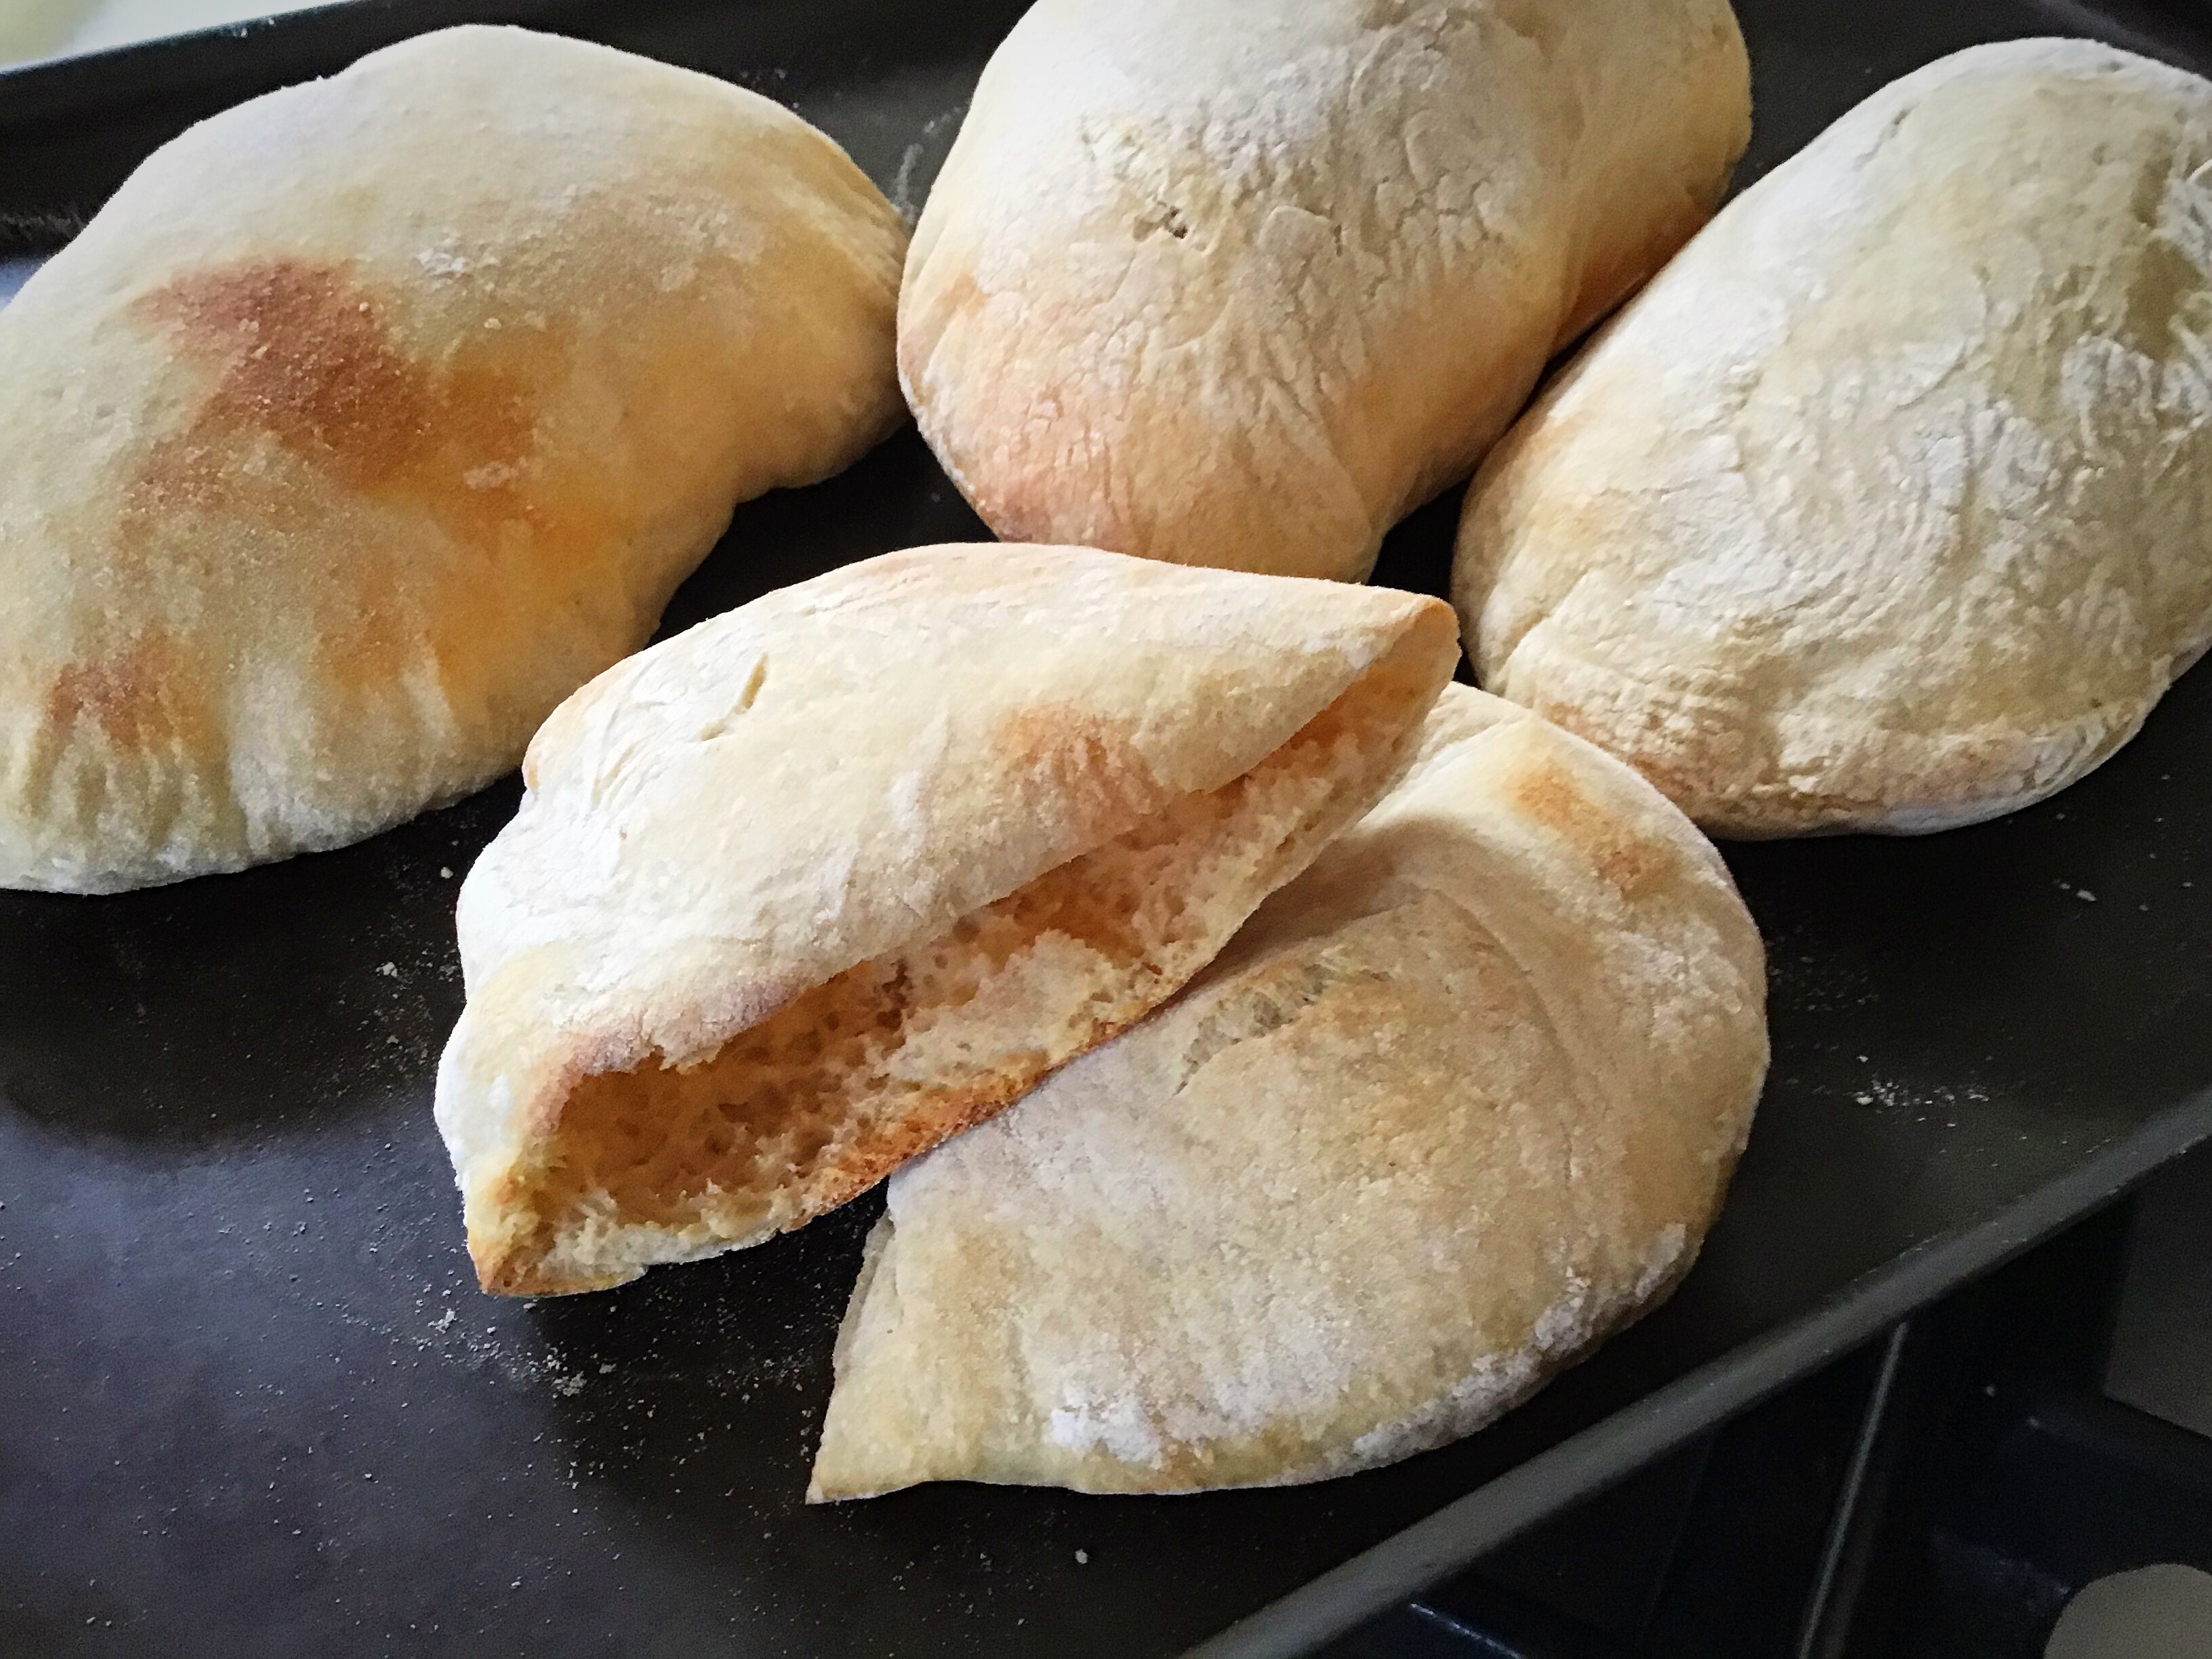
Khorason flour is quite different. I used a wholewheat khorason flour which has 15g of protein per 100g. The flour is a lot more grainy that the spelt, and it soaks up a lot more water. It can often pull in quite tightly when first mixed into a dough, then loosen up later, so don’t be fooled! I have found that it enhances the flavour of the sourdough quite distinctly and increases the sourness.

Using it for a 100% khorason loaf generates a tight crumb and a denser bake, but it’s so tasty, I recommend trying it.

A loaf of bread in a bowl with water.A loaf of bread in a basket with some type of crust.A close up of some slices of bread

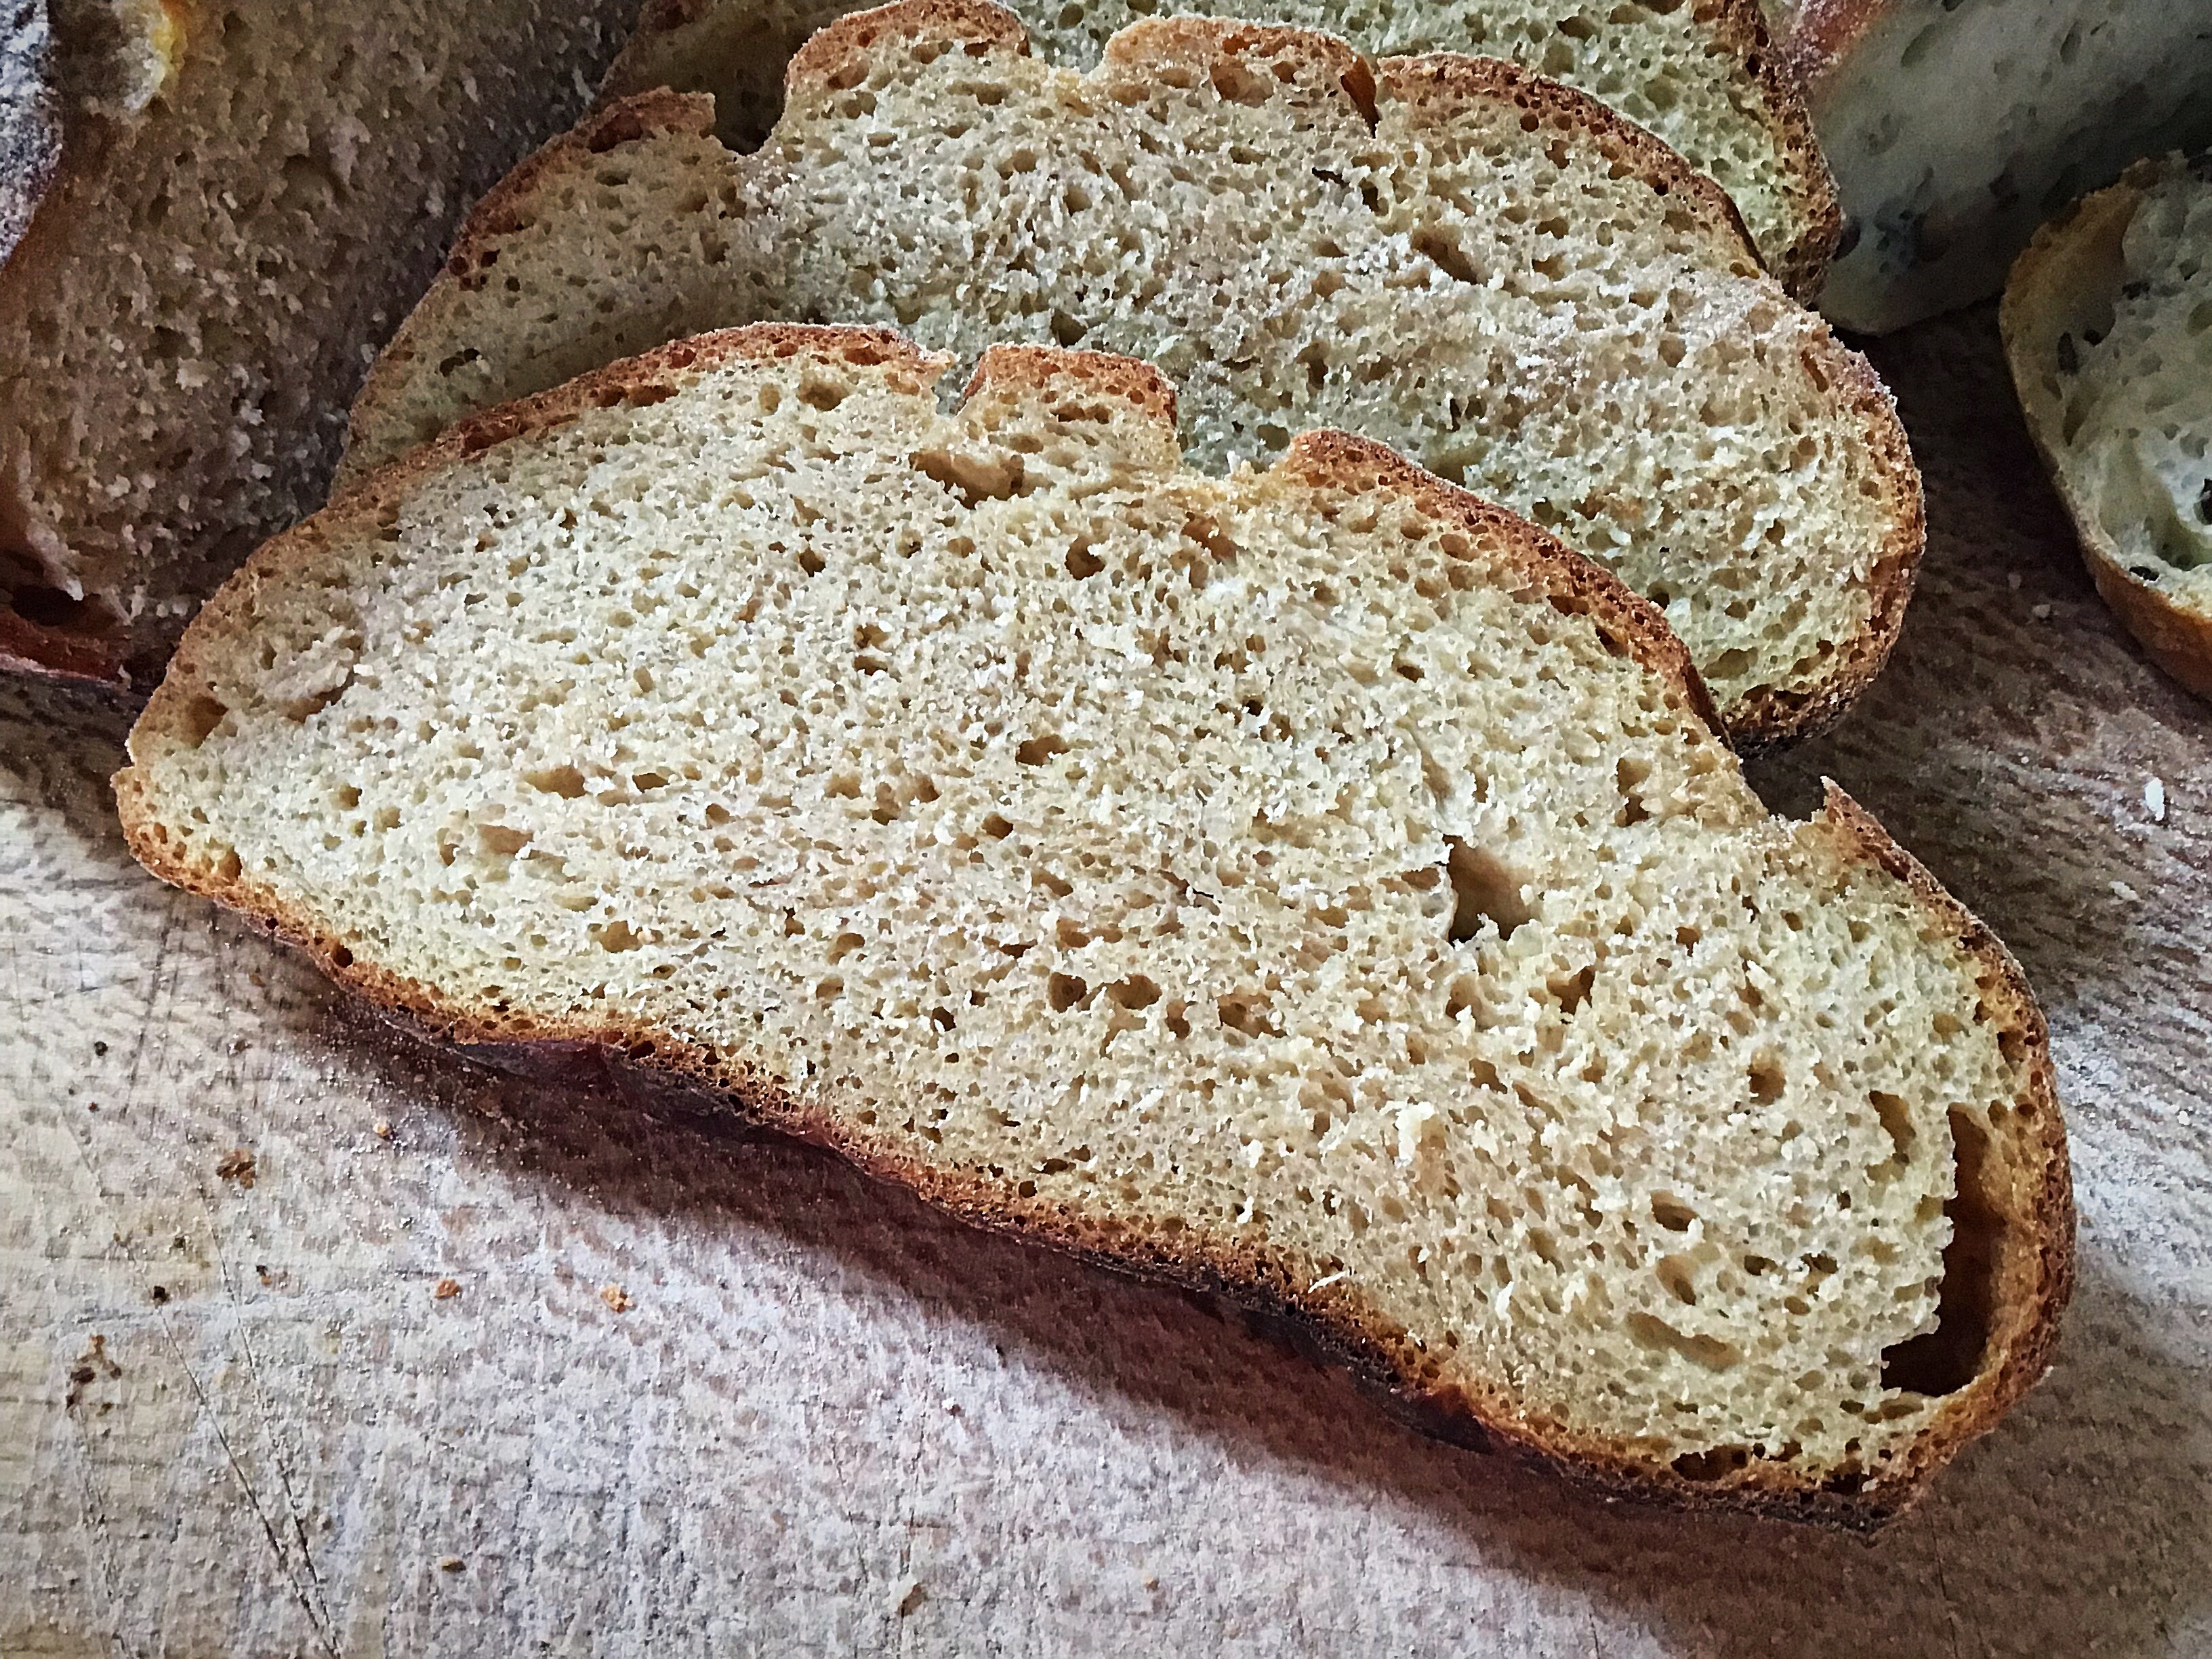
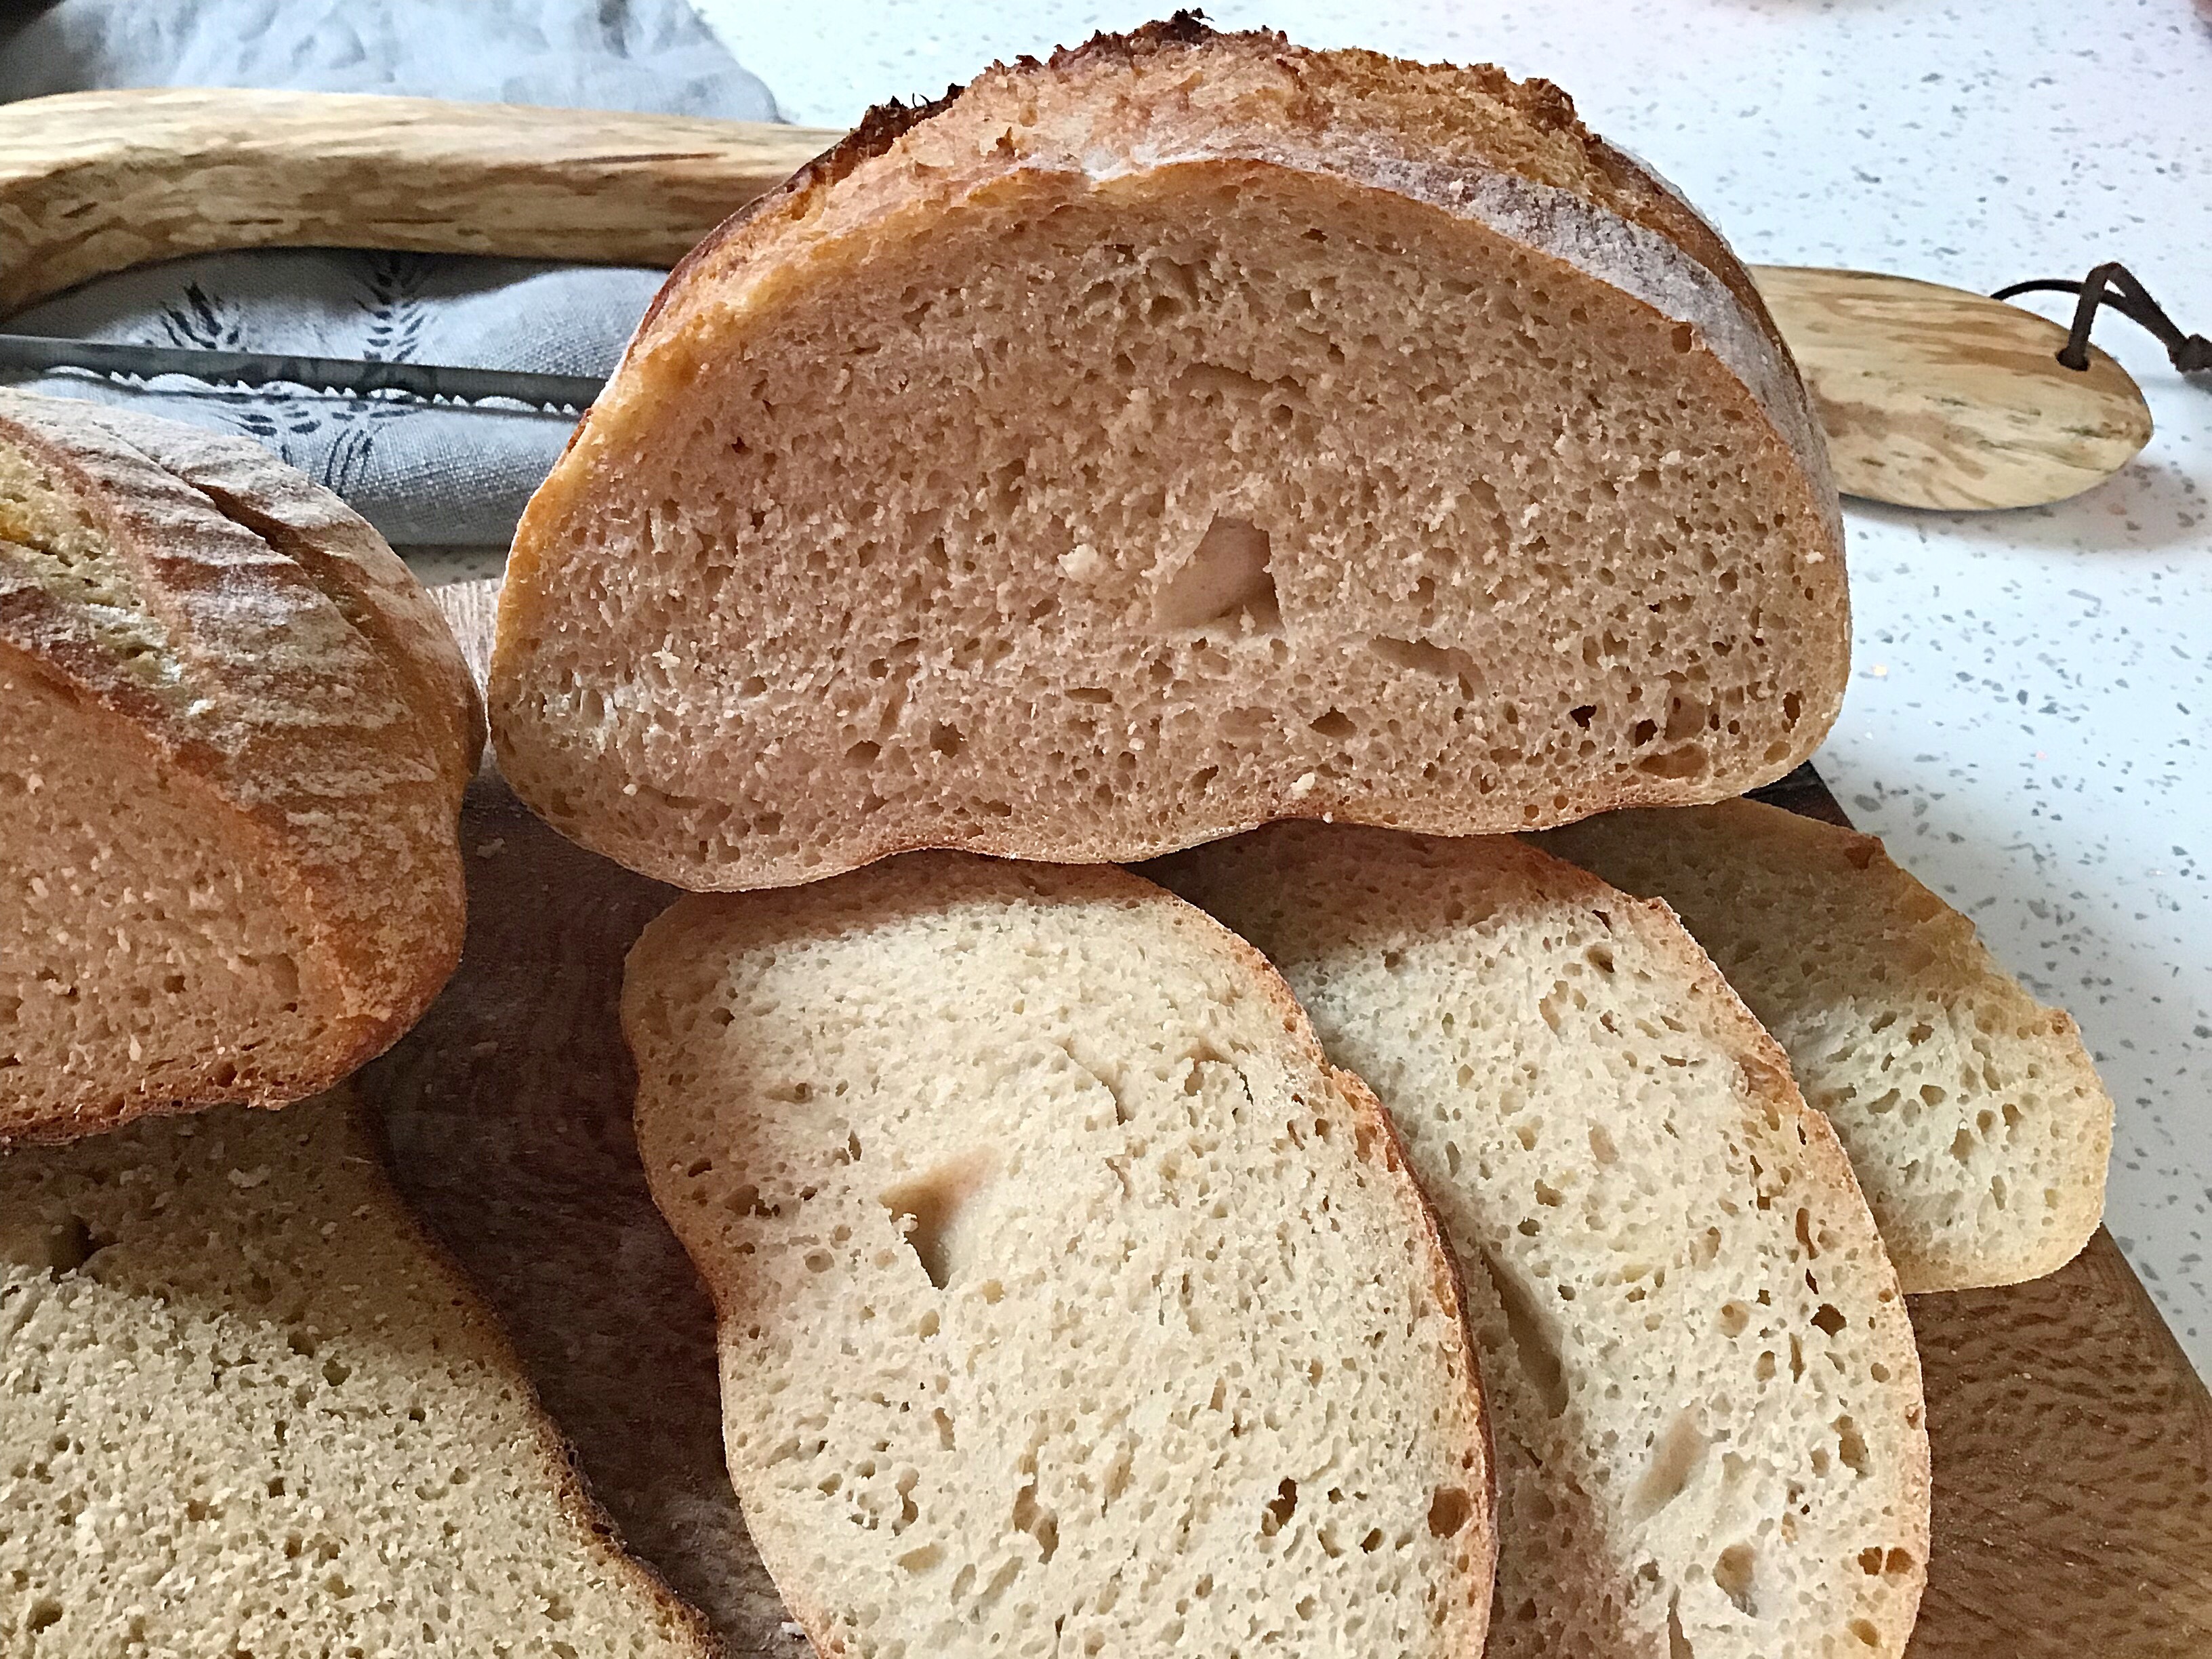
Mixing 50:50 white spelt flour and wholewheat khorason was a real success: the spelt lifts and lightens the khorason, whilst the khorason gives the spelt structure. And it tastes great! it’s still a closer crumb than all white or all spelt, but it’s tasty and lovely which is all that matters right? And the butter doesn’t escape!

A close up of some bread slices on top of each otherA loaf of bread is sitting on the table.

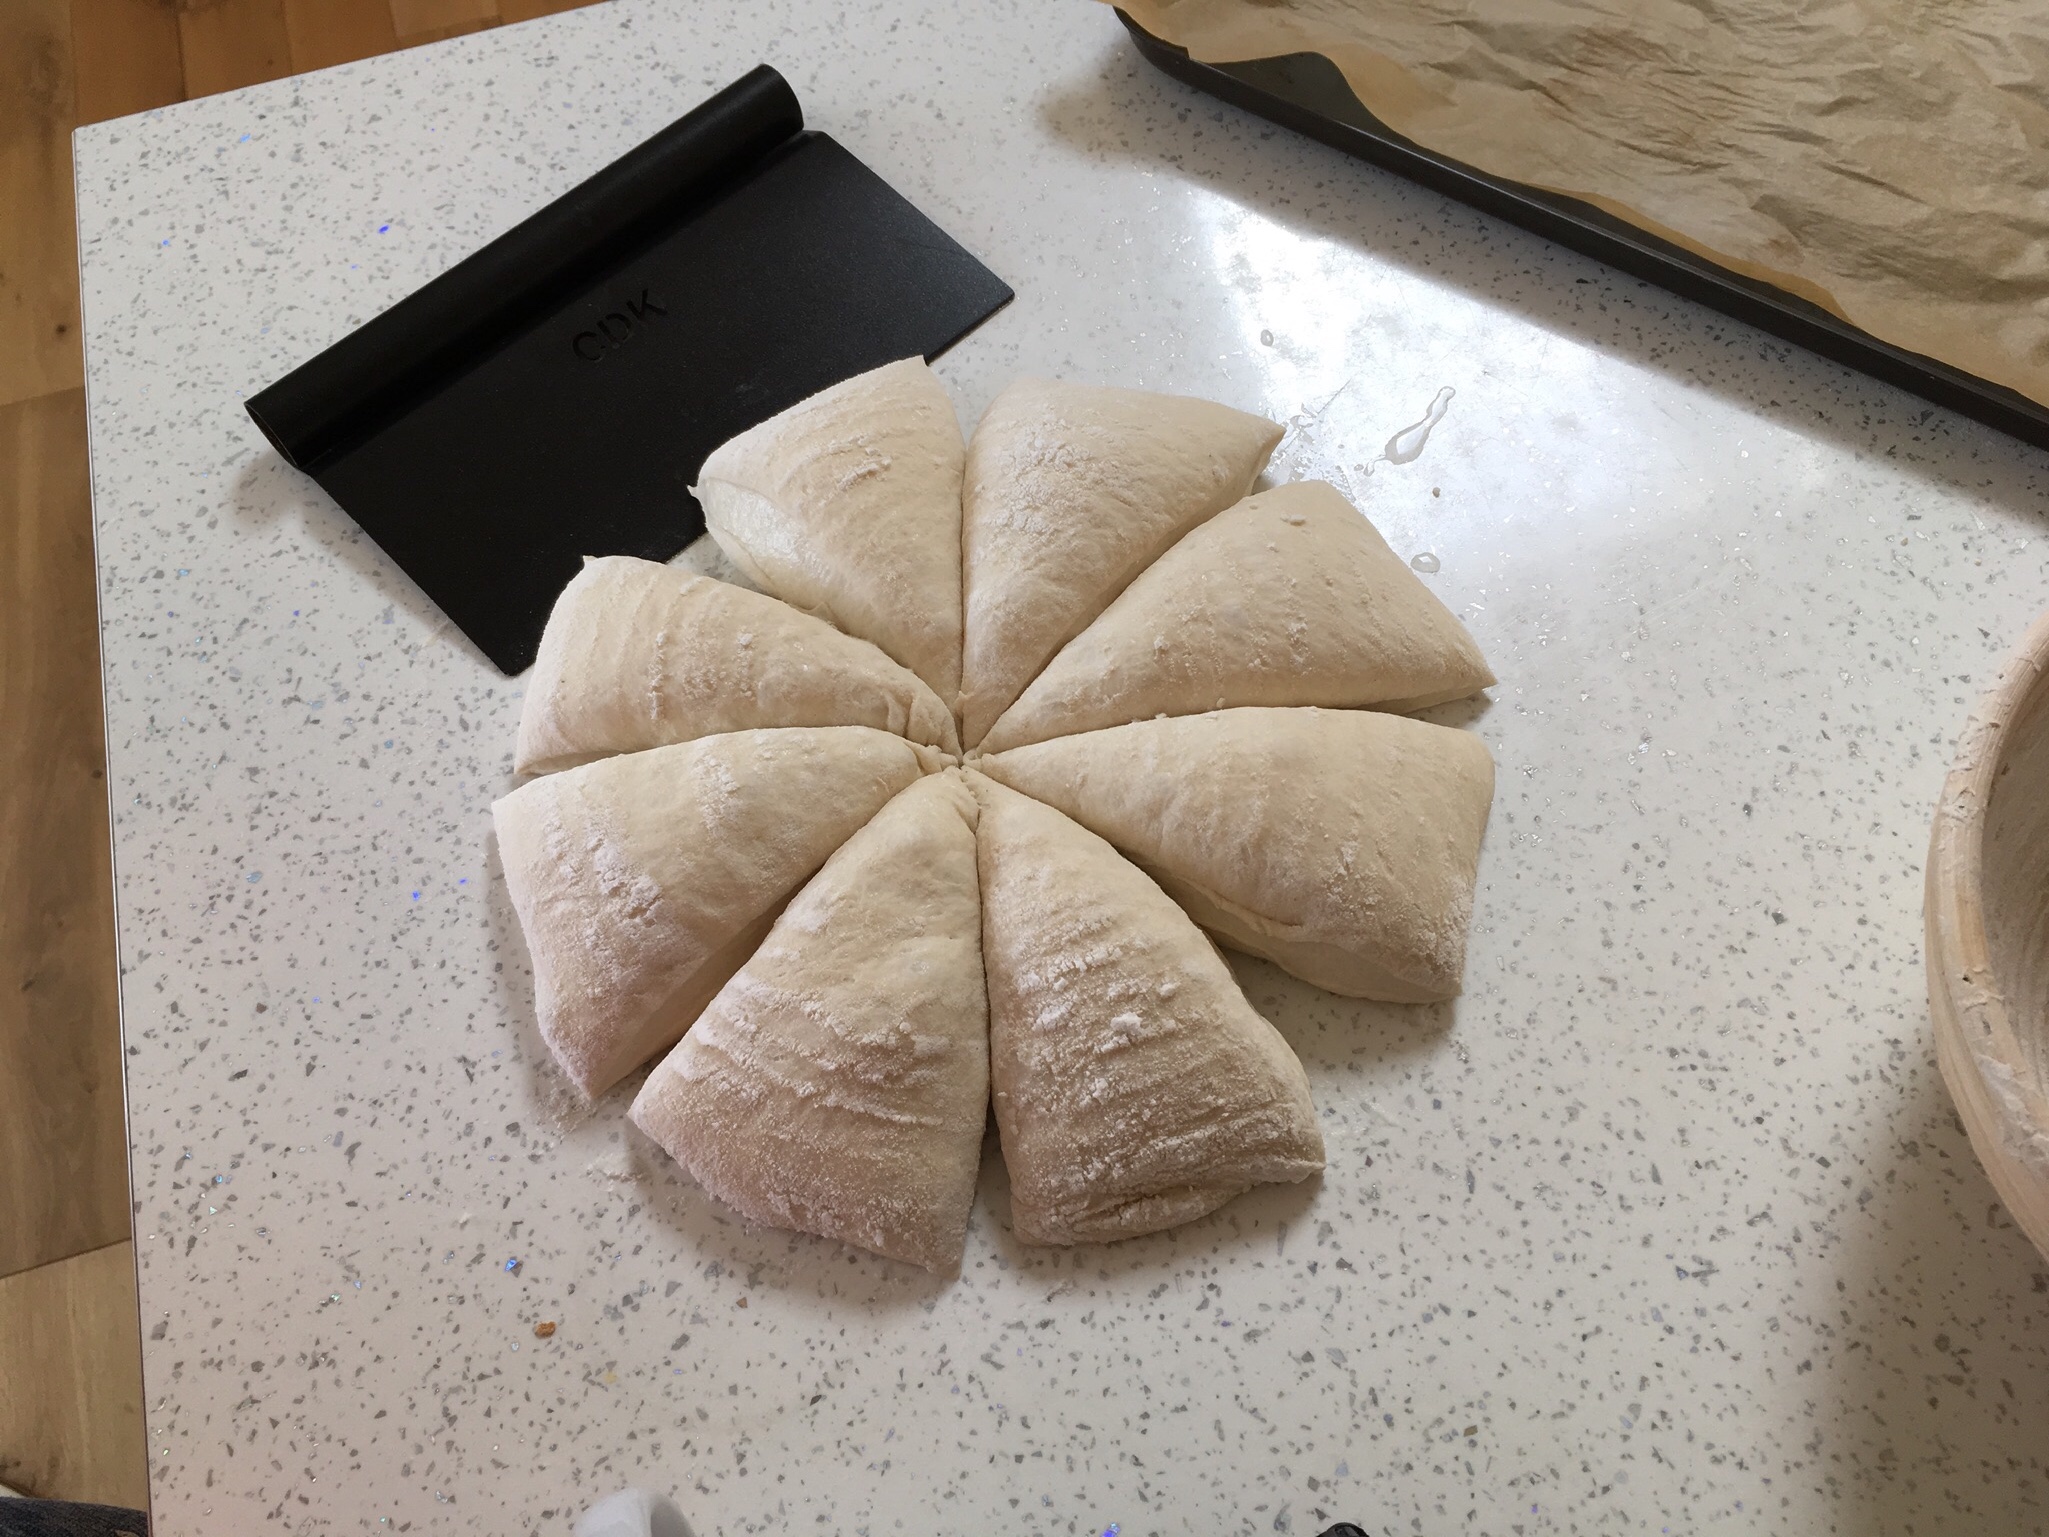
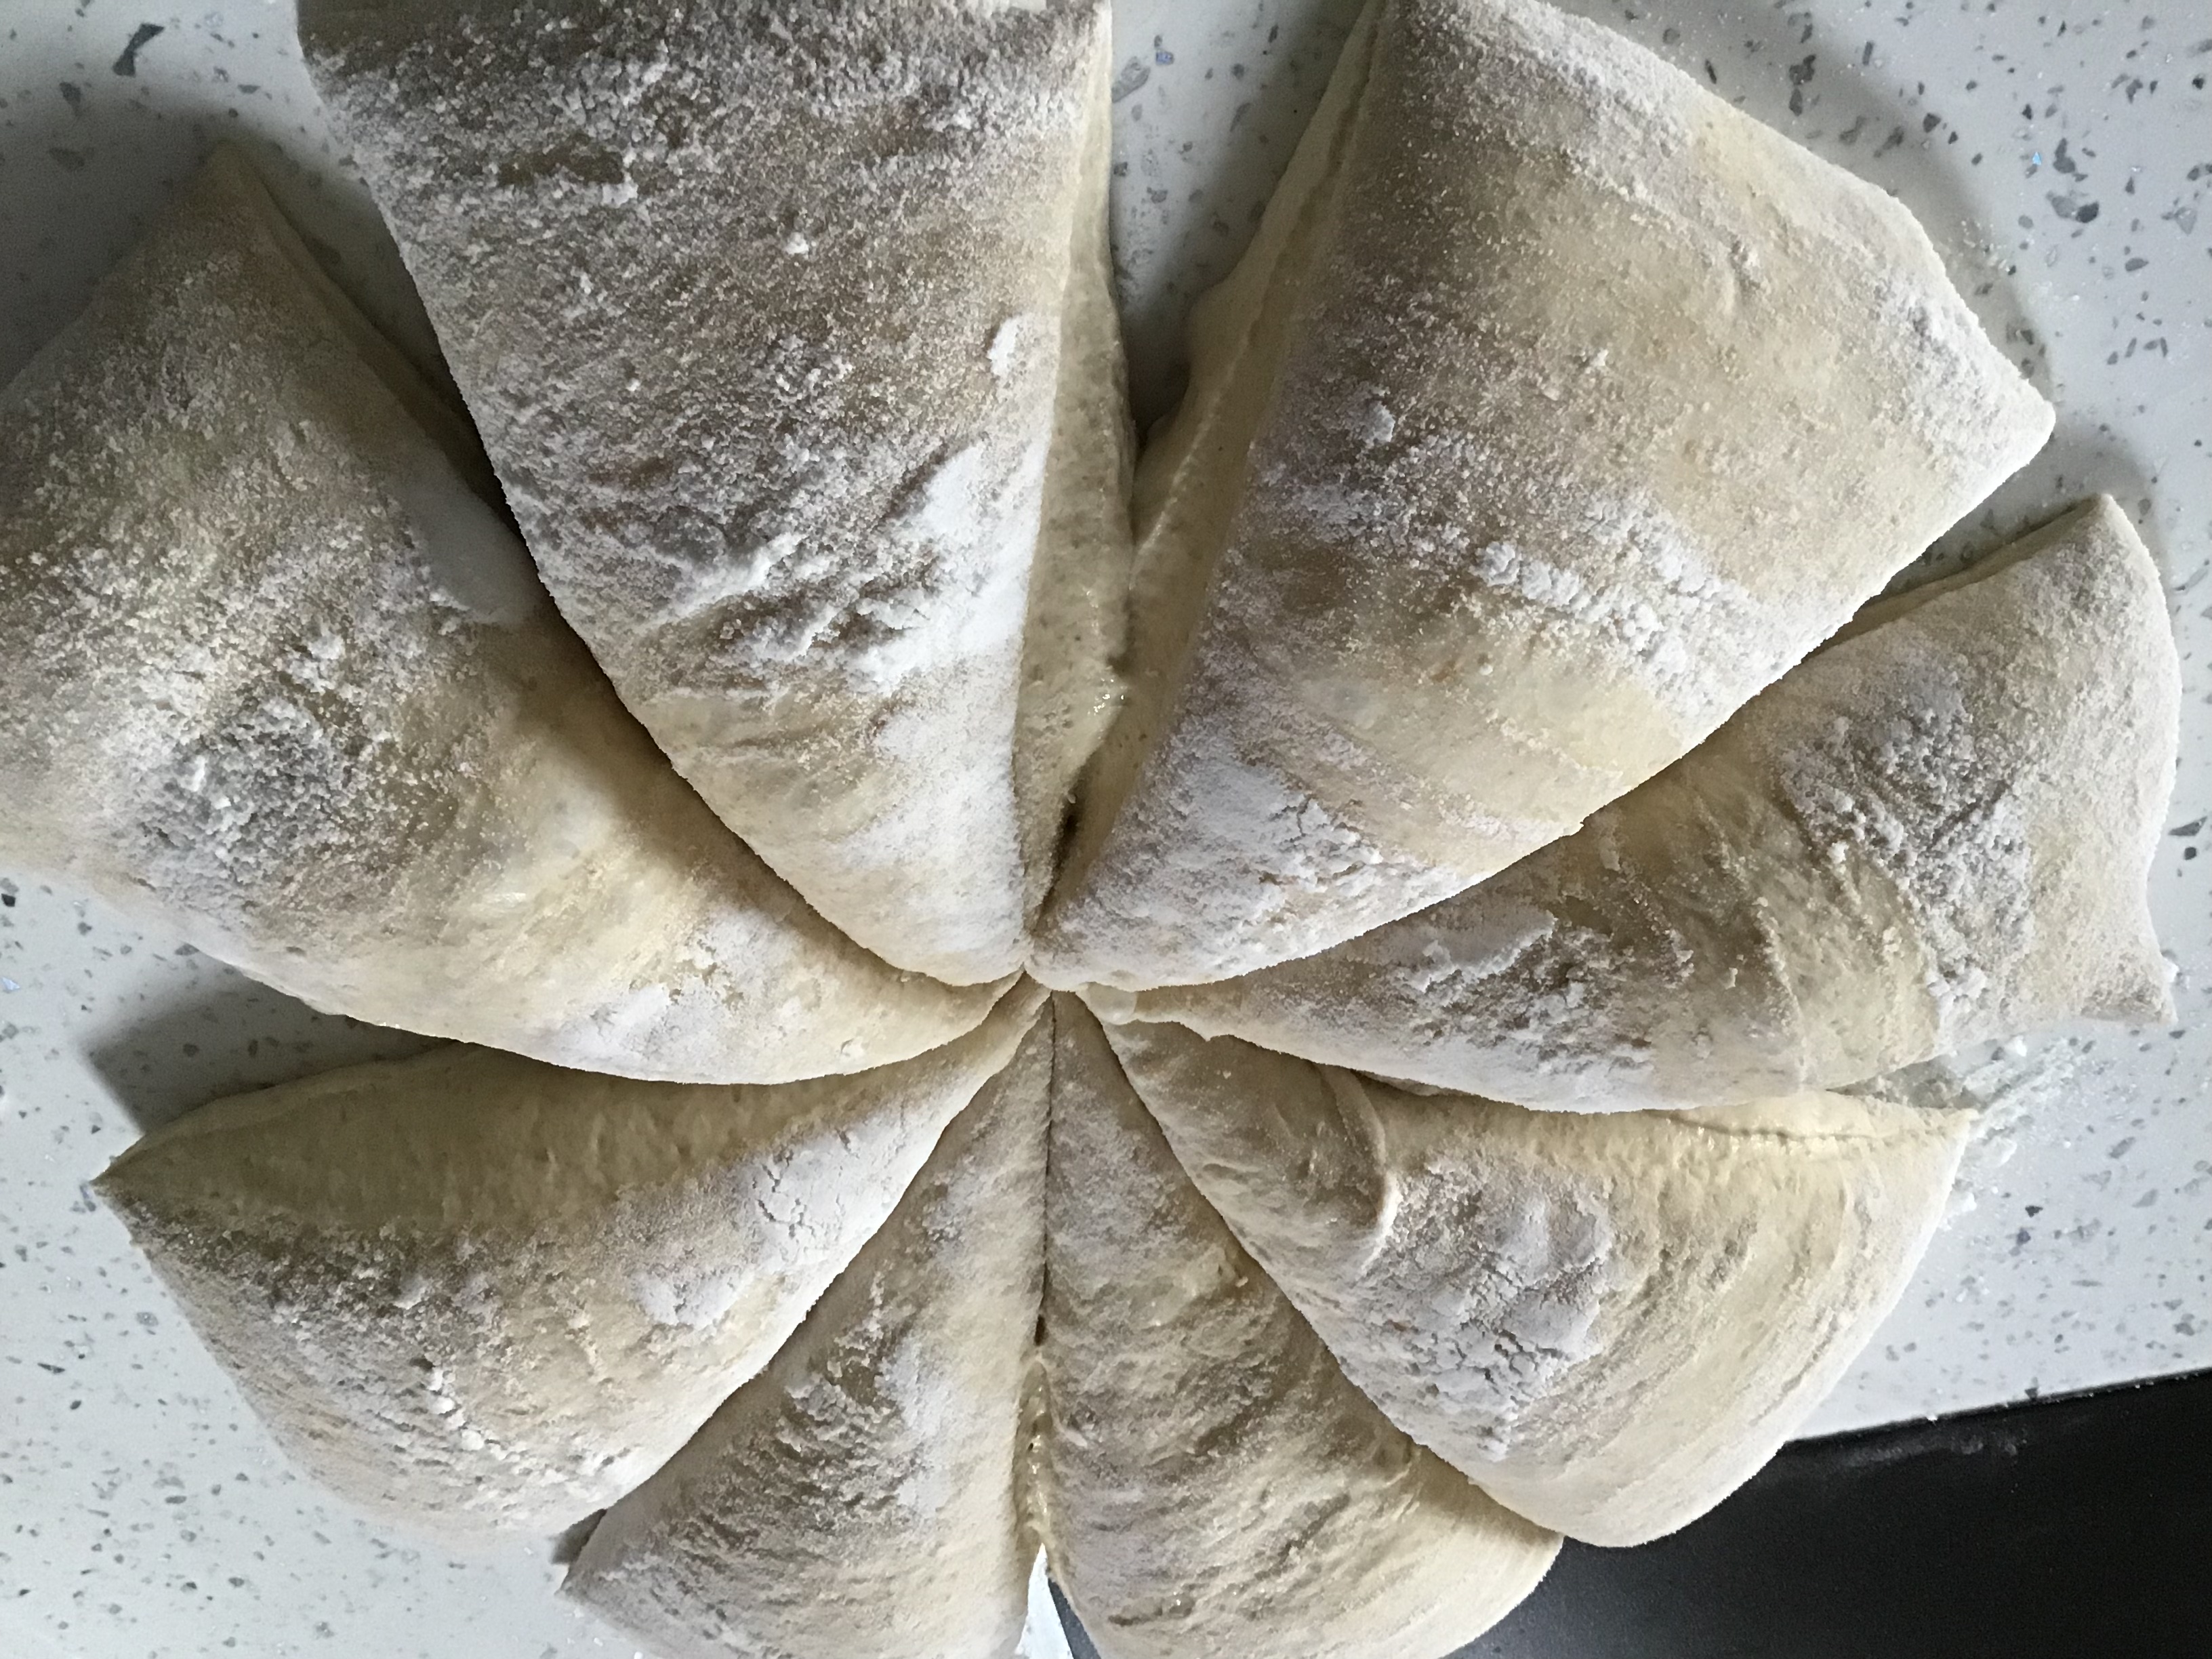
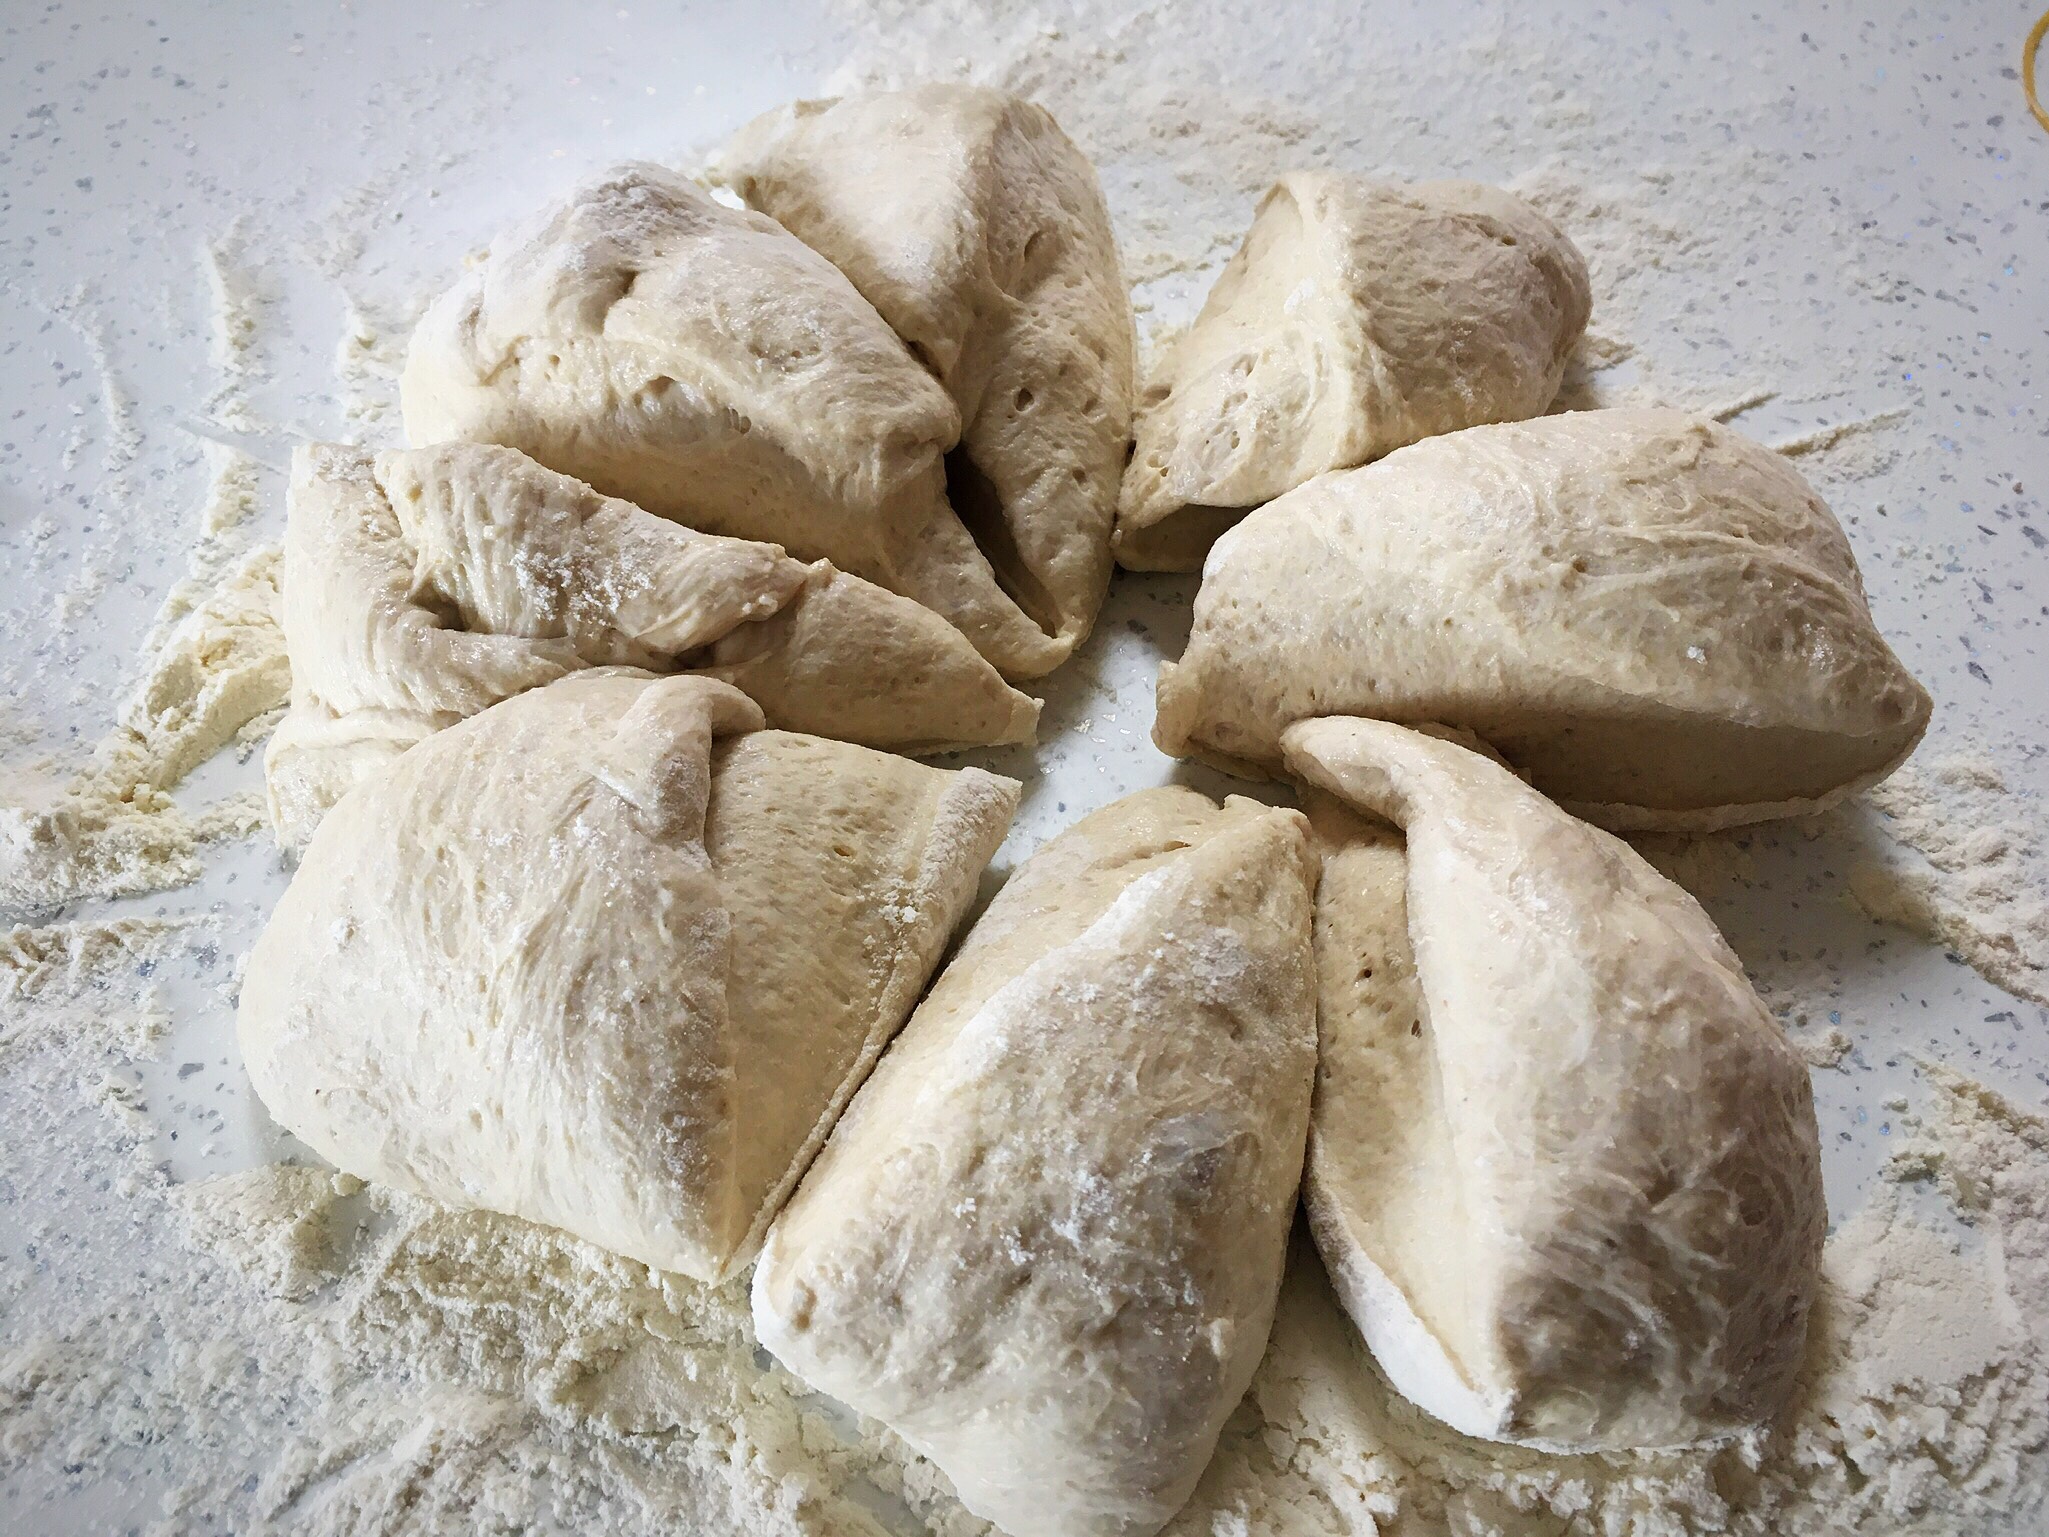
I will be putting videos of making these loaves on YouTube, but all I’ve done is use my master recipe process, all I’ve done is change the quantities, so everything else is the same; please feel free to increase the quantities to make a bigger loaf.

The spelt loaf quantities:

300g white spelt flour

200g water

30g starter

1/2 tsp salt, or to your taste

The seeded spelt loaf quantities:

300g white spelt flour

200g water

30g starter

1/2 salt, or to taste

50g mixed roasted seeds, I use pumpkin seed, sunflower seeds and linseeds

The khorason loaf:

300g wholewheat khorason flour

250g water

30g starter

1/2 tsp salt, or to taste

The spelt & khorason loaf:

150g white spelt flour

150g wholewheat khorason flour

250g water

30g starter

1/2 tsp salt, or to taste

The process: I used the process of my master recipe, find the links to the left, all the way through, and baked in a preheated oven at 220C fan (240C non fan) covered, for 30-35 minutes as required.

A close up of bread on a cutting board

Happy baking!

The white spelt flour was from Mathews Cotswold Flours

The khorason flour was from Doves Farm

The starter was always fed and bubbly!

A review of my superStar…

A loaf of bread next to two bags of flour.

When making sourdough bread, a good sourdough starter is essential to get your bread to rise as it should, regardless of the flour combination or recipe you’re using. I tried for a long time, unsuccessfully, to get my own starter nice and robust but it just wouldn’t cooperate. Finally I decided to buy some of Elaine’s starter, Star, and what a difference it made!

She dehydrates her Star at the peak of its strength. Star comes from a long line of Elaine’s starters that have been performing consistently well for many years, and that was evident from the very first loaf I baked.

When I received my packet of dried starter all I needed to do was to rehydrate it and it was ready to bake with. Elaine provides simple and clear instructions, and in a little over a day I had a fully active starter I could either bake with then or store in the fridge to use later.

I just can’t say enough about how much more fun baking has become for me now!

Katie

Minneapolis, USA

Review of my ‘introduction to sourdough’ course…

Having never made bread before, and always wanted to learn, I  was slightly nervous at first as I had heard Sourdough was extremely complicated.

The workshop with Elaine – what can I say…..took away all my fears in the first few minutes, absolutely amazing and I loved every second. Elaine has a beautiful way of teaching and made it simple and effortless in the step by step process. I learned how to make my first sourdough bread and got to take one home…. I learnt how to use the same starter in so many other ways – cheese scones of all things… absolutely to die for and just melted in your mouth.

It was a fun day with a life skill of how to make sourdough bread and an experience that I will never forget……I am hoping to be baking my own loaf from this point forward and am no longer nervous.  Elaine is a wonderful person who gives you so much more than you can read in a book and I would highly recommend her workshop to do on your own or with a close friend or family member.  I had fun with my sister and it is a memory I will not forget…

Thank you Elaine for sharing your knowledge and making it such a lovely day and Oh I forgot to mention I loved your homemade salad and humous  – please do a cooking class – I will be the first to book on…..!

Renu Kaunda

A review of my ‘perfecting your sourdough’ course..

A group of people standing in front of some food.

I thought that I ought to write a review of the sourdough course that I did recently with Elaine Foodbod, at her home in Milton Keynes.

To put this into context I trained as a chef and have spent 40 years catering, and cooking for the military as well as various members of the Royal Family, as a Private soldier right through to Lt Colonel, but whilst that gives me a head start perhaps, as most of us know, sourdough pretty much breaks every rule I’ve ever known when it comes to yeasted products. Few other doughs are as ‘wet’ as sourdough, most other doughs require warmth for proving, none that I can think of would you cold prove, nor bake in a cold oven, put in a freezer for 45 mins before baking and most require some sort of vigorous kneading, not the gentle stretch and fold associated with sourdough.

Having said that, the day (really just 4-5 hours) was invaluable to me as a learning experience. Up to that point my home starter Herbert had made 20 or 30 loaves with each being a slight improvement on the ones before but I just couldn’t achieve the ‘open structure’ that is associated with sourdough breads. It wasn’t until I’d experienced handling a starter of Elaine’s that felt and looked so different to mine, and a dough that also handled different to mine which Elaine had prepared earlier, (which I was to make myself during the day) was I able to see where my errors were. It really did make so much difference being able to handle it all ‘in the flesh’ as it were. So, an absolute positive for me and that’s before I talk about Elaine herself, her instruction and her hospitality!

Elaine is clearly passionate about what she does, she does all in her power to make you feel at ease and comfortable and most importantly of all allows things to progress on the course at your pace, making sure that at each stage of the process you understand what you’re doing and why you are doing it! I couldn’t recommend Elaine’s course highly enough and I look forward to sometime in the future working with her again.

A counter with some food and a scale
A man in white shirt preparing food on top of counter.
A man in the kitchen holding something
A man in white shirt holding bowl of food.

Andy Main

Testimonial for my introduction to sourdough course…

The sourdough workshop with Elaine is incredible!

This wasn’t just a baking class and Elaine didn’t just teach how to make great sourdough bread.  No, what I got was so much more!  I got a reminder to simplify life, to enjoy the process and not be scared when things get sticky. Elaine explained every step of the sourdough process with great flow and ease, she didn’t over complicate things and related them in a manner that was easy to understand.

The whole day was a fun and joyful experience from the minute we arrived. We went from talking about bread, Harry Potter and Game of Thrones to life, values, competitions and personal development with a beautiful home cooked healthy meal to finish it all off. I didn’t really know what to expect before attending except that I would make sourdough bread but I came away with so much more.

Thank you Elaine, let me know when the cooking workshops are available and I’ll be back.

Definitely book now if you’re on the edge, you don’t want to miss this gem of a workshop.

Nisha Kaunda

Leadership Coach and Trainer