I thought that I ought to write a review of the sourdough course that I did recently with Elaine Foodbod, at her home in Milton Keynes.
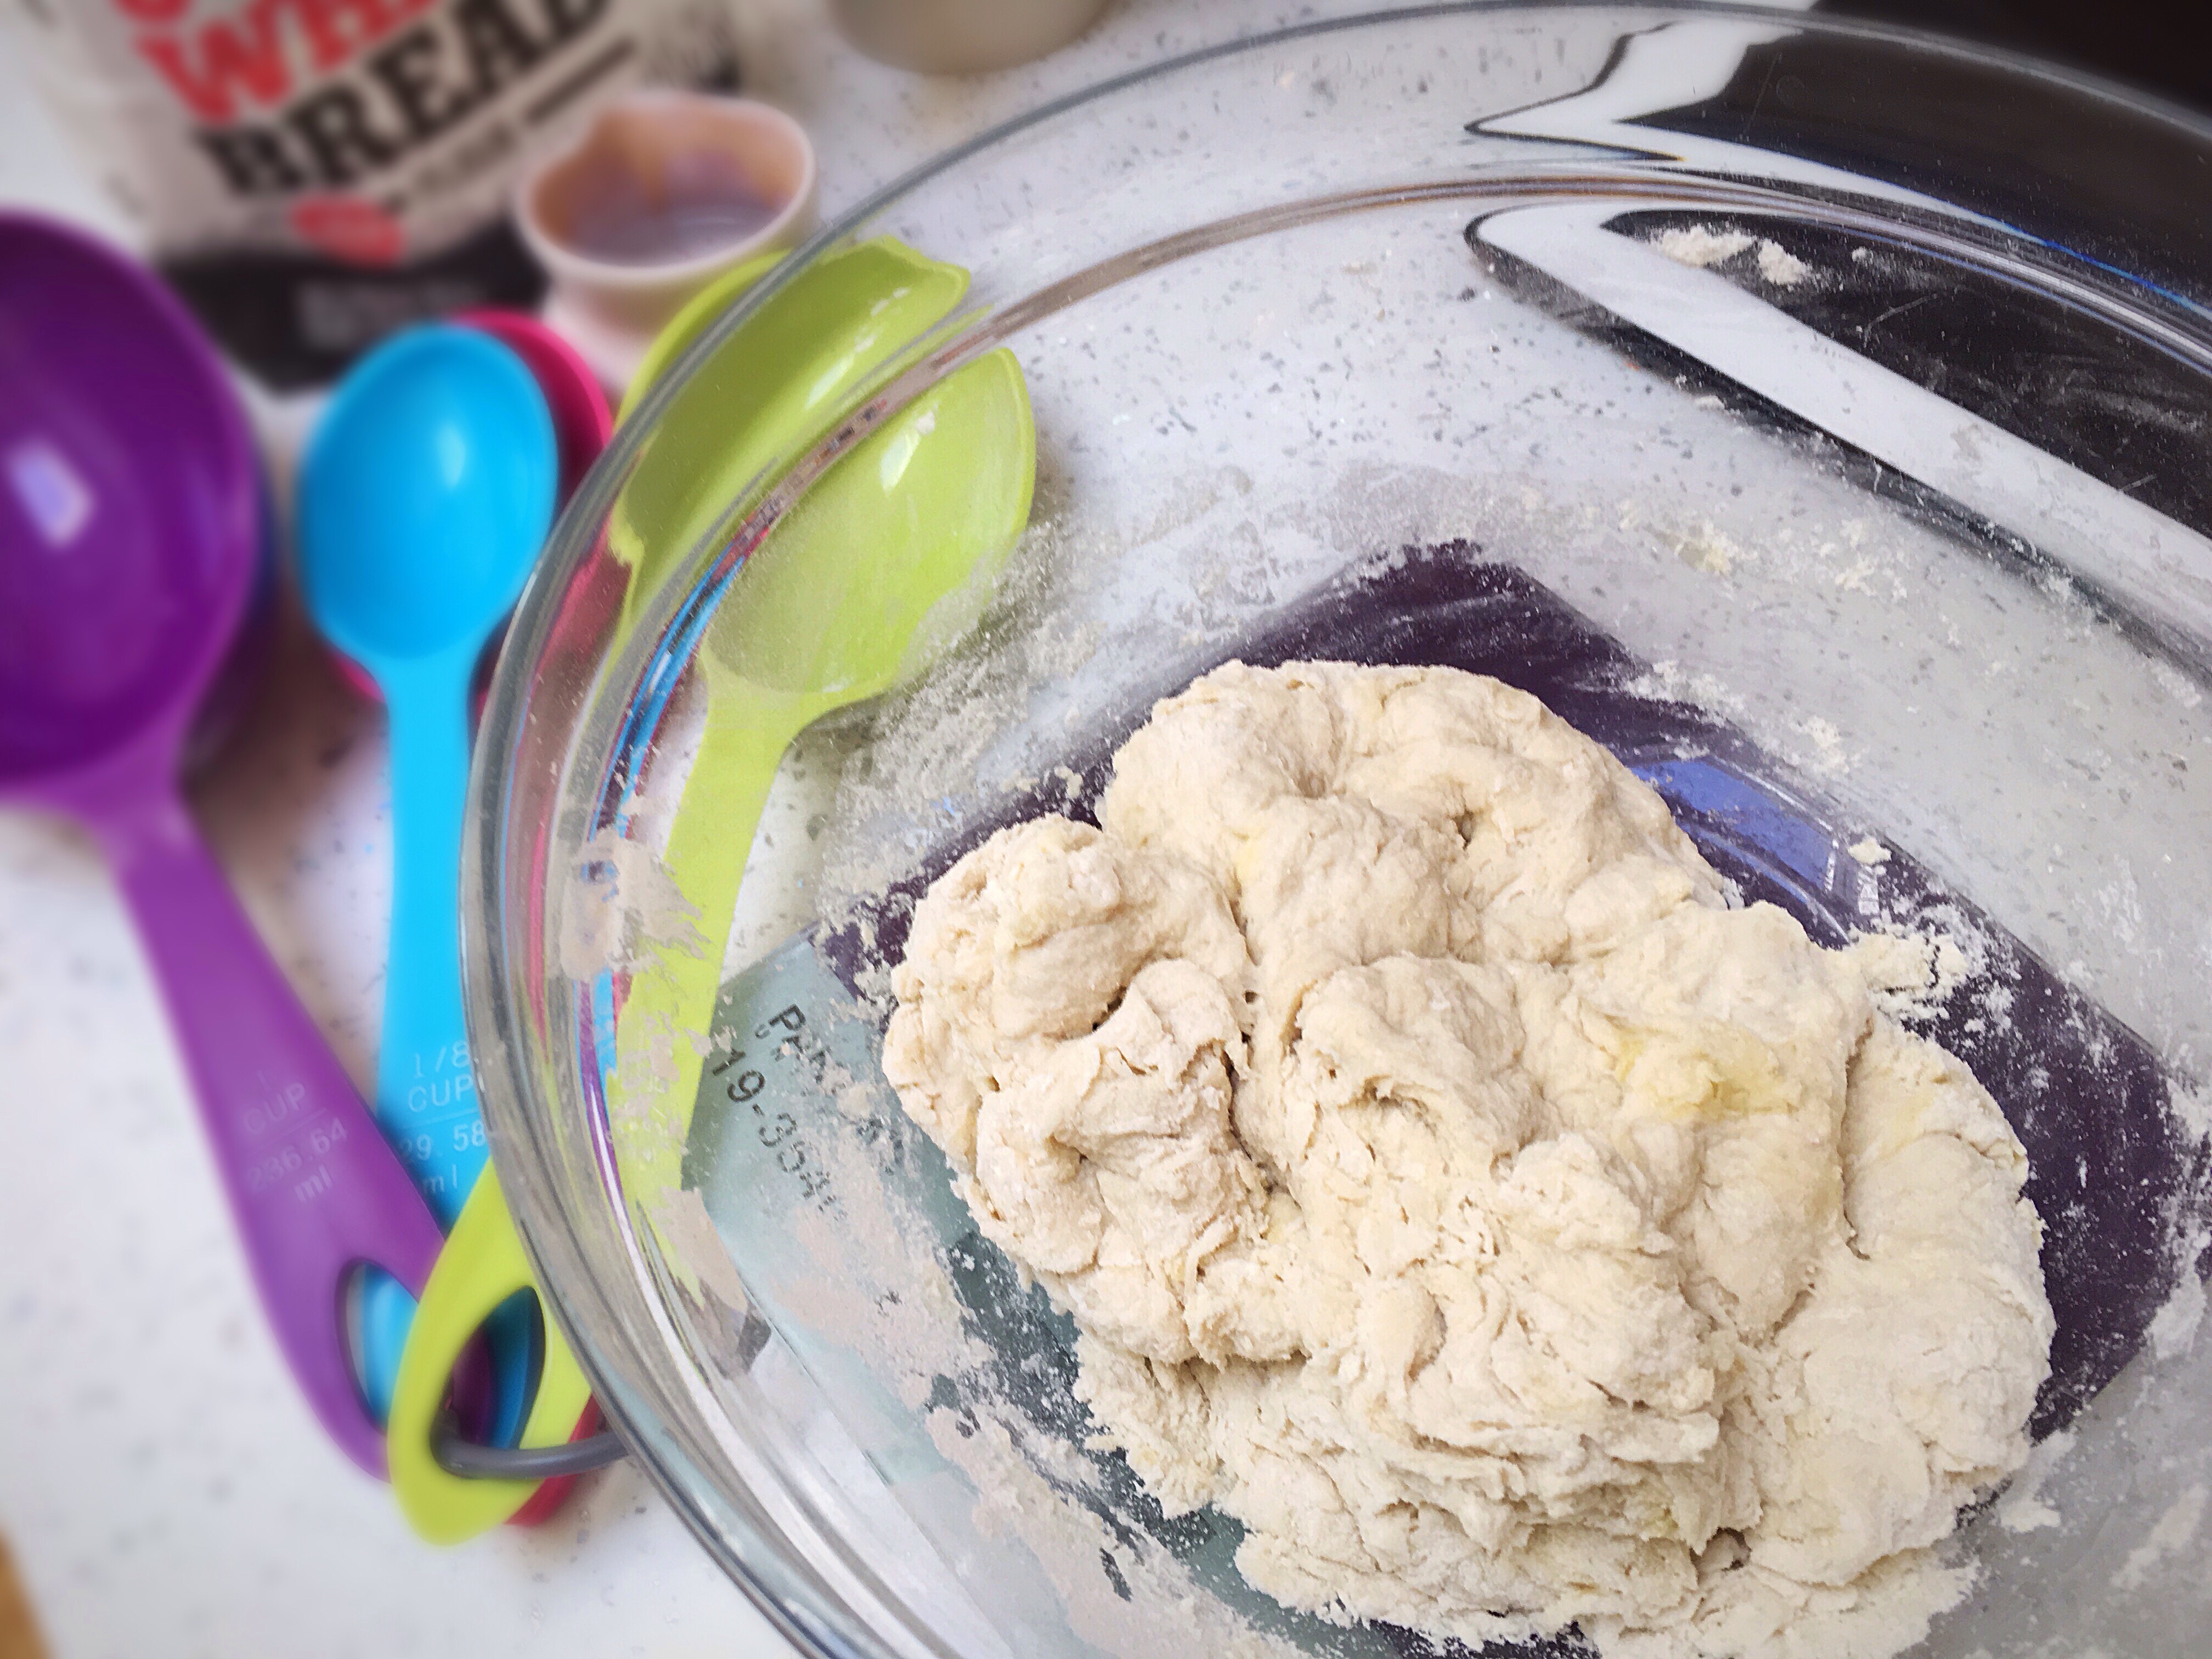
To put this into context I trained as a chef and have spent 40 years catering, and cooking for the military as well as various members of the Royal Family, as a Private soldier right through to Lt Colonel, but whilst that gives me a head start perhaps, as most of us know, sourdough pretty much breaks every rule I’ve ever known when it comes to yeasted products. Few other doughs are as ‘wet’ as sourdough, most other doughs require warmth for proving, none that I can think of would you cold prove, nor bake in a cold oven, put in a freezer for 45 mins before baking and most require some sort of vigorous kneading, not the gentle stretch and fold associated with sourdough.
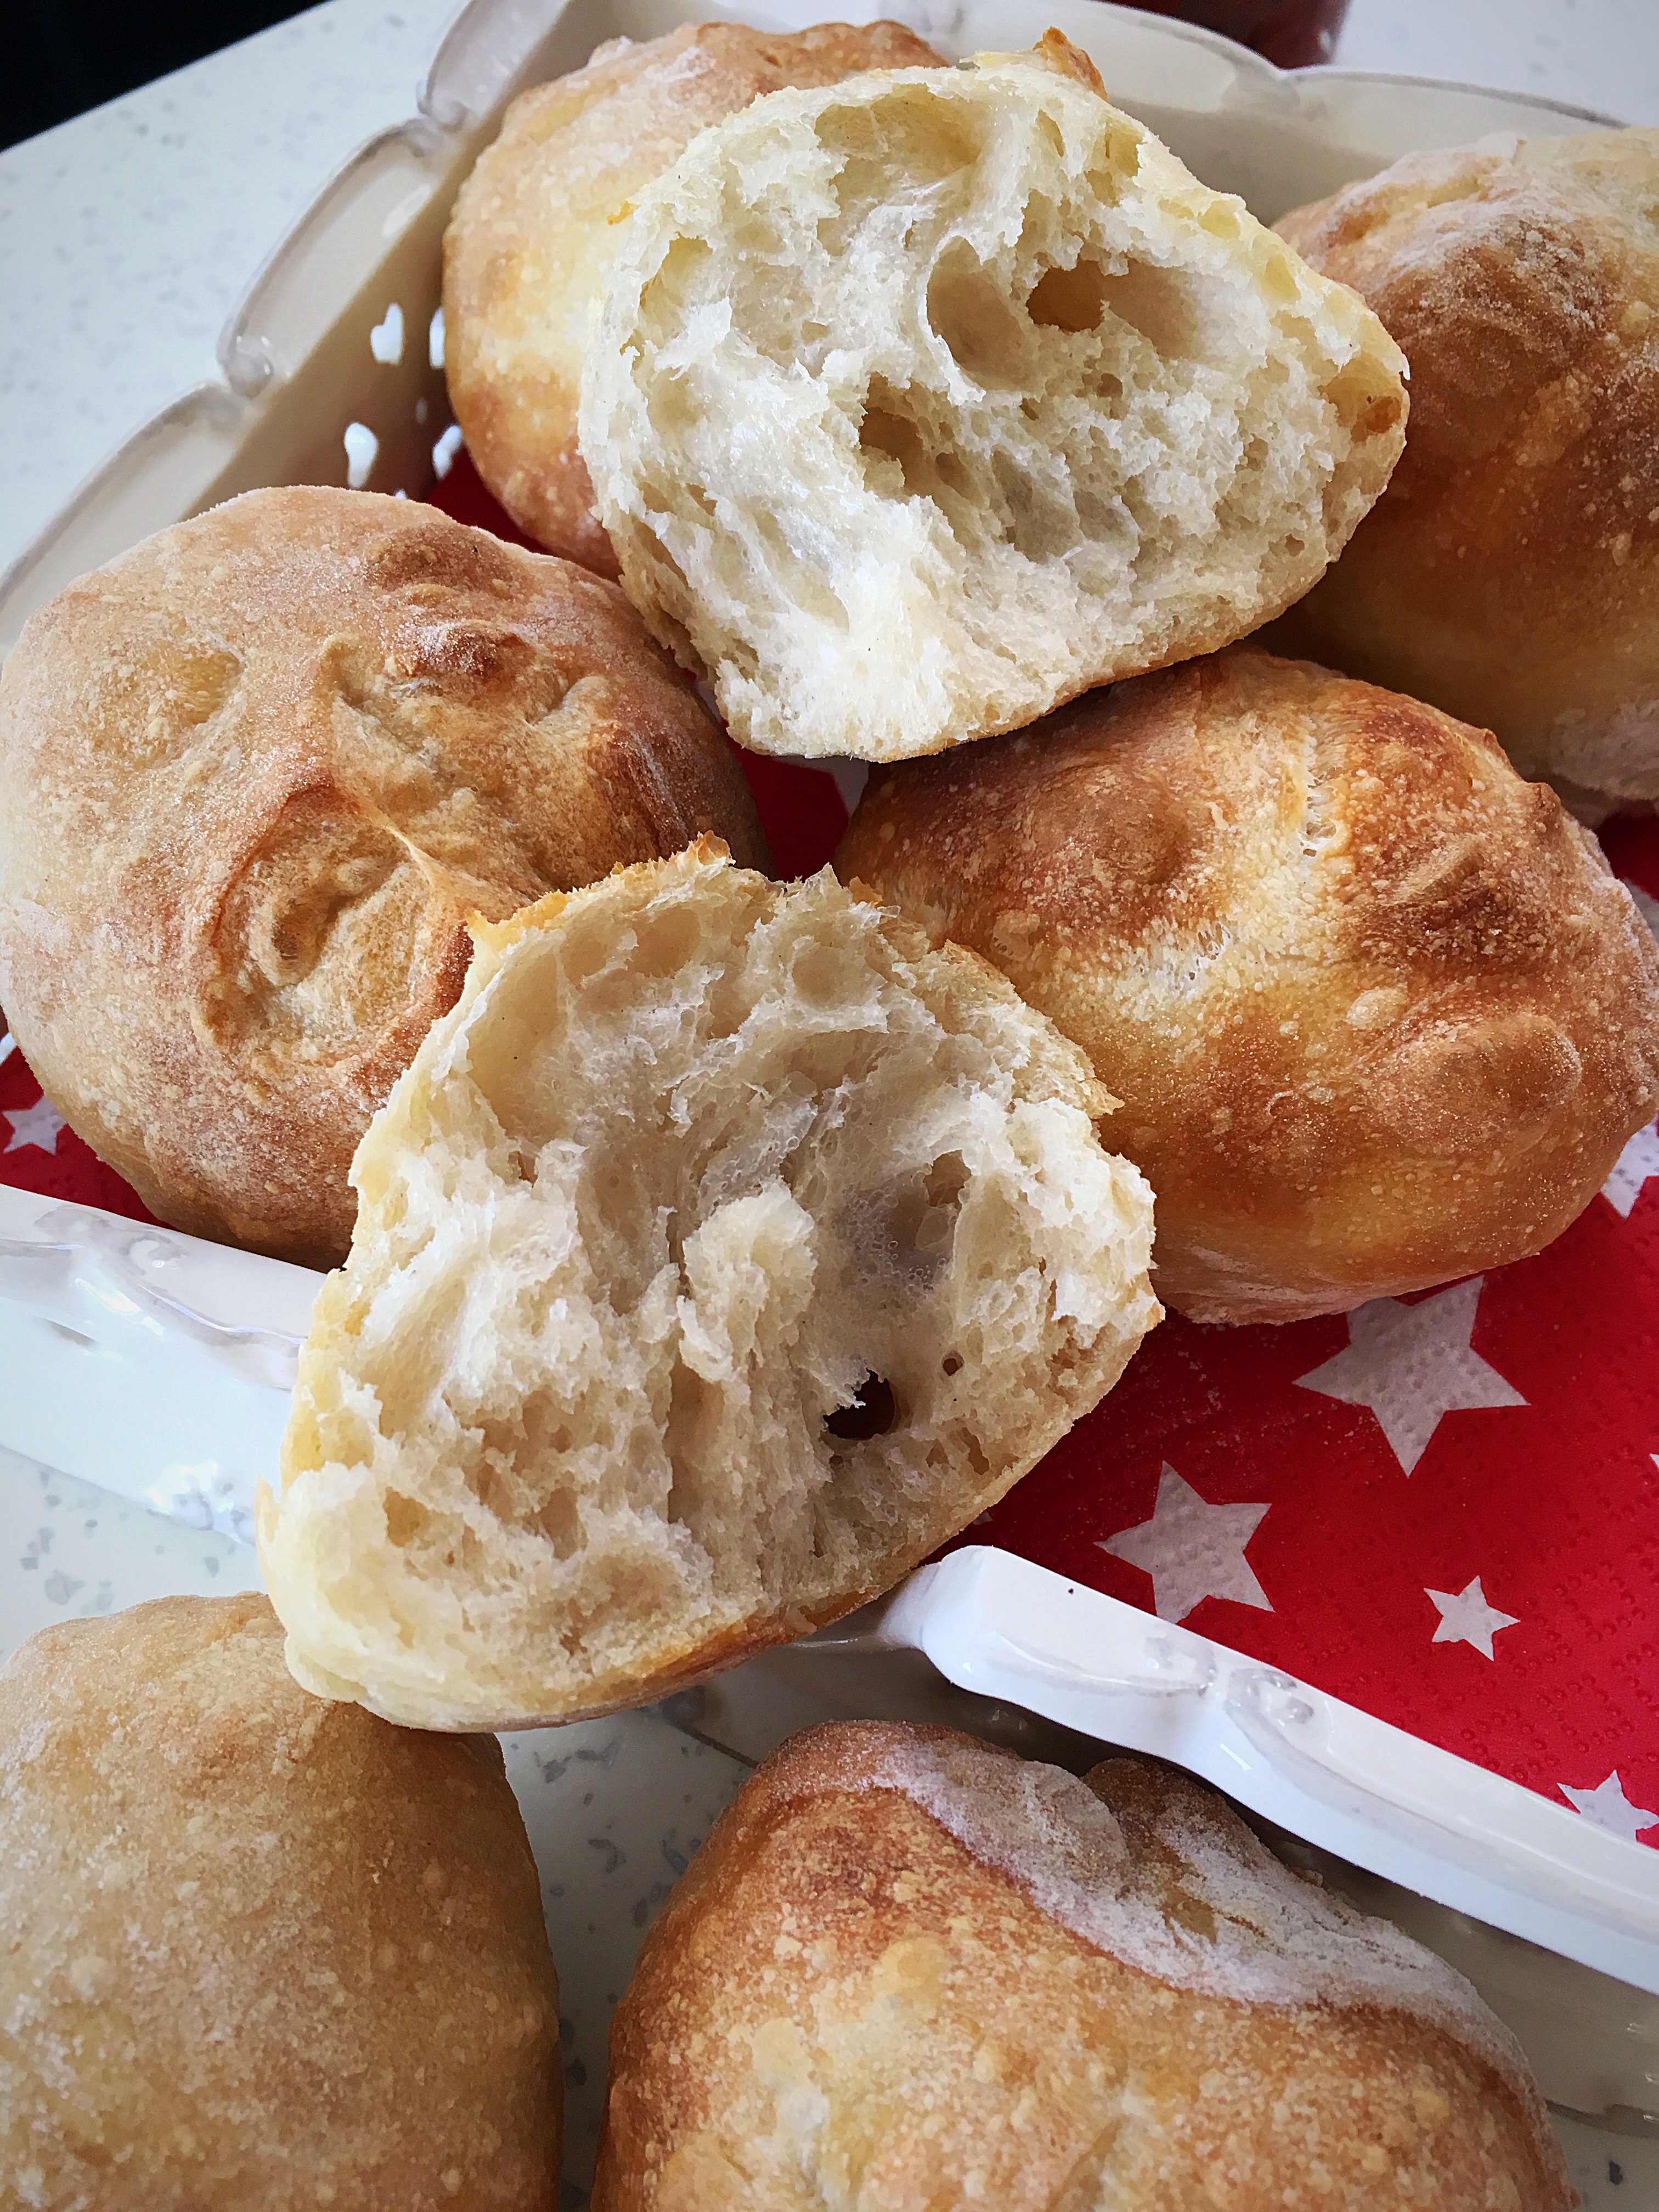
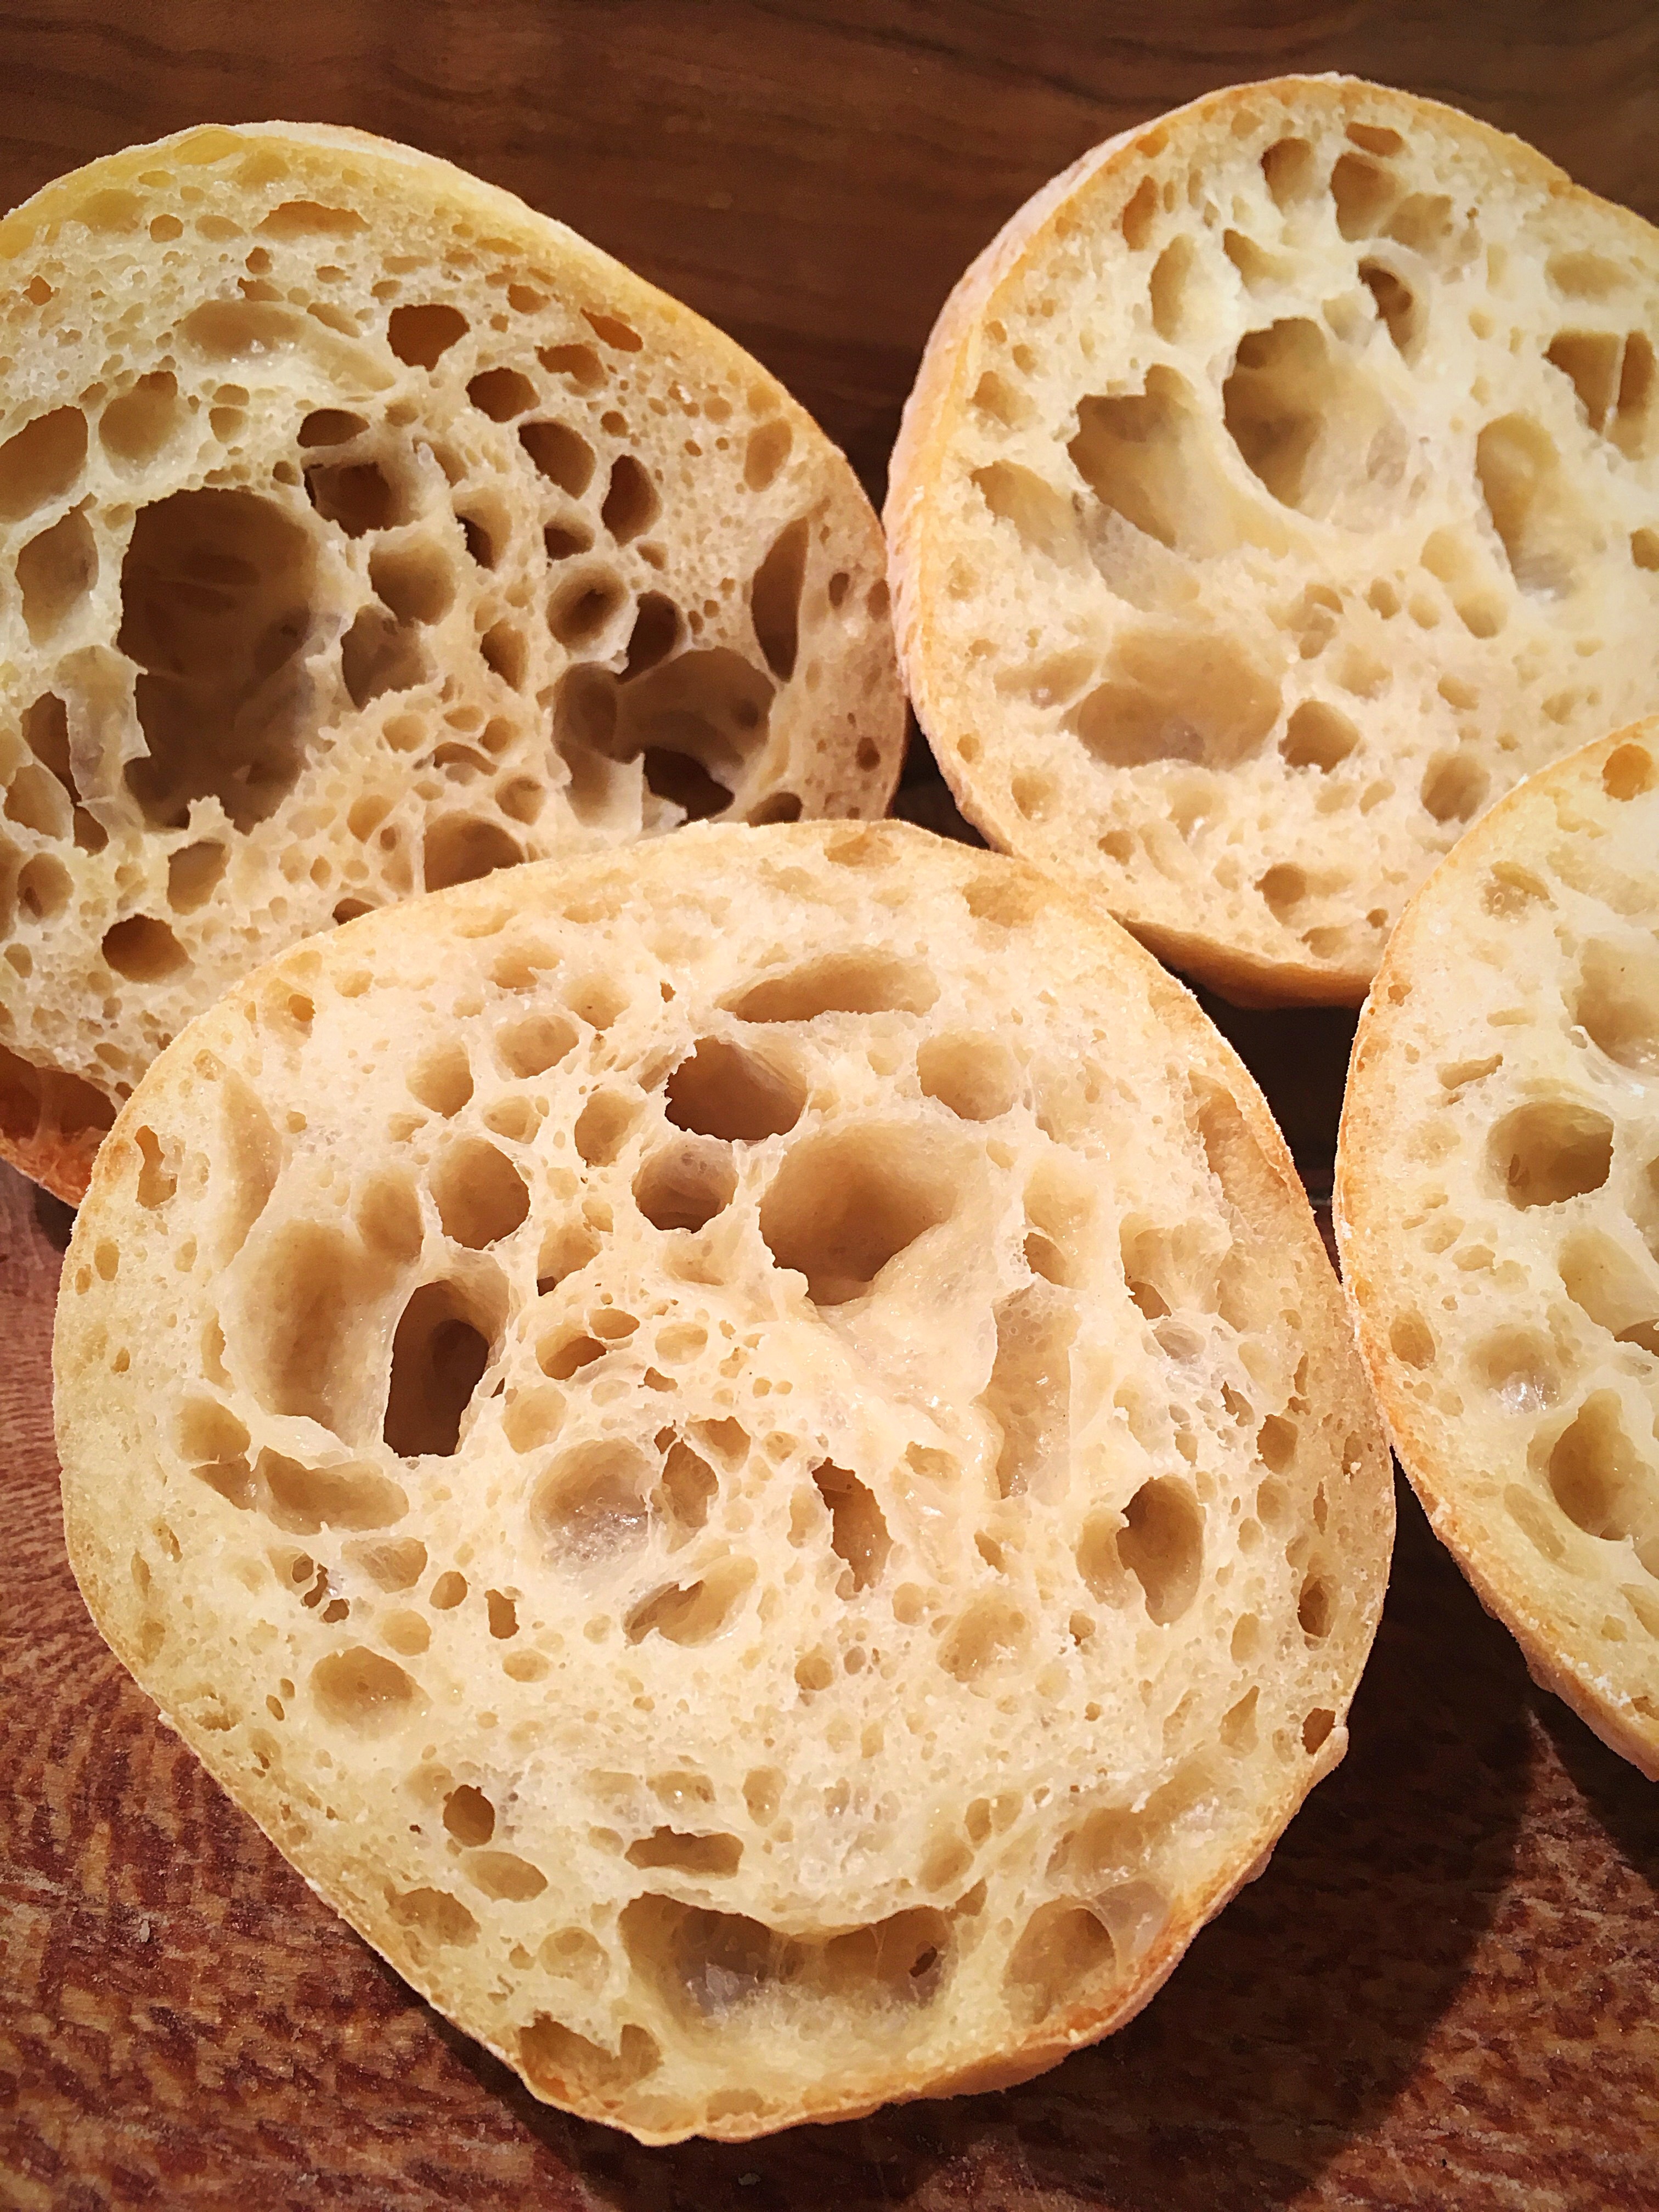
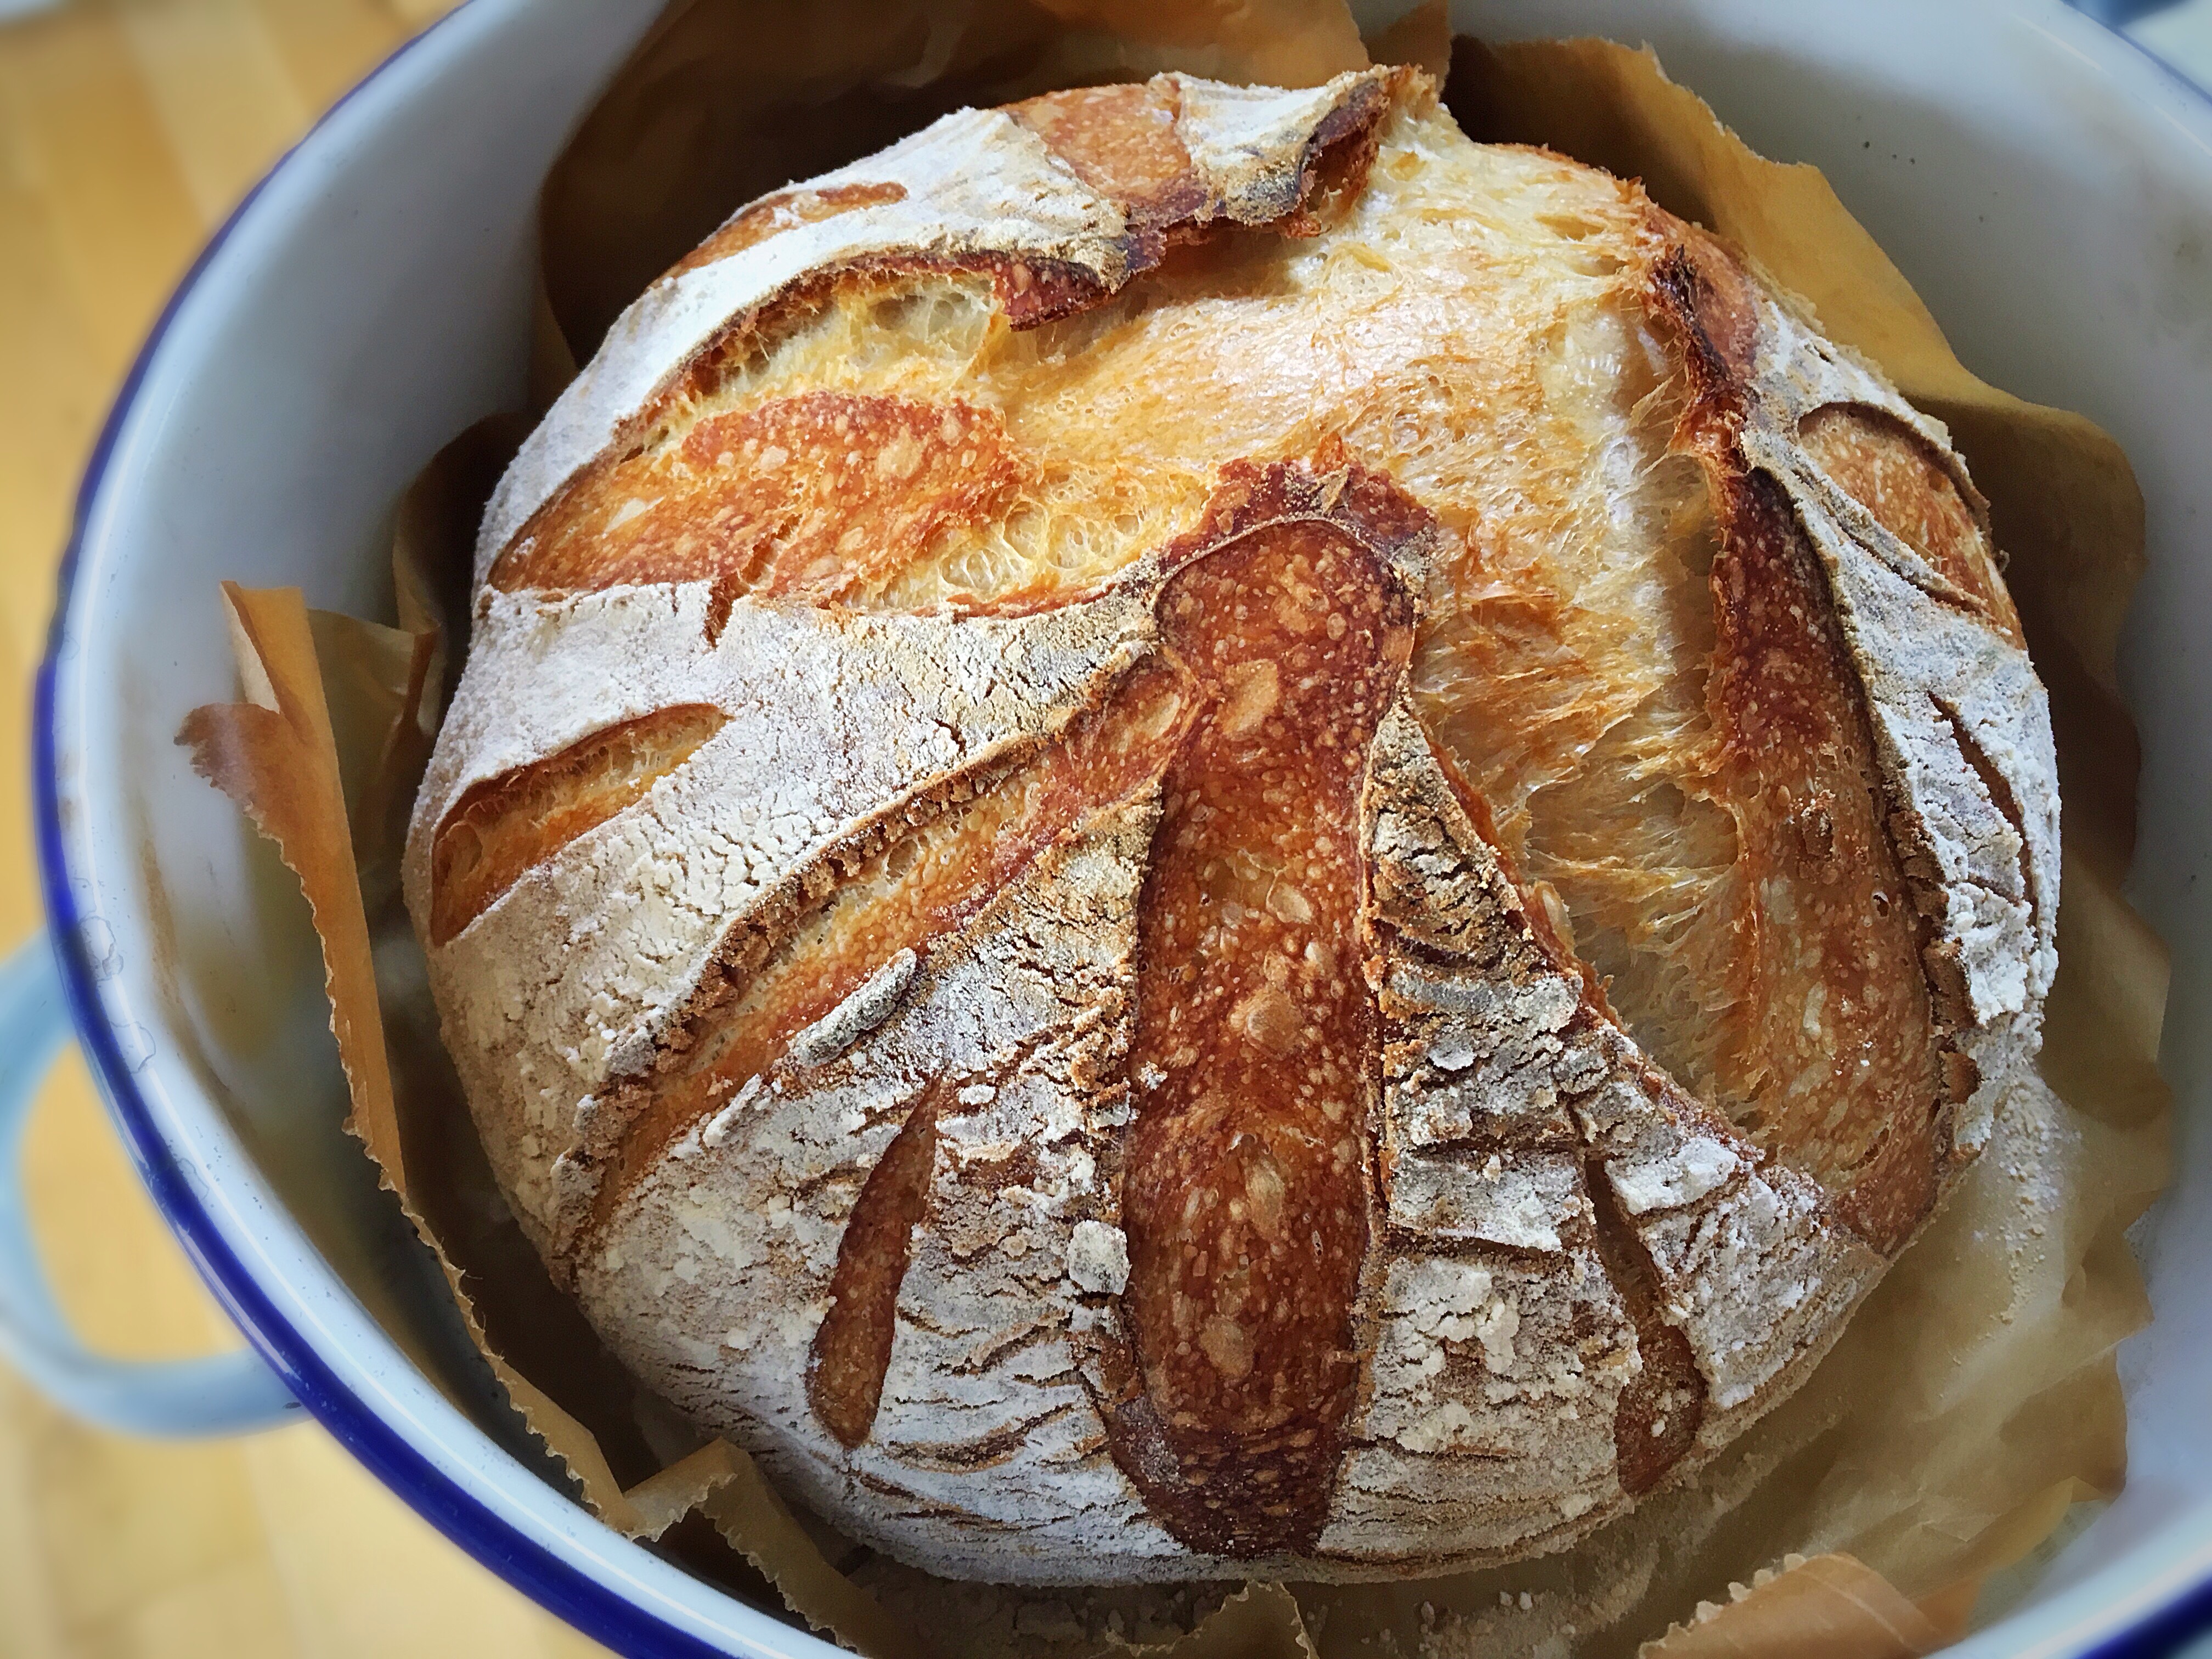
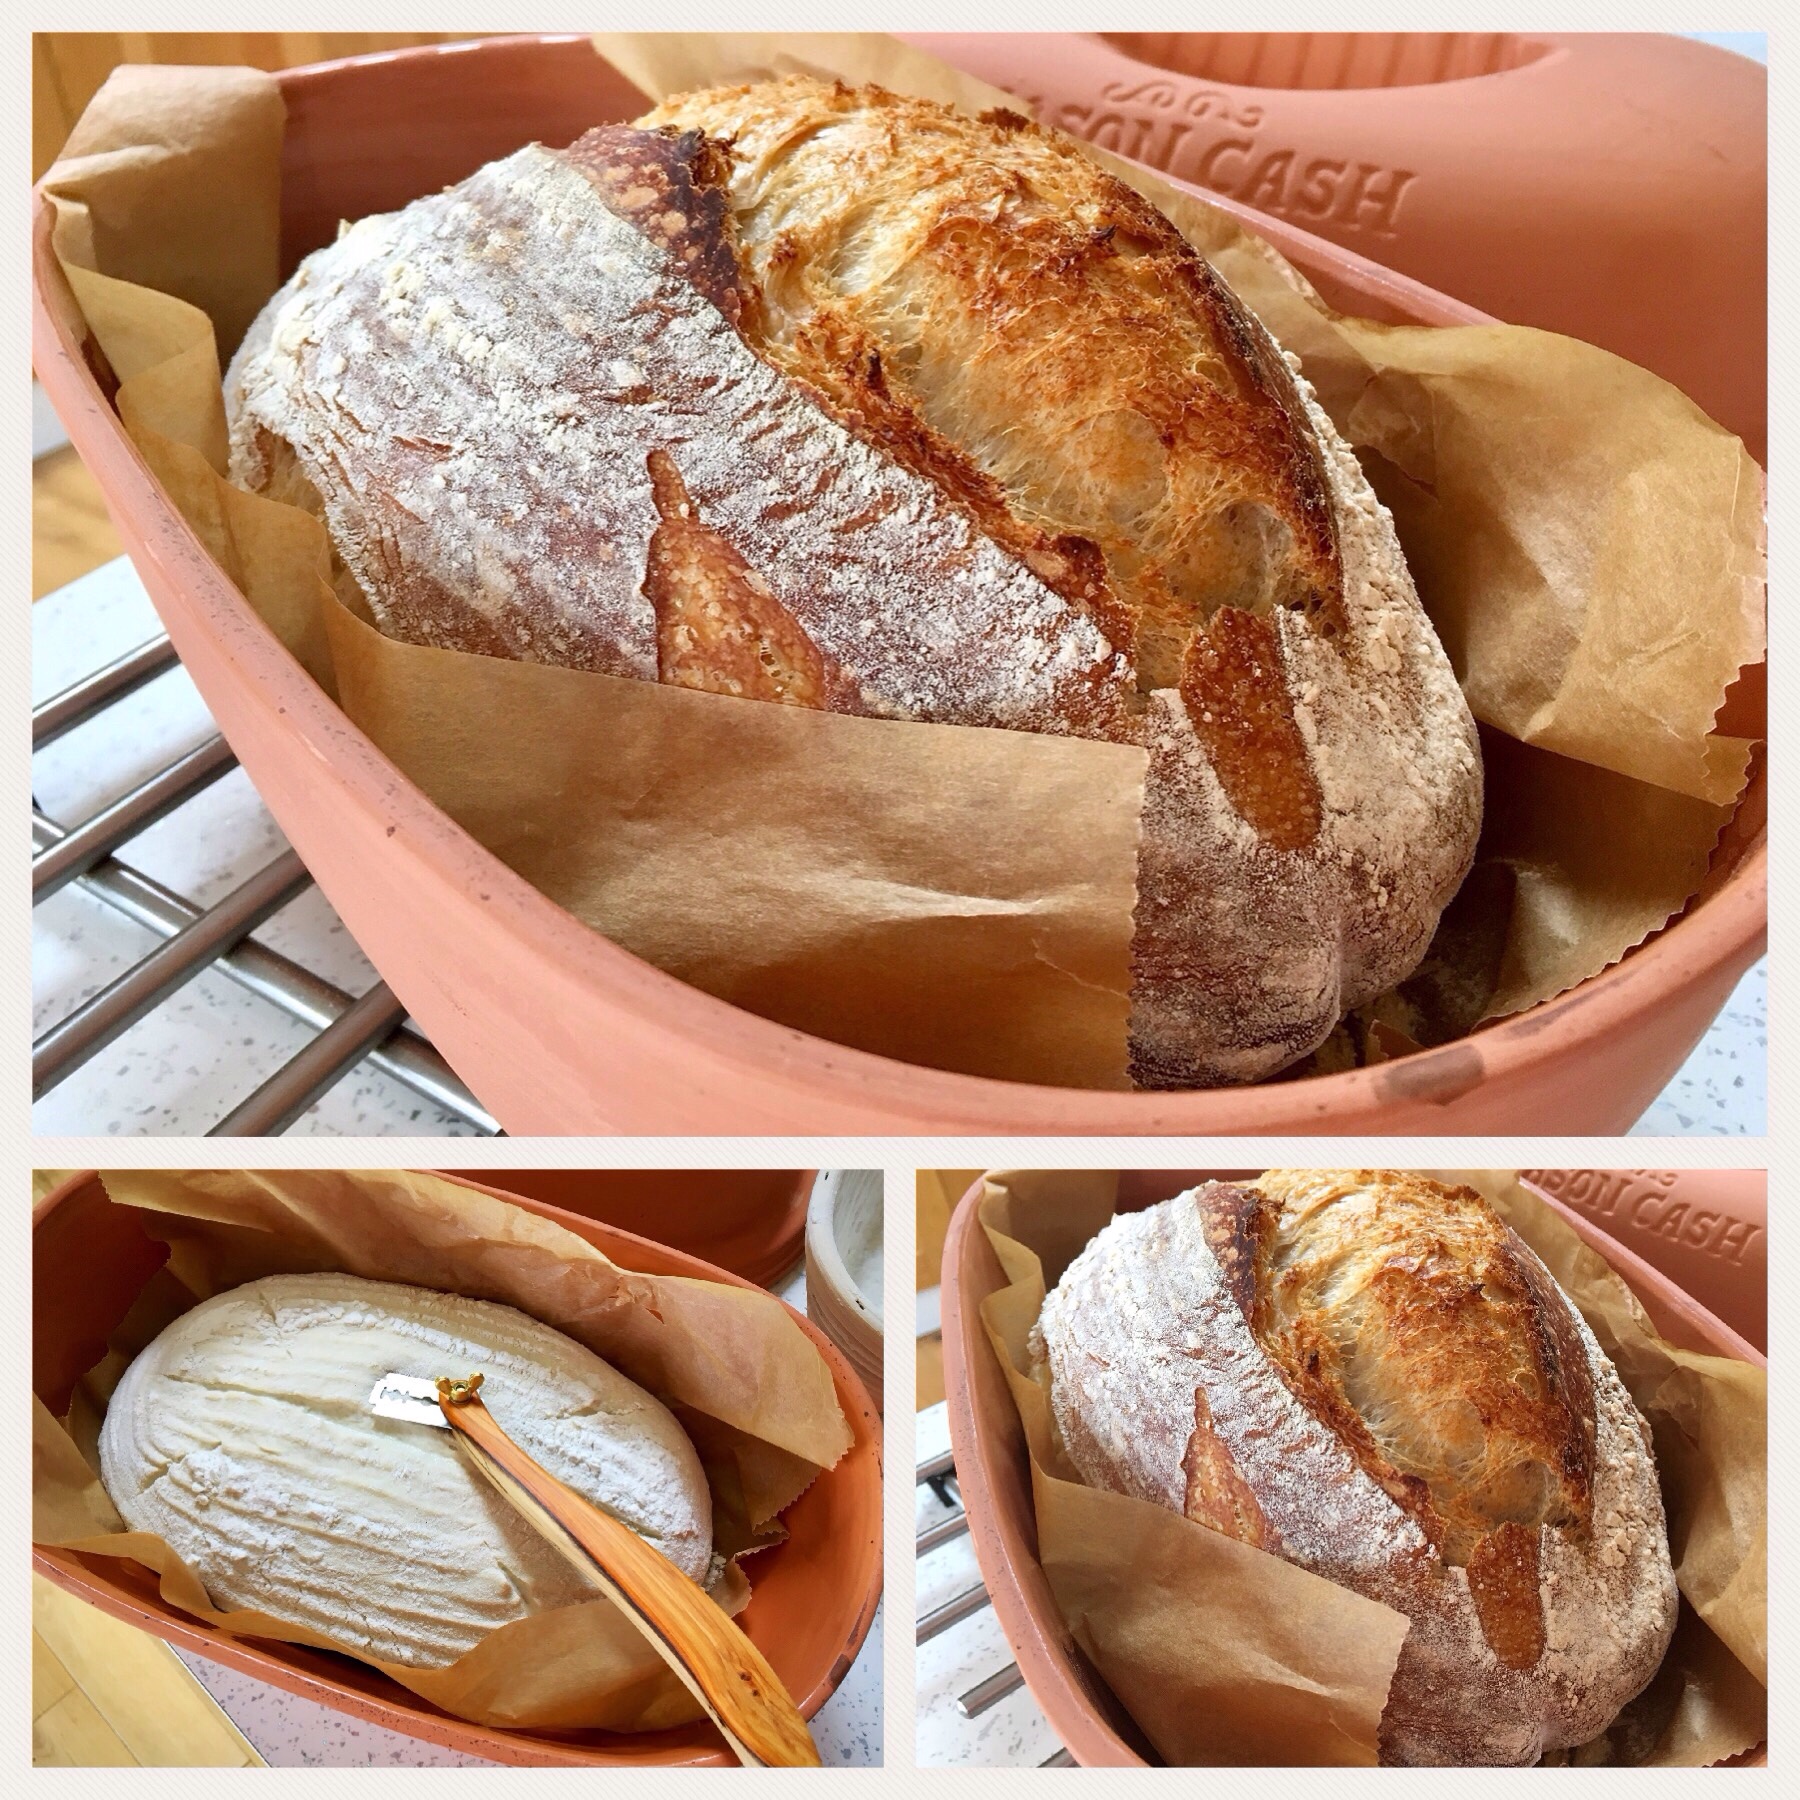
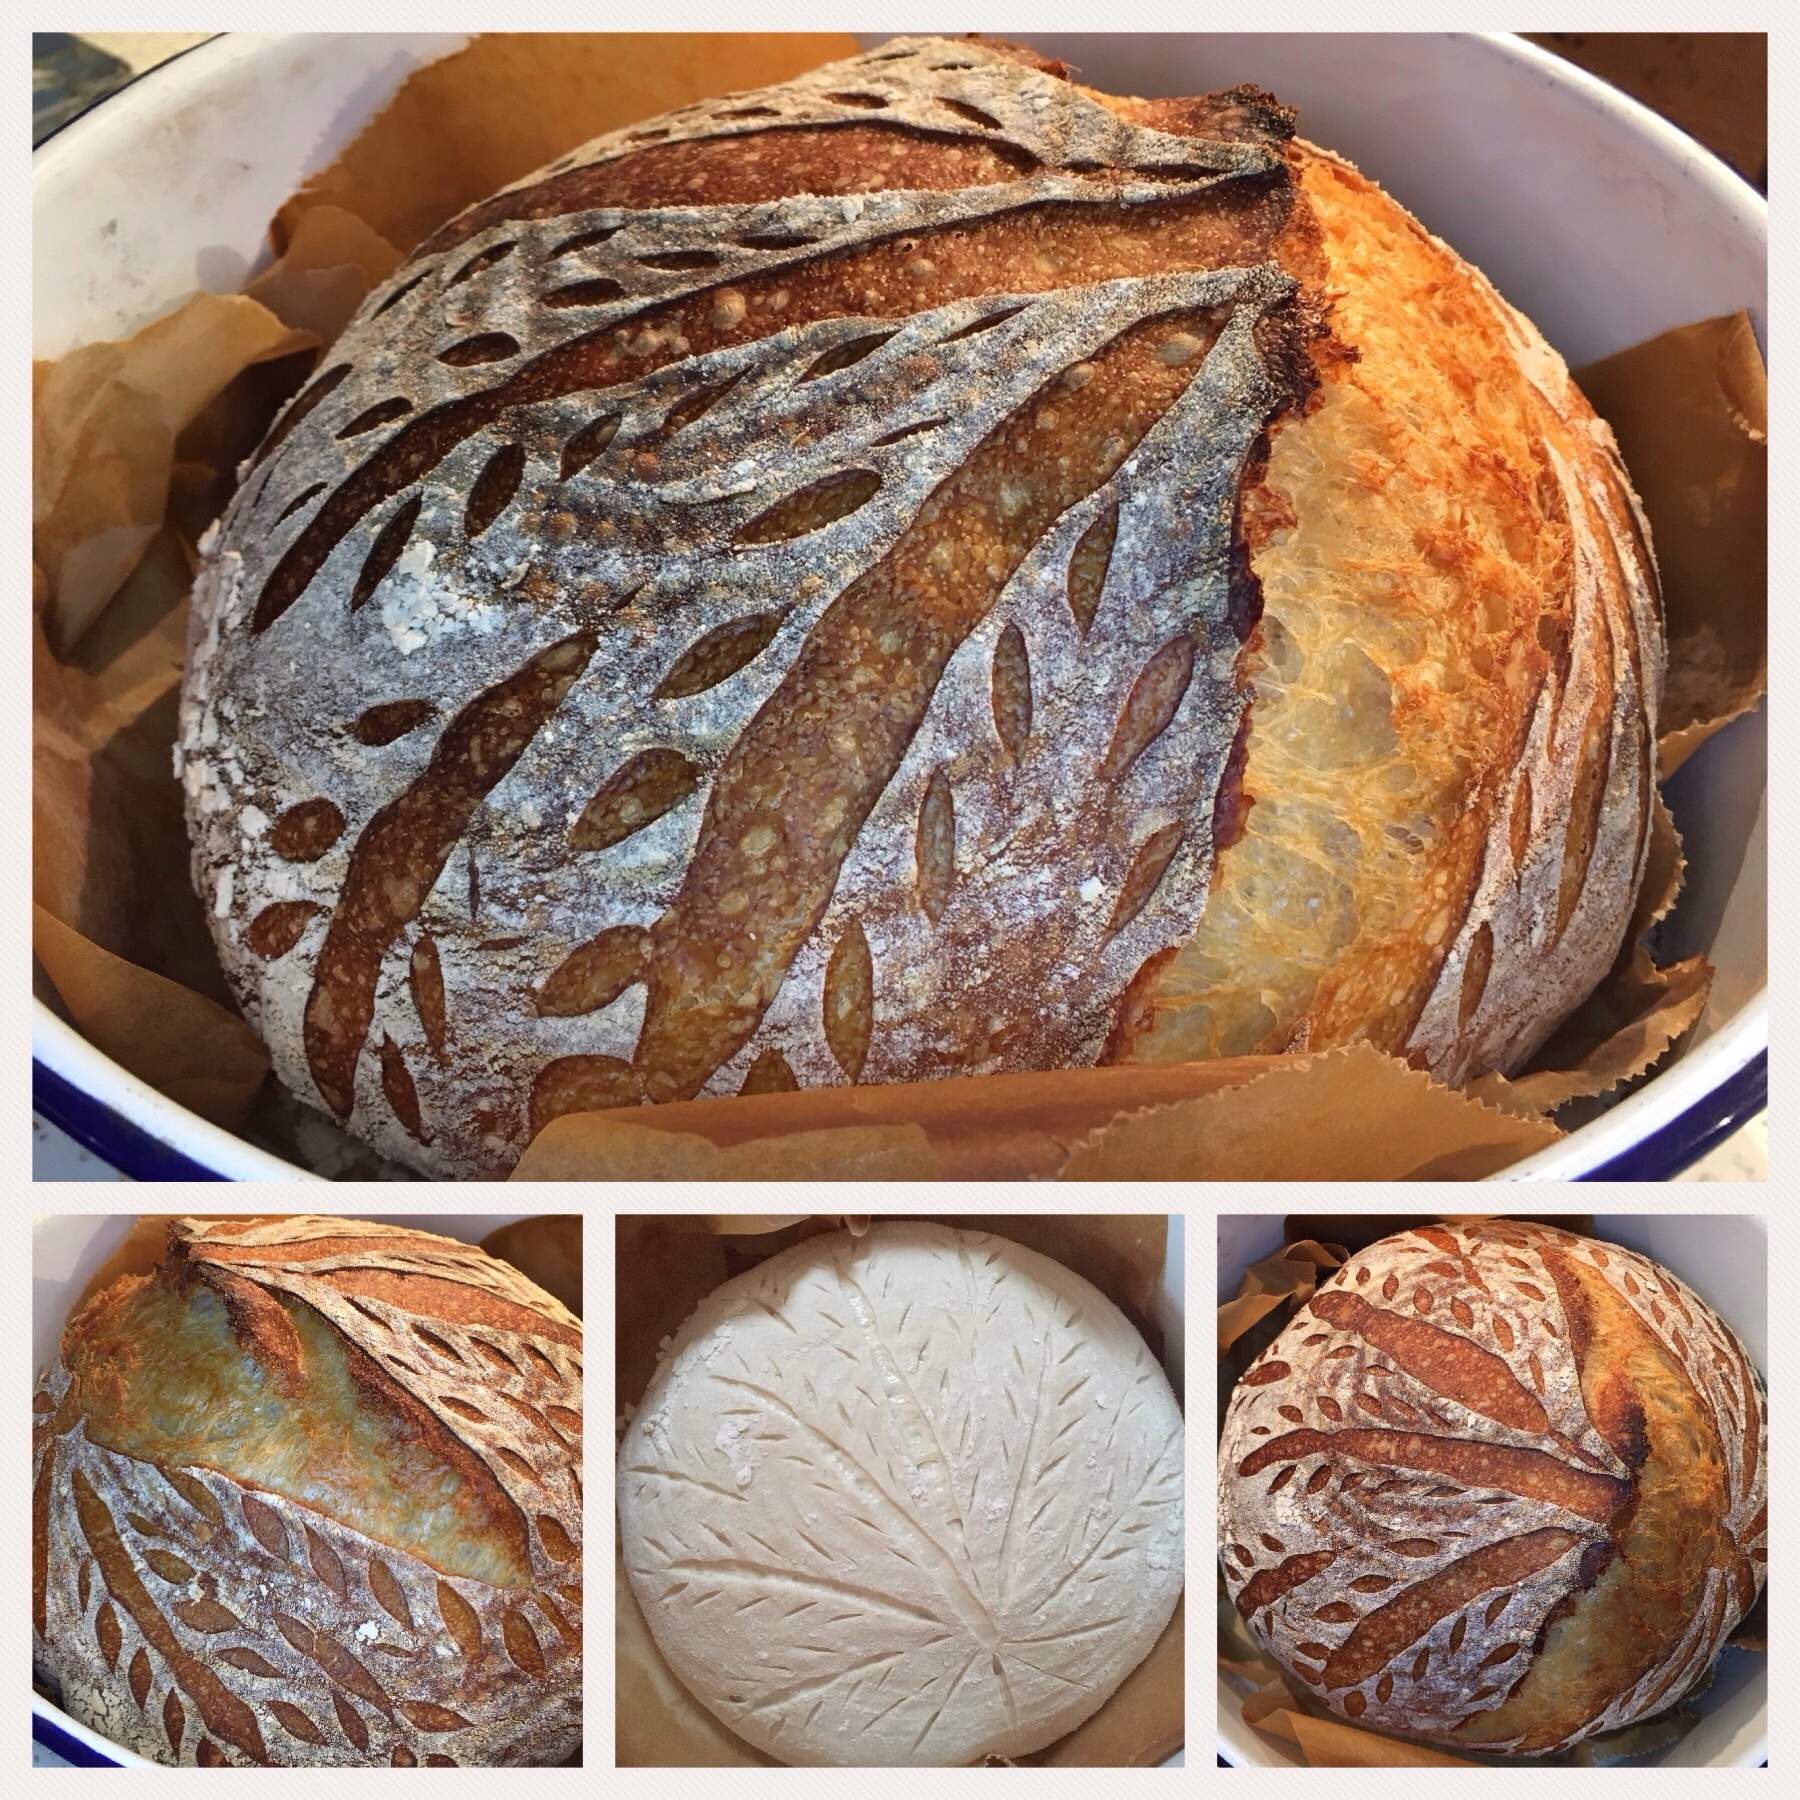
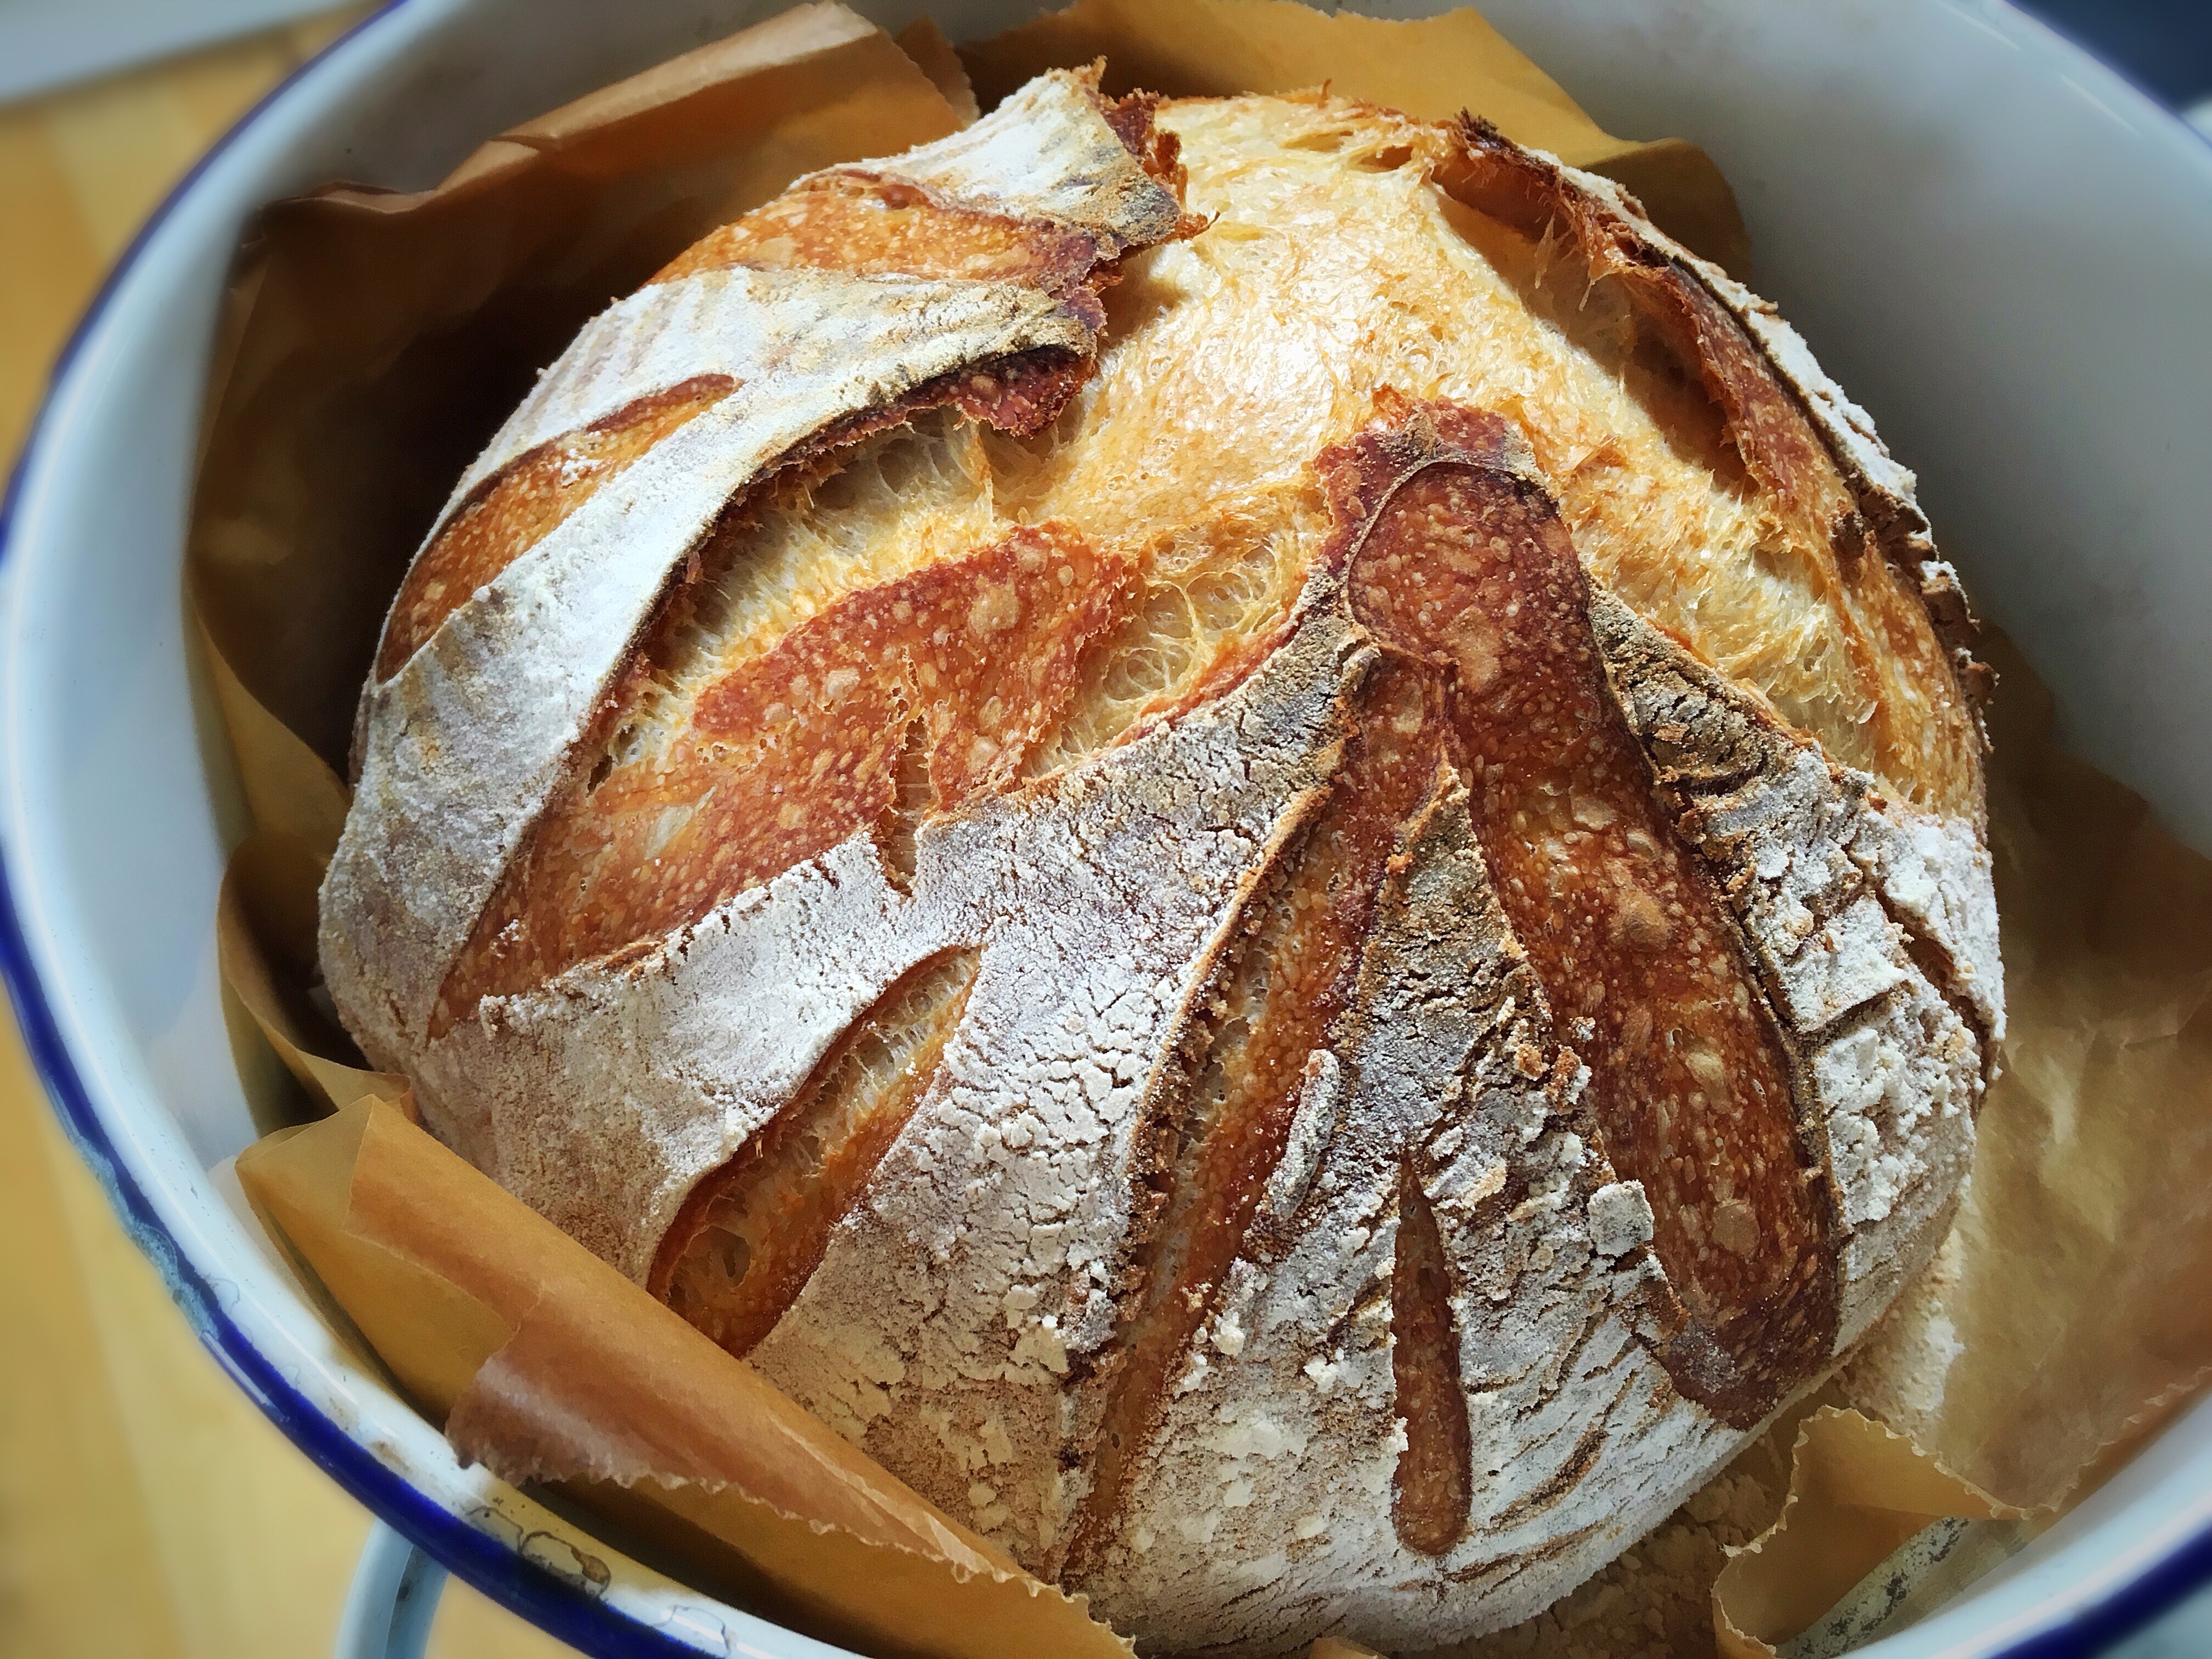
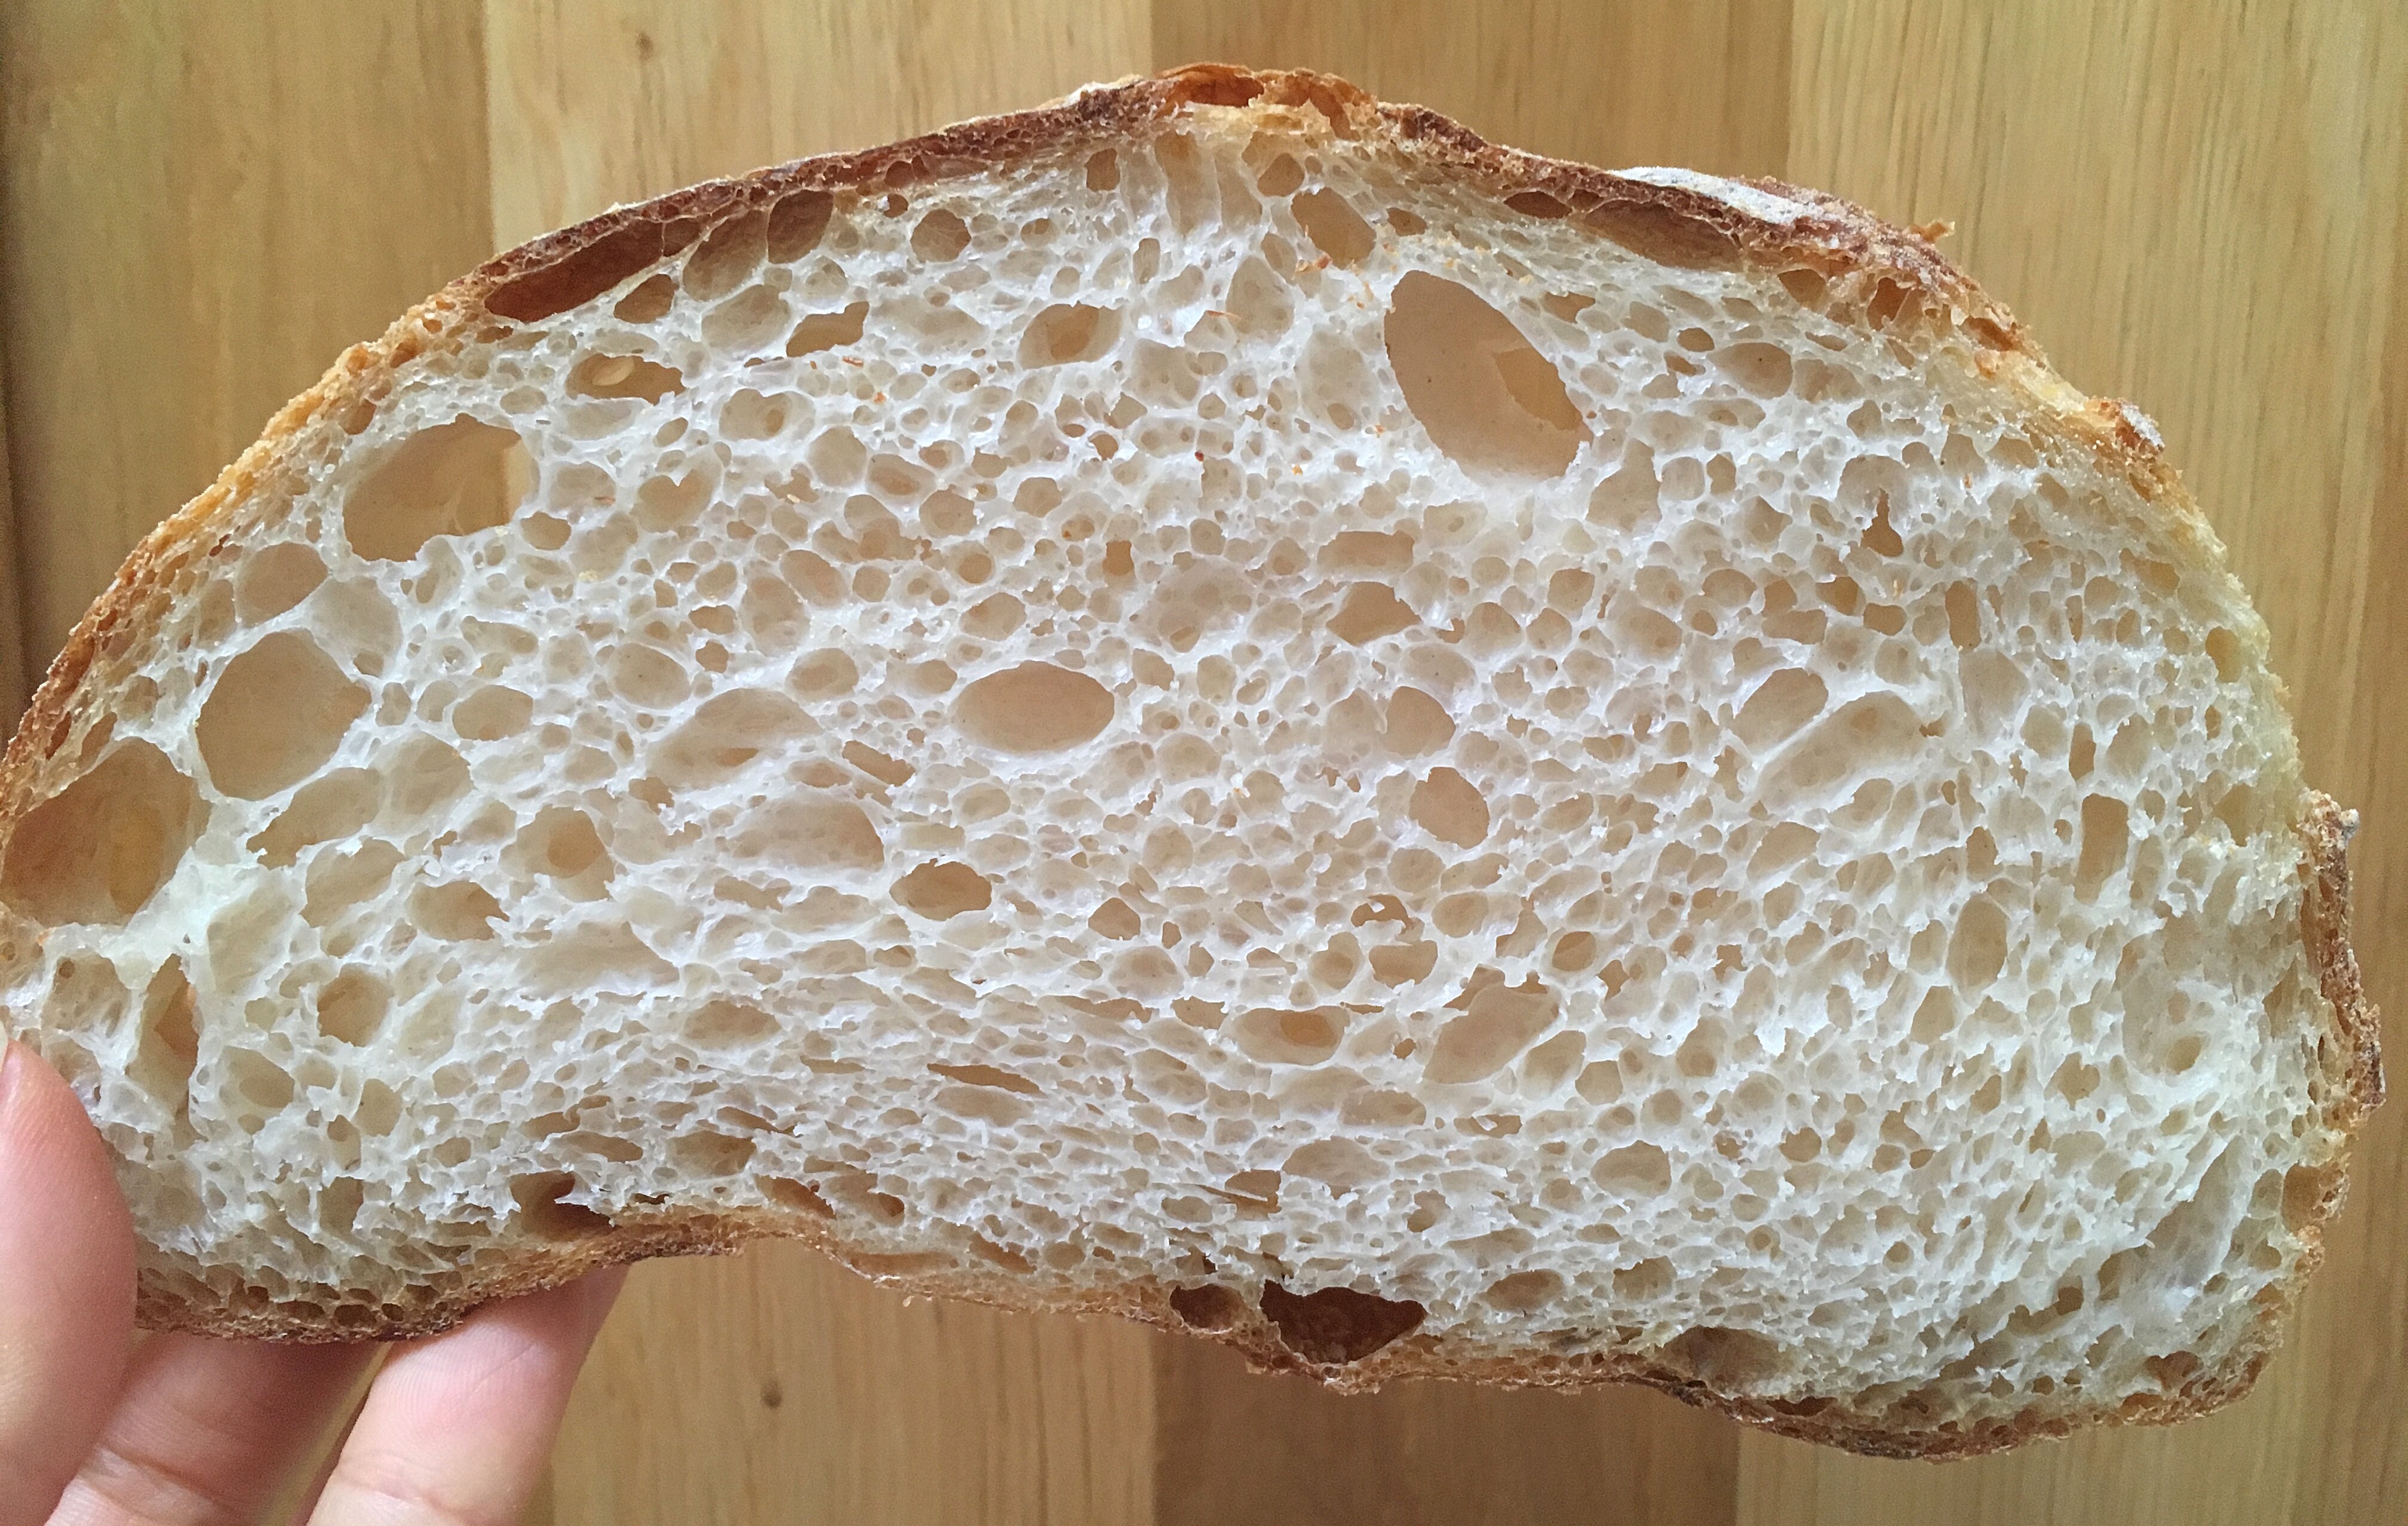
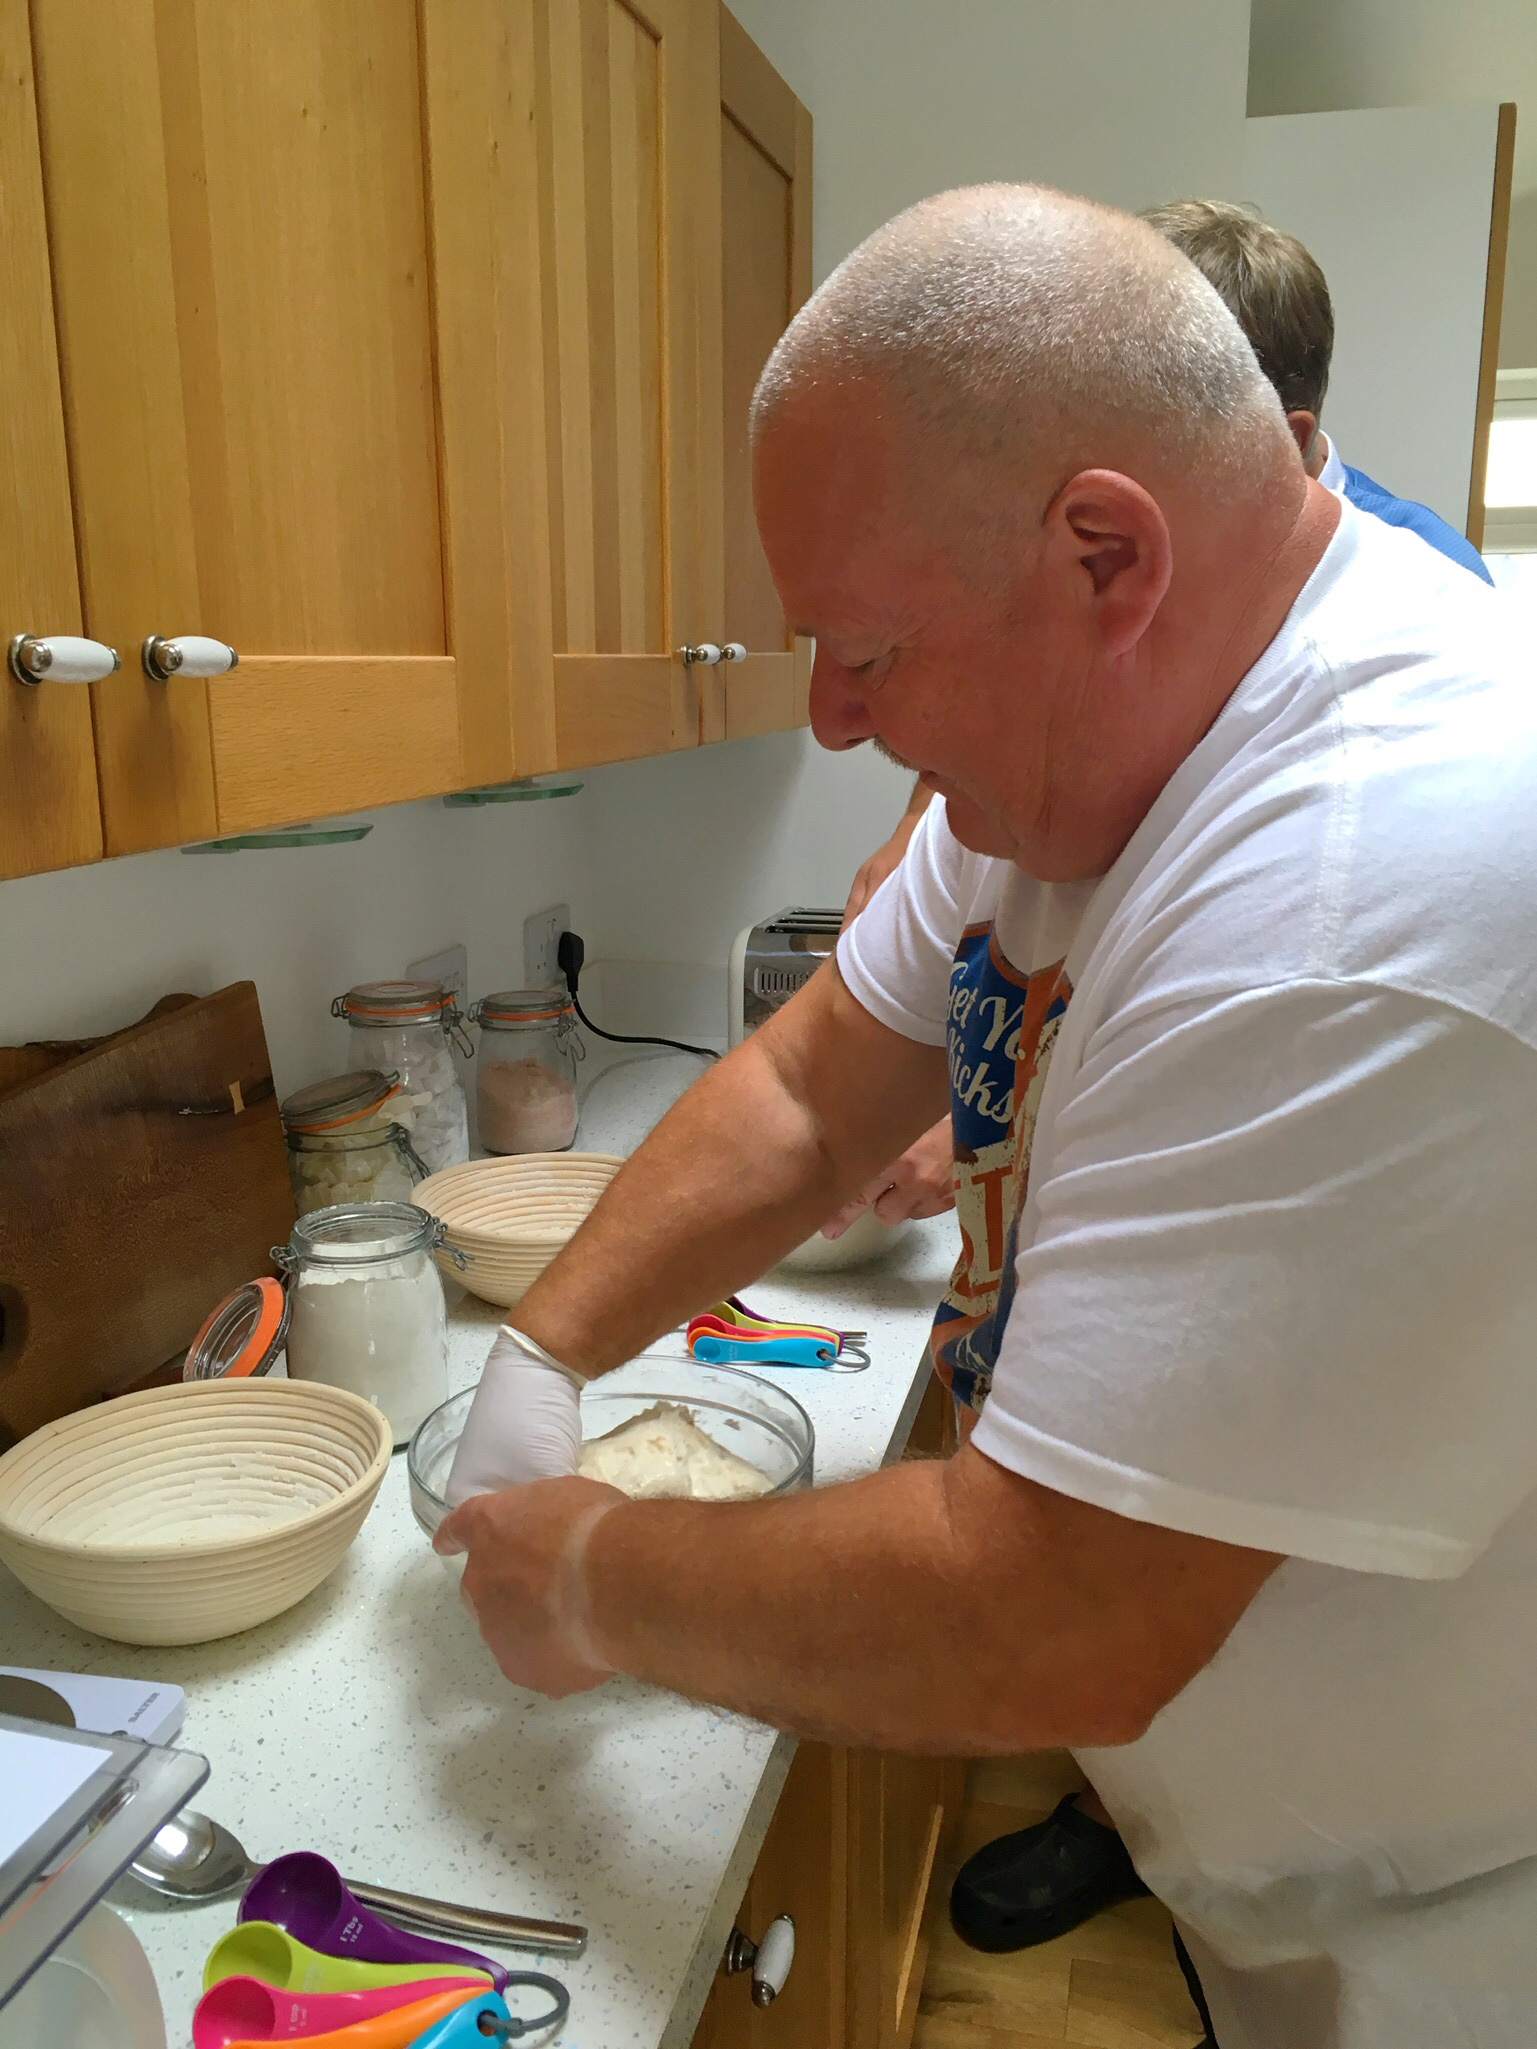
Having said that, the day (really just 4-5 hours) was invaluable to me as a learning experience. Up to that point my home starter Herbert had made 20 or 30 loaves with each being a slight improvement on the ones before but I just couldn’t achieve the ‘open structure’ that is associated with sourdough breads. It wasn’t until I’d experienced handling a starter of Elaine’s that felt and looked so different to mine, and a dough that also handled different to mine which Elaine had prepared earlier, (which I was to make myself during the day) was I able to see where my errors were. It really did make so much difference being able to handle it all ‘in the flesh’ as it were. So, an absolute positive for me and that’s before I talk about Elaine herself, her instruction and her hospitality!
Elaine is clearly passionate about what she does, she does all in her power to make you feel at ease and comfortable and most importantly of all allows things to progress on the course at your pace, making sure that at each stage of the process you understand what you’re doing and why you are doing it! I couldn’t recommend Elaine’s course highly enough and I look forward to sometime in the future working with her again.

Andy Main
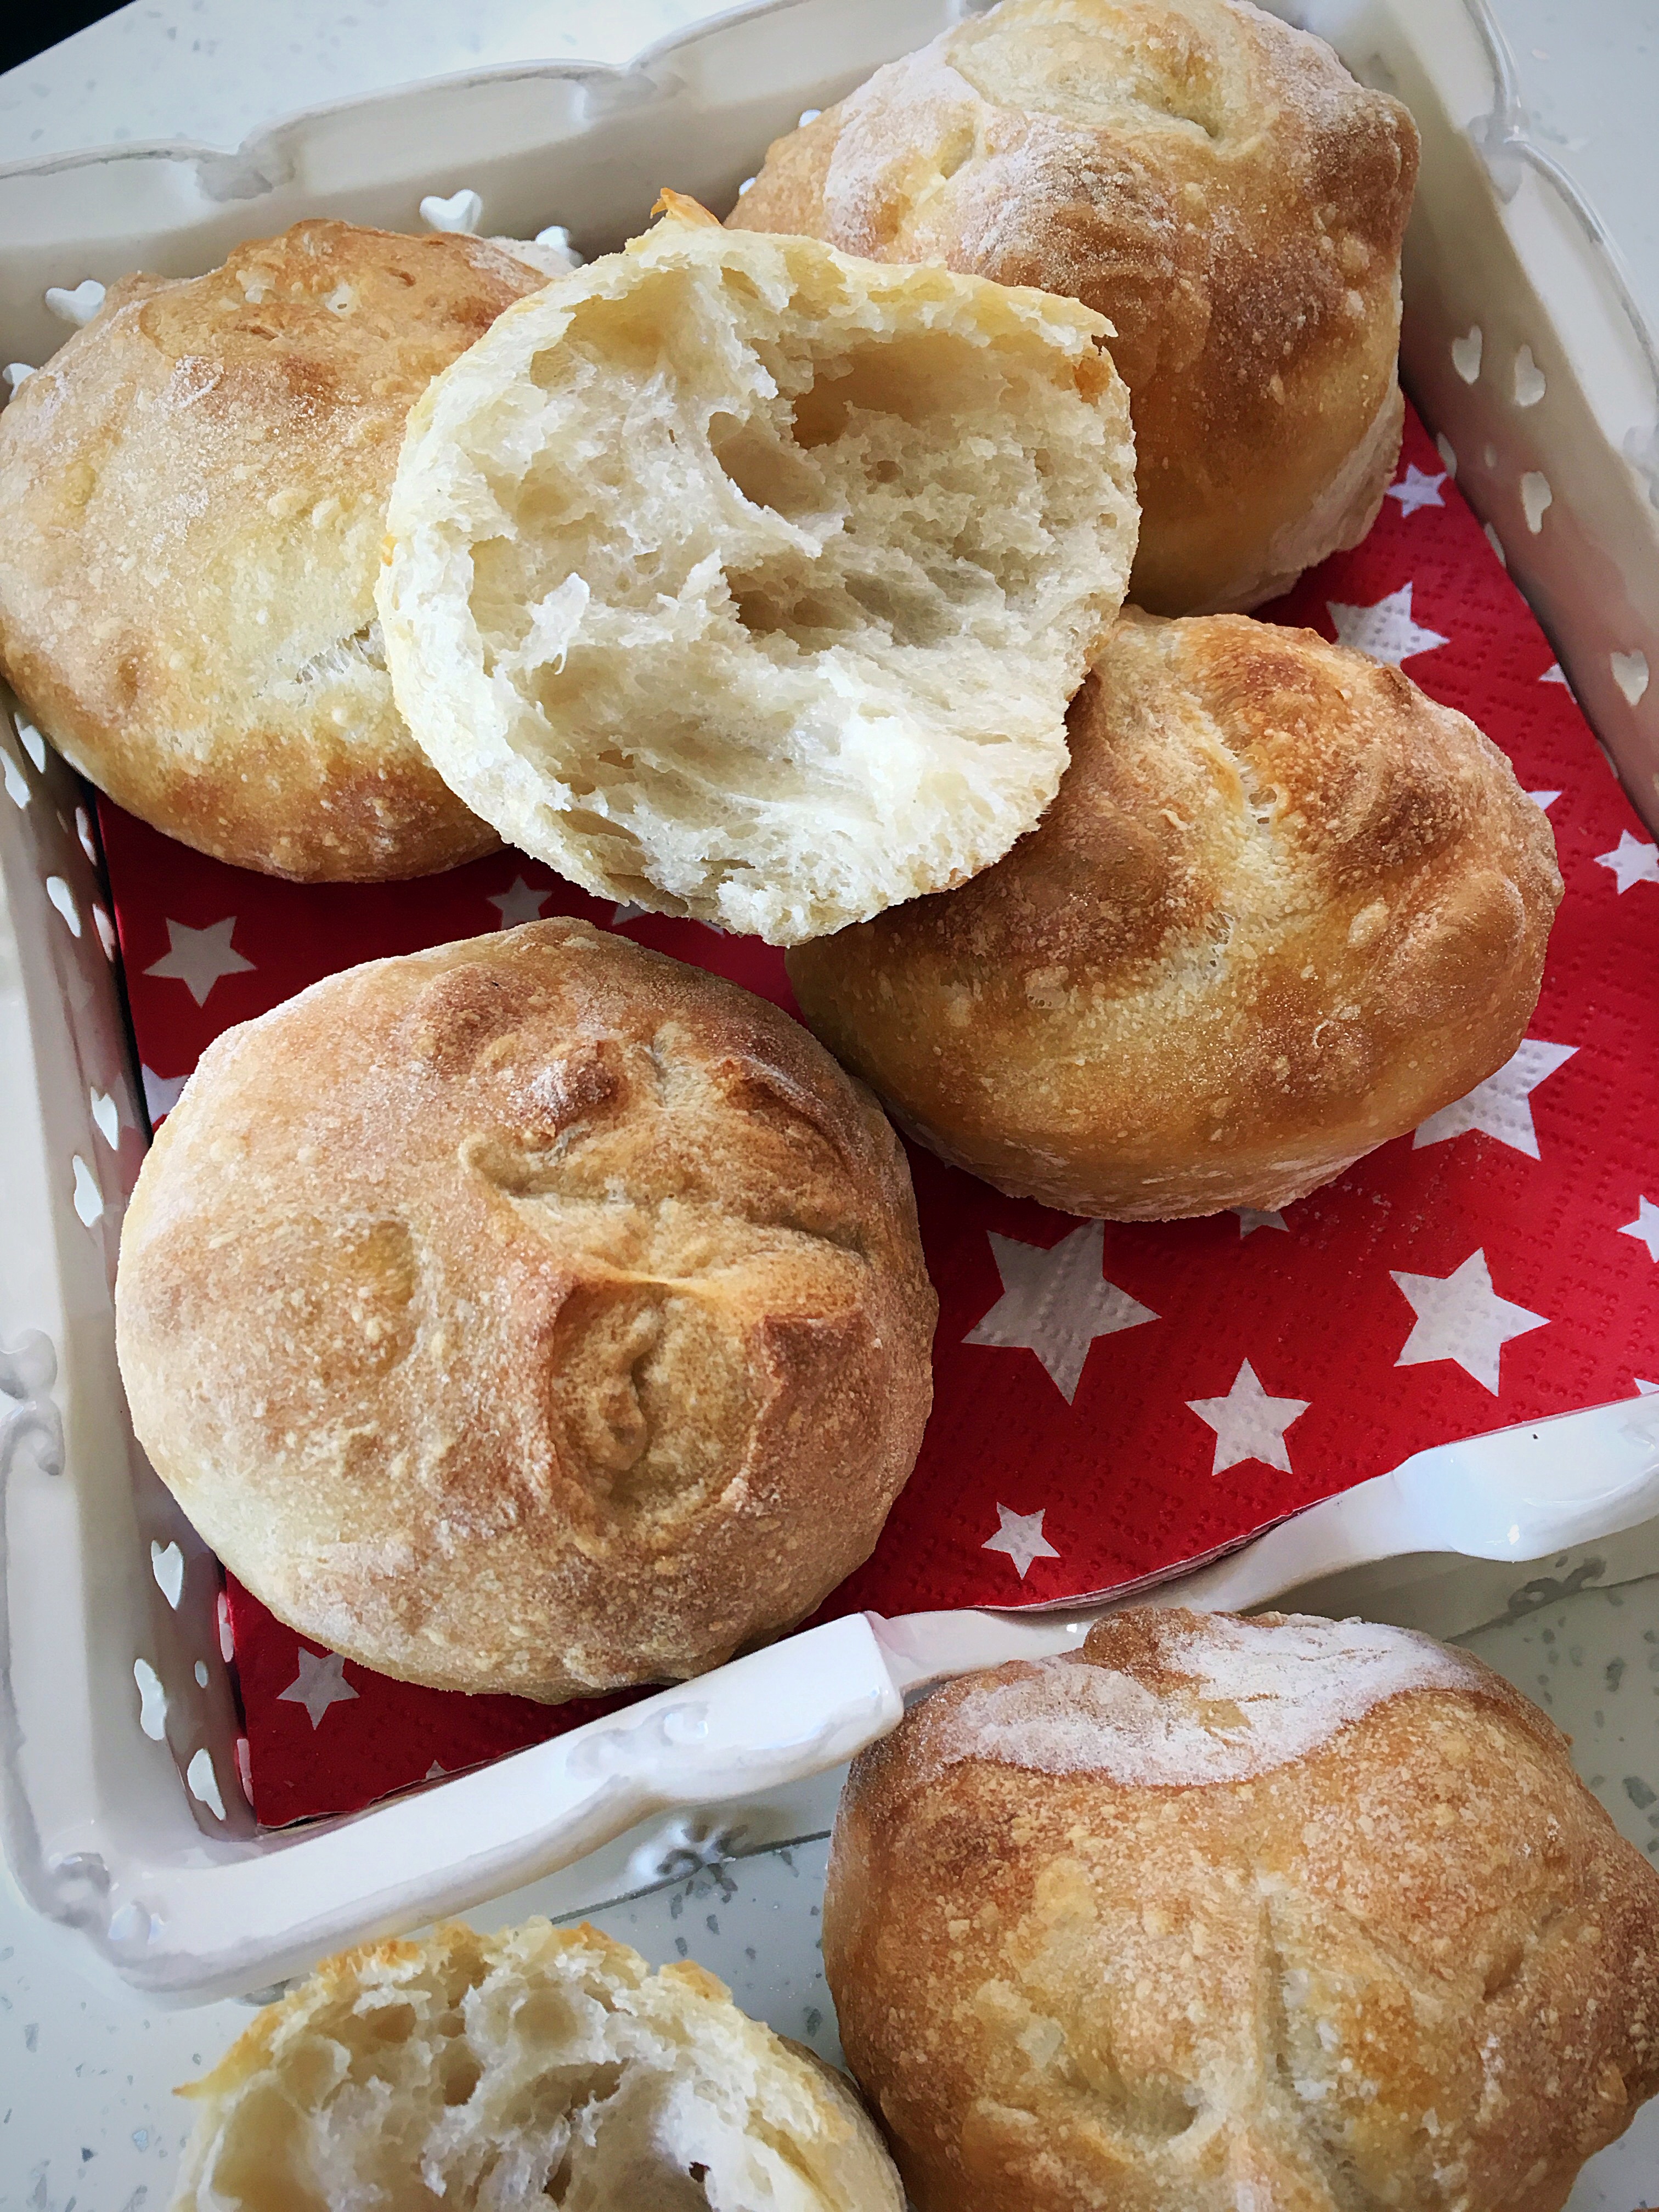
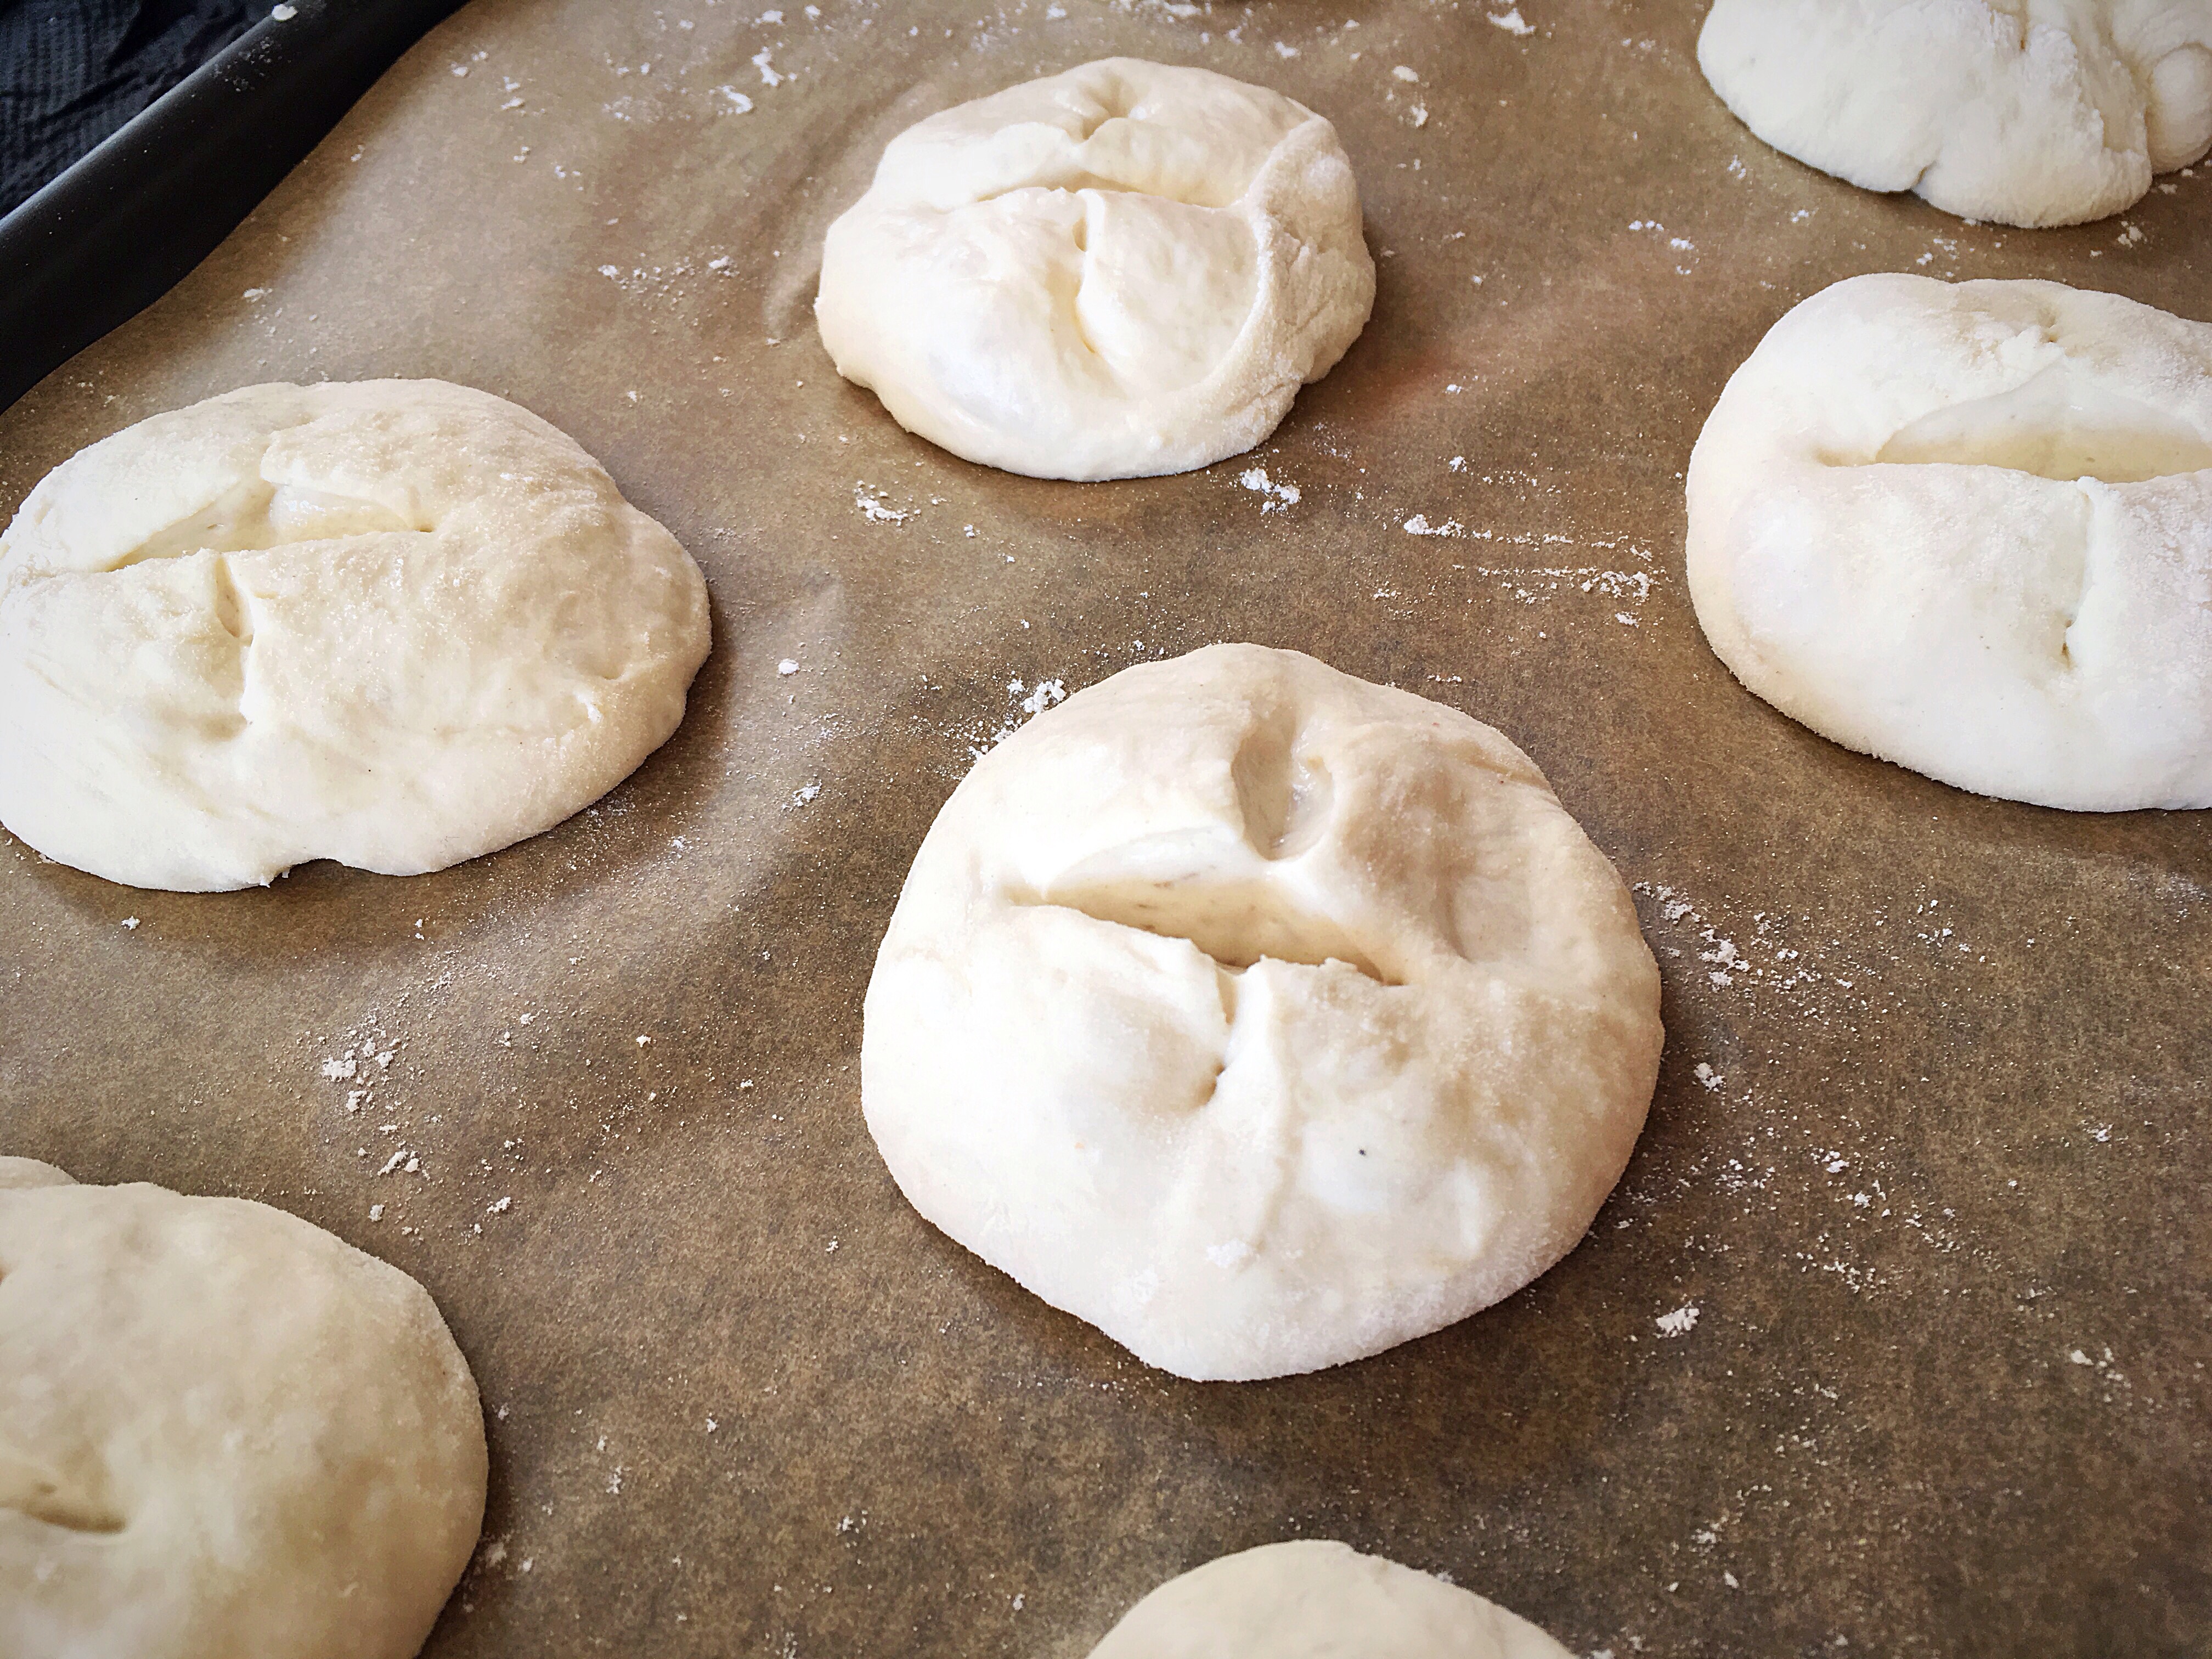
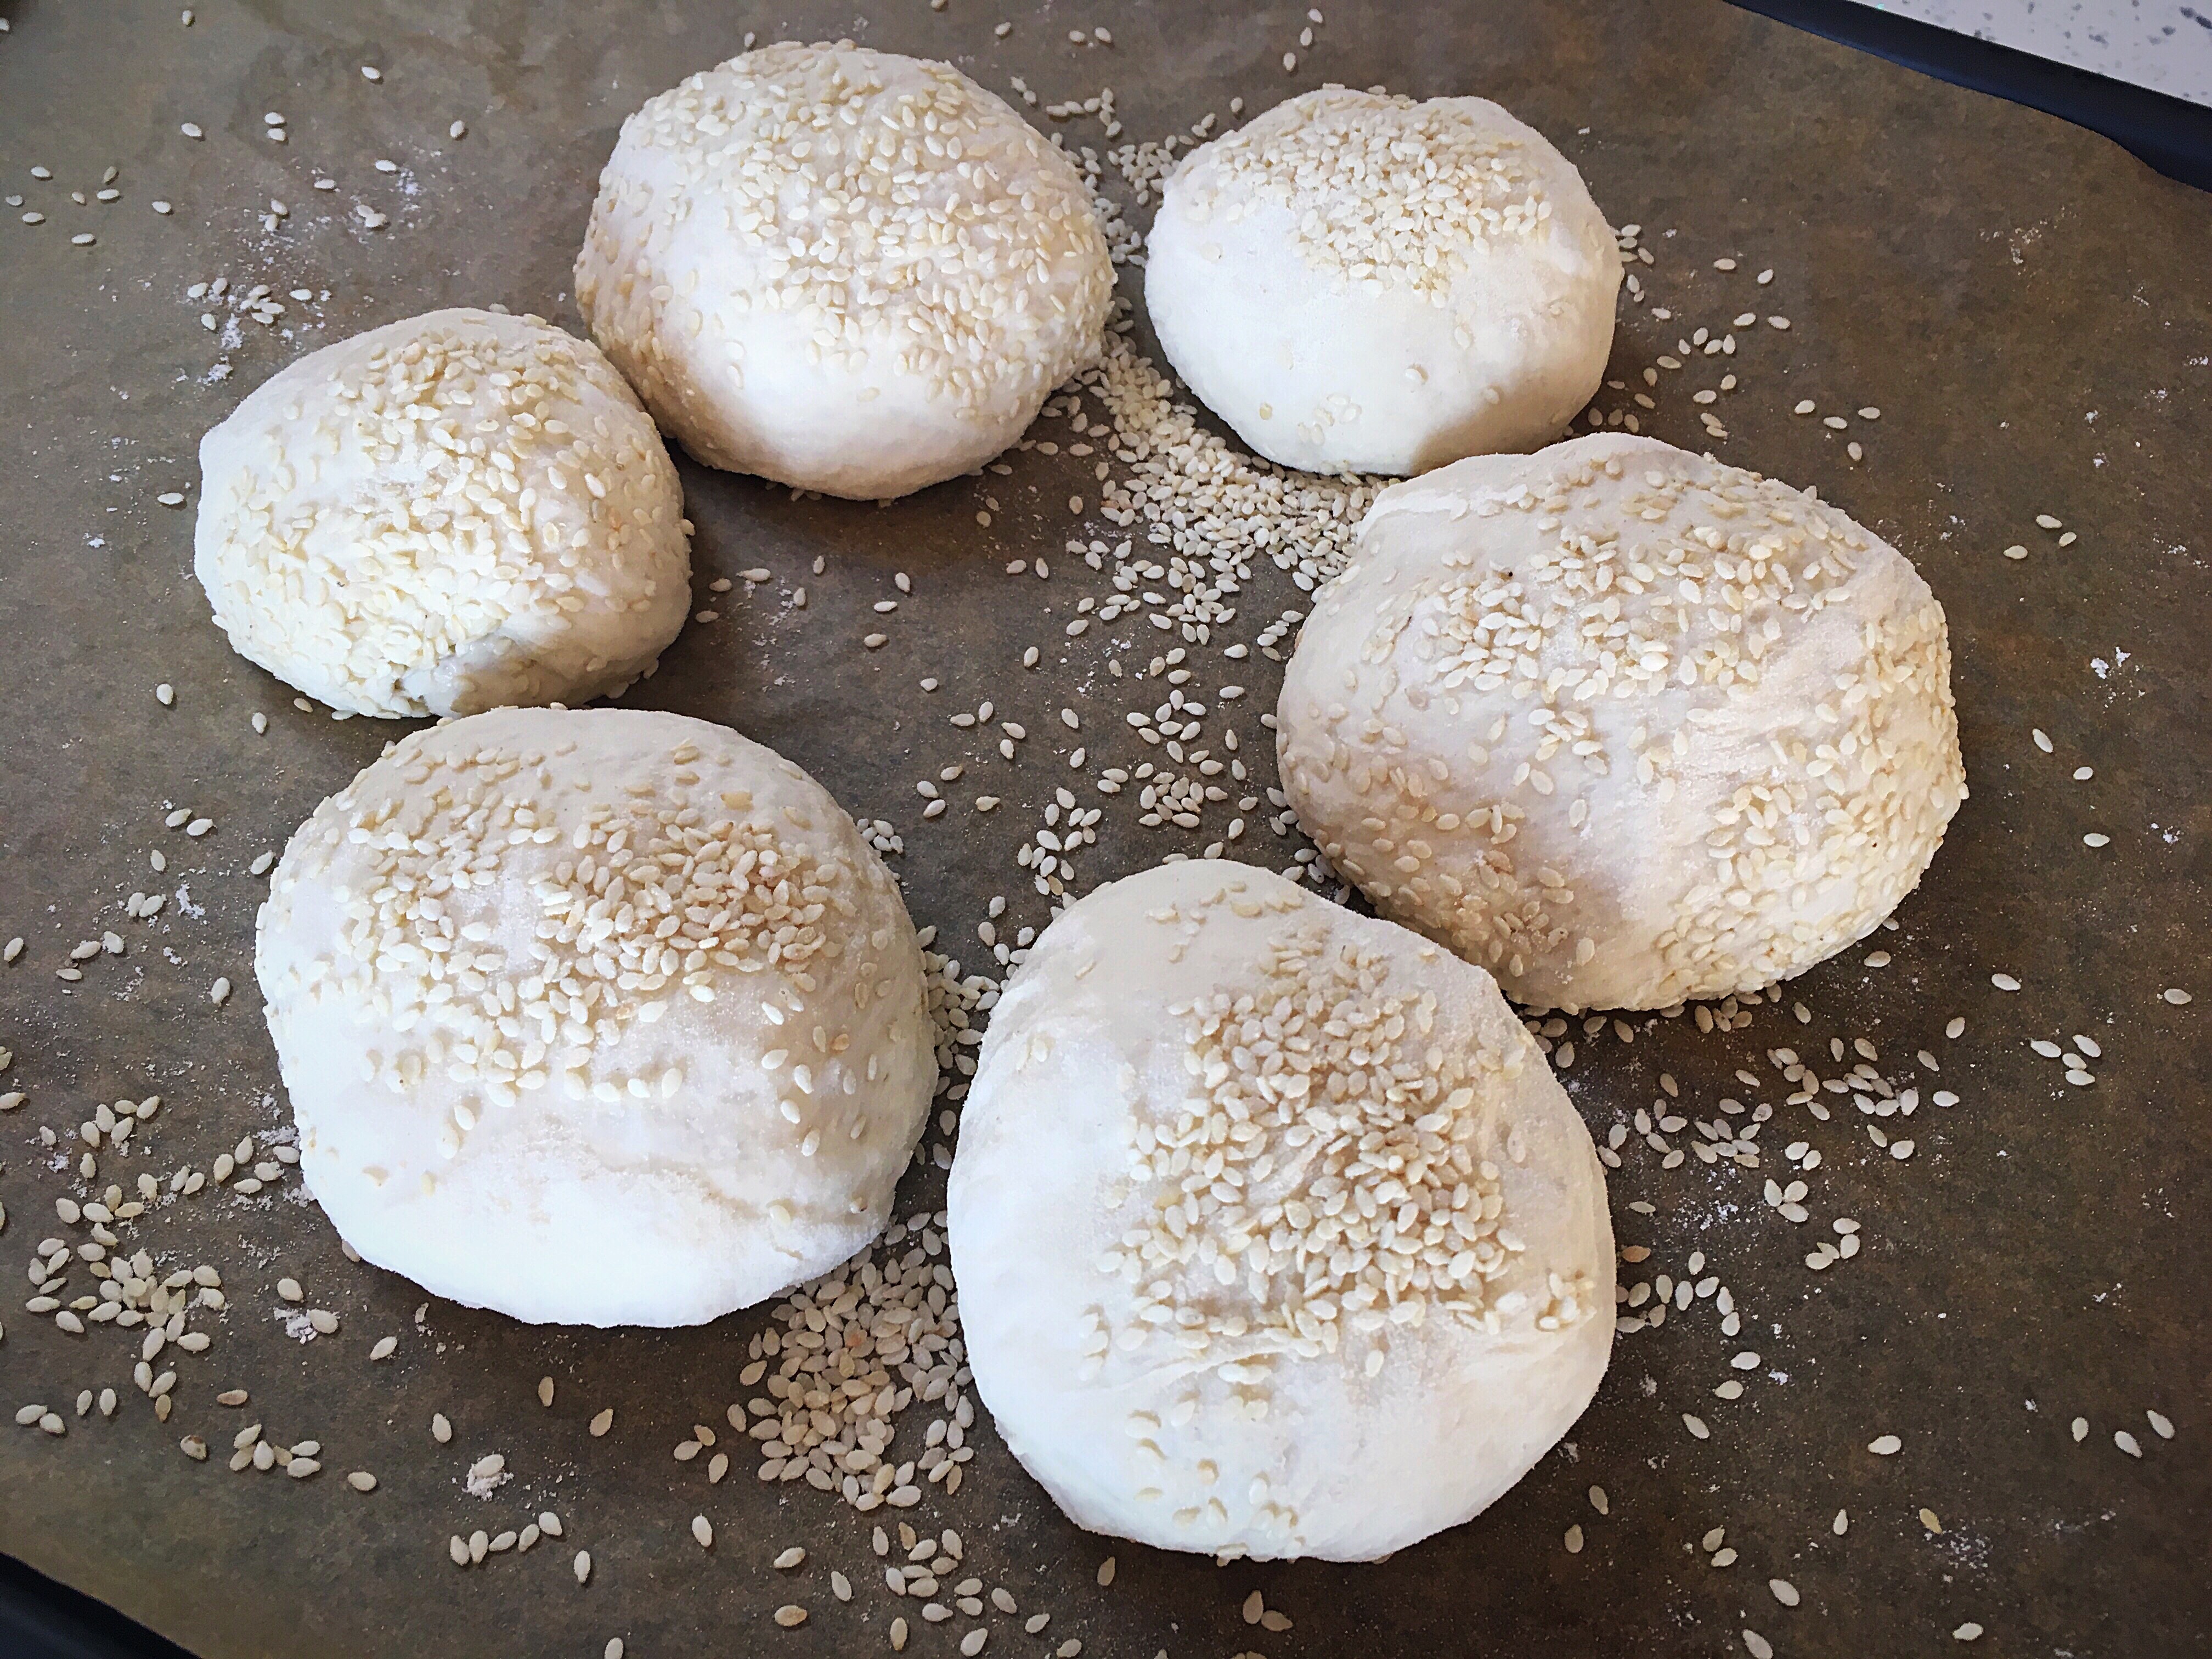
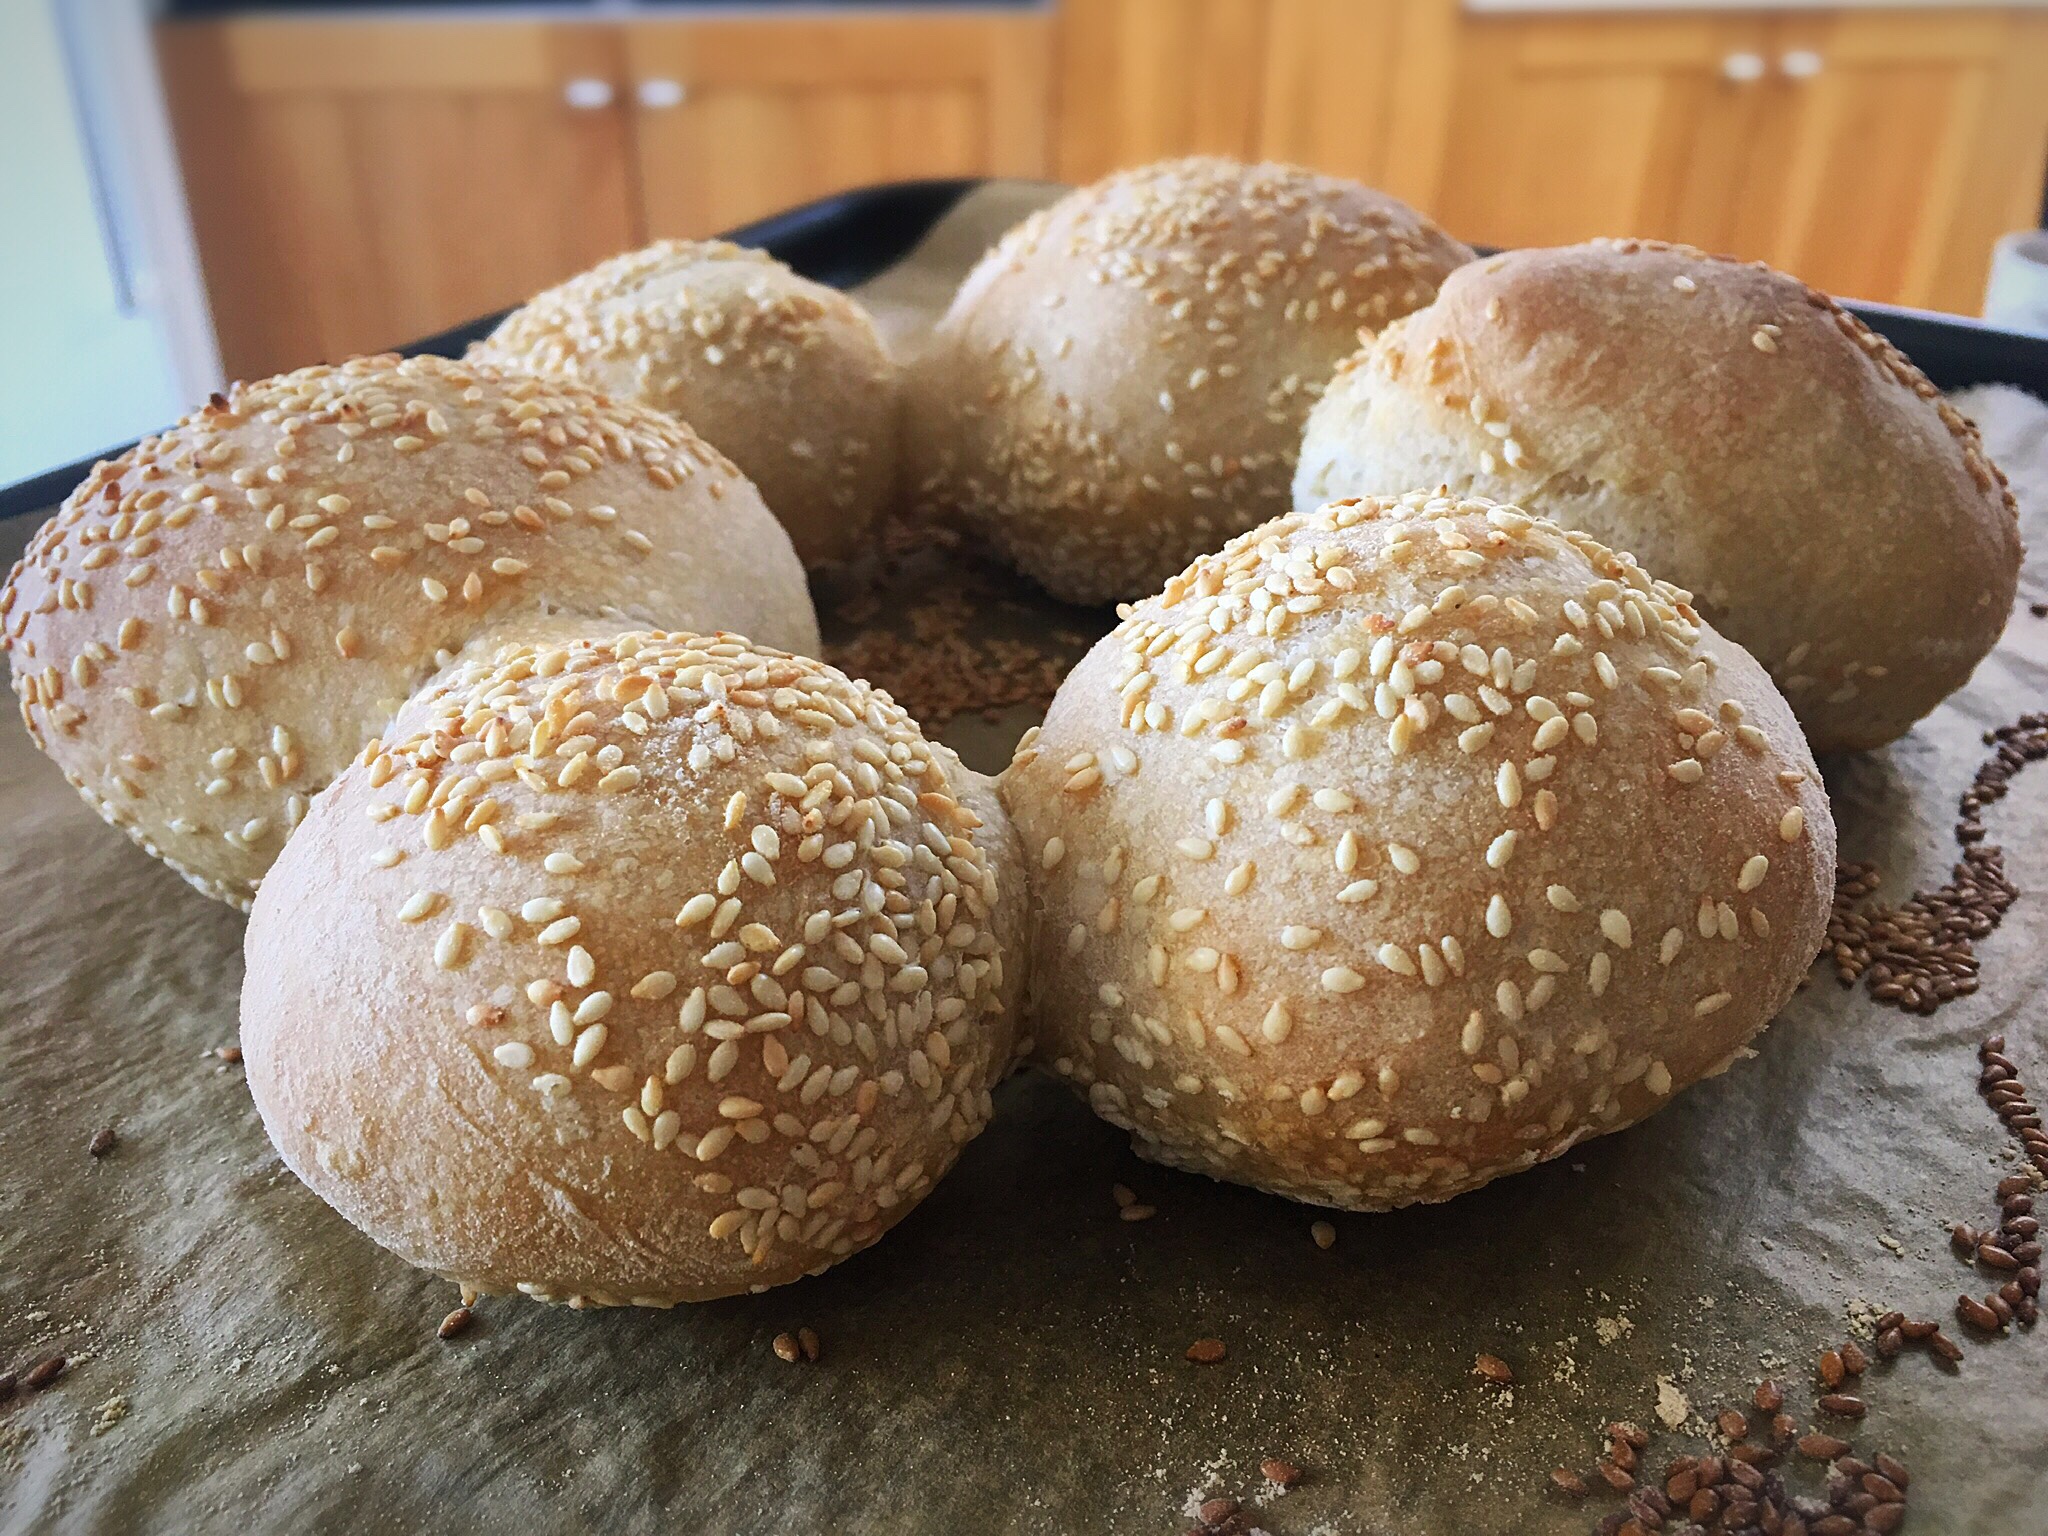
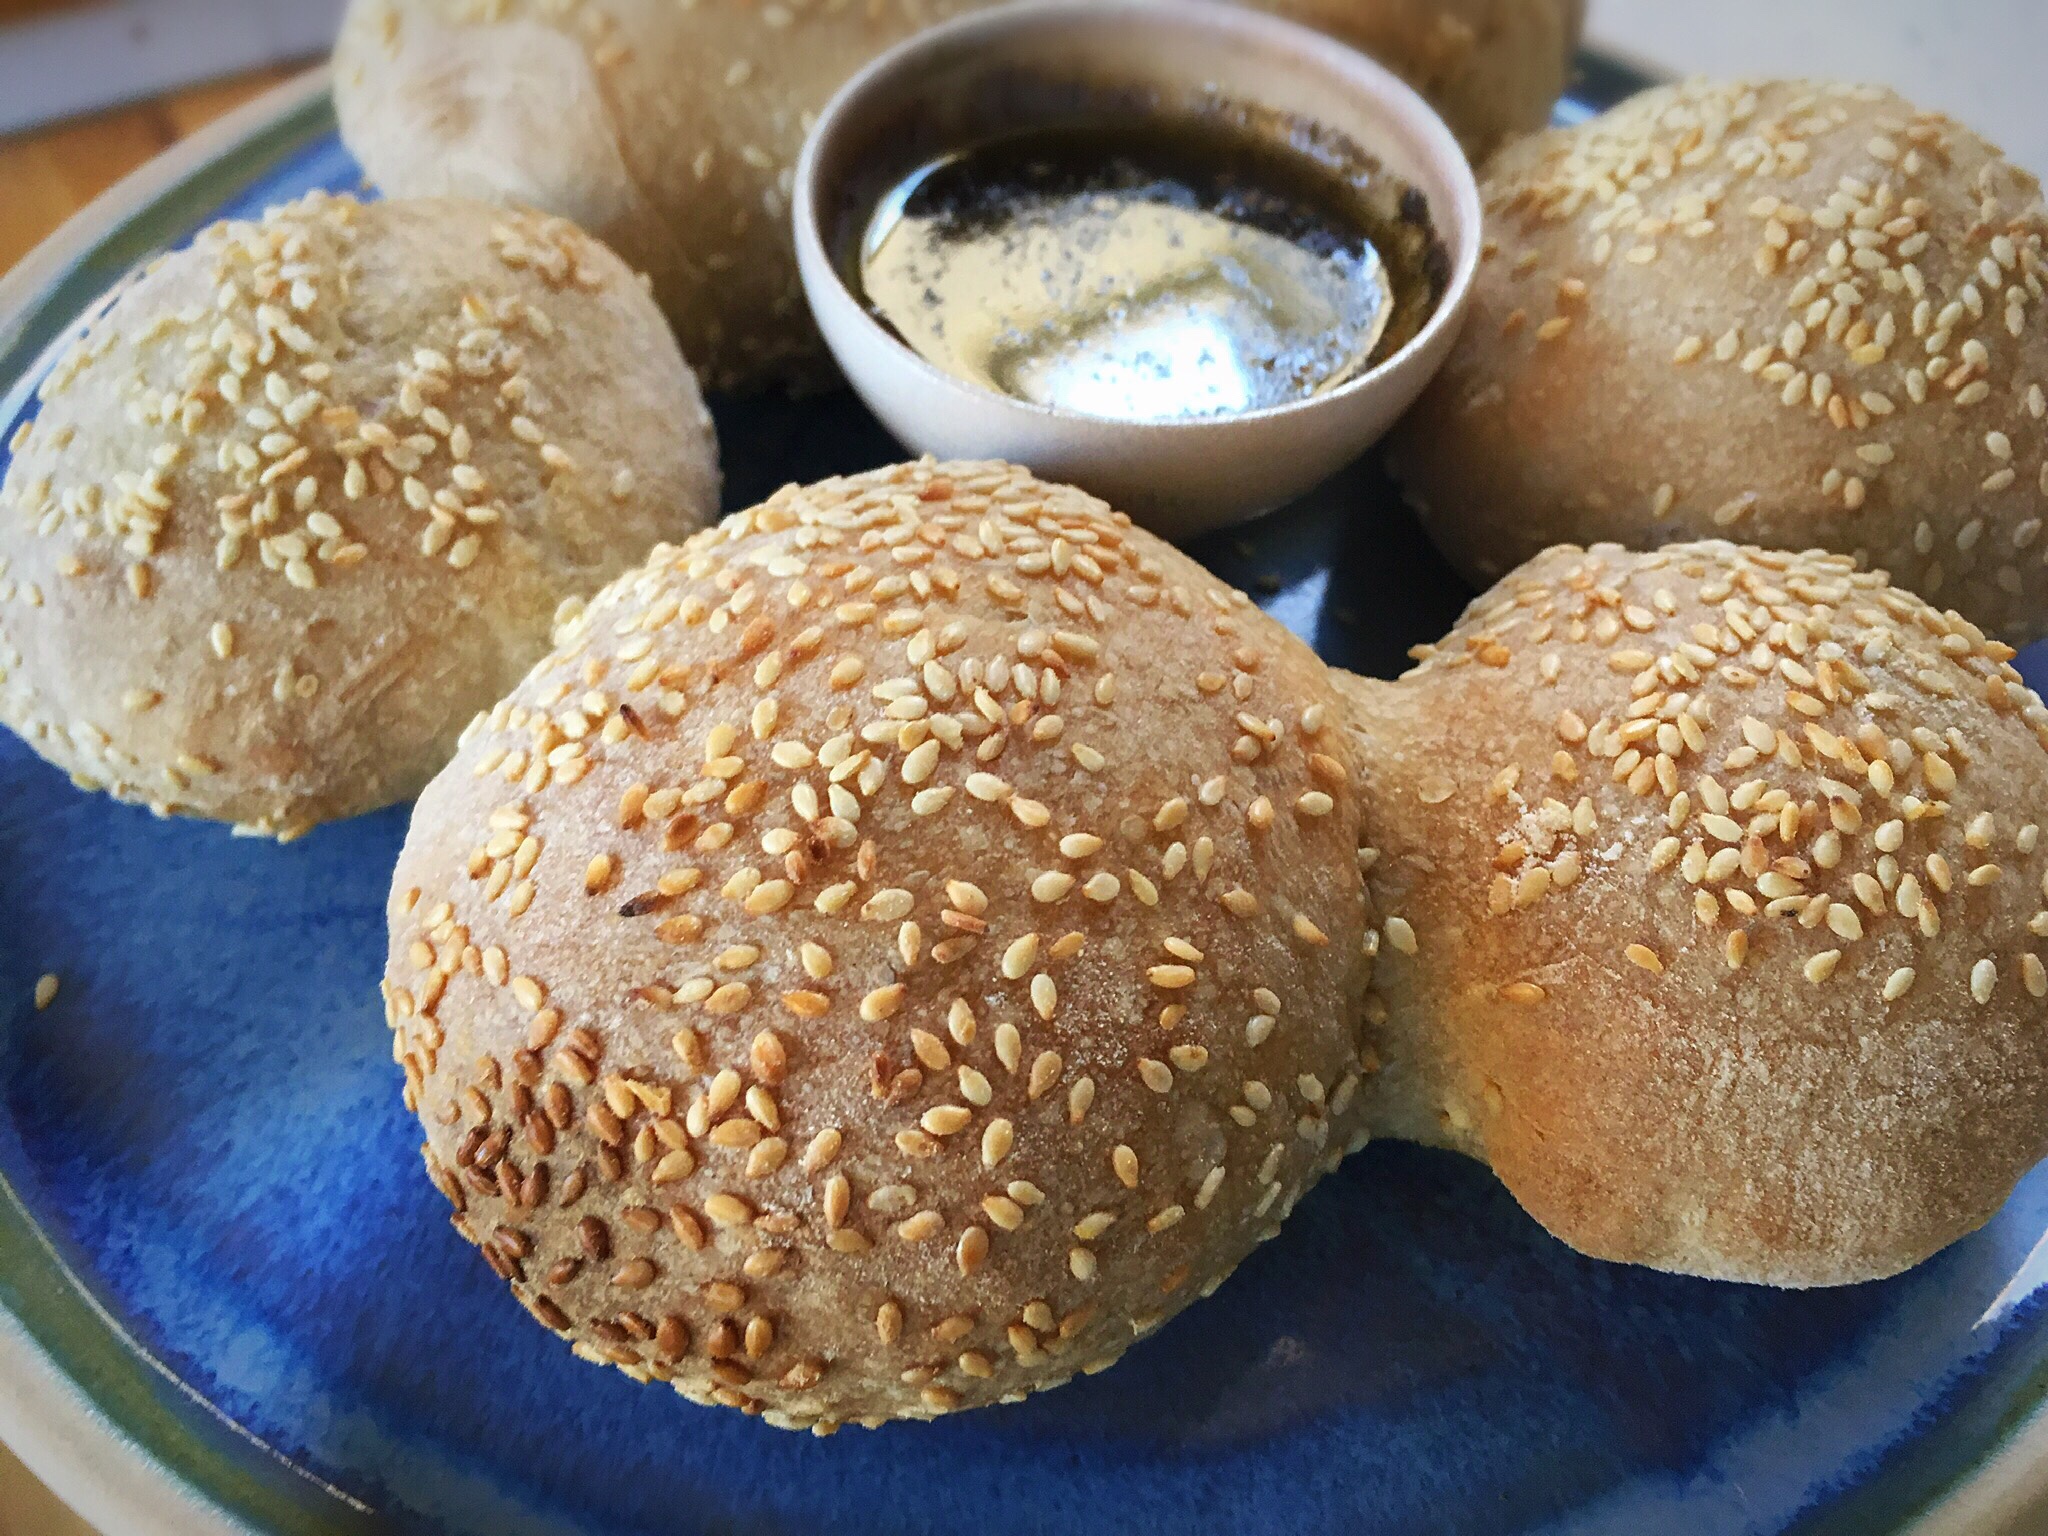
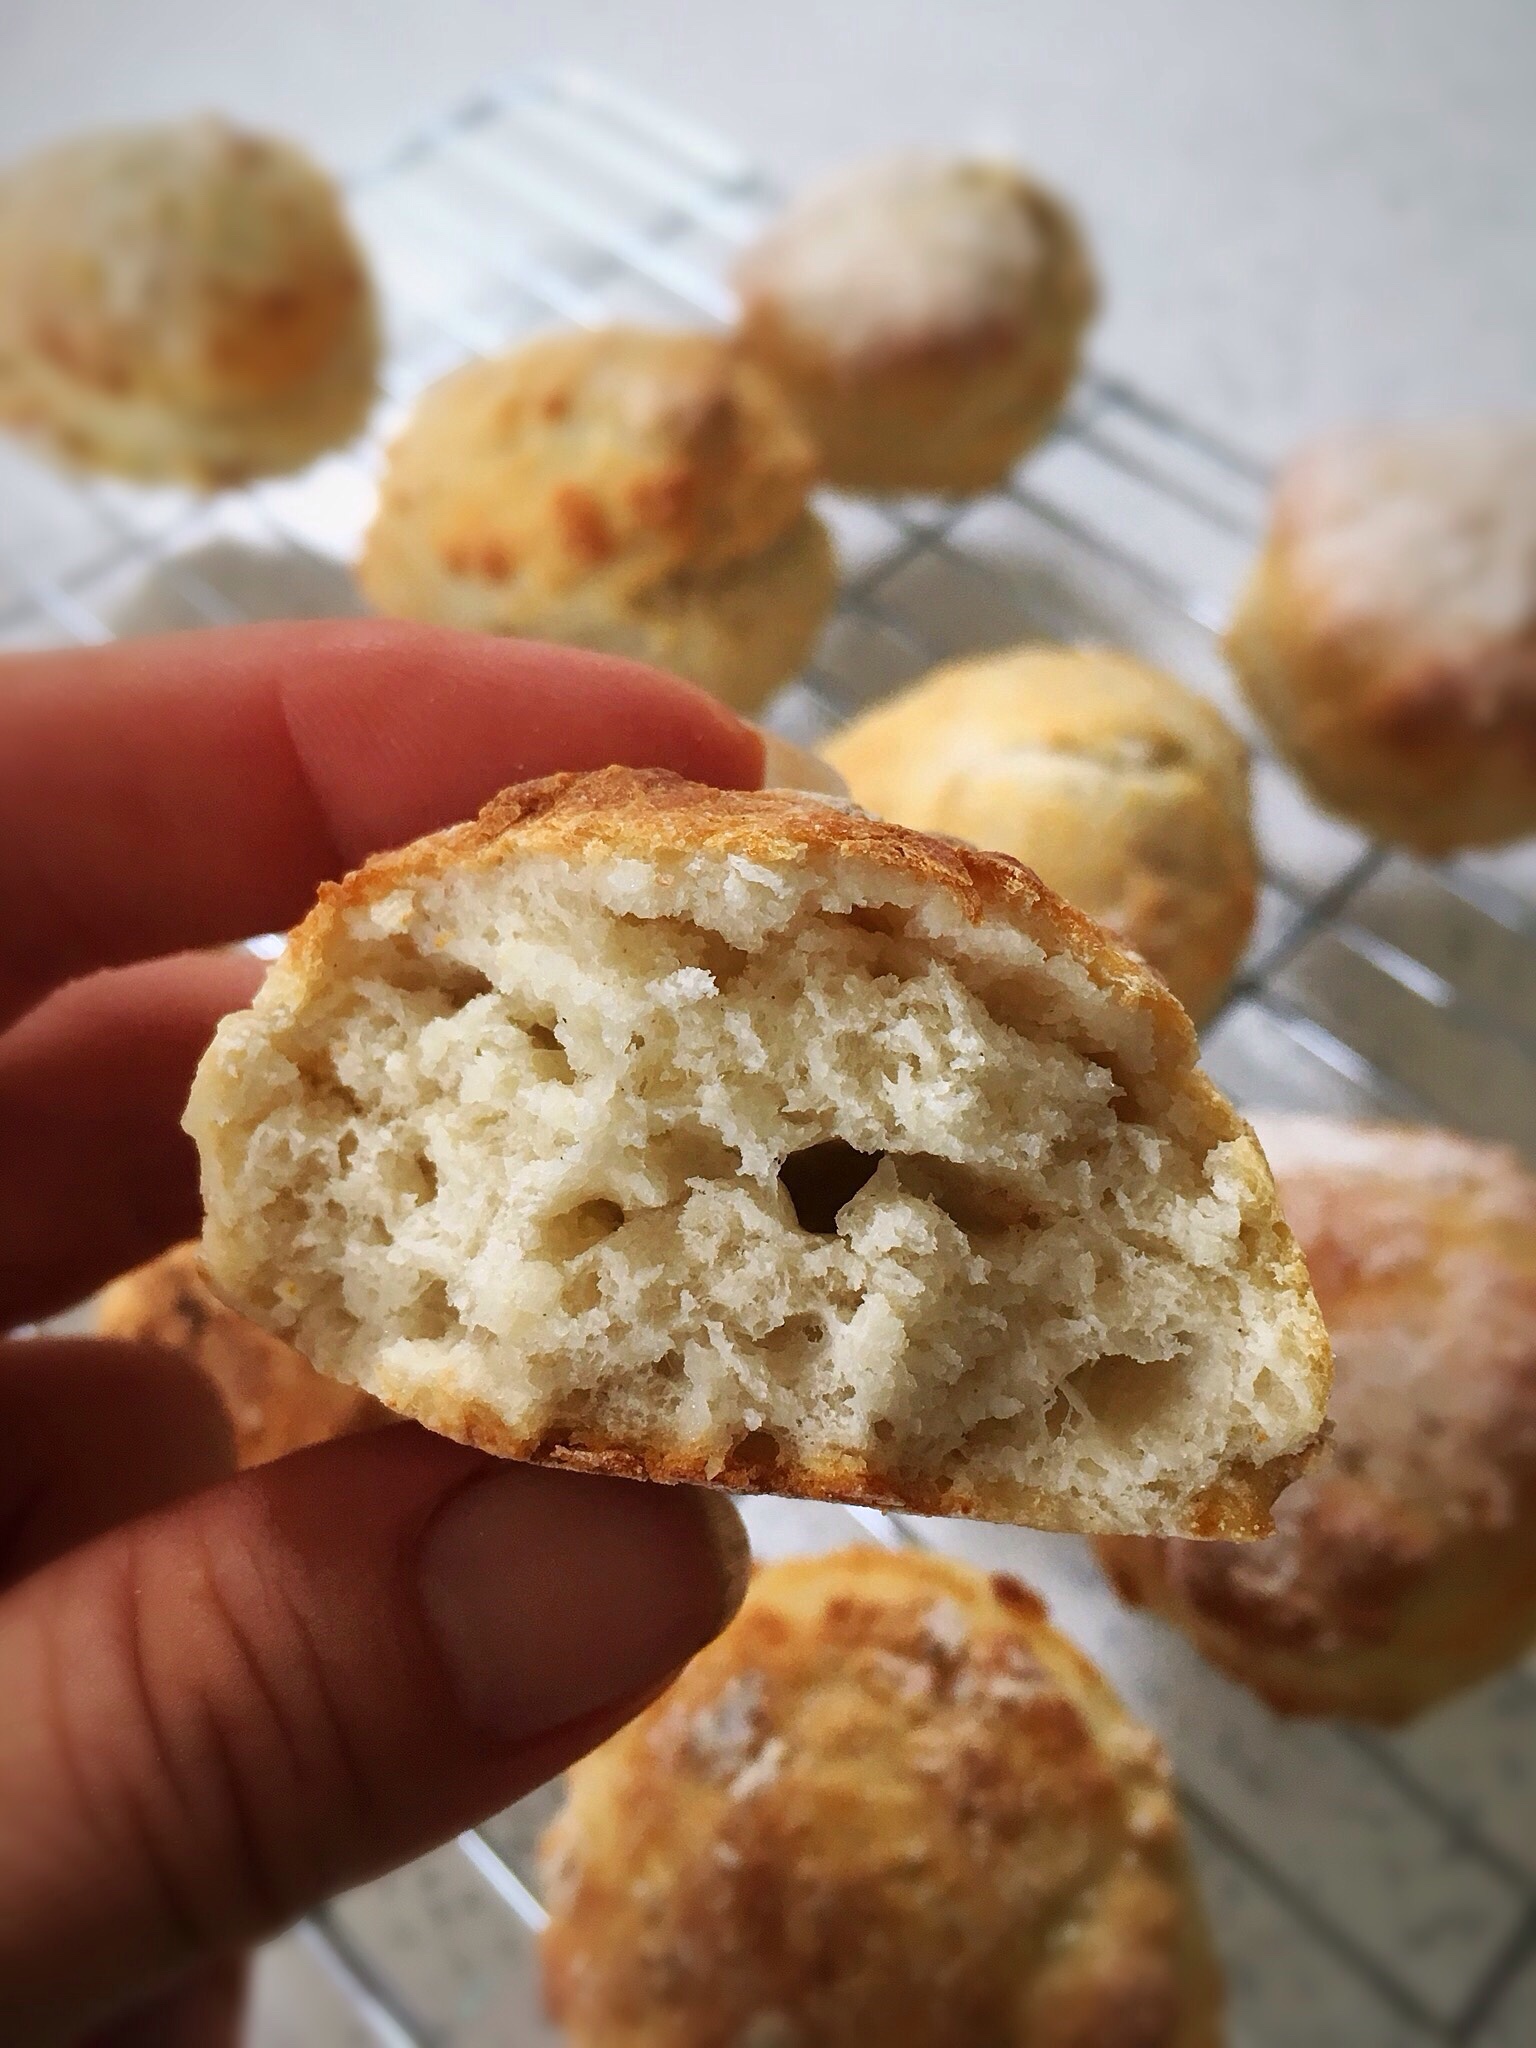
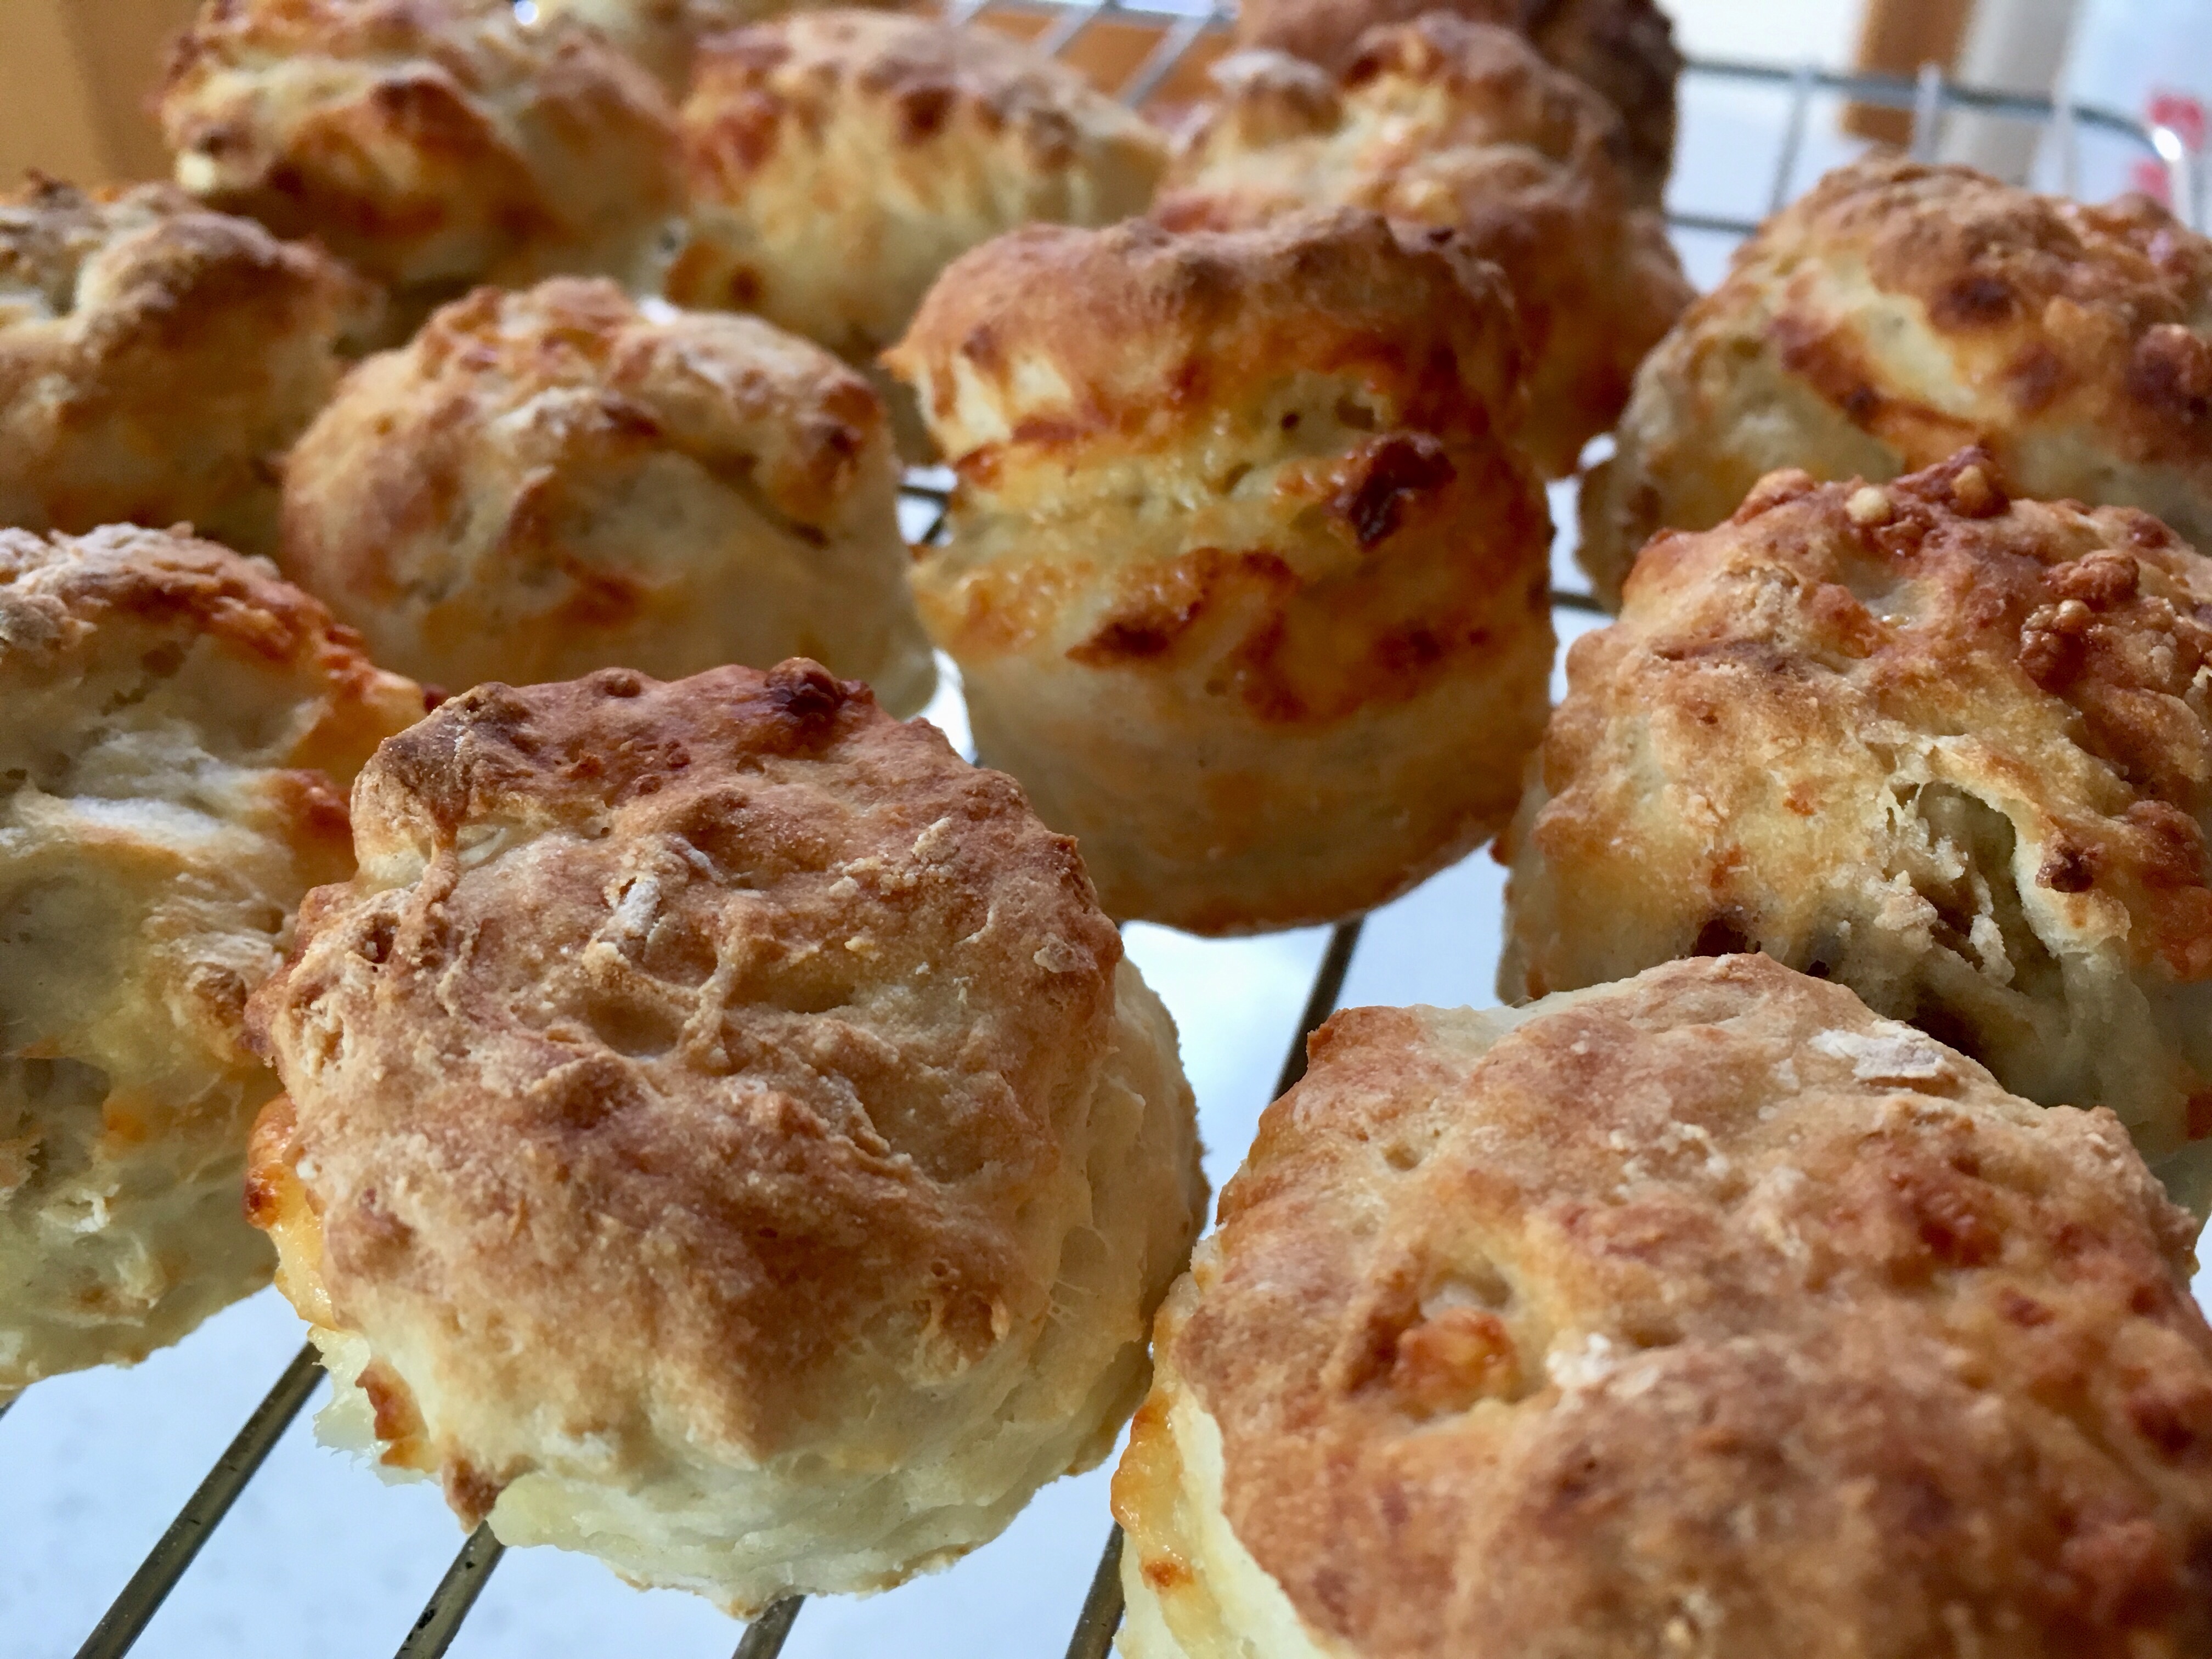
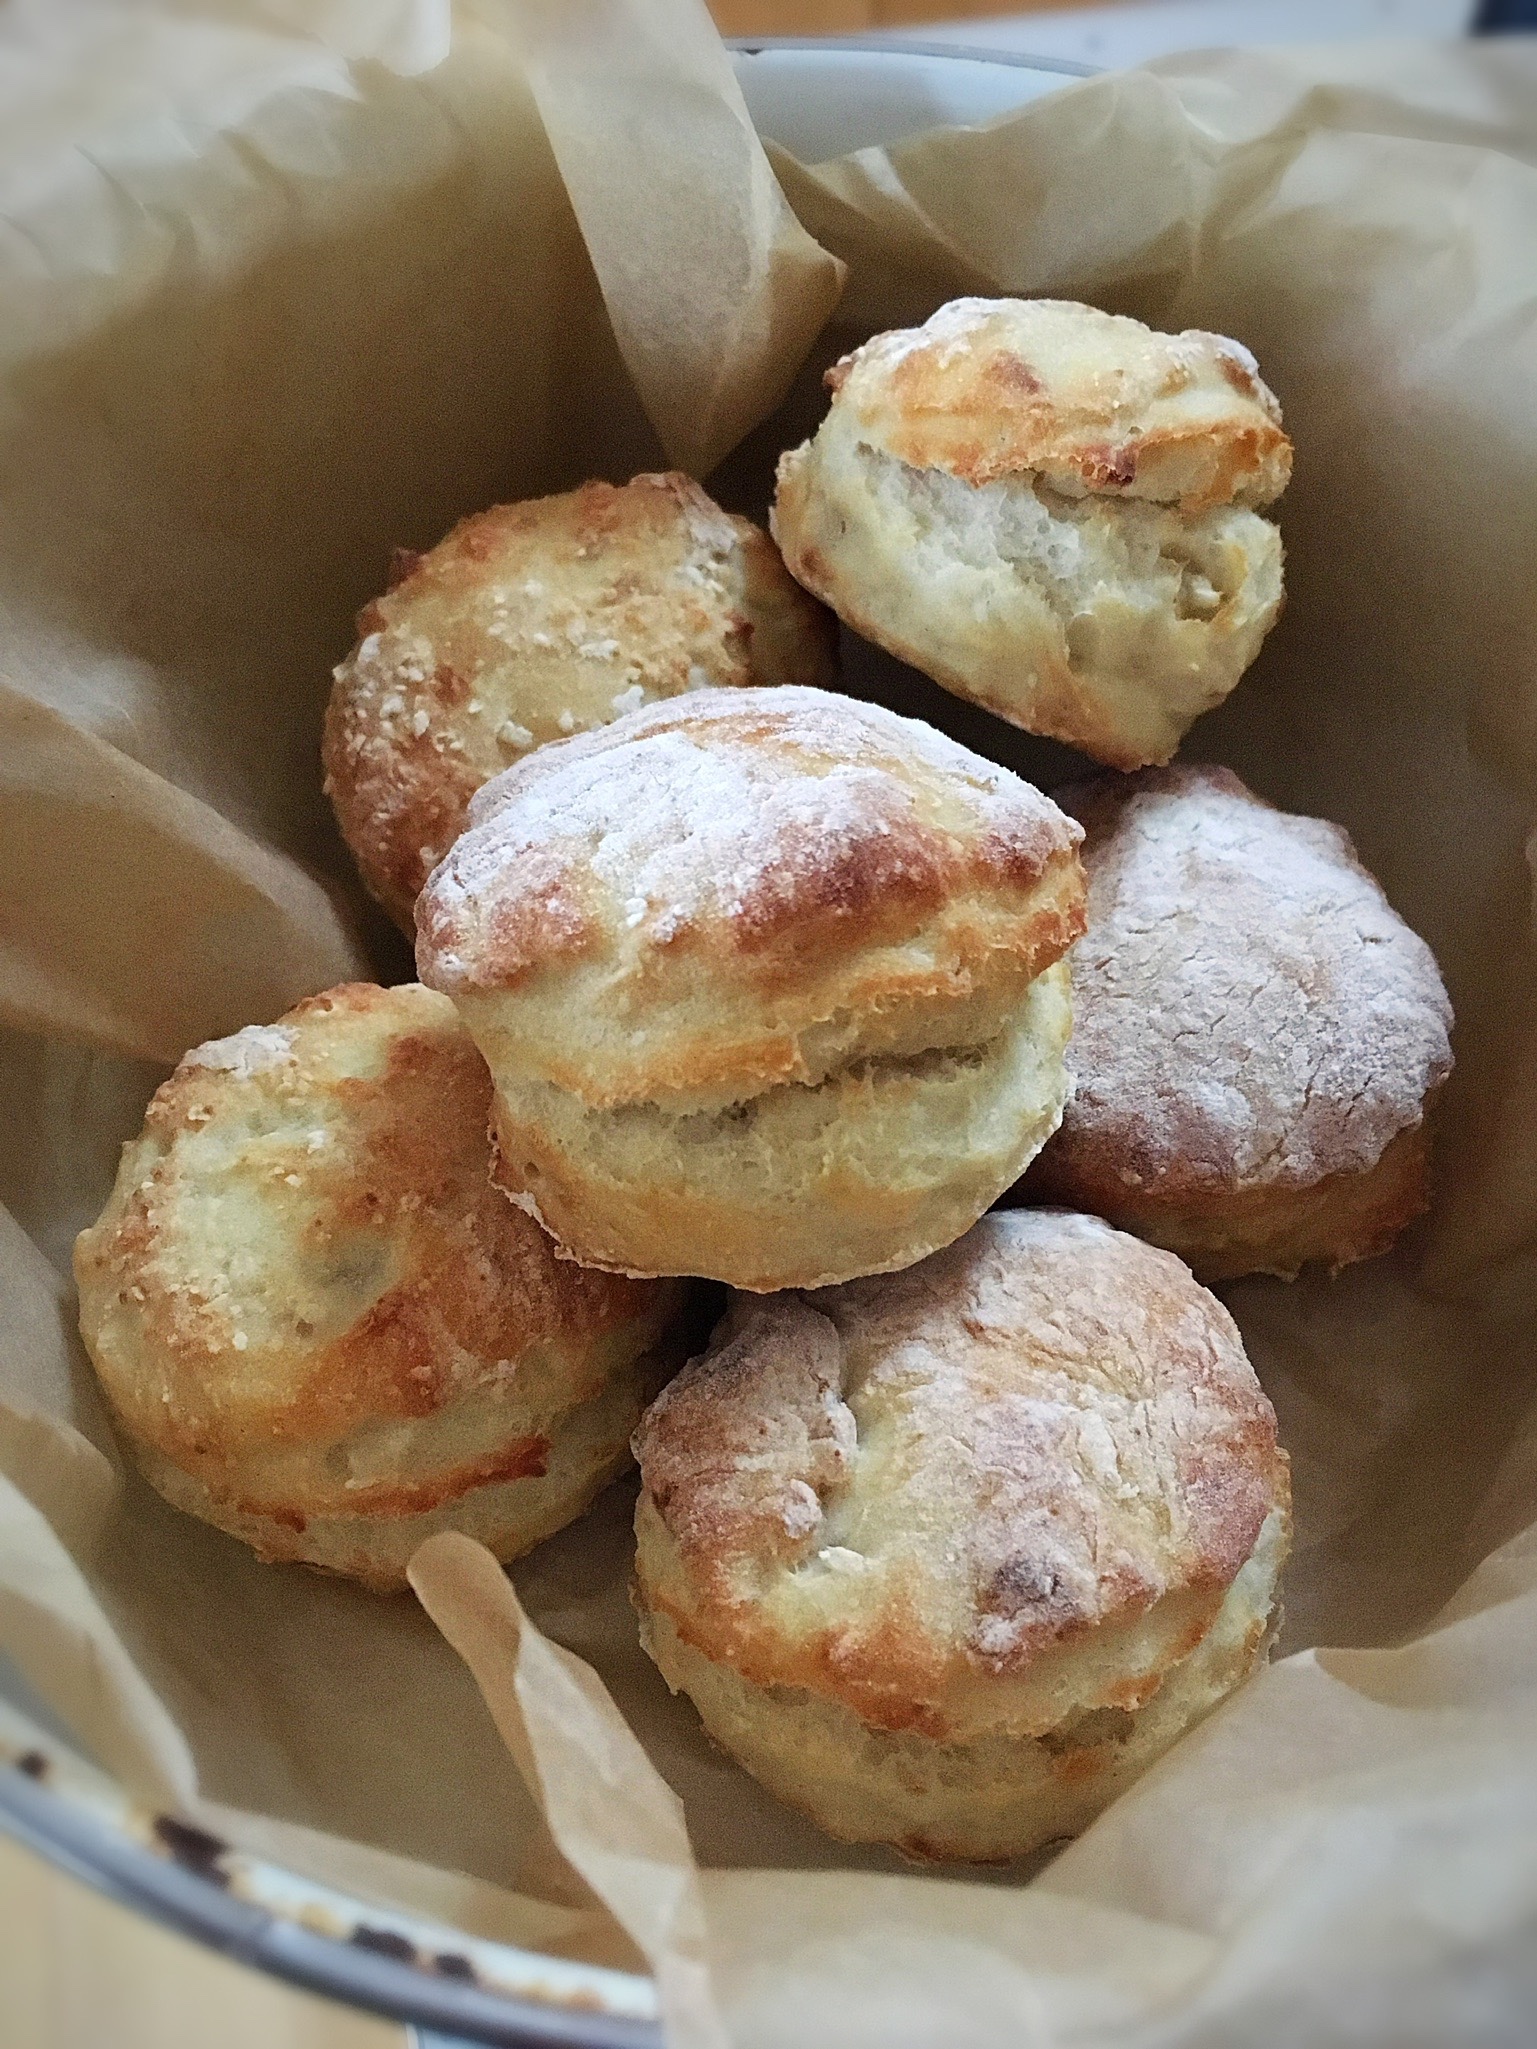
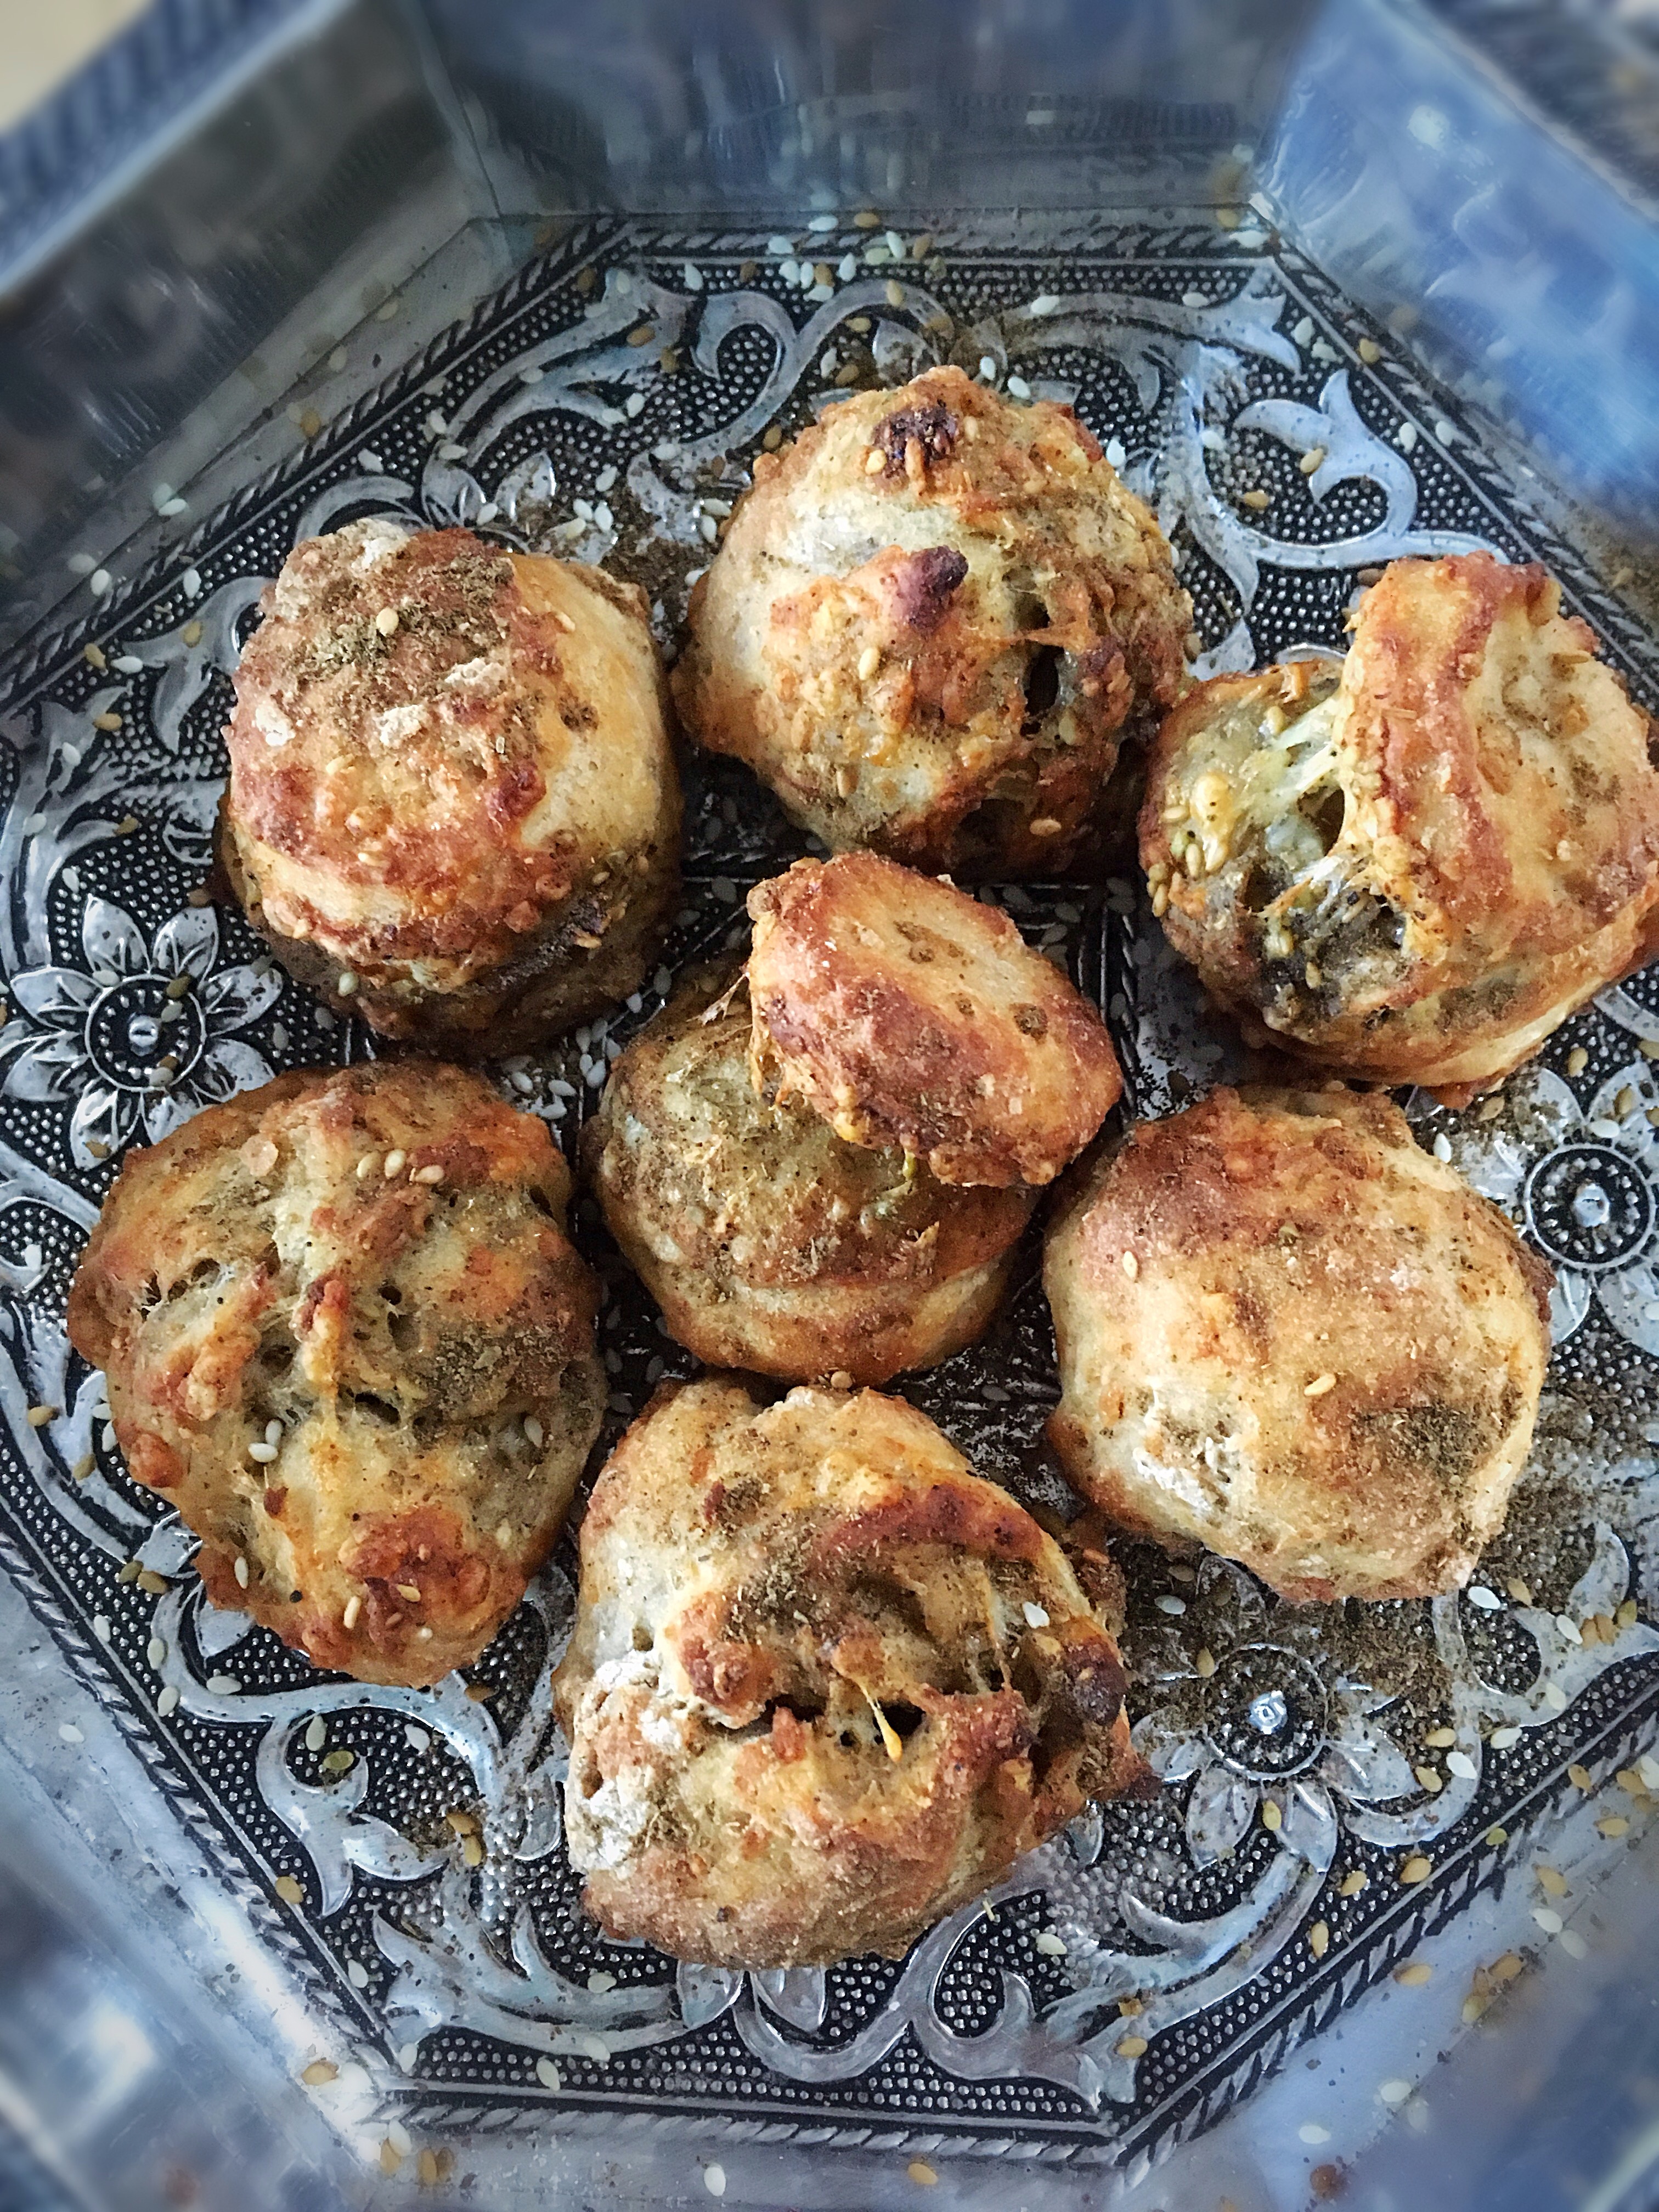
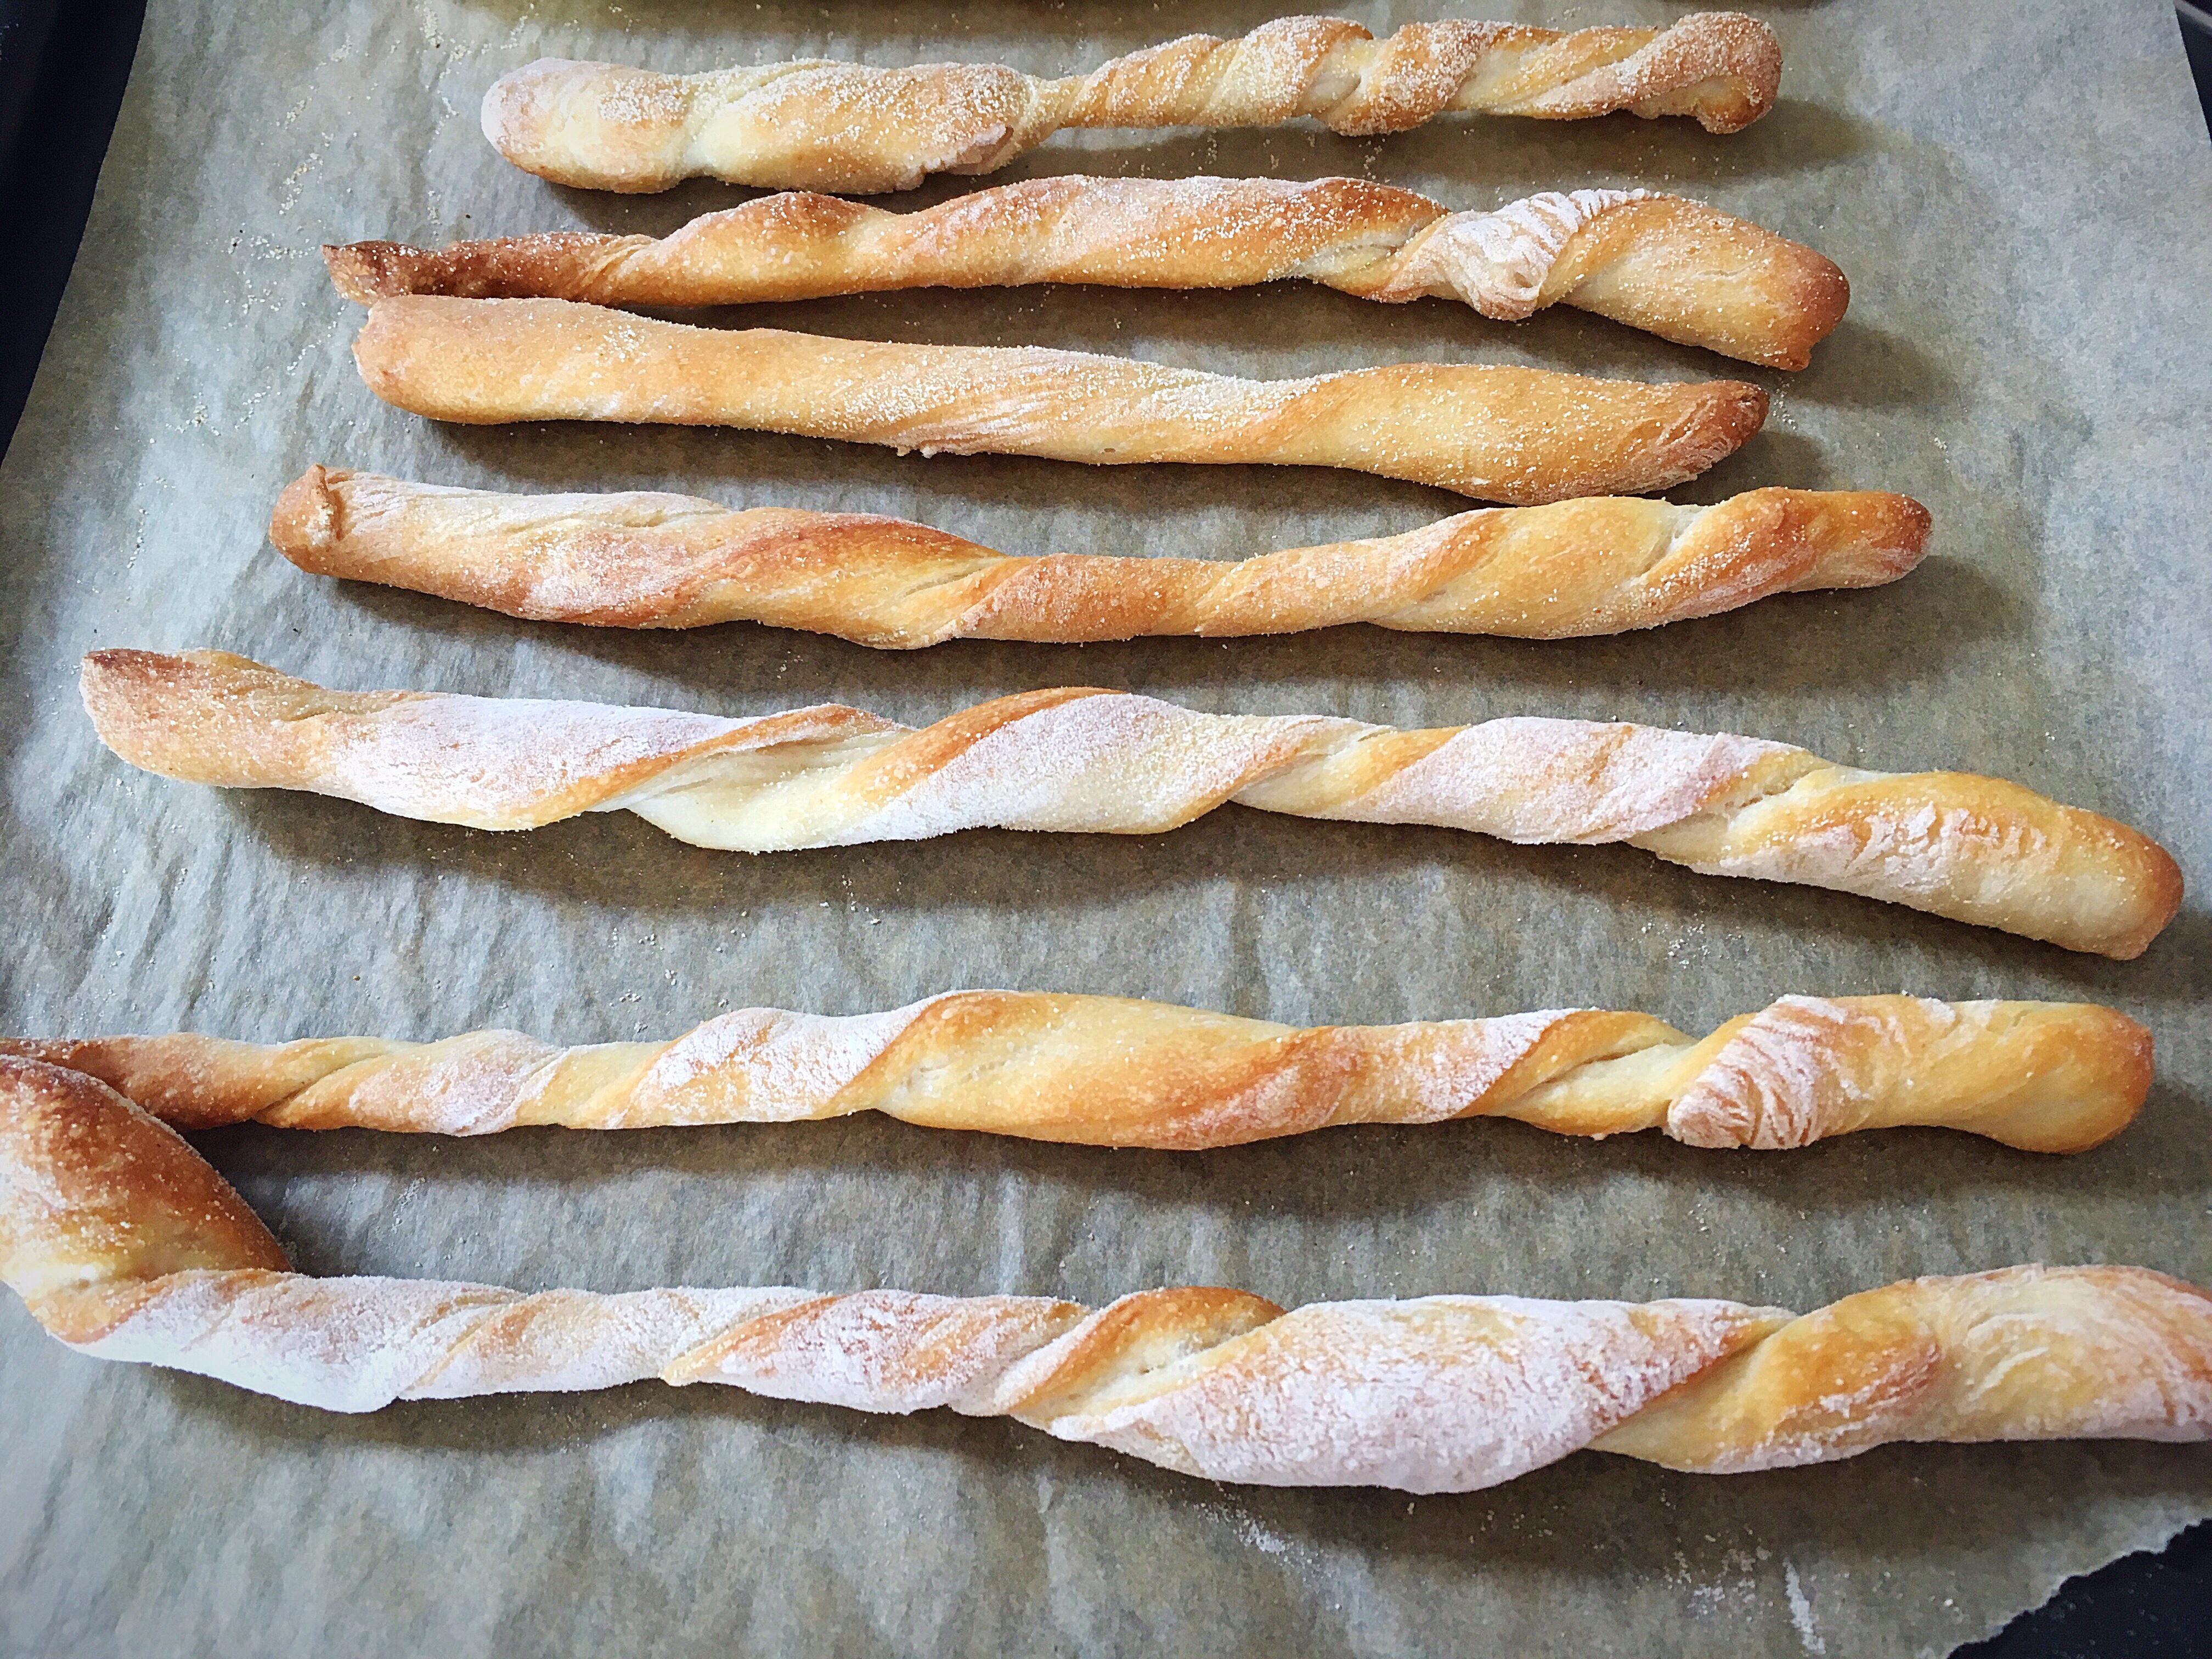
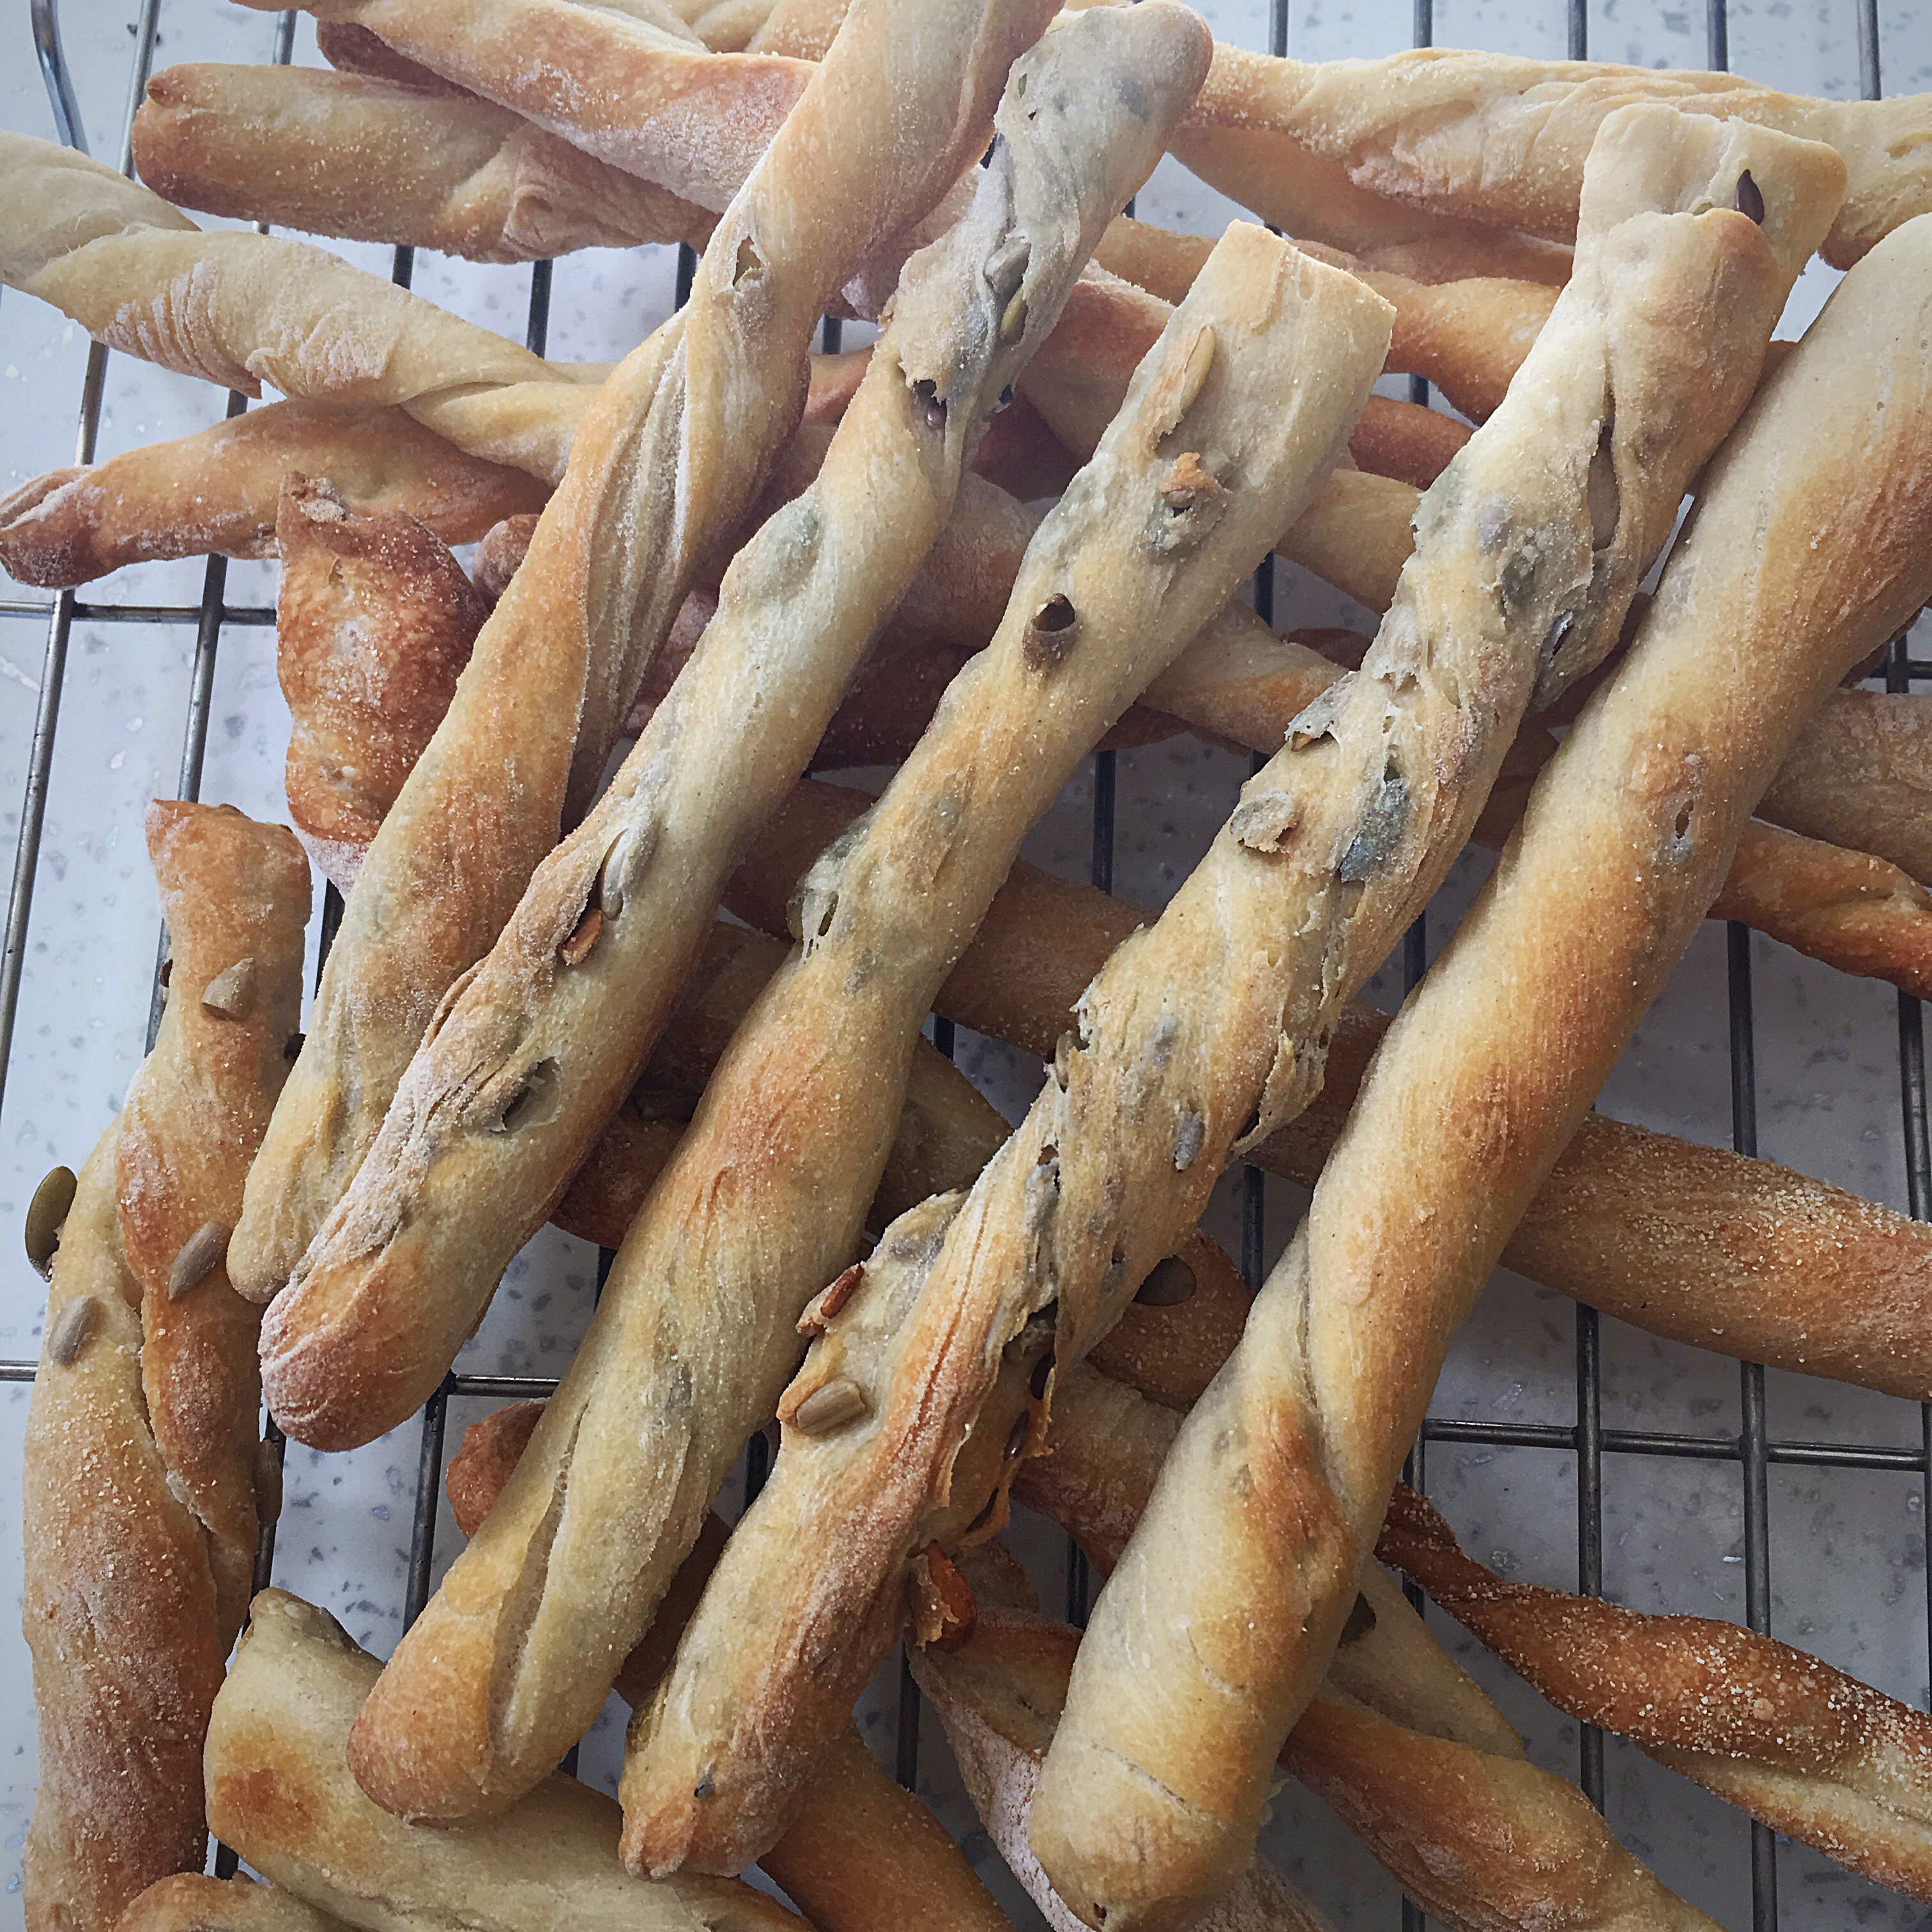
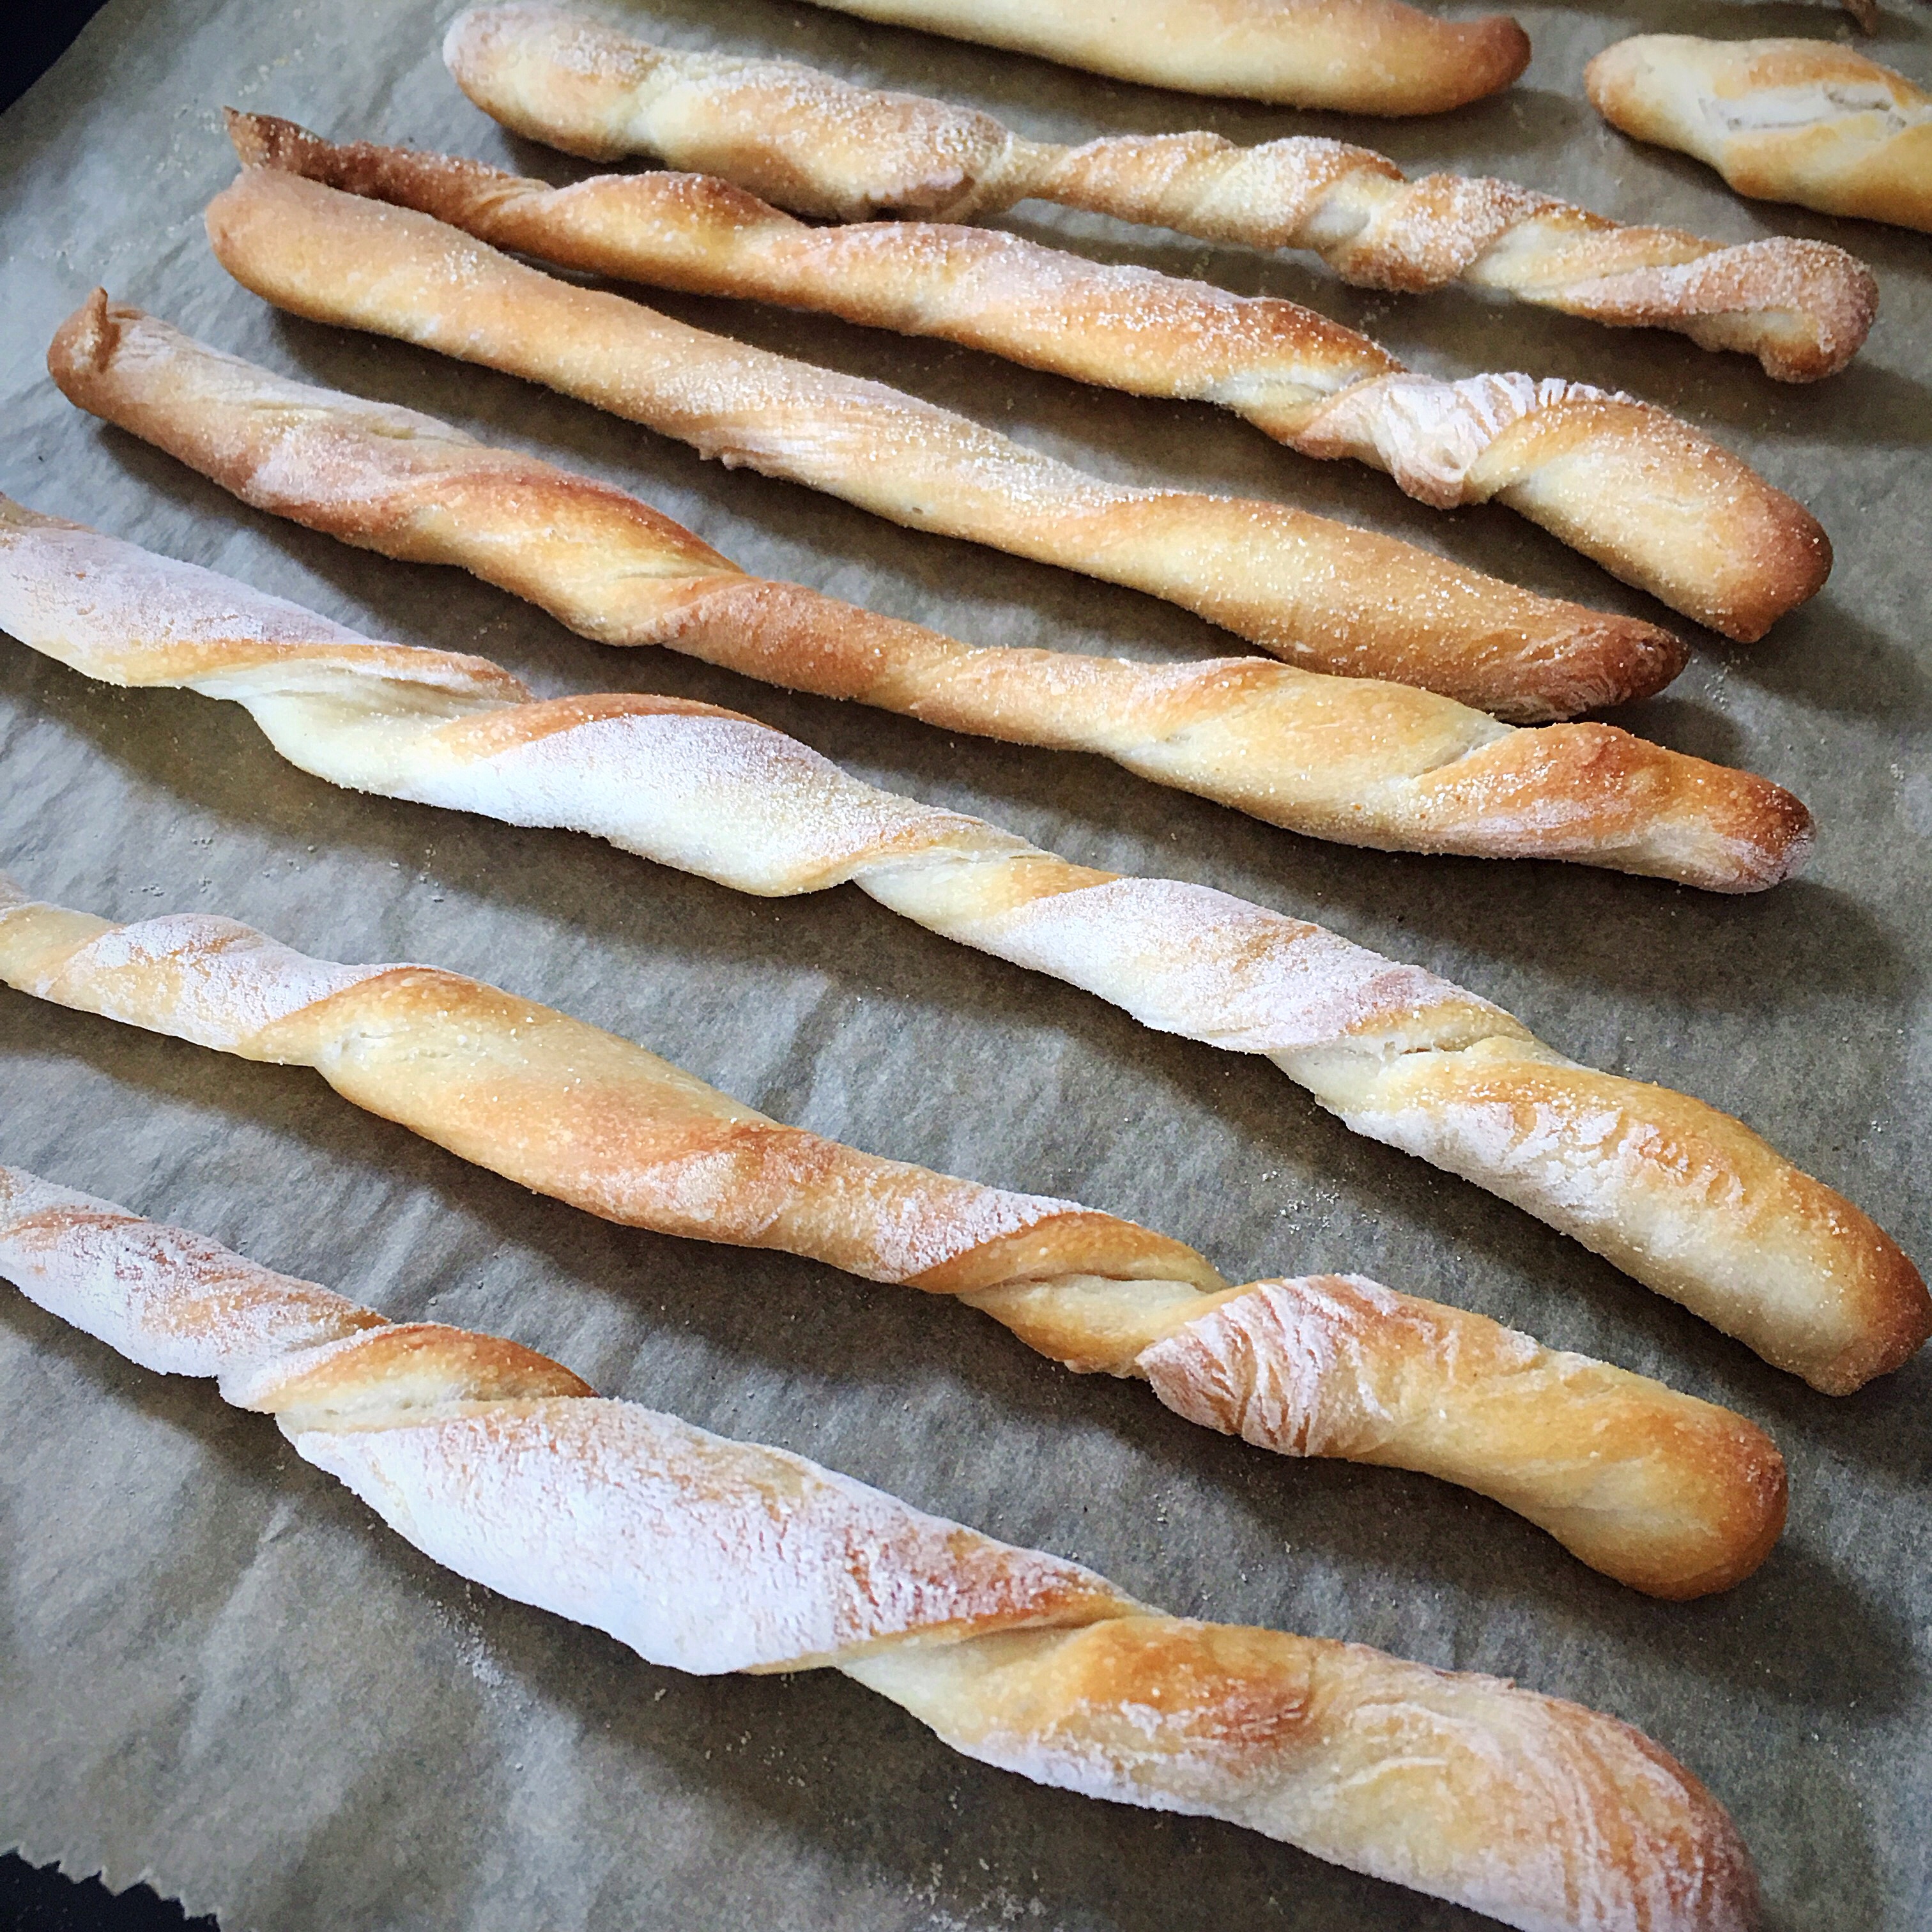
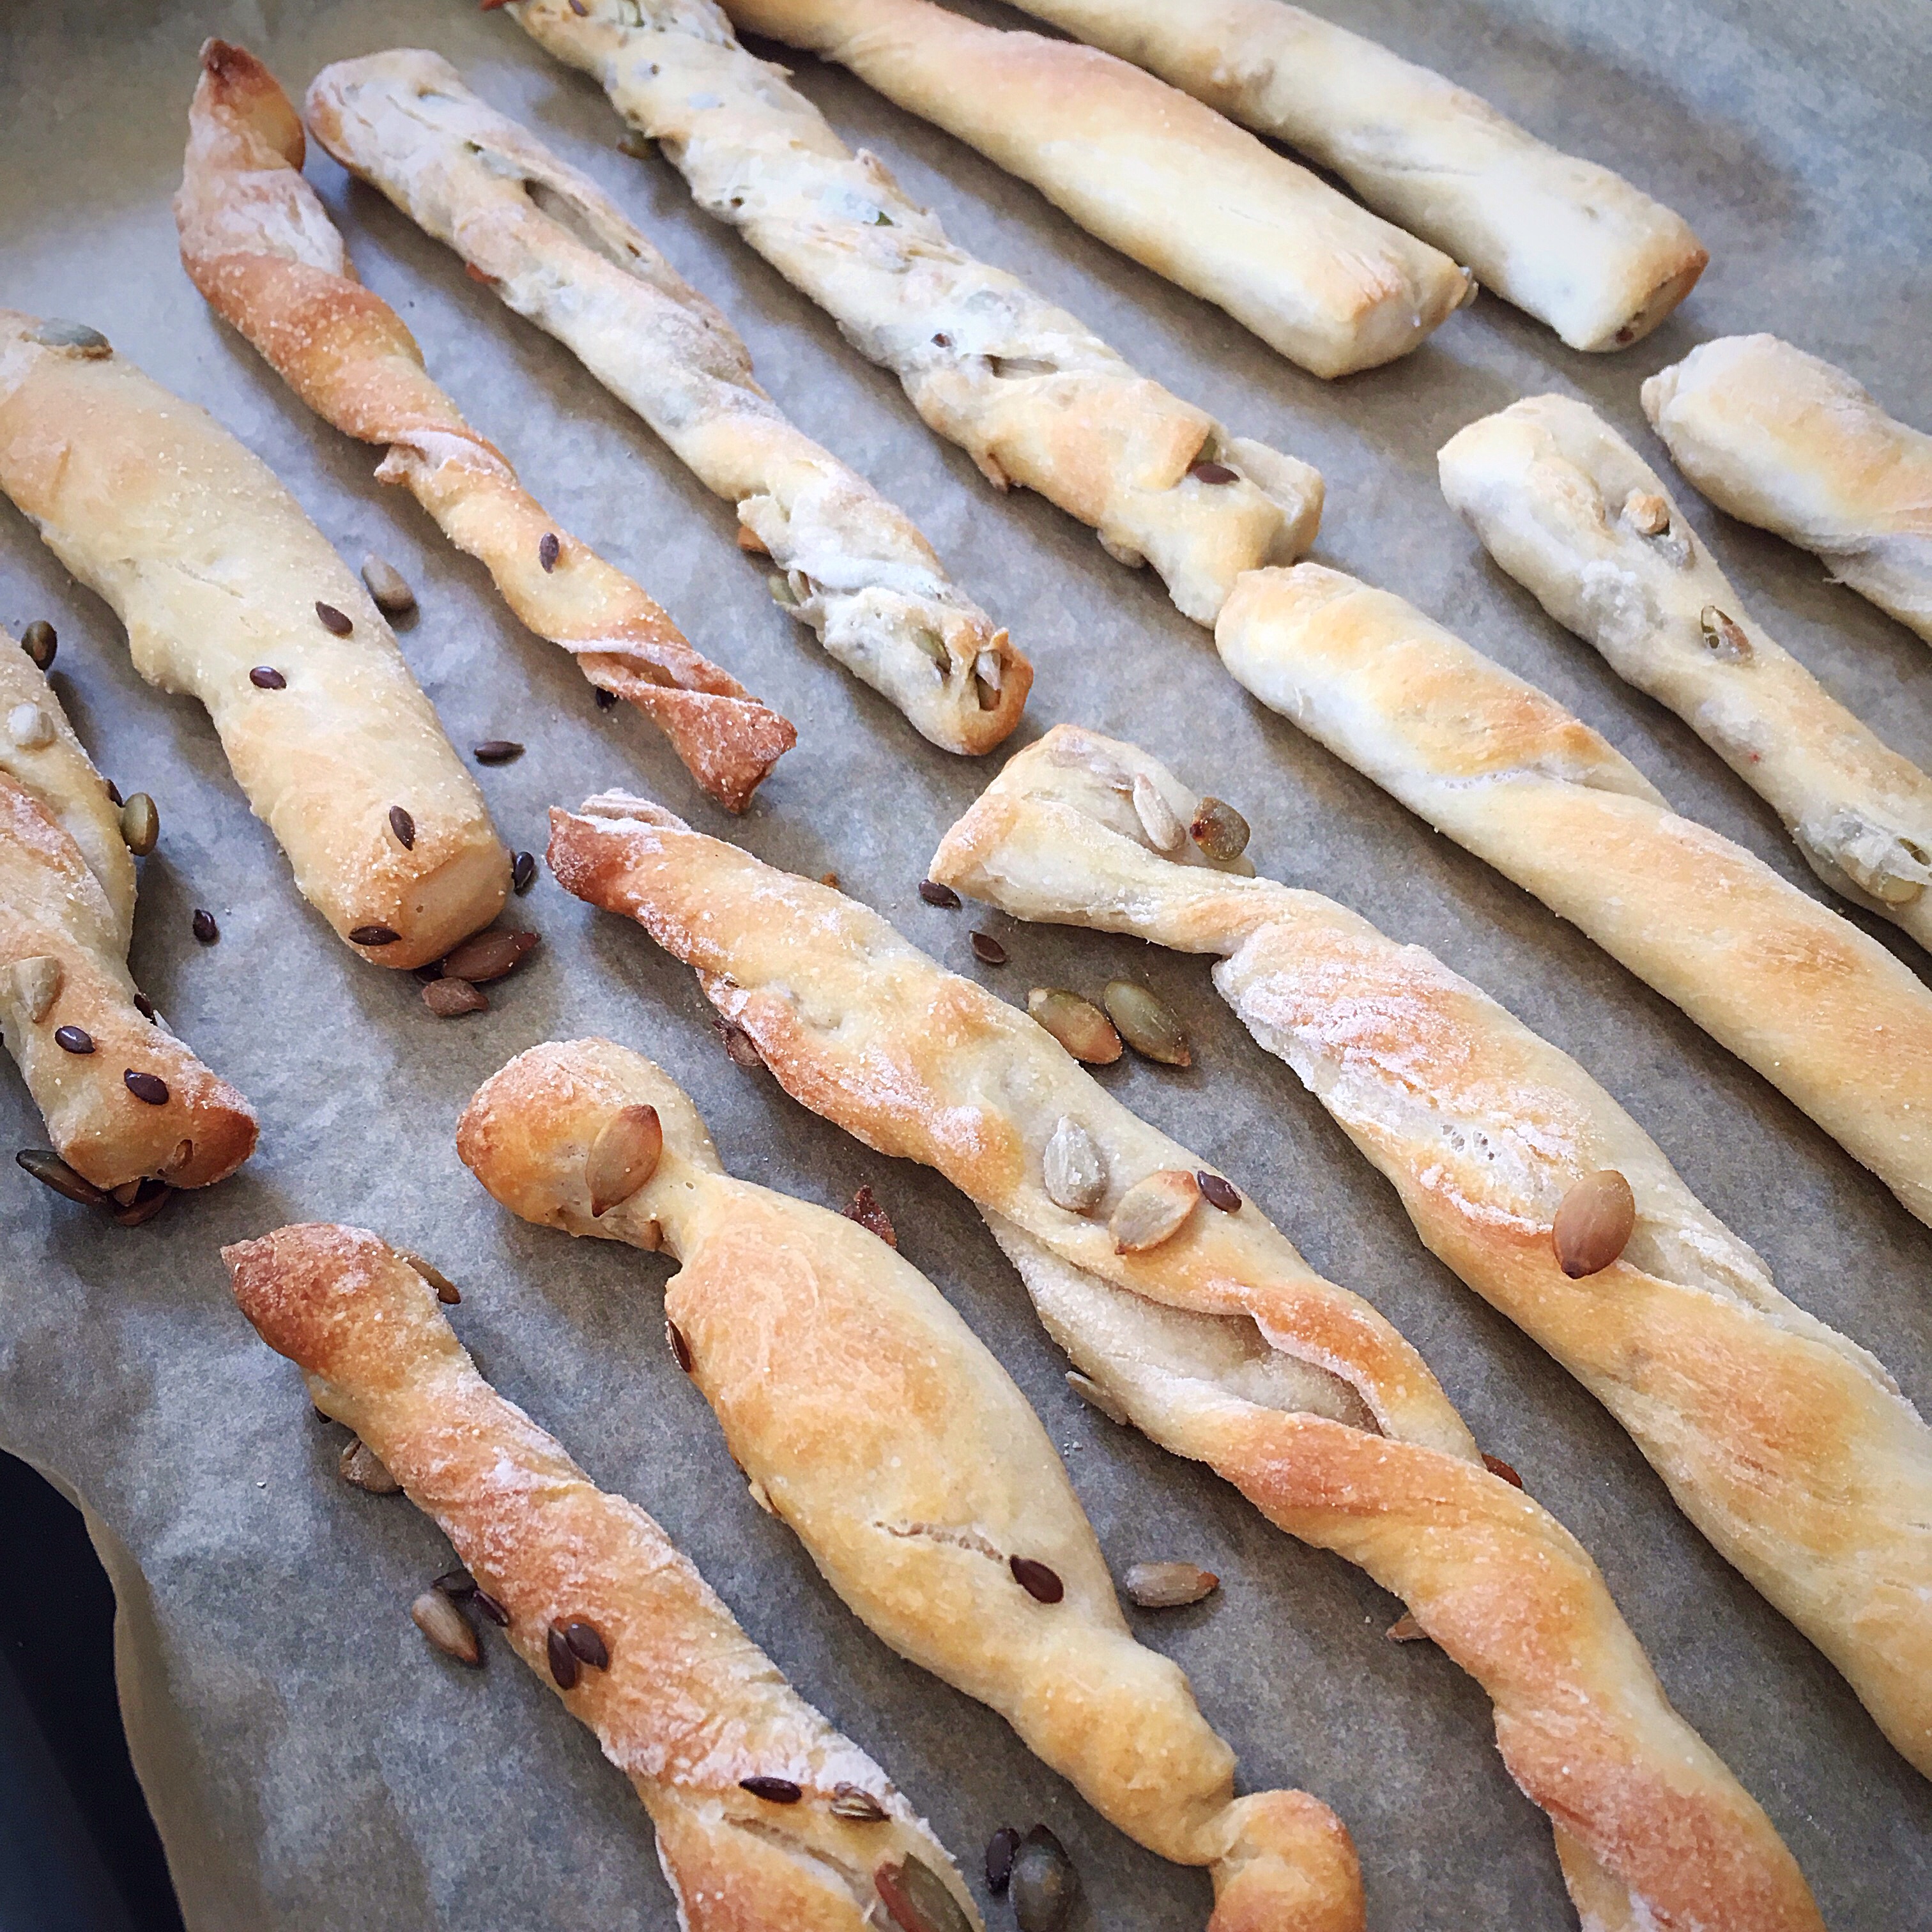
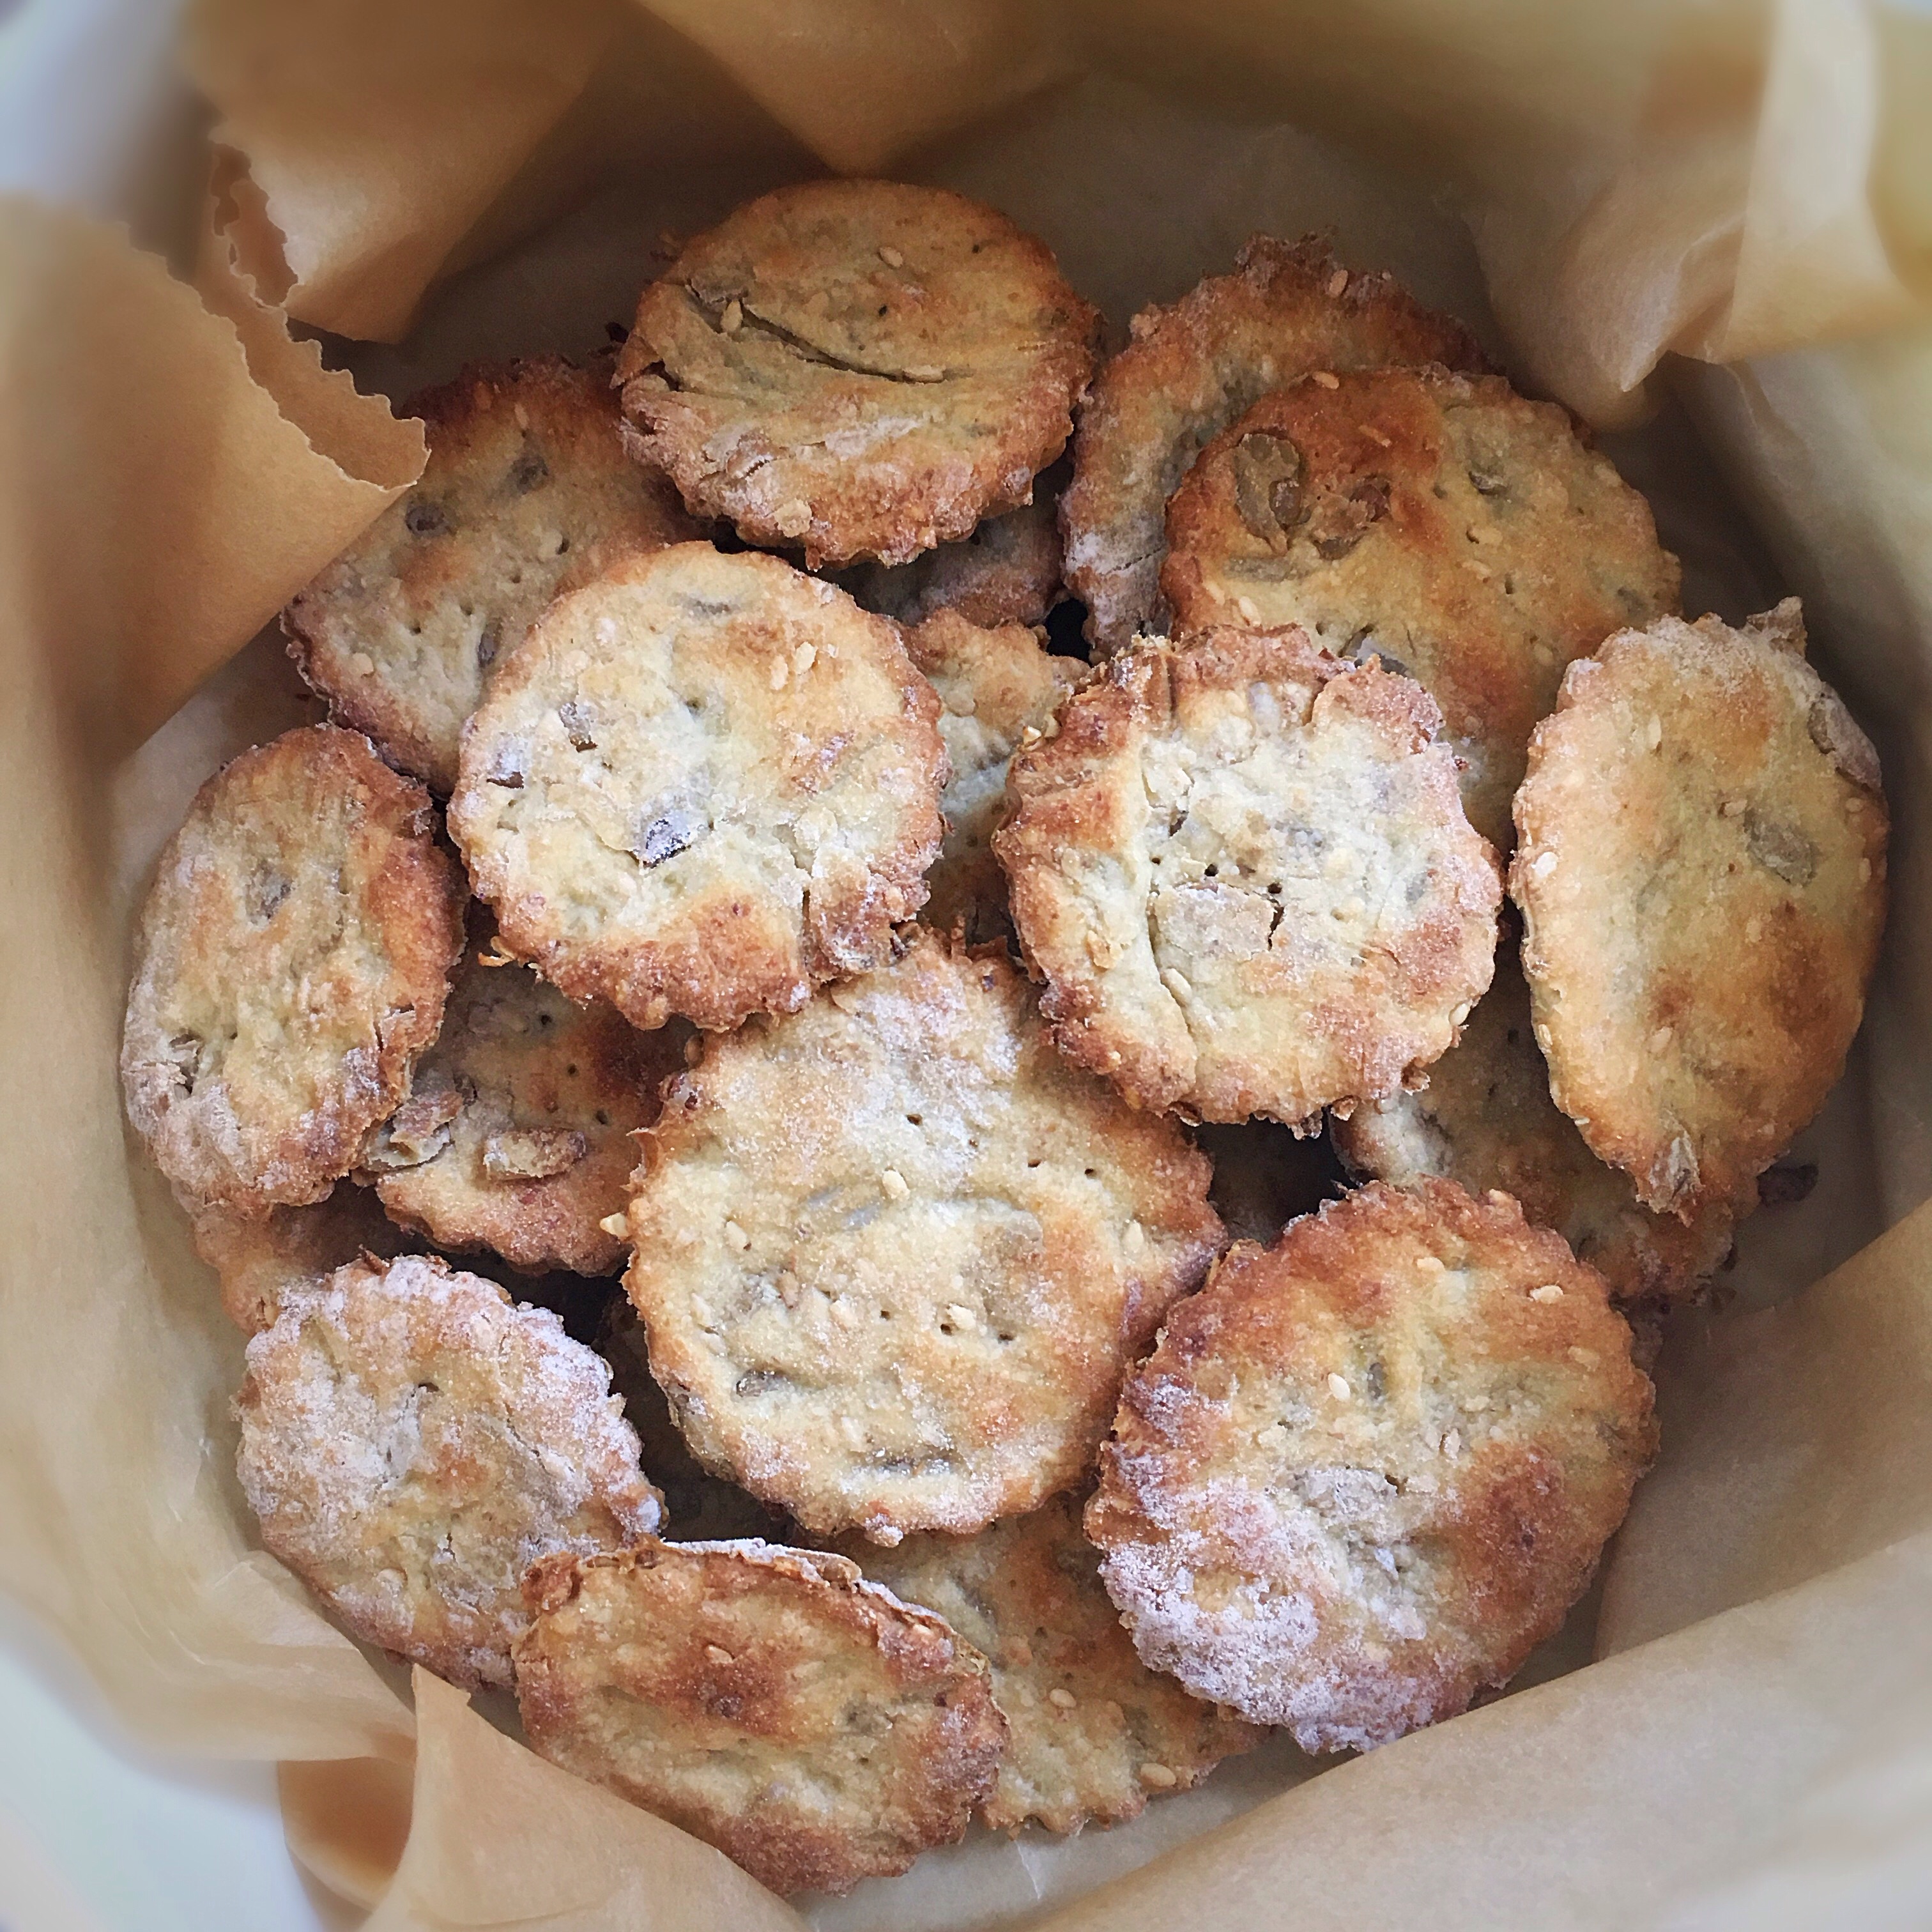
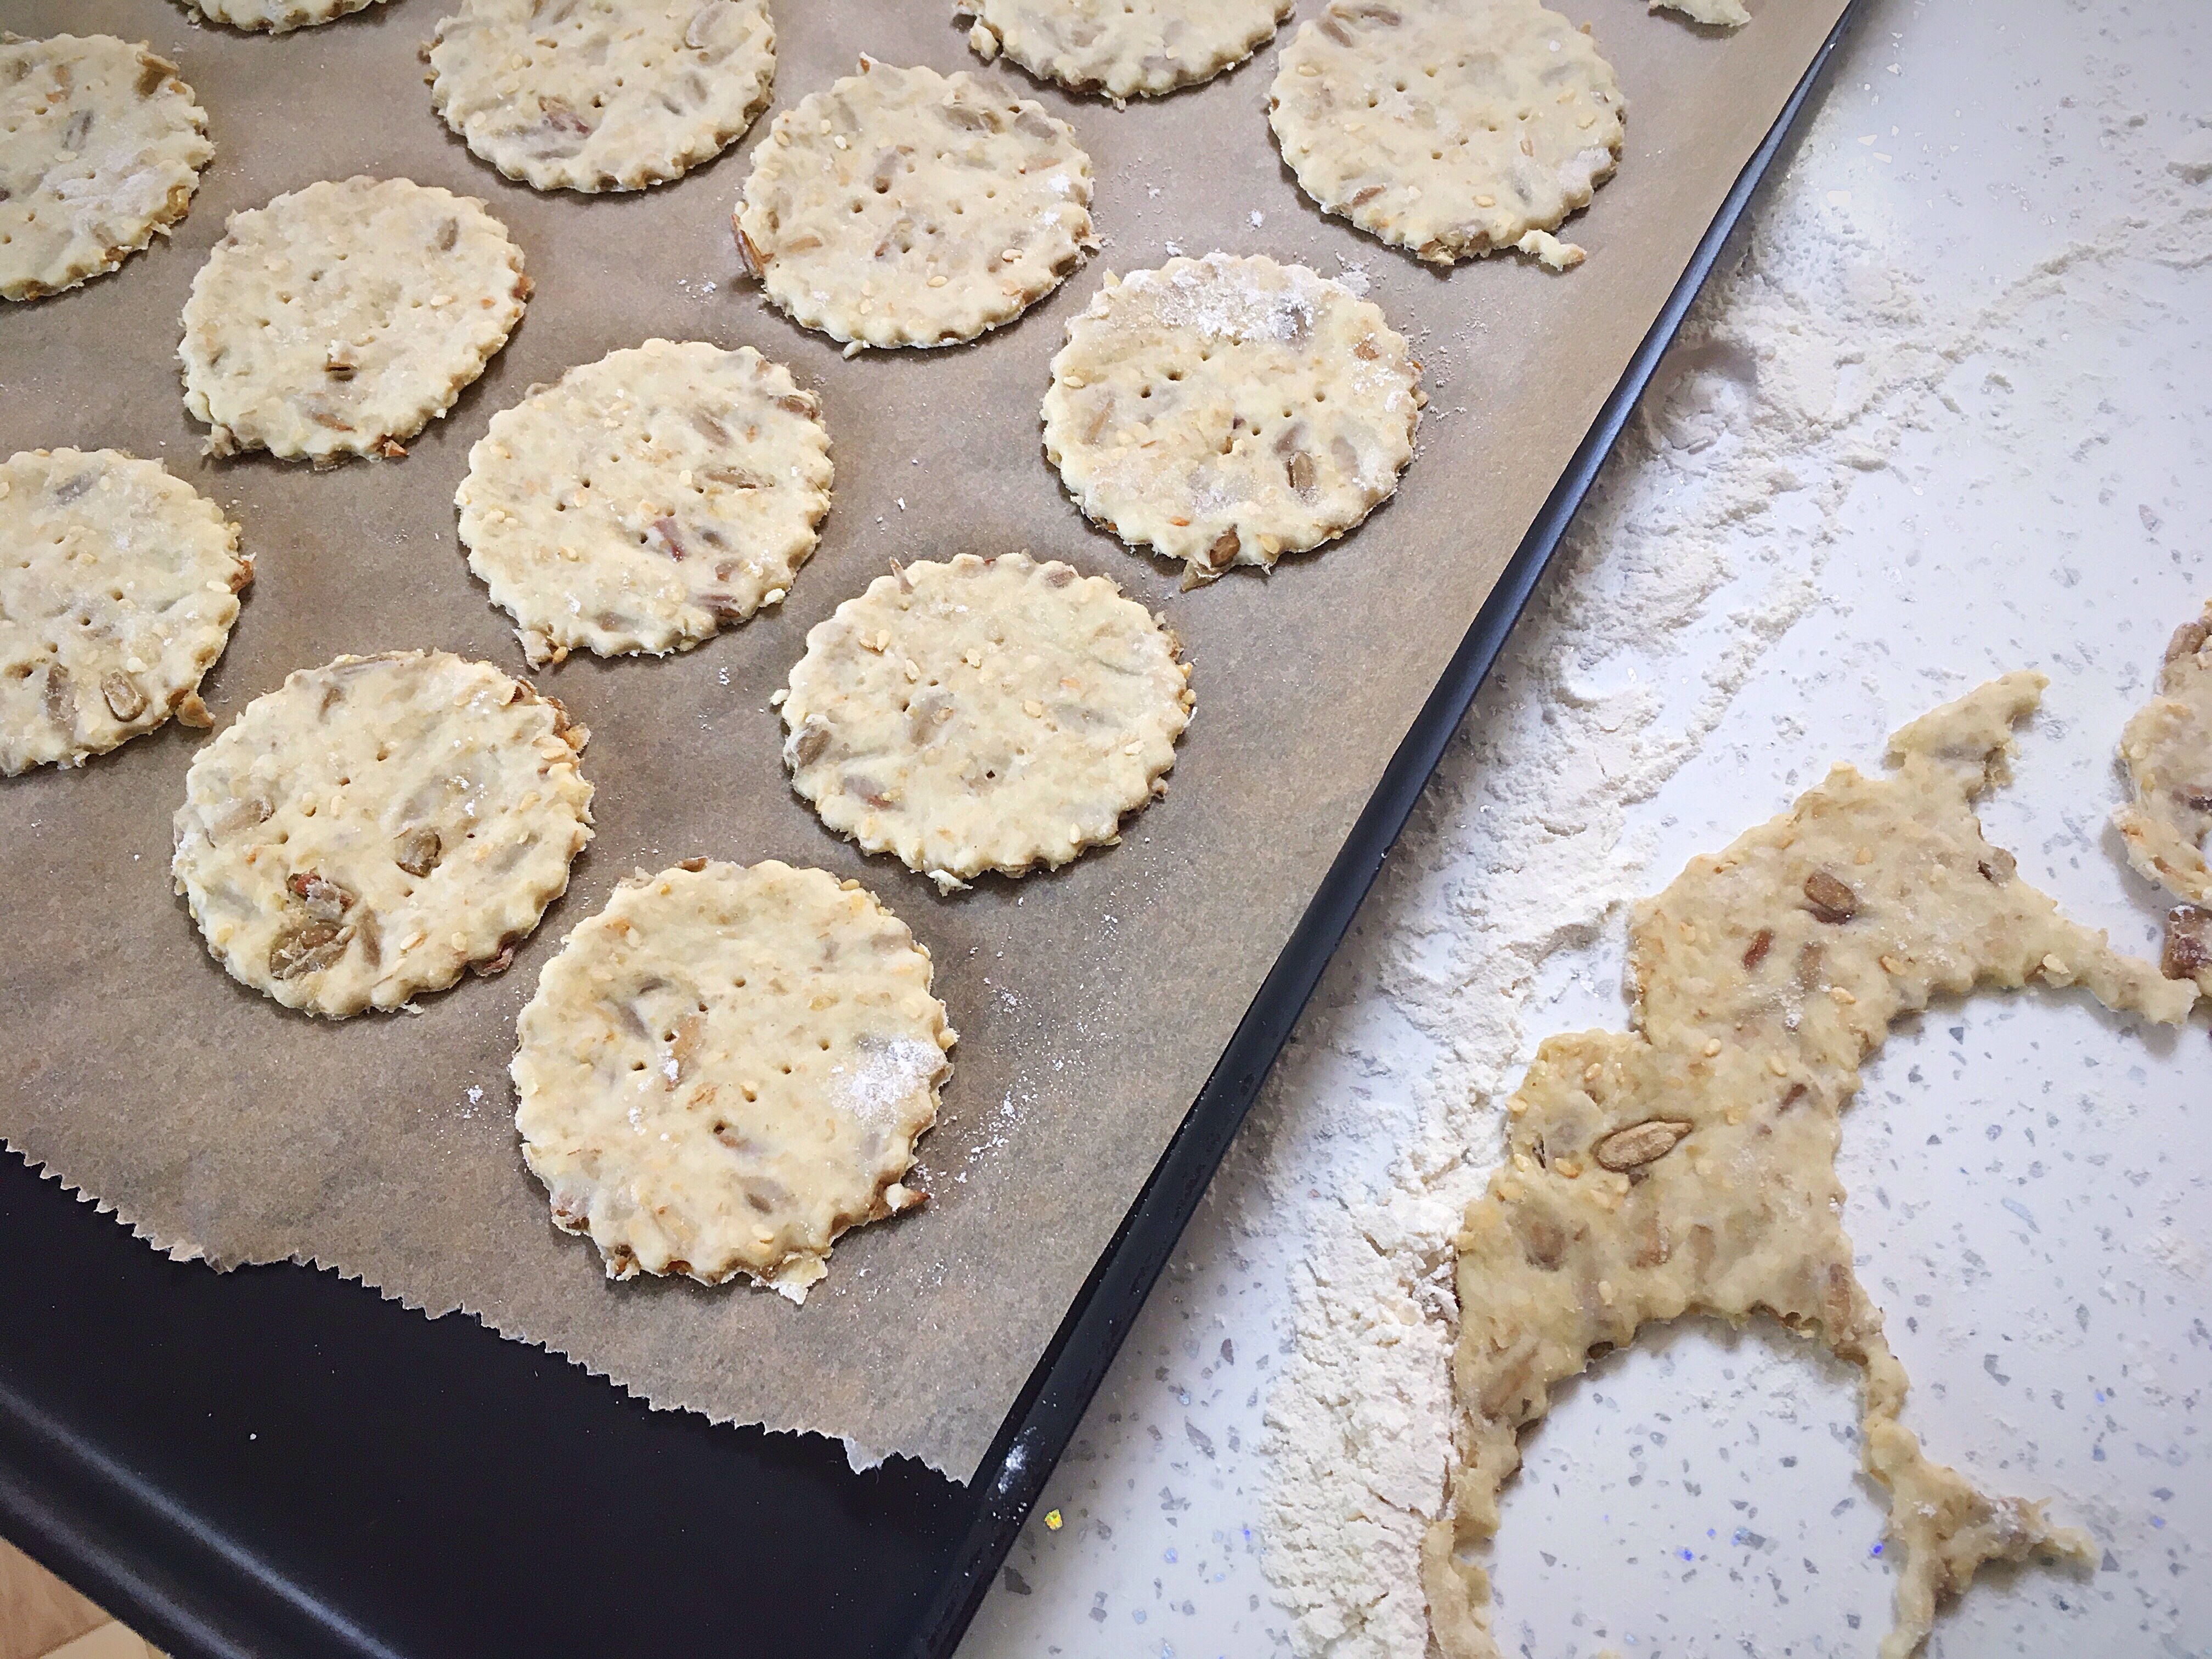
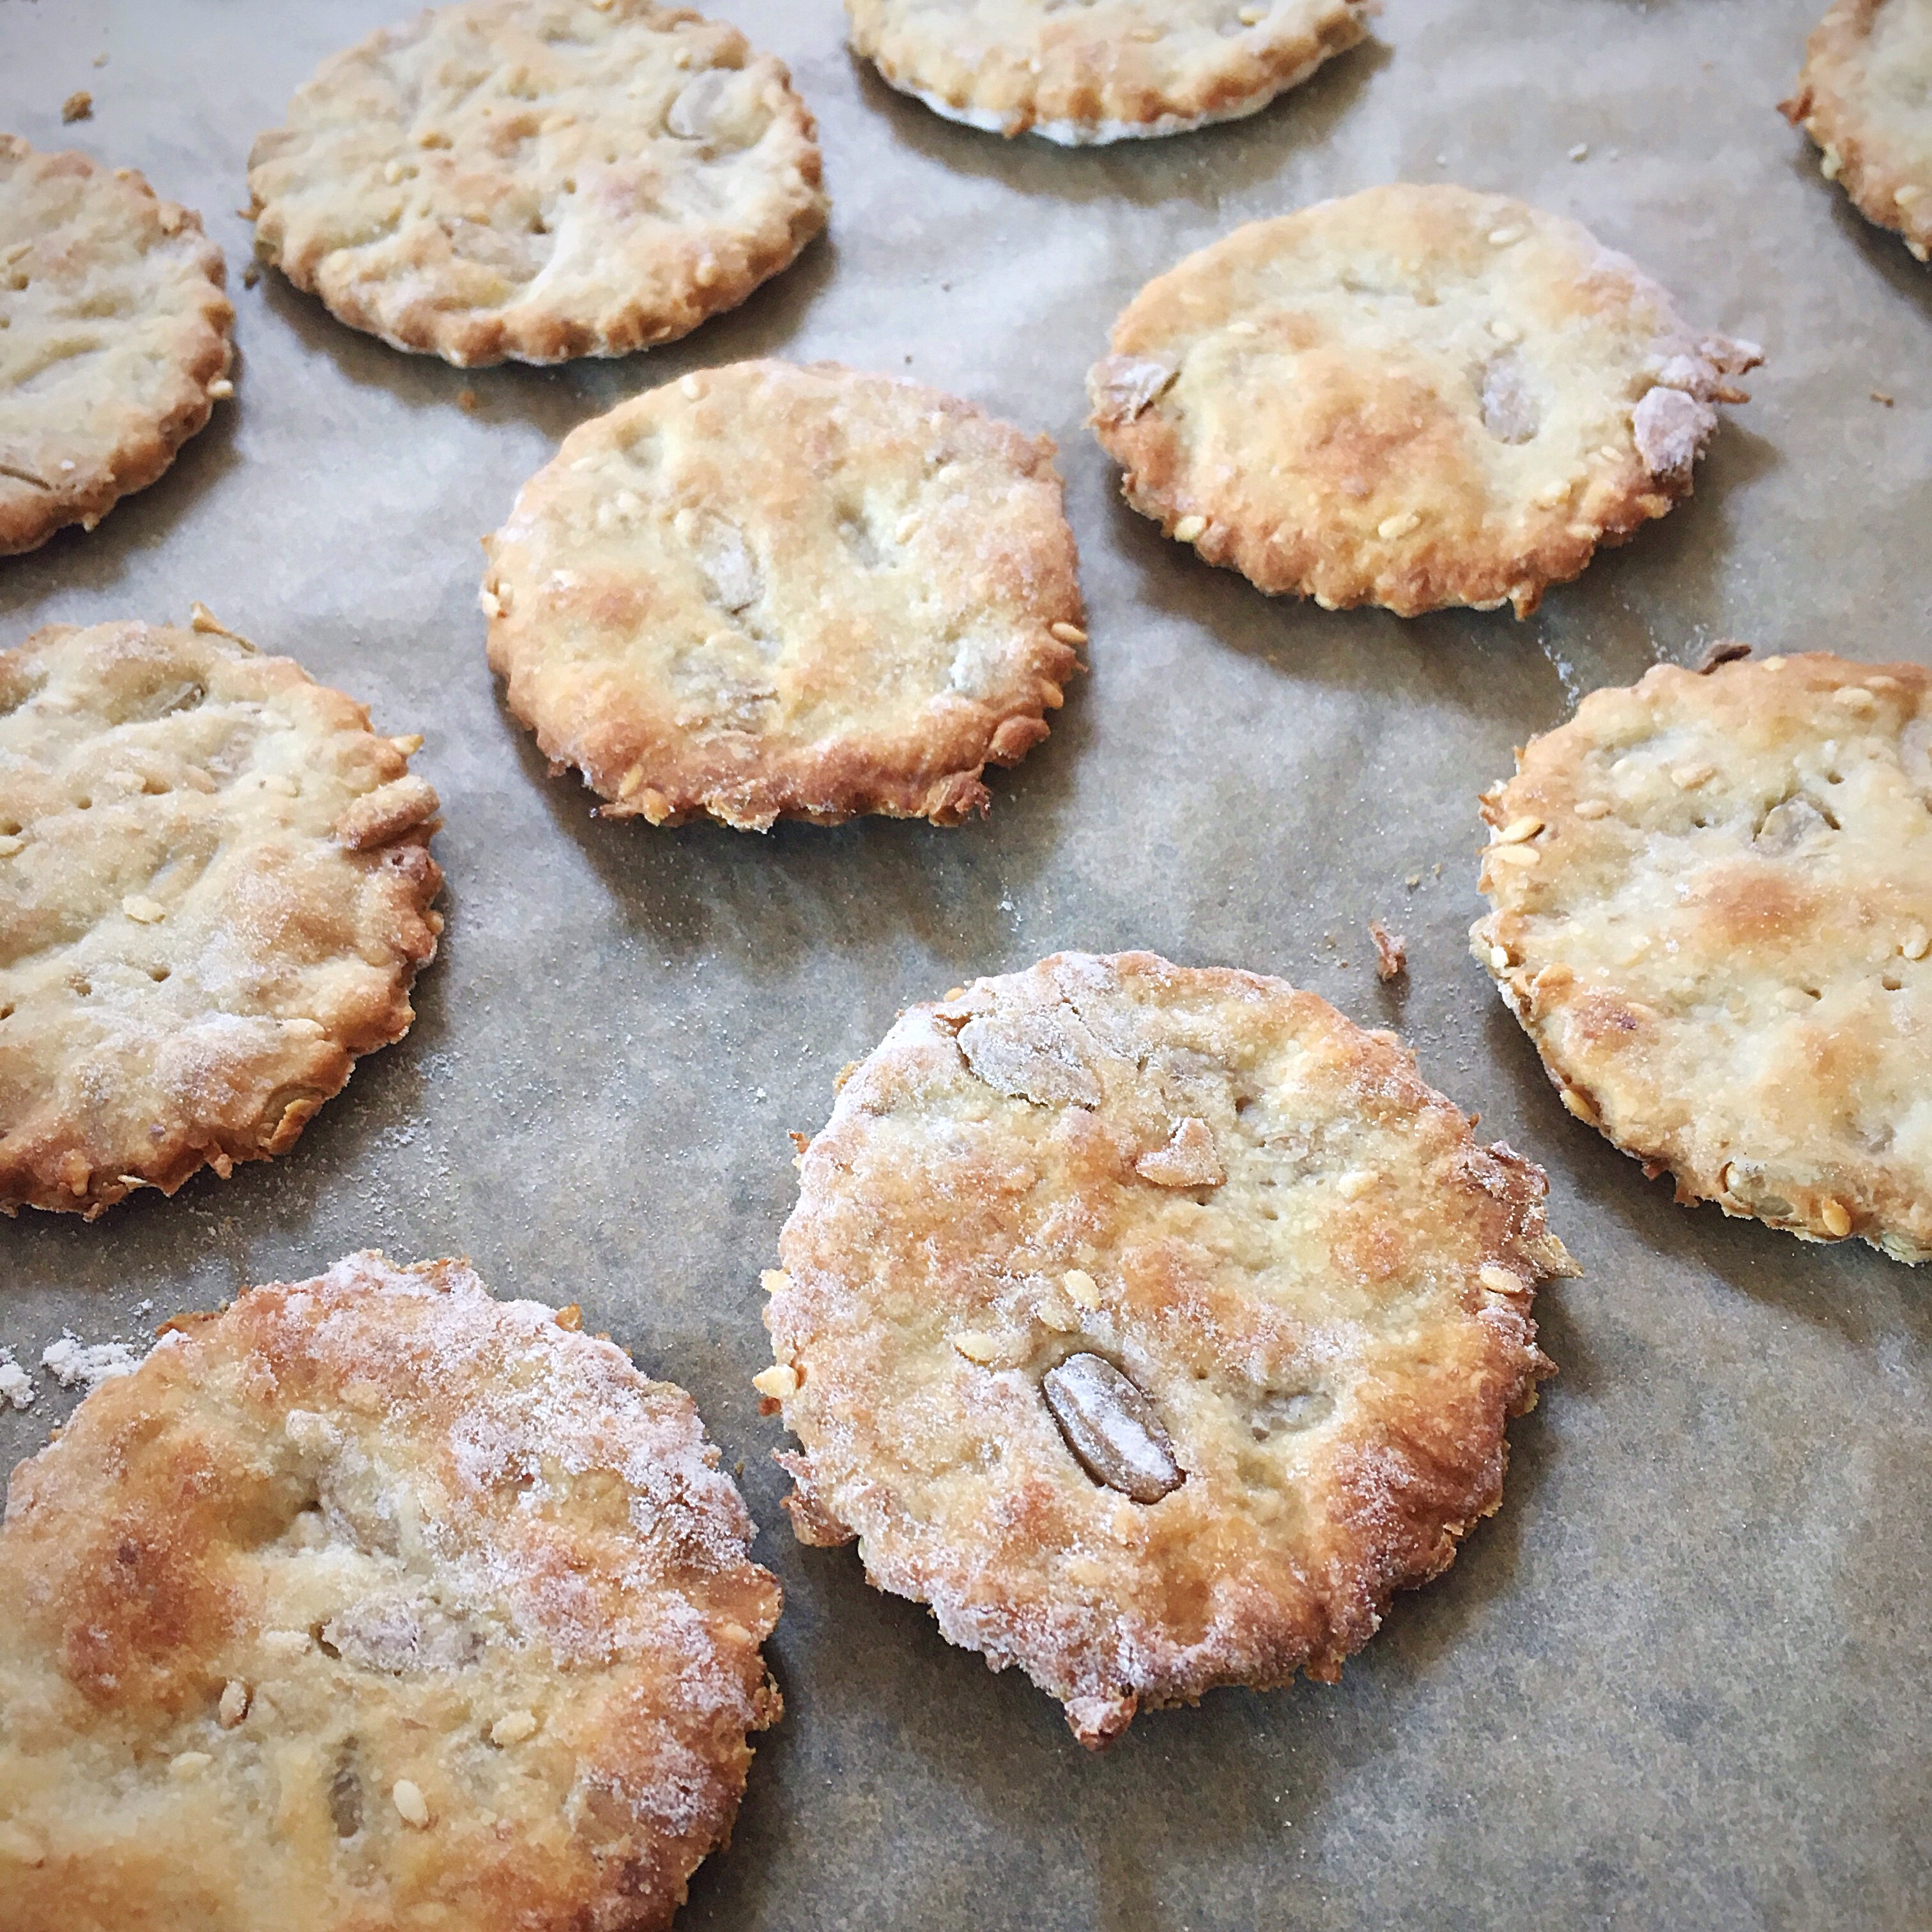
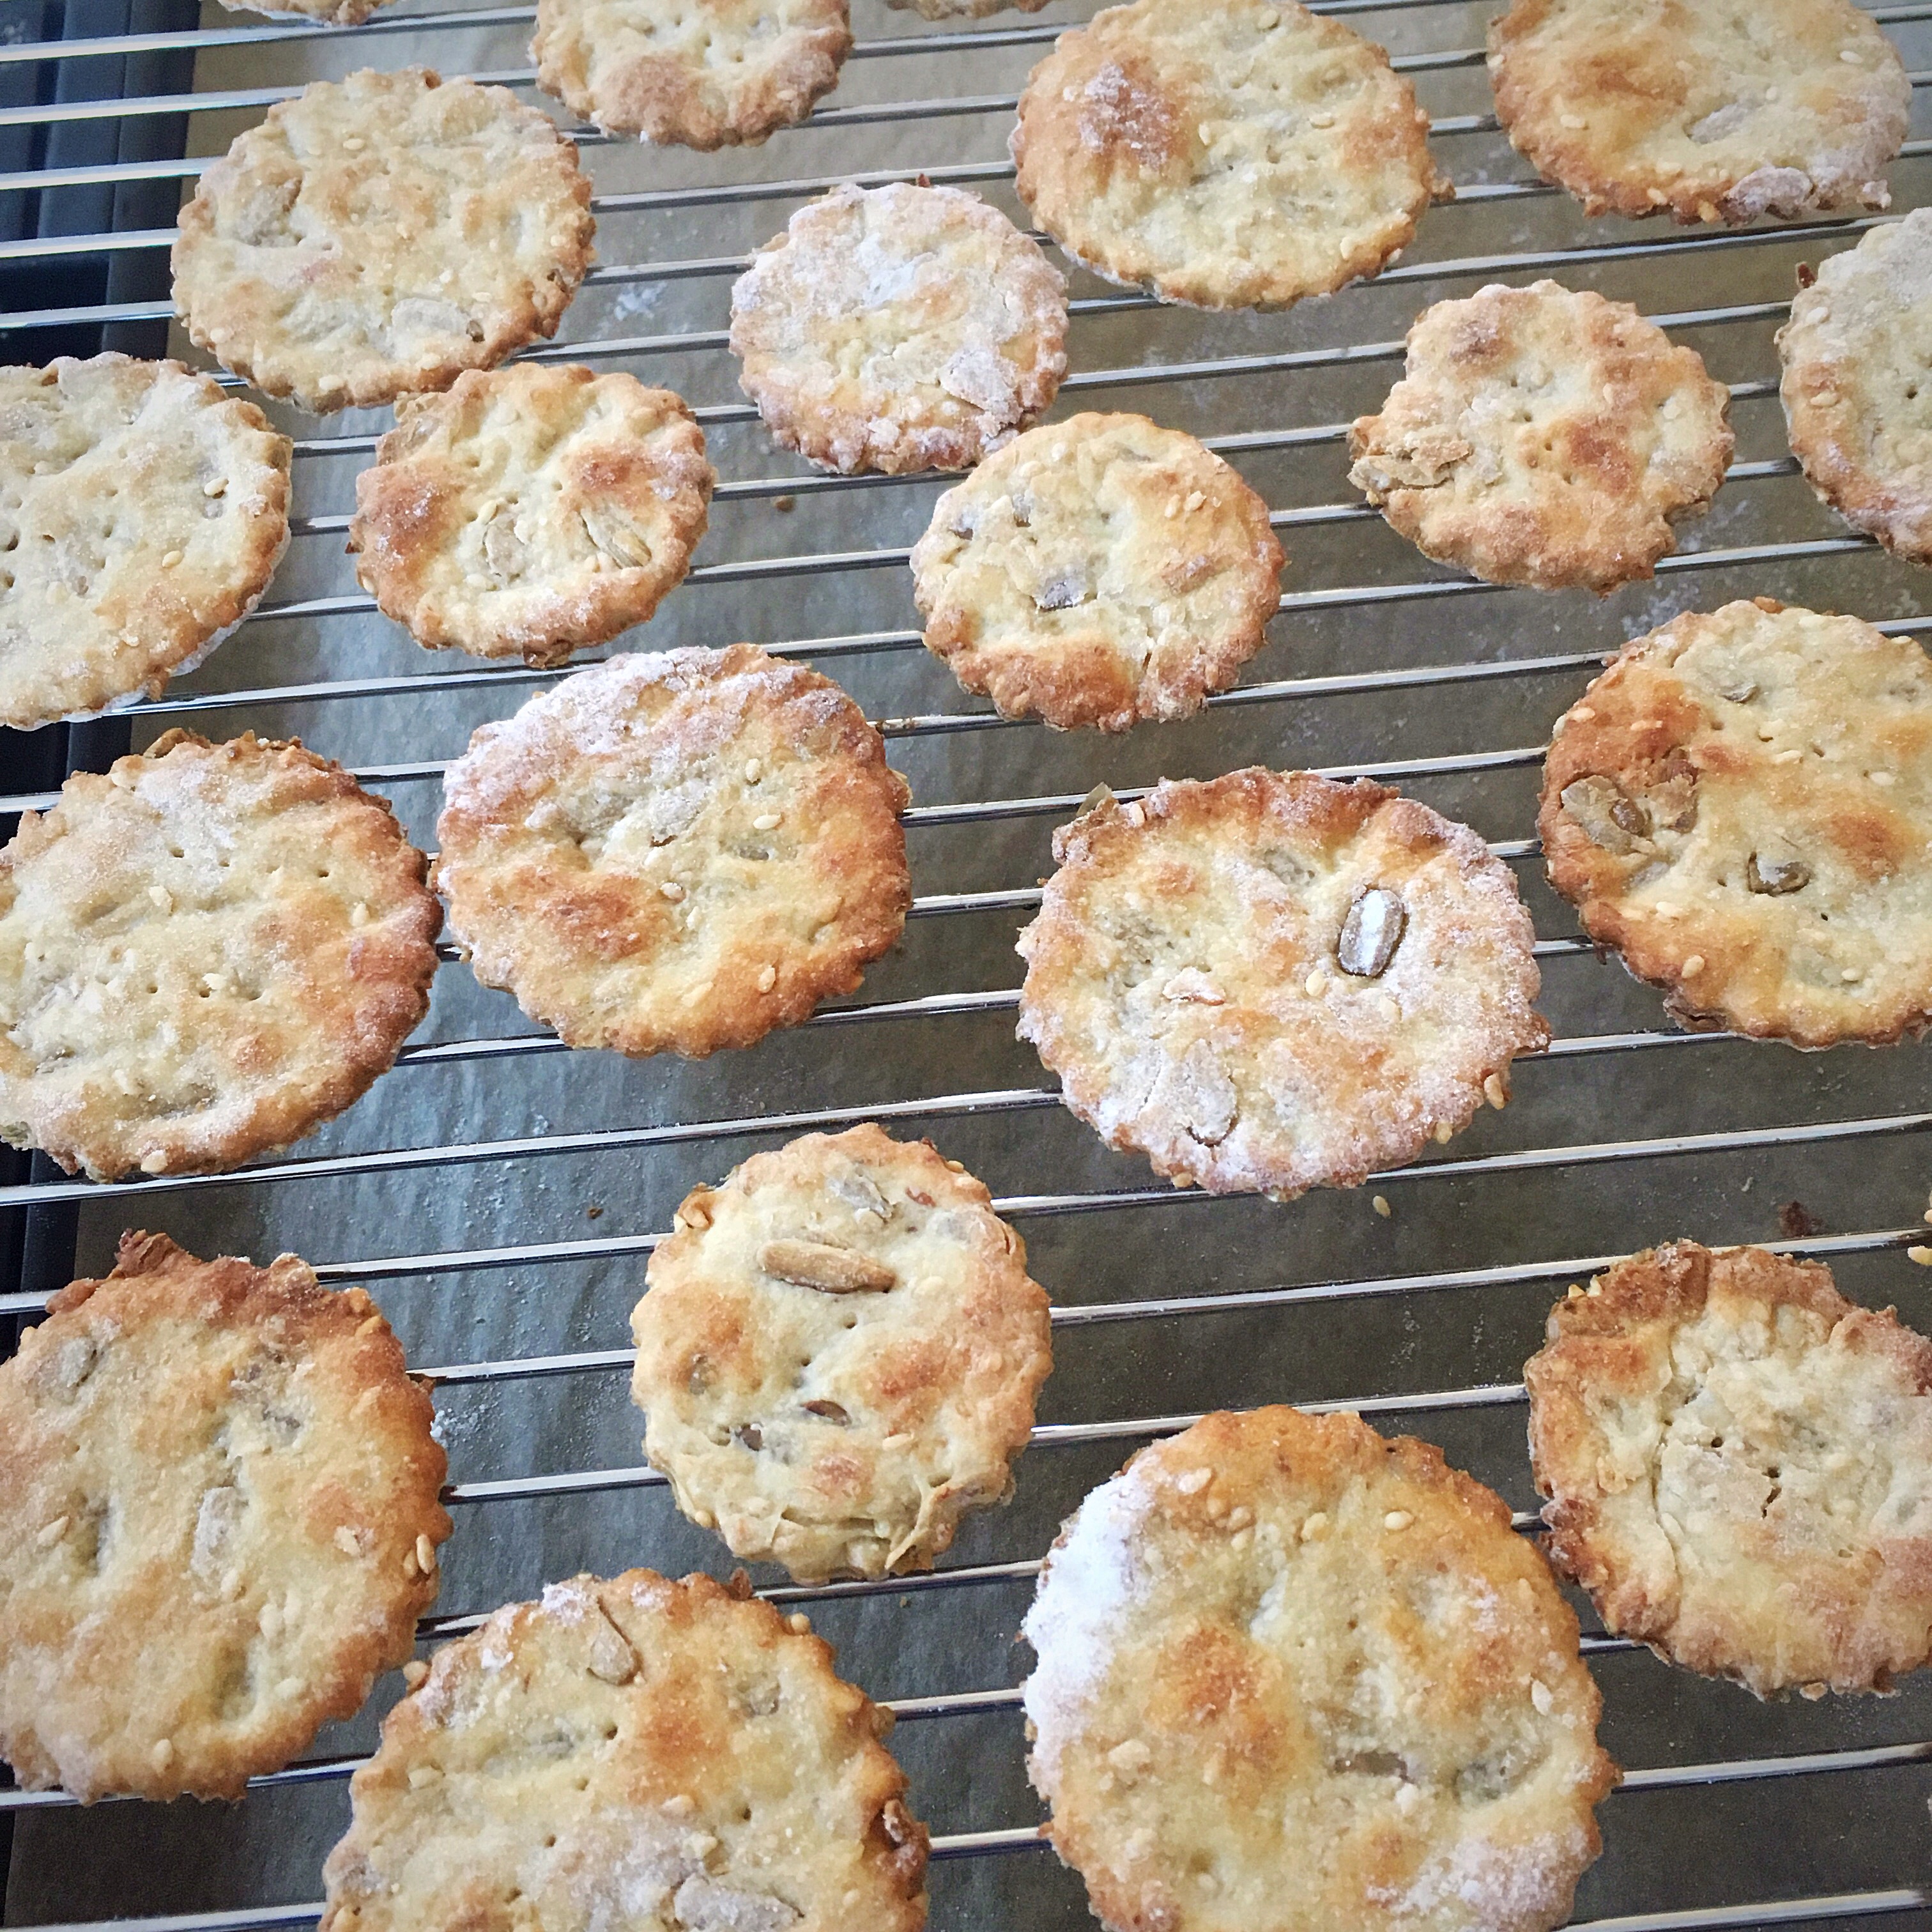
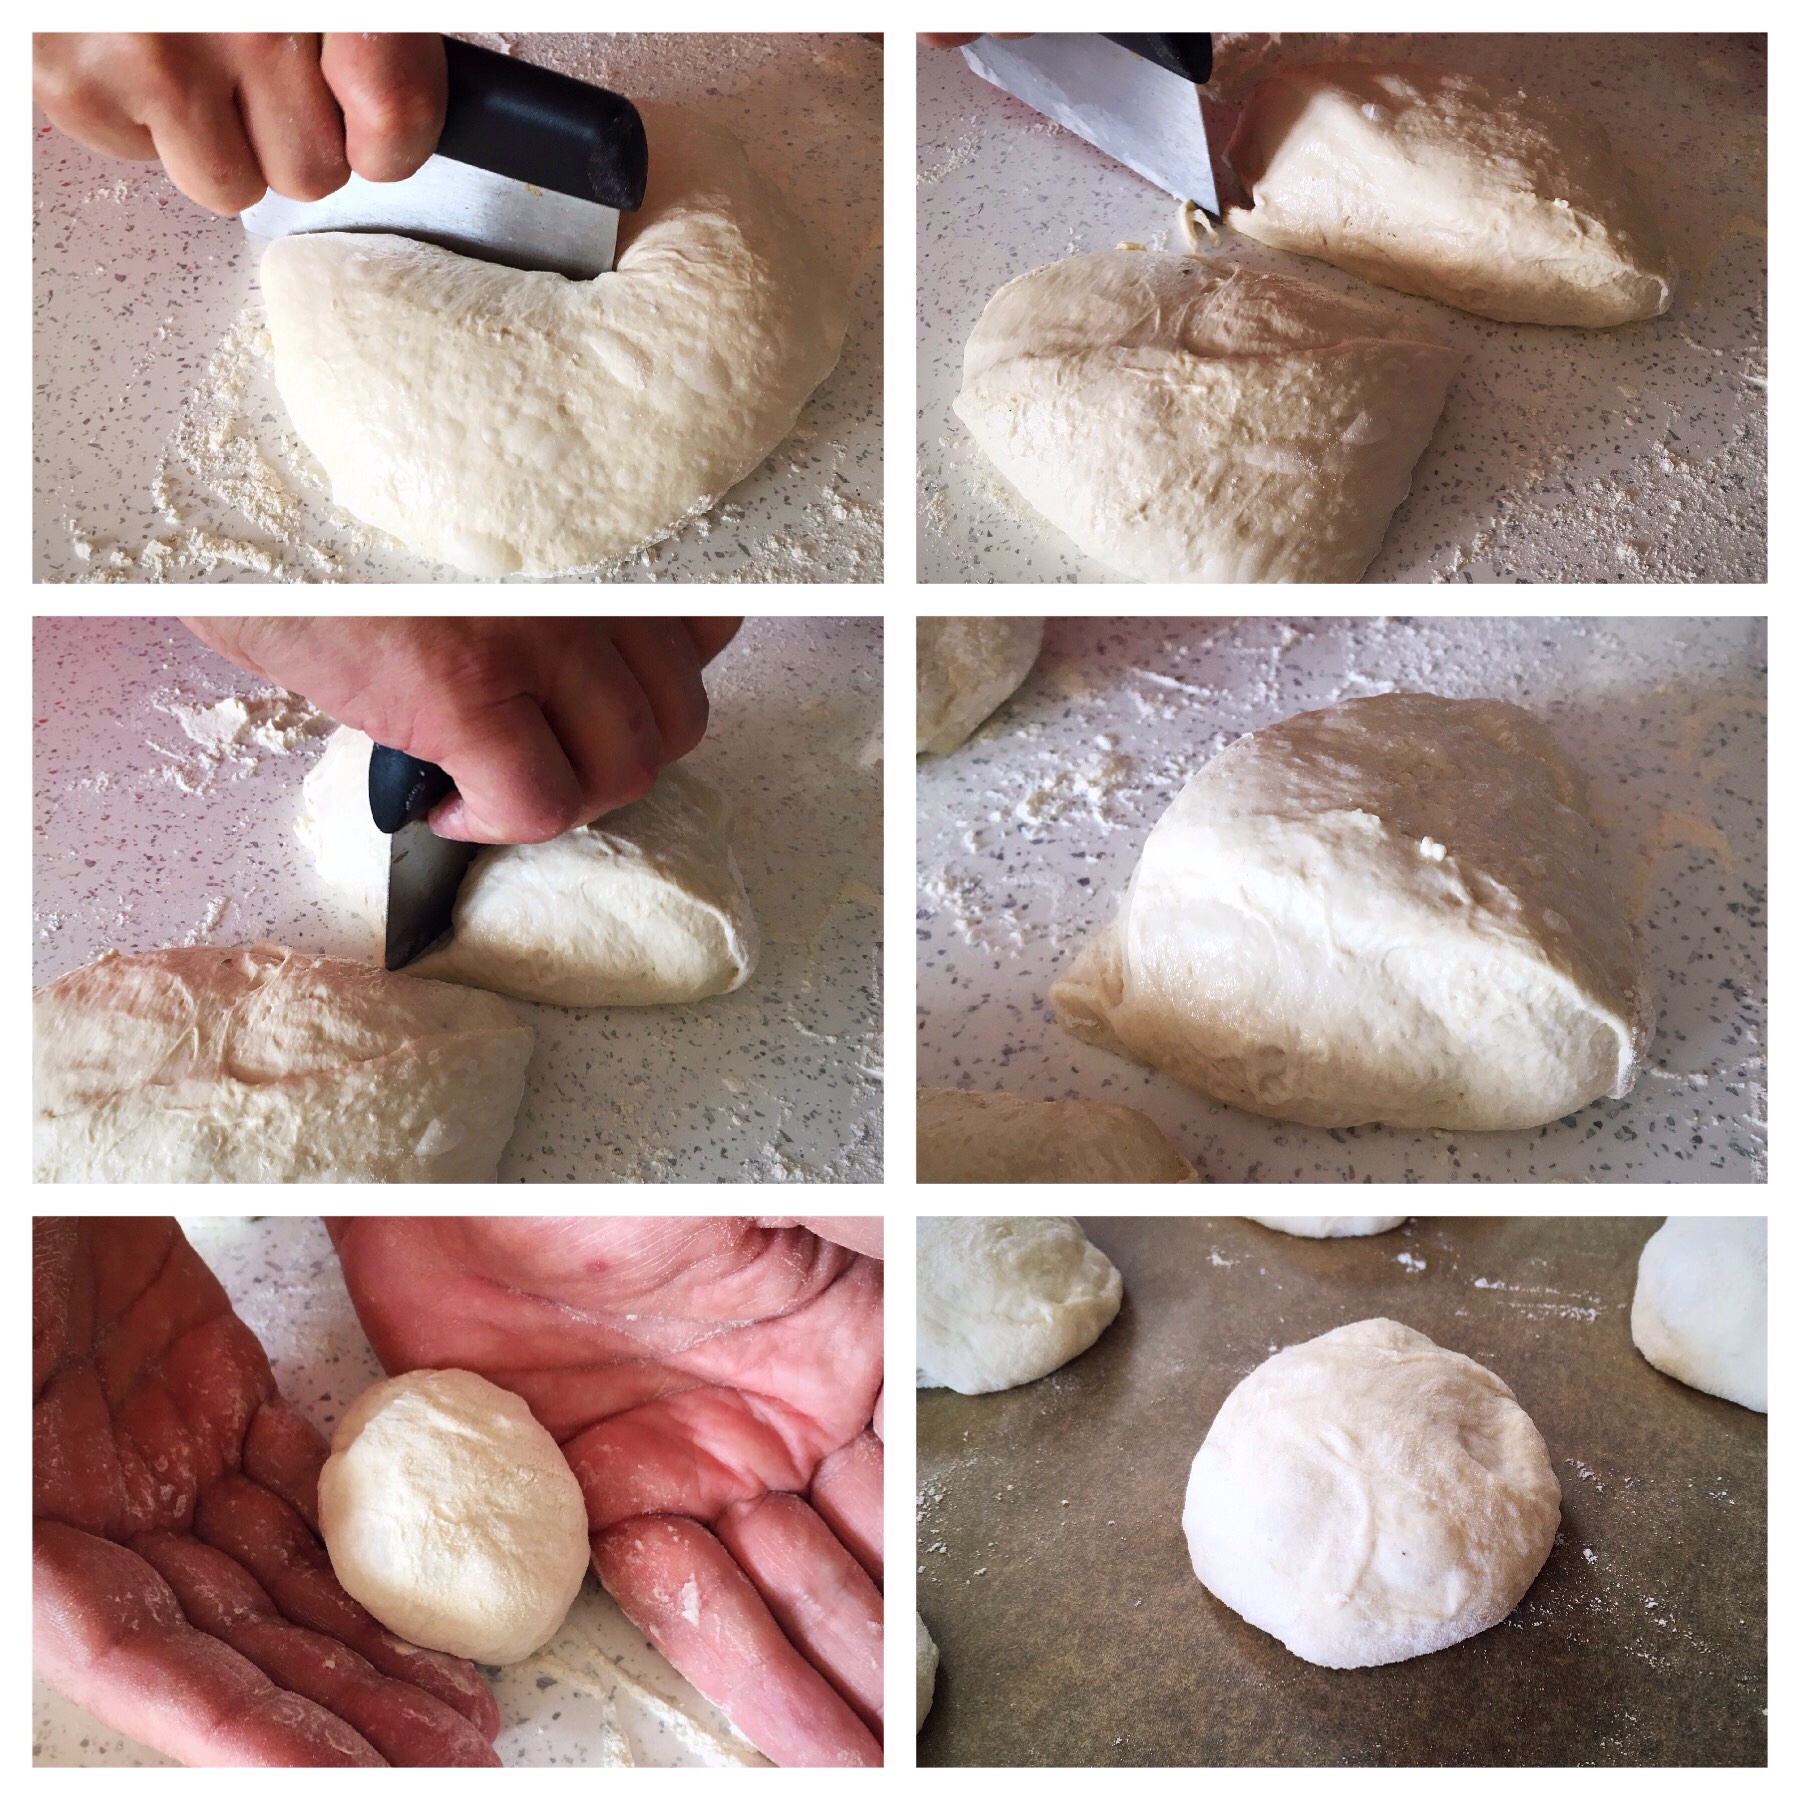 These pieces were rolled gently into rounds with the sides of our hands – very gently, the dough was very light and airy, and we wanted to preserve the bubbles – and placed onto a baking tray lined with parchment paper.