Stuffed pizza rolls

I am very excited to share a recipe from my upcoming new book with you! These stuffed pizza rolls are perfect for a family get together, pretty much for any meal, for a pack up, a picnic, a party, a snack, breakfast, brunch, lunch and dinner, and really any event. They also freeze and defrost perfectly, and are fun to make yourself or with kids or as a shared baking project. There’s minimal shaping, the muffin tin does it all for you, just roll them up, chop them up, stuff them into the muffin pan wells and bake!

I hope you will give them a go, give them your own twist, and that you love them…
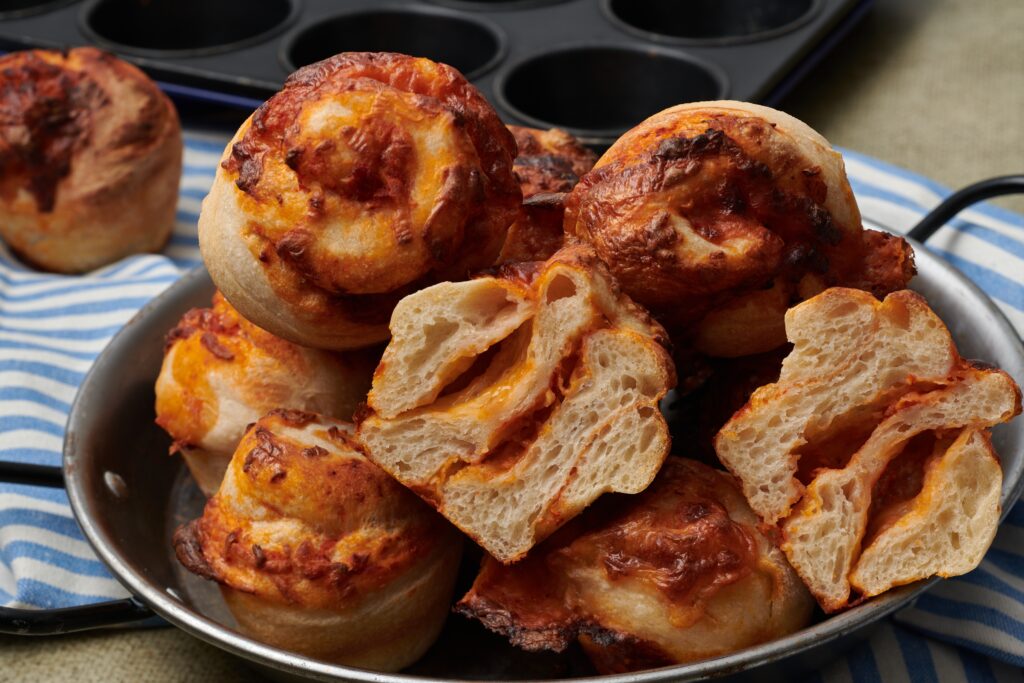
These pizza rolls are made using one of my favorite processes—stretching out my dough after the main overnight proof, covering it with my favorite ingredients, rolling it up, chopping it up and baking the pieces into filled rolls. In this recipe, I have updated my process and use a standard muffin tray to bake the rolls in. This works perfectly to provide a uniform size but also helps to shape the rolls. It means that even if the dough gets messy or hard to handle, you can stuff it into the muffin spaces and it will still bake up beautifully to even sized muffin shaped rolls.”

🌟🌟🌟 watch the video of my recent international bakealong and you can see me making these rolls in my kitchen 🌟🌟🌟 click here to watch.
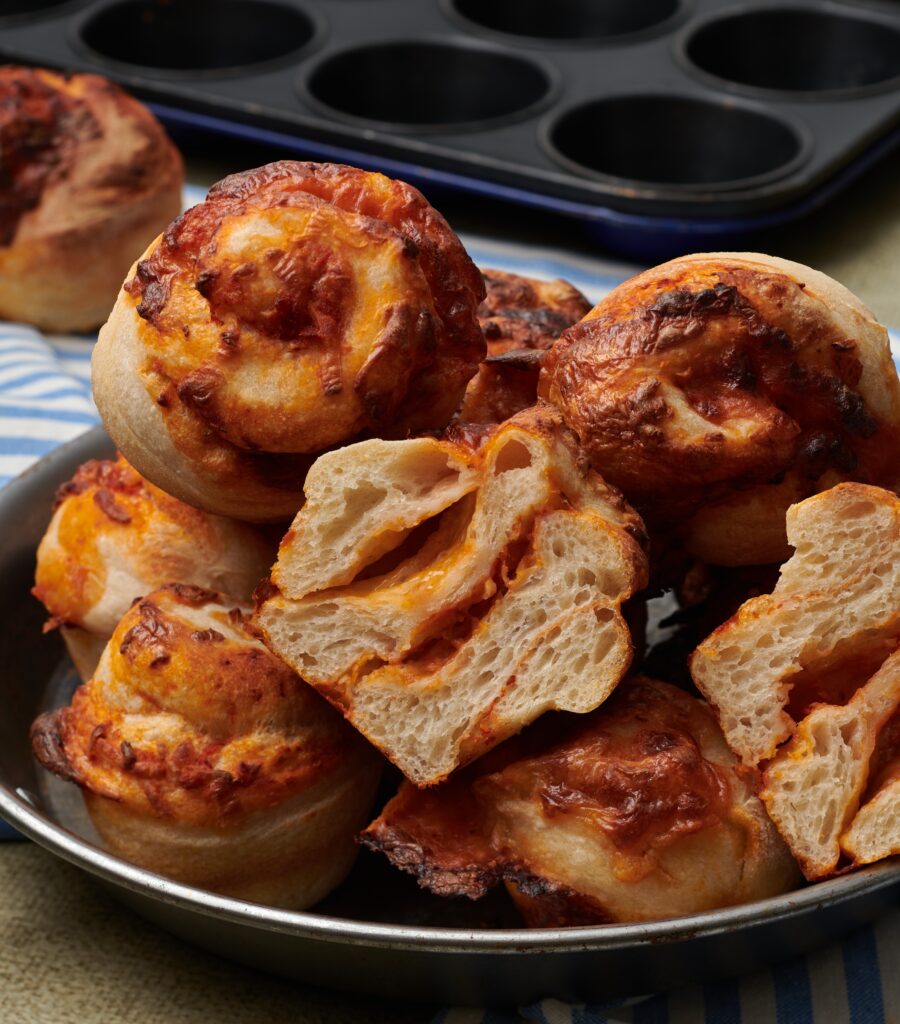

Equipment: Have a 12-hole muffin tray ready, preferably nonstick. If your muffin tin is not nonstick, lightly spray or grease inside the wells with a neutral or flavorless oil or butter.

Makes 12 roll ups

Ingredients:

Dough

50 g (1⁄4 cup) active starter

325 g (11⁄3 cups) water

500 g (4 cups) strong white bread flour

7 g (1 tsp) salt, or to taste

Filling

150 g (3/4 cup) pizza sauce

200 g (2 cups) grated cheese (I use hard “pizza mozzarella” that I can grate. You can also use a mix of mozzarella and Monterey Jack)

Additional pizza toppings of your choice (for example, thinly cut mushrooms or sliced meats such as pepperoni or chorizo [avoid anything too thick or chunky])

Method:

Step 1: In the early evening, in a large mixing bowl, roughly mix together all the ingredients, except the pizza sauce, cheese and any other filling ingredients, leaving the dough shaggy. Cover the bowl with a clean shower cap or your choice of cover and leave it on the counter for 2 hours.

Step 2: After the 2 hours, perform the first set of pulls and folds on the dough; it will be sticky at this point, but stretchy. Cover the bowl and leave it on the counter.

Step 3: Once the dough has rested for at least an hour, complete two more sets of pulls and folds on the dough throughout the evening, covering the bowl after each set. The dough will be nicely stretchy and will easily come together into a firm ball each time. Complete the final set before going to bed.

Step 4: Leave the covered bowl on the counter overnight, typically 8 to 10 hours, at 64 to 68°F (18 to 20°C).

Step 5: The next morning, place the dough, untouched but still covered, in the fridge for at least an hour, until you are ready to use it; this could be for lunch, dinner or a meal the next day. The dough will firm up, making it easier to work with later.

Step 6: When you are ready to bake, decide whether you would like to bake in a preheated oven or from a cold start. If preheating, set the oven to 400°F (200°C) convection or 425°F (220°C) conventional.

Take your bowl of dough from the fridge. Sprinkle flour over your kitchen counter. Using a bowl scraper or your hands, gently ease the bubbly risen dough from the bowl onto the counter. Use your fingertips to start stretching and pushing out the dough, until it becomes a rectangle that measures 18 x 12 inches (45 x 30 cm) with an even thickness all over. The dough will want to pull back as you stretch it; continue to pull it gently, careful not to make holes in the dough. If the dough starts to tear or seems very hard to stretch, let it rest on the counter for 5 to 10 minutes allowing the gluten in the dough to relax and try again.

Spread the pizza sauce evenly all over the stretched dough and sprinkle the grated cheese evenly over the top, right up to the edges. If you are adding extra fillings, place them over the sauce and cheese. Roll up the dough from one of the longer edges toward the other to make an even, tight roll of dough. Using a dough knife or sharp knife, cut the dough into 12 equal pieces, approximately 11⁄2 inches (4 cm) wide. Place them, cut side down, in the muffin pan hollows. If the rolled up portions of filled dough start to fall apart, or you struggle with the dough holding together, push them into the pan hollows however they come. Do not worry about perfect shaping; the muffin pan will create the roll shapes for you as they bake.

Step 7: If you preheated the oven, bake the rolls uncovered for 25 minutes. If you are using a cold start, place the filled muffin pan in the cold oven, set the temperature as above and set a timer for 30 minutes.

Step 8: Once they are baked, remove the pan from the oven, carefully remove the rolls and let them sit briefly on a rack before serving. They are best eaten freshly baked, but my testers also informed me that they were still great eaten a few days later and reheated in a microwave for 30 seconds.

Top Tip: If you would prefer to bake them later, follow step 6 to fill, roll and cut the dough up into pieces, and then place the rolls into the muffin tin. Cover the tin with a large plastic bag or damp tea towel and place it into the fridge. When you are ready to bake, you can bake them directly from the fridge, following the directions above.

Happy baking! Happy making, rolling, cutting, baking, and EATING! If you choose to order it, I truly hope you like my new book xx

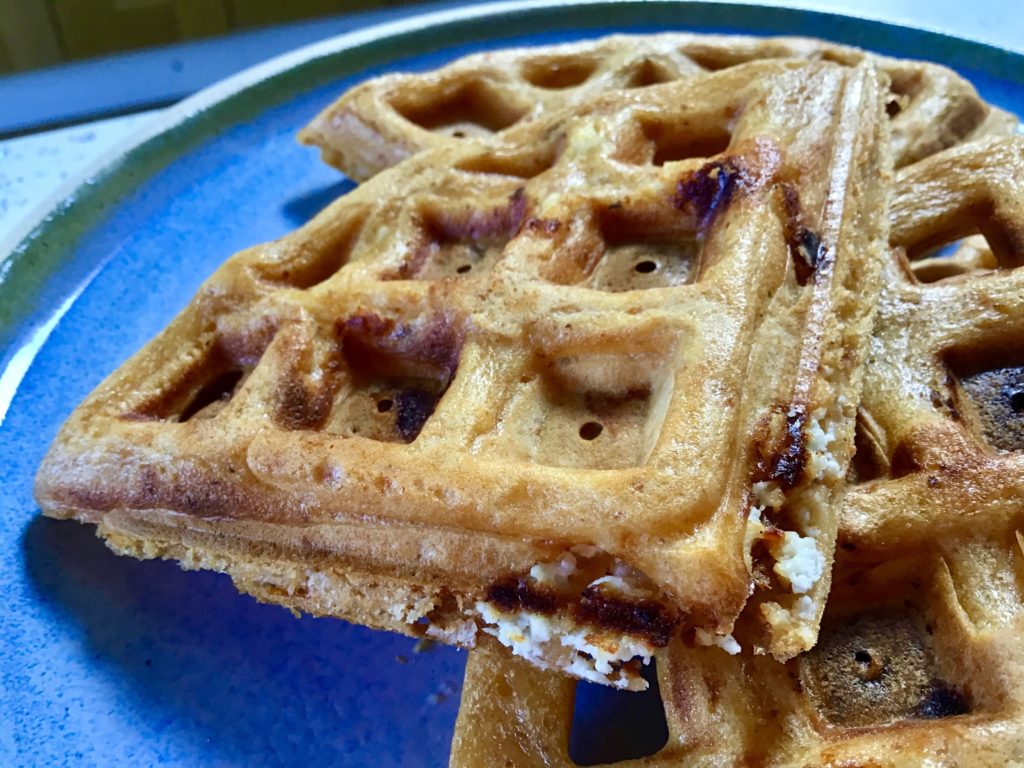
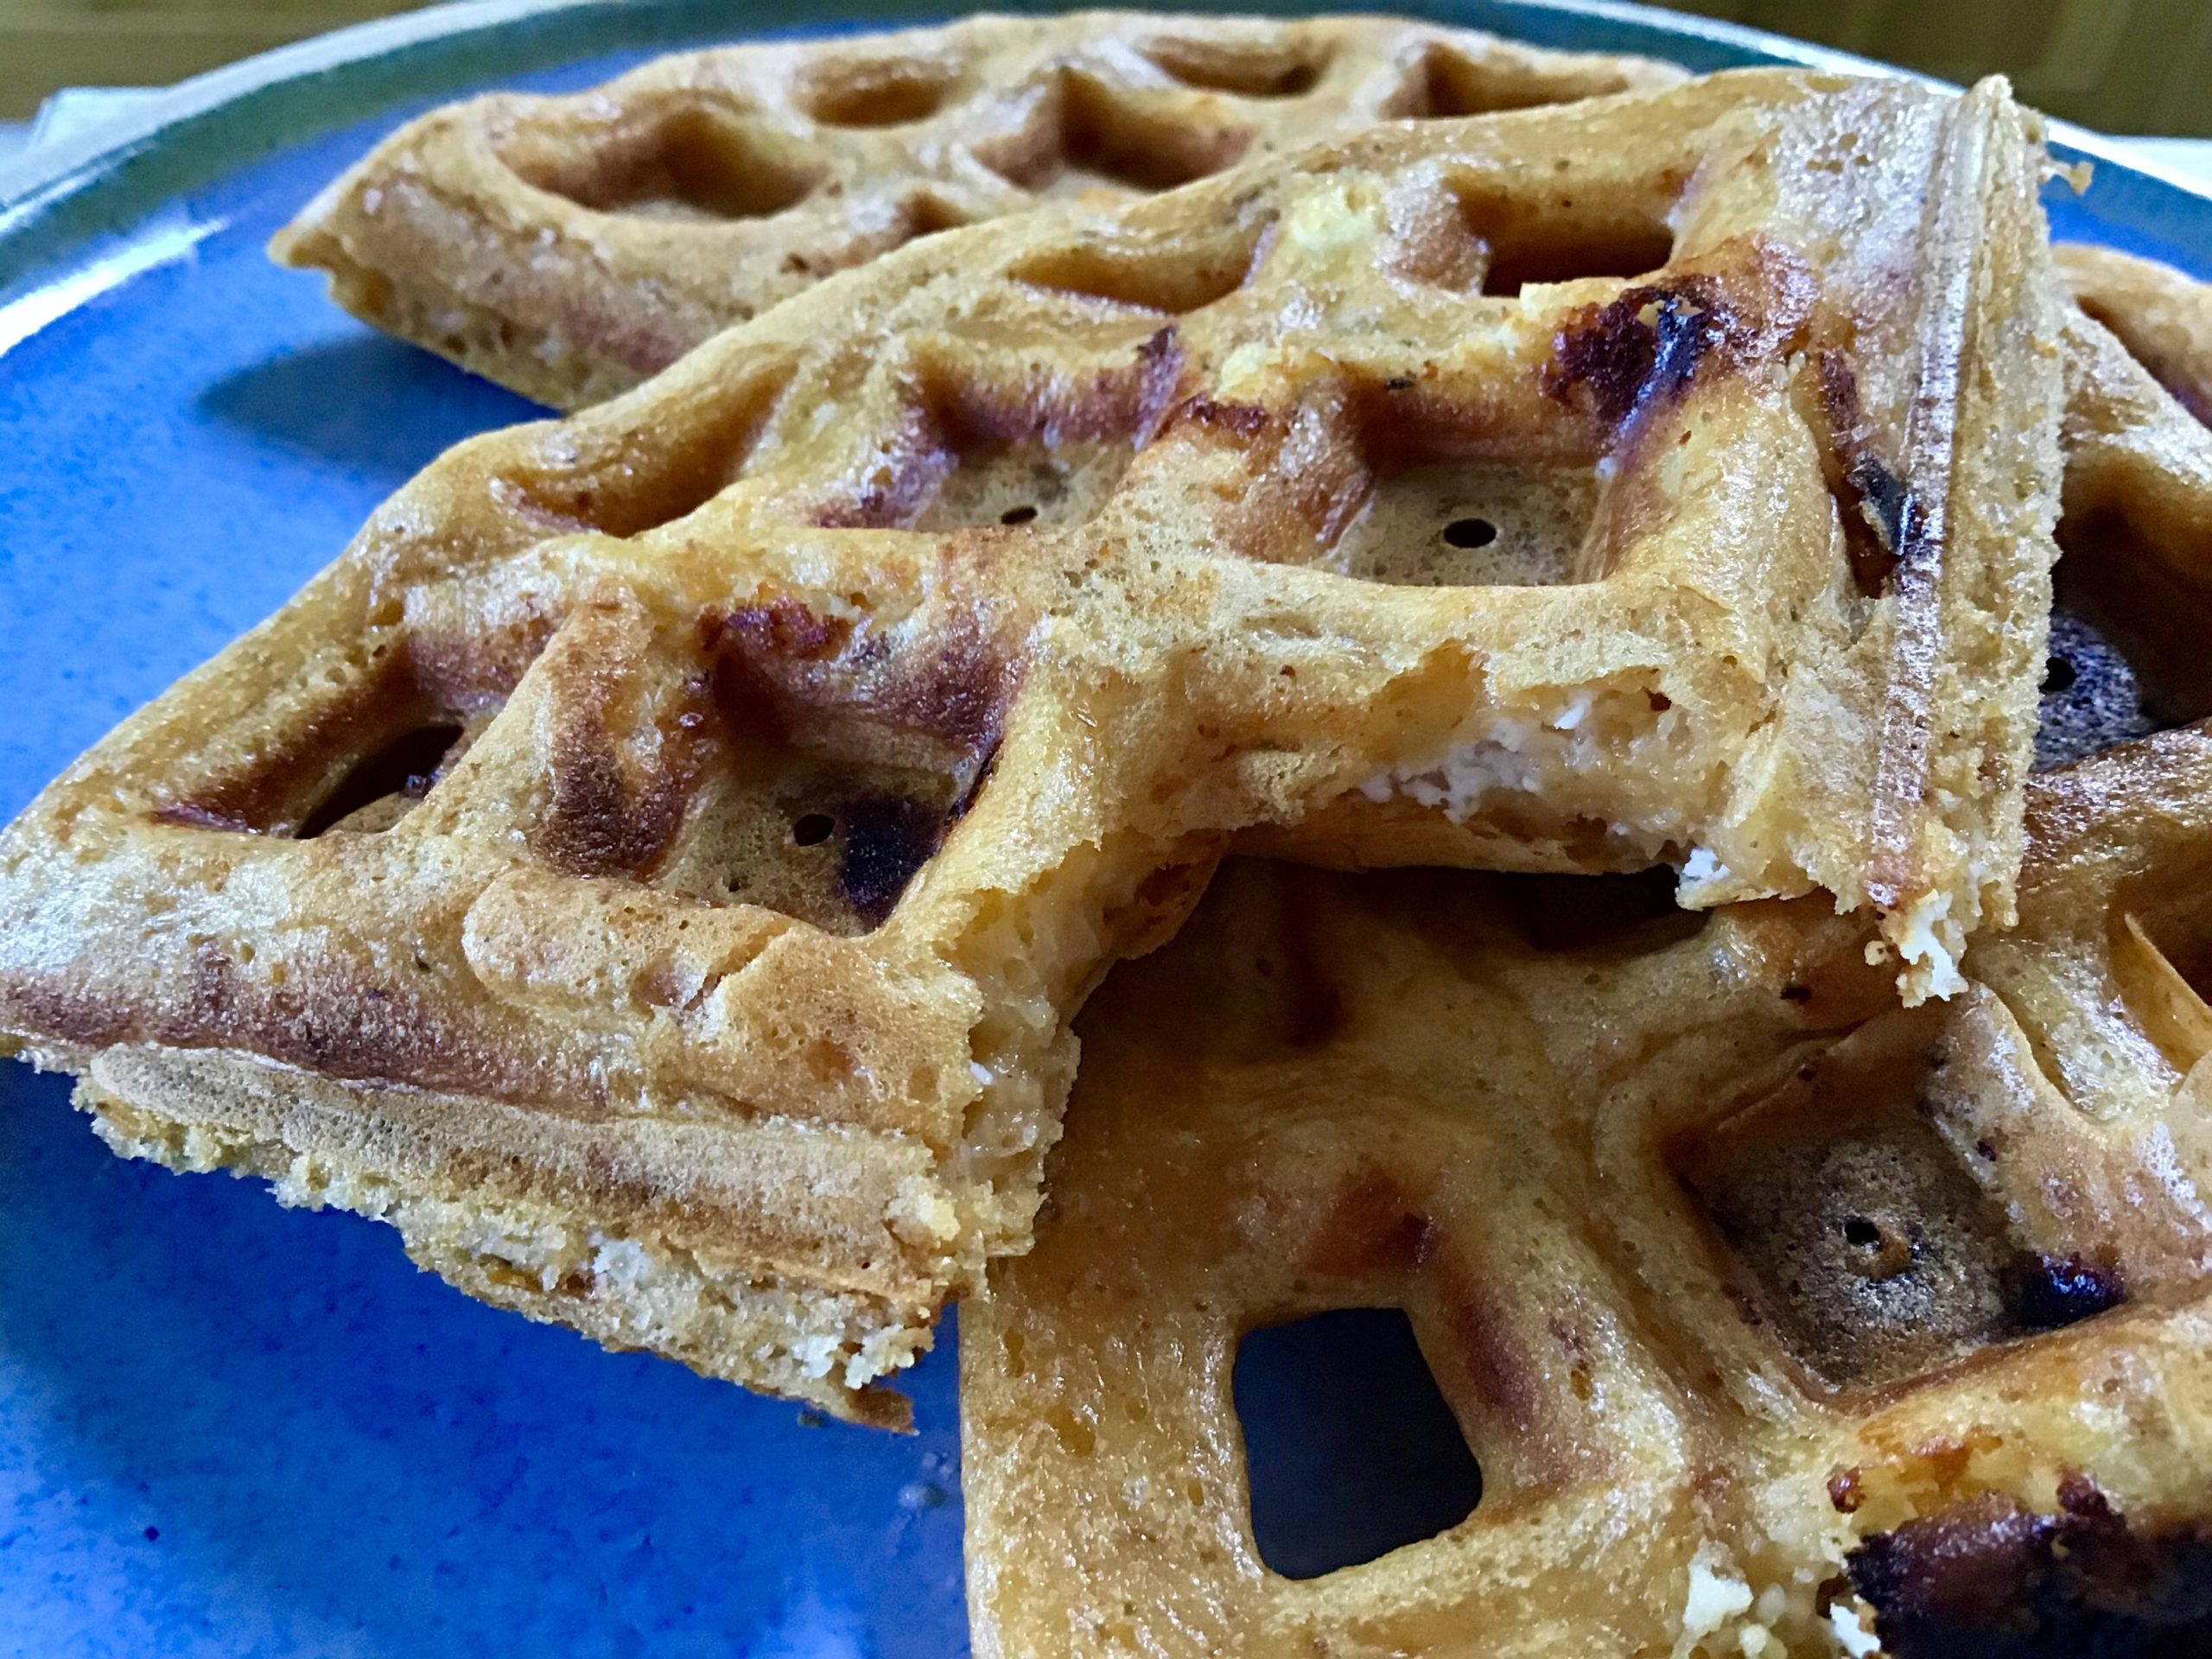
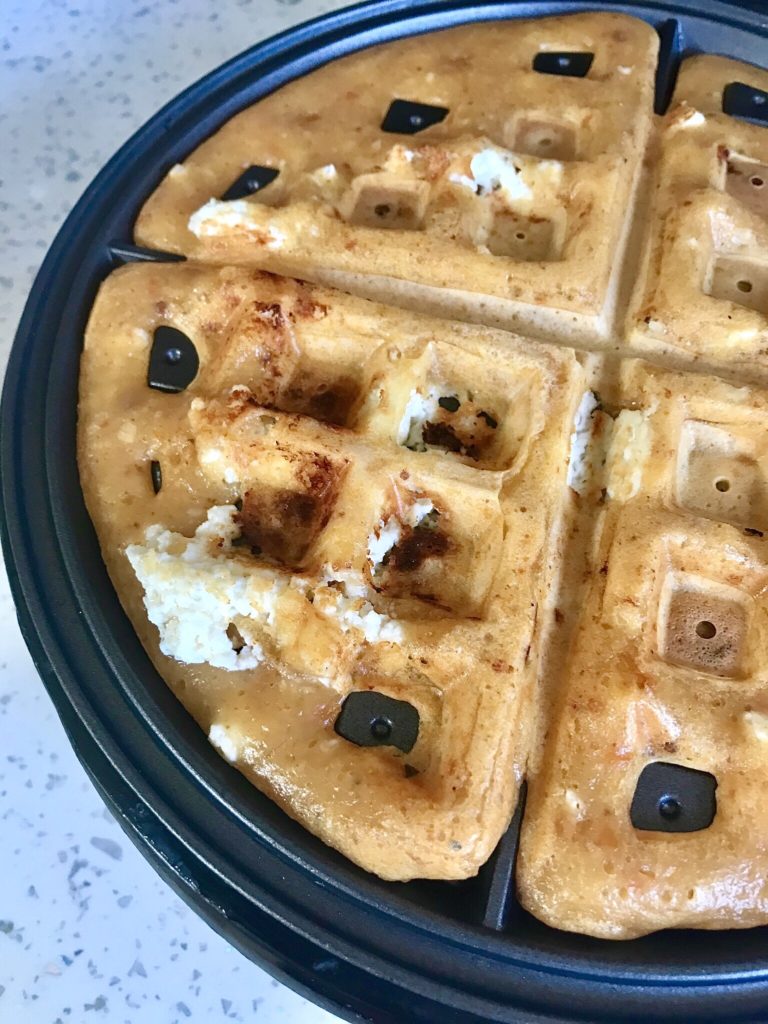
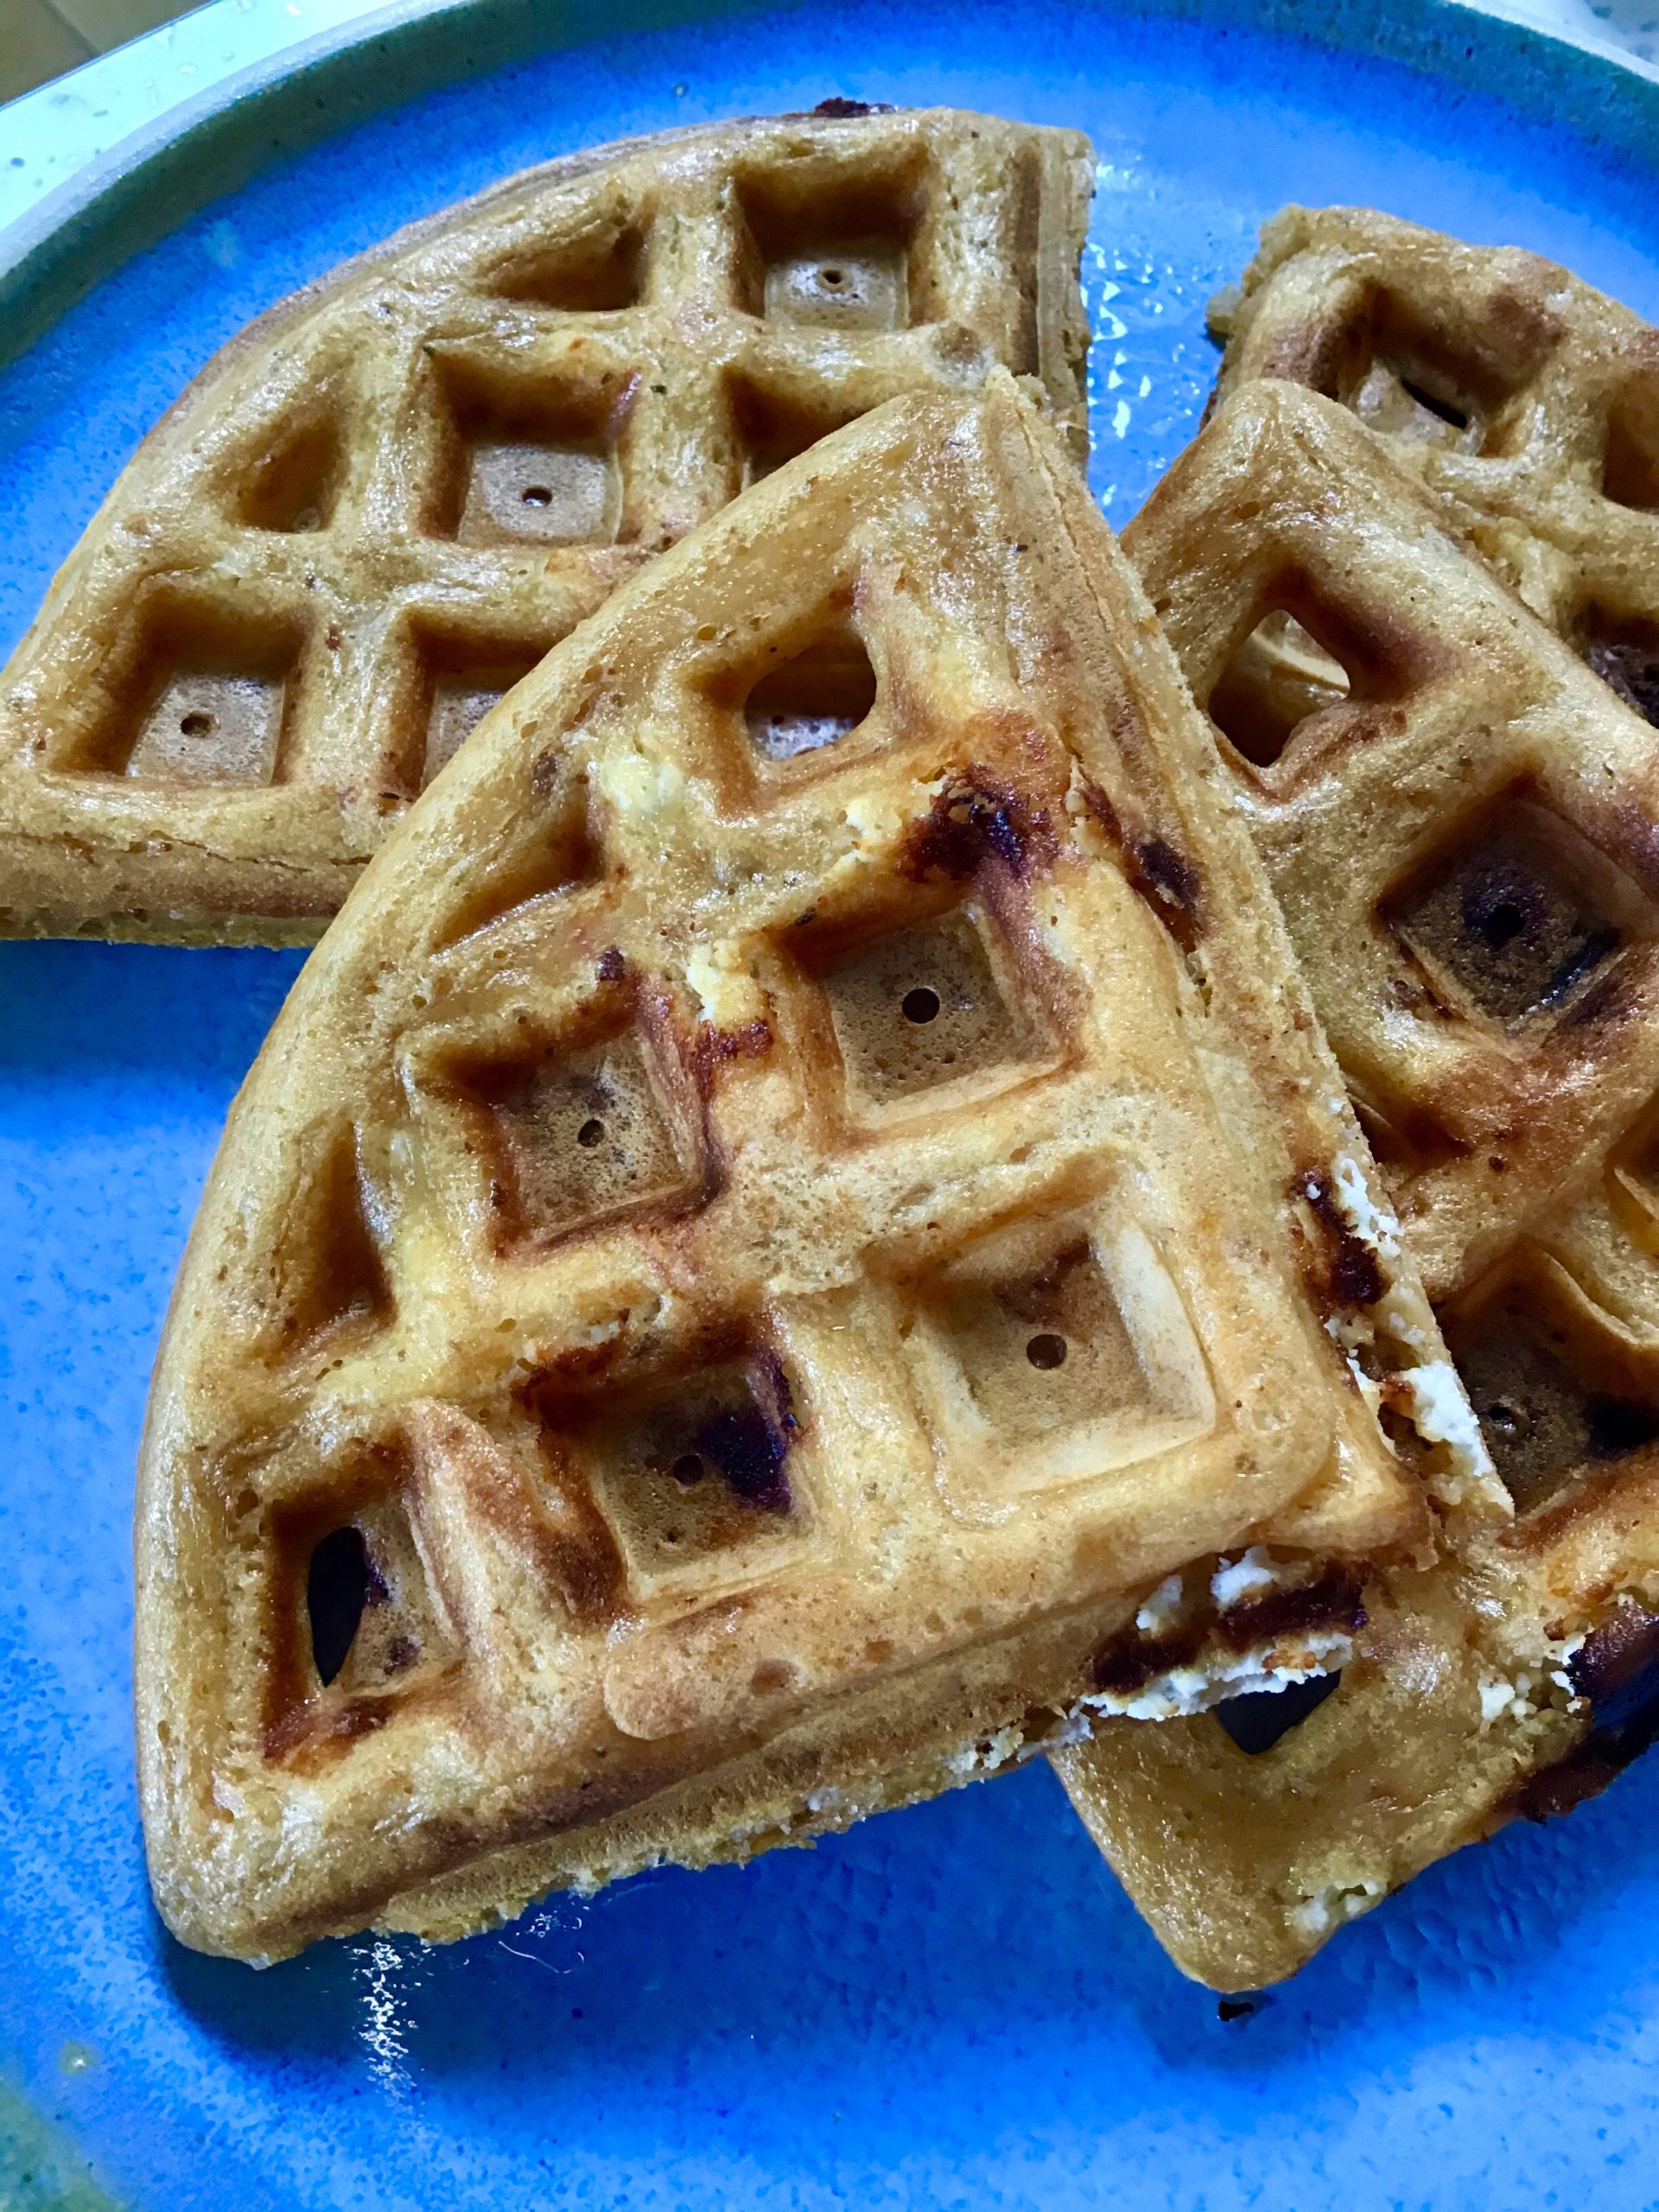
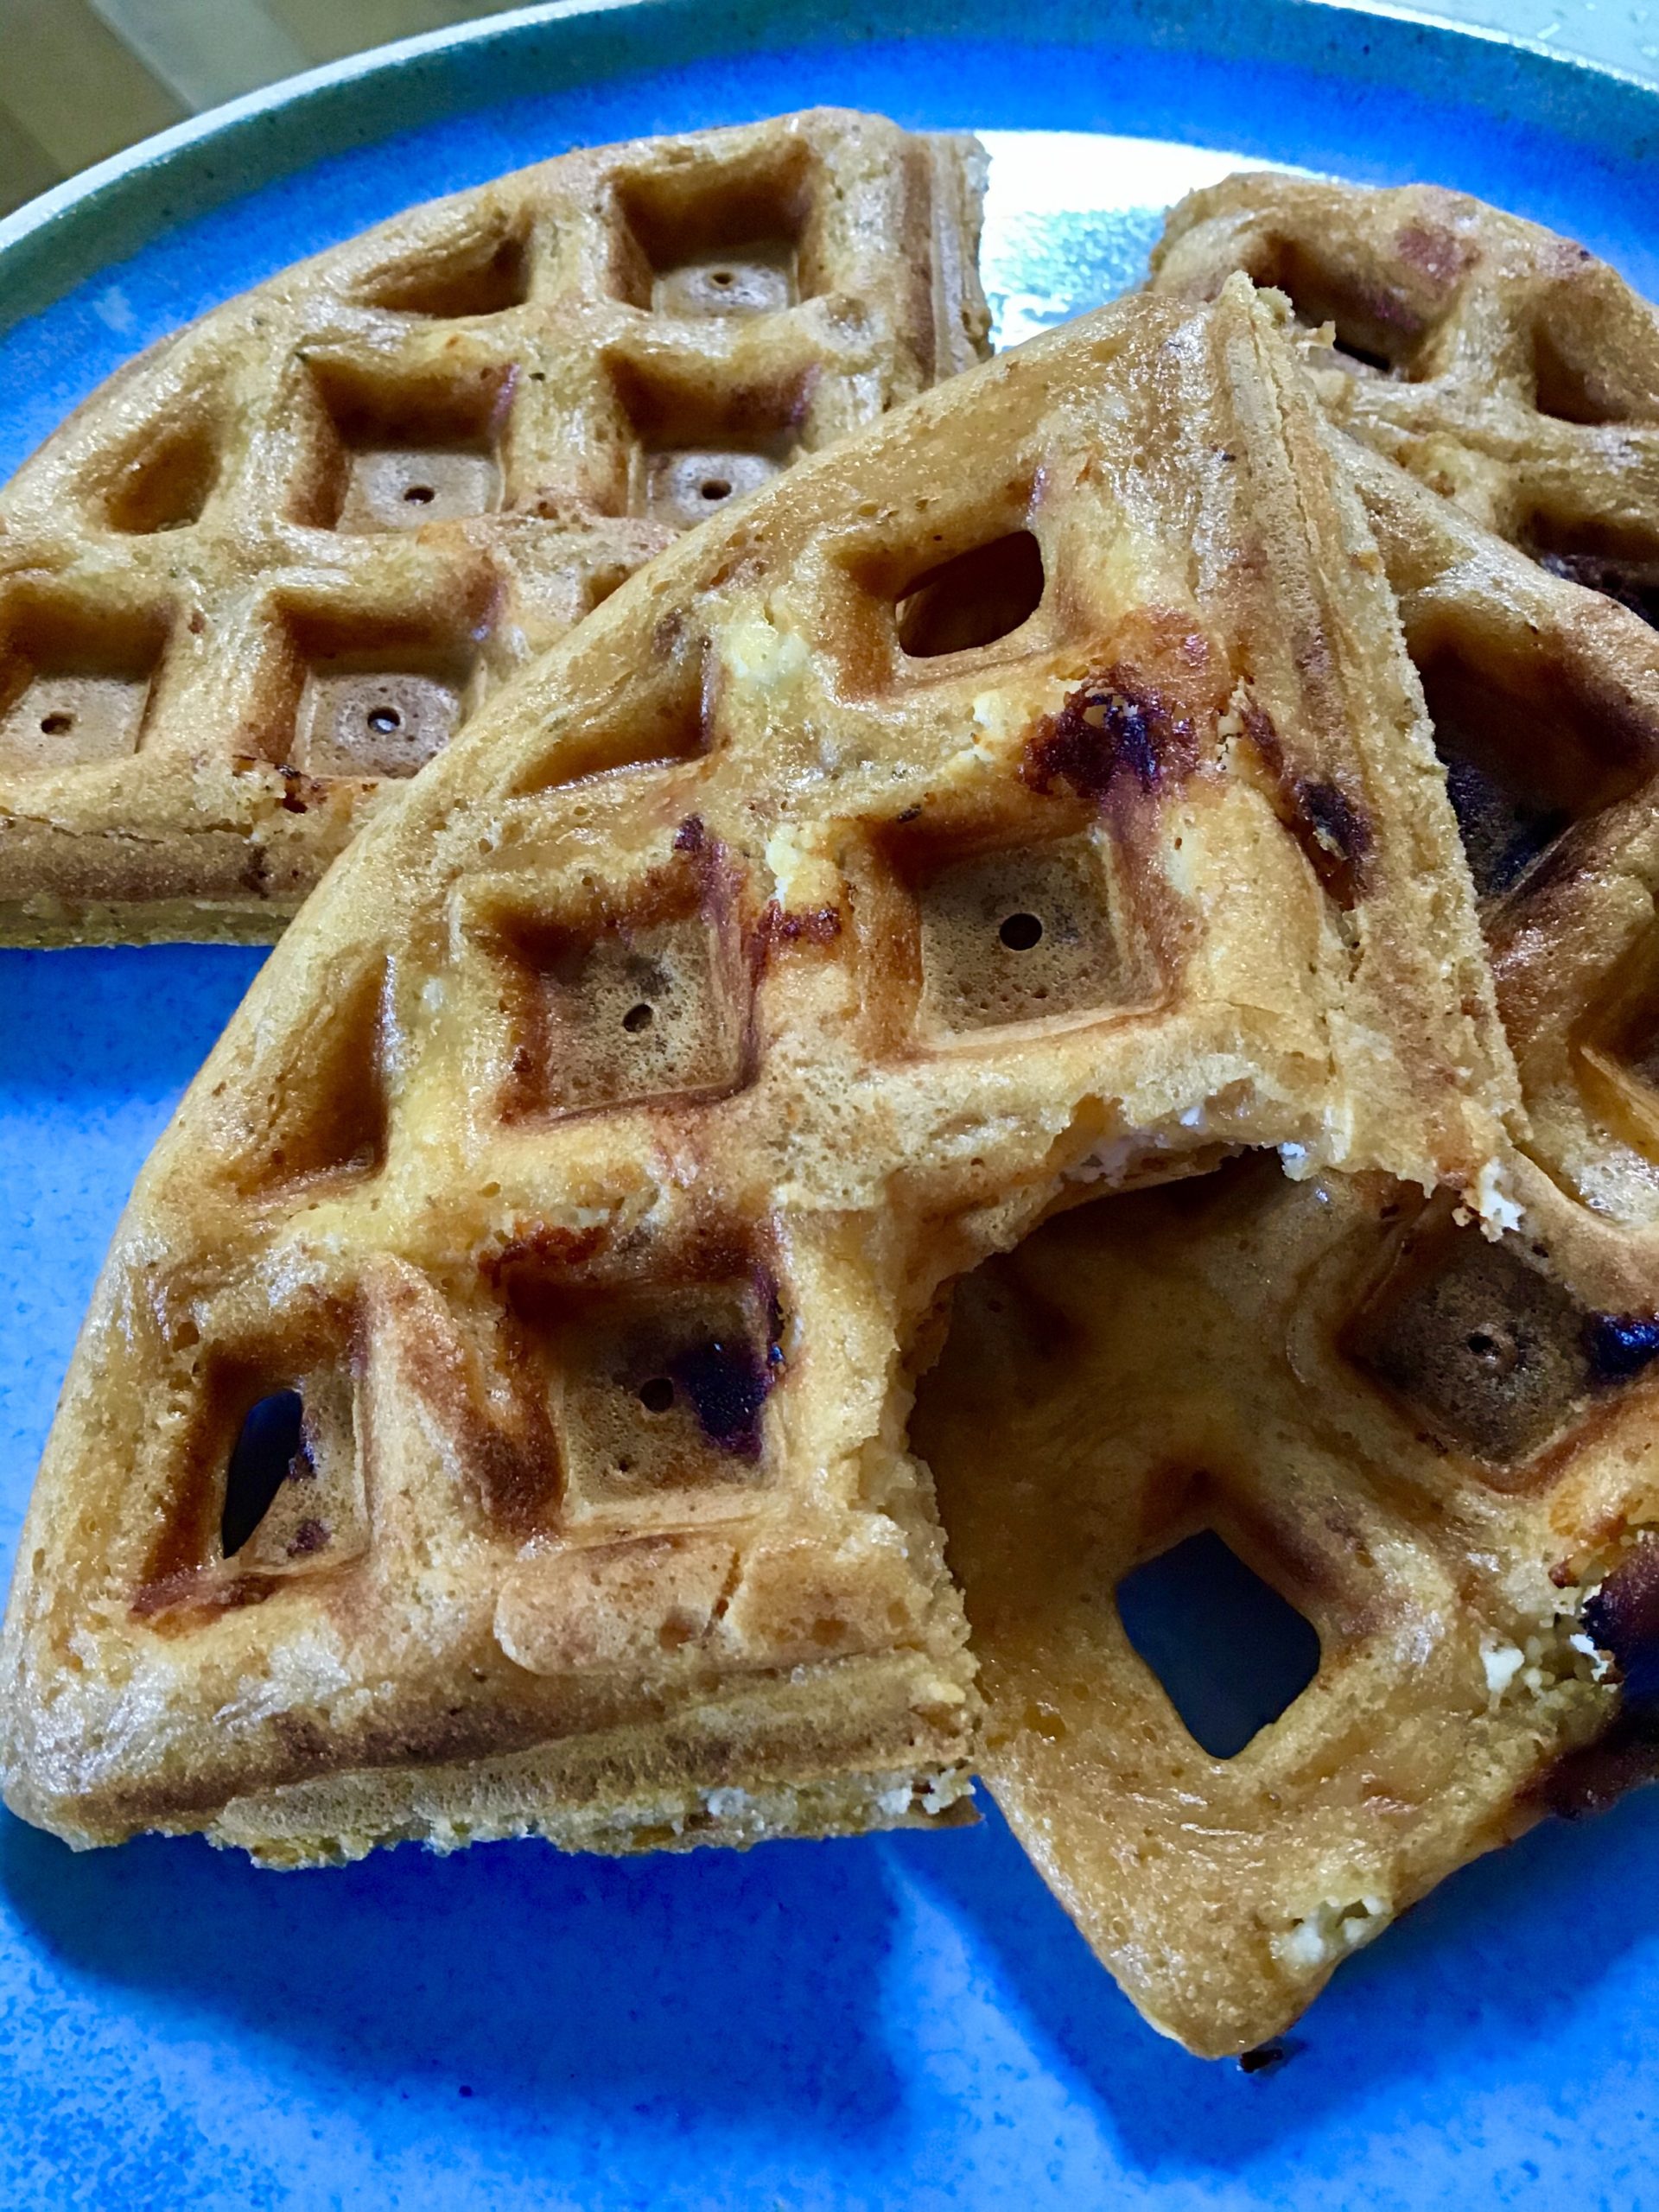
Goats cheese and pesto sourdough waffles

A close up of some waffles on a plate

Let me introduce you to my most recent creation….it all began when I bought a waffle maker recently, possibly a huge mistake for my waistline, but so much fun to play with!

Making waffles with starter adds the lovely flavour we all adore, as well as a great texture.

A close up of some waffles on a plate
A close up of a waffle in the middle of it

I’m a savoury eater, so you could convert this easily for a sweet option but let me assure you that these are worth trying.

I used just starter, egg, goats cheese and some tomato pesto. It’s great way to use discard if you’re making a new starter, or using up some if you’ve been building up too much, or feed up your starter for the purpose then portion out what you need for the recipe.

You could also use less starter and top up the rest of the mixture with flour and water. Personally I prefer them made with all starter for the flavour.

A close up of some waffles on a plate

Ingredients

Makes 1 round/4 quarters (double the quantities for 2 rounds)

200g starter (discard, unfed, fed and active and stirred down)

OR 100g starter, as above, plus 50g flour of your choice & 50g water

1 large egg

50g crumbly goats cheese (or cheese of your choice)

25g pesto of your choice (or harissa, chilli sauce, whatever you fancy)

Method

Heat your waffle maker to maximum.

Stir all of the ingredients together well, but don’t break up the goats cheese too much. Let it sit for 10 minutes to thicken.

Once the waffle maker is ready, pour all of the mixture in (it all fitted perfectly in mine, assess how much yours needs from your own experience), close the maker and cook for 10-15 minutes or until there’s no more steam coming from your maker.

Carefully ease the cooked waffles from the maker, cut into quarters and serve.

A close up of some waffles on a plate

Tuck in as soon as cool enough to hold!

If you don’t have a waffle maker, maybe add a little extra flour and try these as pancakes or flatbreads?

My waffle maker is made by Netta and I ordered it on amazon.

My sourdough cheese soufflés….

A close up of some baked dessert in white dishes

This idea has been floating round my brain for a while now and this week I finally tested it out and this was the outcome….beautiful airy cheese soufflés, rich from the eggs and with the flavour of cheese, but with the added tang of sourdough. SOOOOOO a good! Tasty, light, textured, perfect morsels. For me, a total winner!

As this was pure experiment – let me clarify, I have never ever made any form of soufflé, sourdough or otherwise before this – I only made a small amount of batter so feel free to increase it. This made 4 small soufflés, in 8cm (internal) diameter pots.

The idea came from thinking about the light bubbly airy nature of sourdough starter mixed with the light airy nature of a soufflé. In my mind it made perfect sense! And luckily the result was fabulous, even if I say so myself! I immediately ate 3 just to be totally sure 😆😆😆😆

A small bowl of food on top of a table.

Small but perfectly formed and so very tasty!!!!!

It was so exciting to watch them cook as they grew very quickly, and very well! I was dancing round my kitchen in excitement.

A close up of some food in bowls

I am so happy with the outcome, I hope you love them too if you try them. I know they could have risen more evenly, I know they’re not ‘perfect’ in the world of soufflés, but I don’t care! It worked and they taste so good, to me they’re perfectly beautiful sourdough cheese soufflé babies!

Here’s what I did…

Ingredients

100g bubbly active starter

100g whole/full fat milk

100g grated medium/mature cheddar (depending just how much you love cheese!)

2 eggs, separated into yolks and whites

Butter to grease the pots

Ground almonds, 4 tablespoons (use finely grated Parmesan or breadcrumbs for a different finish)

A bowl of food on top of a blue plate.

Method

Preheat the oven to 180C/360F fan assisted/convection or 200C/390F non fan/non convection, and place an oven tray inside to preheat.

Grease your ramekins, or small ceramic pots, with butter, then sprinkle ground almonds/almond flour into each pot and tap it around to create a layer inside each pot, covering the base and up the sides.

In a medium bowl, make the batter by adding the starter, milk, egg yolks and cheese. Stir it all together well.

In another clean bowl, whisk the eggs whites until they just hold their peaks.

Gently scrape the whisked egg whites into the batter.

Using a metal spoon, gently fold the eggs whites into the batter, using a figure 8 action, or cutting and stirring round the bowl. Do this carefully to mix them in whilst protecting the air that you’ve whisked into the whites. Do not over mix. This is crucial.

Gently spoon the batter into the prepared bowls filling them evenly and to the top of the pots if possible.

‘Top hat’ each one by running a cutlery knife, or clean finger nail, around the edge of each pot, just the very tip of the knife, so that the mixture doesn’t stick. (I didn’t do this very well hence the uneven growths!)

Place the pots onto the preheated tray in the oven.

After 15 minutes turn the oven down to 160C/320F fan assisted/convection or 180C/360F non fan/non convection, and bake for another 15 minutes.

DO NOT OPEN THE OVEN UNTIL FULLY BAKED. If you do they will collapse.

Serve immediately.

They may start to collapse quickly but it’s all part of the fun!

A bowl of food with two pieces of bread on top.

Voila! My new creation! Welcome to the world sourdough cheese soufflés!

I am sharing my soufflés with everyone at the weekly Fiesta Friday link party this week – join in the fun!