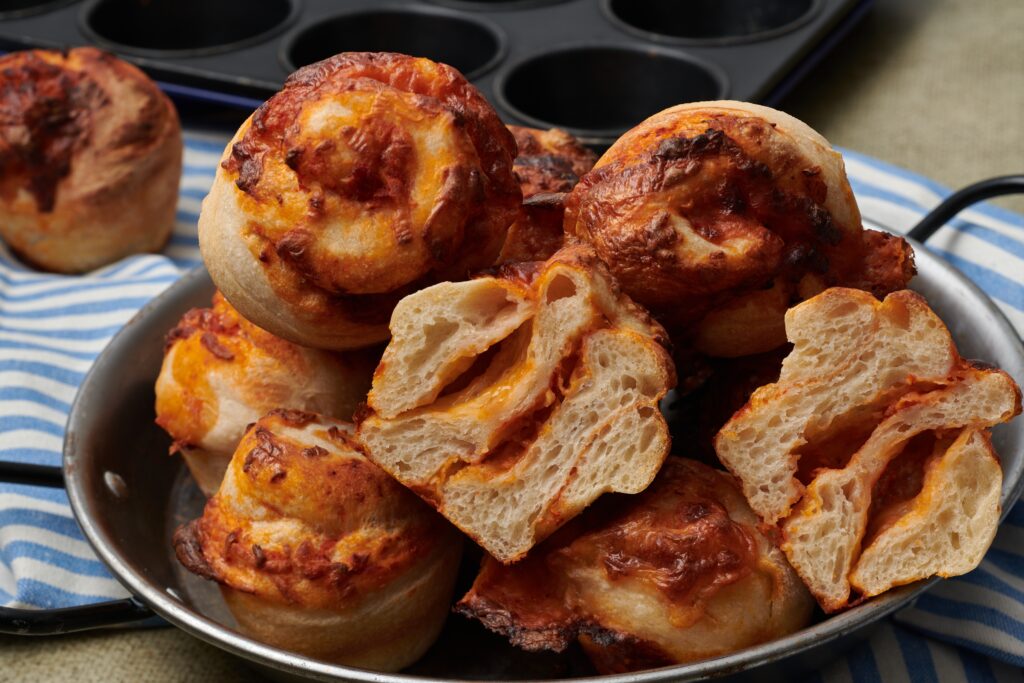
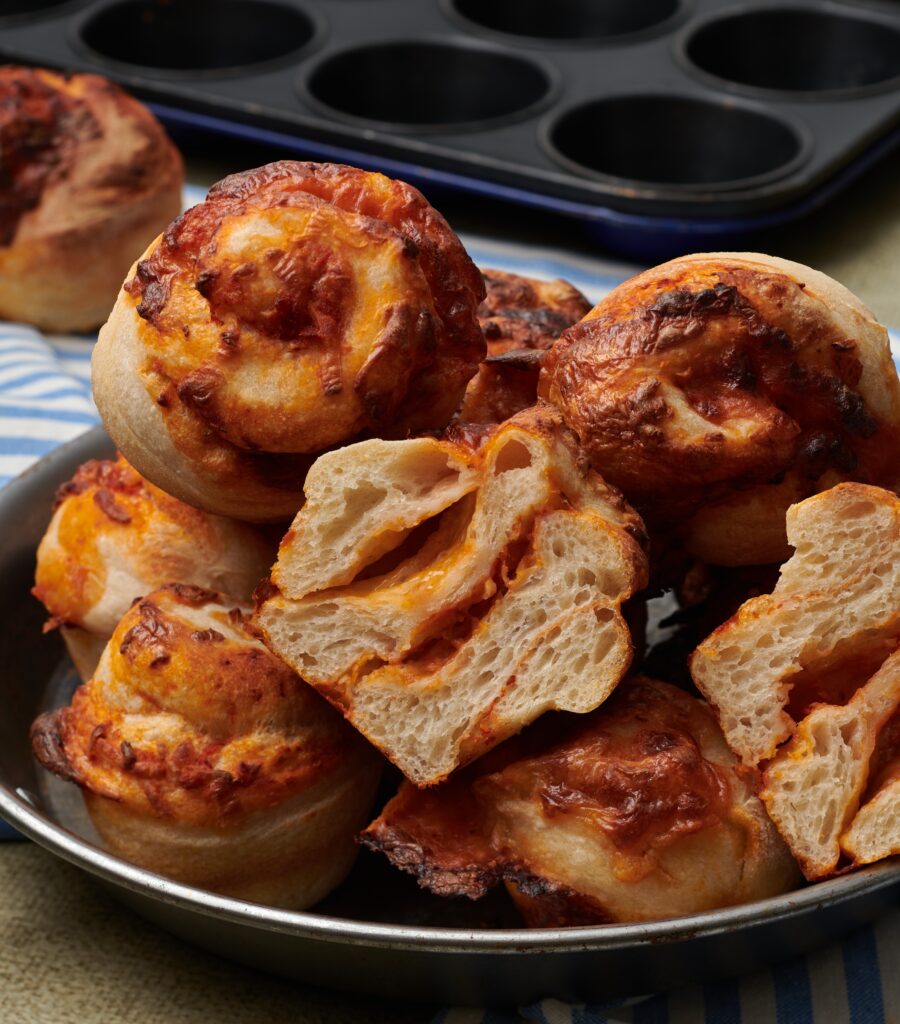
I am very excited to share a recipe from my upcoming new book with you! These stuffed pizza rolls are perfect for a family get together, pretty much for any meal, for a pack up, a picnic, a party, a snack, breakfast, brunch, lunch and dinner, and really any event. They also freeze and defrost perfectly, and are fun to make yourself or with kids or as a shared baking project. There’s minimal shaping, the muffin tin does it all for you, just roll them up, chop them up, stuff them into the muffin pan wells and bake!
I hope you will give them a go, give them your own twist, and that you love them…

These pizza rolls are made using one of my favorite processes—stretching out my dough after the main overnight proof, covering it with my favorite ingredients, rolling it up, chopping it up and baking the pieces into filled rolls. In this recipe, I have updated my process and use a standard muffin tray to bake the rolls in. This works perfectly to provide a uniform size but also helps to shape the rolls. It means that even if the dough gets messy or hard to handle, you can stuff it into the muffin spaces and it will still bake up beautifully to even sized muffin shaped rolls.”
🌟🌟🌟 watch the video of my recent international bakealong and you can see me making these rolls in my kitchen 🌟🌟🌟 click here to watch.

Equipment: Have a 12-hole muffin tray ready, preferably nonstick. If your muffin tin is not nonstick, lightly spray or grease inside the wells with a neutral or flavorless oil or butter.
Makes 12 roll ups
Ingredients:
Dough
50 g (1⁄4 cup) active starter
325 g (11⁄3 cups) water
500 g (4 cups) strong white bread flour
7 g (1 tsp) salt, or to taste
Filling
150 g (3/4 cup) pizza sauce
200 g (2 cups) grated cheese (I use hard “pizza mozzarella” that I can grate. You can also use a mix of mozzarella and Monterey Jack)
Additional pizza toppings of your choice (for example, thinly cut mushrooms or sliced meats such as pepperoni or chorizo [avoid anything too thick or chunky])
Method:
Step 1: In the early evening, in a large mixing bowl, roughly mix together all the ingredients, except the pizza sauce, cheese and any other filling ingredients, leaving the dough shaggy. Cover the bowl with a clean shower cap or your choice of cover and leave it on the counter for 2 hours.
Step 2: After the 2 hours, perform the first set of pulls and folds on the dough; it will be sticky at this point, but stretchy. Cover the bowl and leave it on the counter.
Step 3: Once the dough has rested for at least an hour, complete two more sets of pulls and folds on the dough throughout the evening, covering the bowl after each set. The dough will be nicely stretchy and will easily come together into a firm ball each time. Complete the final set before going to bed.
Step 4: Leave the covered bowl on the counter overnight, typically 8 to 10 hours, at 64 to 68°F (18 to 20°C).
Step 5: The next morning, place the dough, untouched but still covered, in the fridge for at least an hour, until you are ready to use it; this could be for lunch, dinner or a meal the next day. The dough will firm up, making it easier to work with later.
Step 6: When you are ready to bake, decide whether you would like to bake in a preheated oven or from a cold start. If preheating, set the oven to 400°F (200°C) convection or 425°F (220°C) conventional.
Take your bowl of dough from the fridge. Sprinkle flour over your kitchen counter. Using a bowl scraper or your hands, gently ease the bubbly risen dough from the bowl onto the counter. Use your fingertips to start stretching and pushing out the dough, until it becomes a rectangle that measures 18 x 12 inches (45 x 30 cm) with an even thickness all over. The dough will want to pull back as you stretch it; continue to pull it gently, careful not to make holes in the dough. If the dough starts to tear or seems very hard to stretch, let it rest on the counter for 5 to 10 minutes allowing the gluten in the dough to relax and try again.
Spread the pizza sauce evenly all over the stretched dough and sprinkle the grated cheese evenly over the top, right up to the edges. If you are adding extra fillings, place them over the sauce and cheese. Roll up the dough from one of the longer edges toward the other to make an even, tight roll of dough. Using a dough knife or sharp knife, cut the dough into 12 equal pieces, approximately 11⁄2 inches (4 cm) wide. Place them, cut side down, in the muffin pan hollows. If the rolled up portions of filled dough start to fall apart, or you struggle with the dough holding together, push them into the pan hollows however they come. Do not worry about perfect shaping; the muffin pan will create the roll shapes for you as they bake.
Step 7: If you preheated the oven, bake the rolls uncovered for 25 minutes. If you are using a cold start, place the filled muffin pan in the cold oven, set the temperature as above and set a timer for 30 minutes.
Step 8: Once they are baked, remove the pan from the oven, carefully remove the rolls and let them sit briefly on a rack before serving. They are best eaten freshly baked, but my testers also informed me that they were still great eaten a few days later and reheated in a microwave for 30 seconds.
Top Tip: If you would prefer to bake them later, follow step 6 to fill, roll and cut the dough up into pieces, and then place the rolls into the muffin tin. Cover the tin with a large plastic bag or damp tea towel and place it into the fridge. When you are ready to bake, you can bake them directly from the fridge, following the directions above.
Happy baking! Happy making, rolling, cutting, baking, and EATING! If you choose to order it, I truly hope you like my new book xx
