I’ve been wanting to try making ‘Lepyoshka’ Uzbek flatbreads ever since I saw my friend Sally make them and, of course, I wanted to convert them to sourdough. So this week I did!
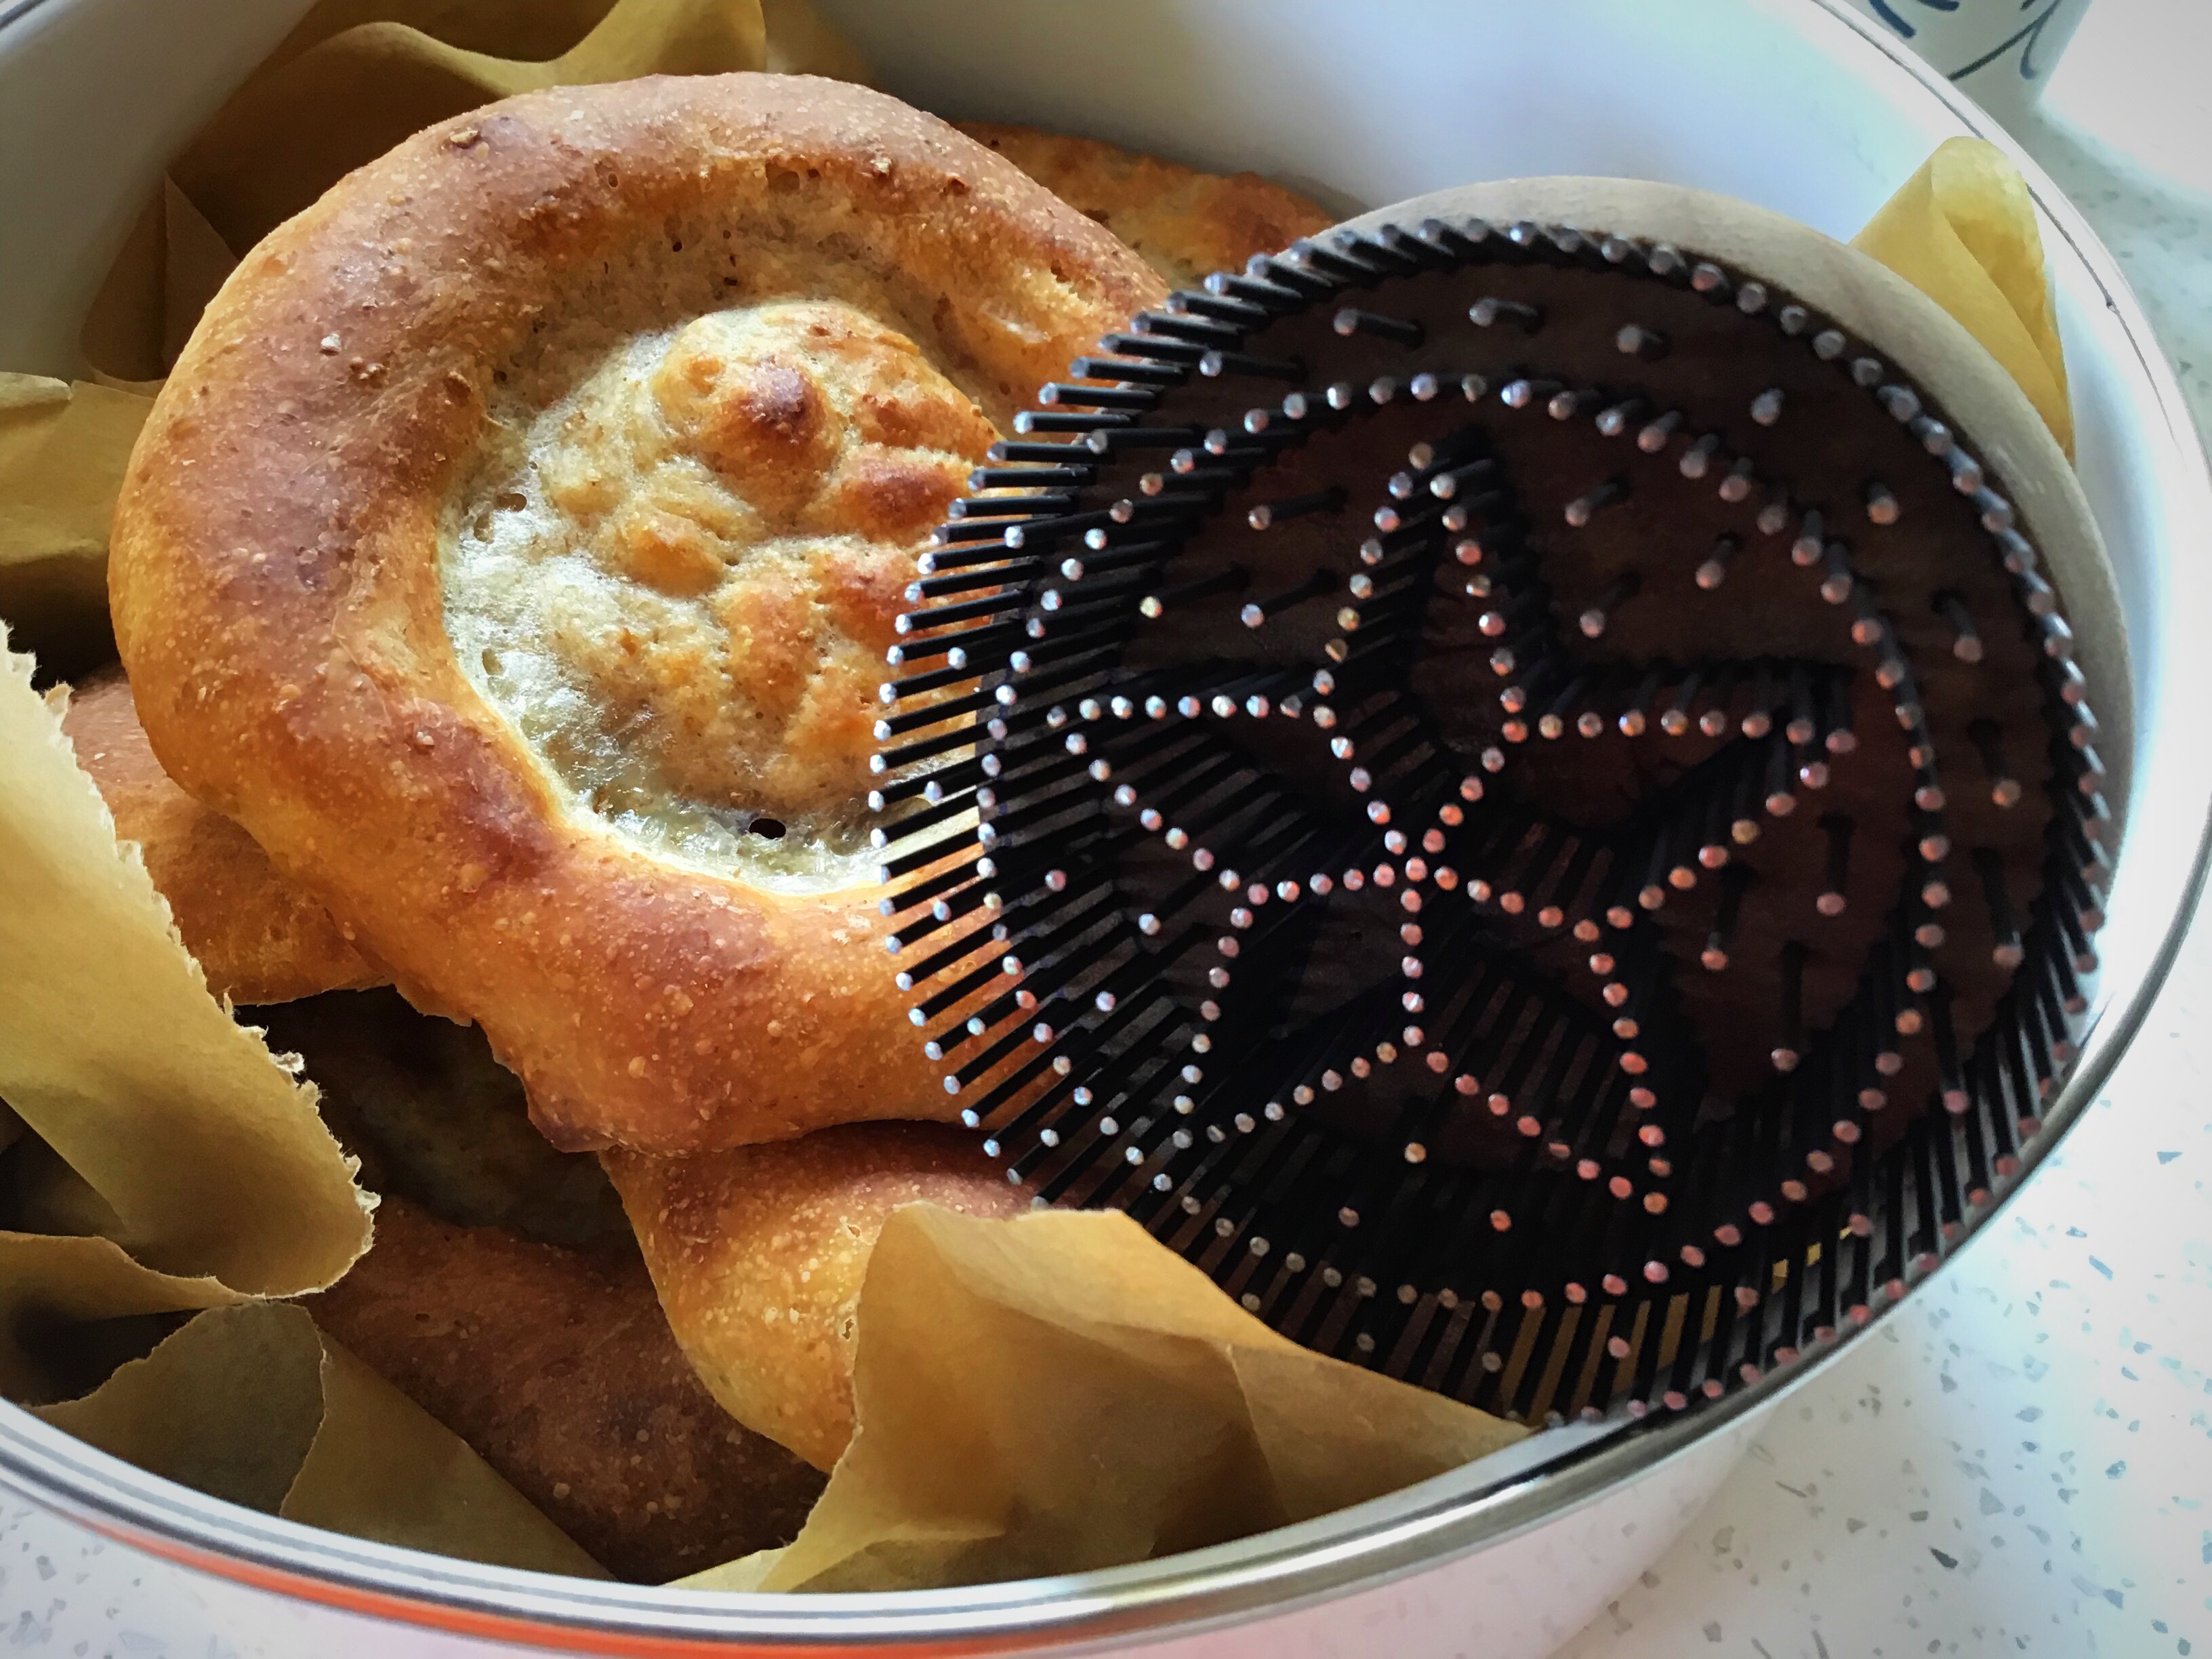
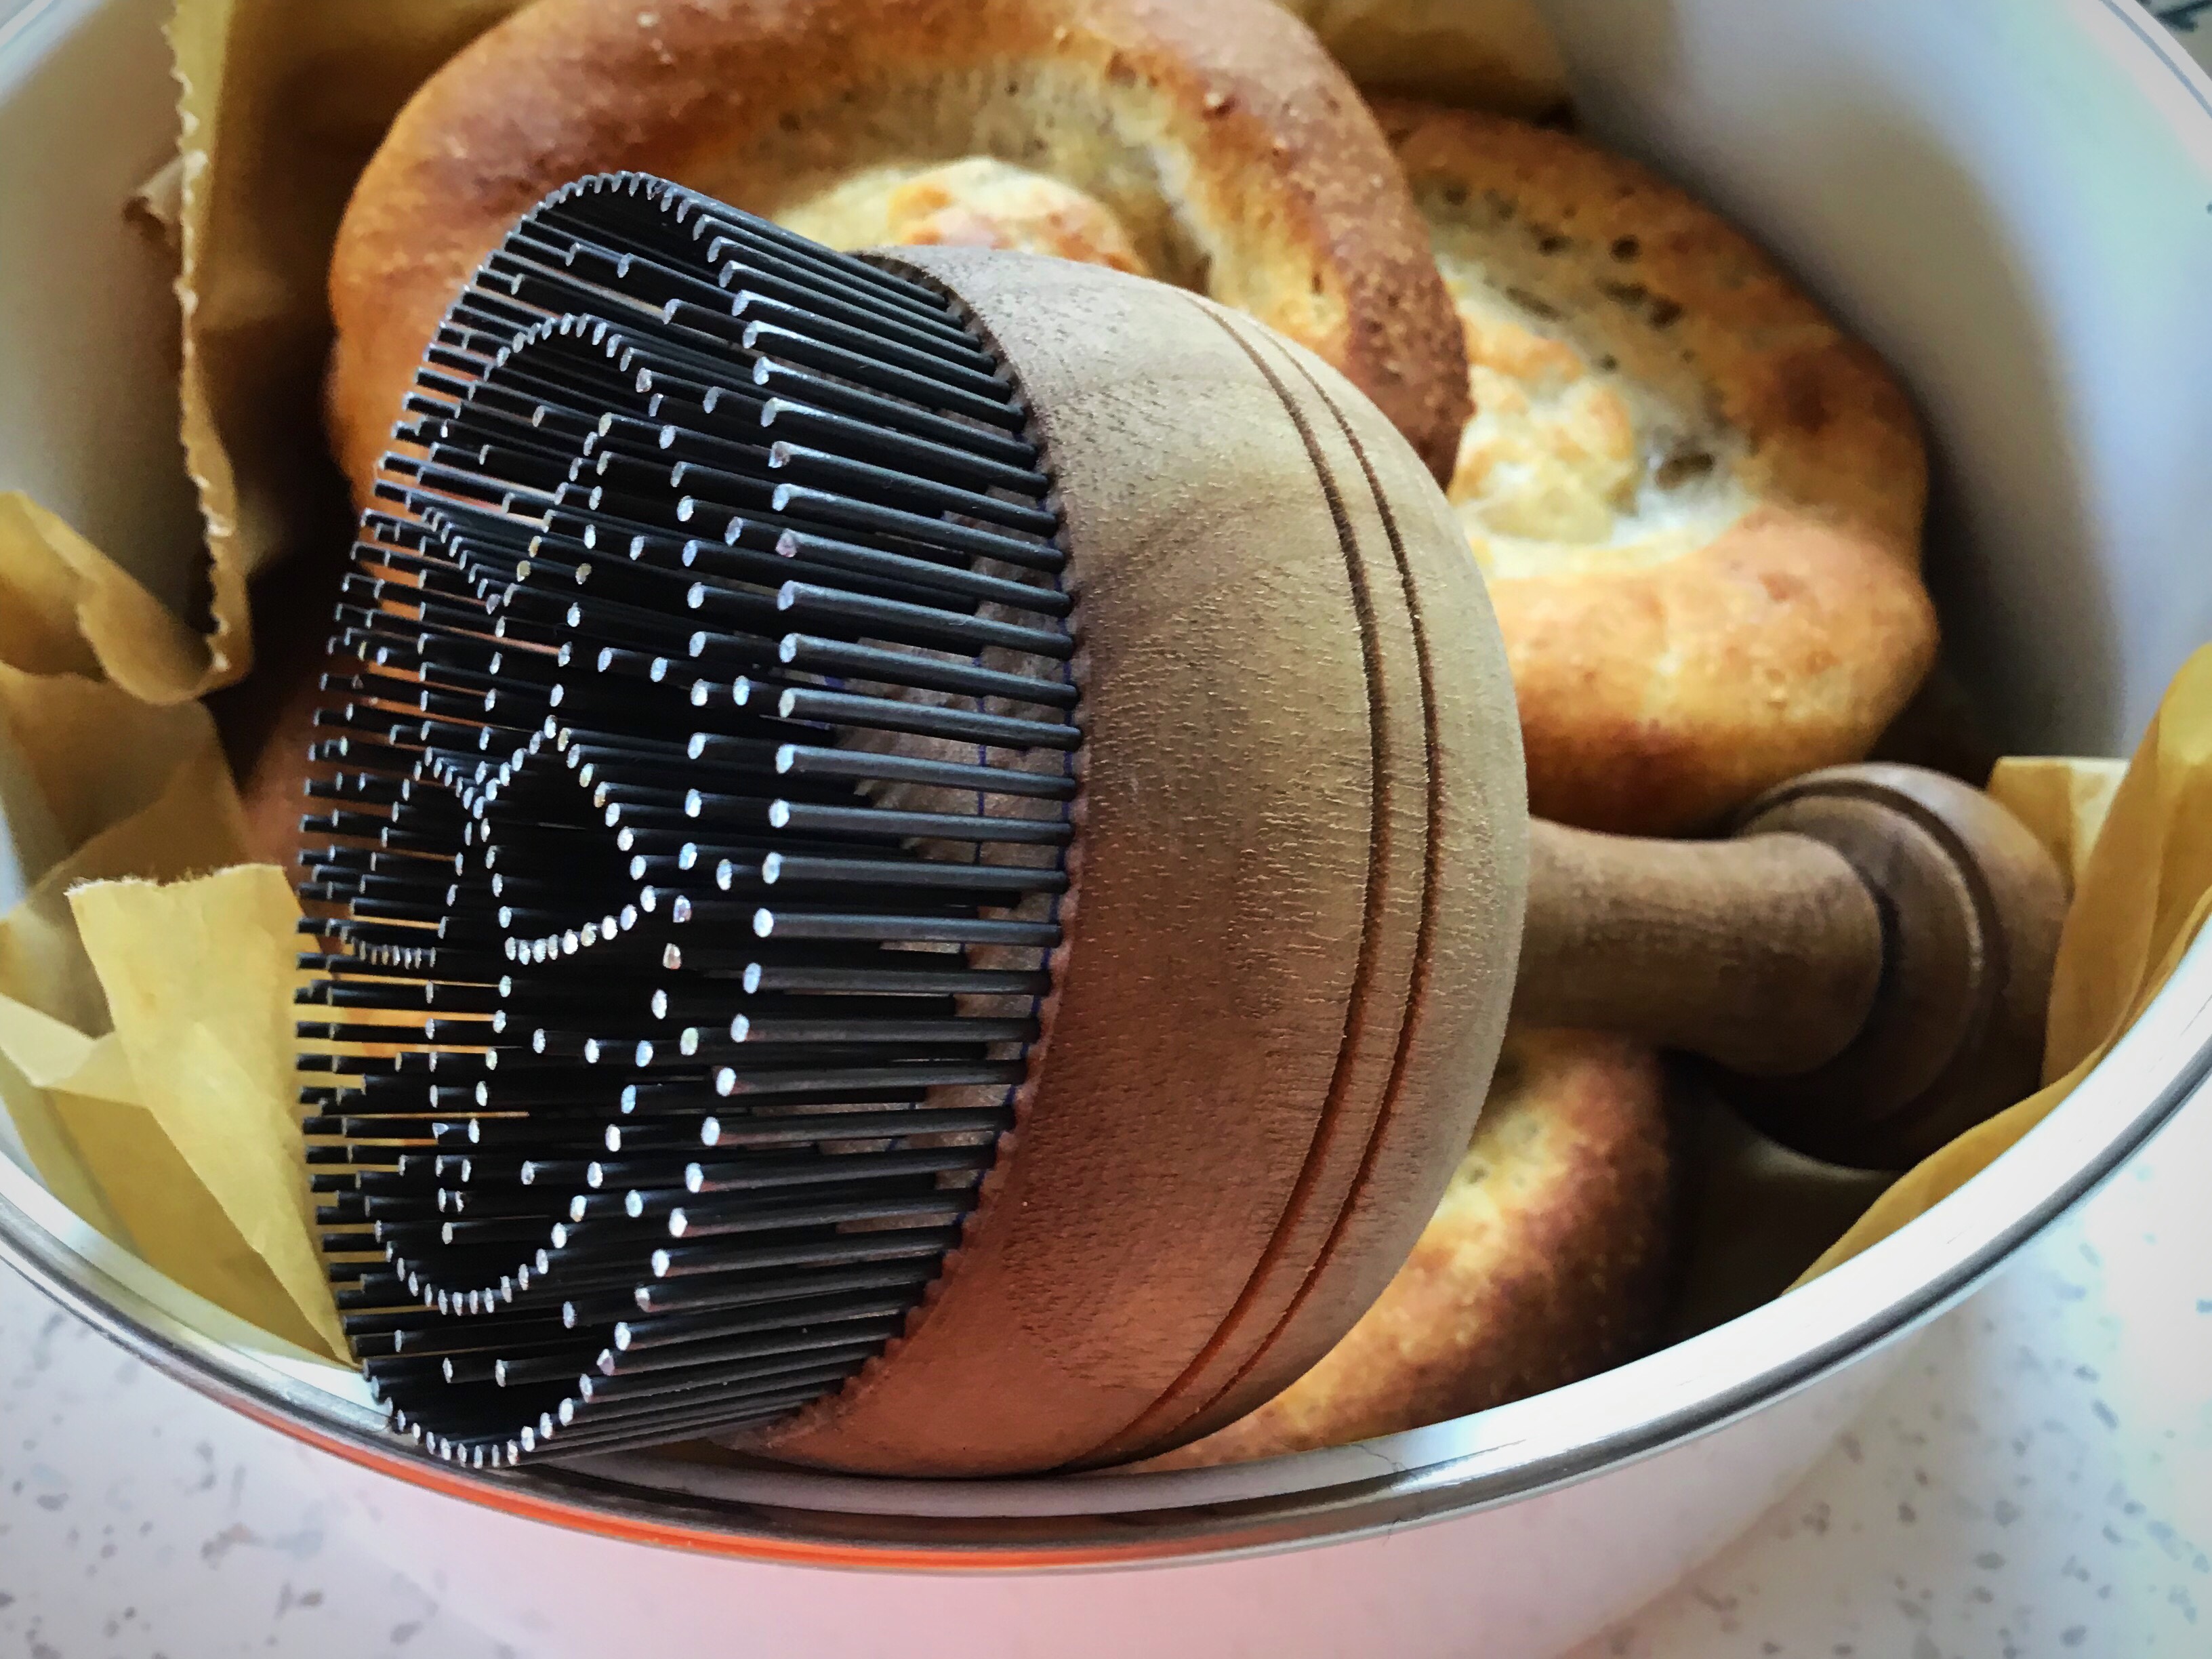
I purchased the stamp from this Etsy seller a few weeks ago especially; they’re so lovely, it would be easy to fill your cupboard with them!!
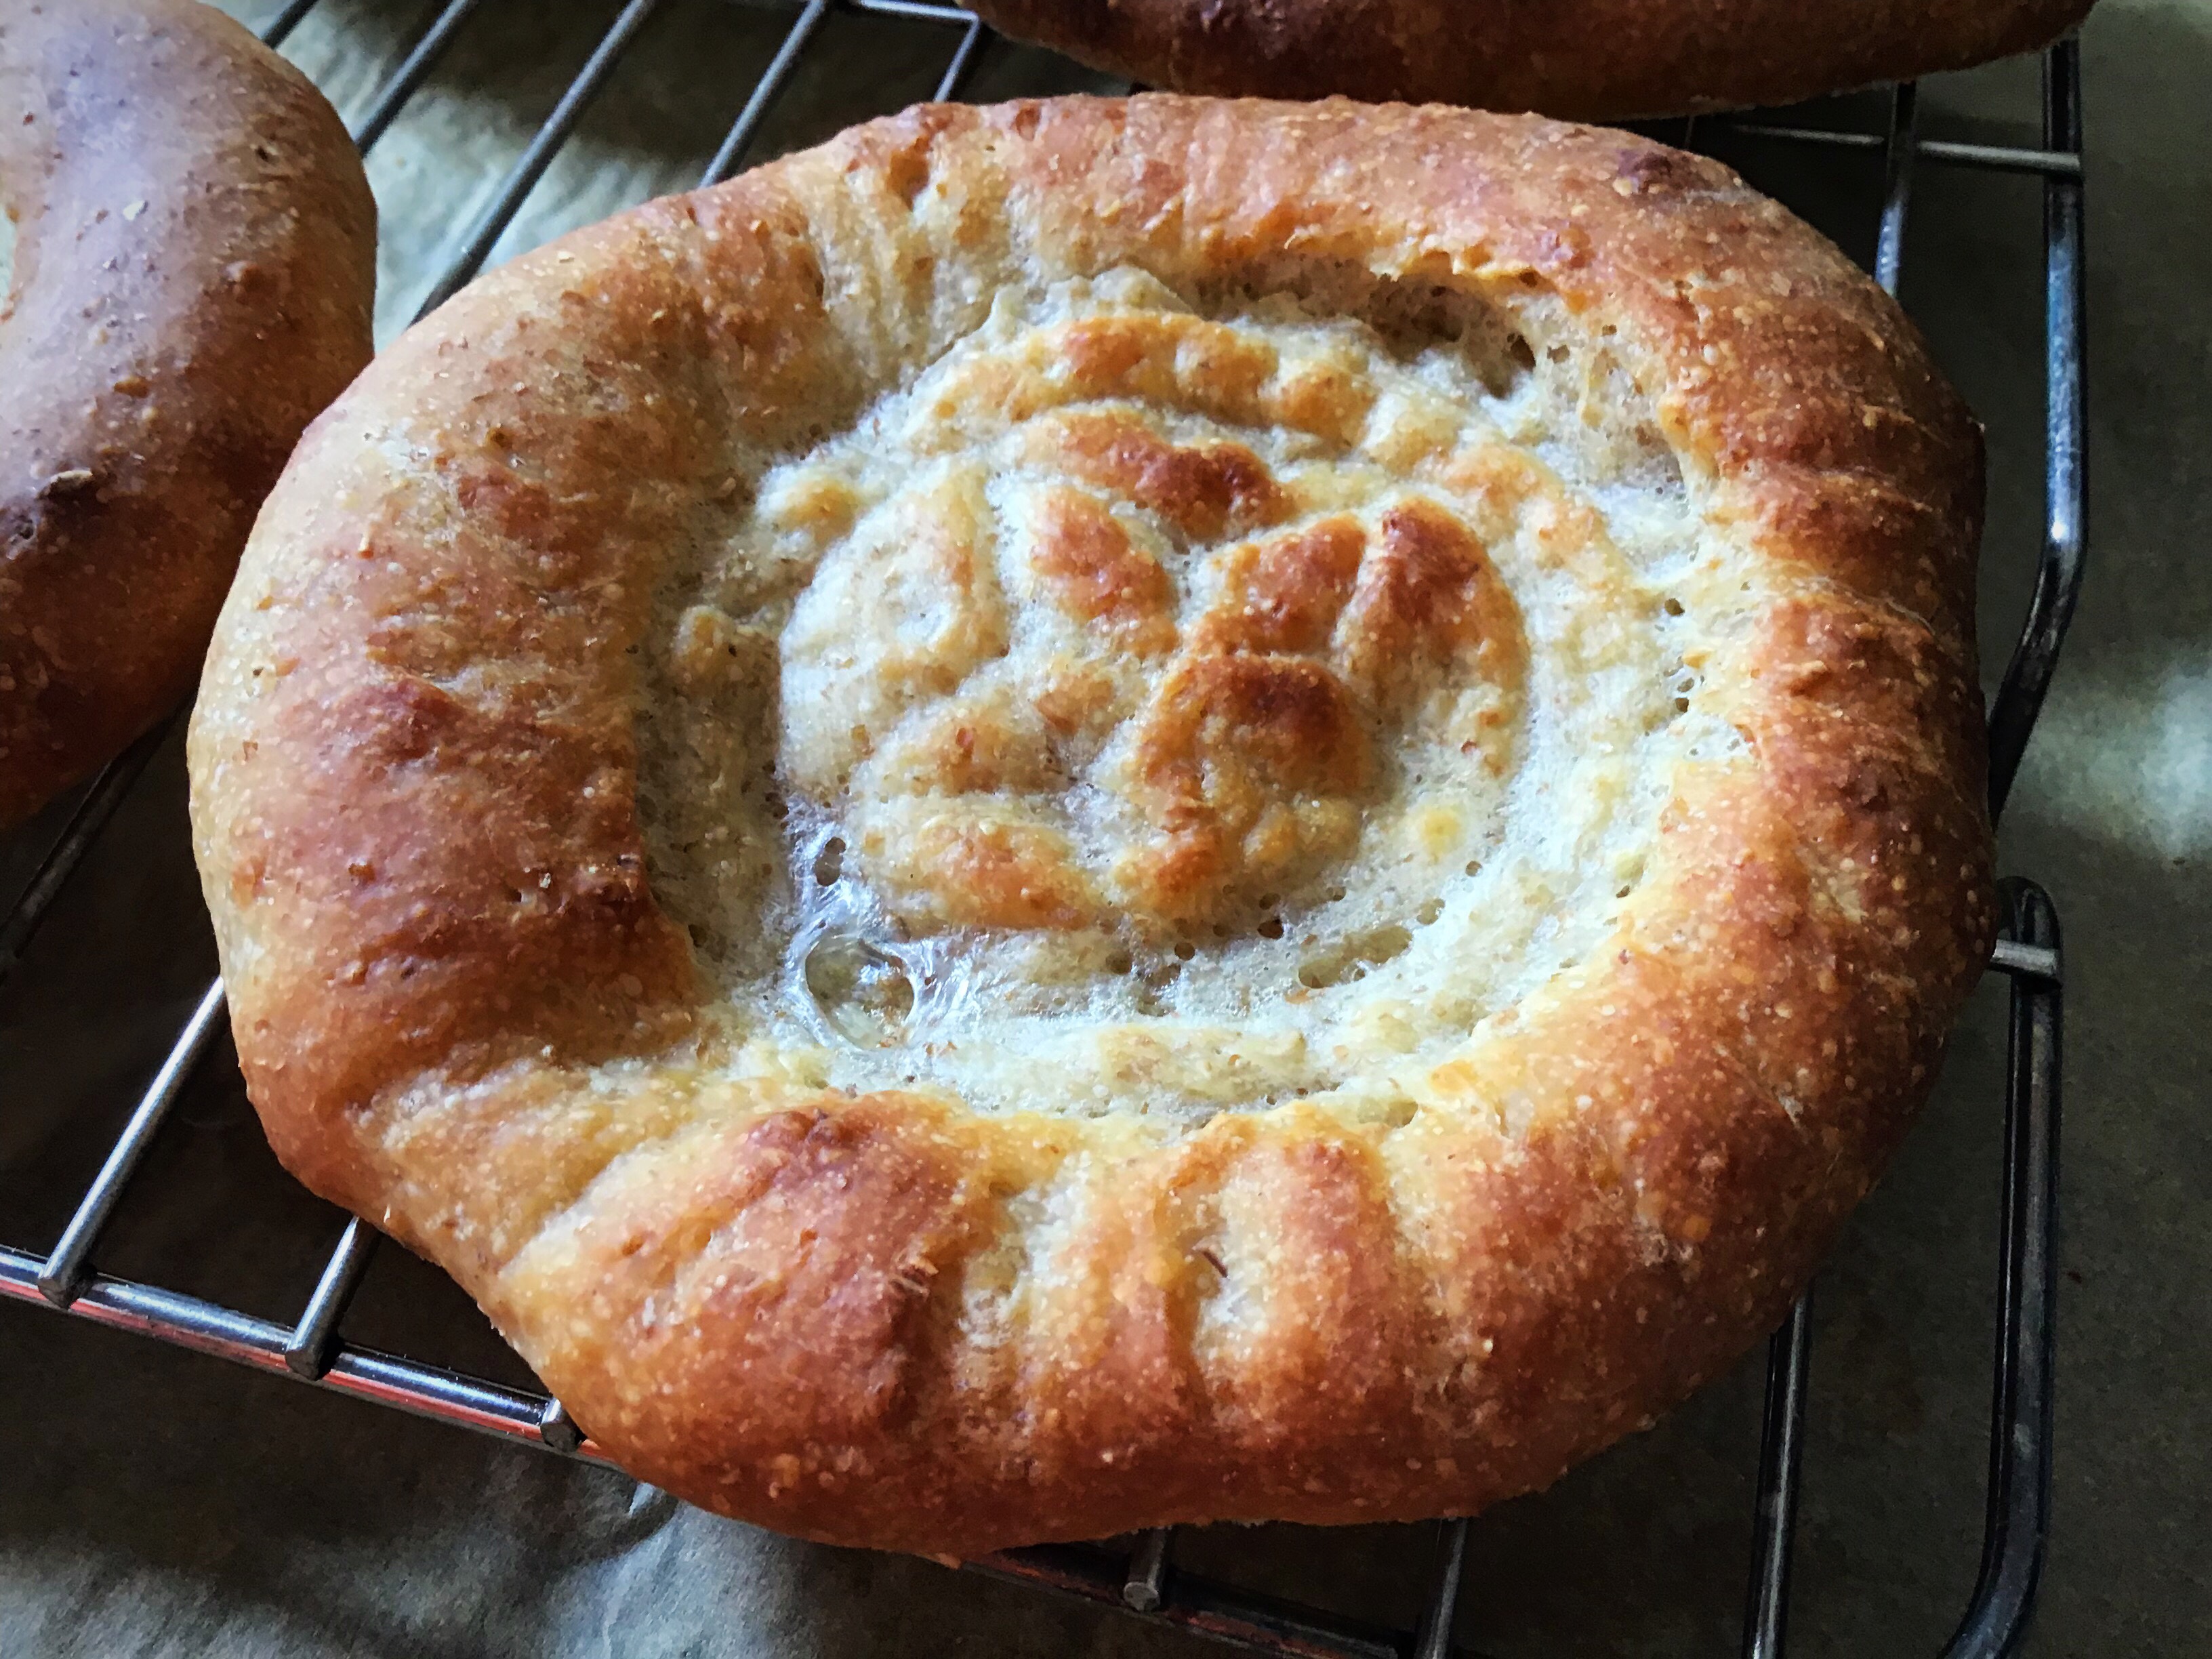
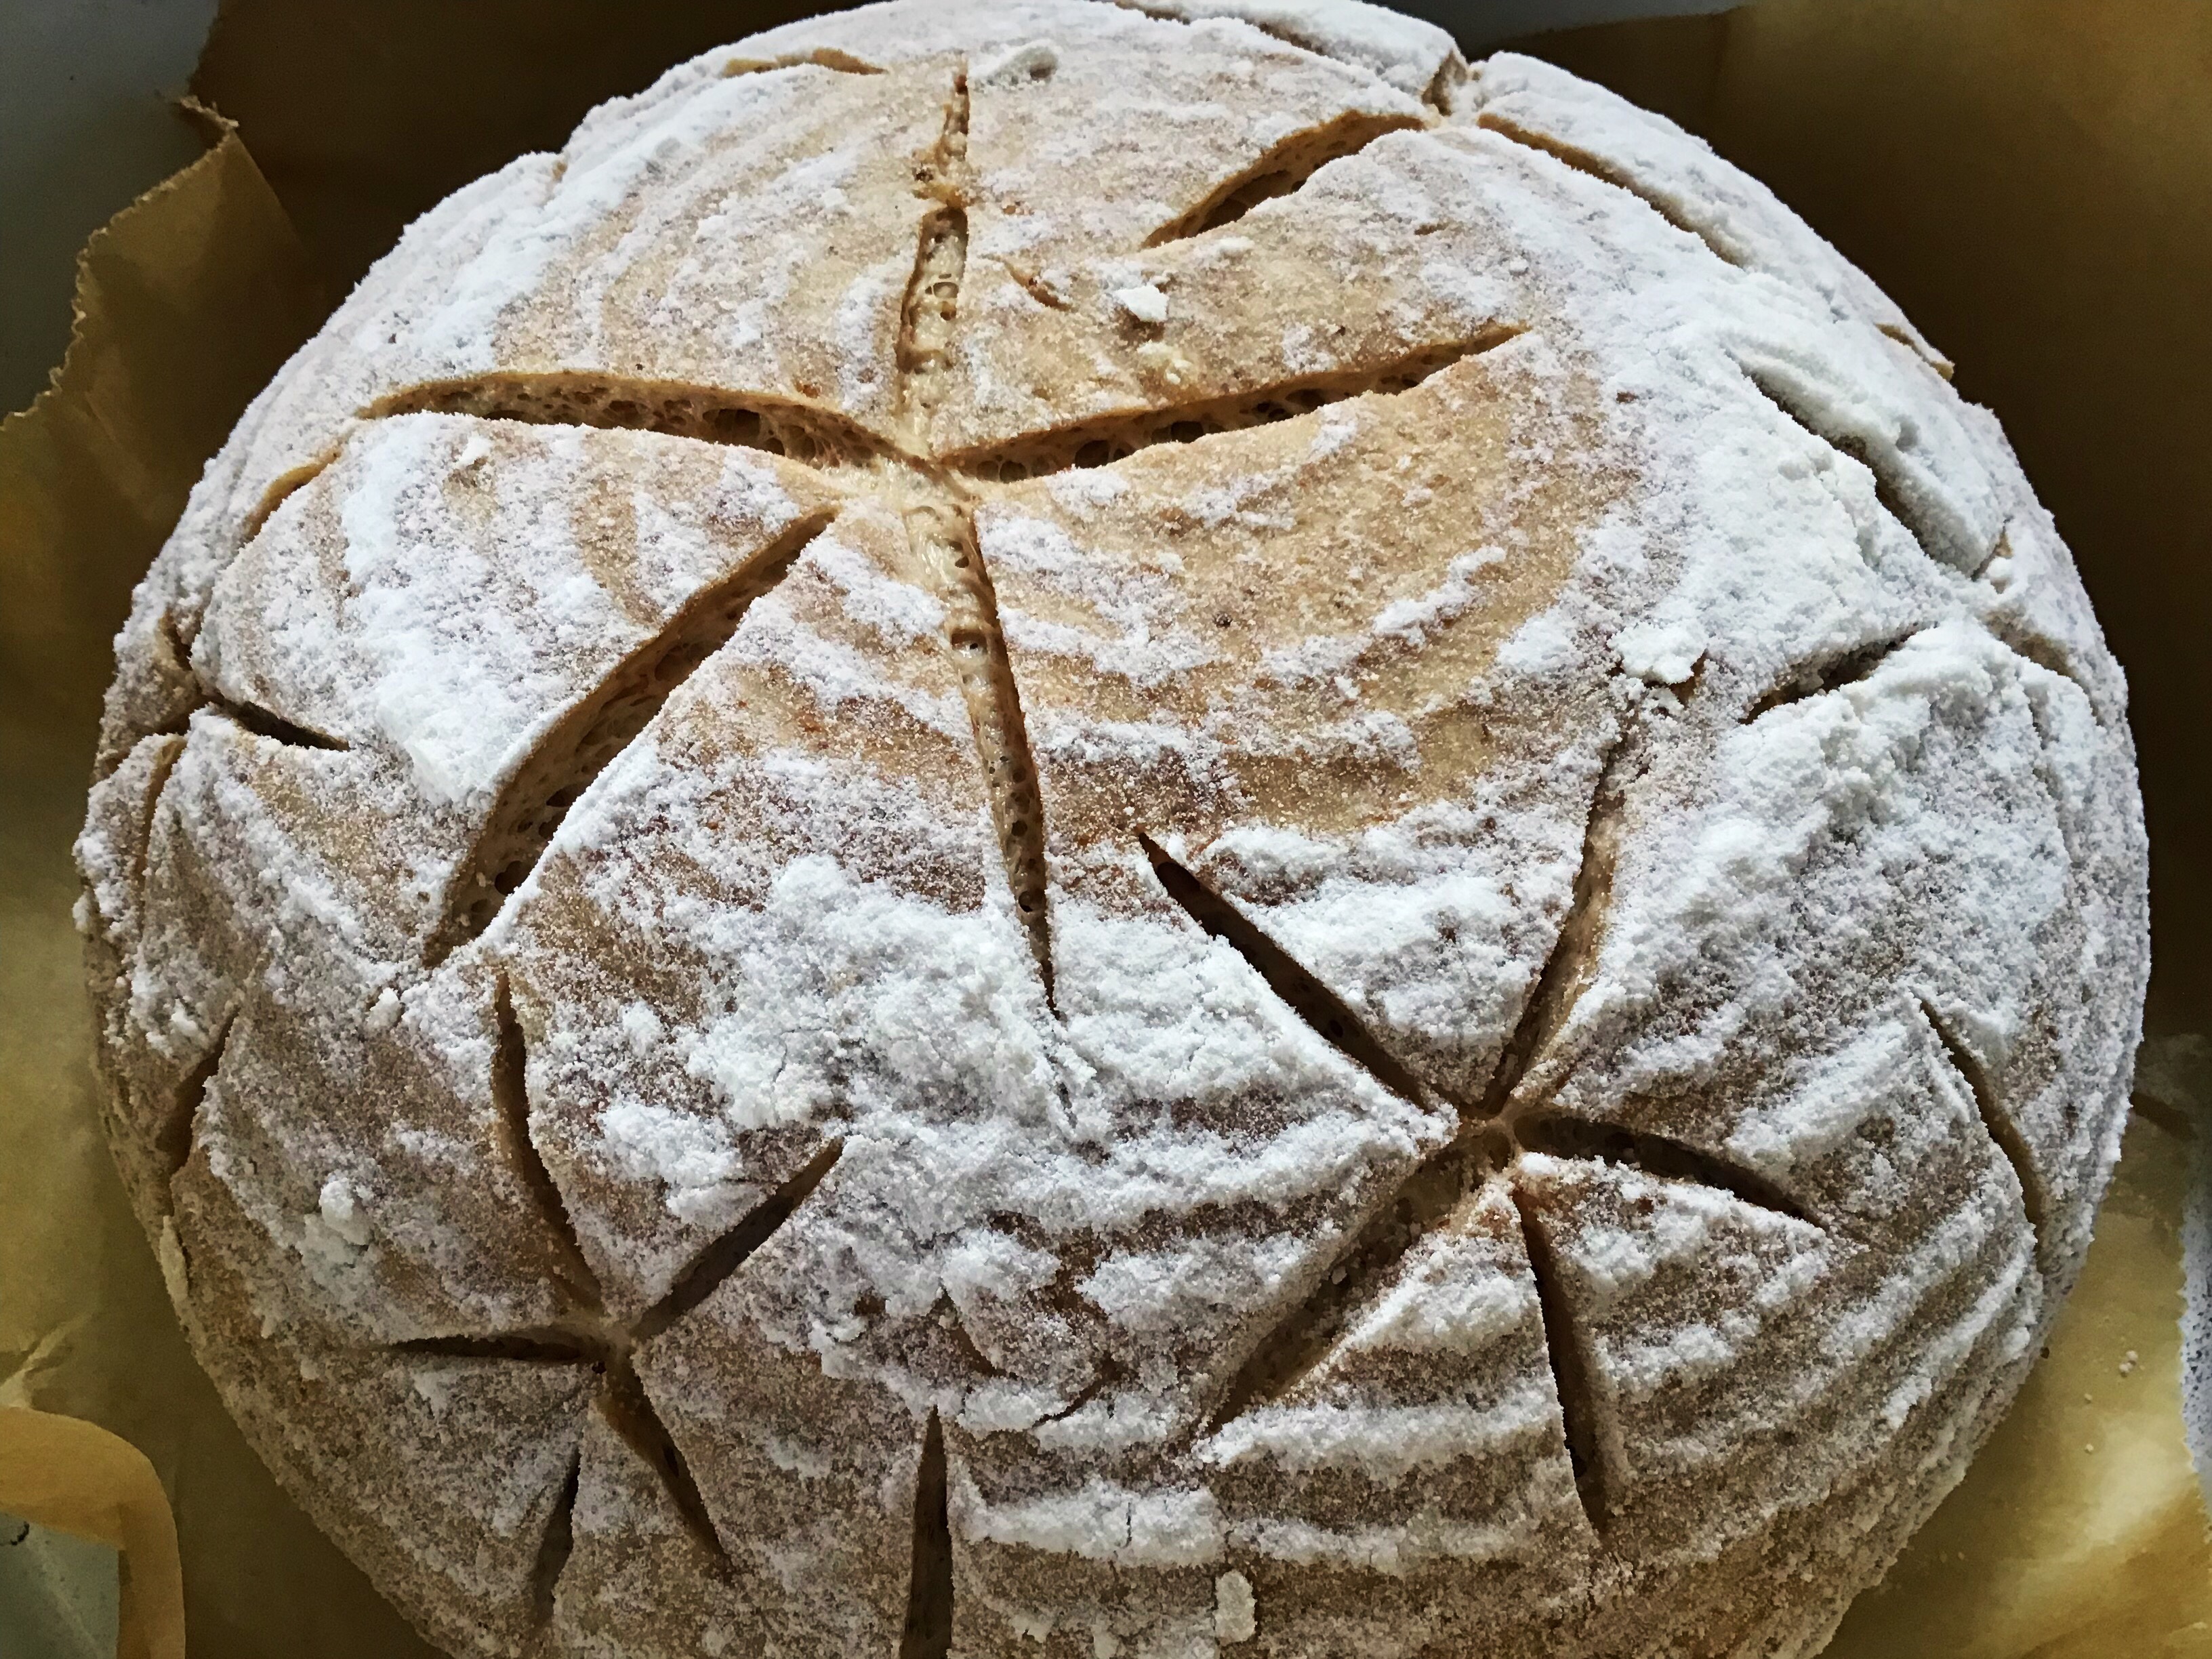
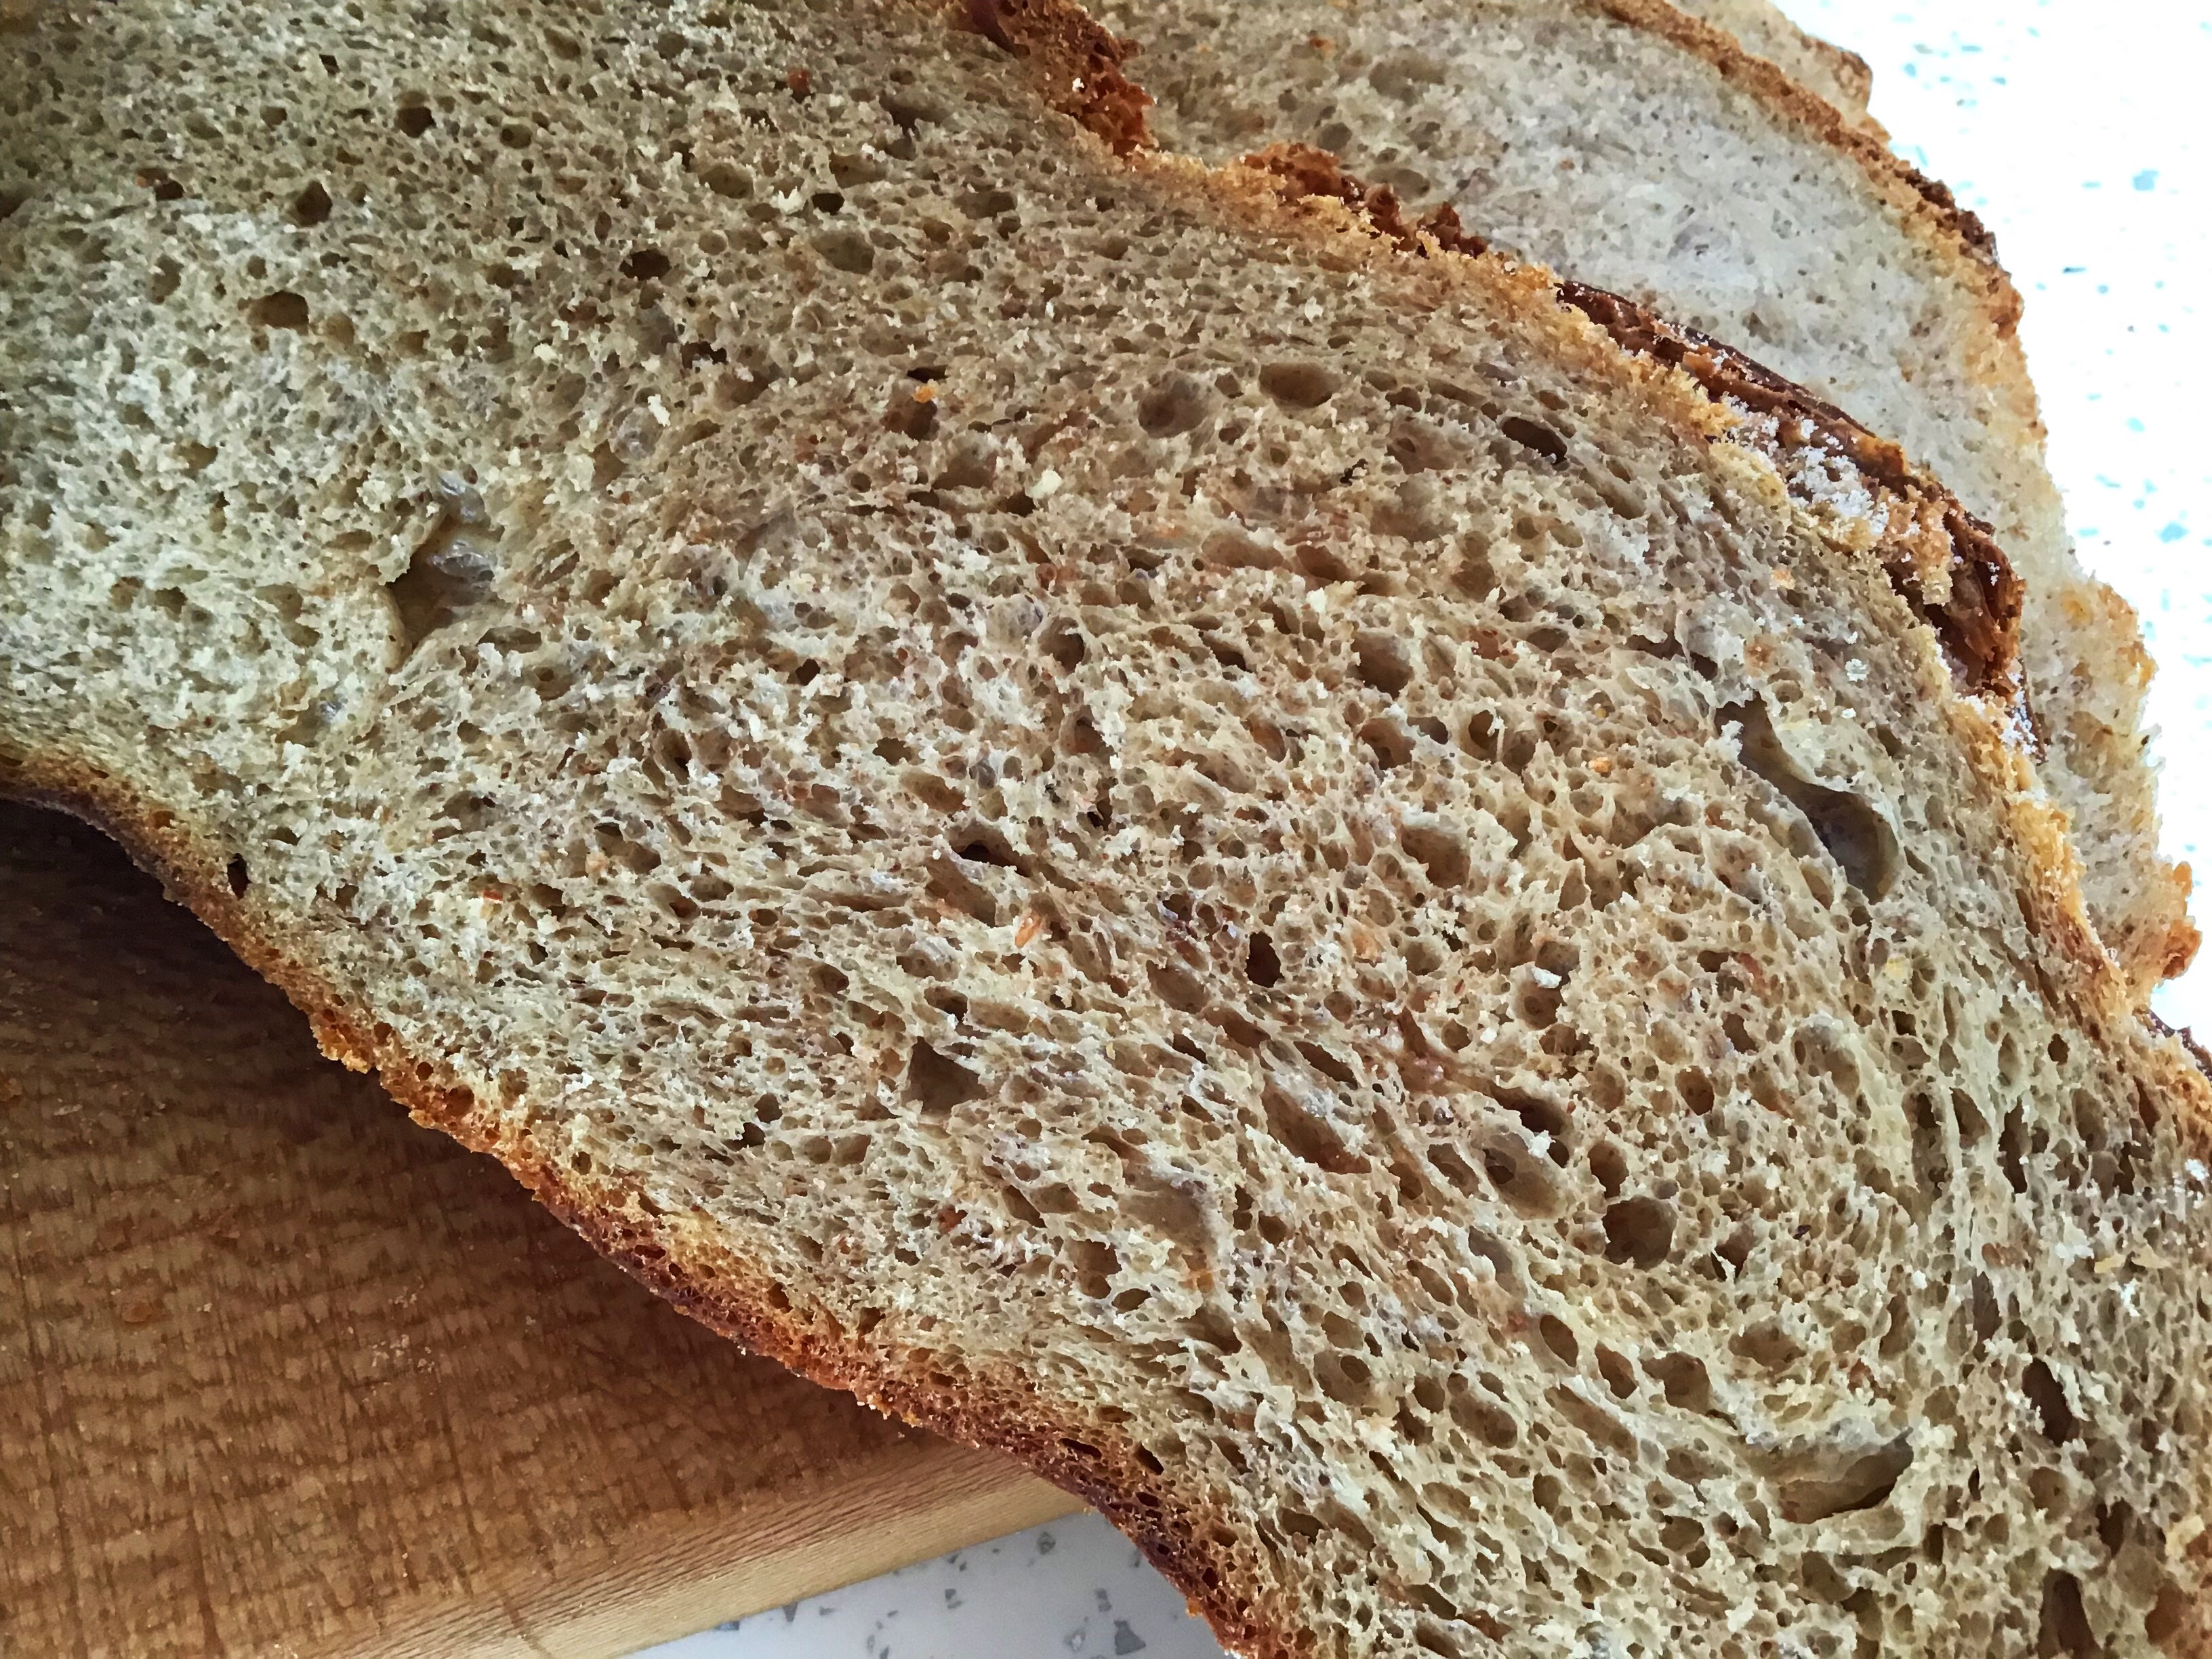
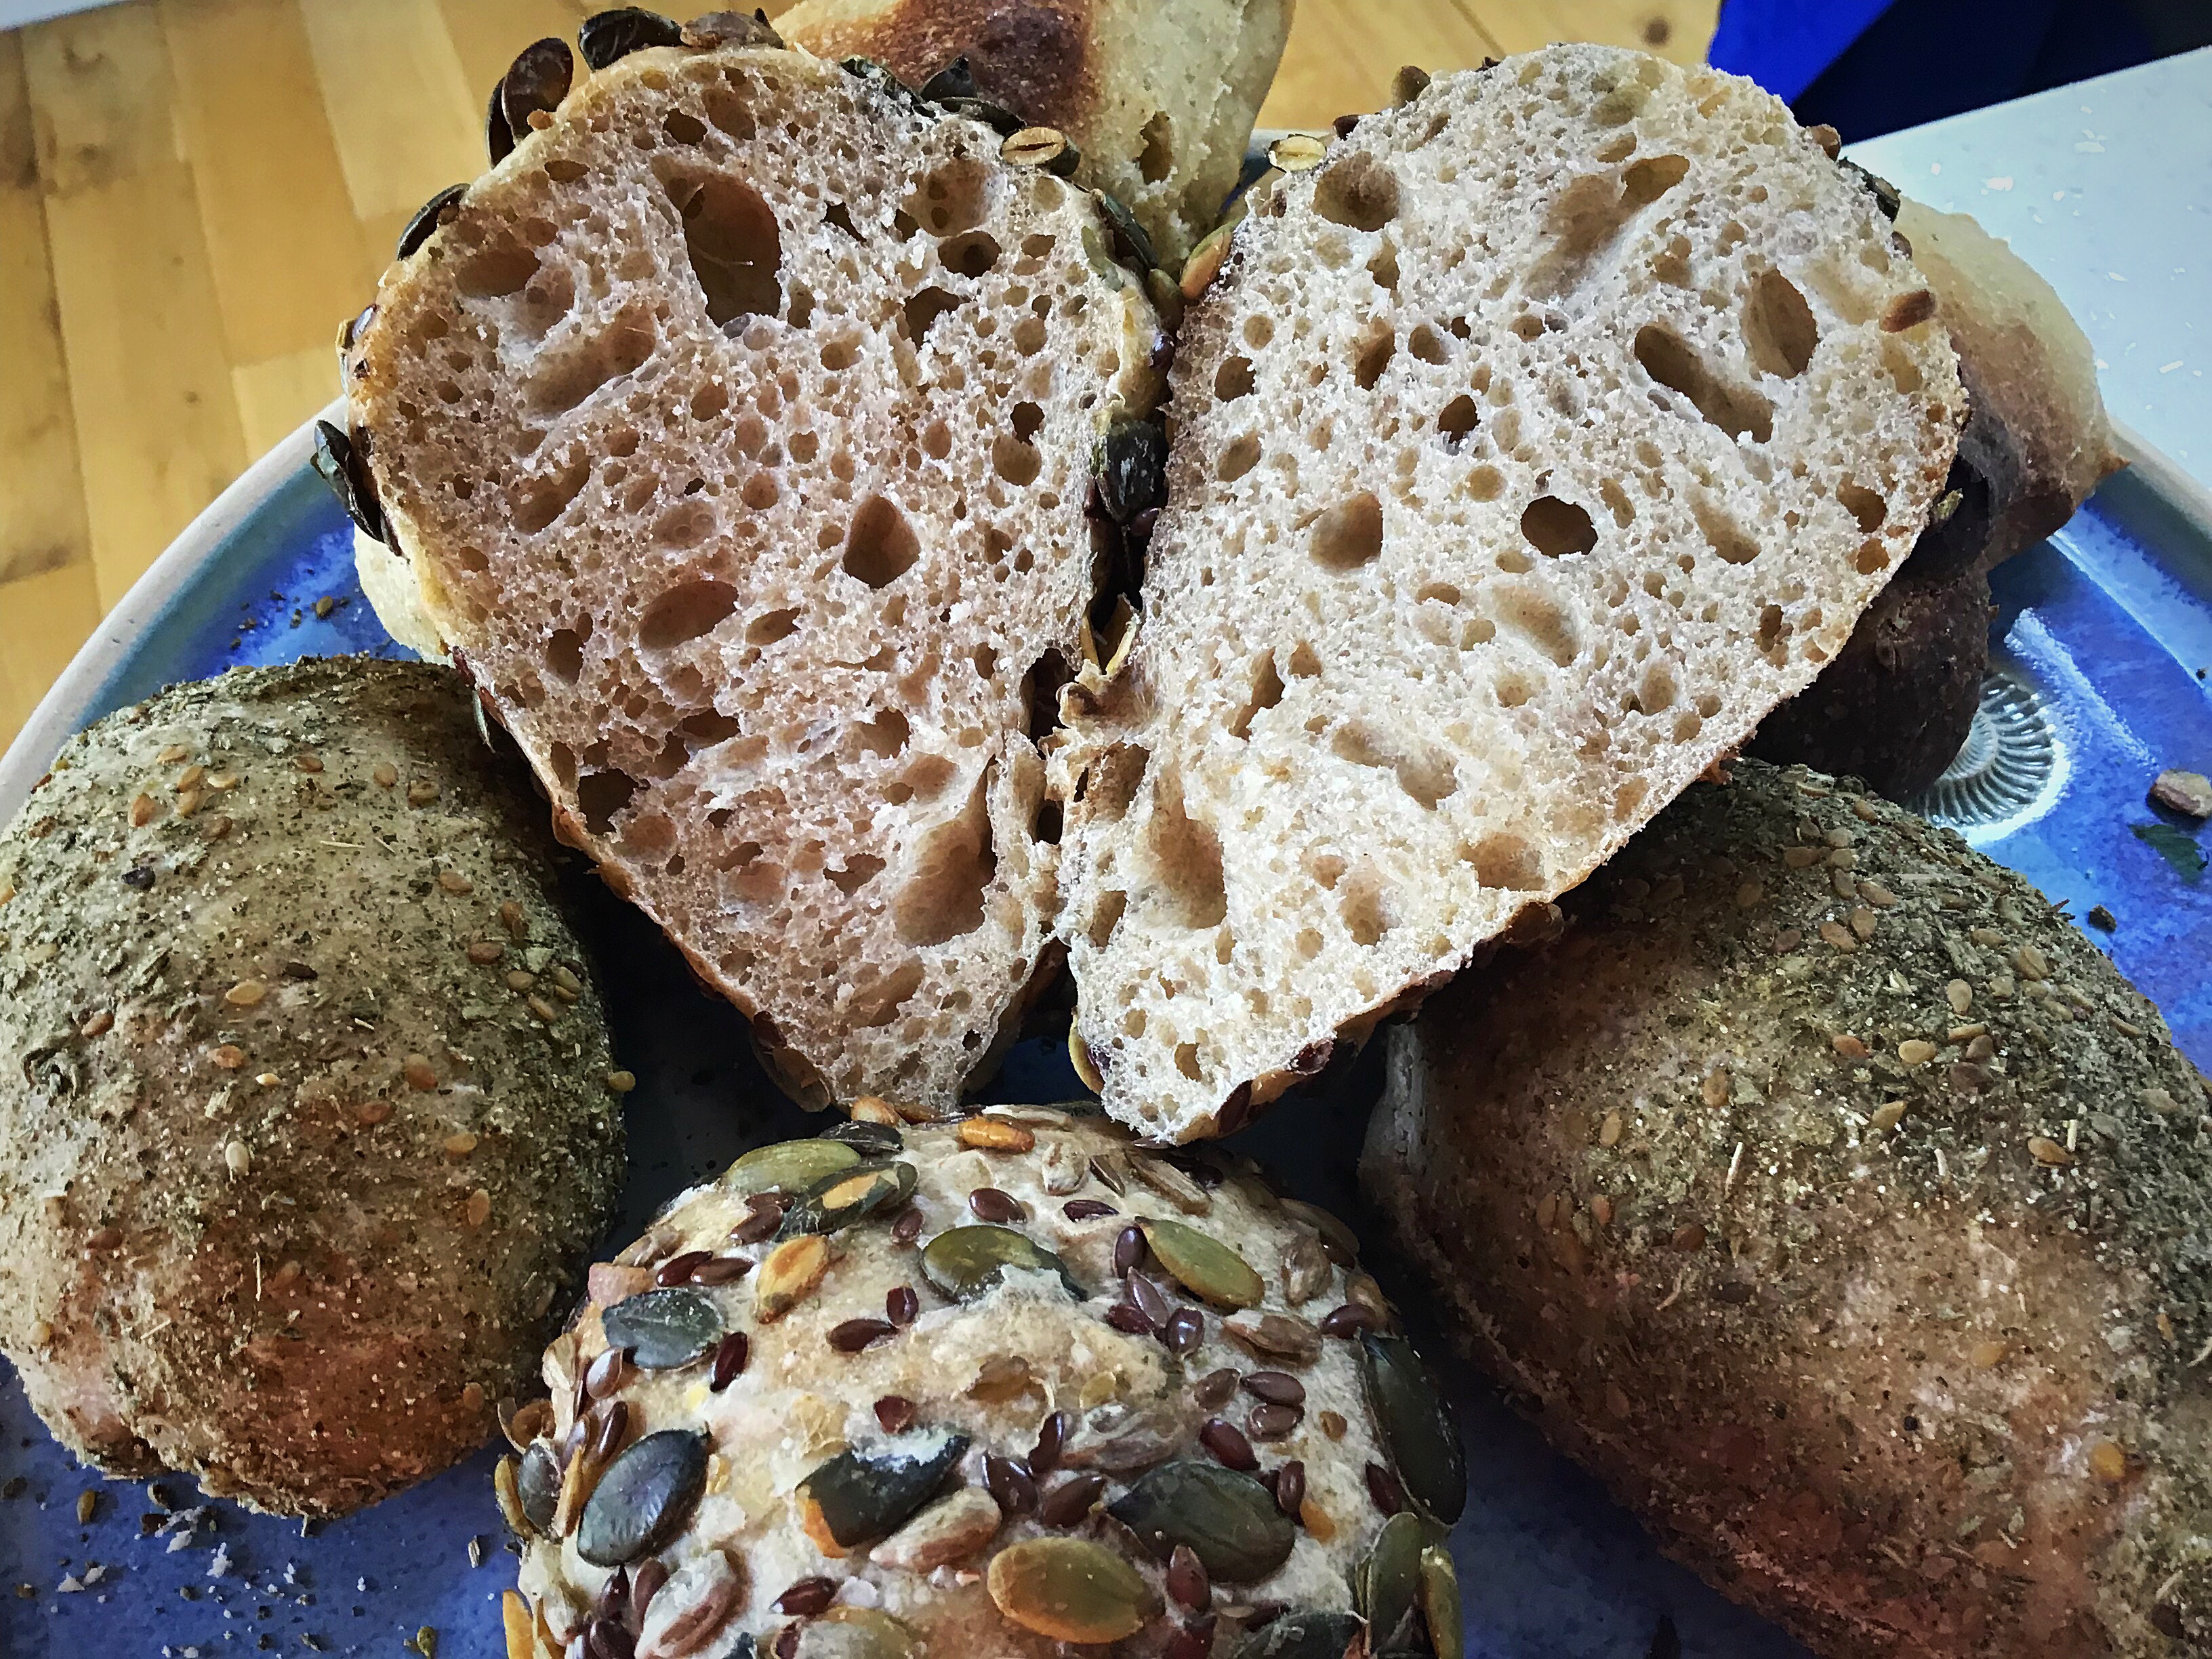
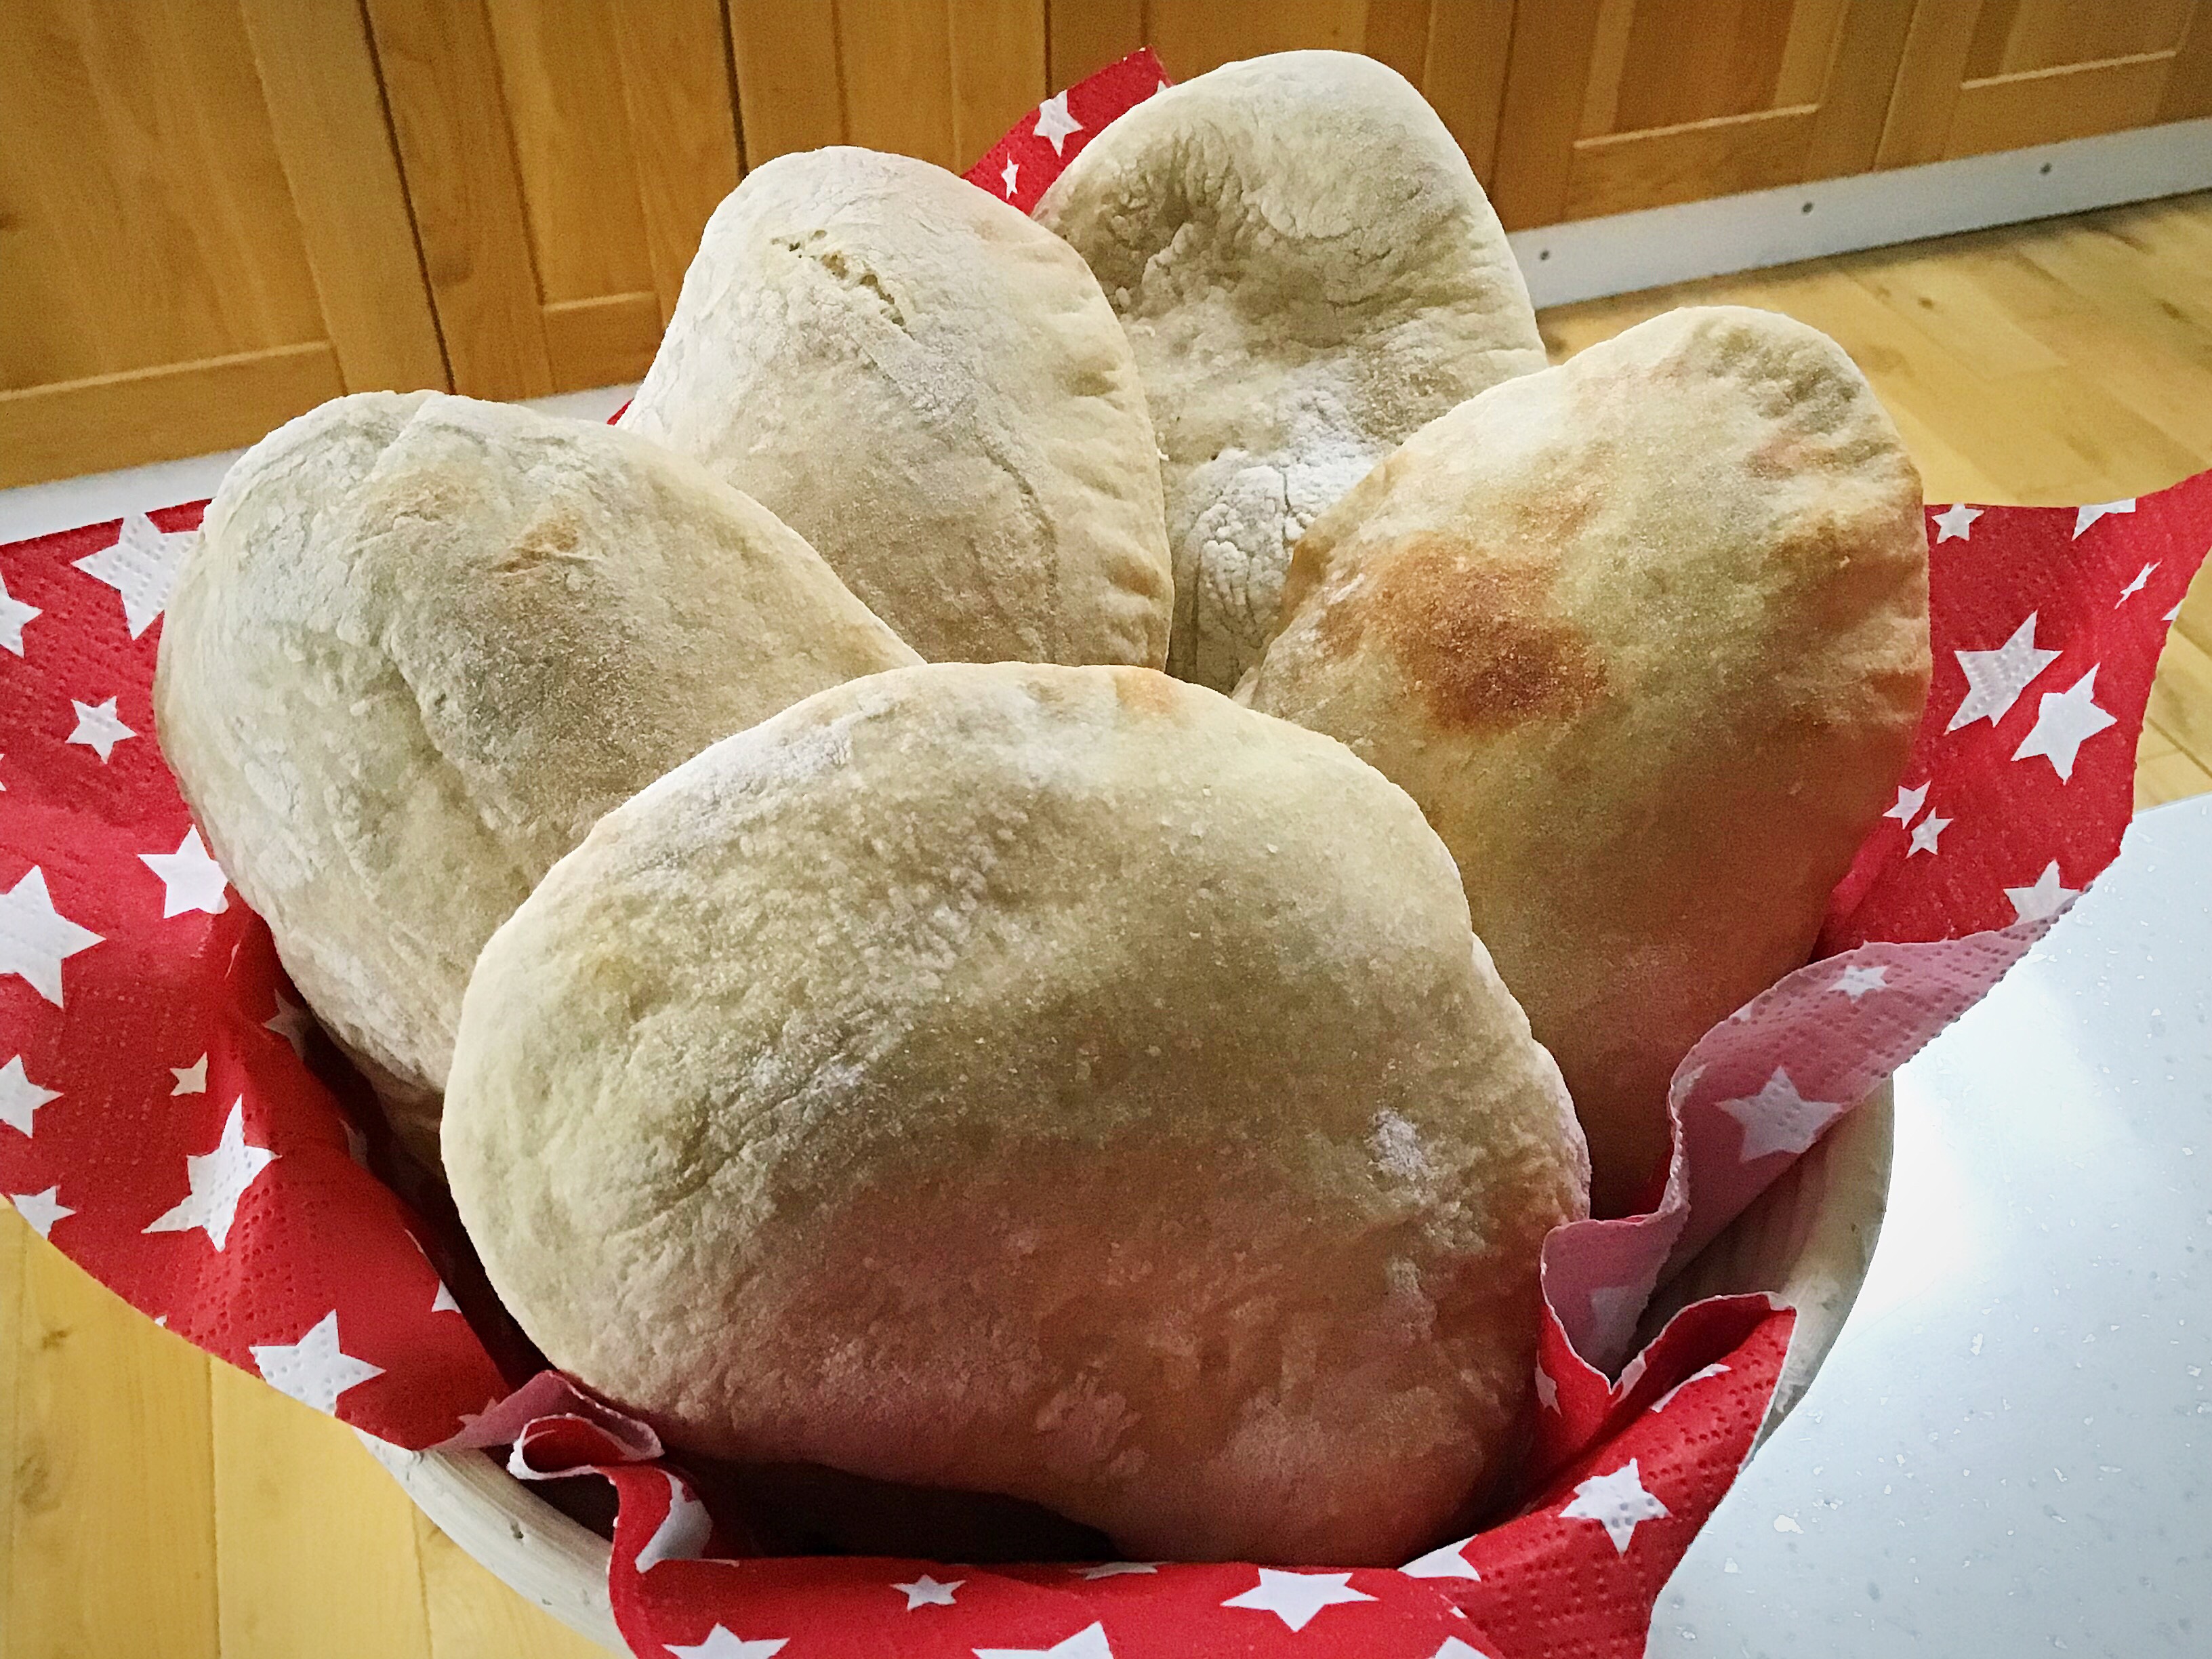
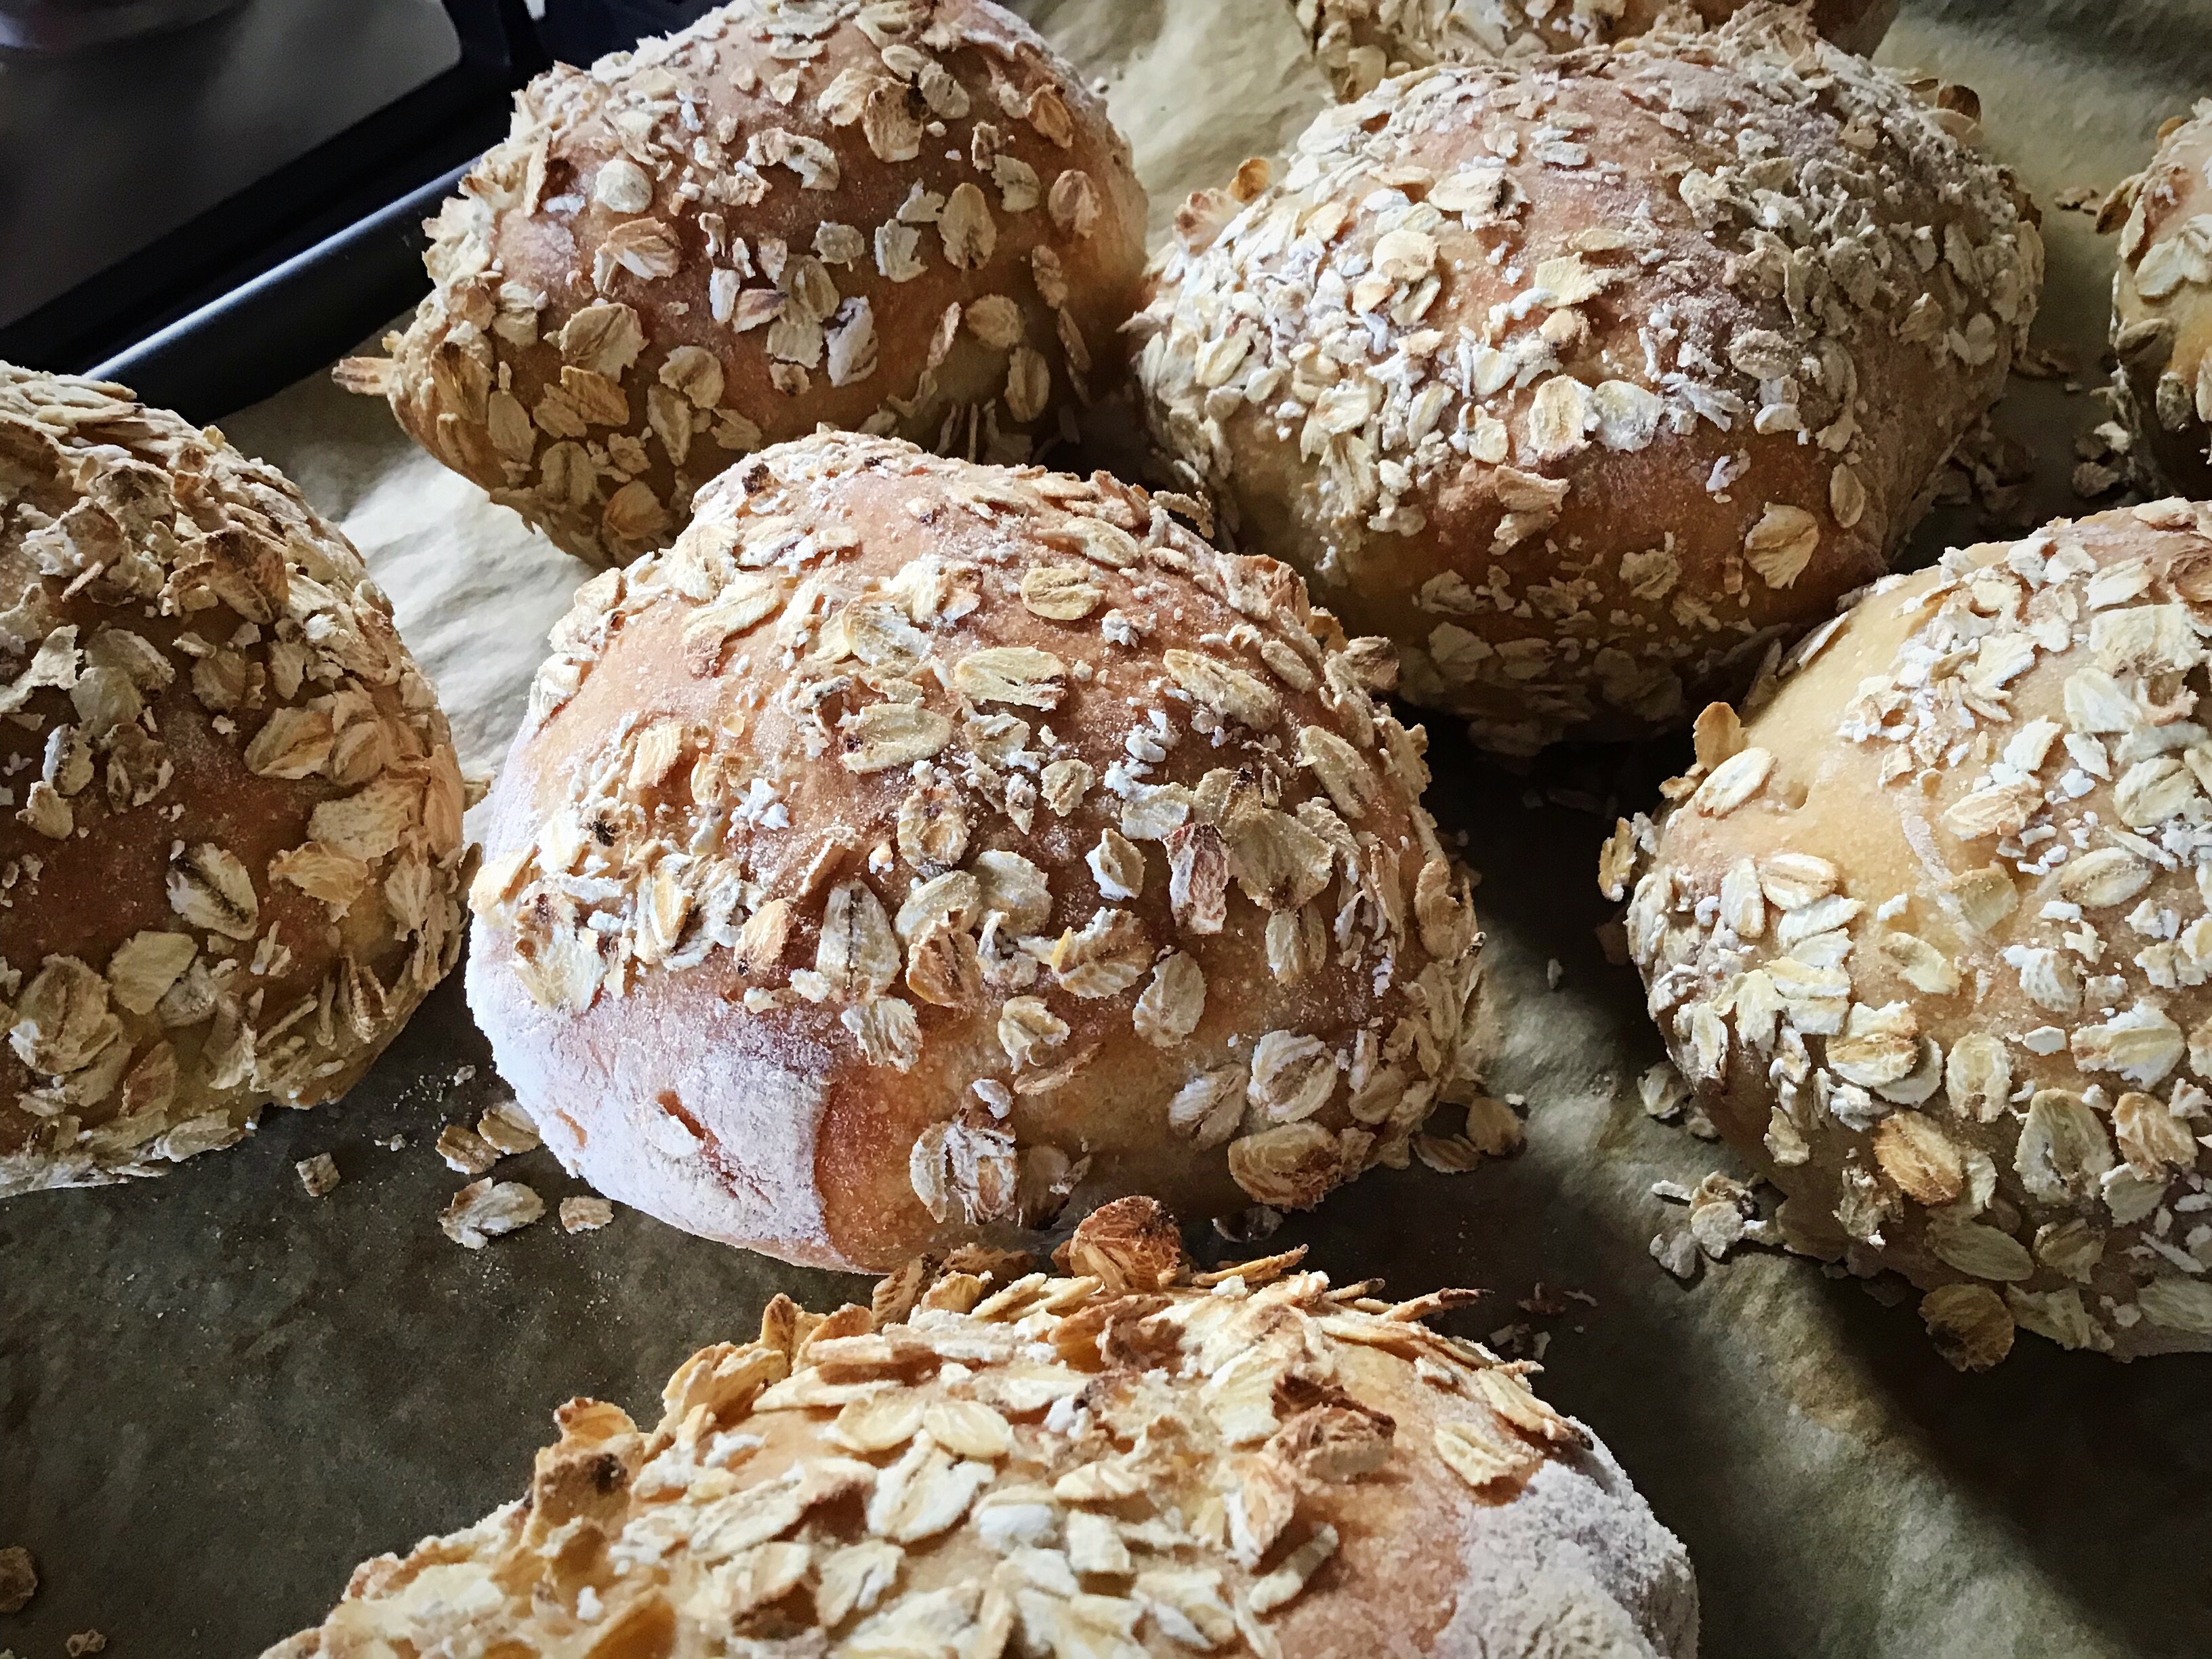
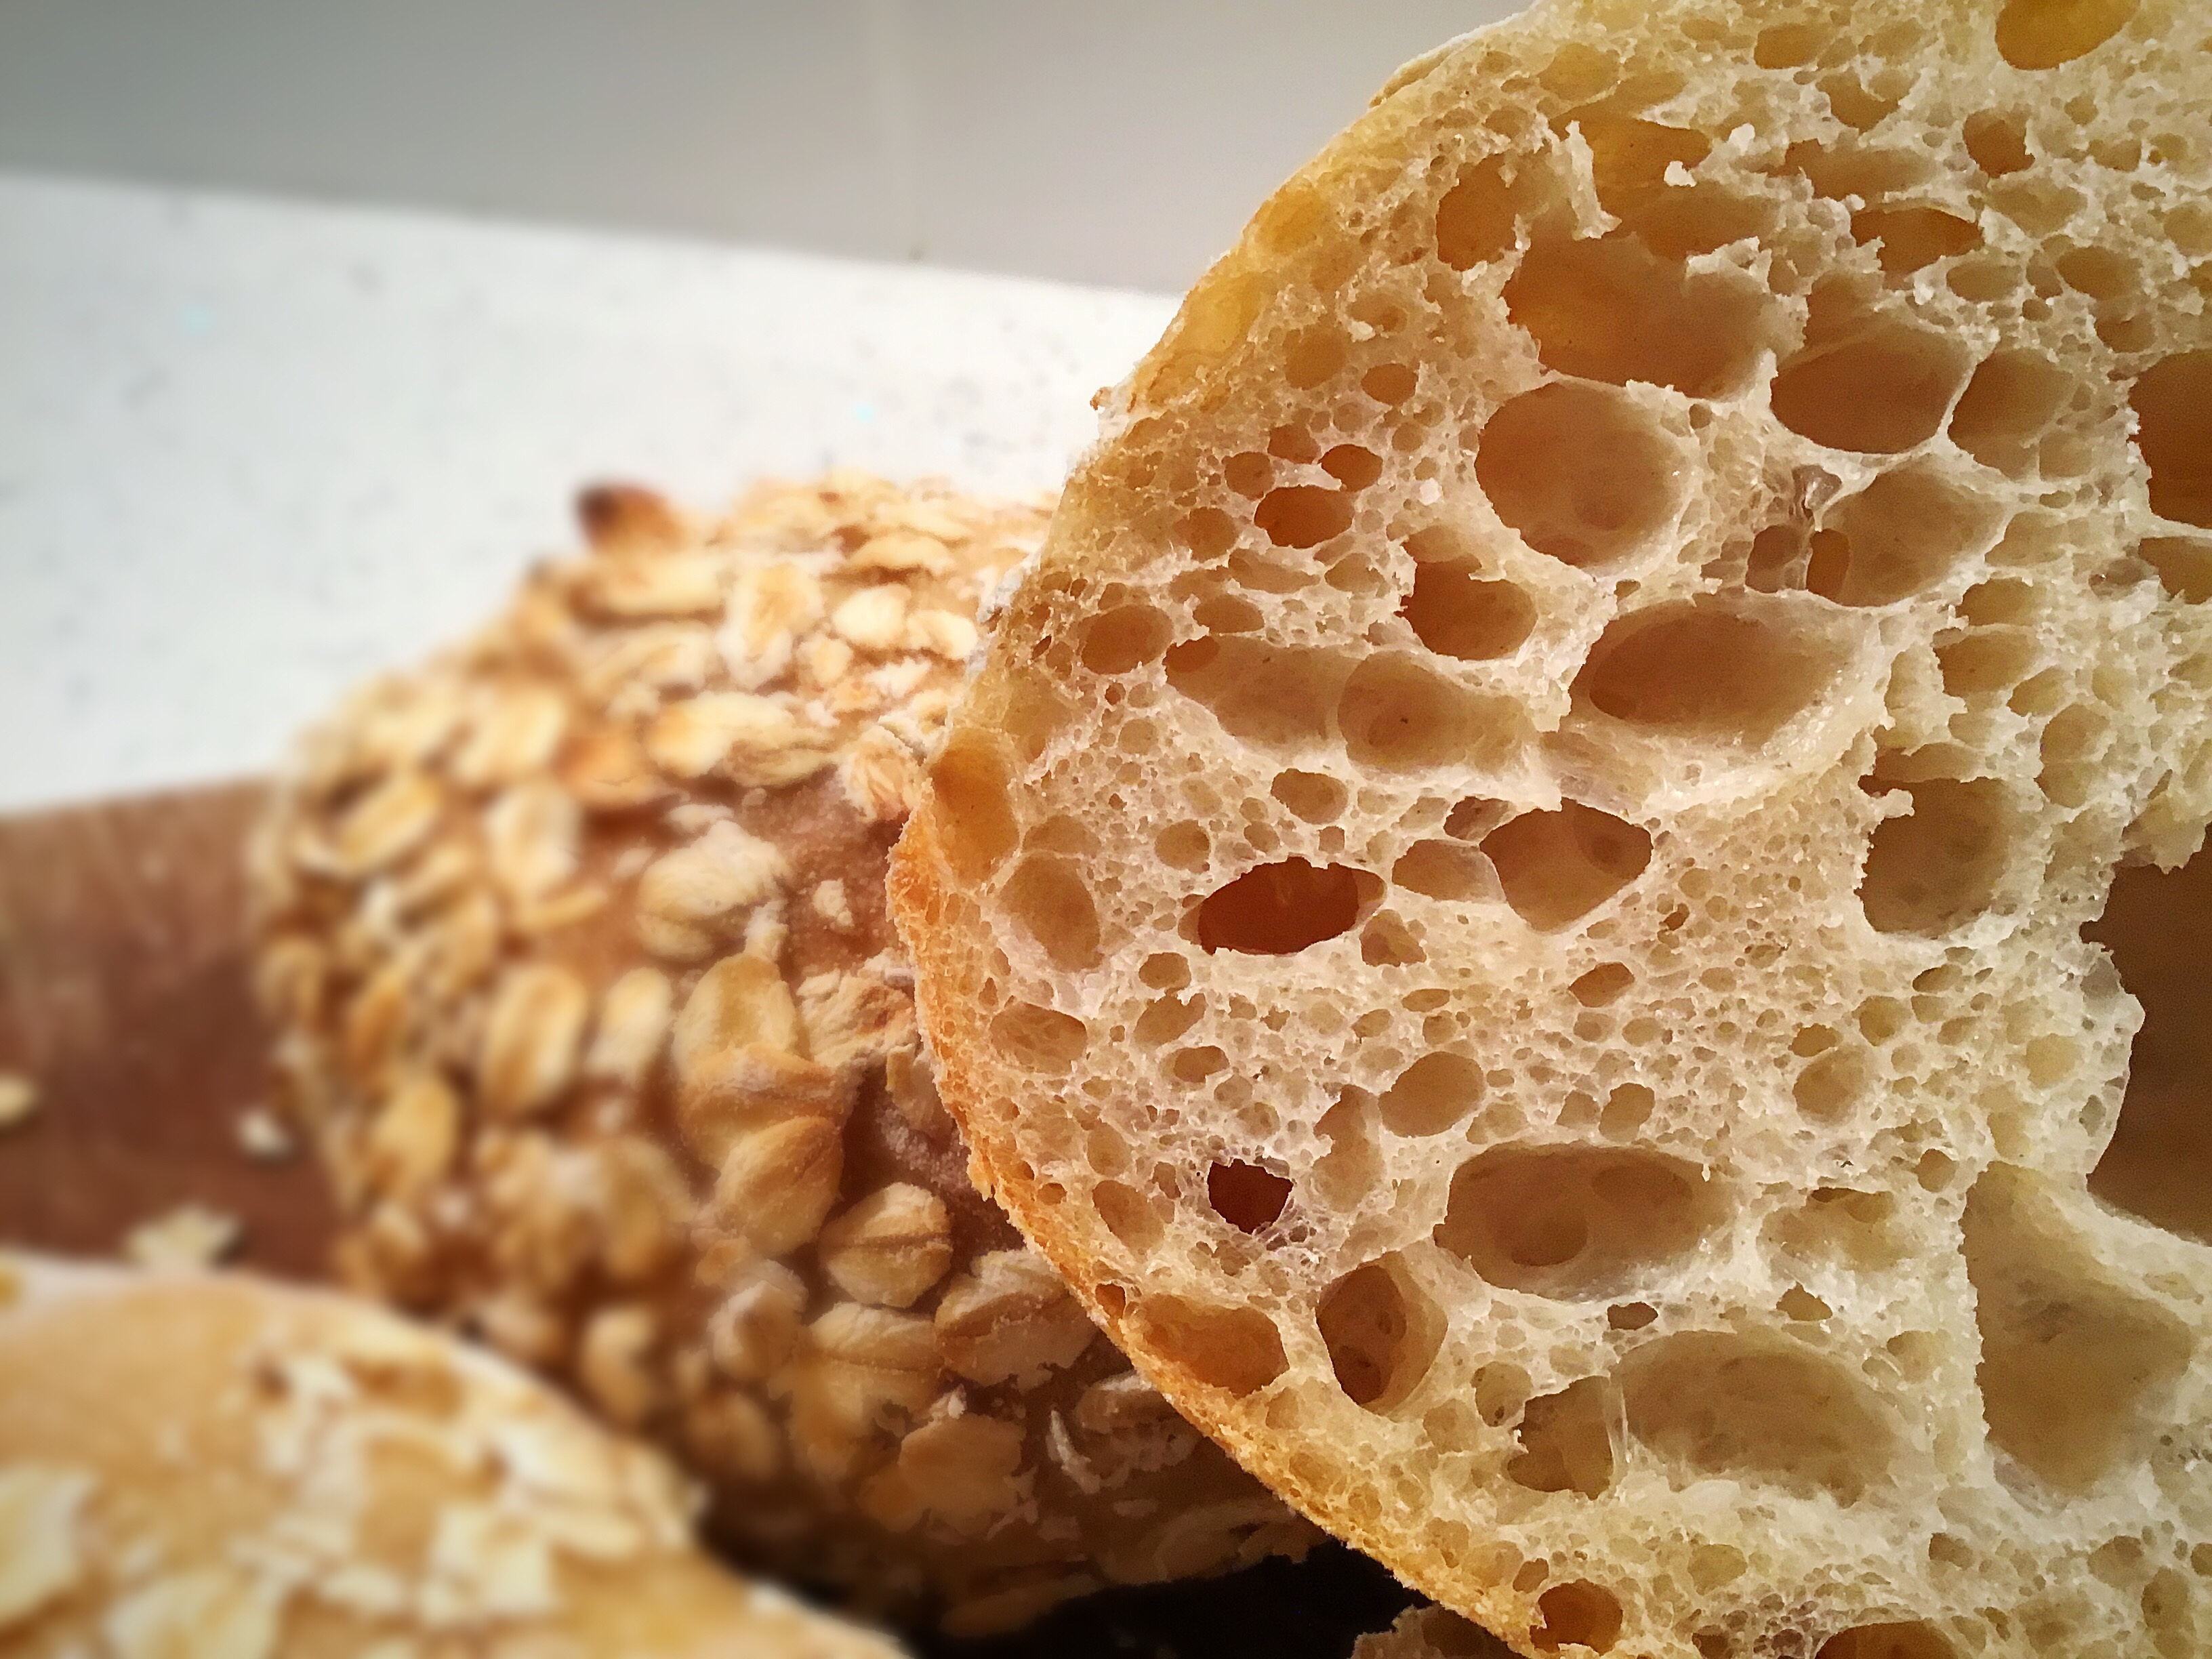
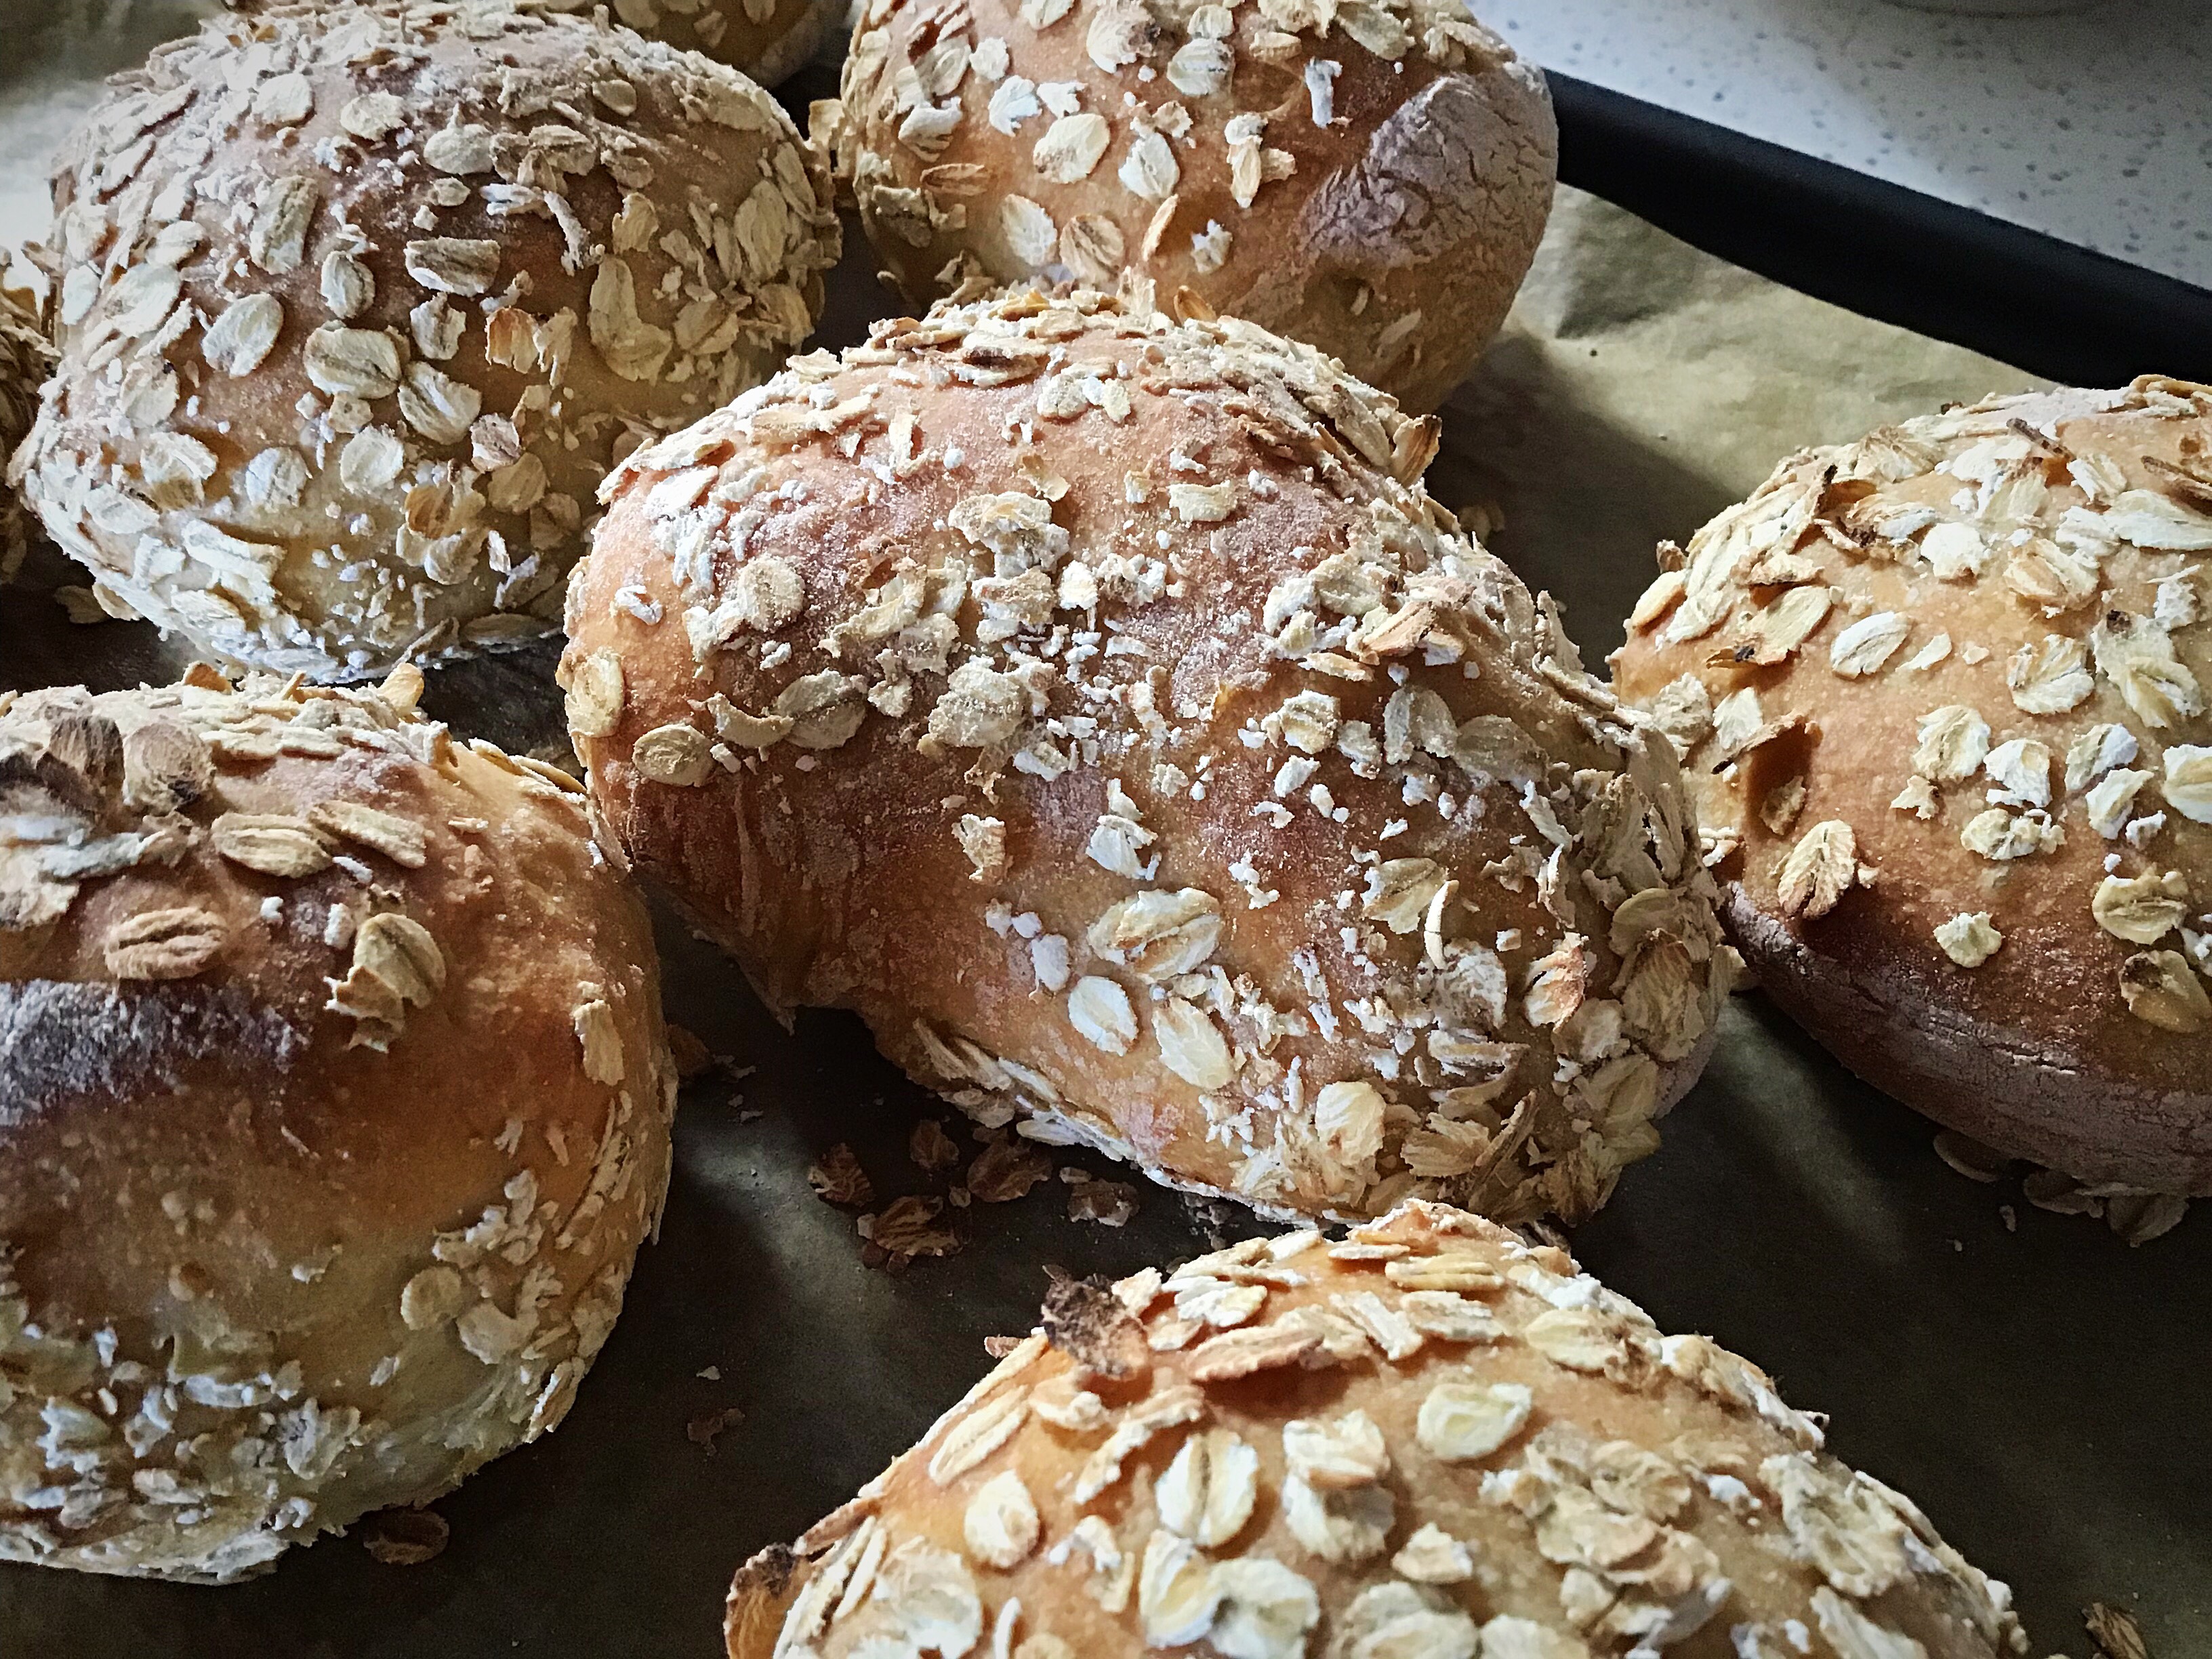
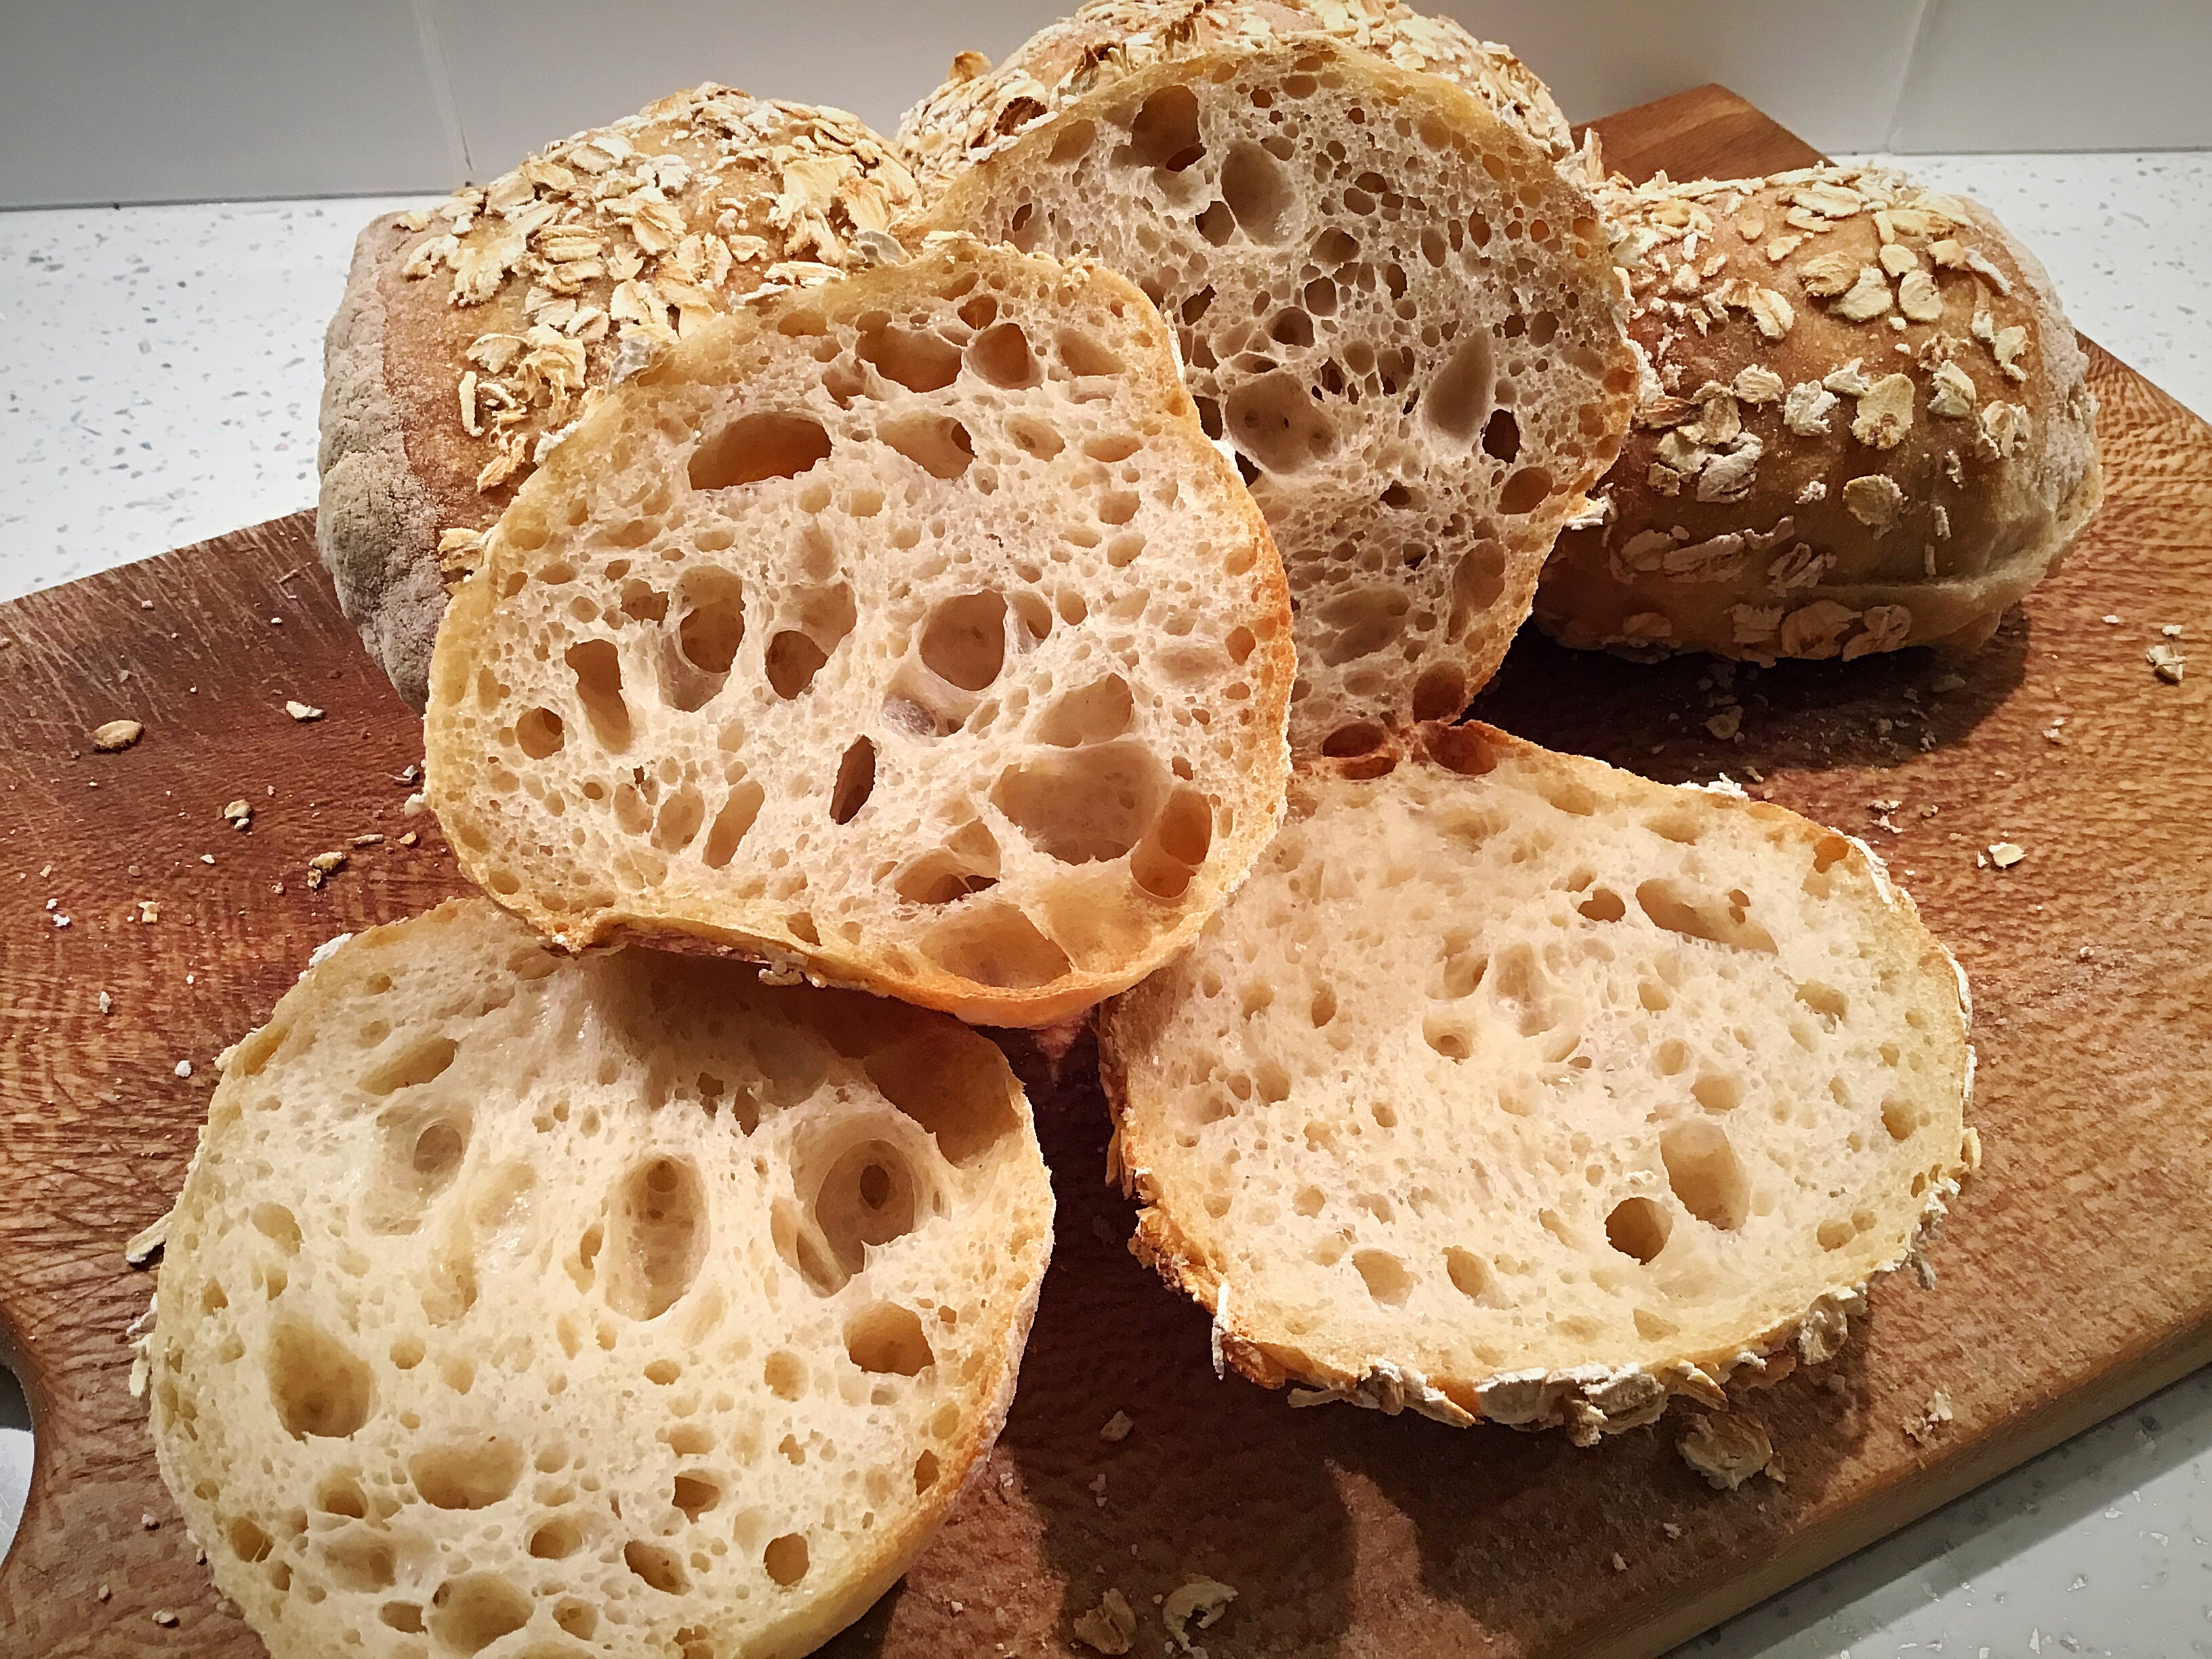
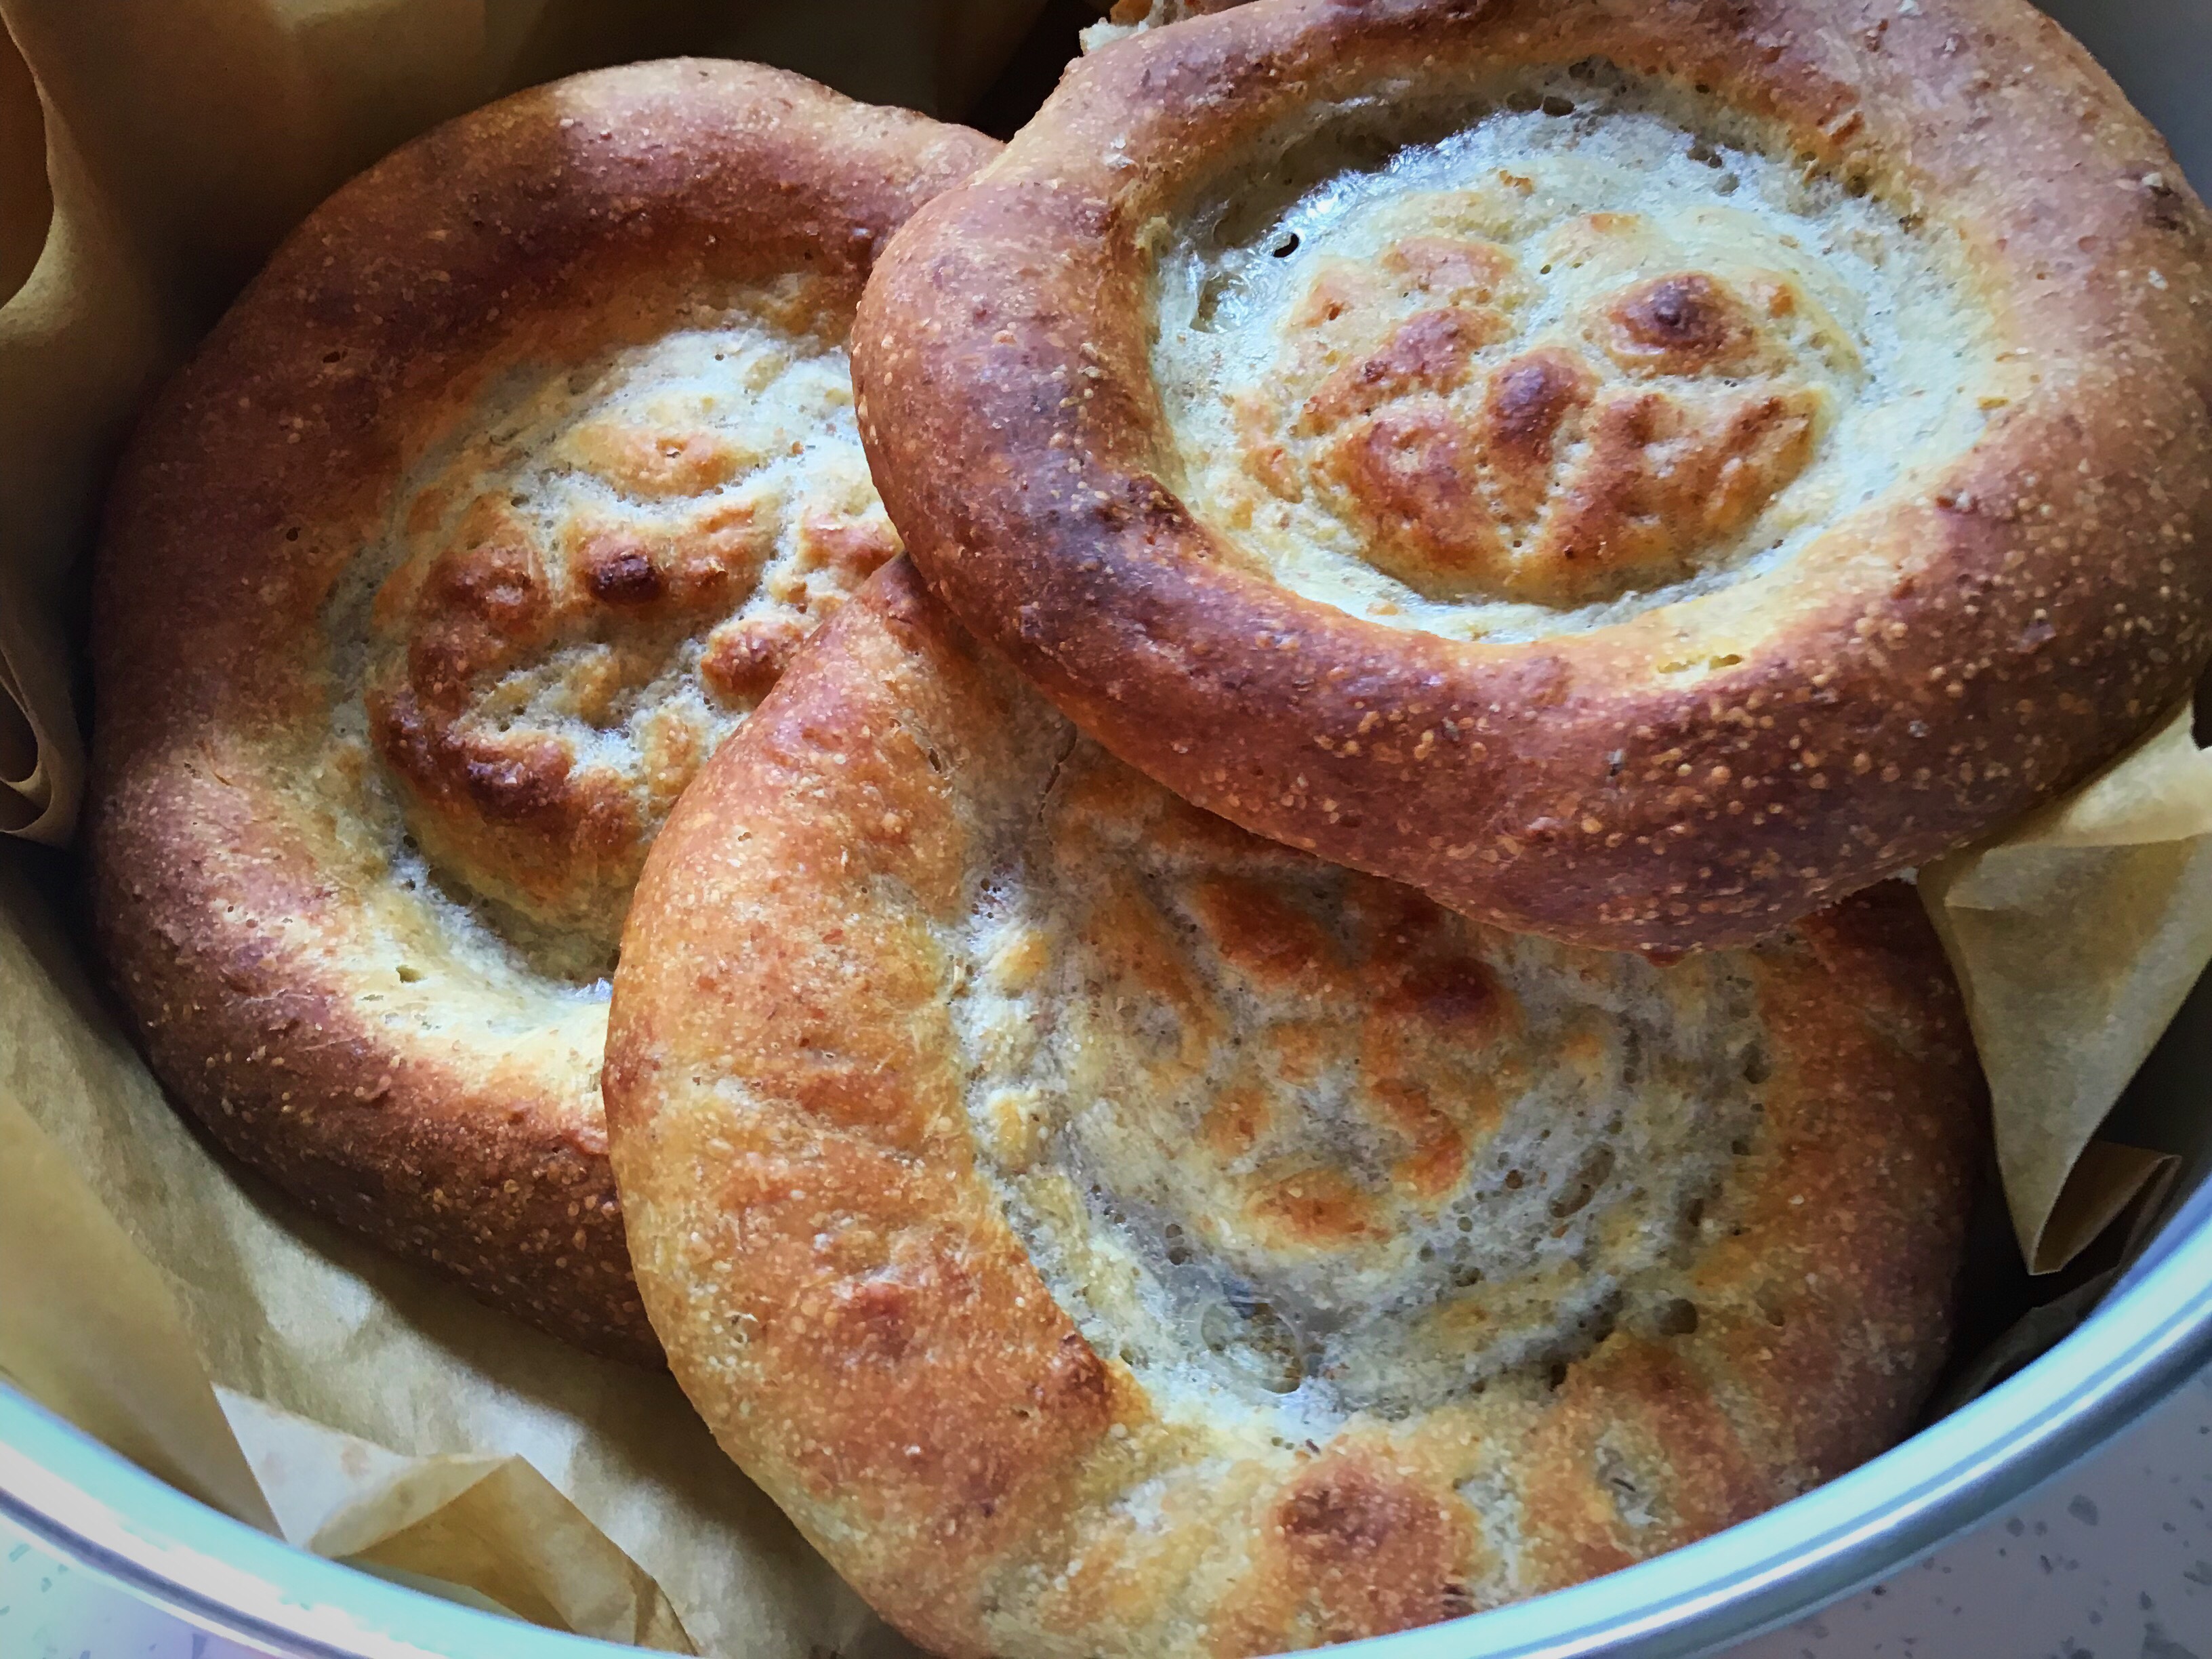
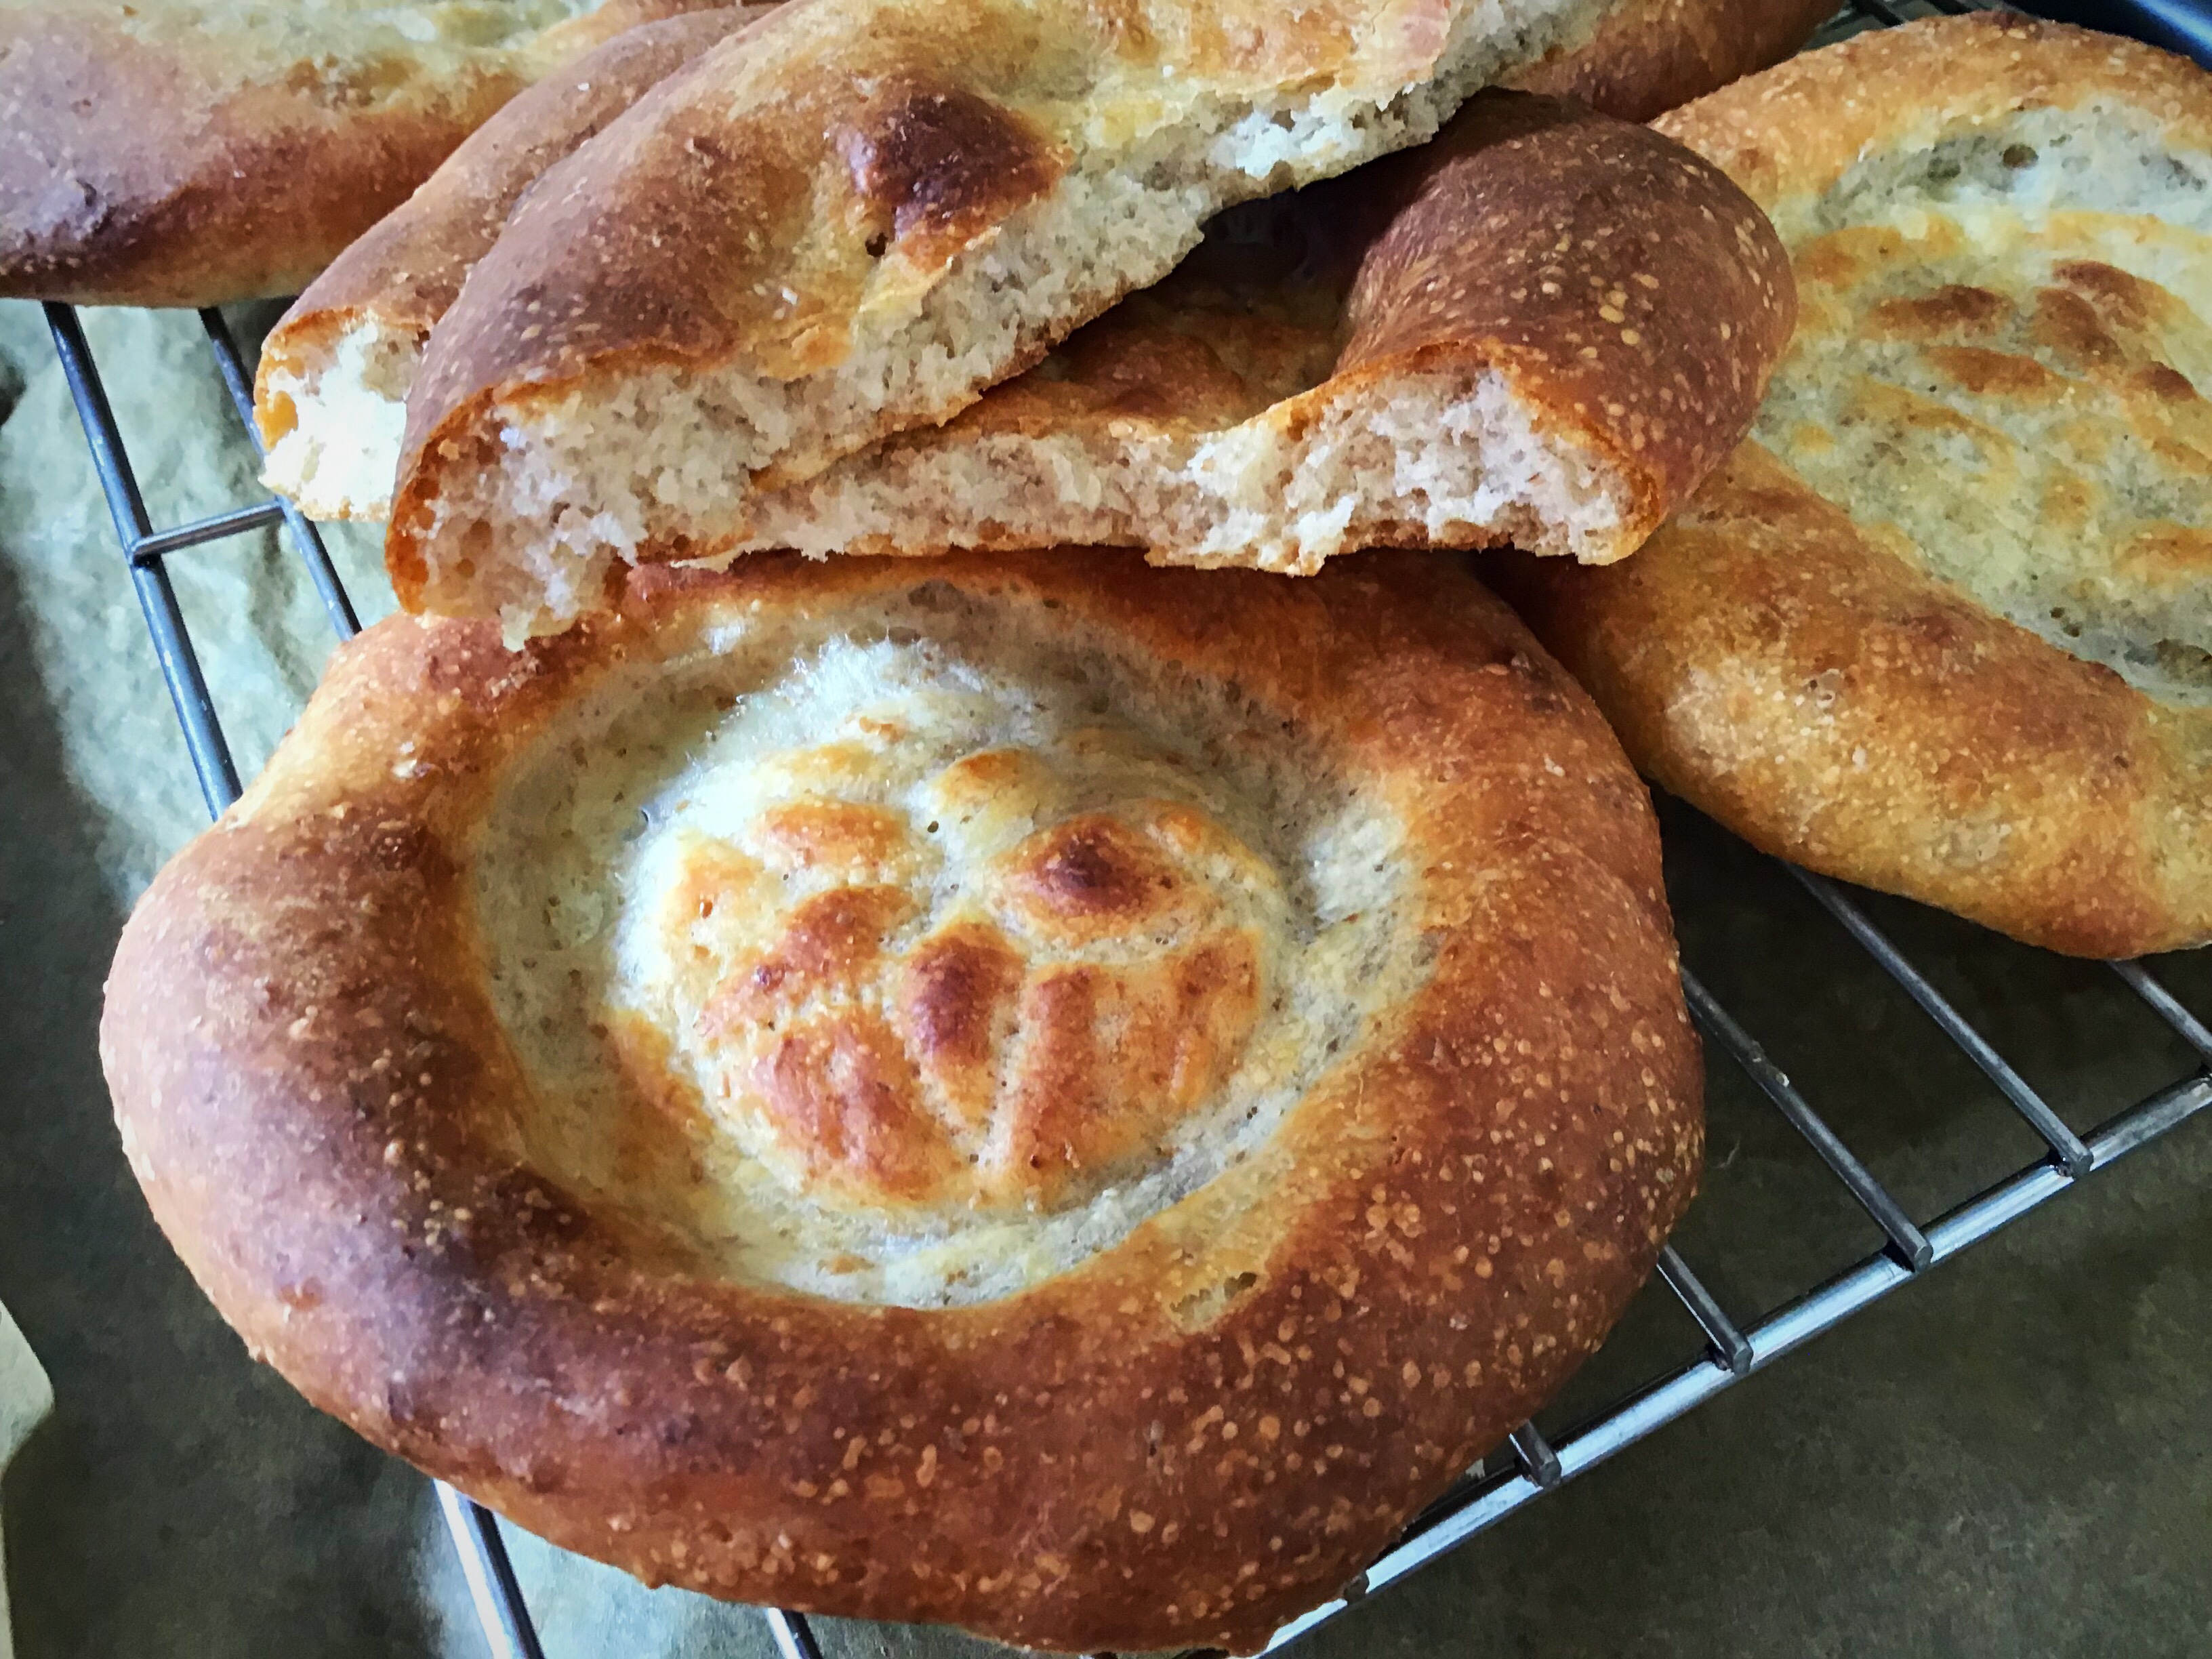
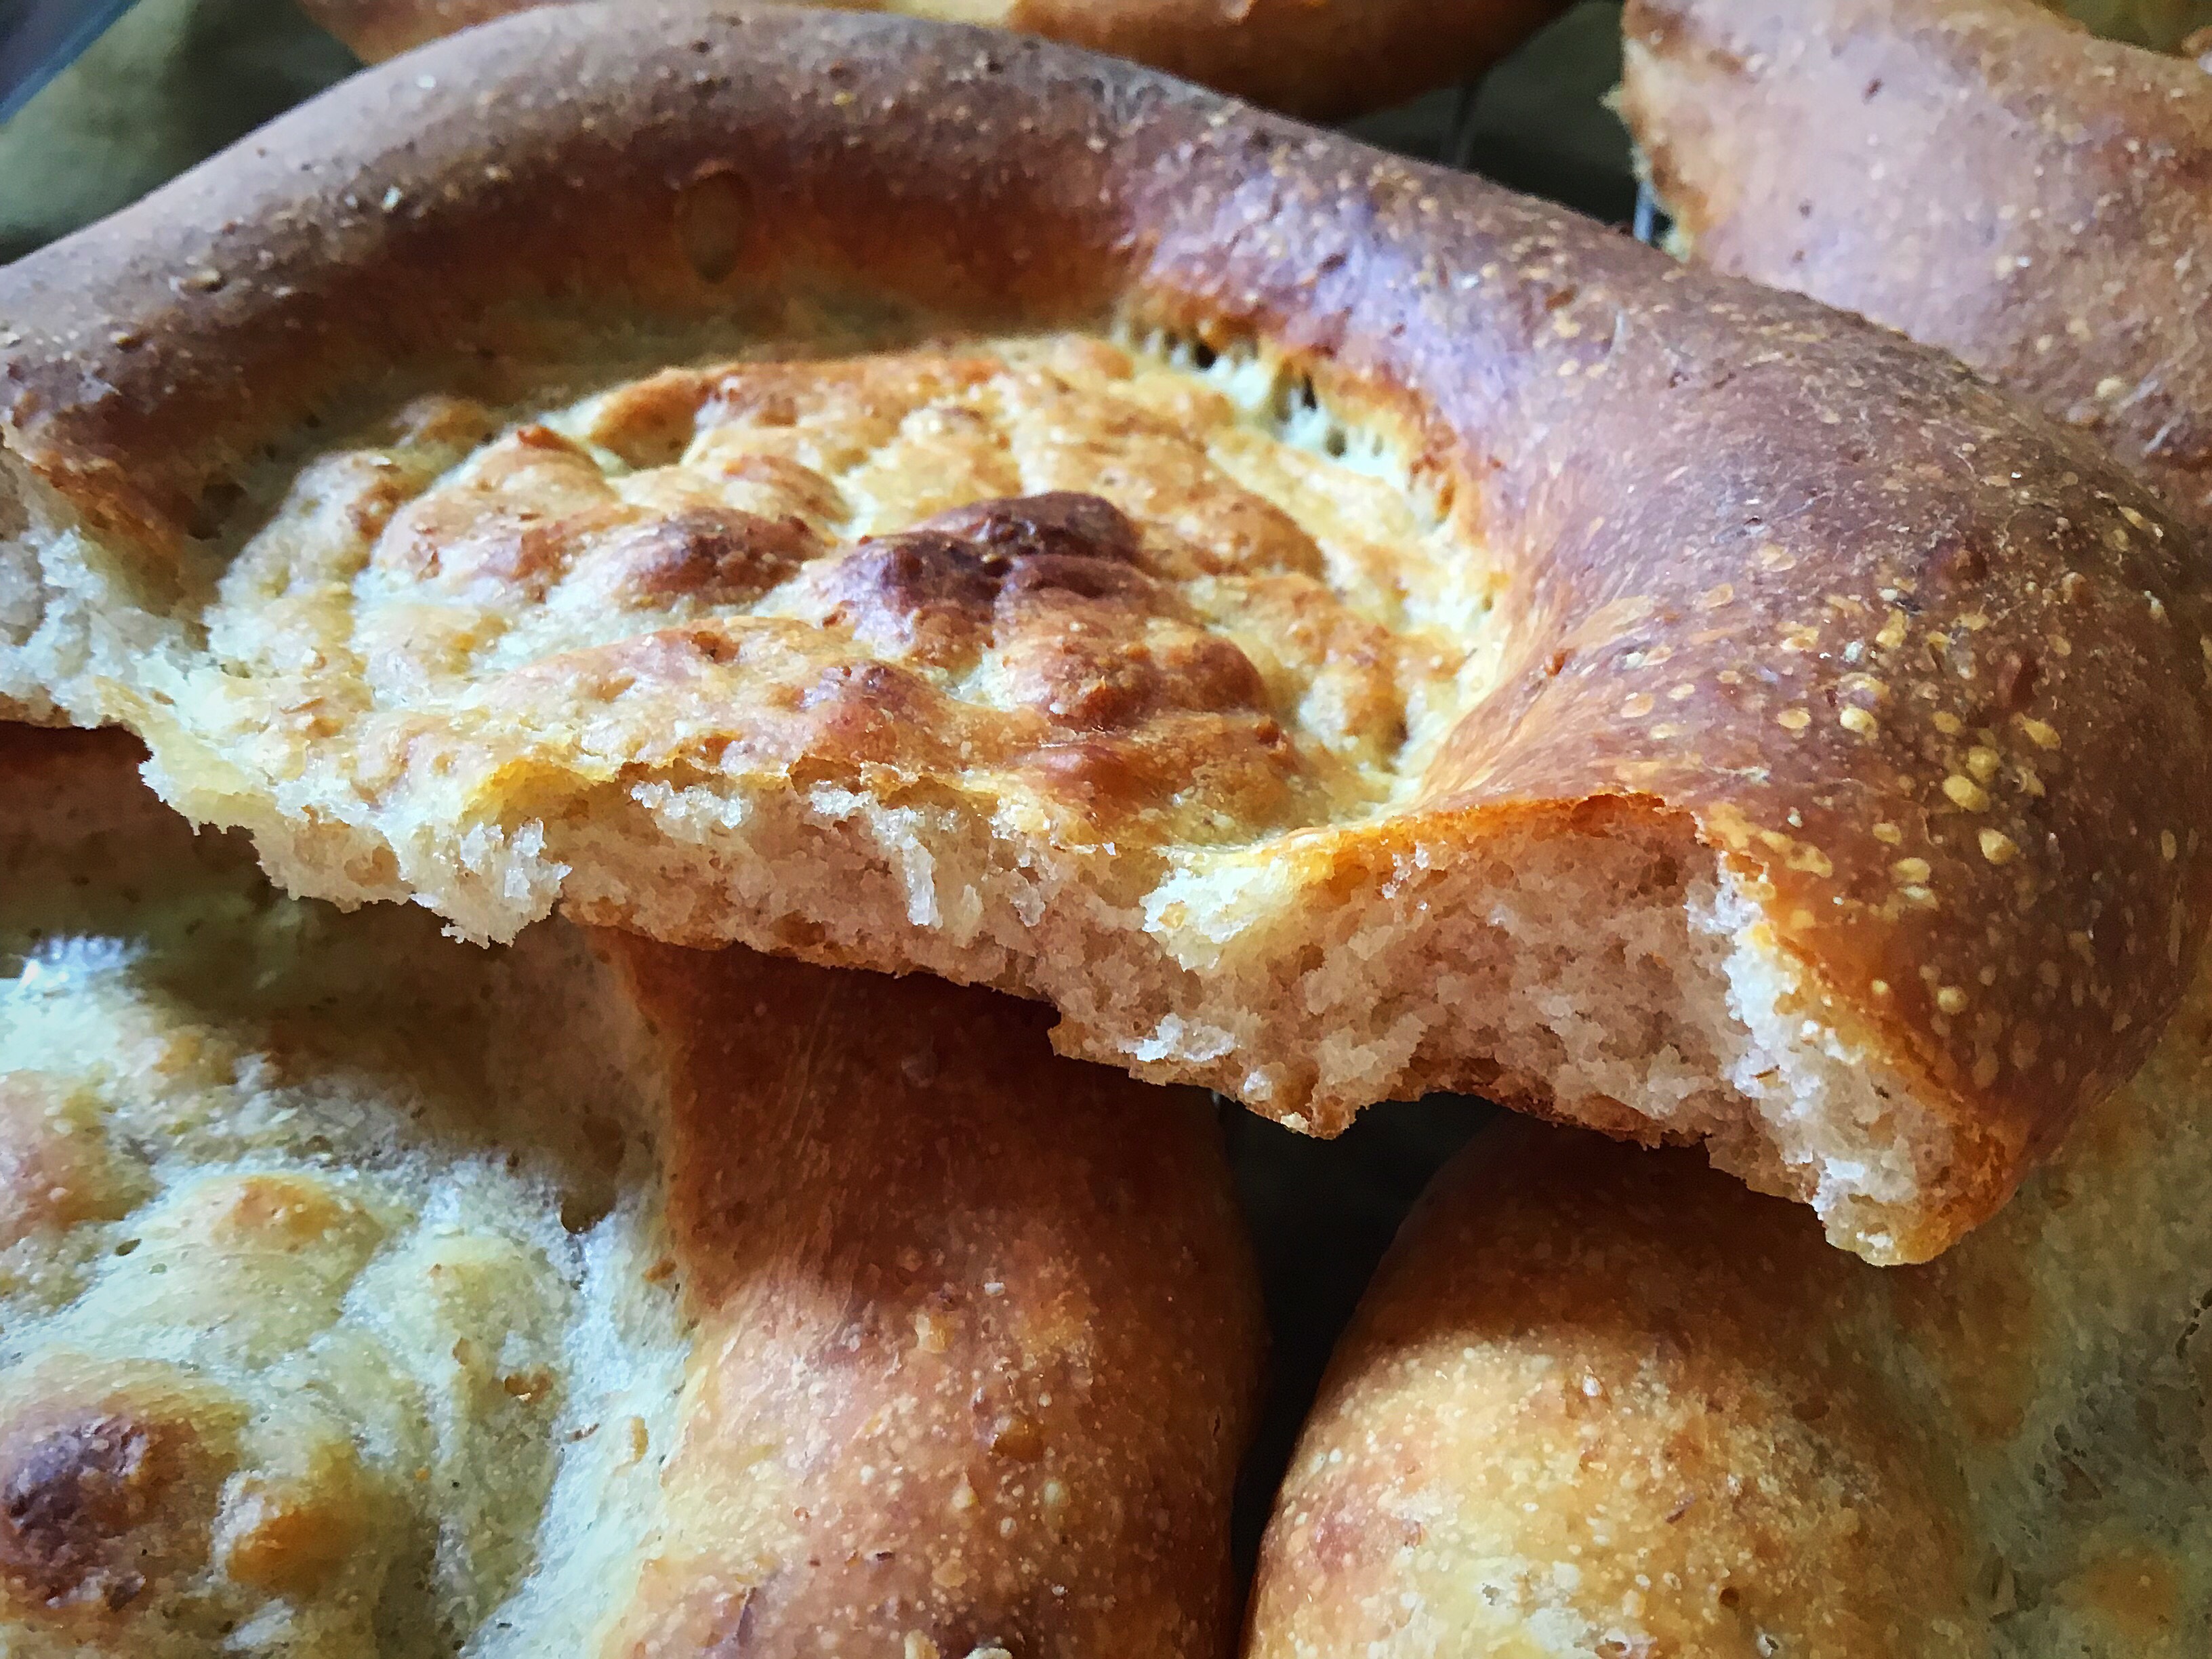
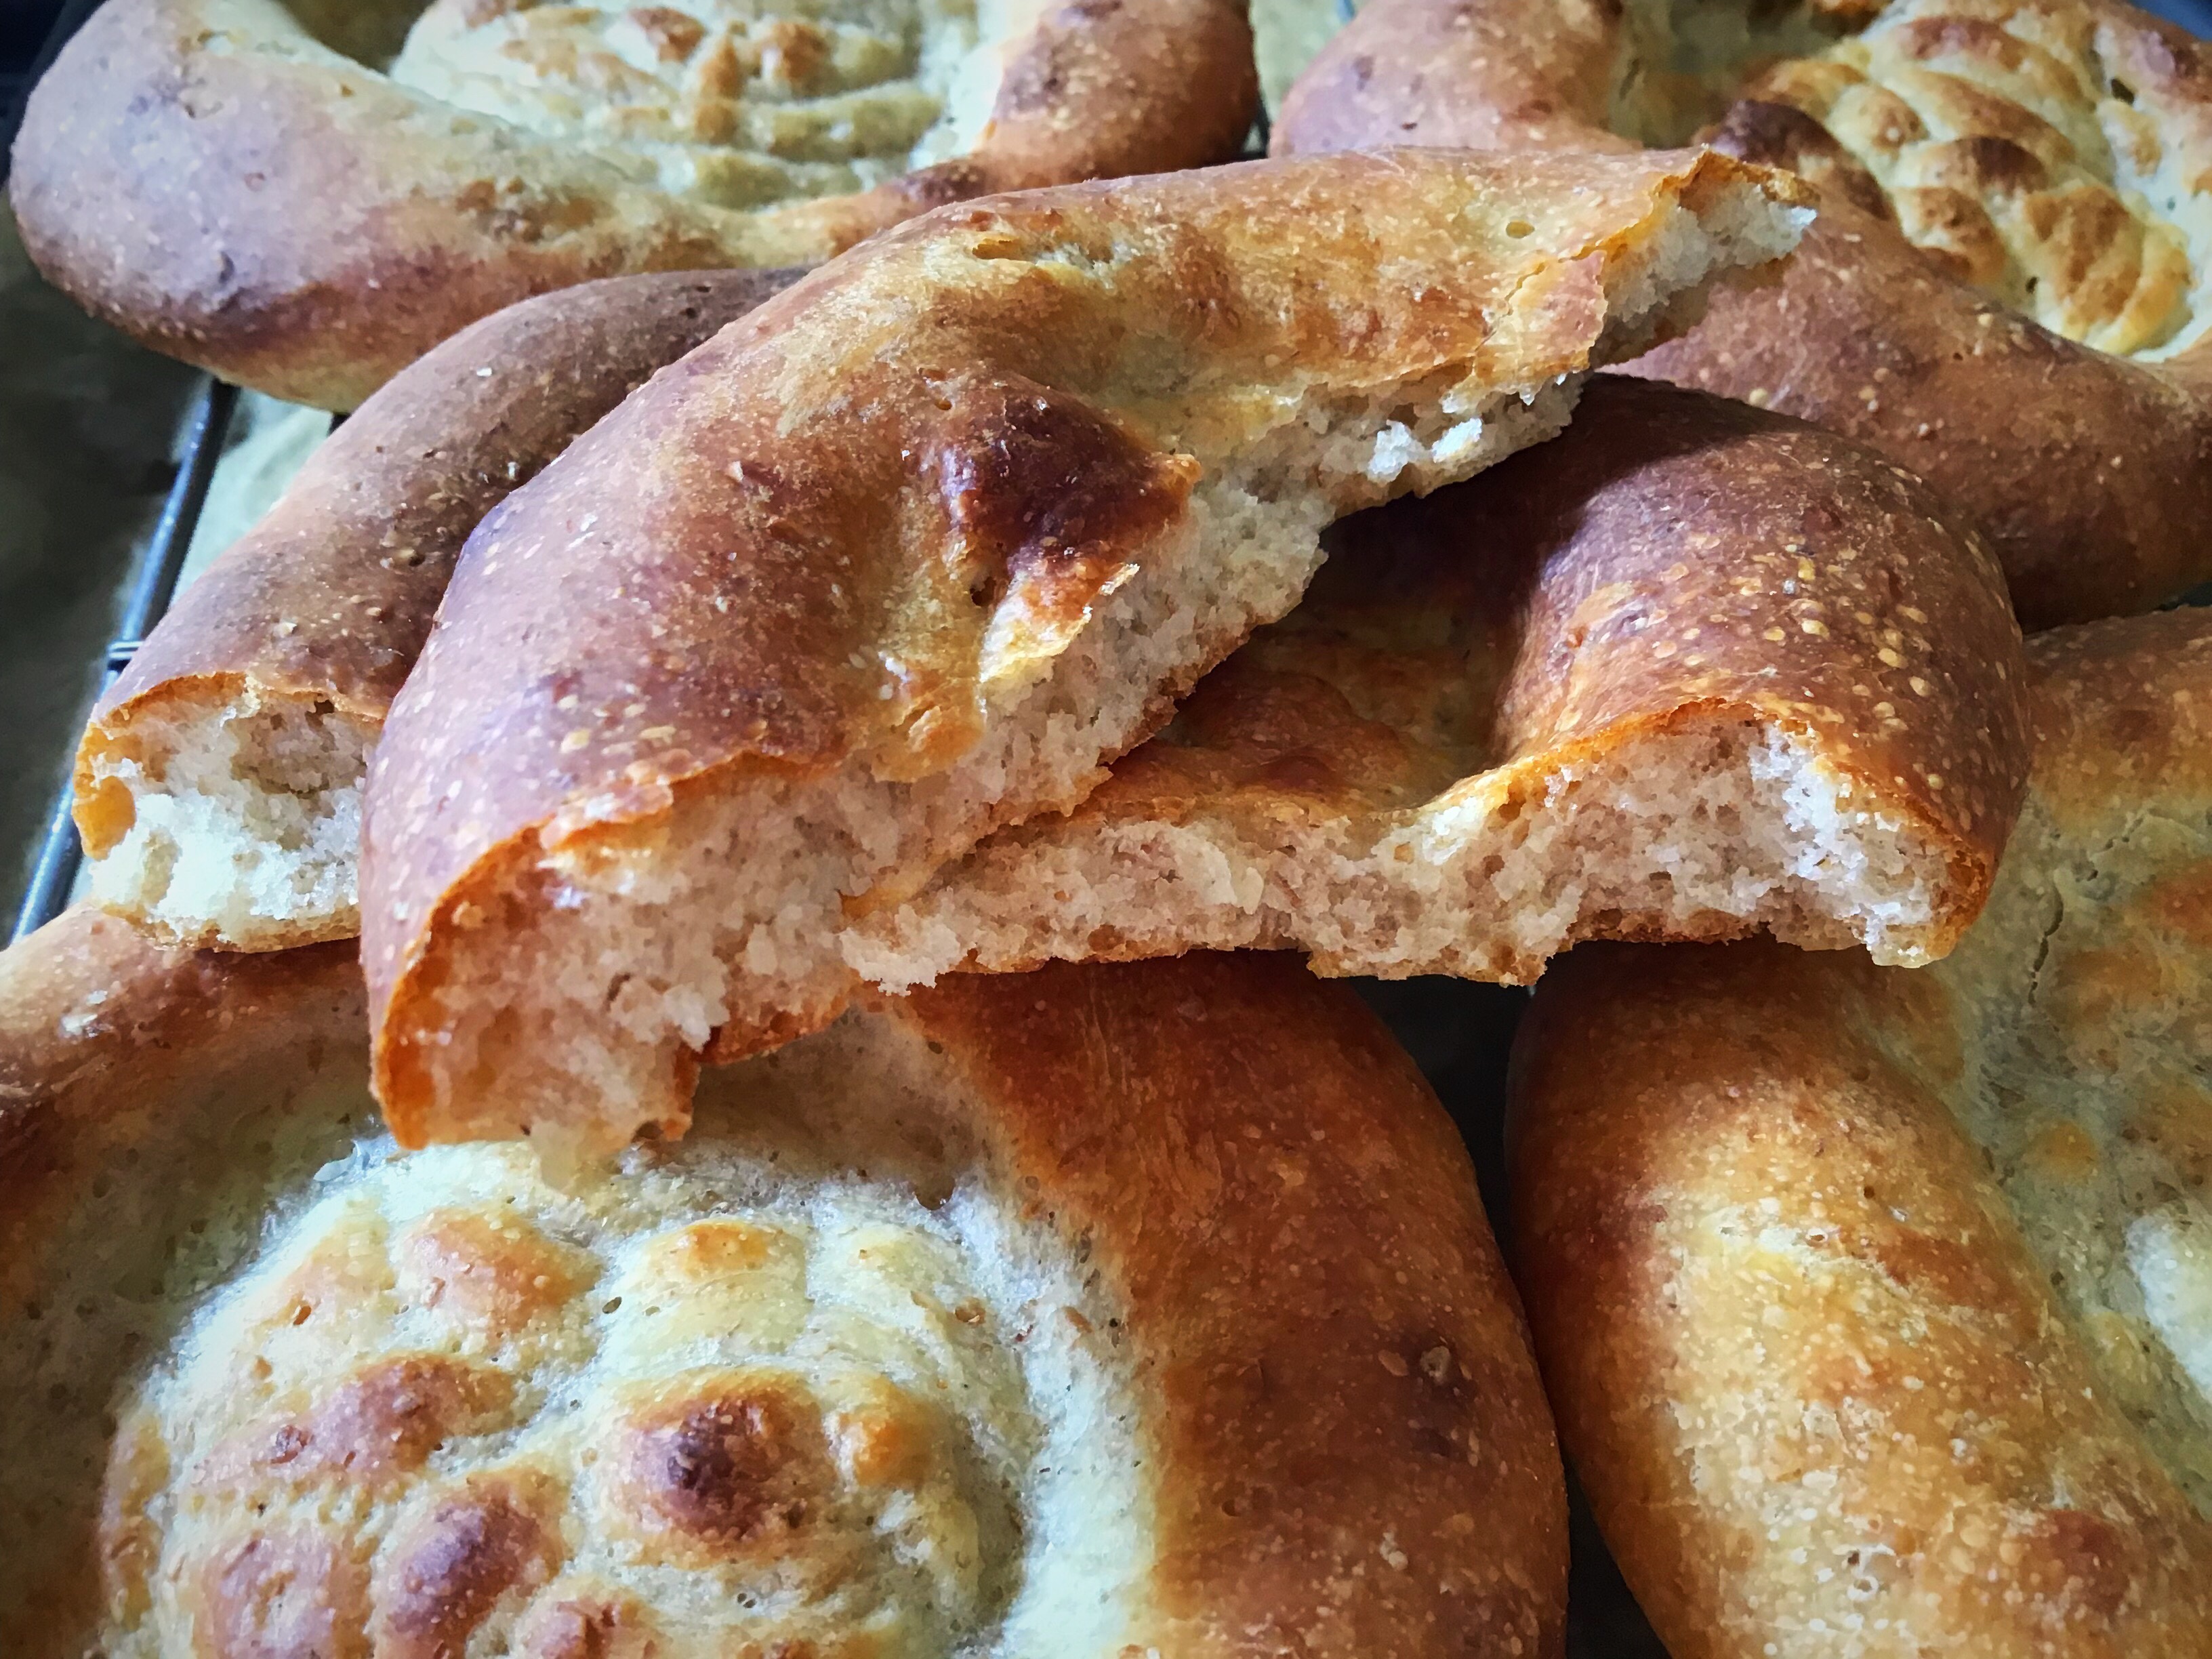
I was very happy with my first attempt, you can just about see the pattern created by the special stamp, but moreover, with the addition of yoghurt in the dough they tasted great. They were lovely immediately from the oven, still good a few hours later, and then again just as tasty the next day when heated up again in the toaster.
To make them I made a stiffer dough than usual by using a mix of wholemeal and white flour, plus the yoghurt in place of water. I used a 0% fat Greek yoghurt (just because that’s what I had available, I’d use full fat next time) so it added a real tang to the flavour, and an almost cheesy taste once baked.

To use the stamp and stop it from sticking to the dough I dunked it in water for each use, then firmly pressed it into the dough and pulled directly back up and out again.
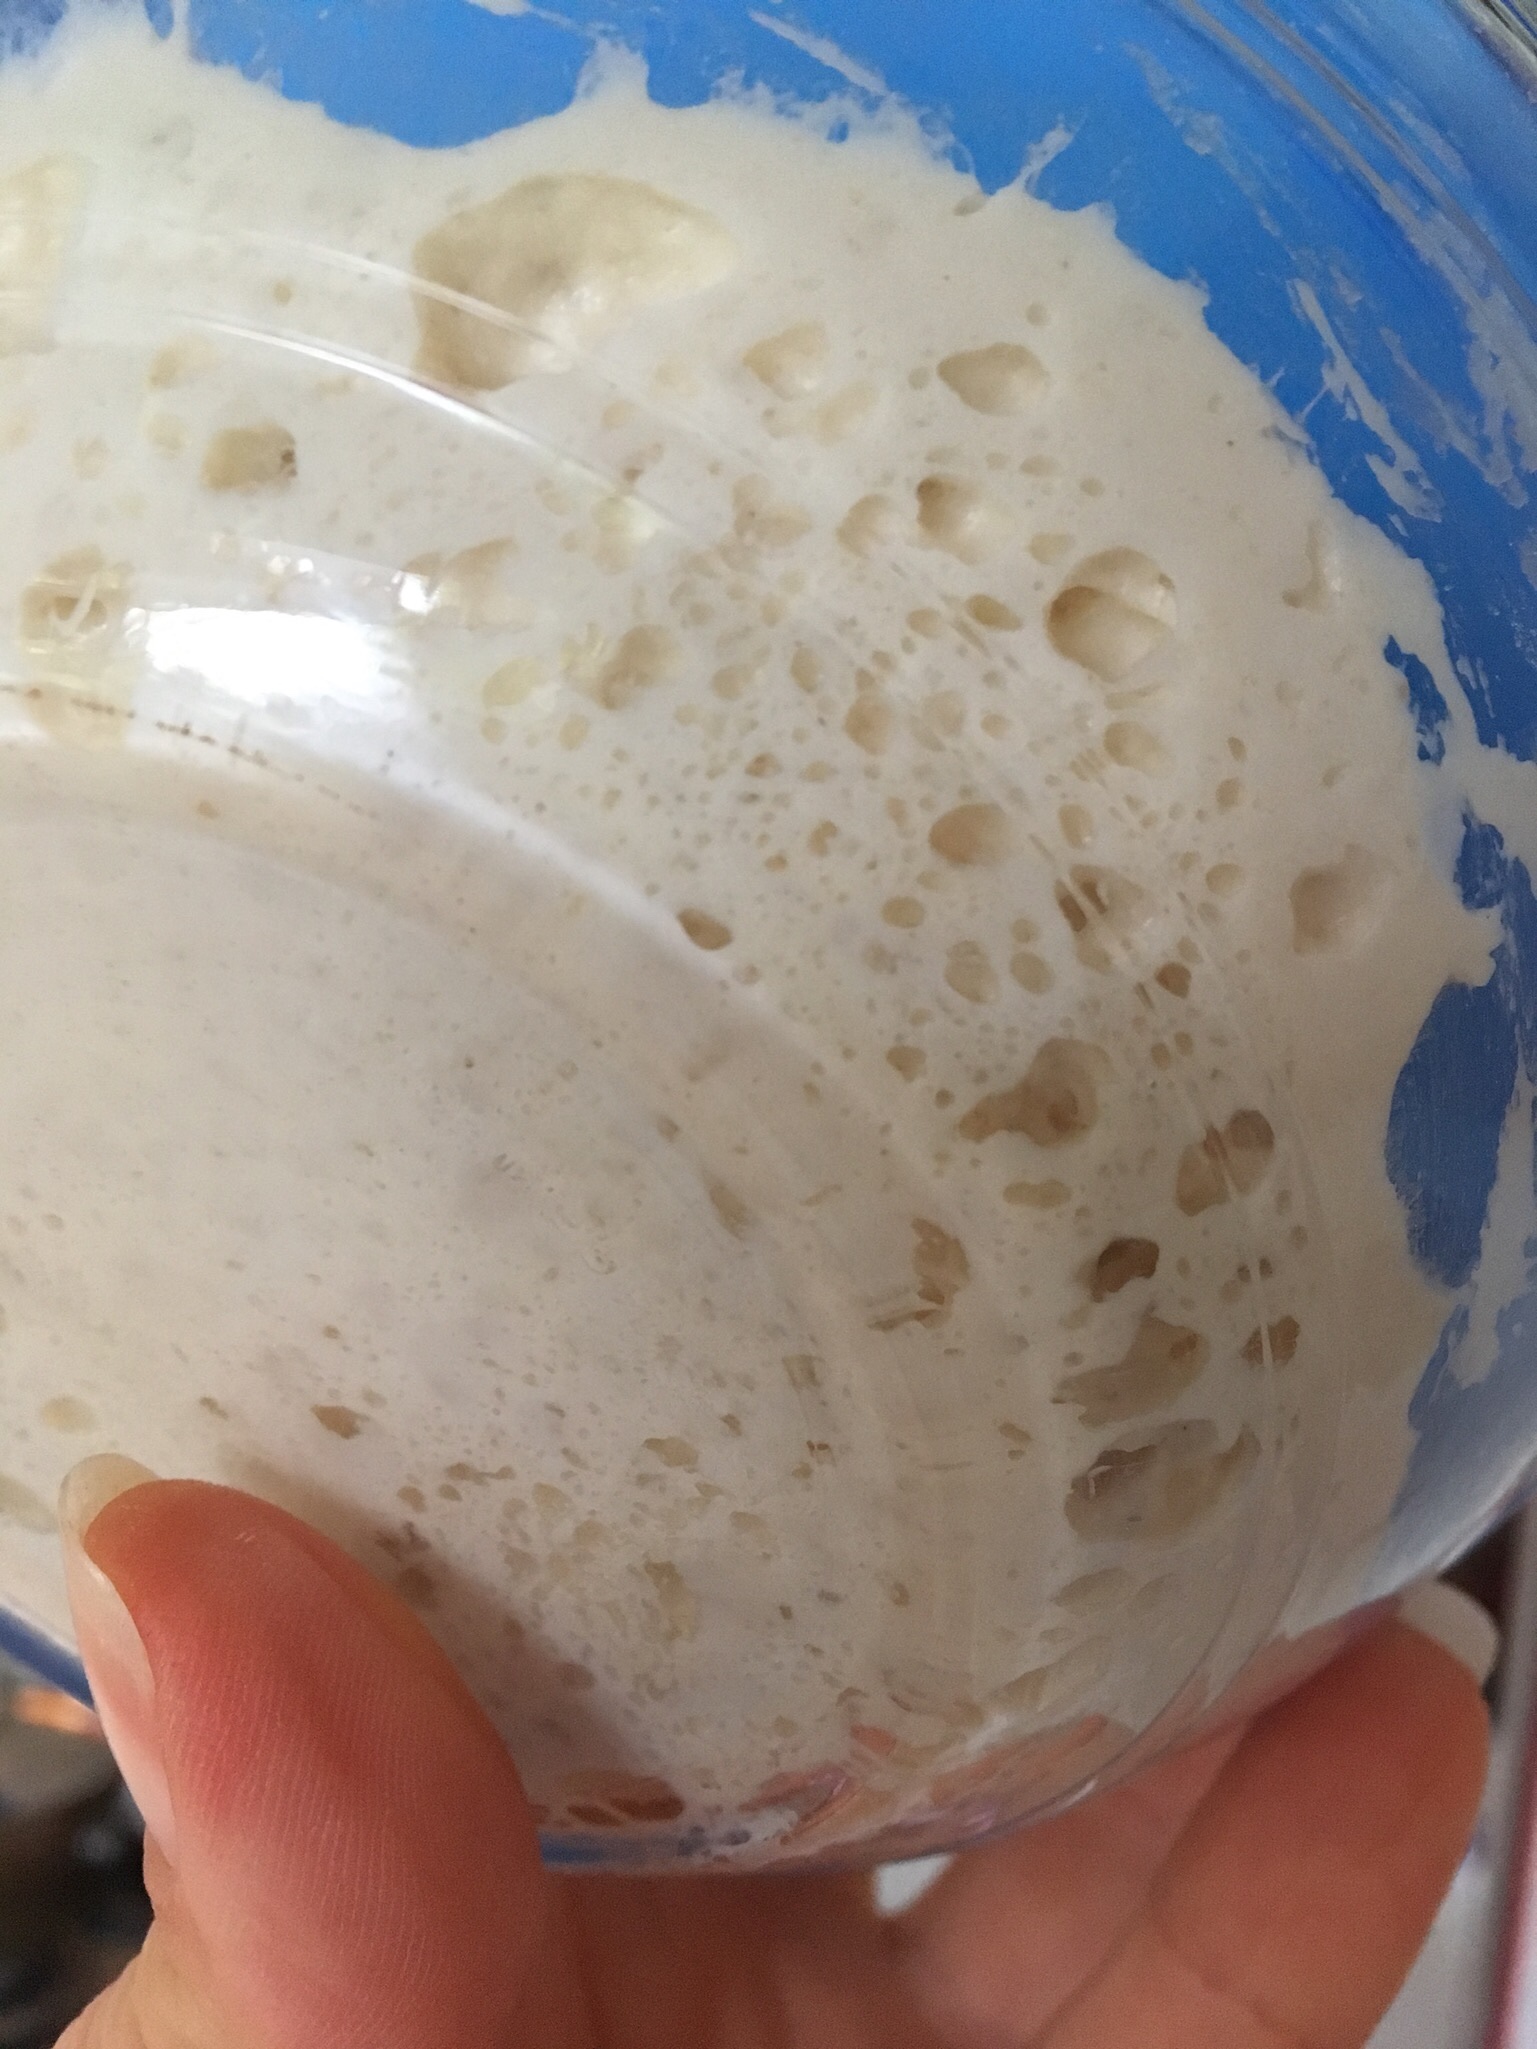
For these I used up lots of young starter, from the starters I’ve been playing with in my kitchen recently, and less yoghurt, but you don’t need to. You could use less of your established starter and more yoghurt to create the same consistency in the dough.
Ingredients
300g young starter
100g thick Greek yoghurt
200g strong white bread flour
50g strong wholemeal flour
20g olive oil
1tsp salt
Method
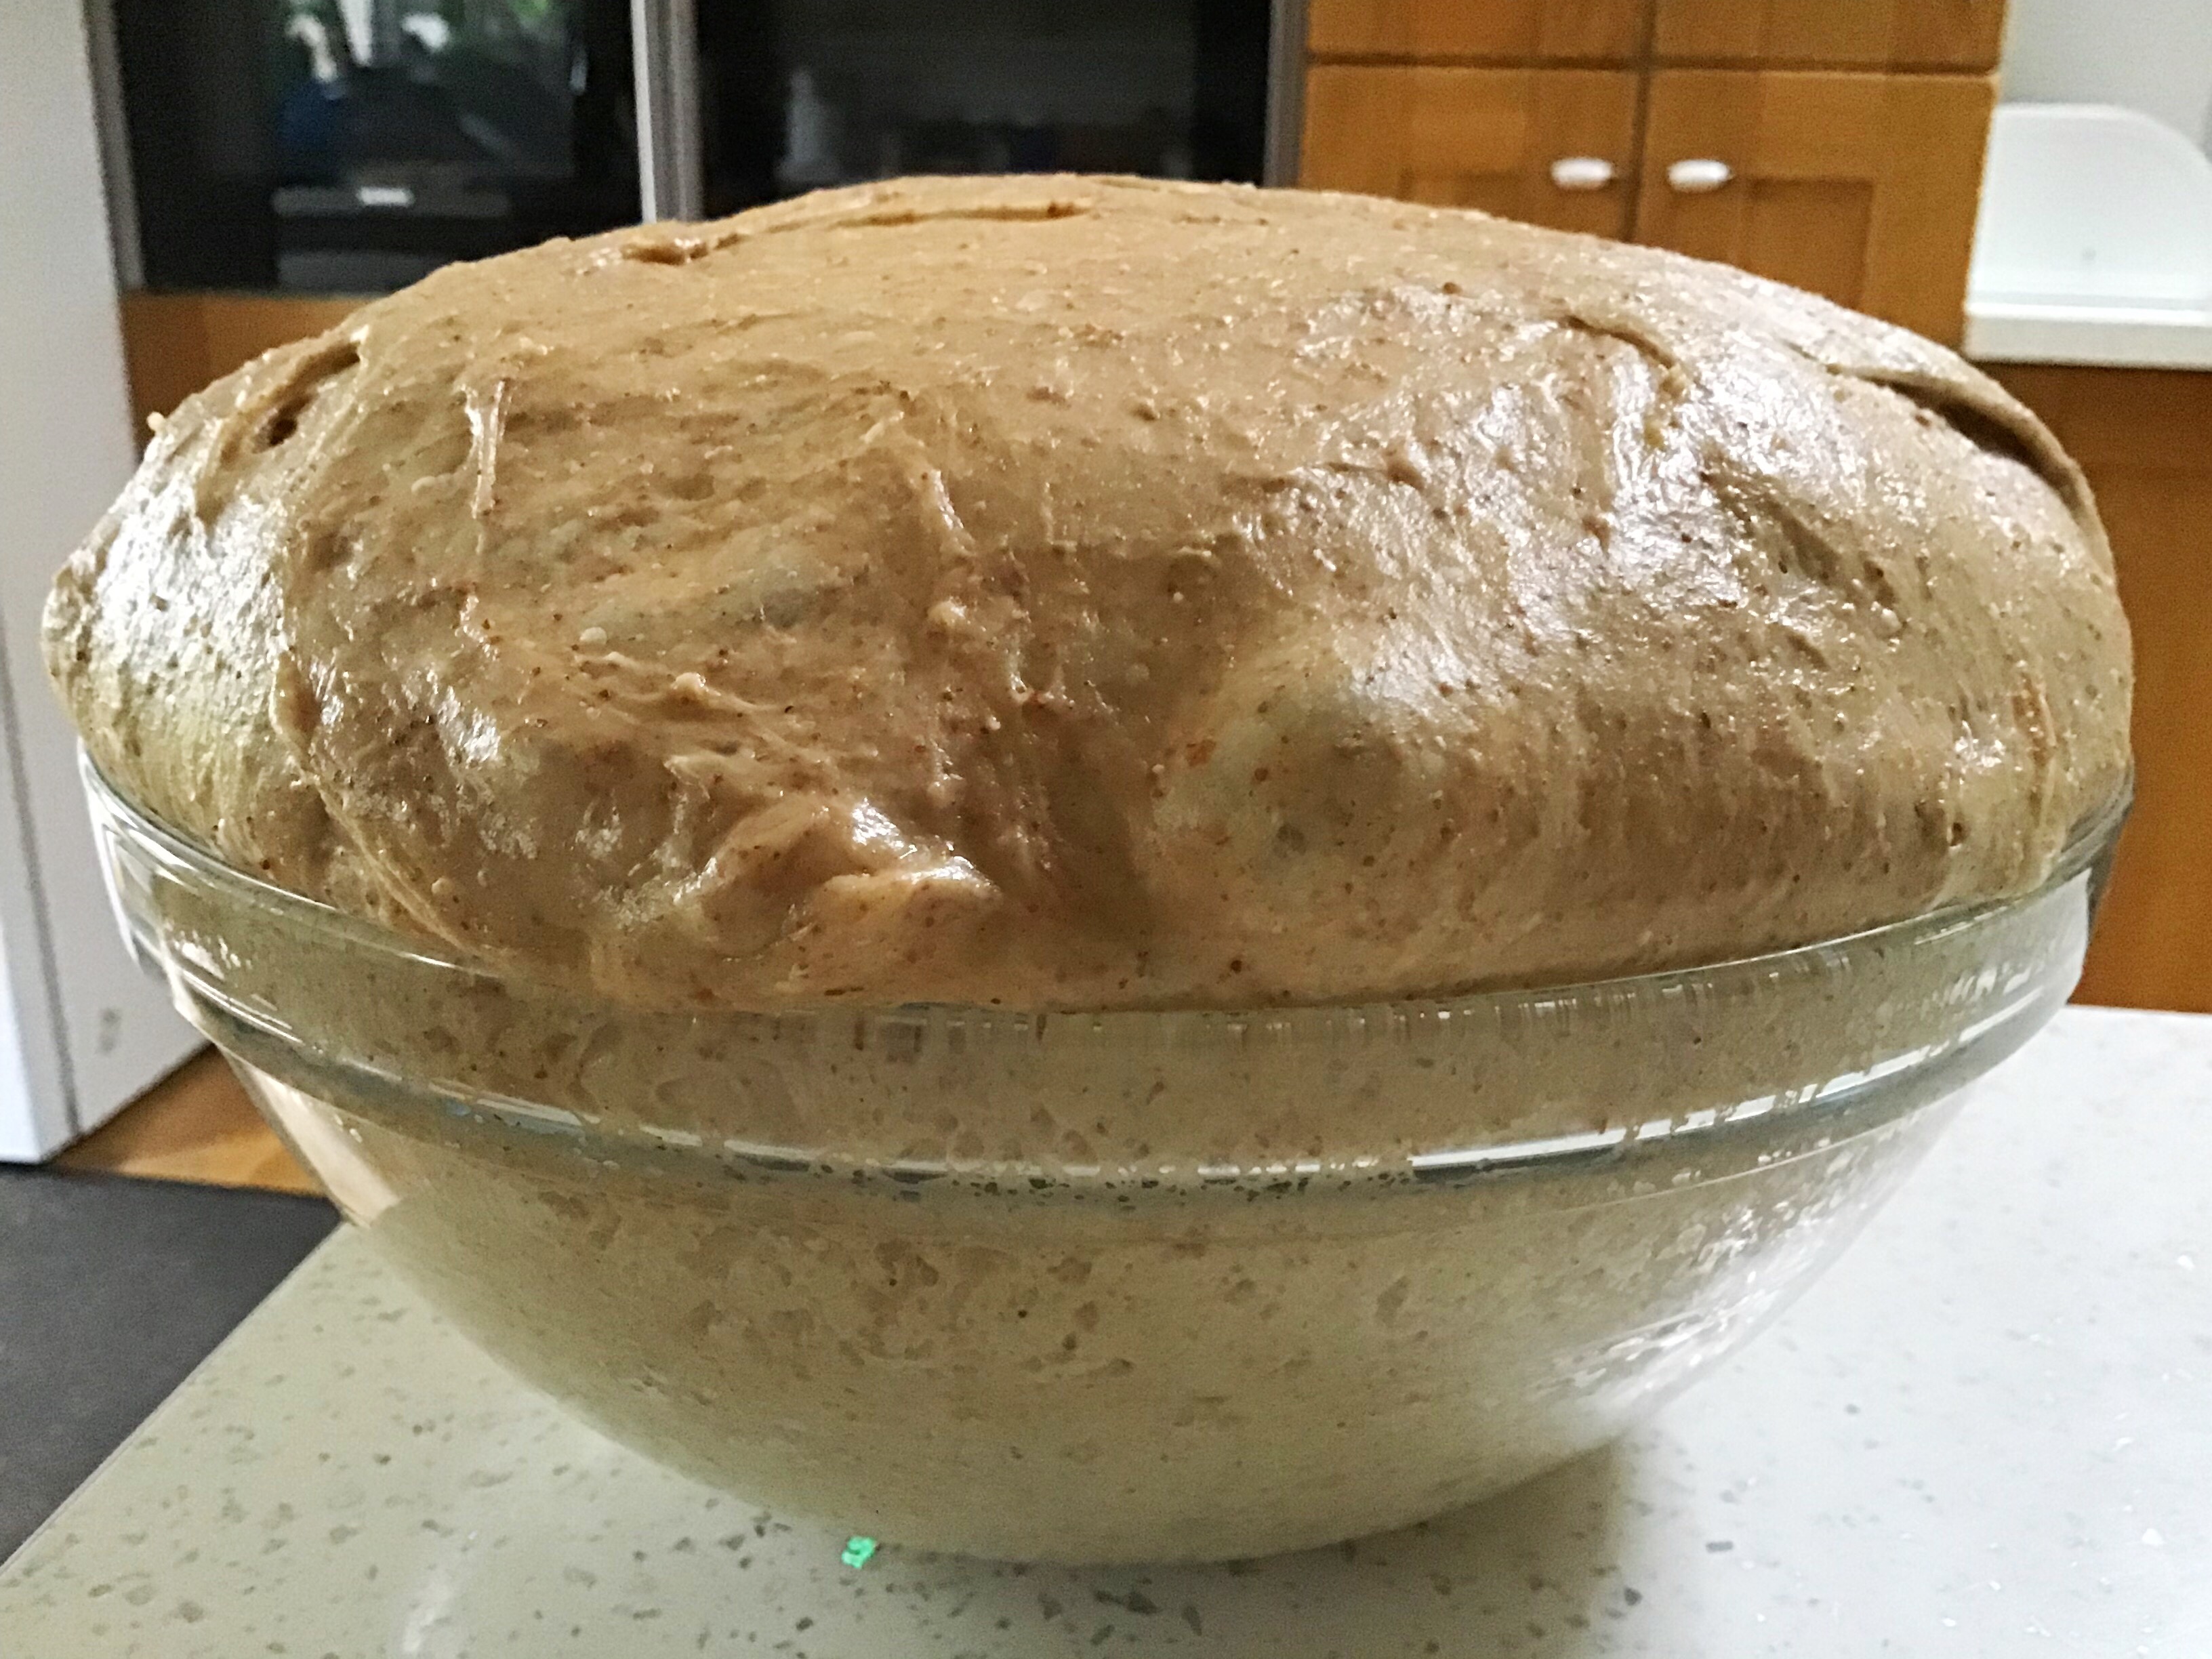
I used my usual master recipe process to create and build up the dough, then placed the bowl in the fridge overnight for it to develop, as well as to protect it from the warm night.
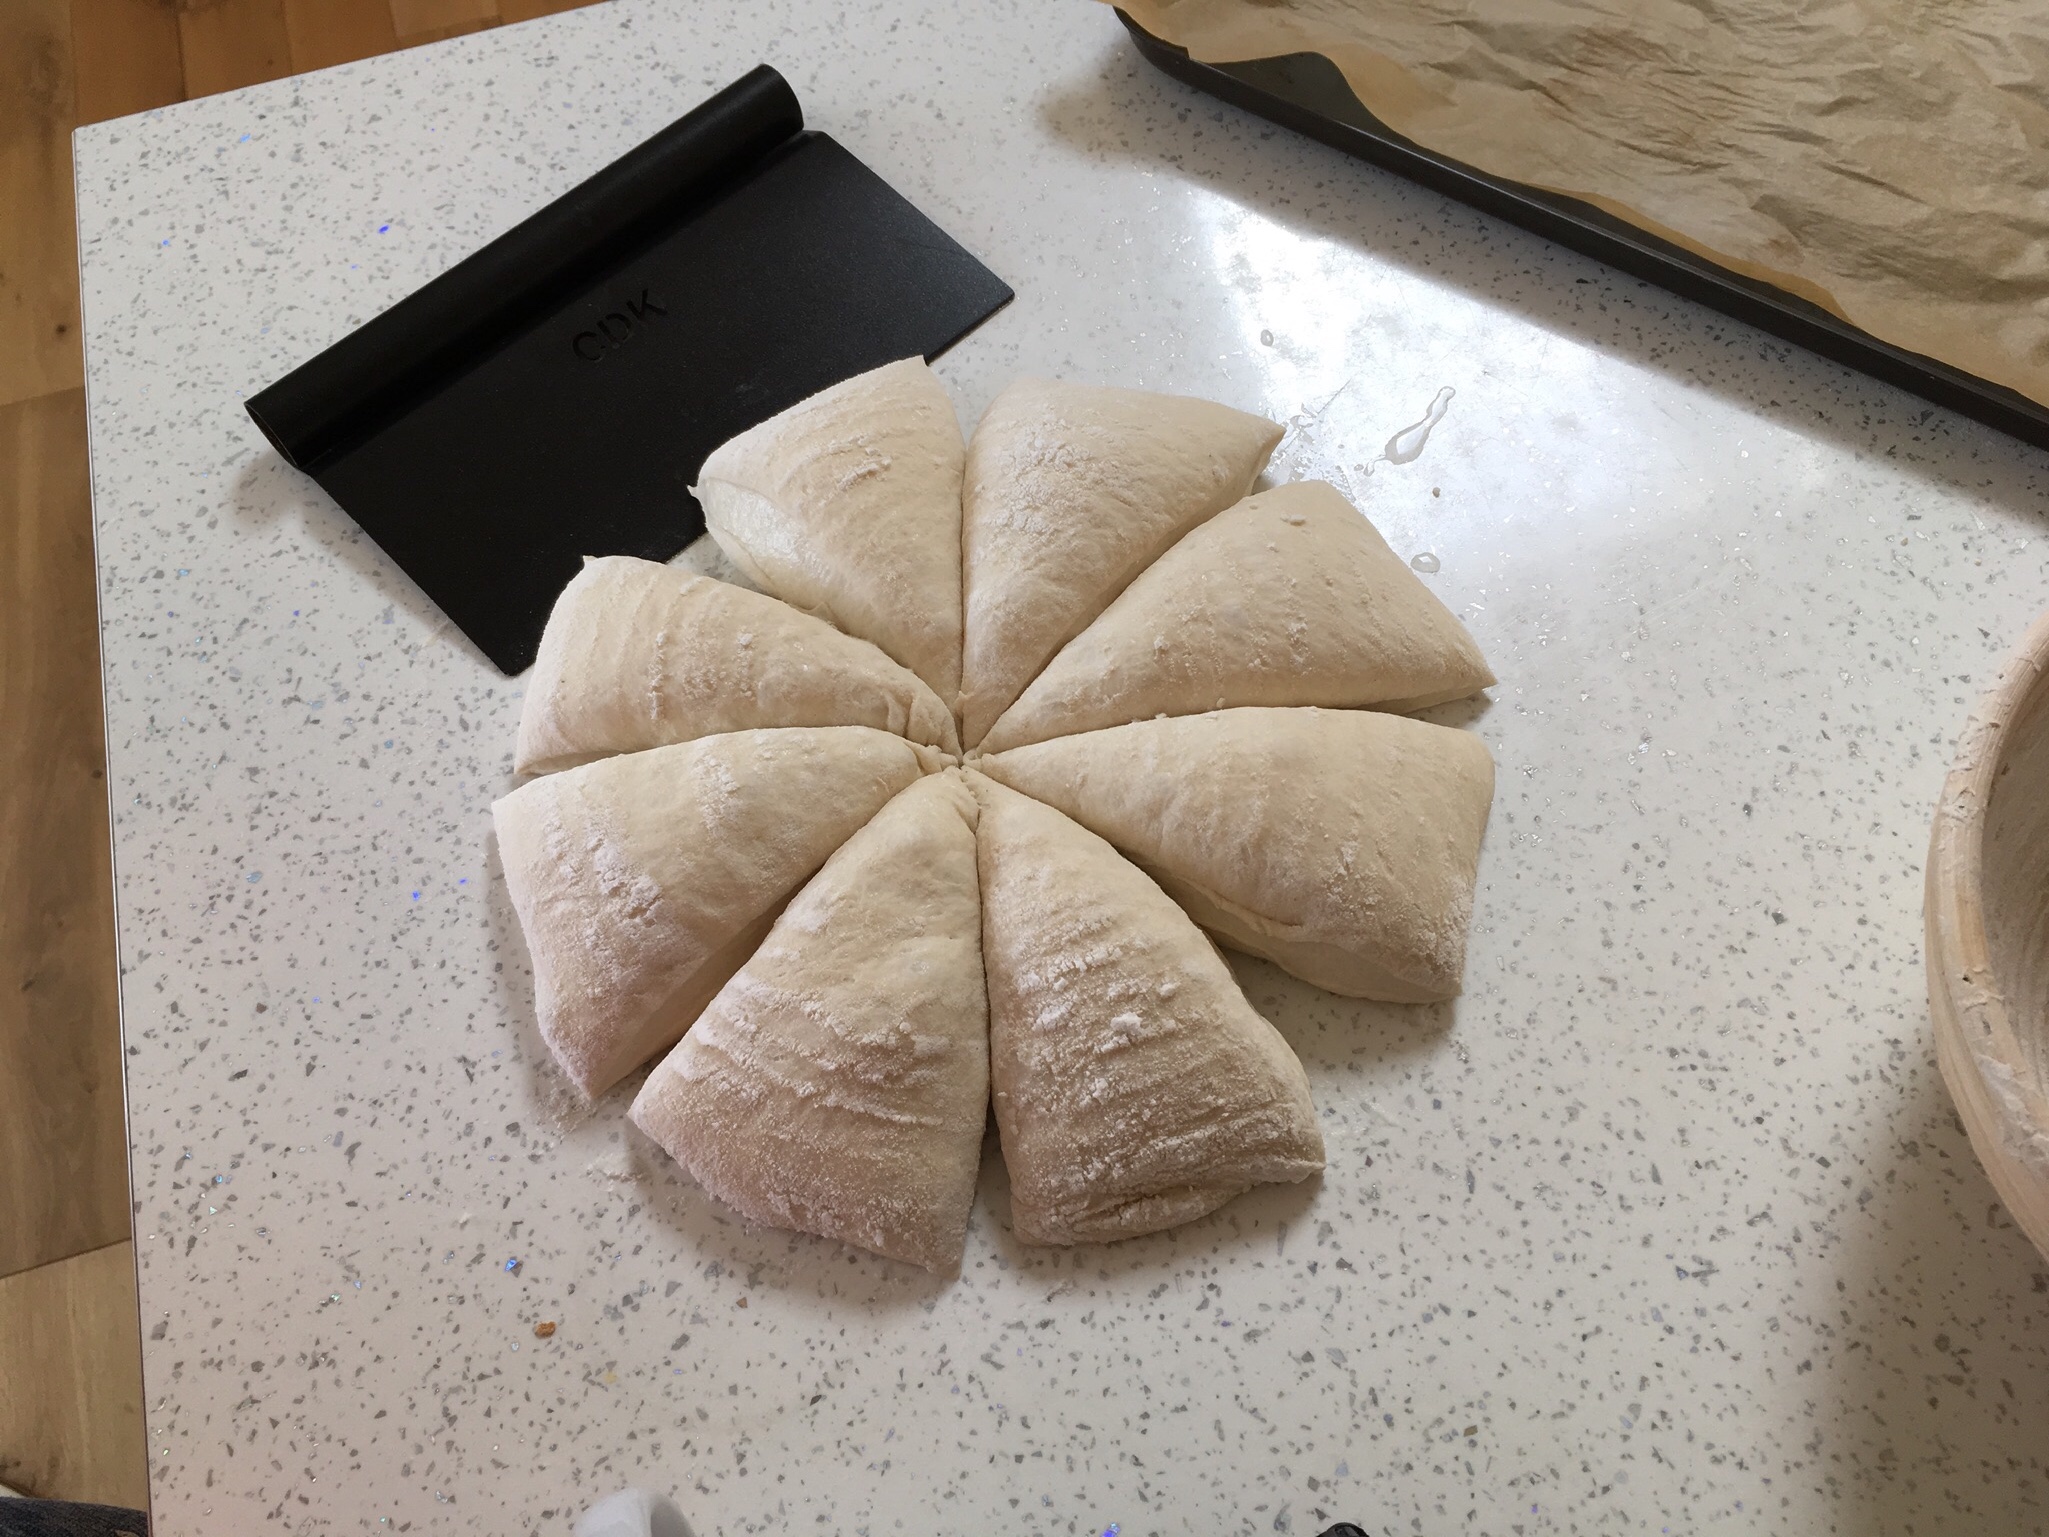
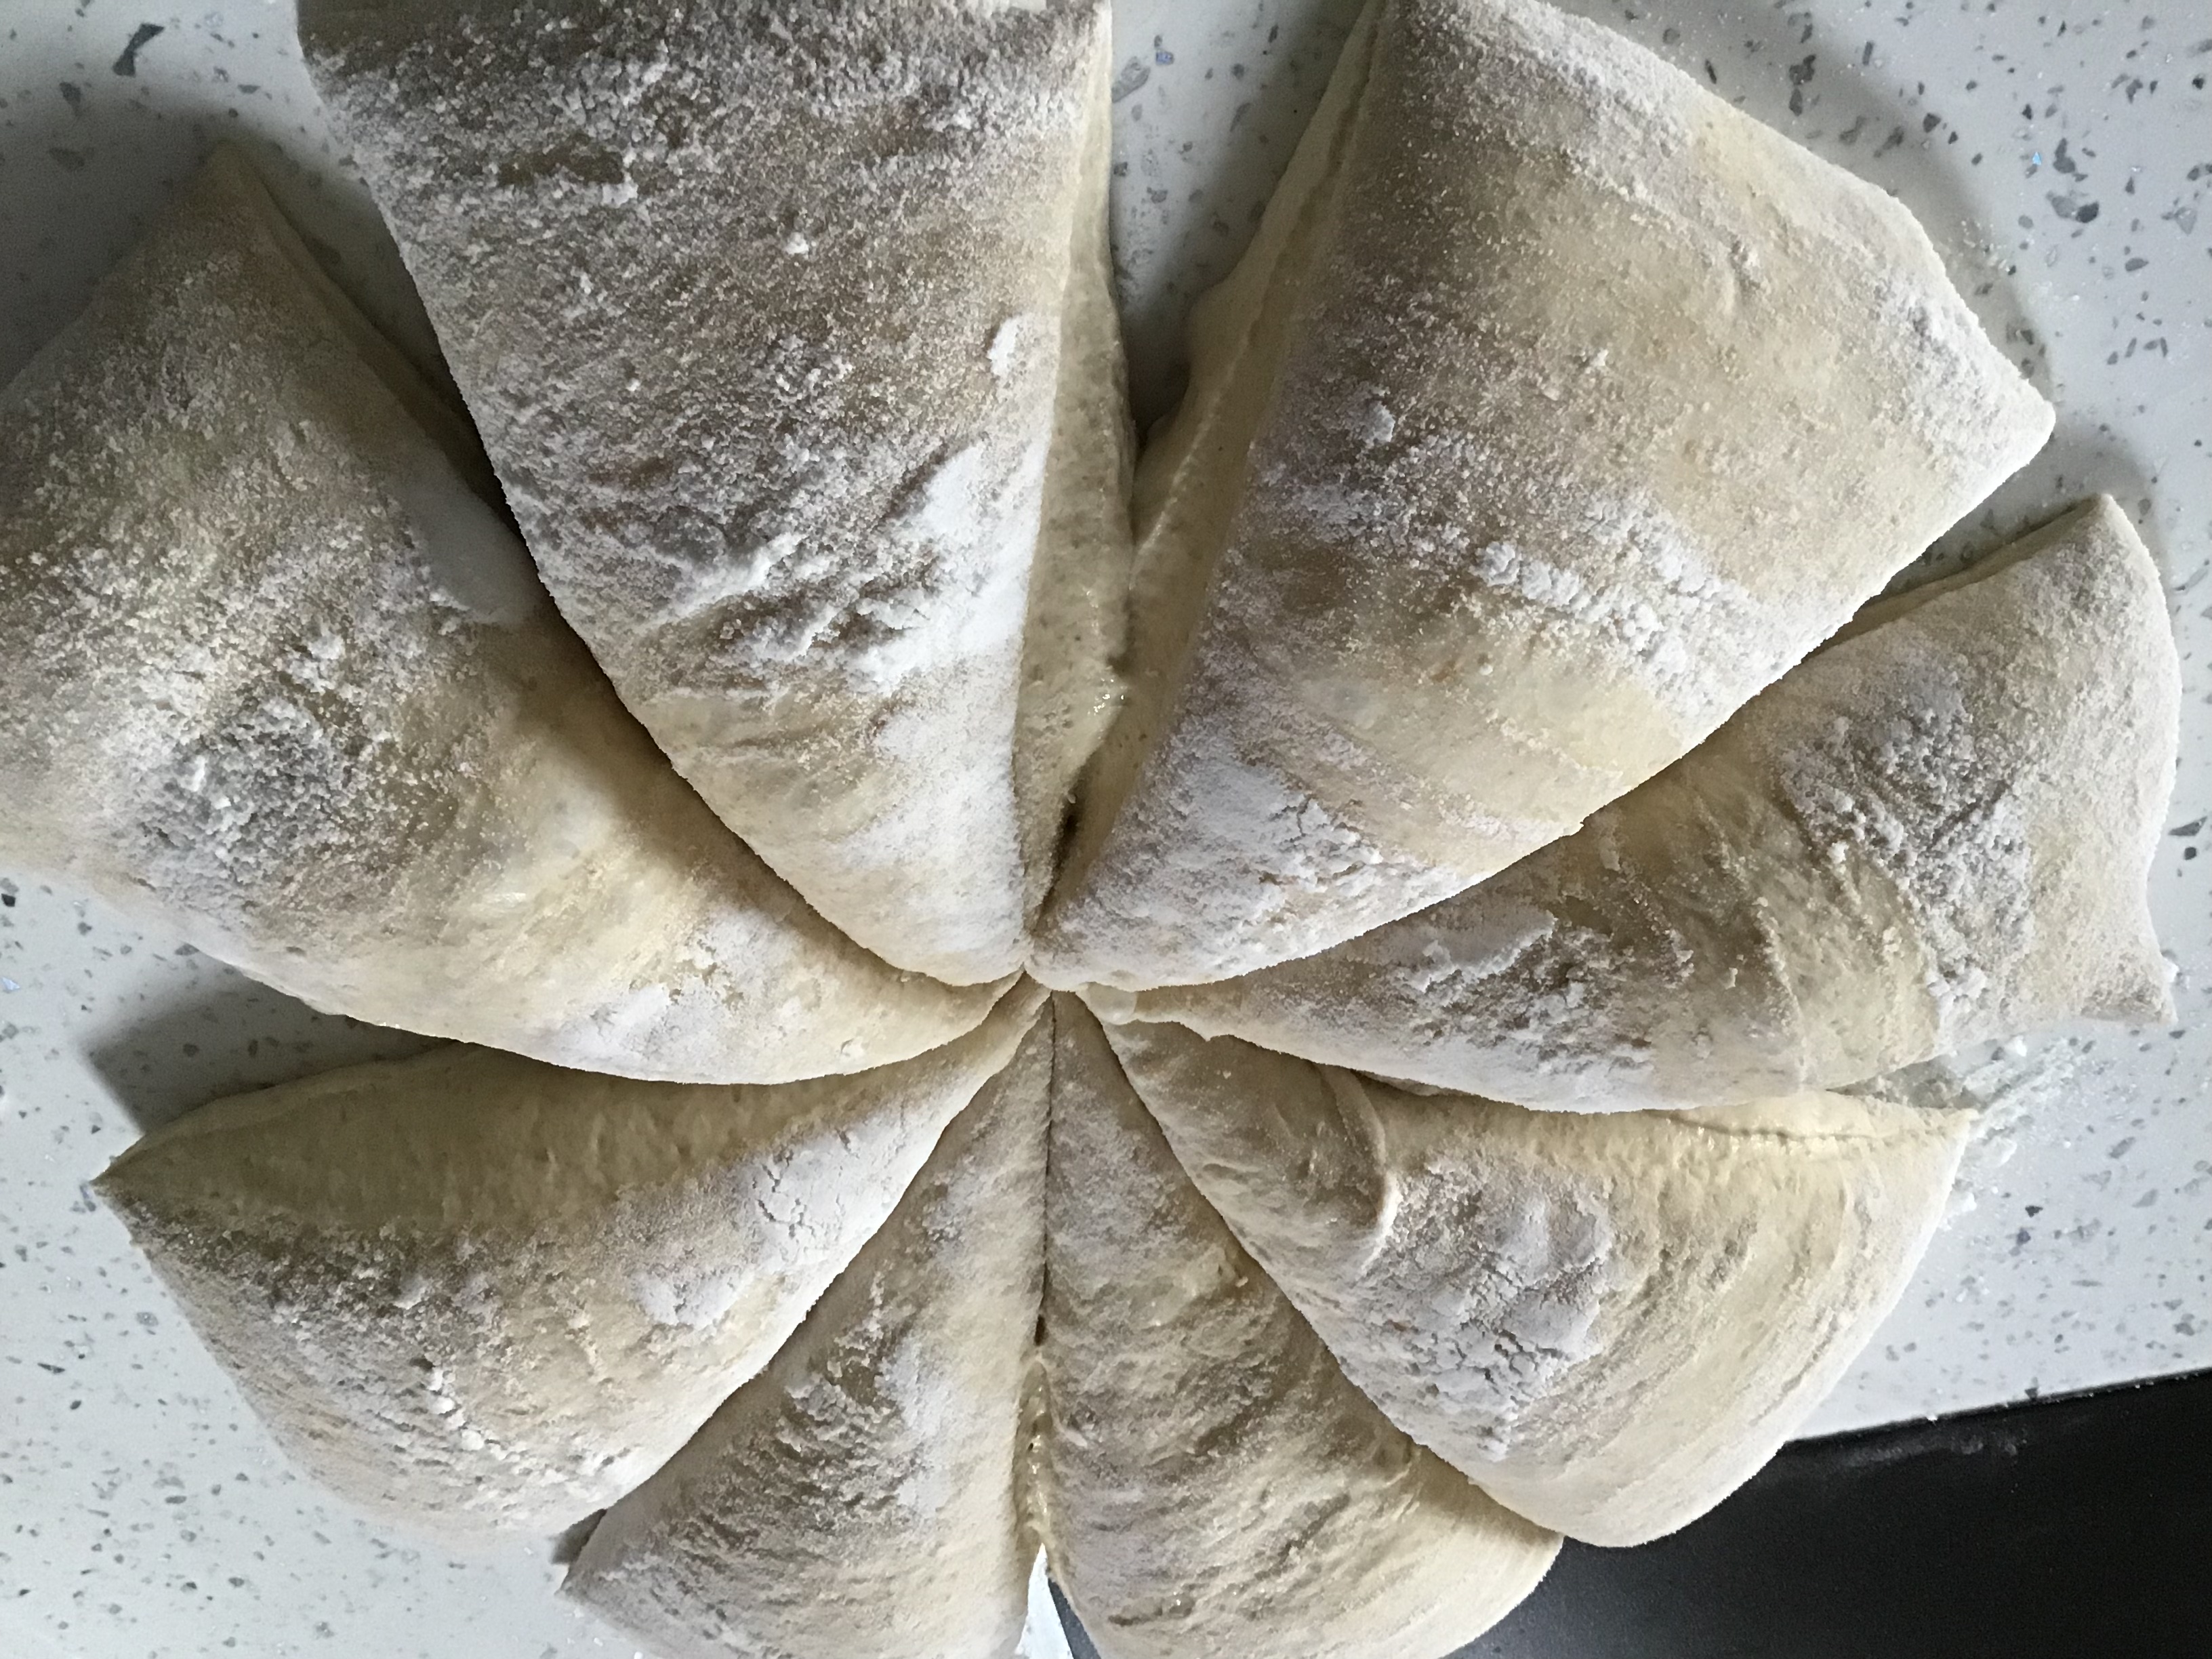
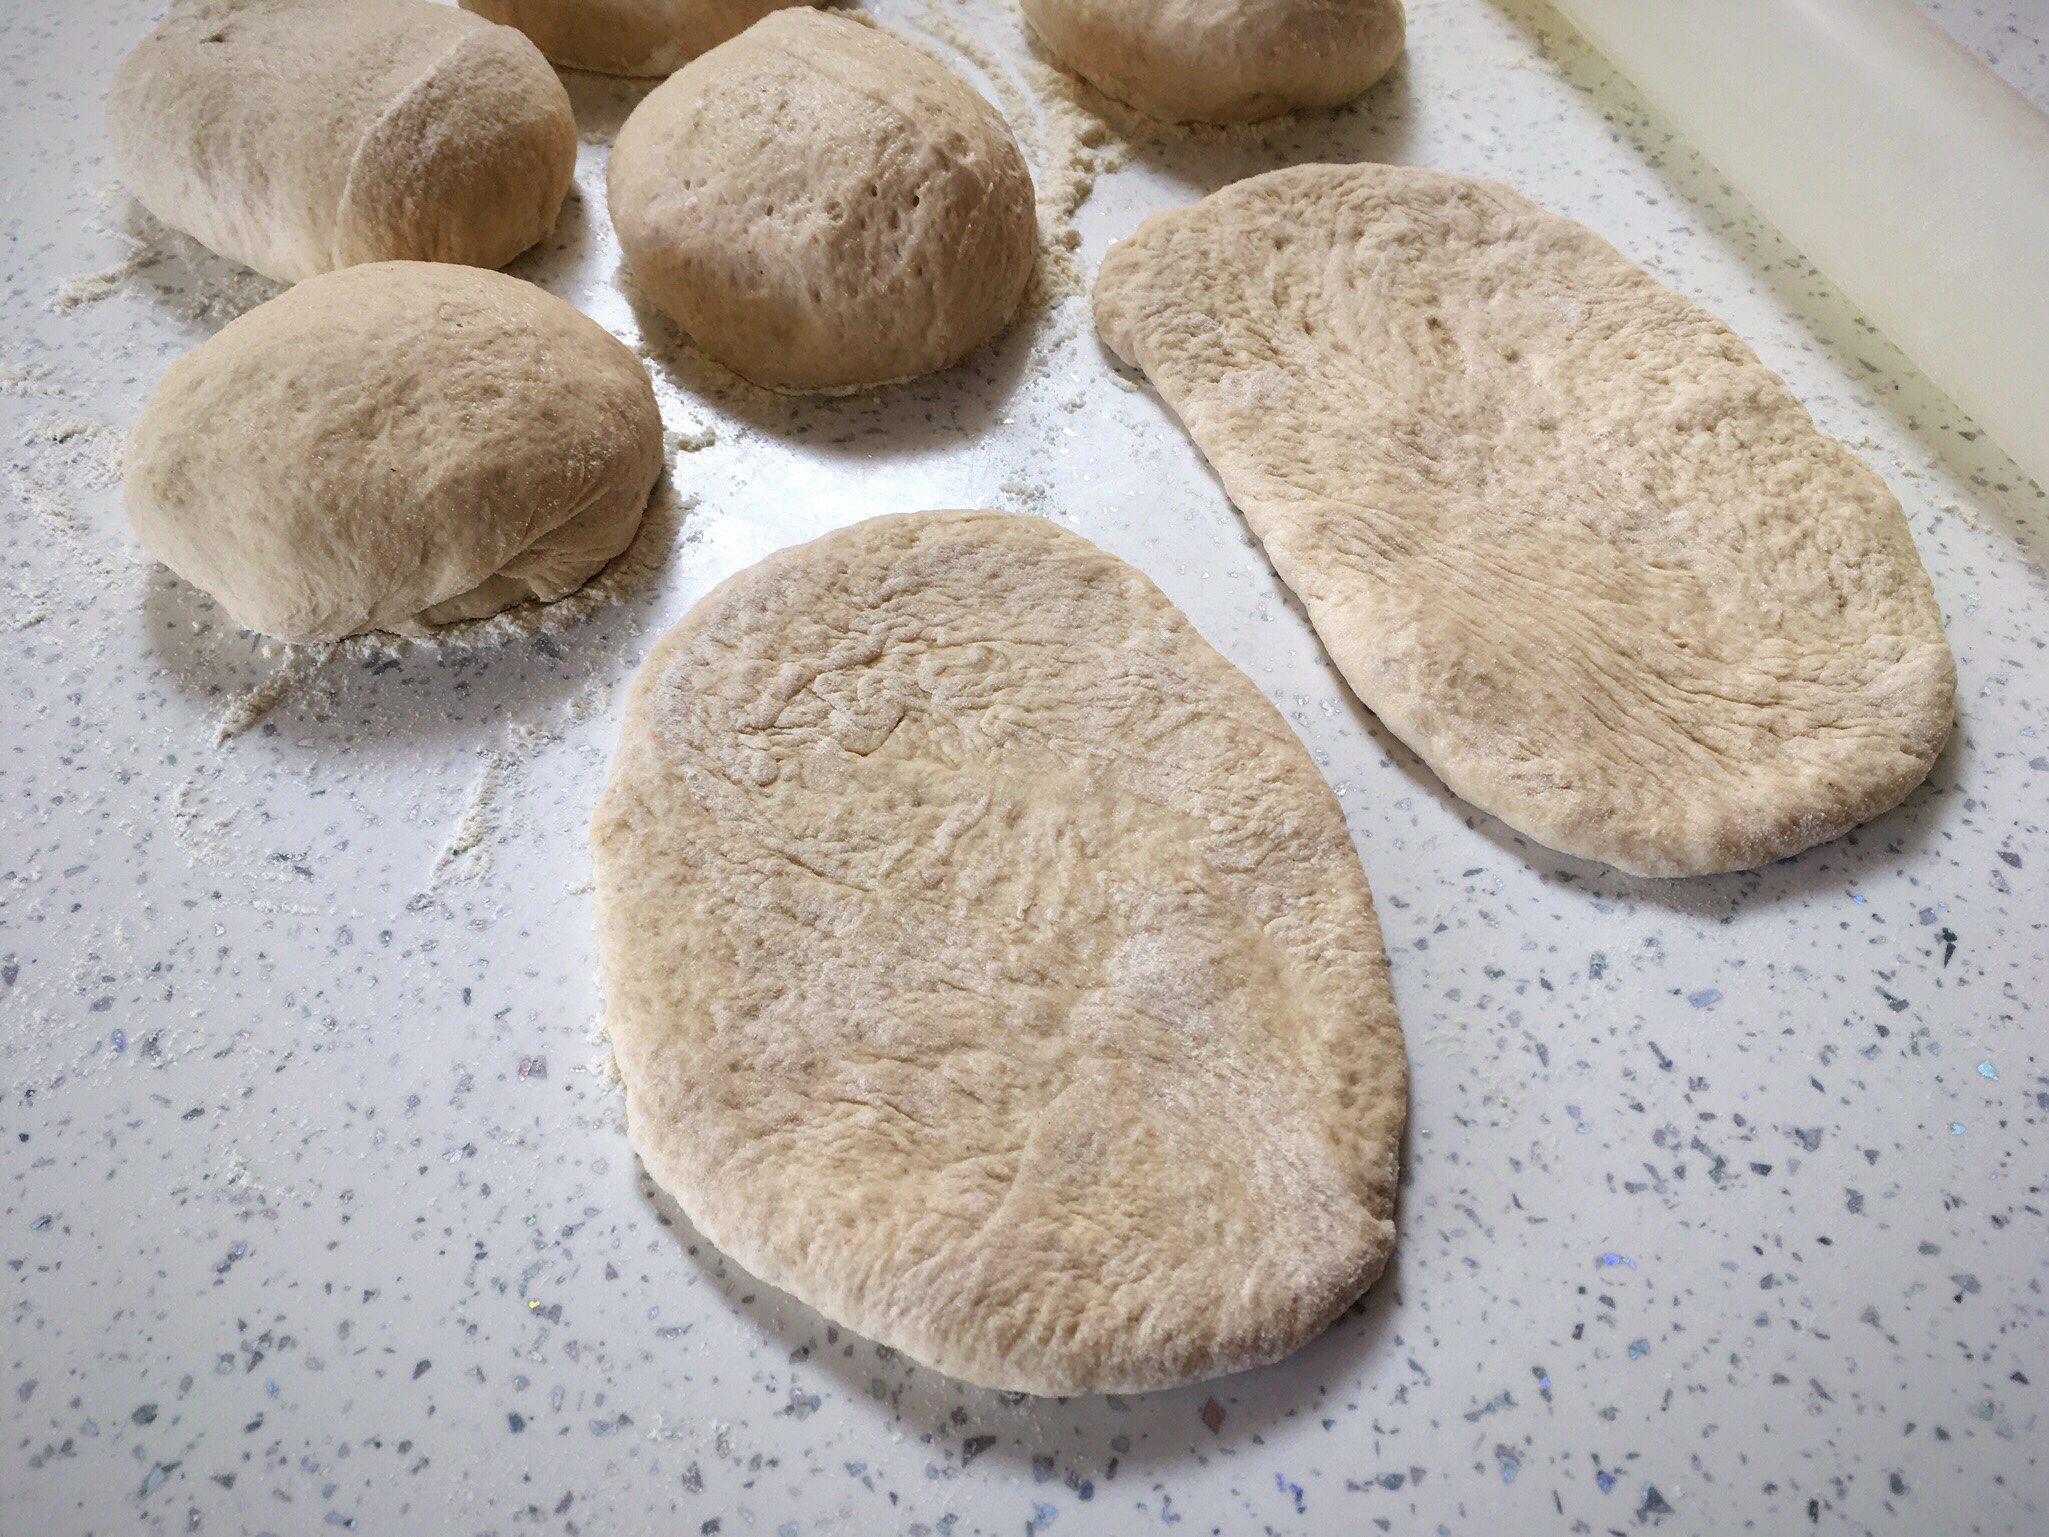
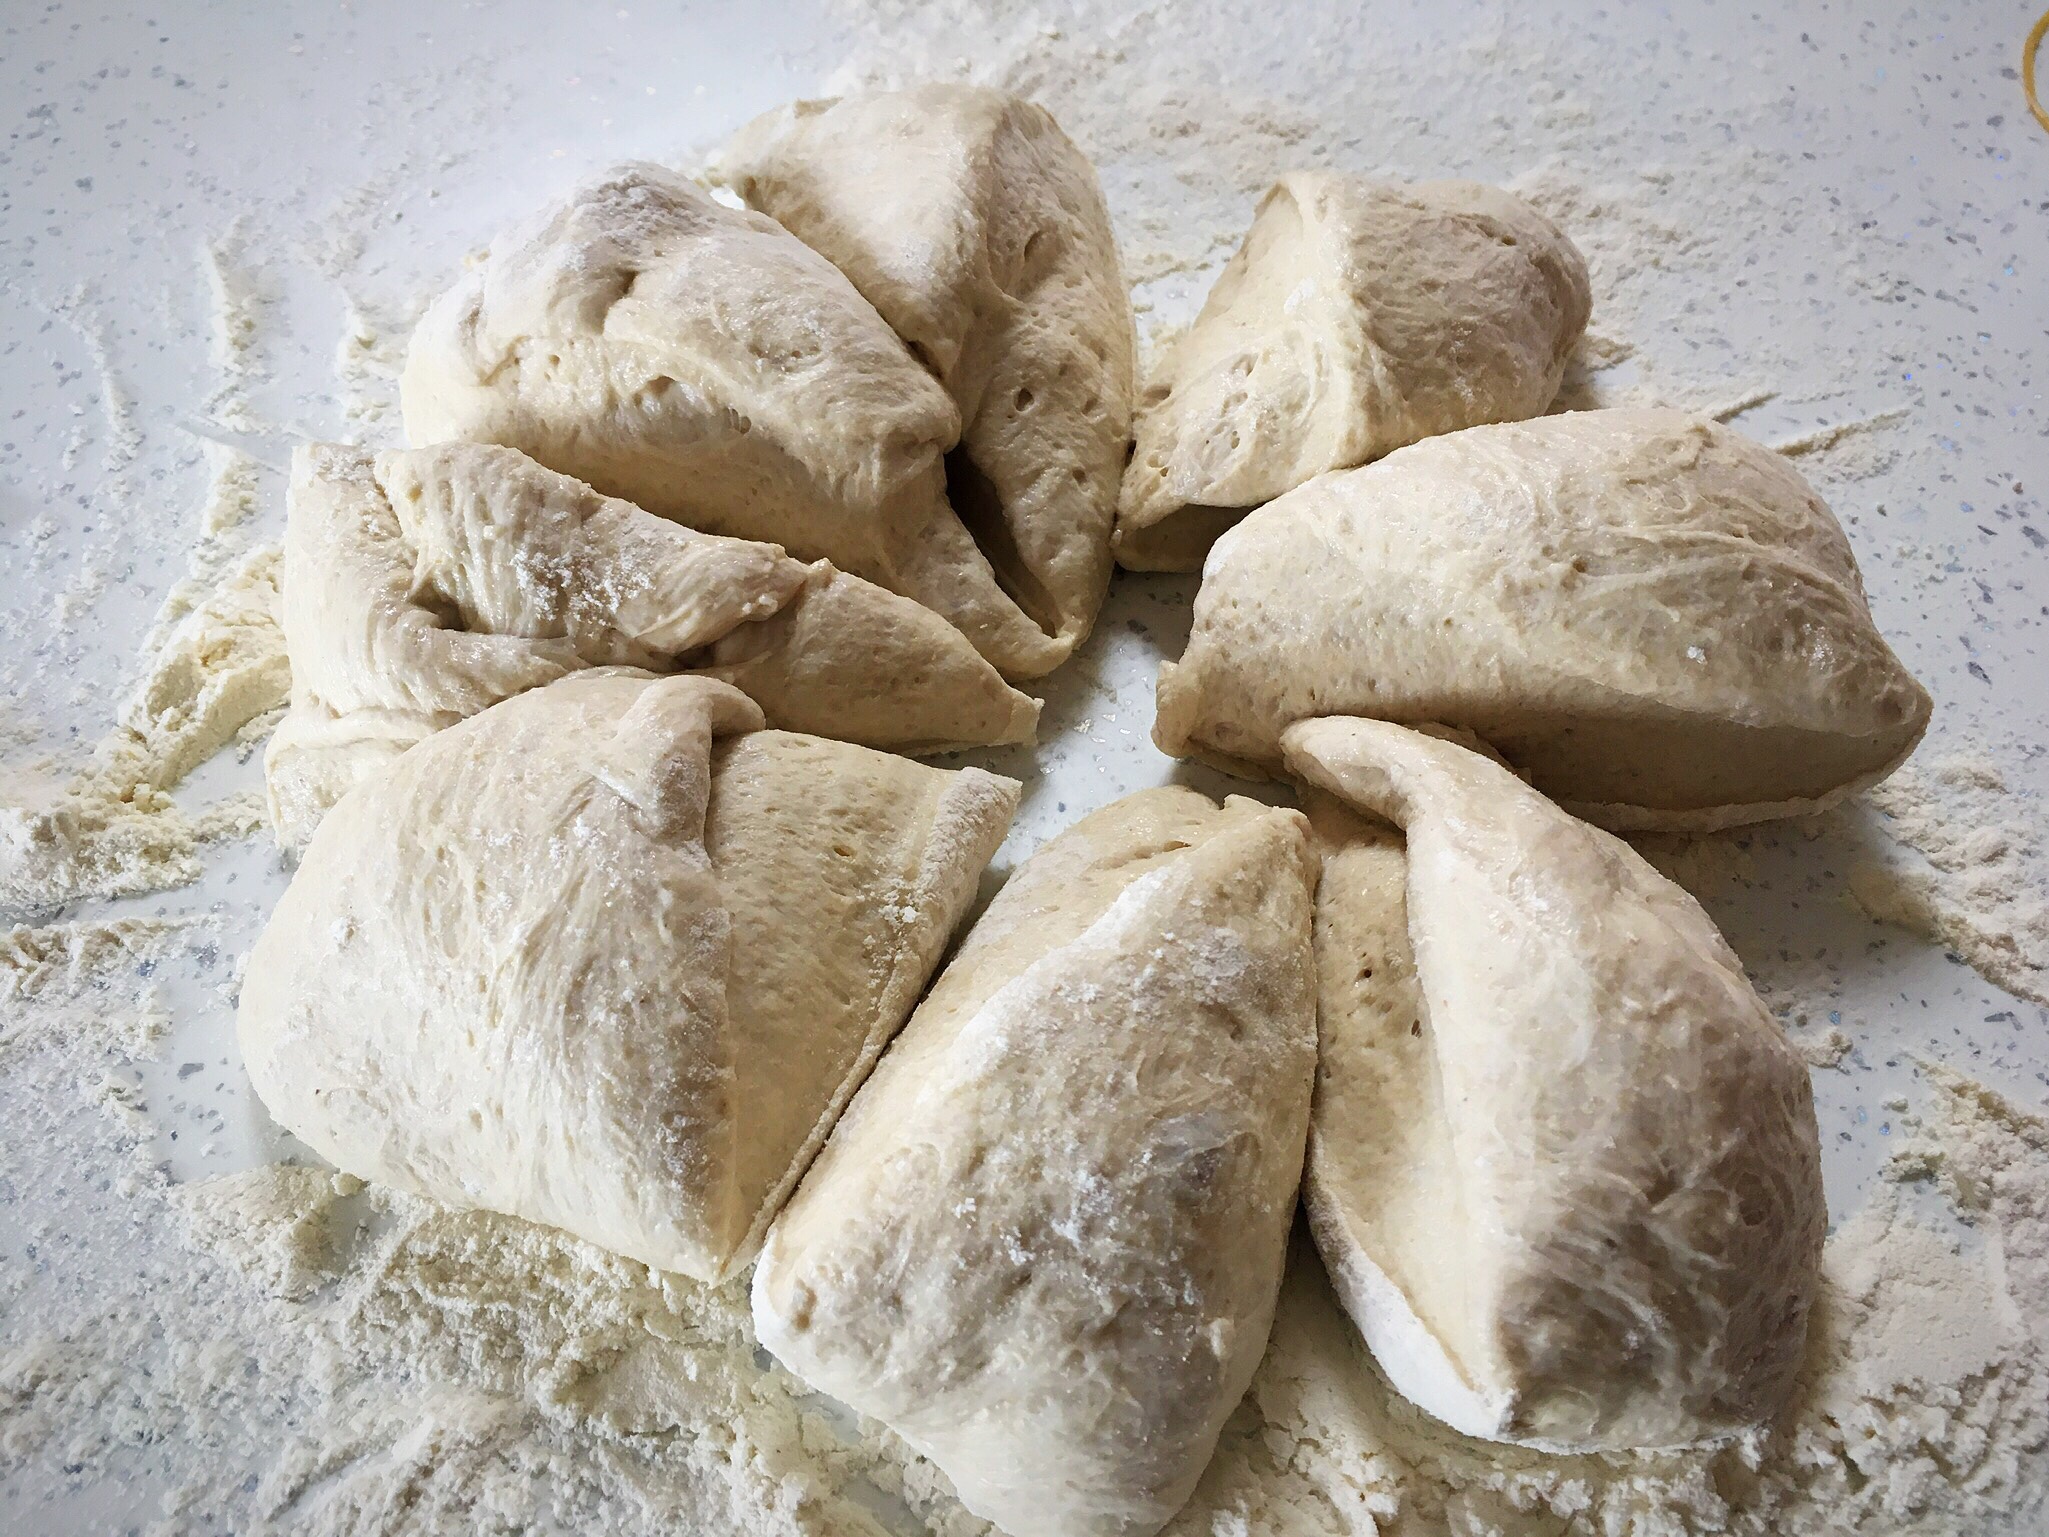
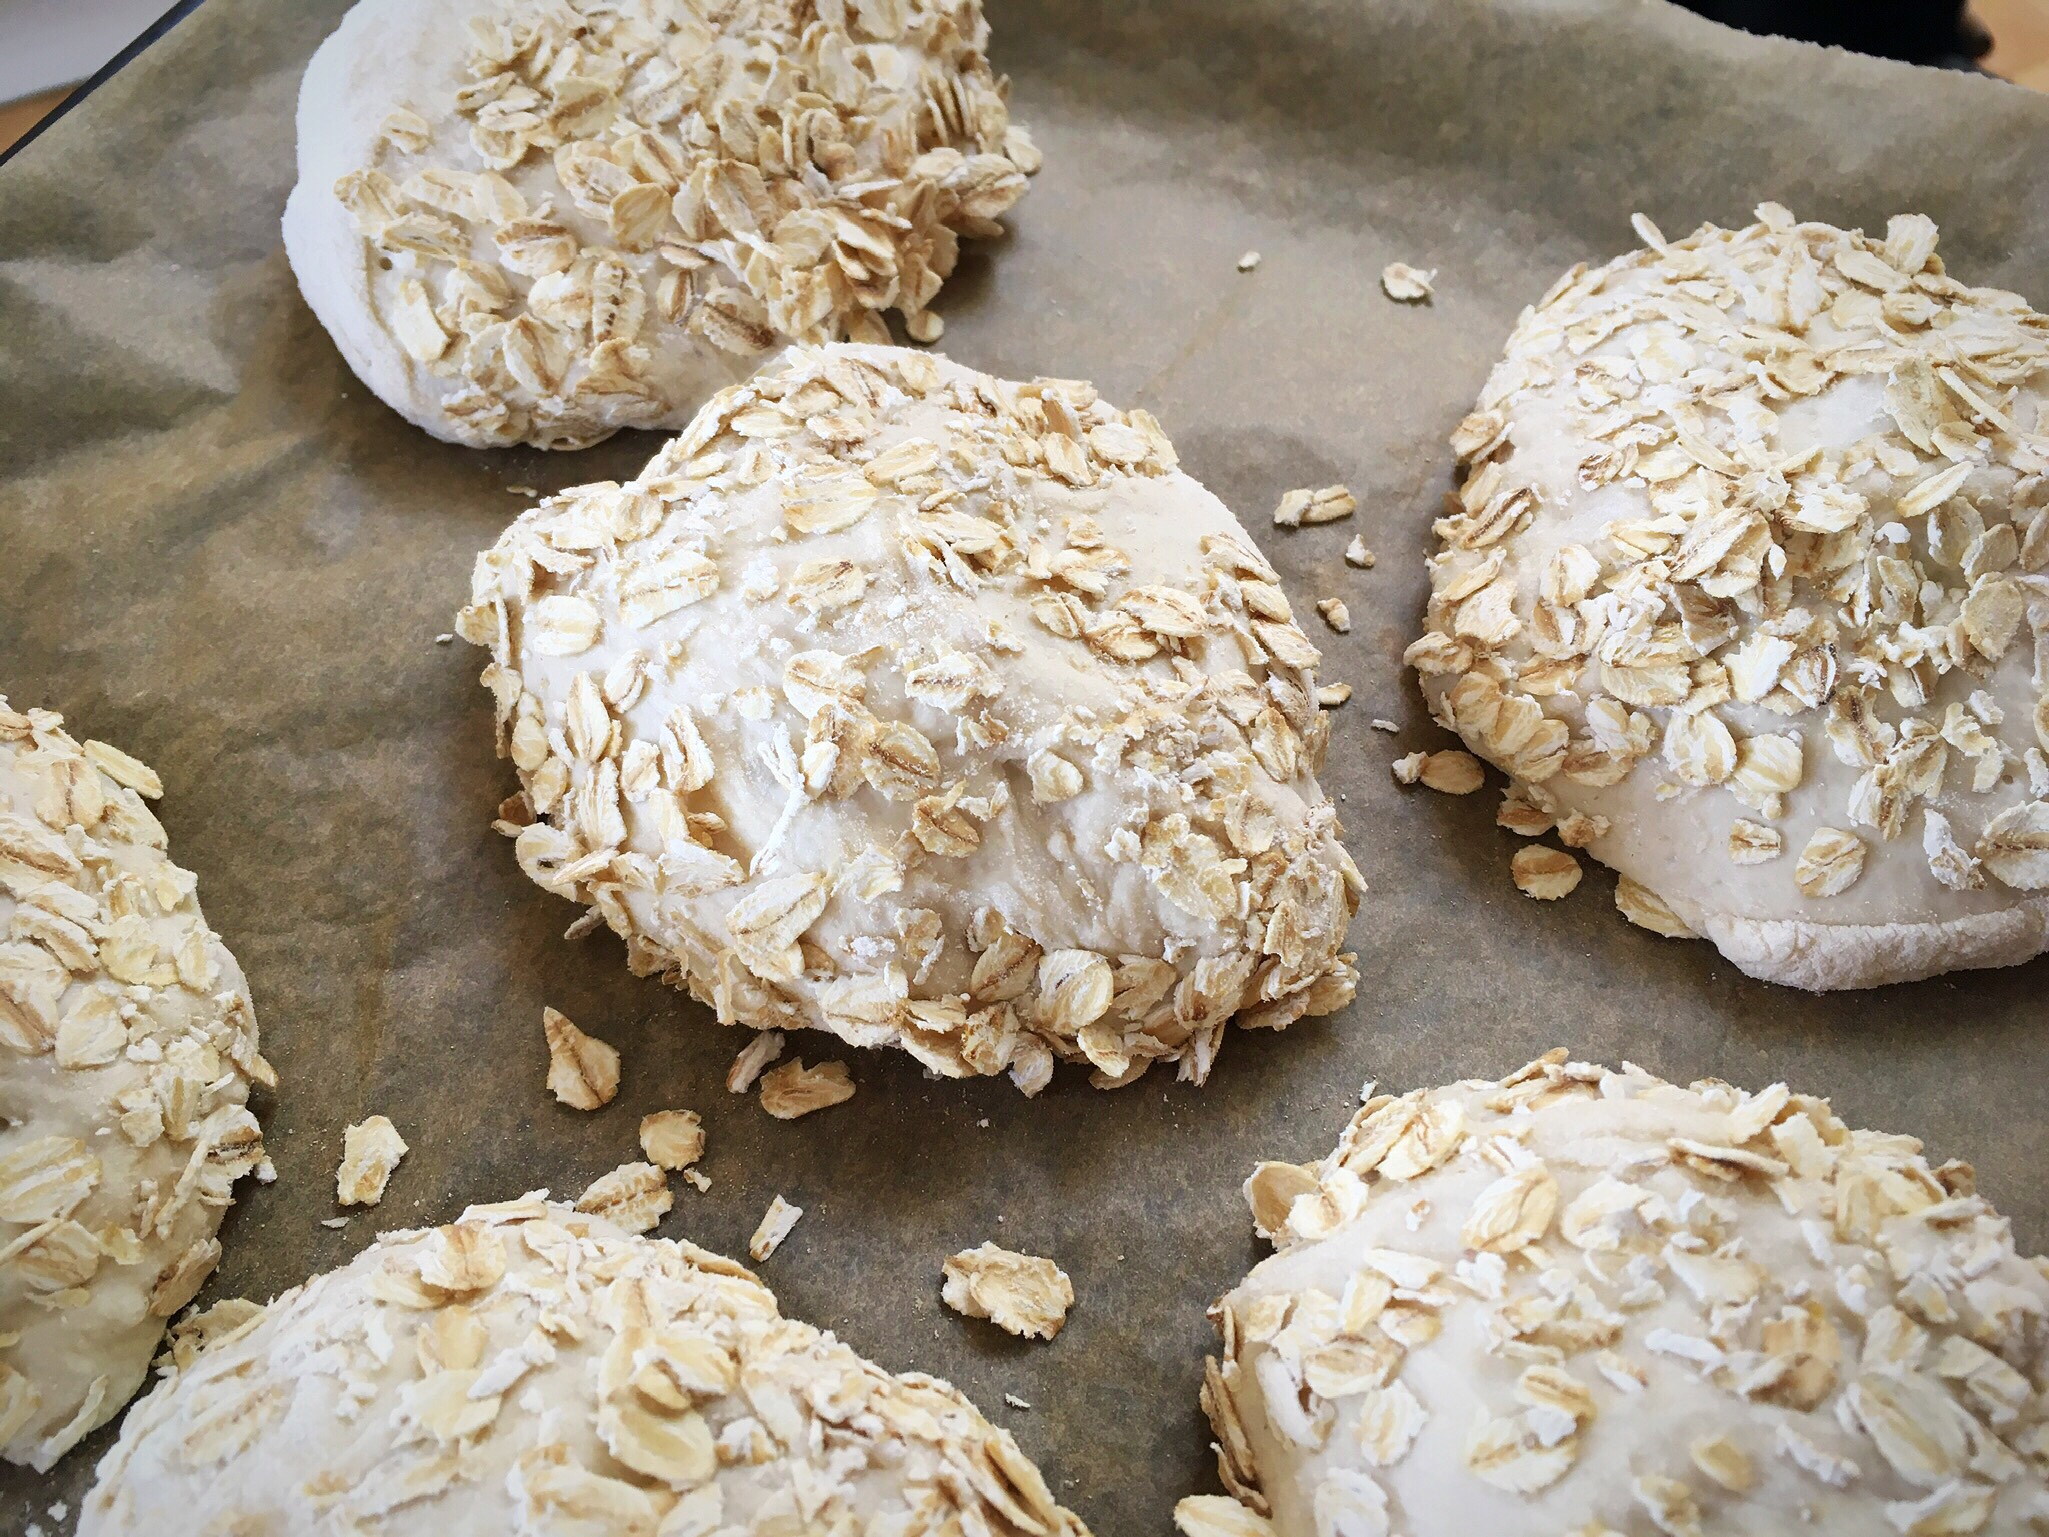
The next day I let the dough come back up to room temp, sprinkled the counter with water then turned the dough out onto the counter and cut it into equal(ish) portions.
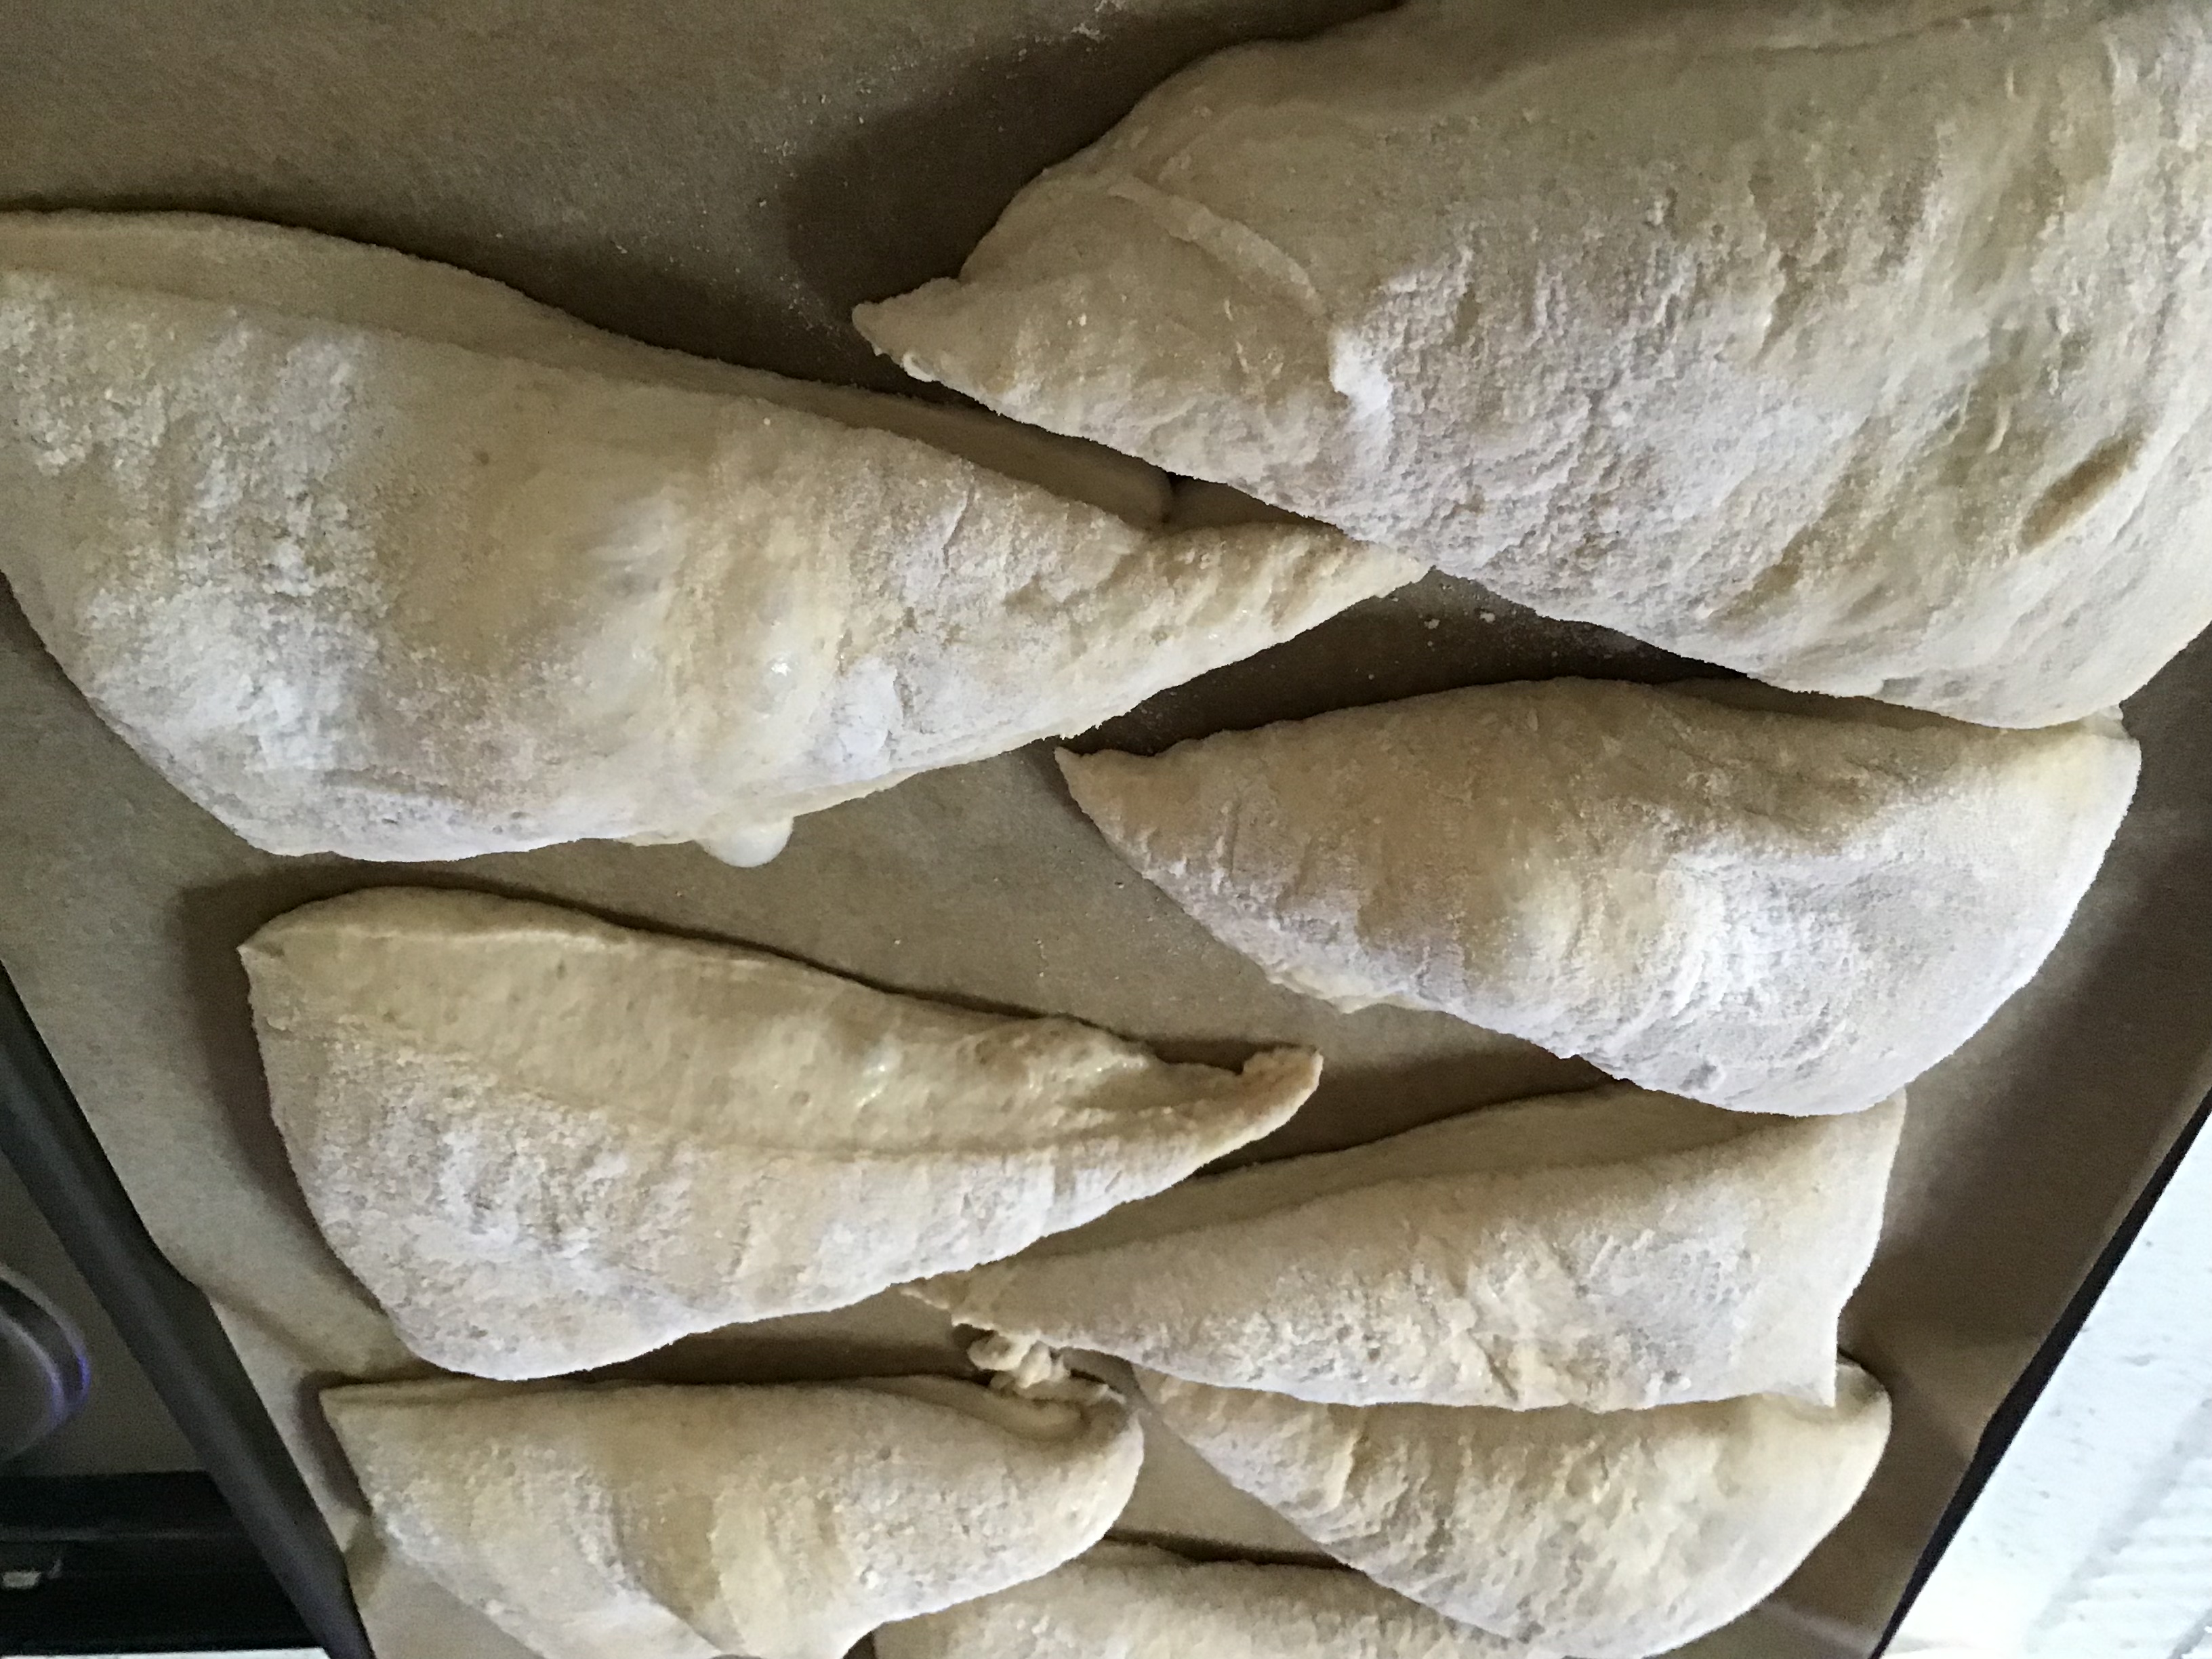
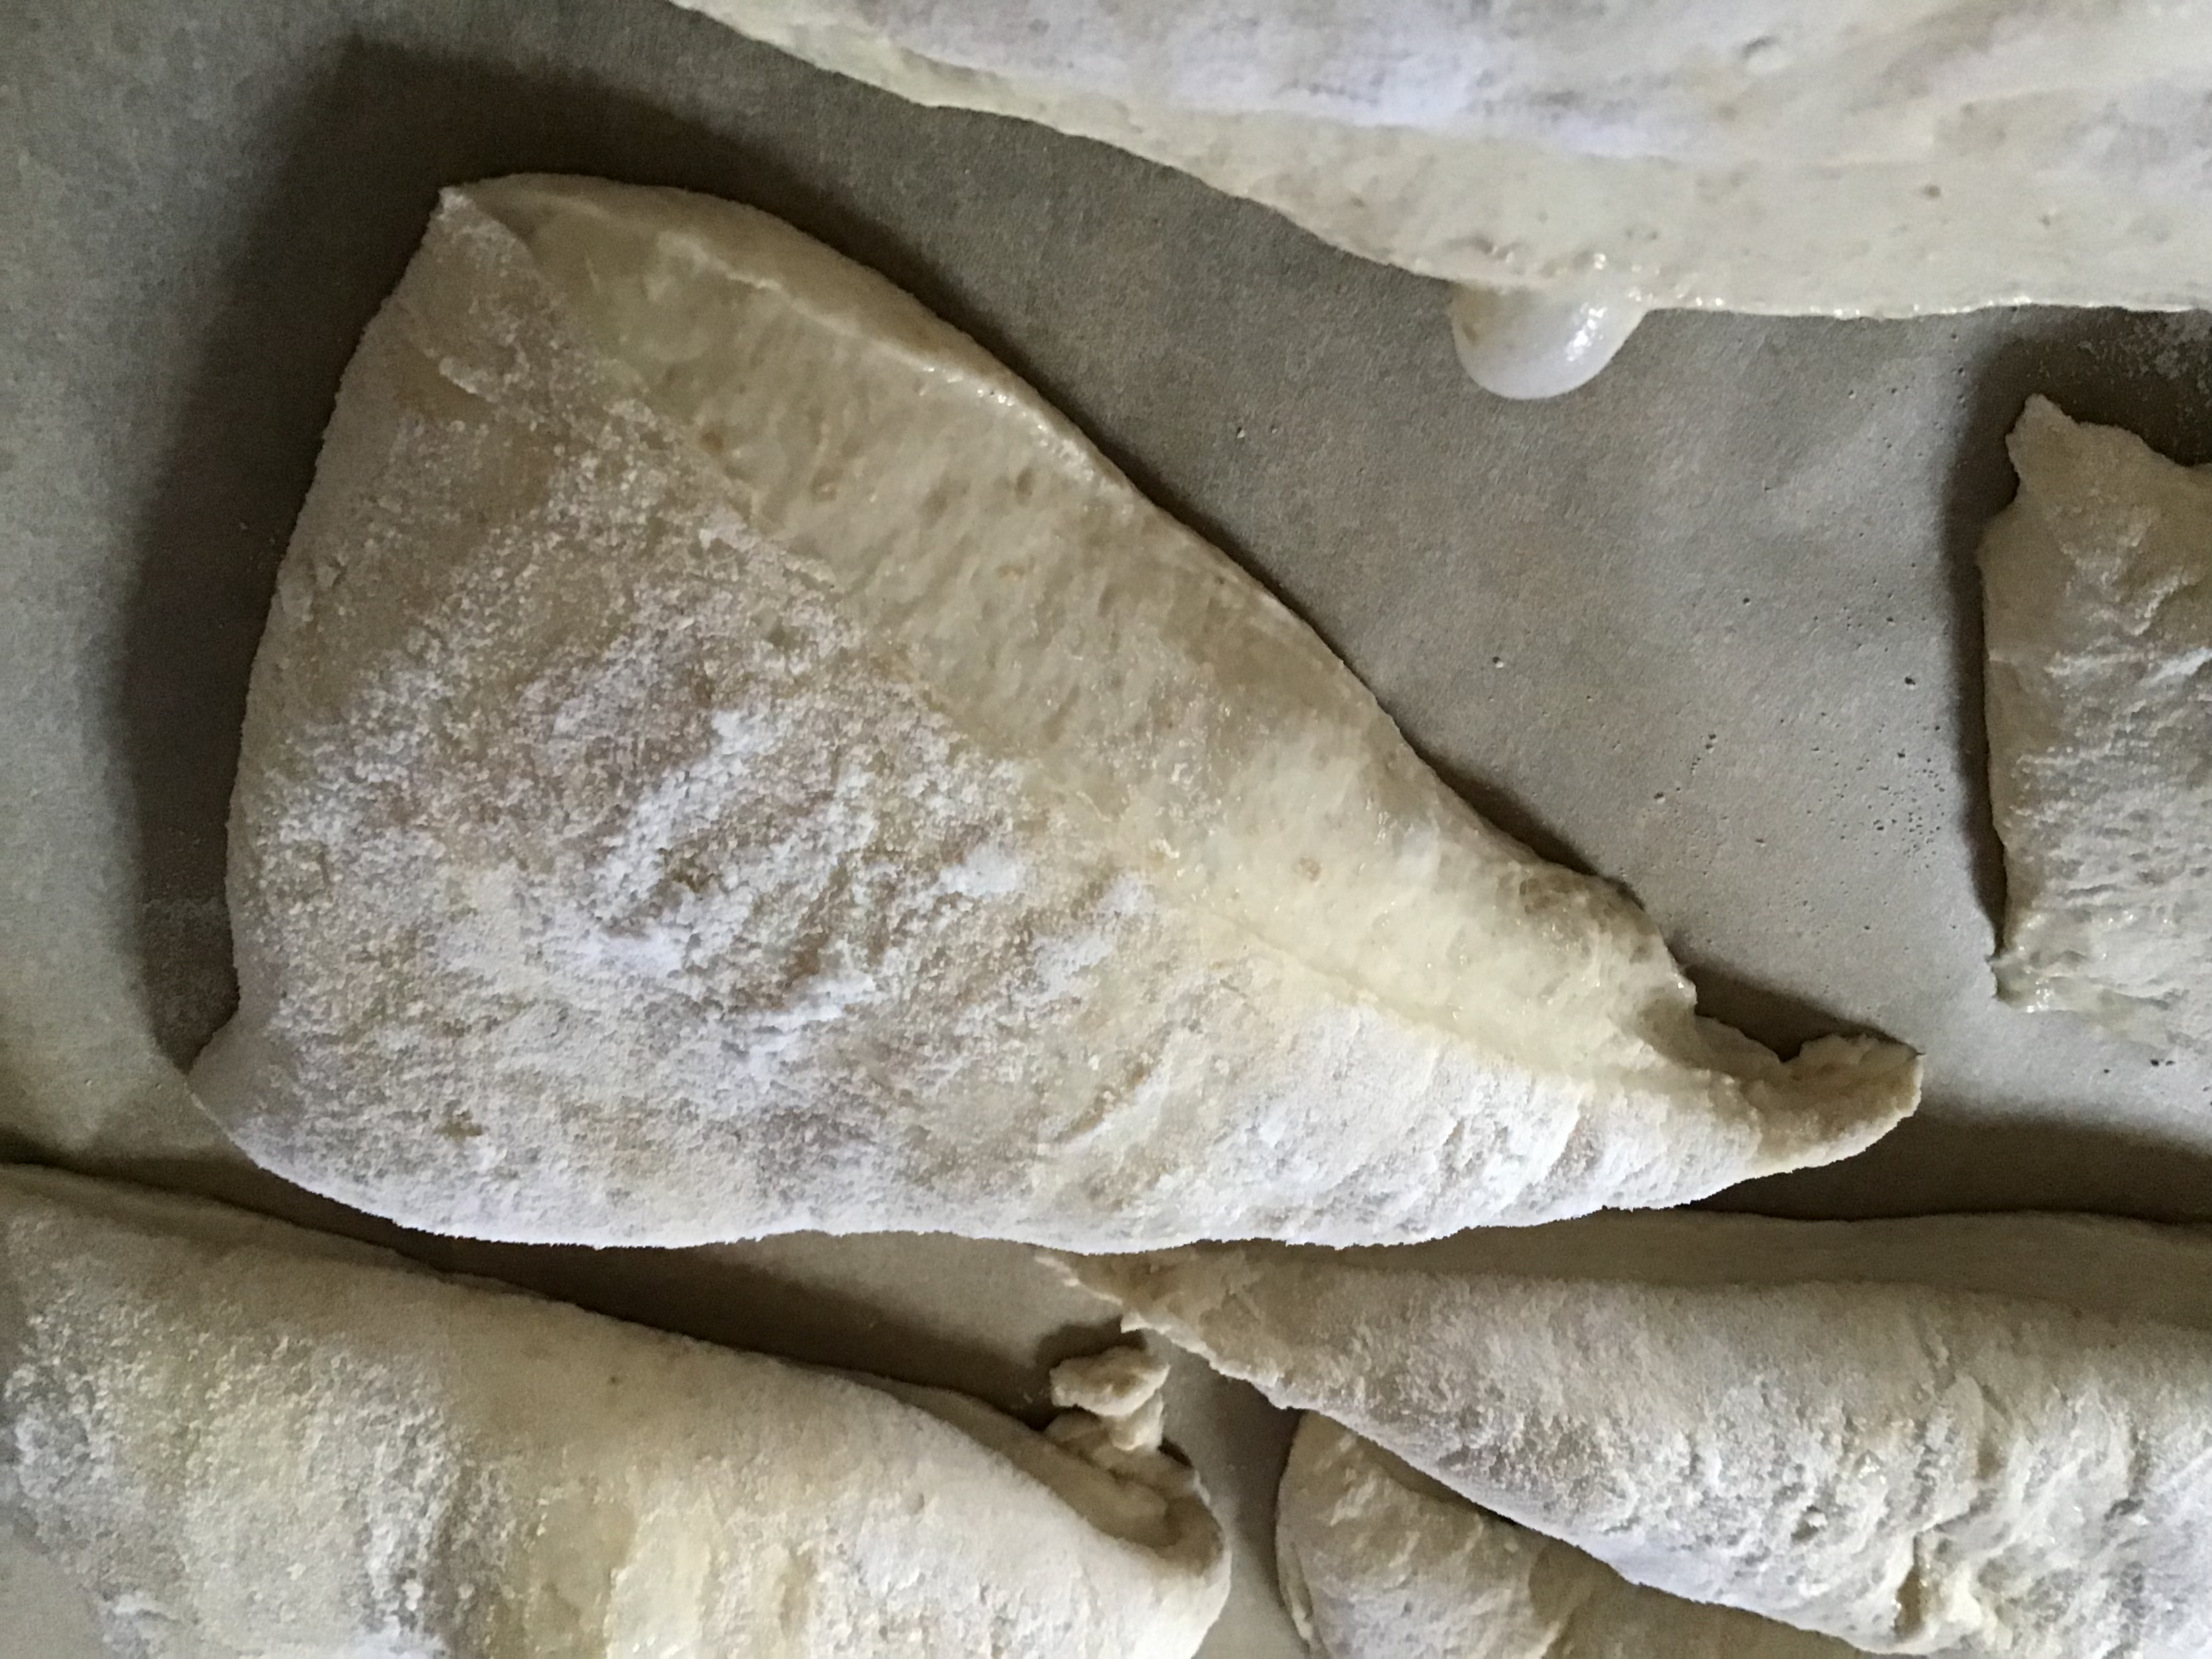
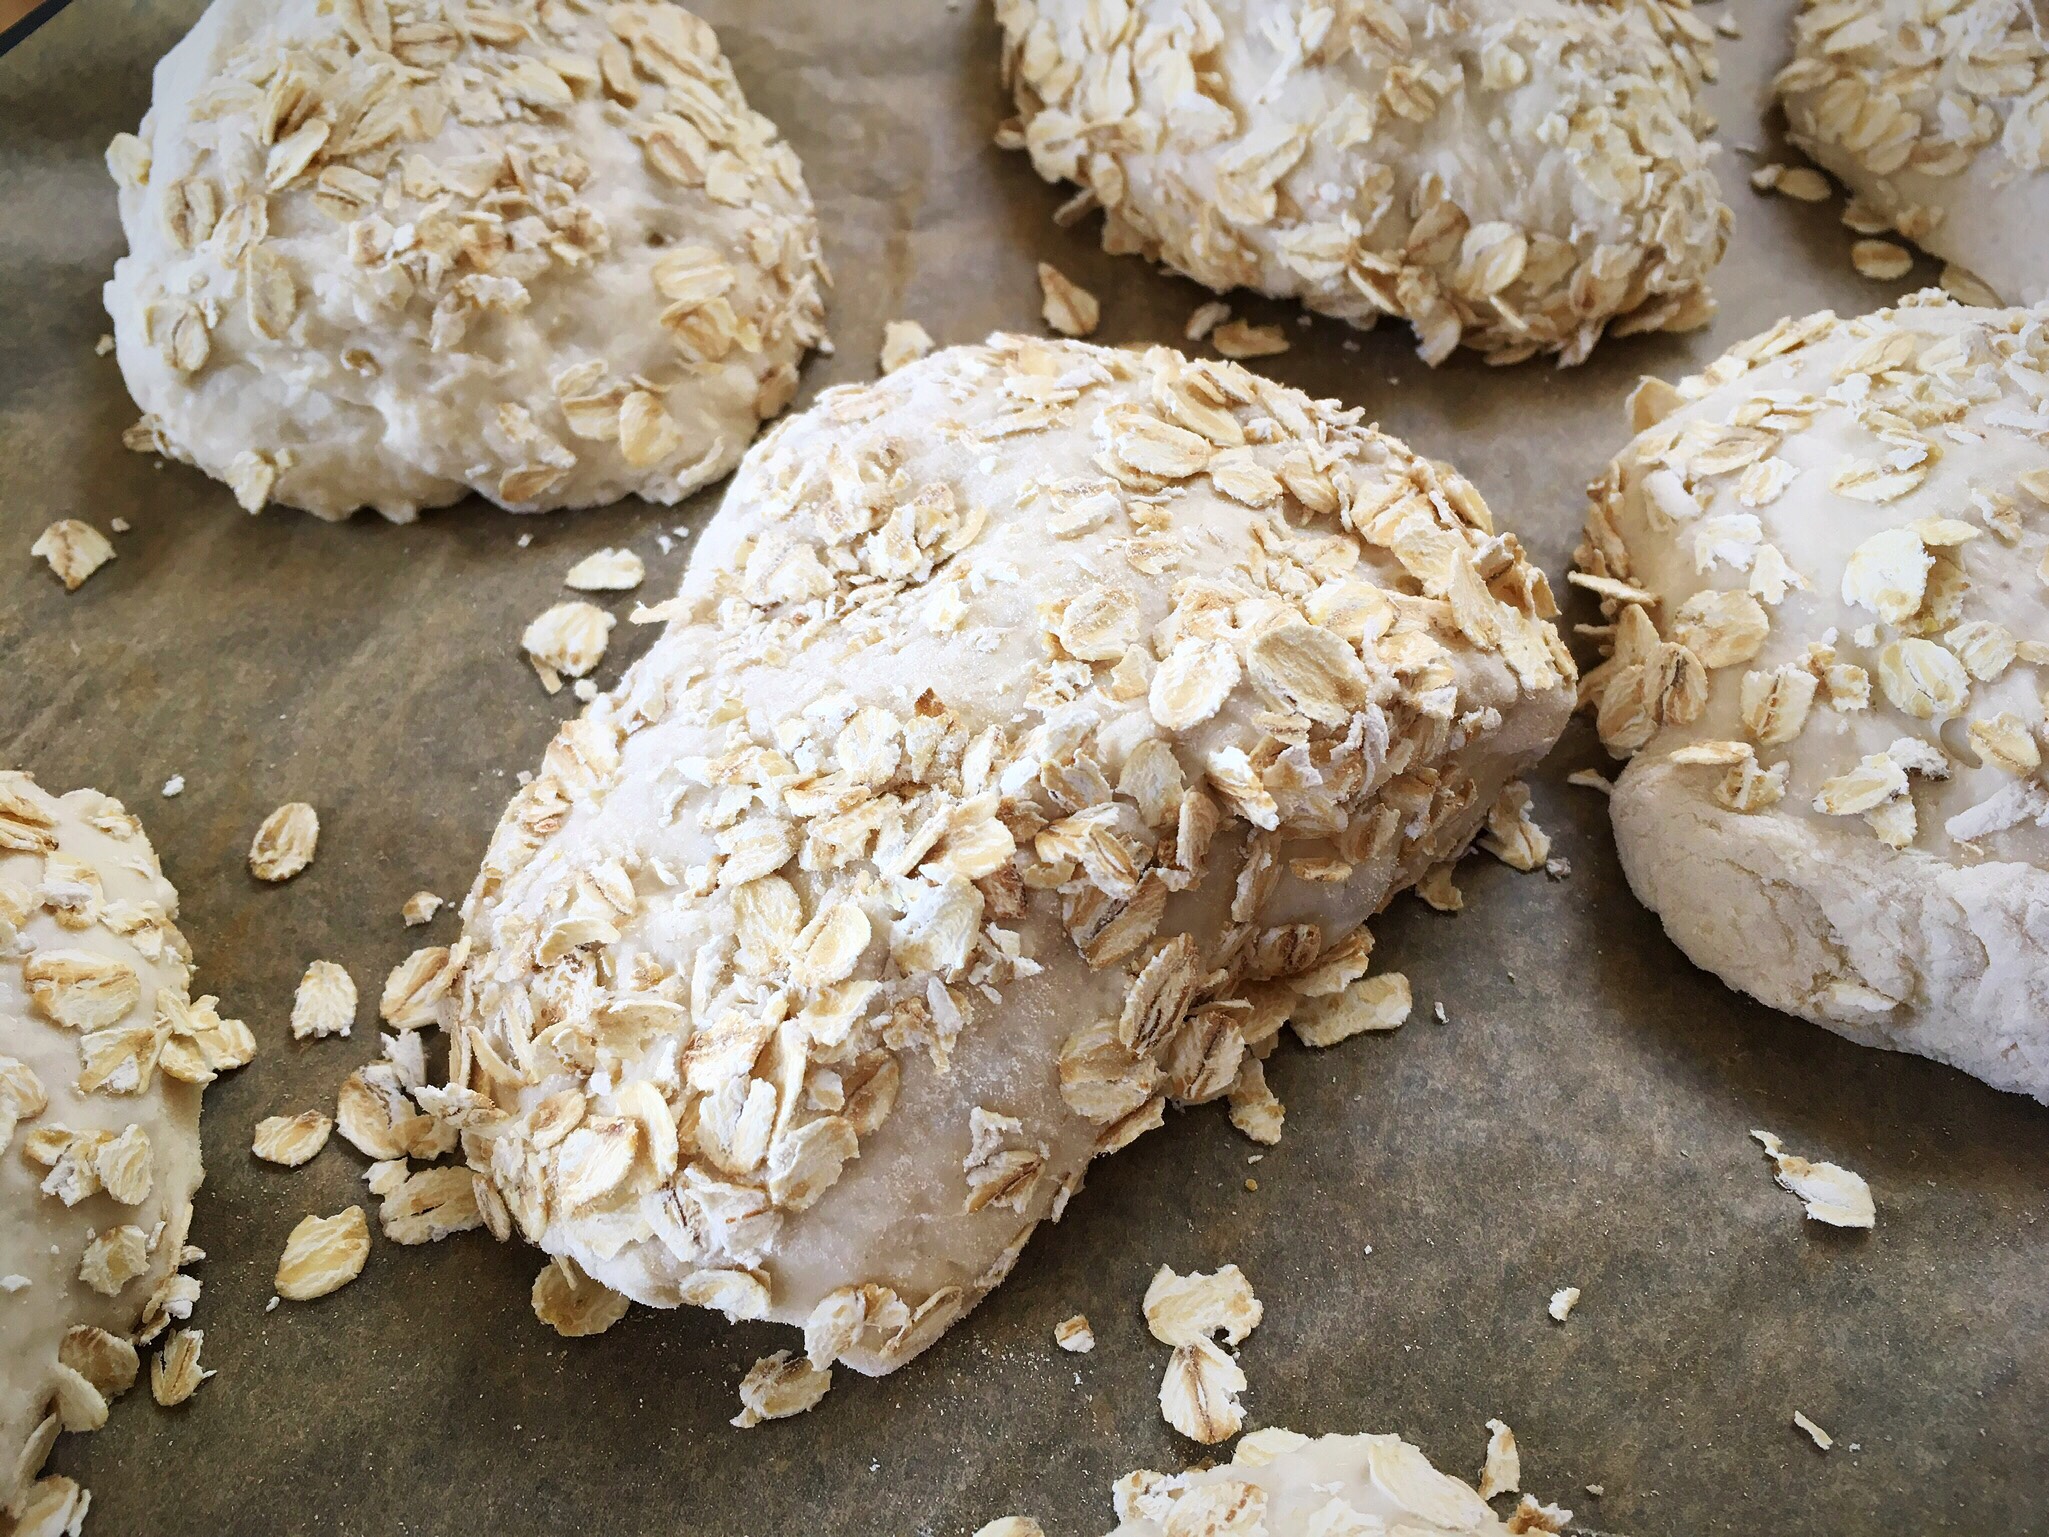
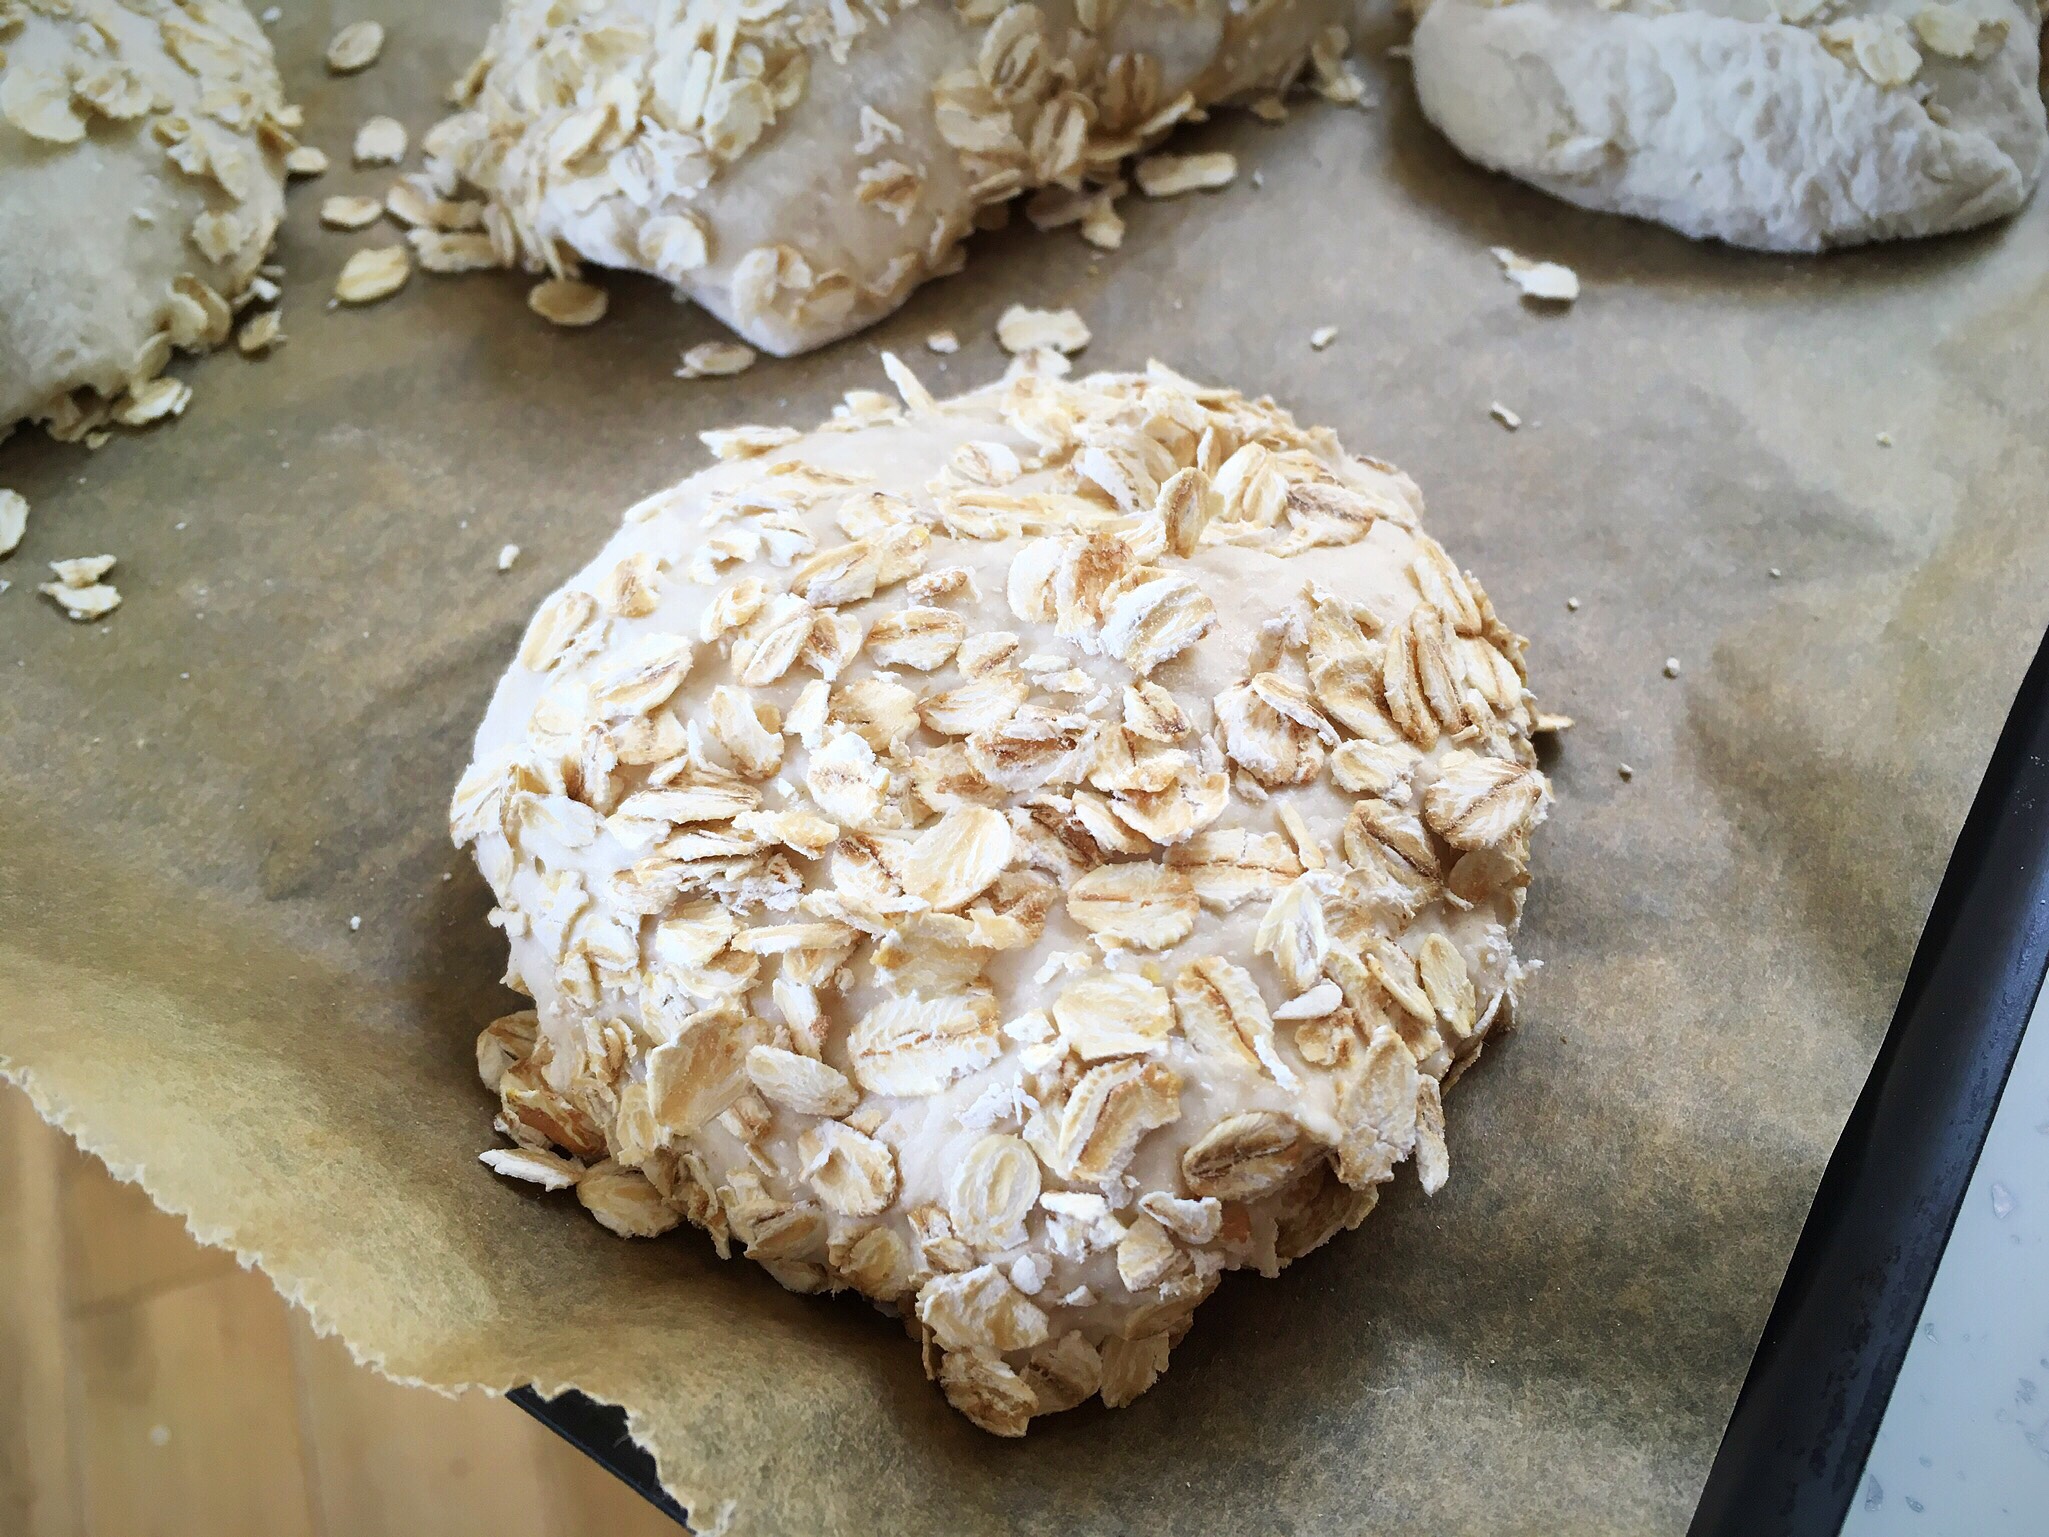
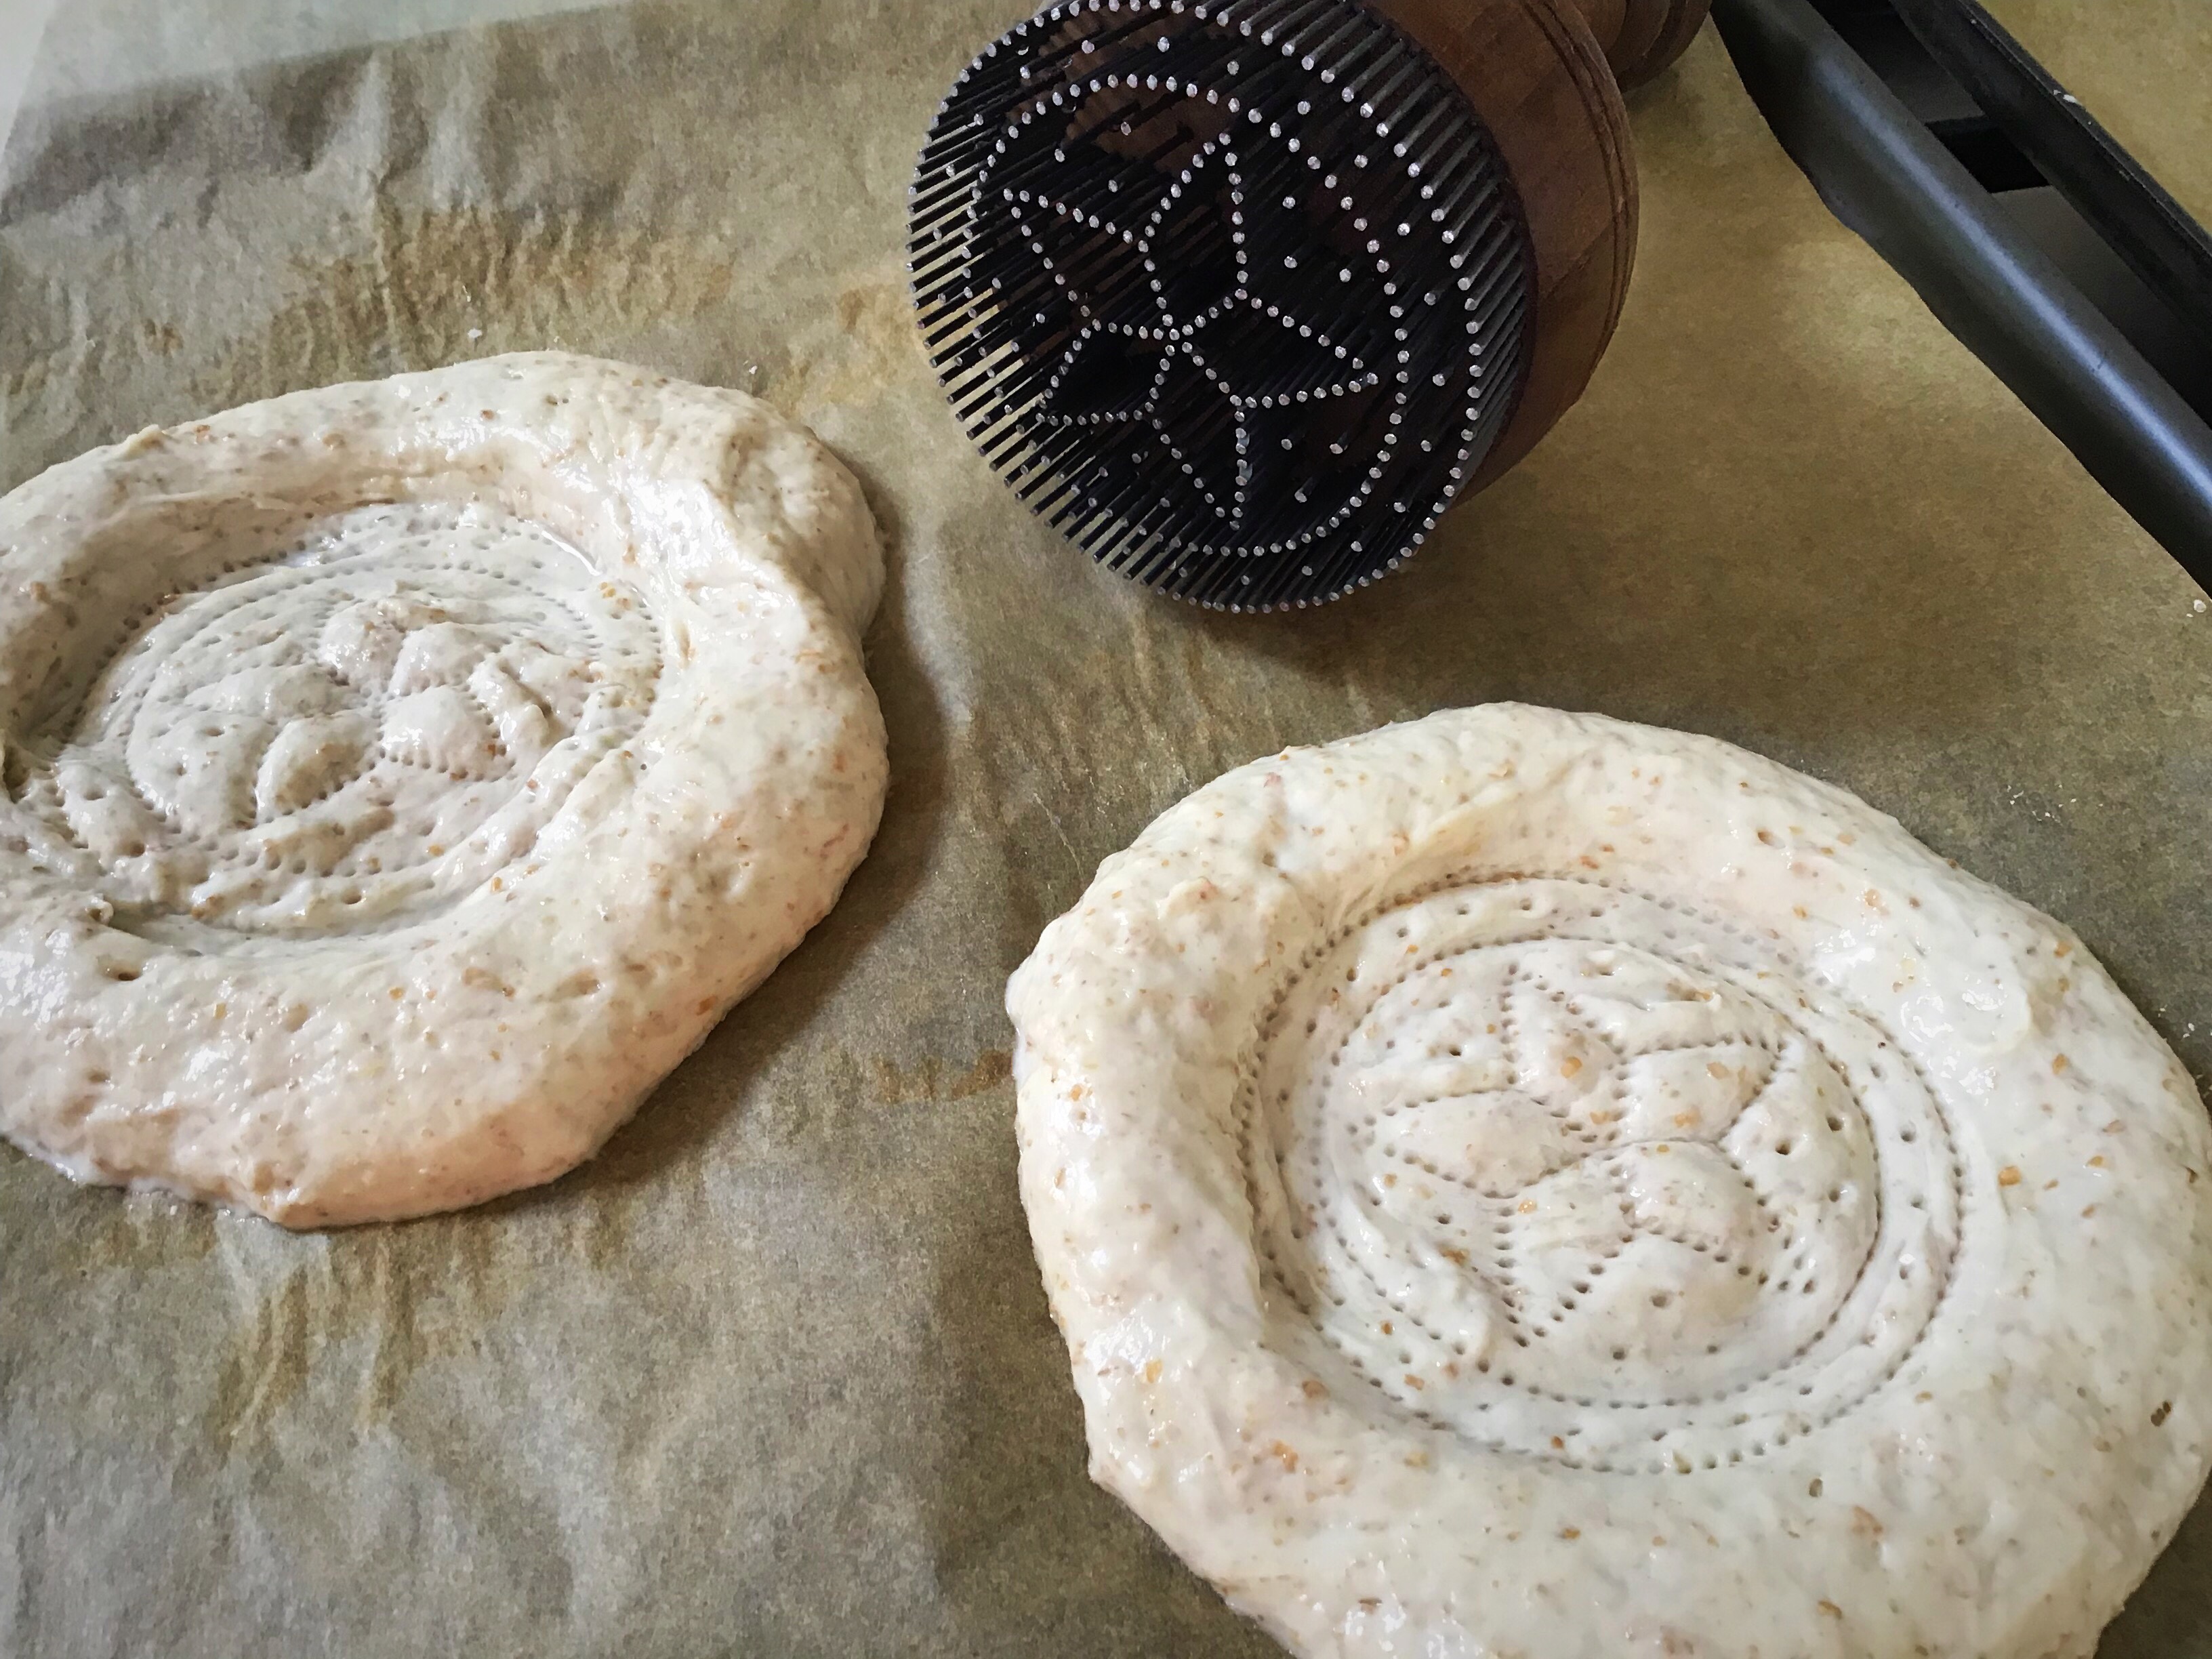
I rolled these into balls, flattened them out with my fingers and pressed them into rounds.
I placed each round onto a tray lined with parchment paper and I then used a spoon to flatten out a circle in the middle into which I pressed the stamp.
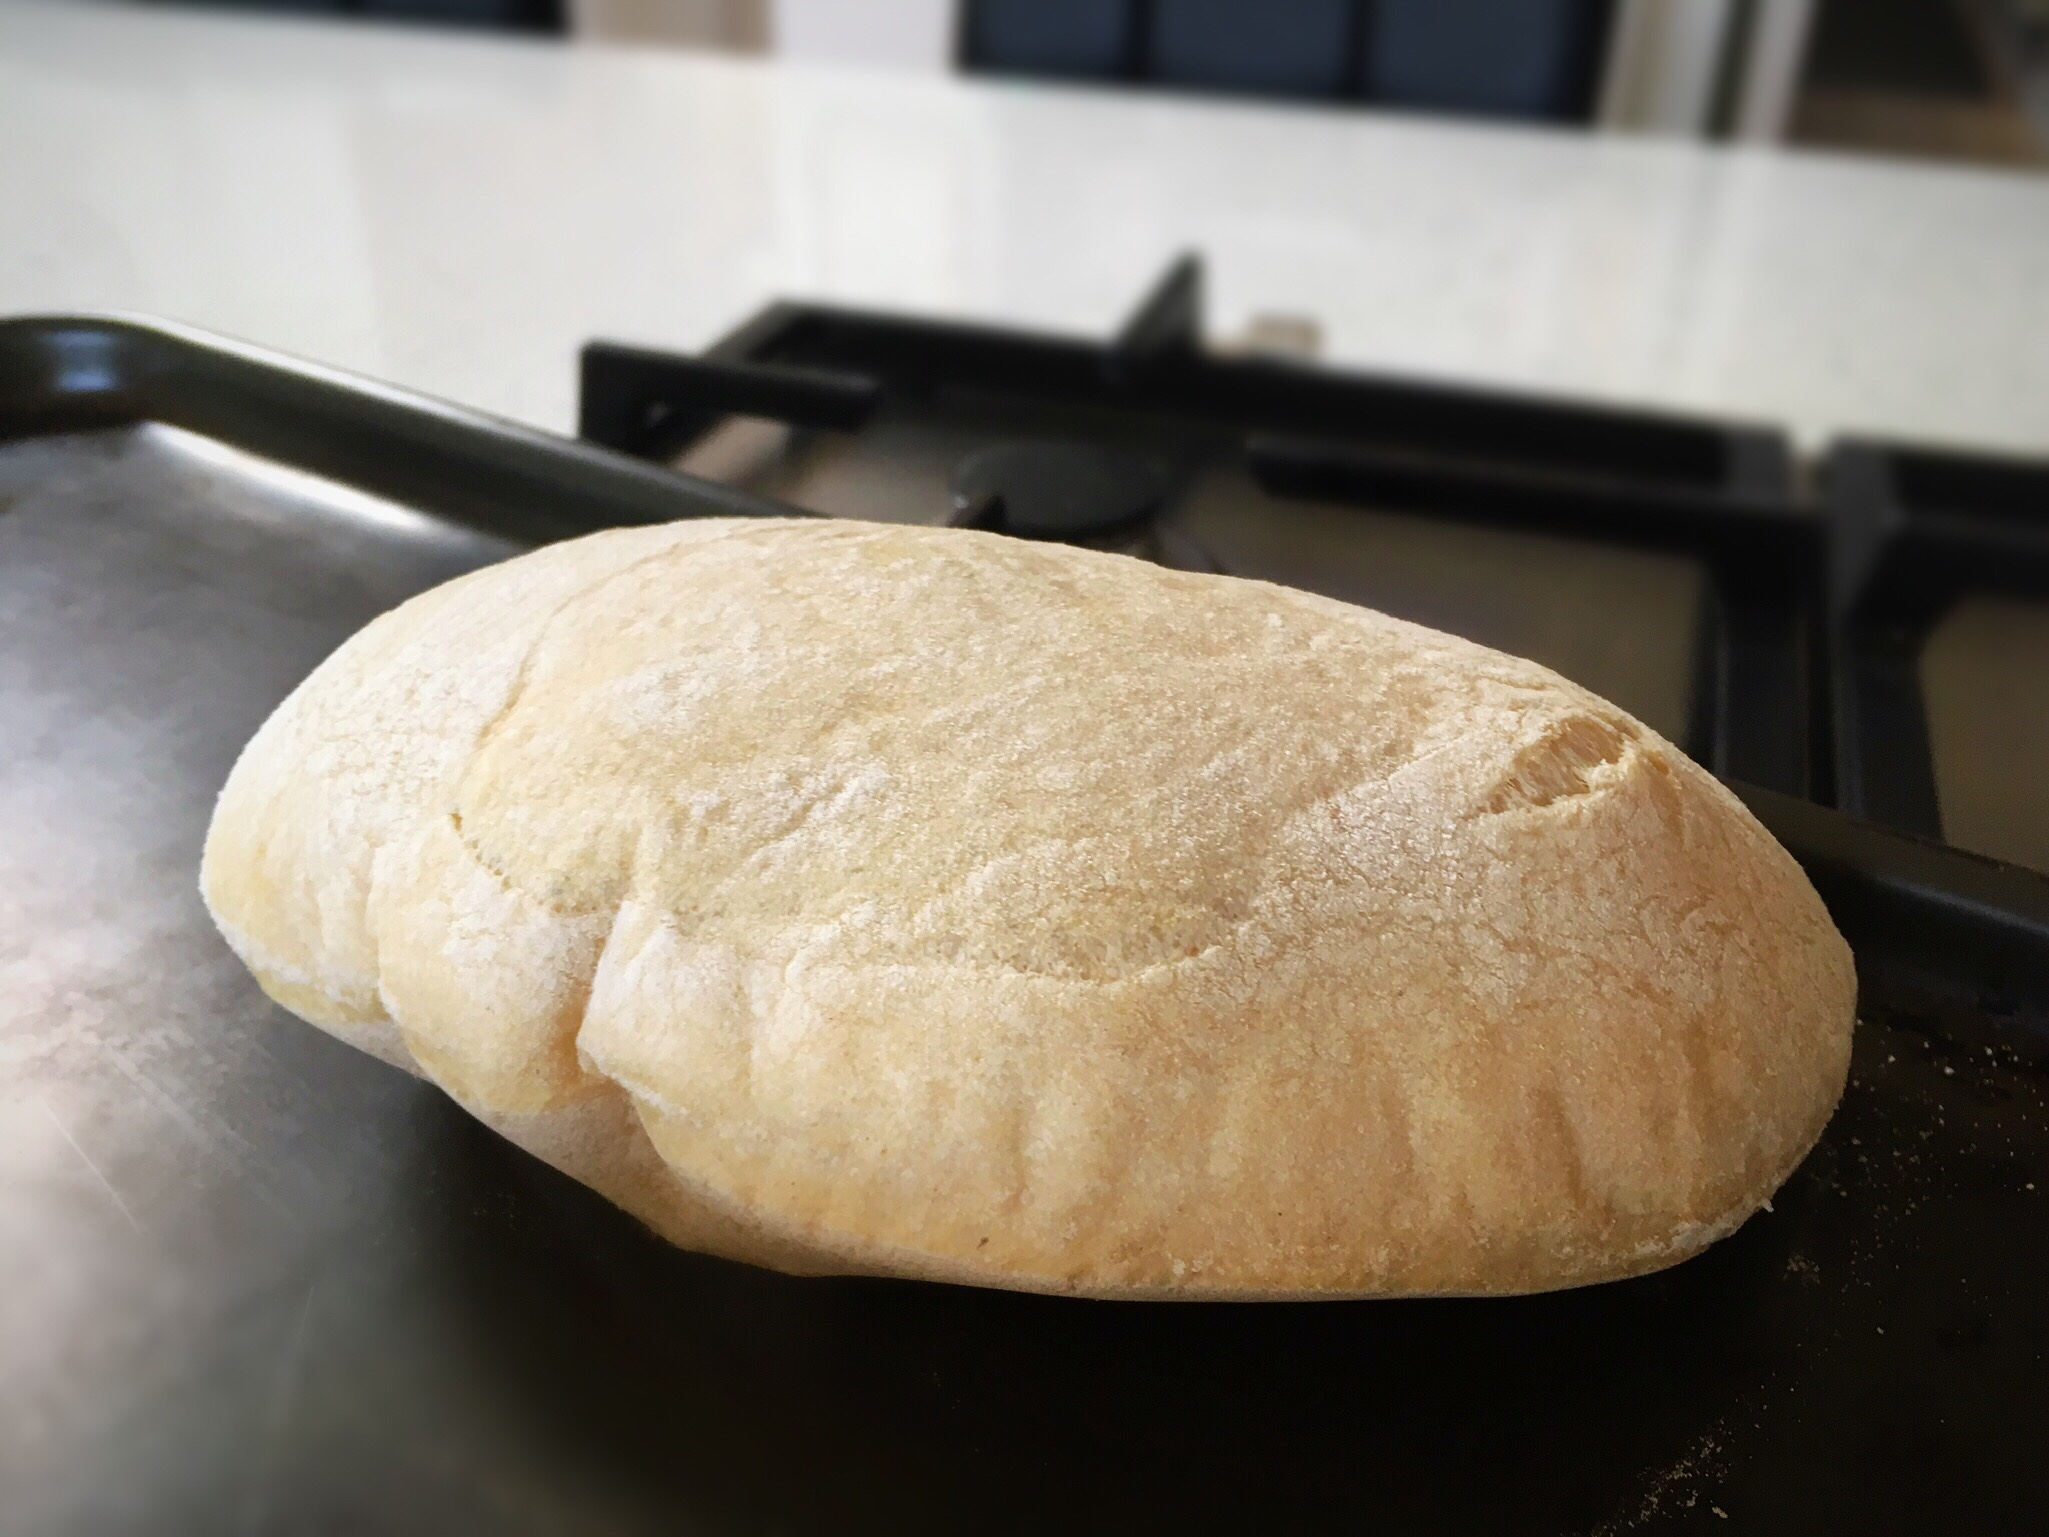
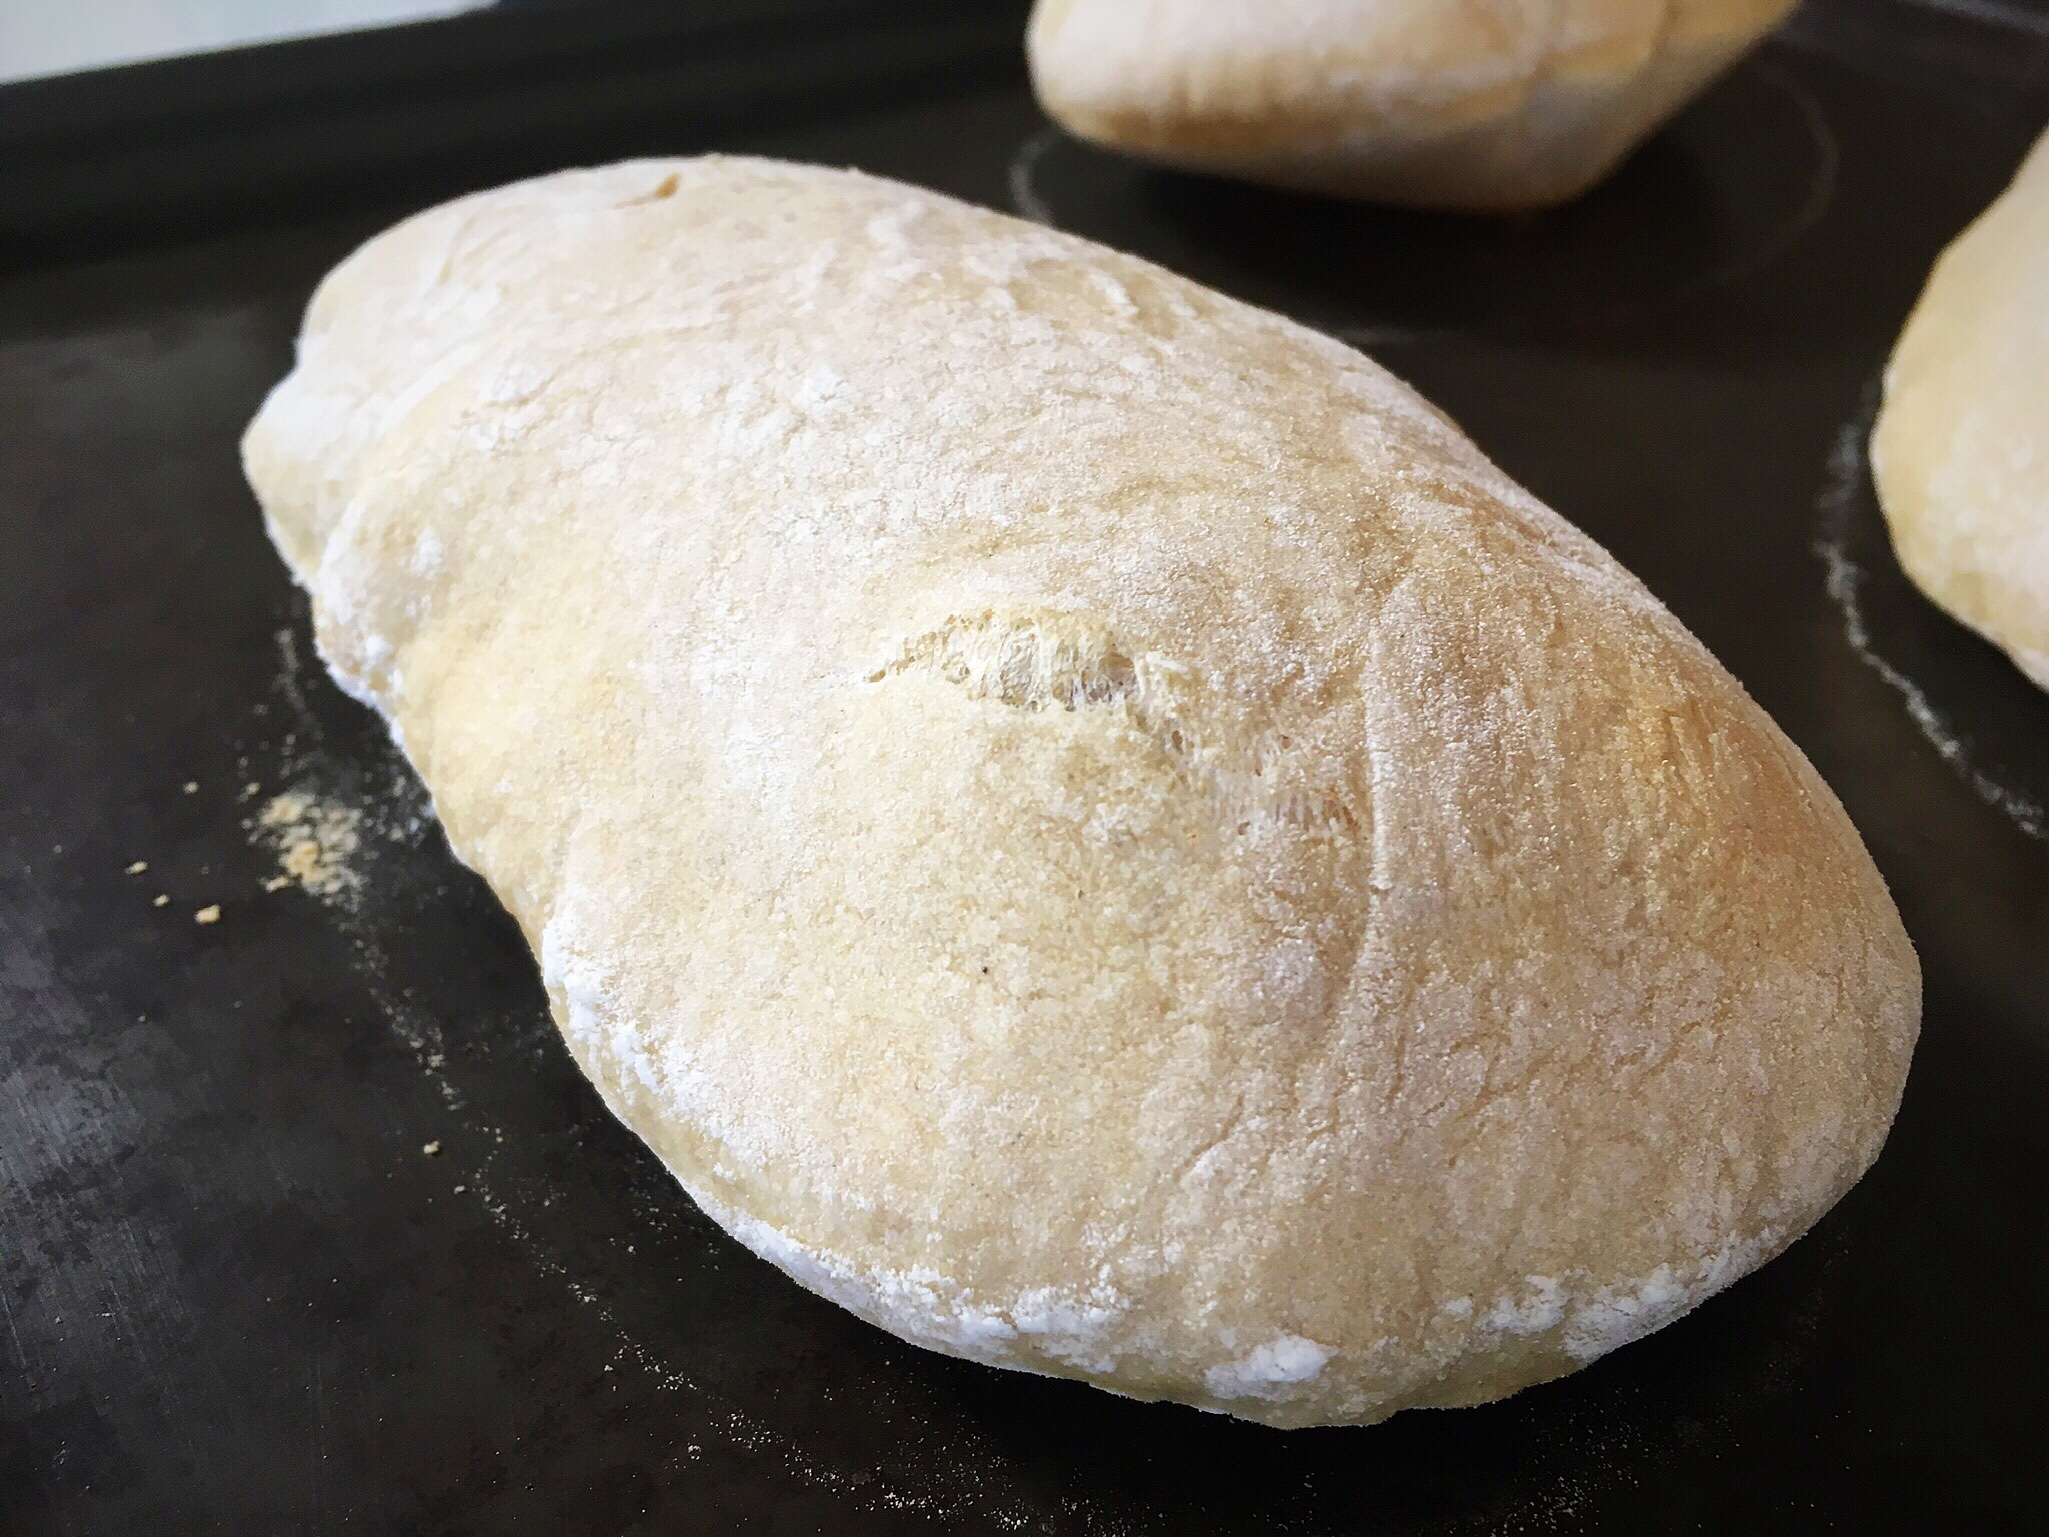
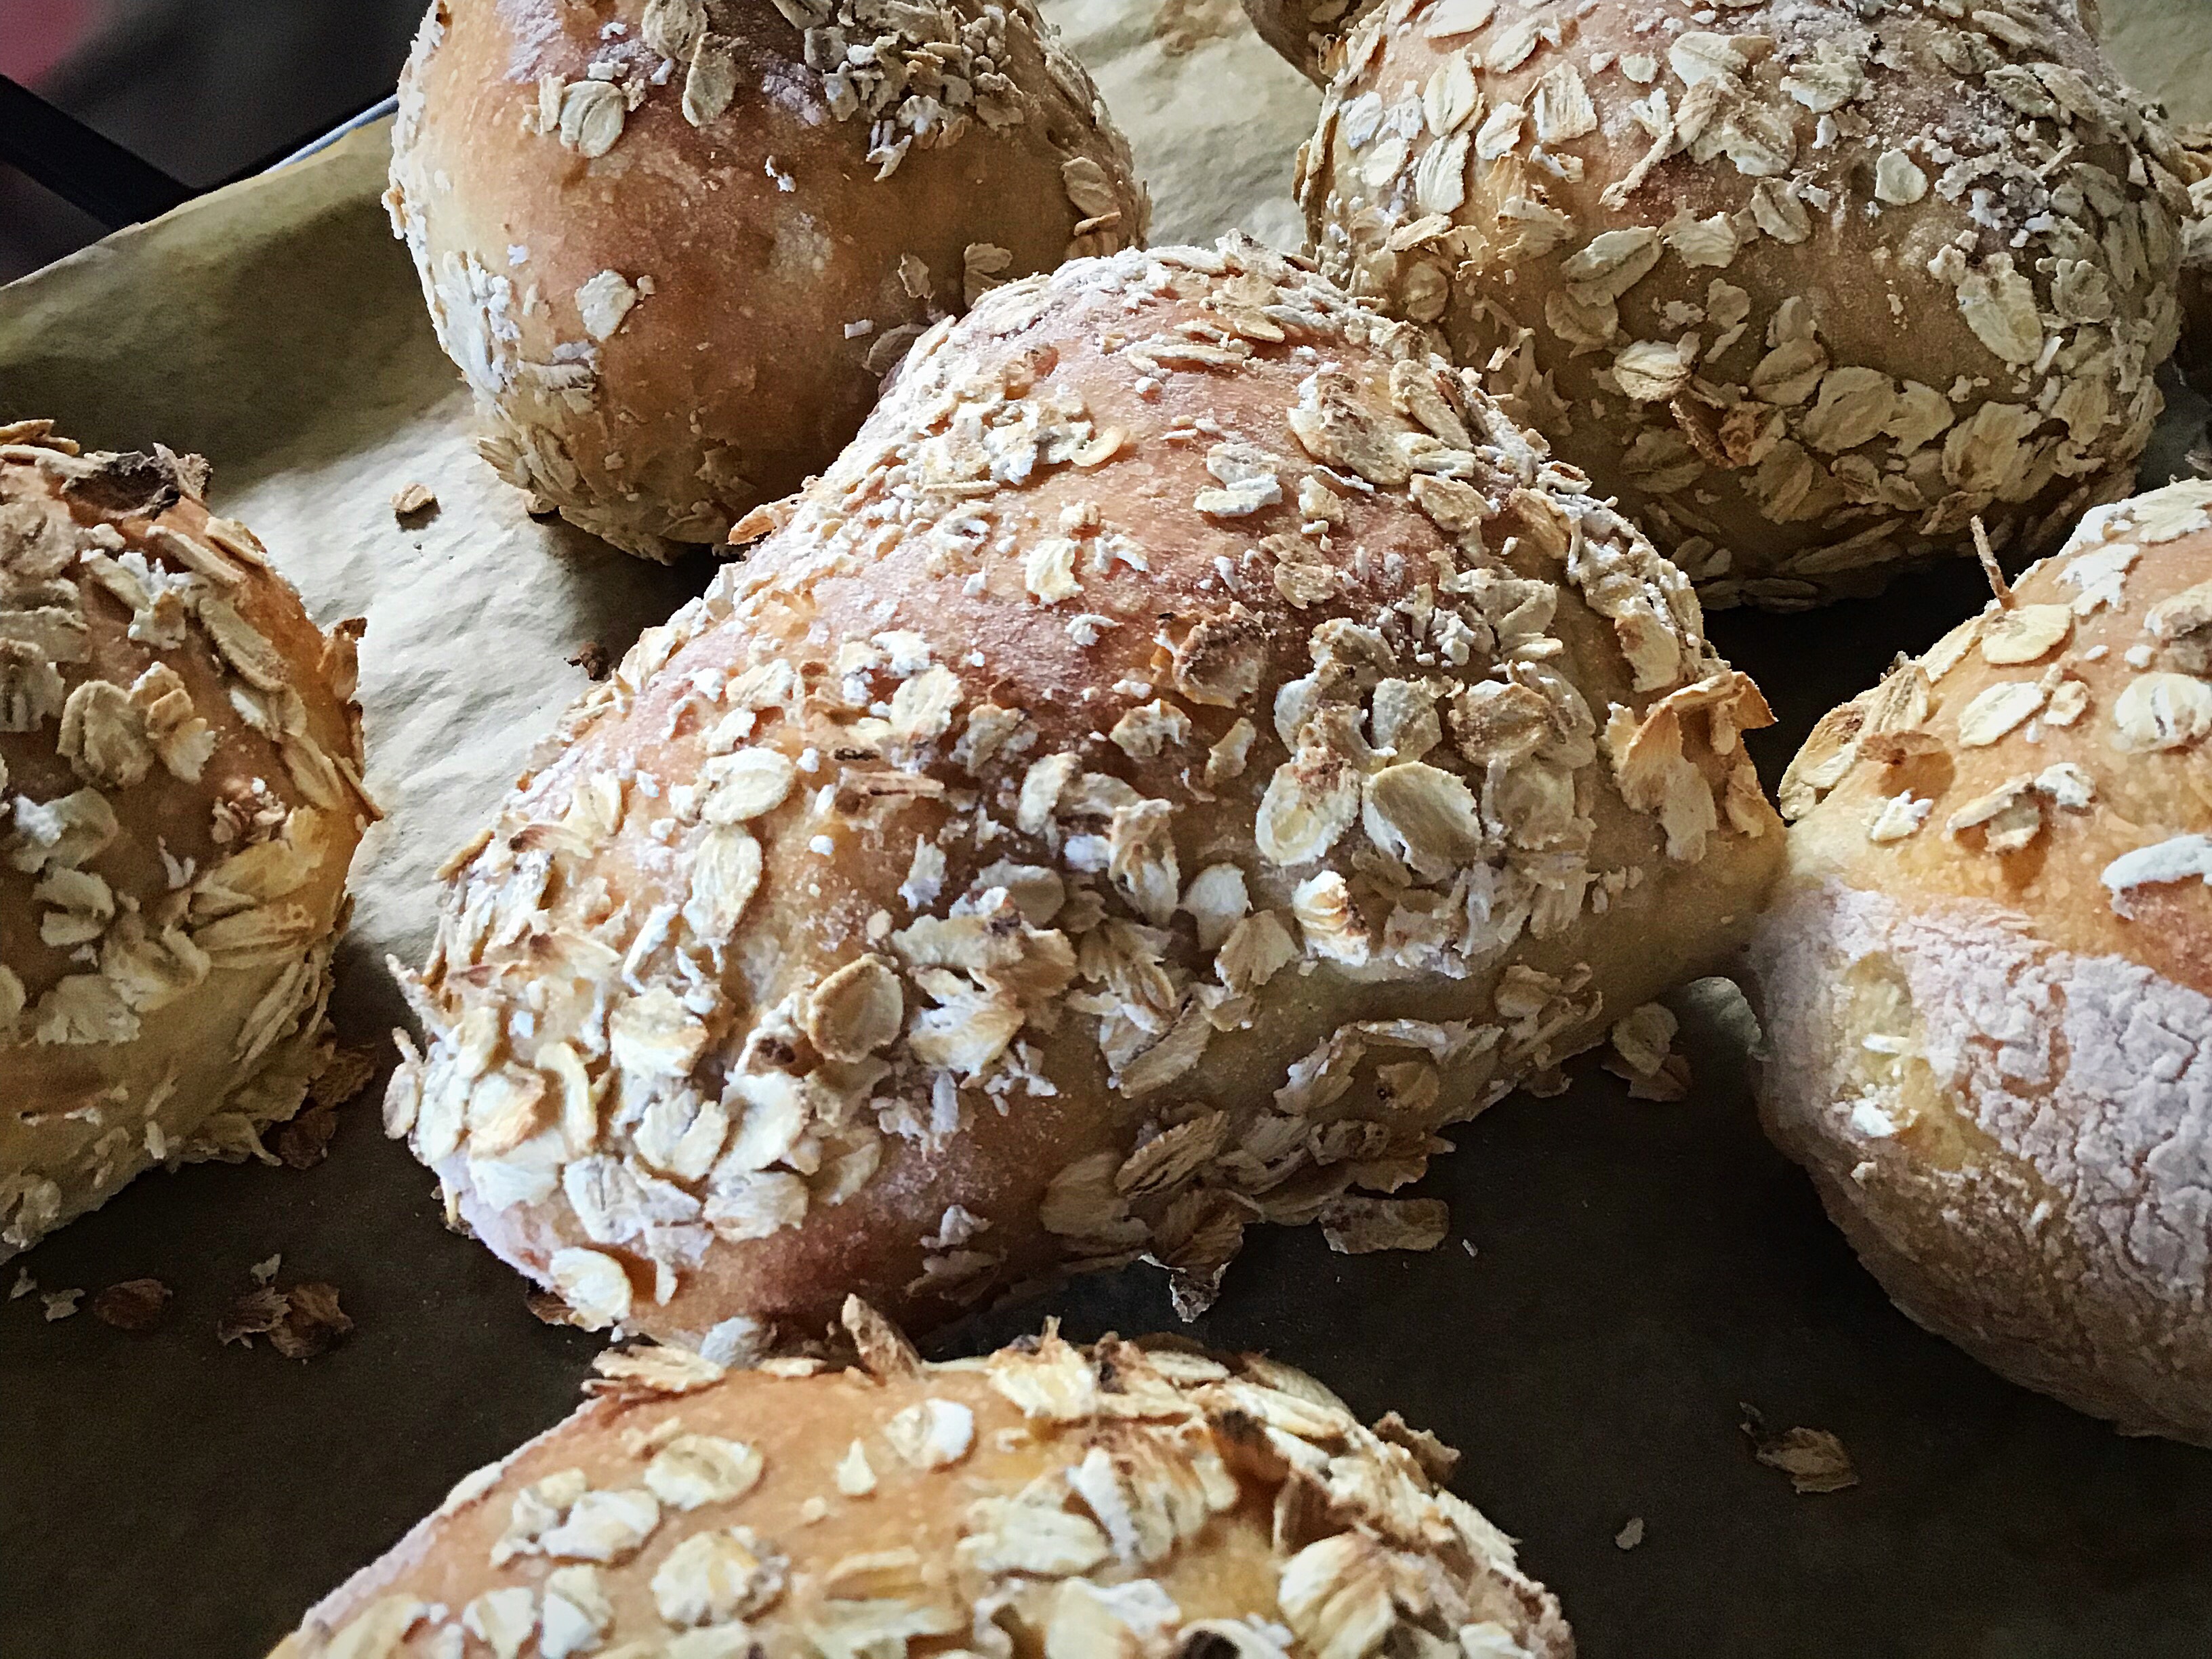
I then placed them in a cold oven, turned it up to 220C fan and baked them for 17-18 minutes.
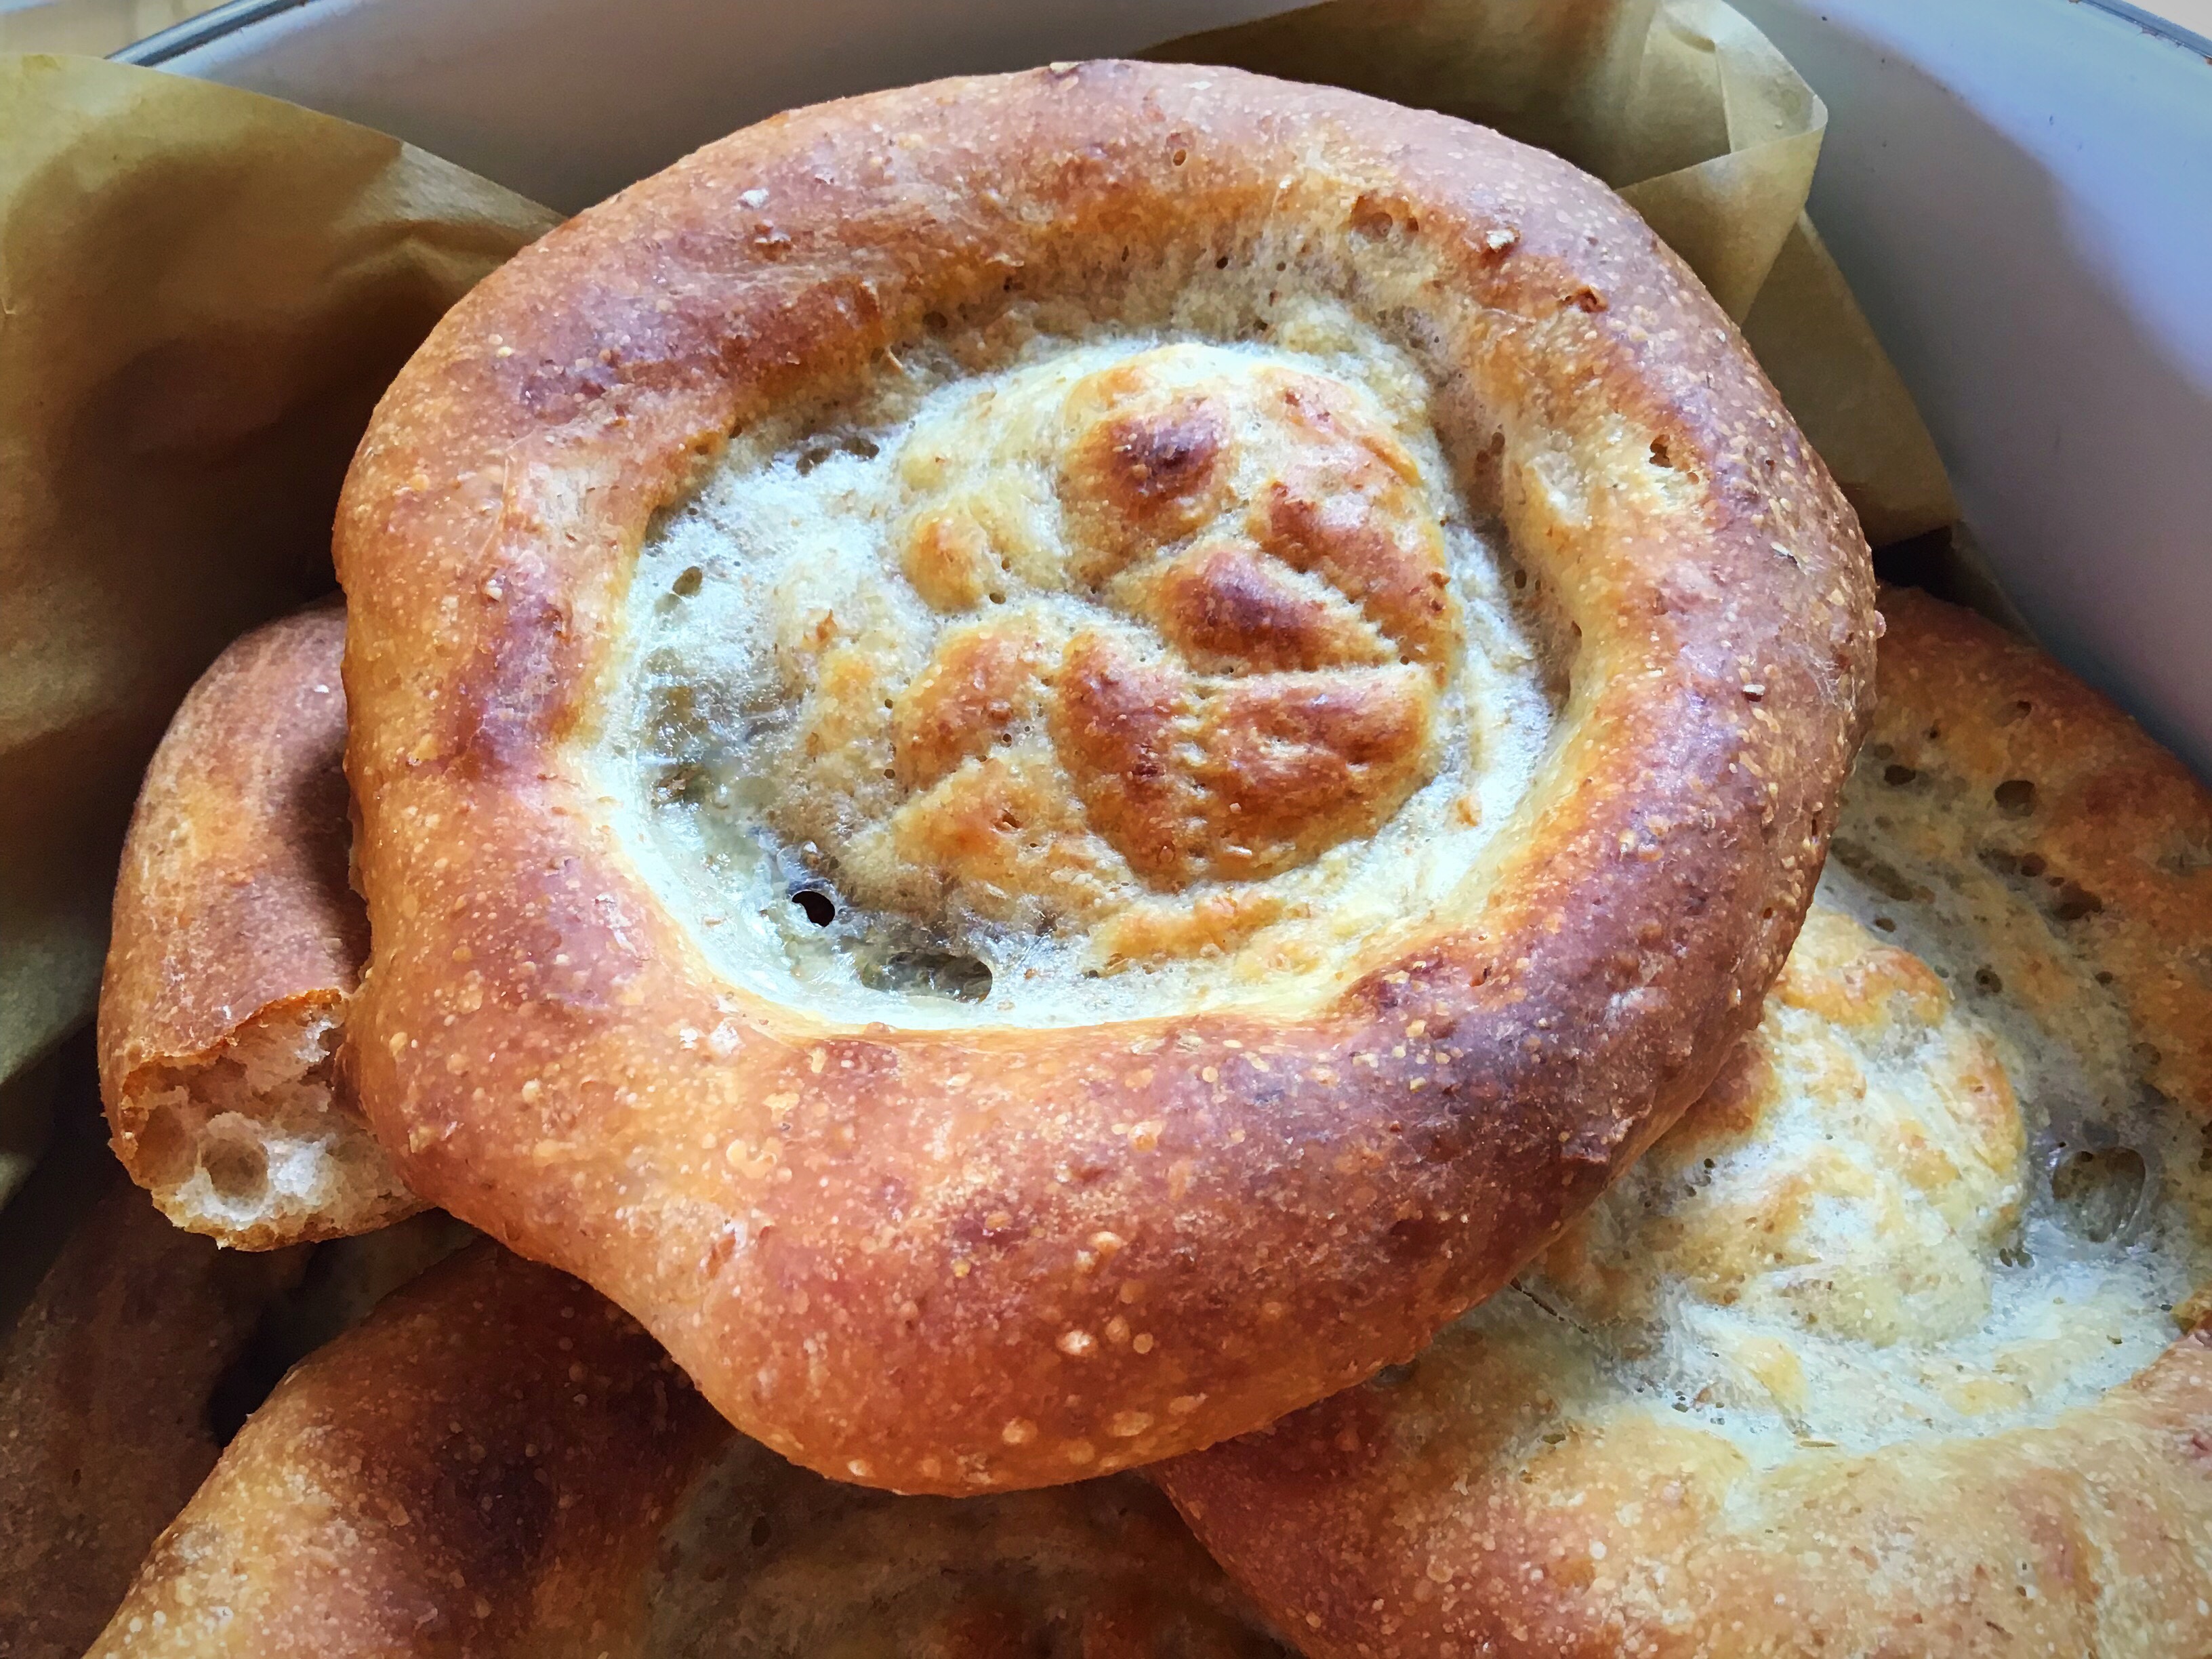
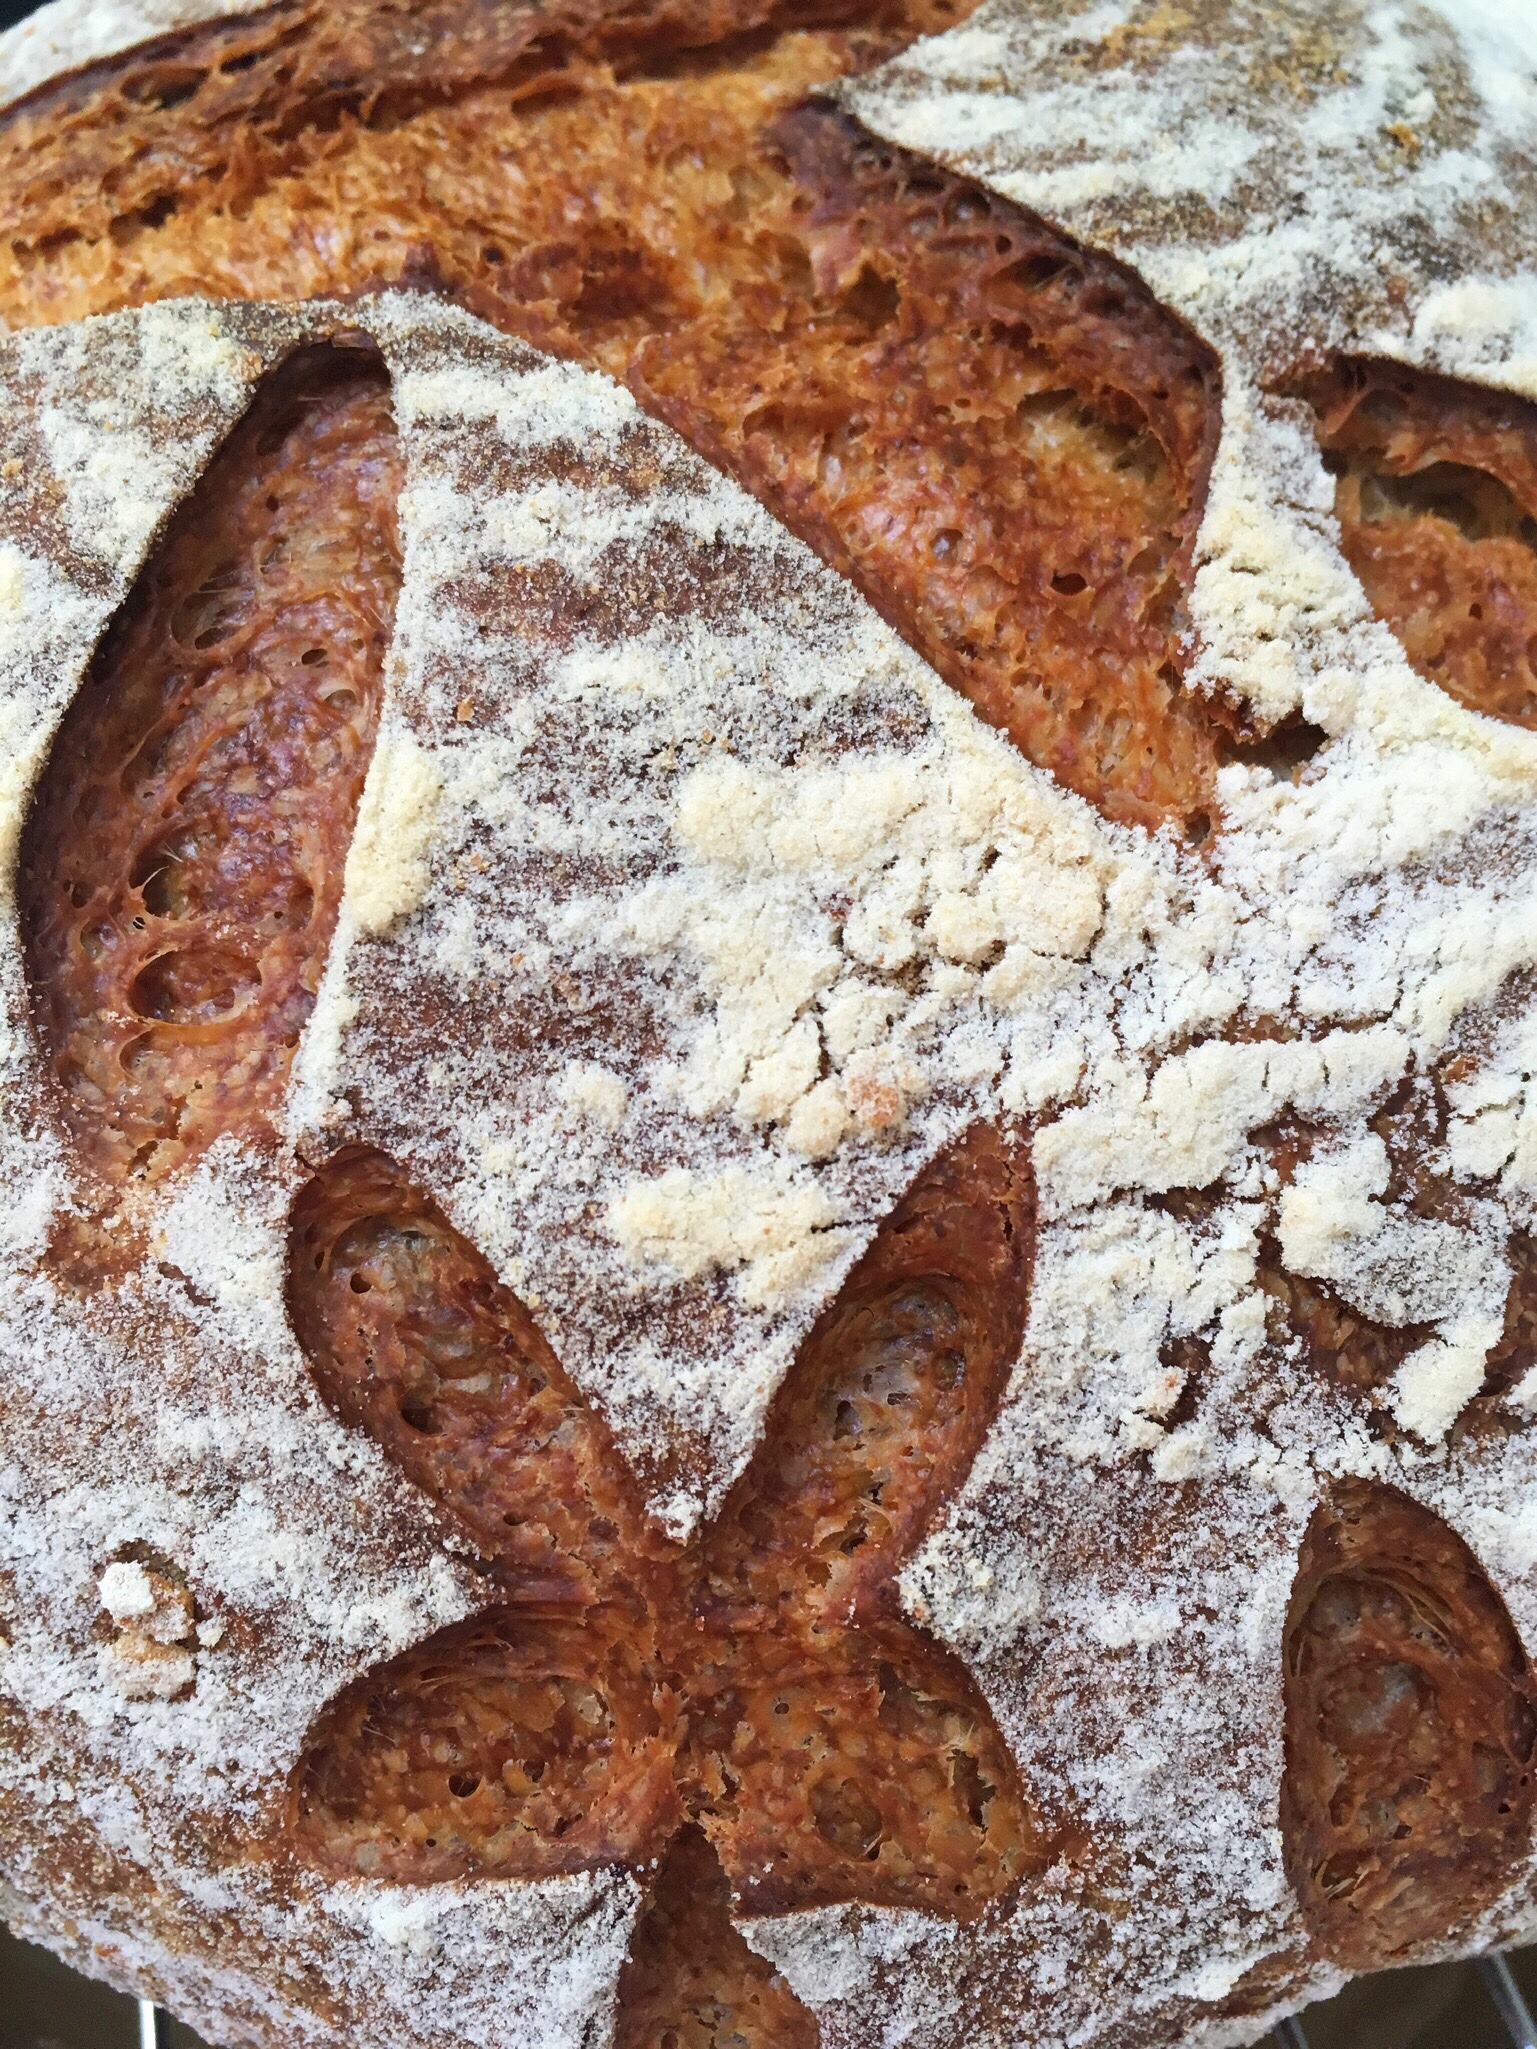
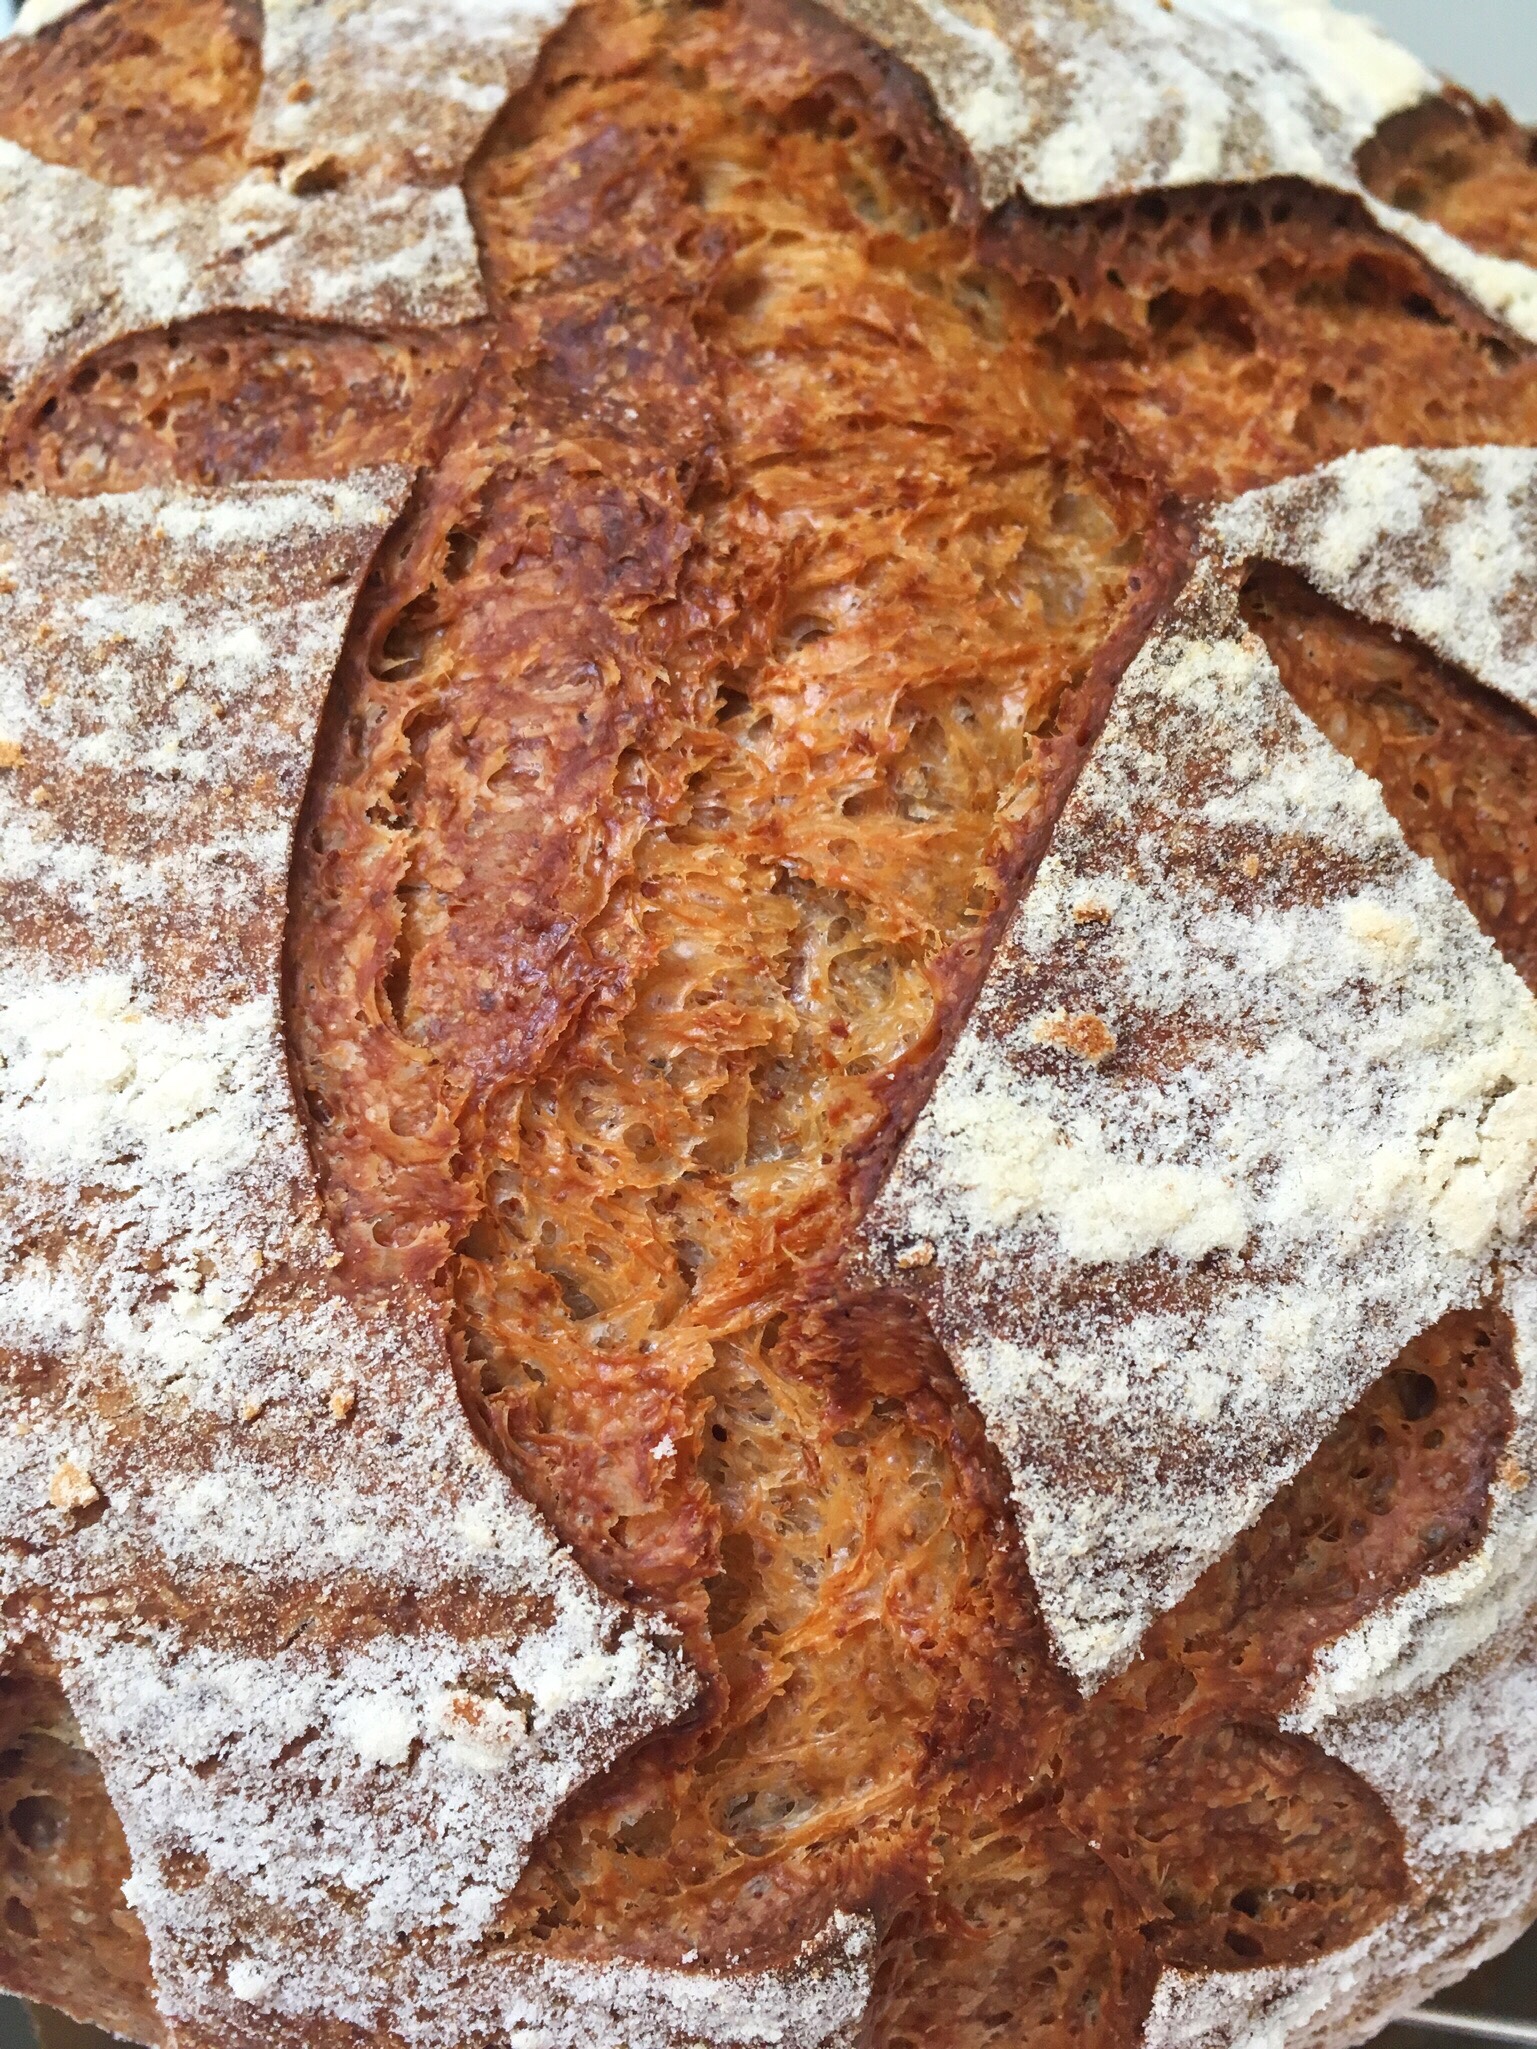
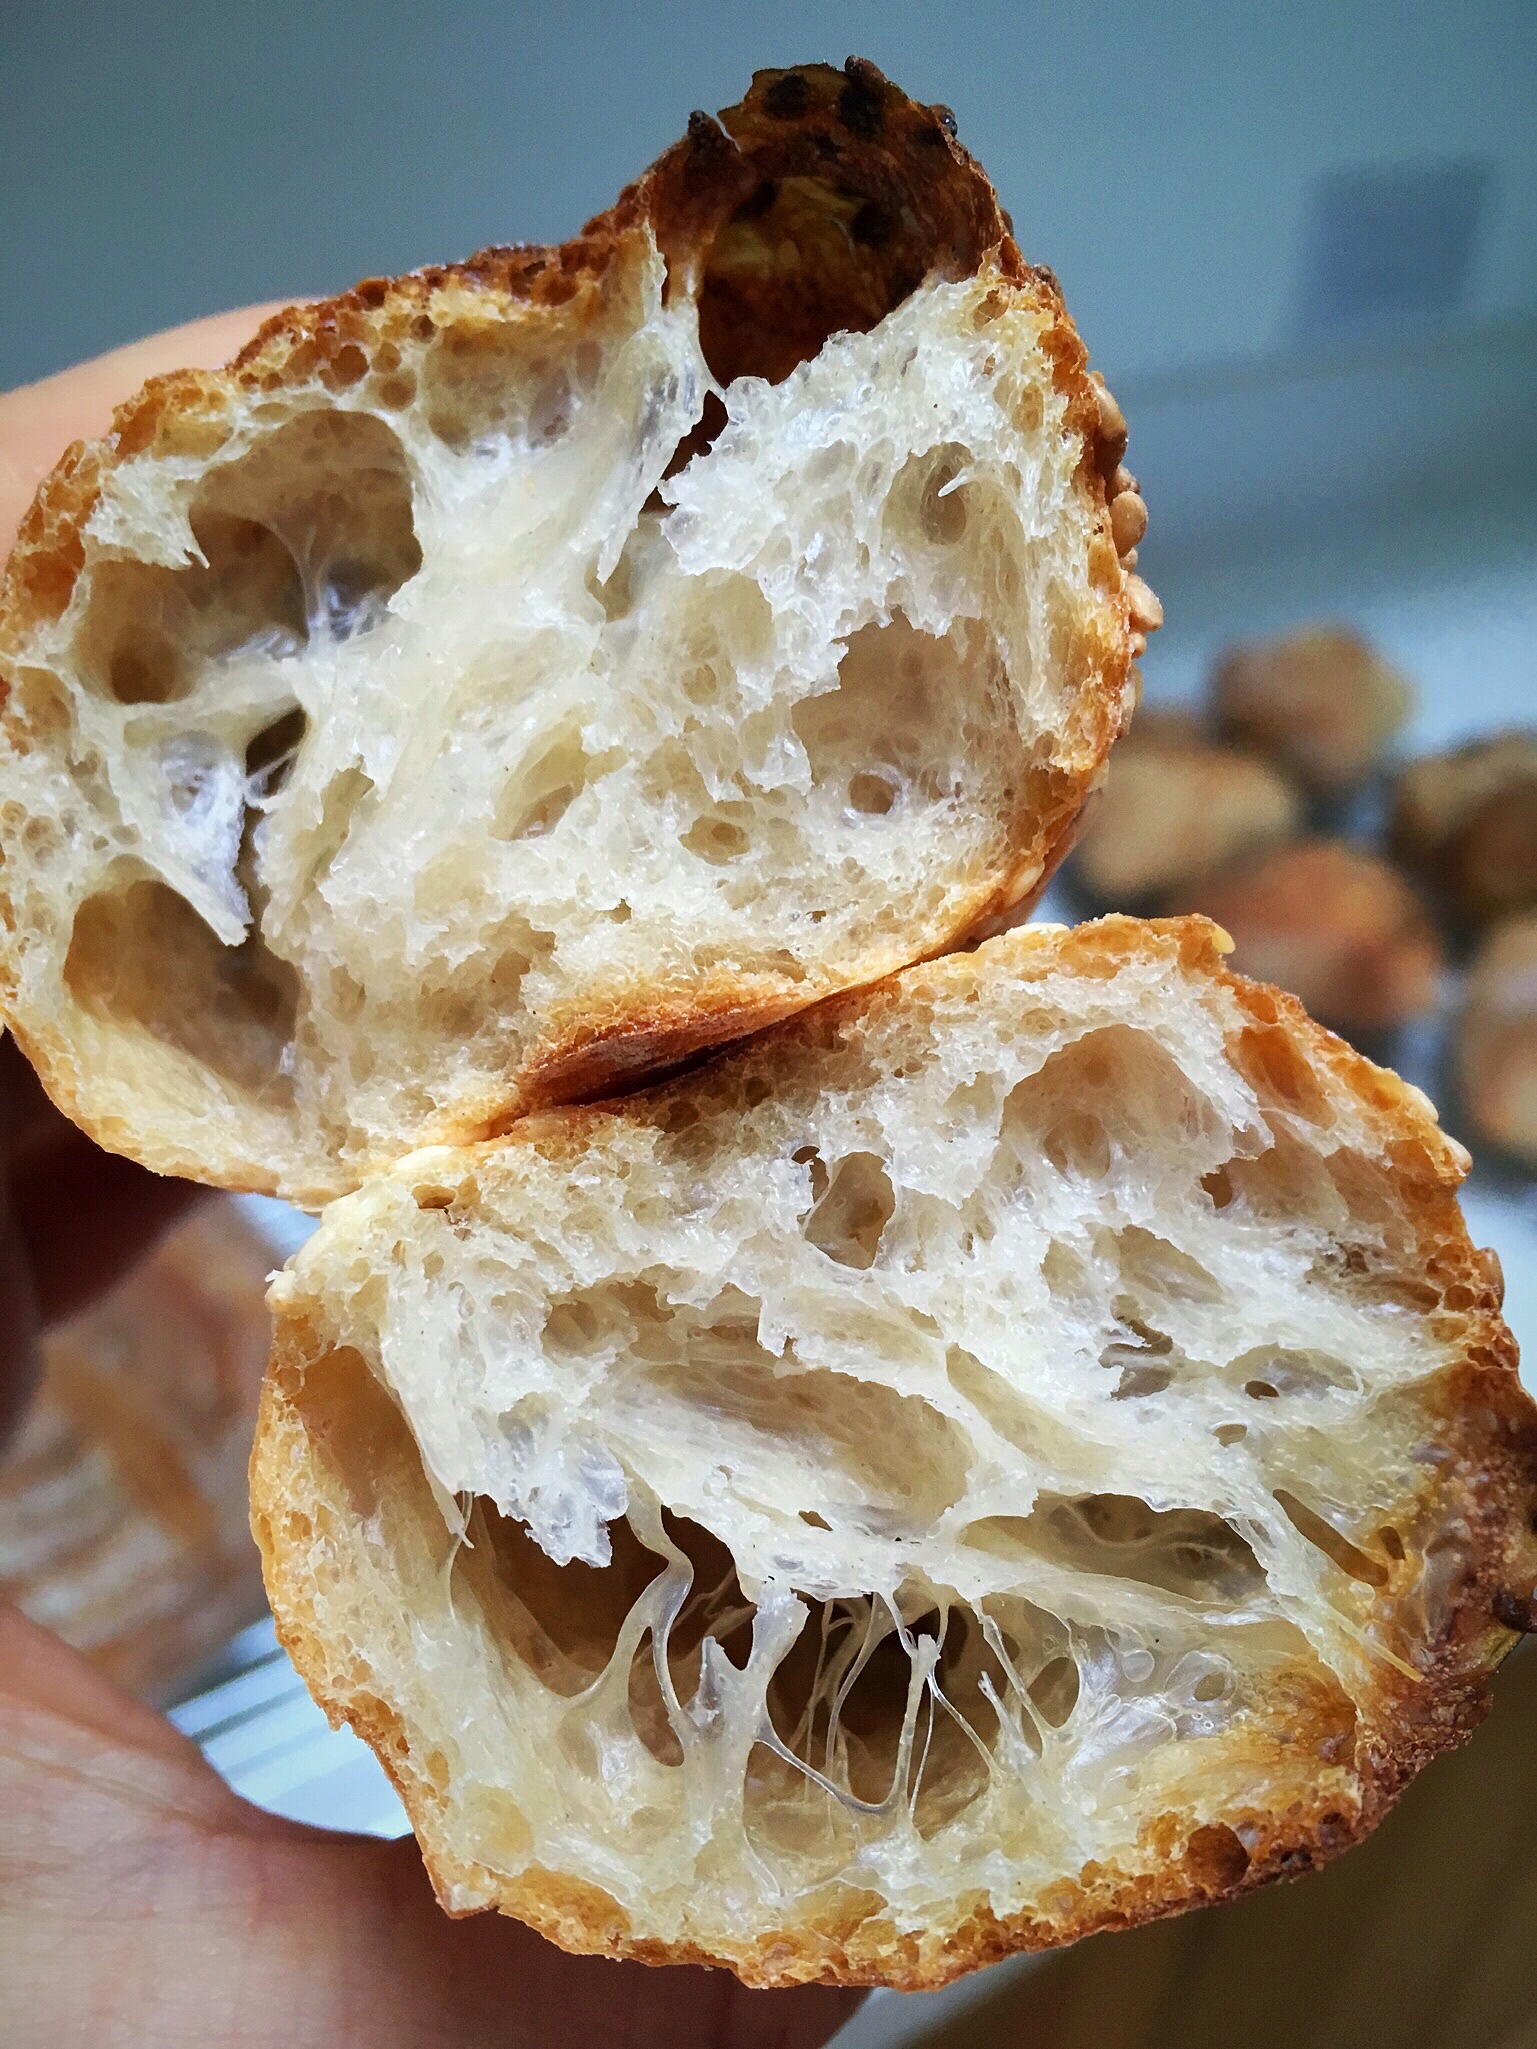
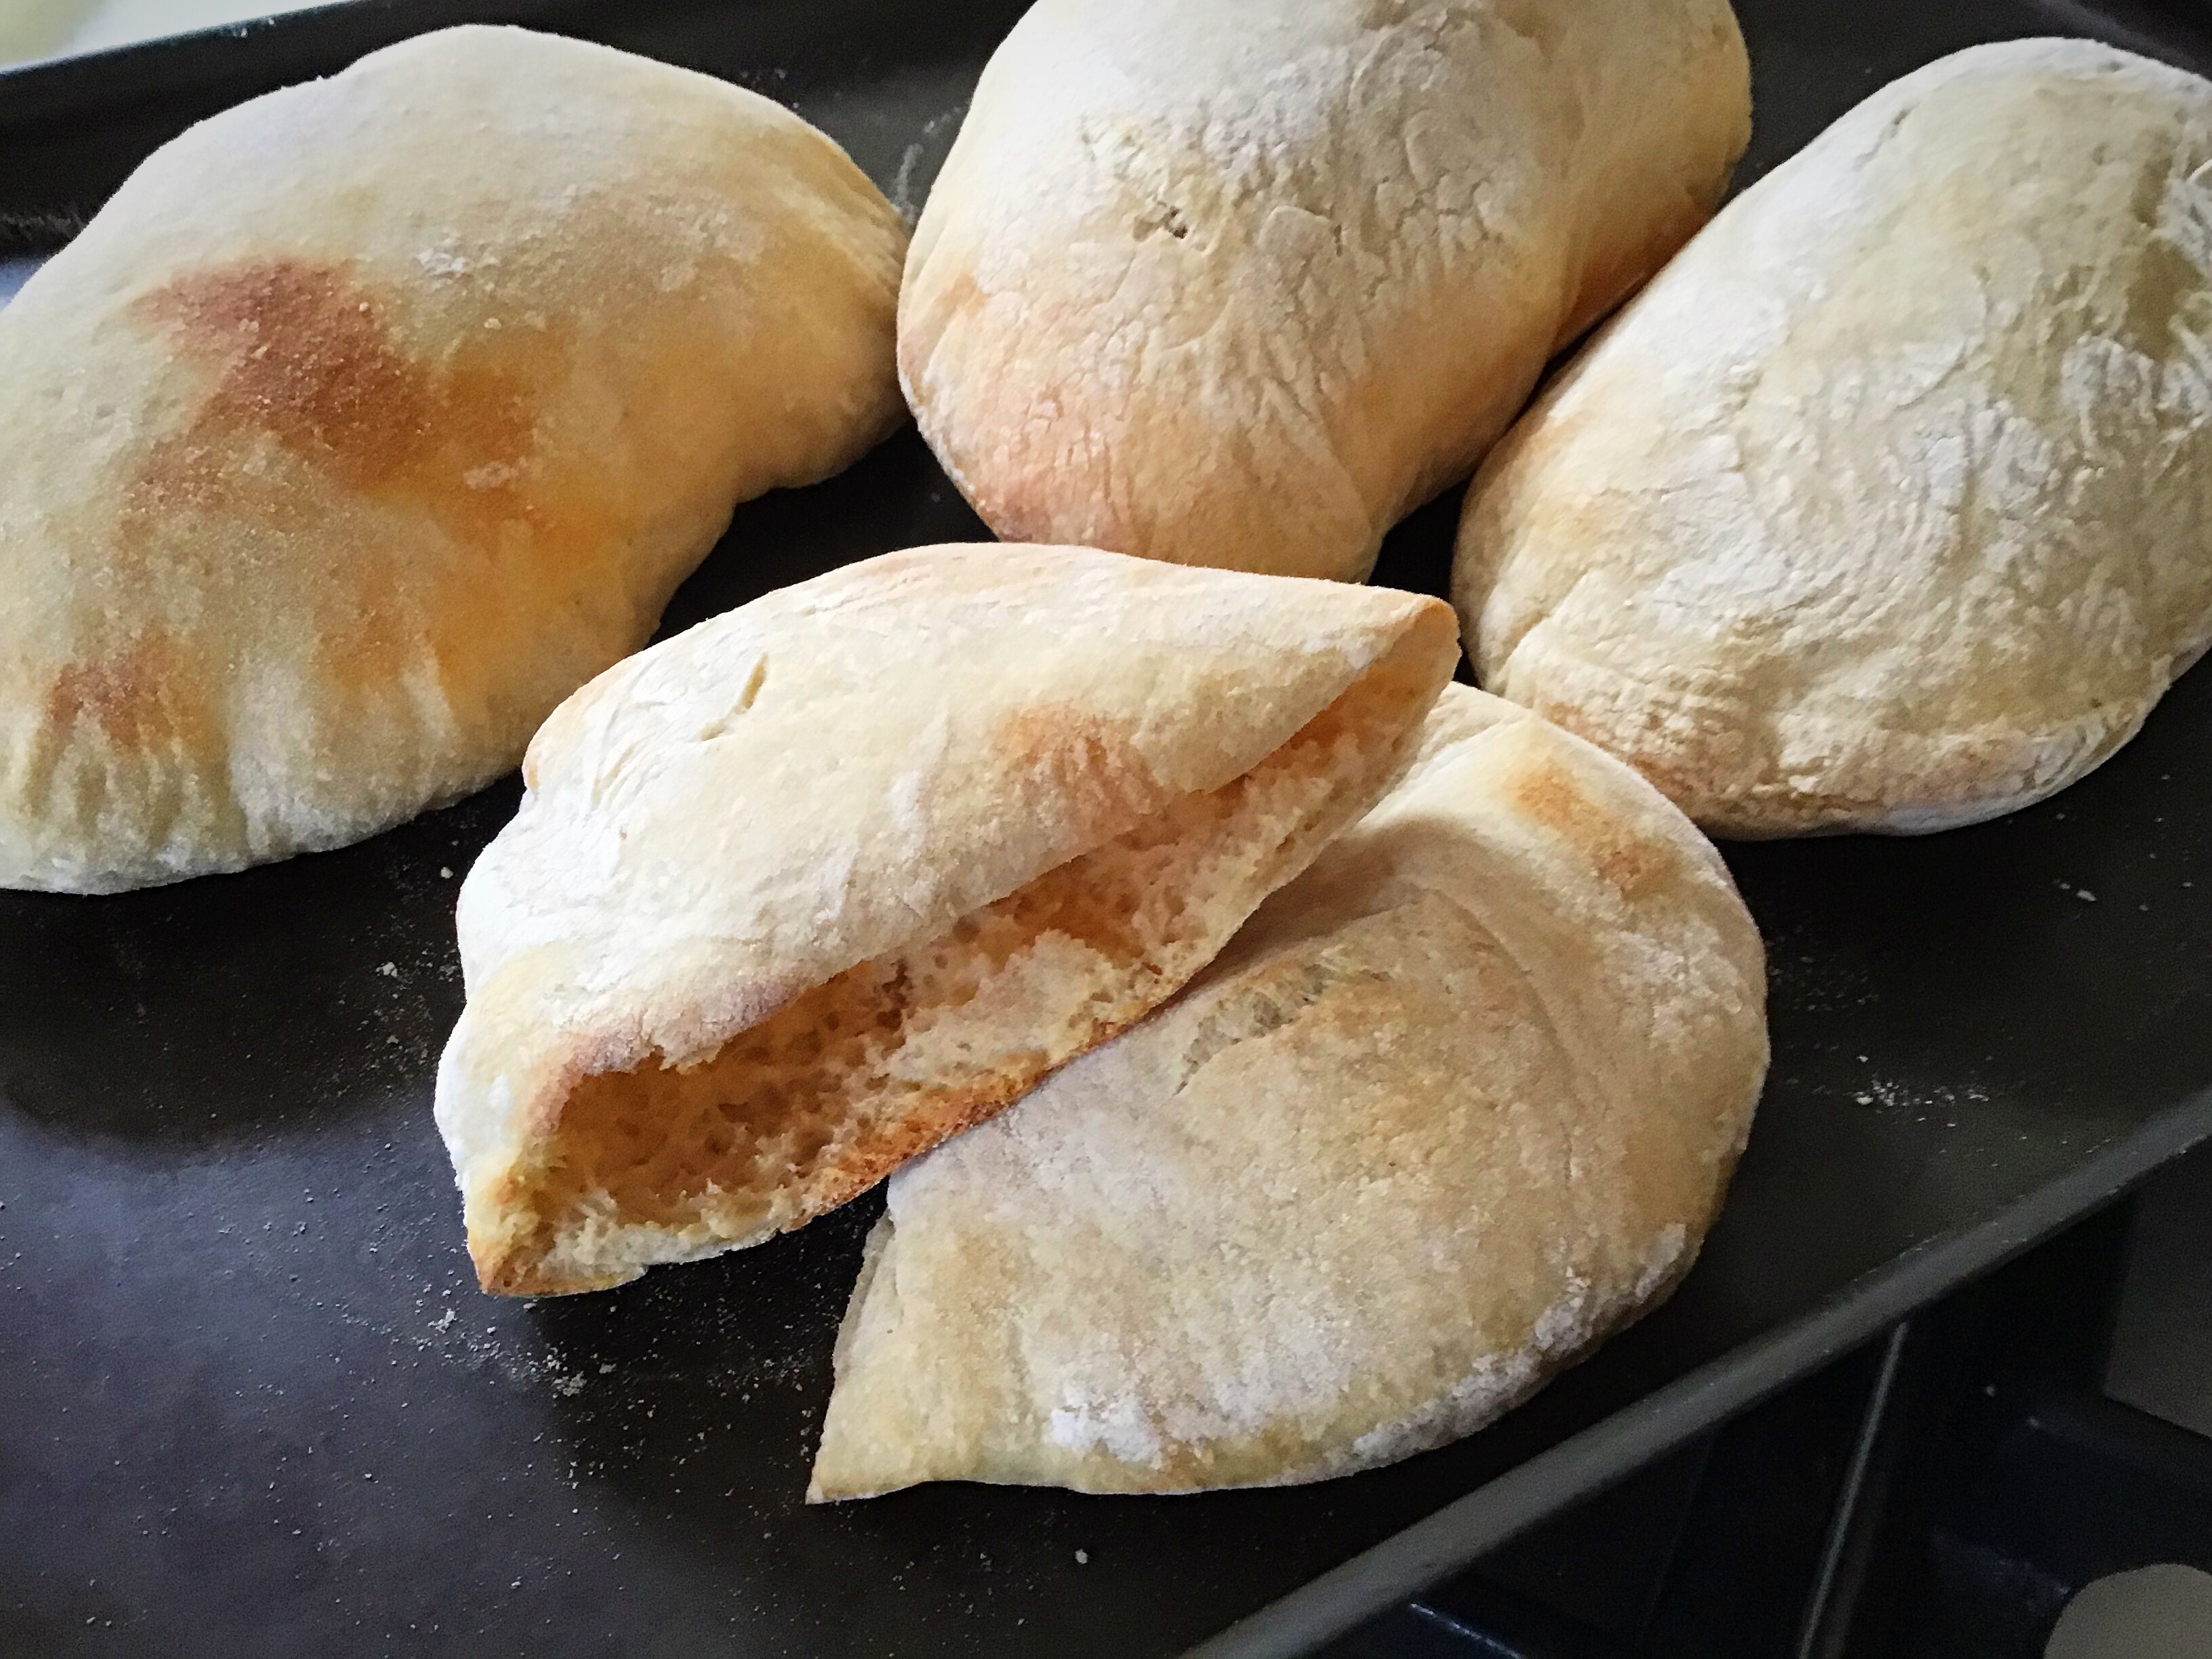
The result is a lovely soft edge with a crunchy thinner stamped middle.
I will definitely be making these again, and adding them to my courses 🙂