This lovely vision was created by using my master recipe process and converting it to make focaccia; by using my recipe and process all the way through to the morning after the overnight prove, you can then use the dough to create this lovely bread.
NOTE: if your dough has proved overnight and is reaching the top of the bowl or hitting the shower cap by the early morning but you’re not ready to use it yet, gently do one round of pulls and folds to calm it down a bit, then cover it again to allow it to grow and fill the bowl again over the next 2-3 hours for when you want to use it.

For this focaccia, I scaled down the quantities of my usual recipe, but you can keep them exactly as they are to make a bigger loaf than mine, or use the quantities below to make a smaller version.
Ingredients
300g strong white bread flour
210g water
30g bubbly active starter
1/2tsp salt or to taste
Additions: rosemary, garlic, or whatever you fancy!
Method
*The details for my master recipe and process are in links to the left of your screen.
Following the process up to the morning after the overnight prove, prepare a large baking tray by liberally drizzling it with a good amount of olive oil.
Using a bowl scraper or your hands, gently ease the bubbly risen dough from the bowl and let is fall onto the tray; it will pretty much plop onto the tray, which is fine, just take care not to handle it roughly or press out any of the lovely bubbles.
Gently turn the dough over so that it is all covered in olive oil and cover loosely with a large plastic bag or cling film and leave it on the counter to prove again for 1.5 – 2 hours.
Heat your oven to 200C fan (220C non fan).
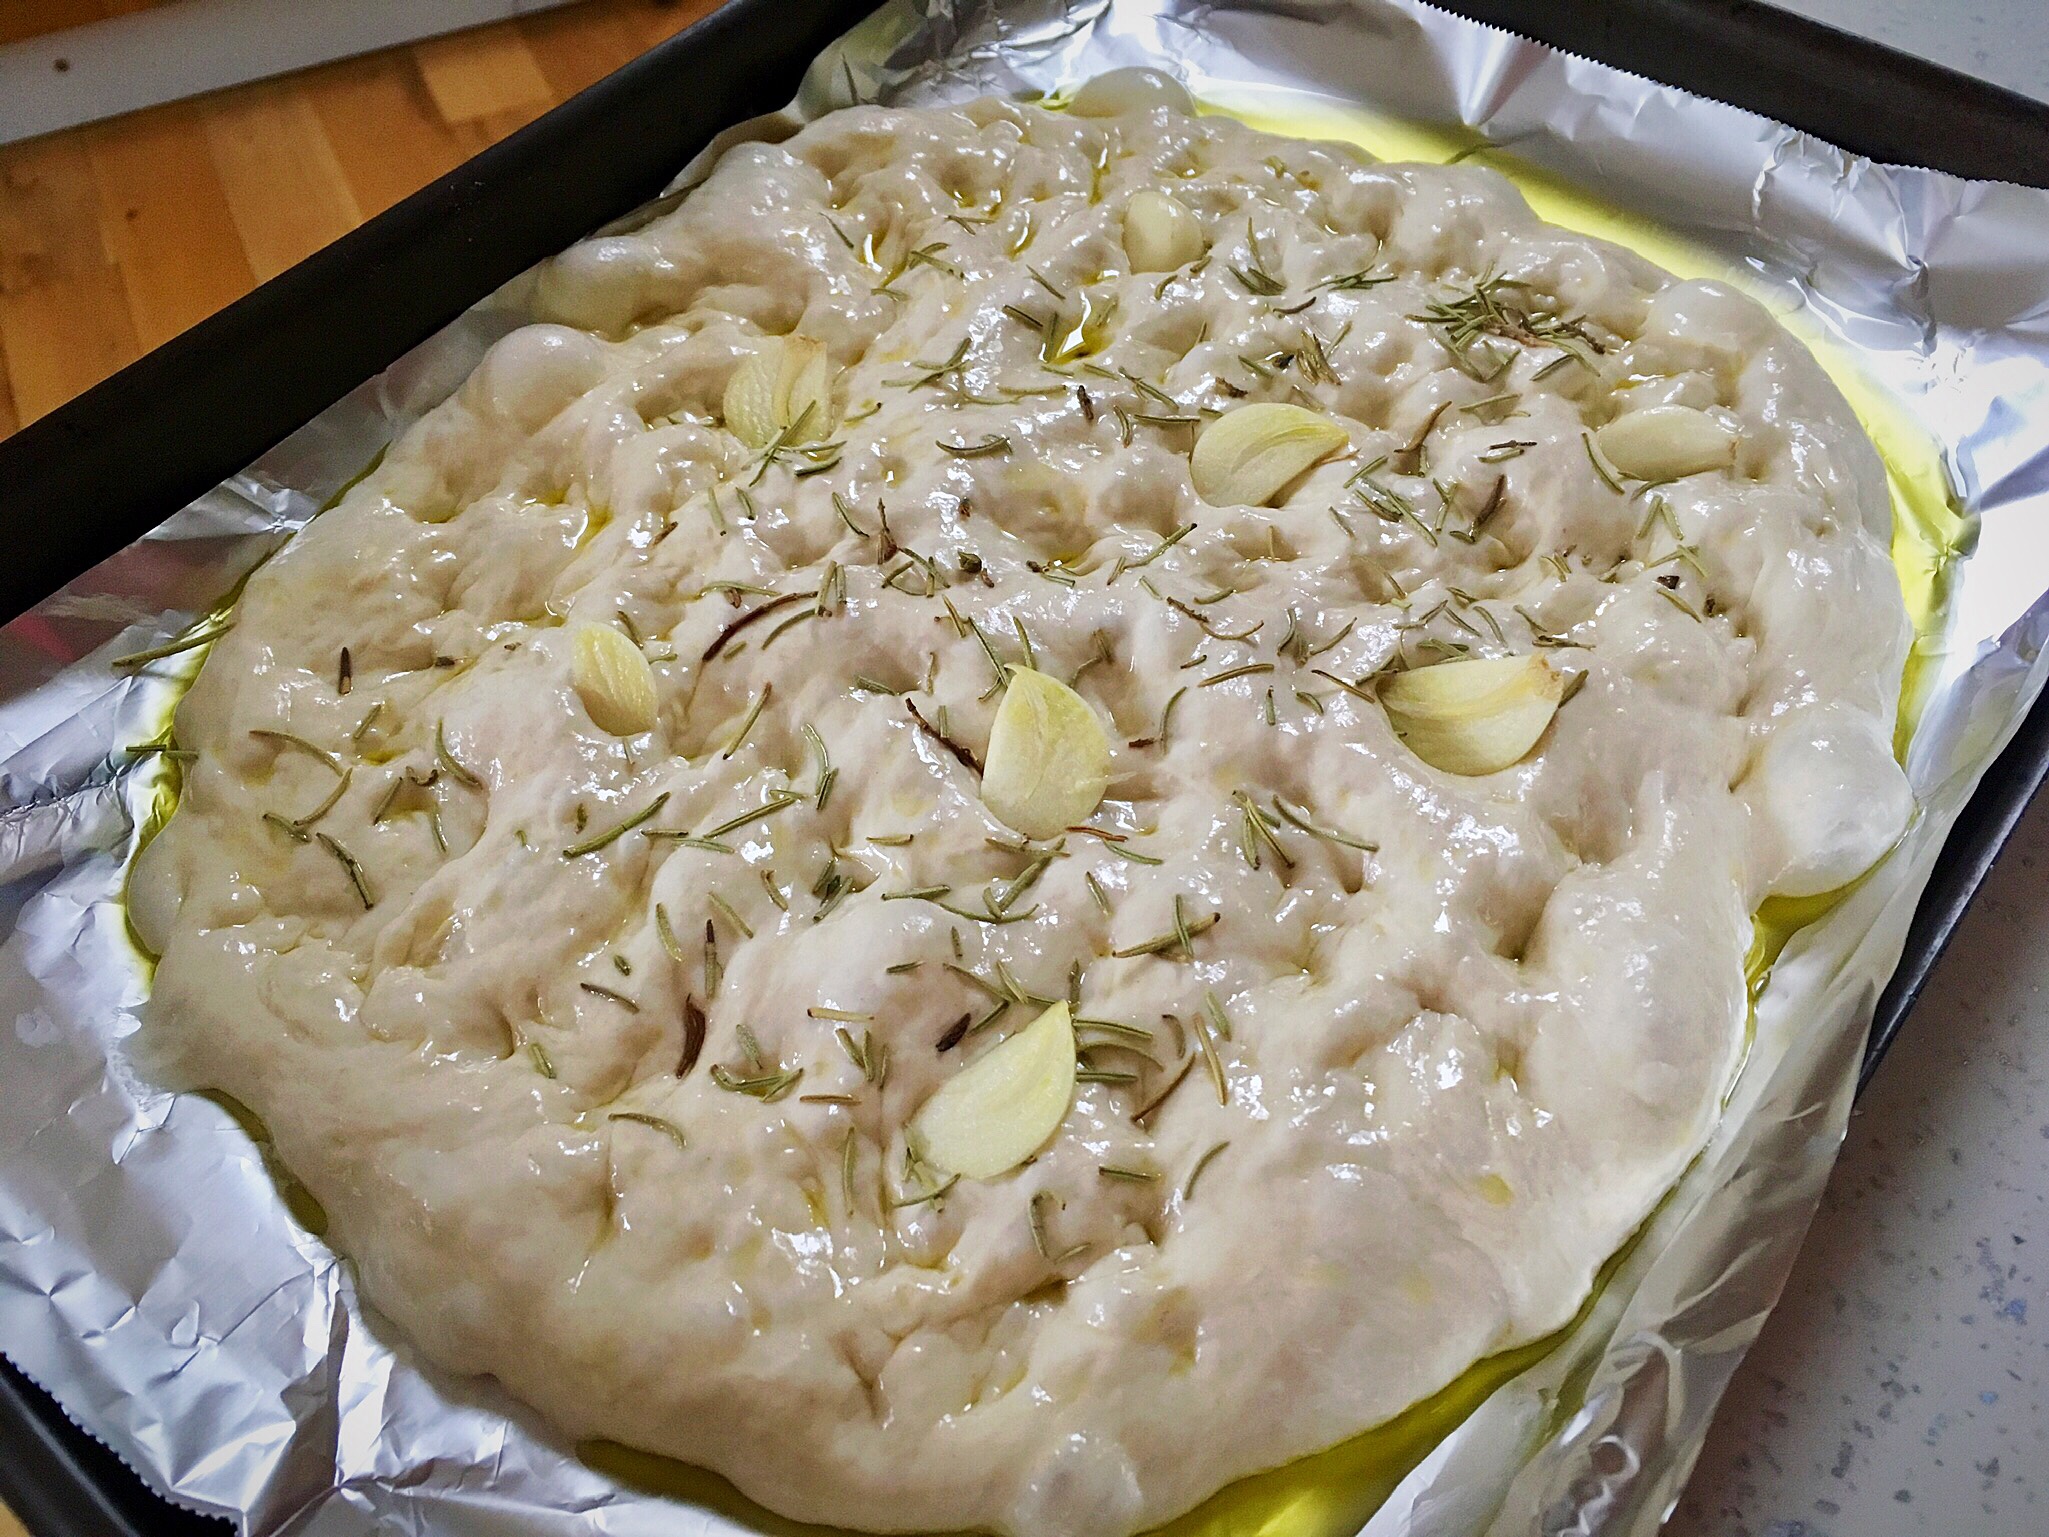
Using your fingertips, push the dough out to a rectangular/oval shape until it’s about 1″/2-3cm thick. Use your finger tips to firmly press dimples all over the dough.
Sprinkle or place whatever toppings you choose over the dough; here I’ve used dried rosemary and sliced garlic (not too thinly sliced).
Bake for 17-18 until browned, or longer if you’re using a bigger dough at the start. If like me your oven has a hot spot, turn the tray round half way through.
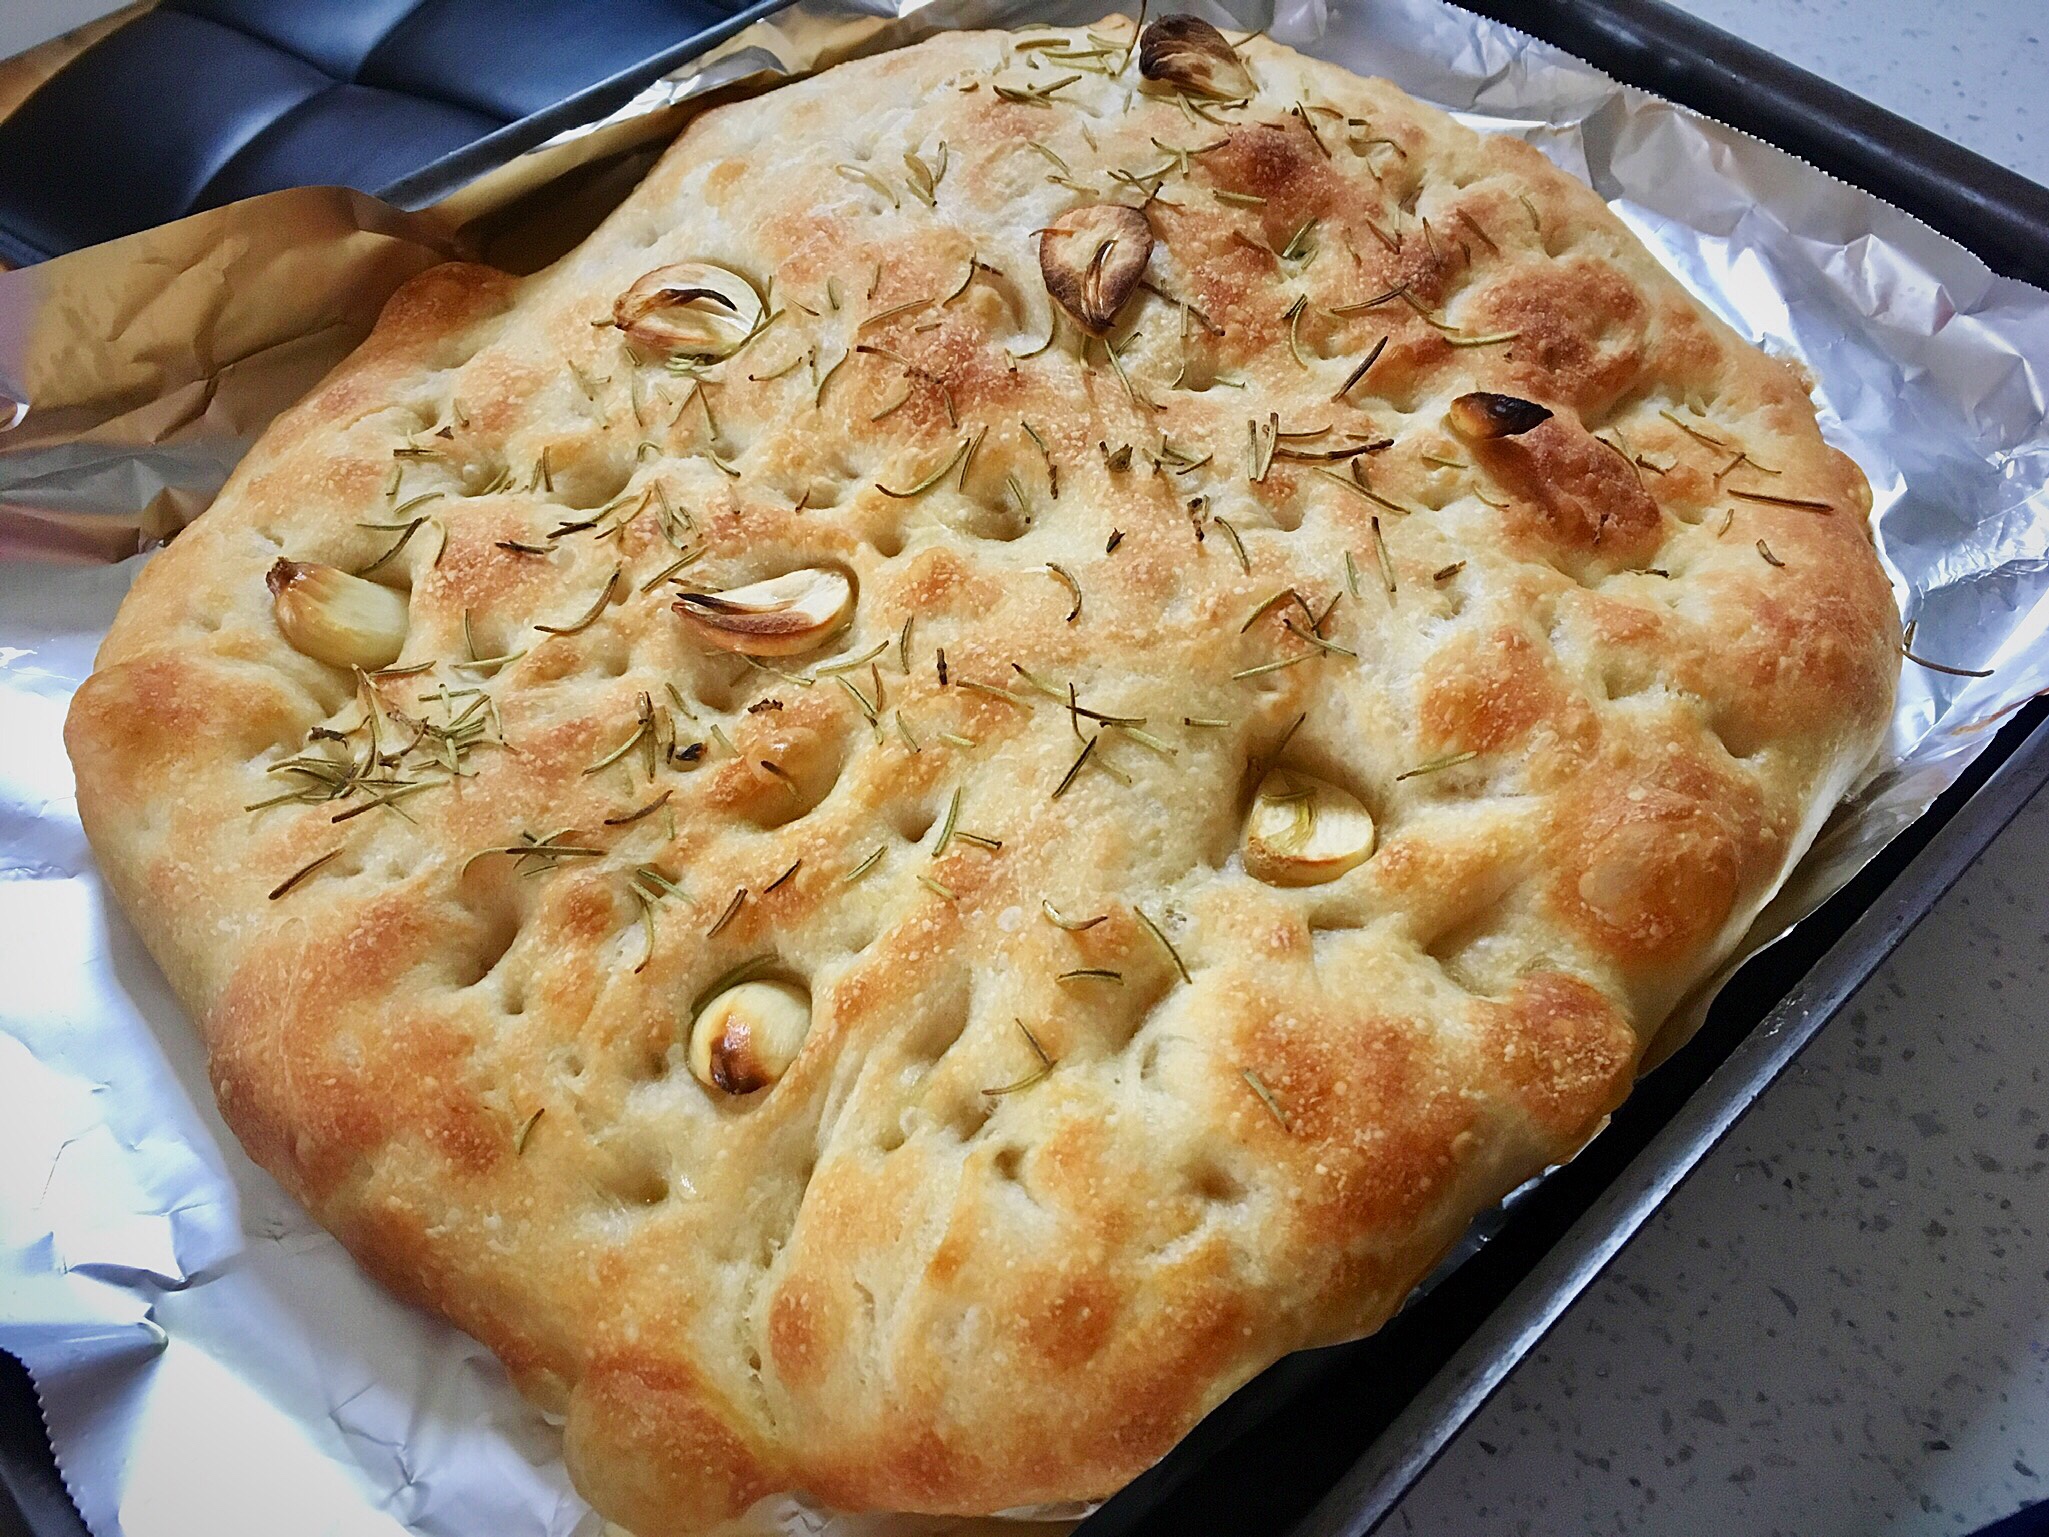
Ease off the tray and place on a rack to cool. Resist the temptation to cut into it whilst it’s piping hot.
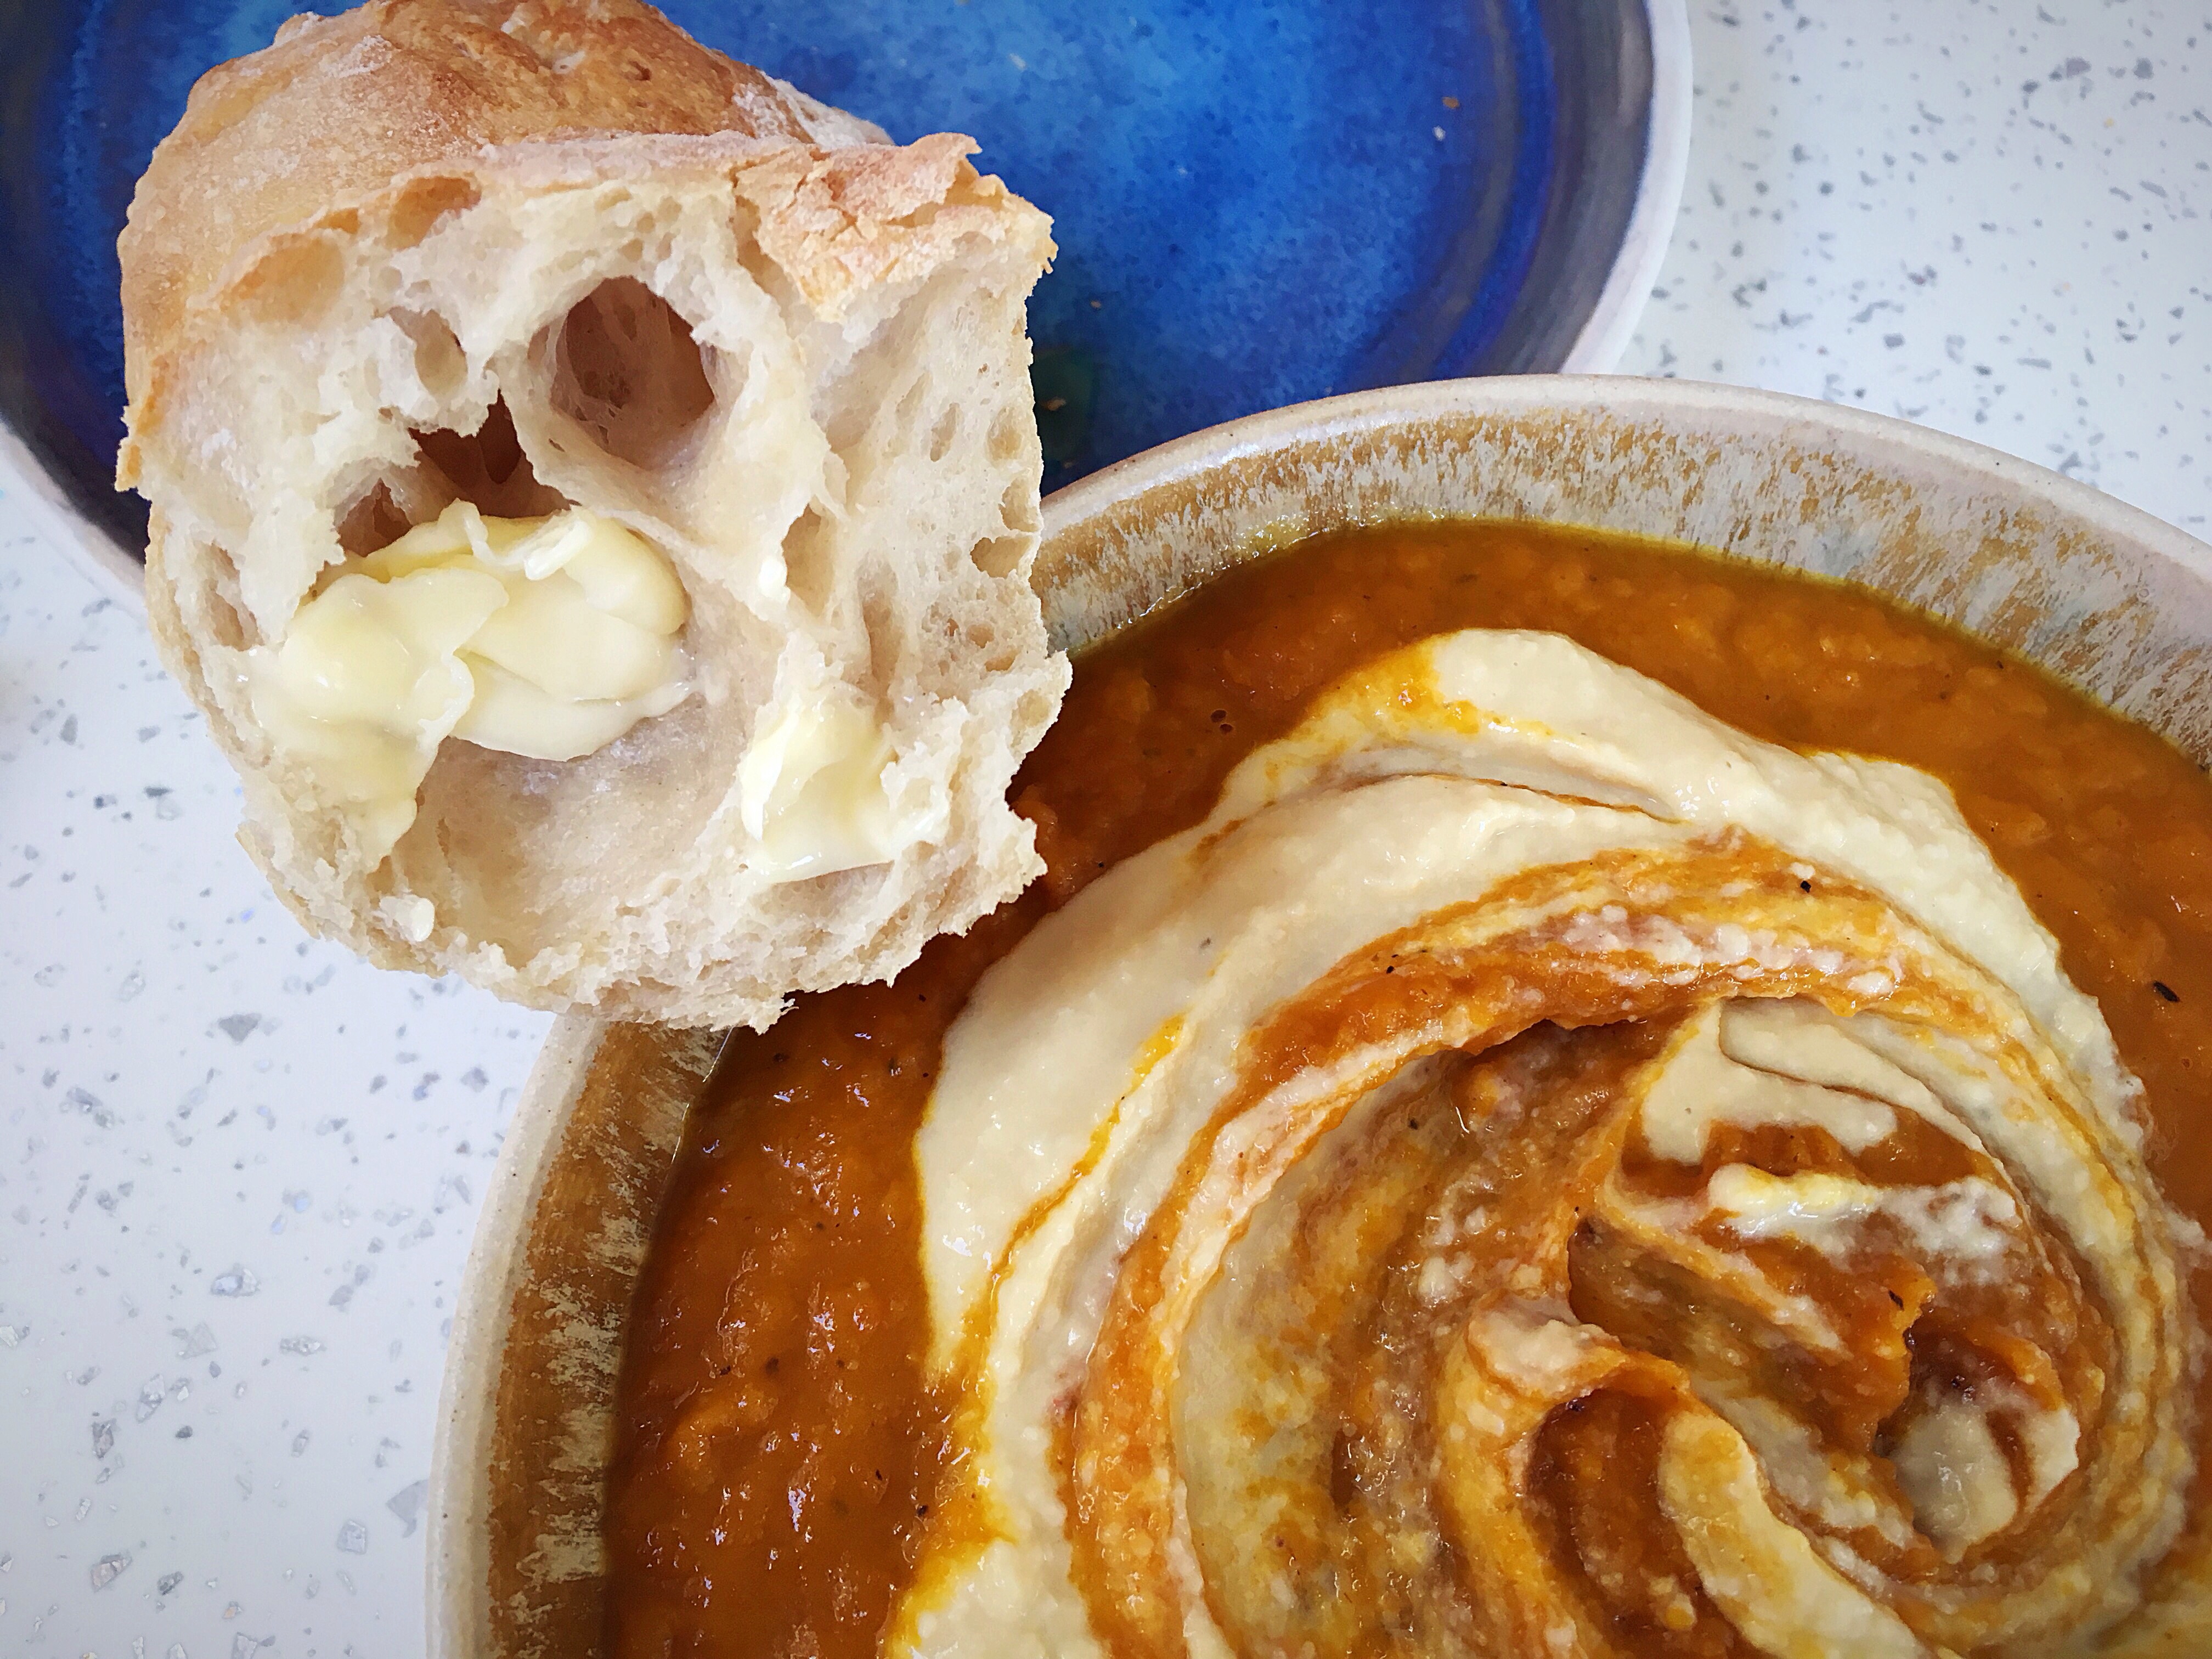
Cut when ready to consume and enjoy!
For more detailed focaccia recipes, check out my books: find focaccia made with added wholegrain flours in this book, or my master focaccia recipe and focaccia pizza recipe in this book.
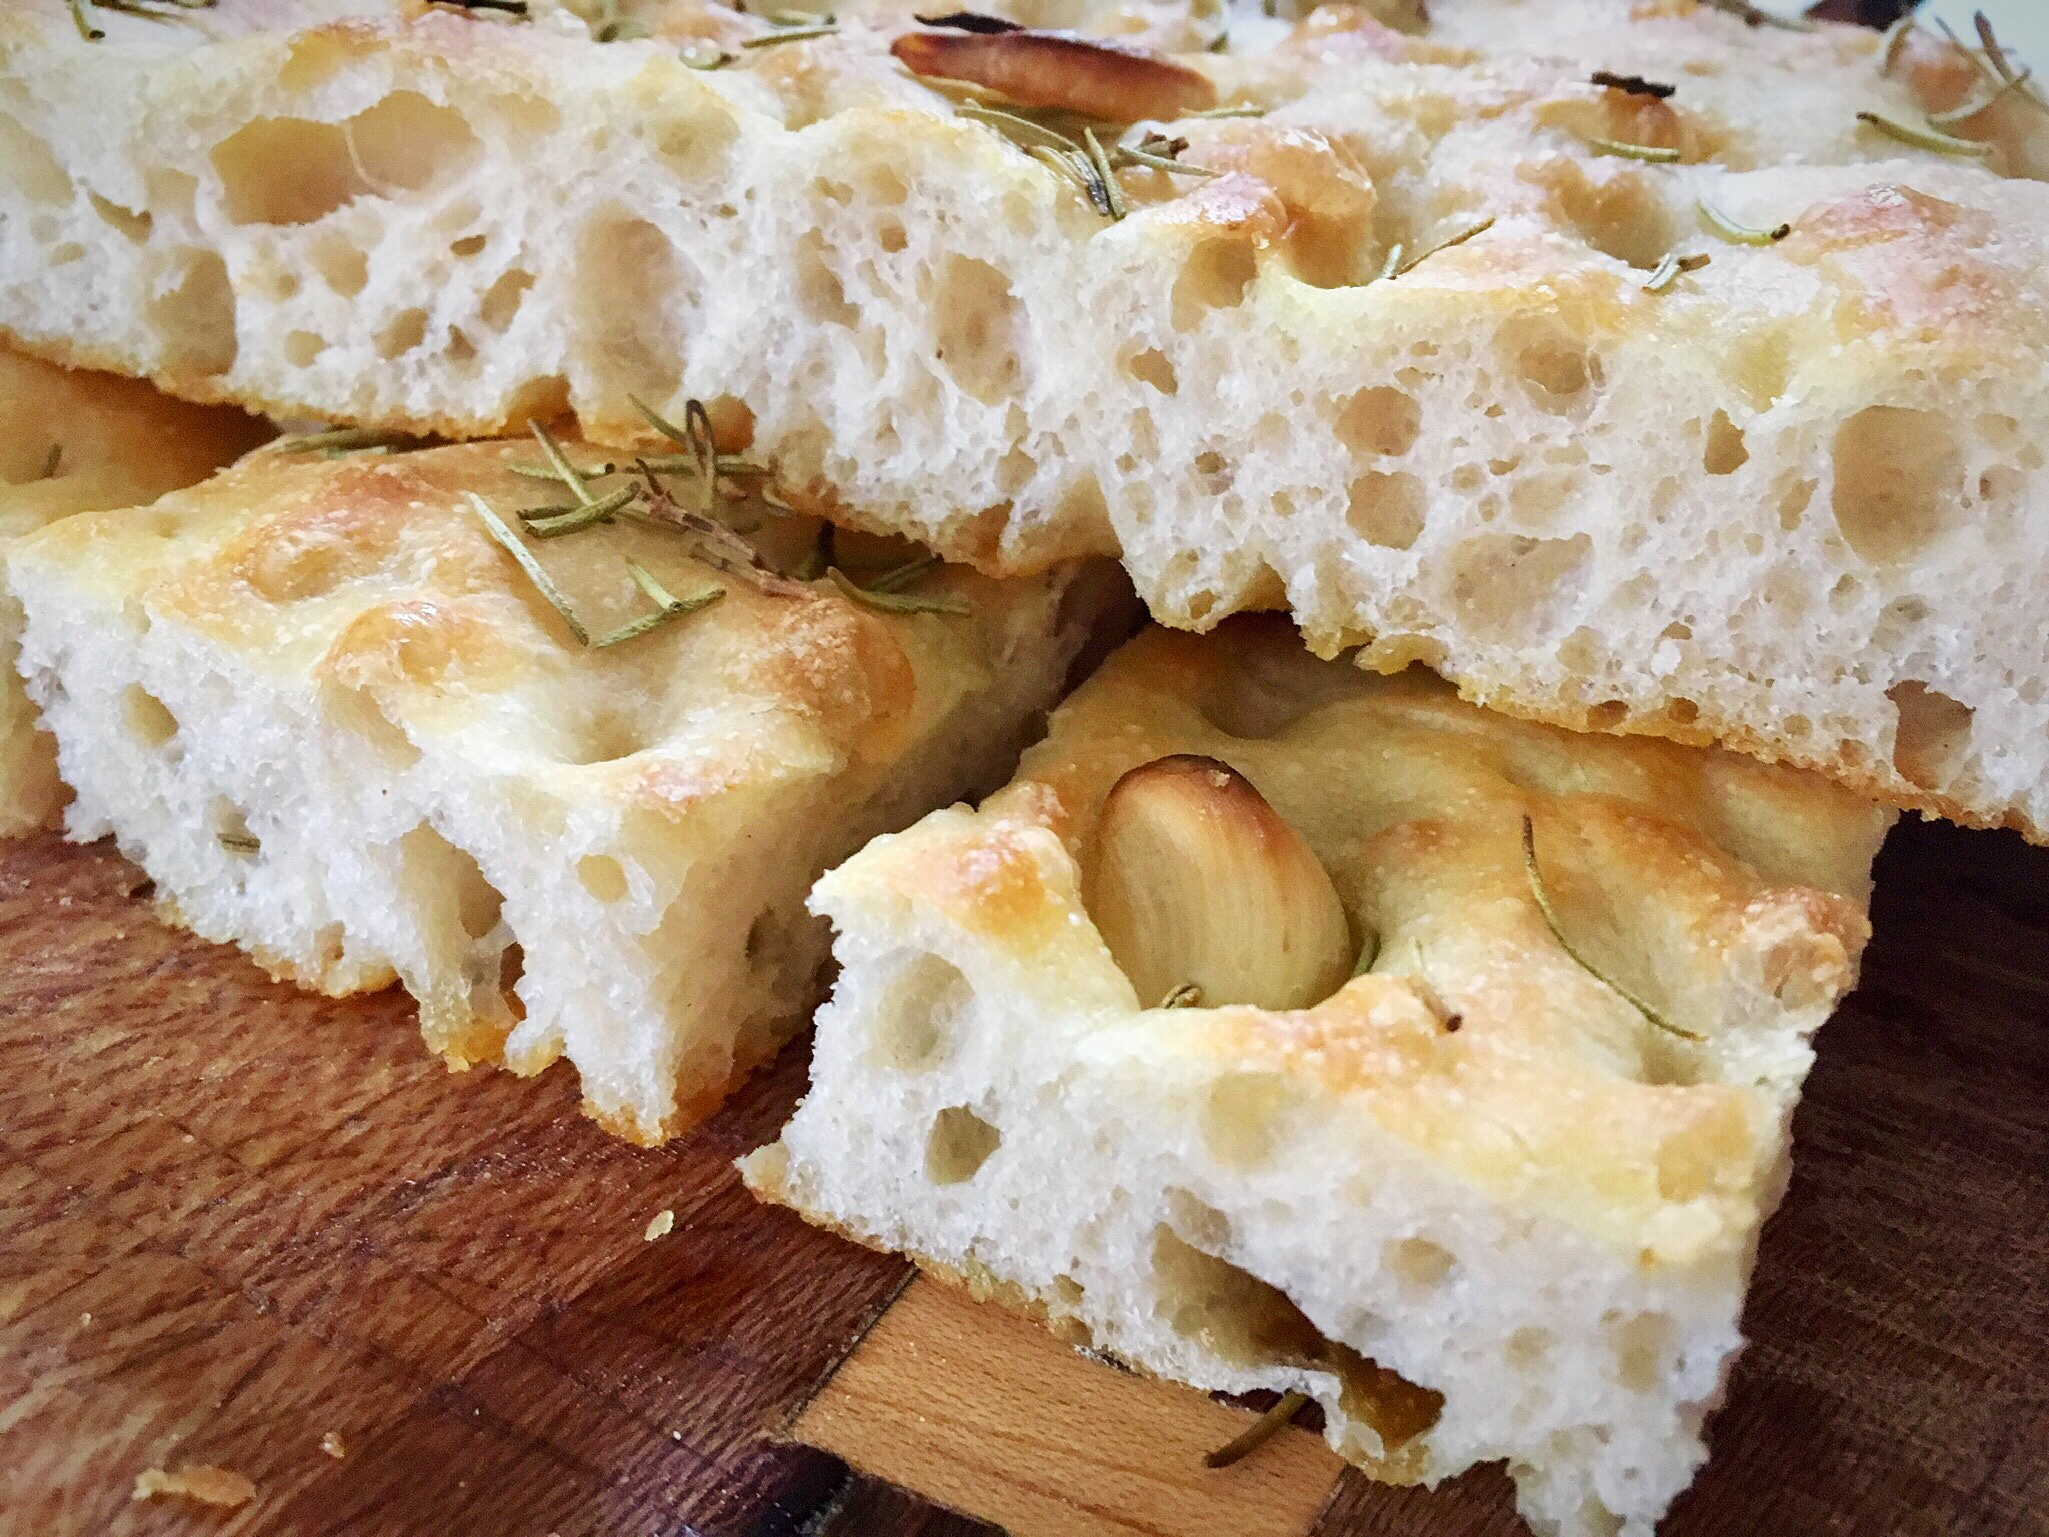

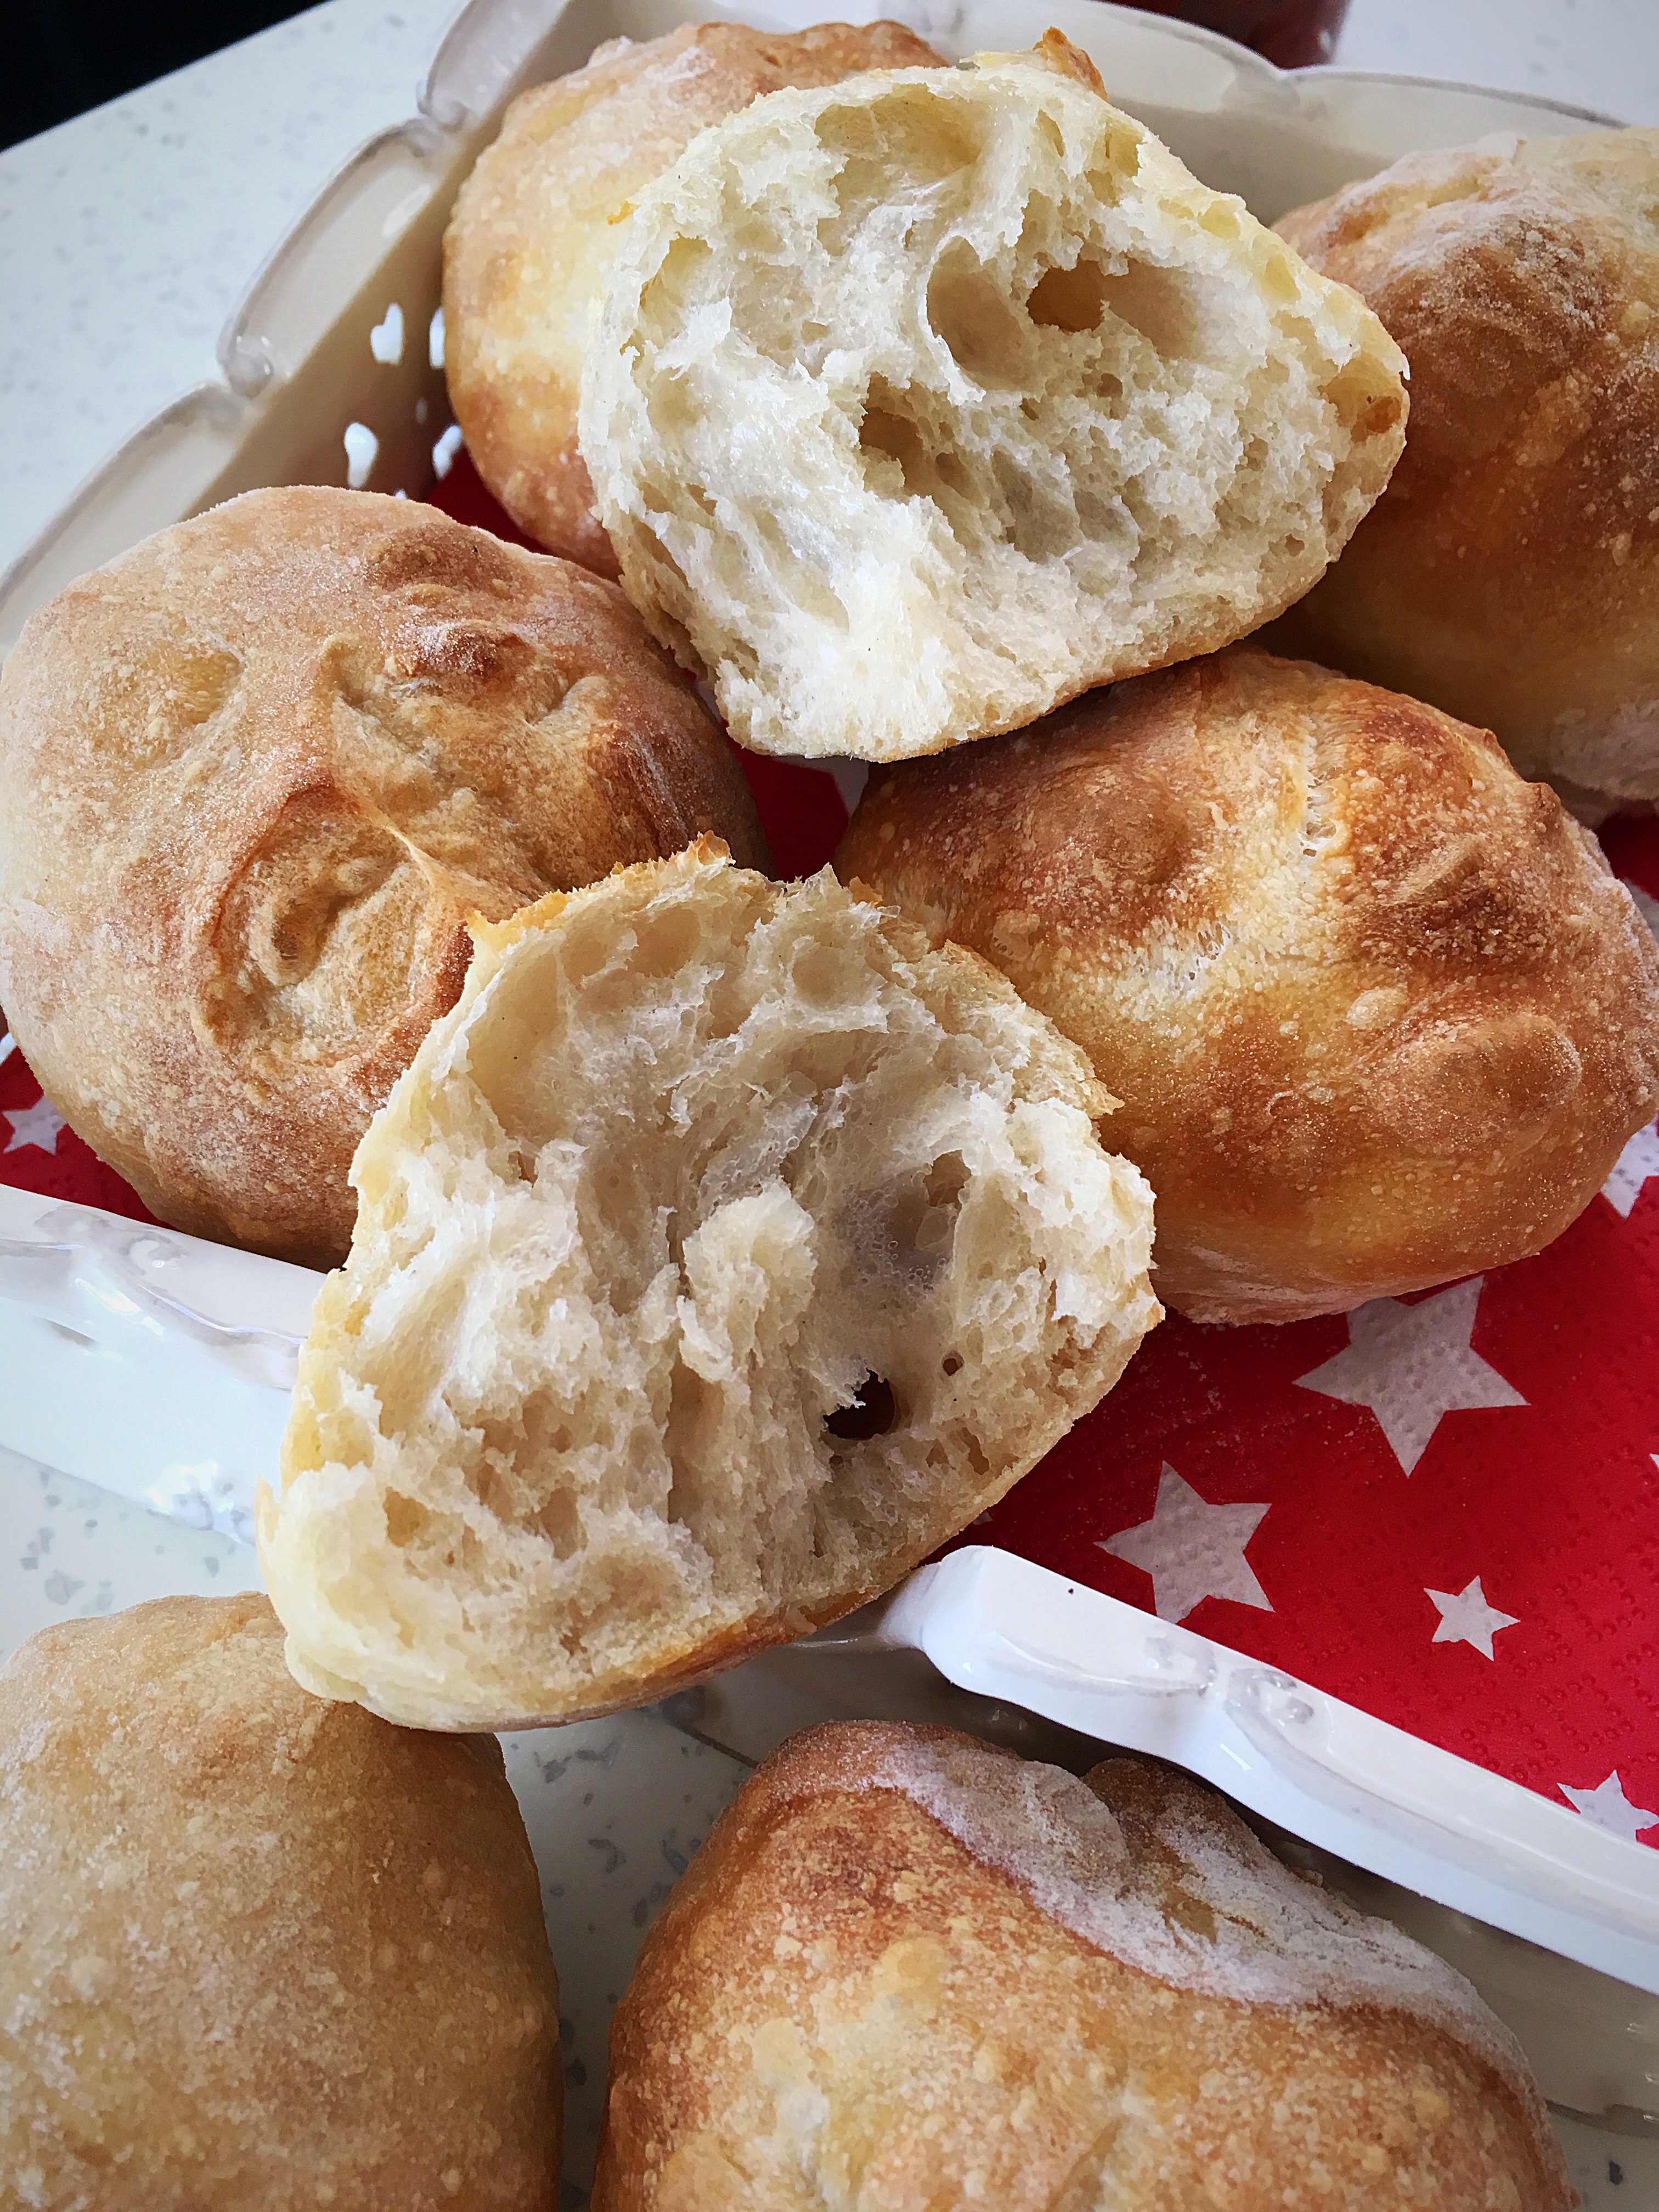
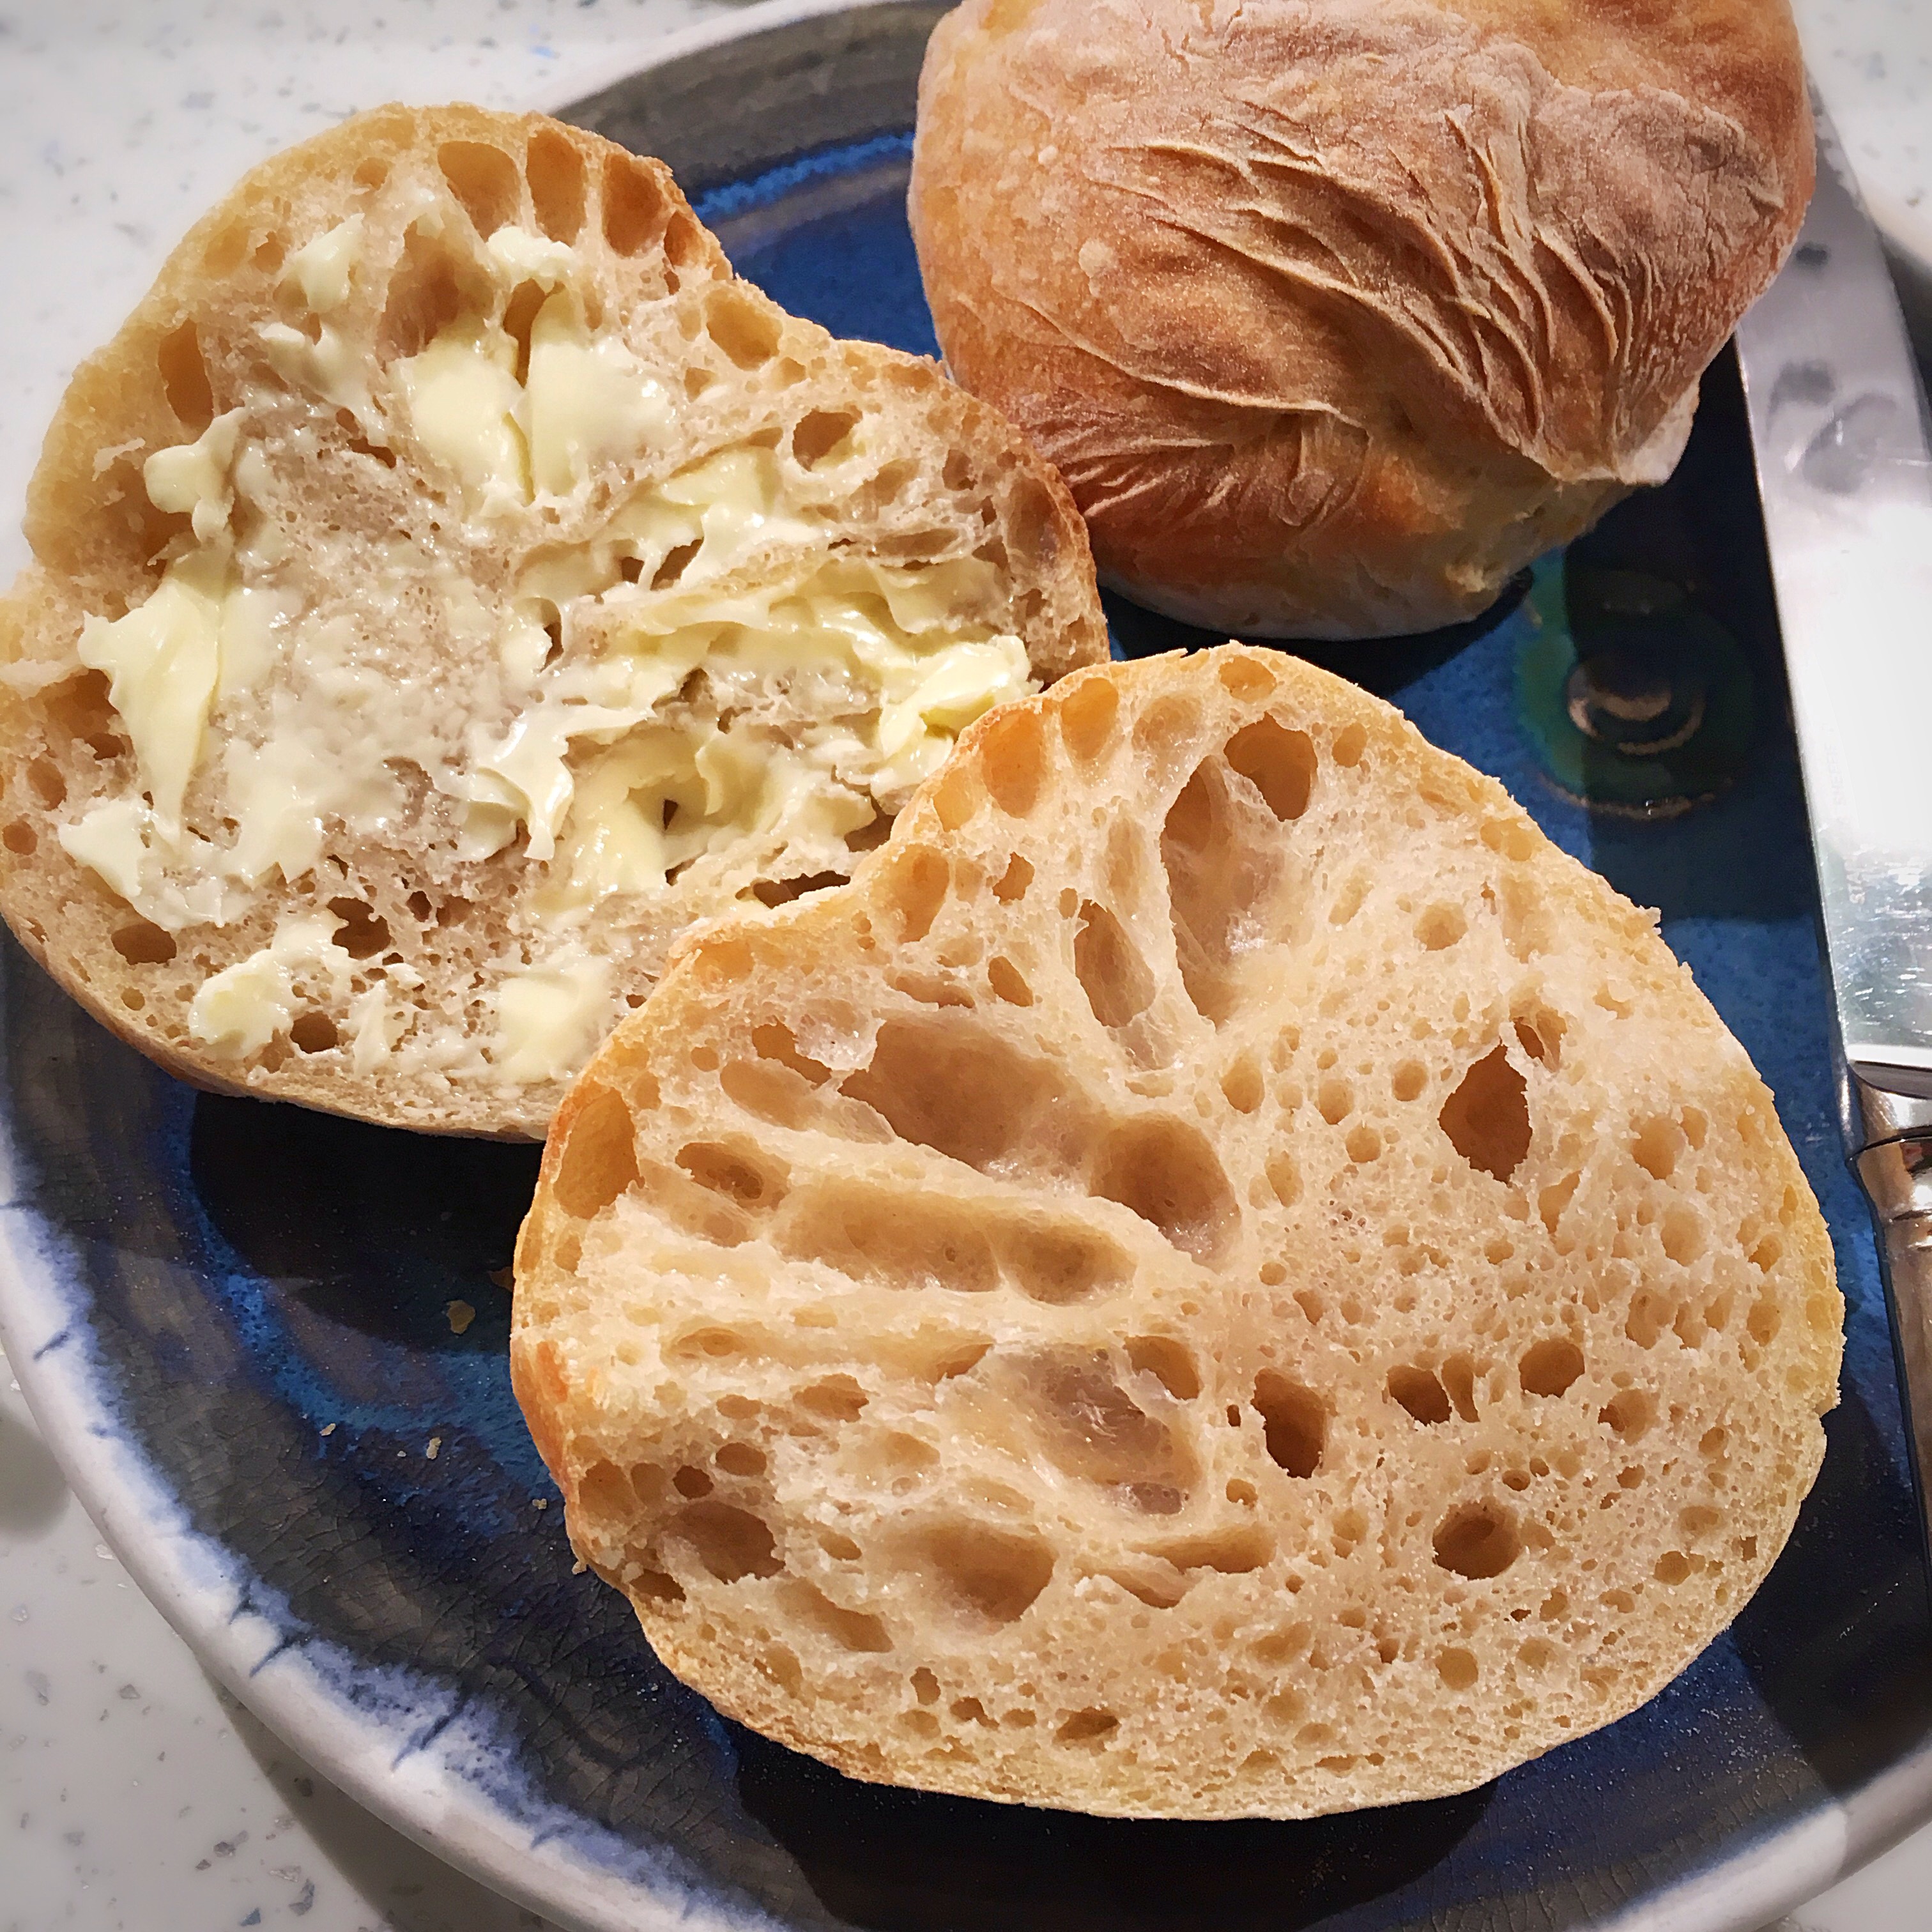
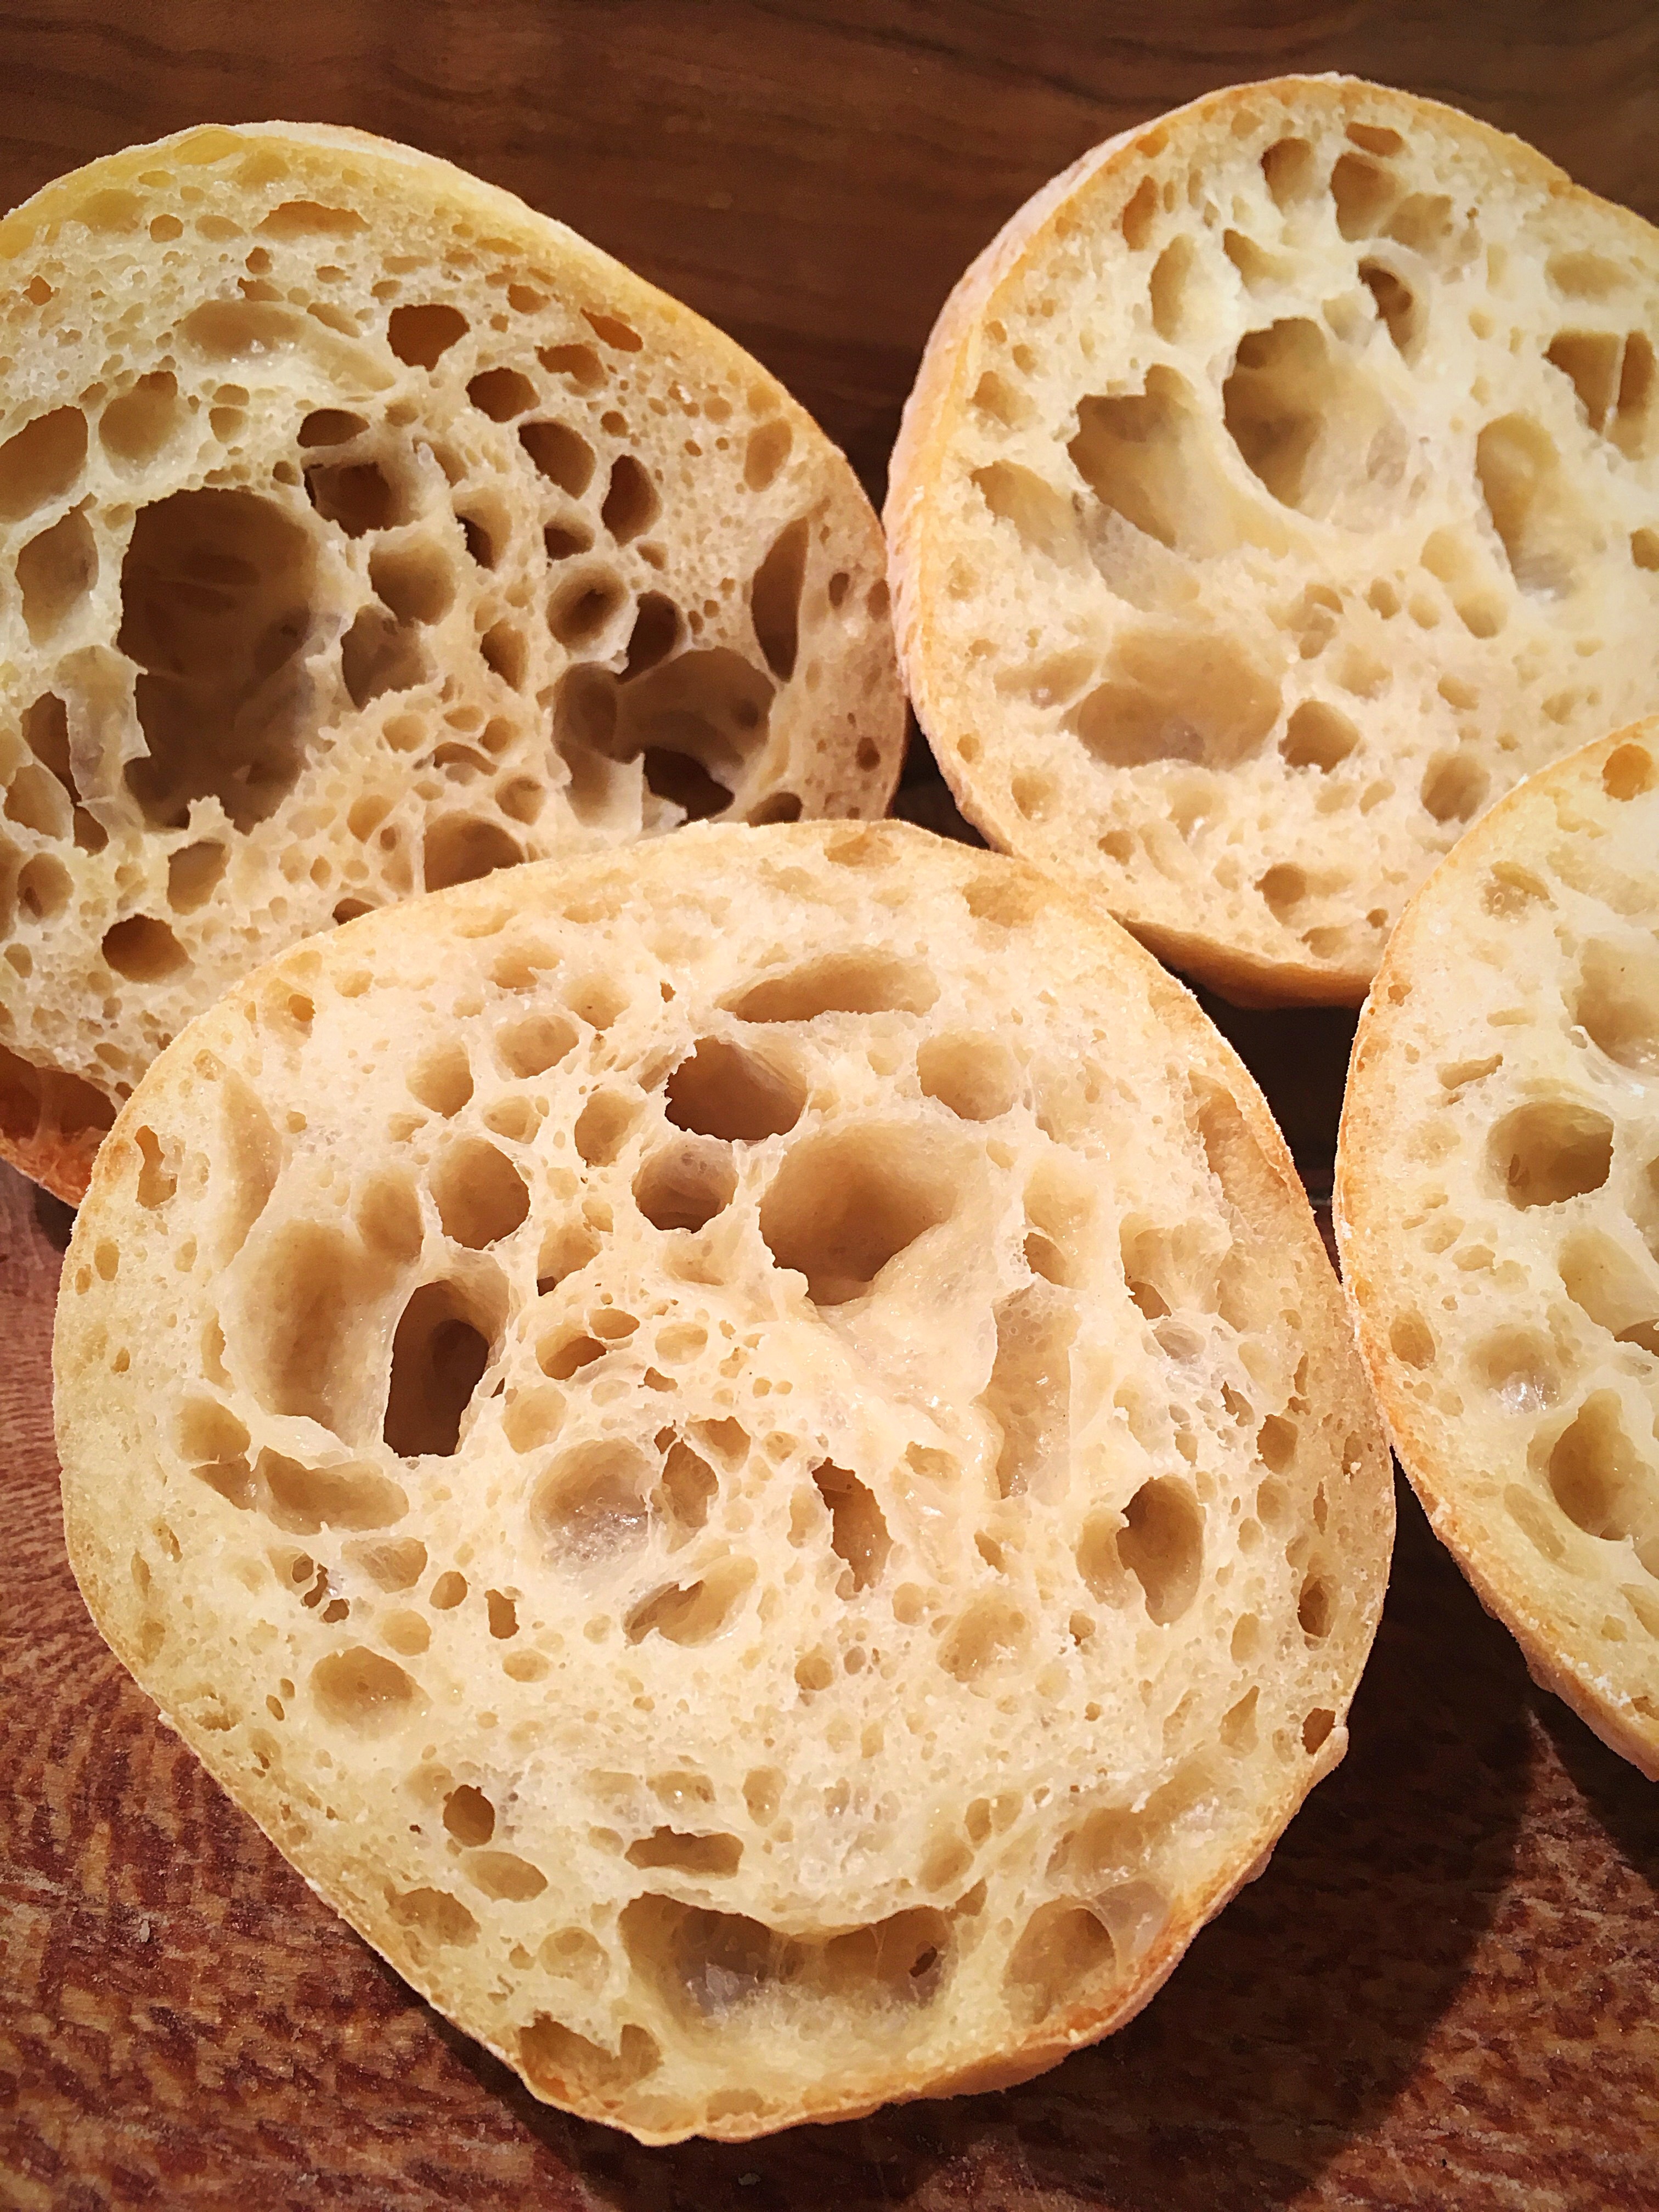
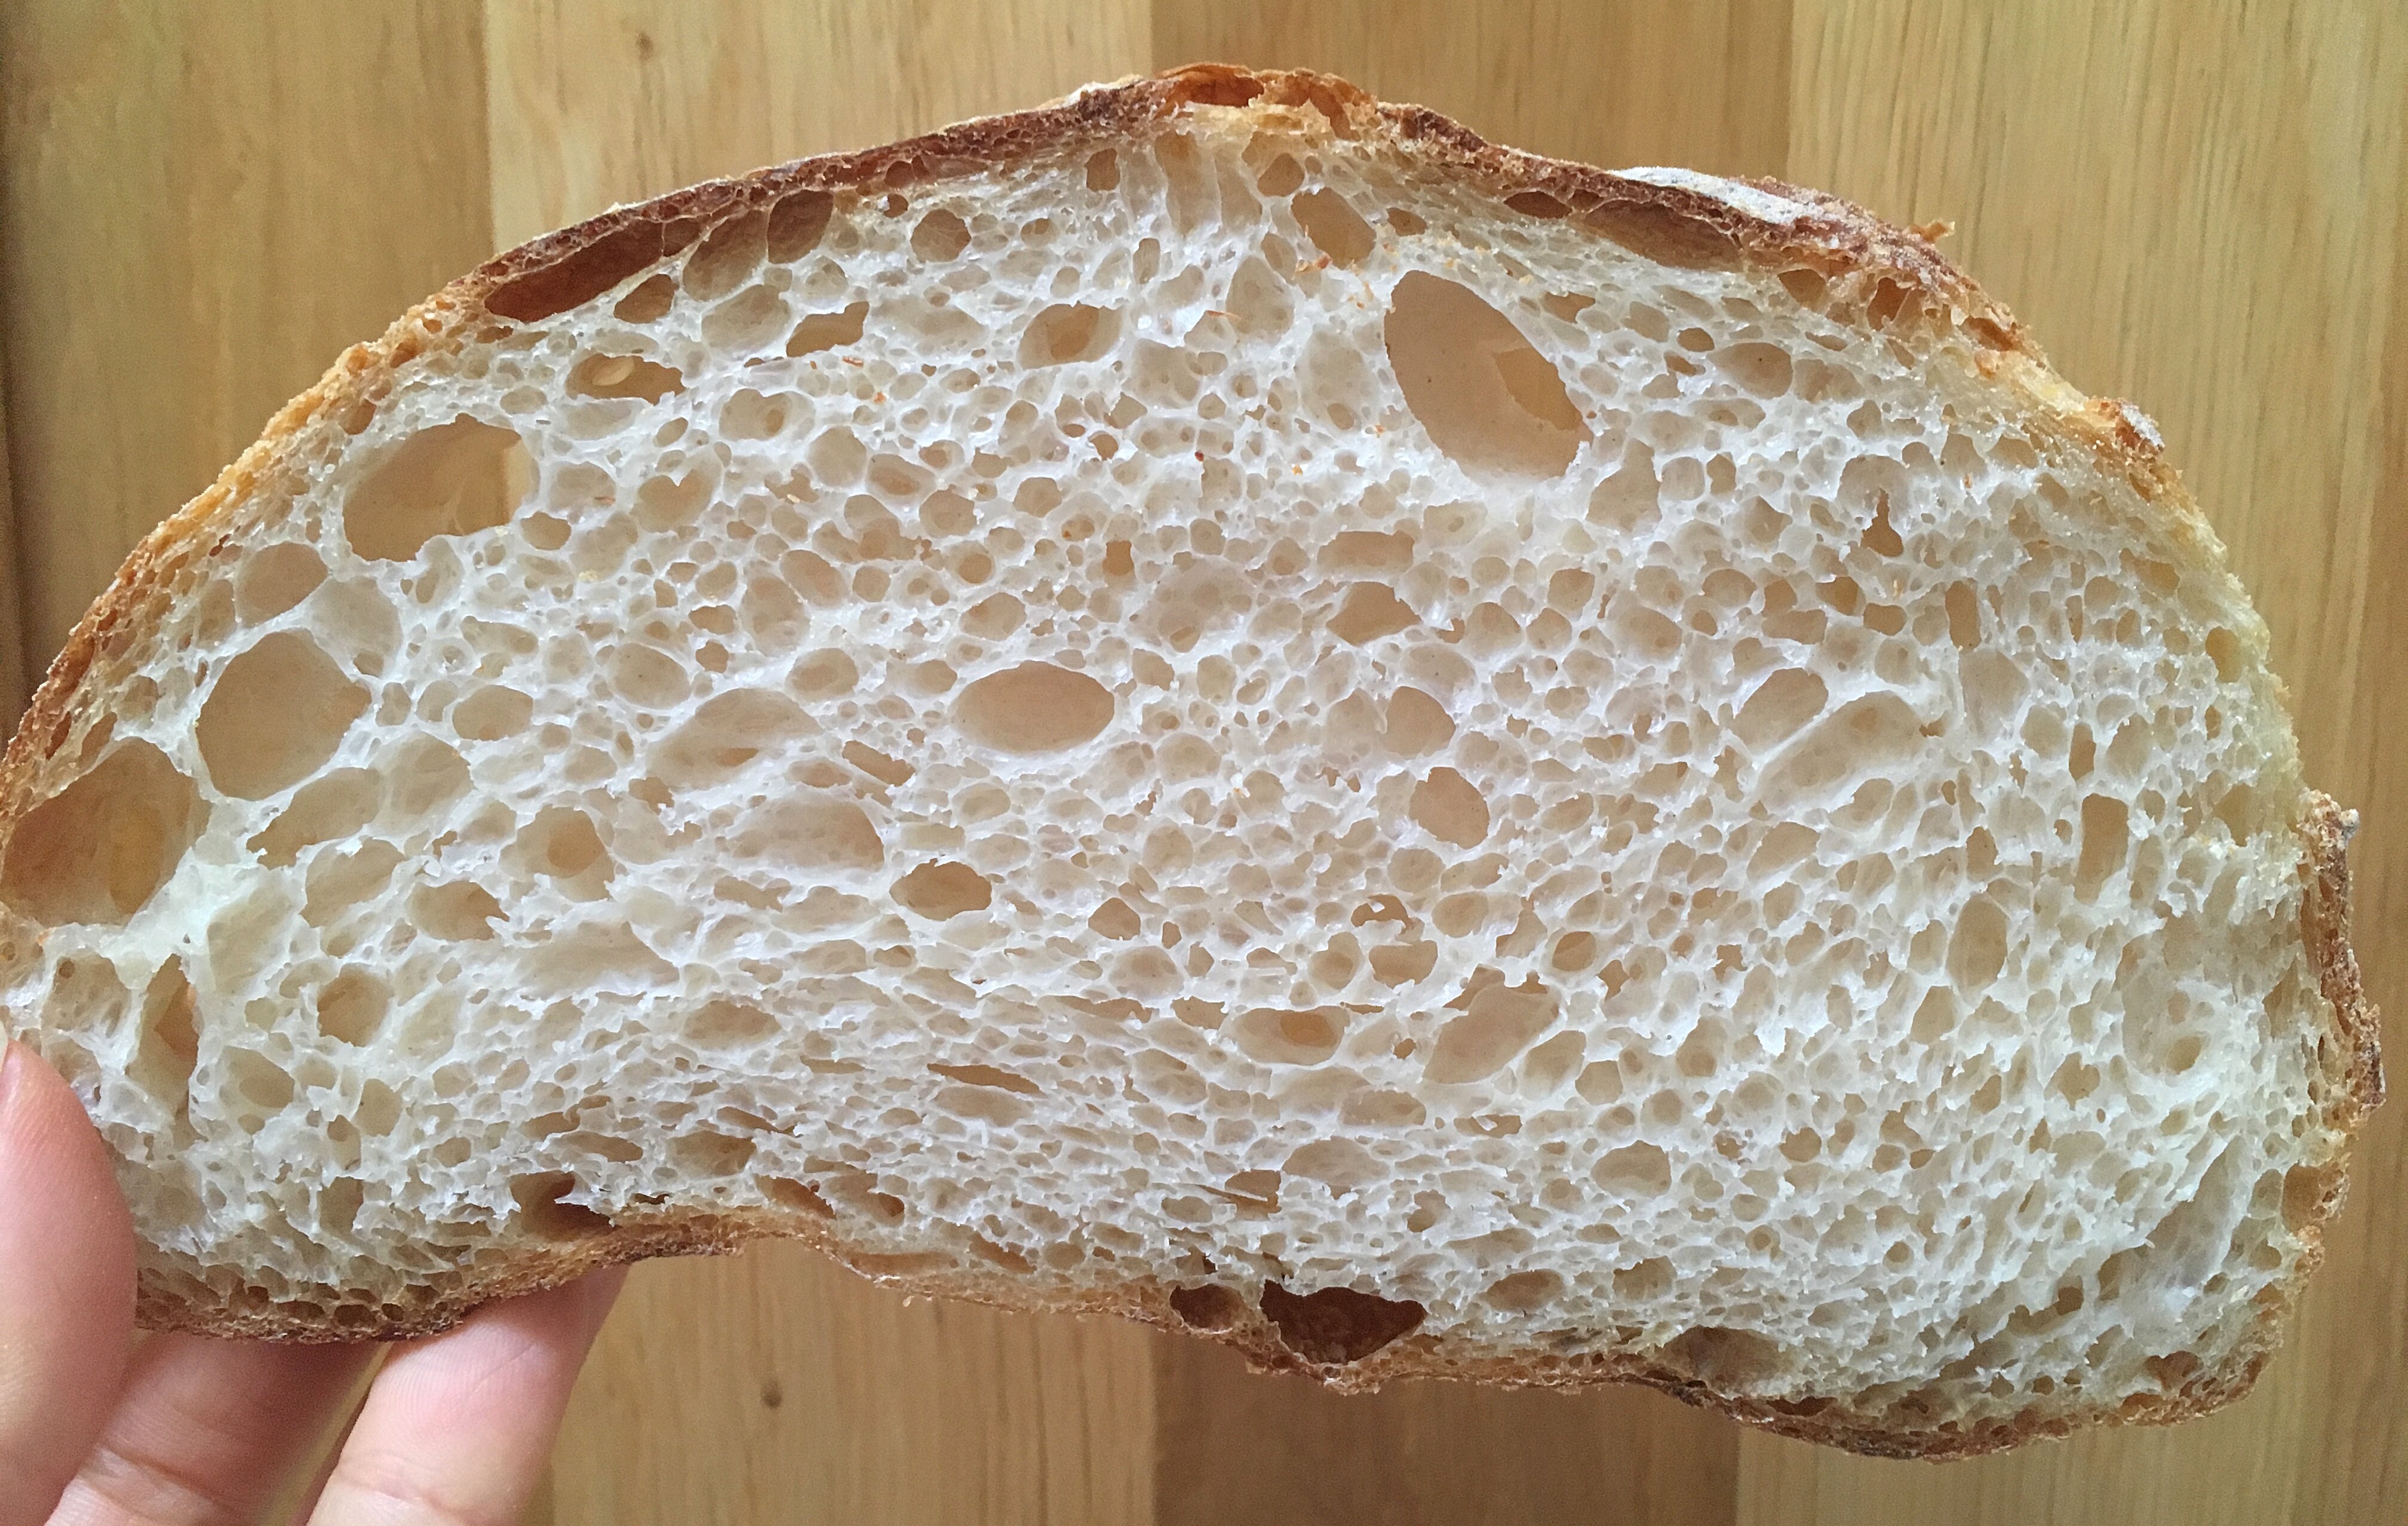
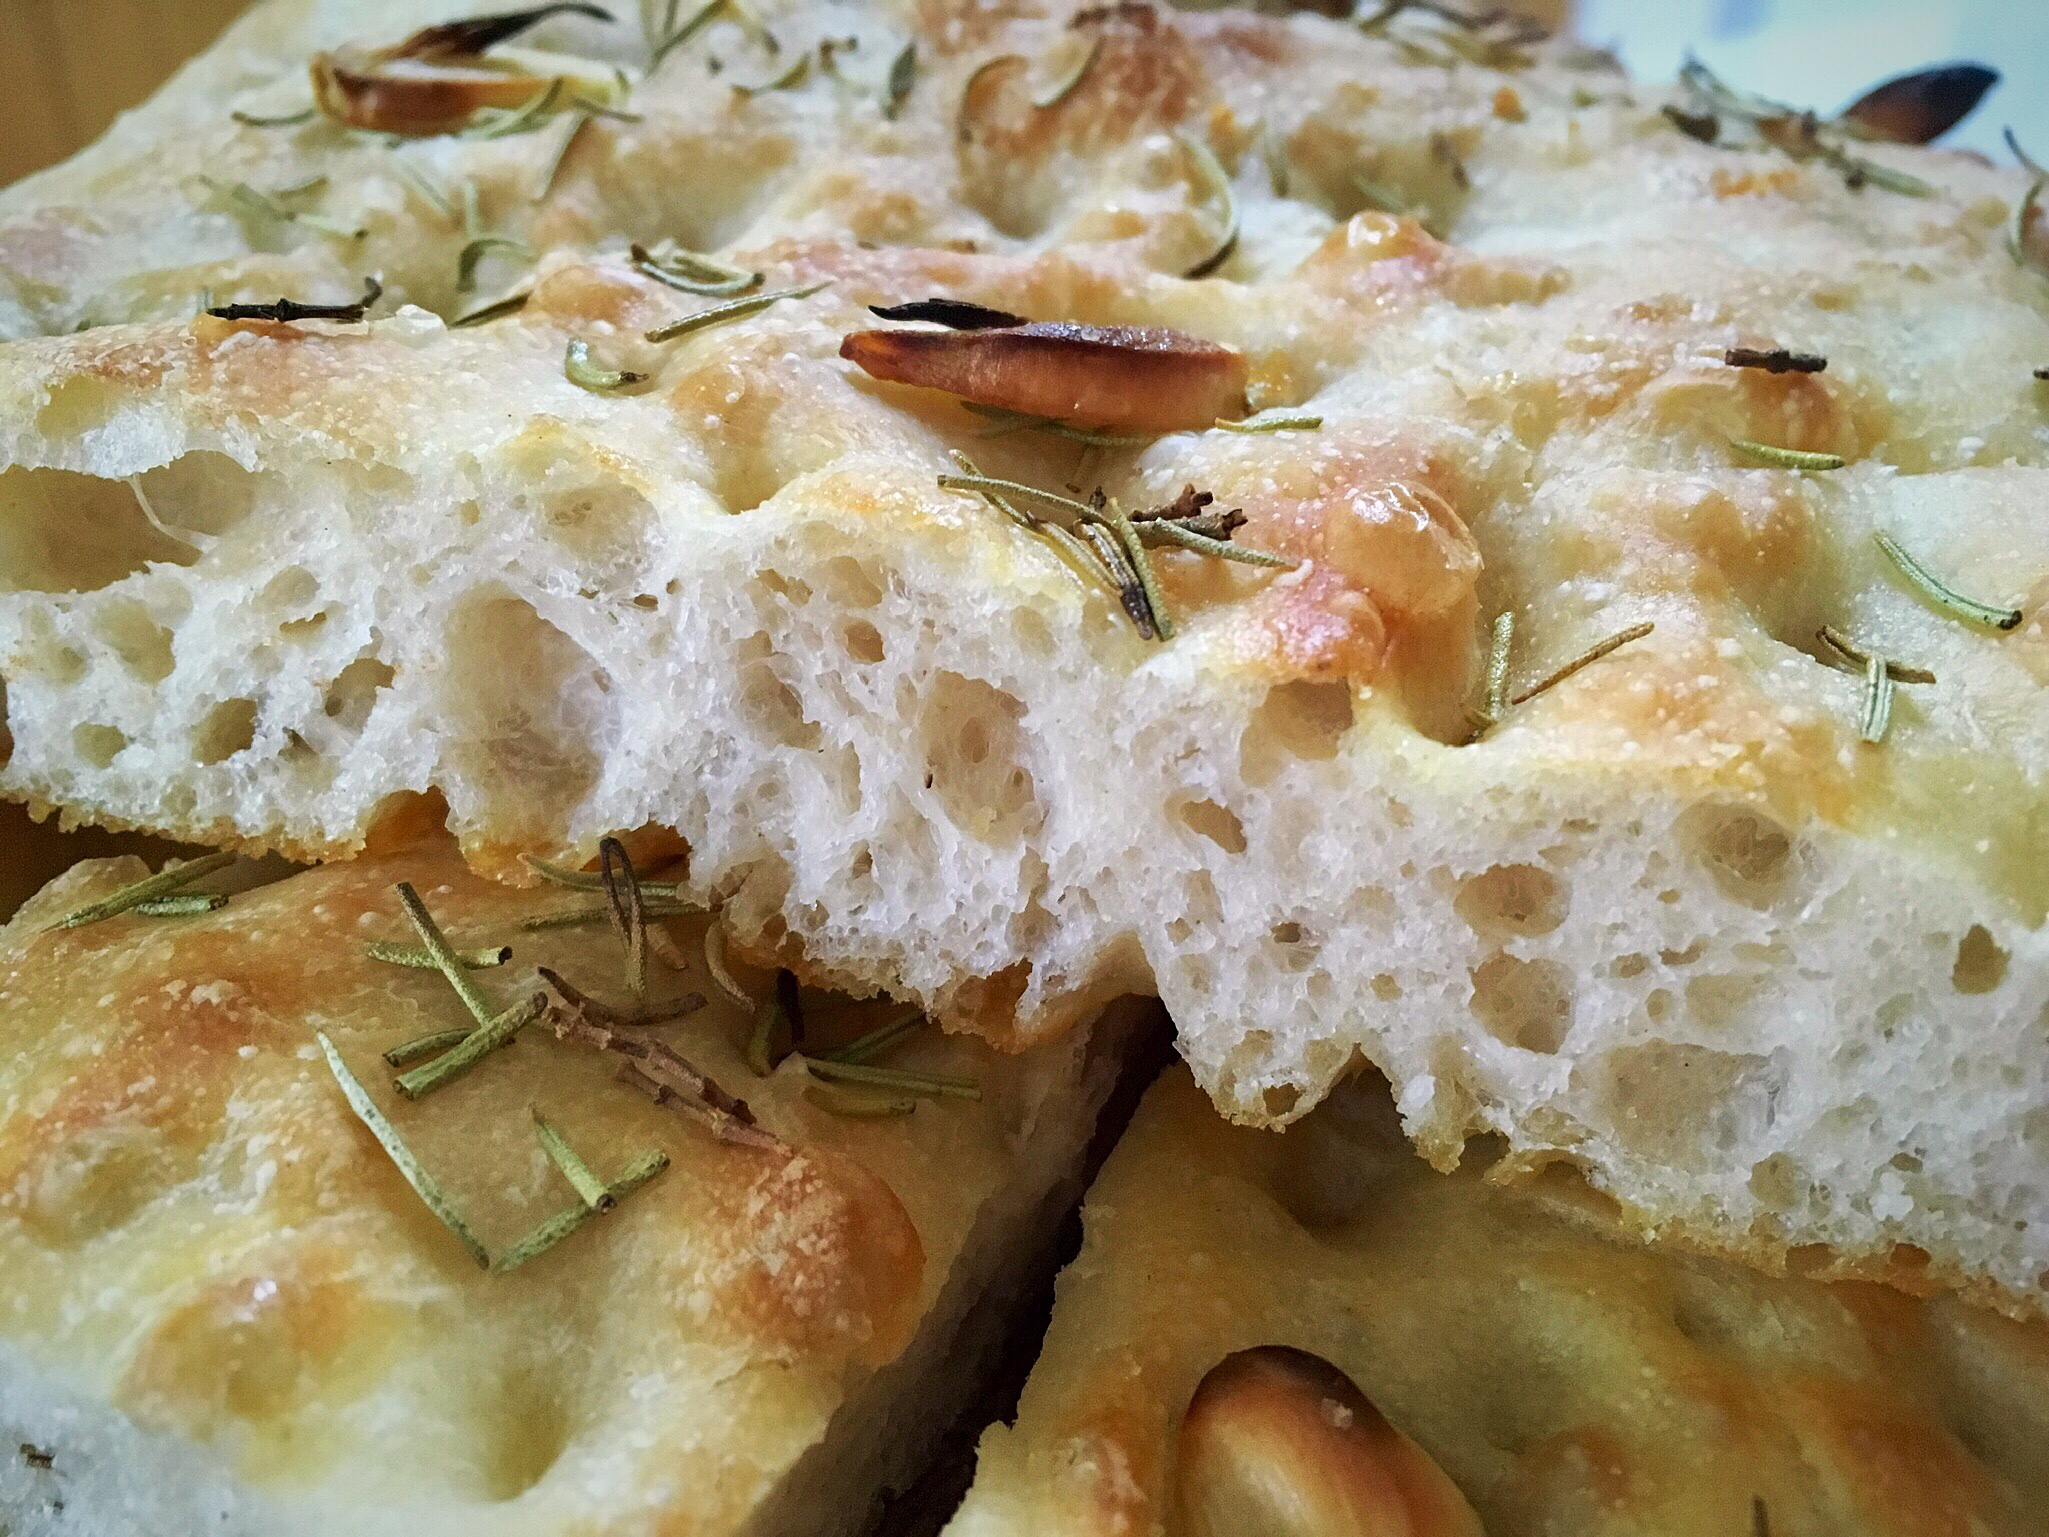
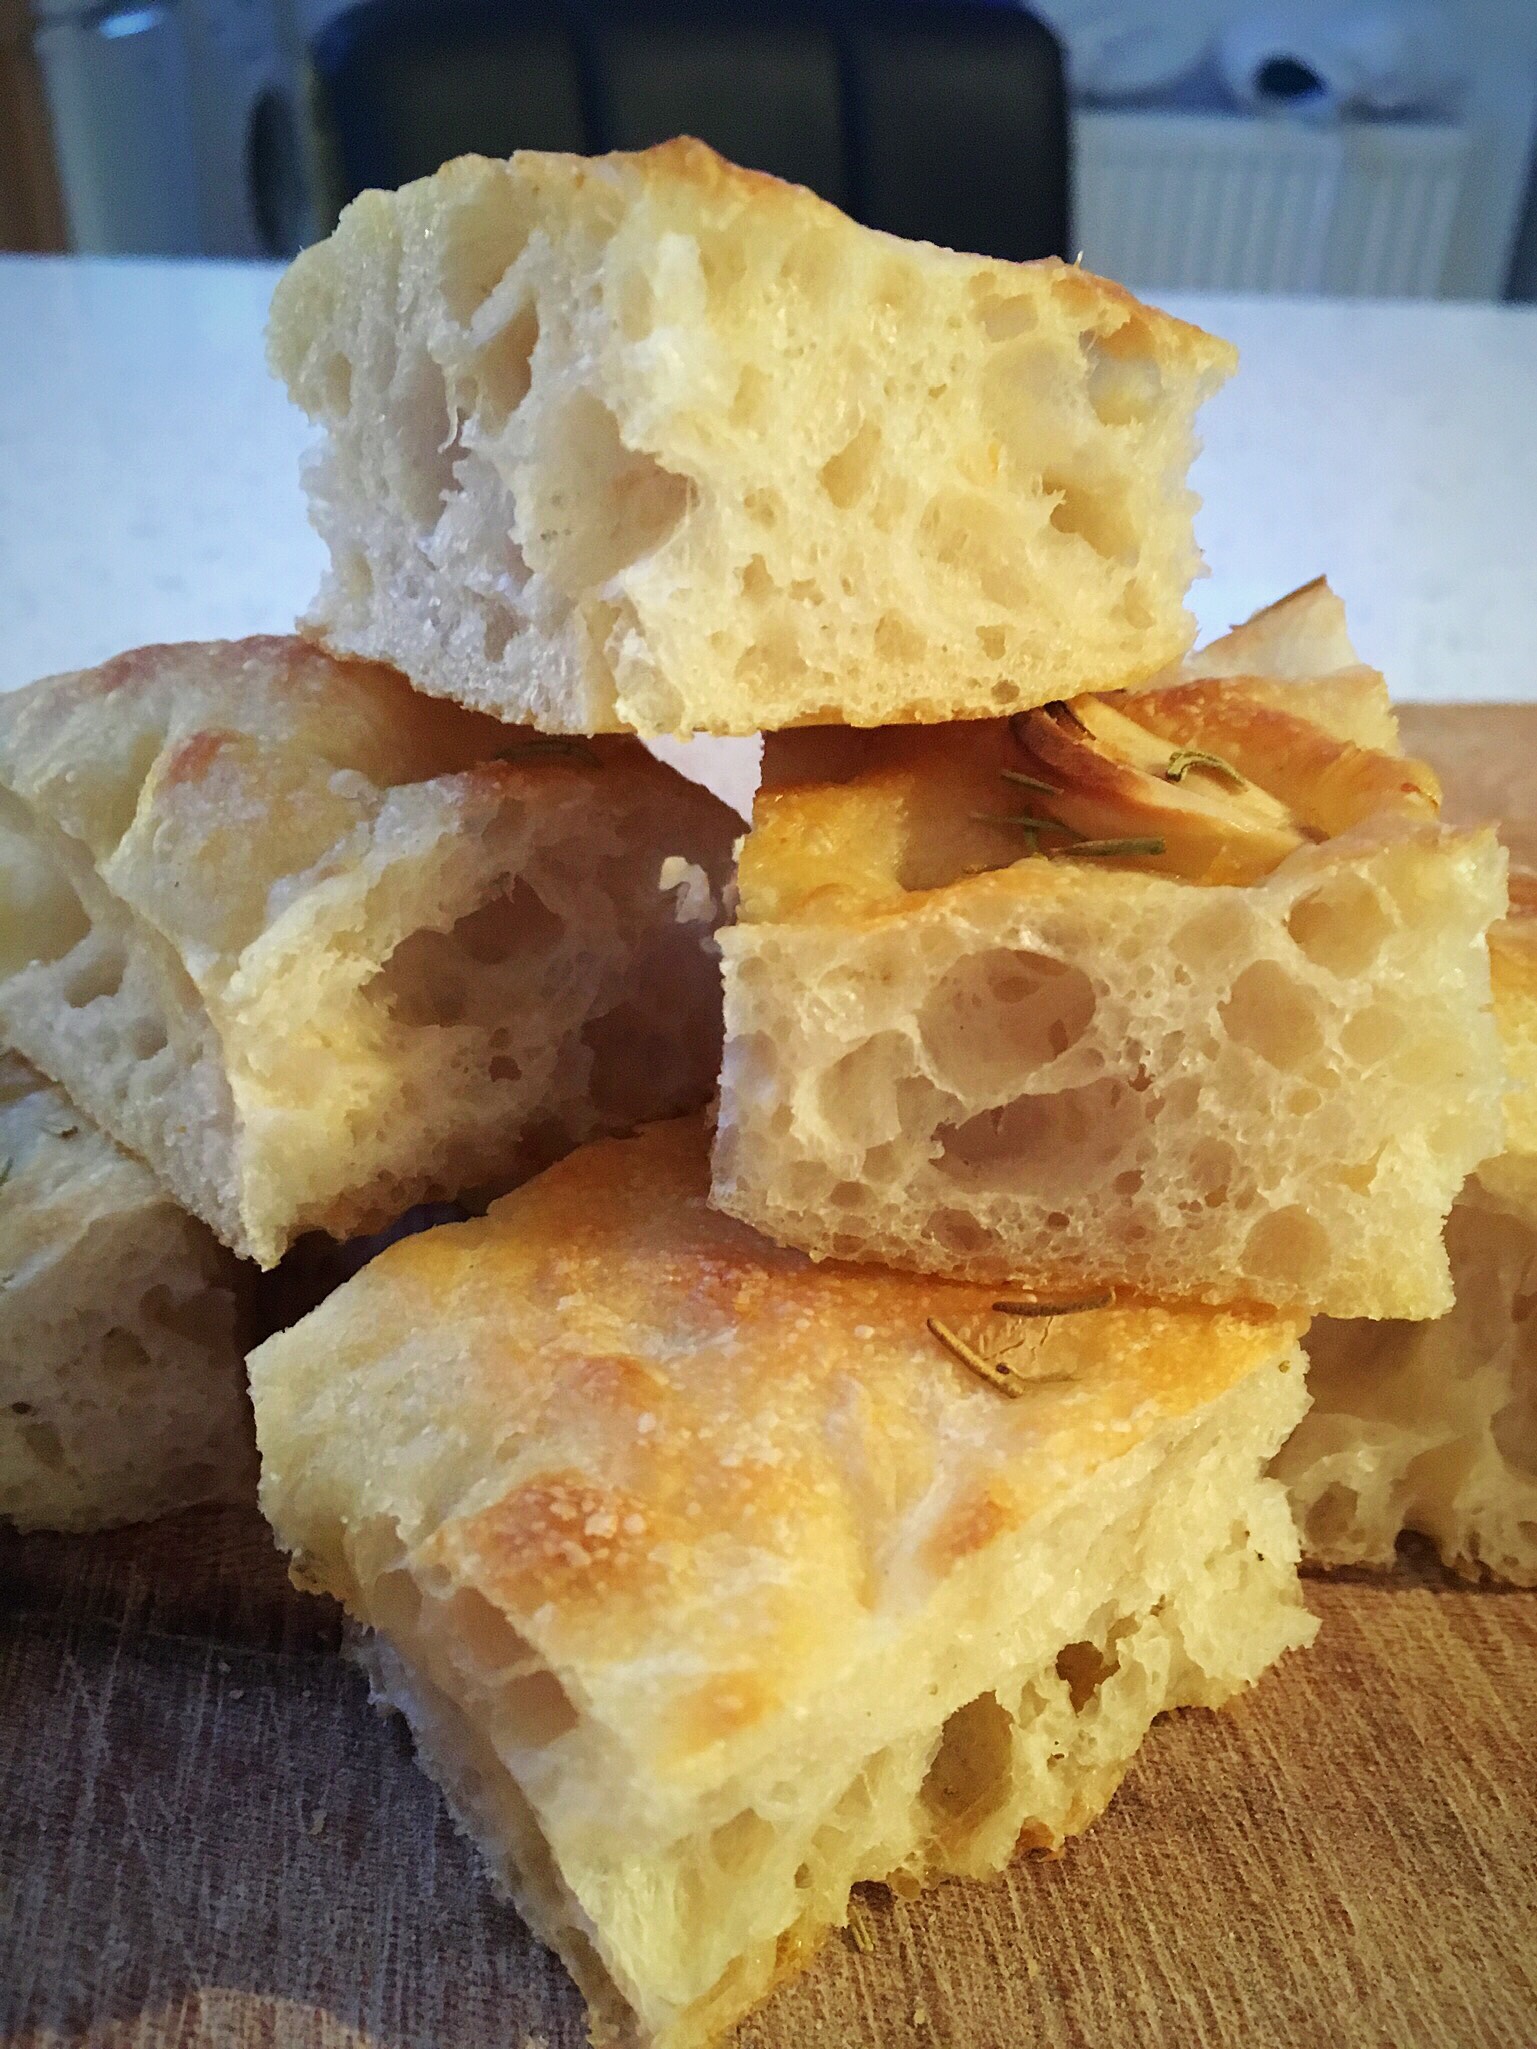
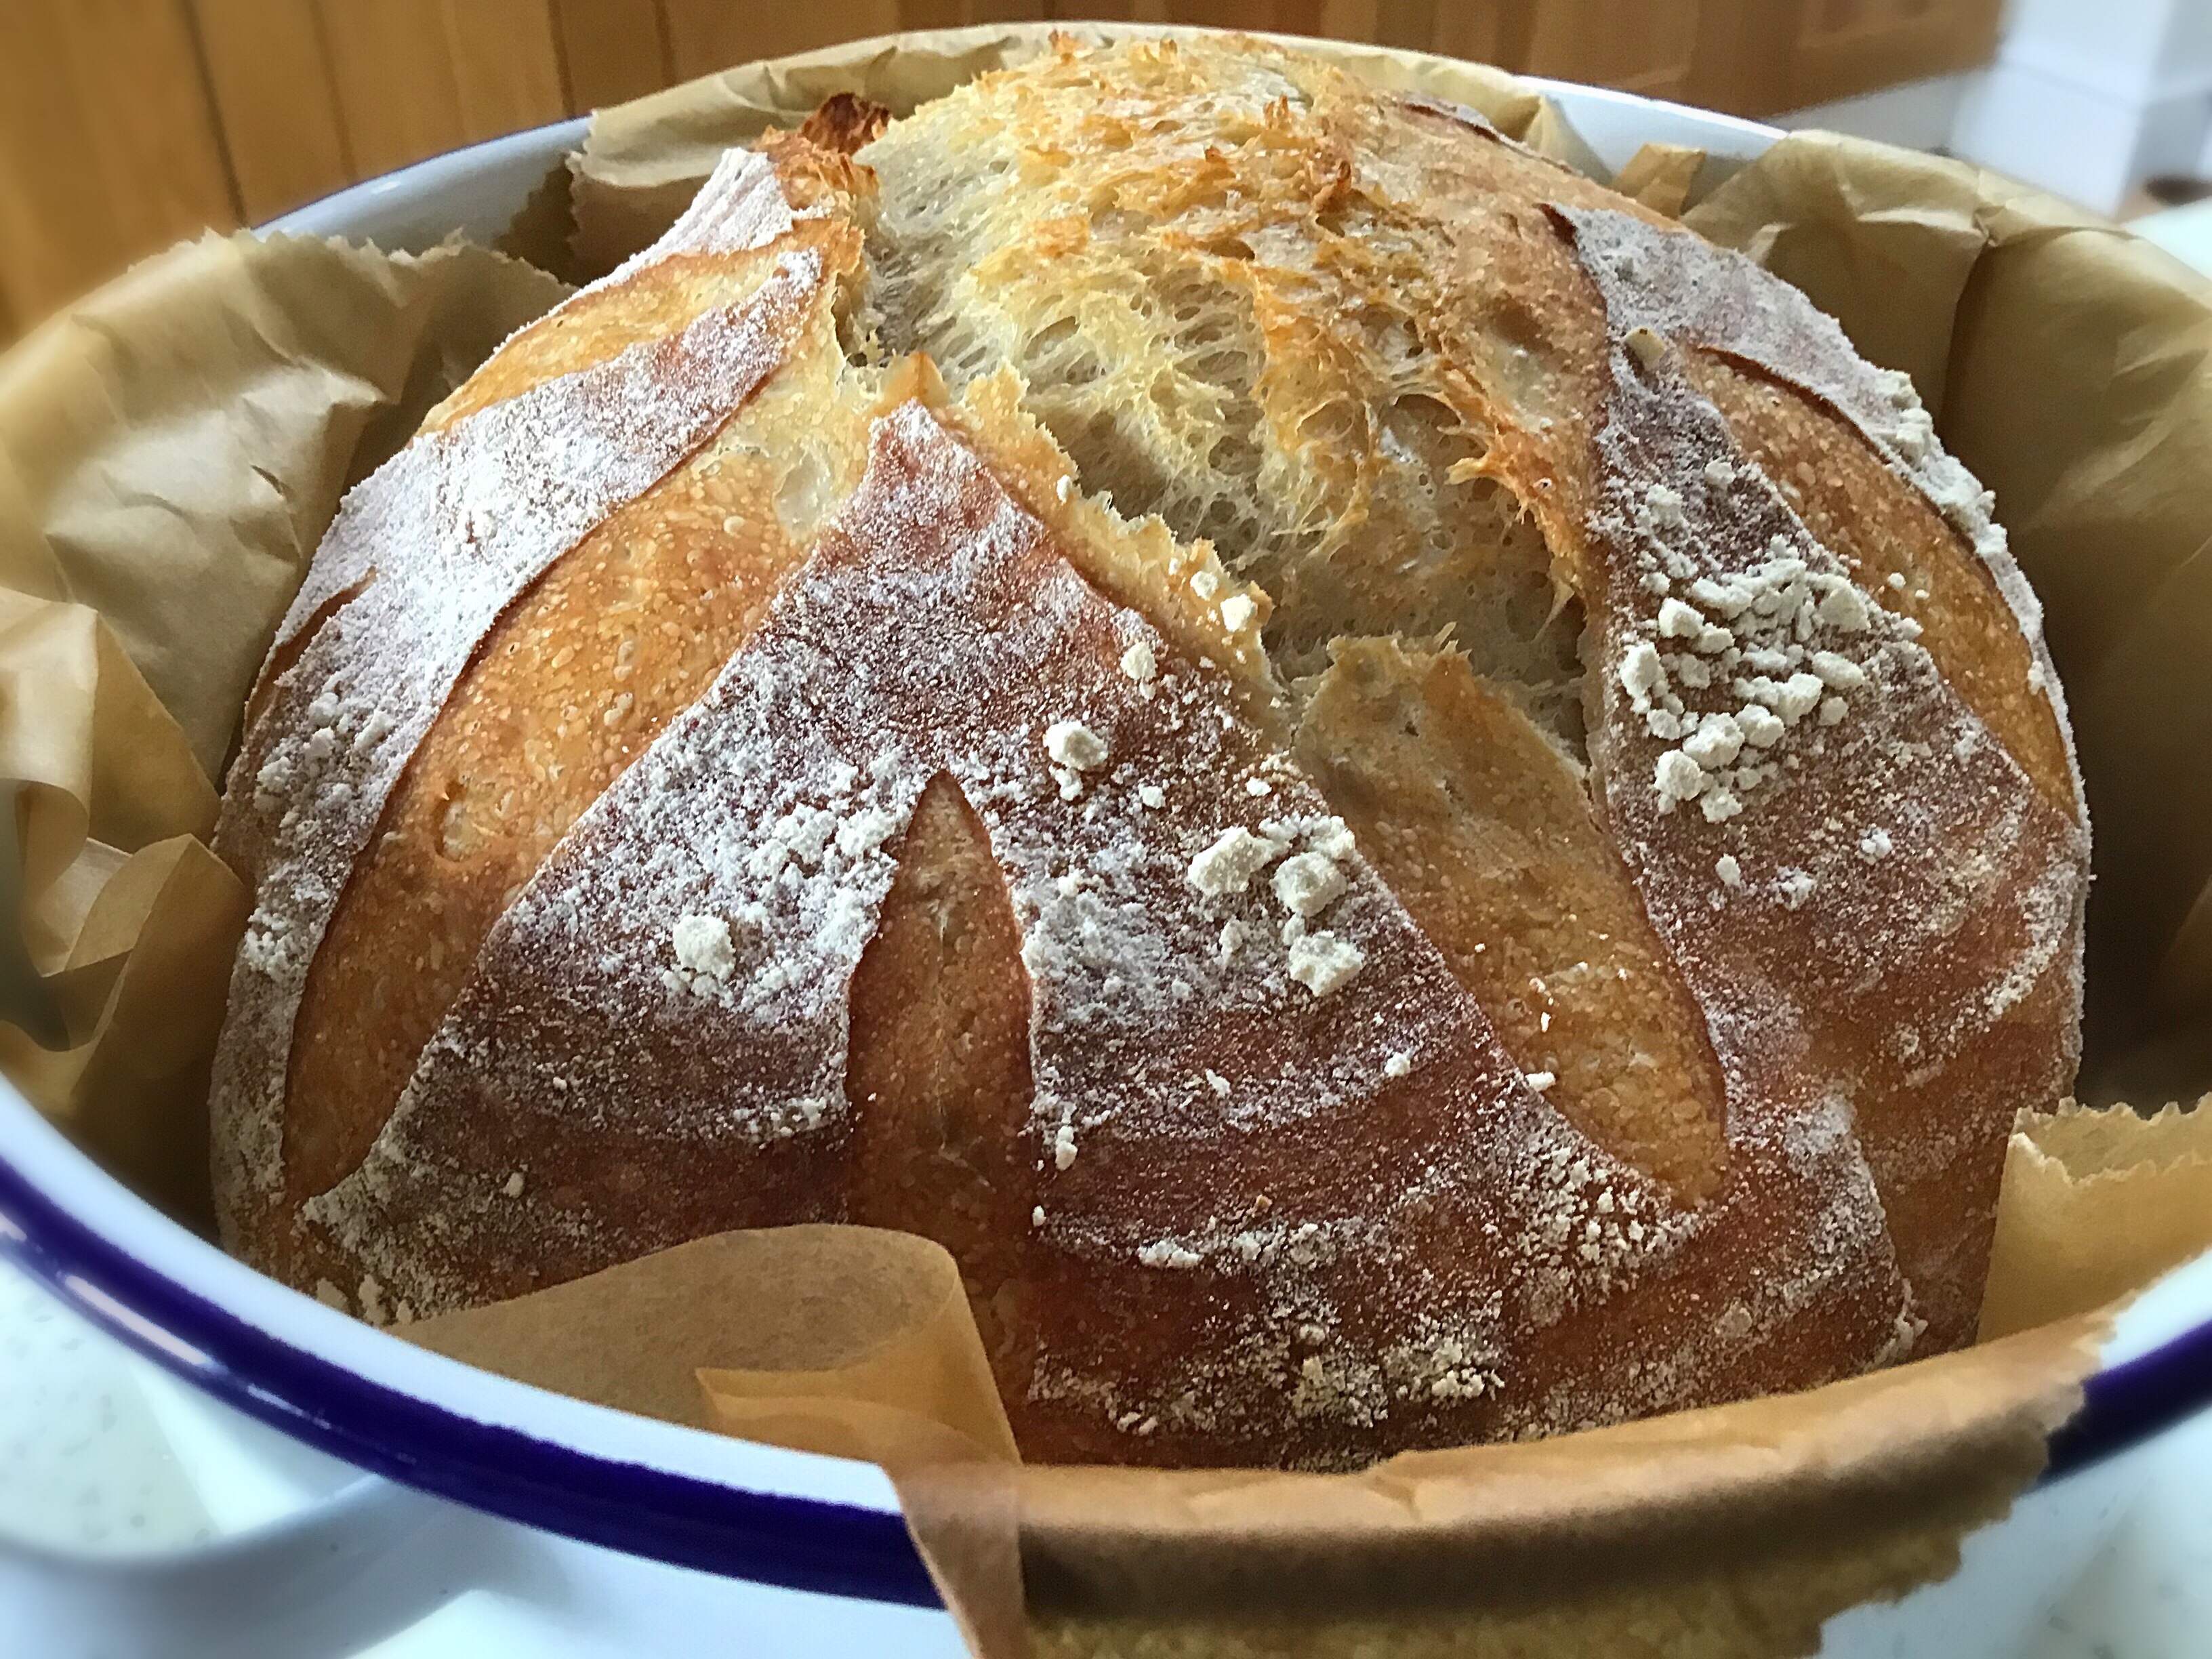
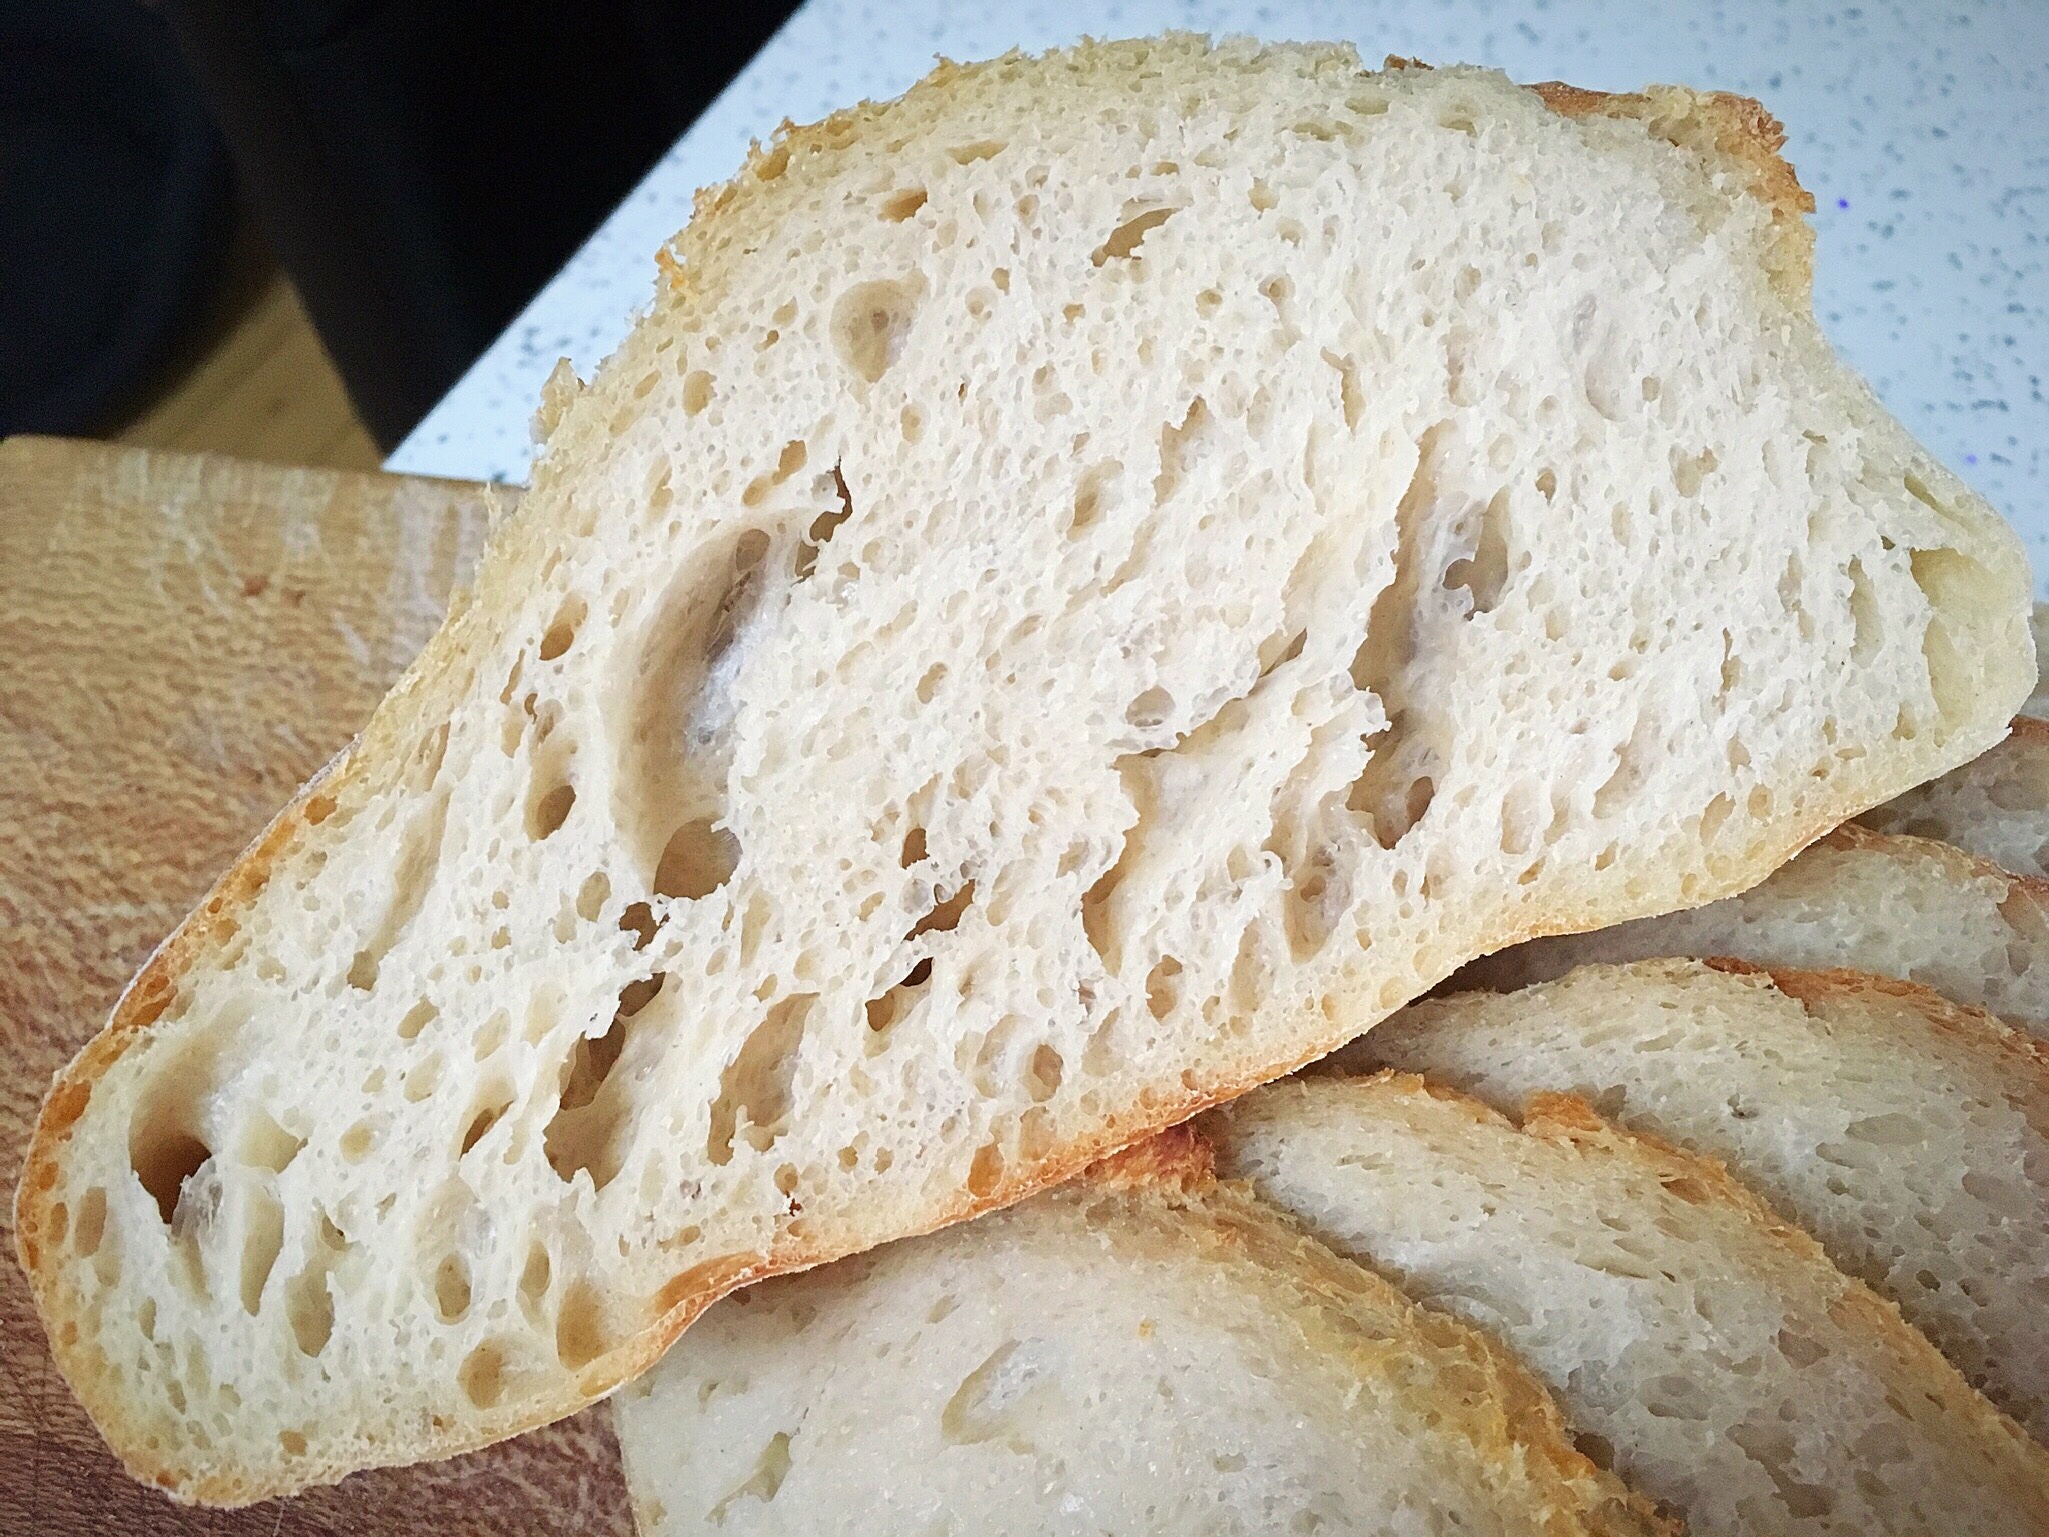
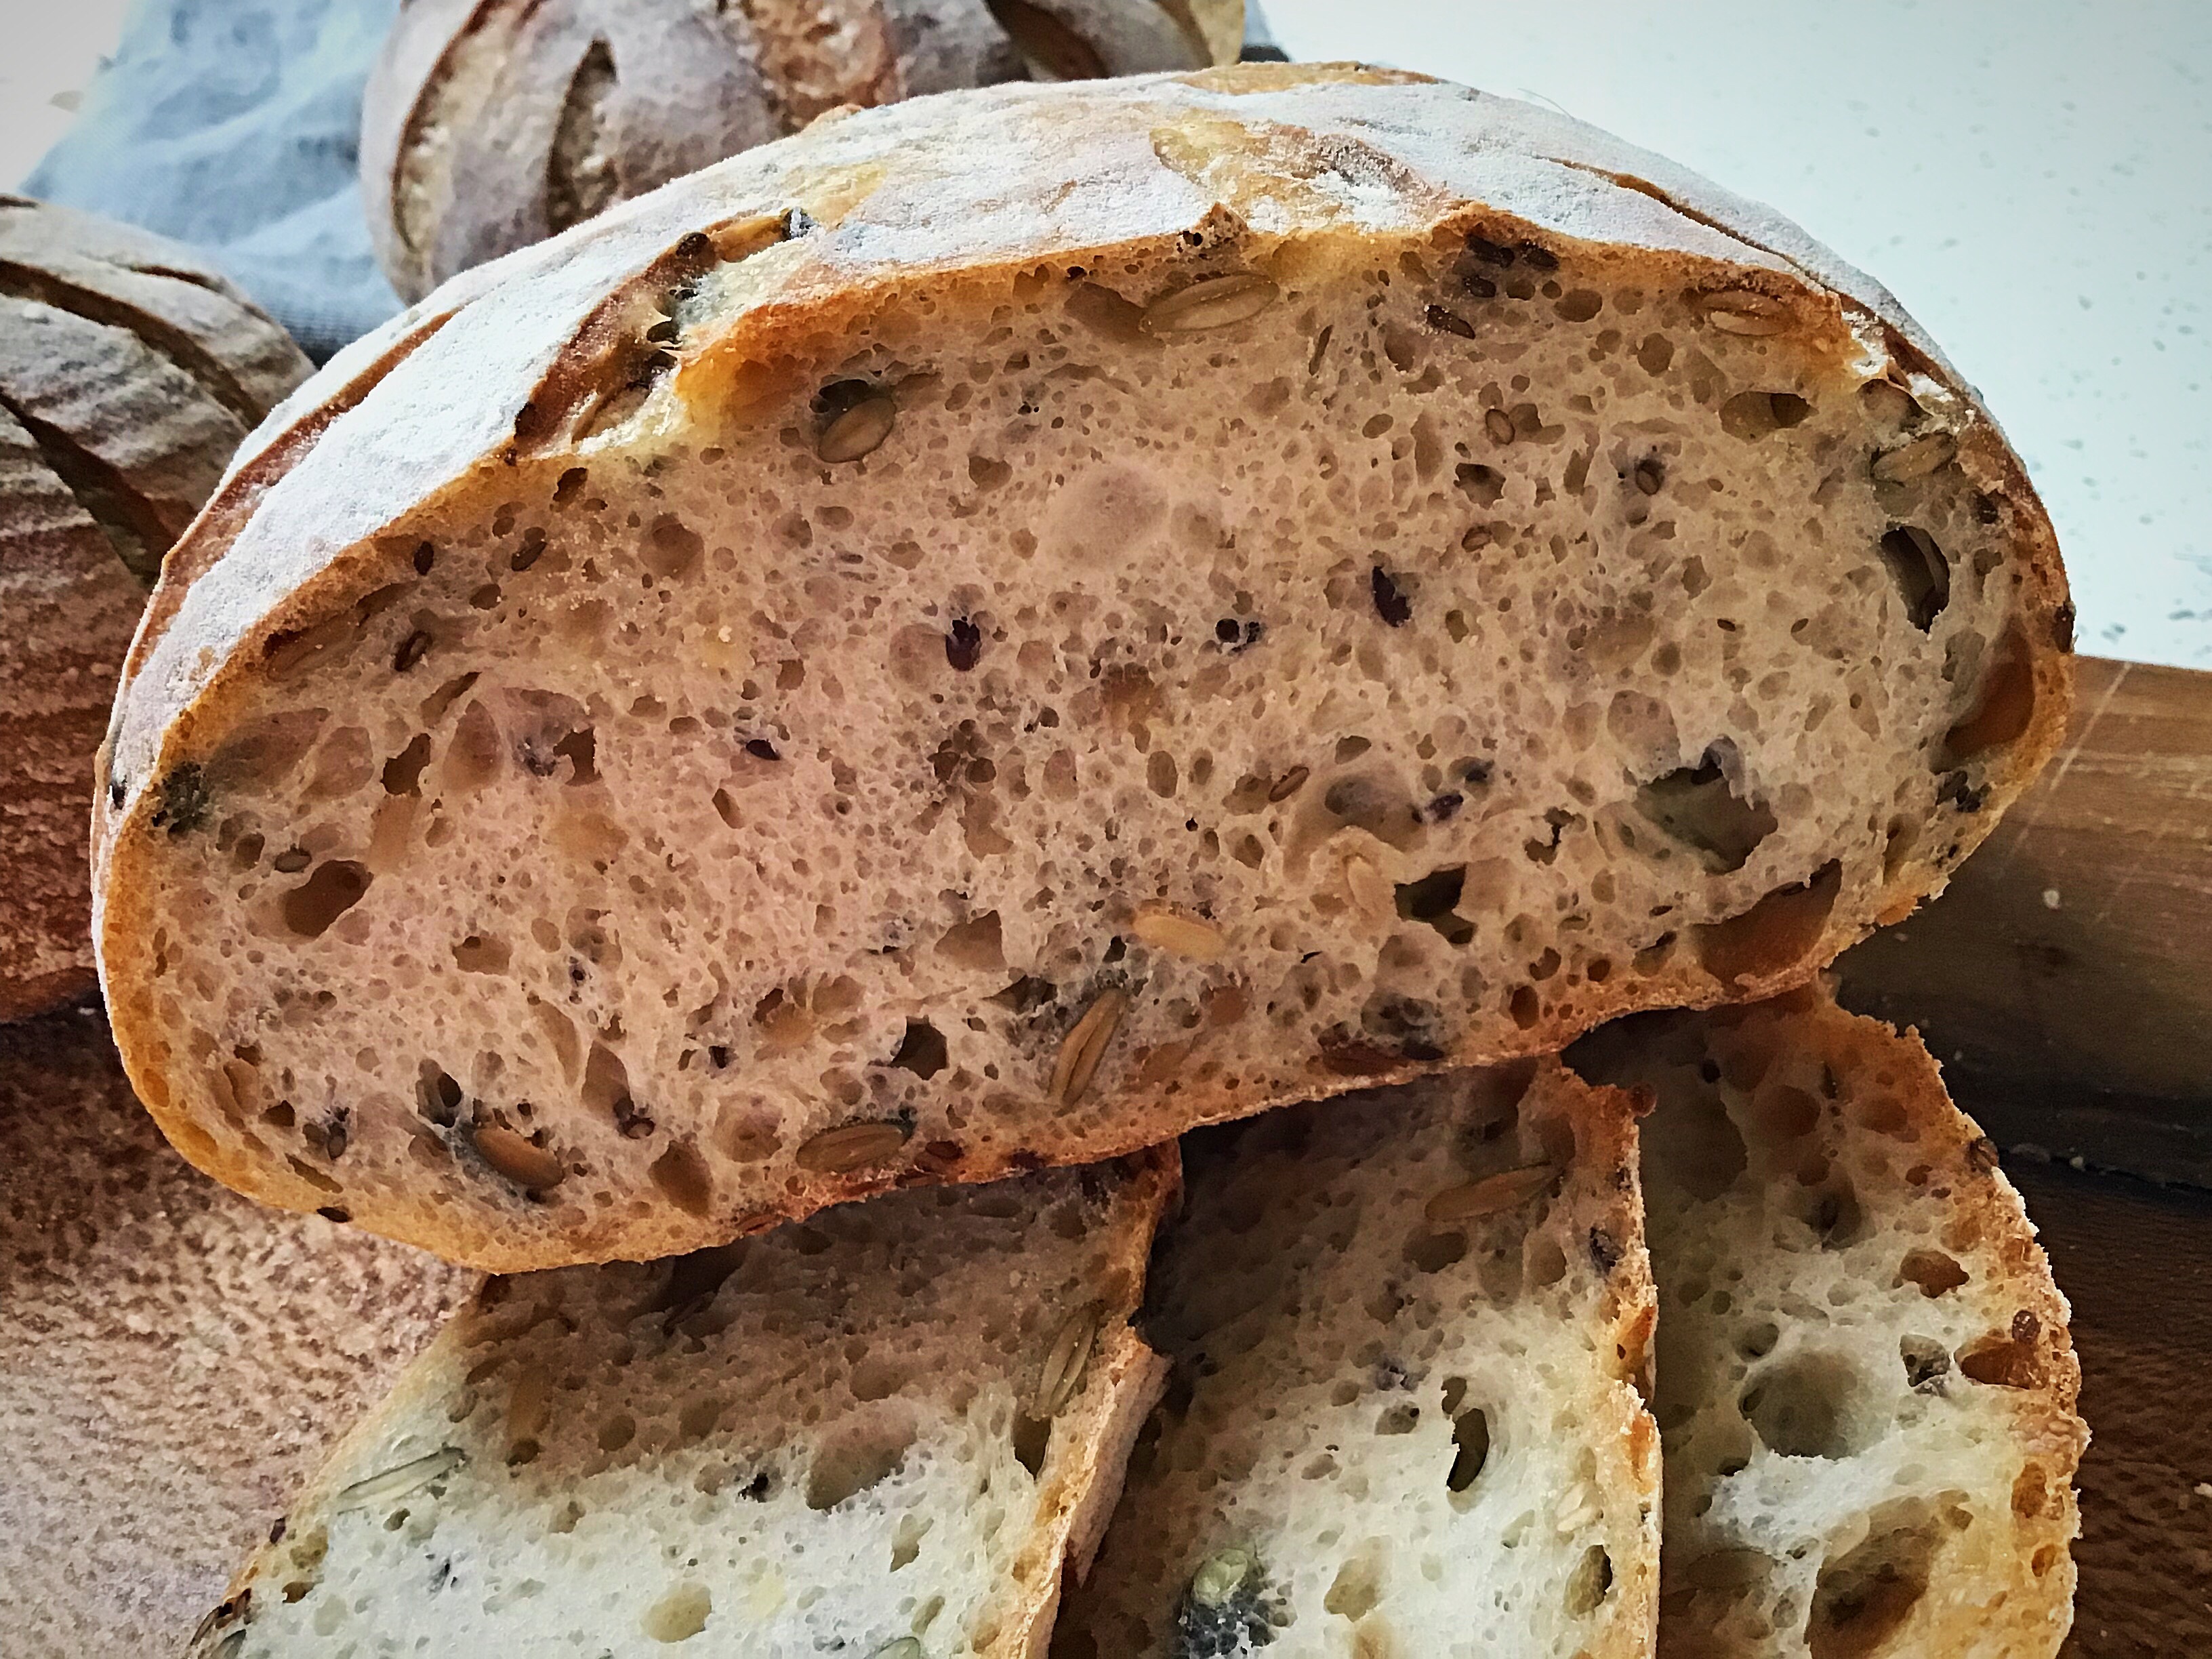
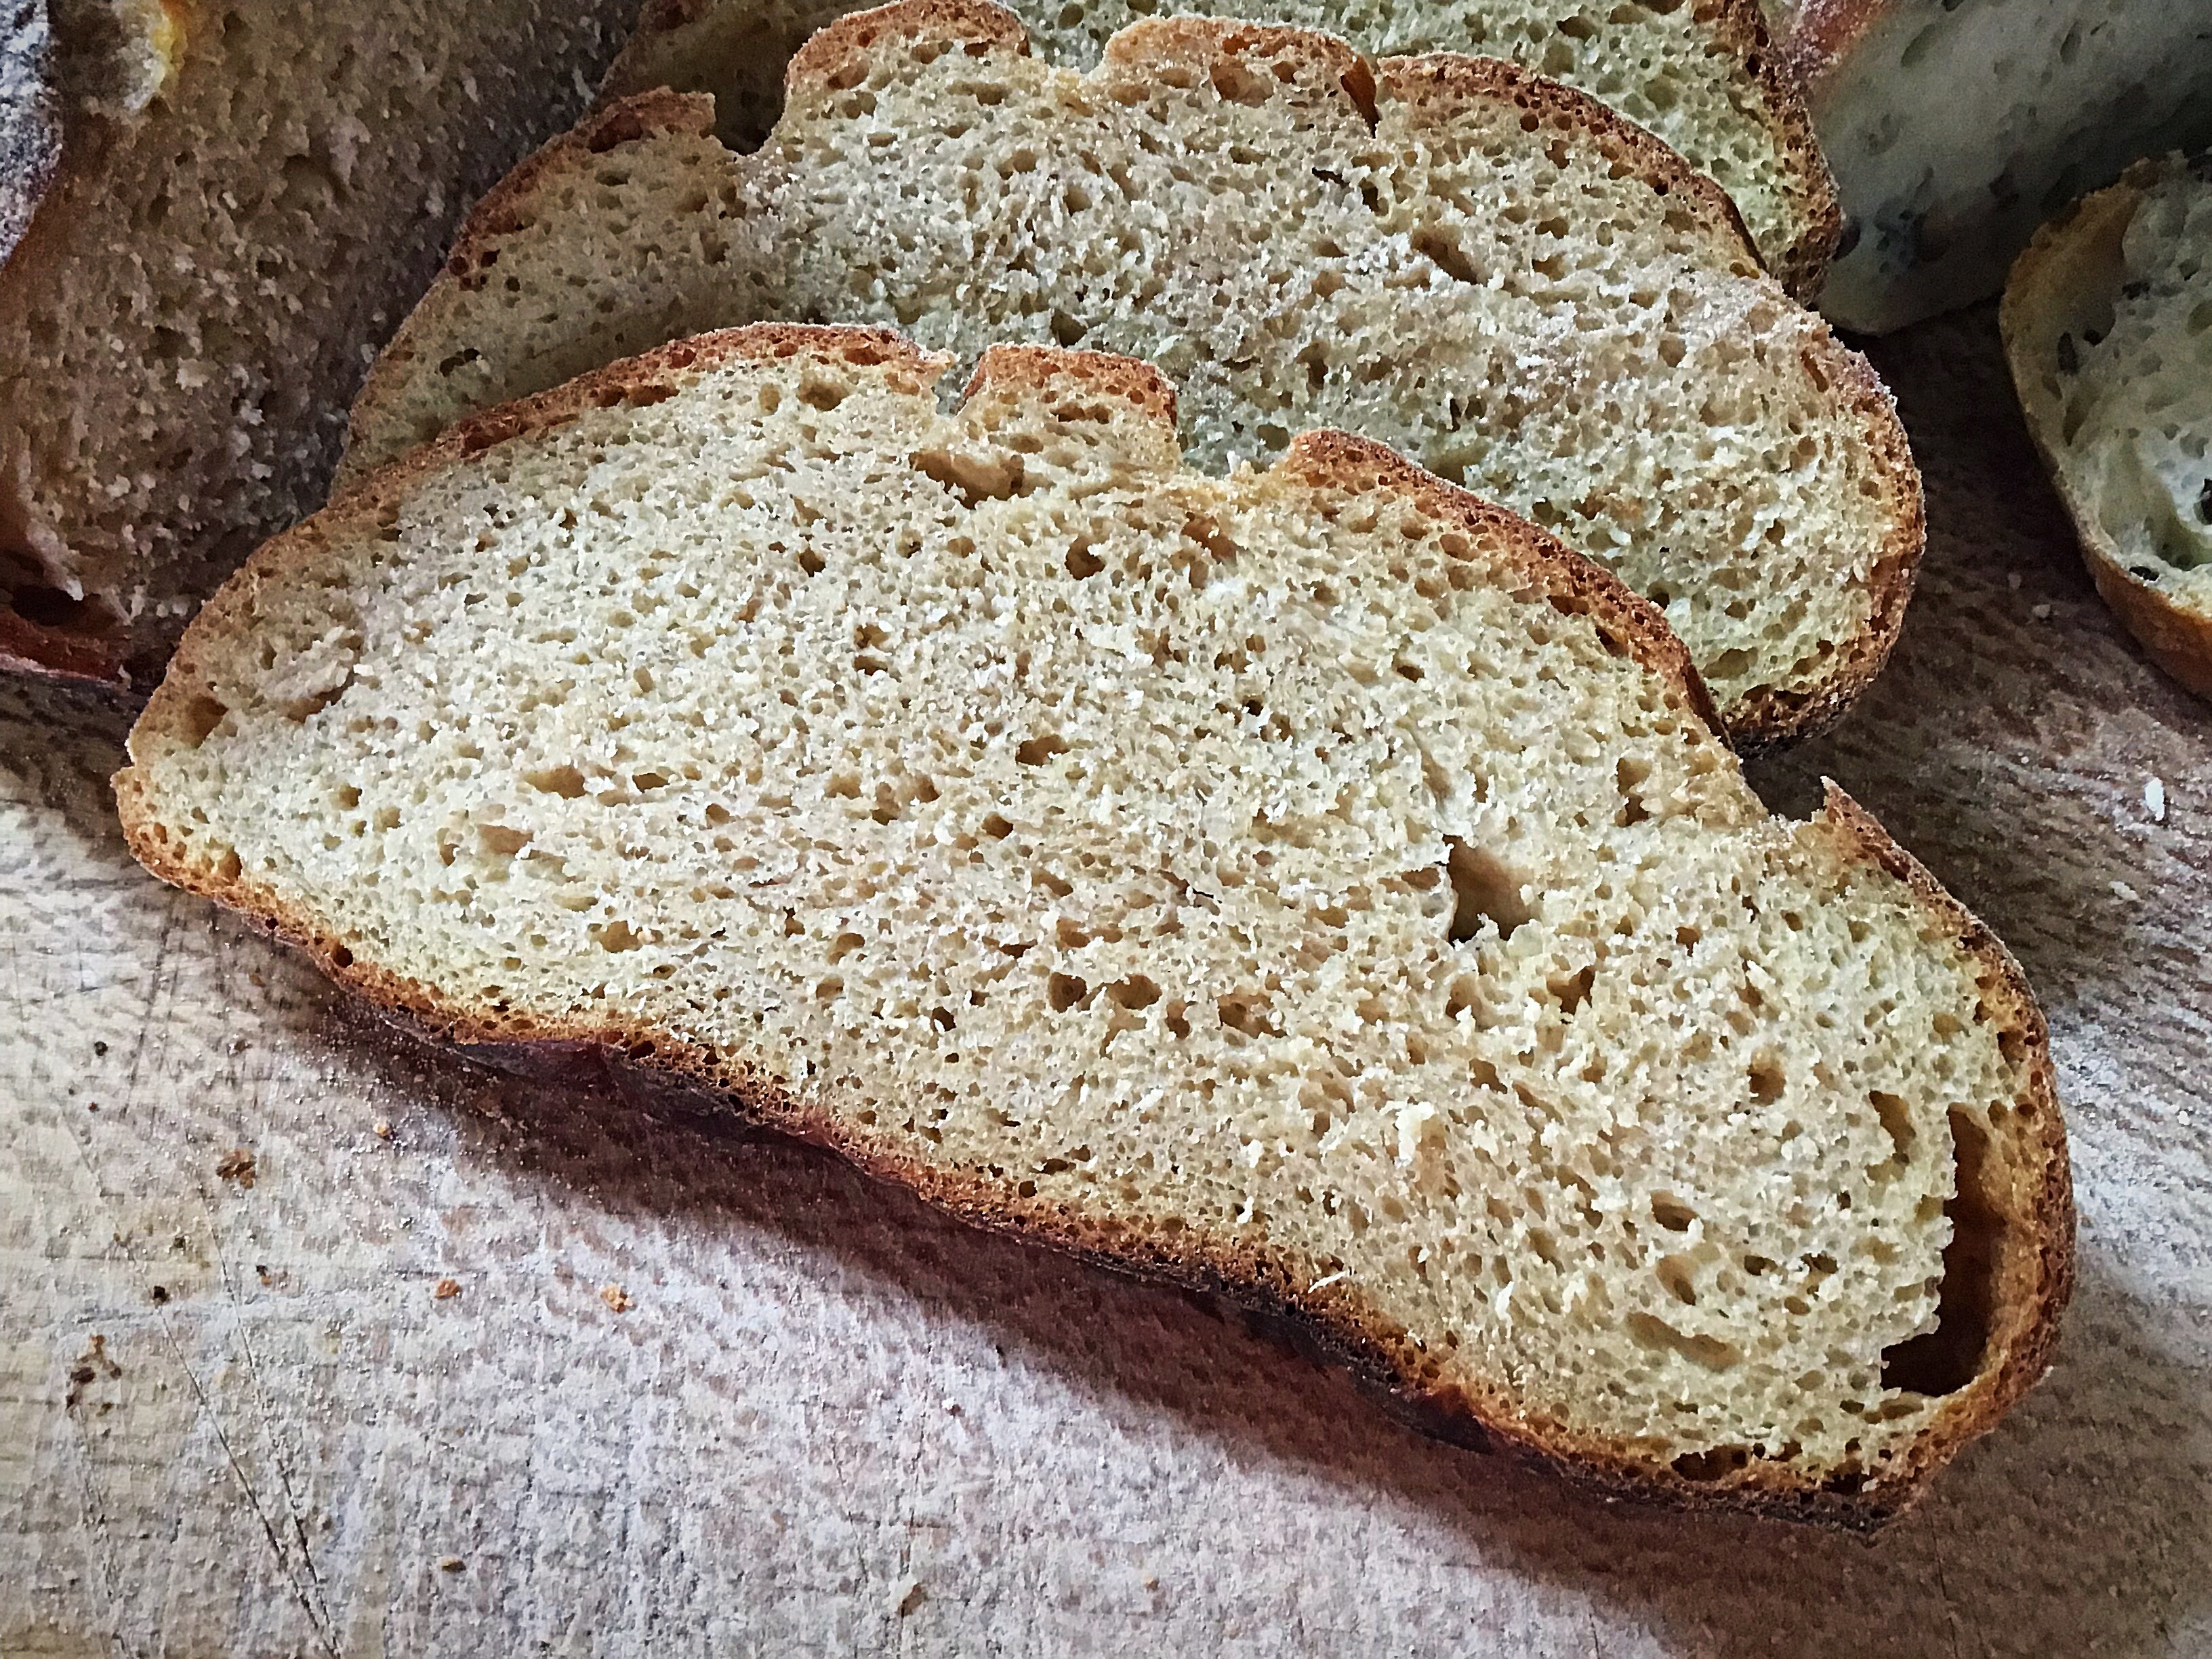
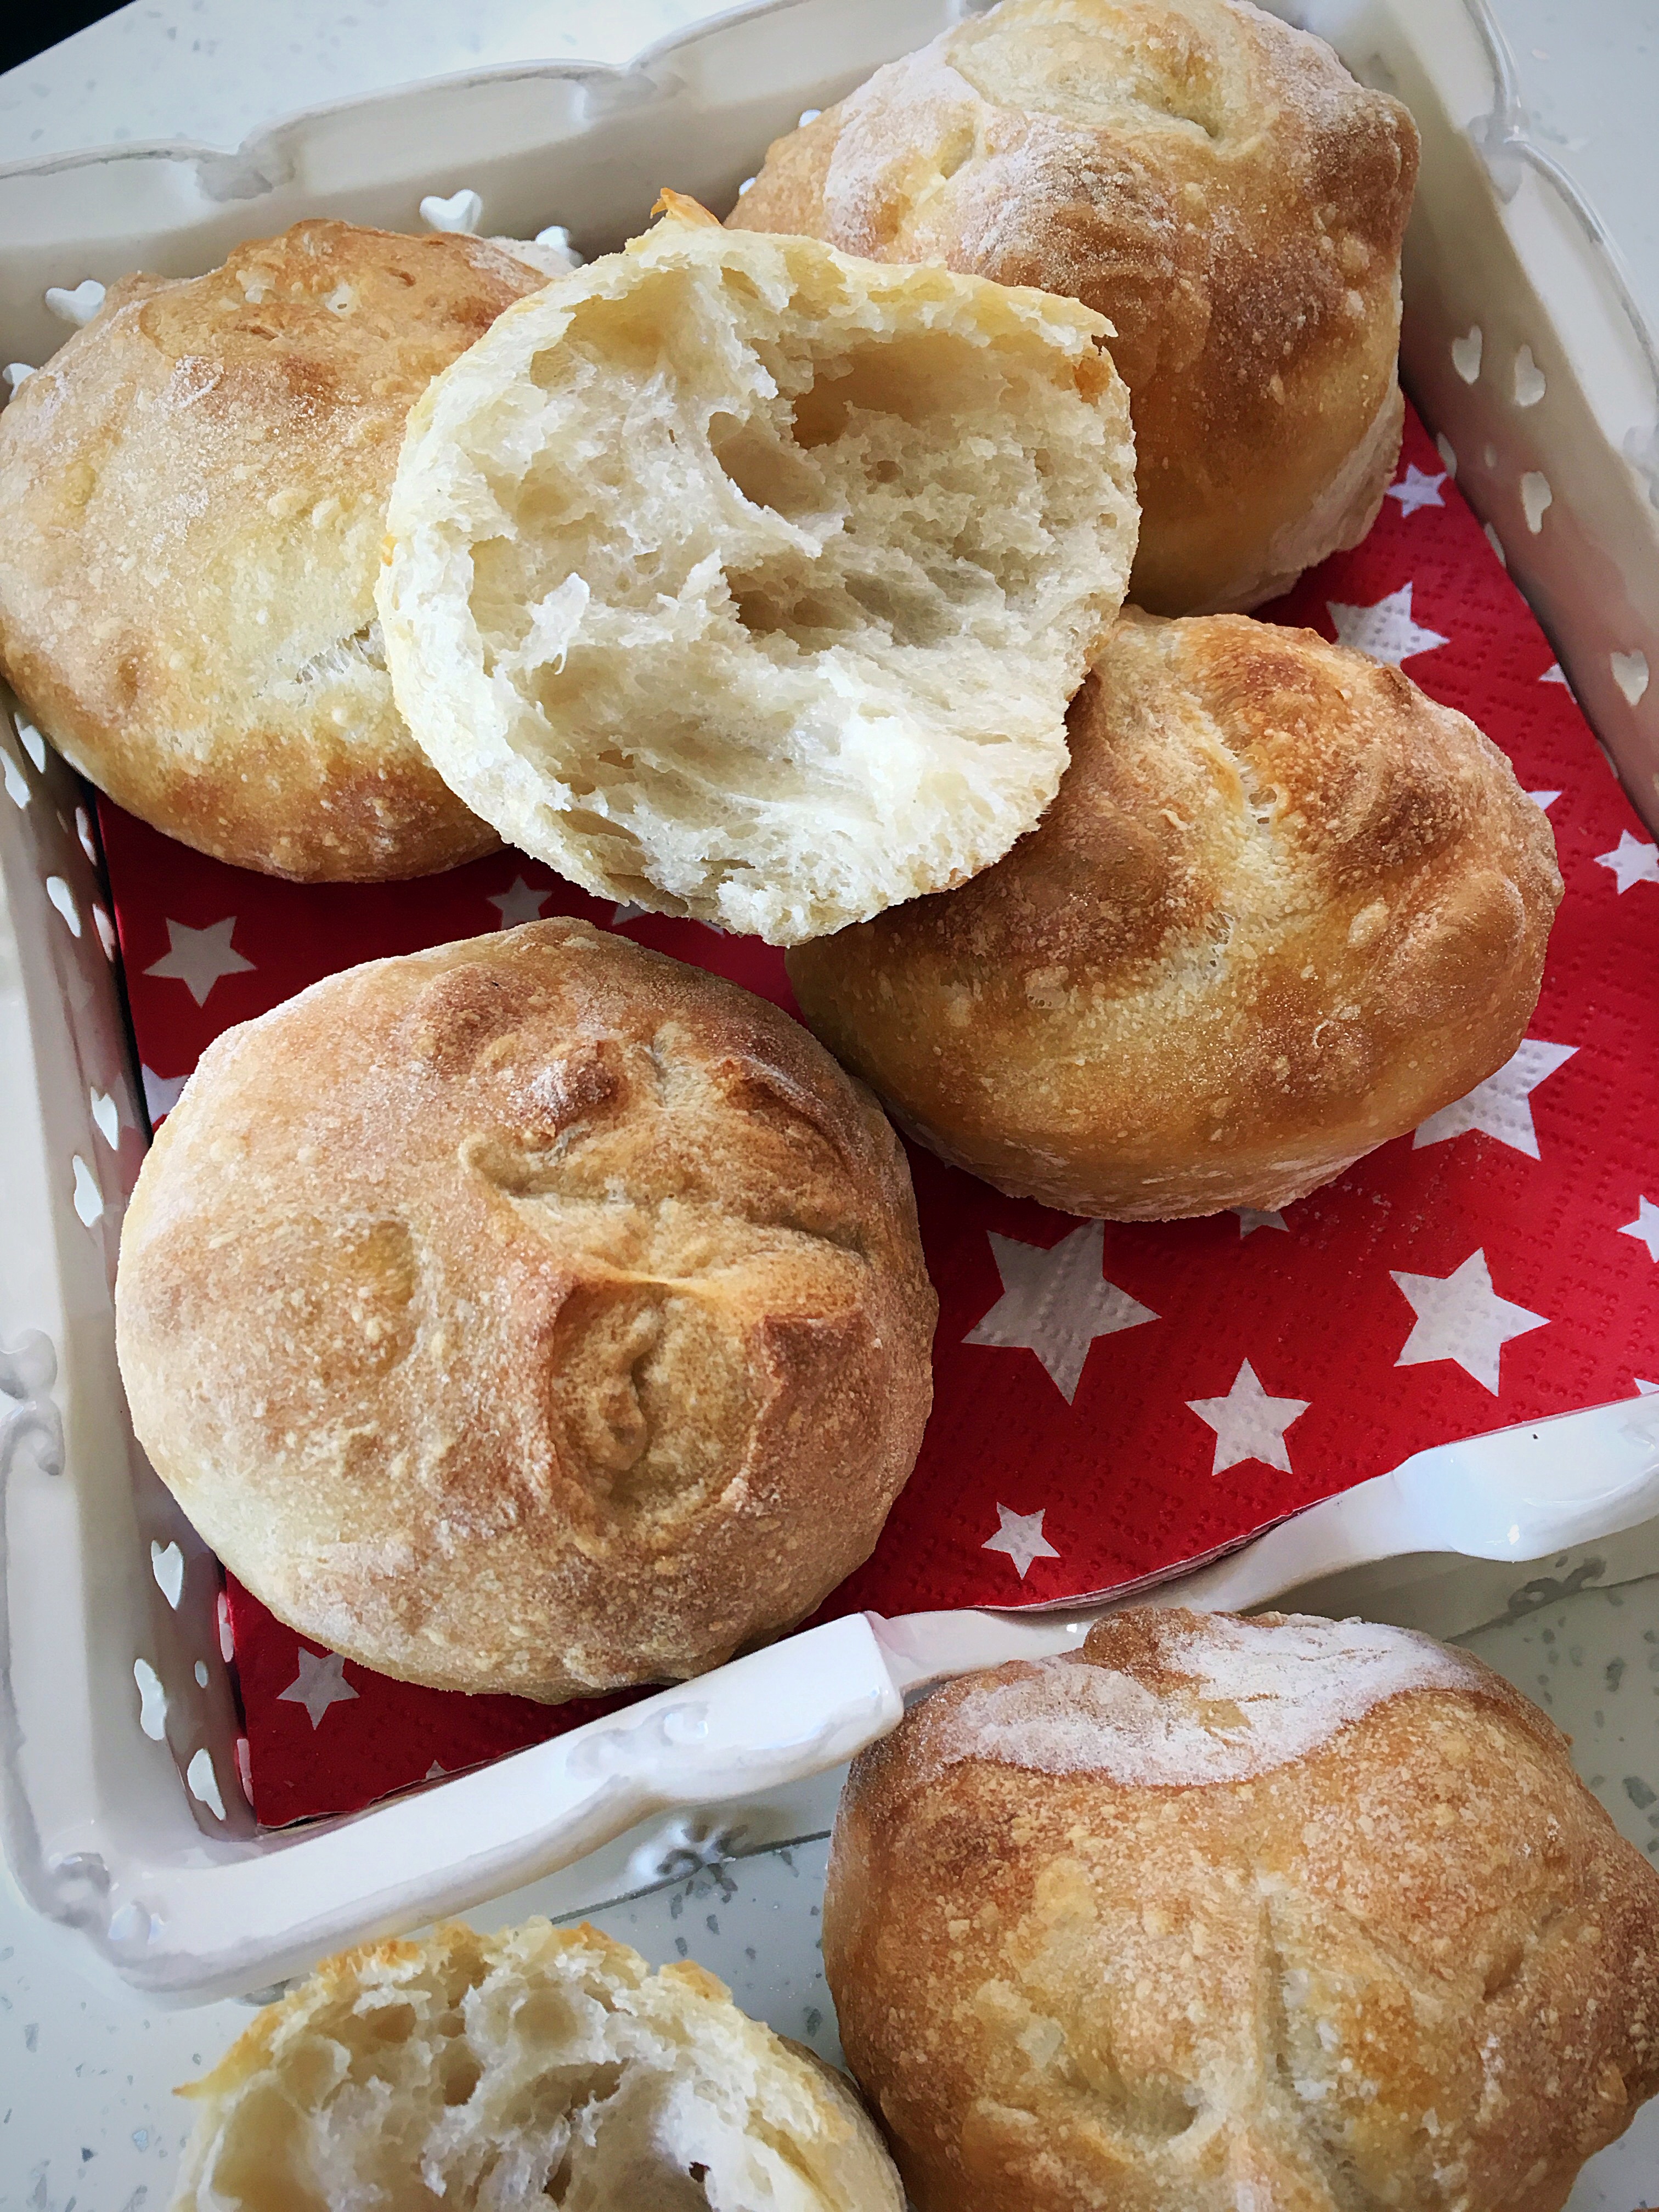
This makes a lovely holey light focaccia with a nice crunchy base.

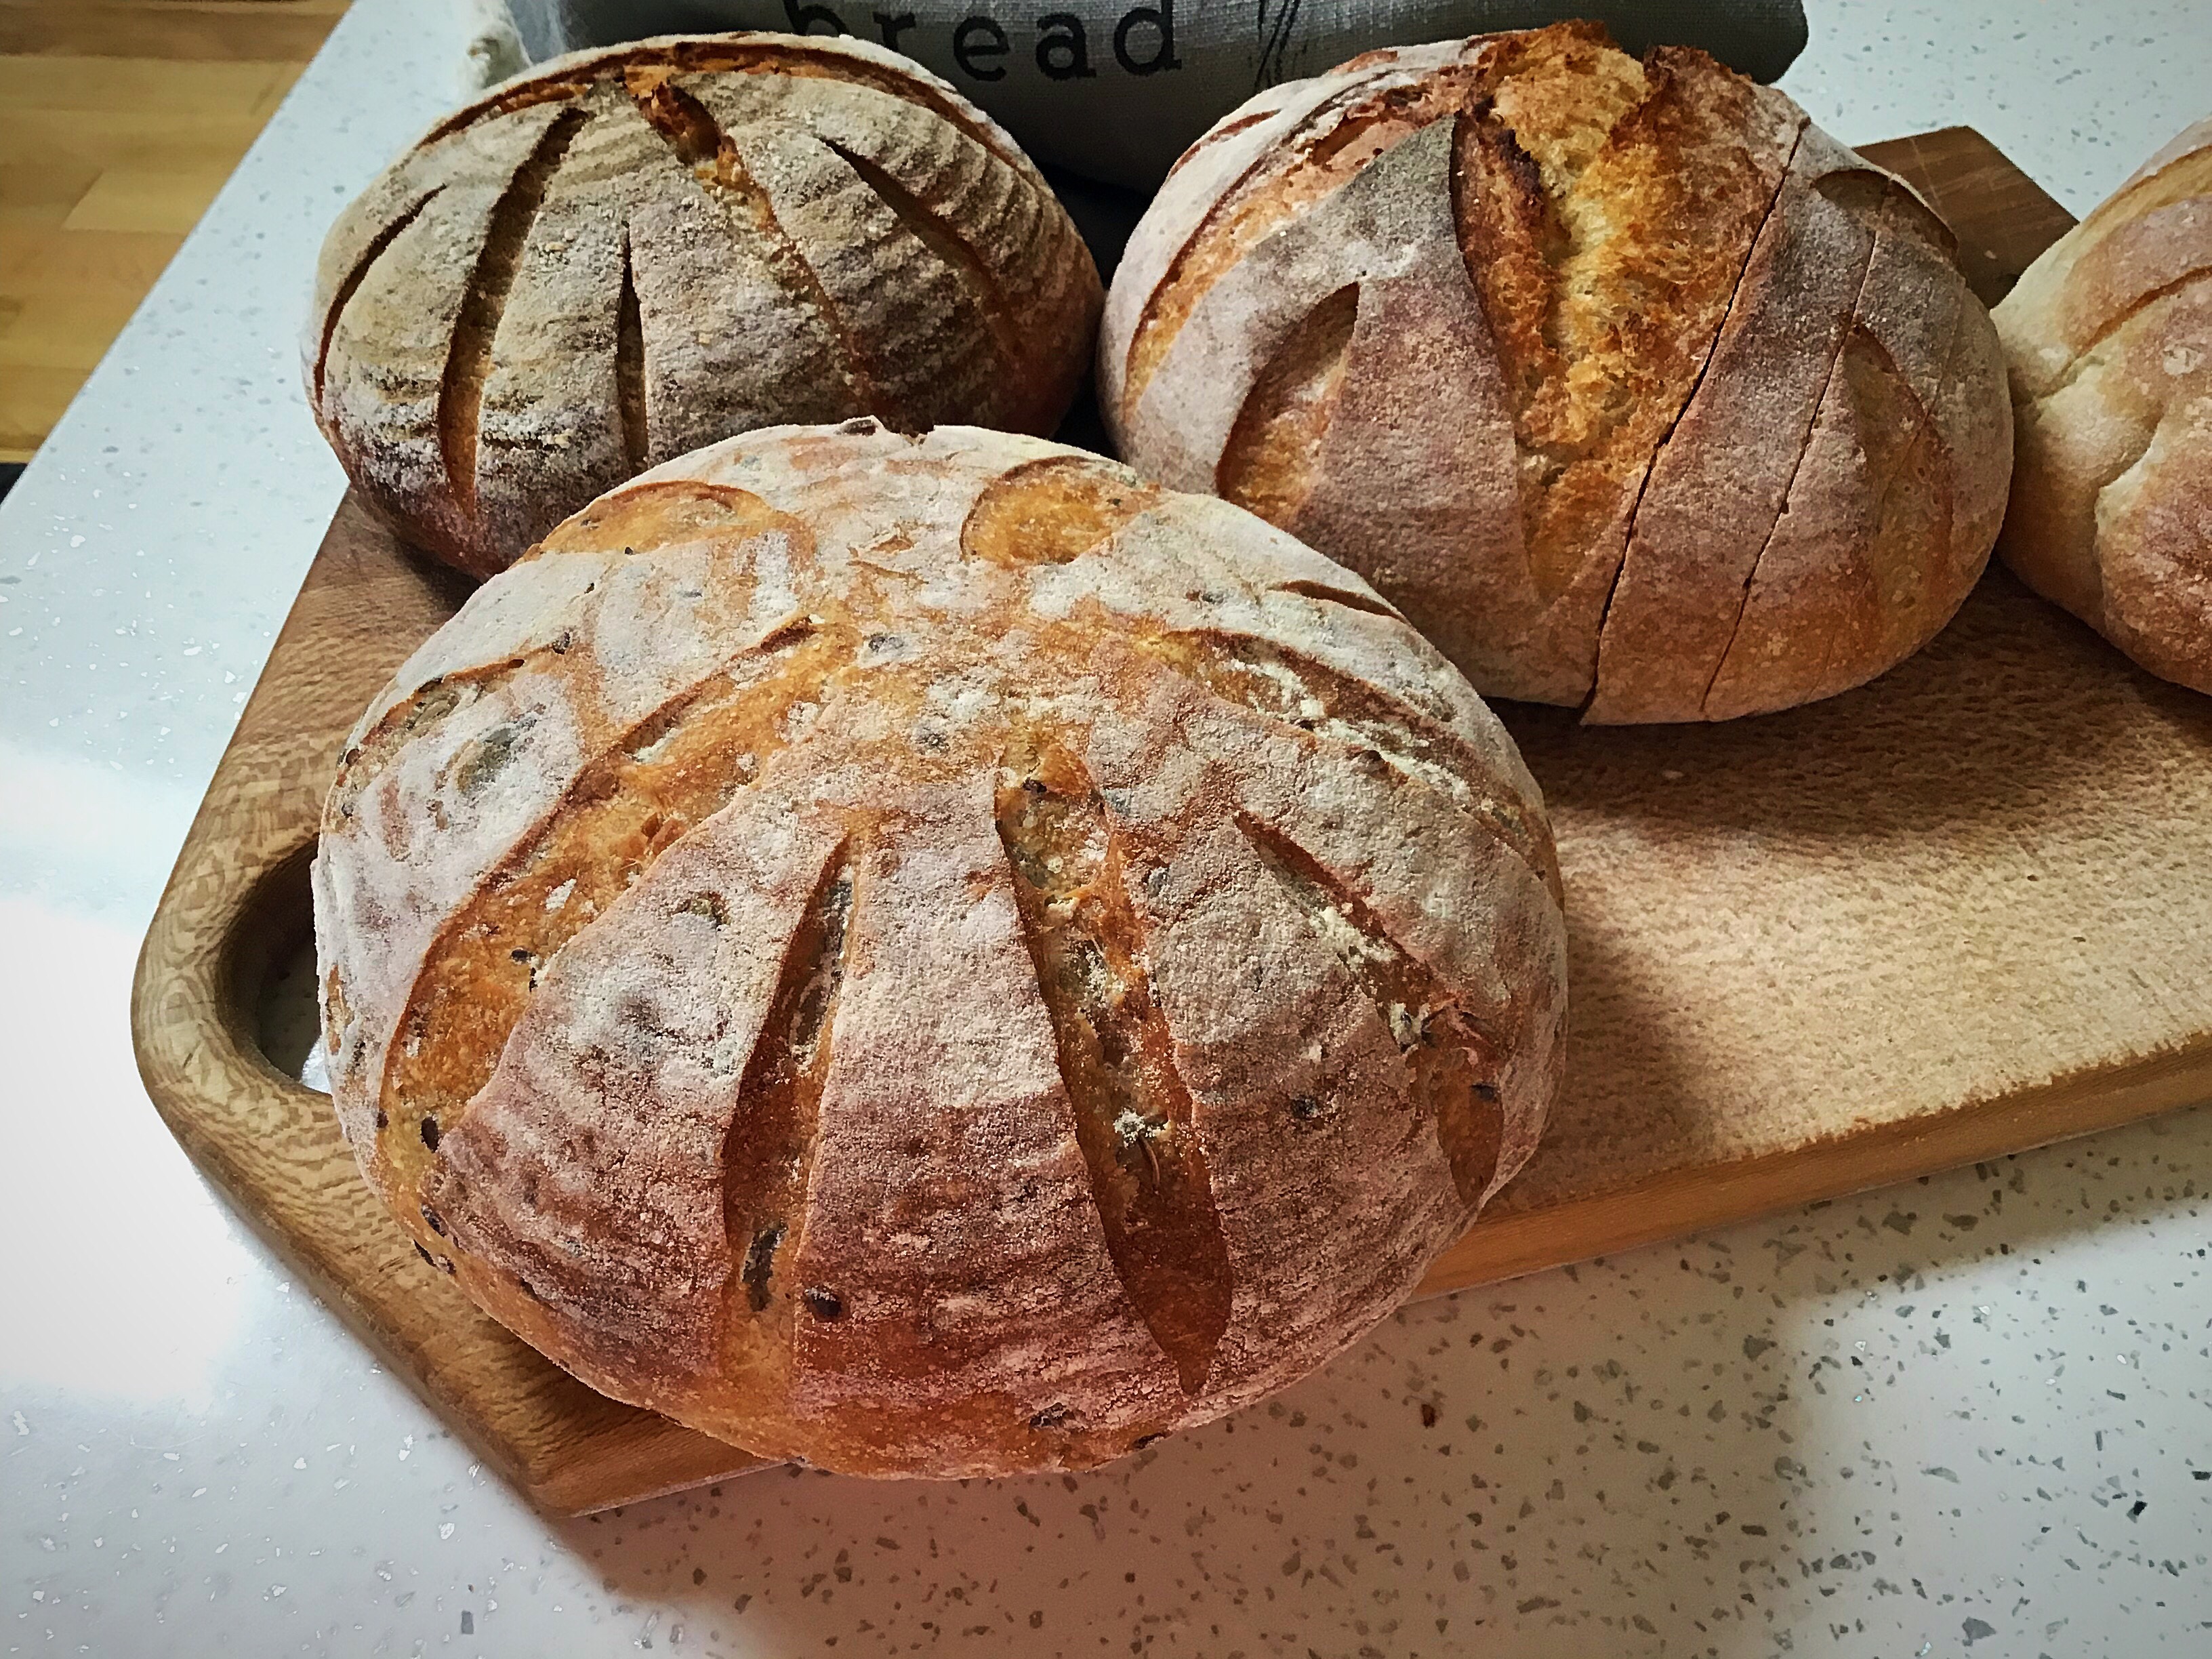
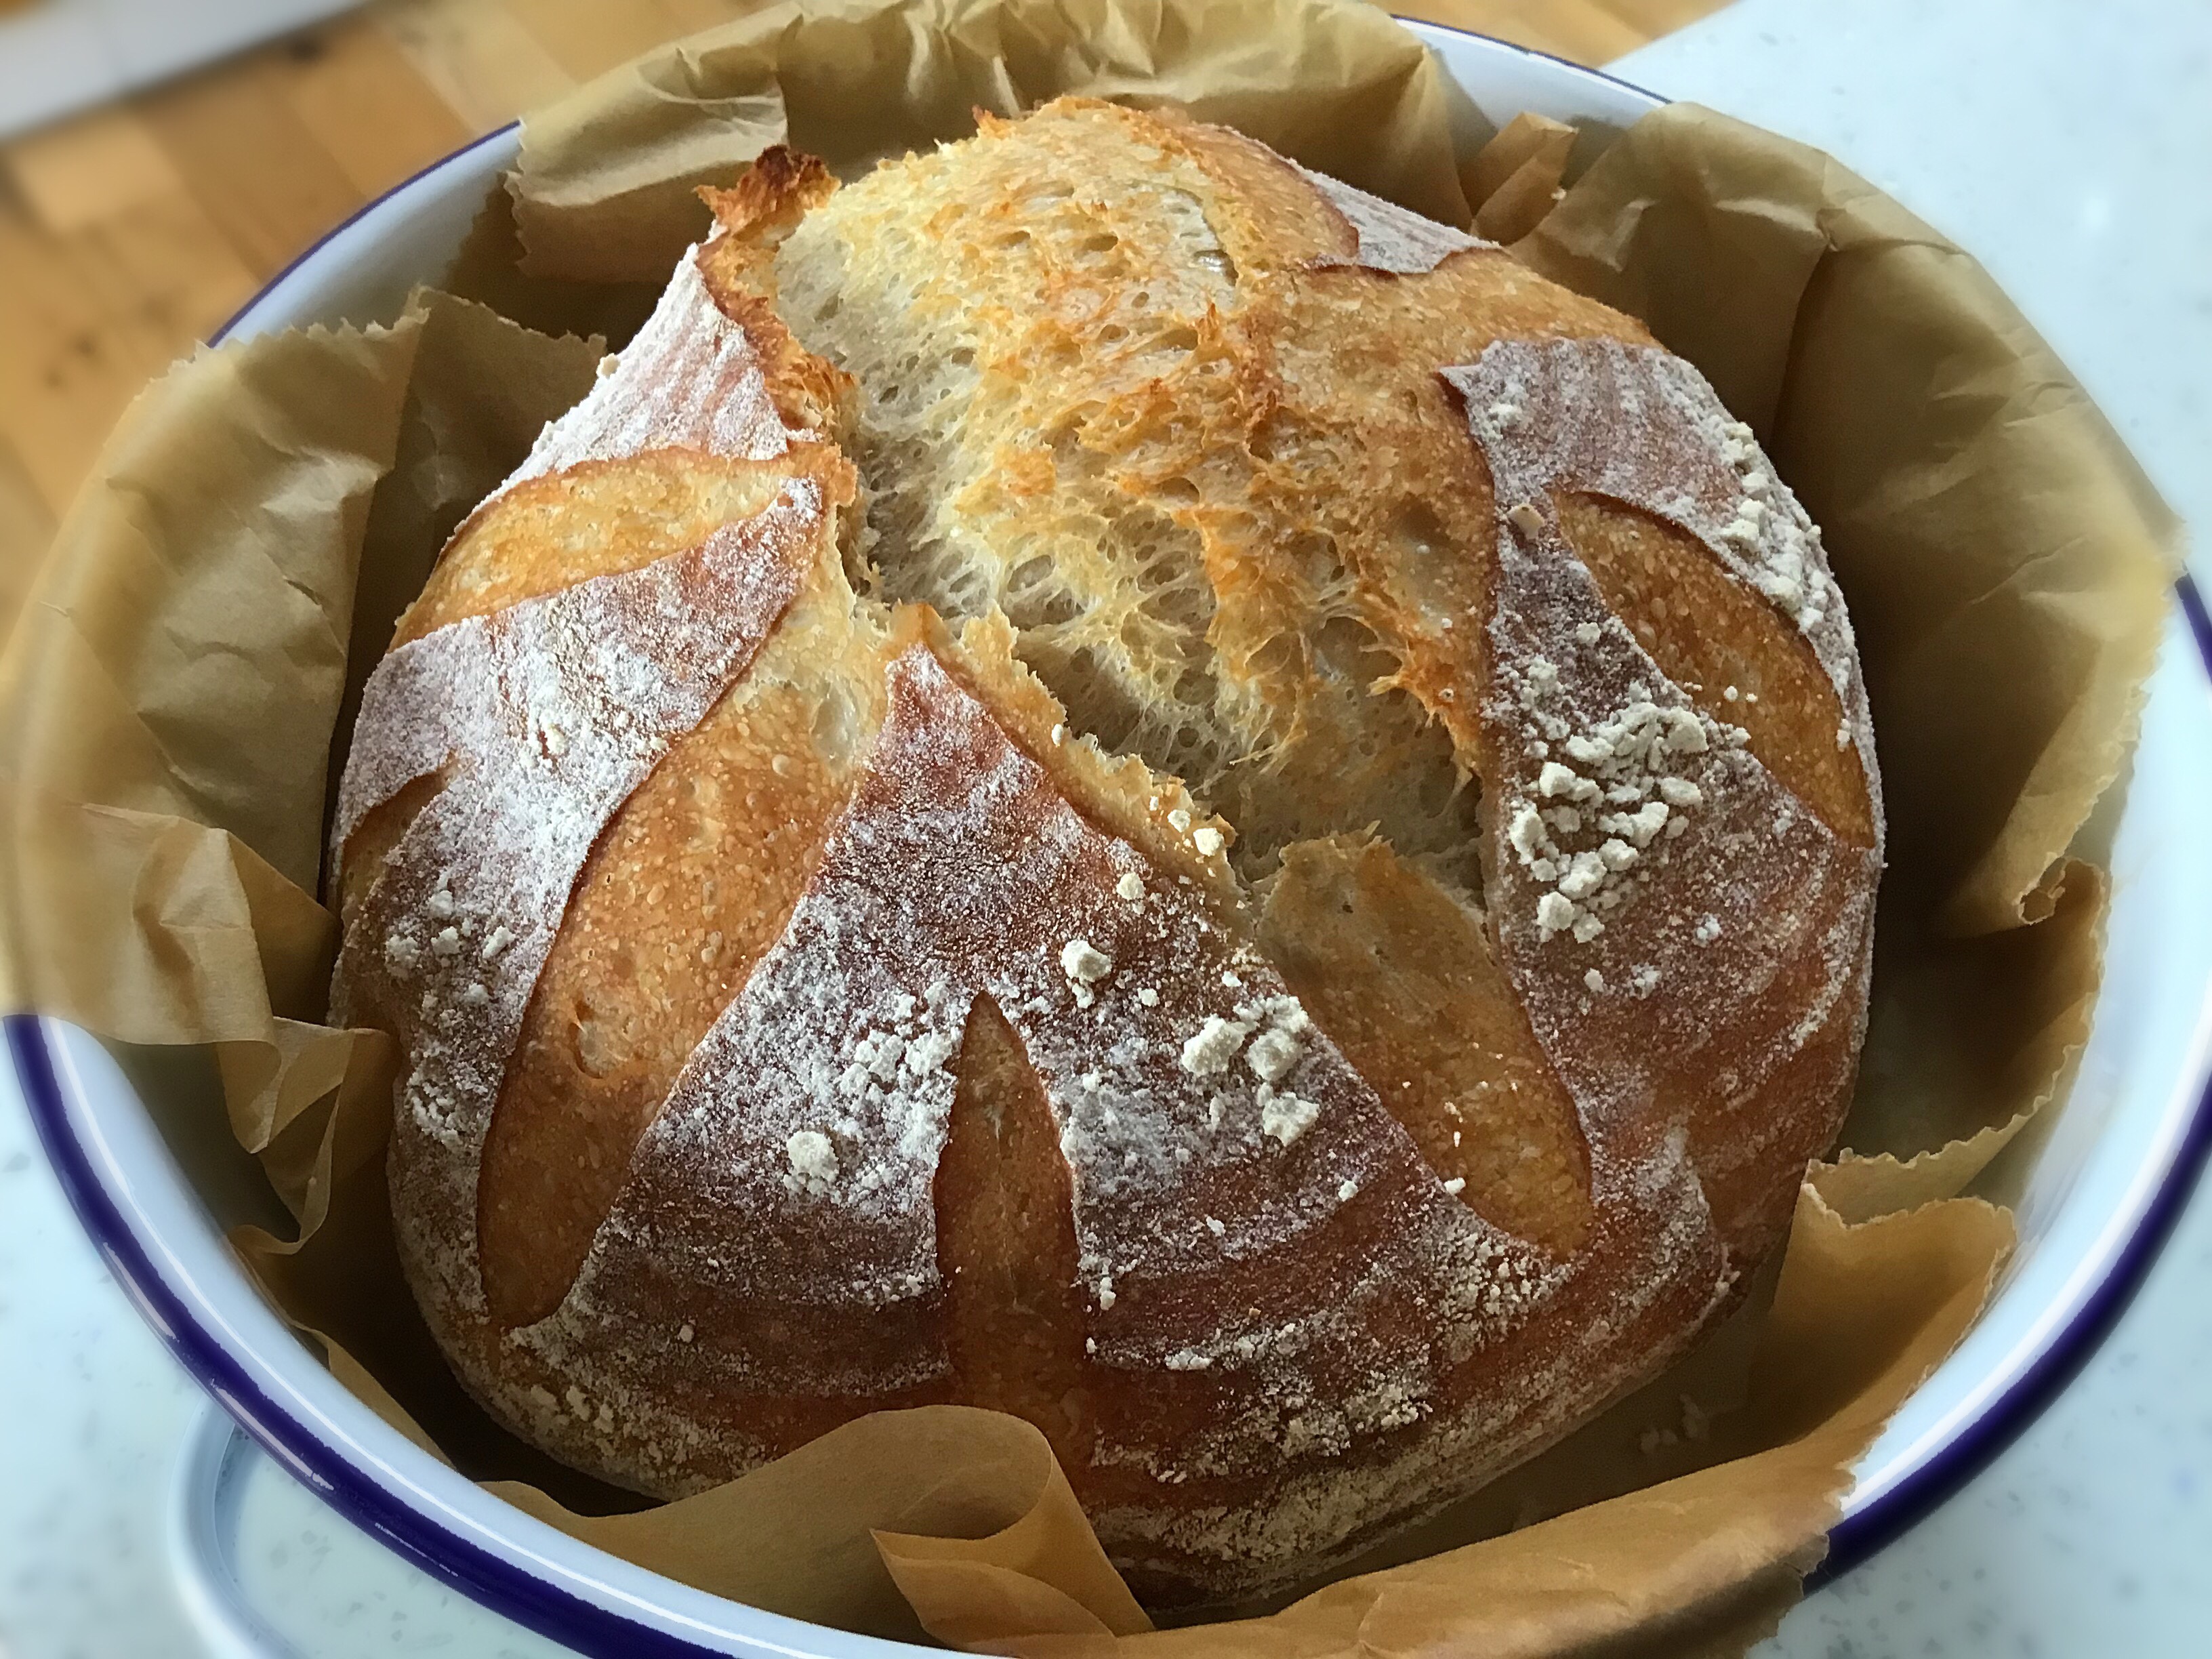


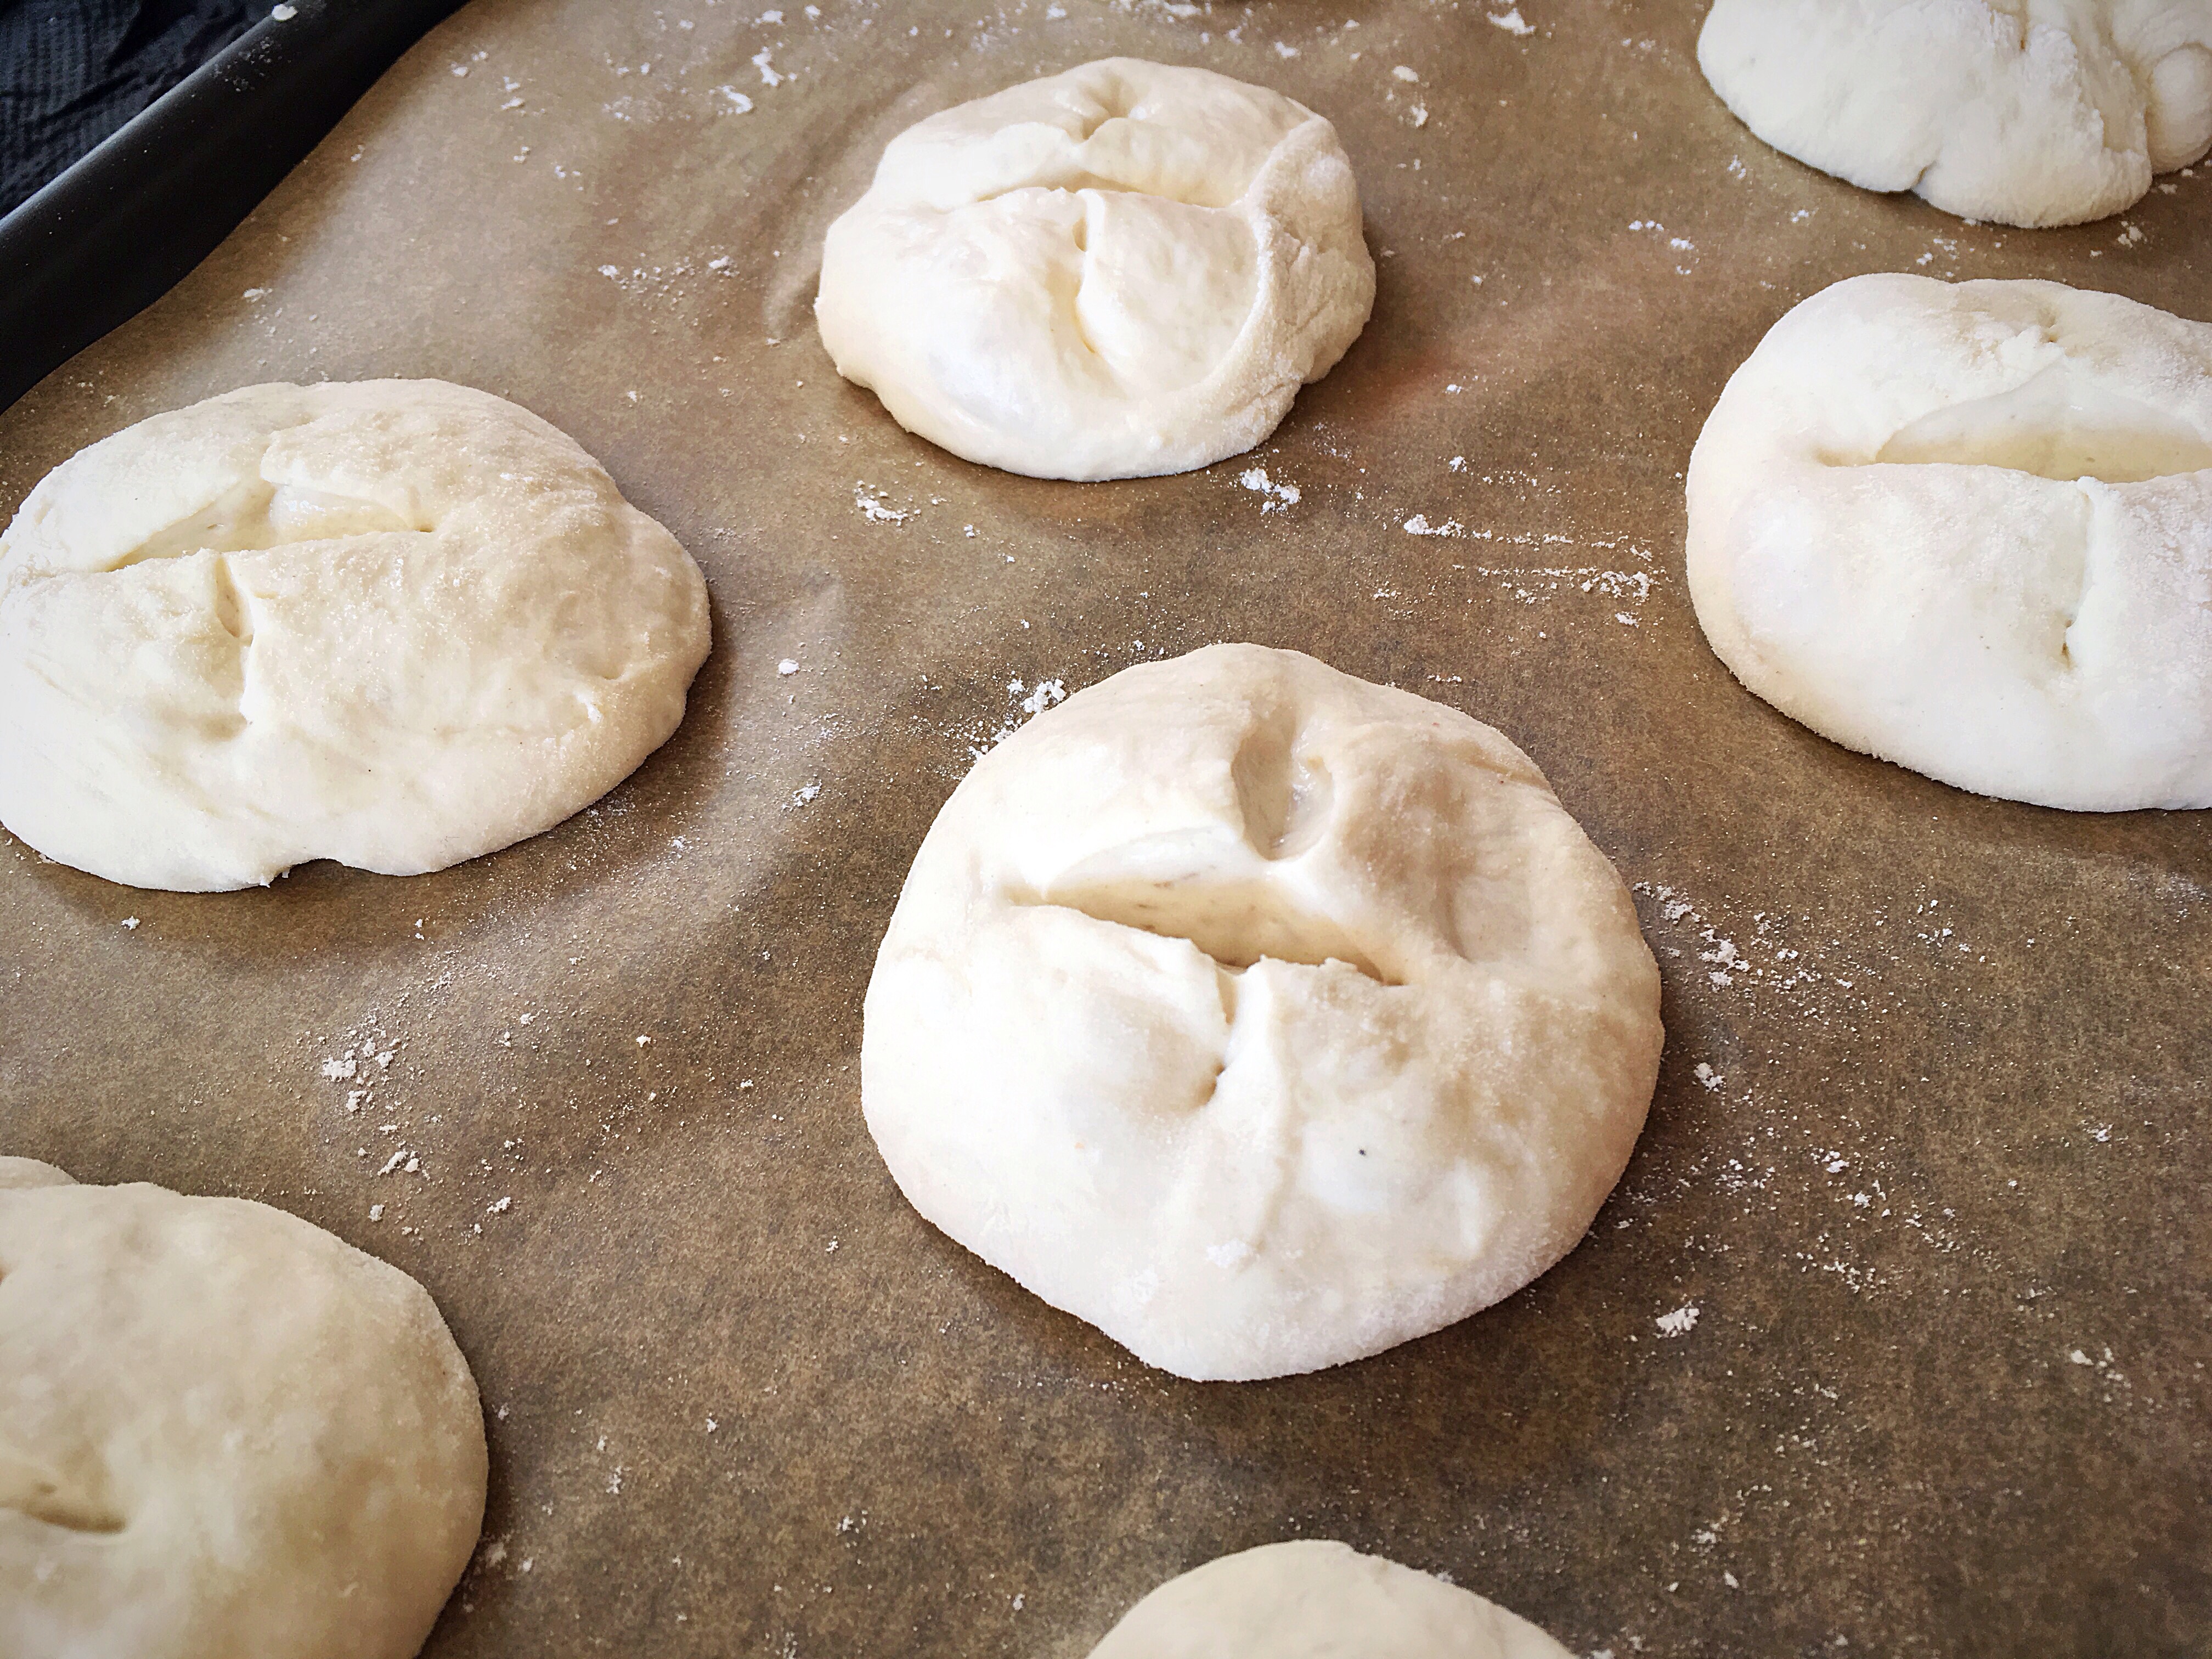
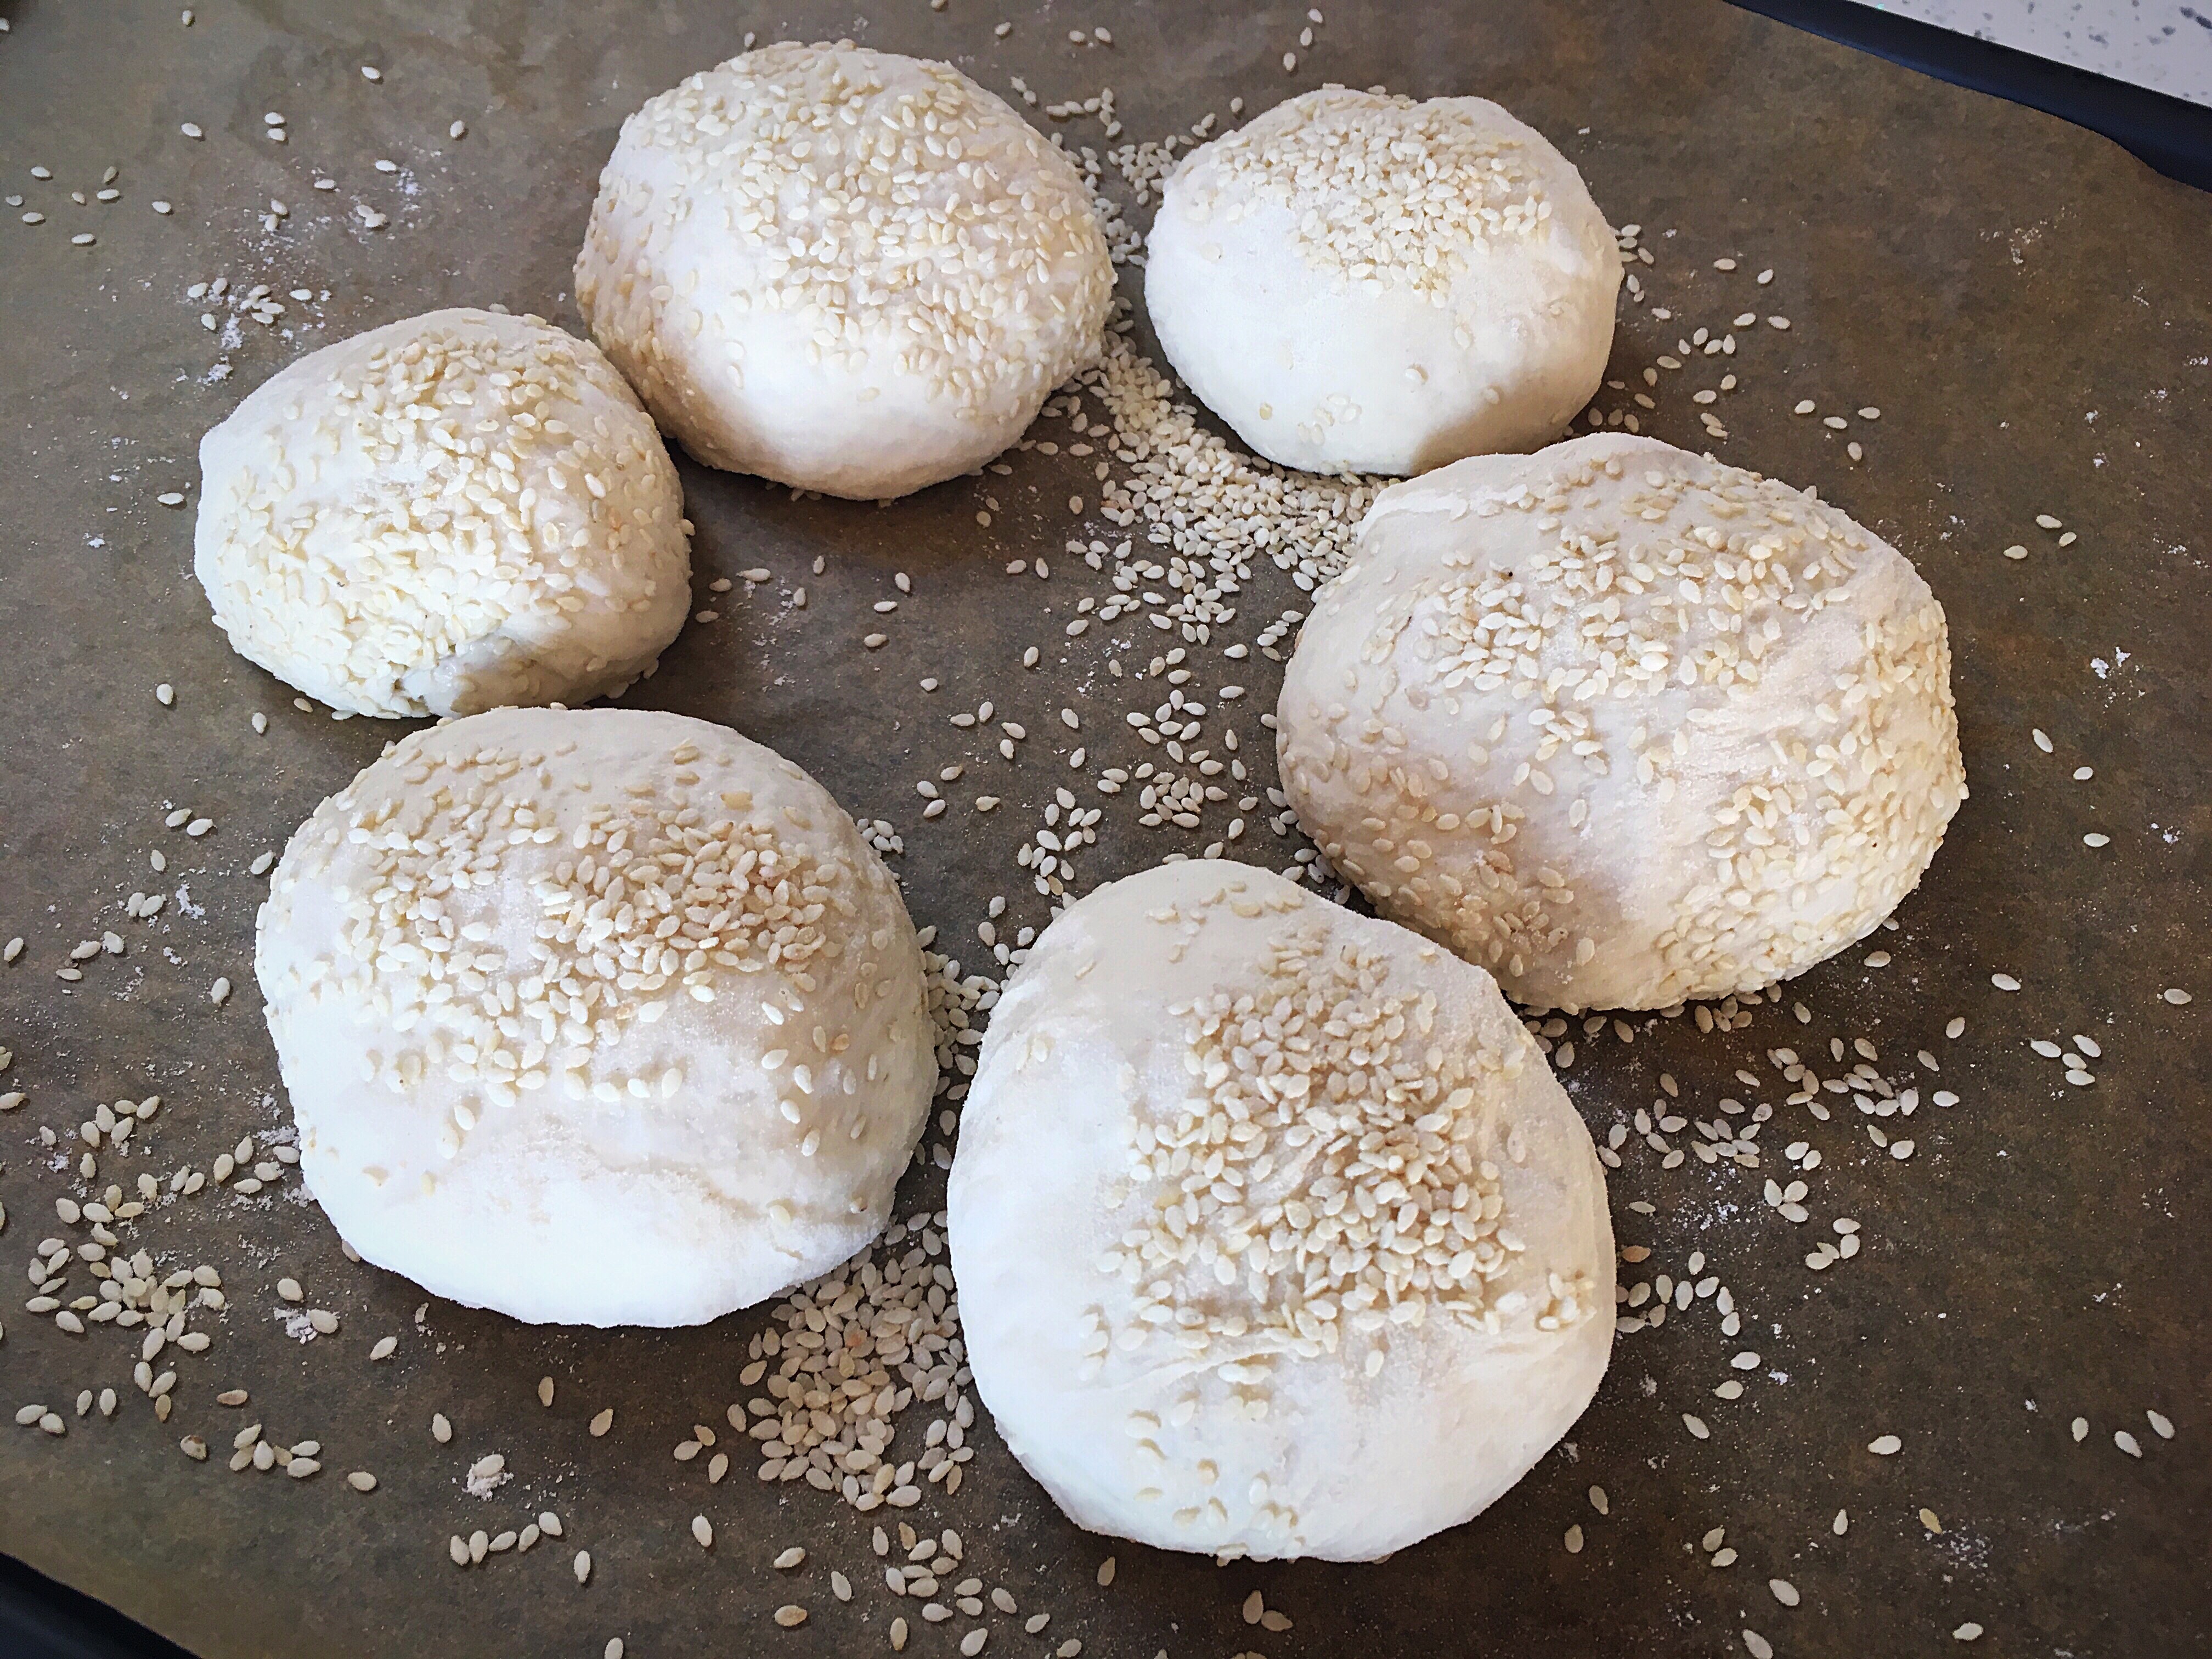
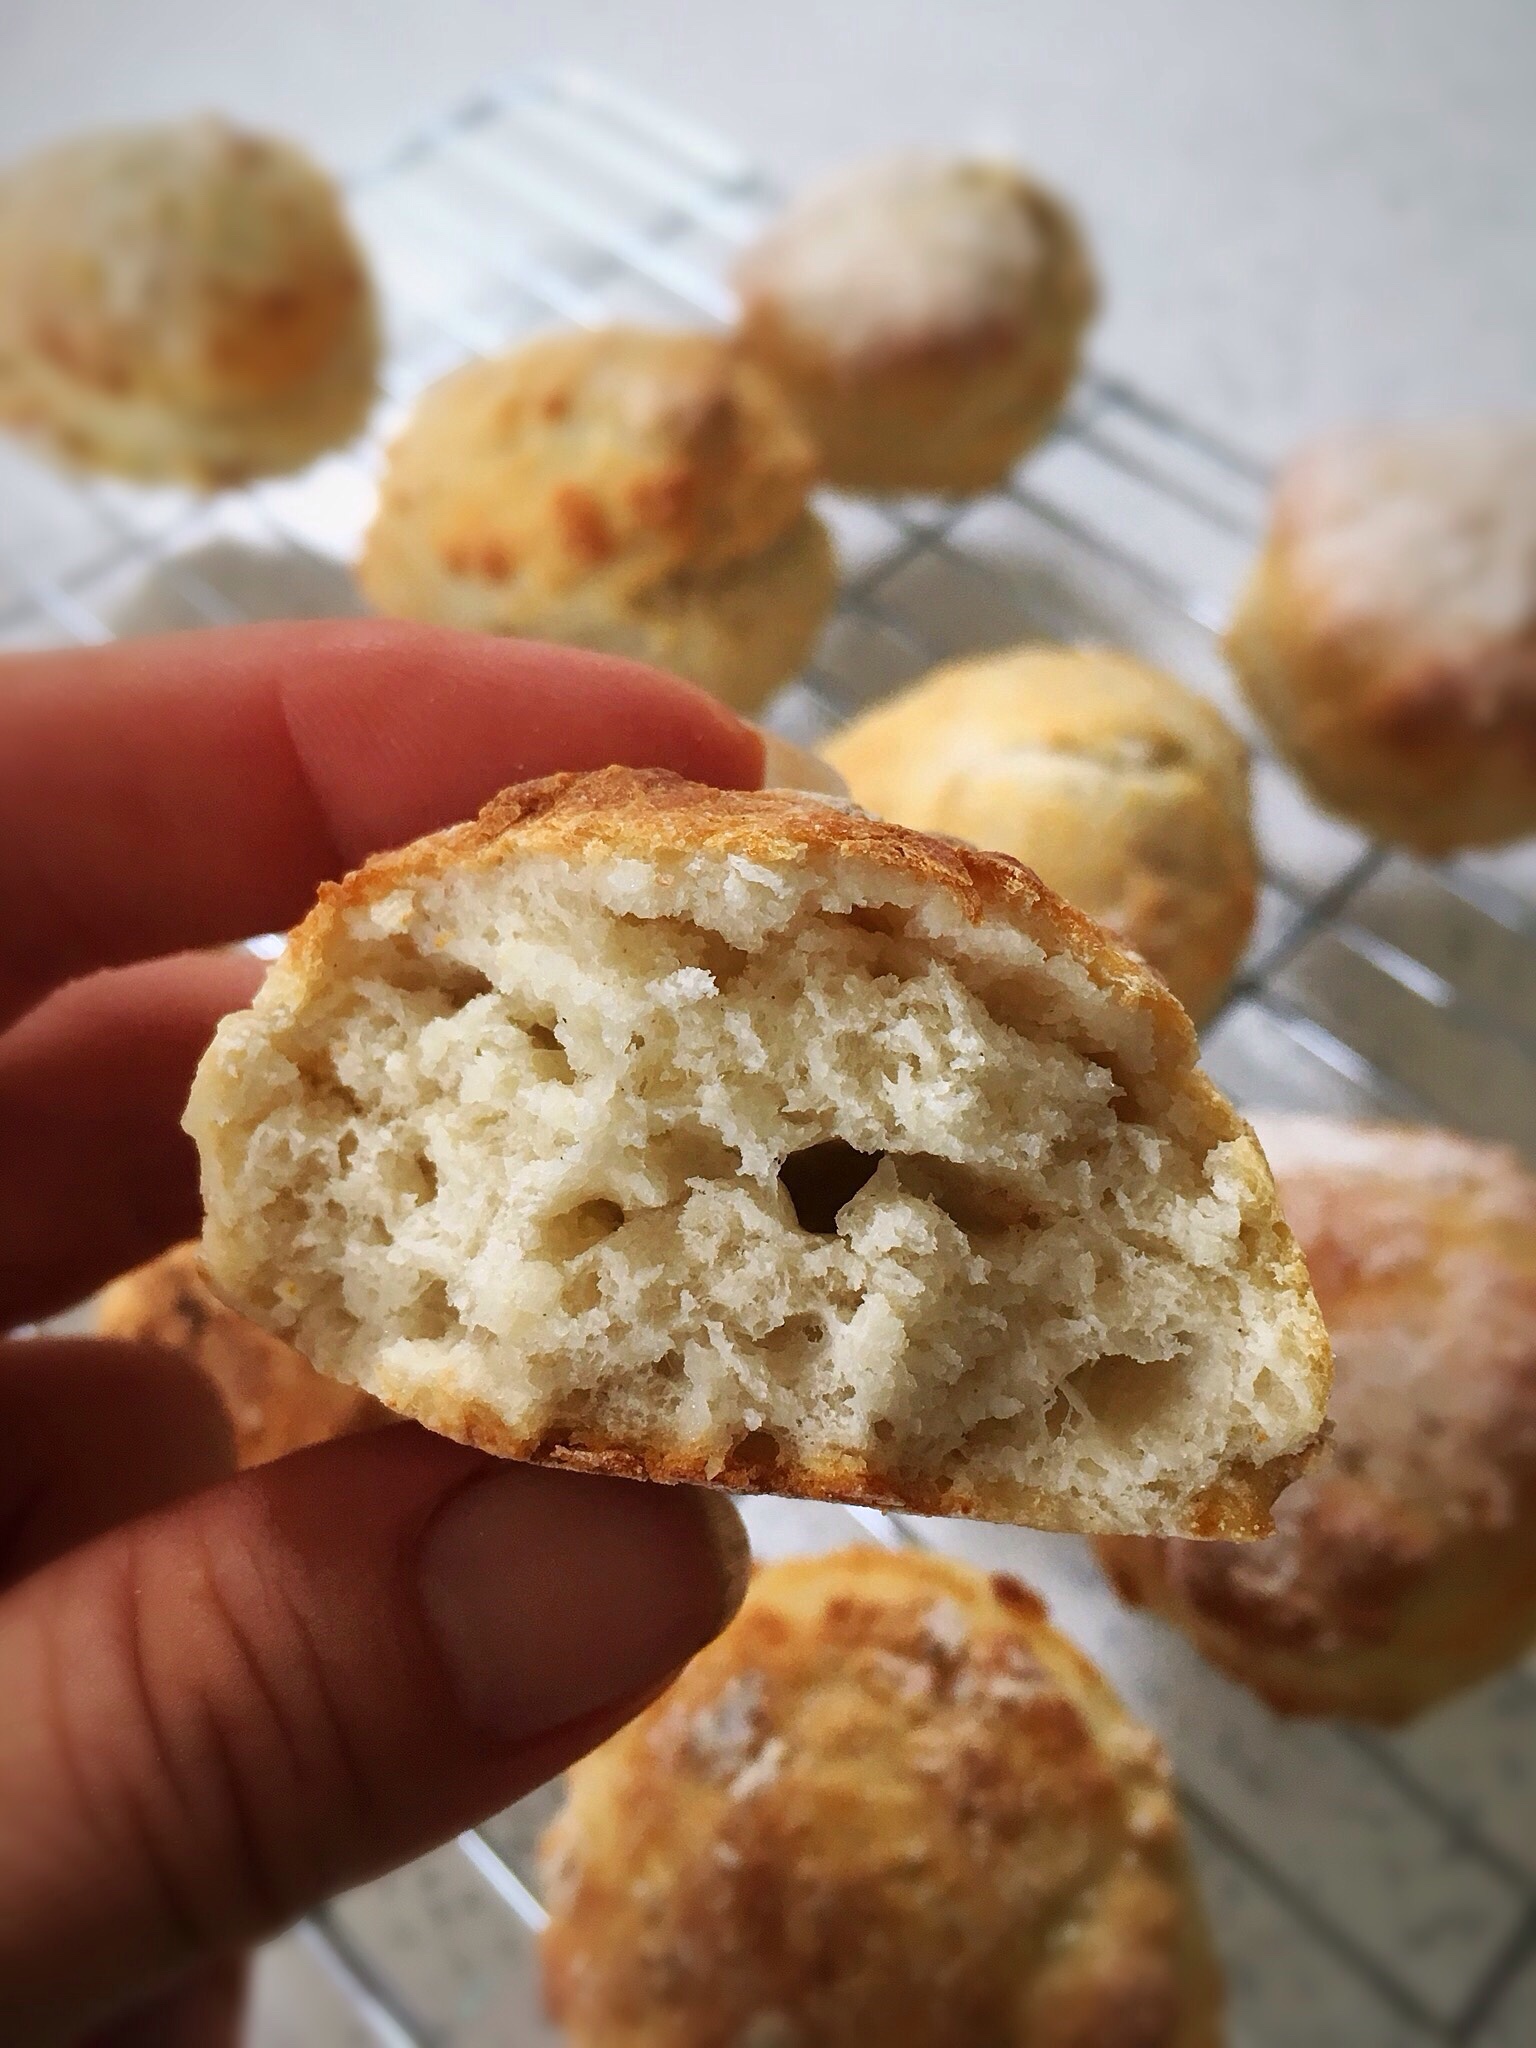
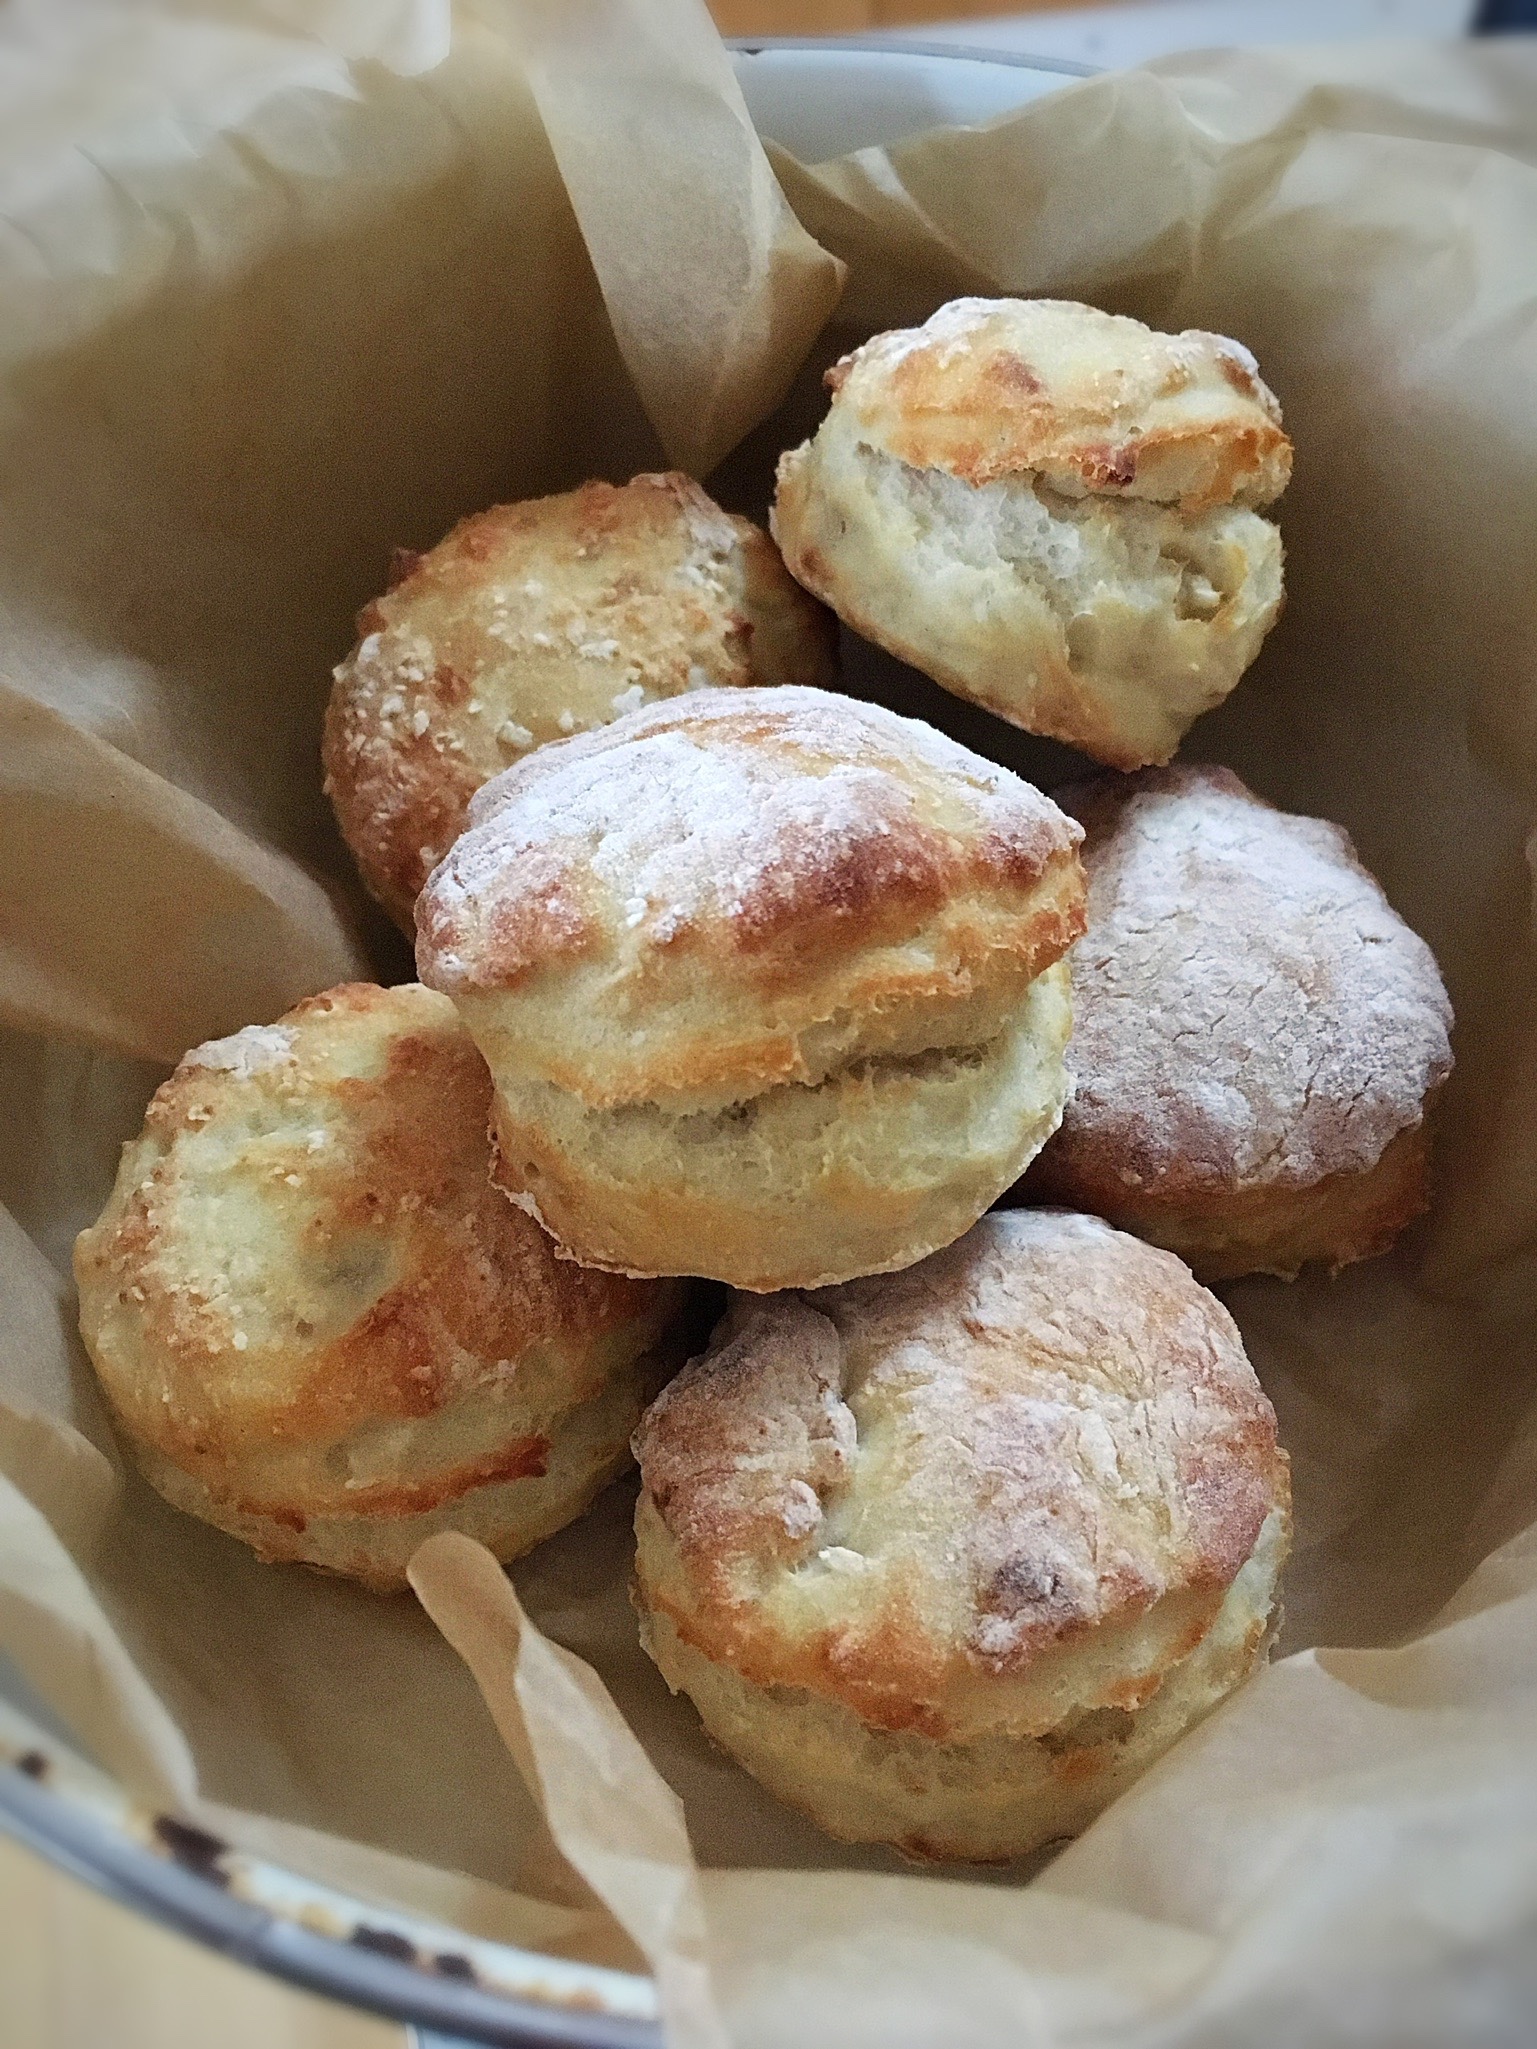
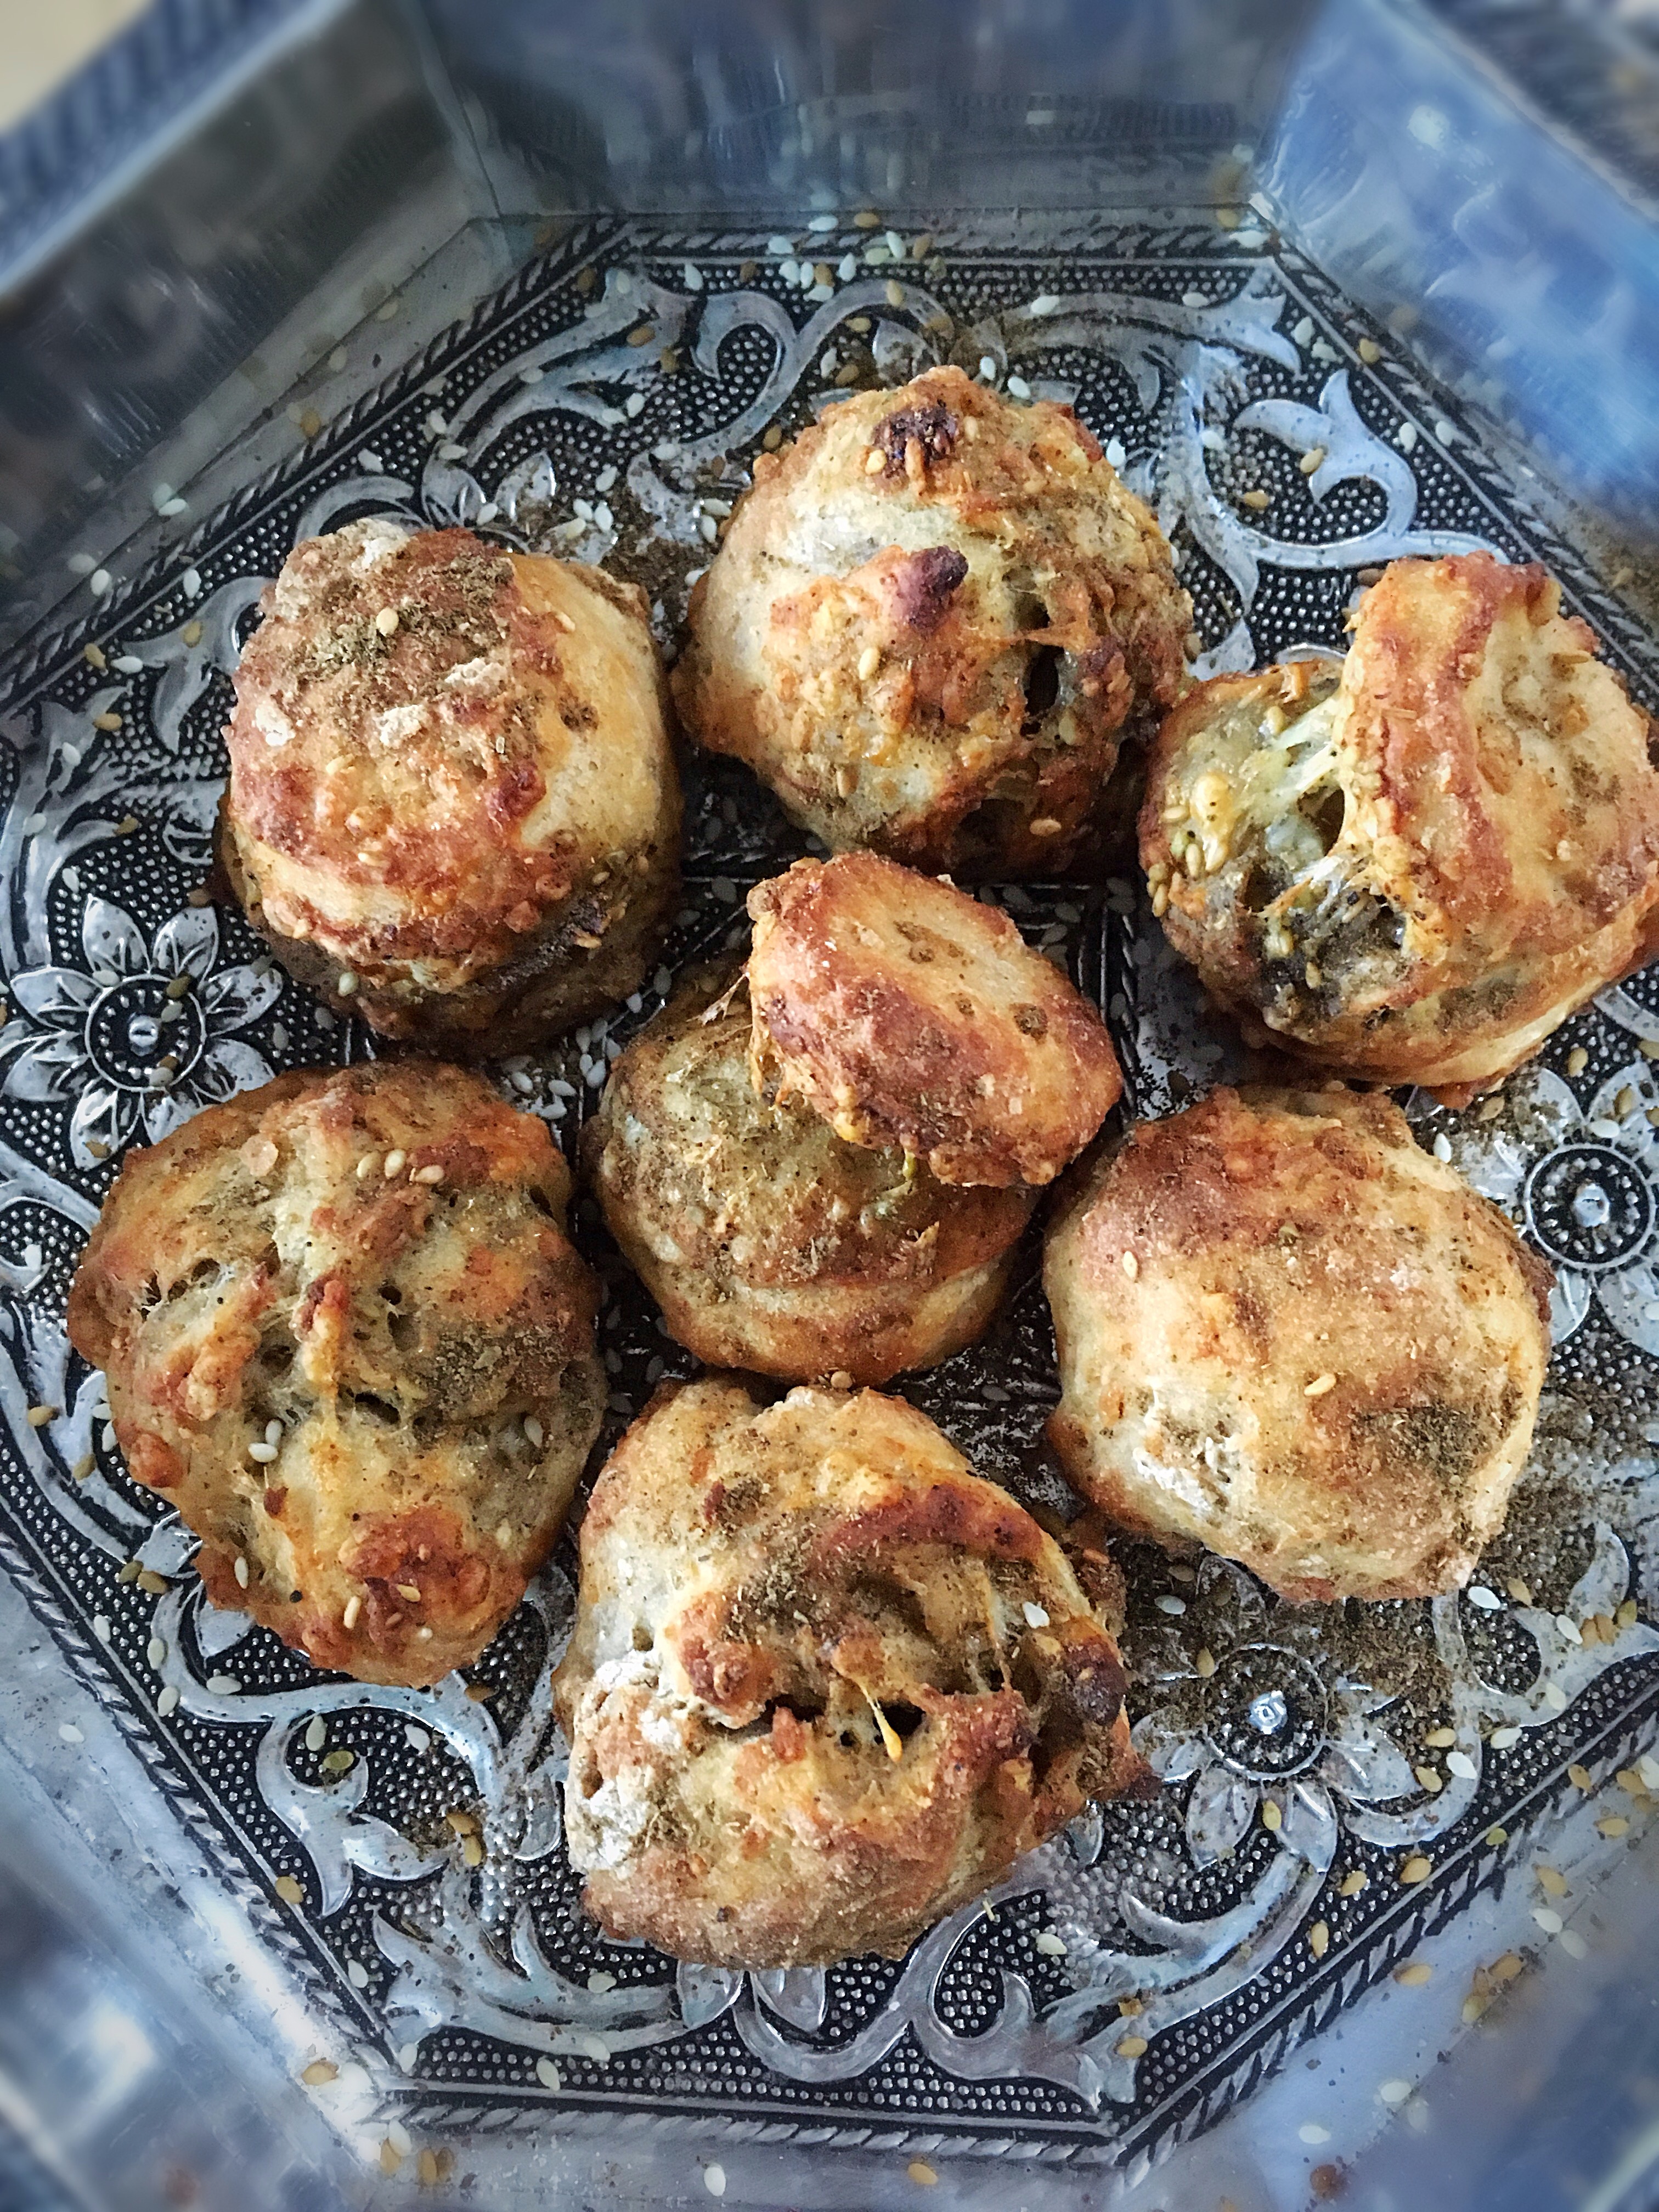
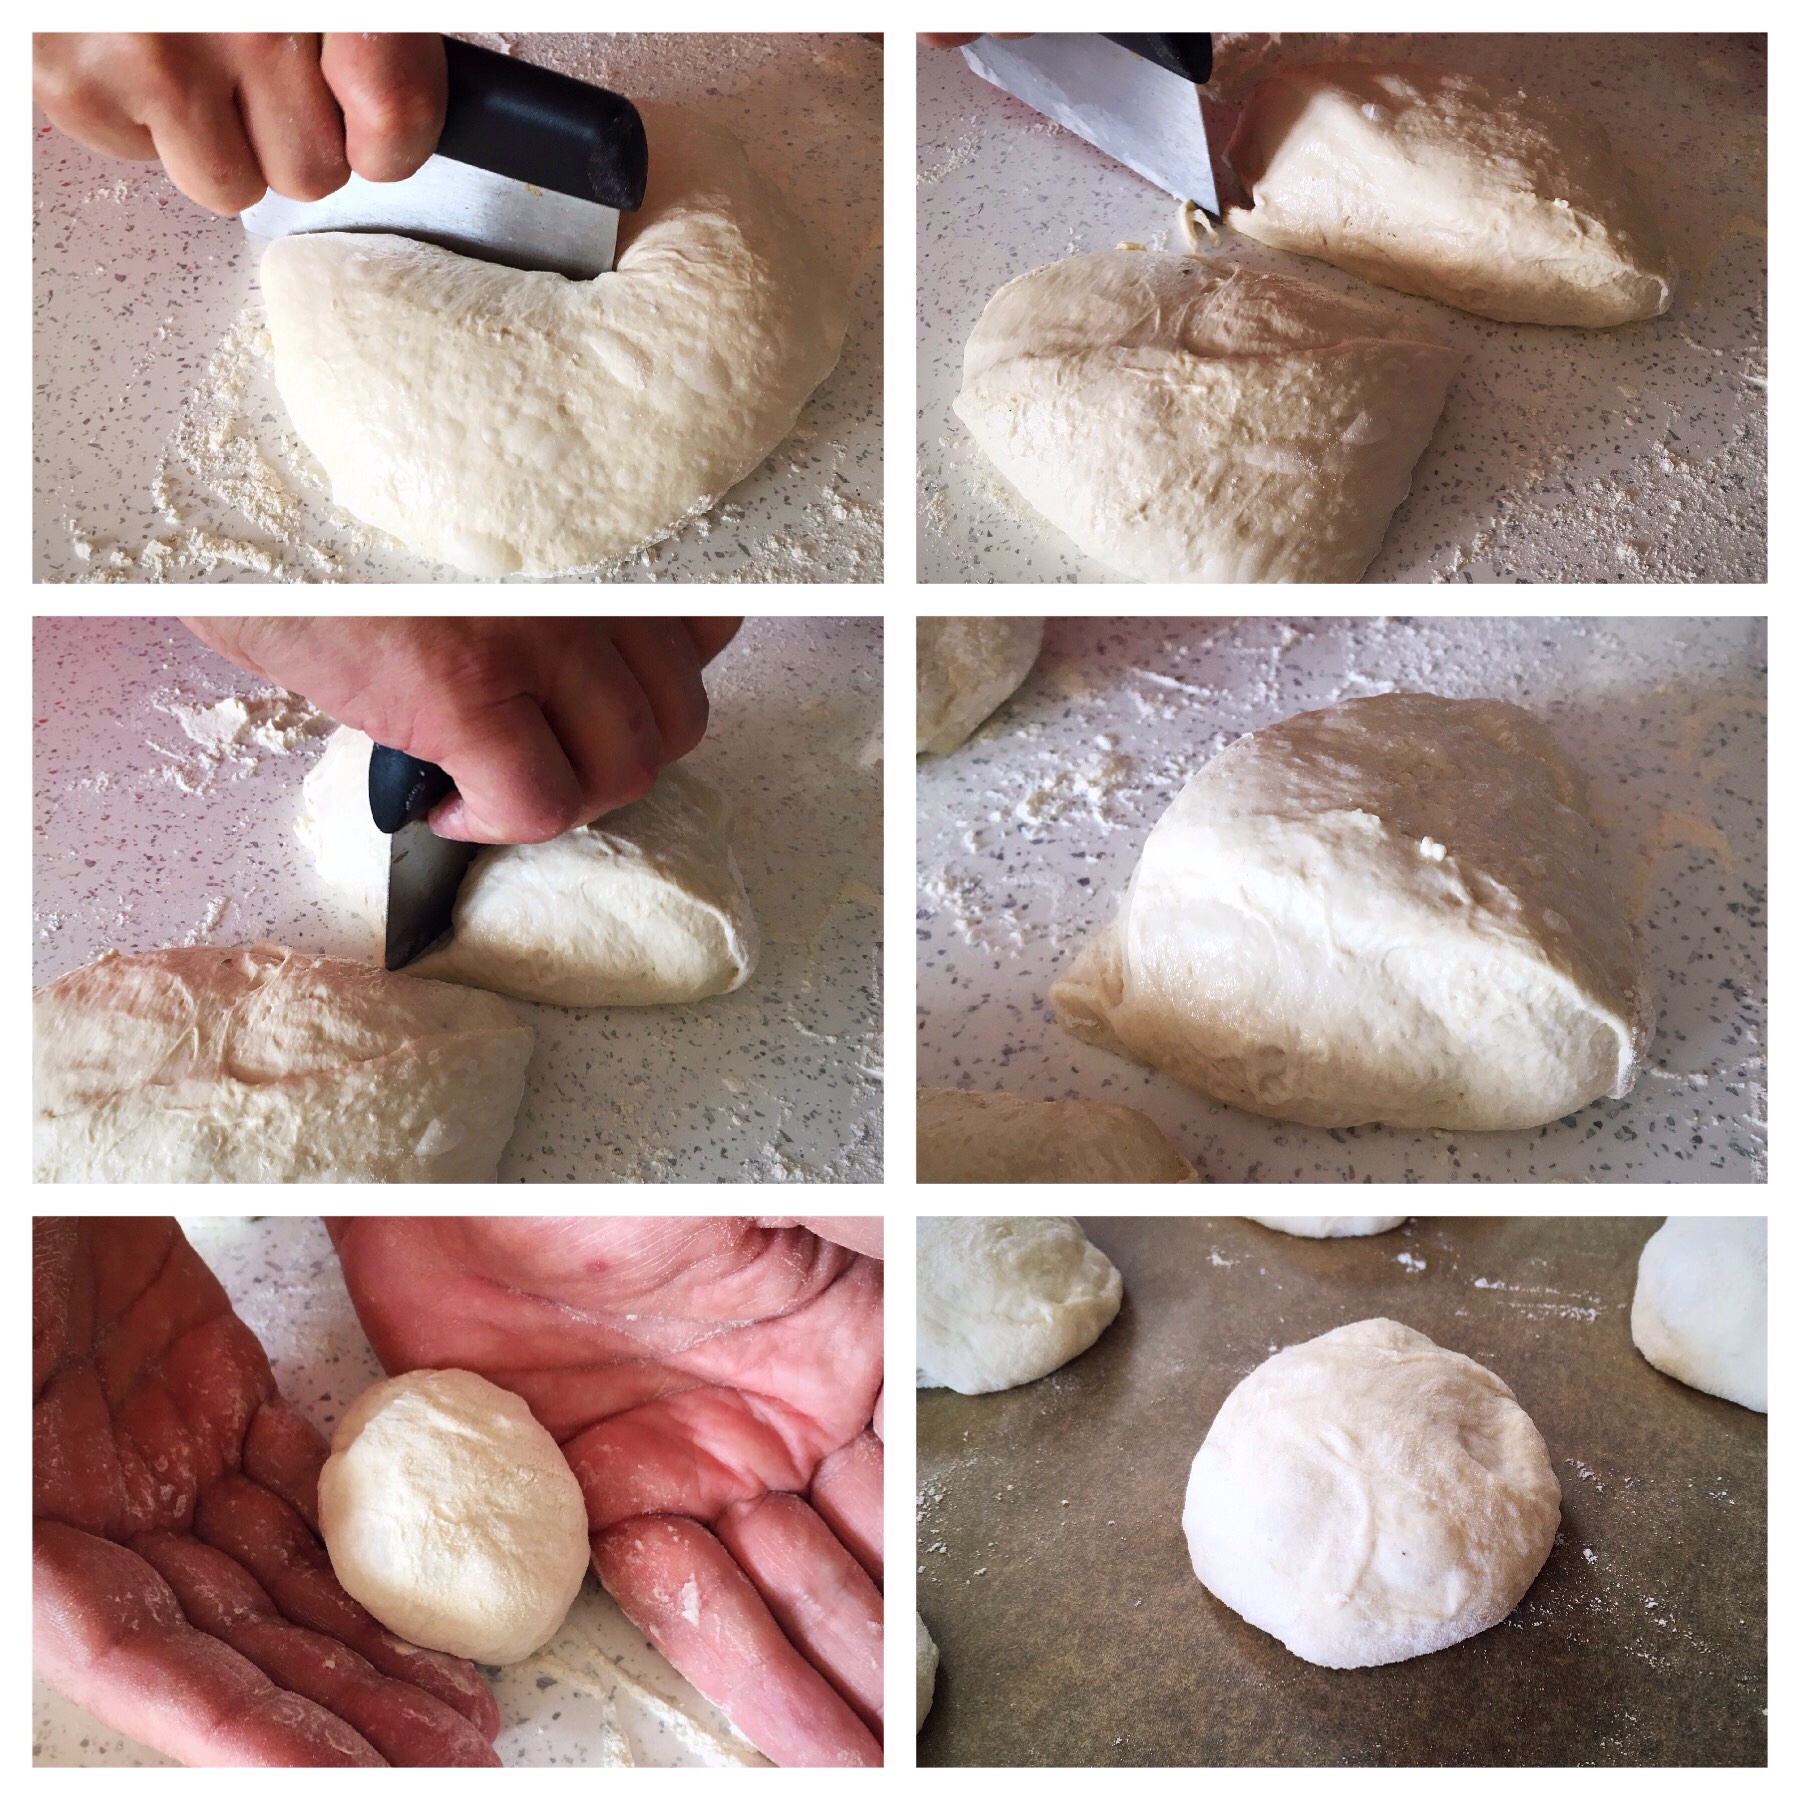 These pieces were rolled gently into rounds with the sides of our hands – very gently, the dough was very light and airy, and we wanted to preserve the bubbles – and placed onto a baking tray lined with parchment paper.