A review of my ‘perfecting your sourdough’ course..

A group of people standing in front of some food.

I thought that I ought to write a review of the sourdough course that I did recently with Elaine Foodbod, at her home in Milton Keynes.

To put this into context I trained as a chef and have spent 40 years catering, and cooking for the military as well as various members of the Royal Family, as a Private soldier right through to Lt Colonel, but whilst that gives me a head start perhaps, as most of us know, sourdough pretty much breaks every rule I’ve ever known when it comes to yeasted products. Few other doughs are as ‘wet’ as sourdough, most other doughs require warmth for proving, none that I can think of would you cold prove, nor bake in a cold oven, put in a freezer for 45 mins before baking and most require some sort of vigorous kneading, not the gentle stretch and fold associated with sourdough.

Having said that, the day (really just 4-5 hours) was invaluable to me as a learning experience. Up to that point my home starter Herbert had made 20 or 30 loaves with each being a slight improvement on the ones before but I just couldn’t achieve the ‘open structure’ that is associated with sourdough breads. It wasn’t until I’d experienced handling a starter of Elaine’s that felt and looked so different to mine, and a dough that also handled different to mine which Elaine had prepared earlier, (which I was to make myself during the day) was I able to see where my errors were. It really did make so much difference being able to handle it all ‘in the flesh’ as it were. So, an absolute positive for me and that’s before I talk about Elaine herself, her instruction and her hospitality!

Elaine is clearly passionate about what she does, she does all in her power to make you feel at ease and comfortable and most importantly of all allows things to progress on the course at your pace, making sure that at each stage of the process you understand what you’re doing and why you are doing it! I couldn’t recommend Elaine’s course highly enough and I look forward to sometime in the future working with her again.

A counter with some food and a scale
A man in white shirt preparing food on top of counter.
A man in the kitchen holding something
A man in white shirt holding bowl of food.

Andy Main

Testimonial for my introduction to sourdough course…

The sourdough workshop with Elaine is incredible!

This wasn’t just a baking class and Elaine didn’t just teach how to make great sourdough bread.  No, what I got was so much more!  I got a reminder to simplify life, to enjoy the process and not be scared when things get sticky. Elaine explained every step of the sourdough process with great flow and ease, she didn’t over complicate things and related them in a manner that was easy to understand.

The whole day was a fun and joyful experience from the minute we arrived. We went from talking about bread, Harry Potter and Game of Thrones to life, values, competitions and personal development with a beautiful home cooked healthy meal to finish it all off. I didn’t really know what to expect before attending except that I would make sourdough bread but I came away with so much more.

Thank you Elaine, let me know when the cooking workshops are available and I’ll be back.

Definitely book now if you’re on the edge, you don’t want to miss this gem of a workshop.

Nisha Kaunda

Leadership Coach and Trainer

Sourdough rolls…

A basket of biscuits on top of a red and white star paper.

These rolls were made using my master recipe, link to the left, using Shipton Mill finest bakery no.1 white bread flour, but I also think that their Canadian bread flour would work well as it creates a slightly firmer dough in my experience. I also think they’d be lovely with various mixes of flour..

This week my lovely baking friend Steve and I made sourdough rolls together; I followed my master recipe exactly as it is, then after the overnight prove I pulled the dough together gently, placed it onto a floured surface then we cut it into 16 equal portions..as modelled by my lovely helper…

A collage of photos showing how to make bread.These pieces were rolled gently into rounds with the sides of our hands – very gently, the dough was very light and airy, and we wanted to preserve the bubbles – and placed onto a baking tray lined with parchment paper.

We then left them to sit for 10-15 minutes whilst preheating the oven to 200C fan (220C convection)

As they sat they did spread a little, and grow a little, which is good as it shows that the starter is still active.

They were too soft to score so I snipped crossed in the tops with scissors..

A close up of some dough on the pan

We baked them for about 18 minutes, turning the tray around half way through so ensure an even colour across the top.

As they baked we watched them grow beautifully, up into lovely balls.

They came out lovely and crusty on the outside and soft and holey in the middle.

A close up of some food on a red and white paper

We forced ourselves to let them cool once baked whilst we made some spiced root vegetable soup (I topped my soup with my homemade homous, whilst Steve lashed piles of my homemade harissa on his) to enjoy them with…and it was worth the wait, they were so good!

A bowl of hummus and bread on the table.

We cut the dough into 16 pieces and made smaller rolls; if you want to make bigger versions, you may need to bake them for a bit longer.

Happy baking!

An update: I made rolls again (below) and these were much bigger, I split the dough into 8 this time and I baked them for about 20 mins until slightly browned on the top…

A plate with two different types of bread on it.A close up of some bread on the tableA close up of some bread with holes in them

So good!!!

Another update: I baked these rolls from cold; I put the tray in the fridge for 1-2 hours after shaping them, then baked them from a cold start…

A bunch of cookies are on the tableA bunch of bread rolls are sitting on the tableA plate of sesame seed rolls with dipping sauce.

Once I put the tray into the oven, I turned the oven on and up to 200C fan assisted, and left them for 25 mins total. Perfectly baked!

Cold oven baking…

A loaf of bread in a bowl on the table.

Every loaf shown in this post has been baked in an oven that started cold.

Everything we read and are told is that the dough should go into a preheated oven, but these loaves belie that fact…it was news to me too!

It started with this loaf baked in a clay pot…

I knew that to use the pot I either needed to soak it before use, or put it cold into a cold oven to reduce the risk of it cracking. And so I did. And I held my breath, and it worked! The loaf above proves it.

So if it worked with a clay pot, surely it would work with my enamel roasters, that was my next test. And I’m here to tell you that it does, it works perfectly, as the loaf below shows too…the crust is crisp, the crumb is even, and the cost is less!

If your question is ‘surely I need to preheat the oven to get maximum oven spring?’ Then hopefully my loaves are showing that you don’t. The oven spring comes from a strong starter, good flour and good dough.

If you’re thinking ‘won’t the dough spread whilst the oven is heating up?’ Just make sure that you prove it in the fridge for a few hours to firm up the dough. And yes, it may spread initially, but then it will rise as it bakes, as my photos show.

If you’re thinking ‘that won’t work in my cast iron Dutch oven’, I can tell you that it will. I don’t have a DO but many of the people in my Facebook group and on Instagram do and they’ve tried it, and it works.

A slice from a cold baked loaf

So, this is the process I’ve been using: I’ve followed my master recipe, link to the left, done the final prove in the fridge for several hours, then:

put the dough into the cold baking vessel and score;

put the pot with the dough in into the cold oven;

turn the oven on, turn the heat up to 220C/425F fan/convection or 230C/450F non fan/convention.

Total time in the oven 55-60 mins.

Lid on the entire time.

For me that saves 20 mins of time for the oven to heat up, for others it may be longer.

So, who’s up for the cold baking challenge?

A close up of slices of bread on a cutting board

My sourdough buttermilk scones/biscuits…

A plate of food that is on the table.

I devised this recipe especially for my courses, it’s a great way to use sourdough starter in a different way, it’s fast and it tasty!!!!

These are based on American ‘biscuits’, which in the UK we would call savoury scones. In my recipe there is no butter; the butter is replaced with bubbly sourdough starter, this gives them a great sourdough flavour as well as a chewier texture than usual.

They’re great plain, and even better with added cheese, or like those above, a concoction such as cheese and za’atar…the possibilities are endless!!!

A person holding a bite of food in front of some other food.

Ingredients

350g plain/cake flour

85g bubbly active starter (my starter is 100% hydration i.e. I feed it with equal weights of flour and water; for more details about my starter management, visit the relevant pages on the site, links to the left)

284ml tub of buttermilk or 300g in weight

1tsp bicarbonate of soda

Pinch of salt

Optional additions: cheese, herbs, spices, nuts, seeds…

A close up of some food on a plate

A close up of some biscuits on a rack

Method

Loosely mix all of the main ingredients together. This mixture does not benefit from being overworked so resist the temptation to handle it too much. It does not need to be kneaded, just brought together like you would with pastry.

Preheat the oven to 200C fan/convection, 220C non fan/non convection.

Turn the mix out onto a floured surface, spread and push the dough with your hands to flatten it out to a 2cm thick layer.

Line a large baking tray with parchment paper.

Use a 5 or 6cm cookie cutter to cut out the scones. Push the cutter directly downwards and remove directly upwards, do not twist it to cut the dough otherwise you will lose the edging and the rise.

Place them evenly on the baking tray. They can be close together as they don’t spread outwards very much.

Bake for 16-18 minutes until nicely browned.

Remove and place the scones on a rack to cool – resist eating immediately and burning your mouth!

A close up of some biscuits in a basketA plate of food that is on the table.

A course review…

My personal introduction to baking Sourdough bread – Knowledgeable, Enthusiastic and Great Fun.

I’ve been a lover of sourdough bread for a while now but the demise of local bakers restricted me to supermarkets. I’ve tried them all with Waitrose being by far the best. But is it real sourdough? I cook a lot at home and bake bread from tv recipes. But none of them really seem to deliver real sourdough bread. So what’s the answer? A sourdough baking course, of course. Hmmmmm.

Encouraged by my wife who had spotted Elaine on social media, I decided to take the plunge so I booked and went along to Elaine’s course feeling, strange for a retired man, very nervous. Possibly remembering many of the interminably boring management courses I have been forced to attend over the years.

The course was a good half day’s introduction to baking sourdough bread. The great thing is that it was hands on or should that be hands in! Elaine turned out to be a great enthusiastic and patient teacher, putting me at my ease and explaining at a level of detail that was just right for me.  The constant supply of tea and sourdough goodies all adds to the experience. I thoroughly enjoyed the teaching, the baking and the chat. Informality was the key to the day and I went home with some superb self cooked sourdough bread and cheese scones plus course notes to help at home. Boring it was not.

Elaine clearly explains the methods and the equipment you will need to be a successful home baker. Watching and learning and doing it yourself and learning is key. Since the course, I’ve made my own starter and two loaves and things are looking good. I’ve encountered one or two problems or should that be memory lapses since the course but Elaine has been superb with her help, guidance and sympathy.

If you love sourdough and want to cook your own, I couldn’t recommend Elaine’s course more highly. Get motivated and try something refreshingly different.

Brian.

Spelt and white loaf…

A loaf of bread with some type of crust on it

Anyone who knows me from Instagram or my foodbod blog will know that I love grains. I literally love quinoa, spelt, kamut, bulgur wheat, any grain, on its own by the spoonful, or with endless accompaniments…

A bowl of food with spinach and an egg on top.

A recent dish including quinoa

Some of these grains also translate into lovely flours; I’m not a fan of quinoa flour, I find it bitter, but spelt flour and kamut flour are both lovely. They have a lovely nutty flavour to them. They do not translate into strong flours however, they need to be handled with care to bake bread with them.

You can bake 100% spelt flour loaves but my experience has been that they need to be baked in a tin to give them structure.

This loaf therefore is 50% strong white bread flour, 50% spelt flour to give the loaf strength from the bread flour. The spelt flour is very soft and light and the resulting dough is very soft, but still bubbles up beautifully. I used my master recipe in exactly the same way just with the 50:50 mix.

I shared a video on Instagram and Facebook today to show just how light and bubbling the dough was, below is a screenshot of the dough after its overnight proof, it was very light and needed gentle handling. The final proof in the fridge firmed it up sufficiently to be able to score the loaf and it rose beautifully as it baked.

A bowl of food on top of the table.

Form this, above…to this, below…

A round bread sitting in the middle of a bowl.

A loaf of bread with one bite taken out.

A loaf of bread in a bowl with some type of crust.

A loaf of bread with some cheese on top.

Happy Baking!

Sourdough breadsticks…

A plate of bread sticks and dipping sauce.

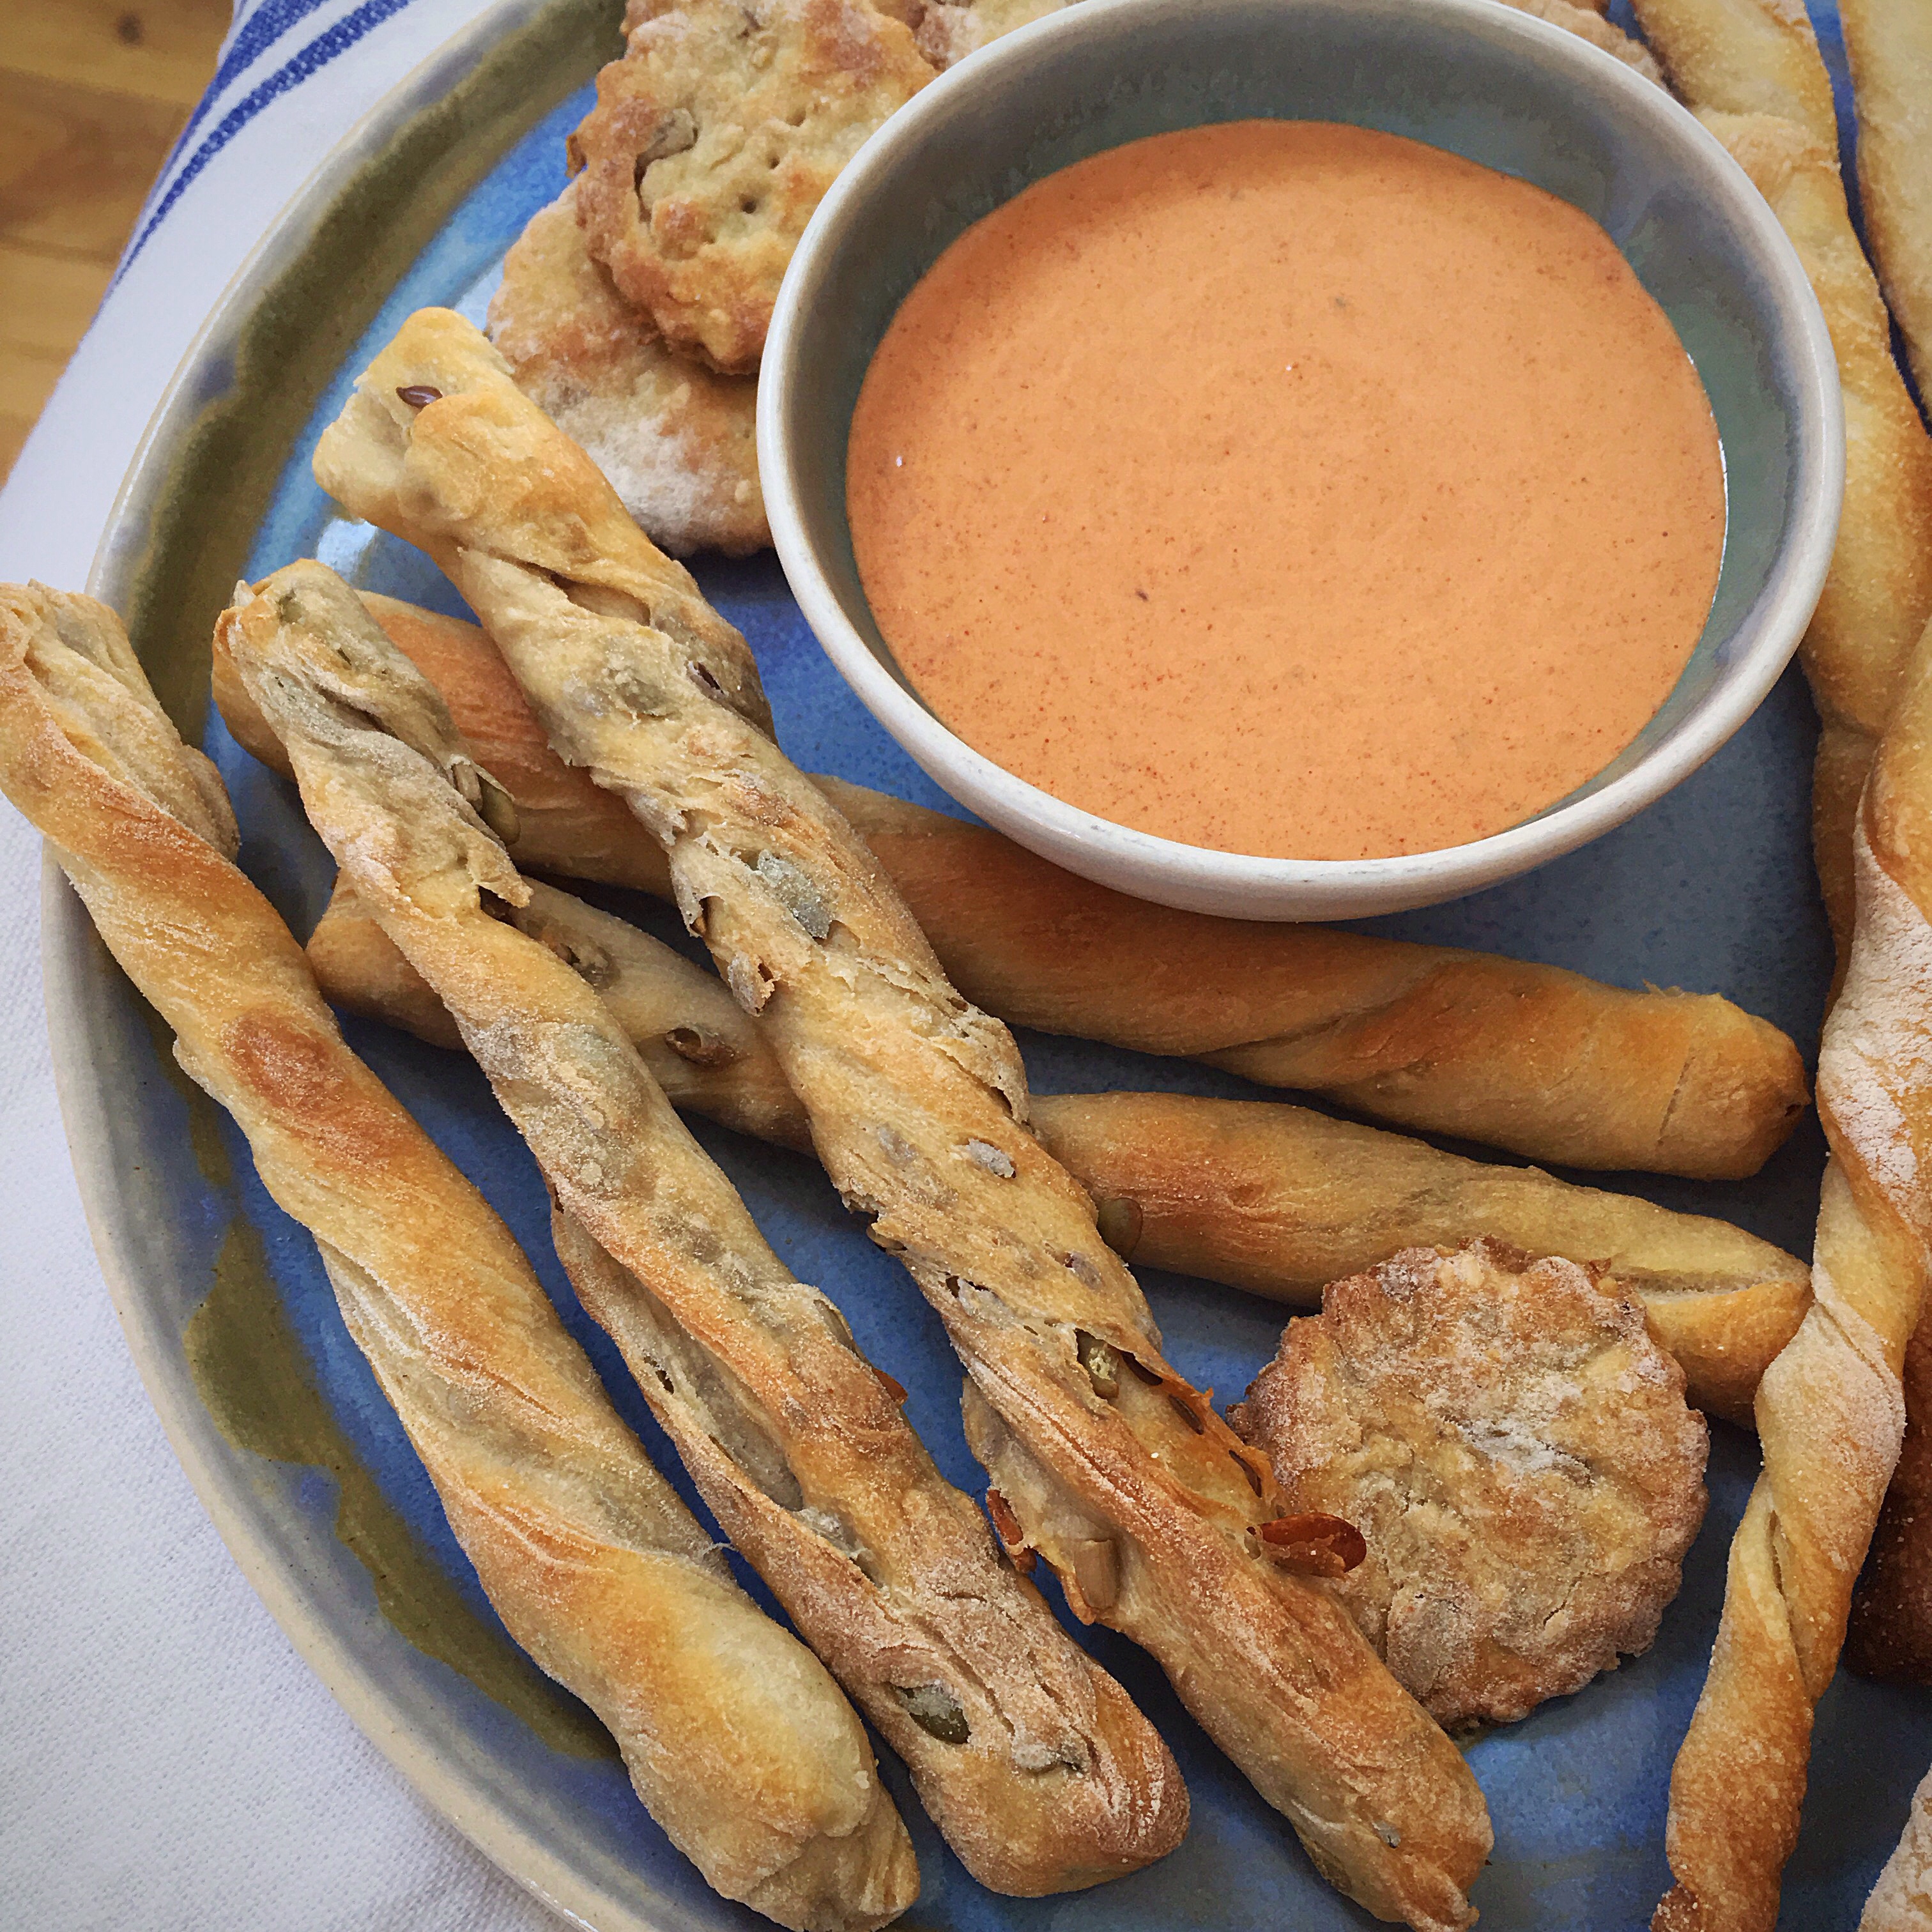
Following on from the sourdough crackers, this time I bring you the sourdough breadsticks..

A bunch of bread sticks are laying on the table

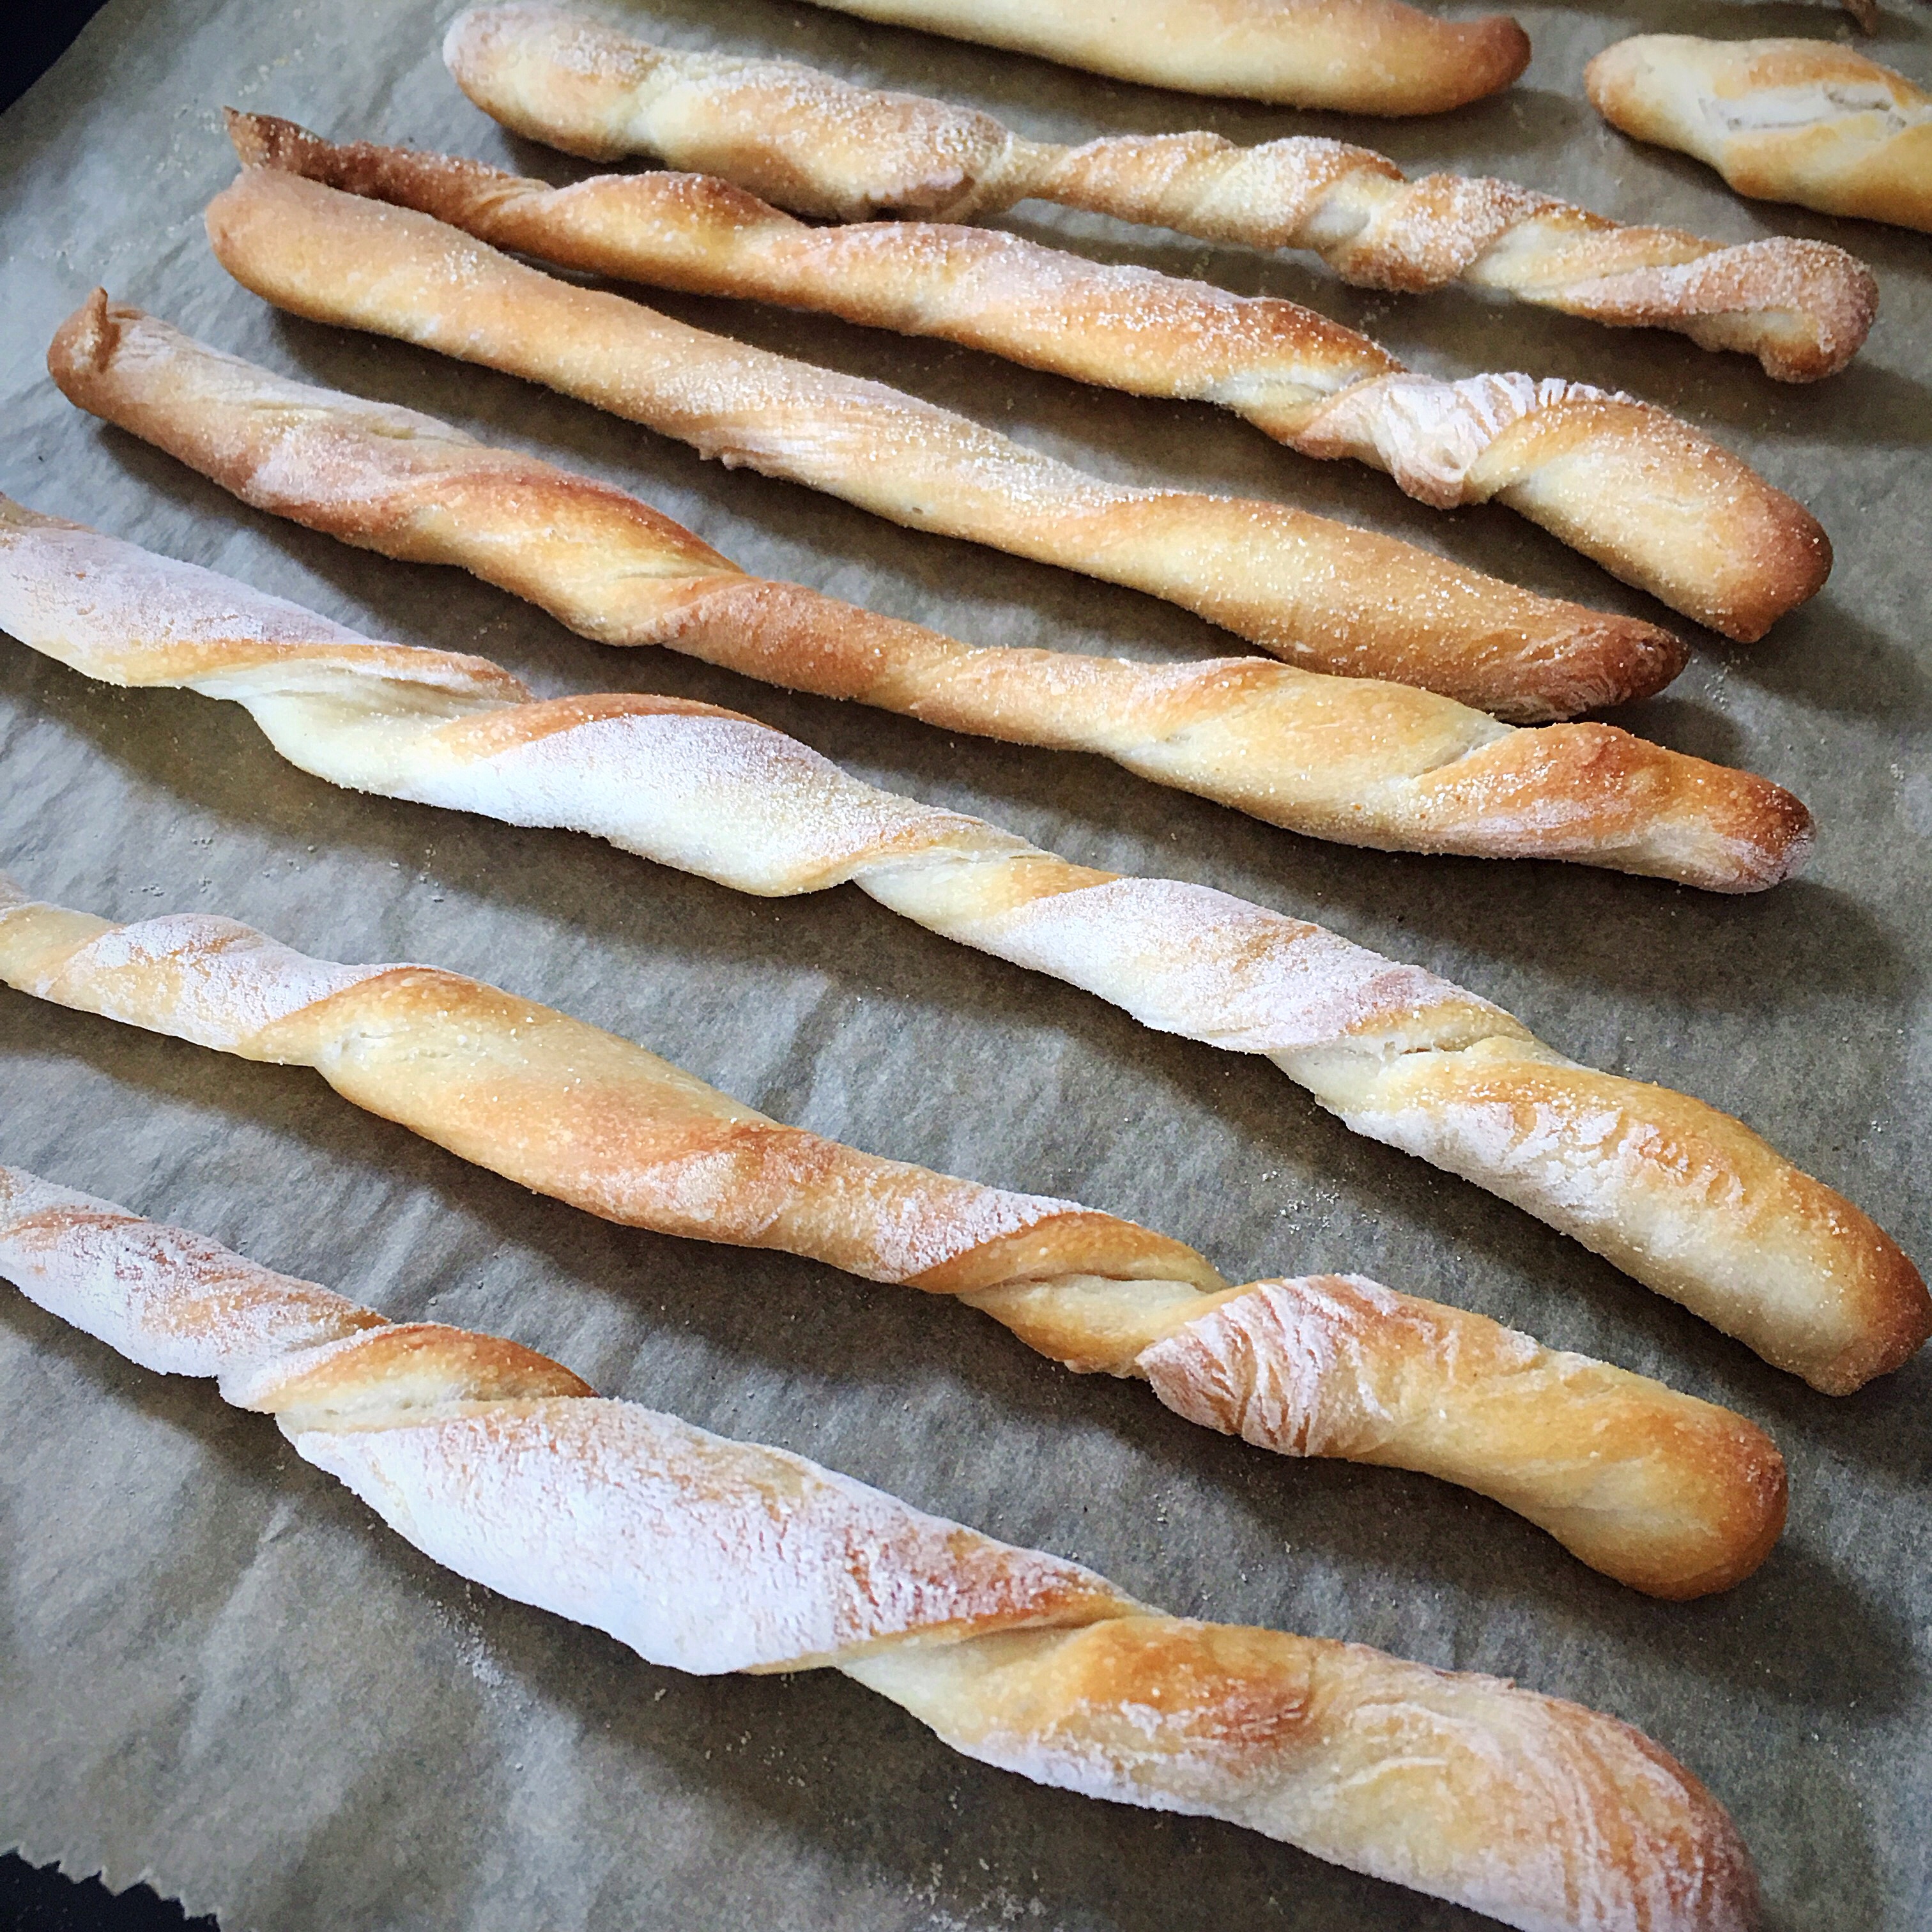
These also worked really nicely, and even 3 days on from baking, still retained their snap!

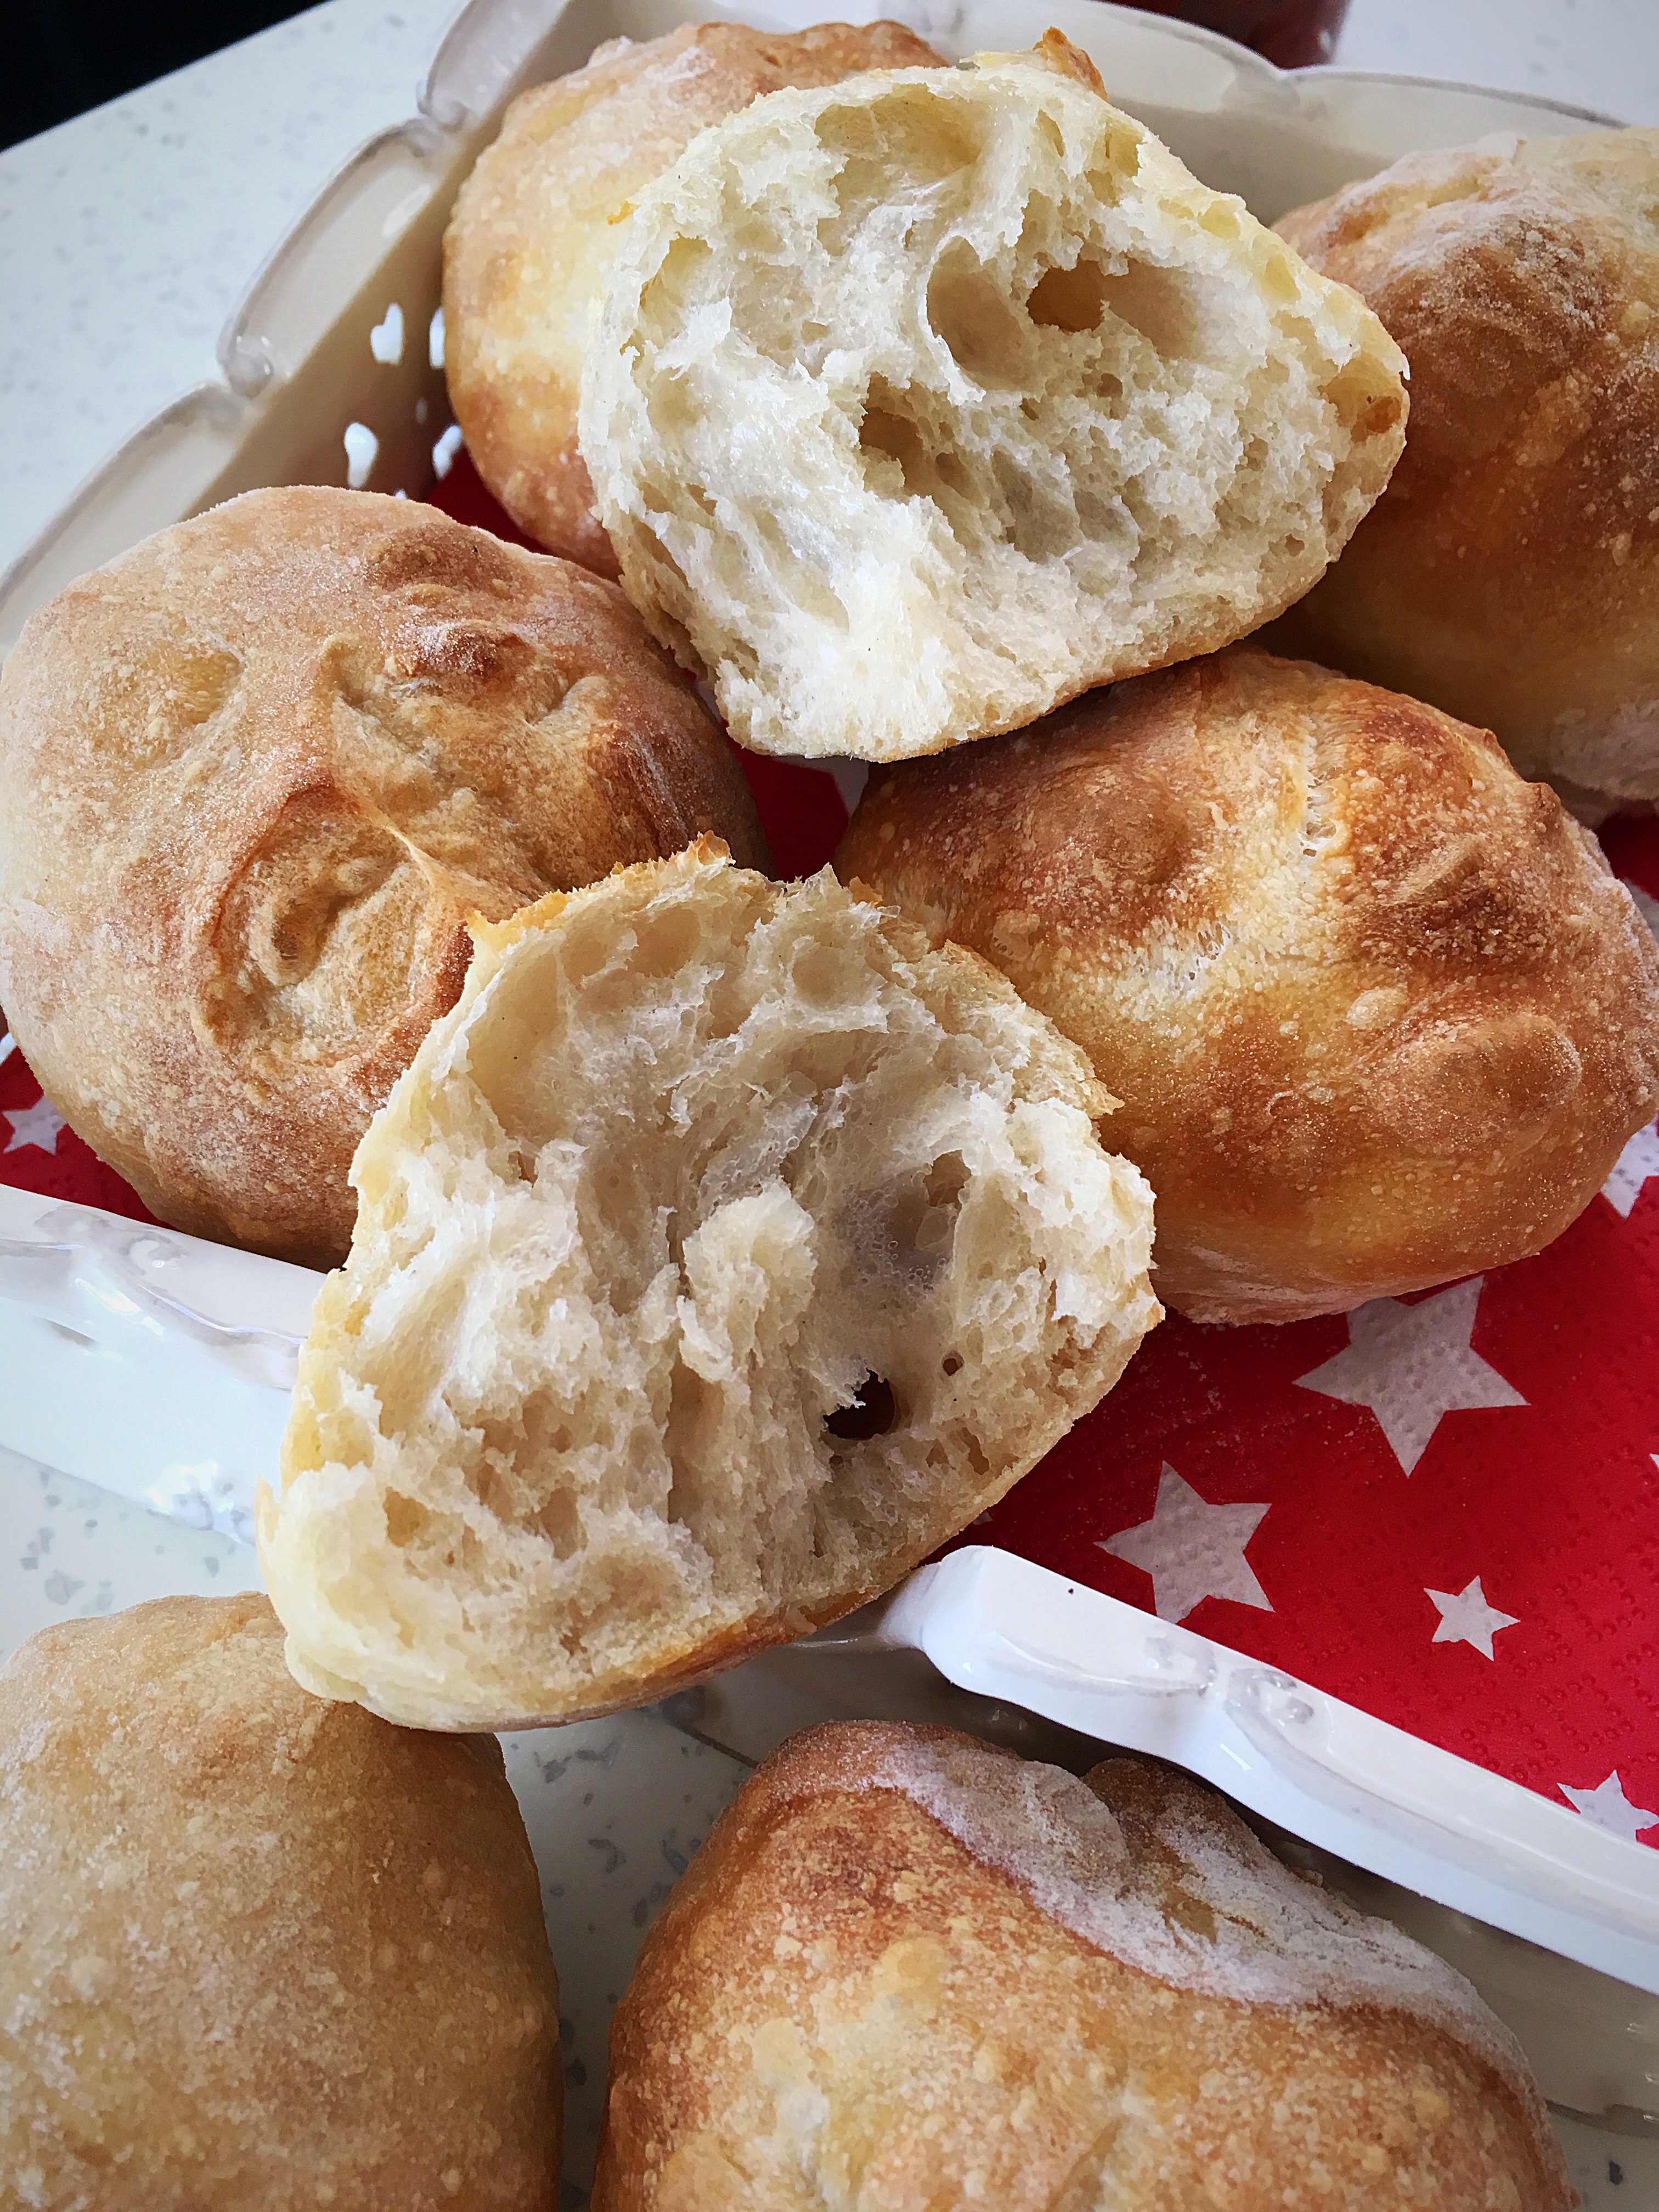
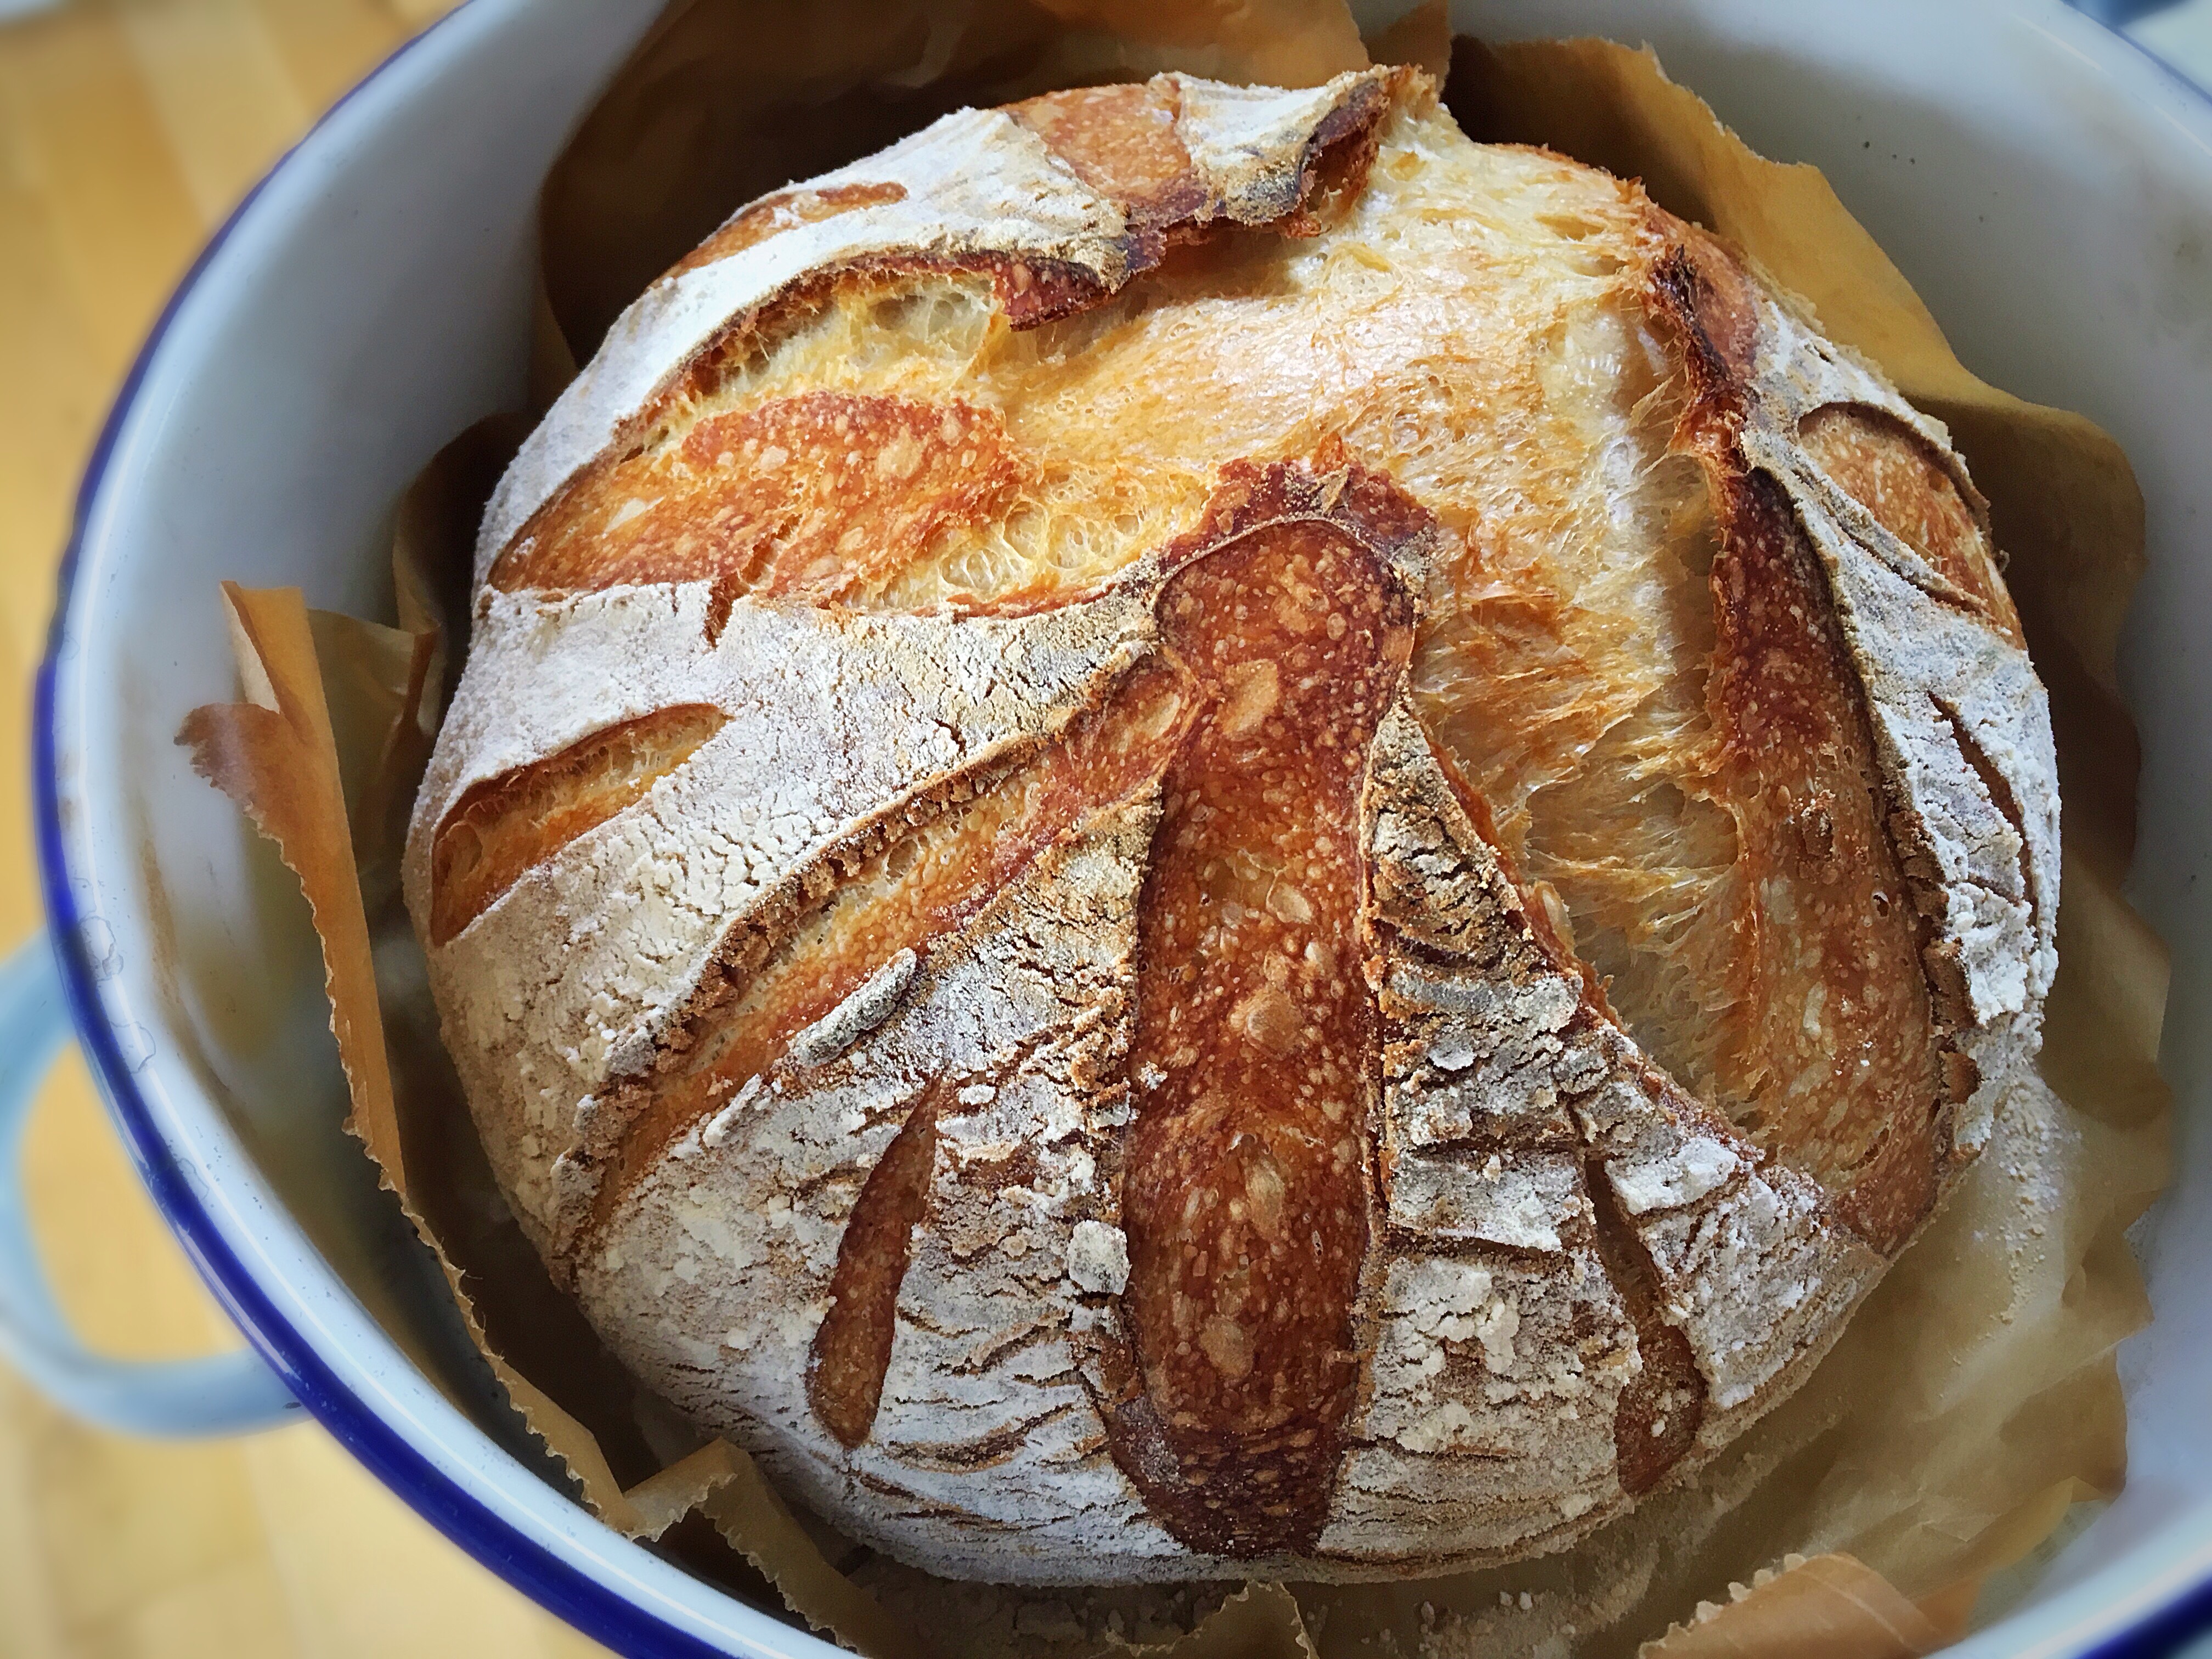
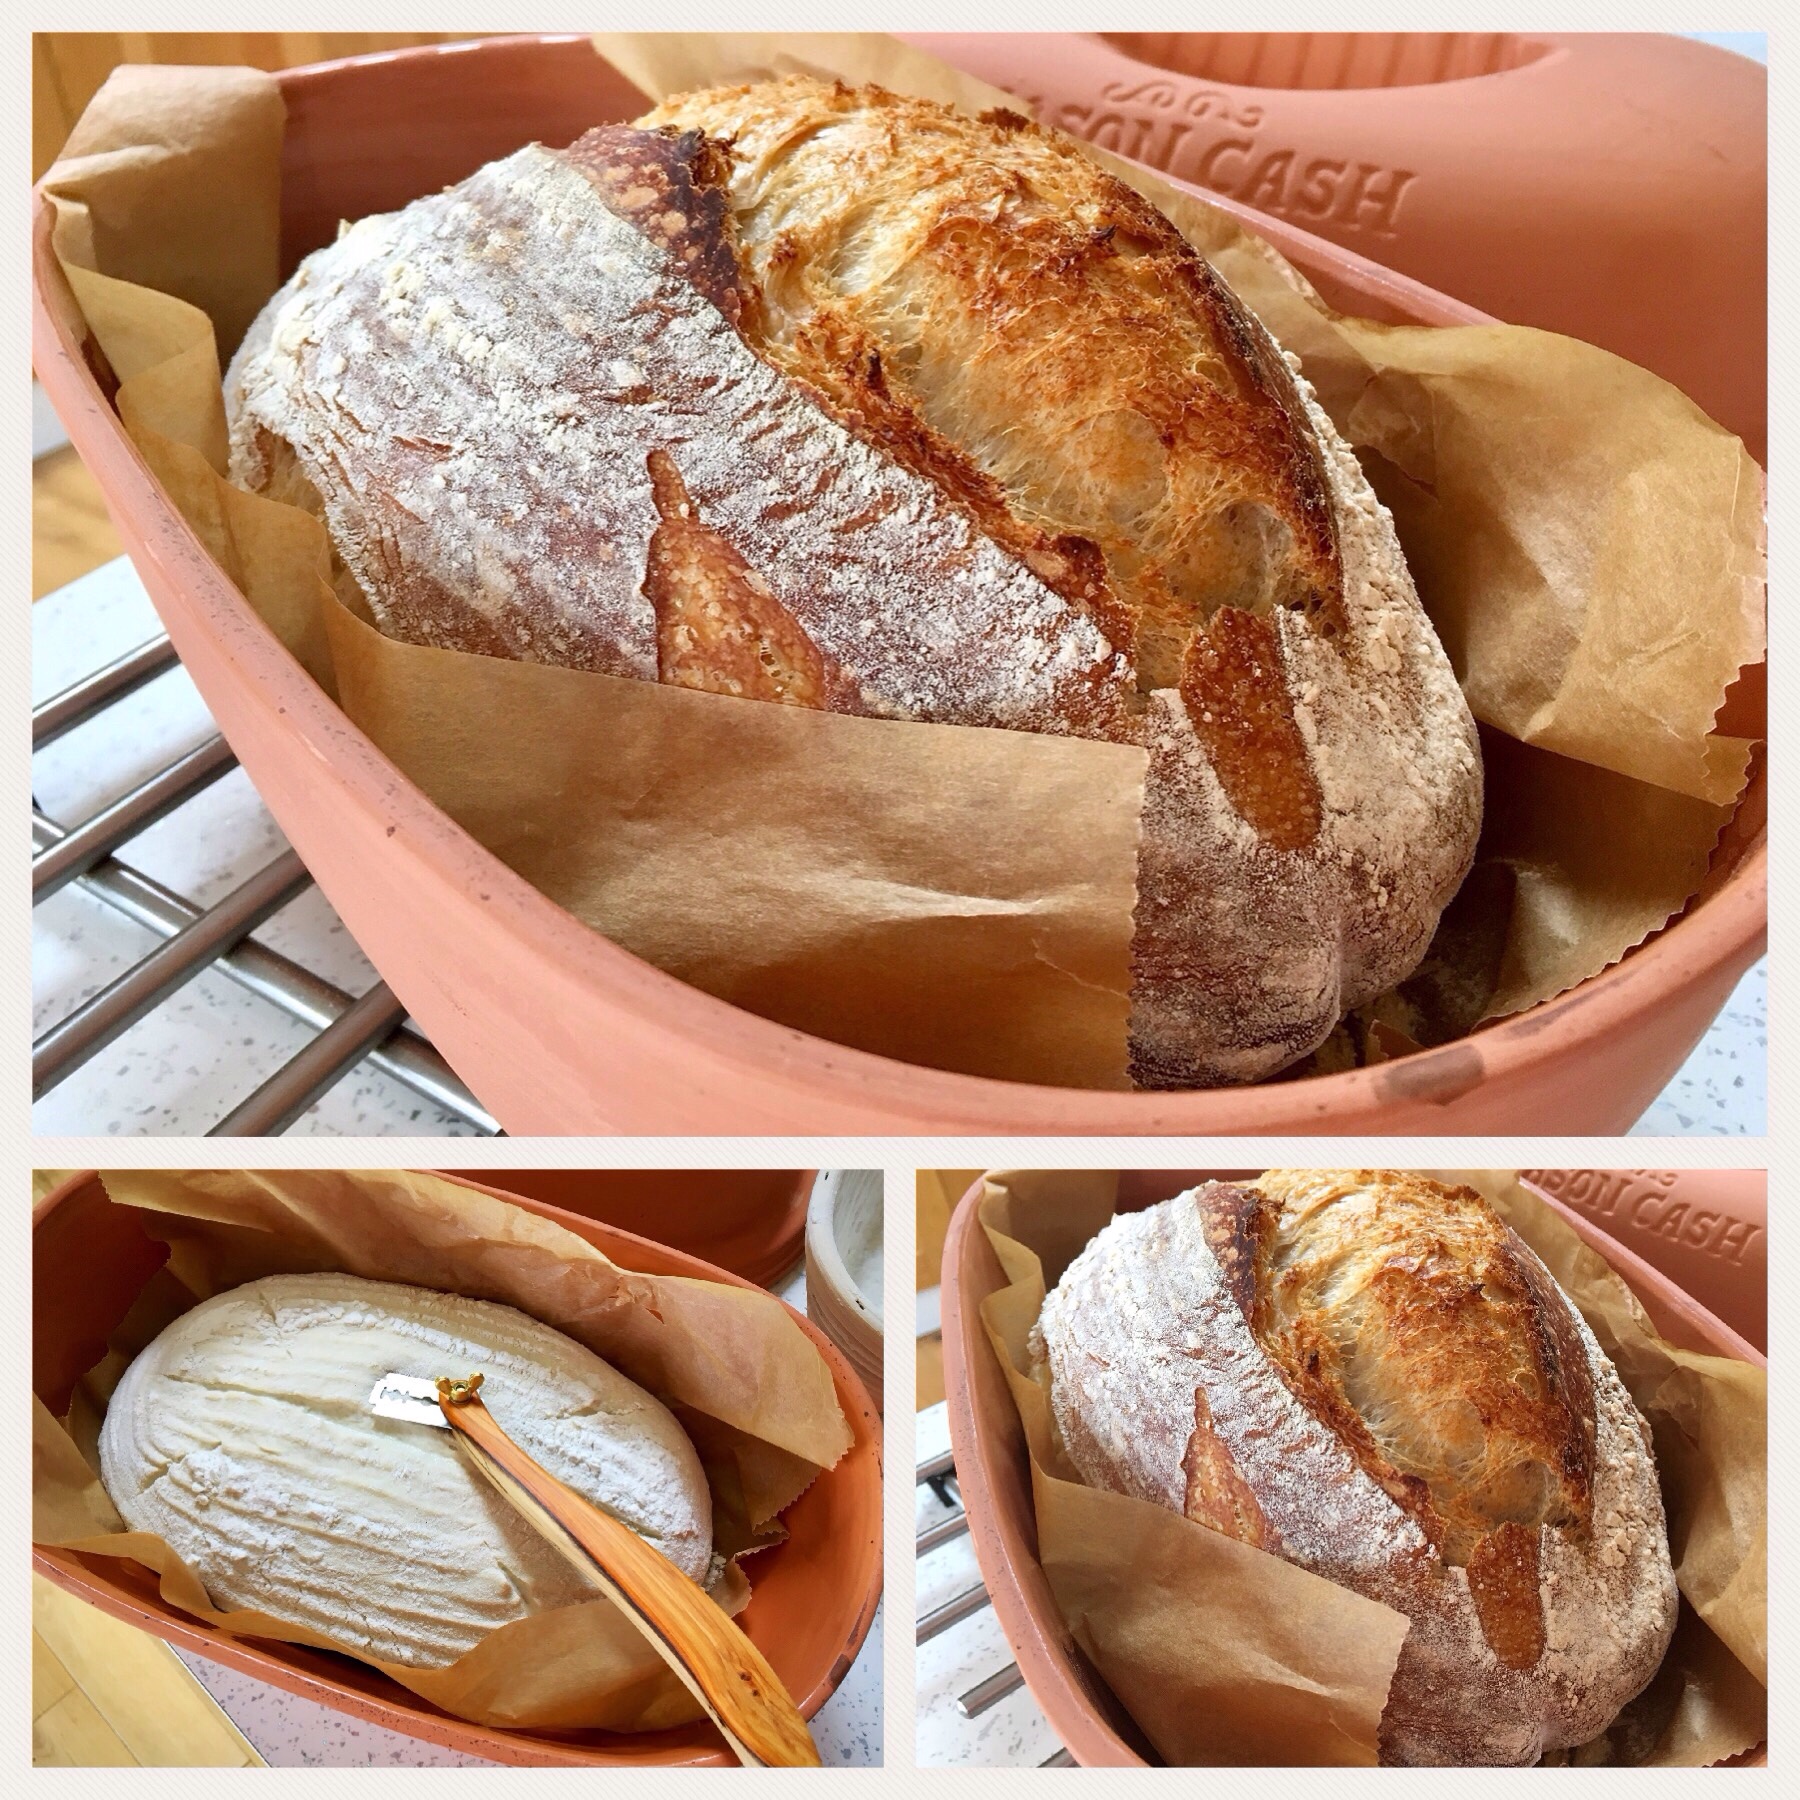
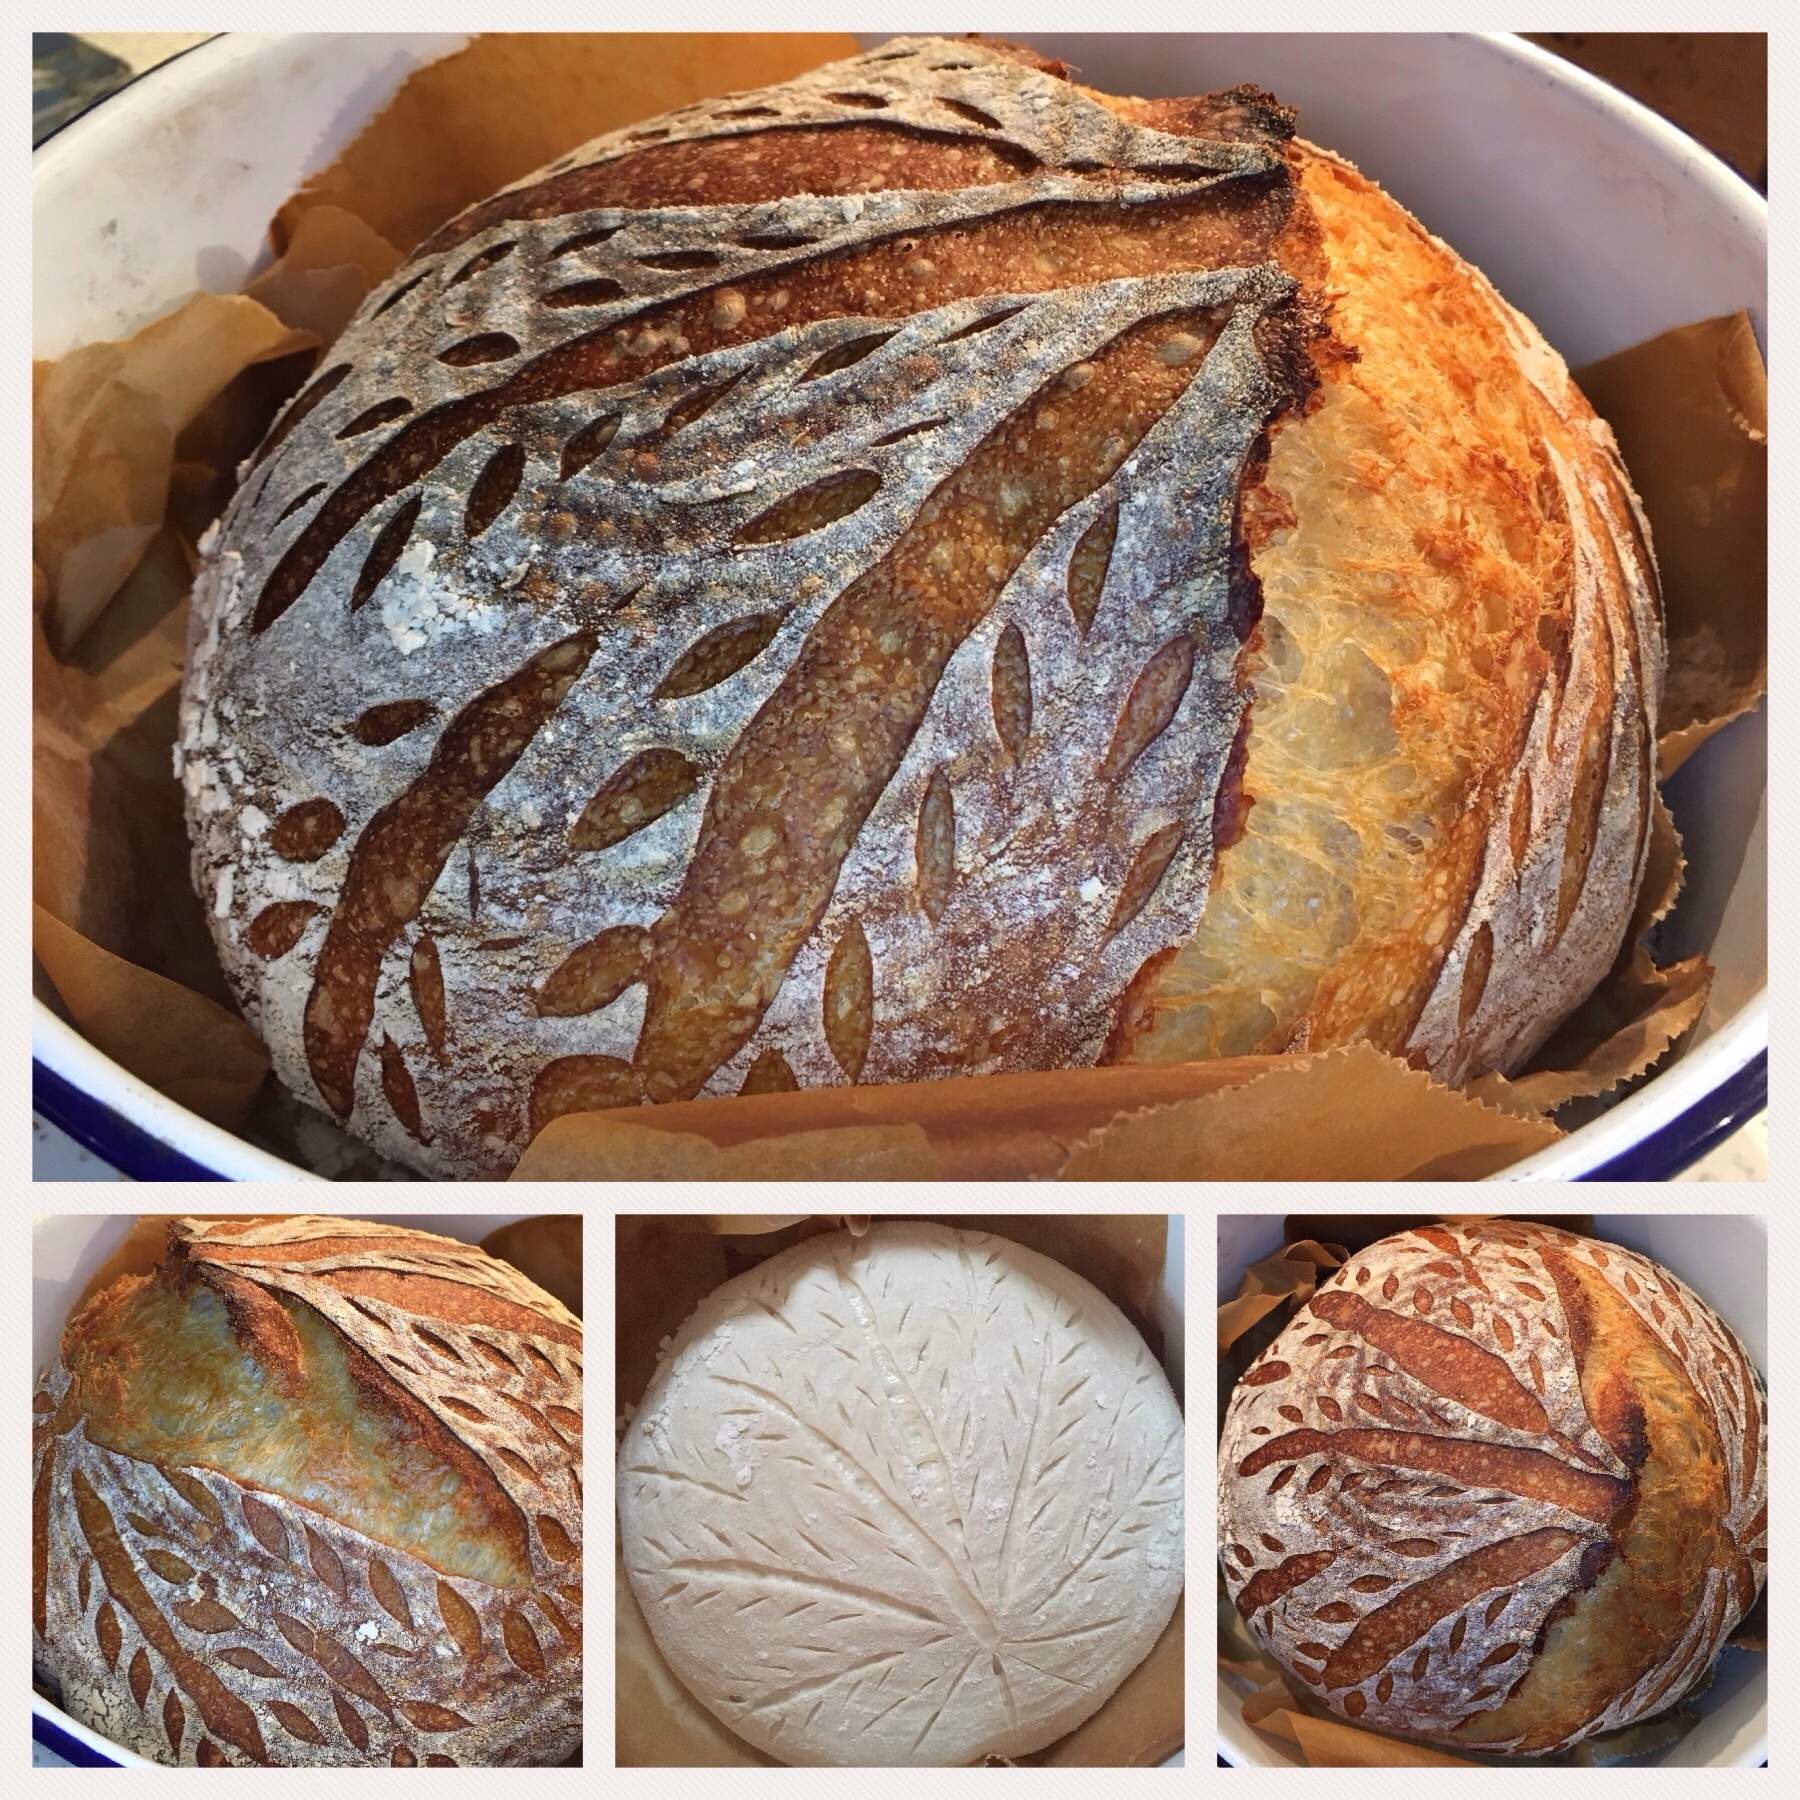
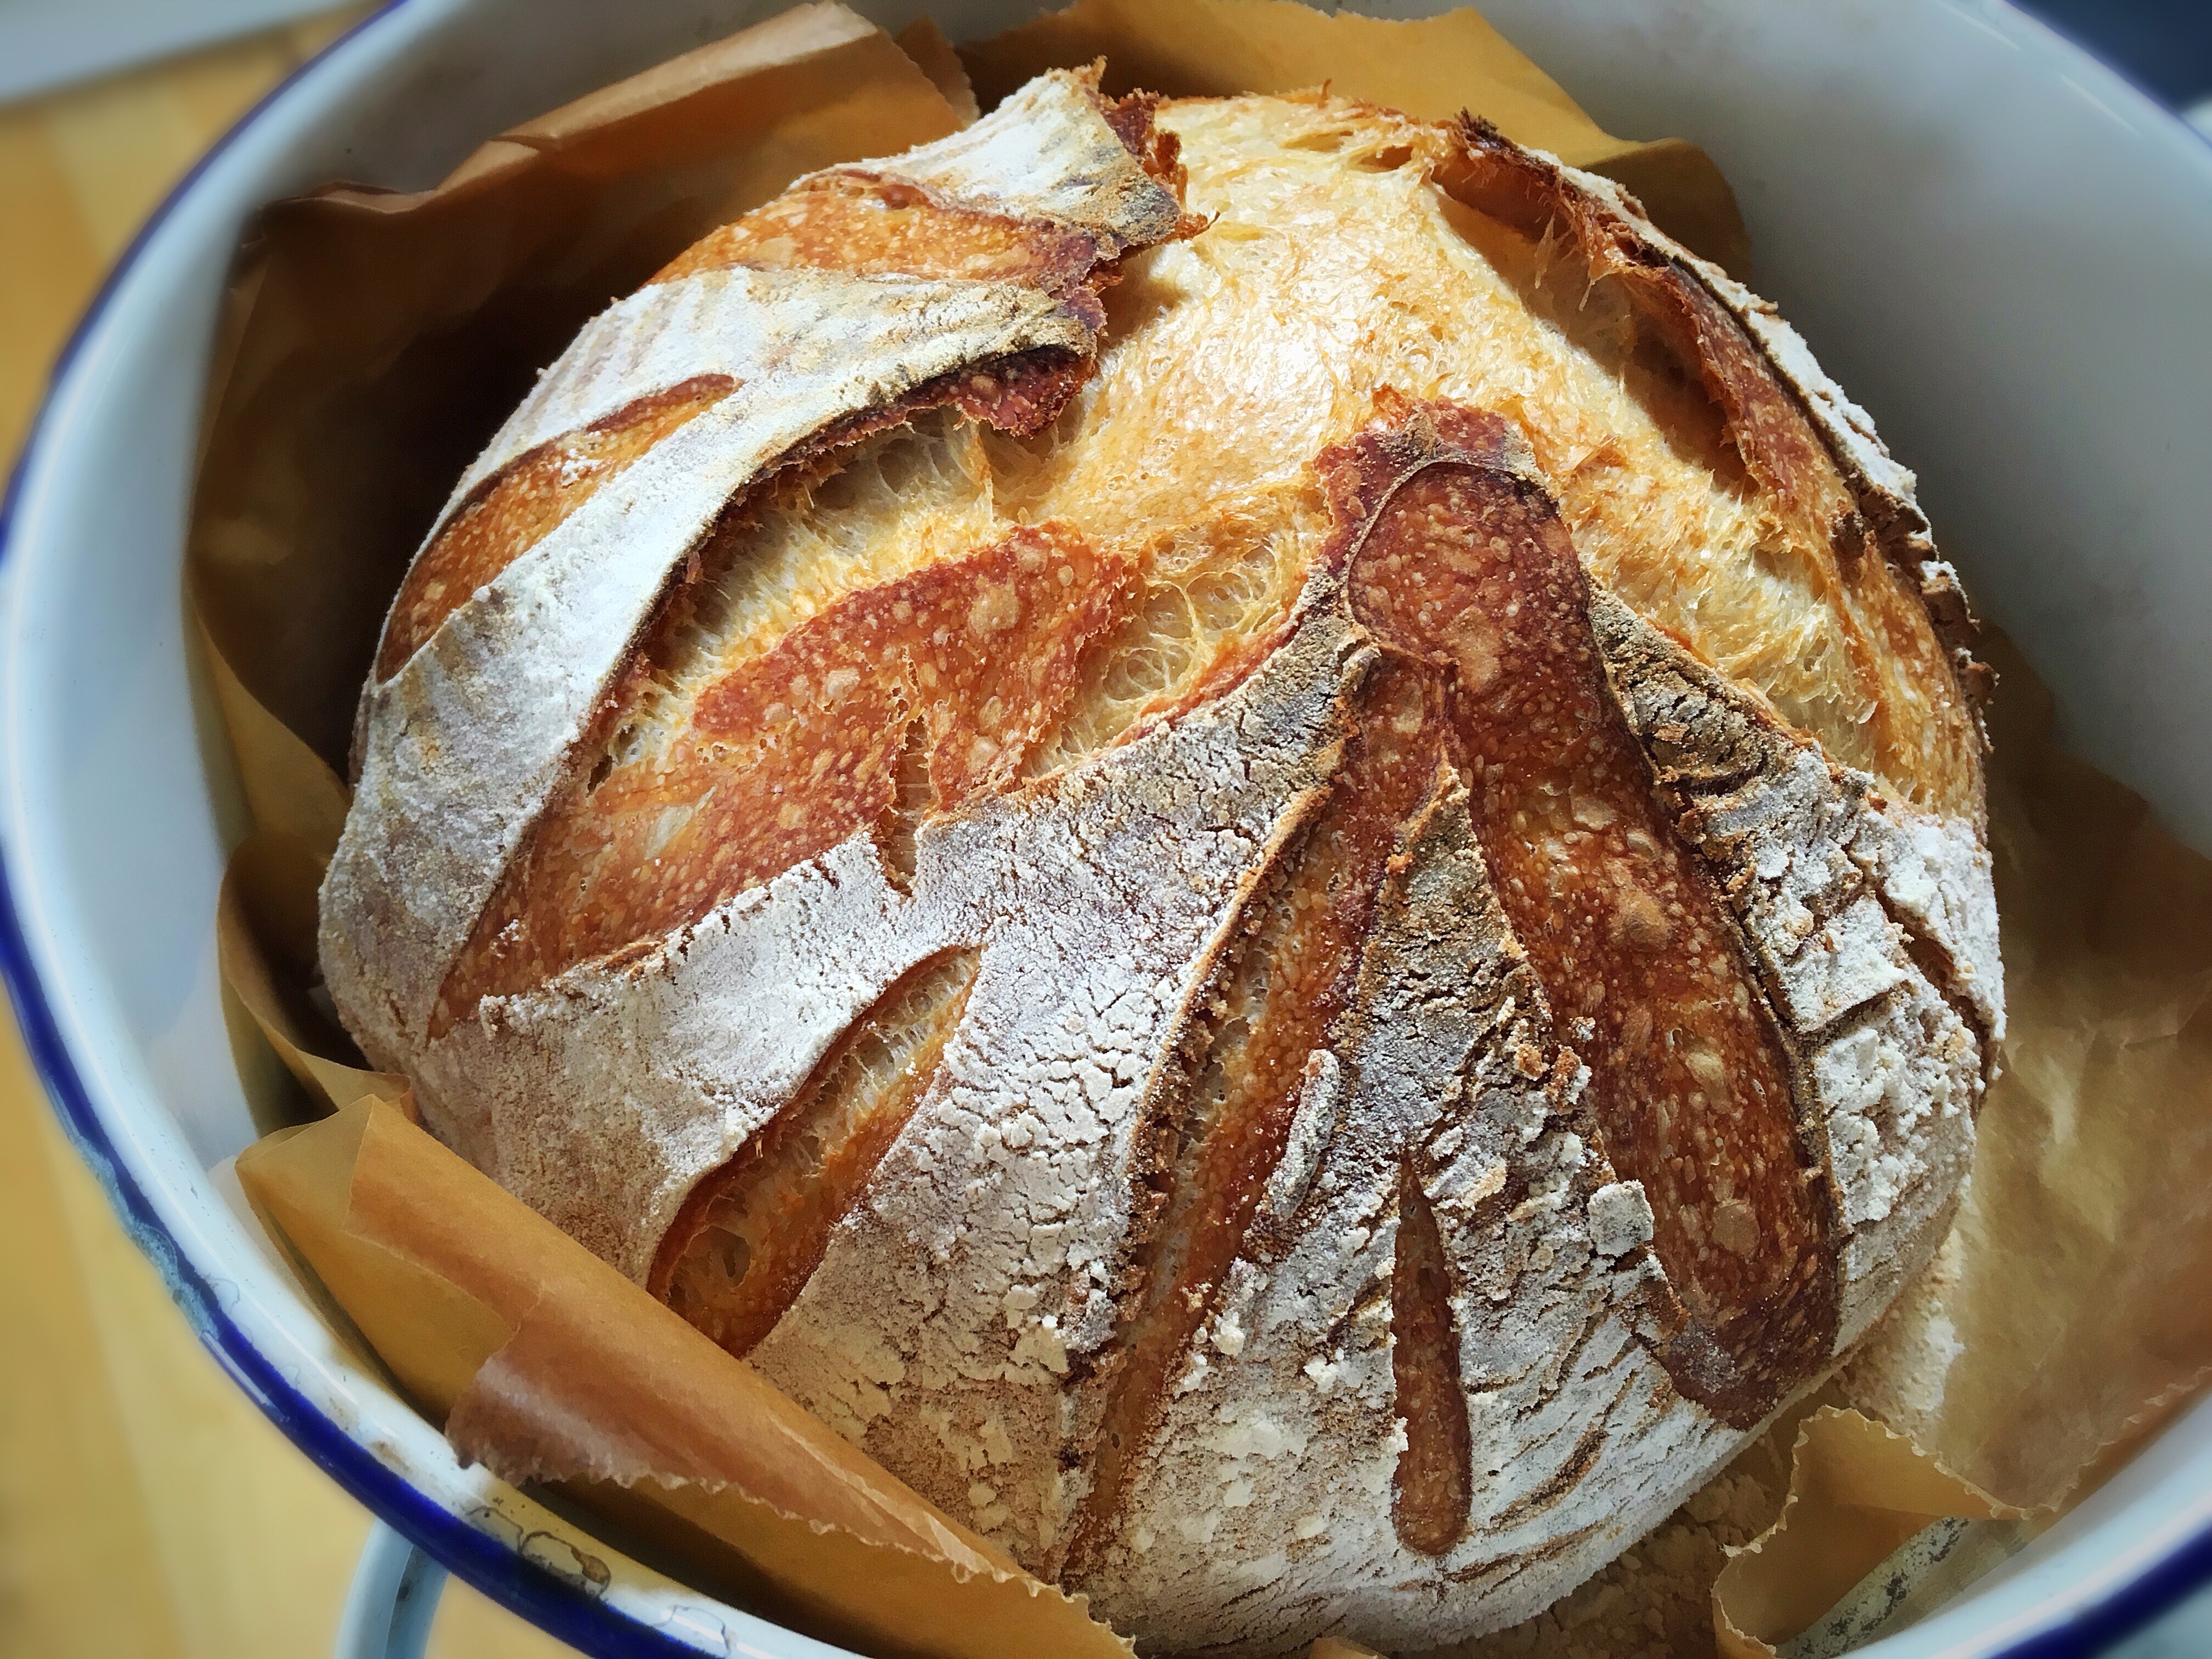
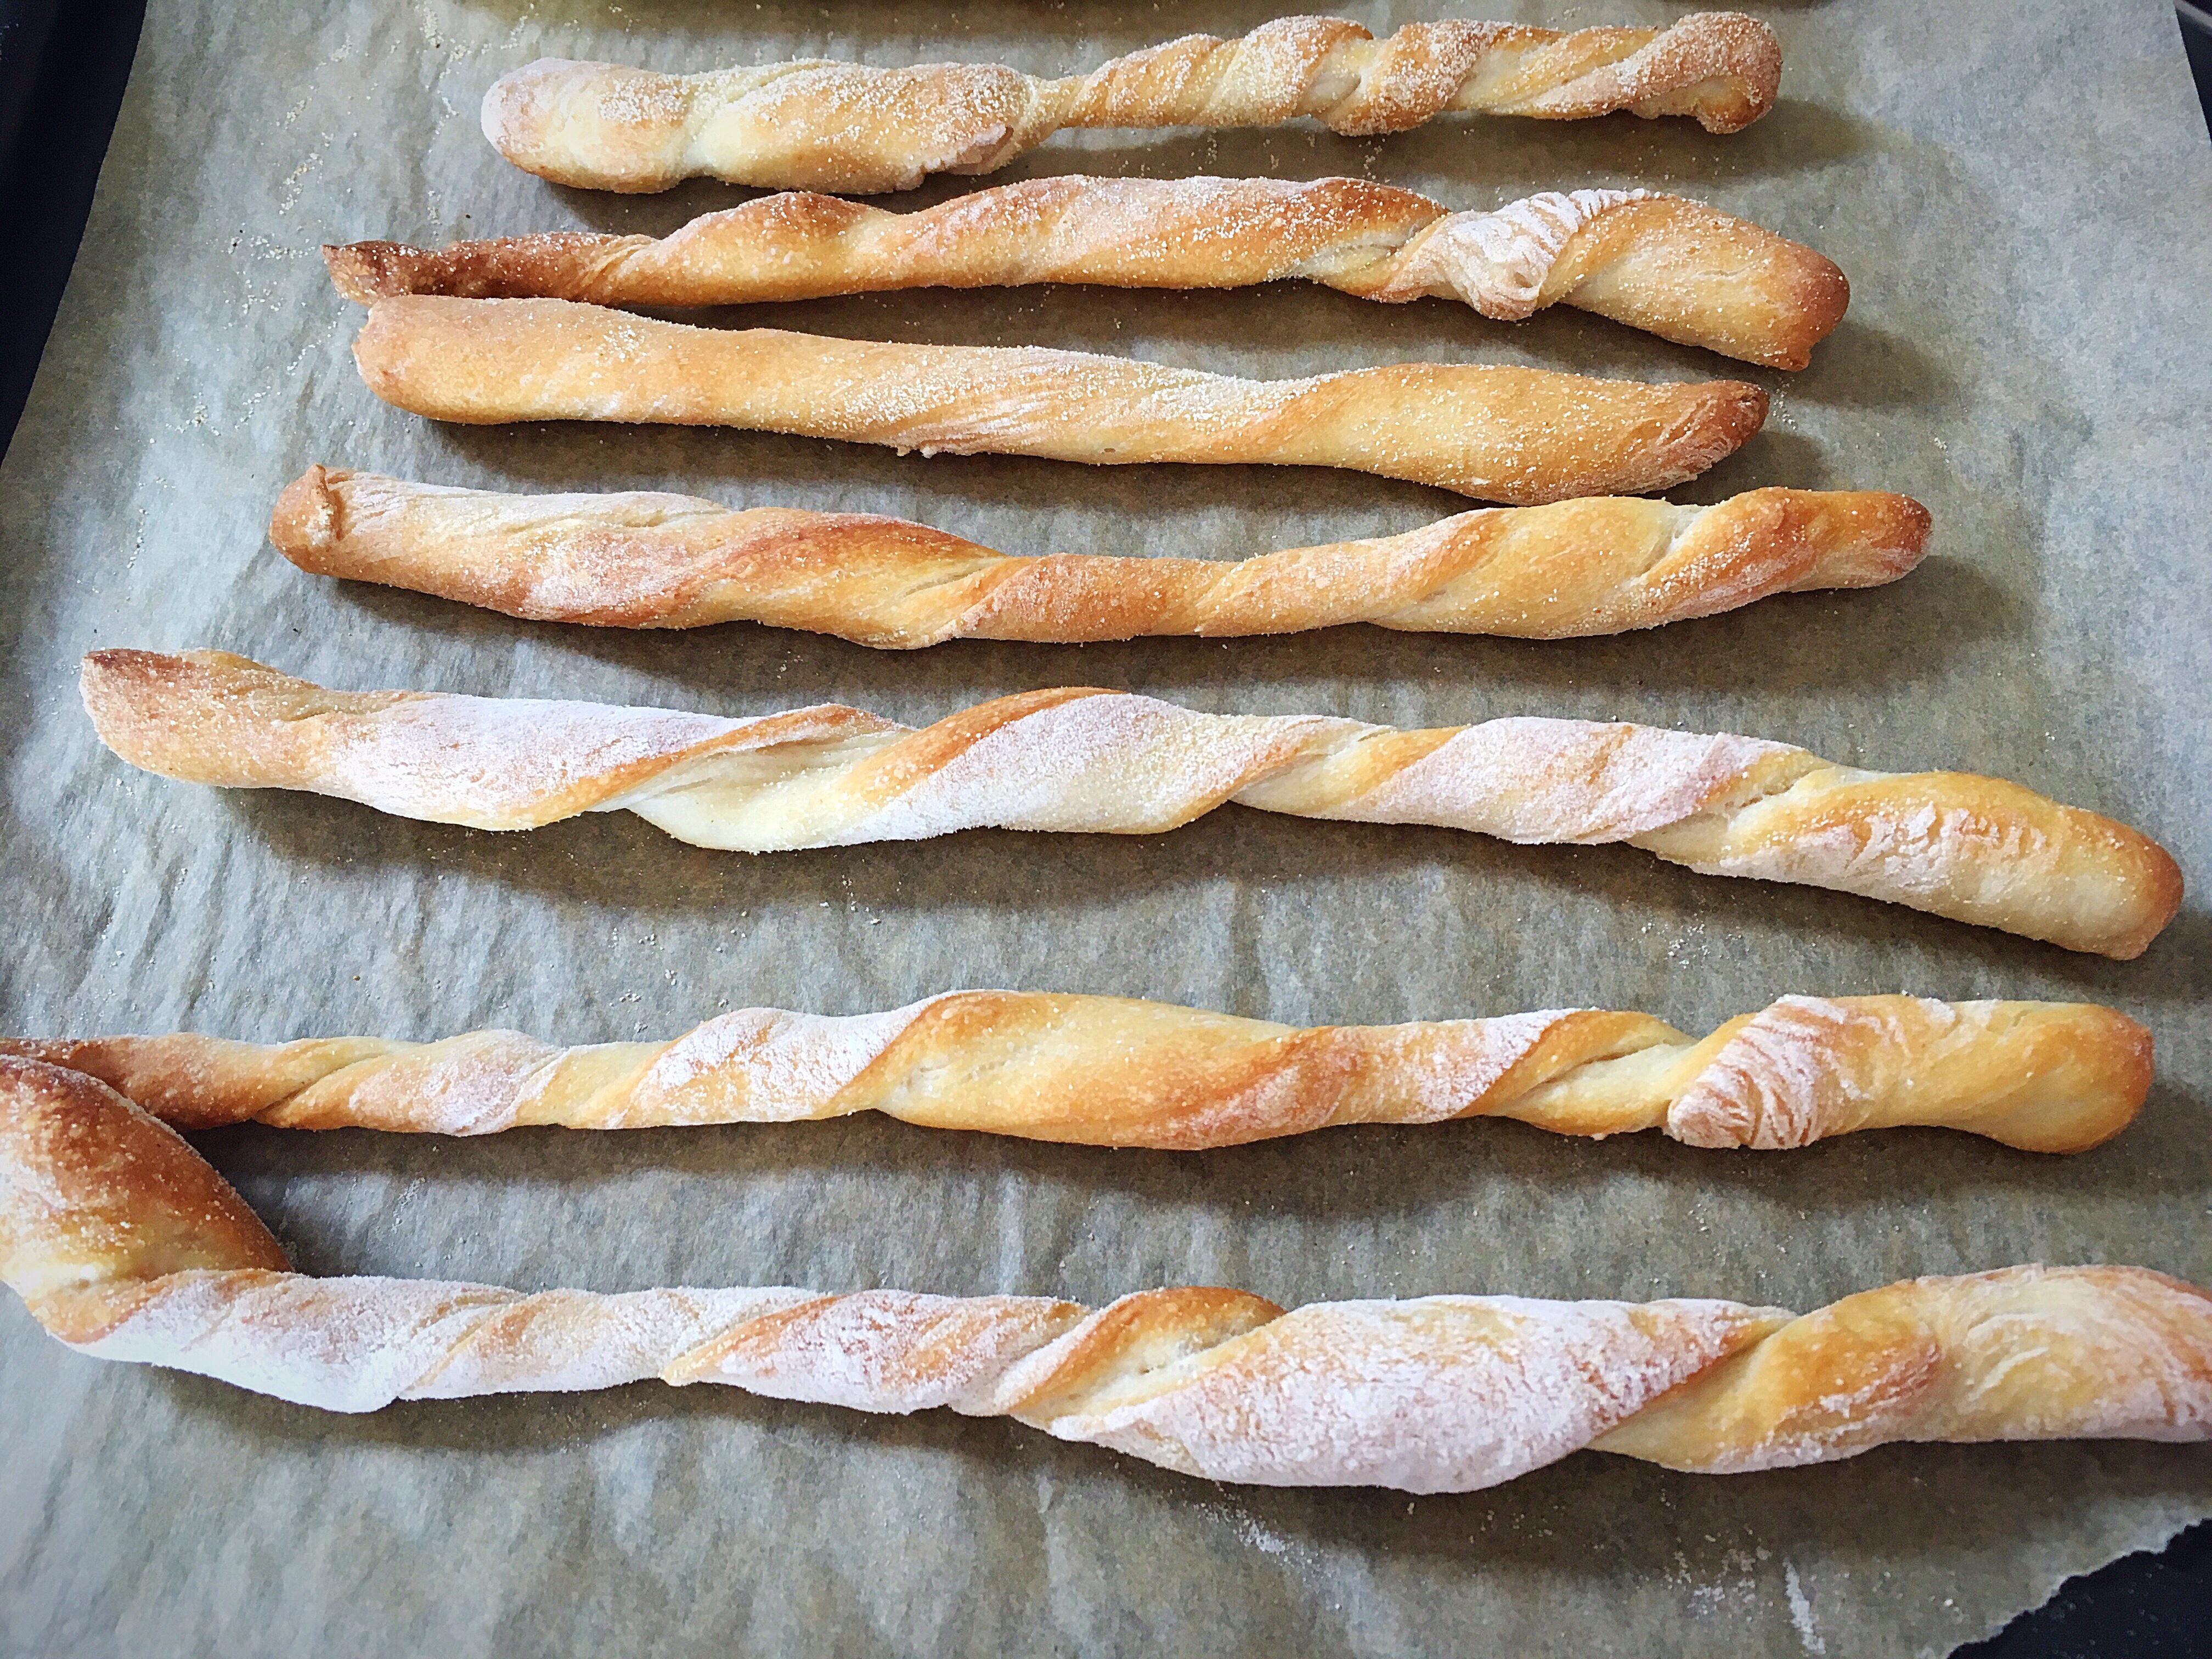
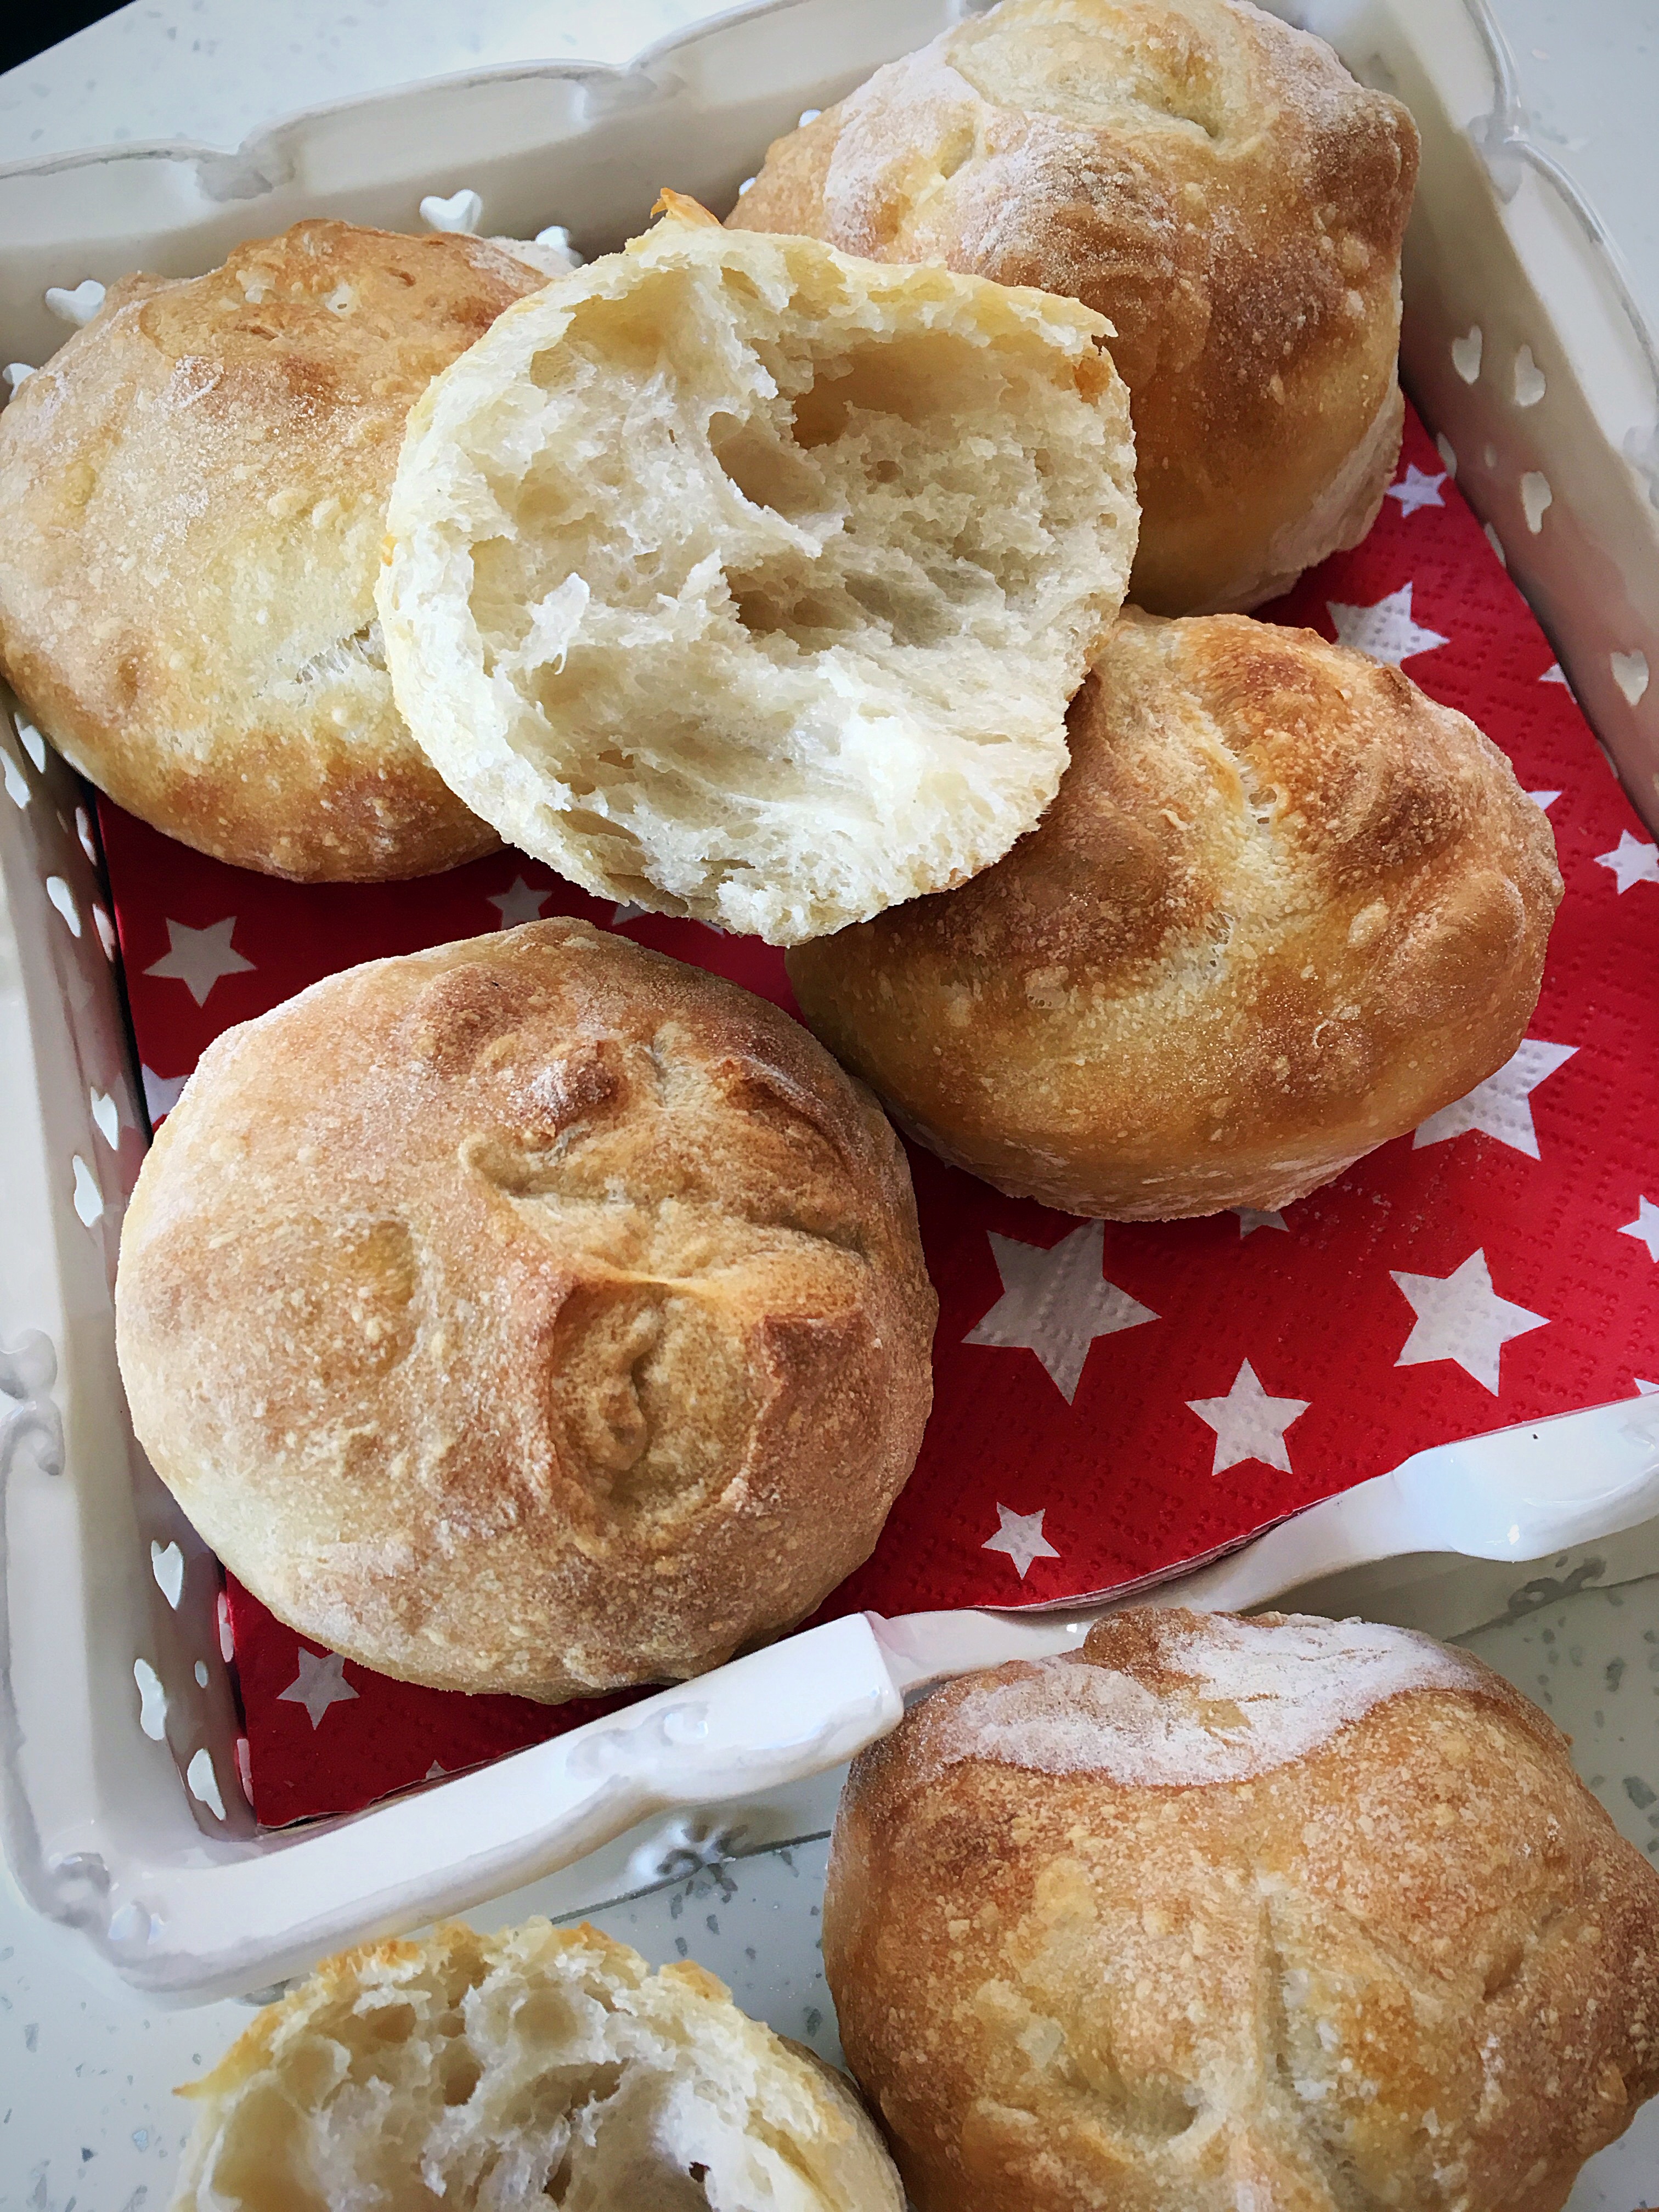
As you can see, my shaping isn’t great, or even, but they taste good, so who cares?!

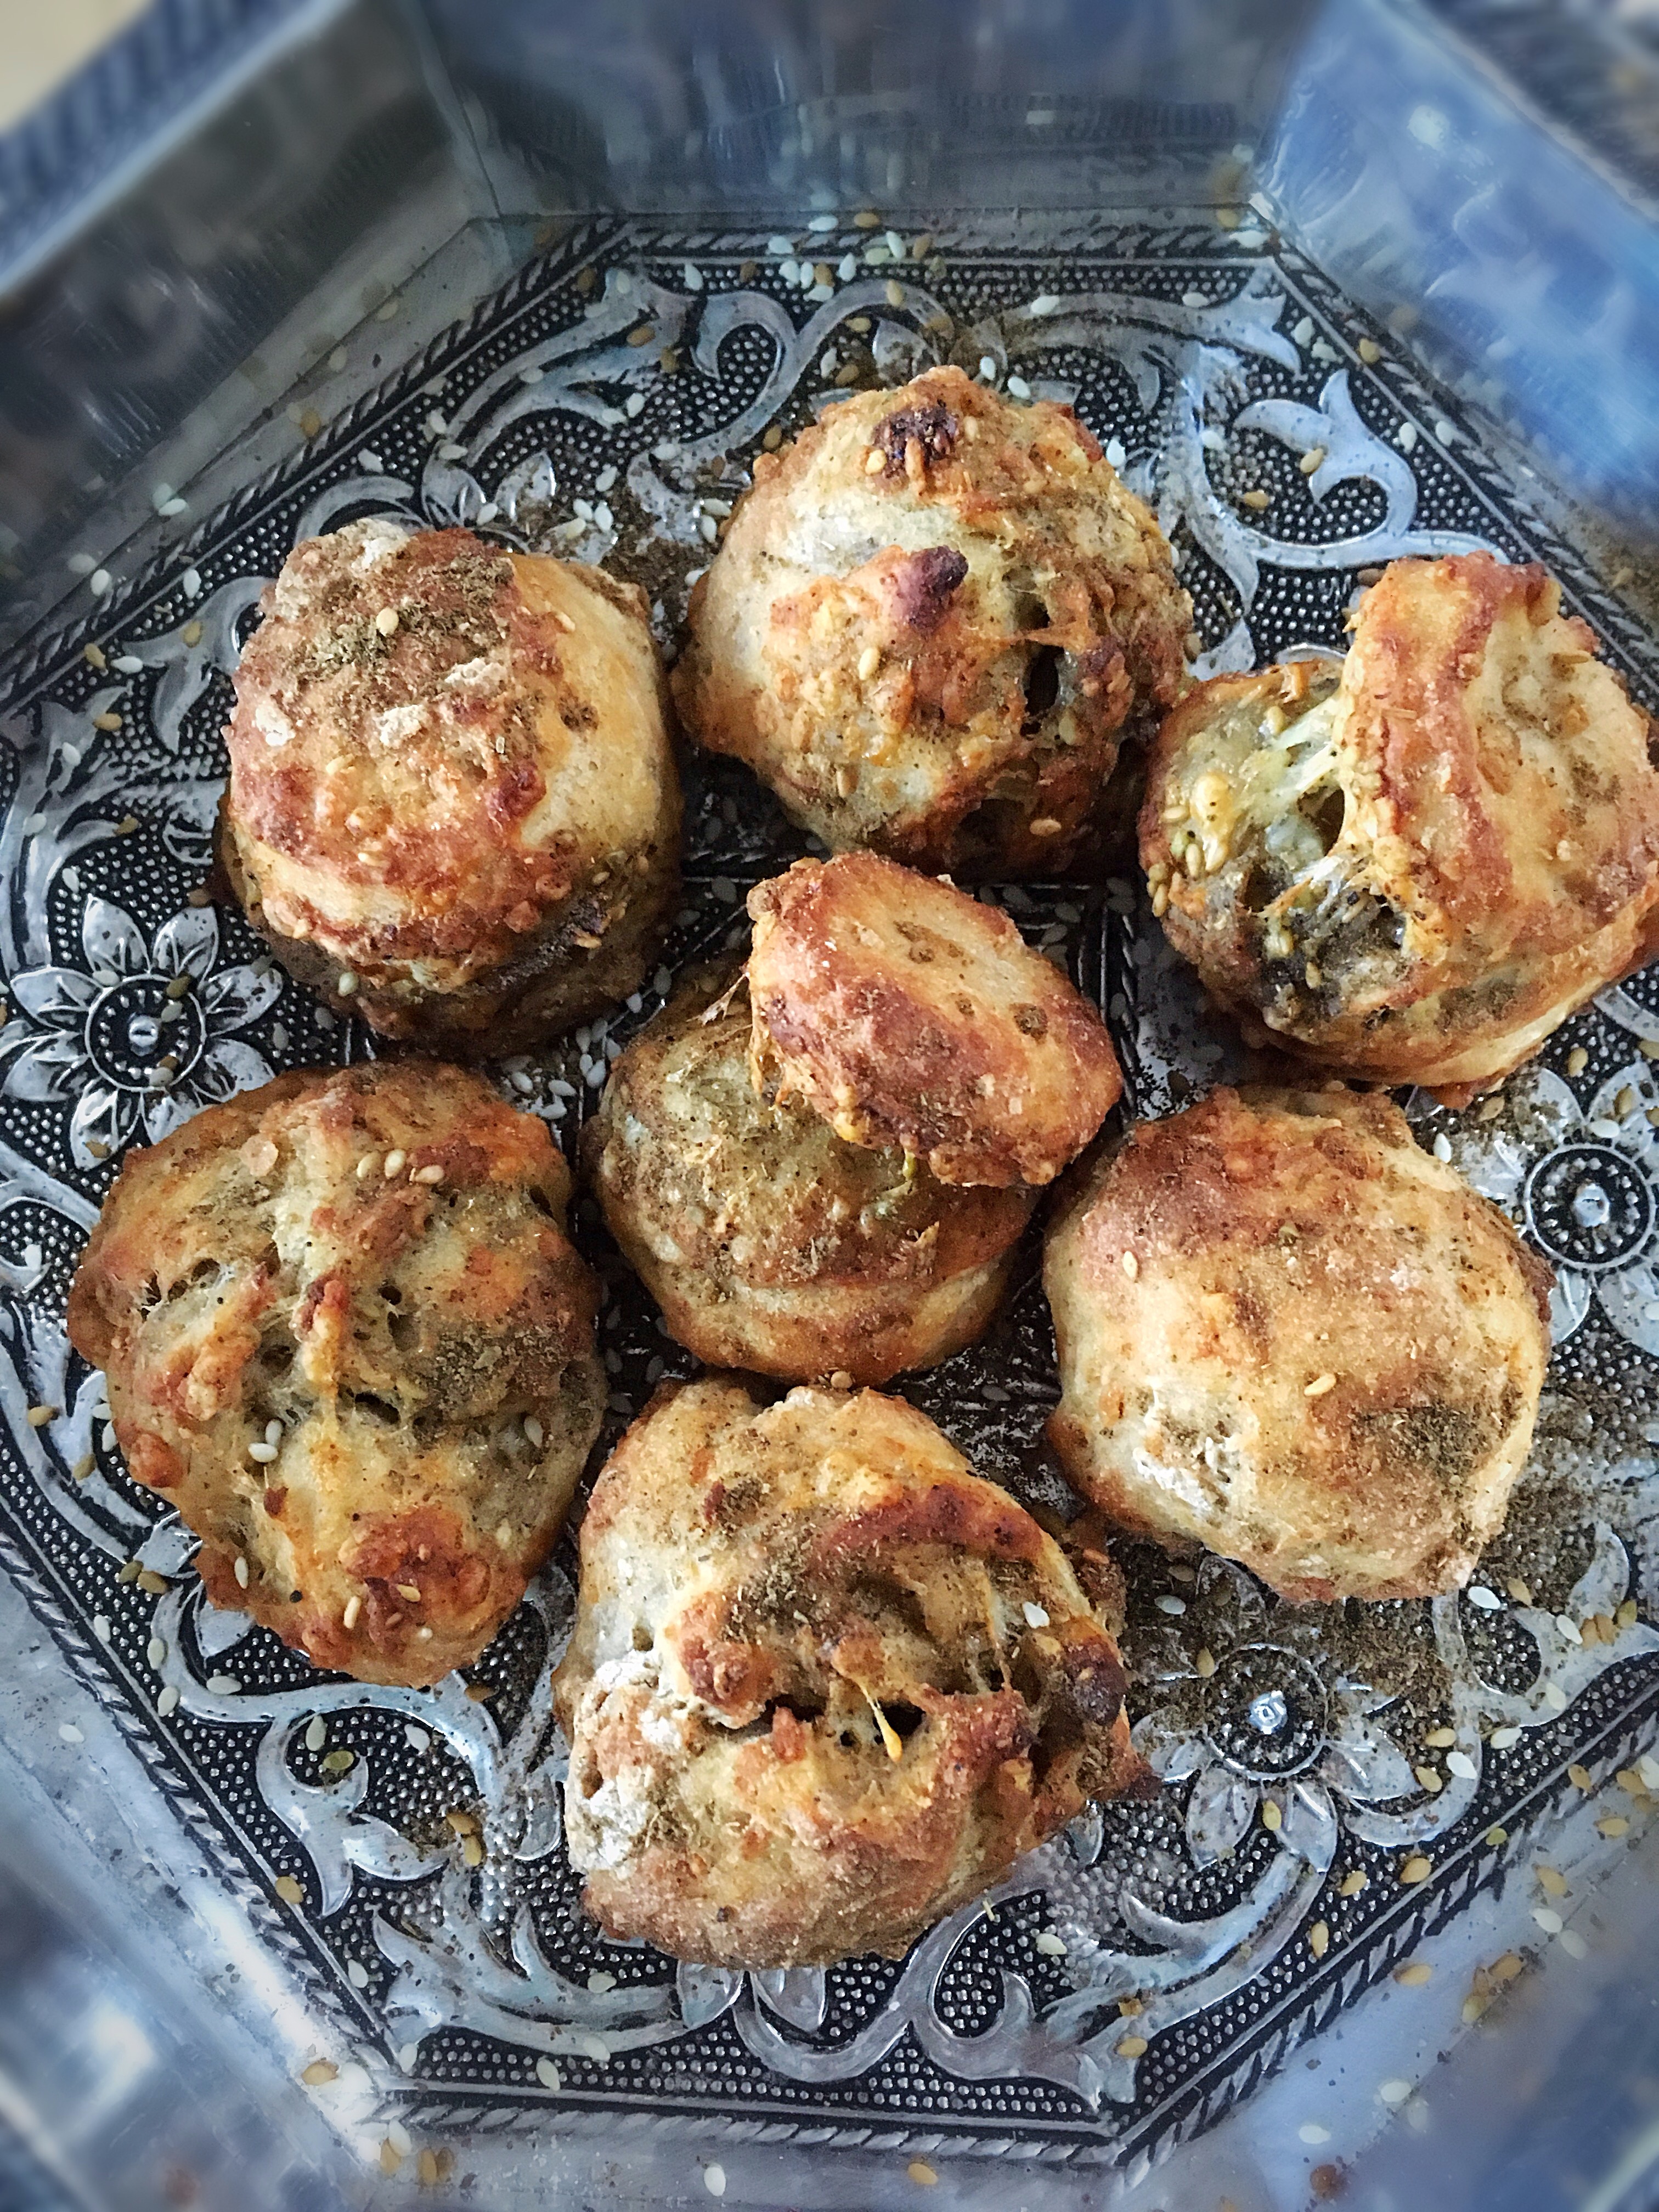
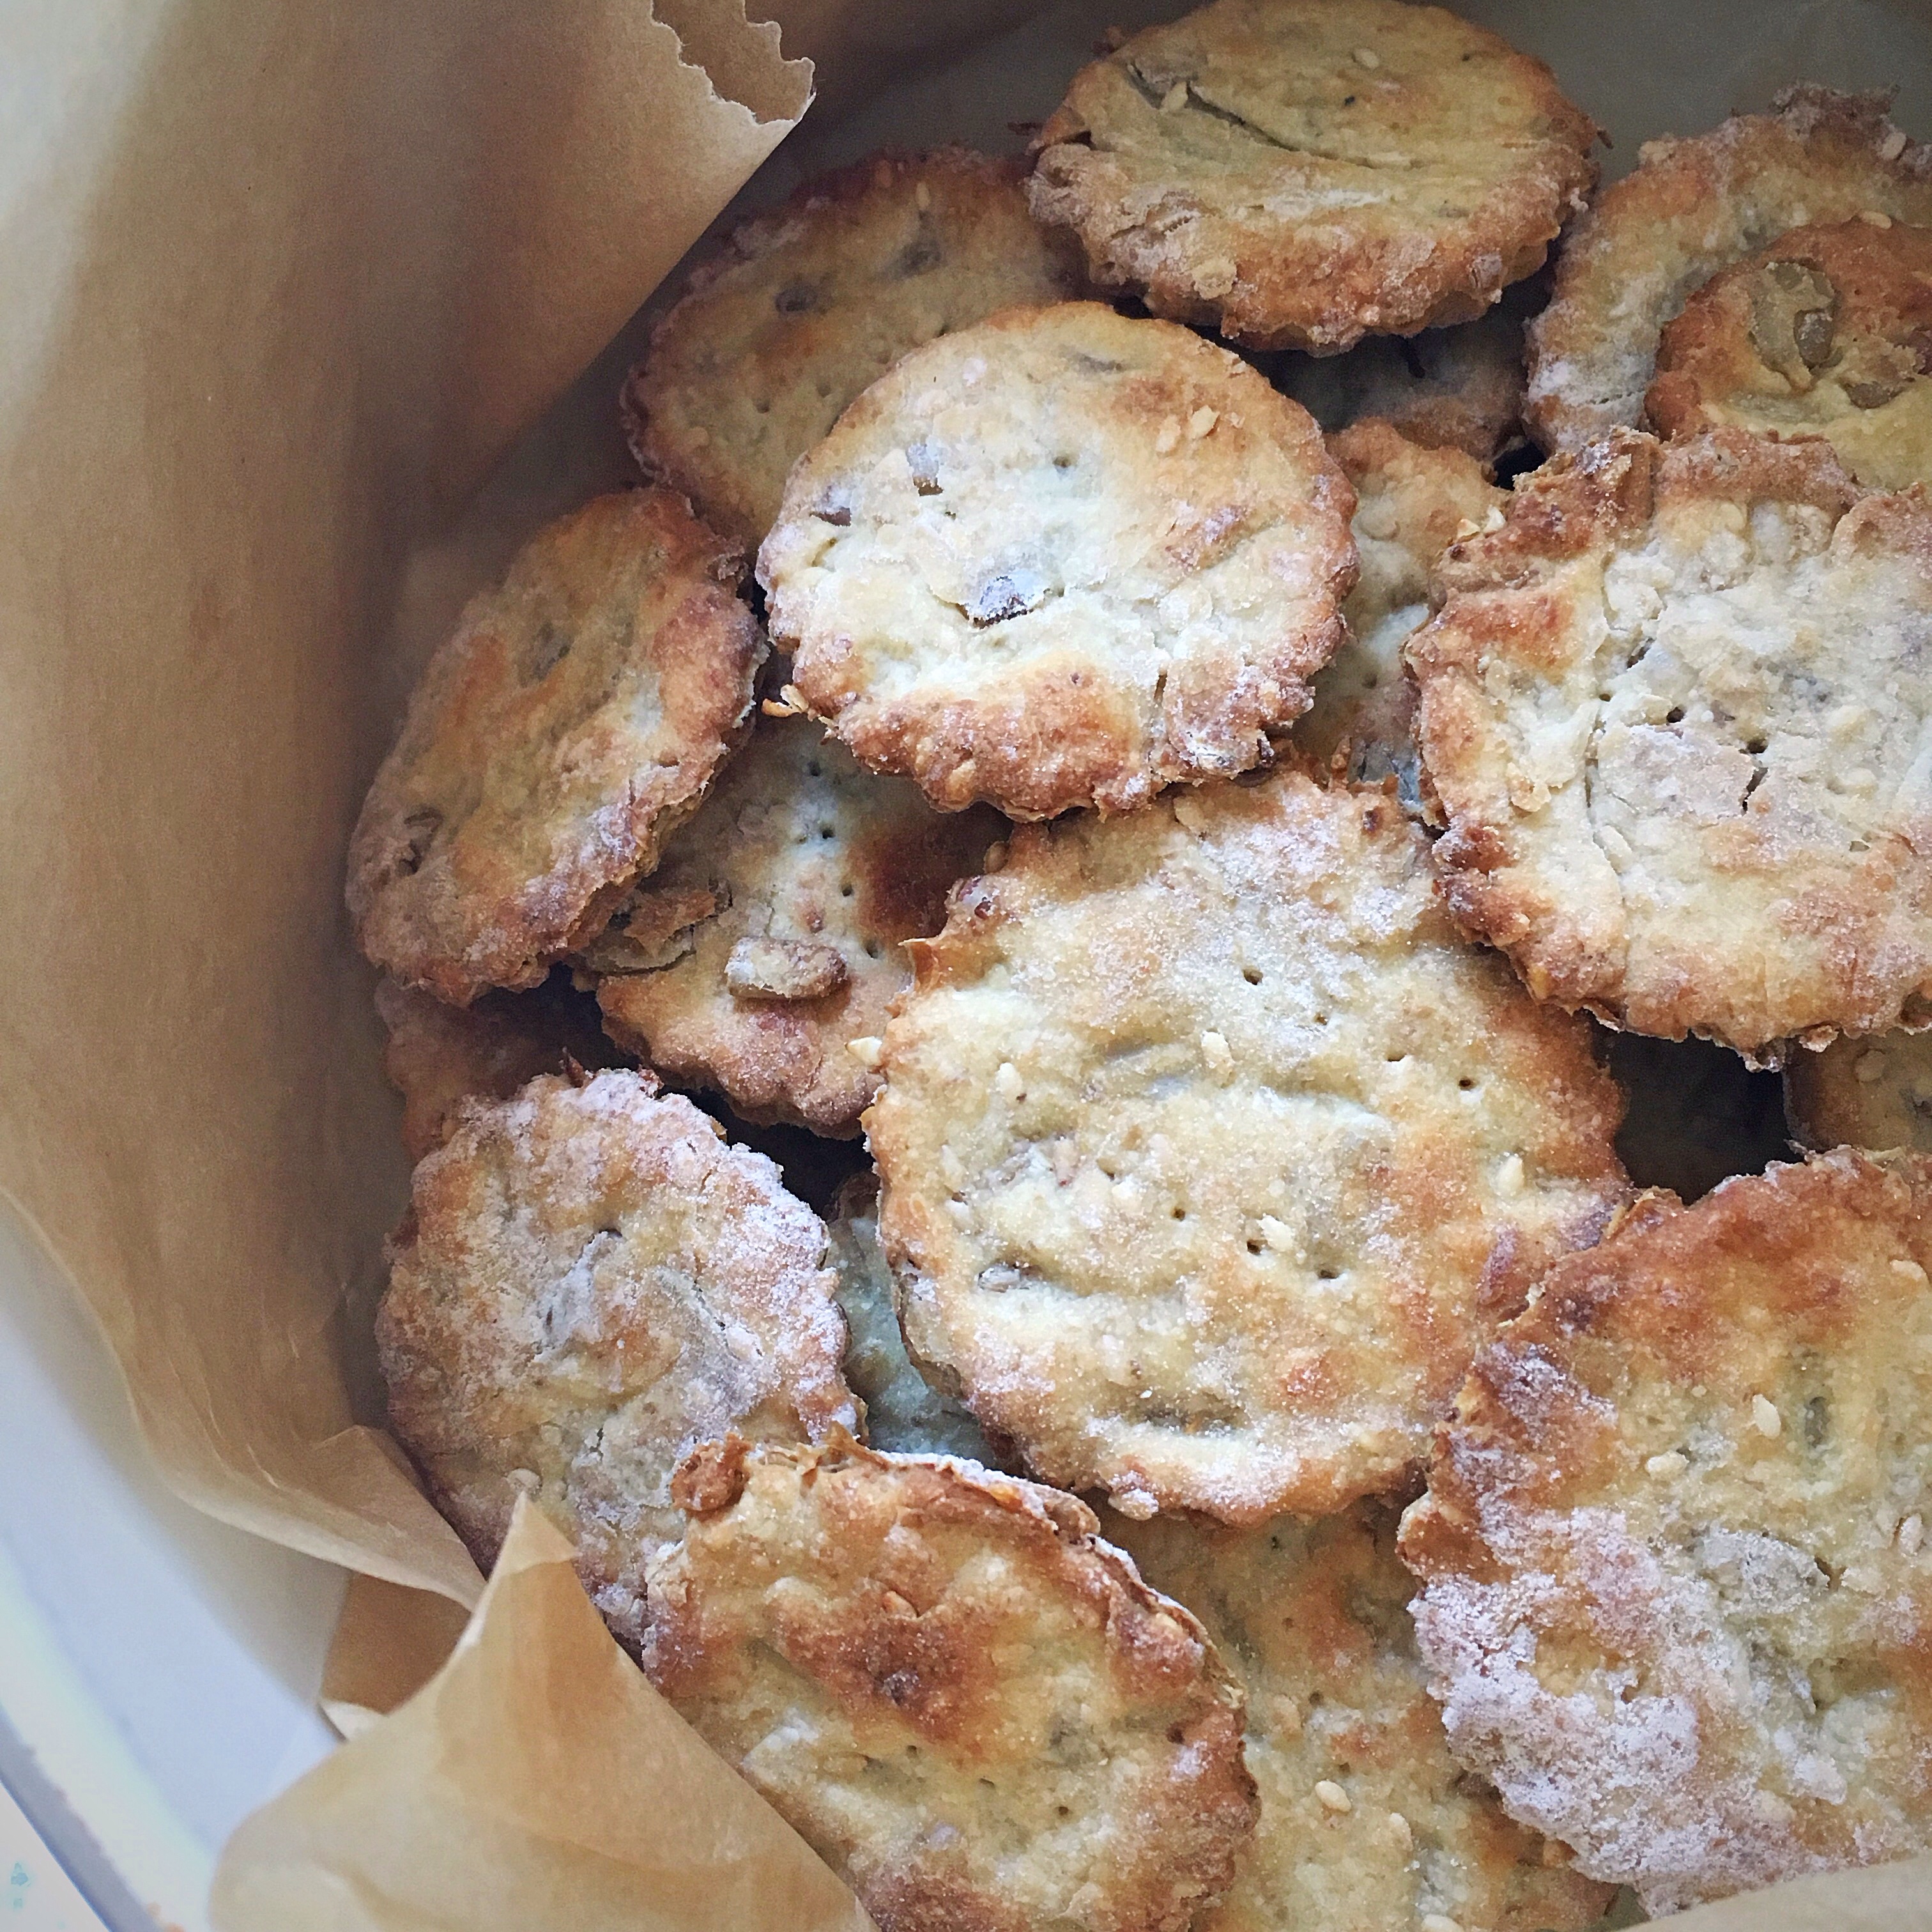
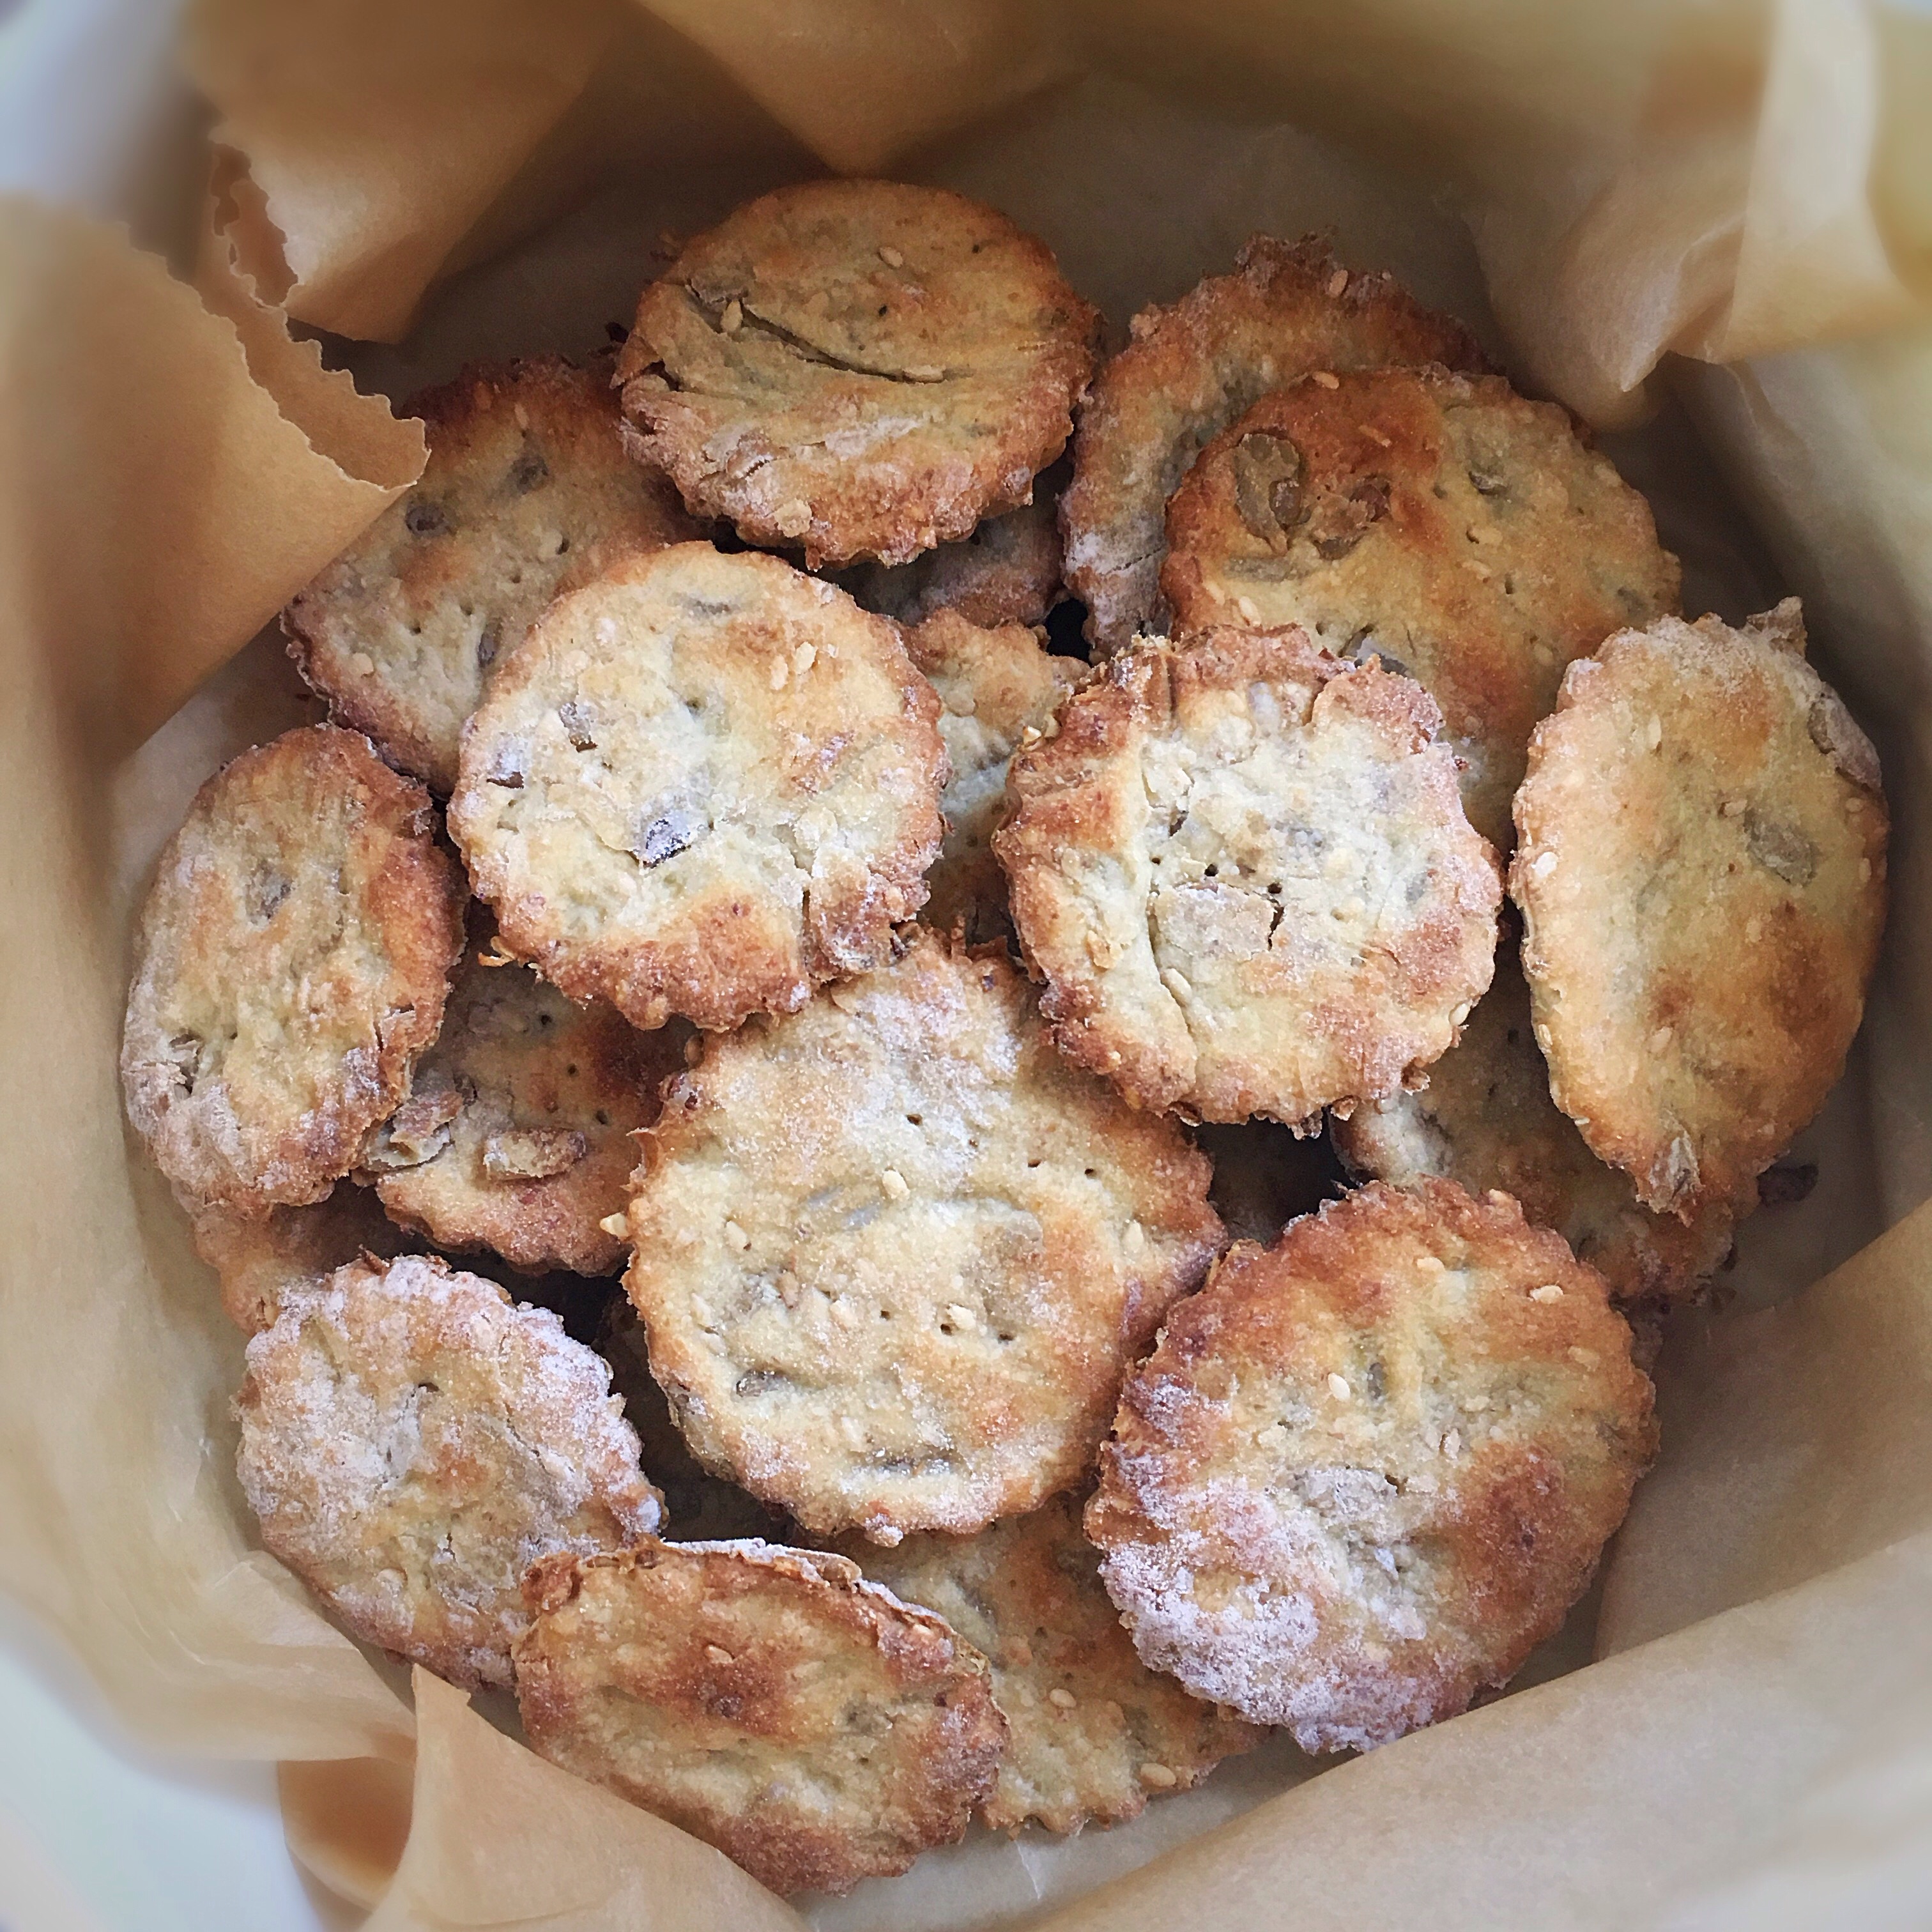
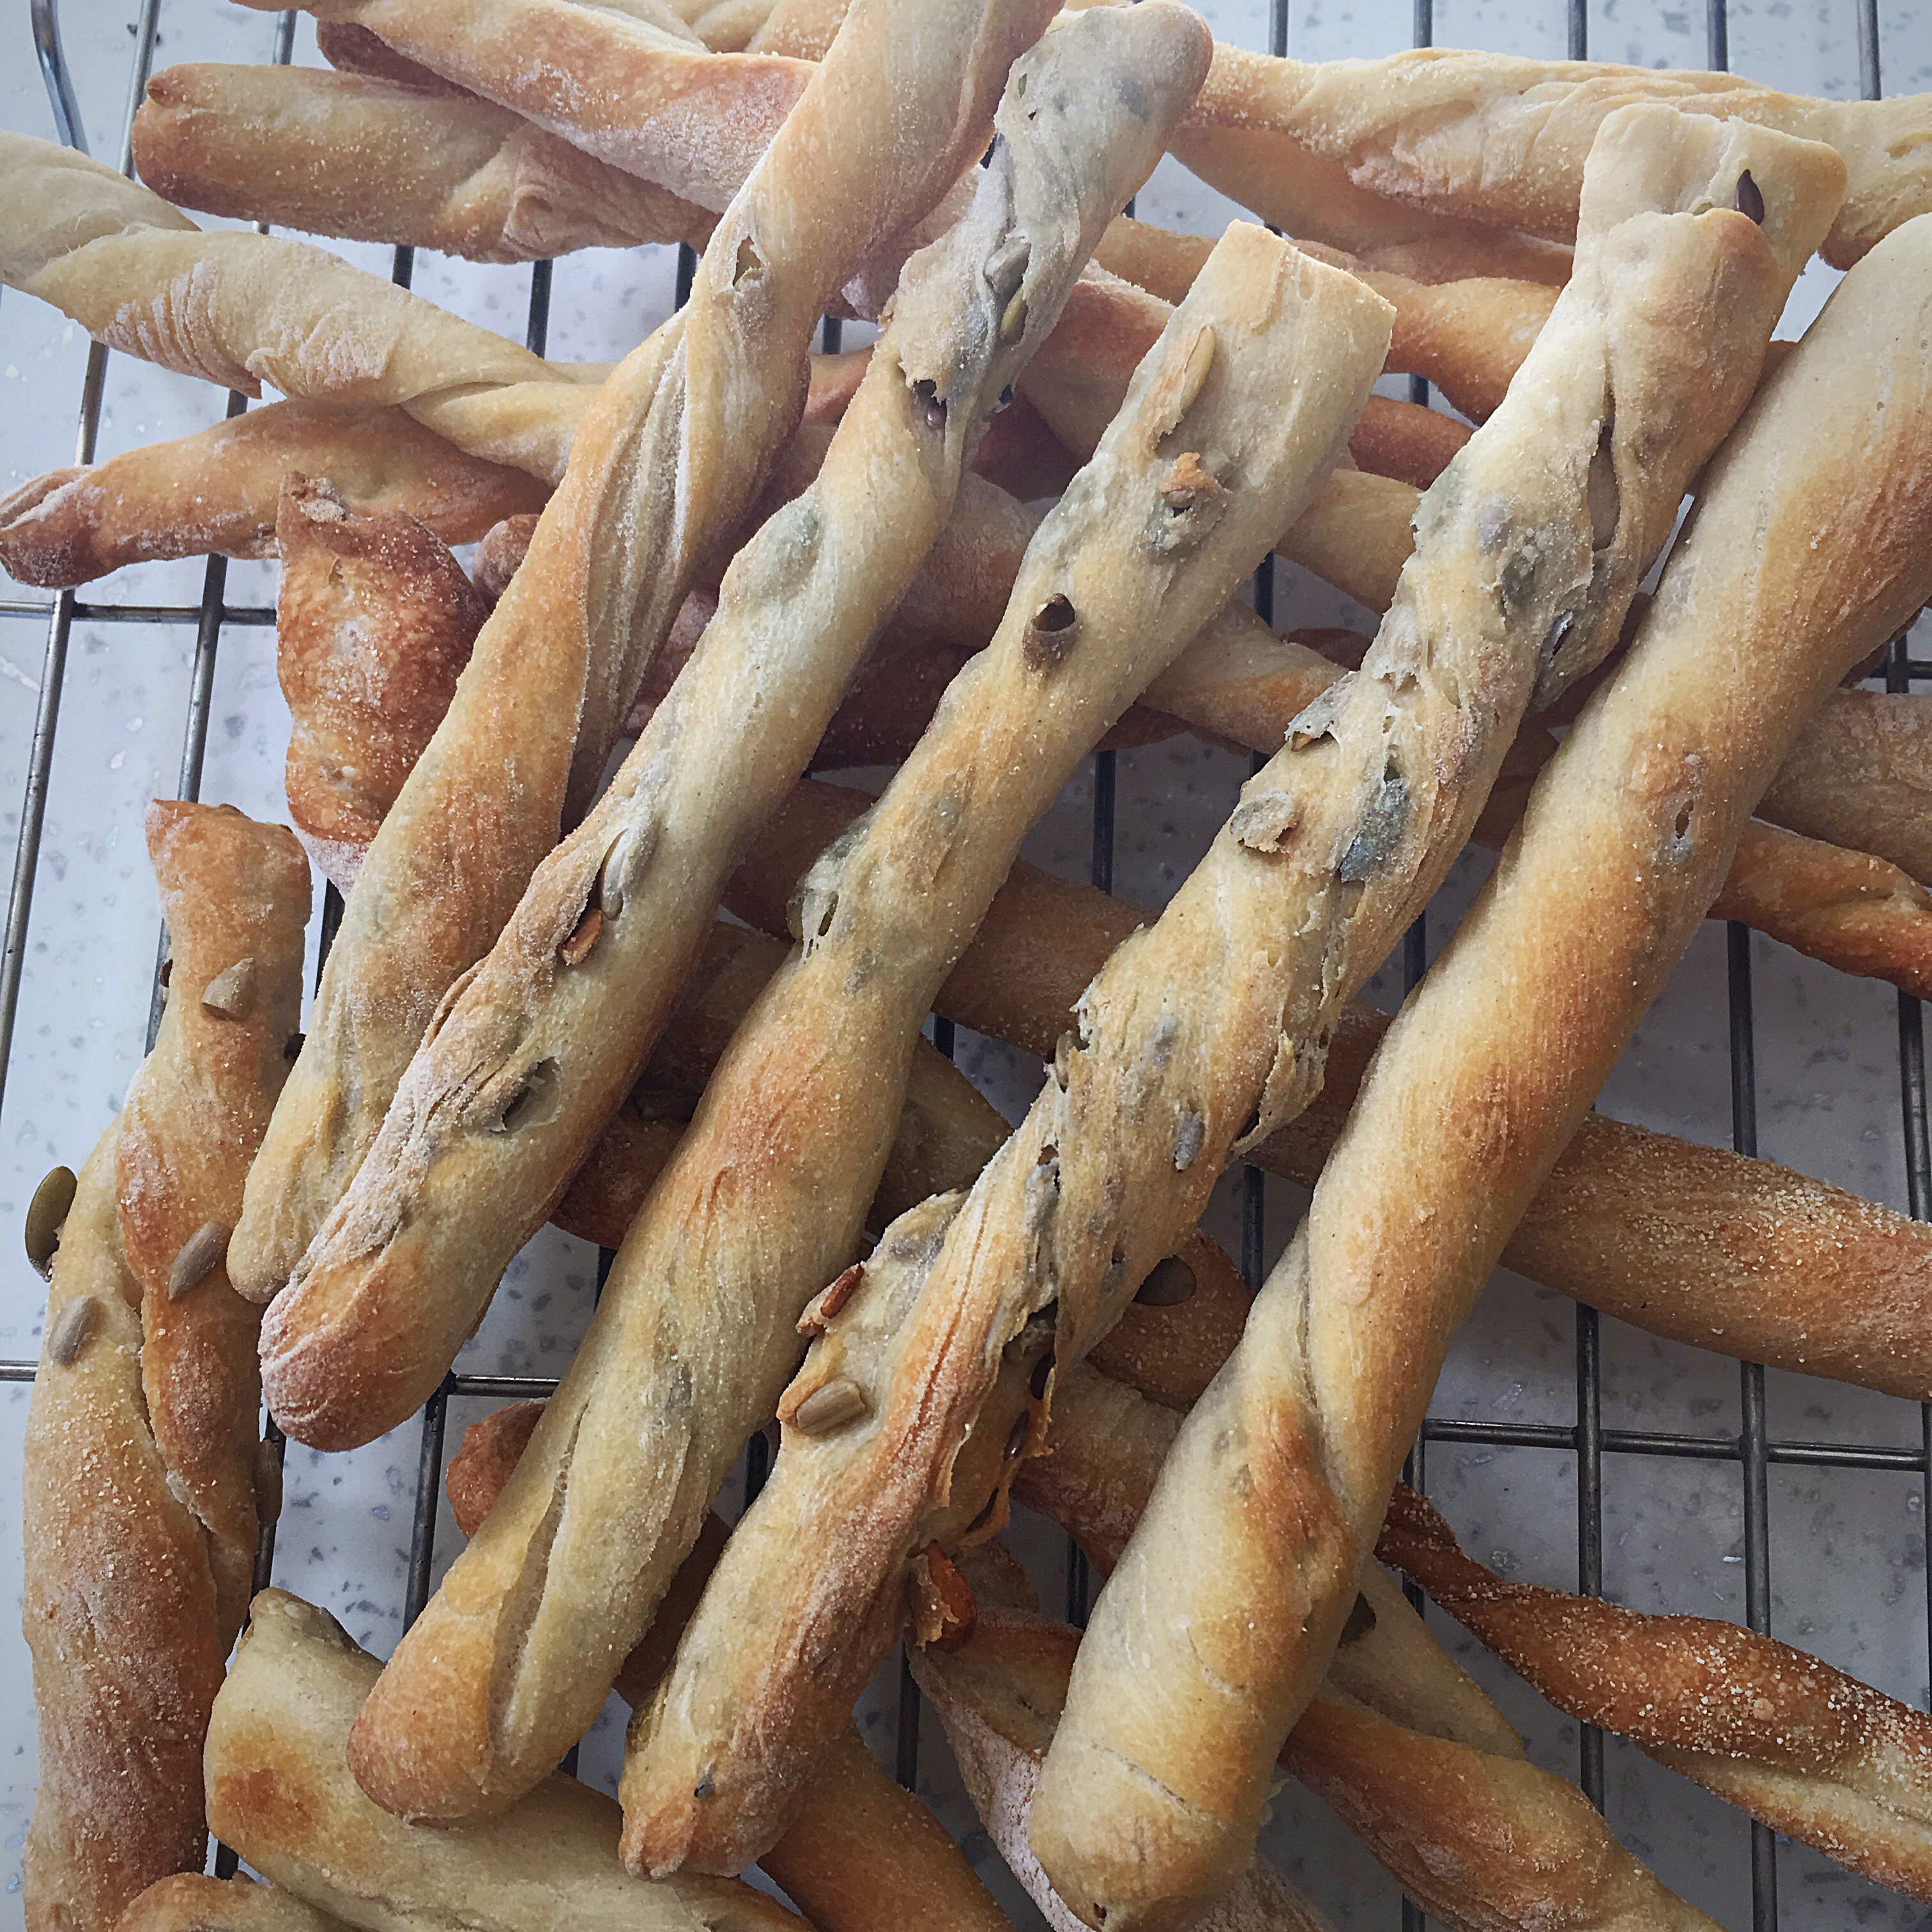
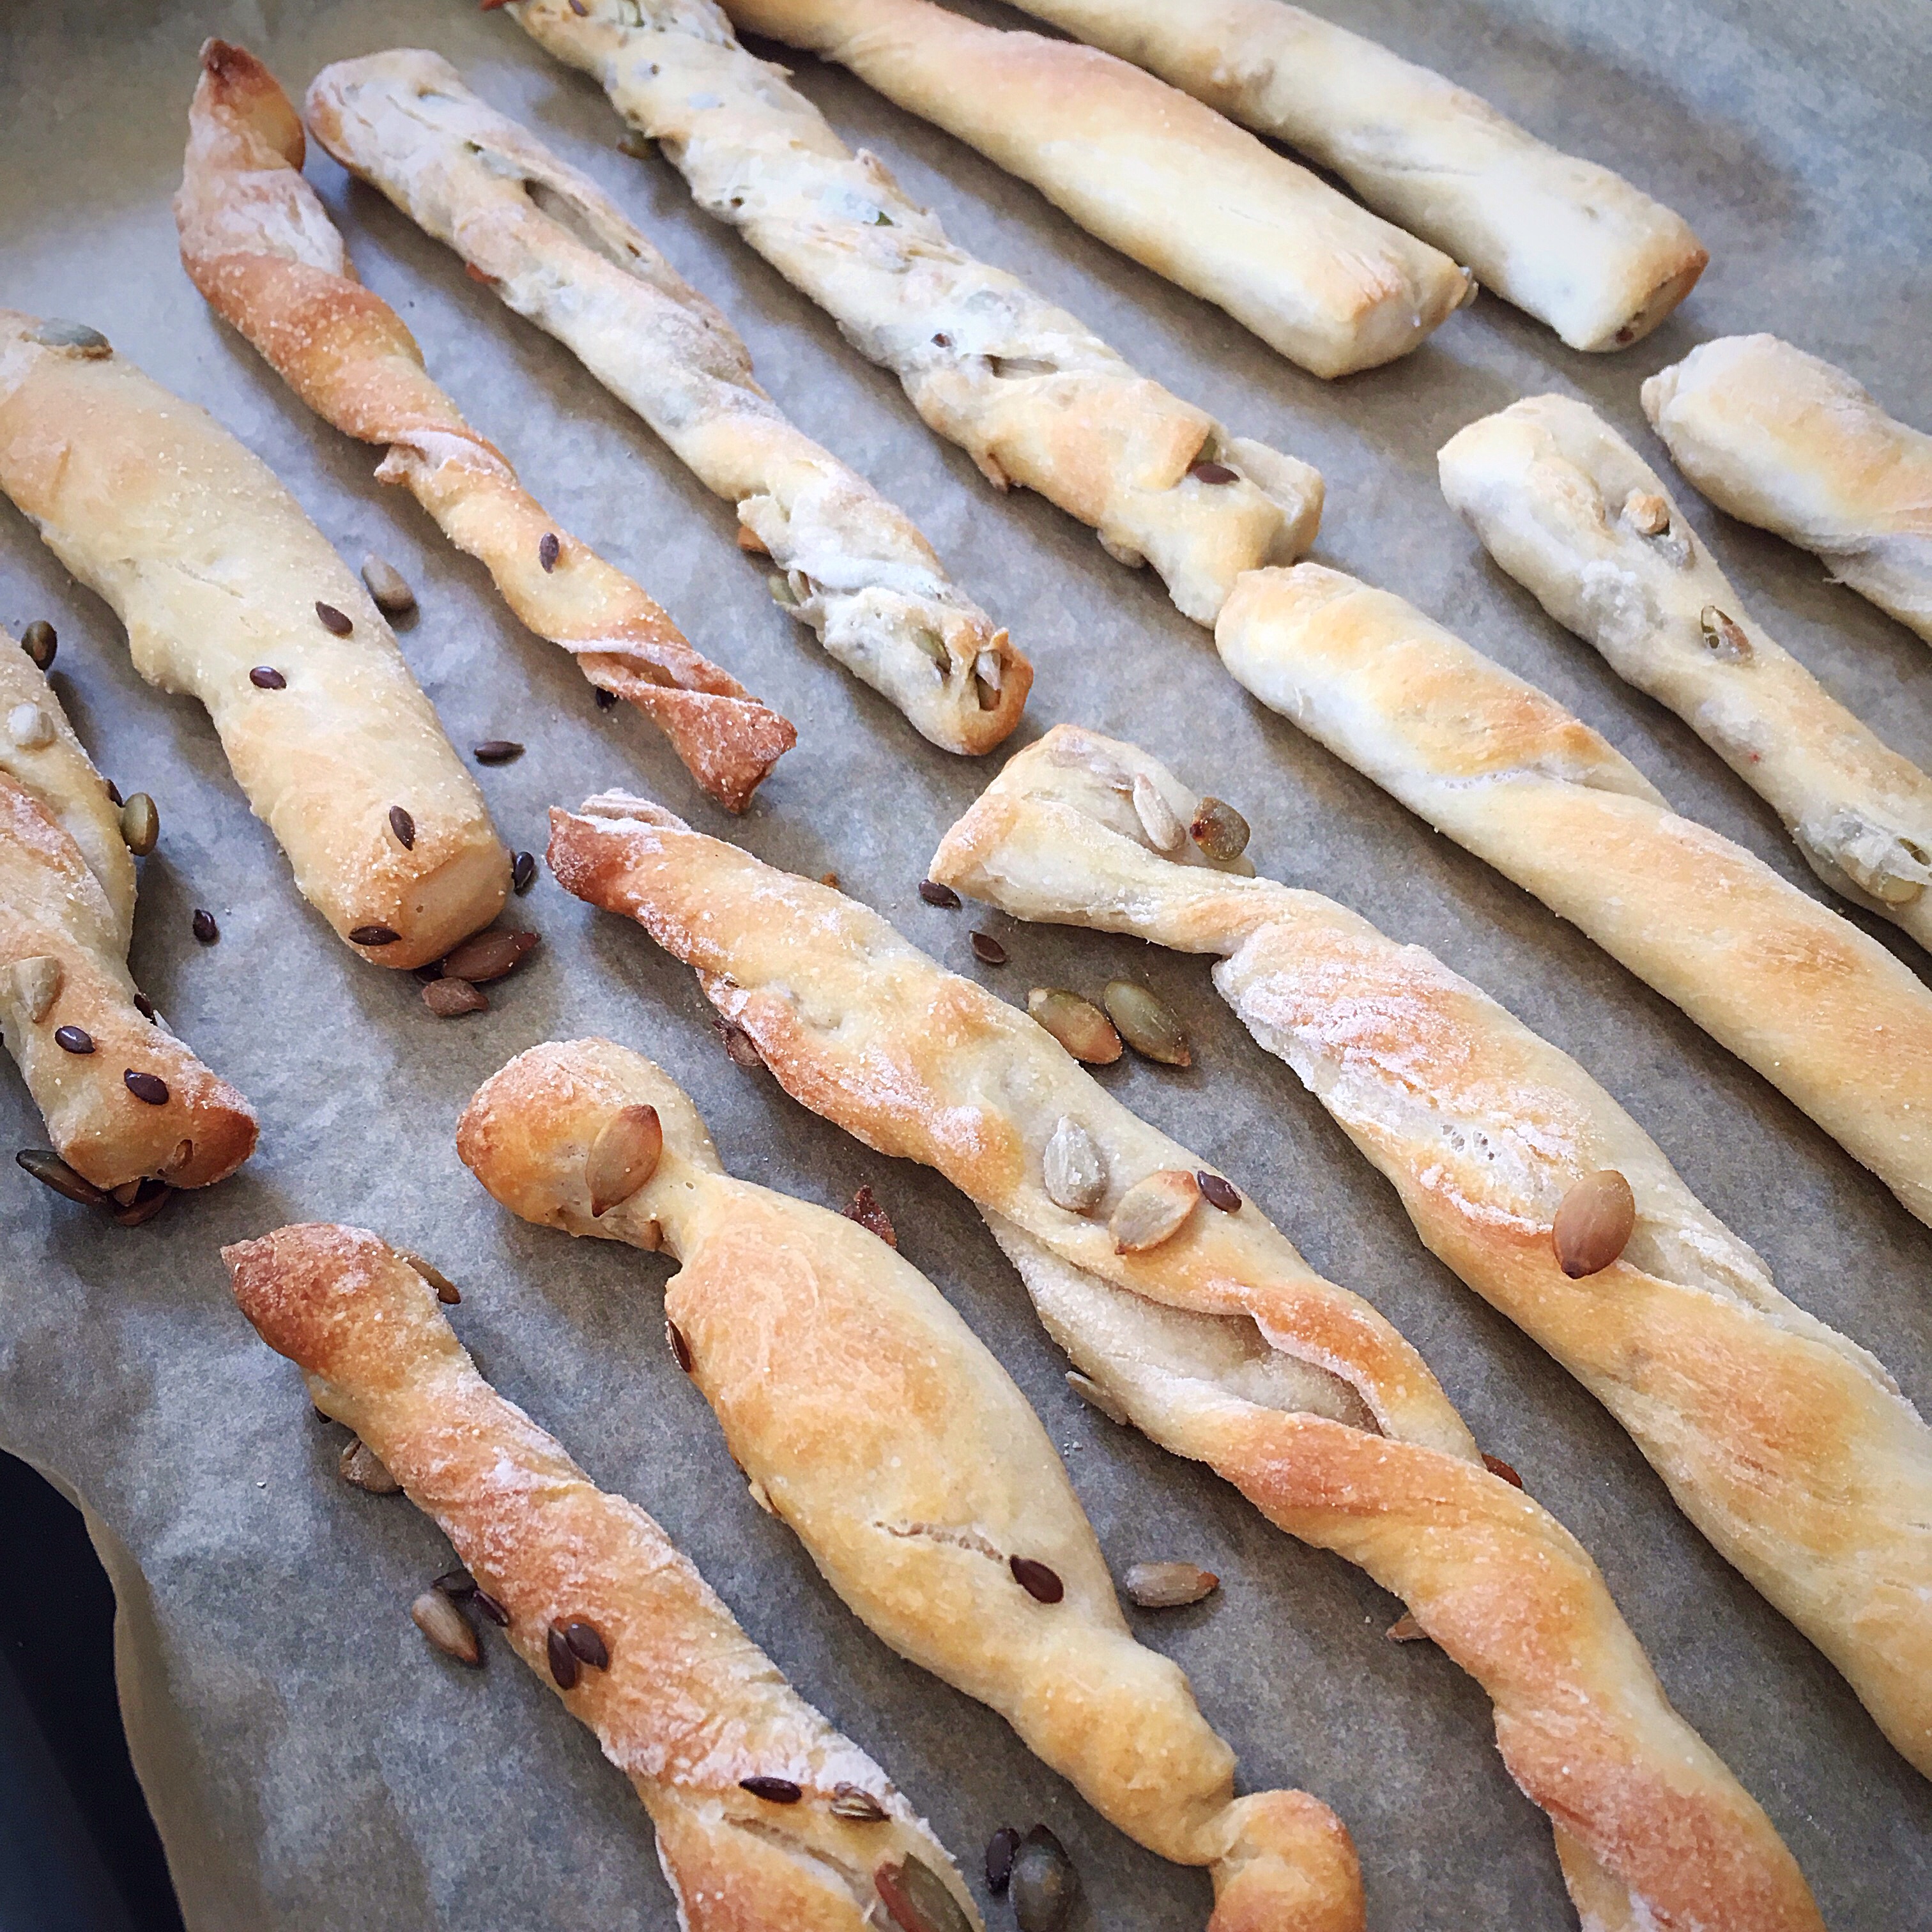
I made some of them unadulterated, as above, and got creative with the others, below, and added some toasted pumpkin, sunflower and linseeds. These were therefore thicker, and less crisp, but my son preferred them for the flavour the toasted seeds added..

A bunch of bread sticks on a cooling rack

NOTE: The dough for these can be prepared then rested in the fridge for a few days until you’re ready to bake them, or used immediately.
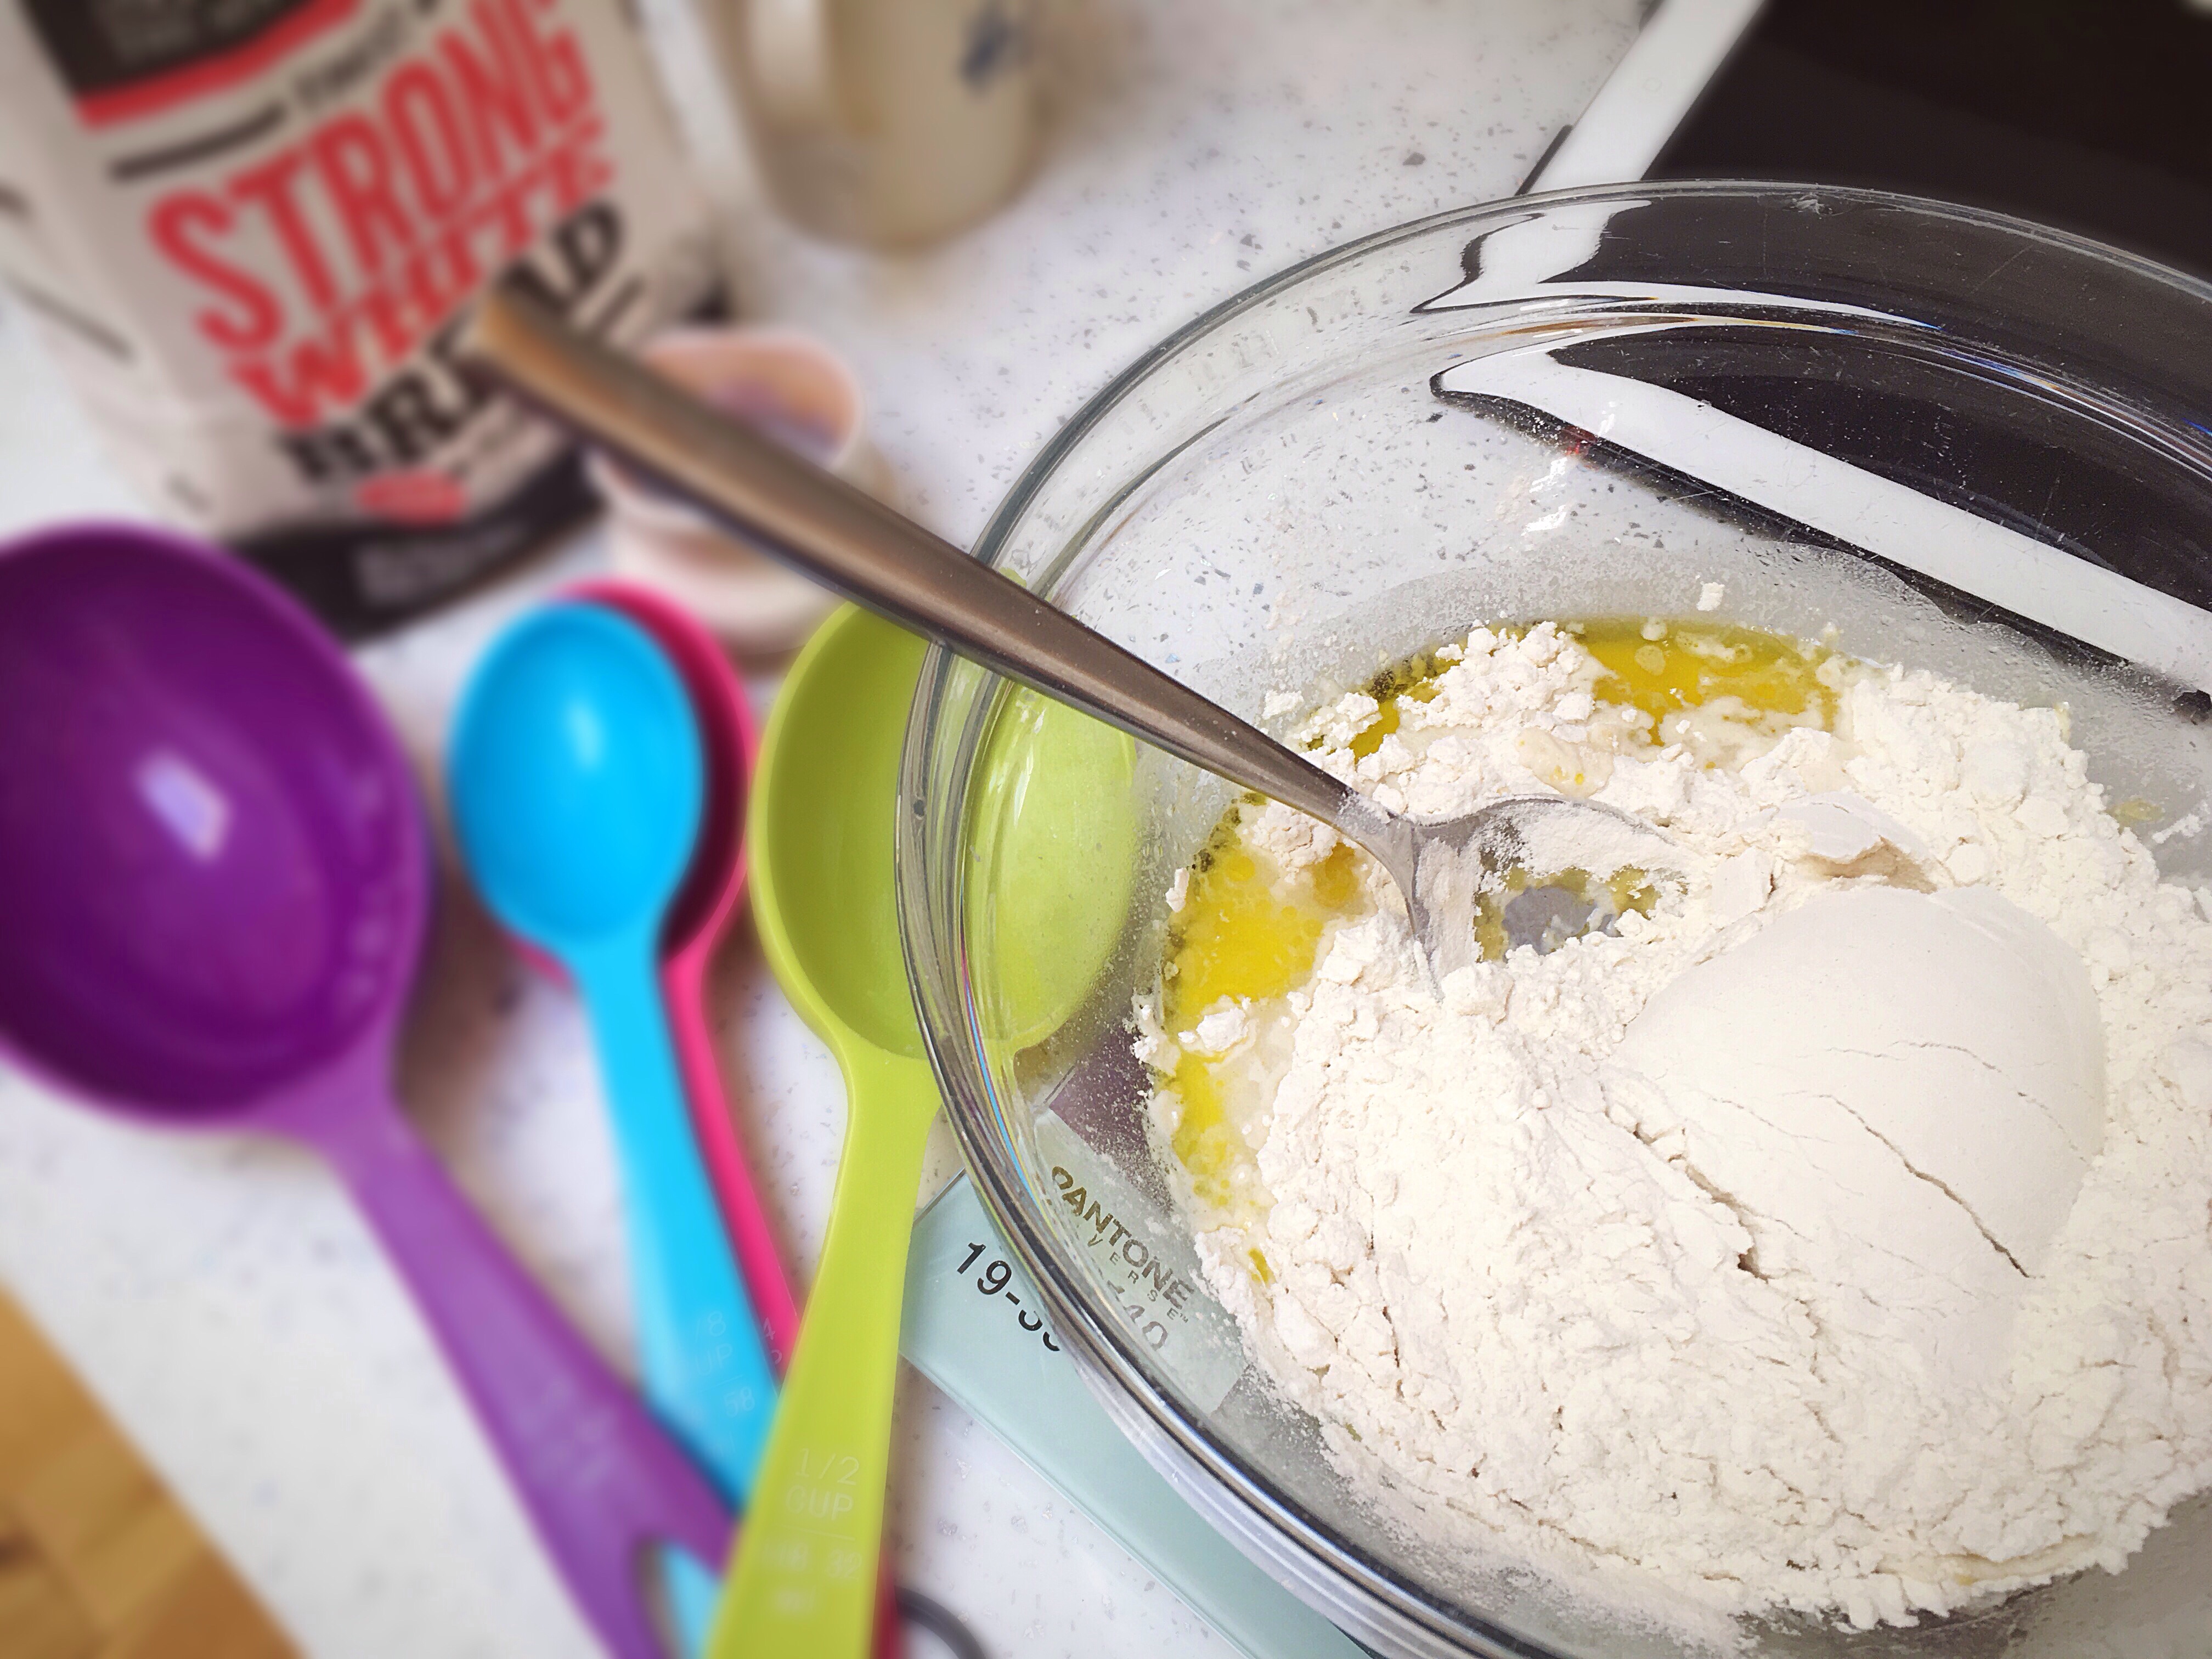
Ingredients

250g strong white bread flour

100g water

60g active bubbly starter

1tbsp olive oil

1/2tsp salt

Ground semolina (I used coarse semolina) to sprinkle on the counter

Seeds or other additions of your choice

Method

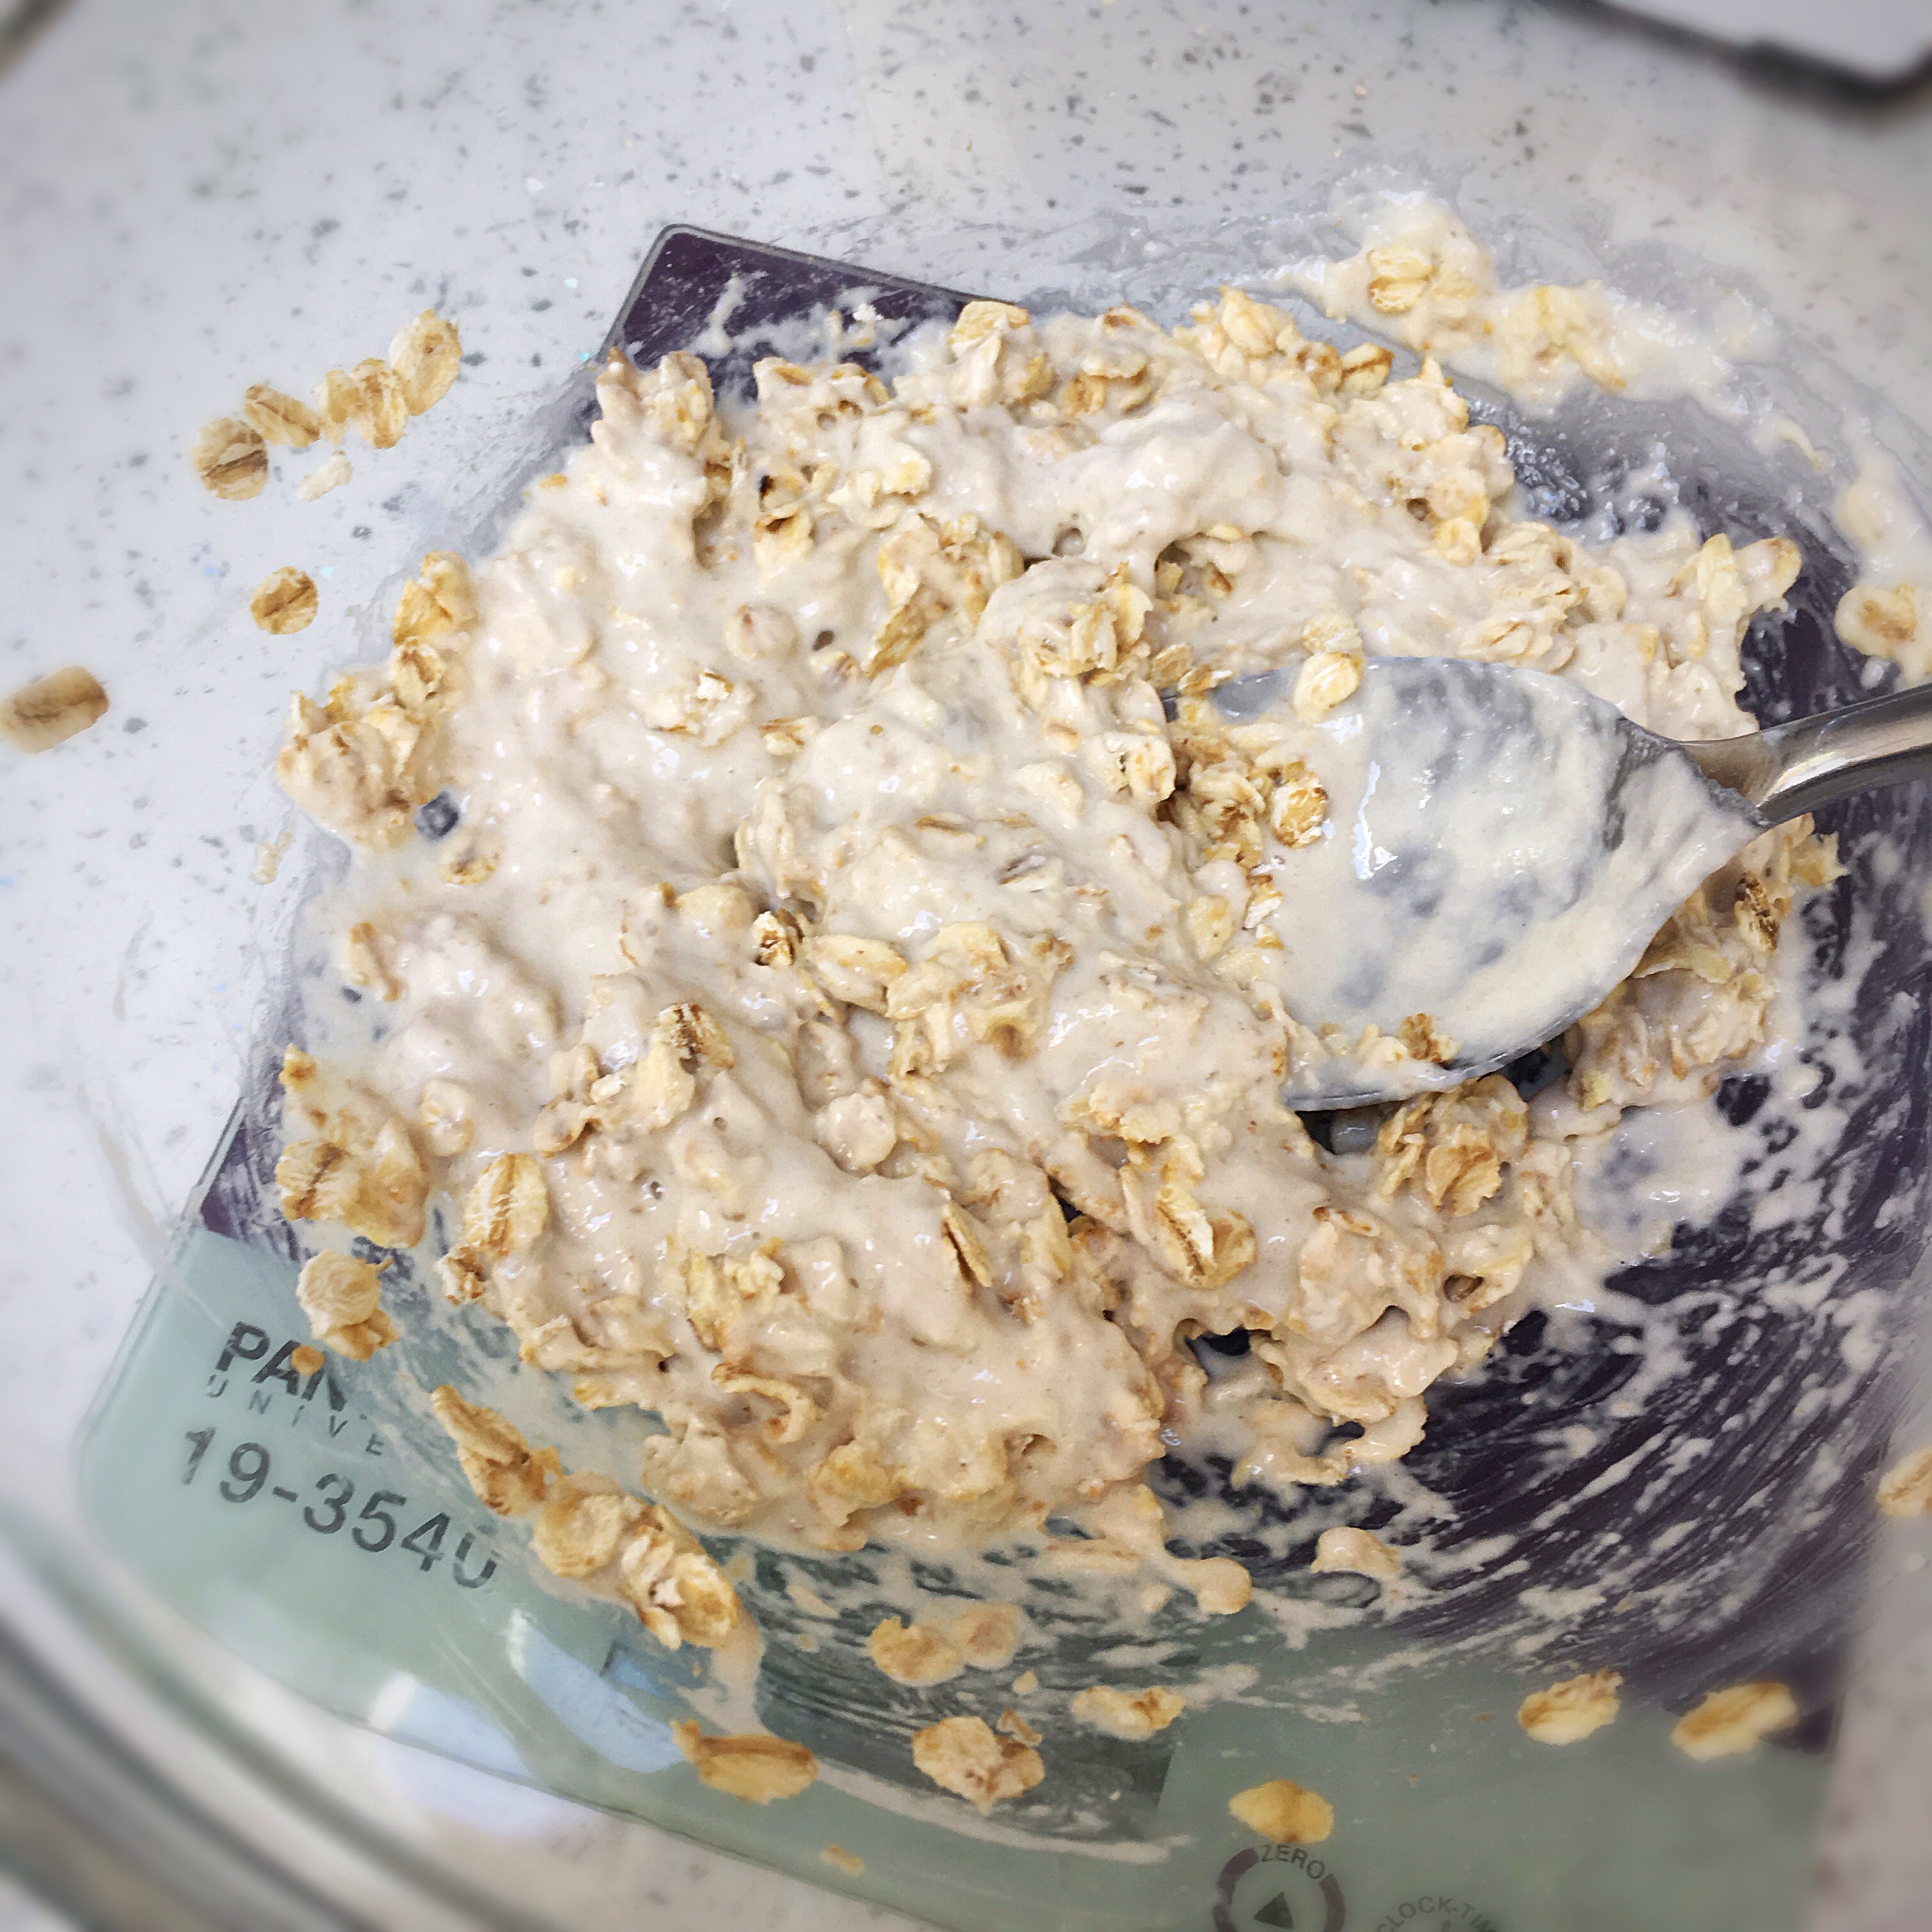
Mix the water, starter and olive oil together well, then add the flour and salt.

A close up of some food on the counterA bowl of flour and spoons on the table.

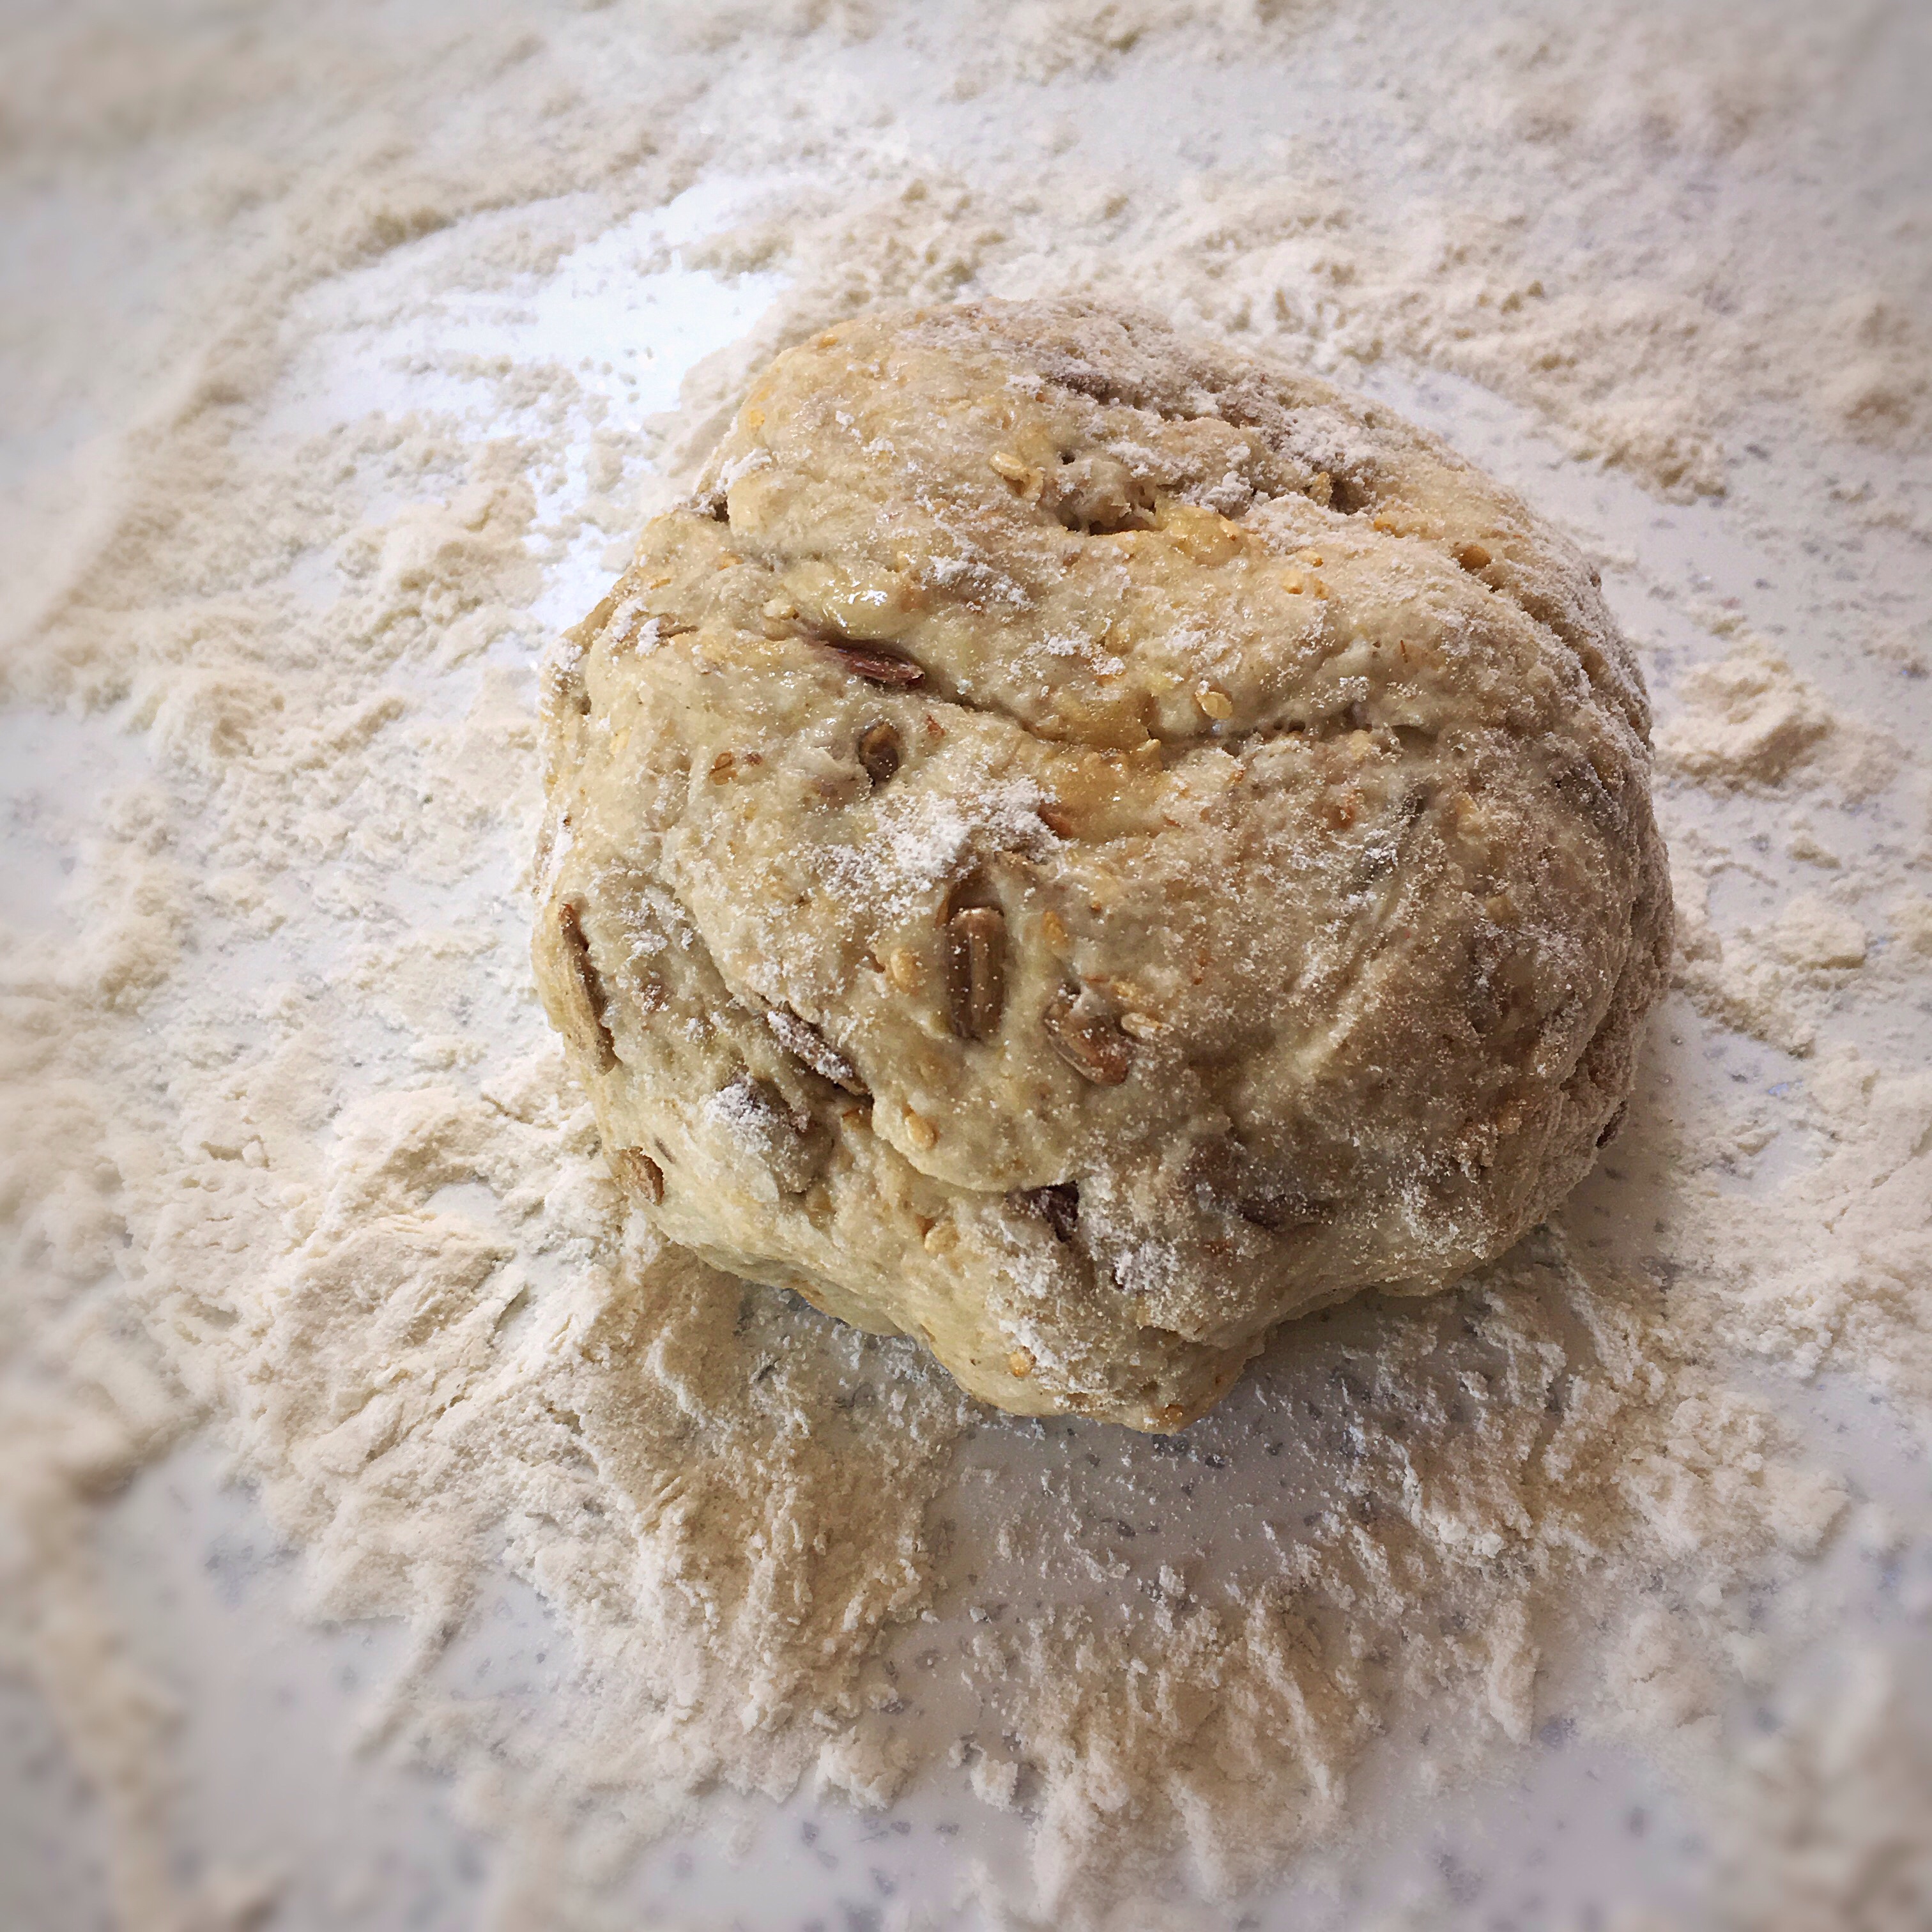
Bring it together as well as you can, it will be very stiff.

A bowl of dough is sitting on the table.

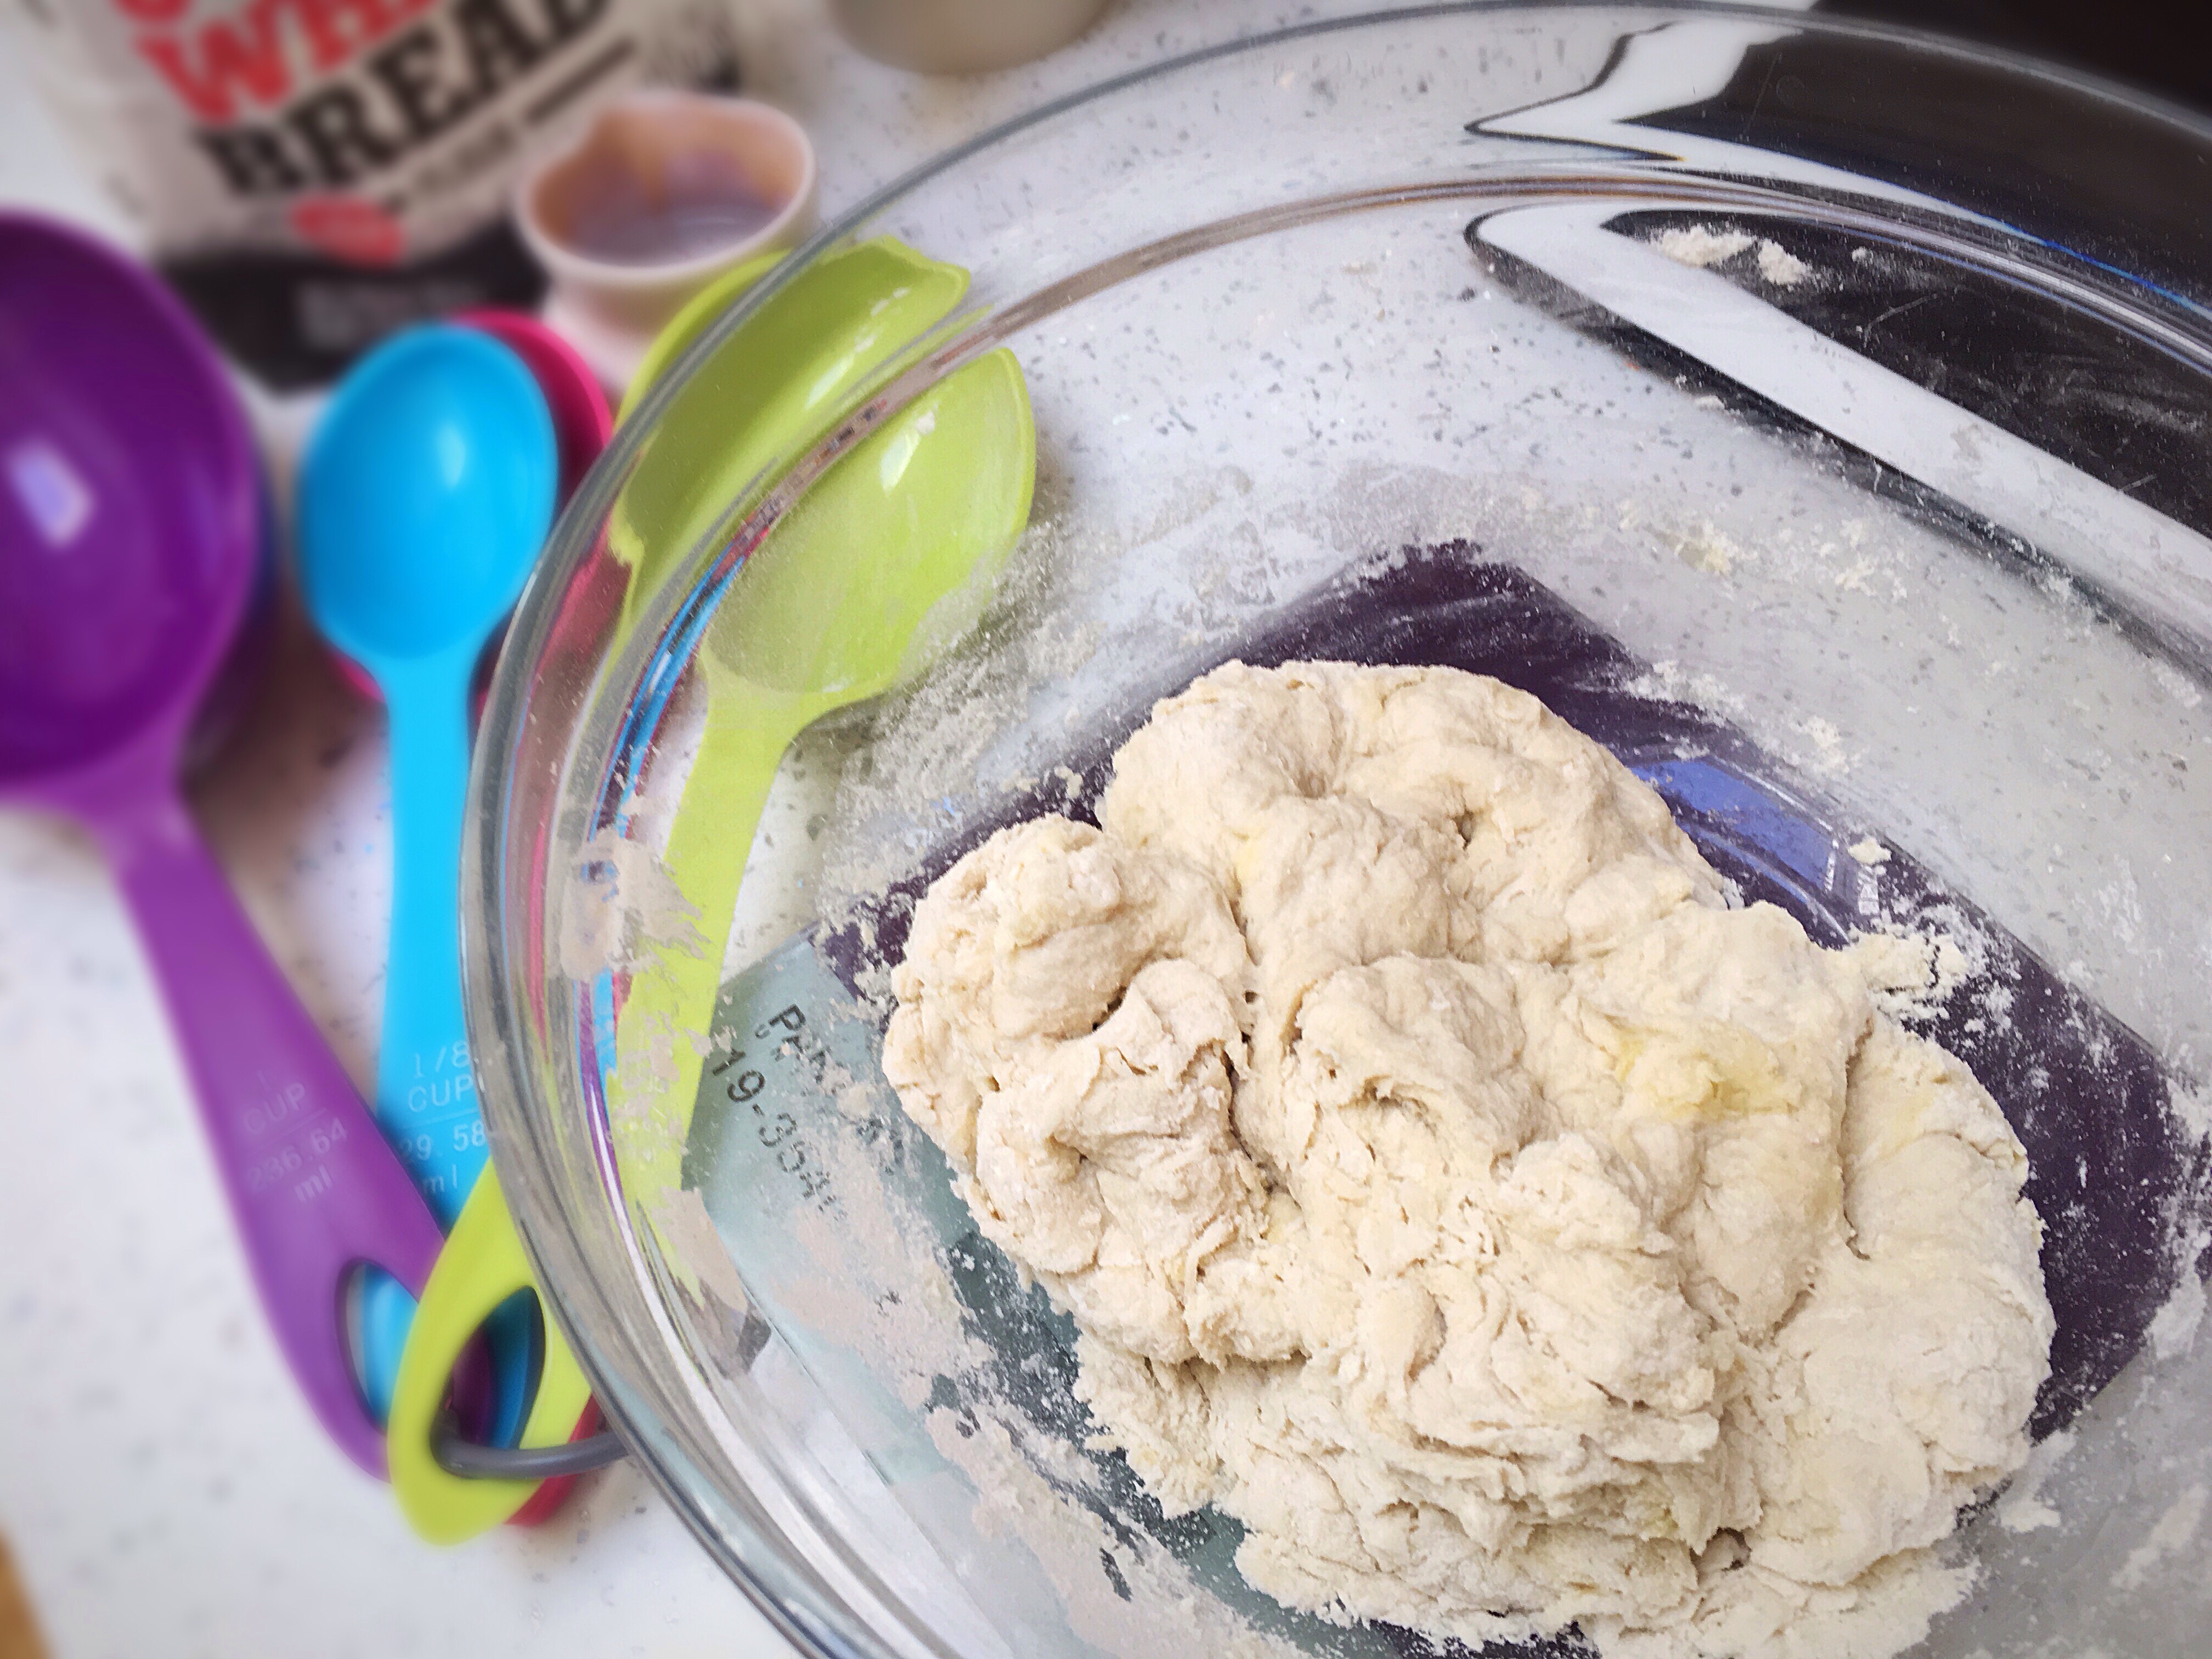
Cover with a shower cap or plastic bag, and leave for half an hour.

After the half an hour, perform a set of pulls and folds in the bowl, cover again and leave for another half an hour.

Repeat this another 2 times.

You can now either cover and refrigerate your dough for later use; or cover it again and allow it to rise for 1.5-2 hours.

*if you choose to refrigerate and use later, allow the dough to come up to room temperature for a good hour or more before using it

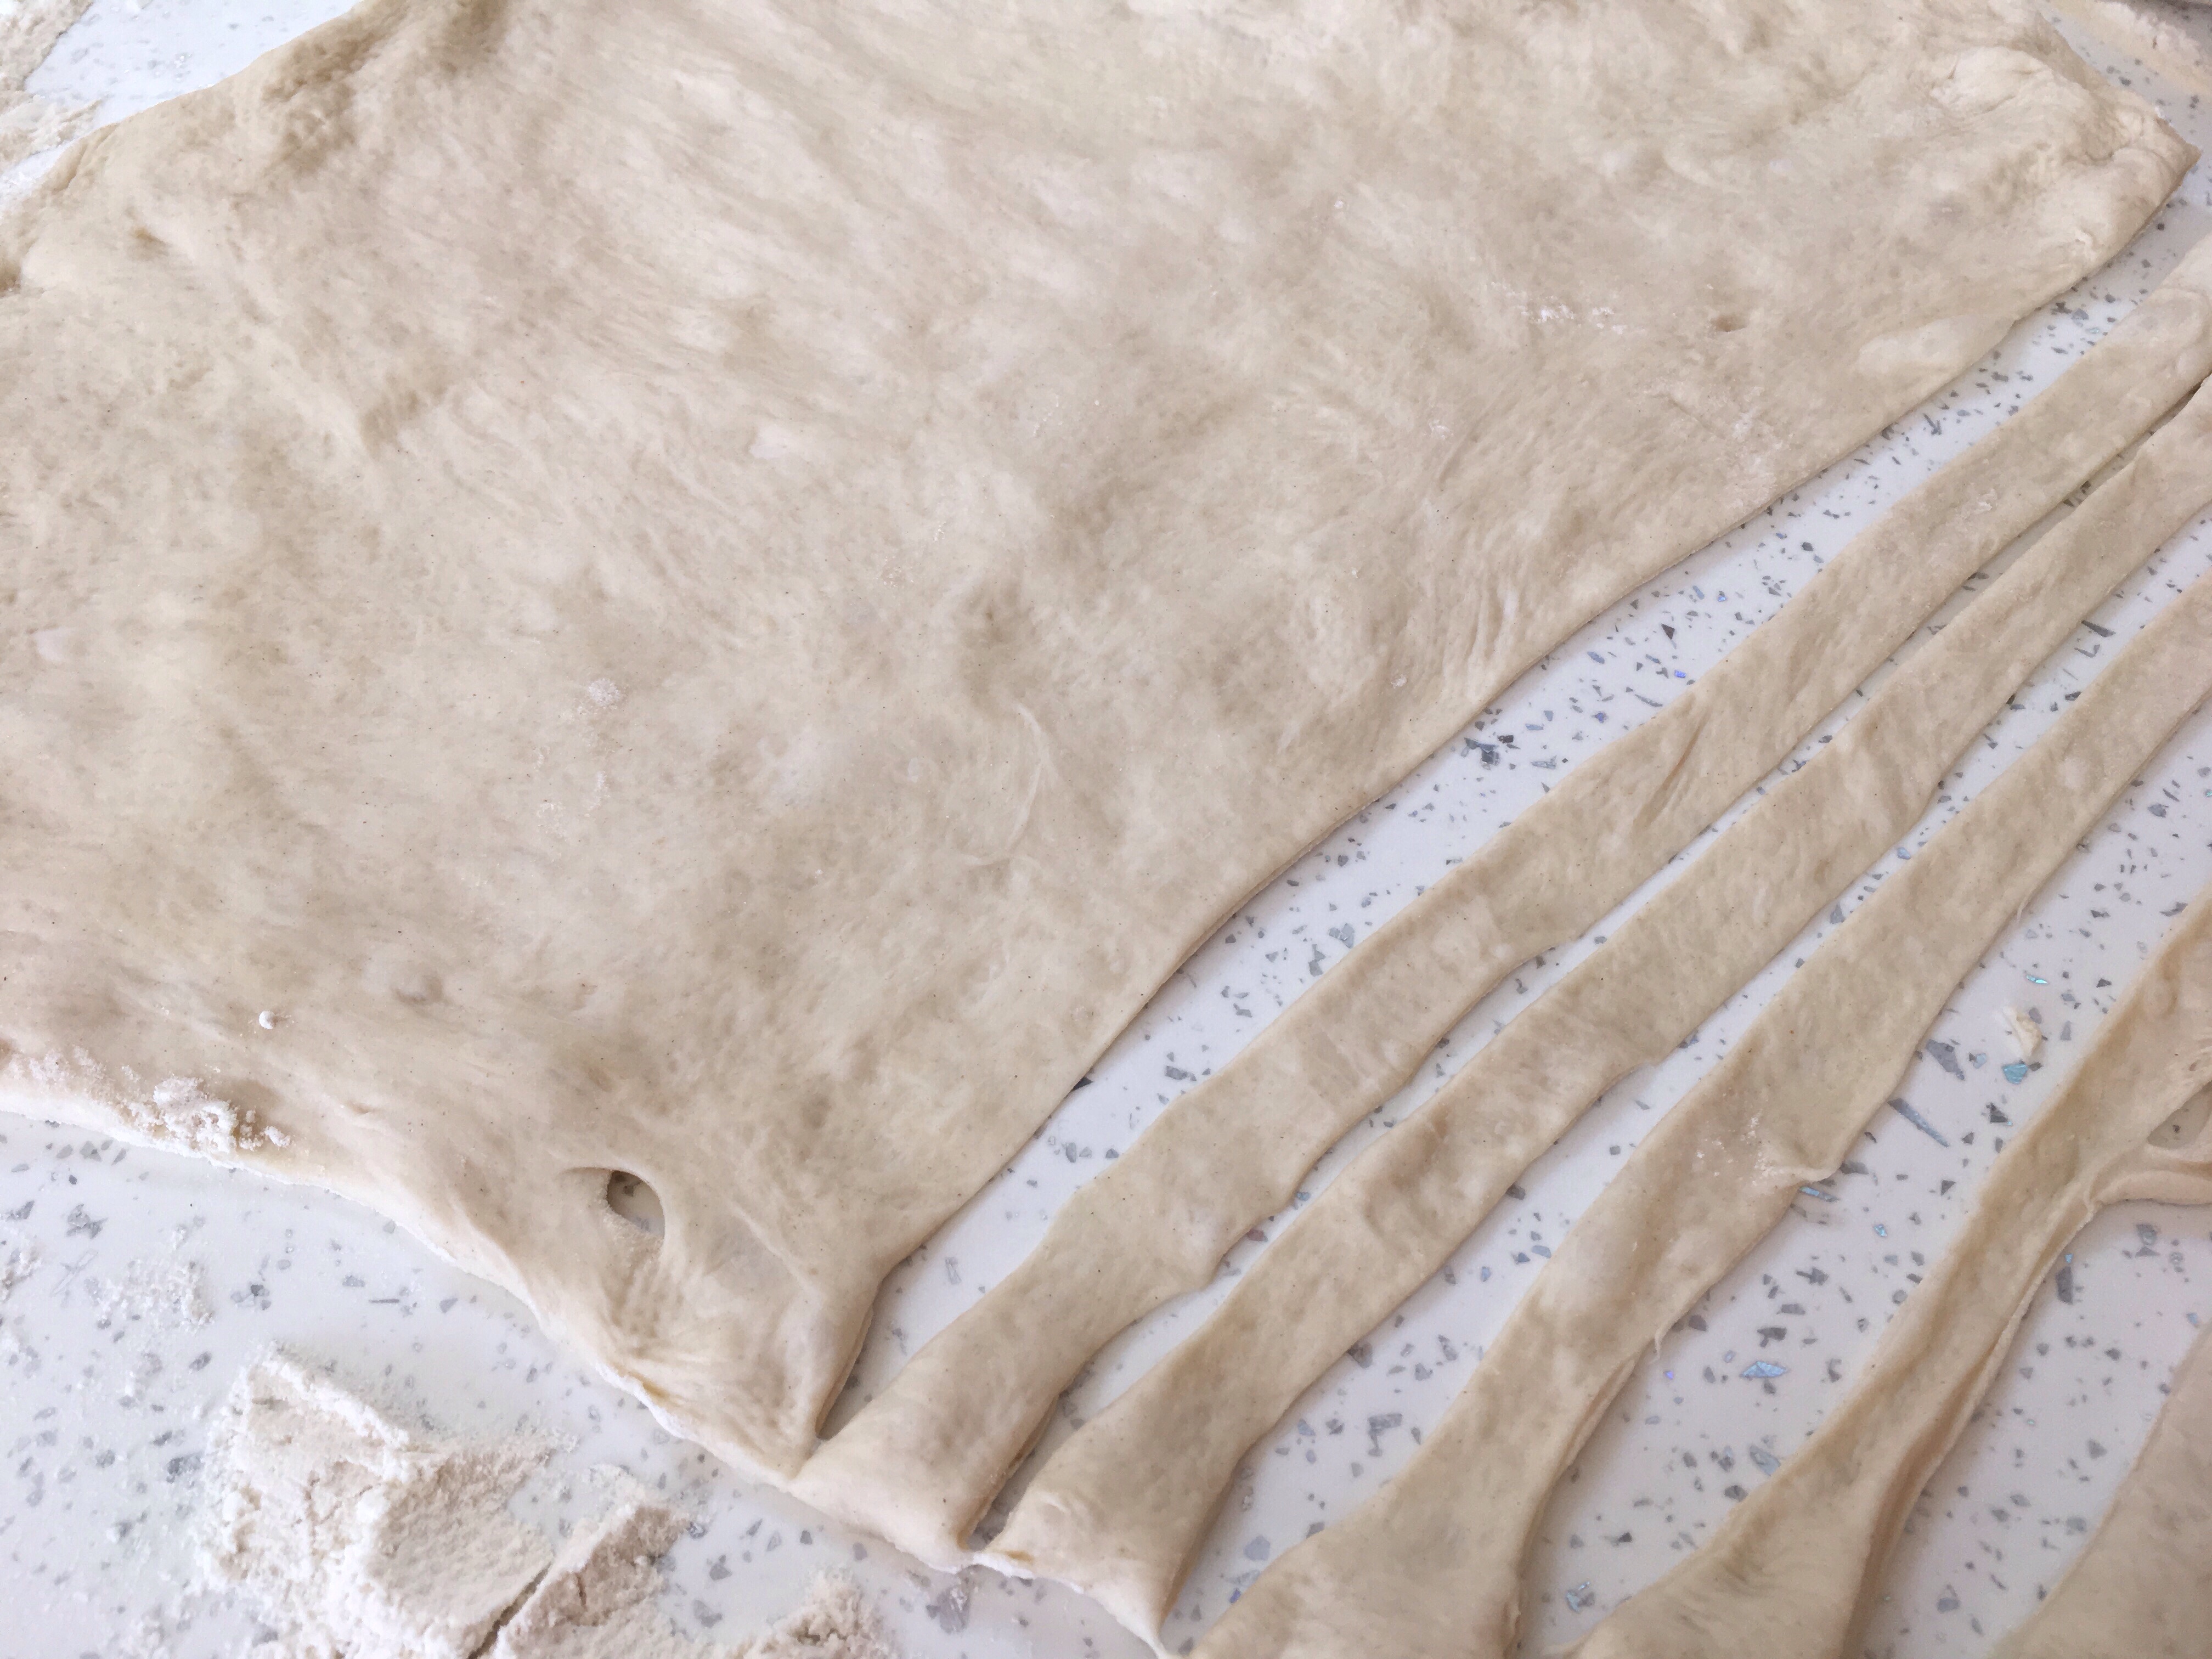
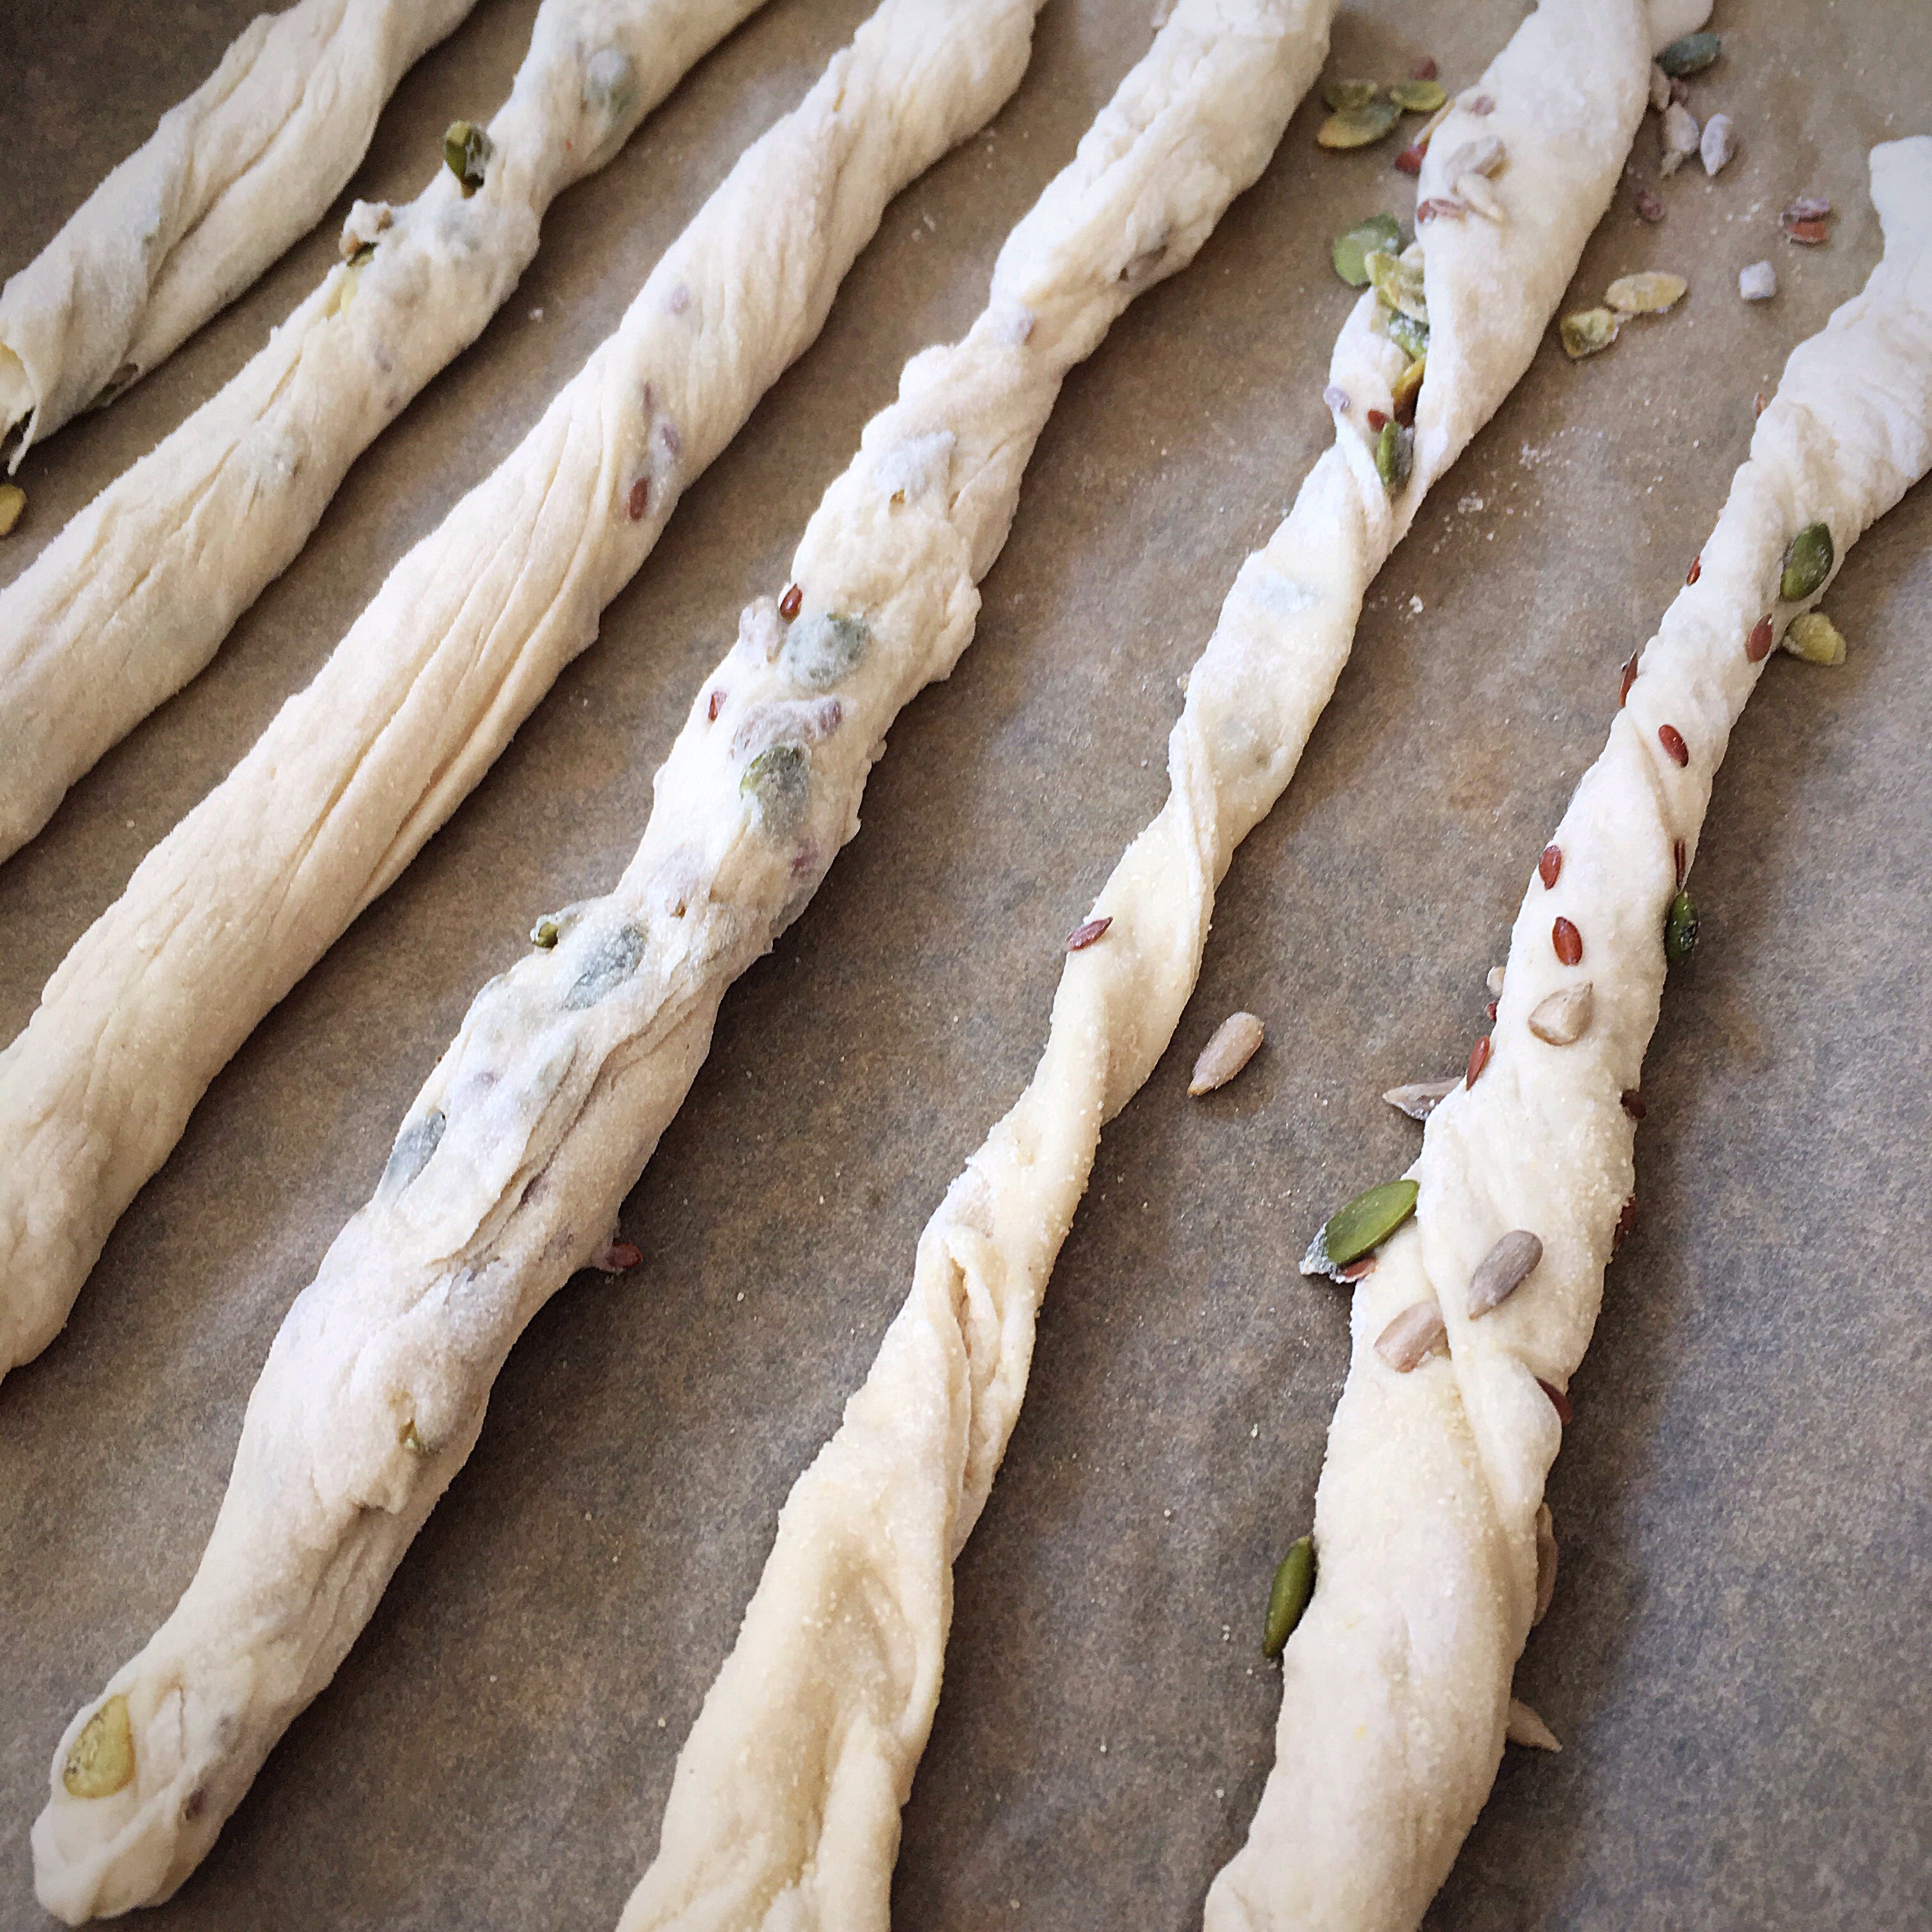
To make the breadsticks, cover your work surface with some flour, decant the dough onto the surface and spread it to a rectangle with your fingers. It will constantly want to pull back.

Cover it with cling film and leave for 5-10 minutes to settle then spread it out again. Try and even out the thickness across all of the dough to about 5mm.

(This is not particularly easy, my dough was very uneven!)

Prepare a baking sheet (you may need 2 large trays) by laying a piece of baking parchment paper across it.

Sprinkle some semolina on your work surface alongside your dough/tray.

Use a sharp knife or pizza cutter to słice the dough into 1cm strips.

A close up of some dough on top of a table

Roll them in the semolina then place on the lined baking tray.

Because my dough was too thin in the middle and thick at the edges I made twists with some of mine.
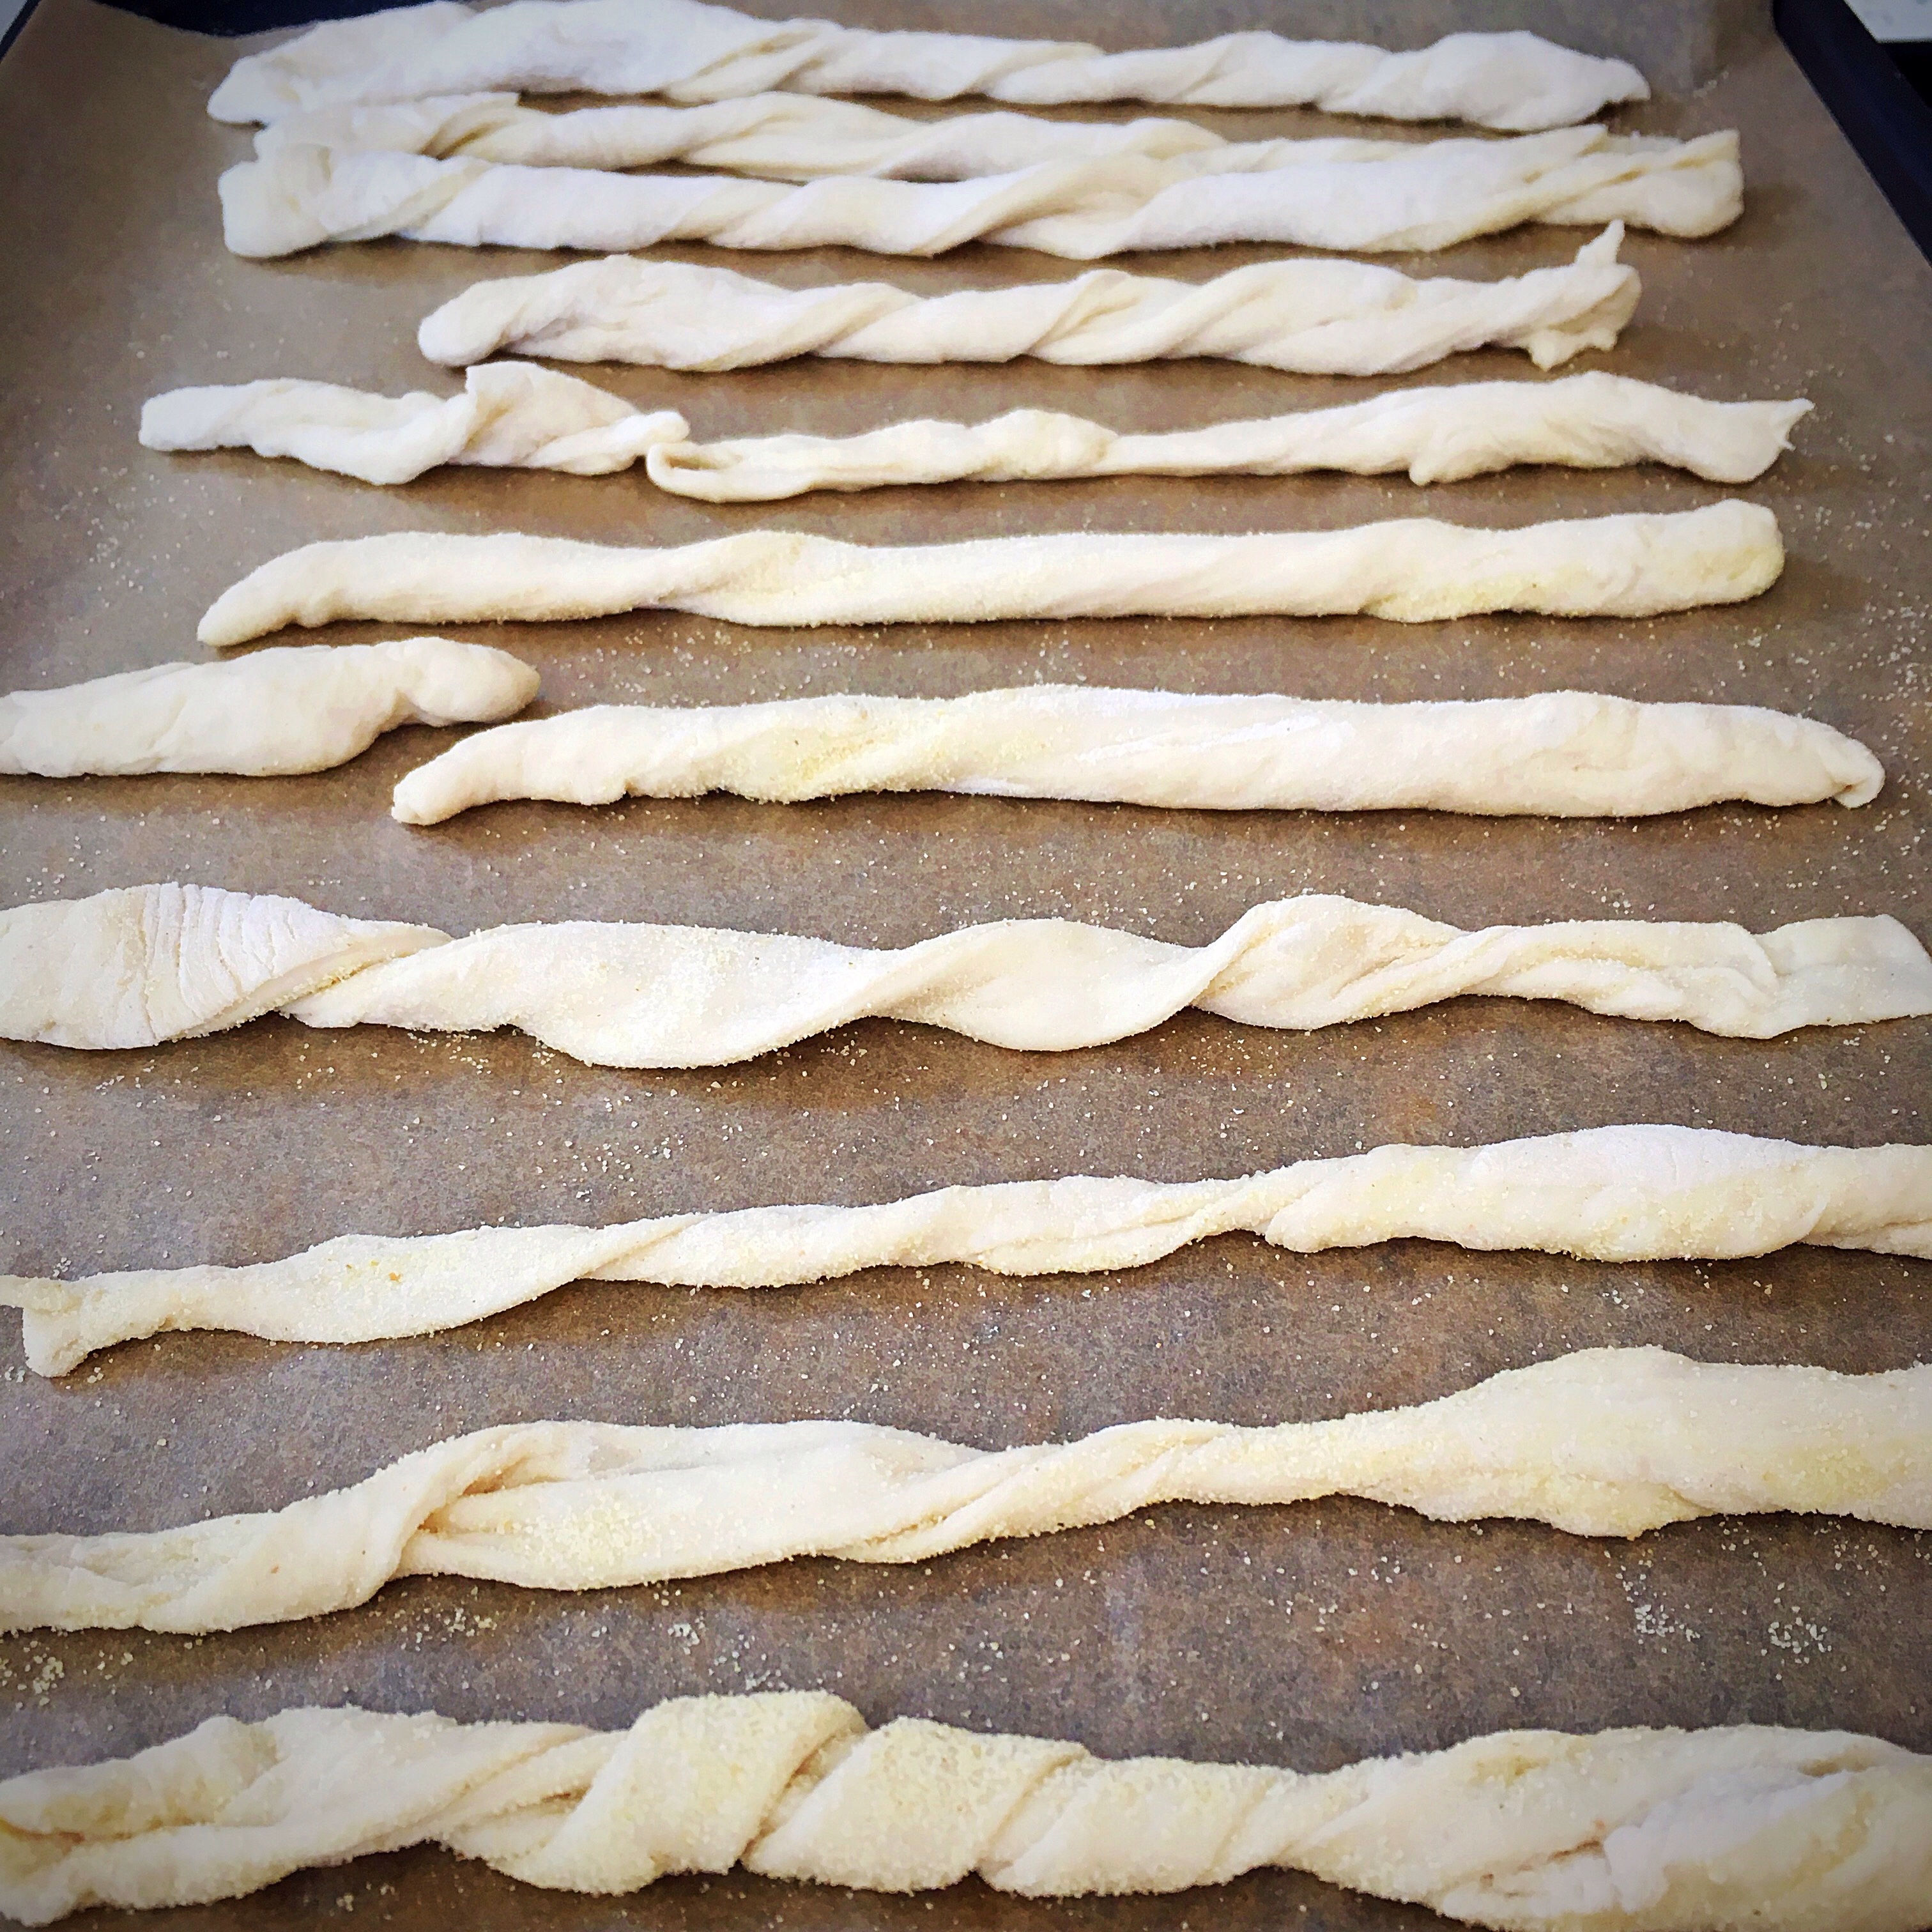
A tray of dough is lined up on the counter.

Artist licence!!

At this point you can try wrapping some seeds or spices or whatever you fancy into a few.

A close up of some bread sticks on the table

Once they’re all rolled or twisted and laid on the tray, cover the tray with a clean plastic bag or cling film and leave them to rise for half an hour whilst you heat the oven.

Preheat the oven to 230C fan.

Boil some water, pour it into a pan or oven proof bowl, and add it to the bottom of the oven to create steam.

After half an hour, turn the oven down to 190C fan.

Bake the breadsticks for 15 minutes, remove and cool on a rack.

*my oven has a hot spot so I turned the tray round half way through the bake.

*if the breadsticks are already looking dark at 13 or 14 minutes, use your judgement and remove the tray from the oven
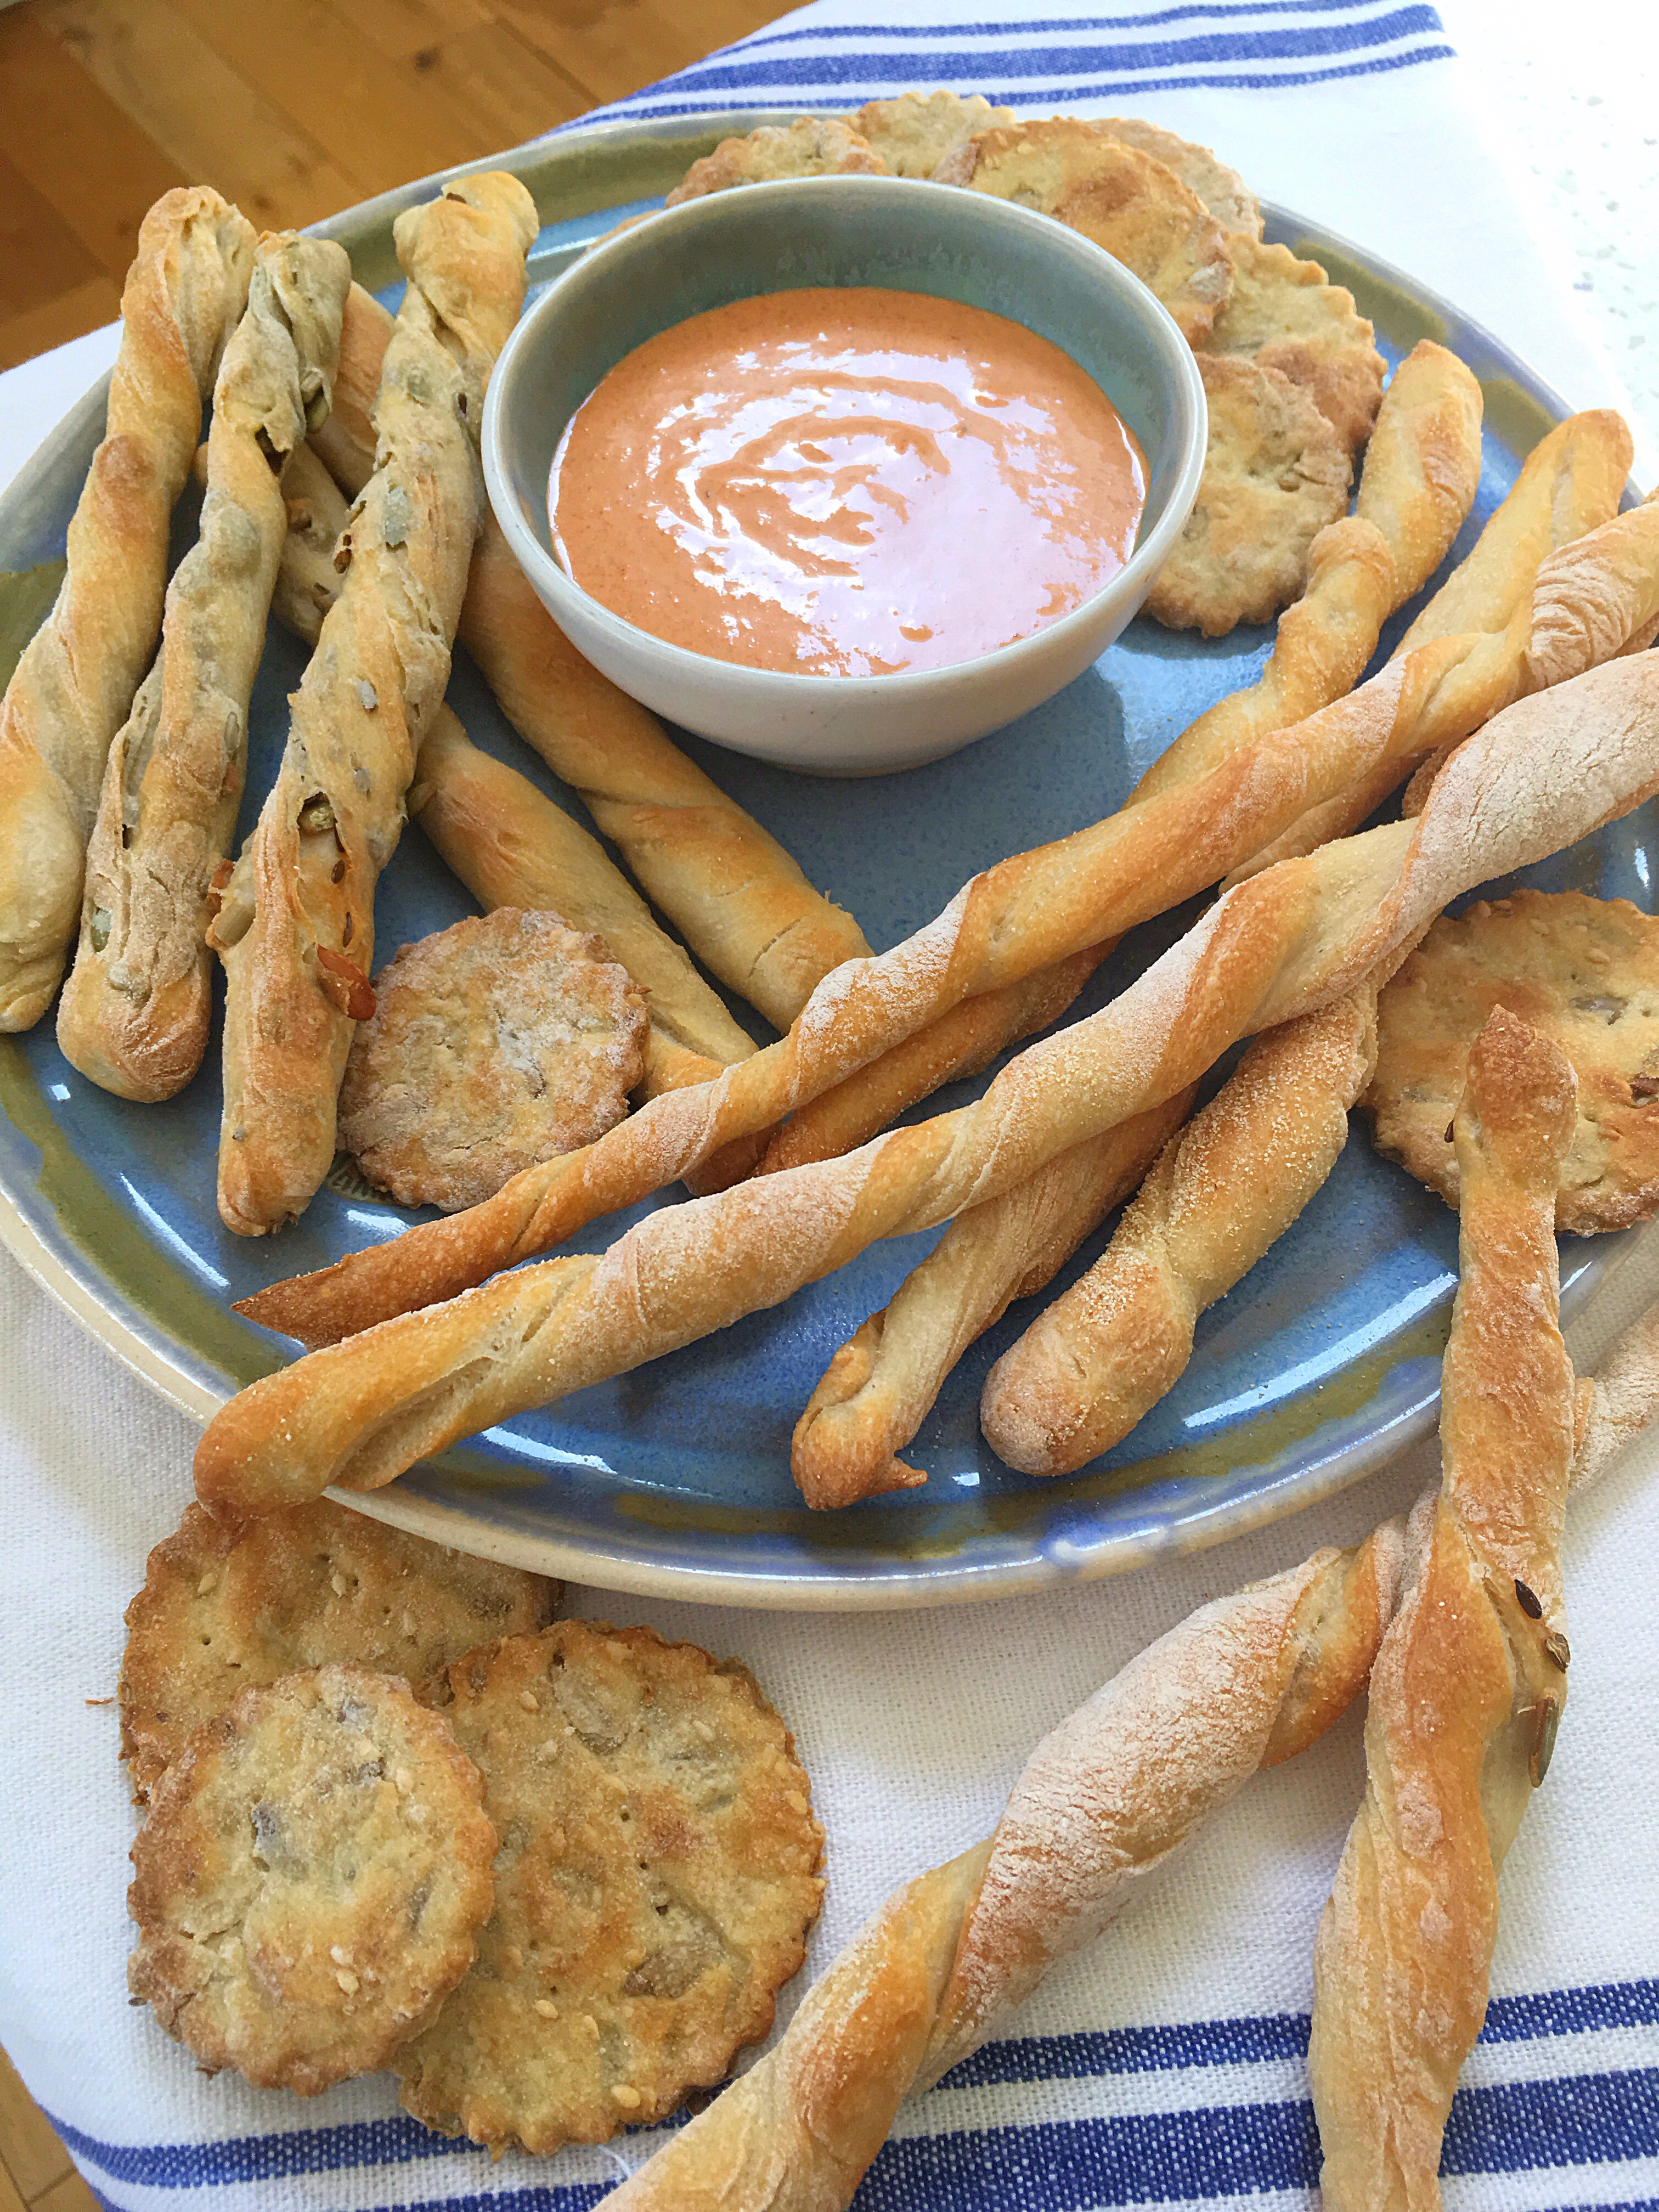
A bunch of bread sticks sitting on top of a sheet.A bunch of bread sticks are on the pan

Enjoy!!!

To store, keep them in an airtight container, I prefer a tin lined with baking paper rather than a plastic box
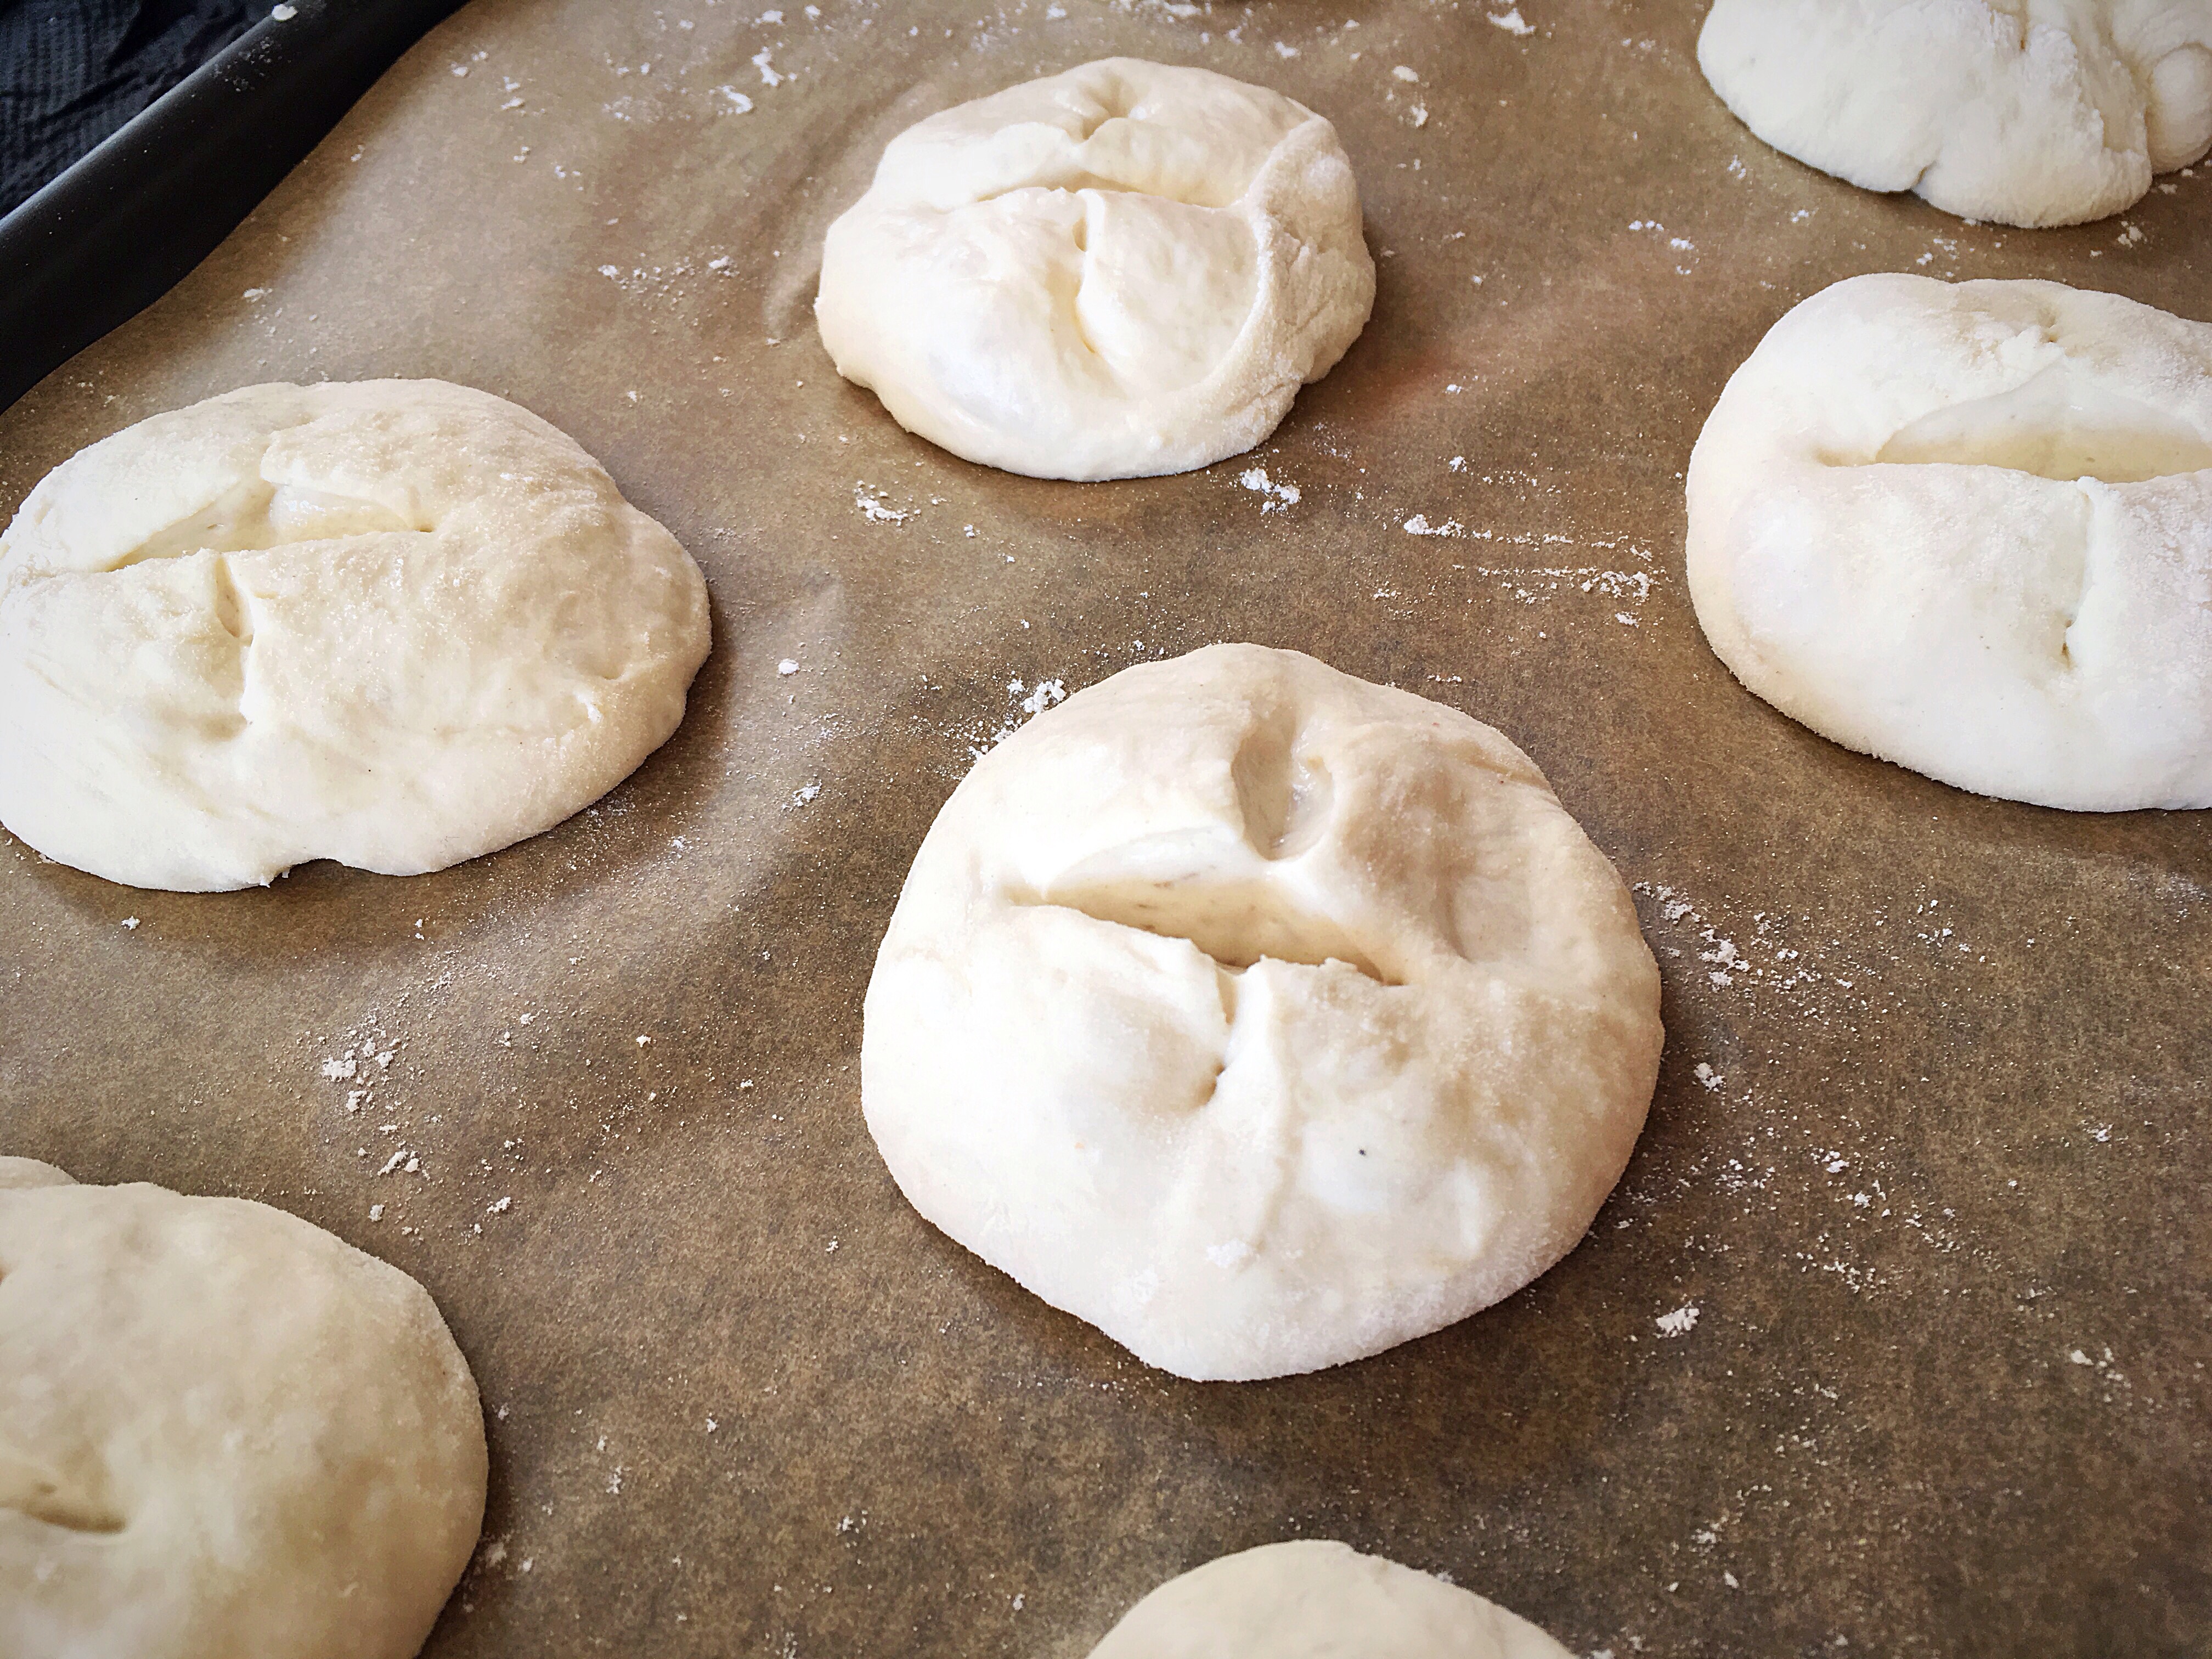
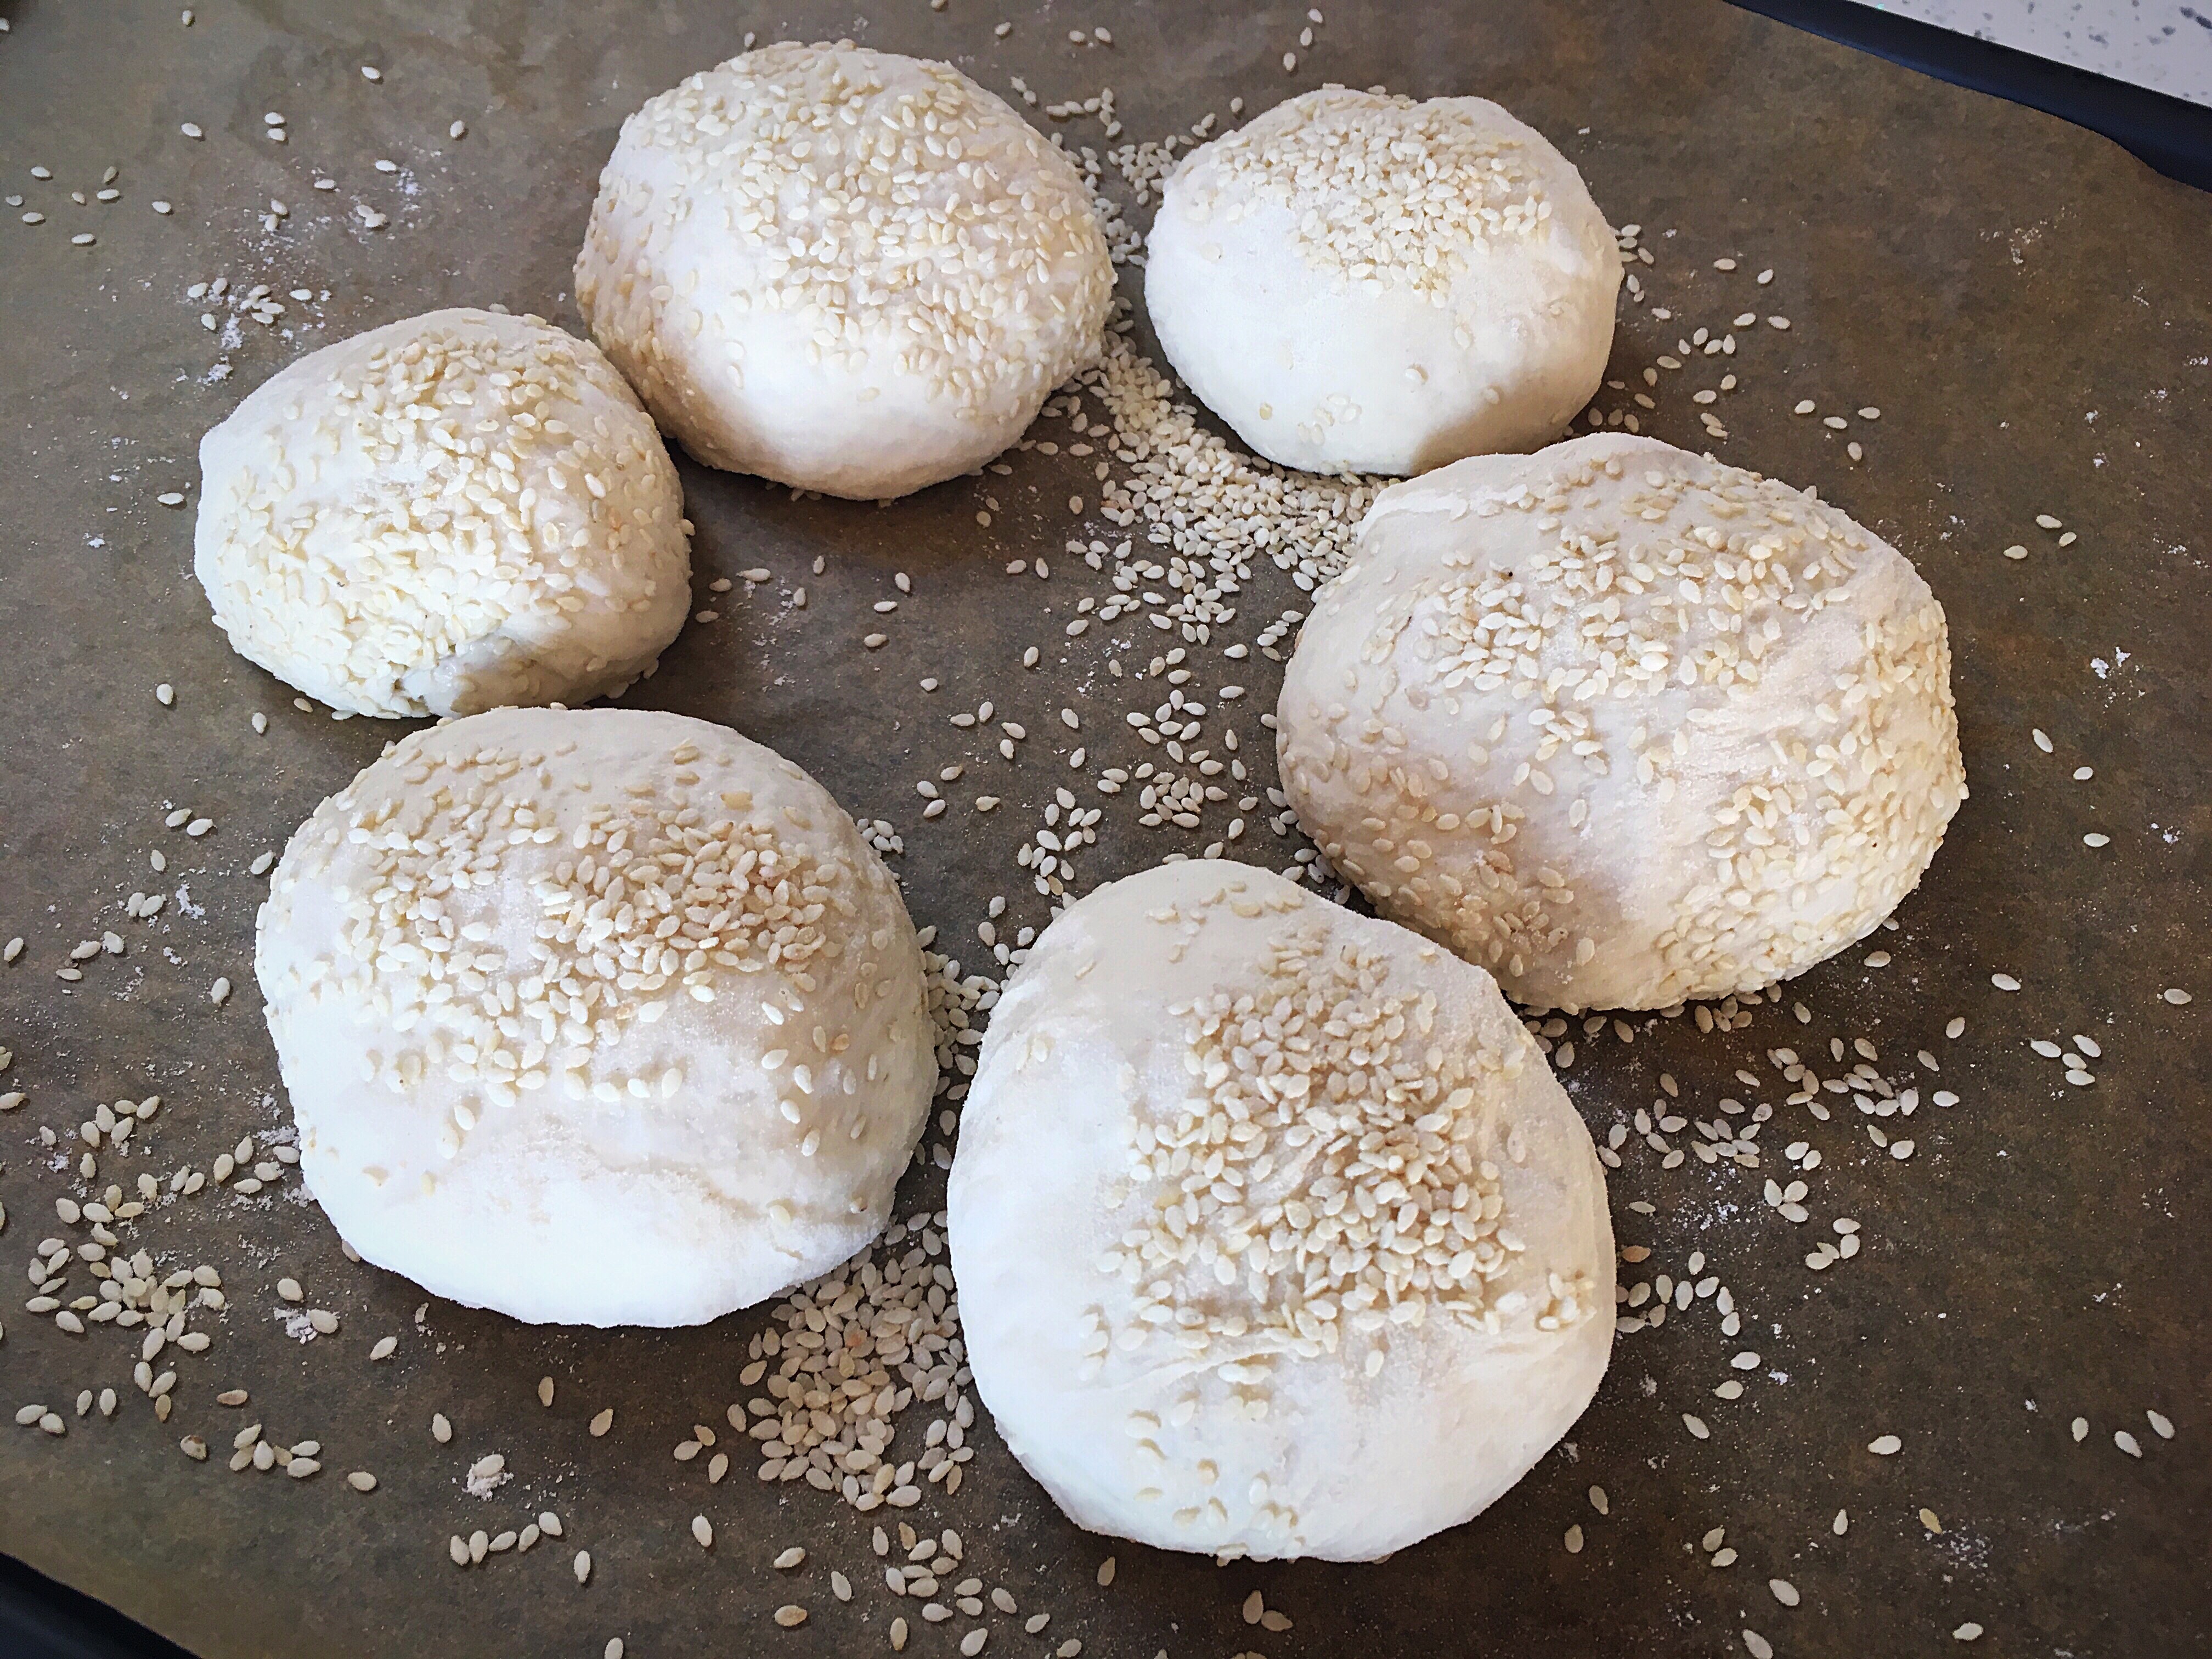
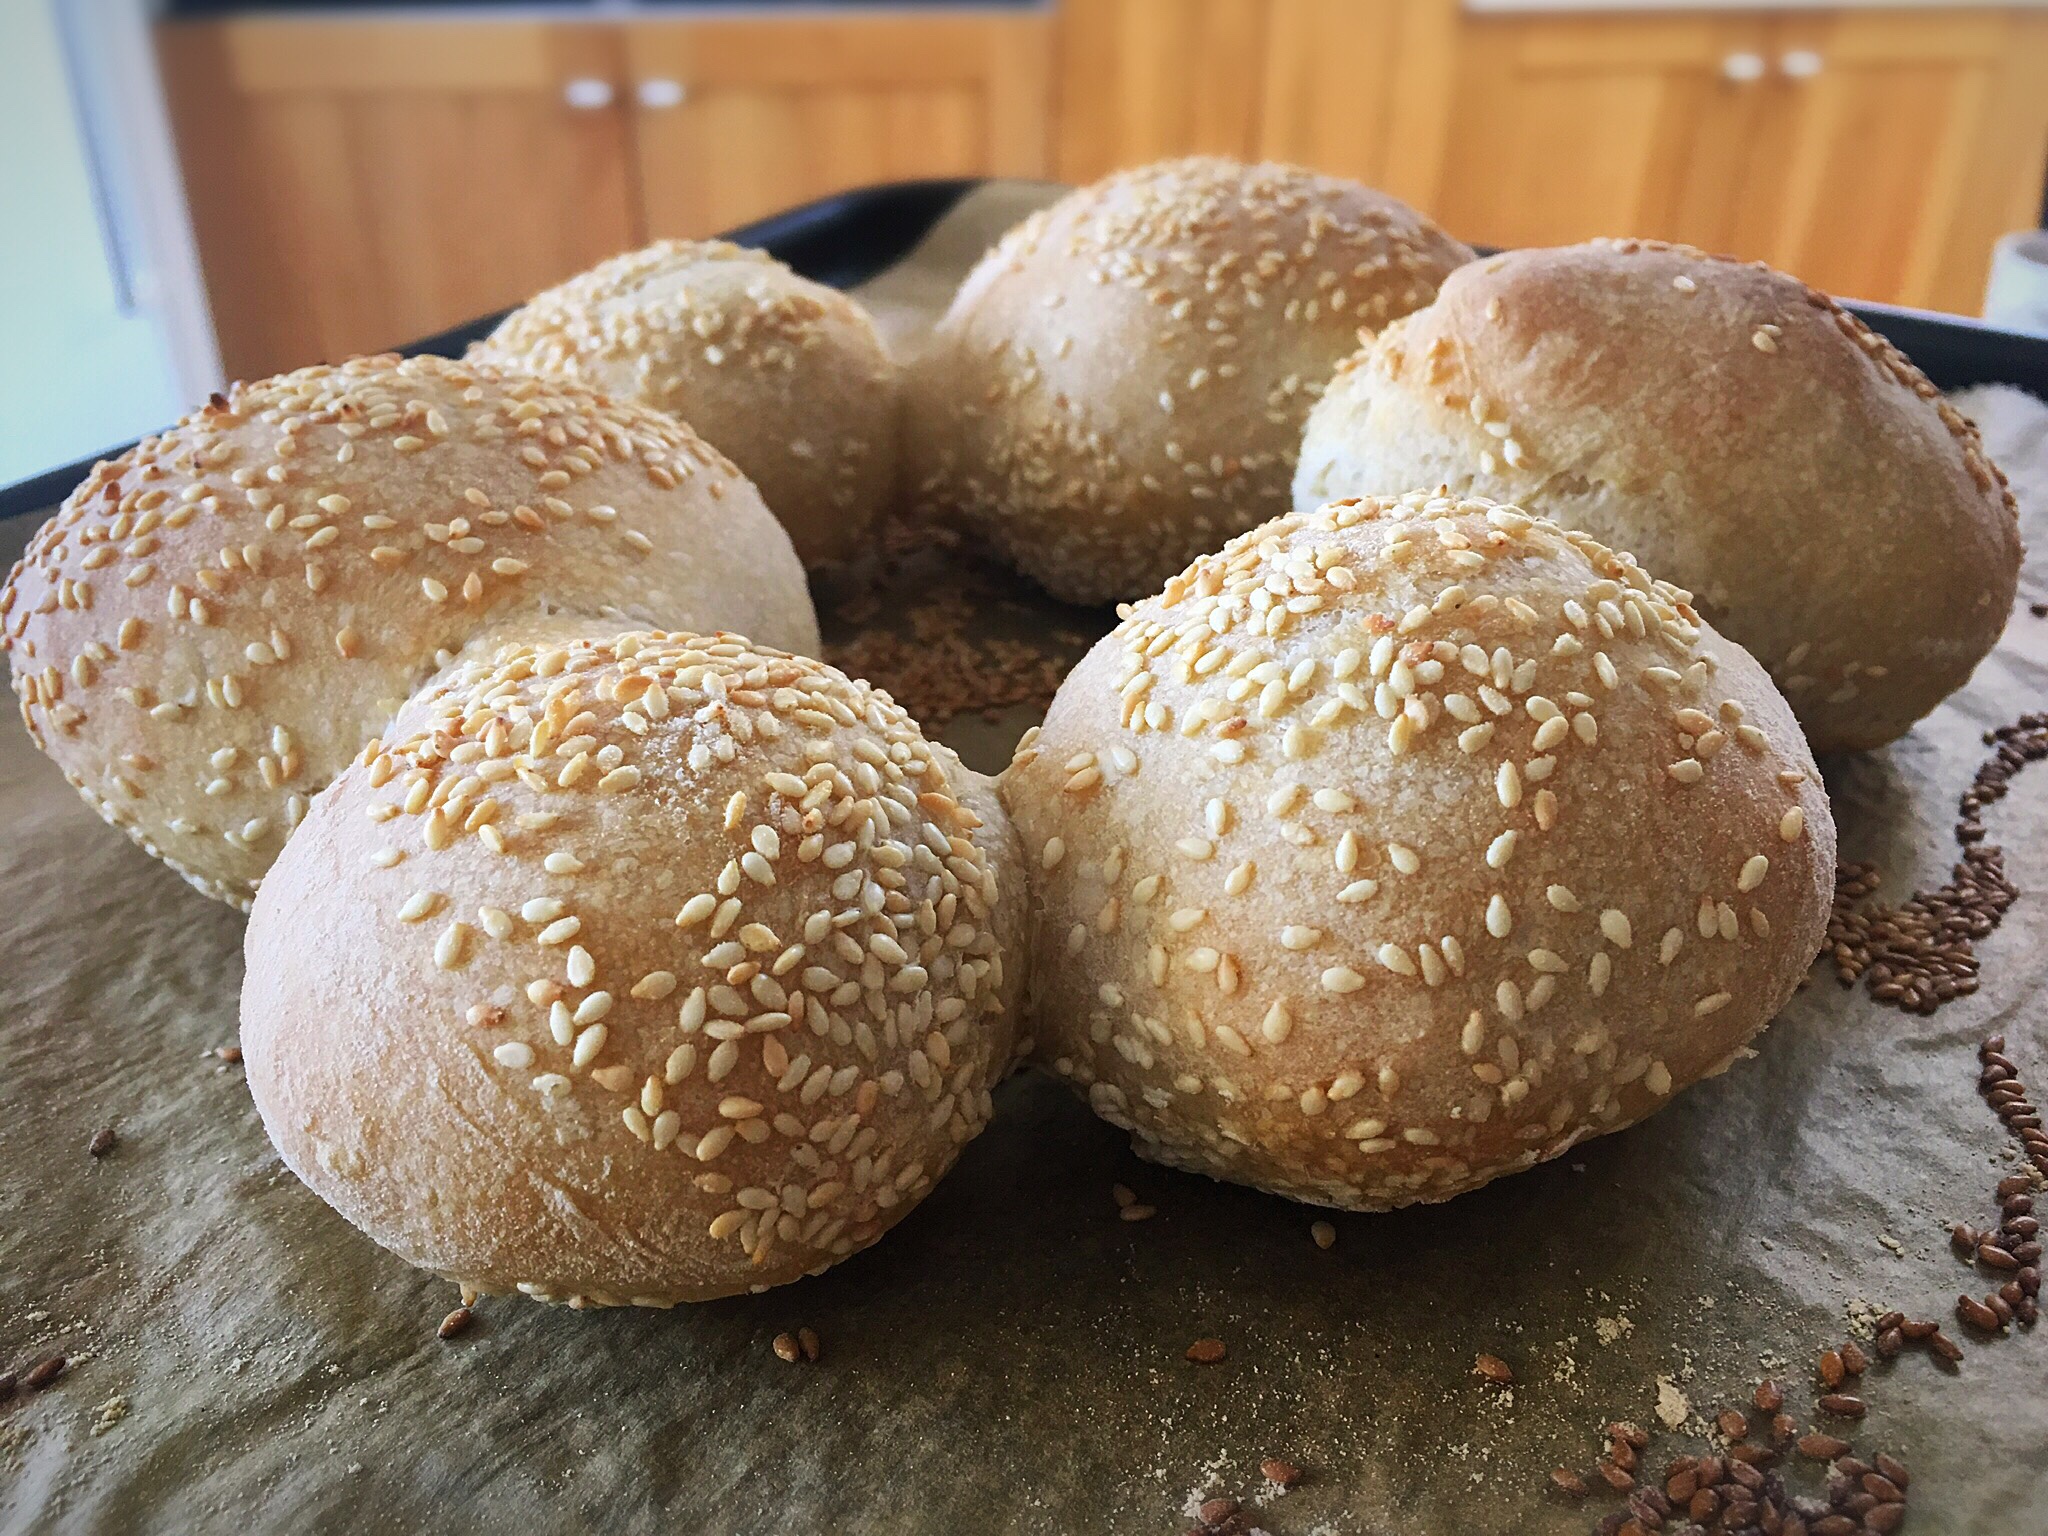
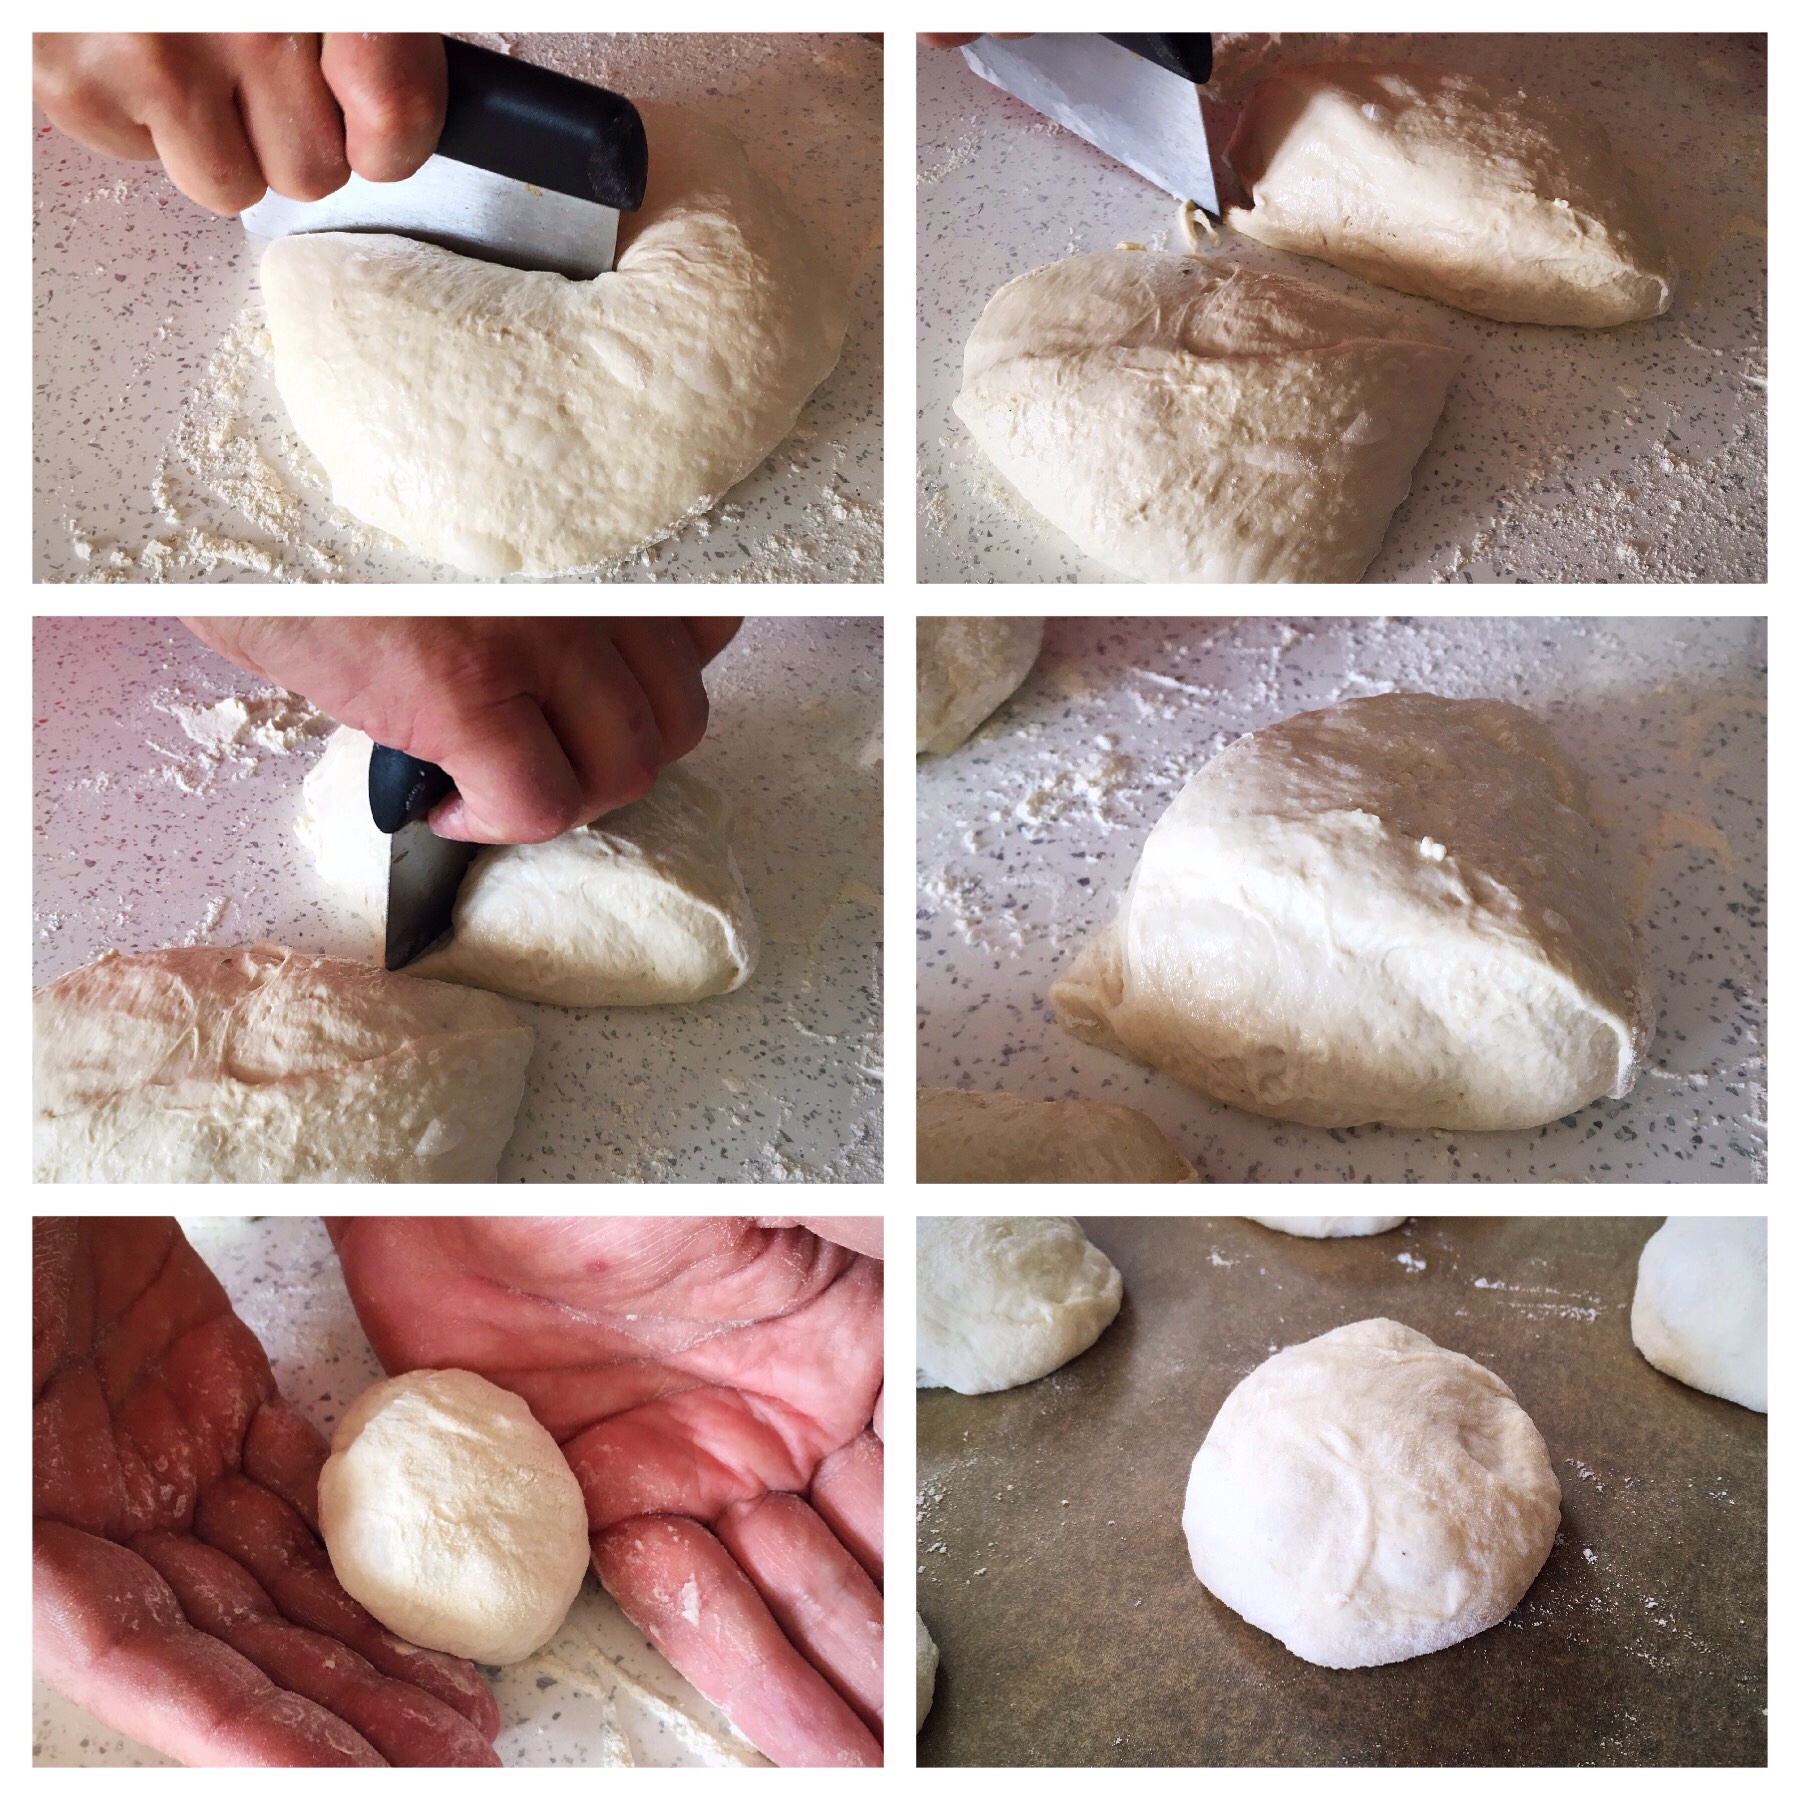
A plate of bread sticks and dipping sauce.

Seeded sourdough crackers…


These crackers should come with a warning: they are moreish!!! They’re so tasty!

If you have any spare or discard sourdough starter this is a great way to use it up, or, if like me, you manage your starter so that you never have any discard, just feed your starter especially to make these crackers.

I included toasted sesame seeds and sunflowers seeds in these crackers because that’s what I had in the cupboard, but you could also mix it up with pumpkins seeds, linseeds, poppy seeds, whatever you fancy. You could also consider adding some spices and experimenting with flavours you like.

You can also find three cracker recipes in my book which use different flours and additions, and also offer you three different timelines. 

You can easily double up this recipe, they keep well, and freeze well.

Ingredients

100g starter, fed for purpose, or discard

50g rolled oats

25g water

40g mixed seeds

30ml olive oil

1/2 tbsp honey

50g strong white flour

1/2 tsp salt

Method

In a medium mixing bowl, mix the oats, starter and water into an oaty sludge (technical term!), cover the bowl and leave it to one side for 2-3 hours.

After this time, you’ll see some little bubbles in the mix where the starter has been doing her stuff. Now stir in all of the other ingredients, mixing it all together really well.

Bring it together into a sticky dough, cover again and leave to rest for at least half an hour.

Preheat your oven to 180C fan/200C non fan.

Dust your counter with flour, turn the dough onto the surface, and roll out to about 2mm thick. You’ll need flour on the rolling pin too, and to keep moving your dough round as your roll it out so that it doesn’t stick to the table.

Line your baking tray with baking parchment paper. Cut out your crackers with cookie/biscuit cutters, I used small sizes to make these snack bites, and place onto the tray.

They can be quite close as they don’t spread. You may need to use 2 baking trays.

Prick each cracker with a fork to stop them ballooning.

Bake for 7 mins, then remove the tray, turn the crackers over, return to the oven, and bake for another 7 mins.

Cool on a rack, they will crisp up even more as they cool.

Eat!!!

If you haven’t eaten them all immediately, they will keep in a tin for a few days.

Check out the rest of this blog for other sourdough ideas or visit my shop to buy my dried starter.

Have a great week!

My idea of alchemy…

The magic of sourdough amazes me every time; what my starter achieves over and over again never ceases to amaze me and make me smile…I know, I’m easily pleased!

But look at it, don’t you agree it’s pure magic?

You start off with this….(my dormant starter straight from the fridge)

You feed it (30g strong white flour + 30g water) and it becomes this…

You use it to put your dough together, perform the lifts and folds, cover it, then leave it overnight to prove…and by the next morning it’s become this bowl of bubbly wonder…

And after nurturing and scoring and baking it…it gives you this…

Now if that isn’t magic, what is??? don’t you agree?

(I bought a new toy this week, a turntable! I used to score this loaf, but I can’t get the video to load on here. I’ve put it on my Instagram feed though if you’d like to have a look – I predict great turntable fun in my future!!)