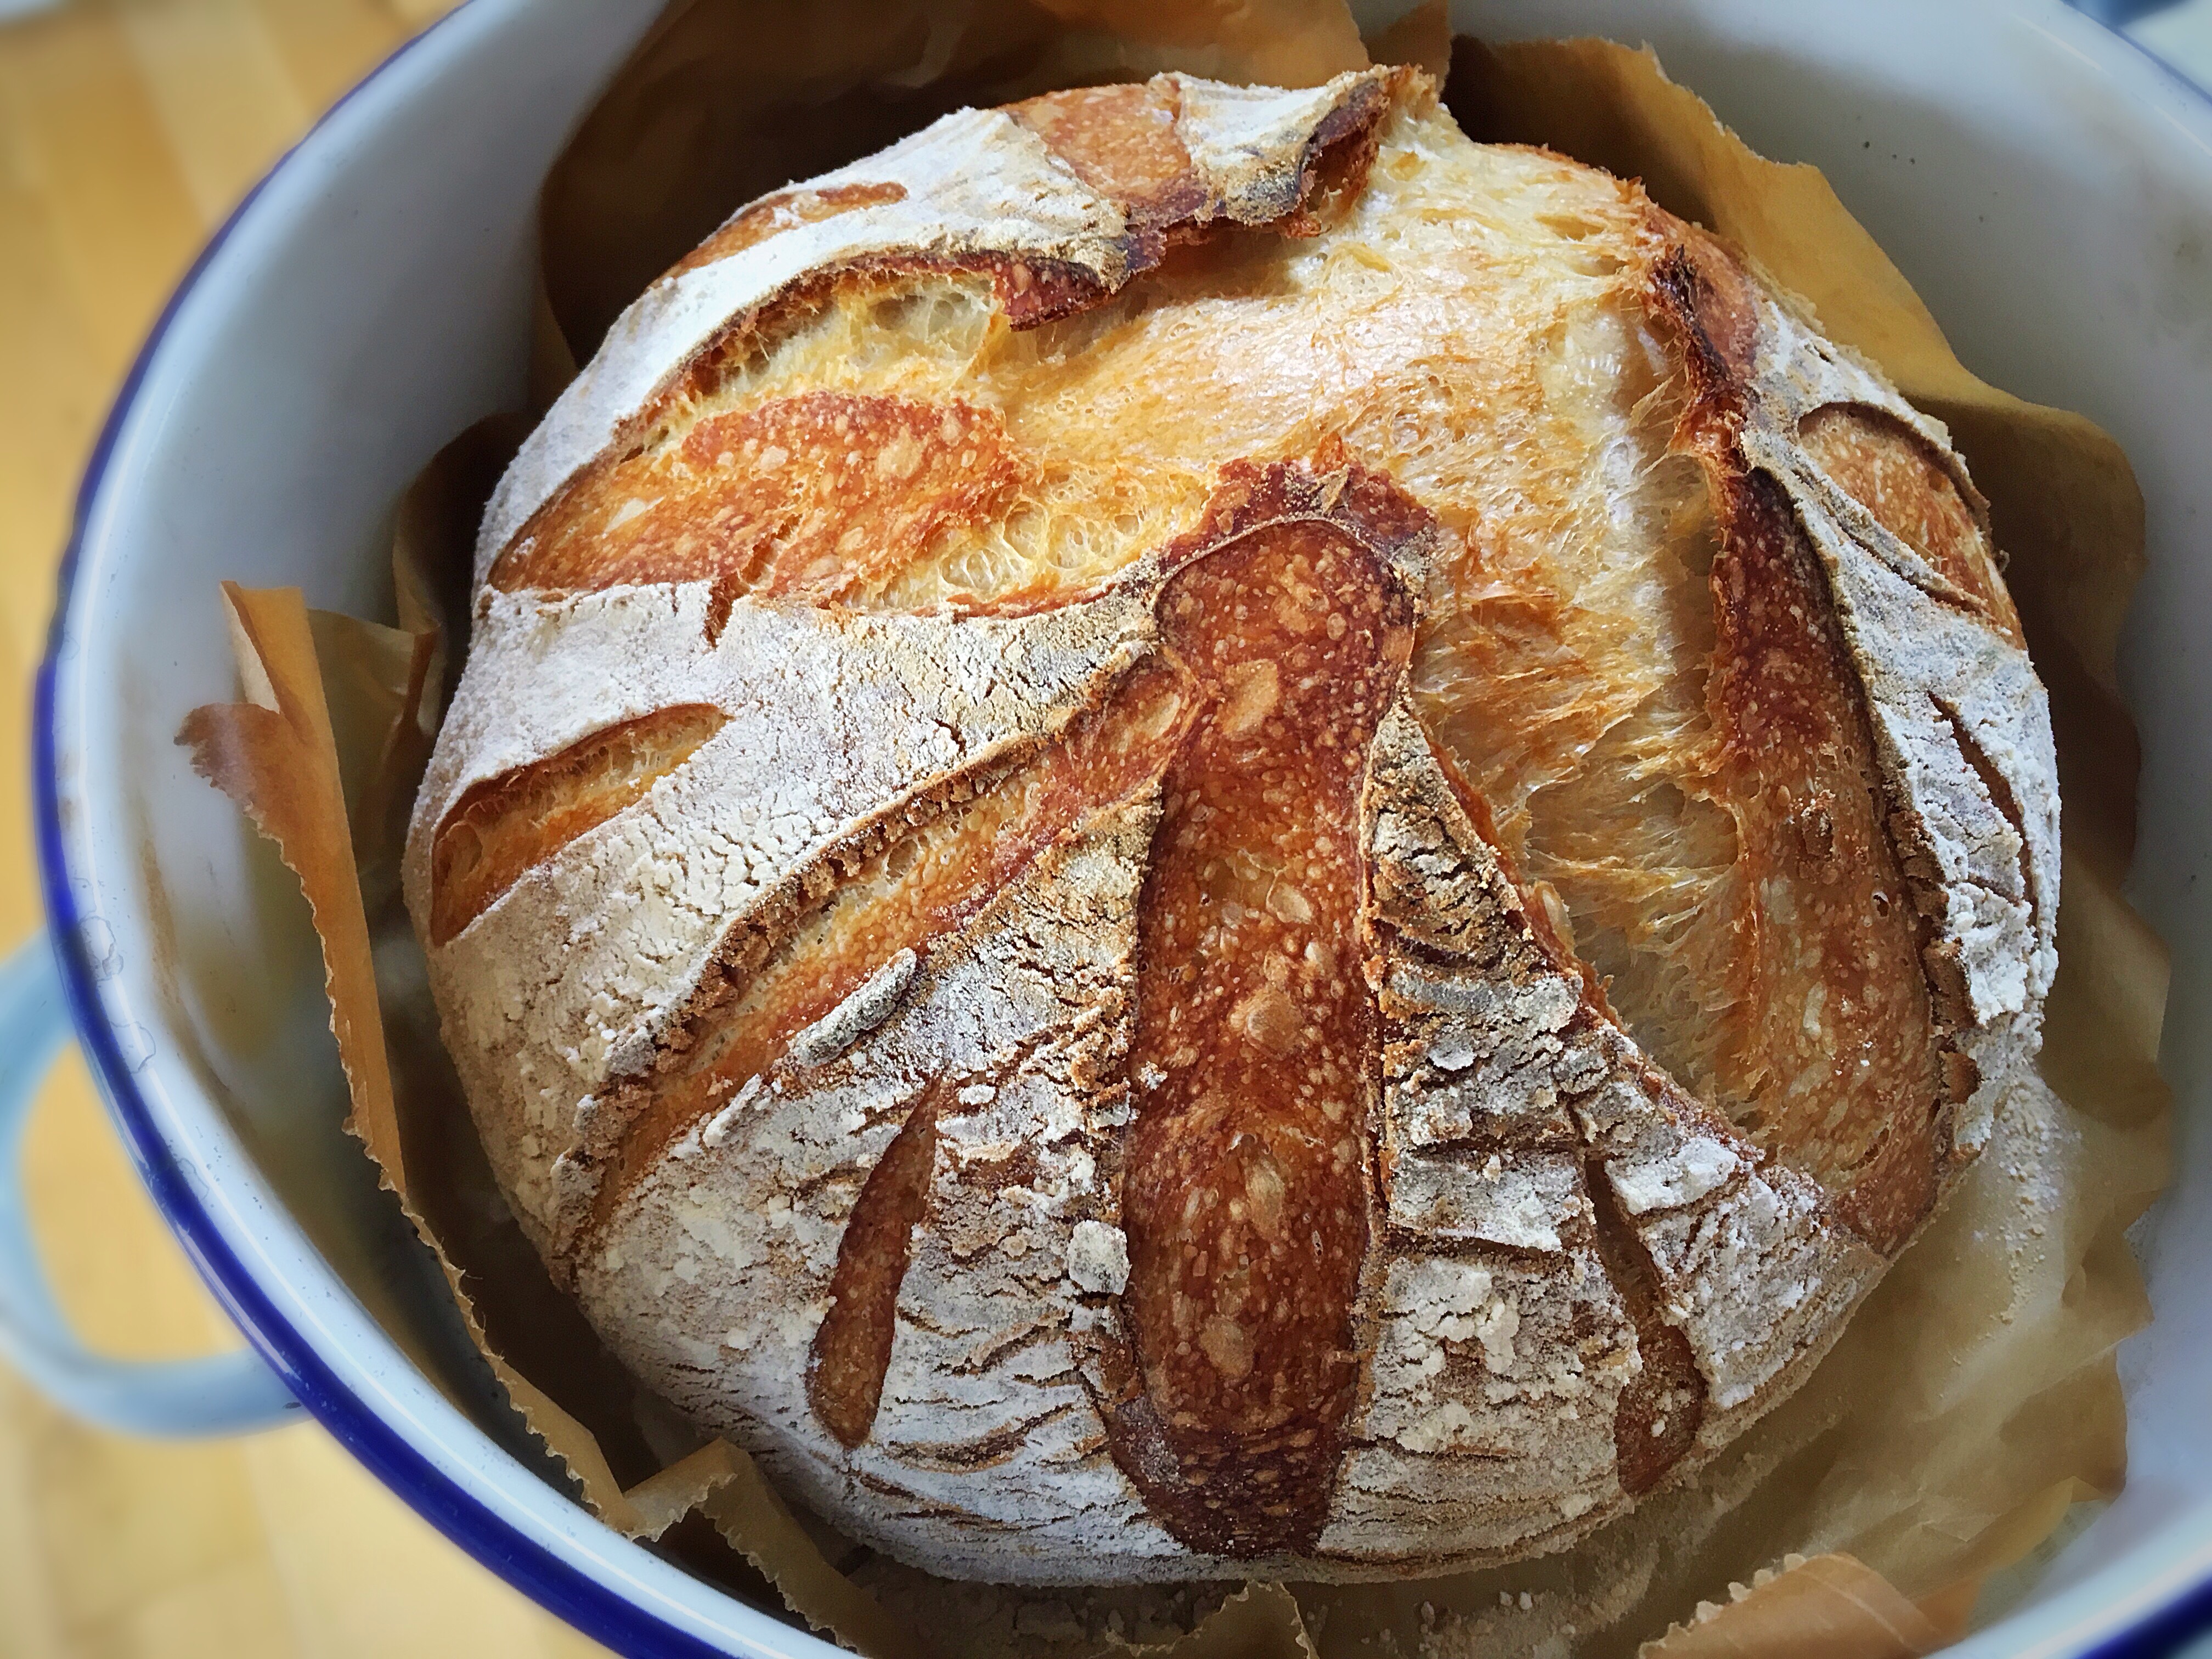
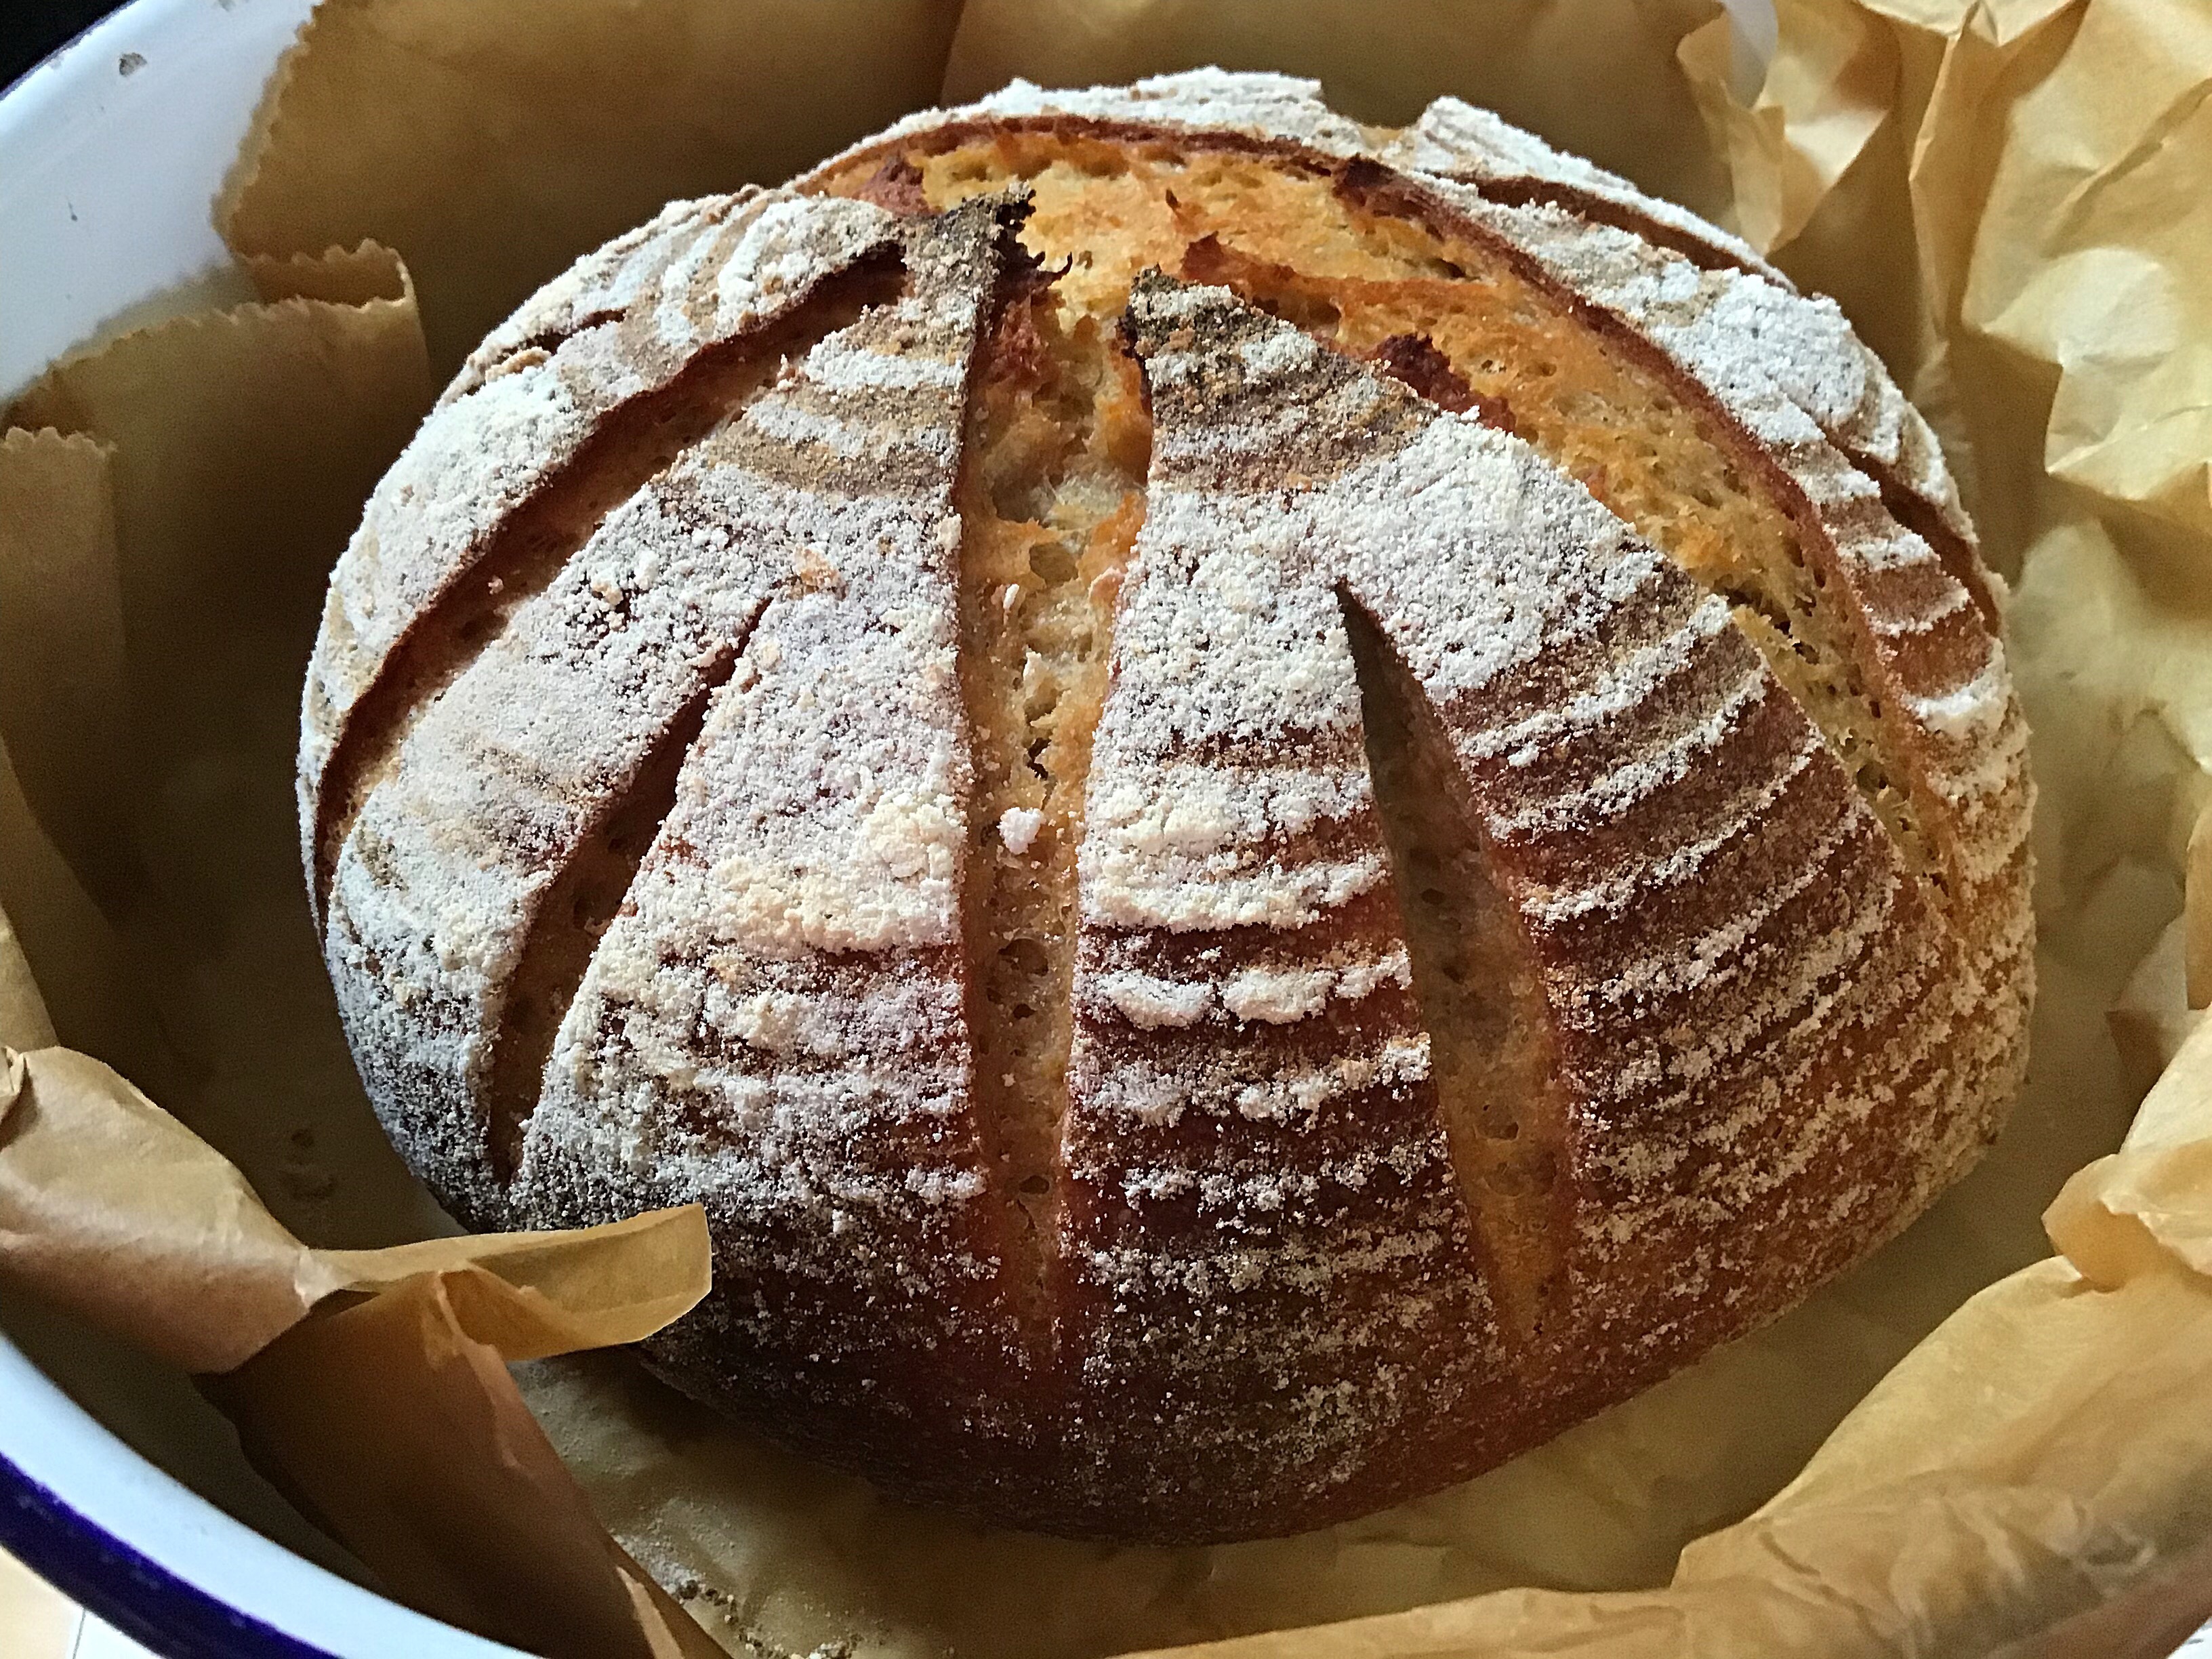
Pita or pitta, which ever spelling you use, here’s my sourdough version…
🌟🌟🌟 You can now find a same day sourdough pita recipe in my new book 🌟🌟🌟
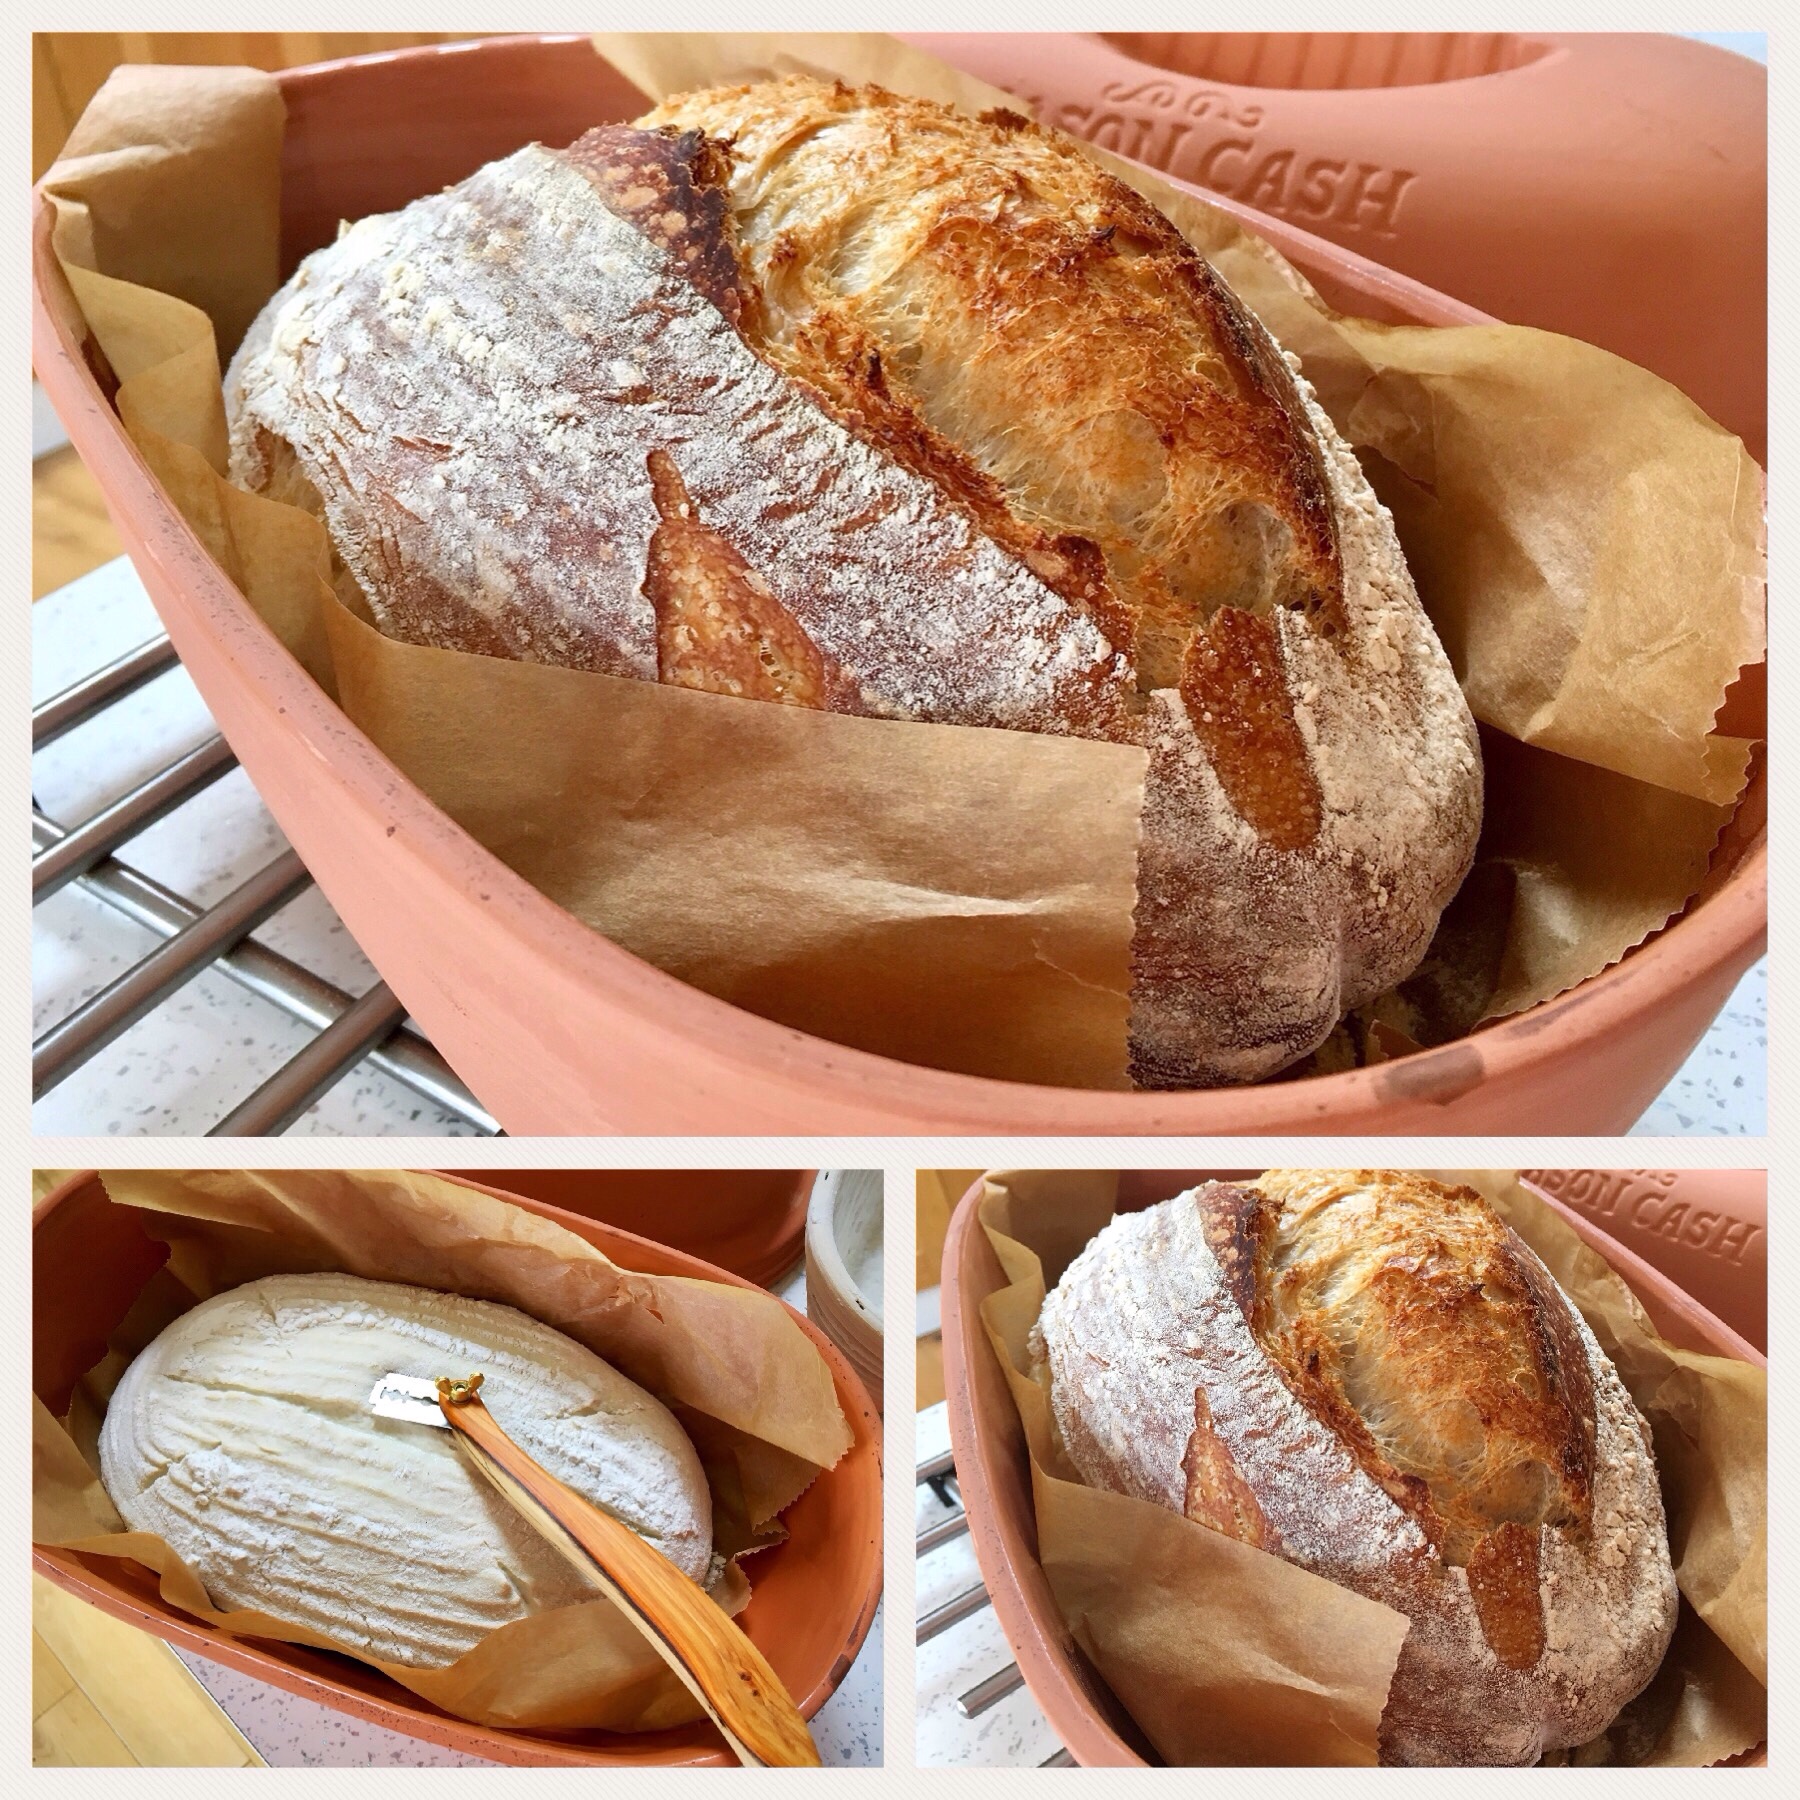
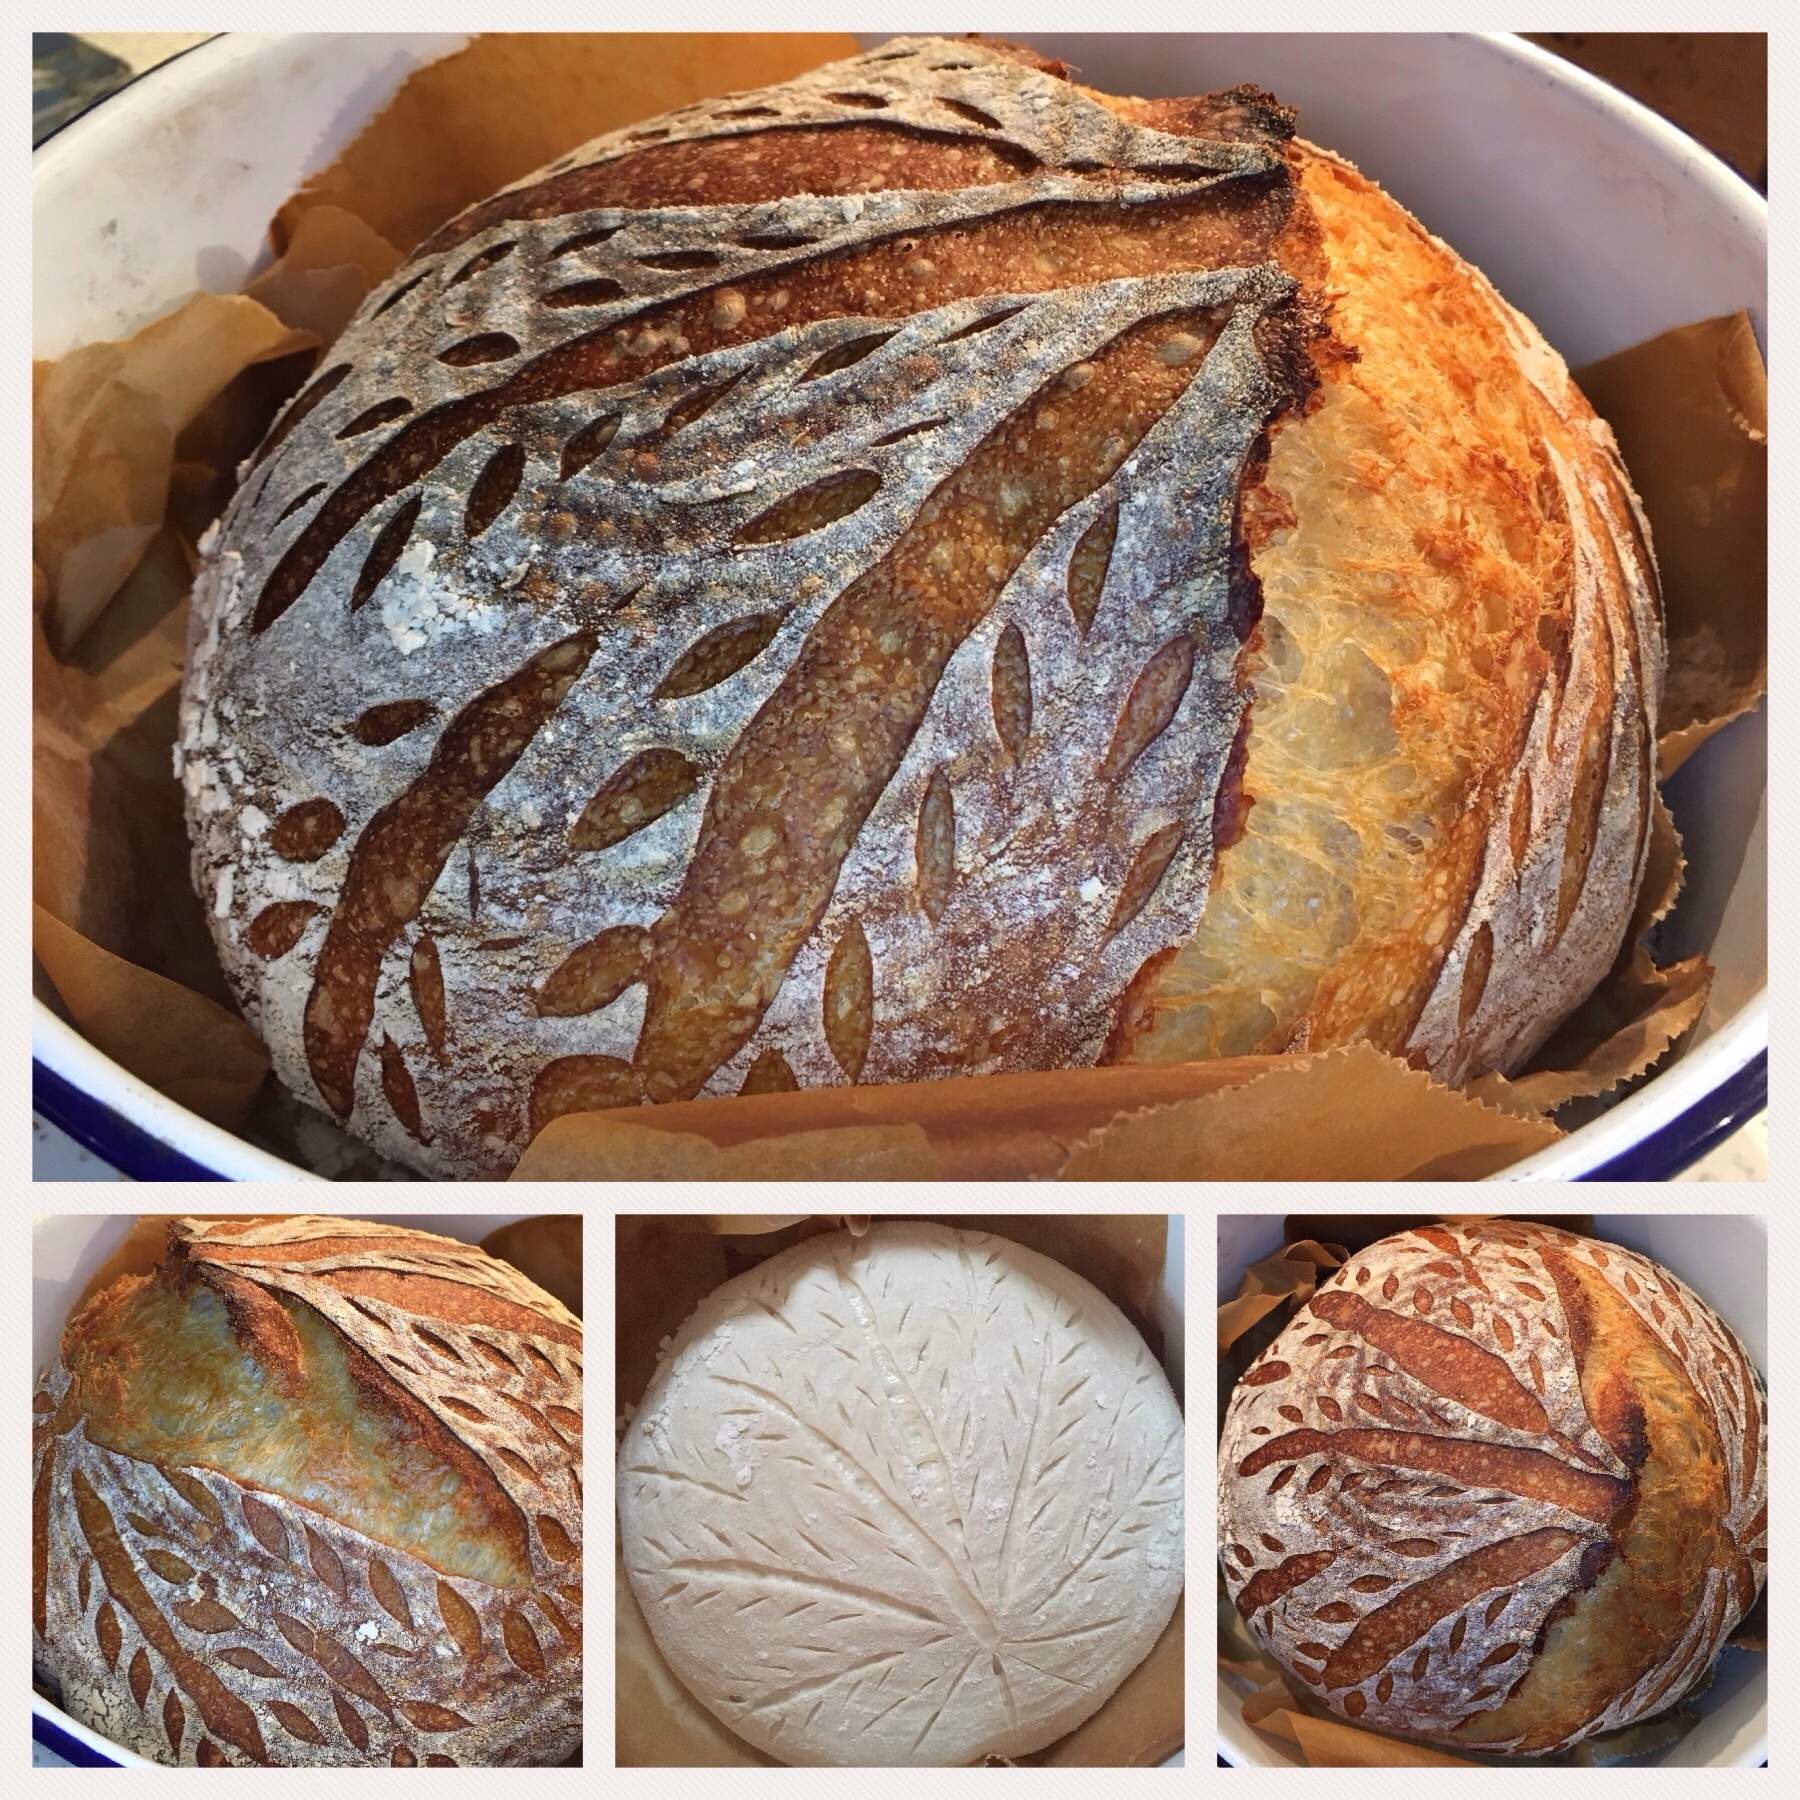
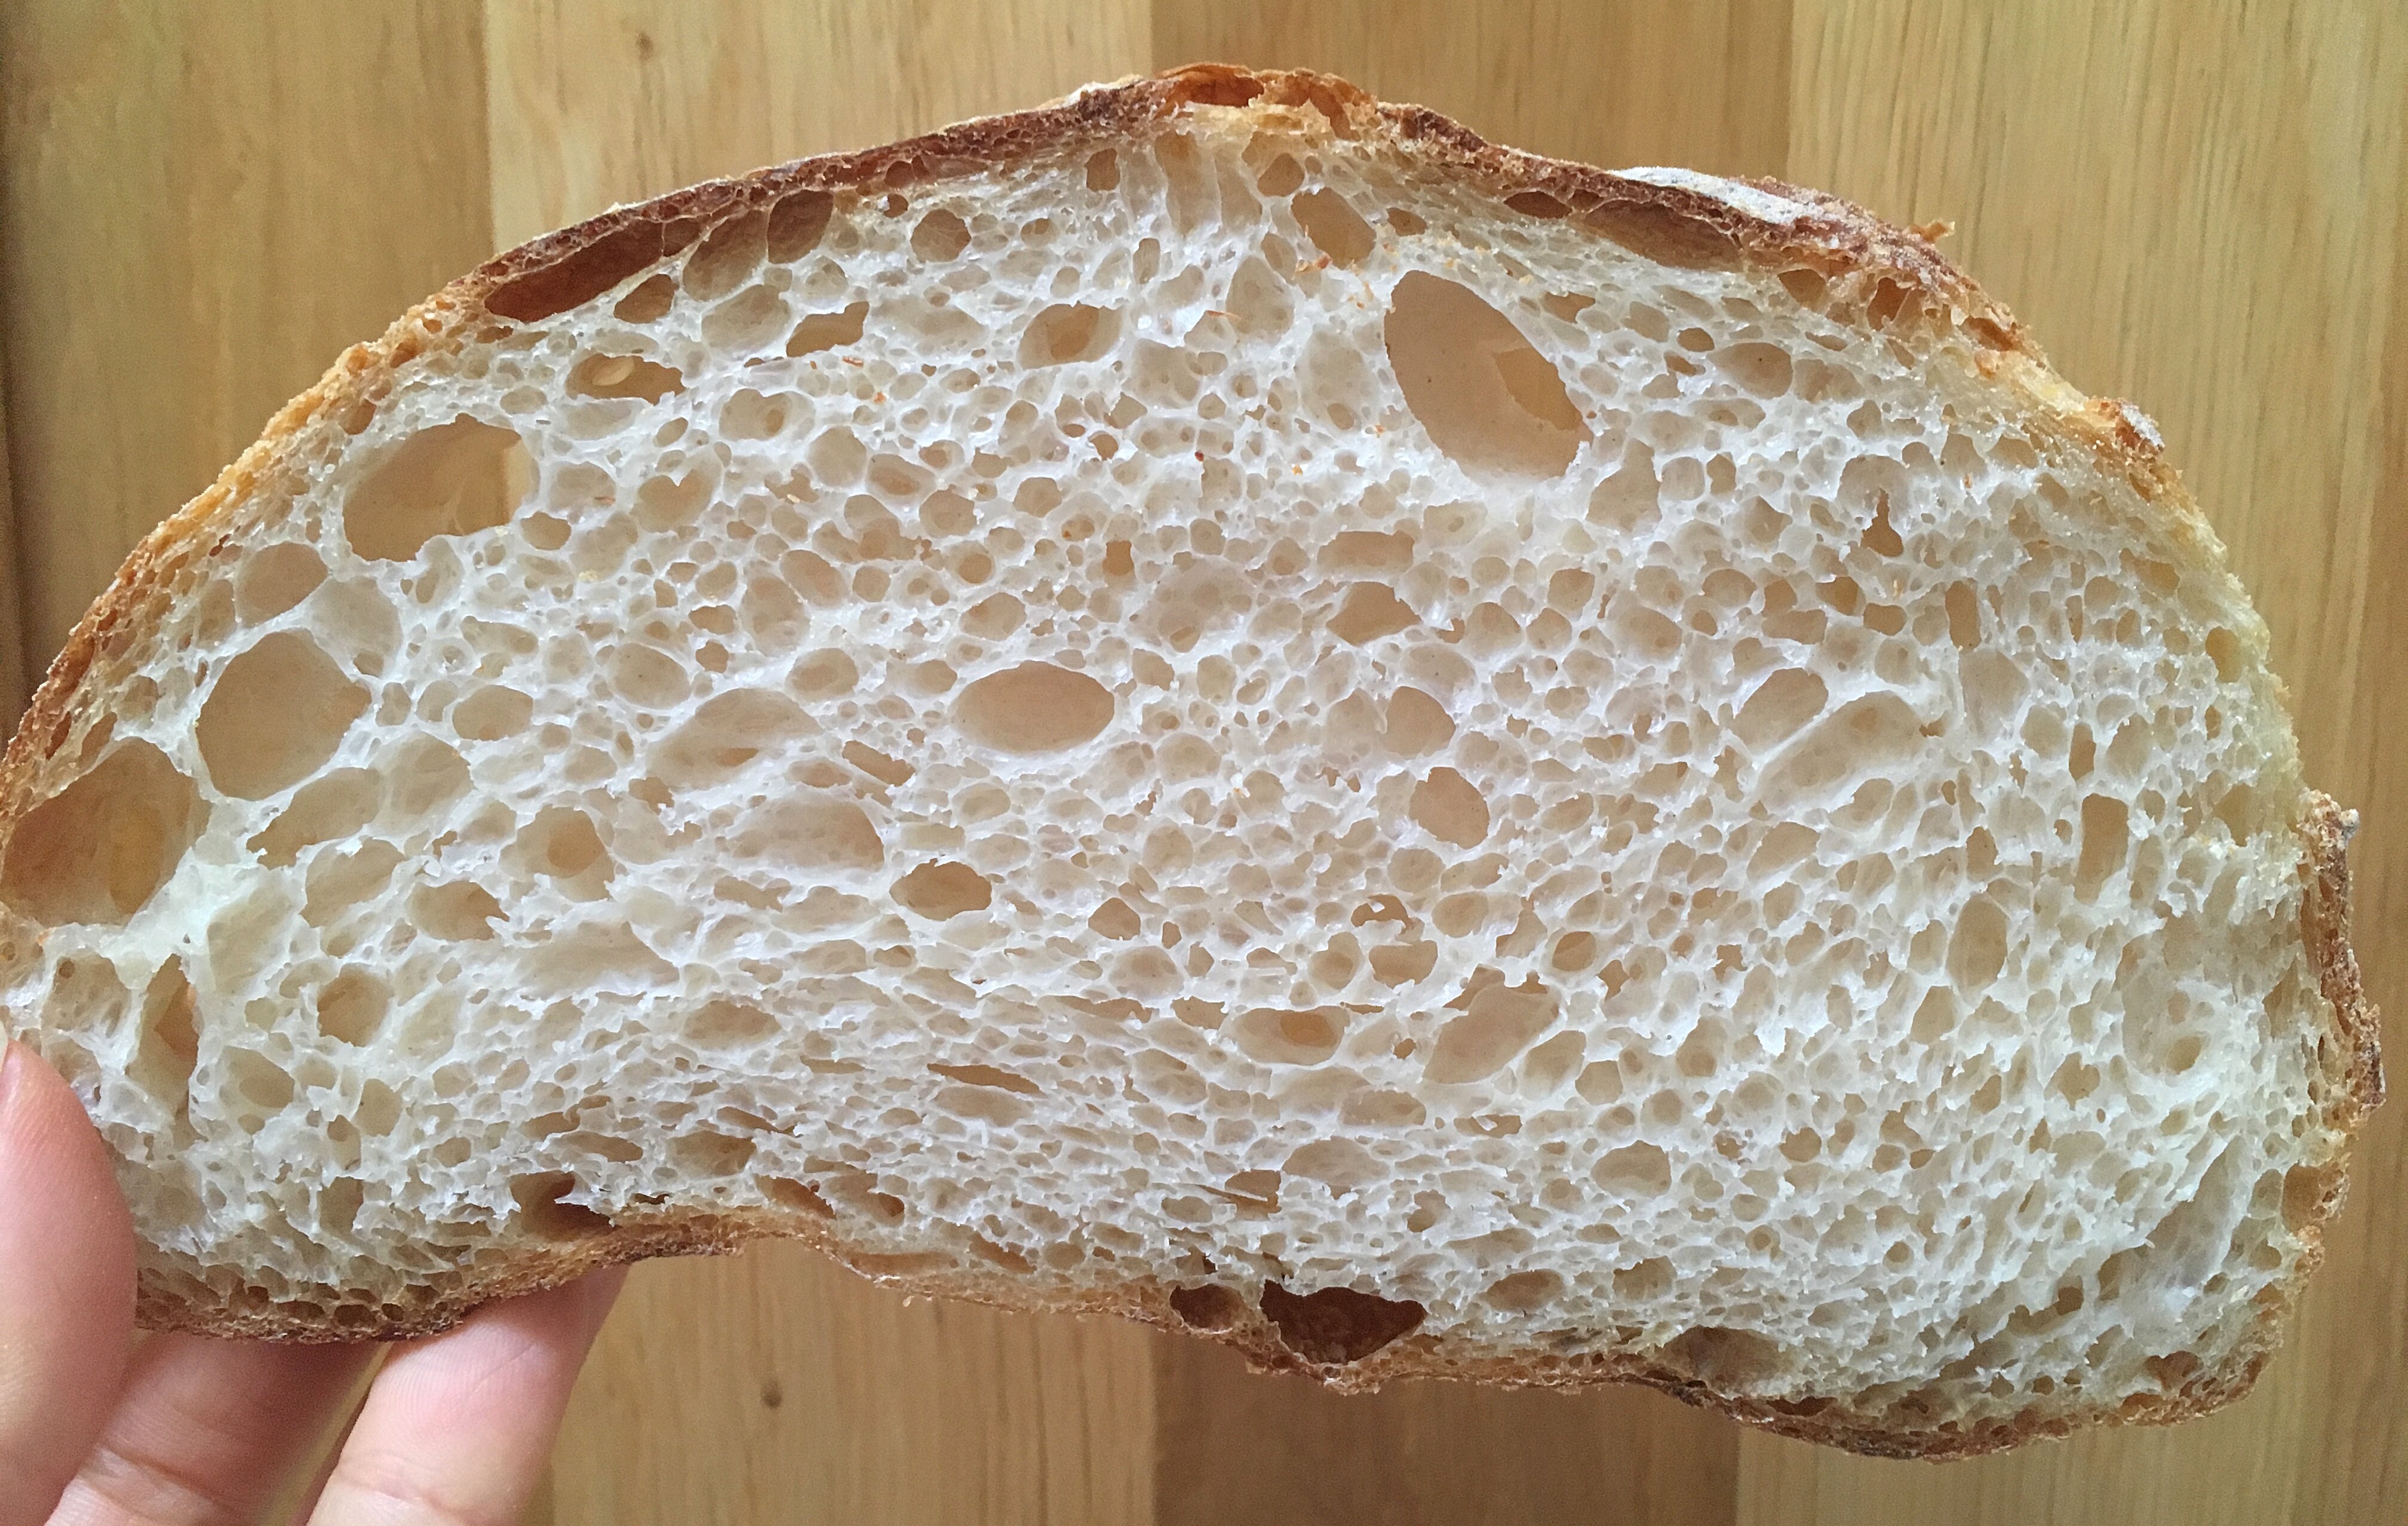
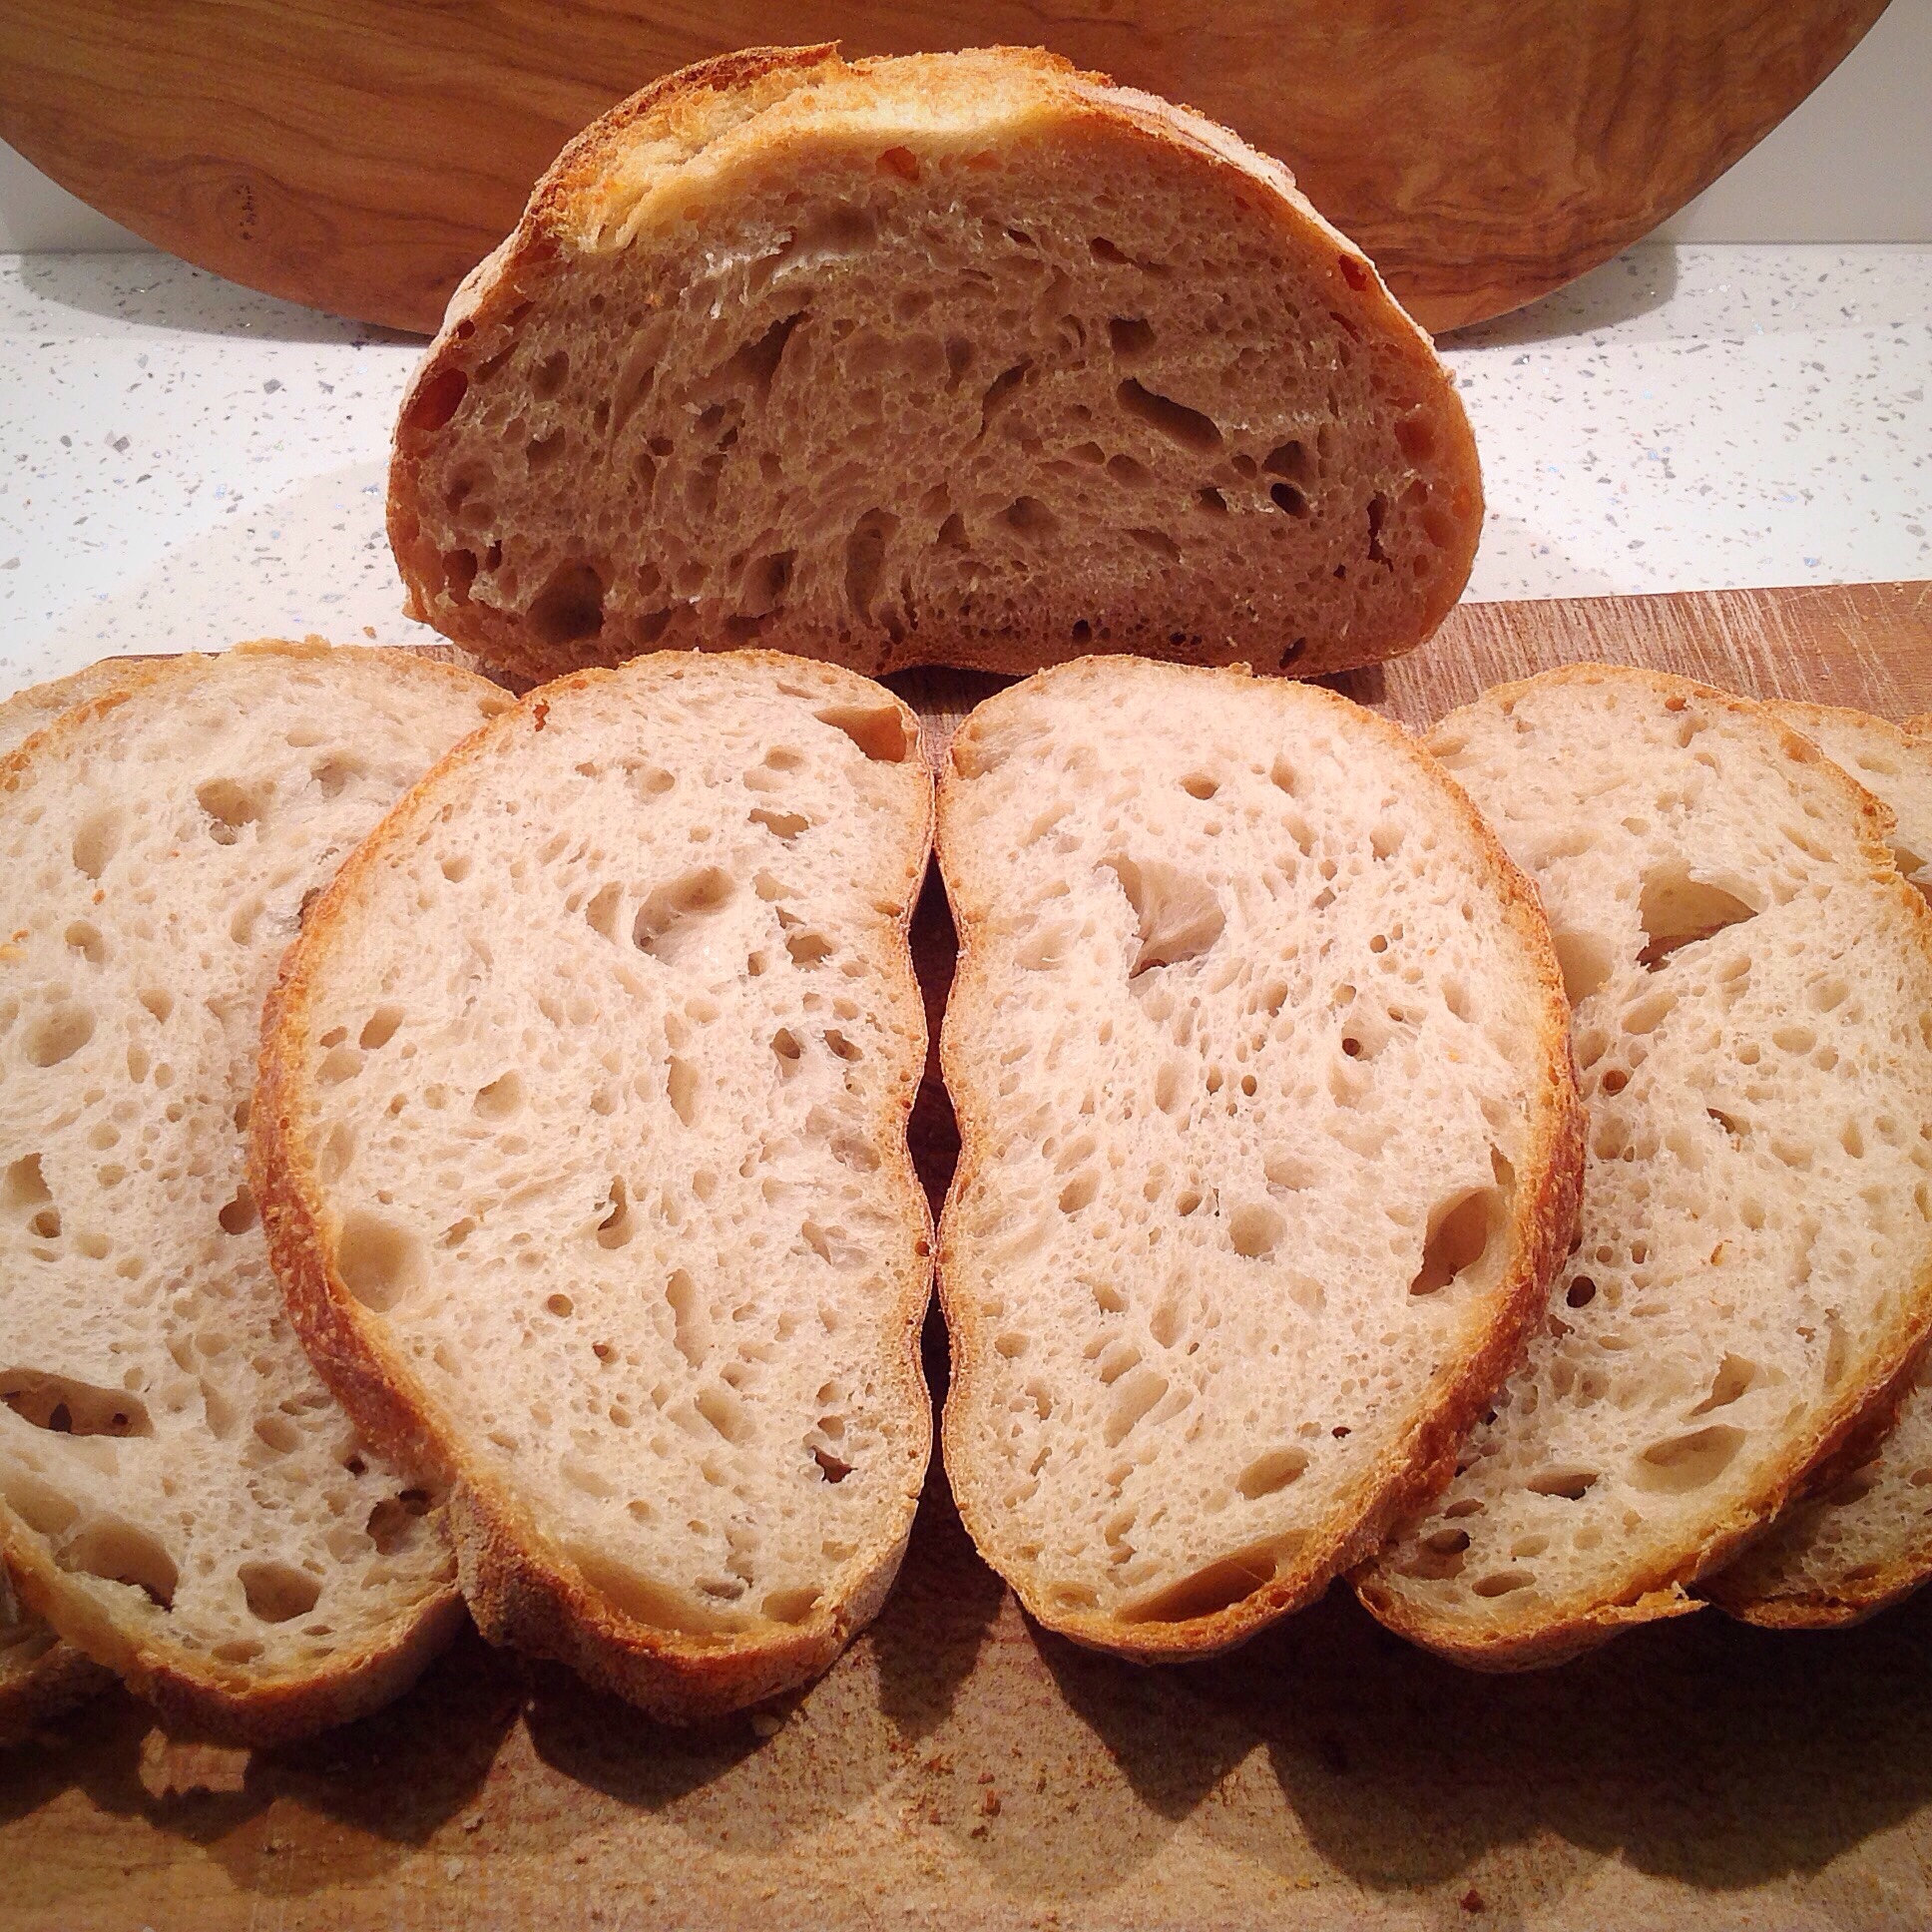
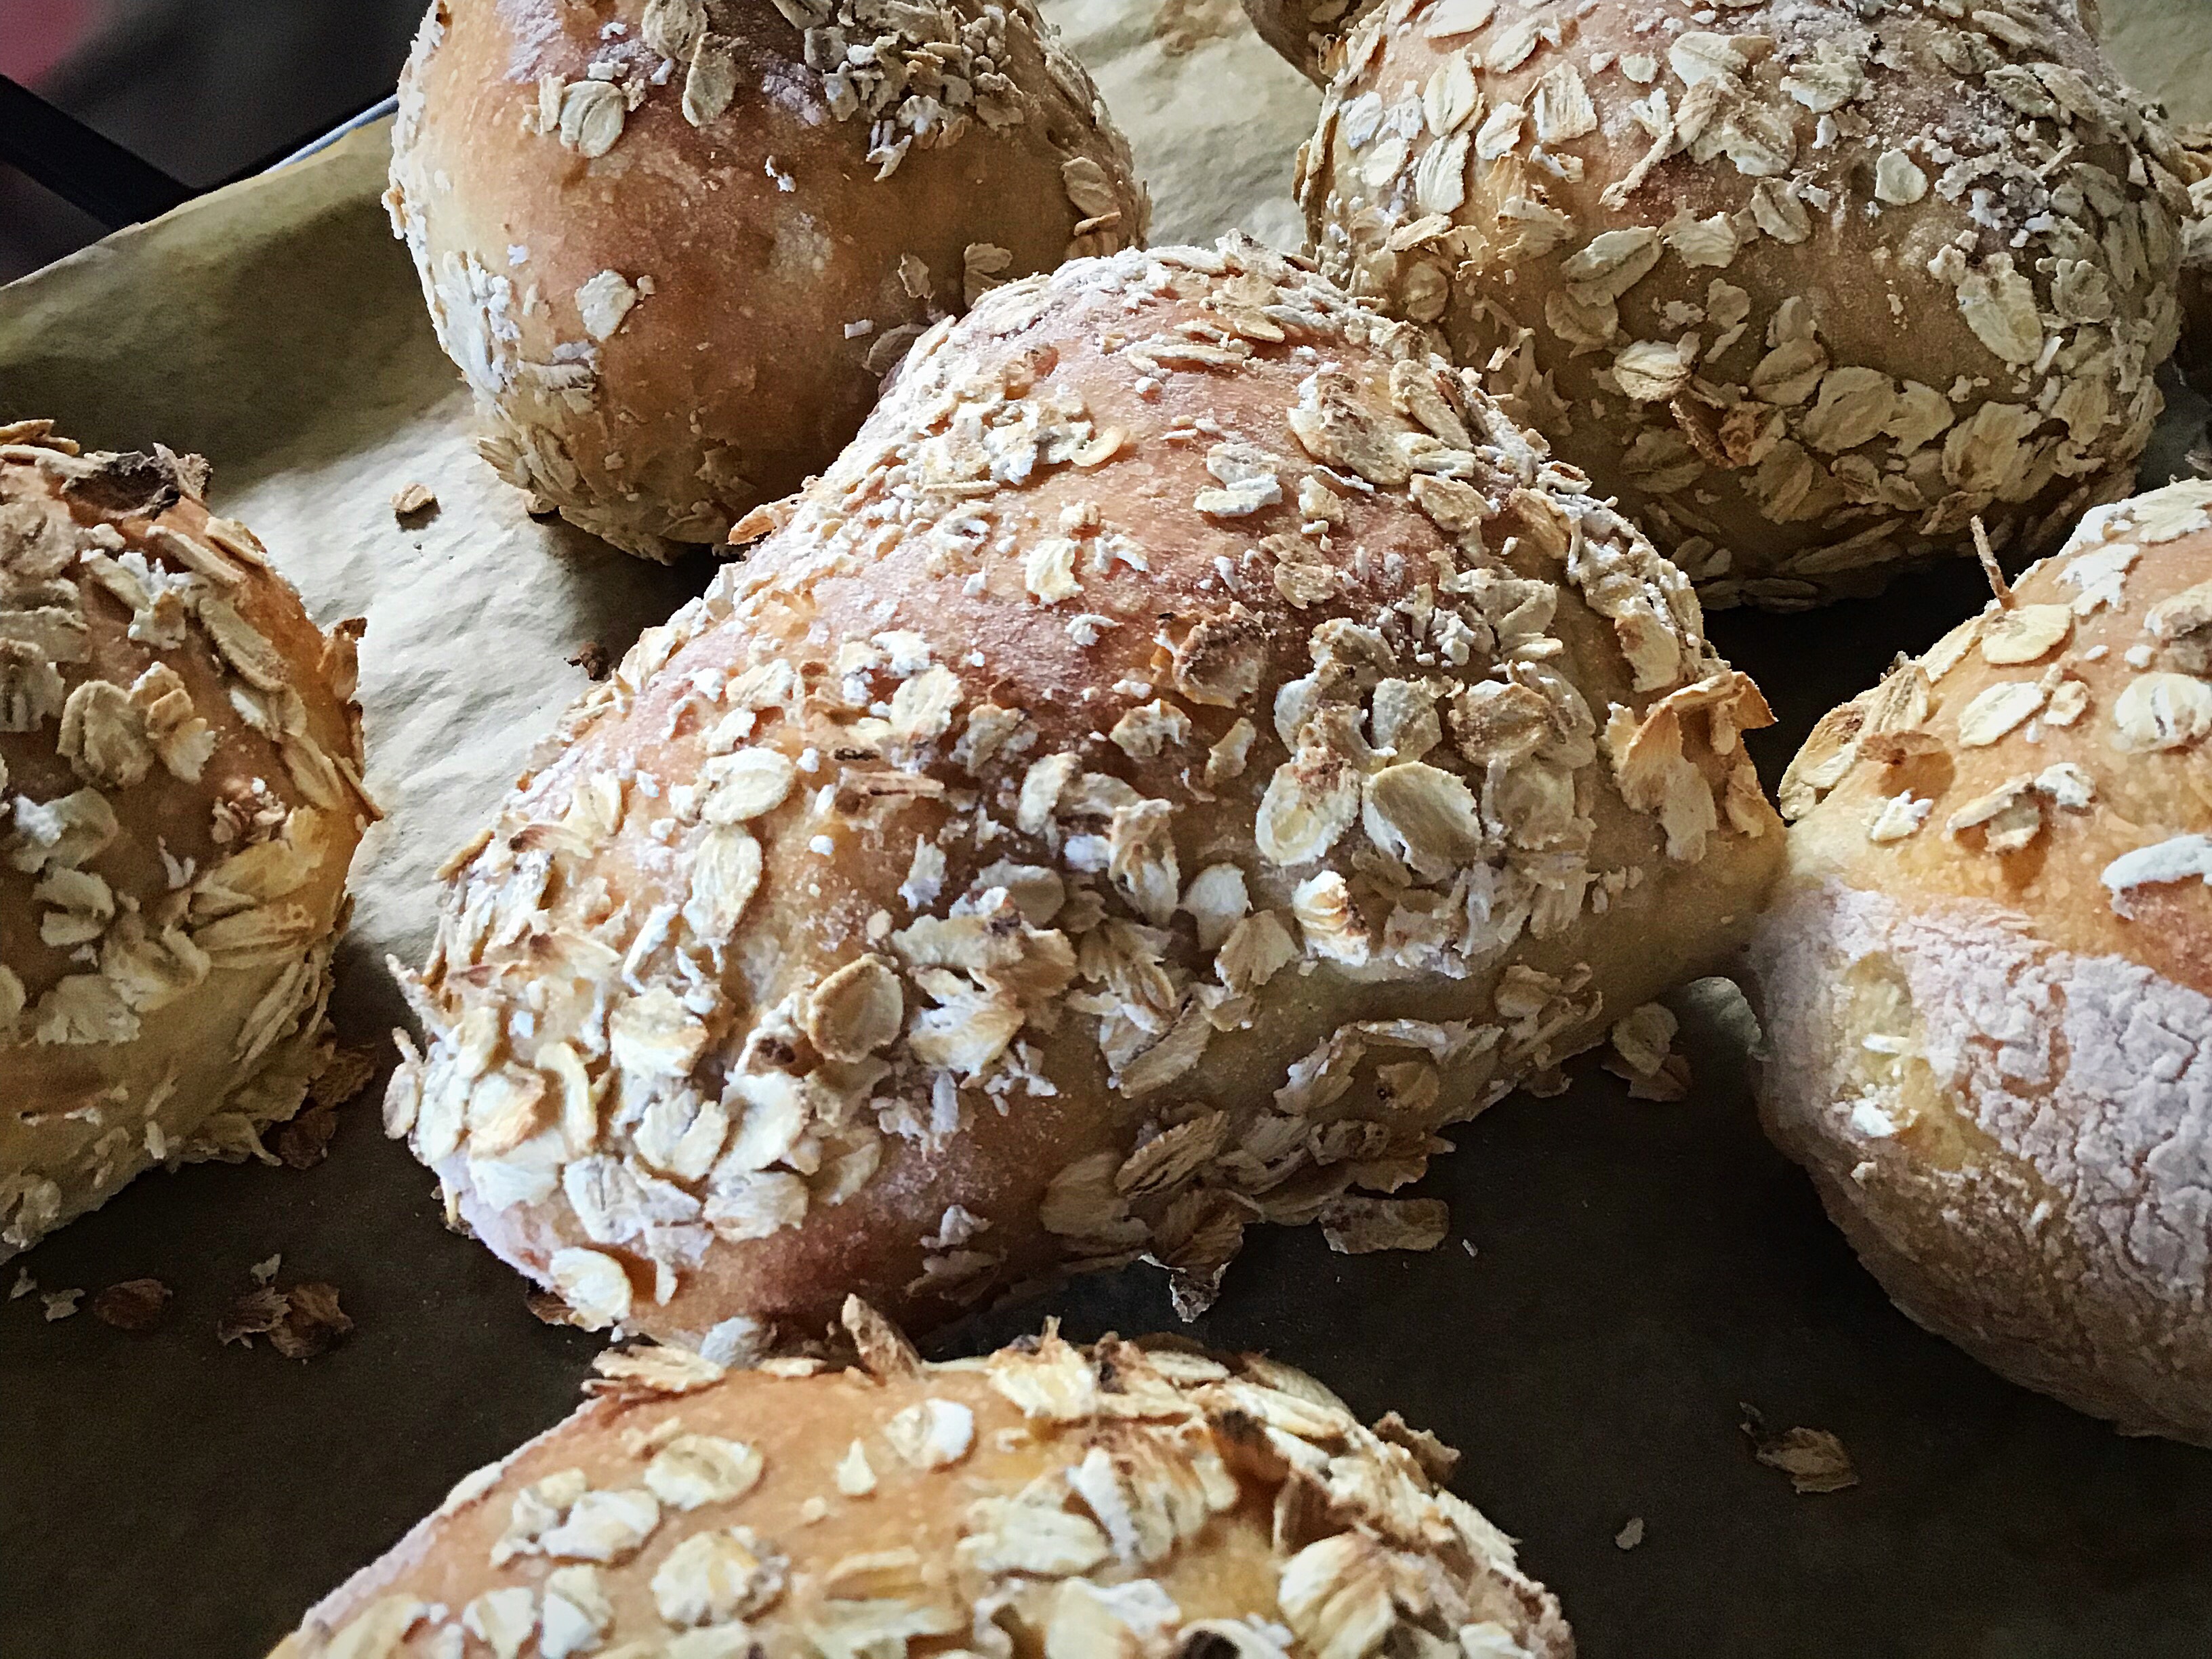
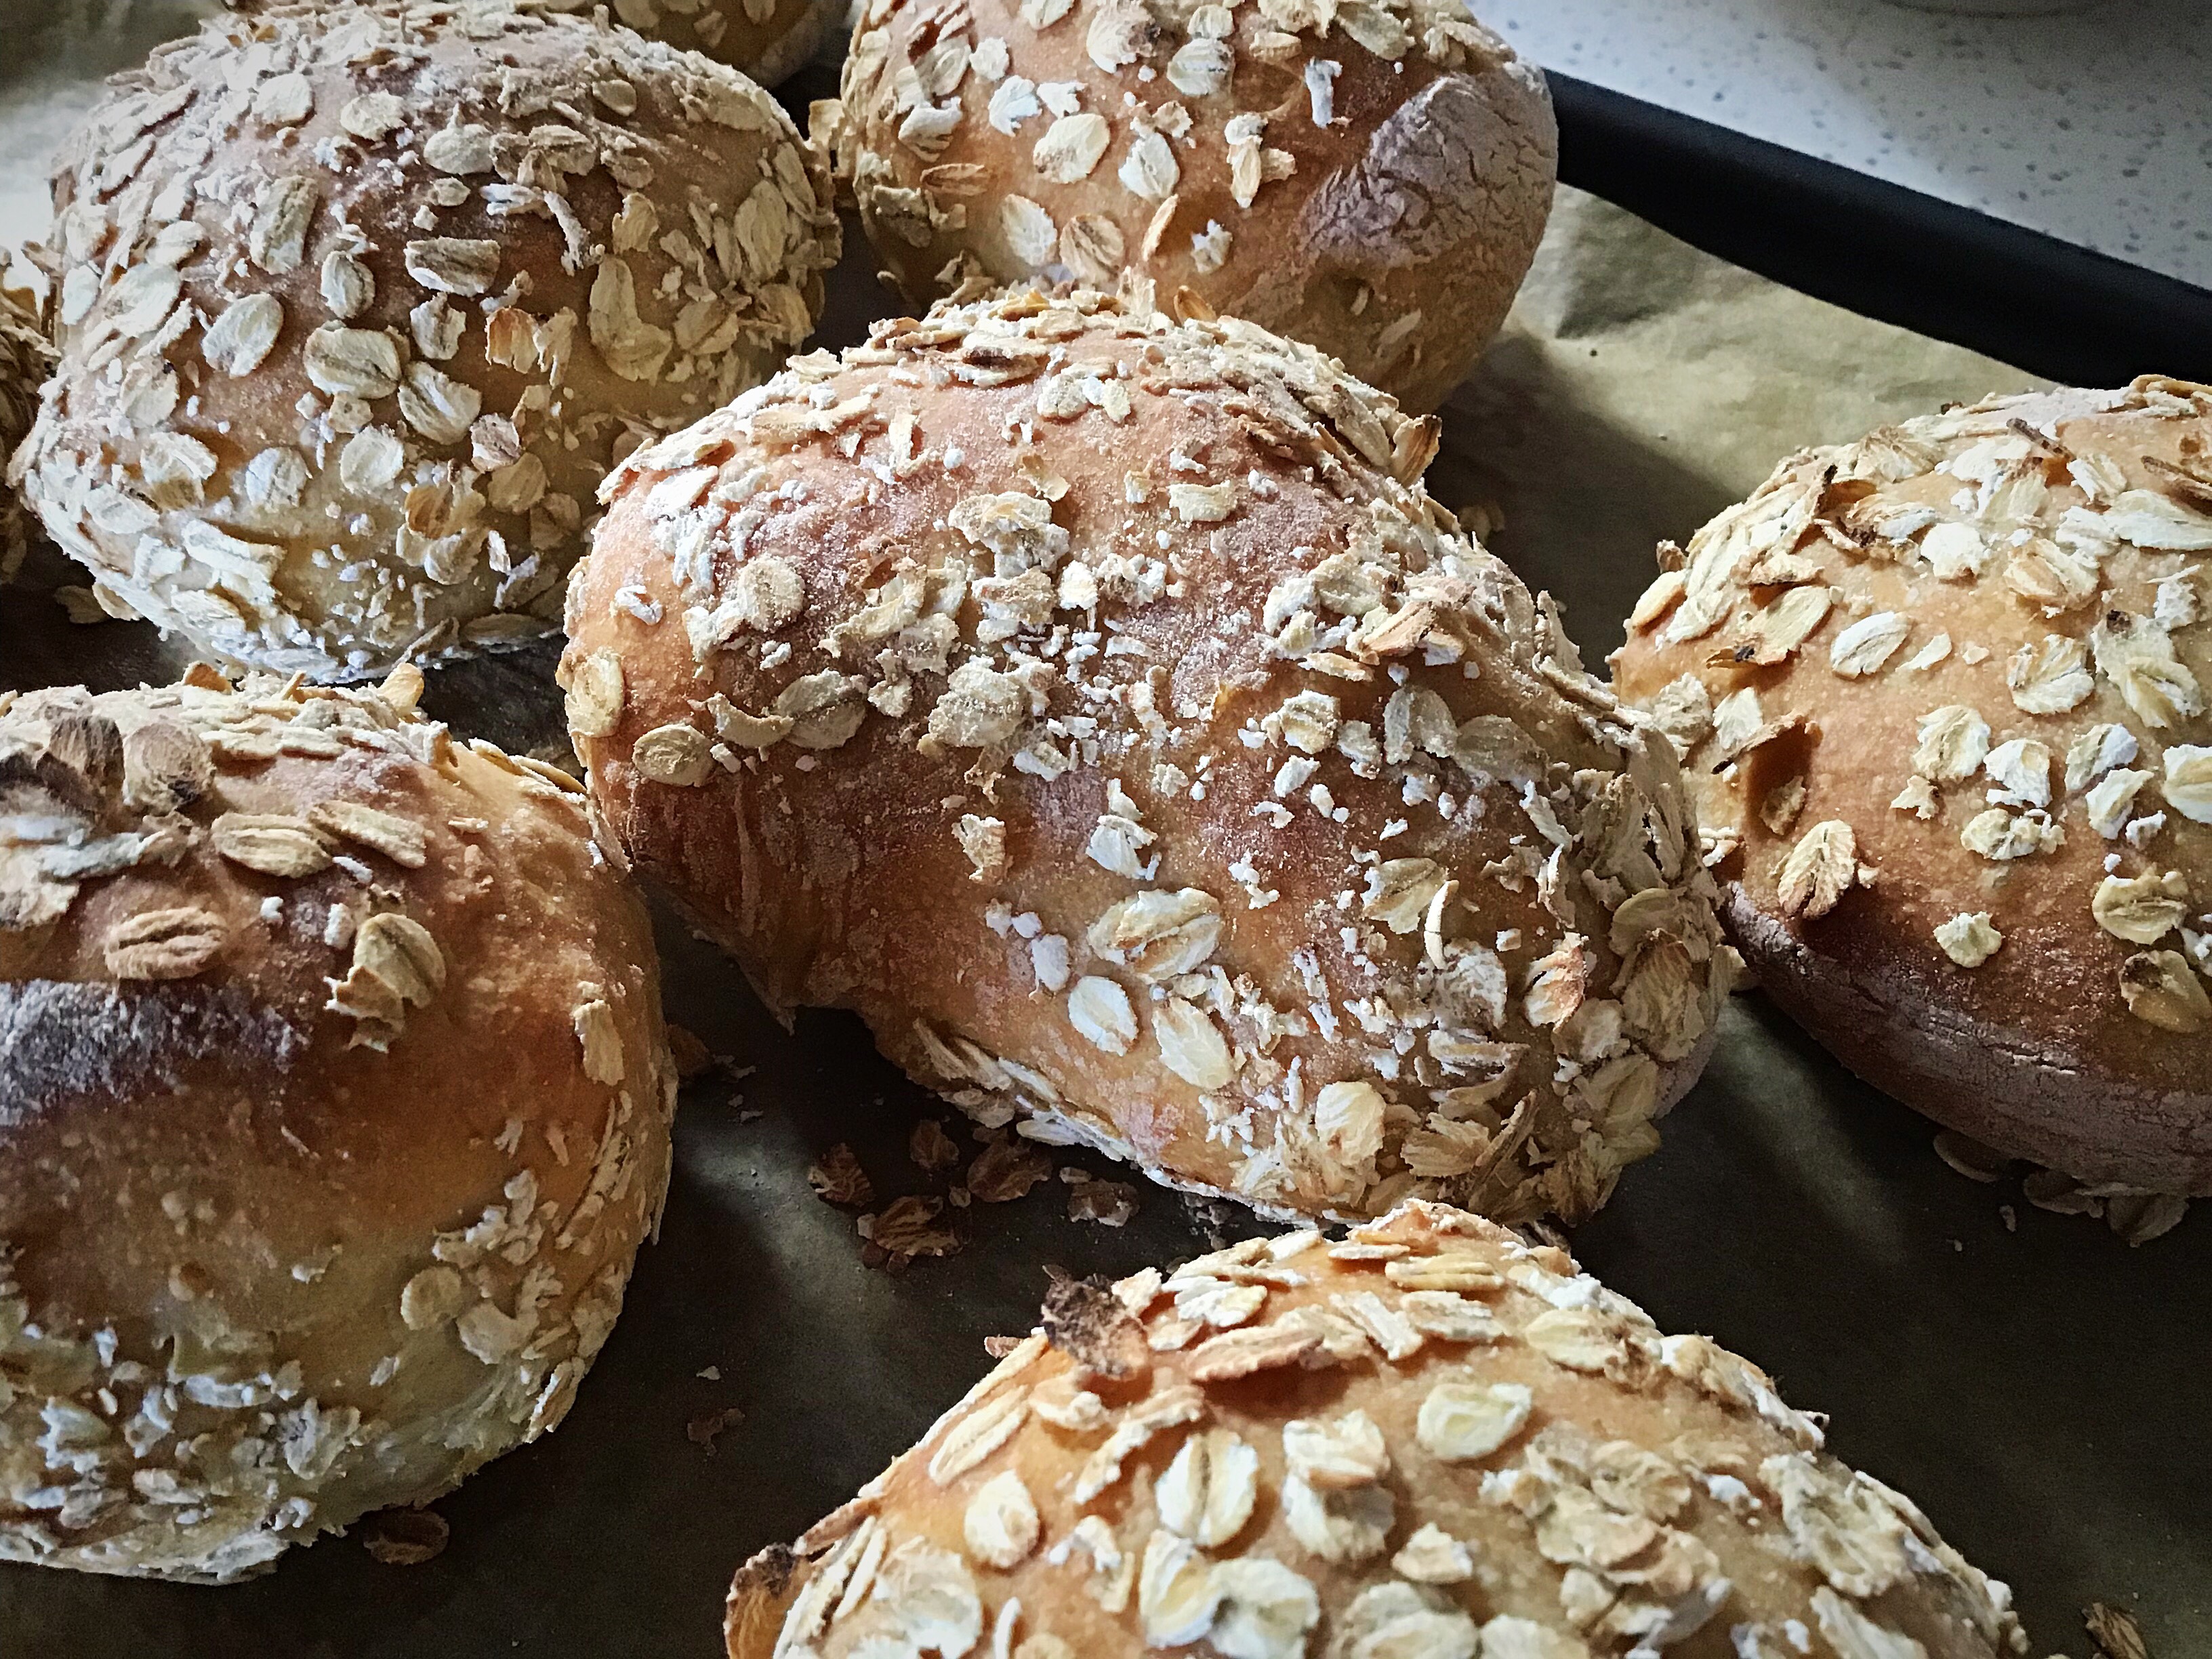
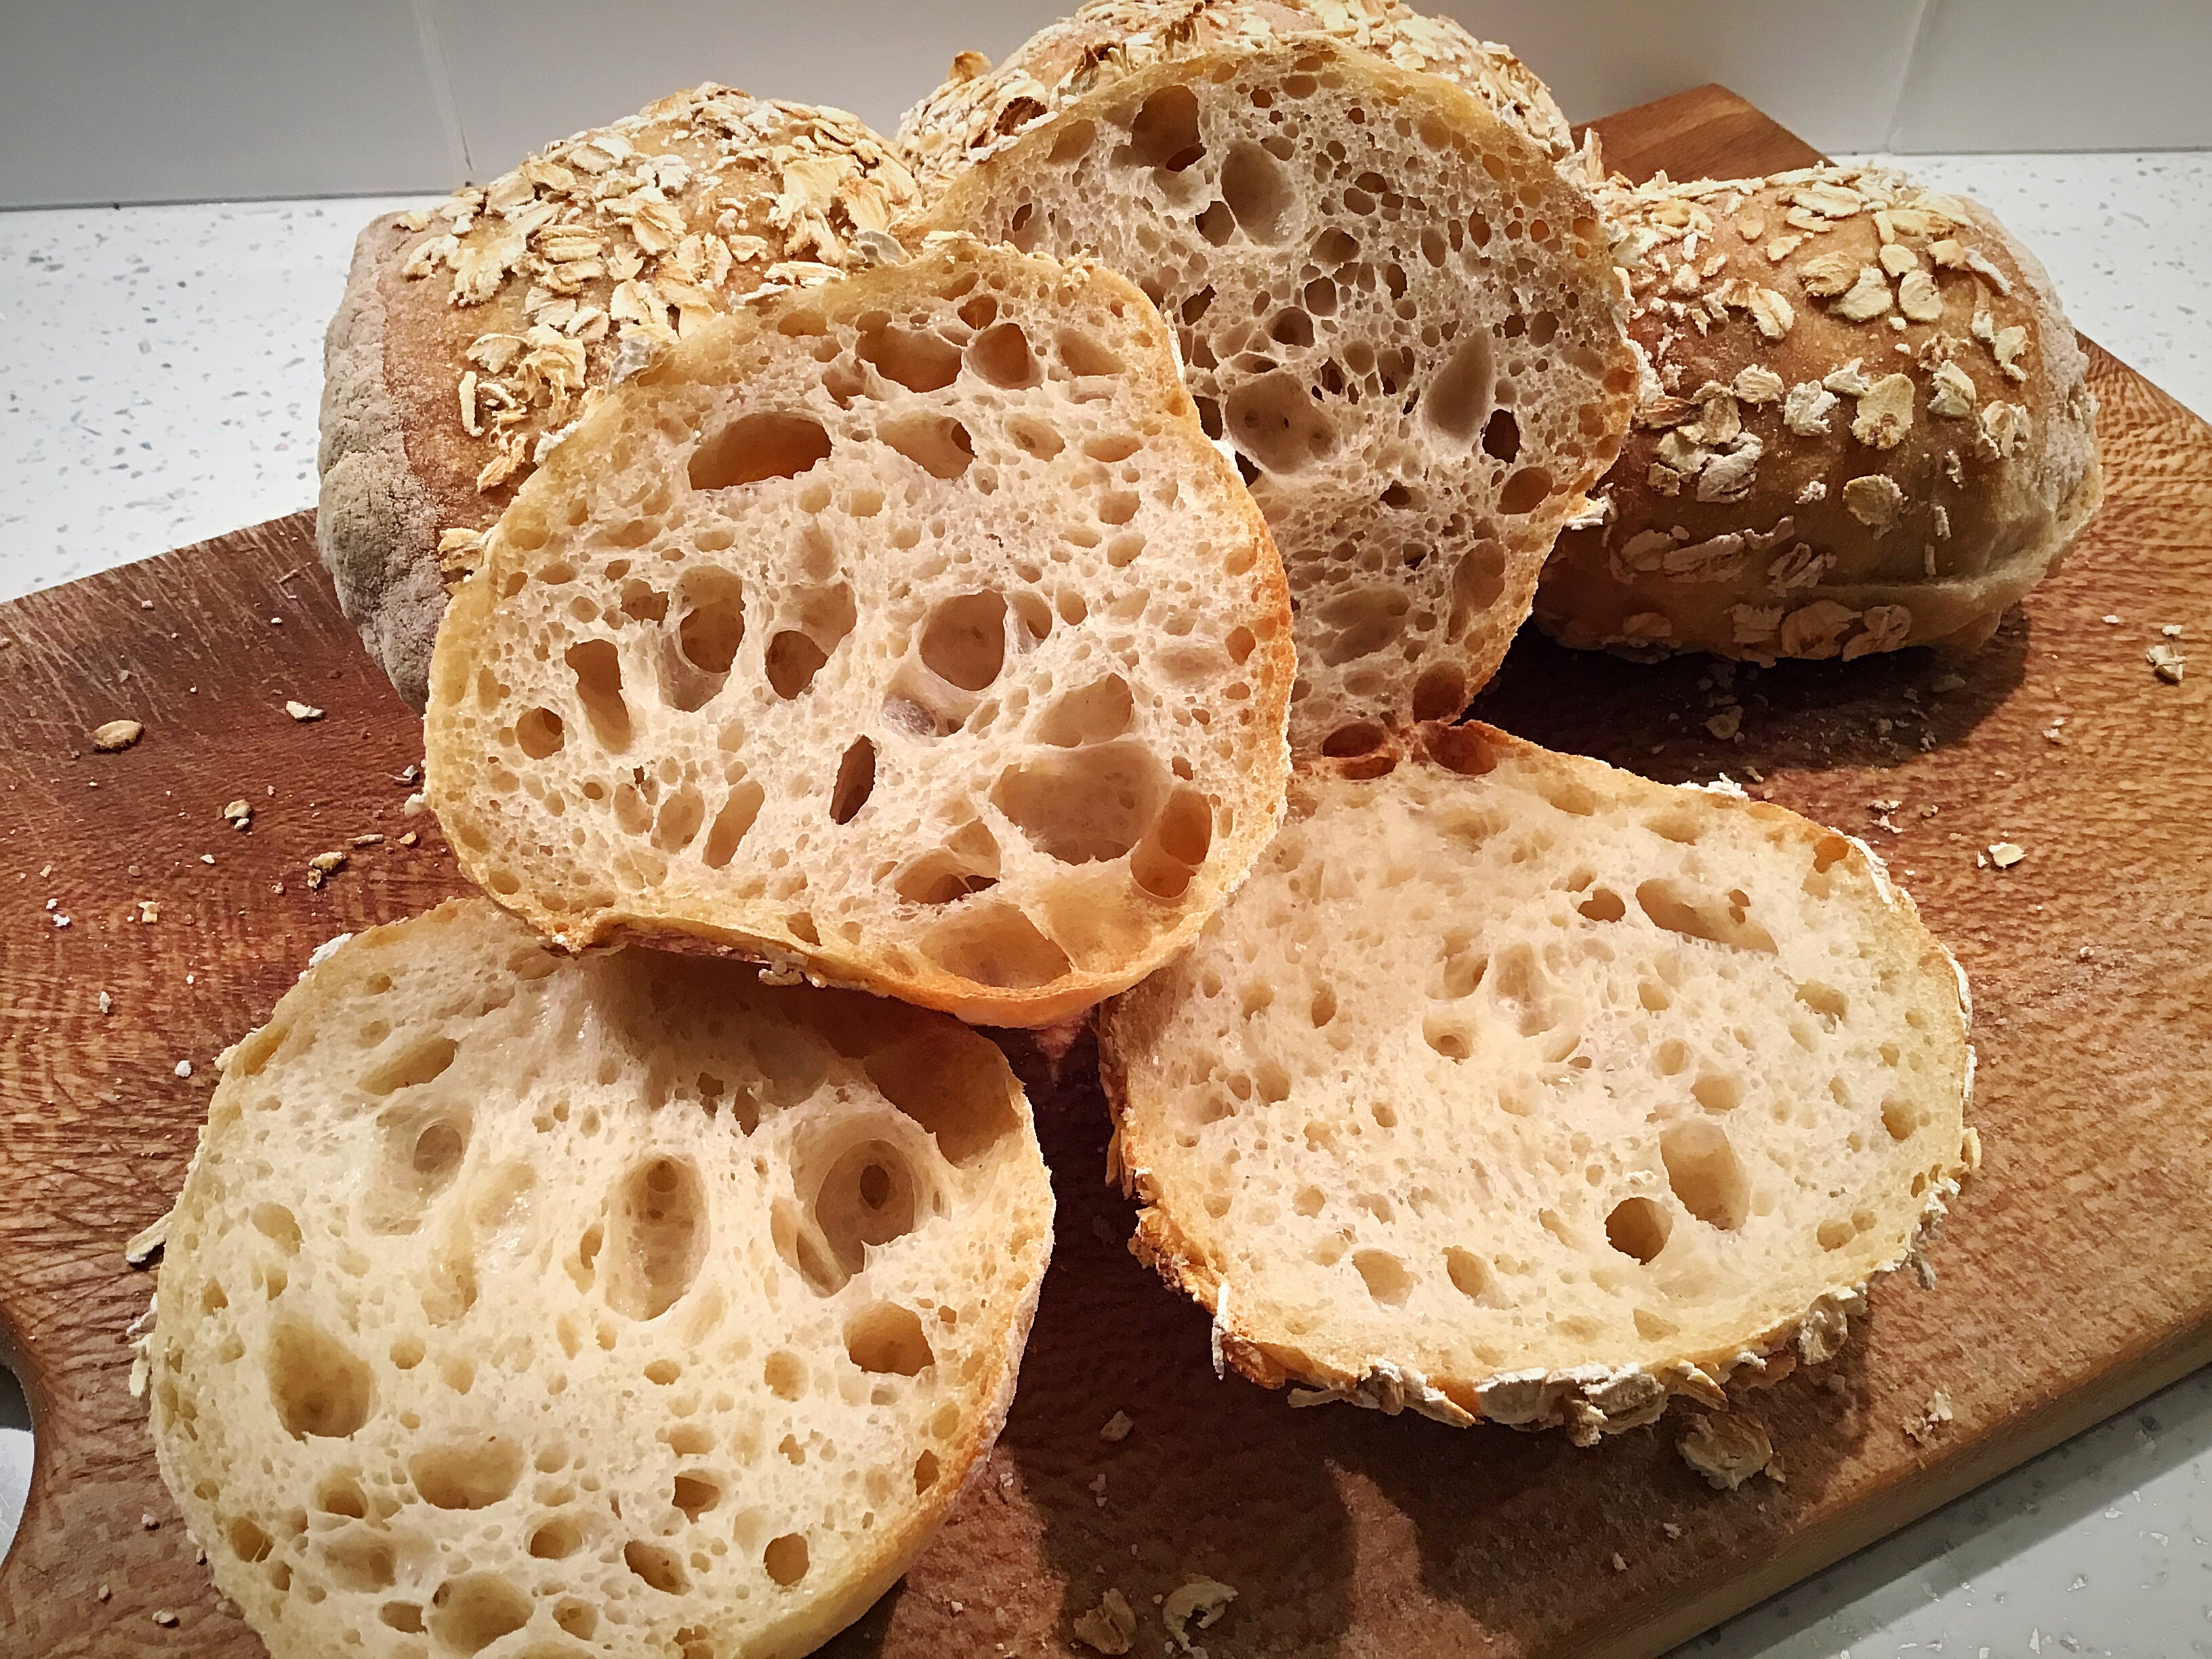
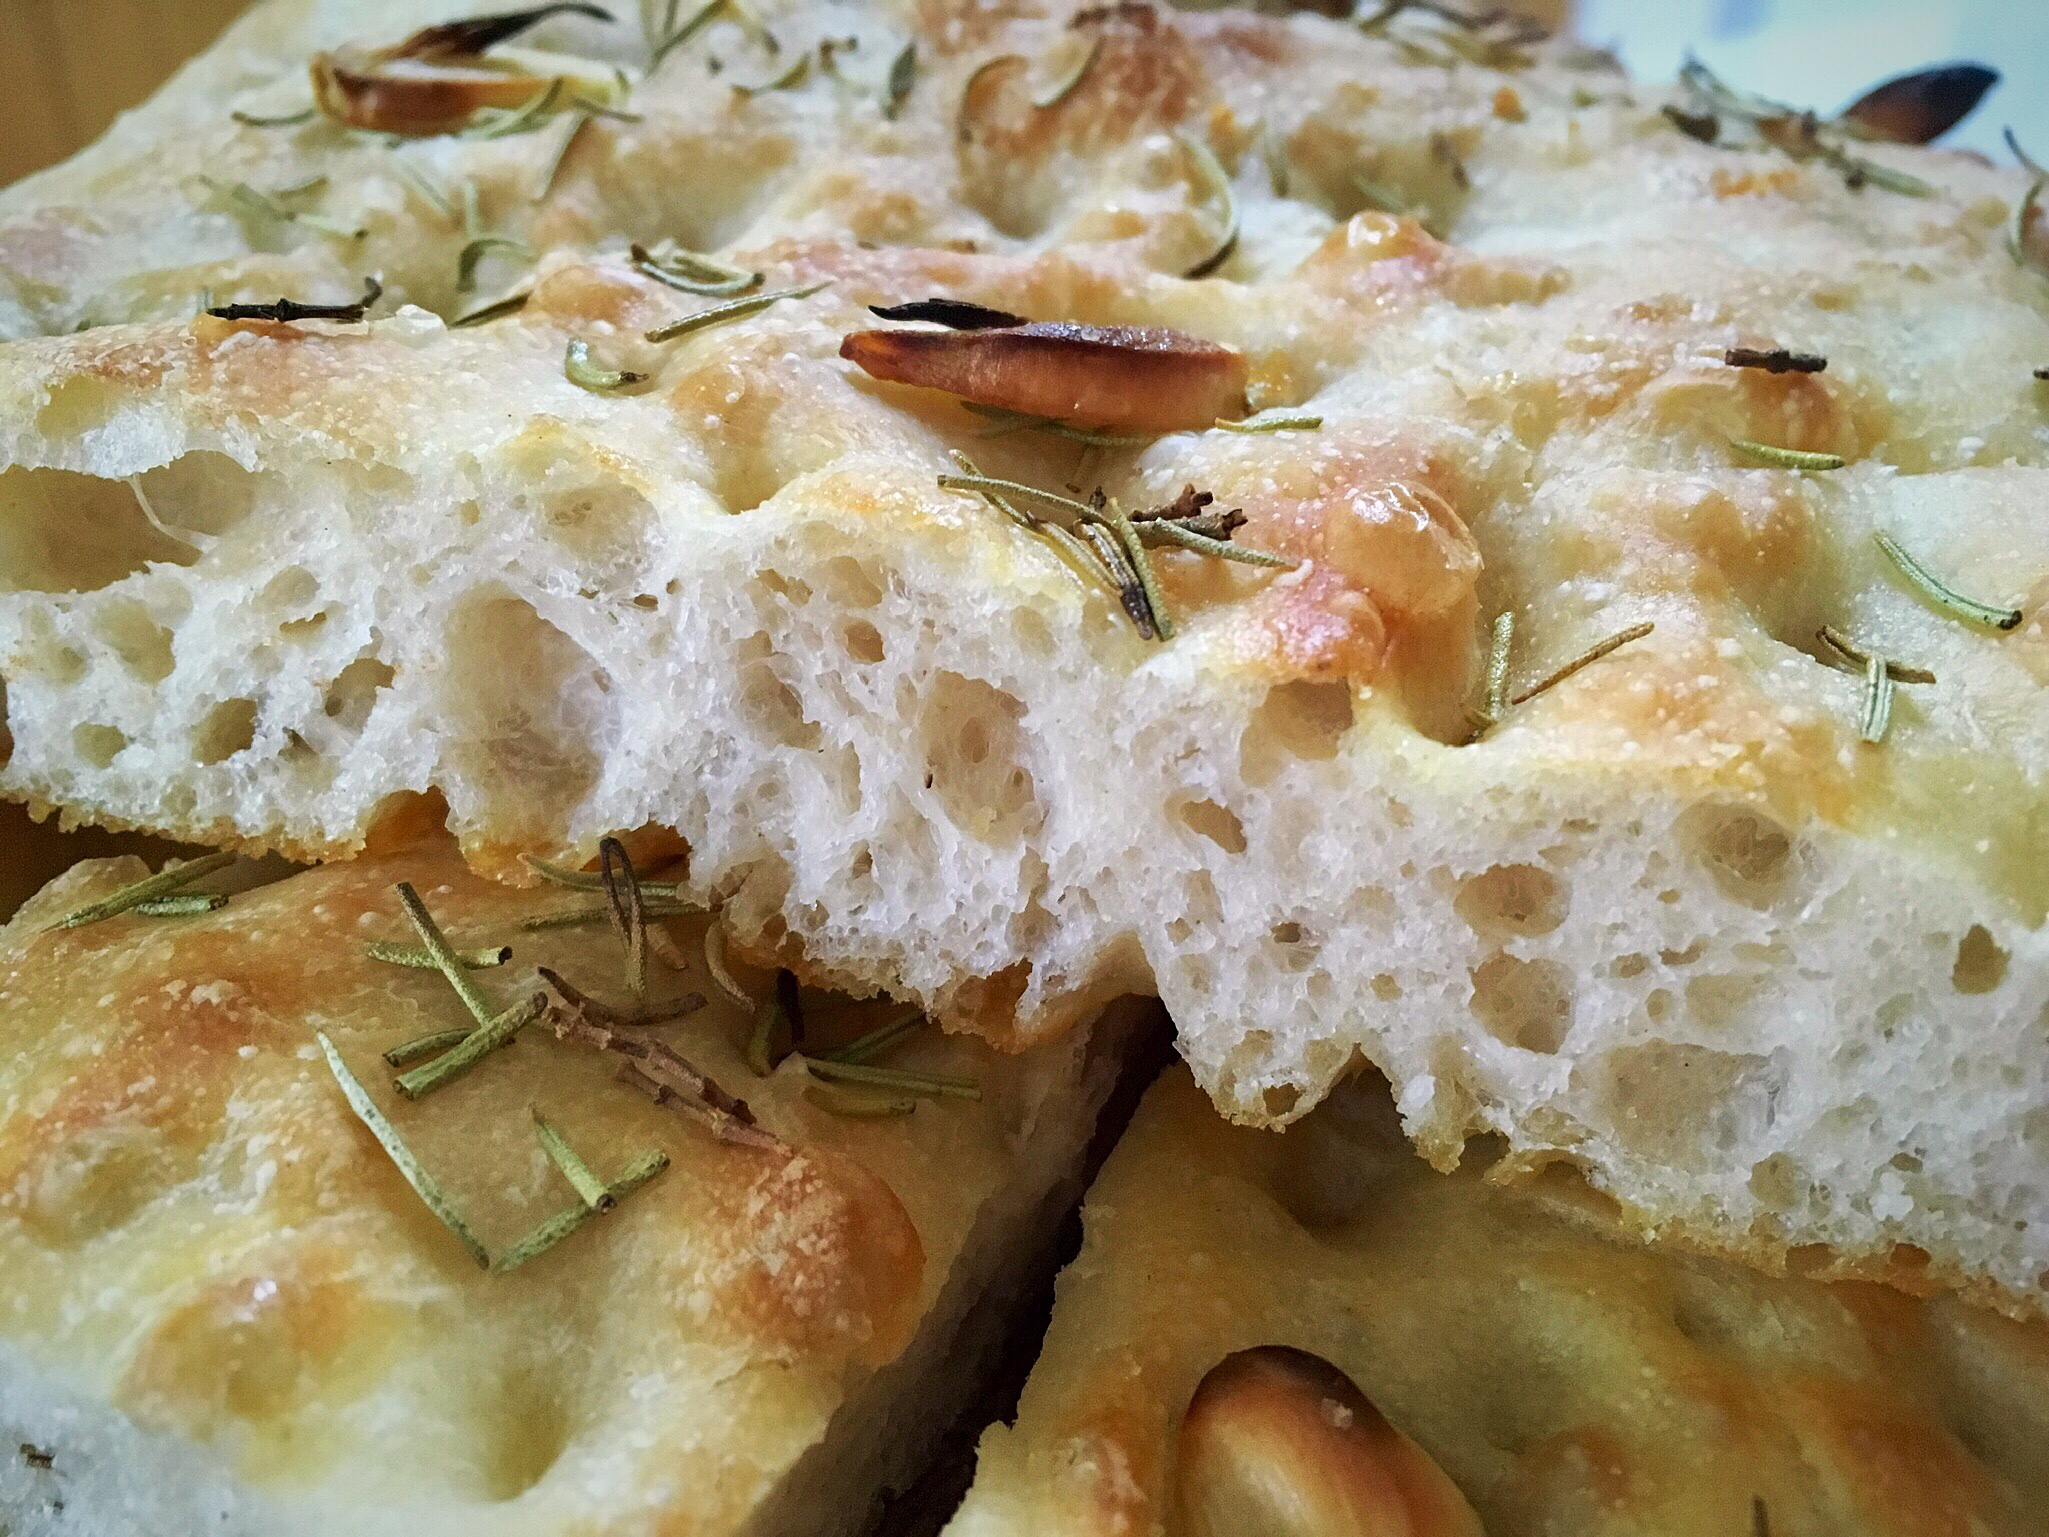
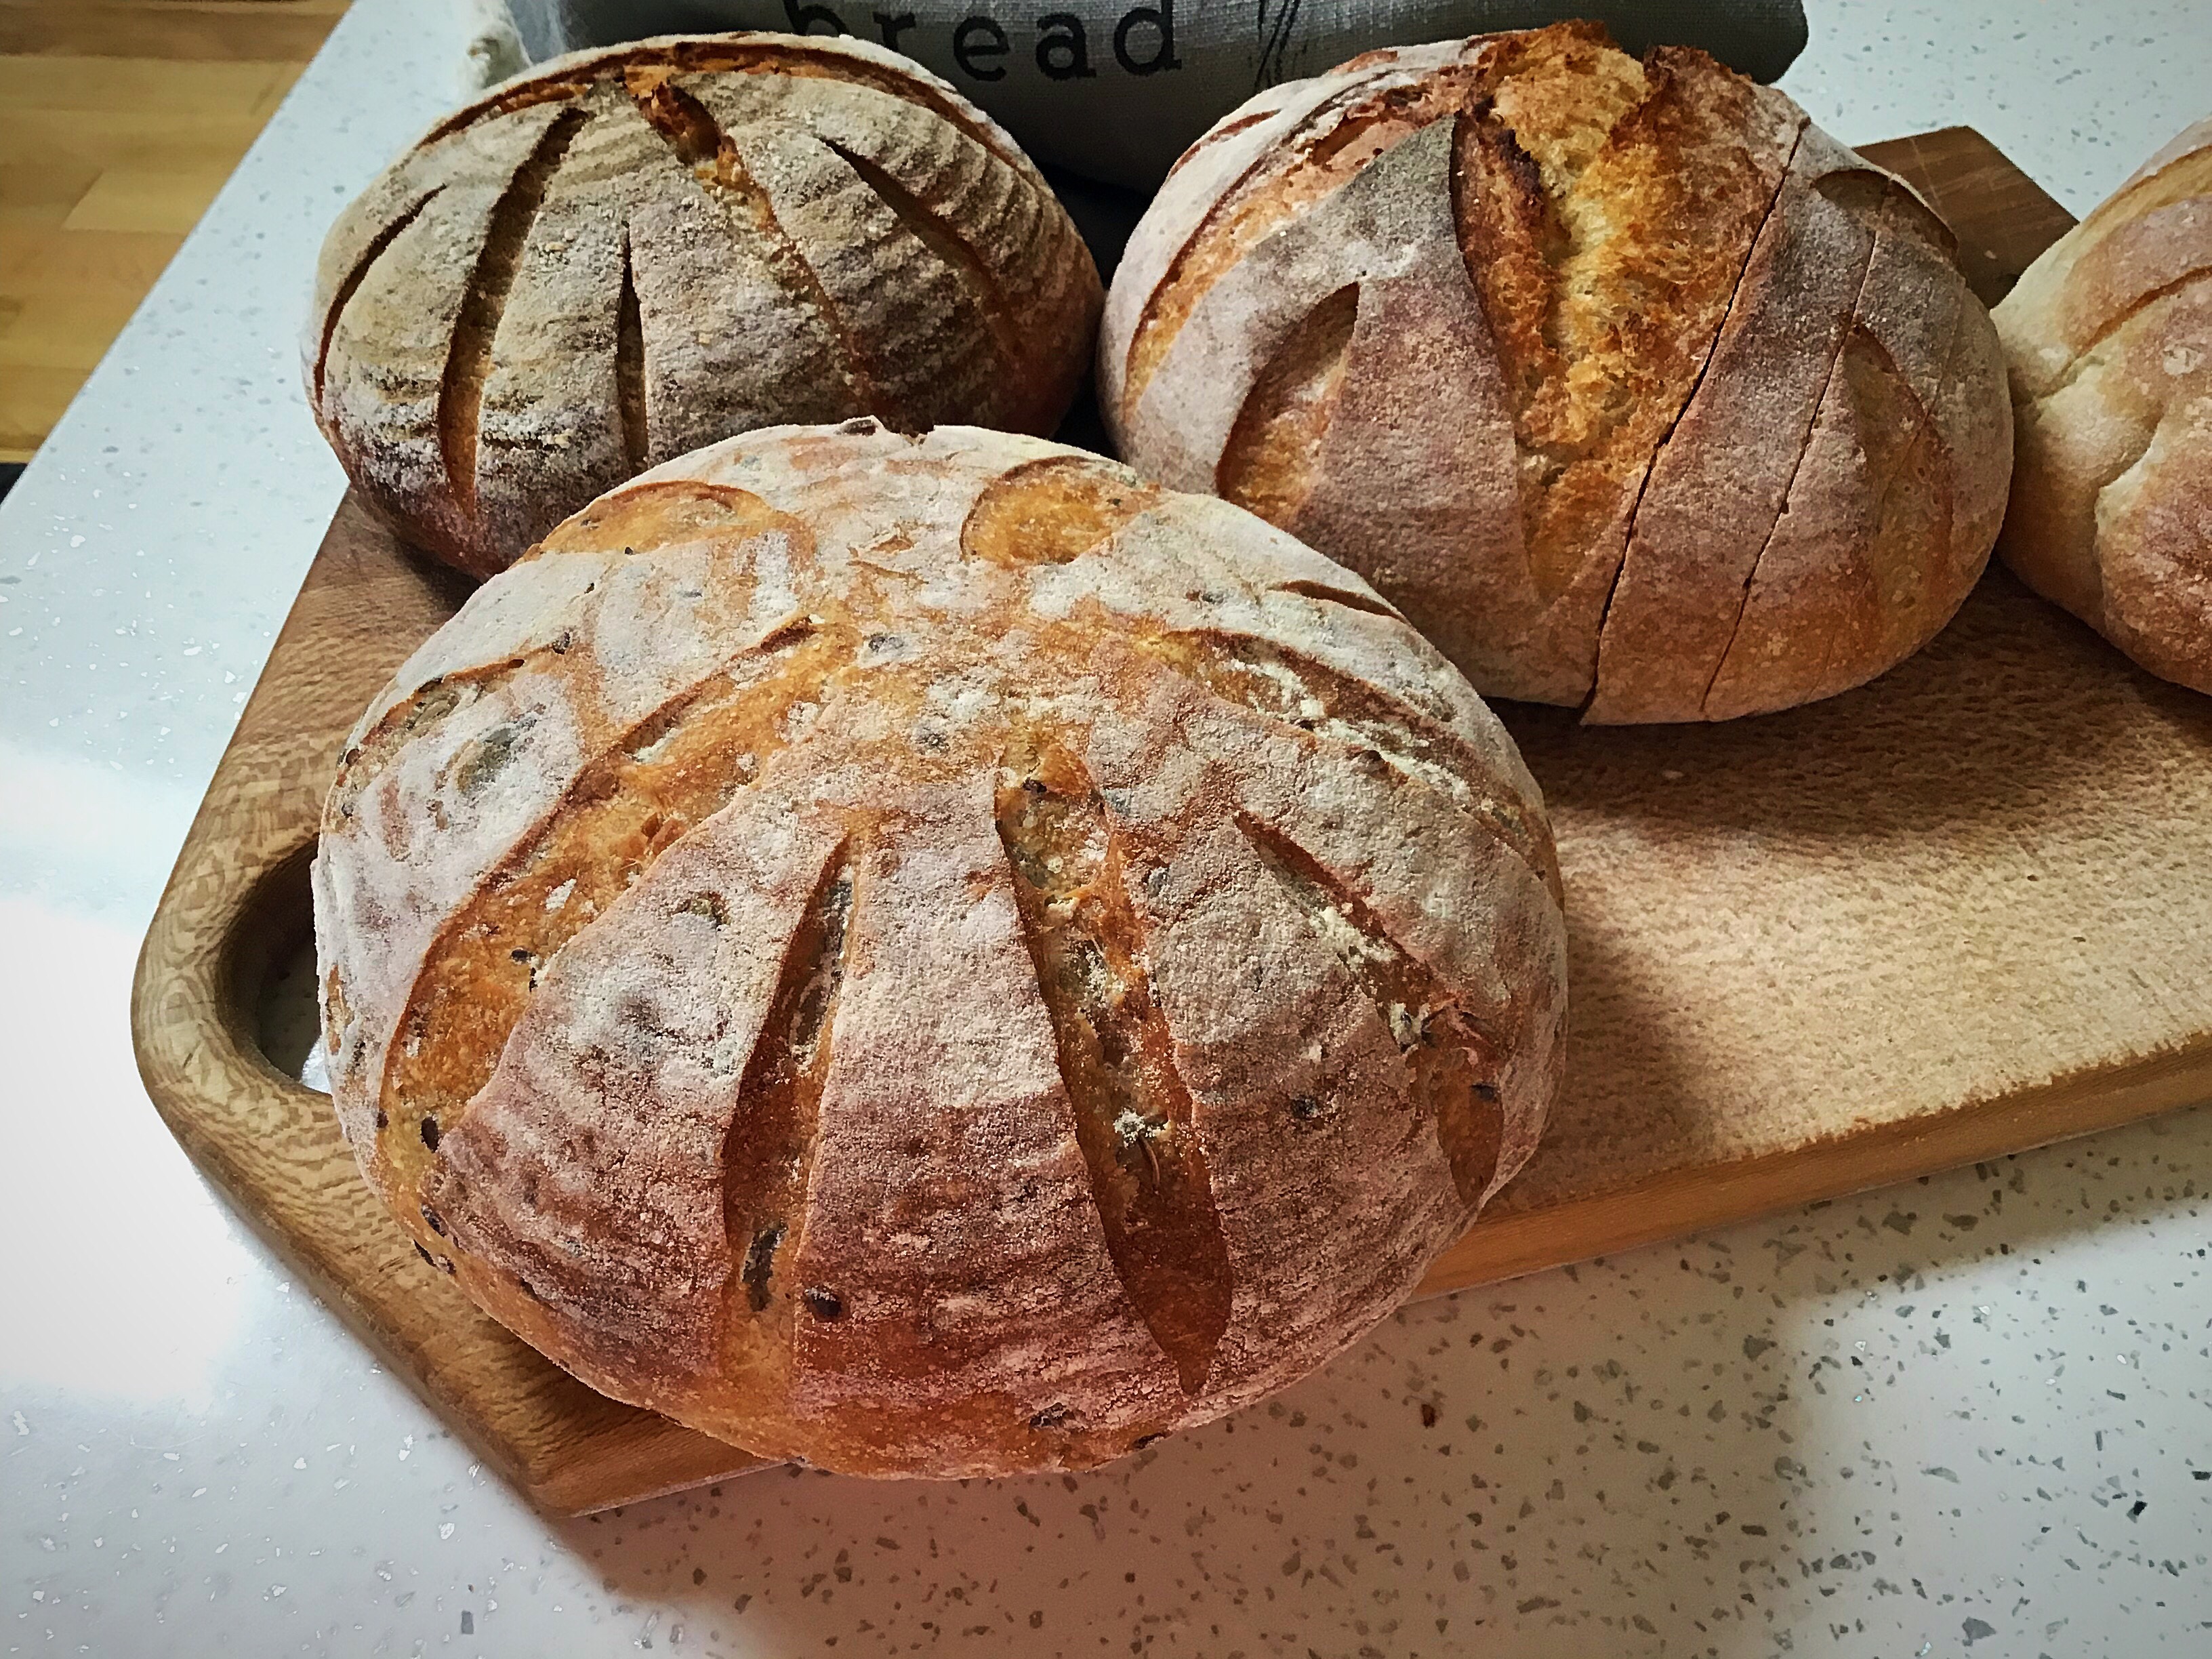
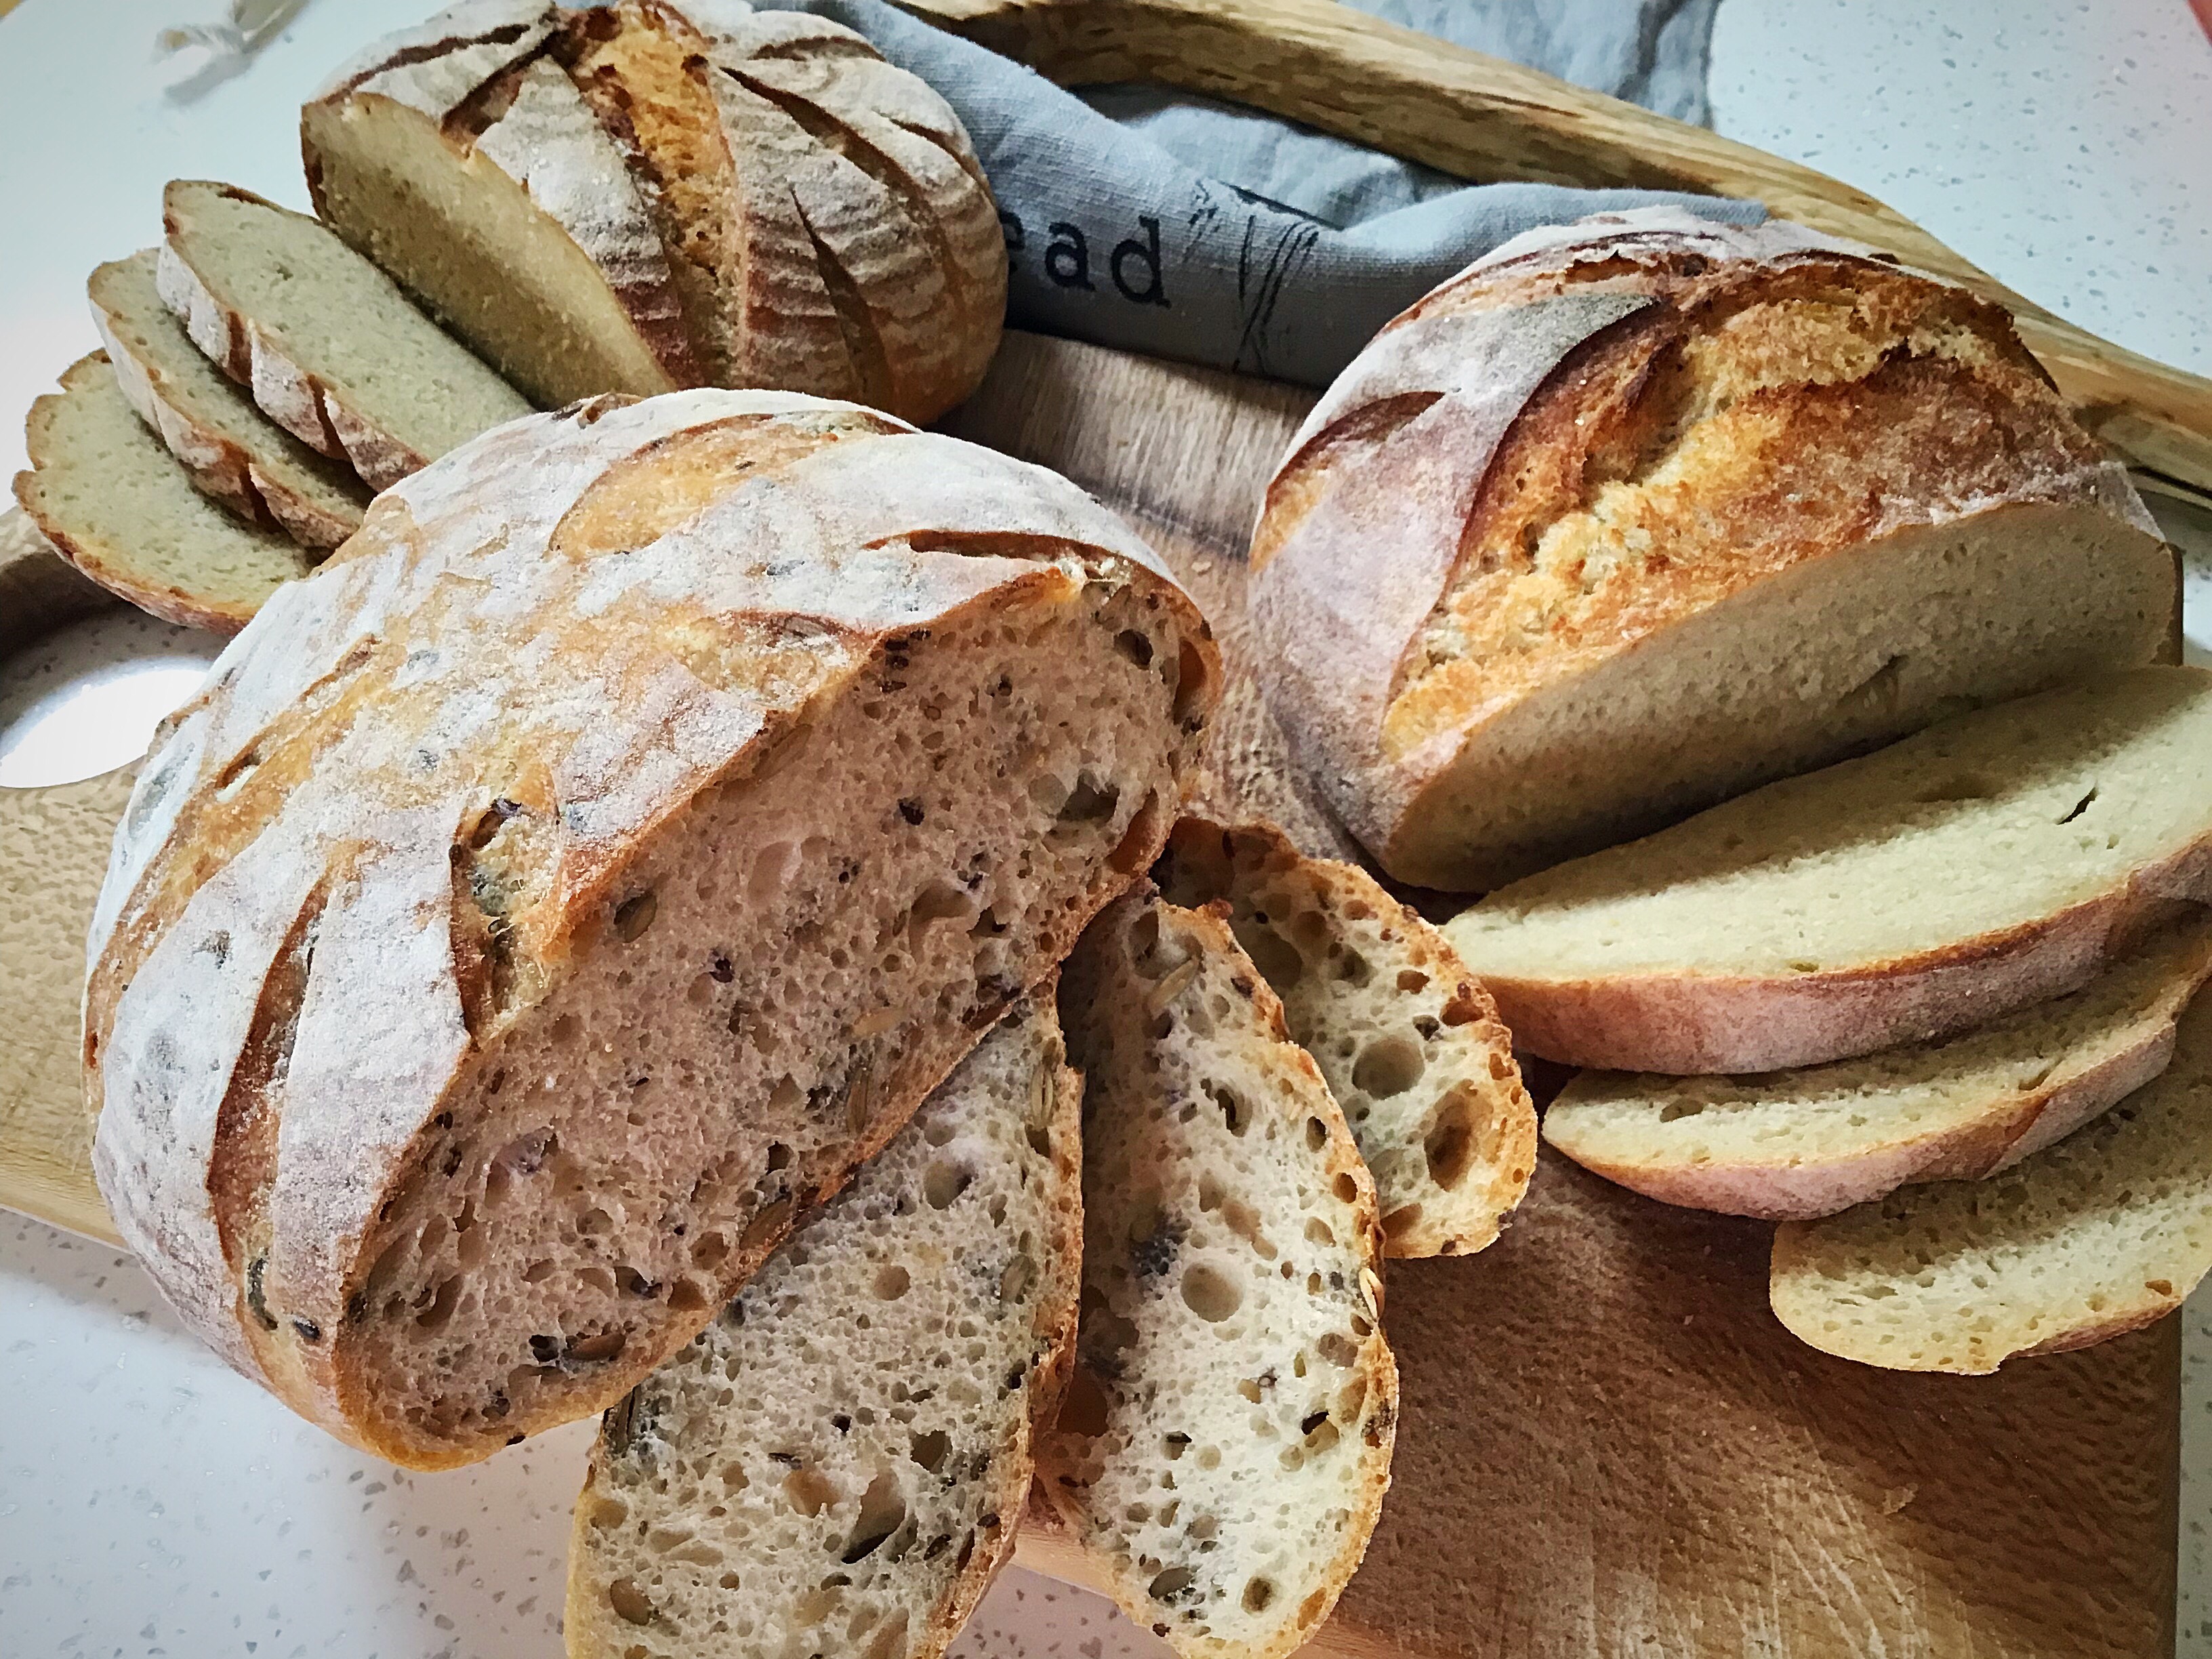
As I have with other recipes, I’ve used my master recipe and process to make these. I’ve used 100% strong white bread flour in the dough, and on other occasions I’ve used a mix of strong white bread flour and spelt, and a version with kamut flour; basically, whatever dough you choose to put together (there’s more suggestions in this recipe collection), you can convert it to making rolls, focaccia, pizza dough, or now these pittas.
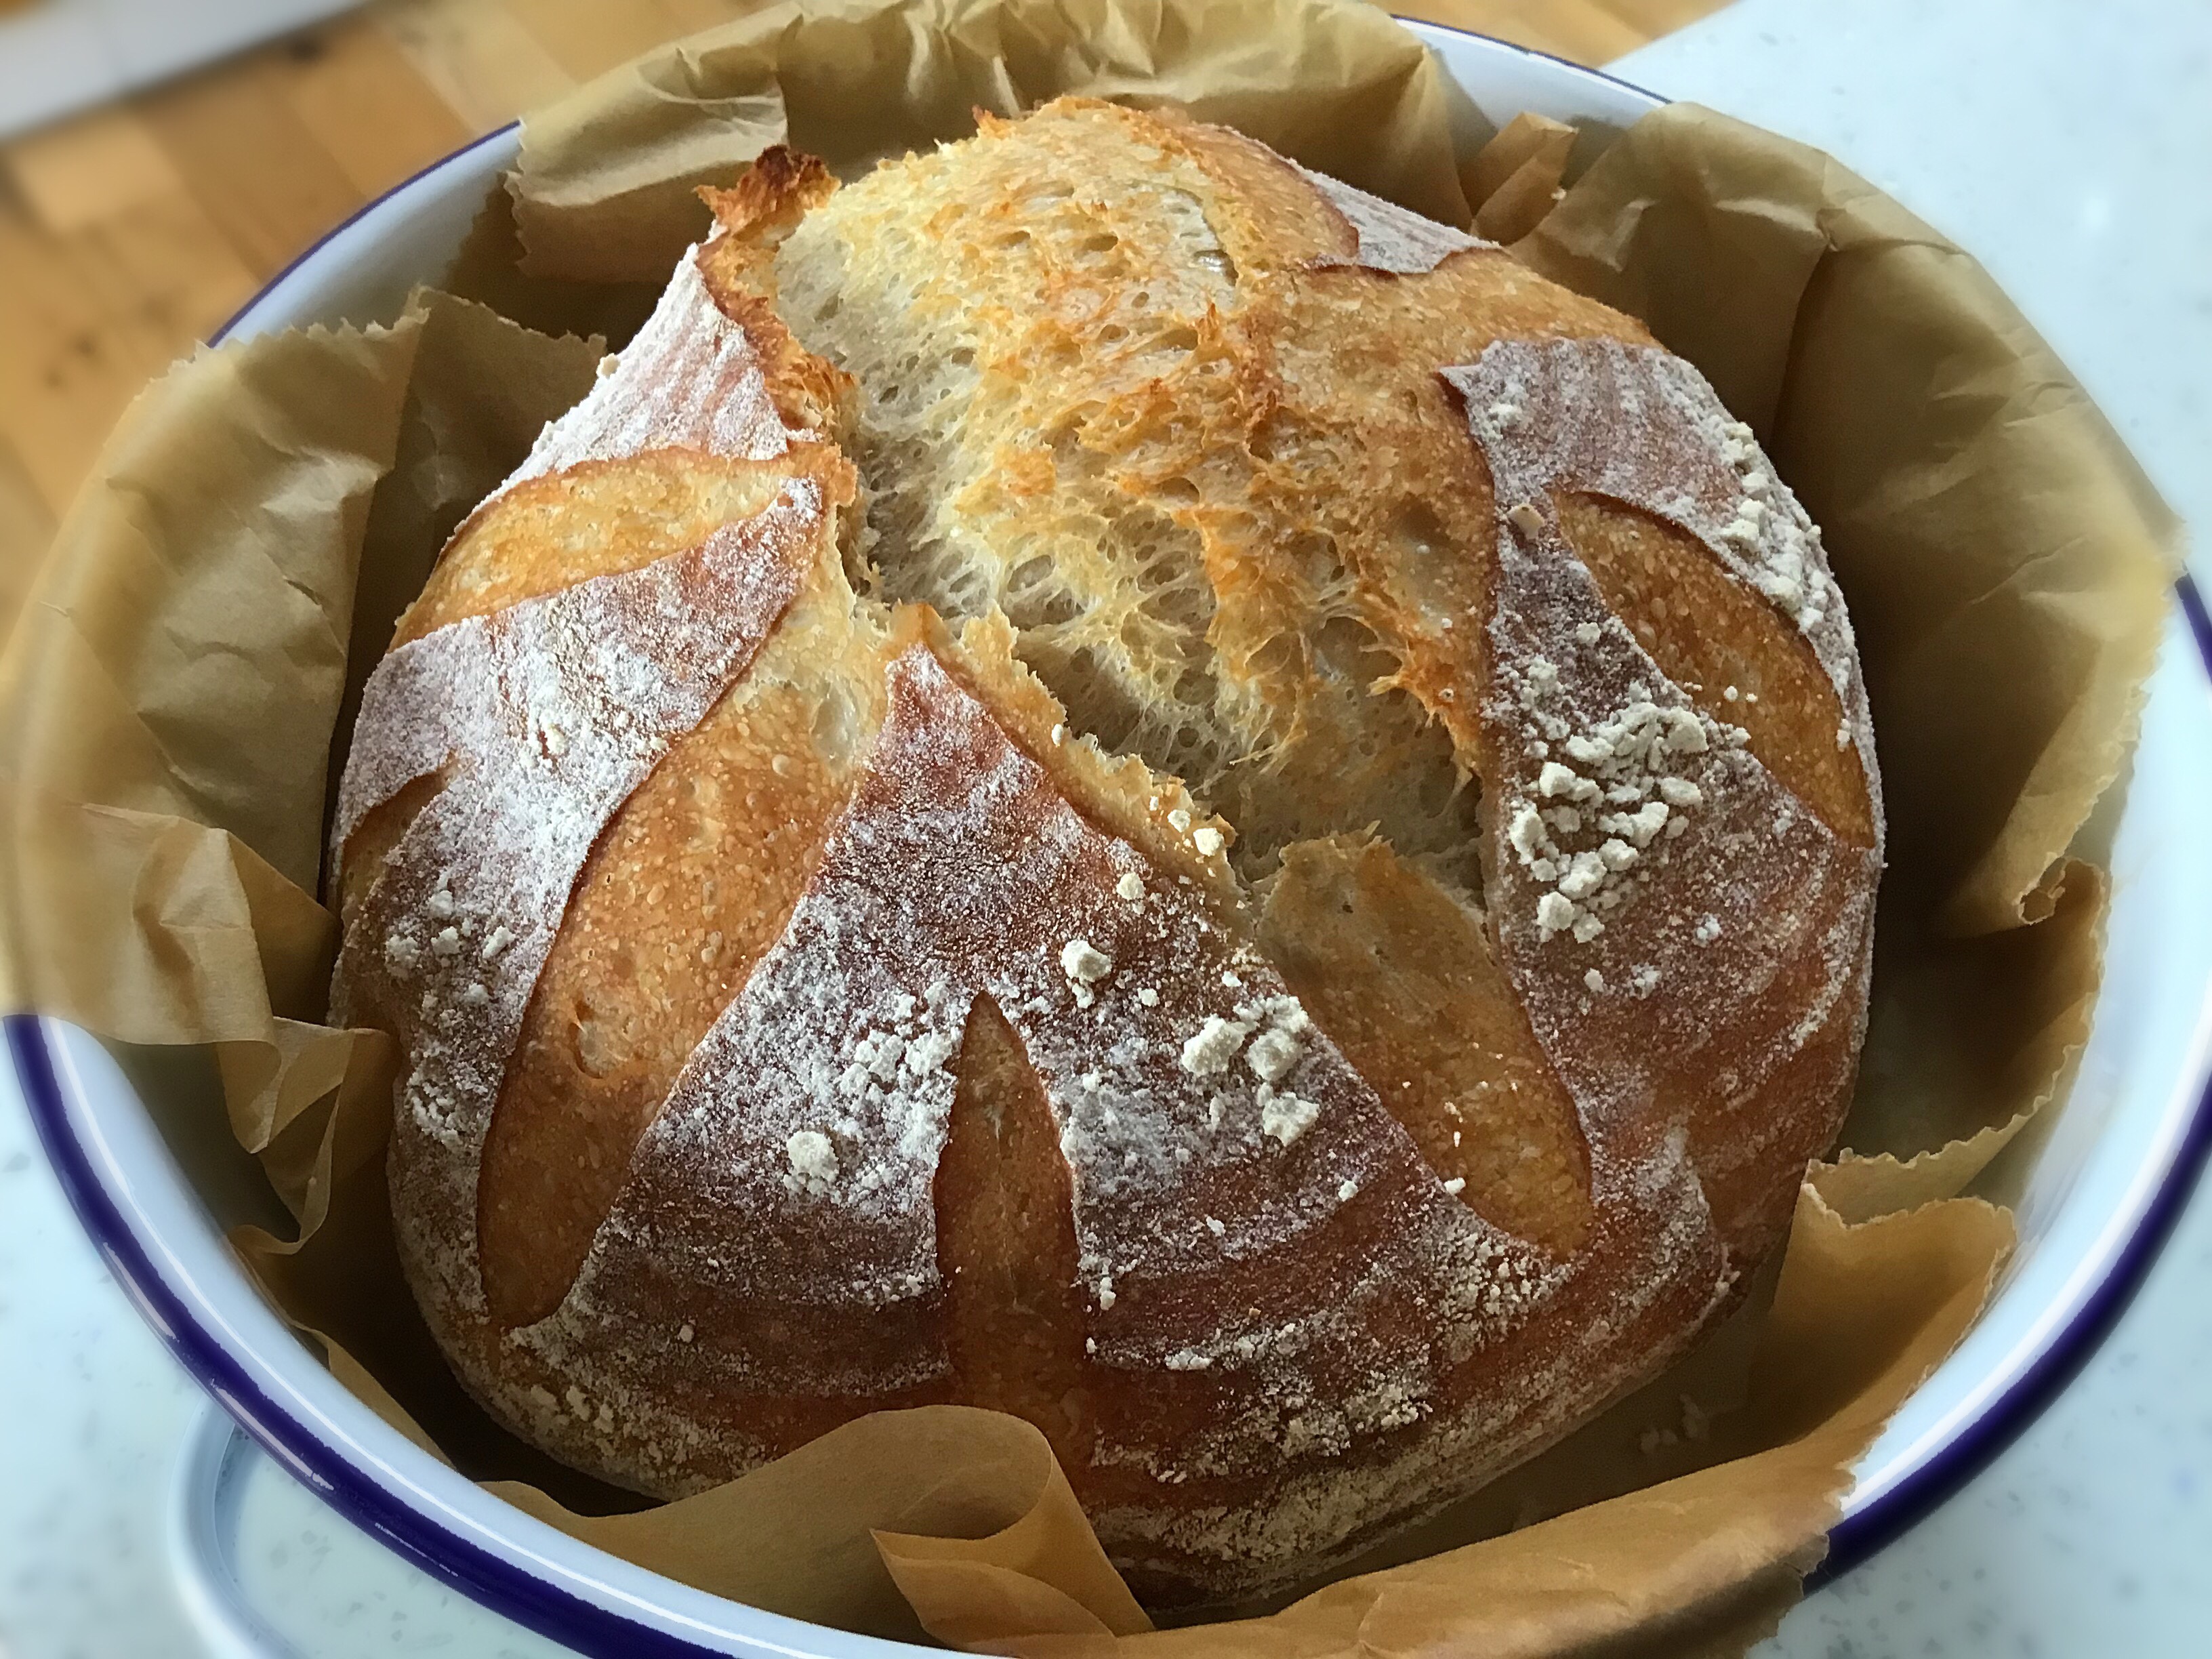
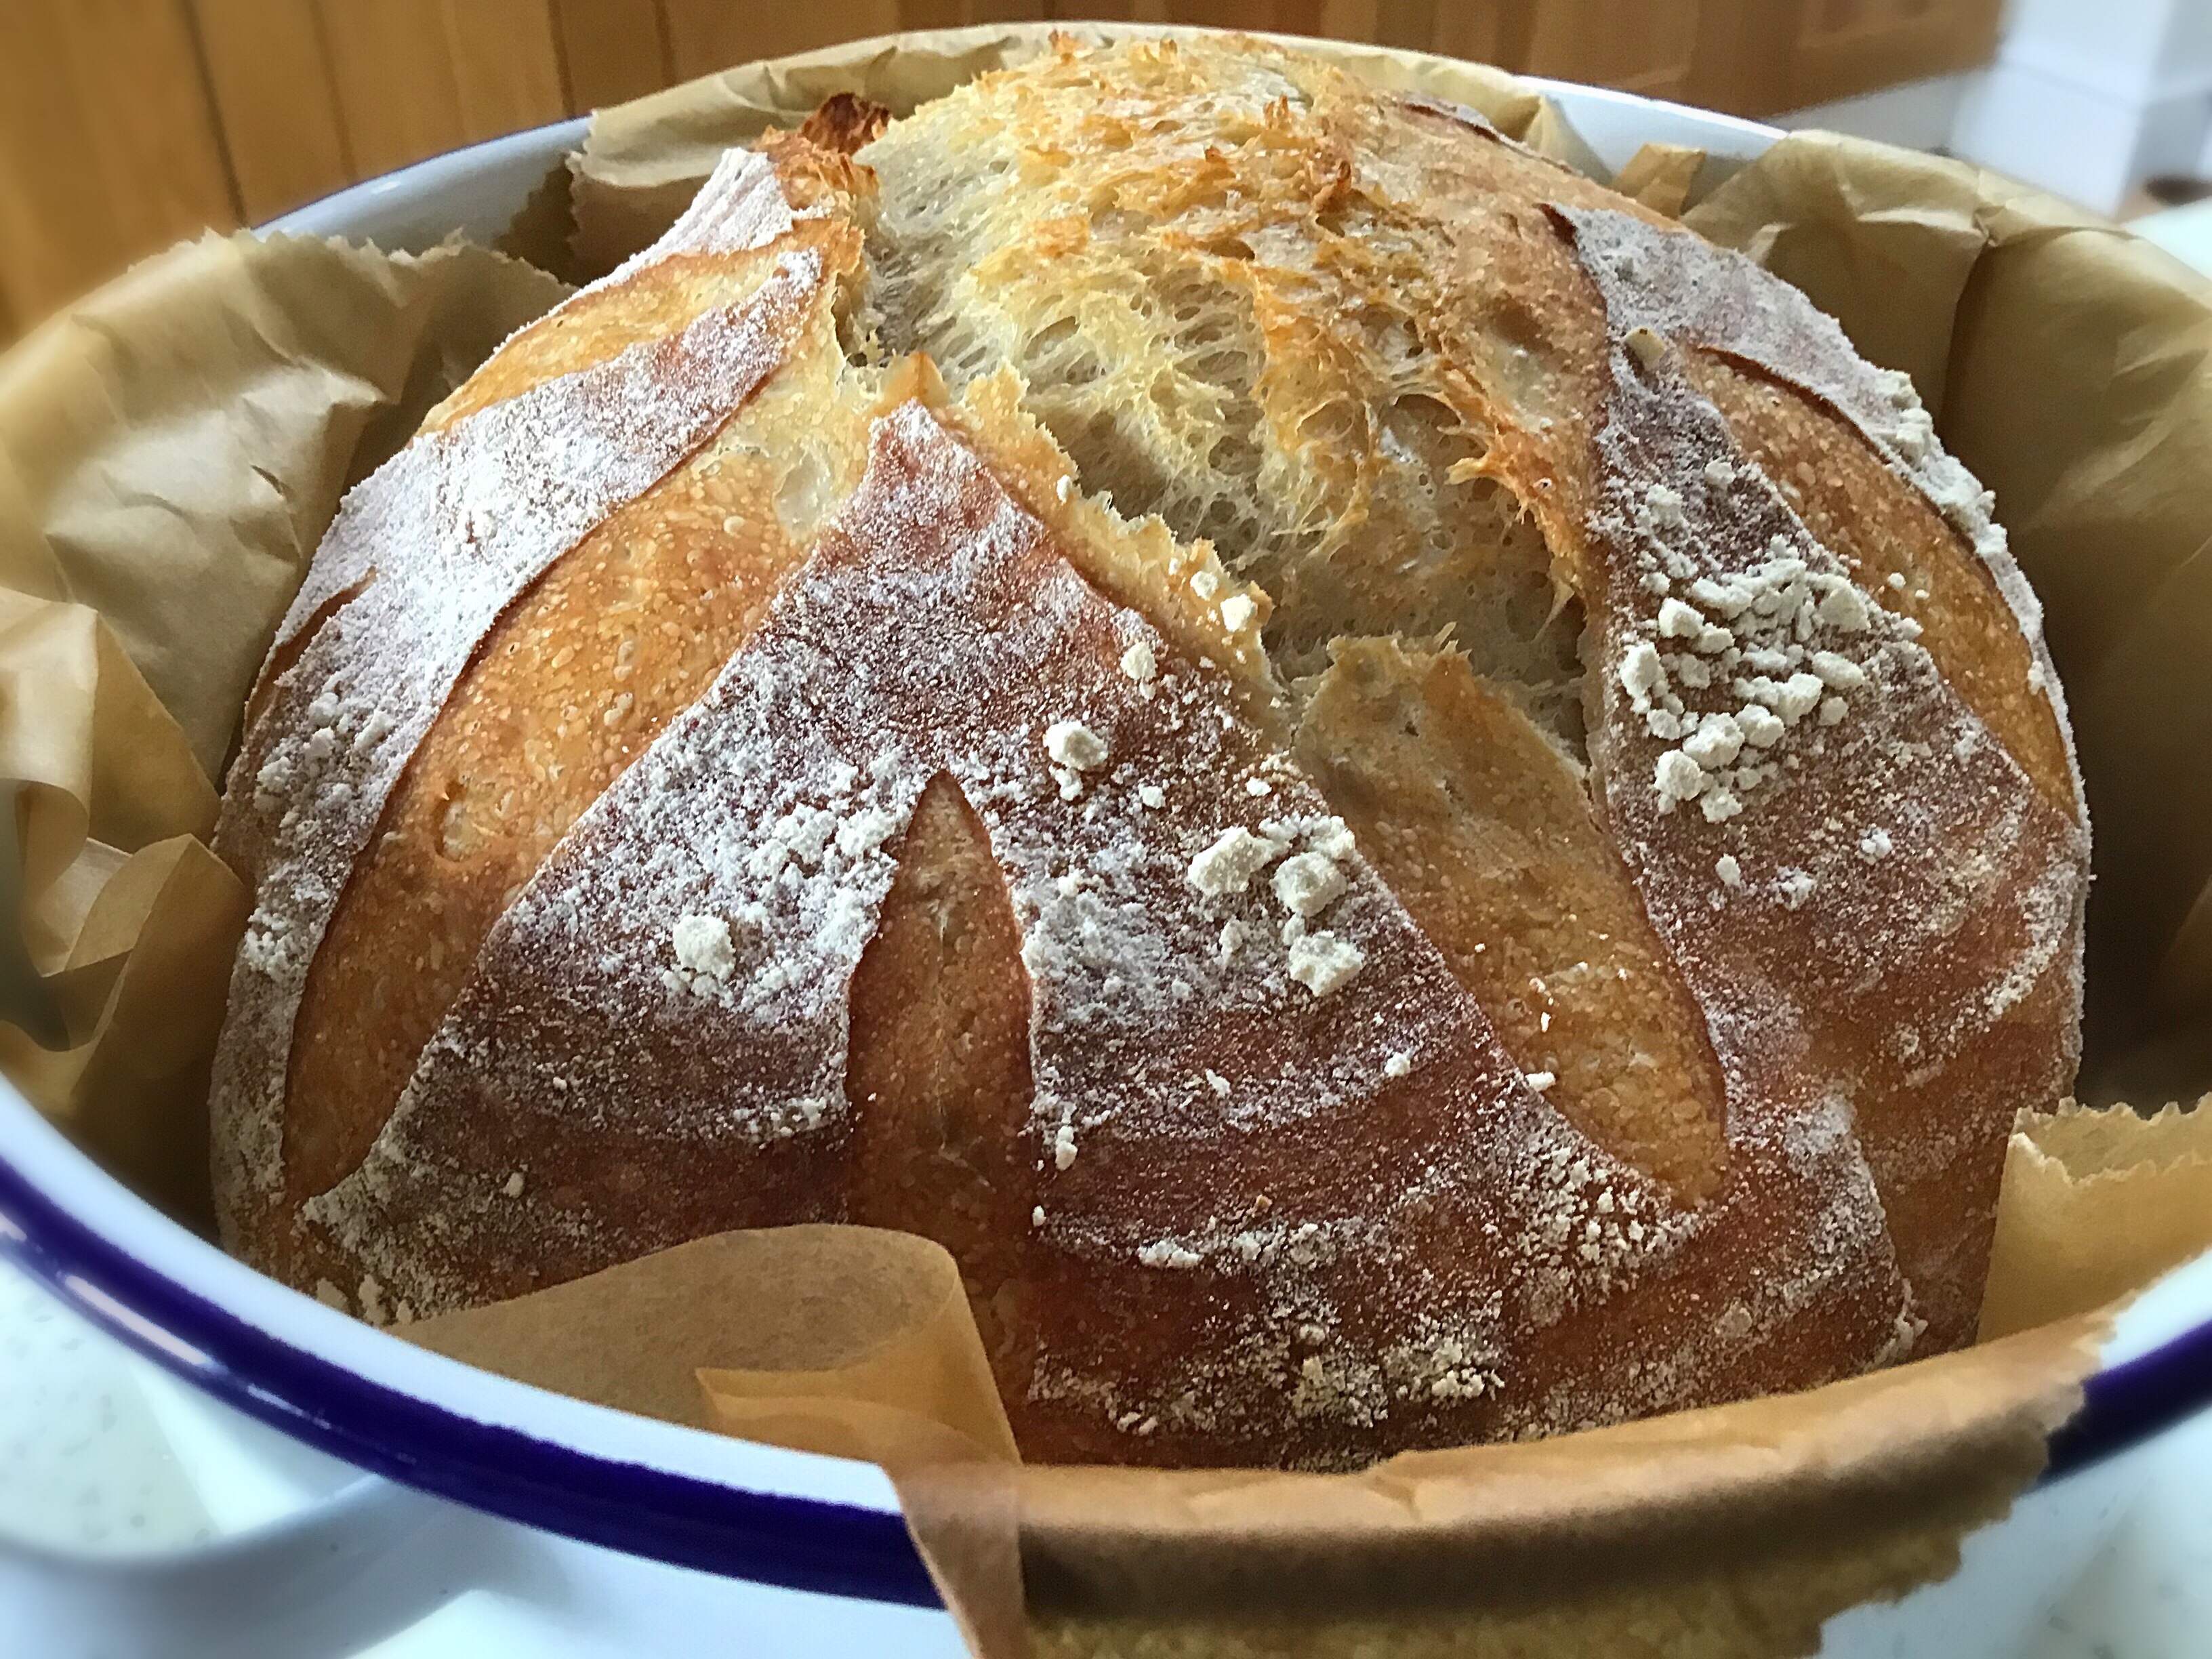
Follow my master recipe process up to and including the overnight prove, and then use that dough to create these bread pockets.
NOTE: if your dough has proved overnight and is reaching the top of the bowl or hitting the shower cap by the early morning but you’re not ready to use it yet, gently do one round of pulls and folds to calm it down a bit, then cover it again to allow it to grow and fill the bowl again over the next 2-3 hours for when you want to use it.
When you’re ready to use for the dough for your pittas…
Method
Preheat your oven to 250C and place a tray in the oven to heat up.
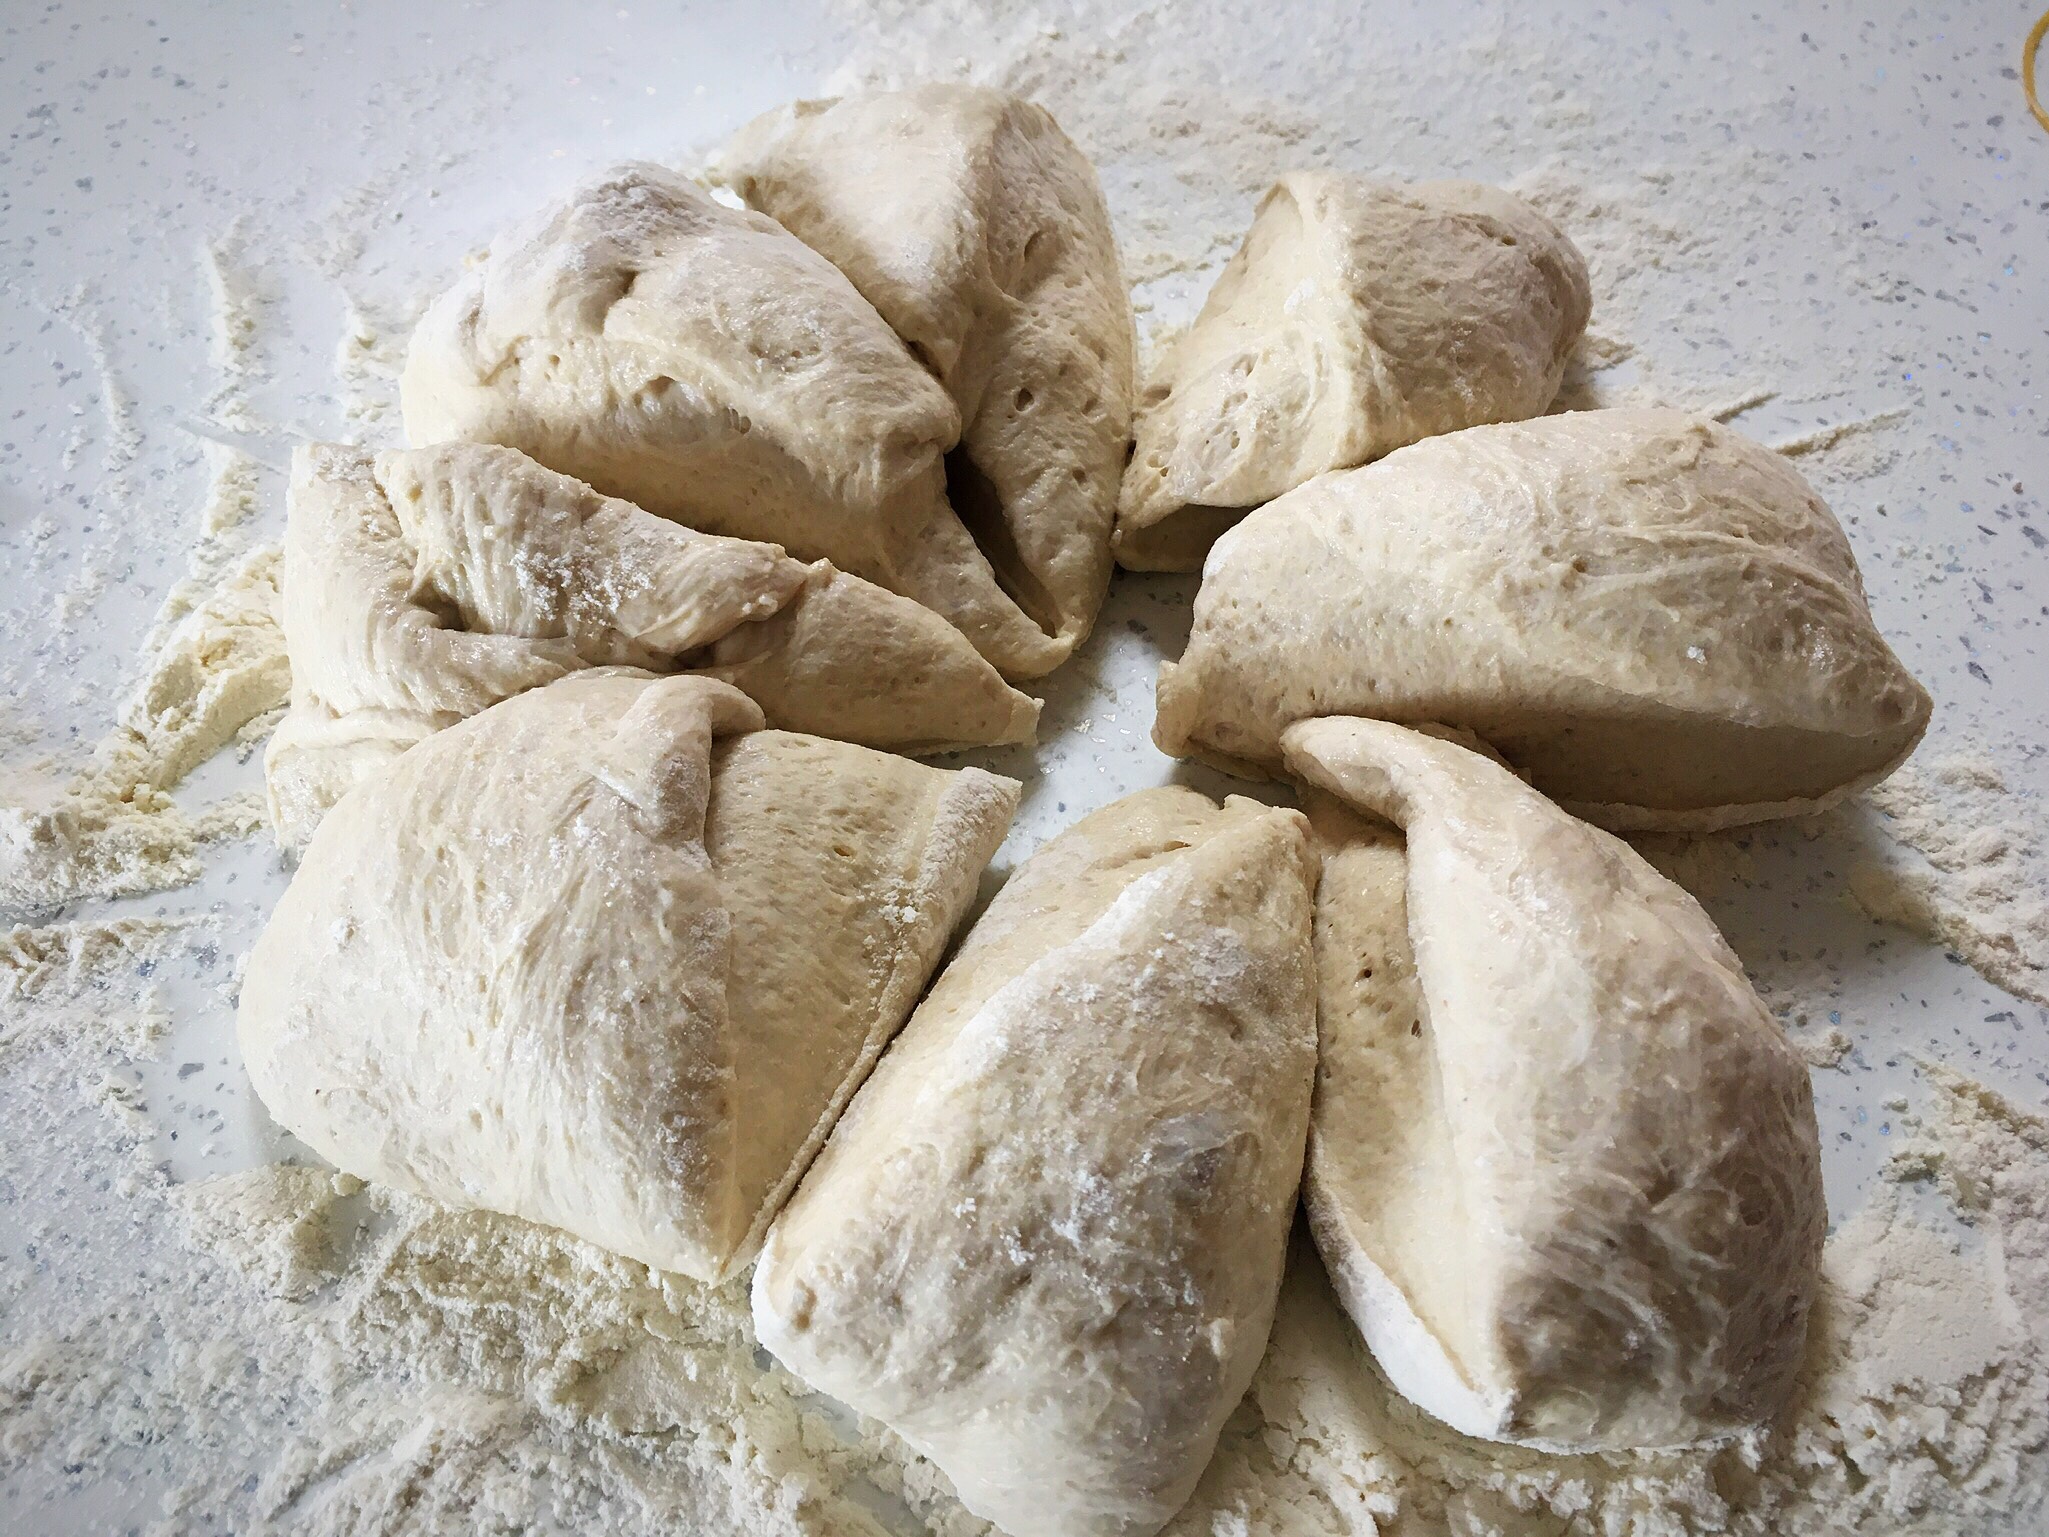
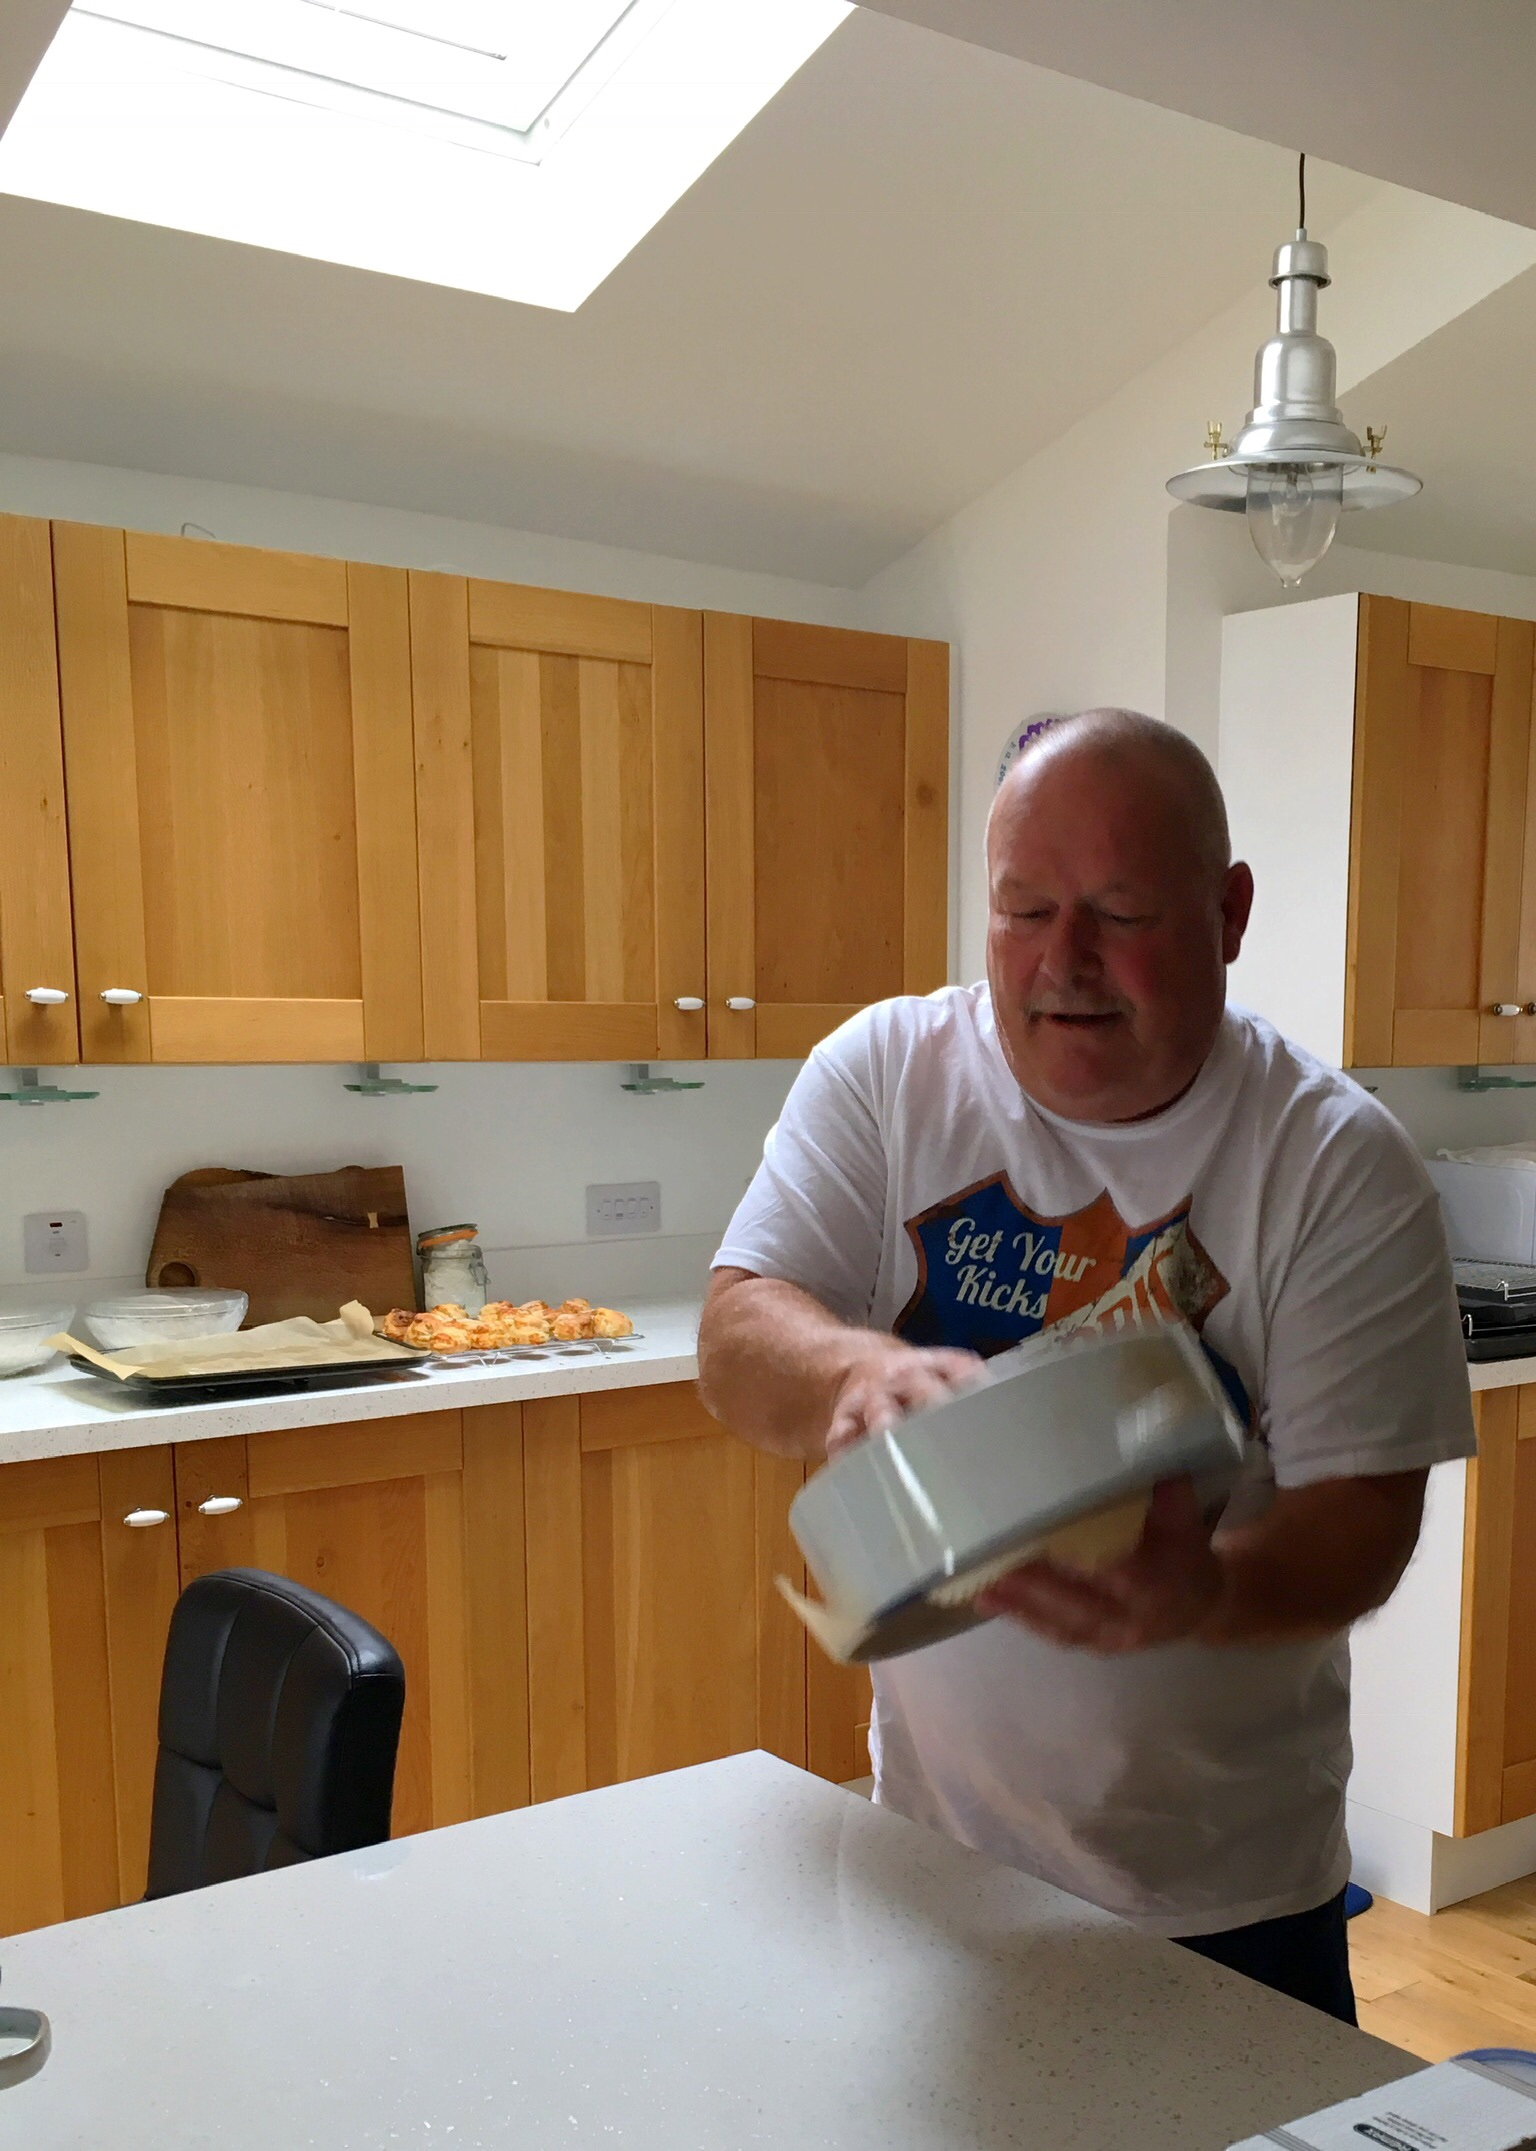
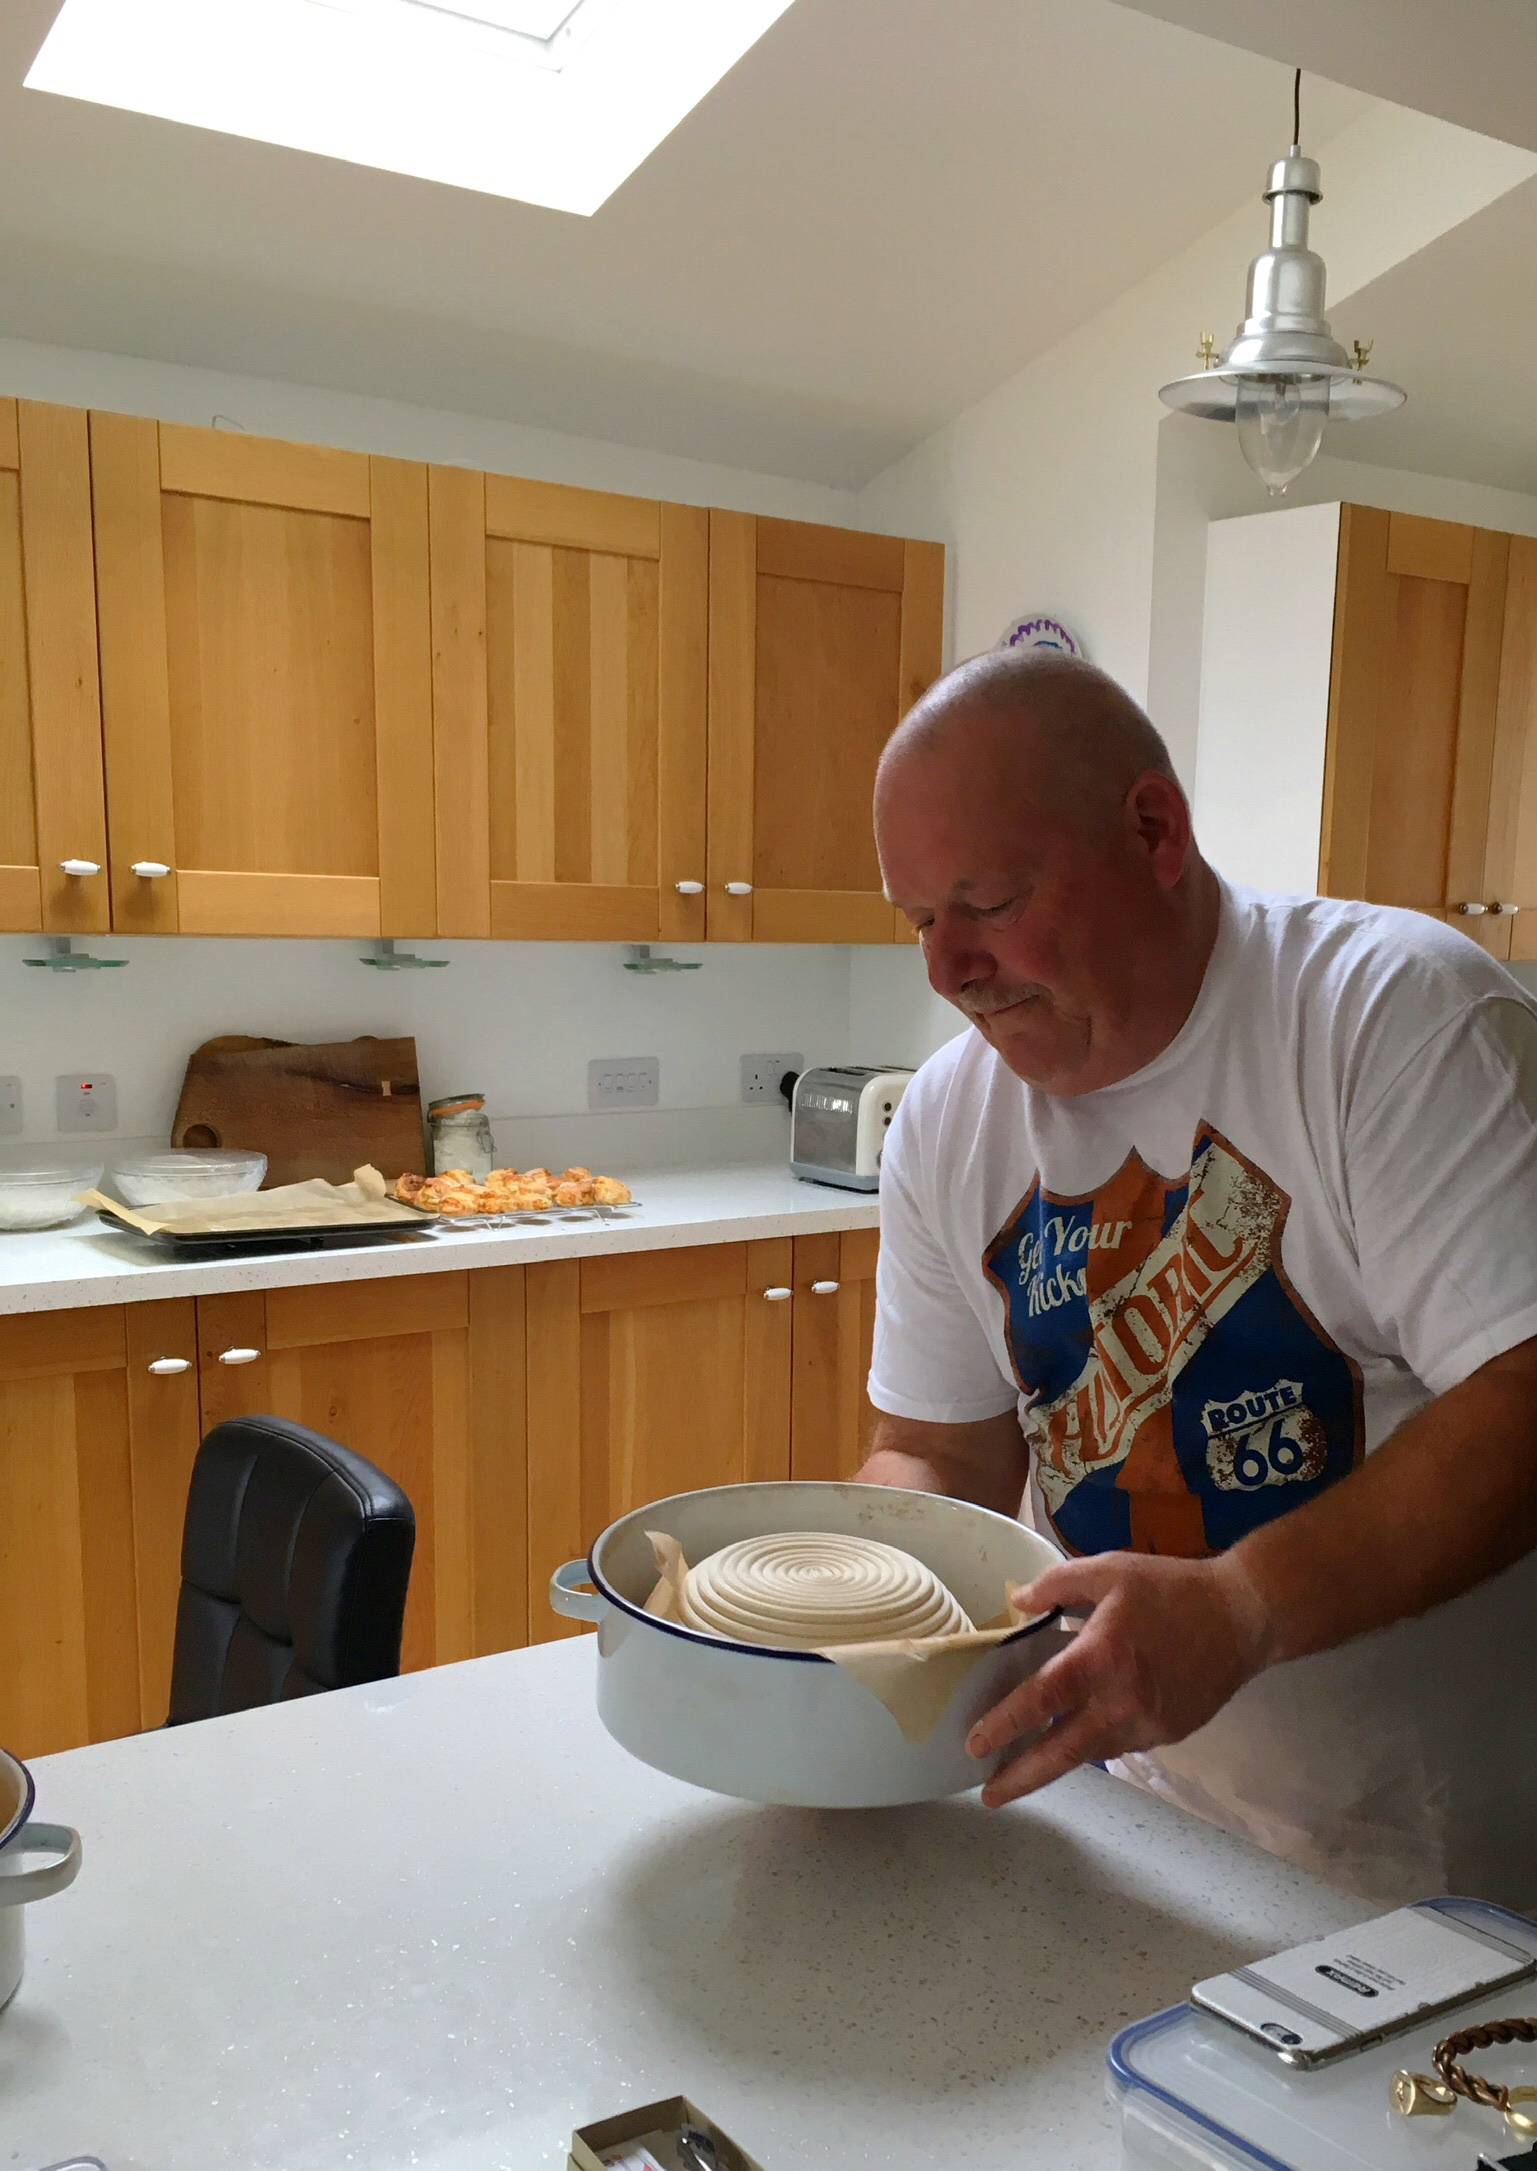
Take your overnight proved dough, gently pull it into a loose ball to enable you to turn it out onto a floured surface.
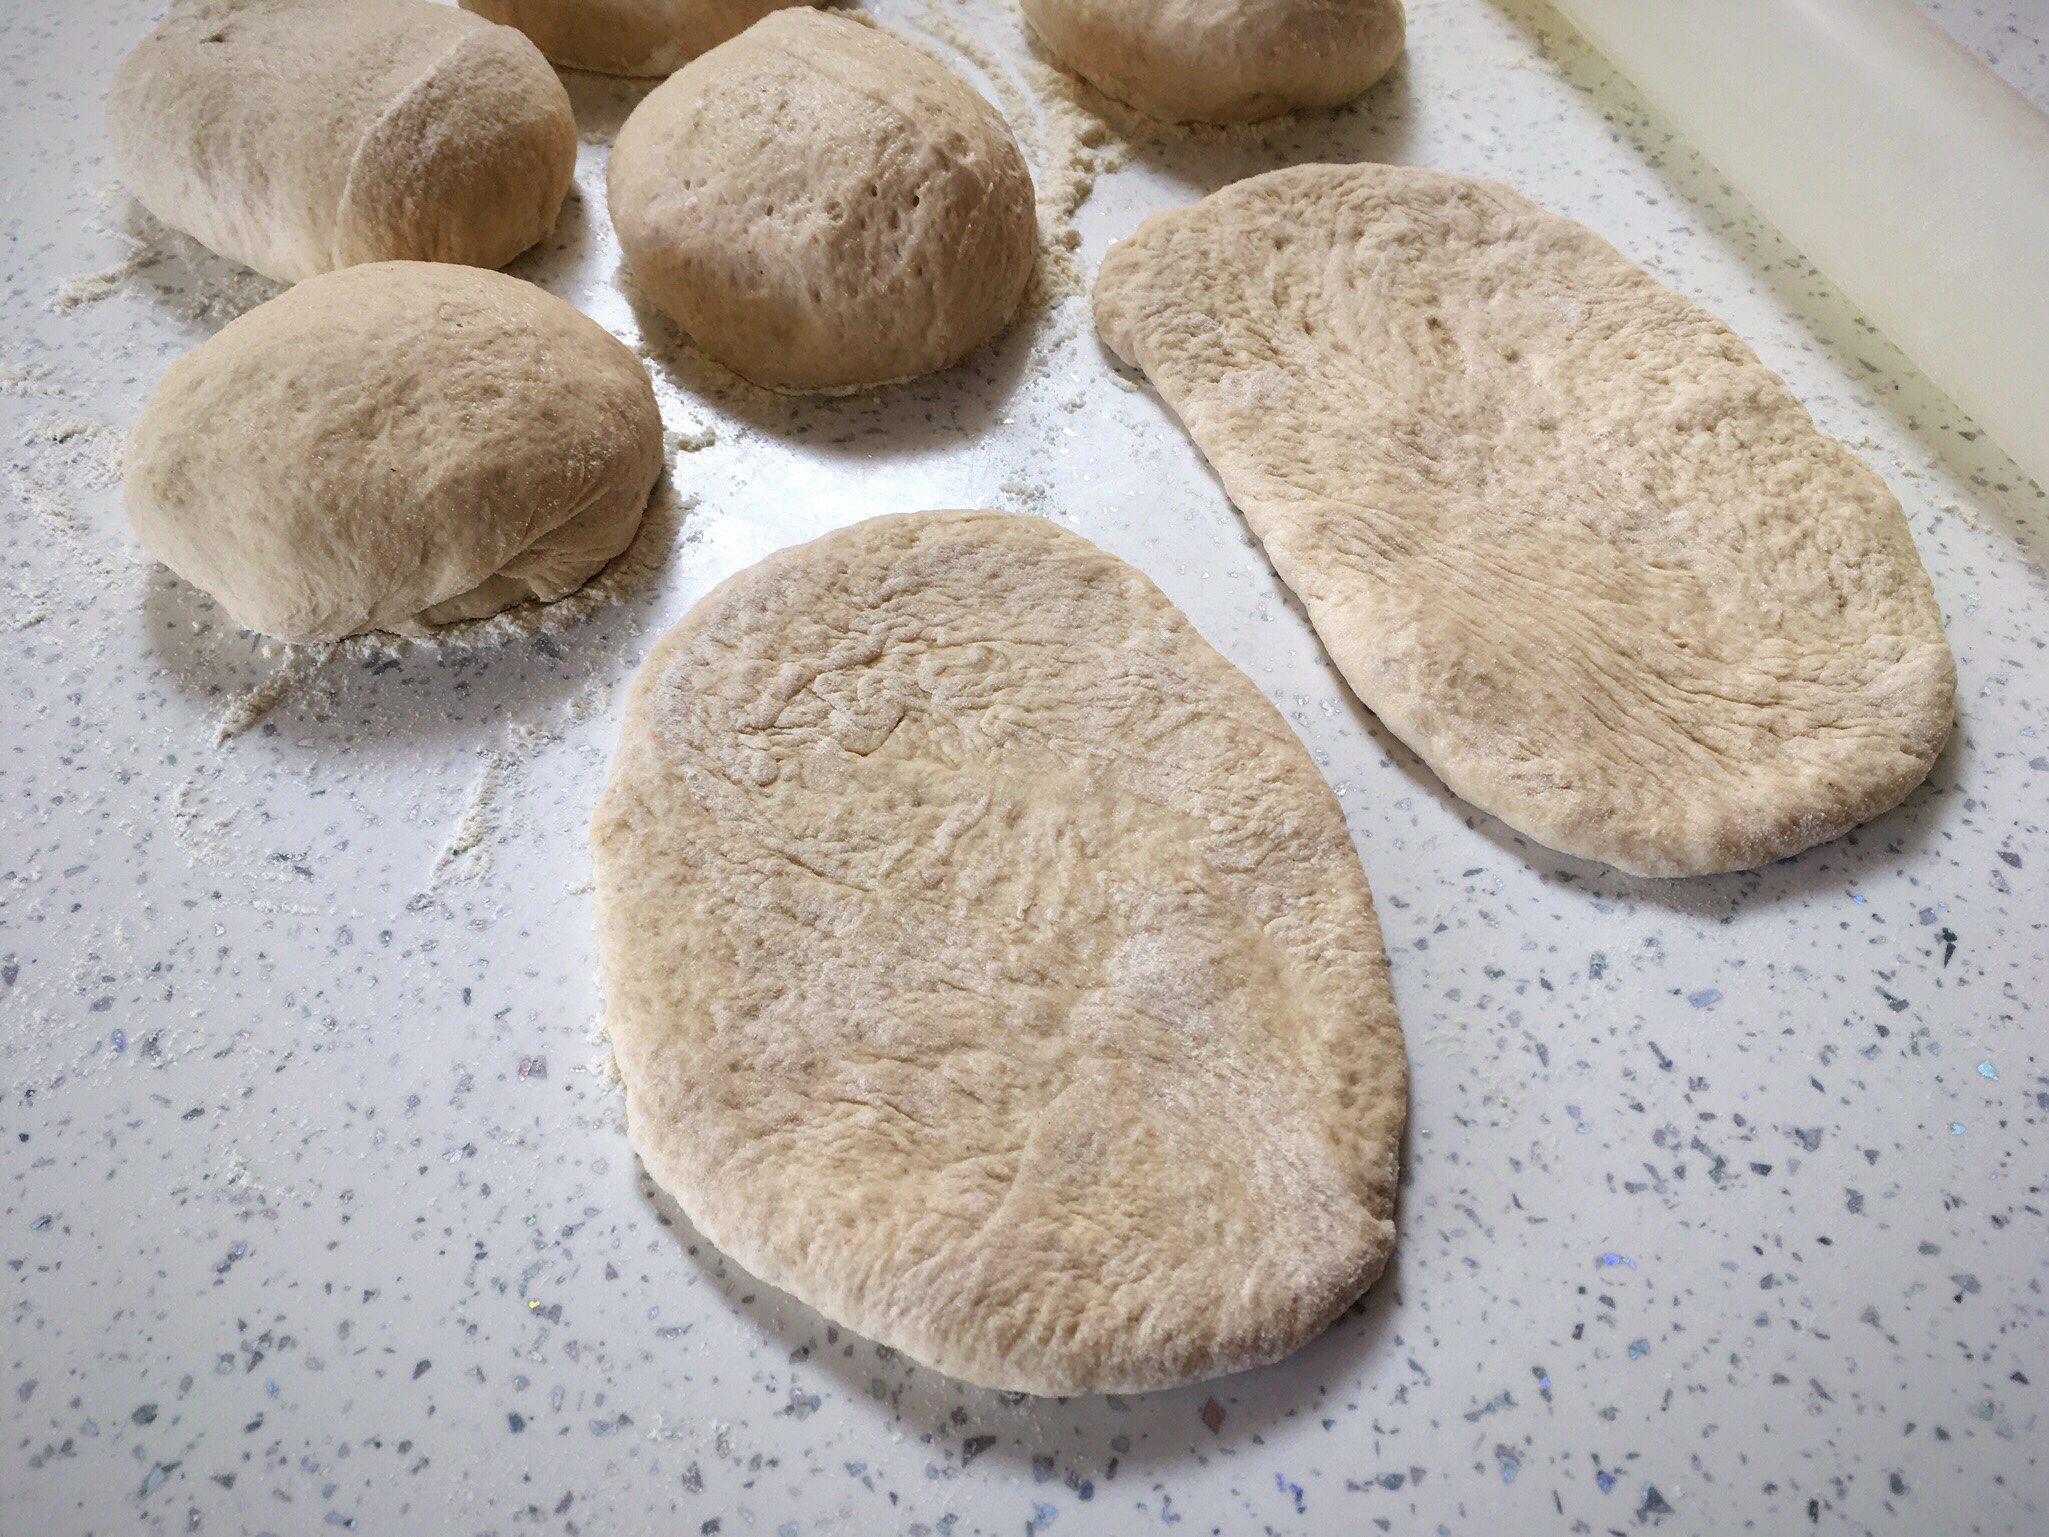
Using a dough knife, cut the dough into 8 pieces, as equal as you can by eye.

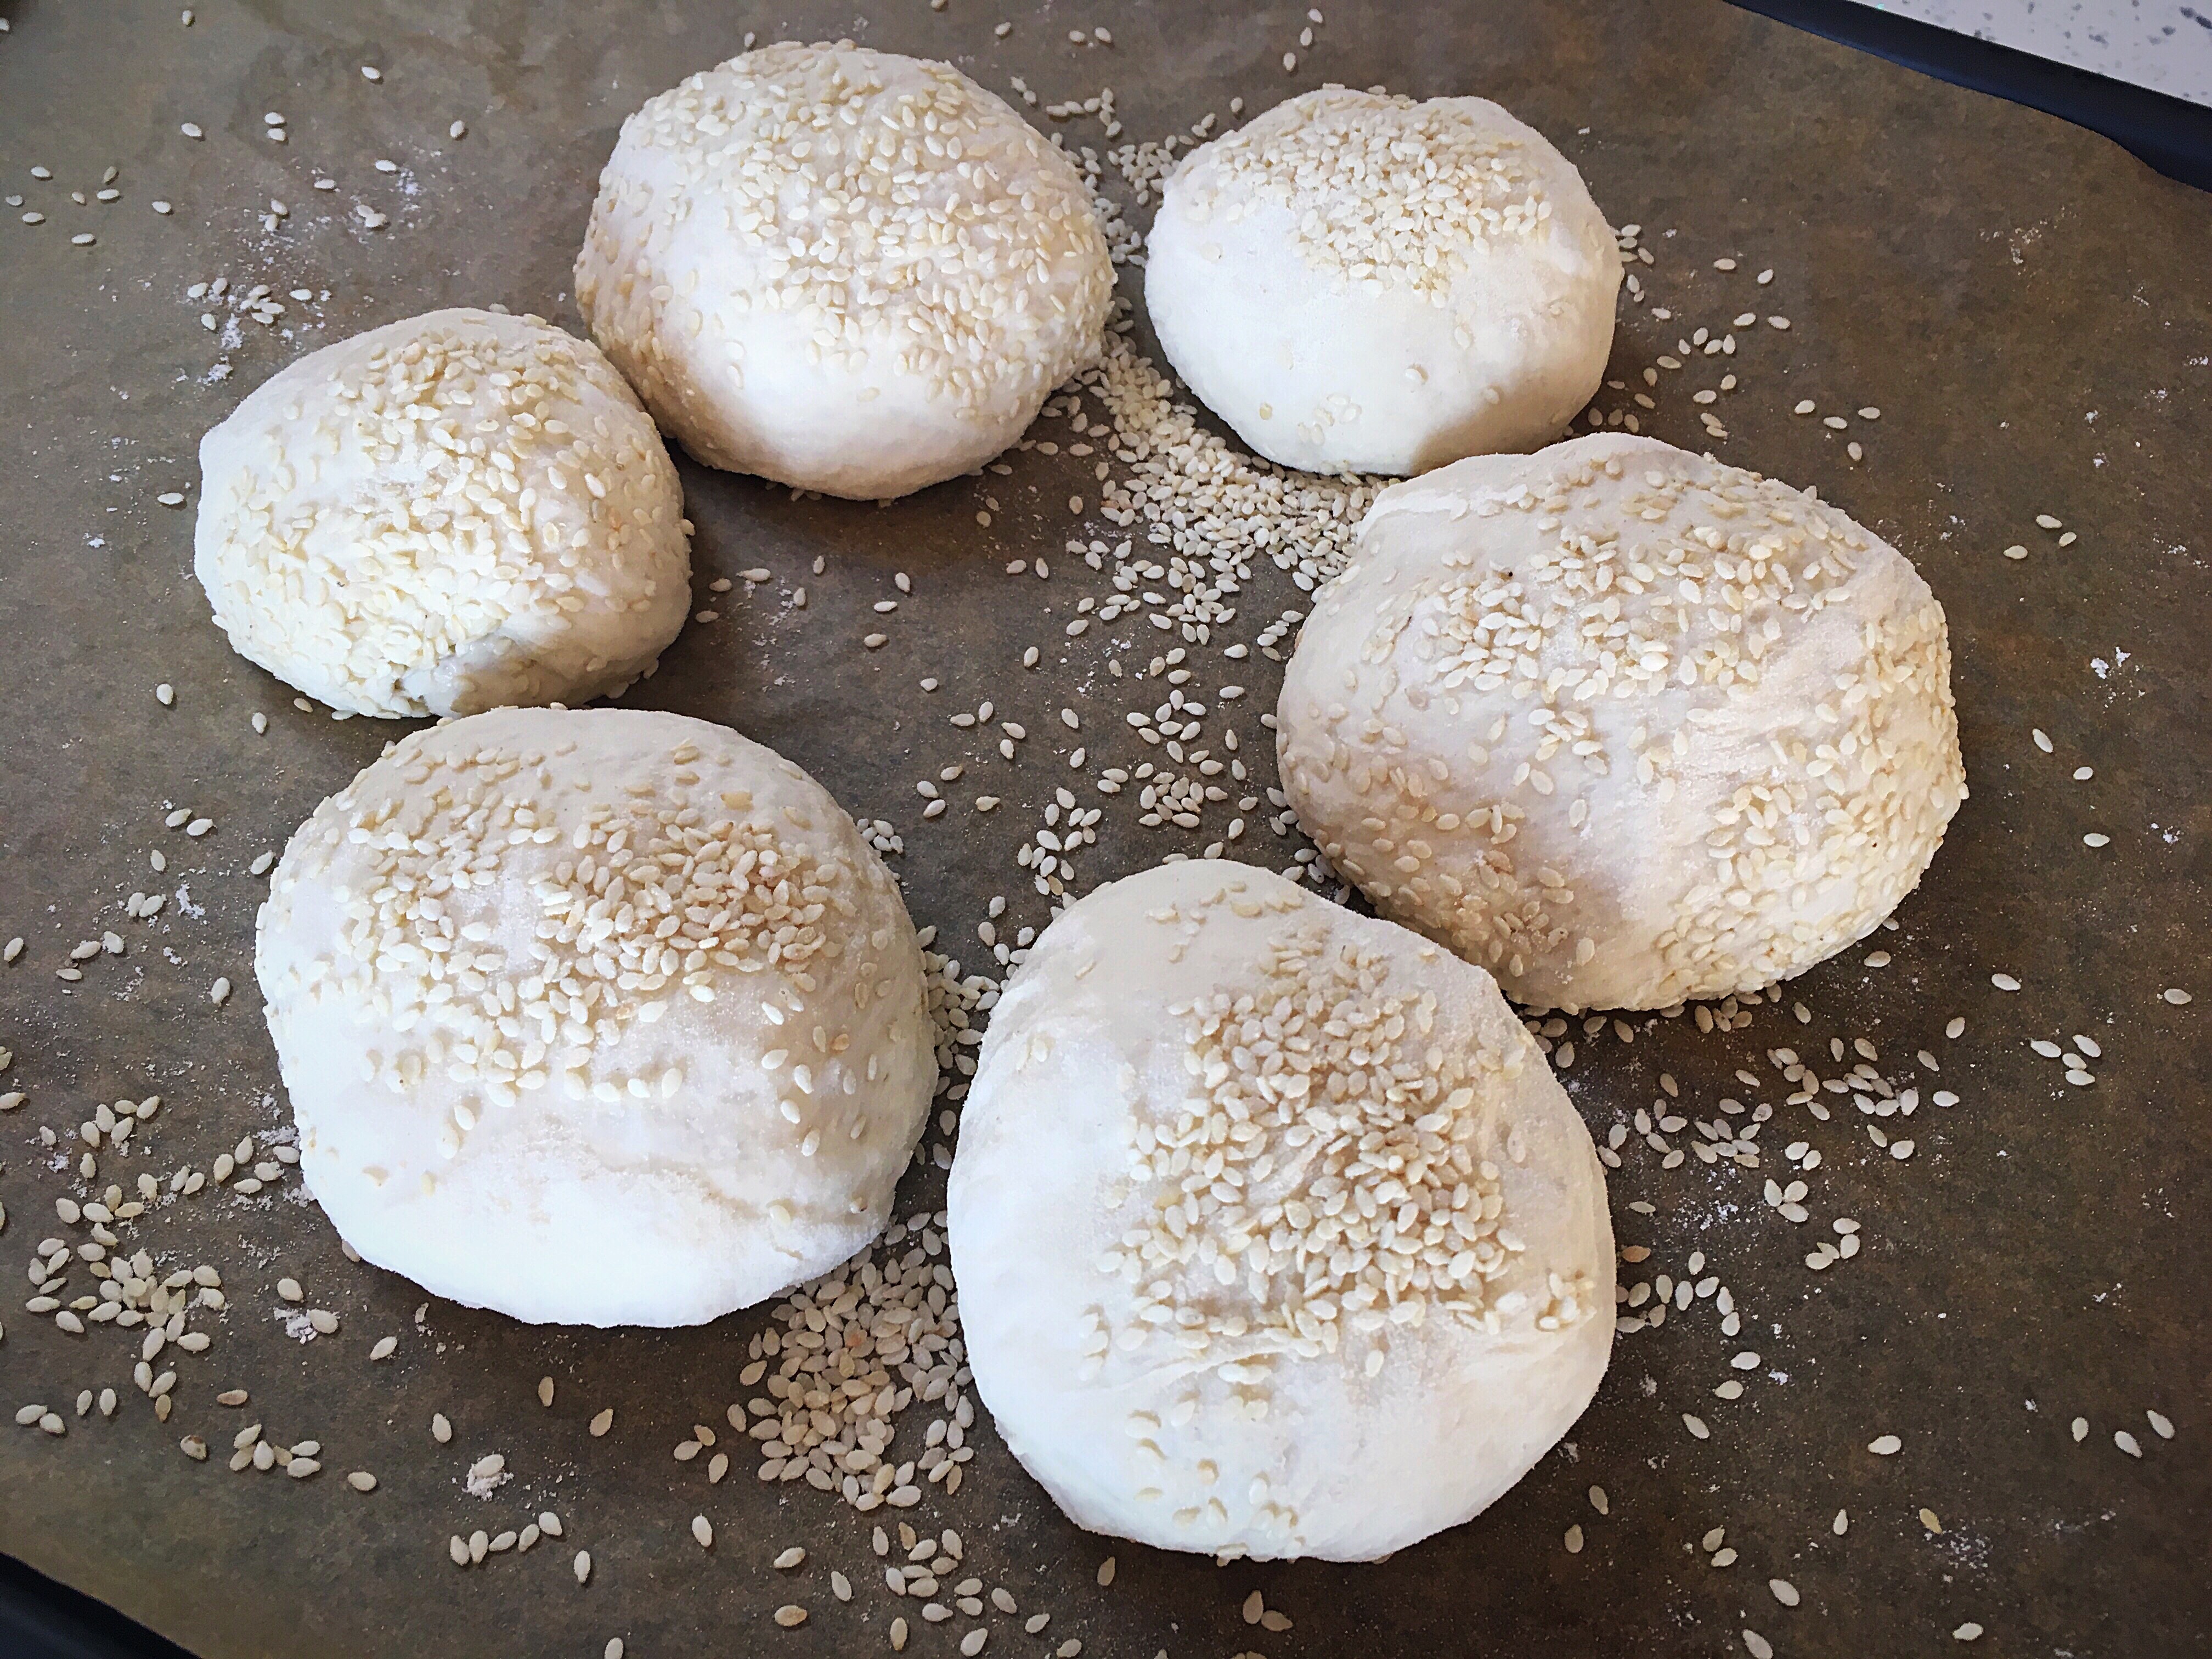
Very gently shape each piece into a ball.

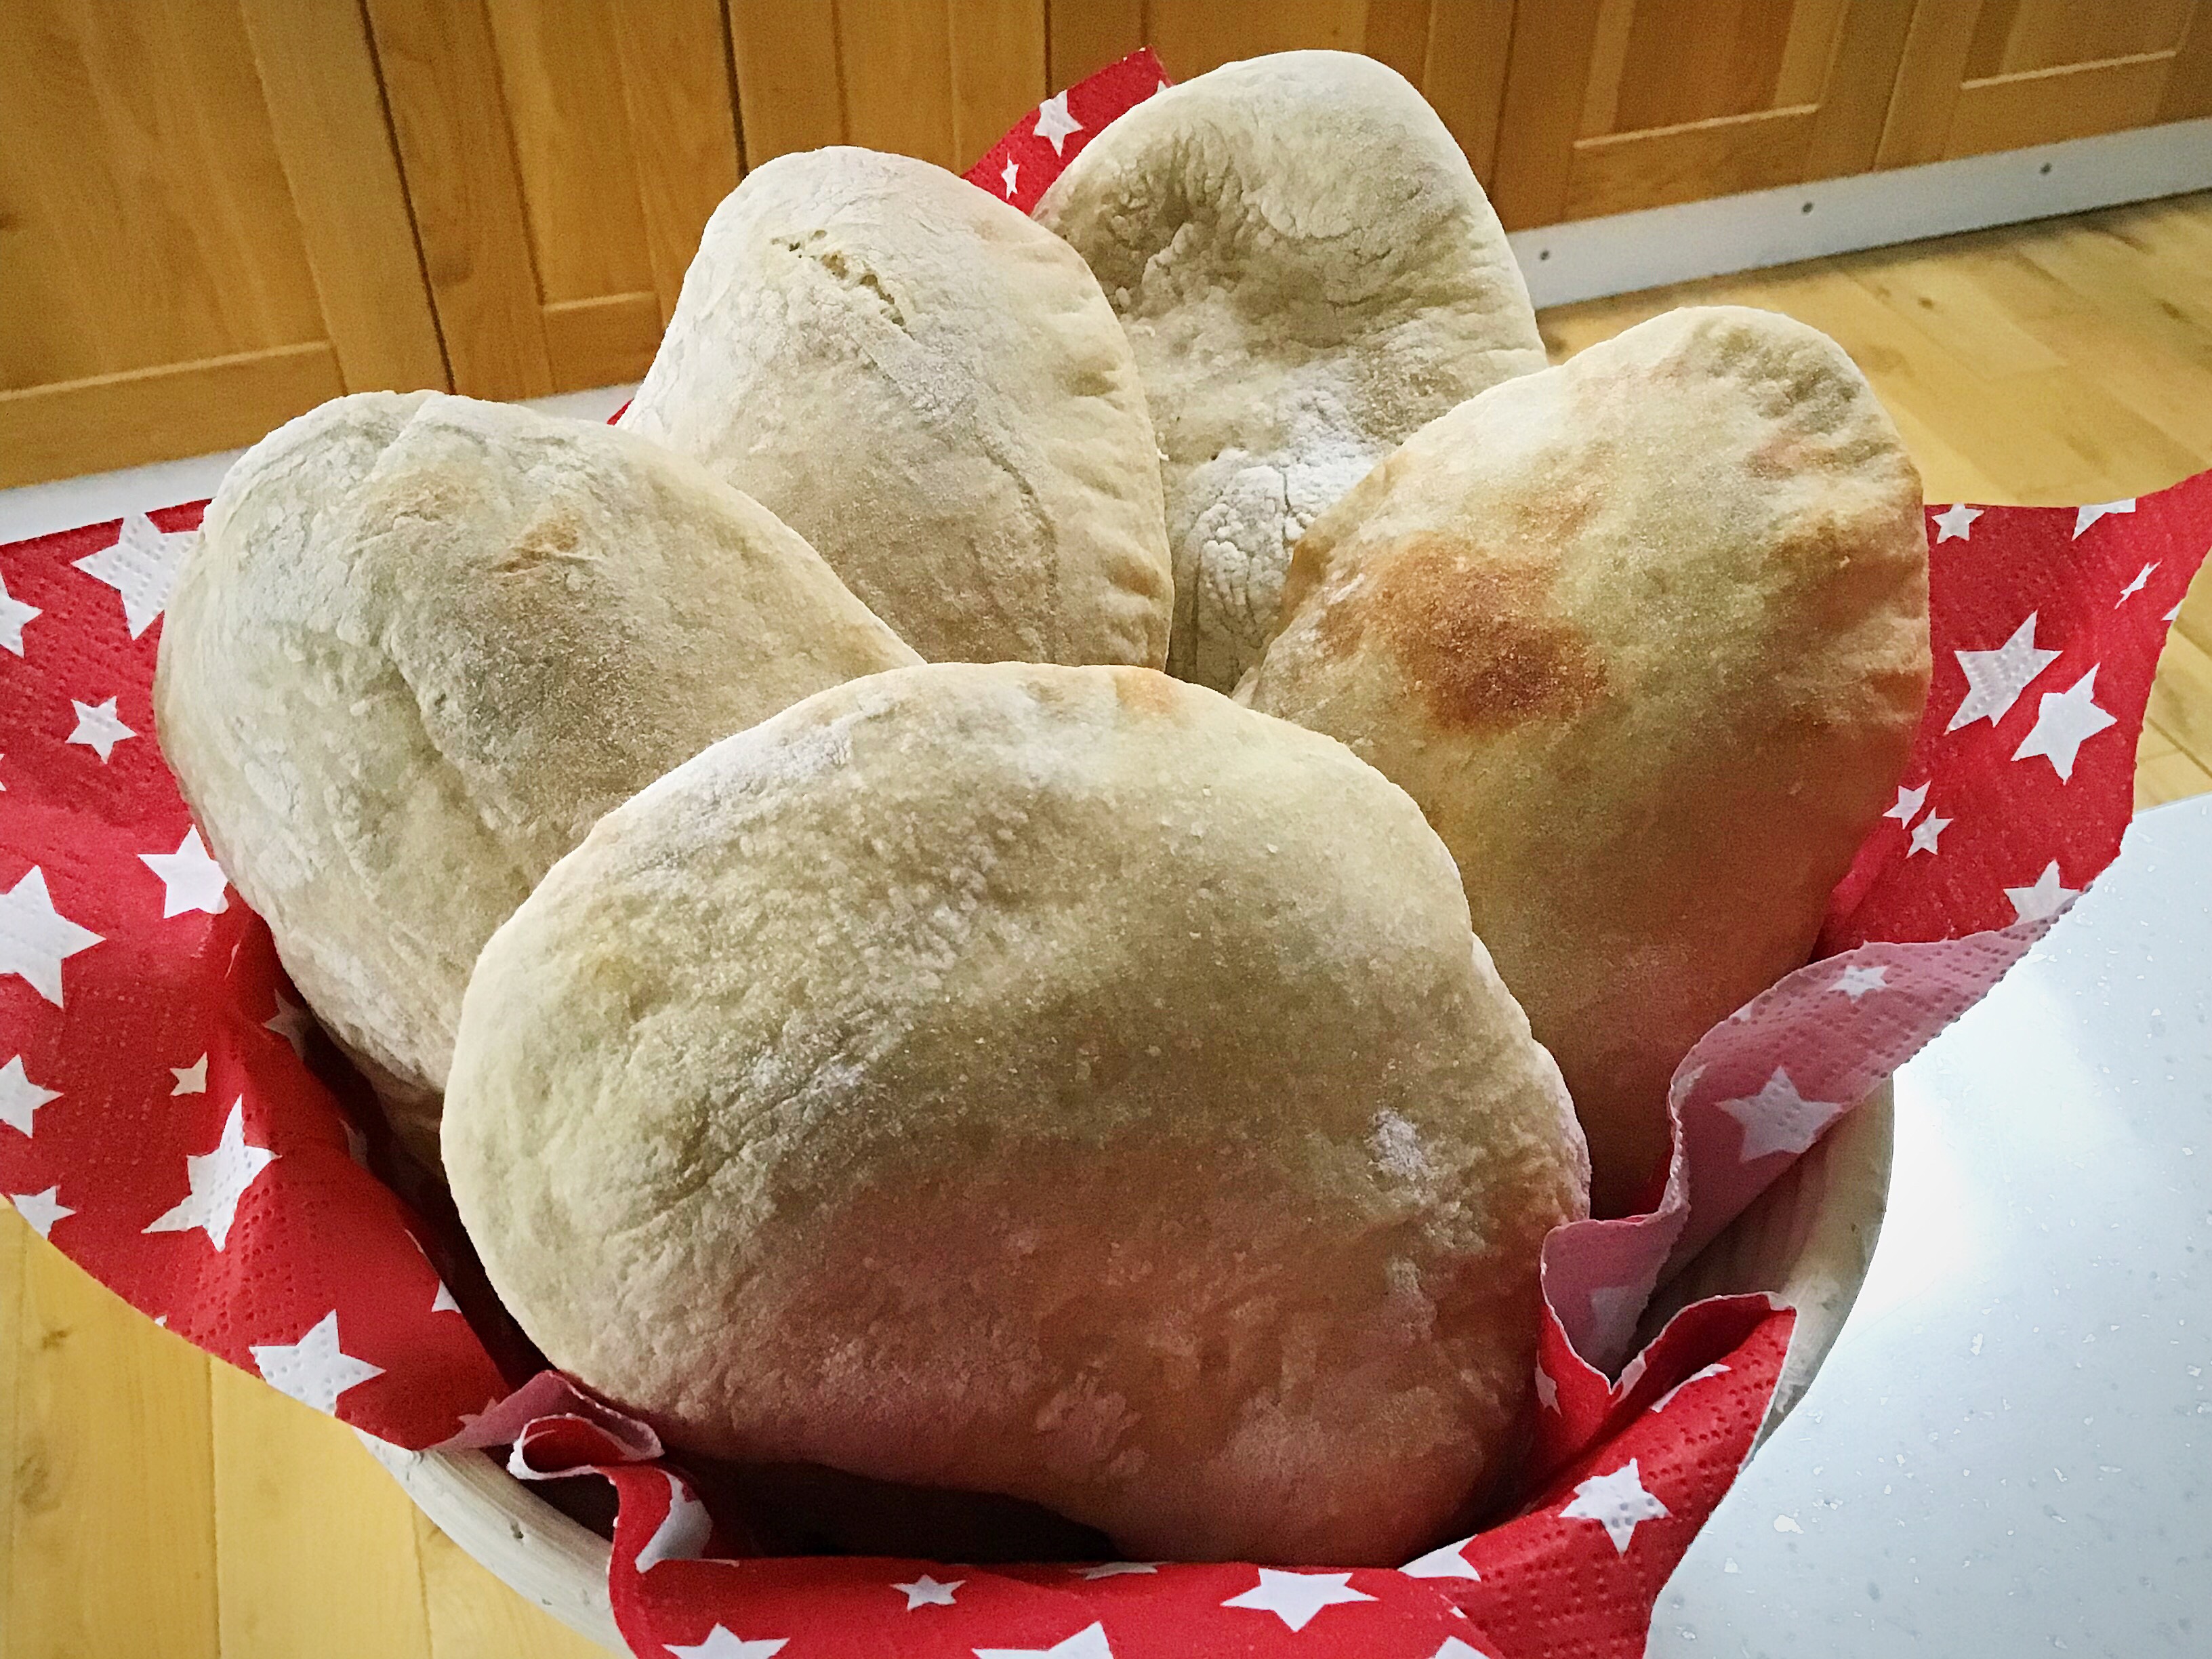
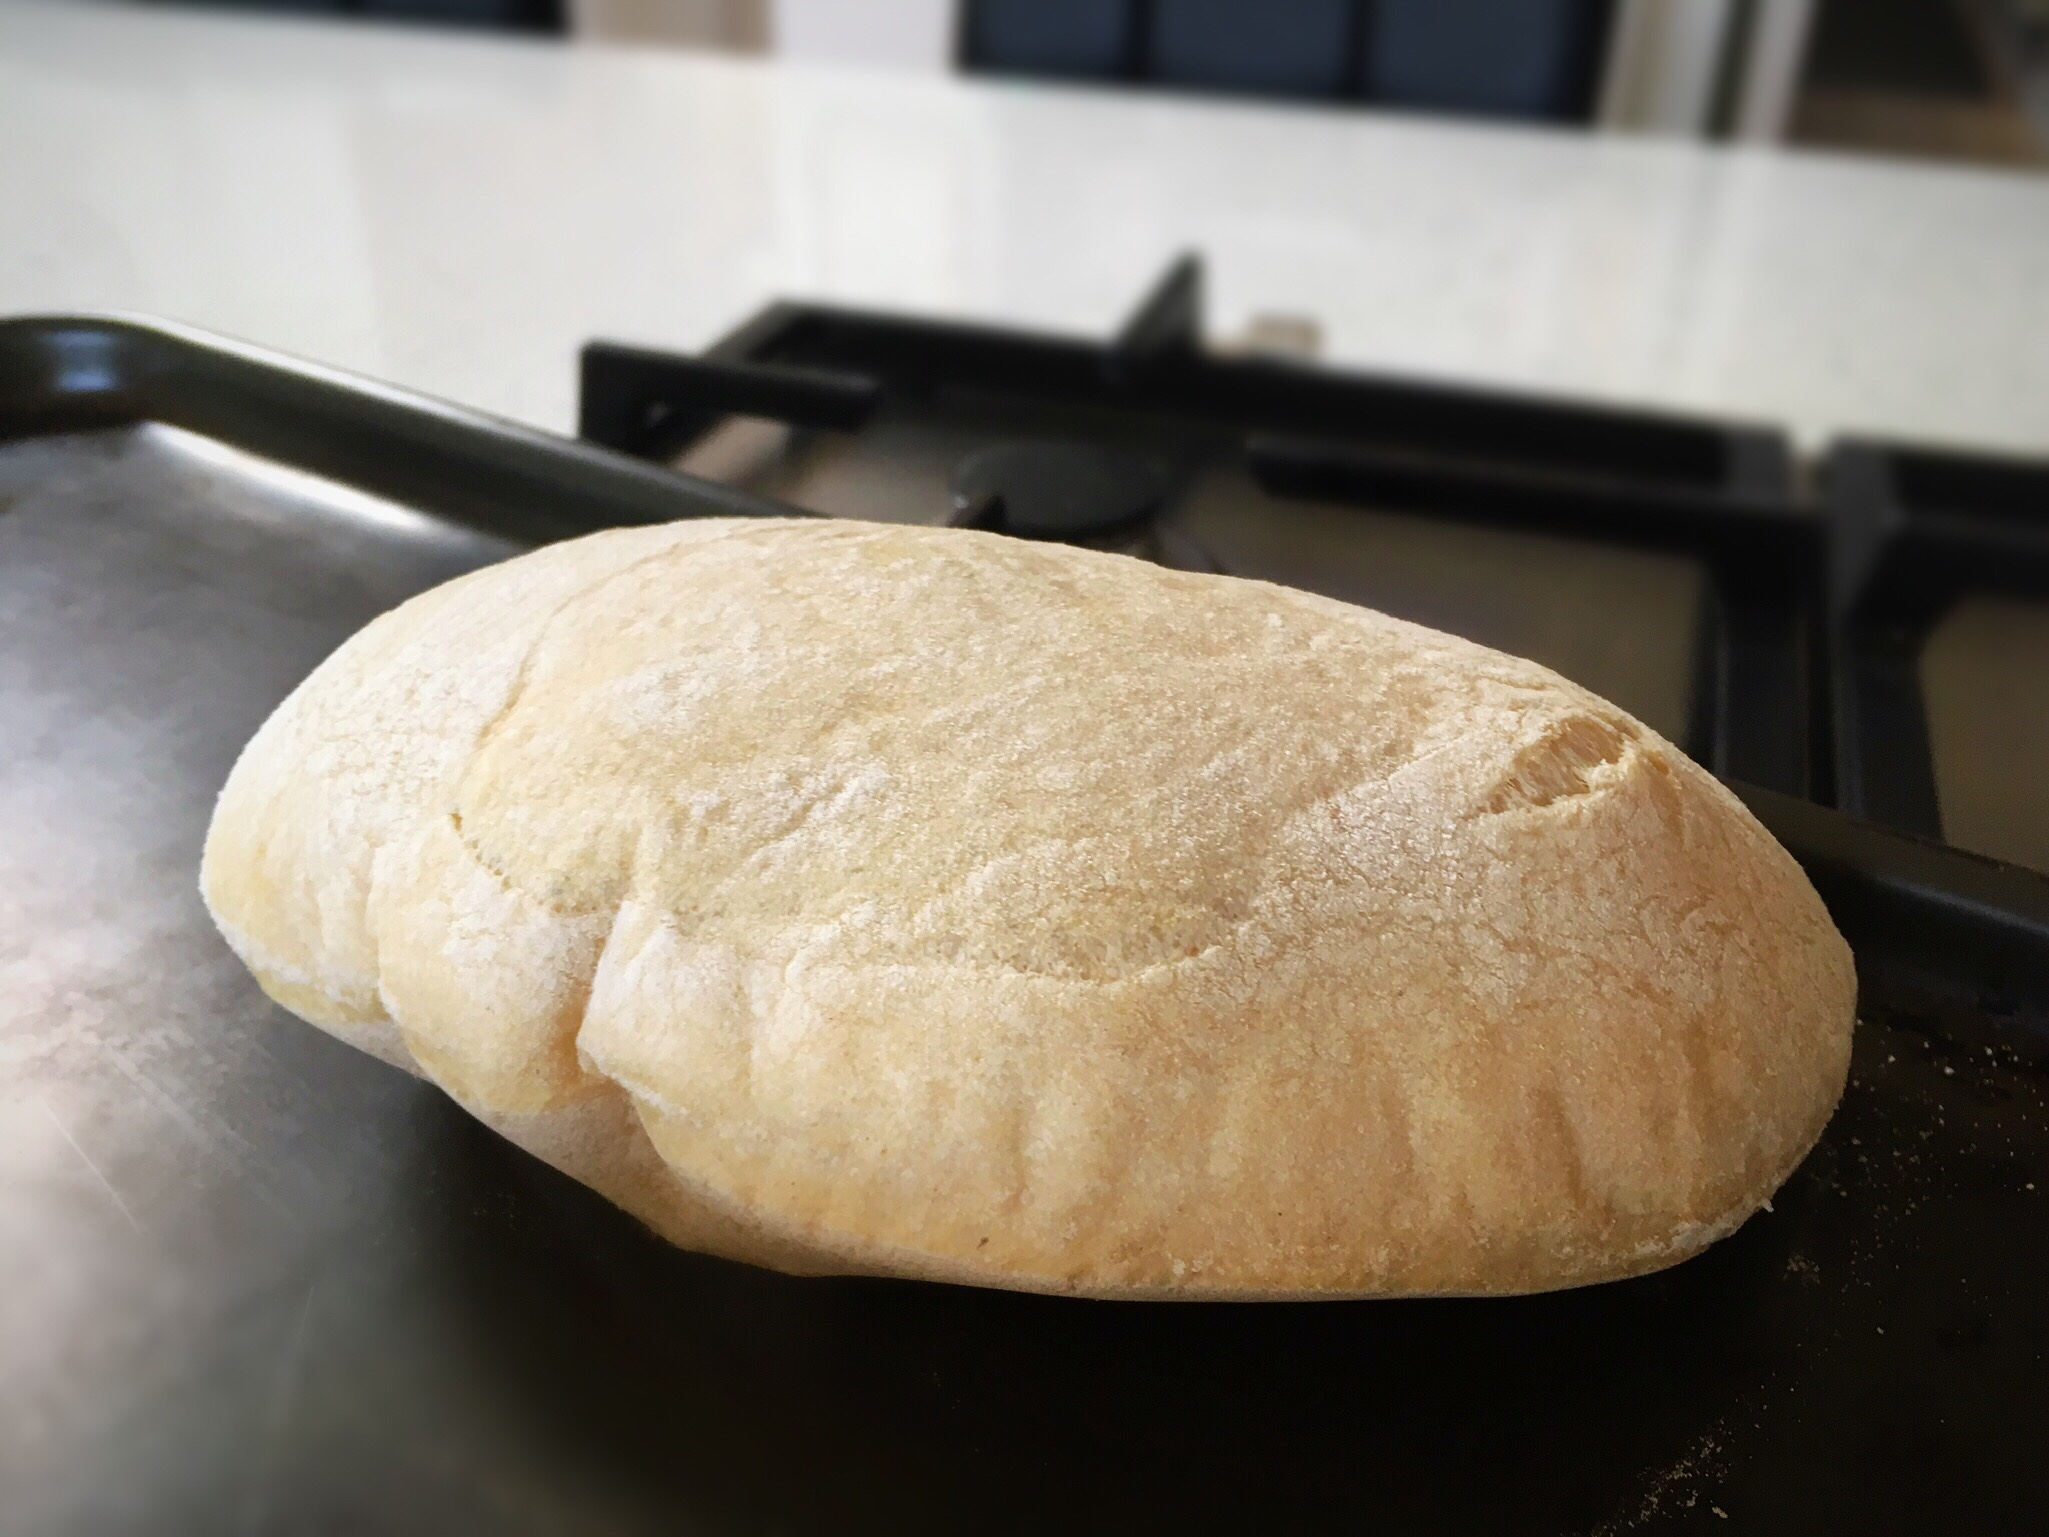
Using a rolling pin, roll each ball into a larger flat circle or an oval 2-3mm thick.
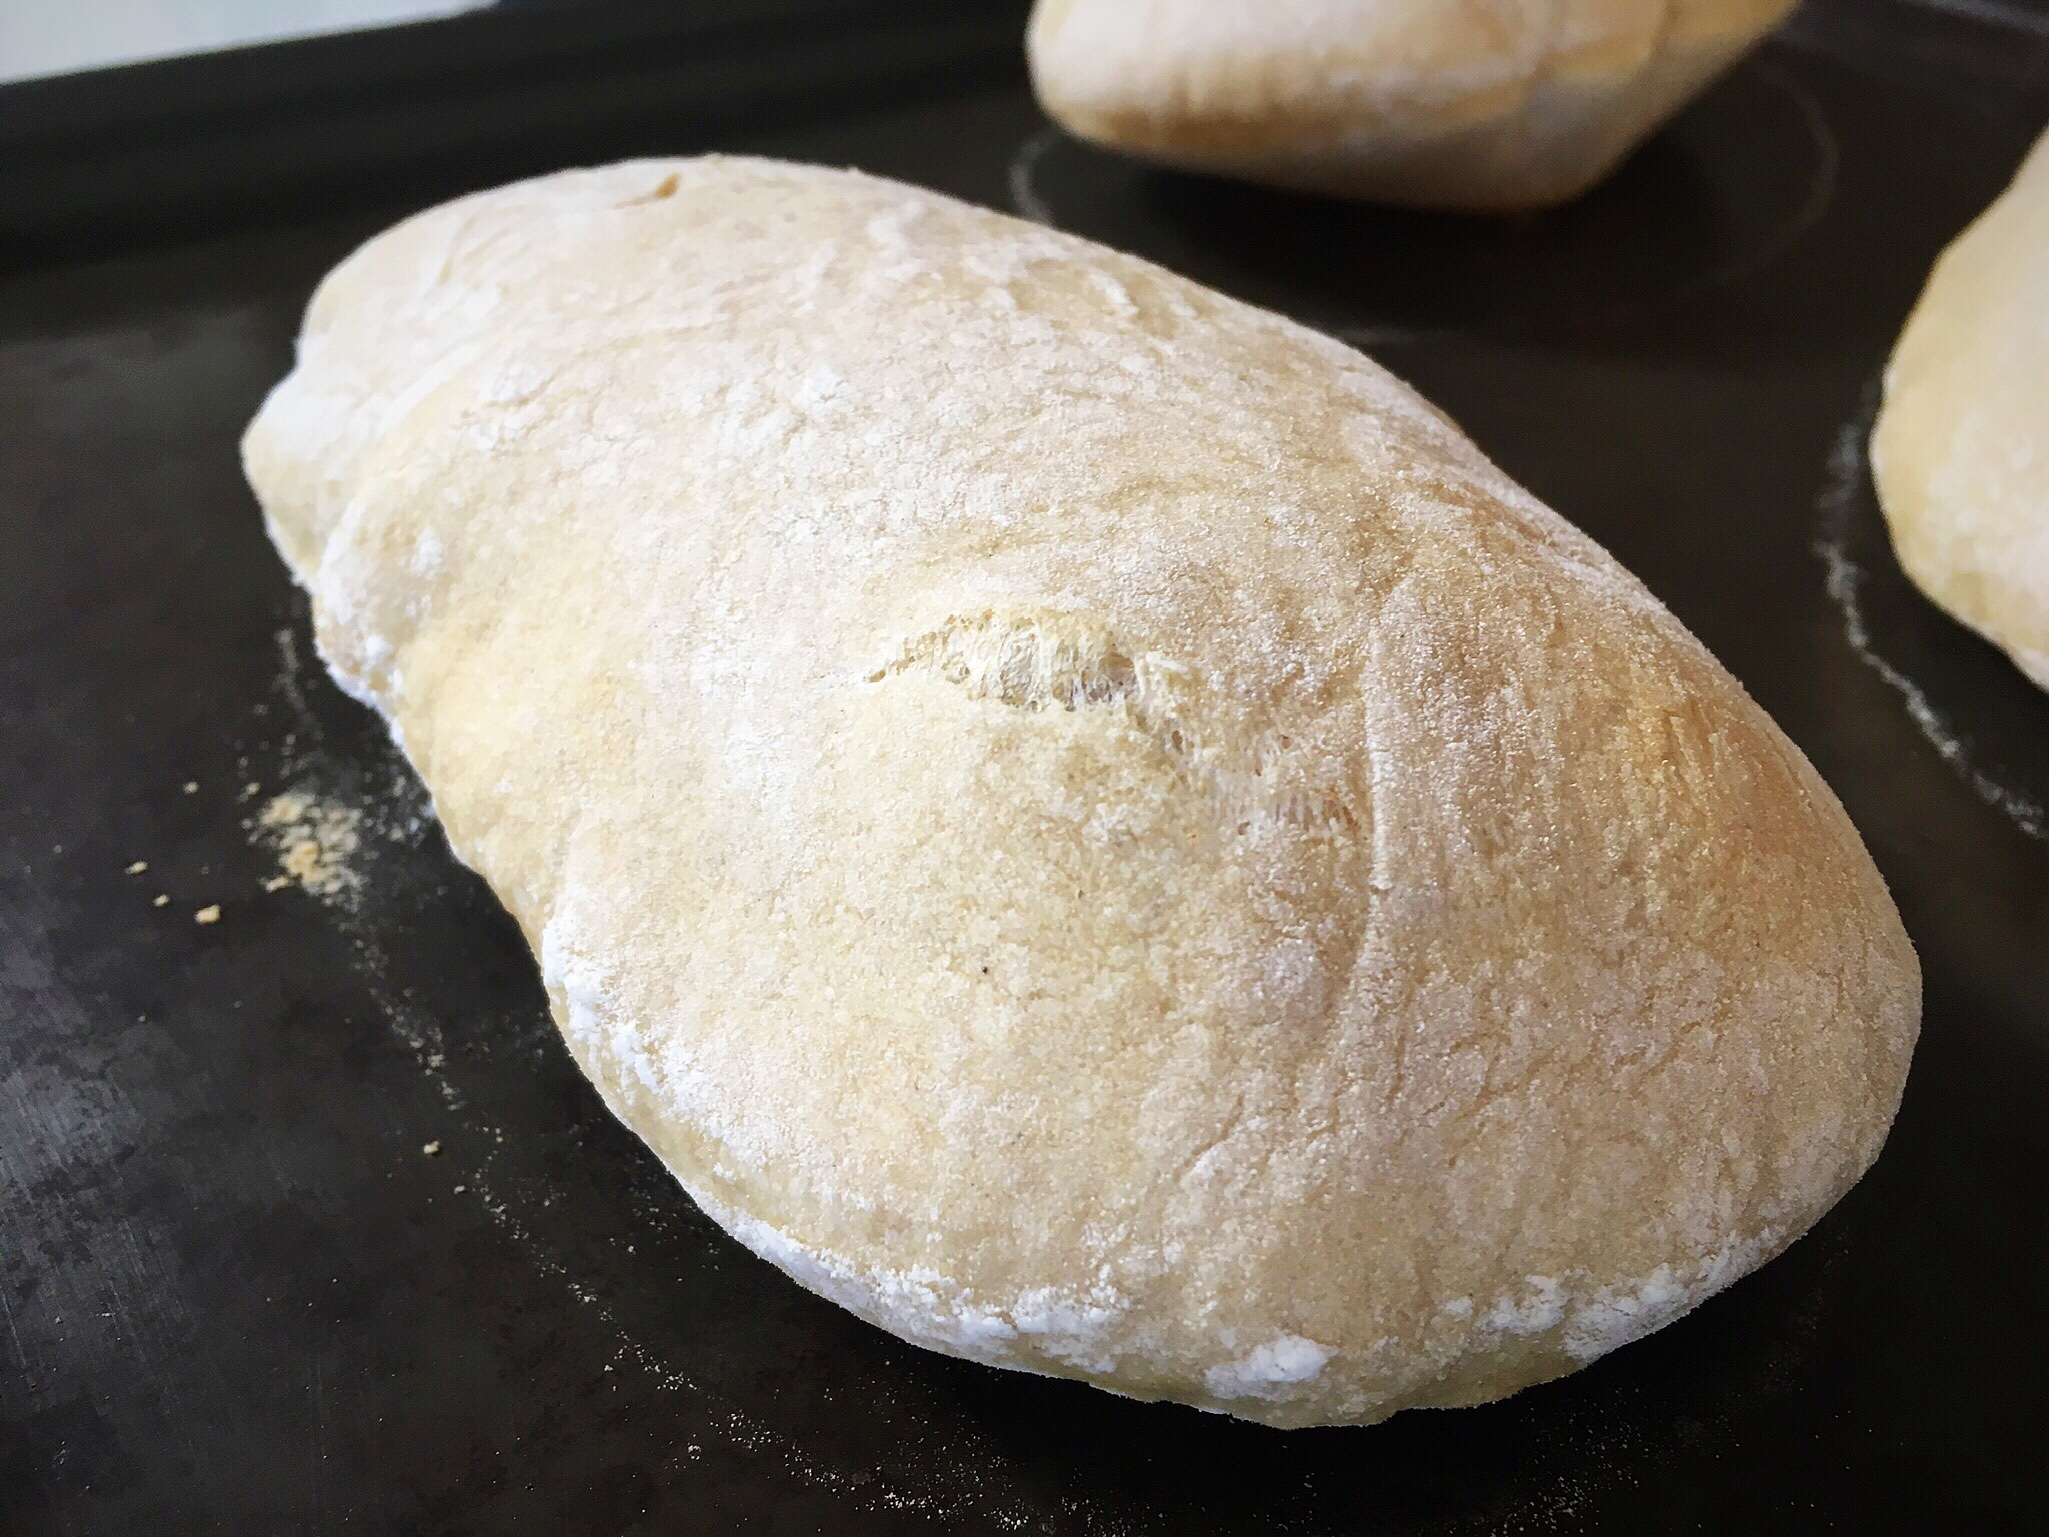
When the oven is ready, quickly remove the tray from the oven (to maintain the heat in the oven as much as possible), quickly place (or throw!) the rolled pieces of dough onto the tray, place it back into the oven and bake for 5-6 mins maximum.
**Depending on how many you are baking and how big your tray is, you may need to bake these in a couple of batches. If that is the case, roll one set, bake them, then roll the next set and bake them, rather than rolling them all at once and have some of them sitting on the counter for too long.
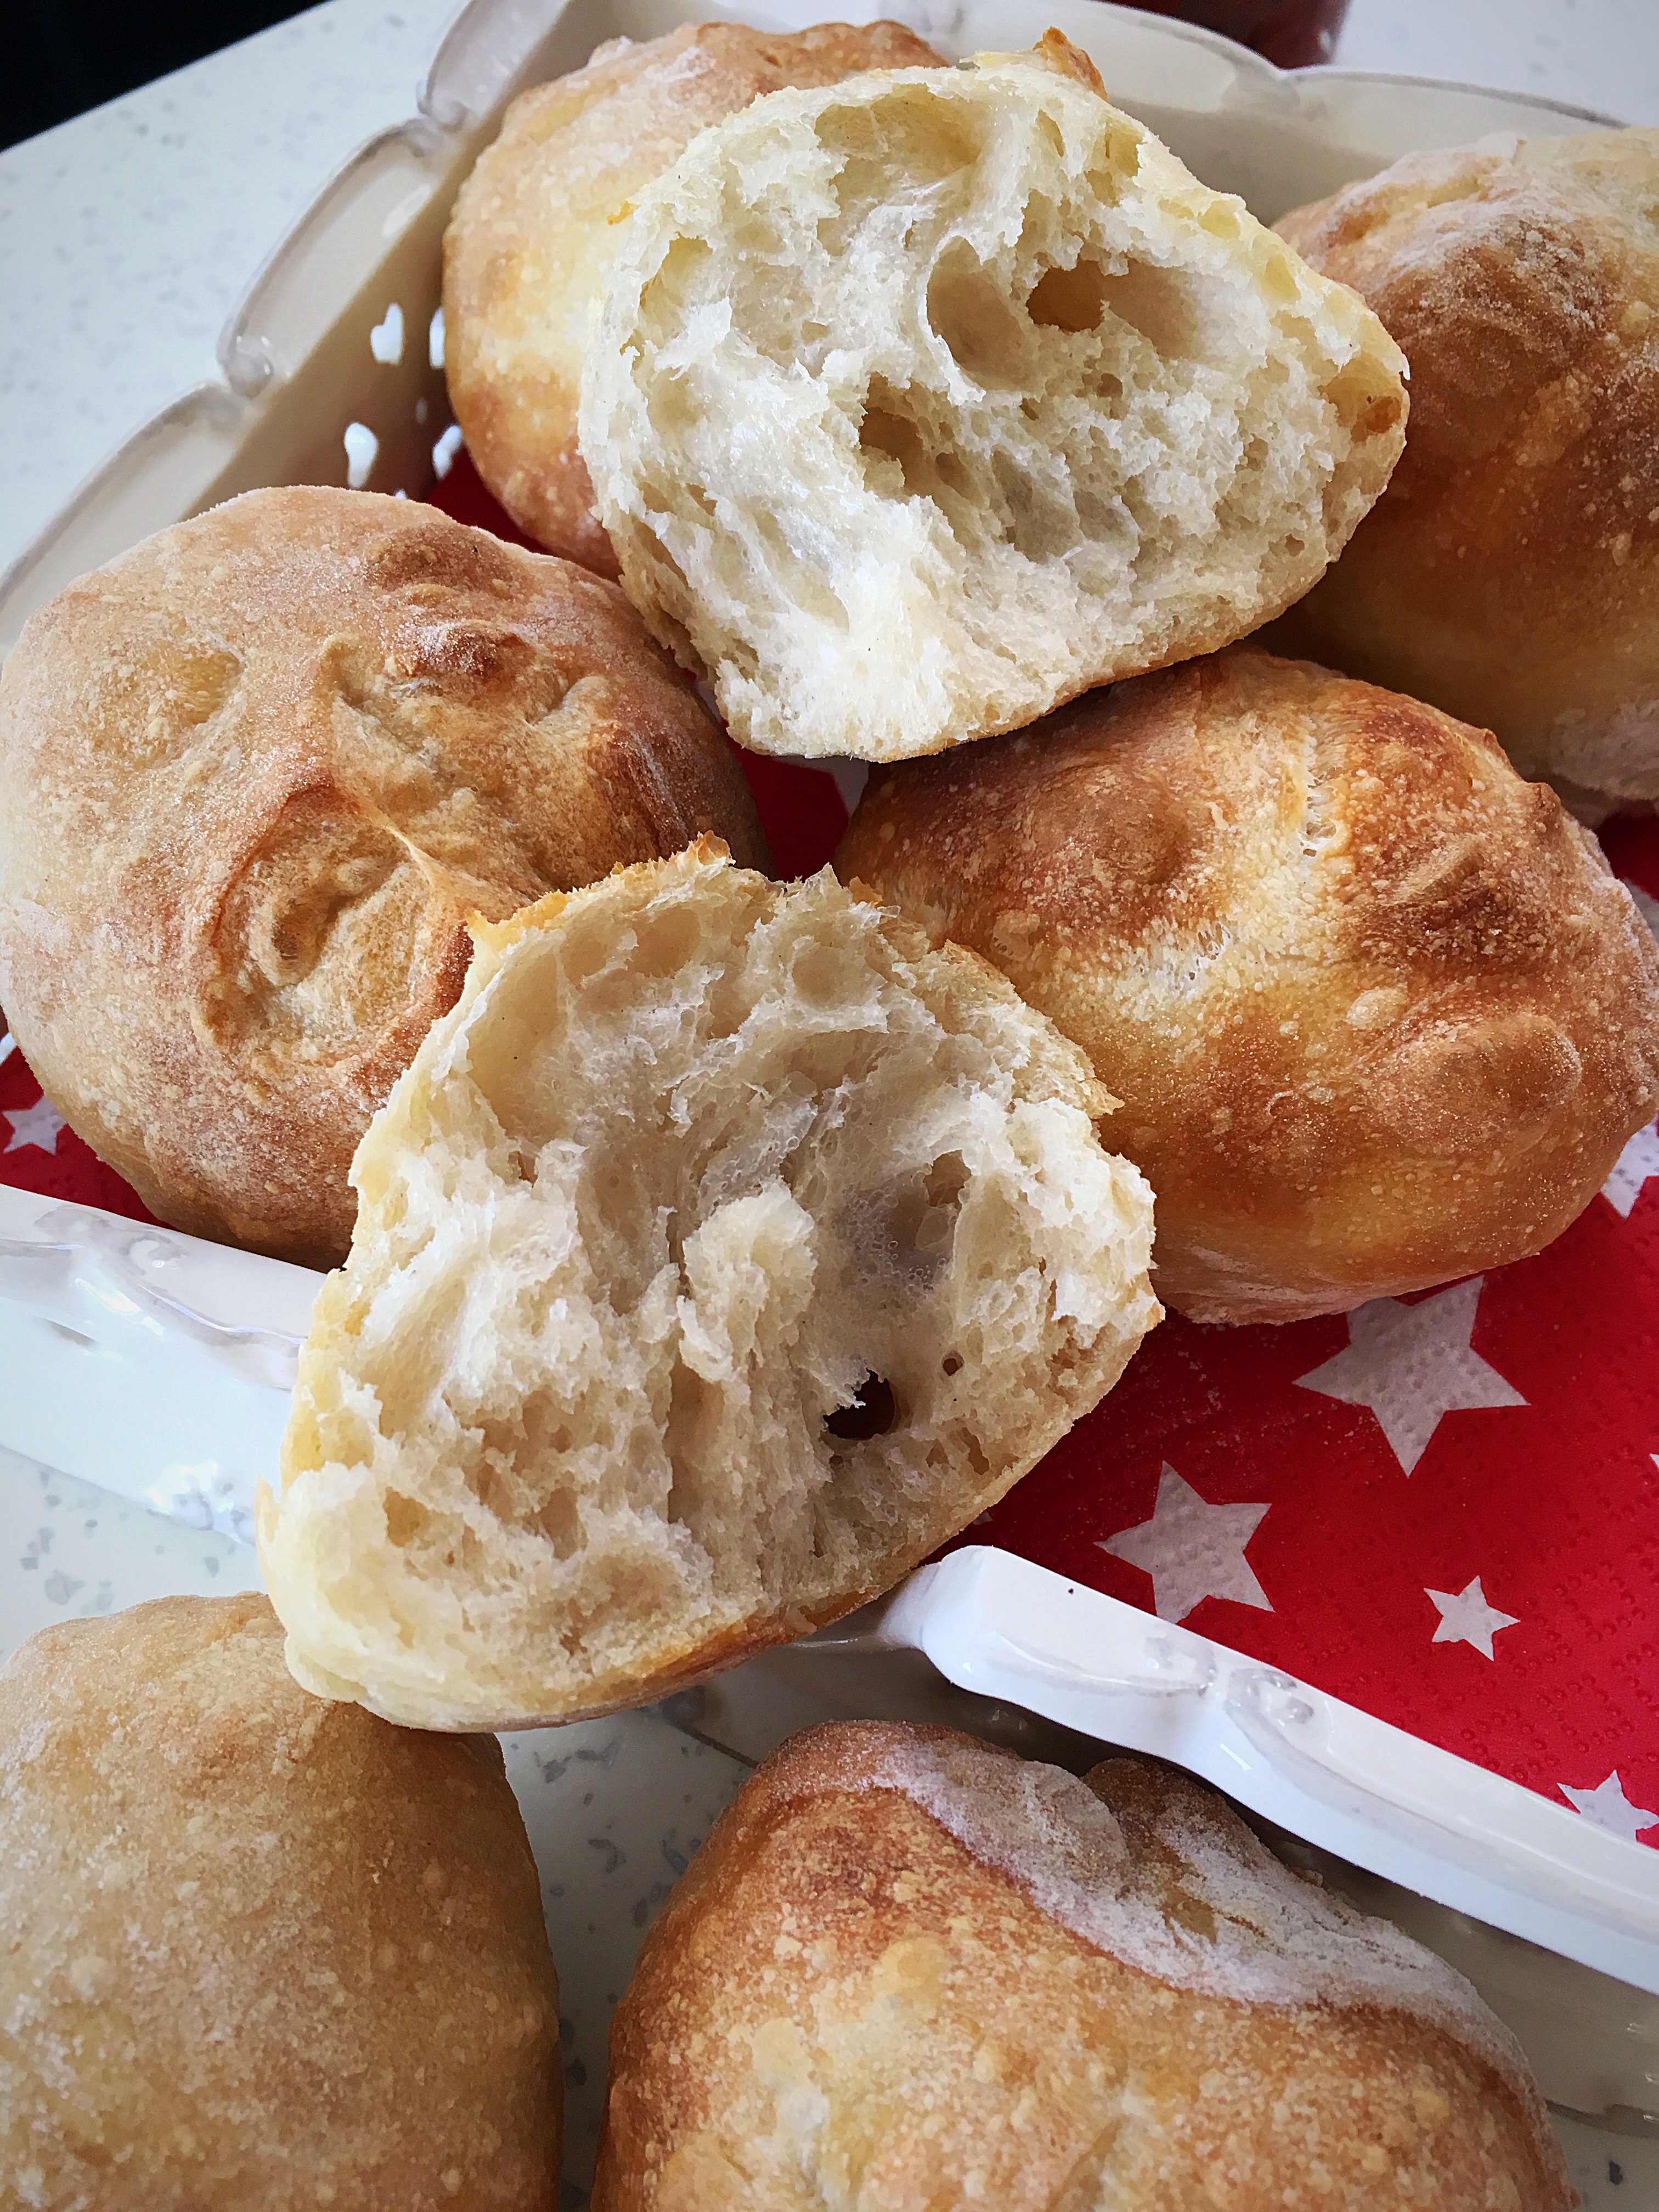
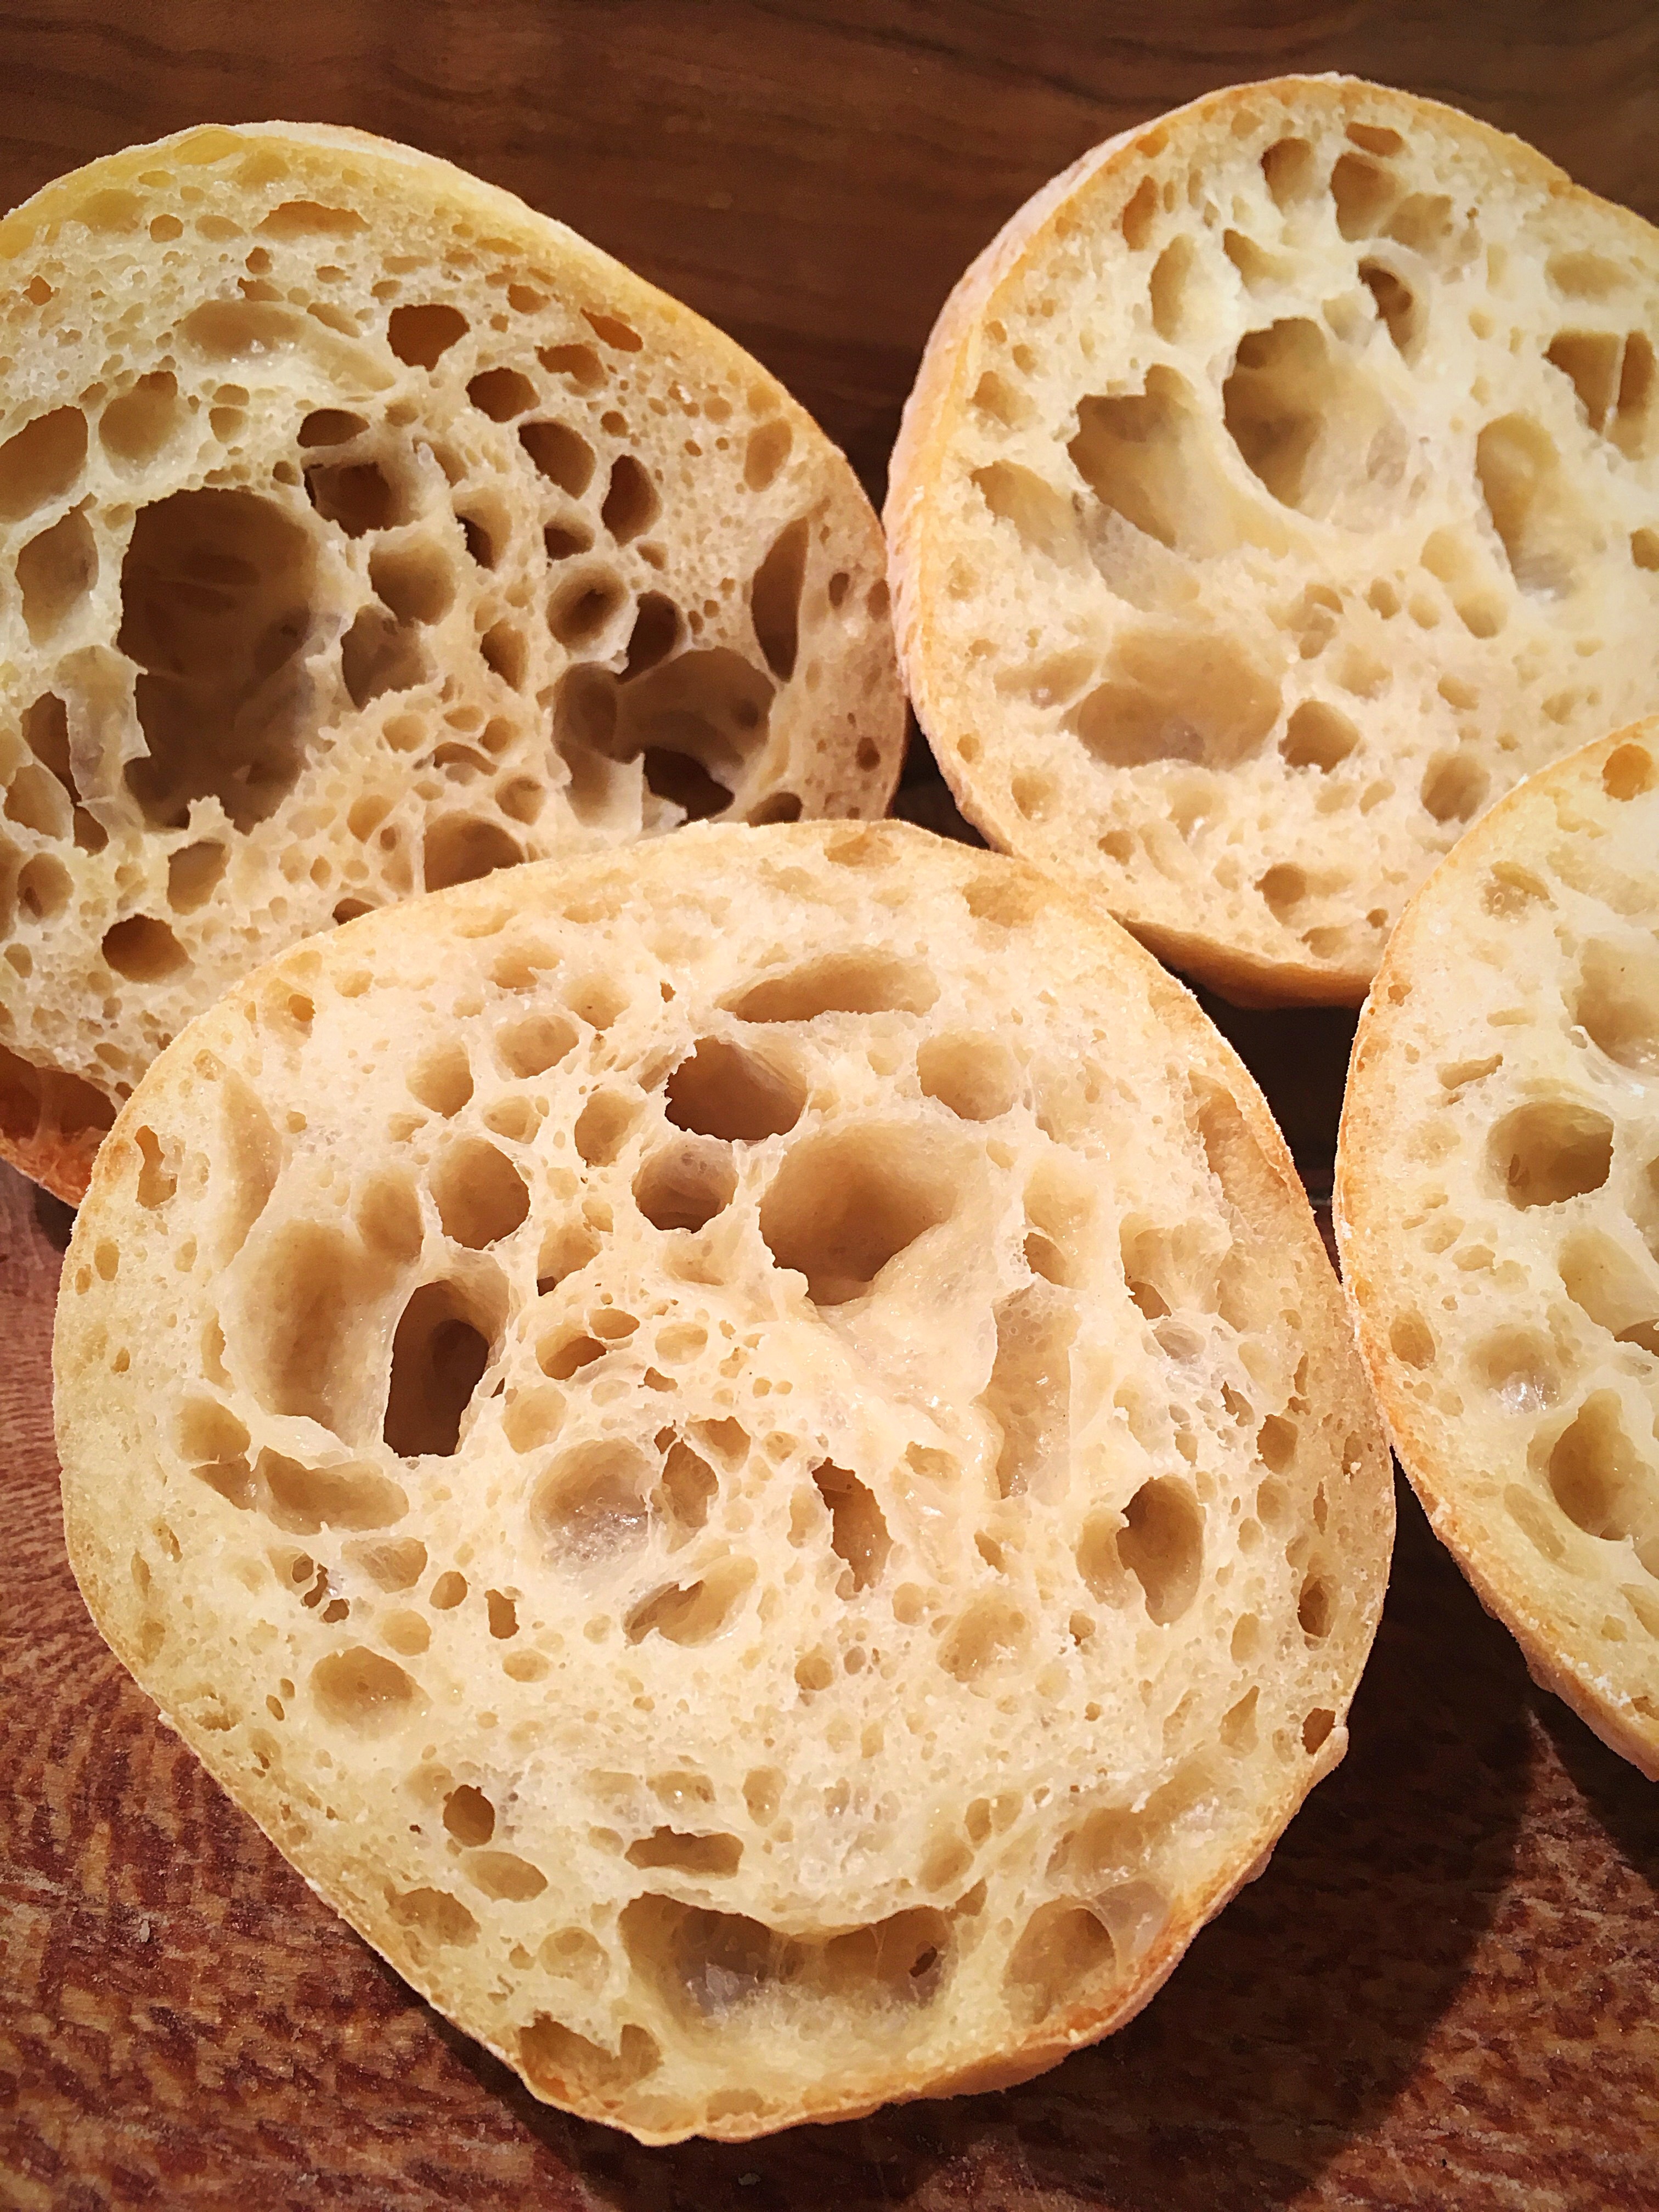
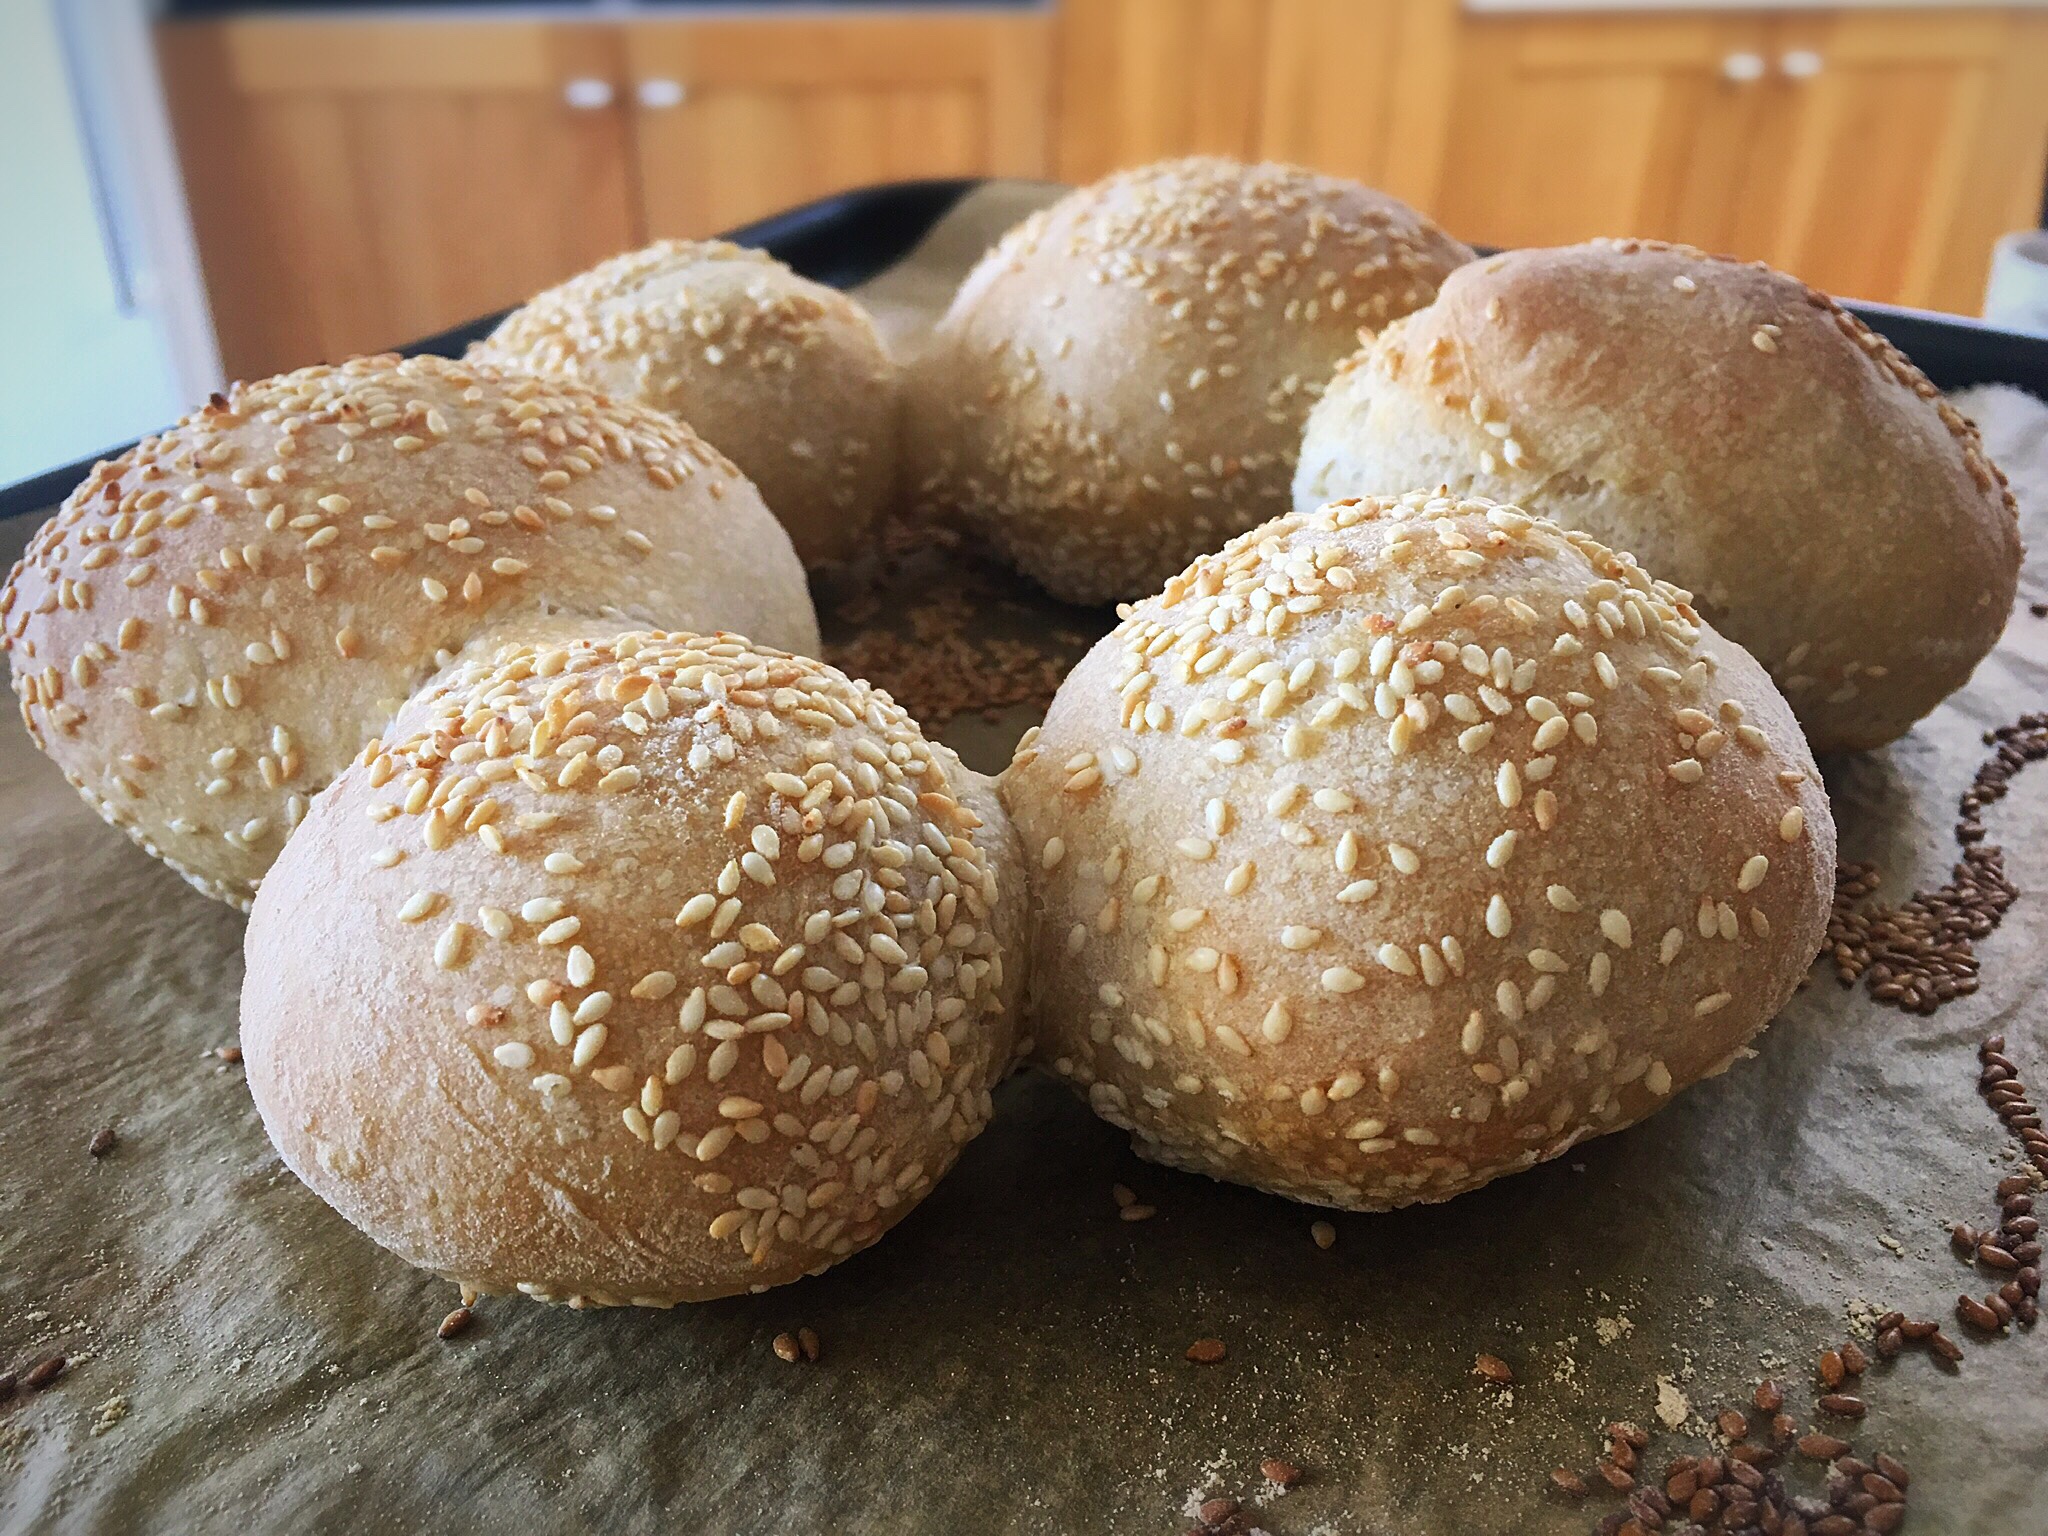
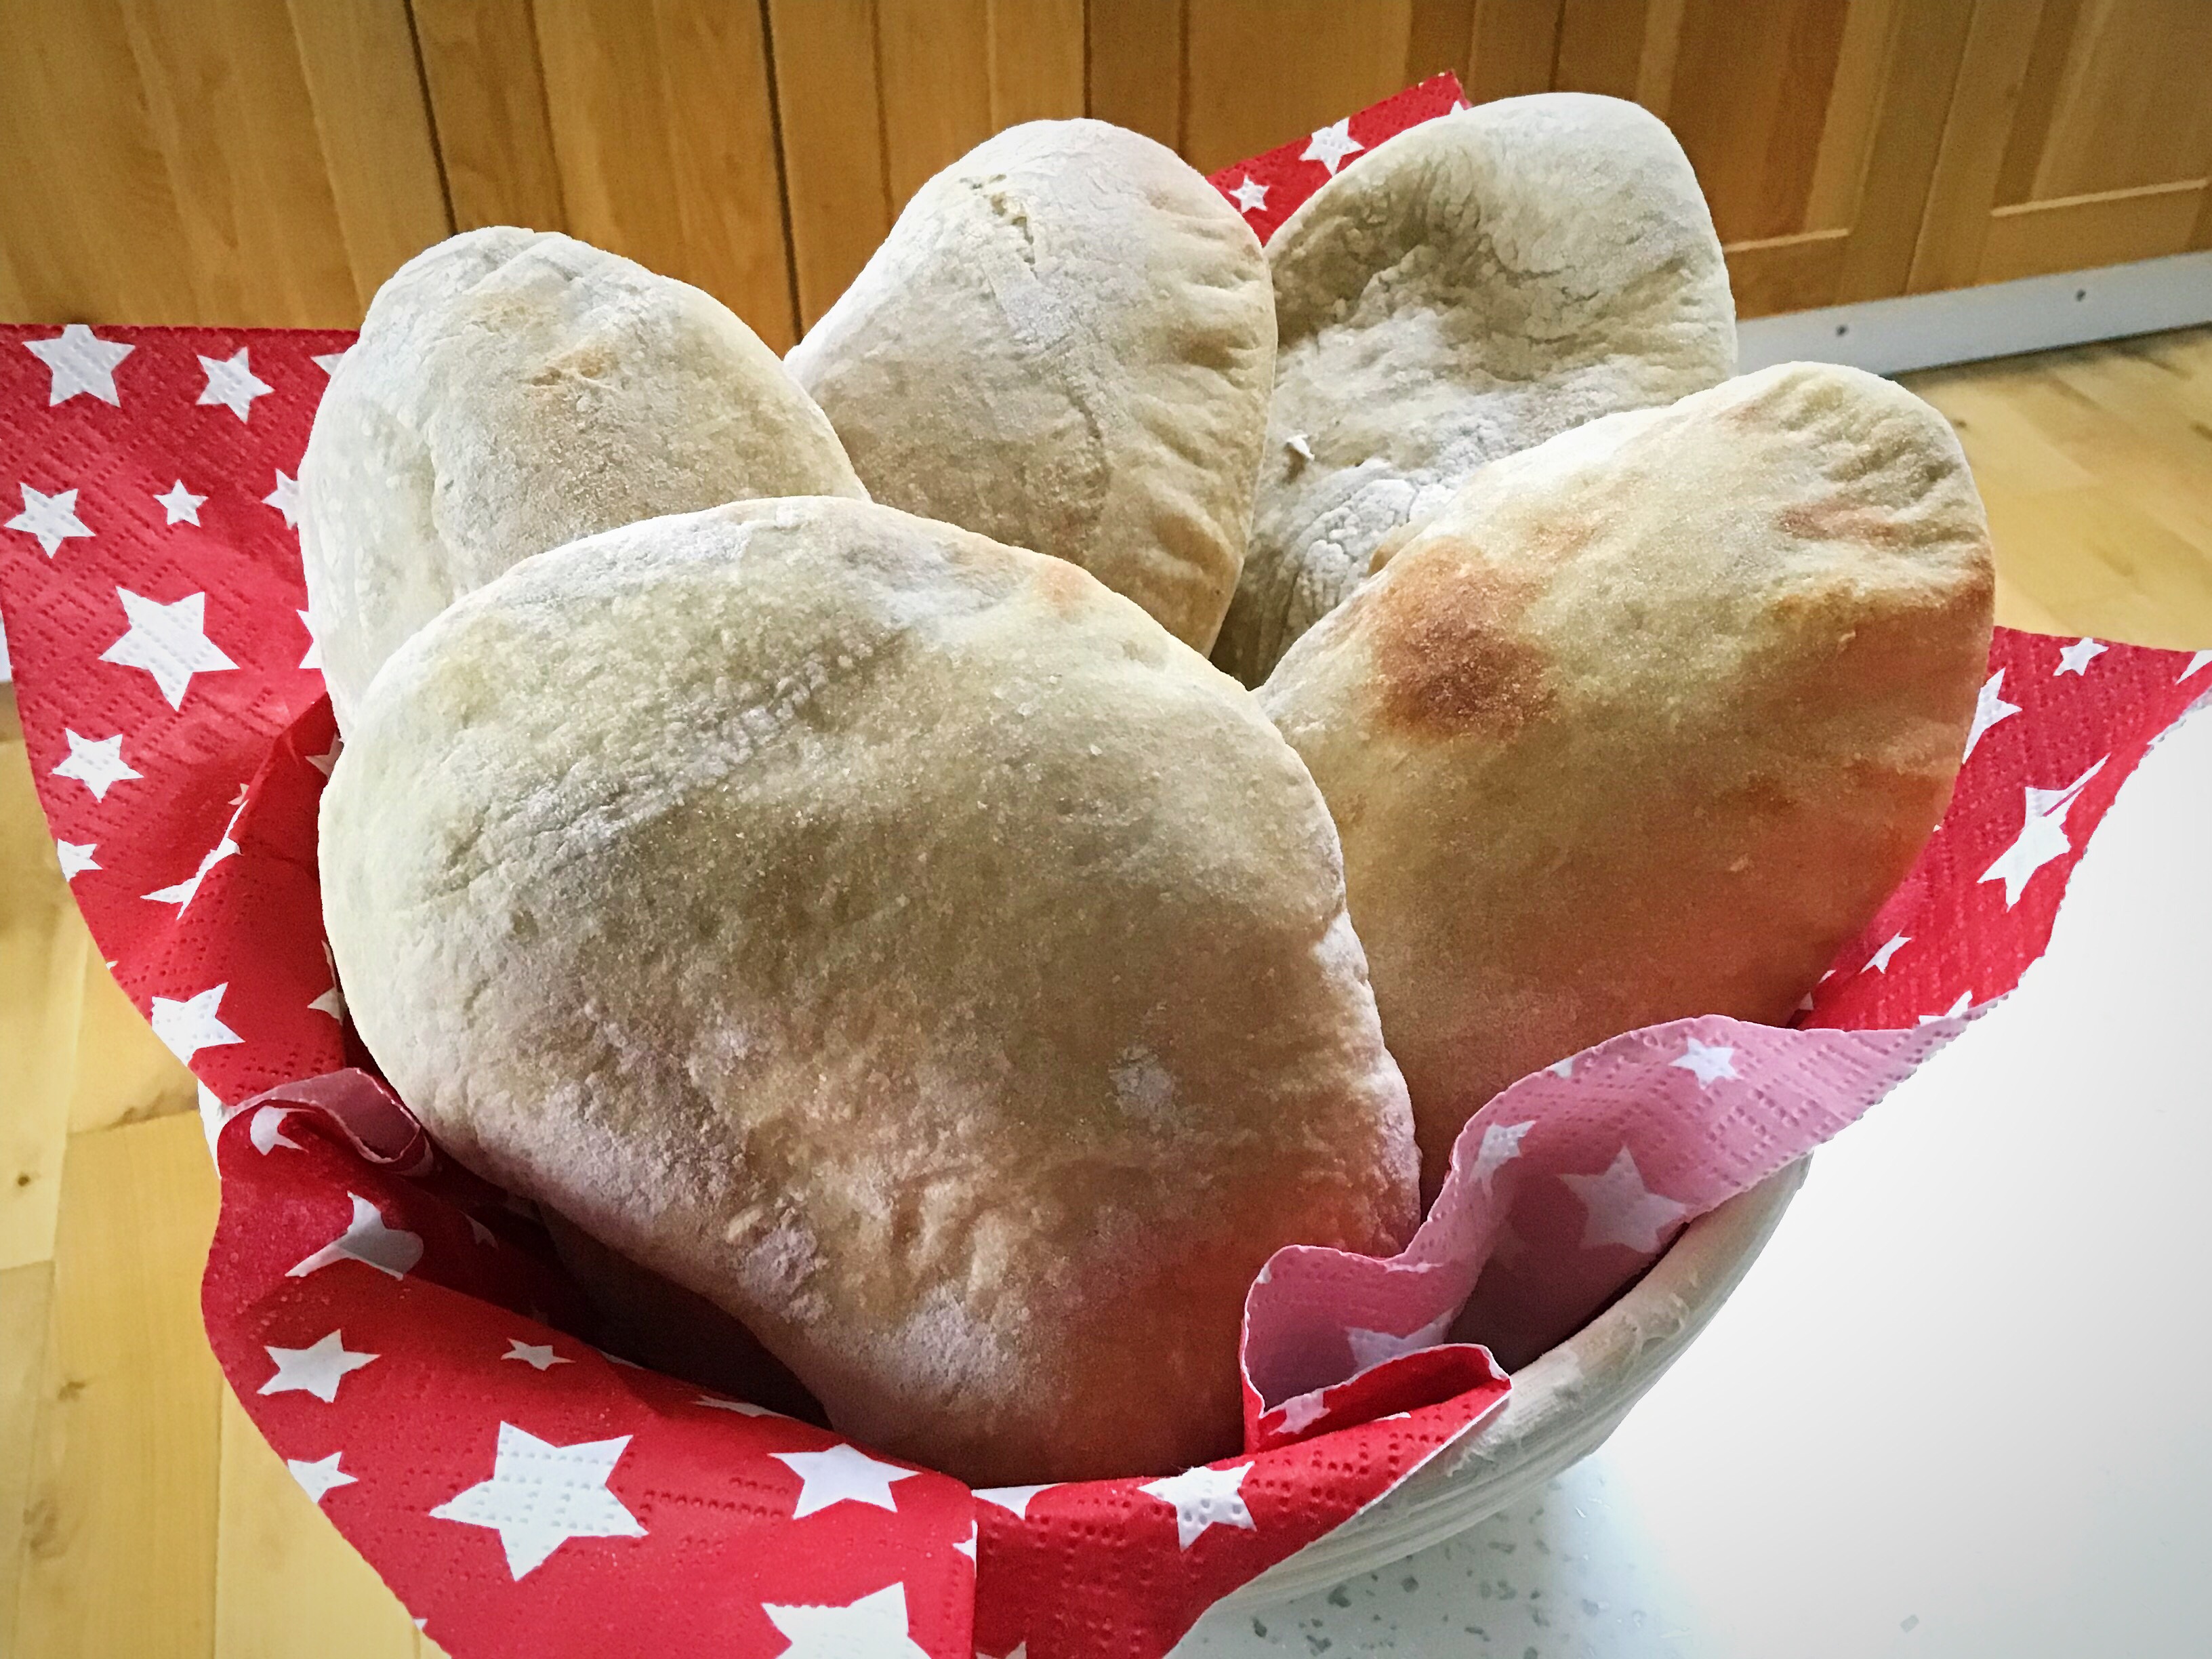
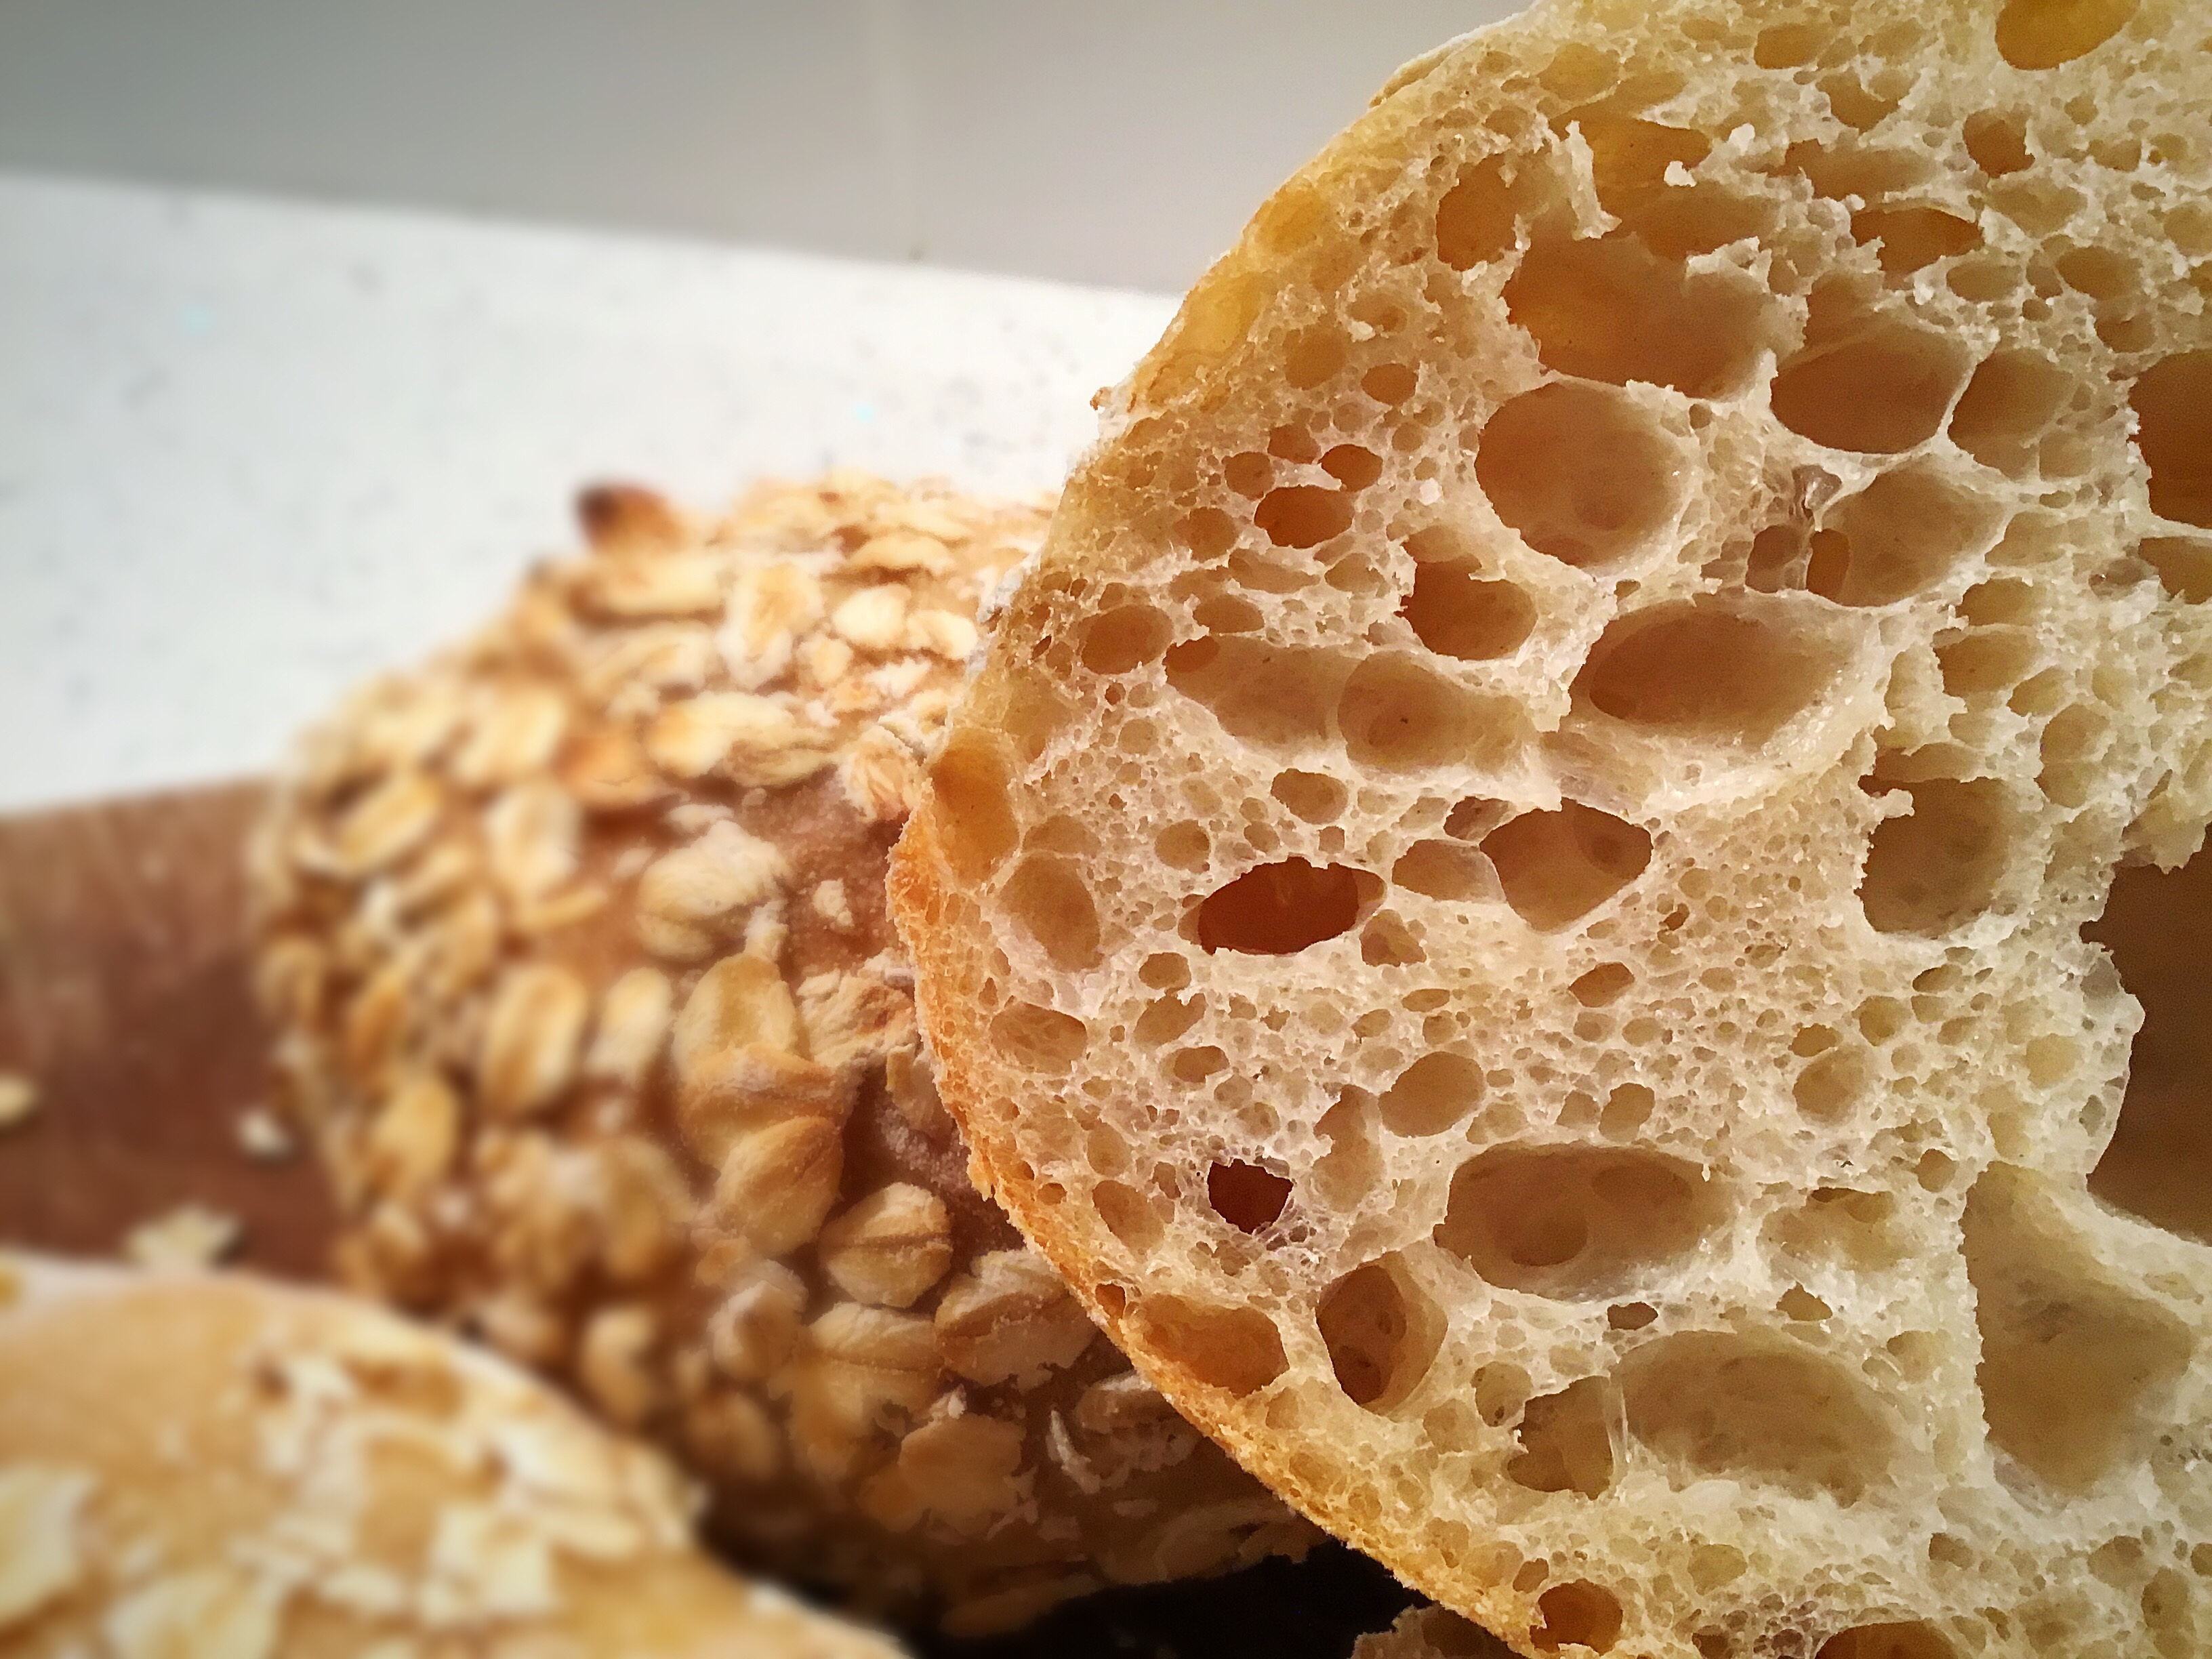
You should see them puff up during the bake.
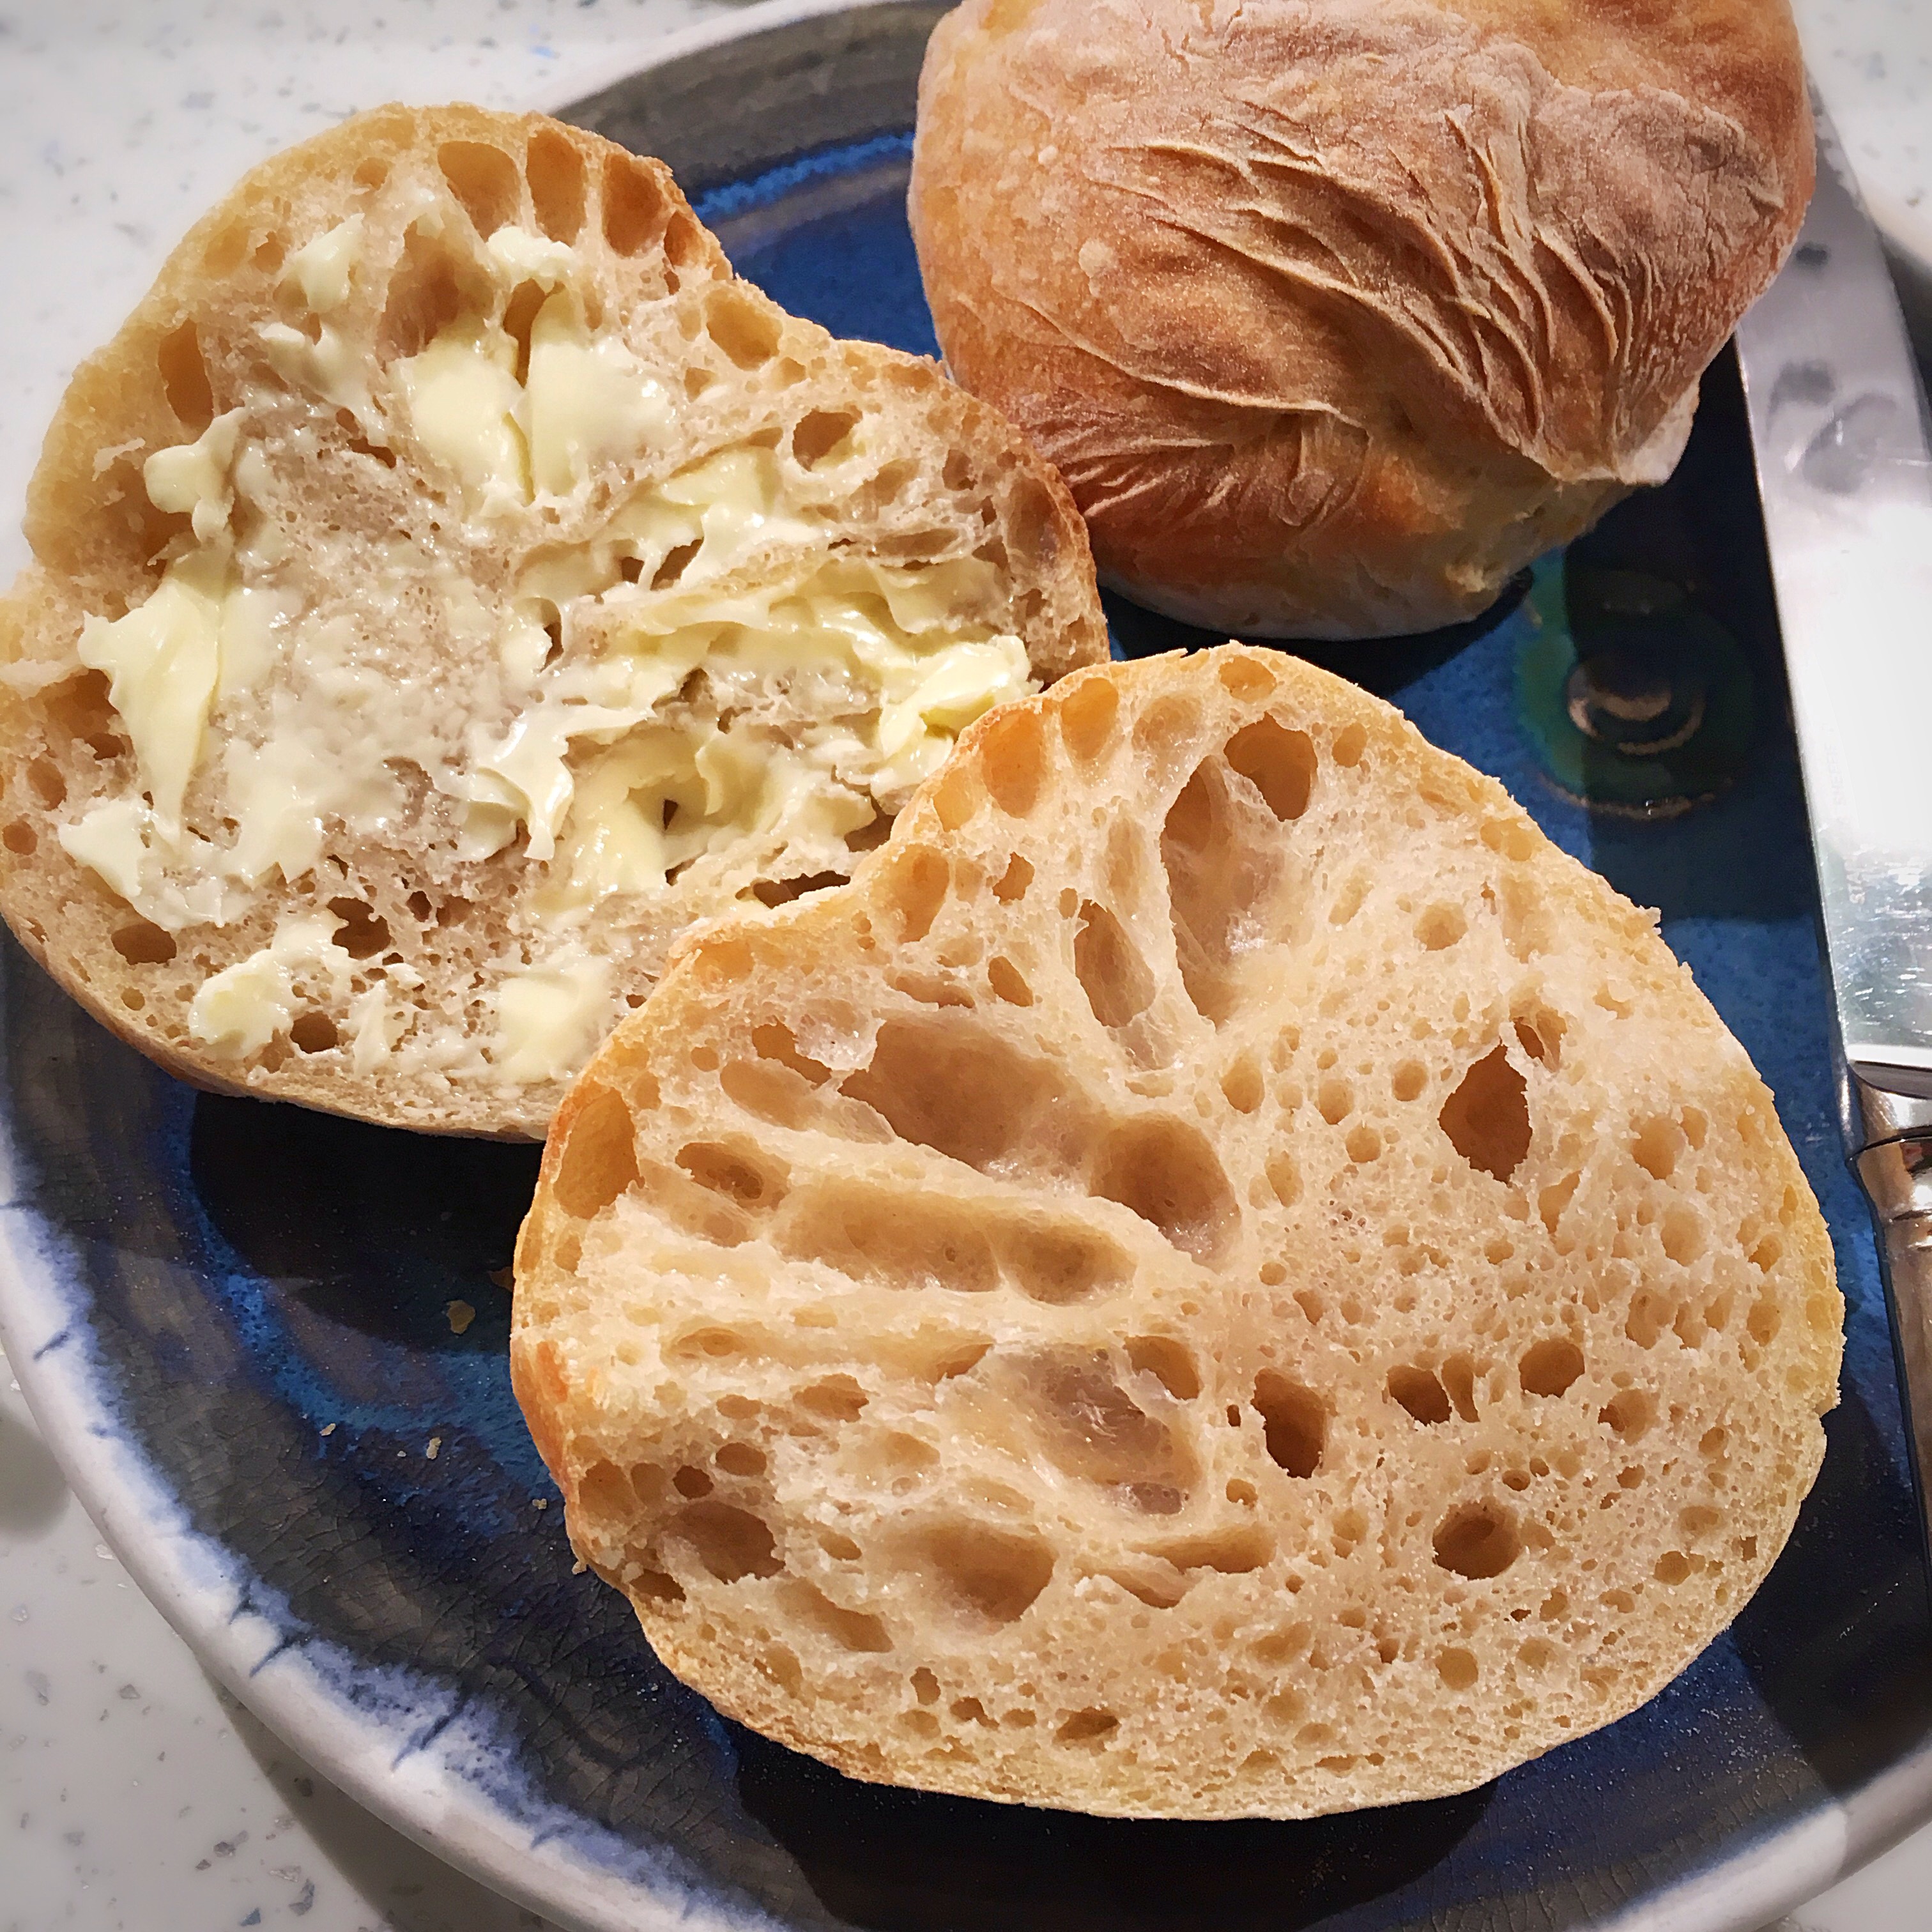
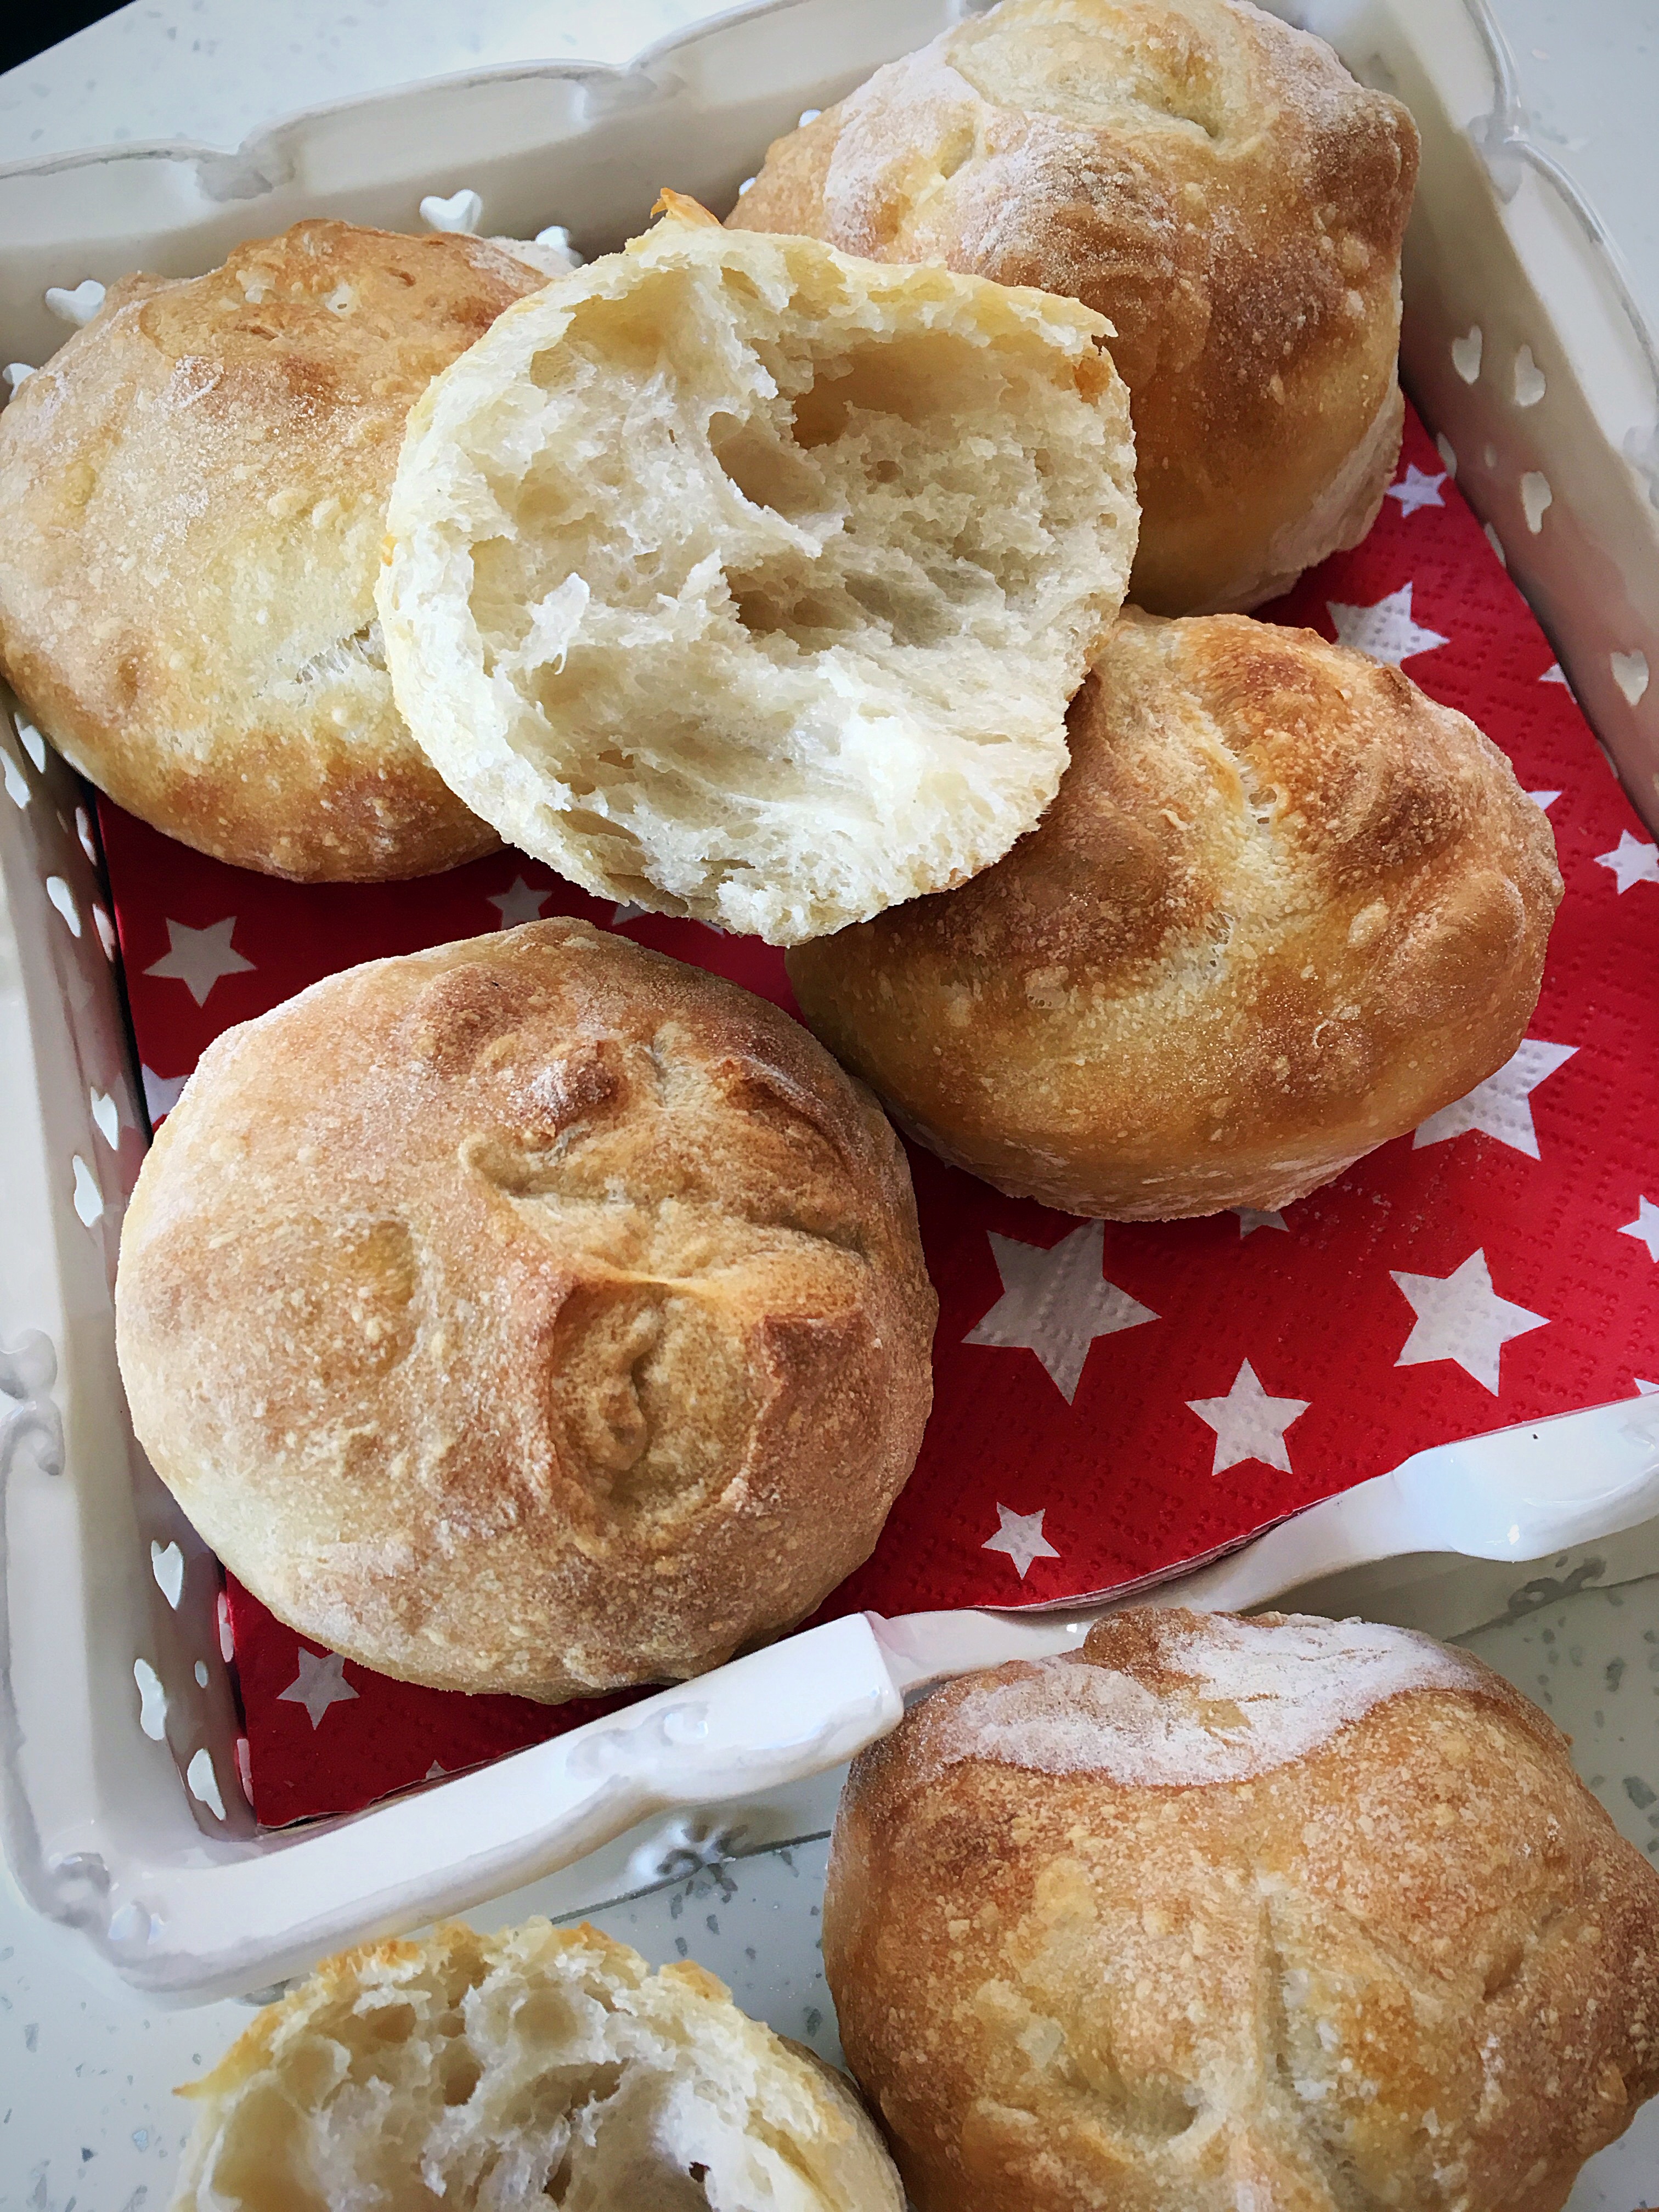
Remove from the tray from the oven and place the breads onto a rack to cool slightly before eating, or save for later.
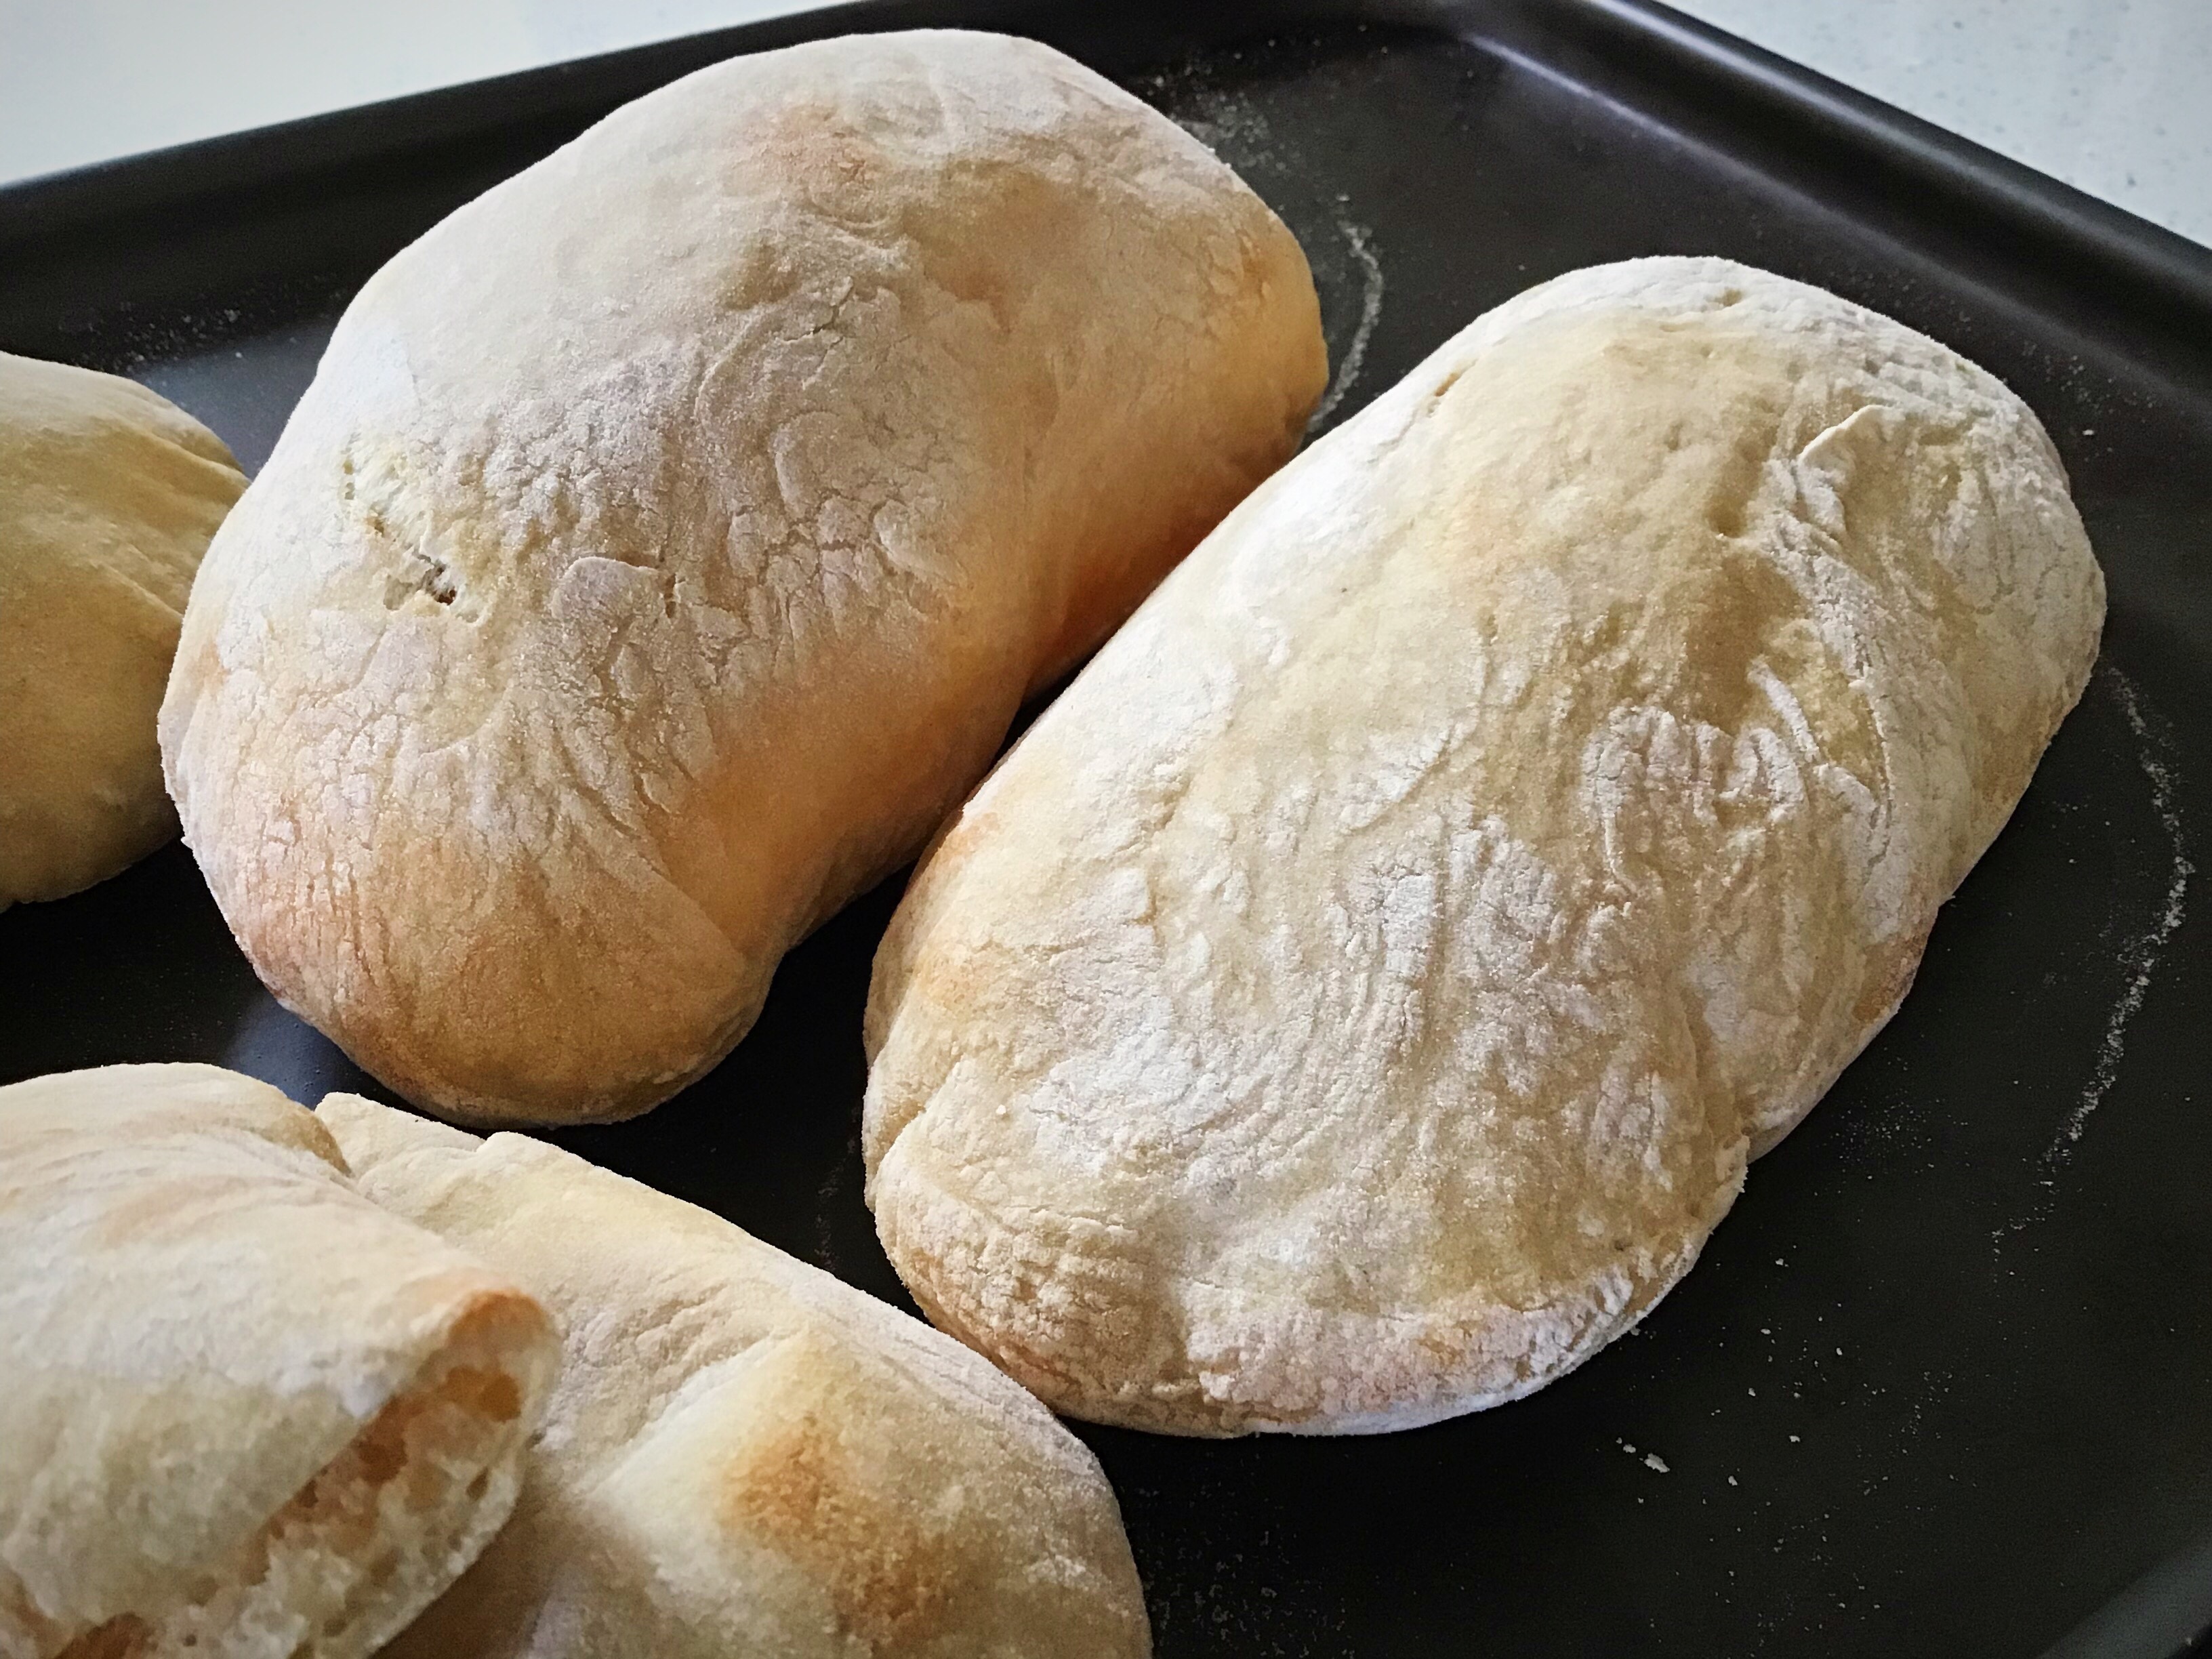
Beware: they will be very hot.
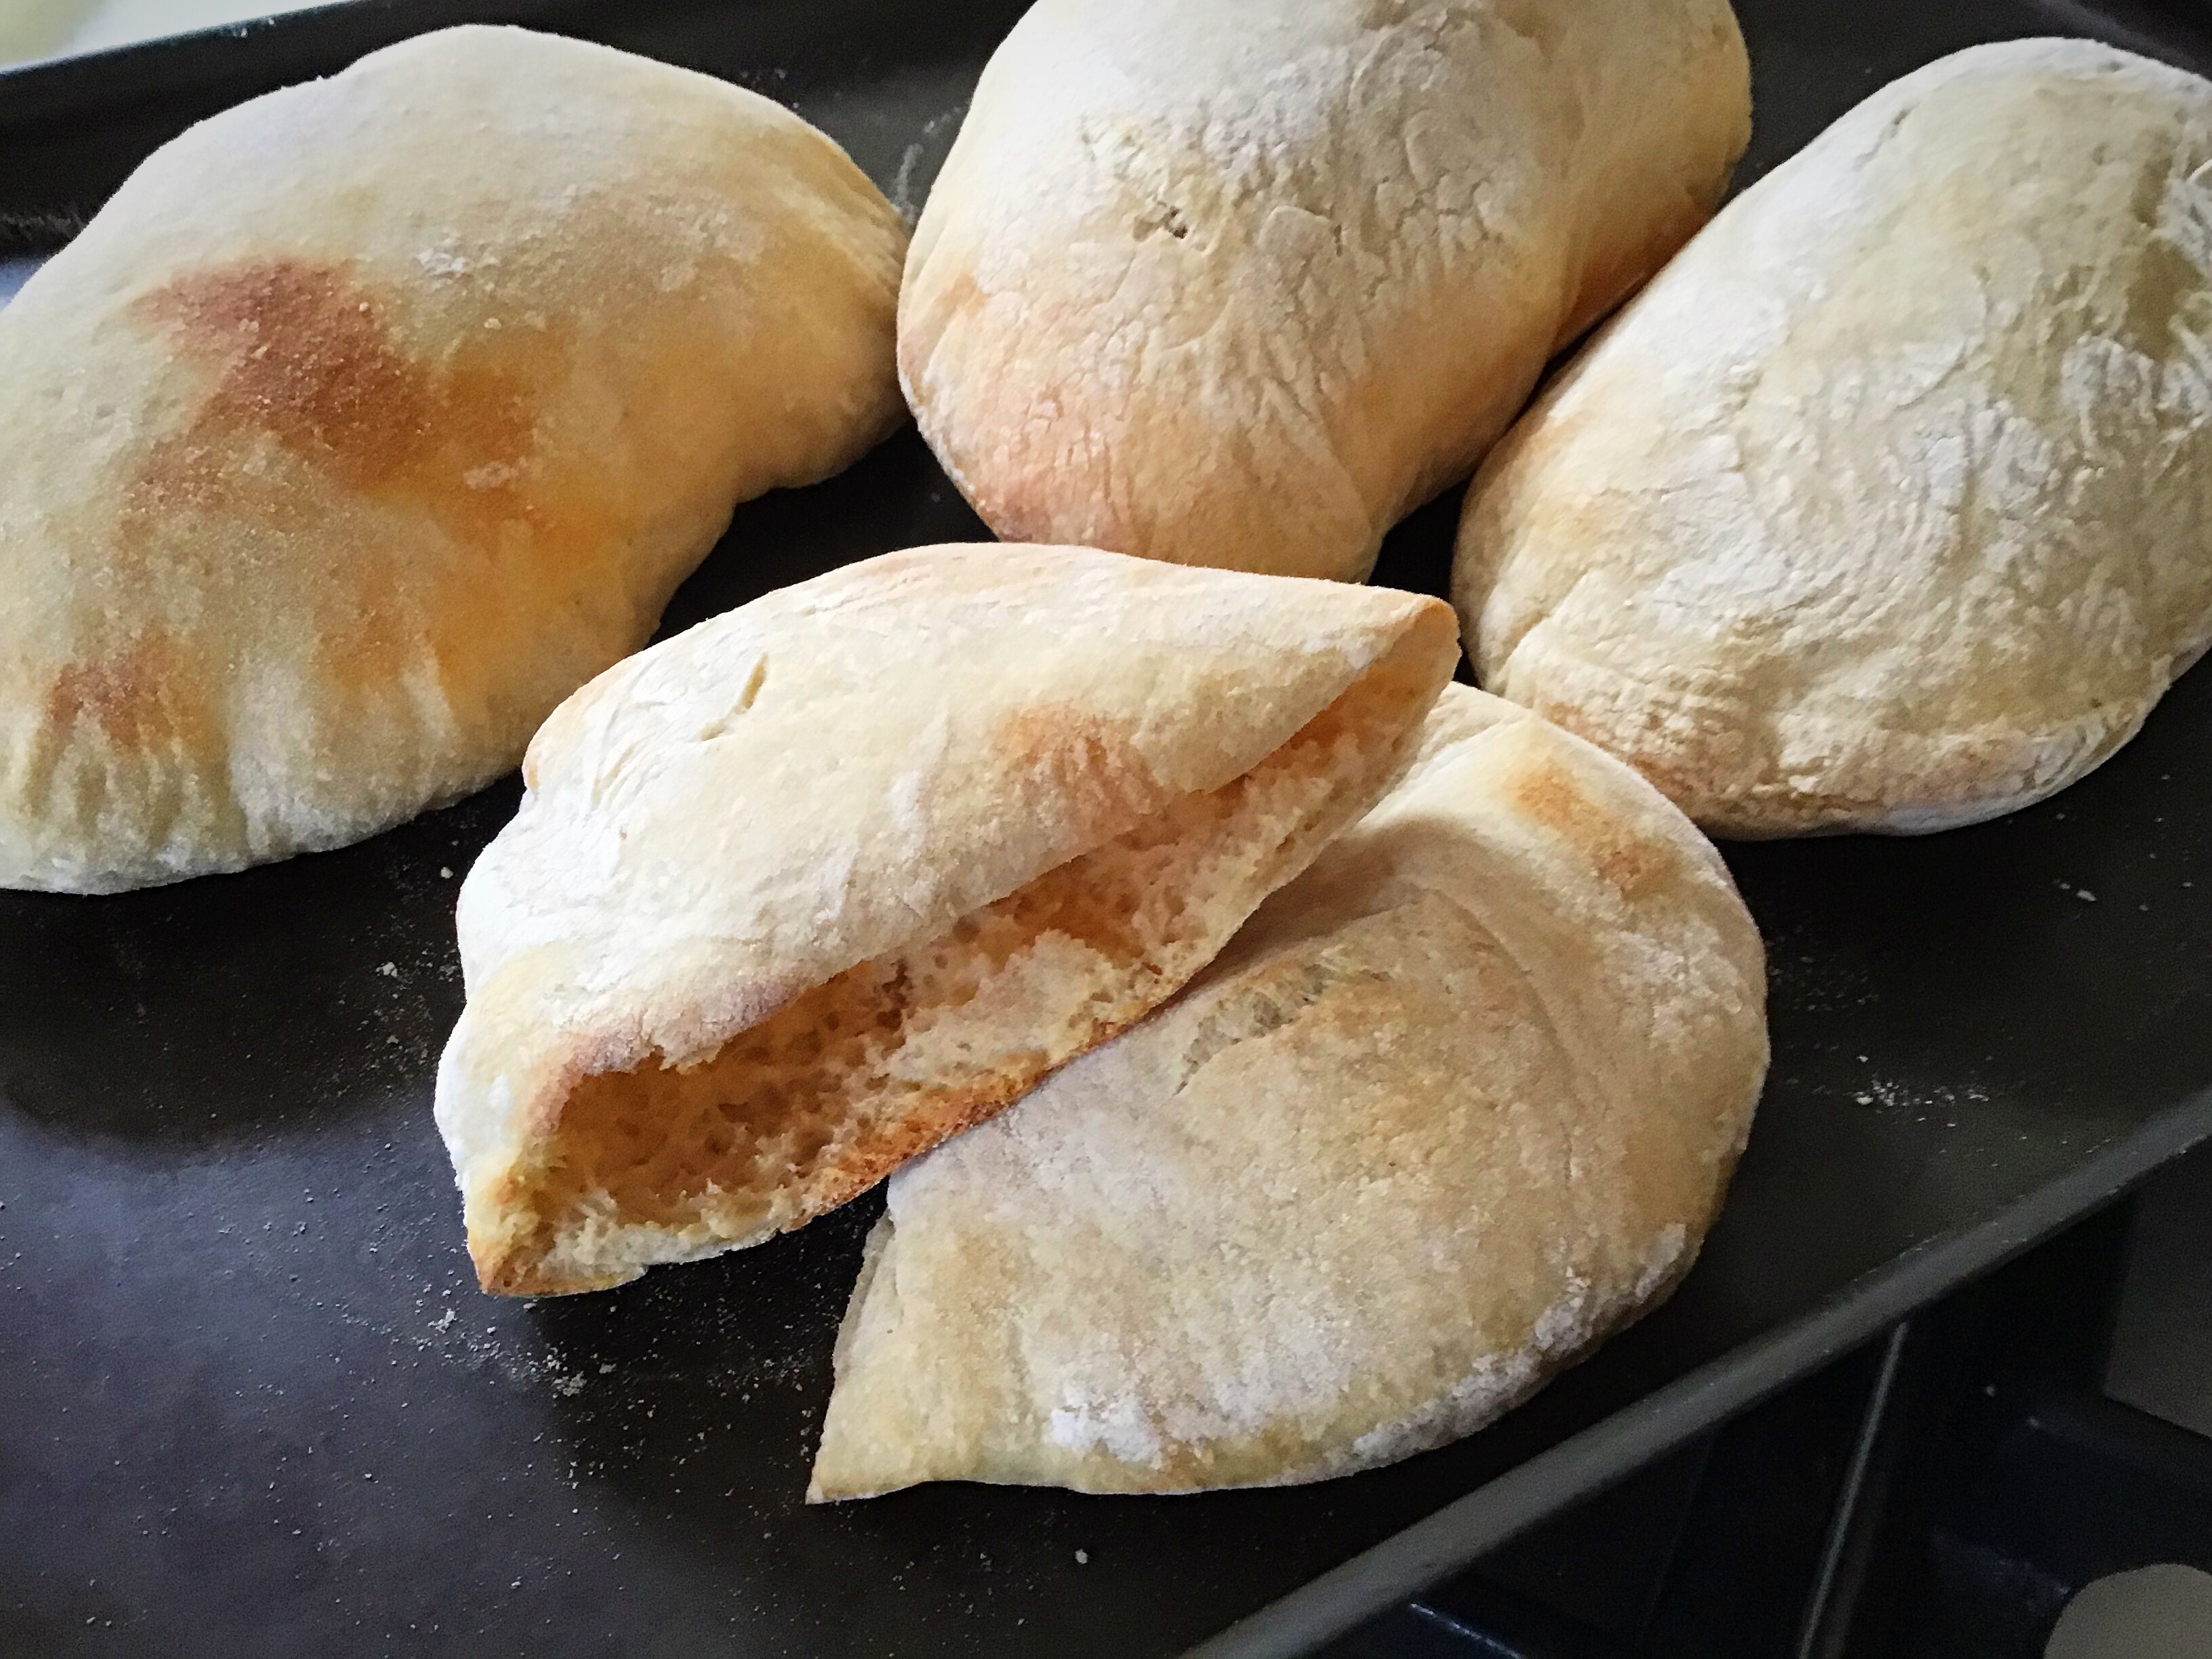
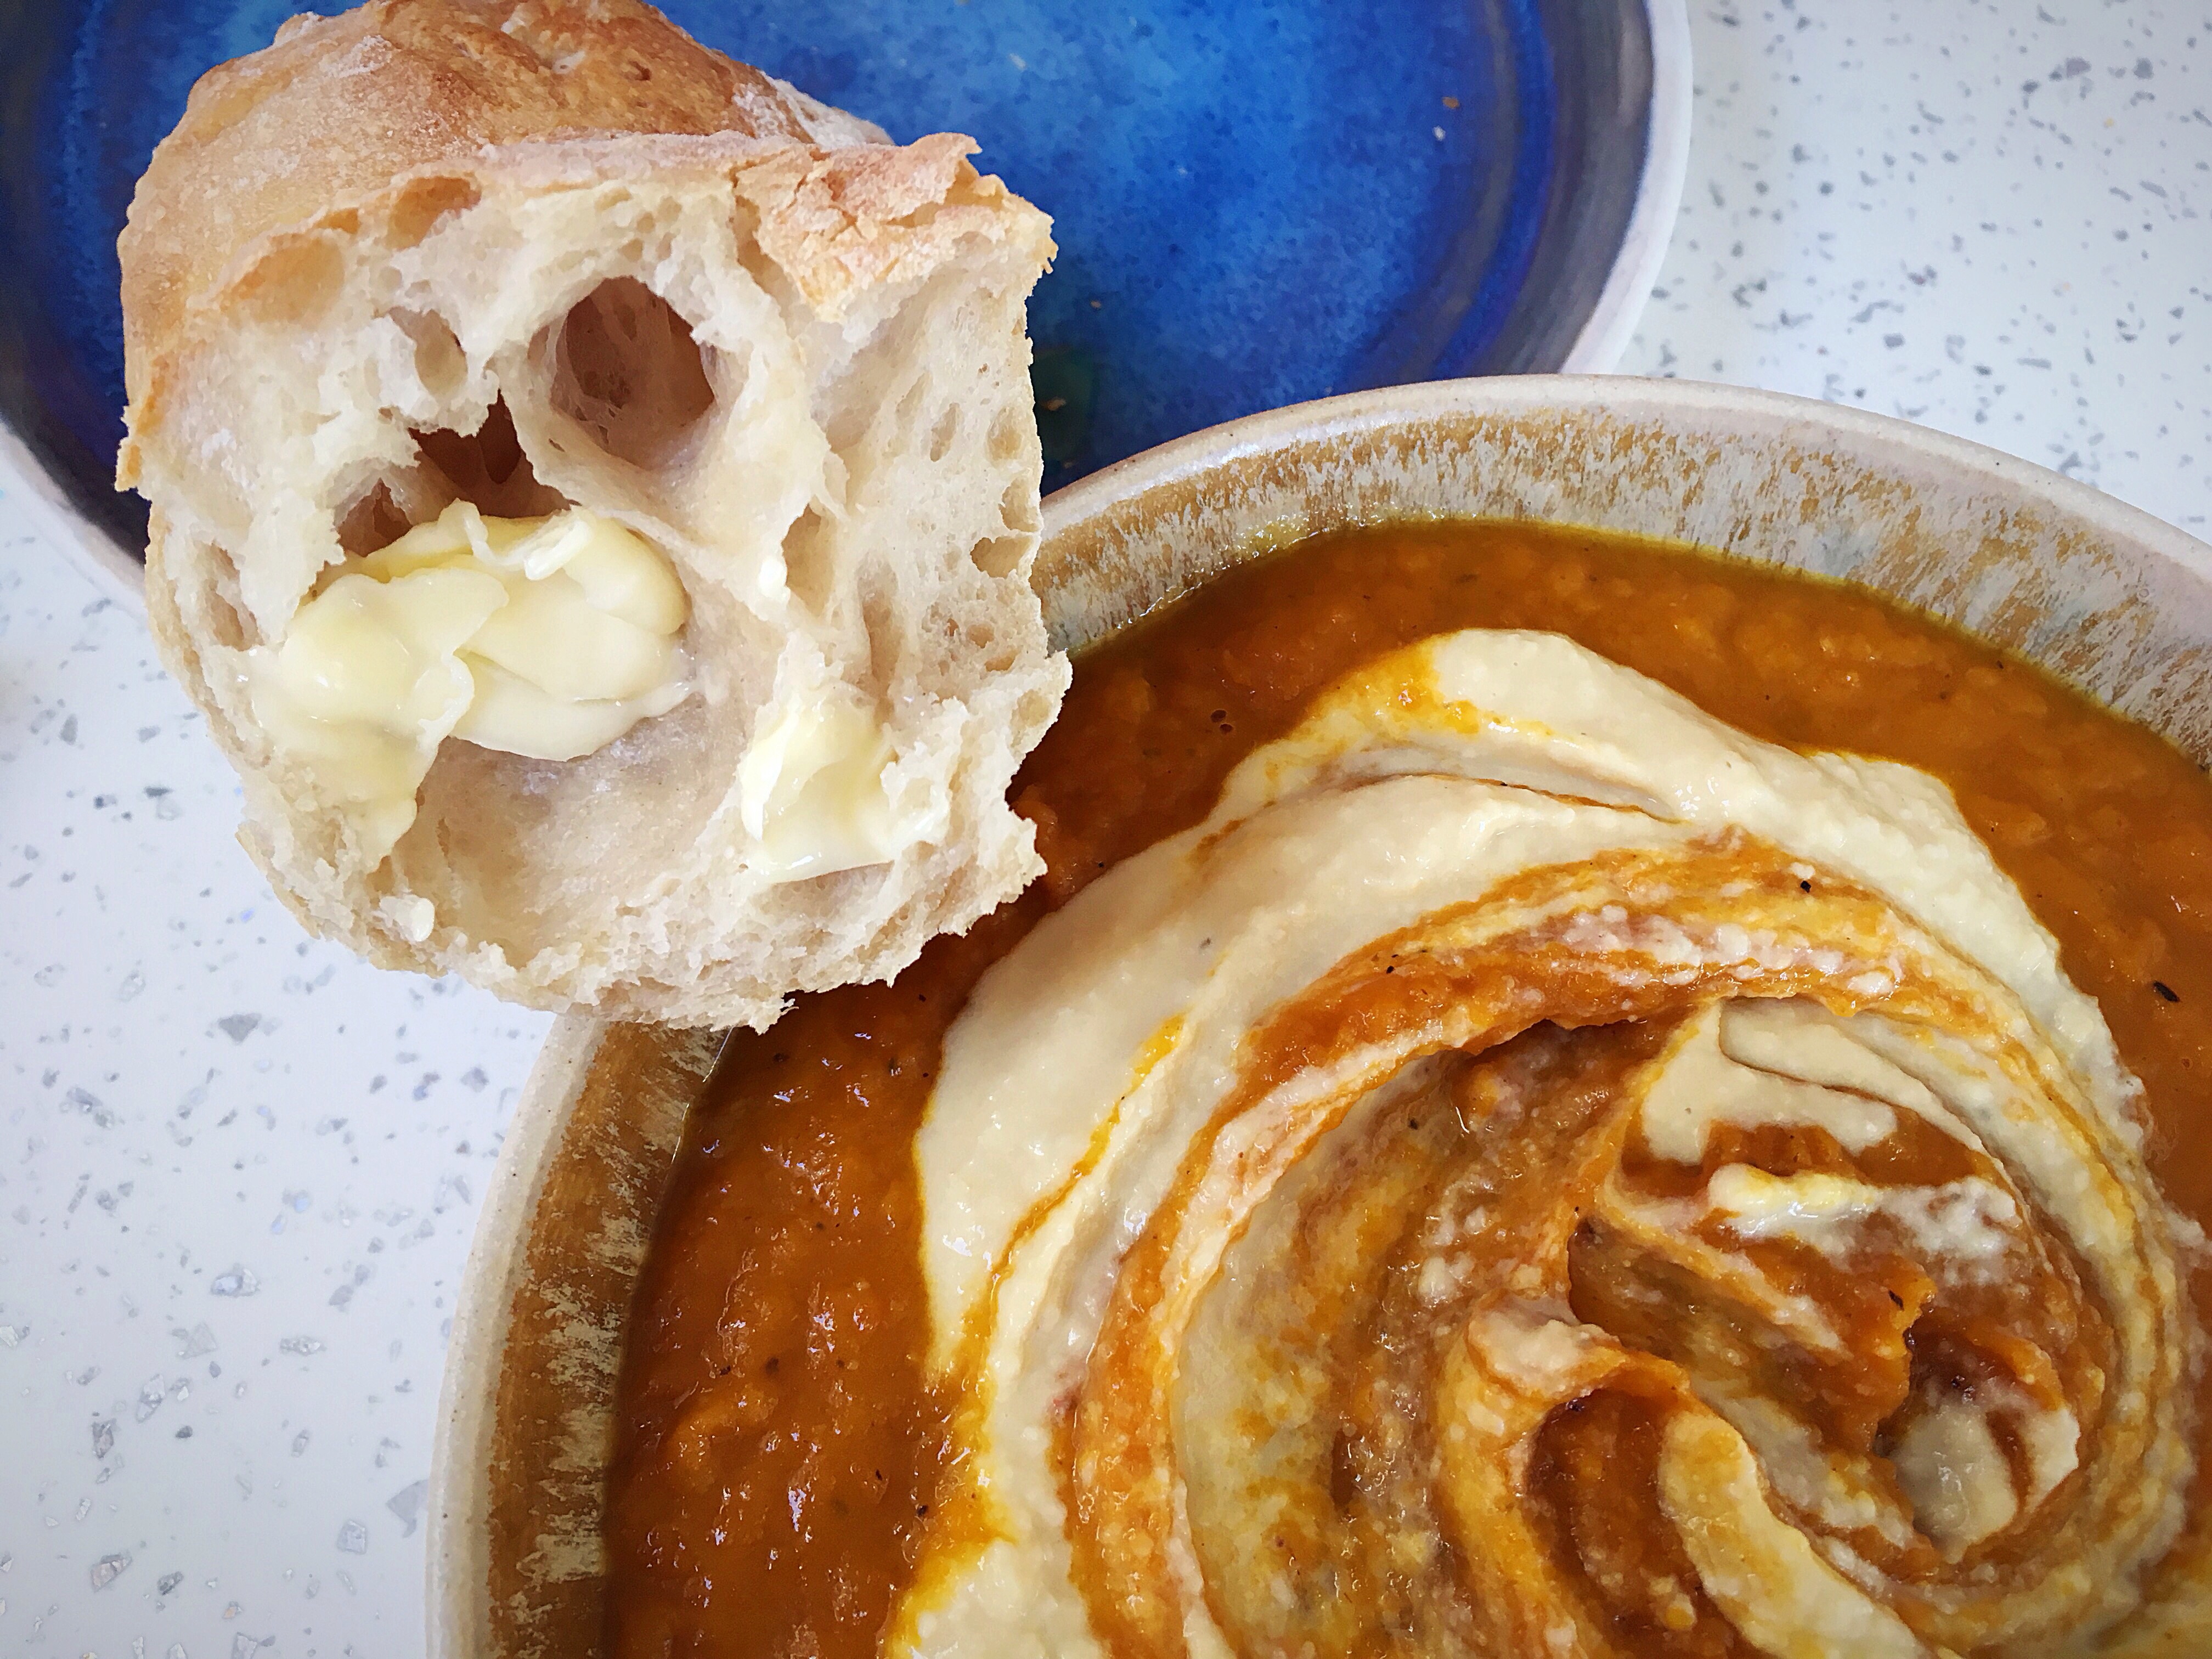
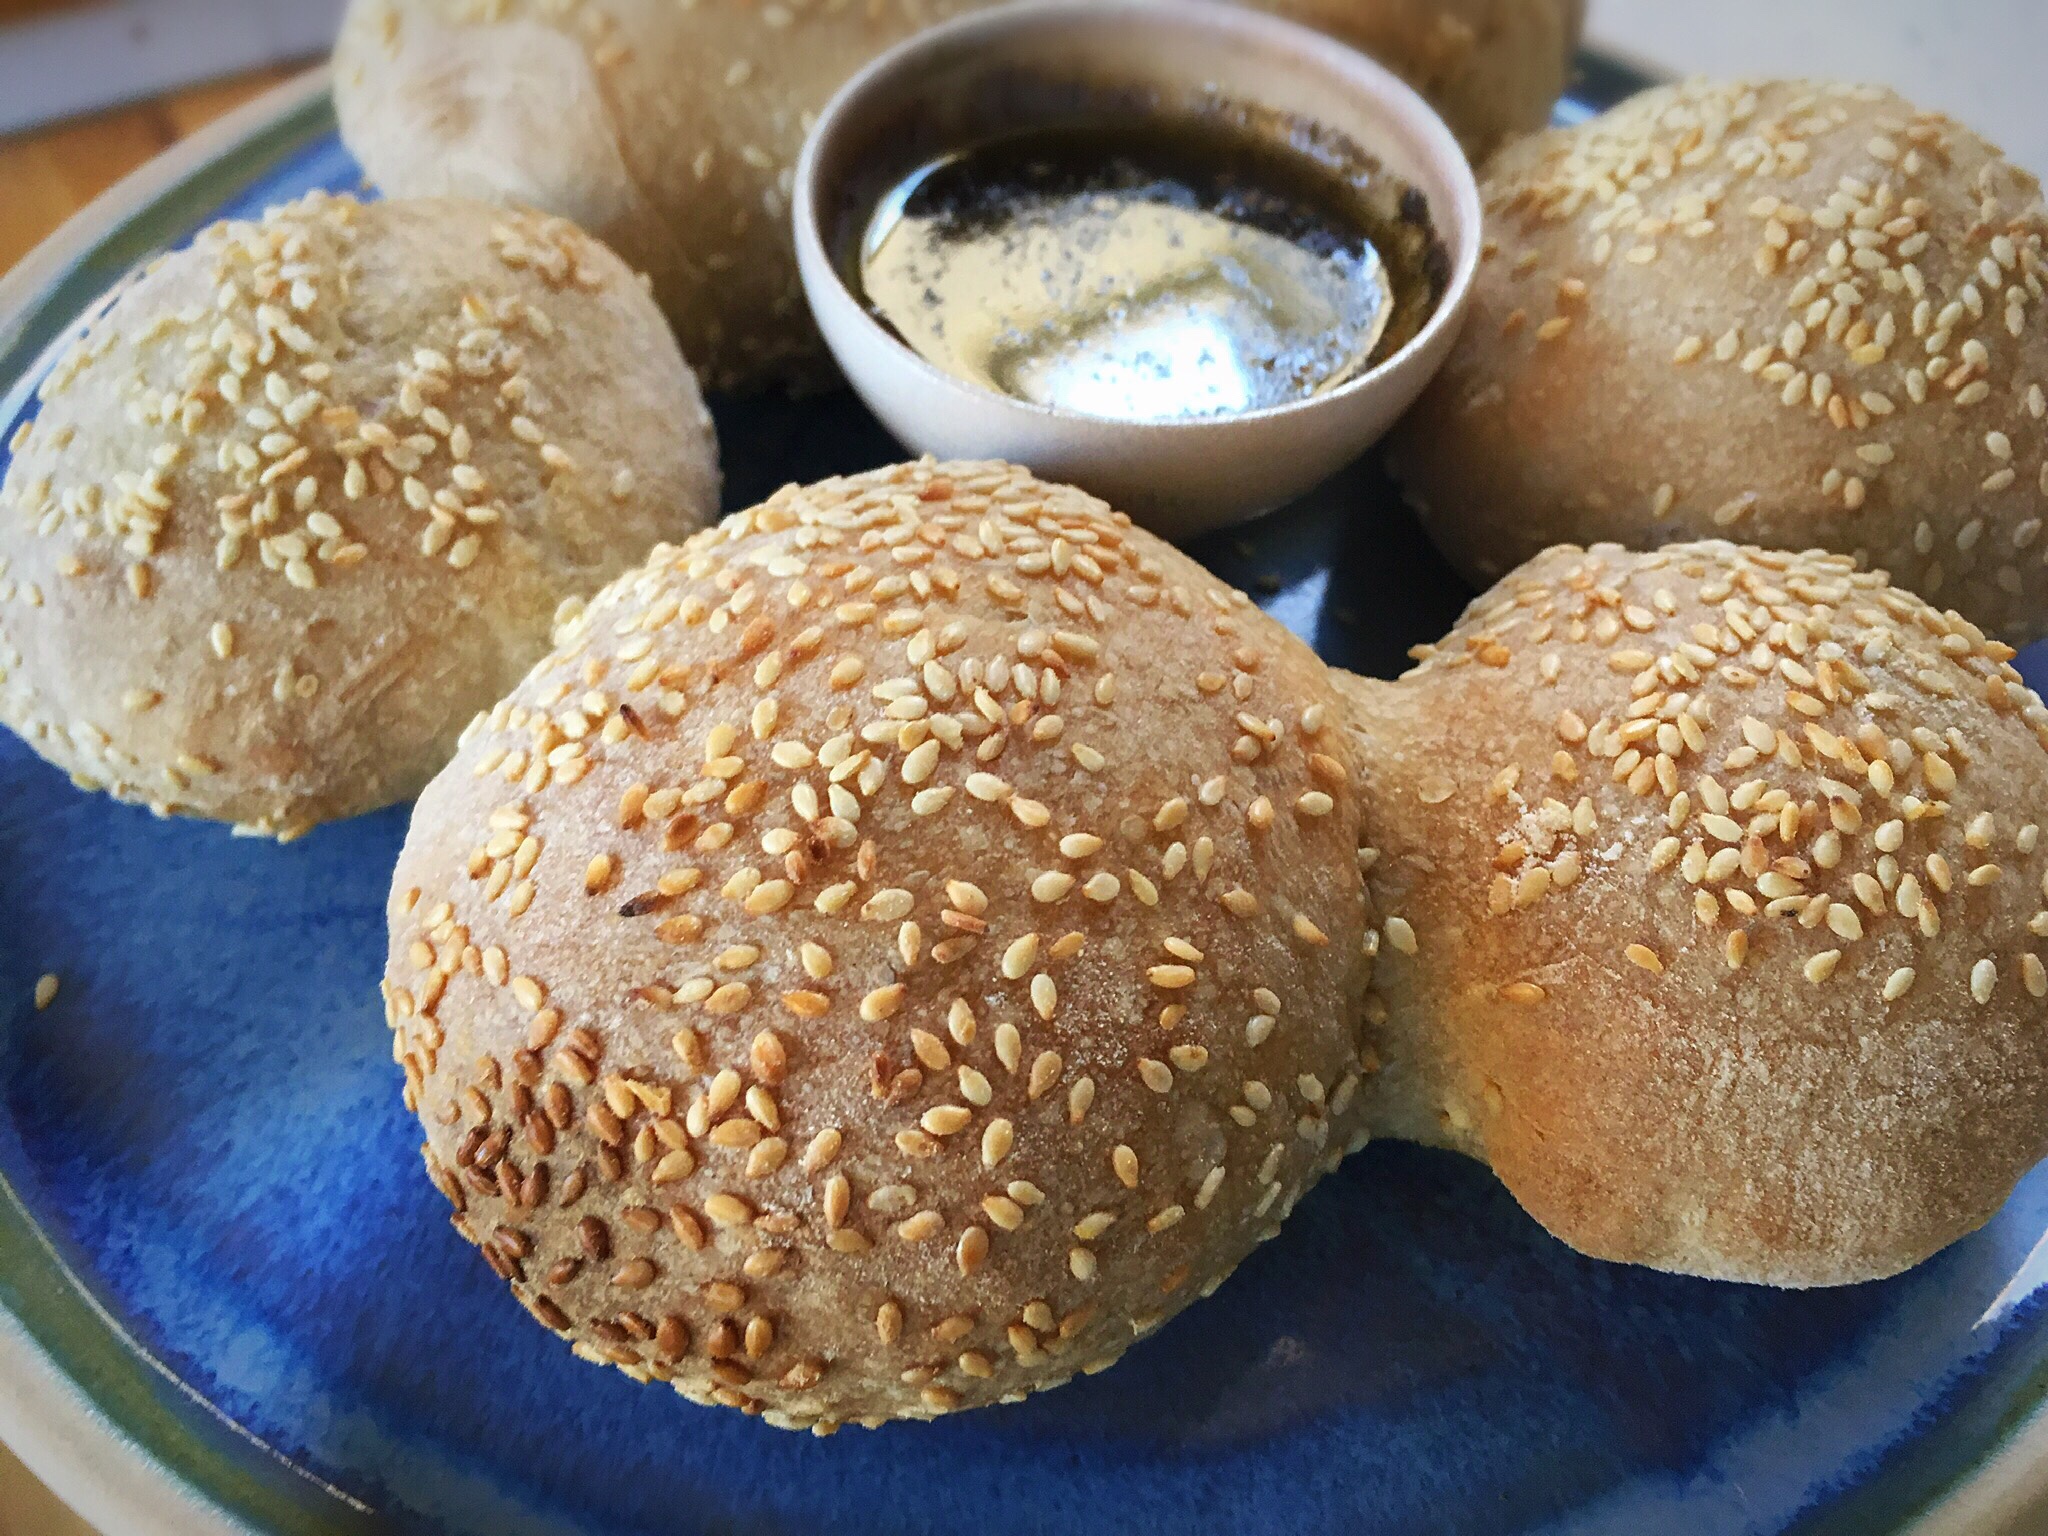
Enjoy!
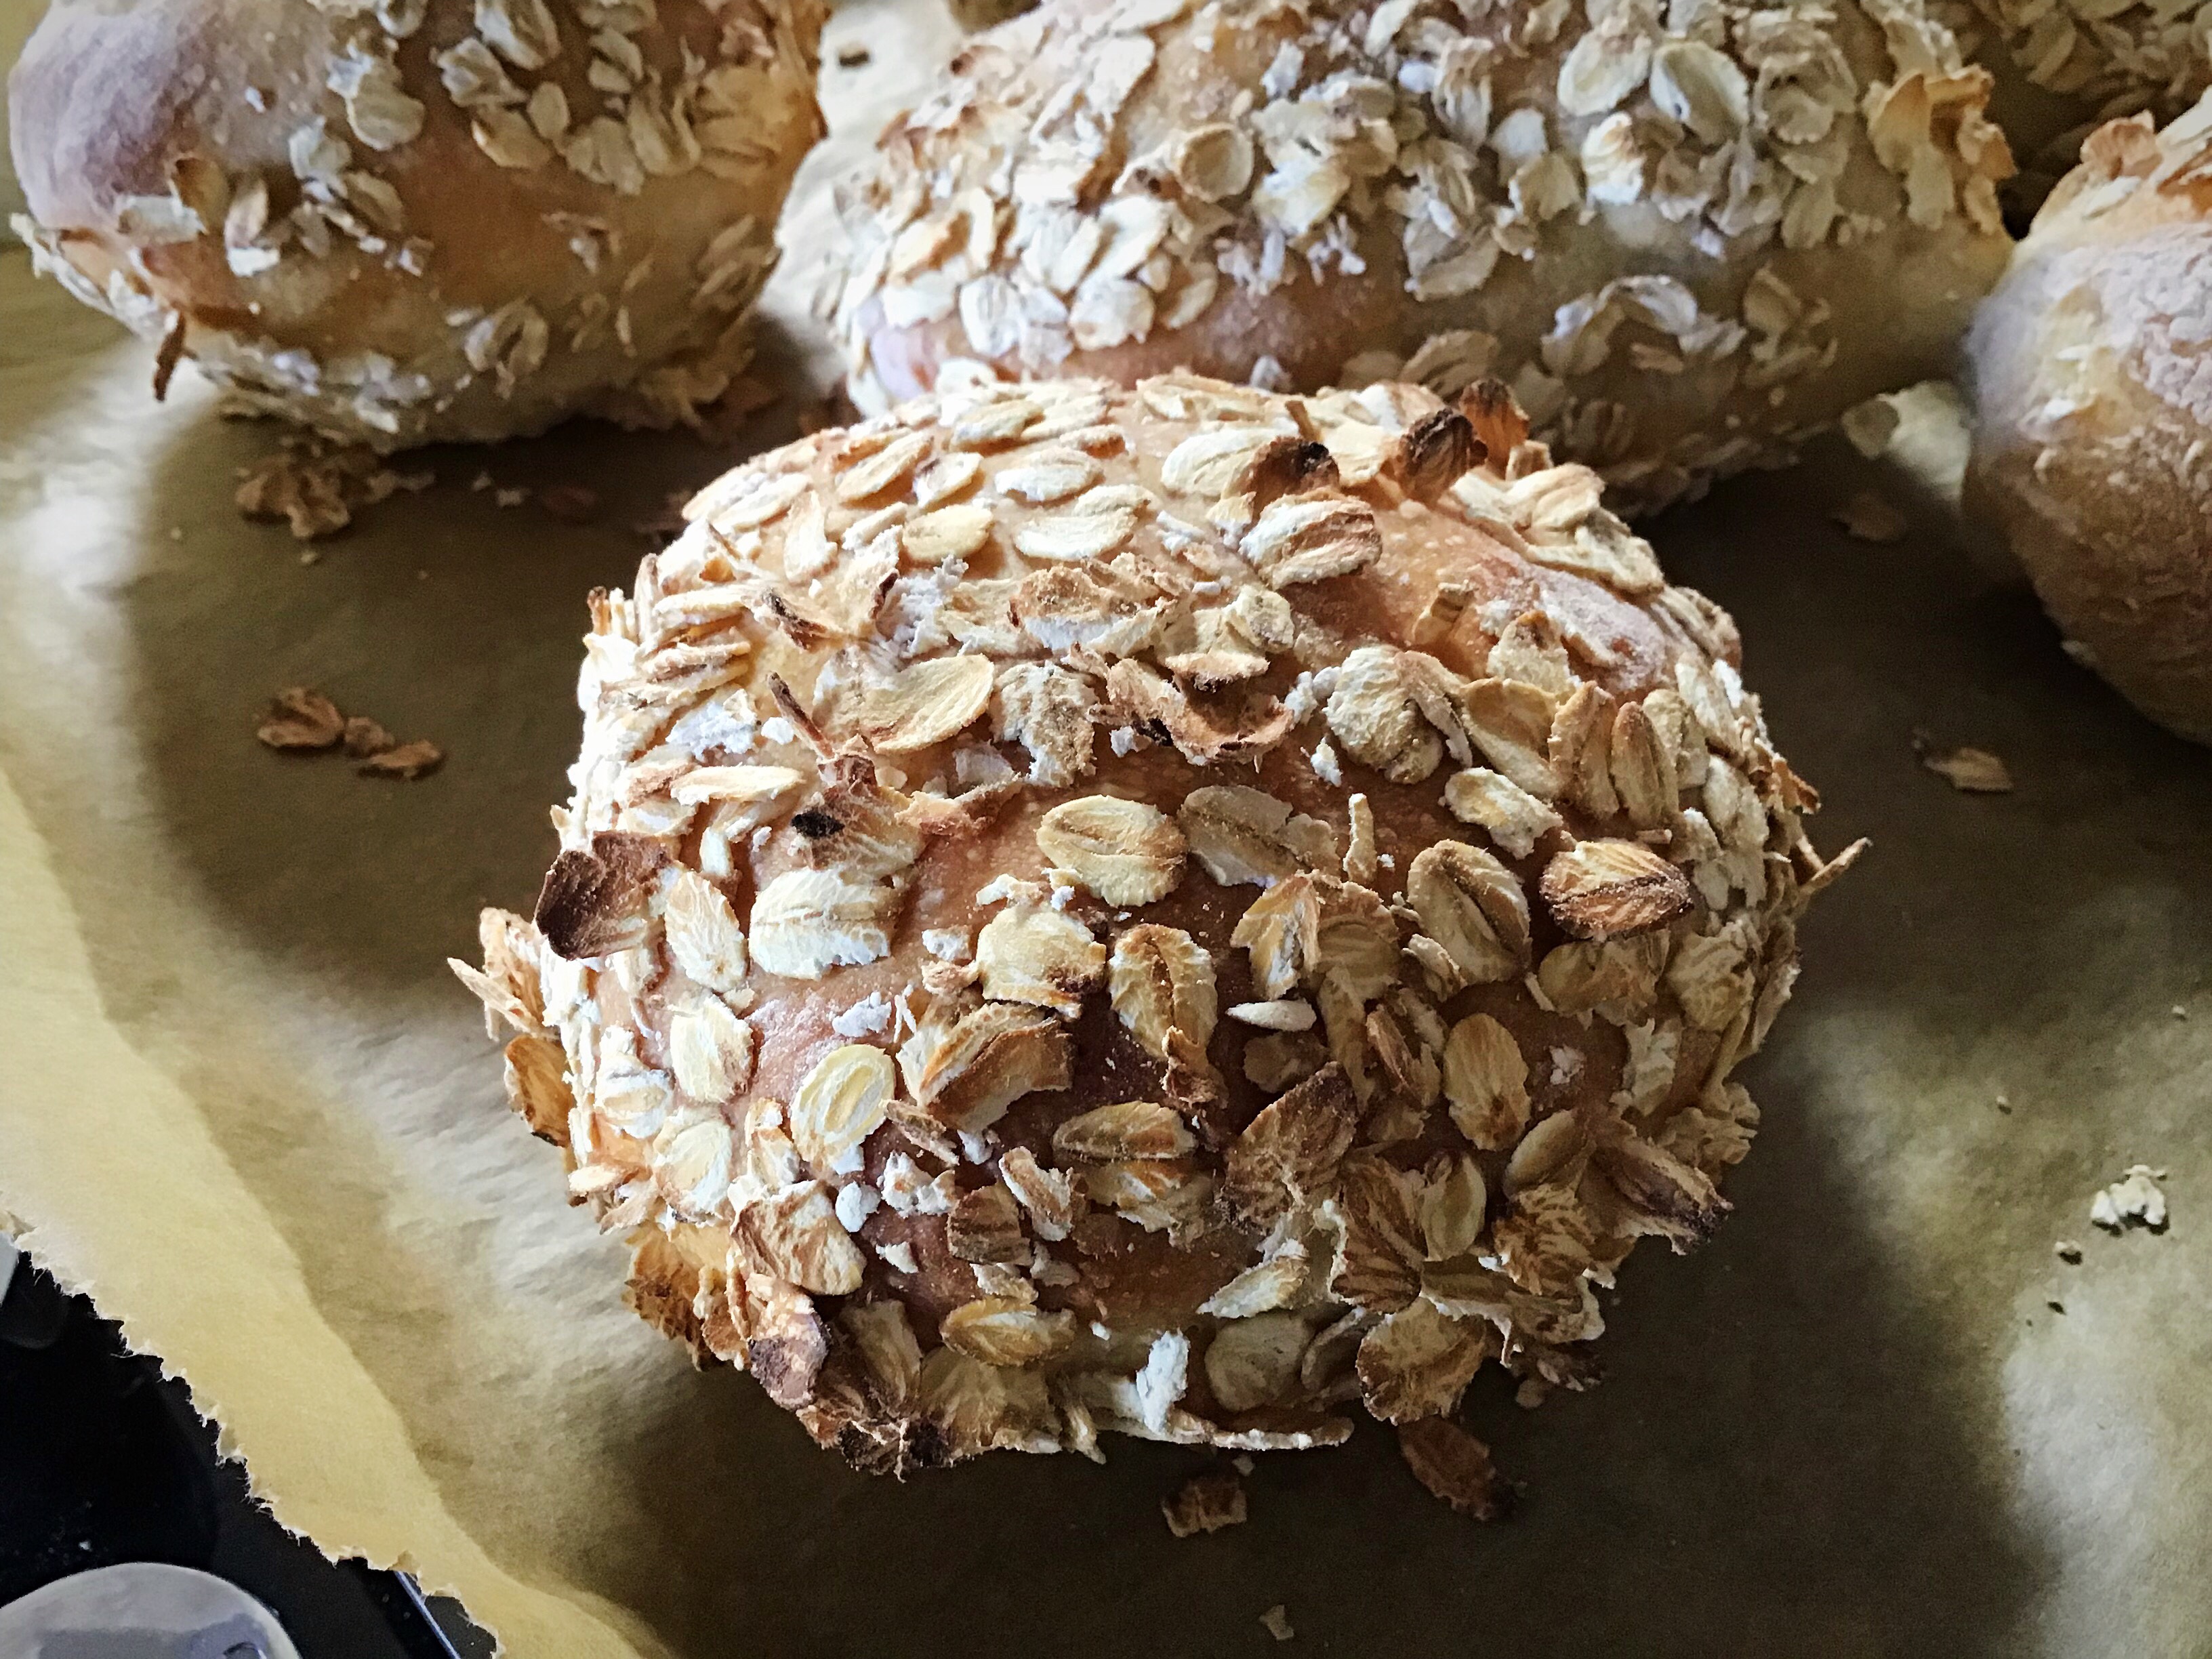
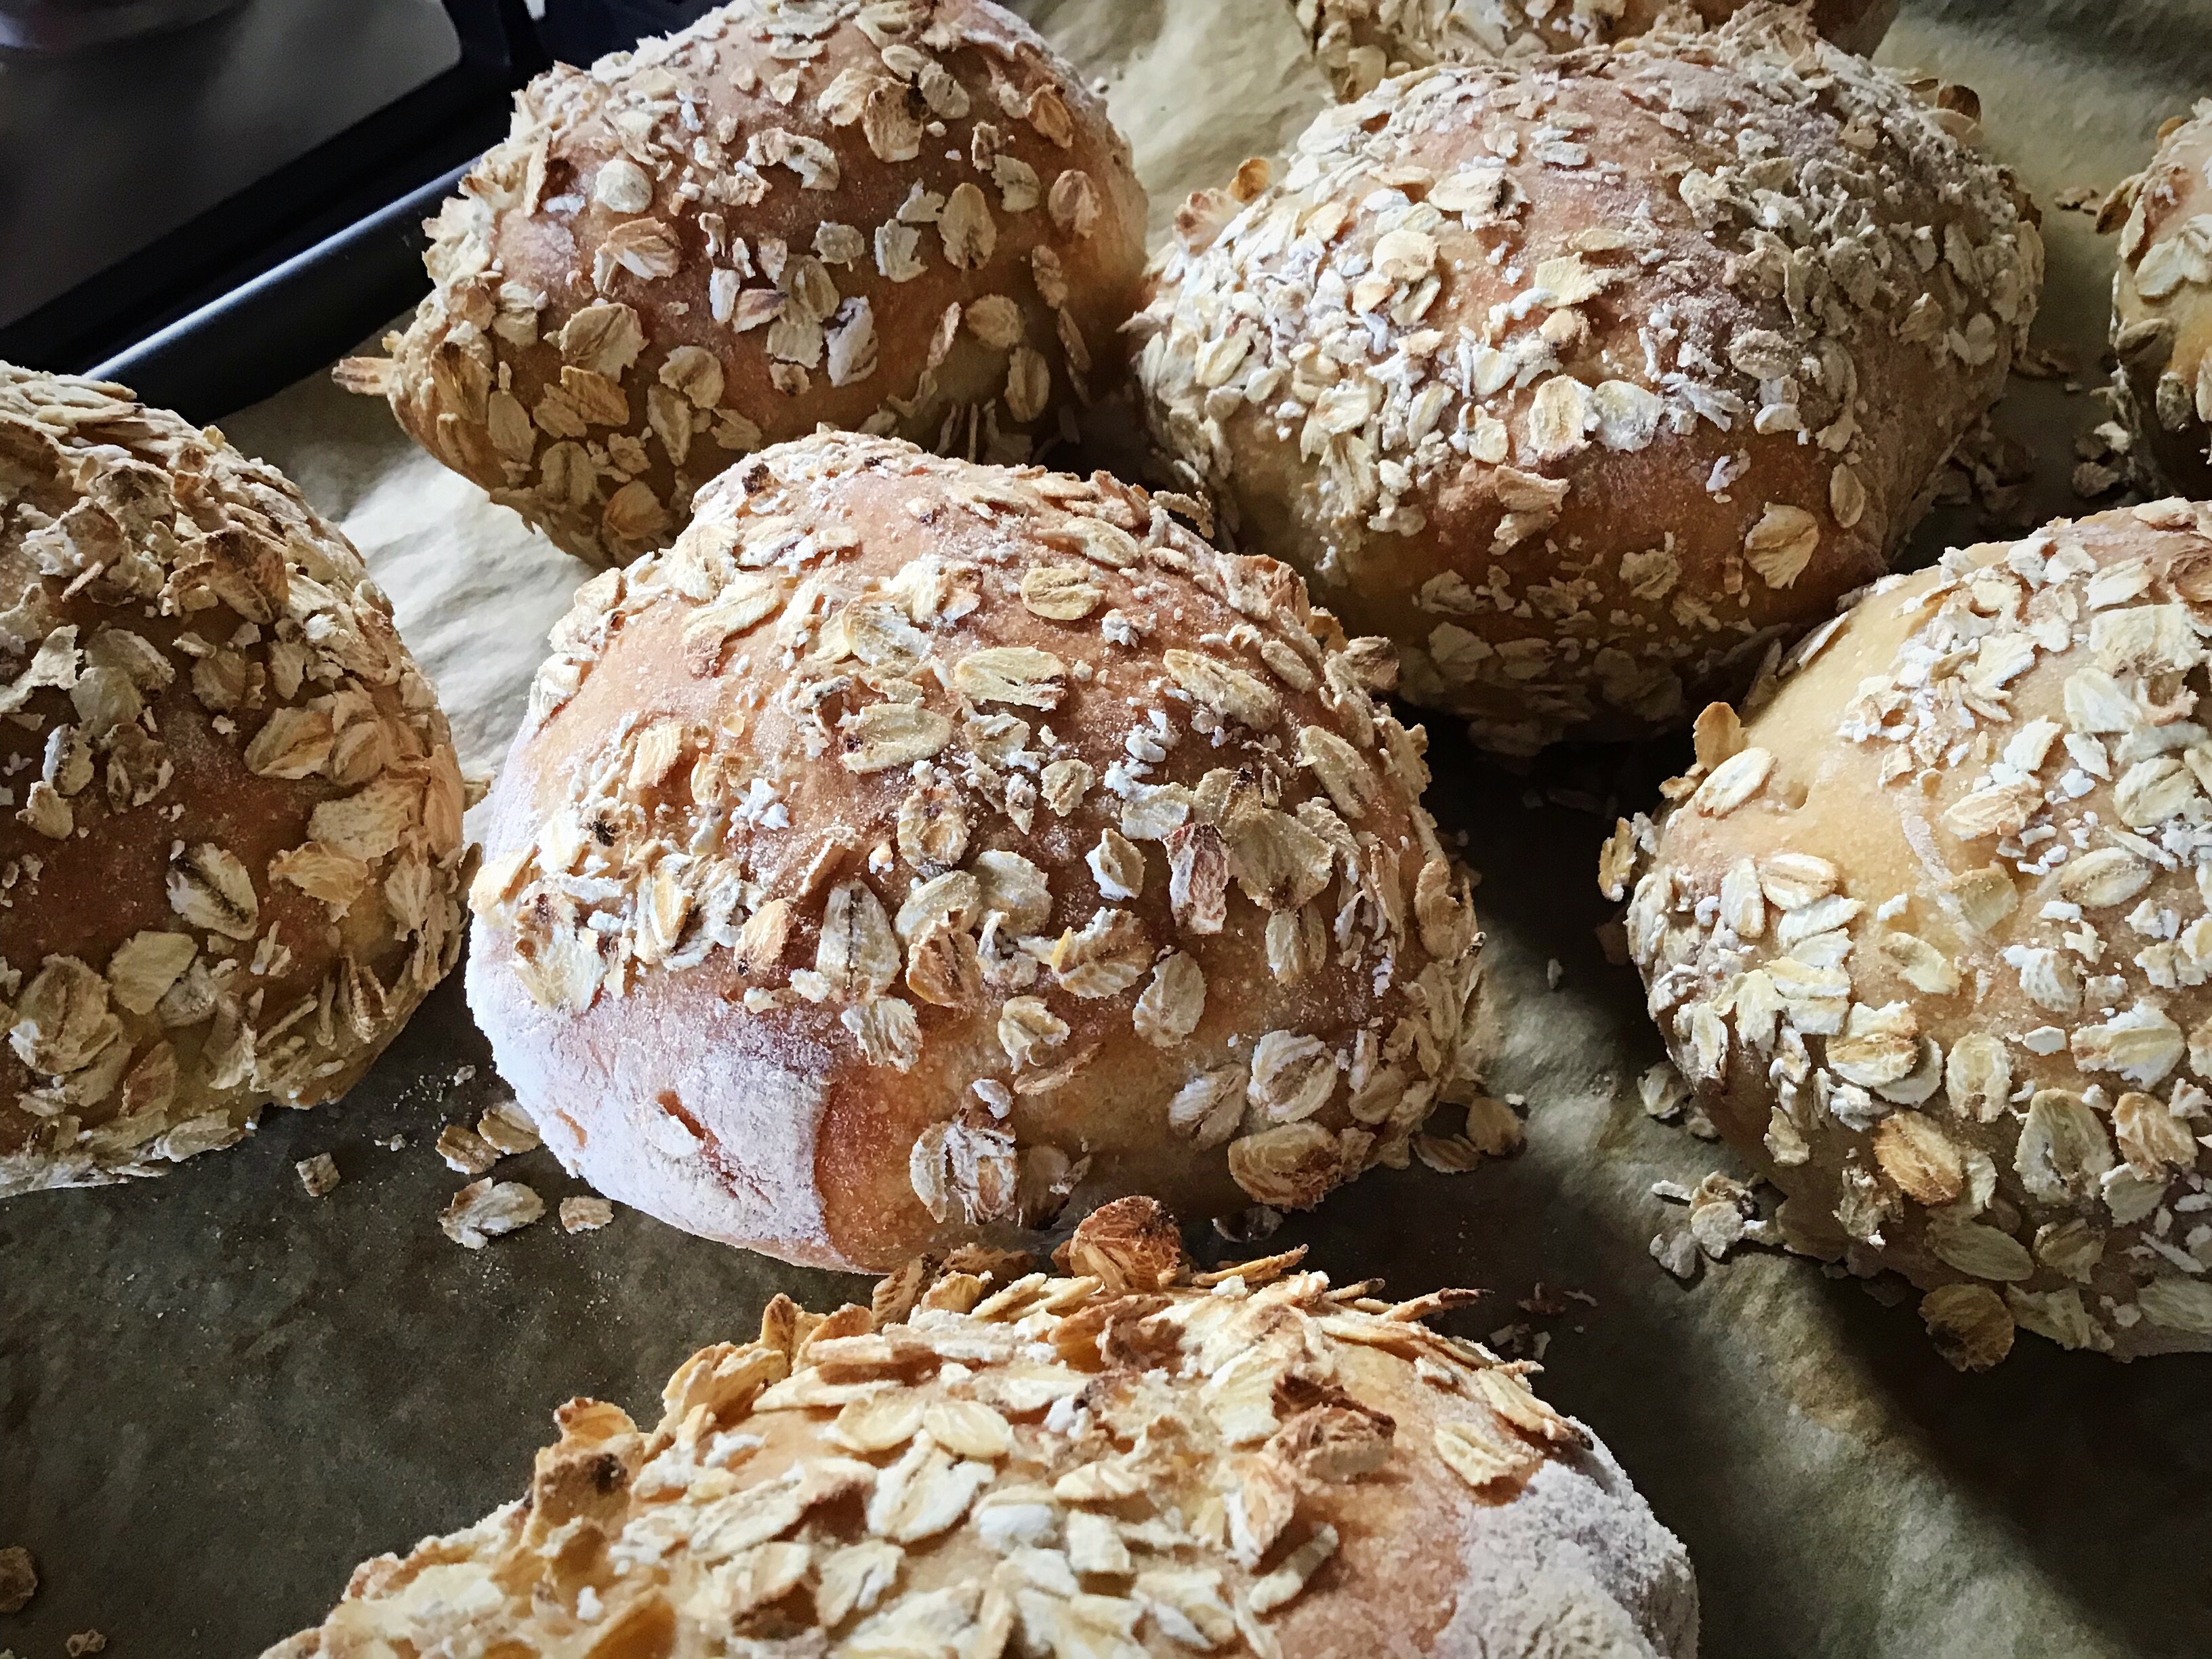
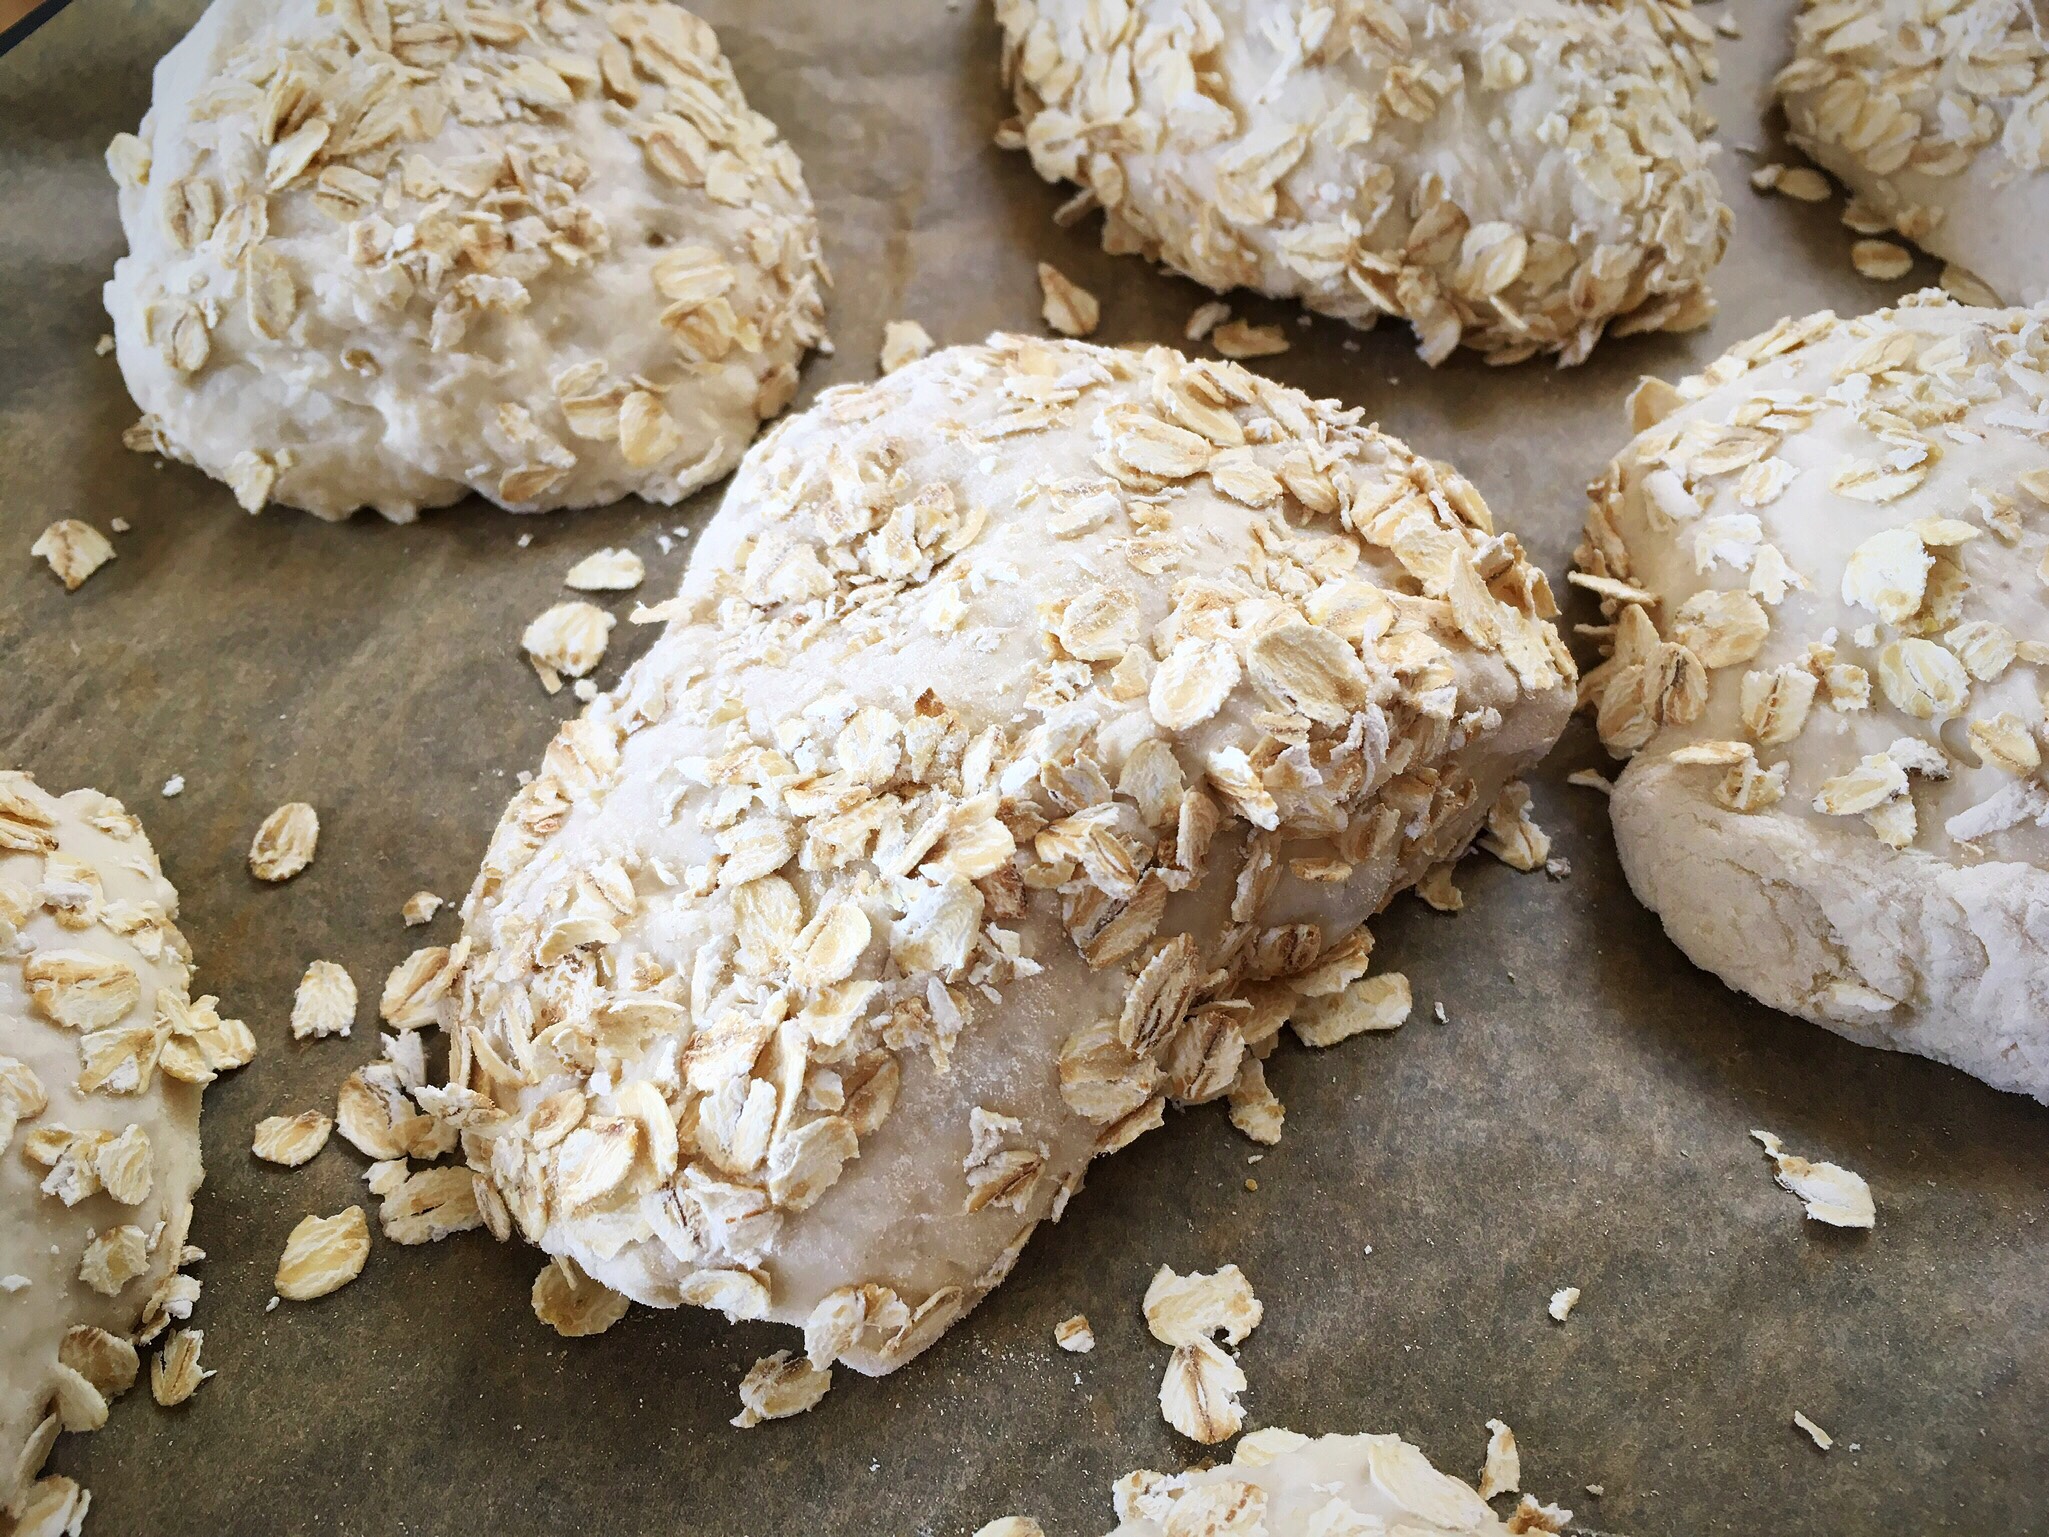
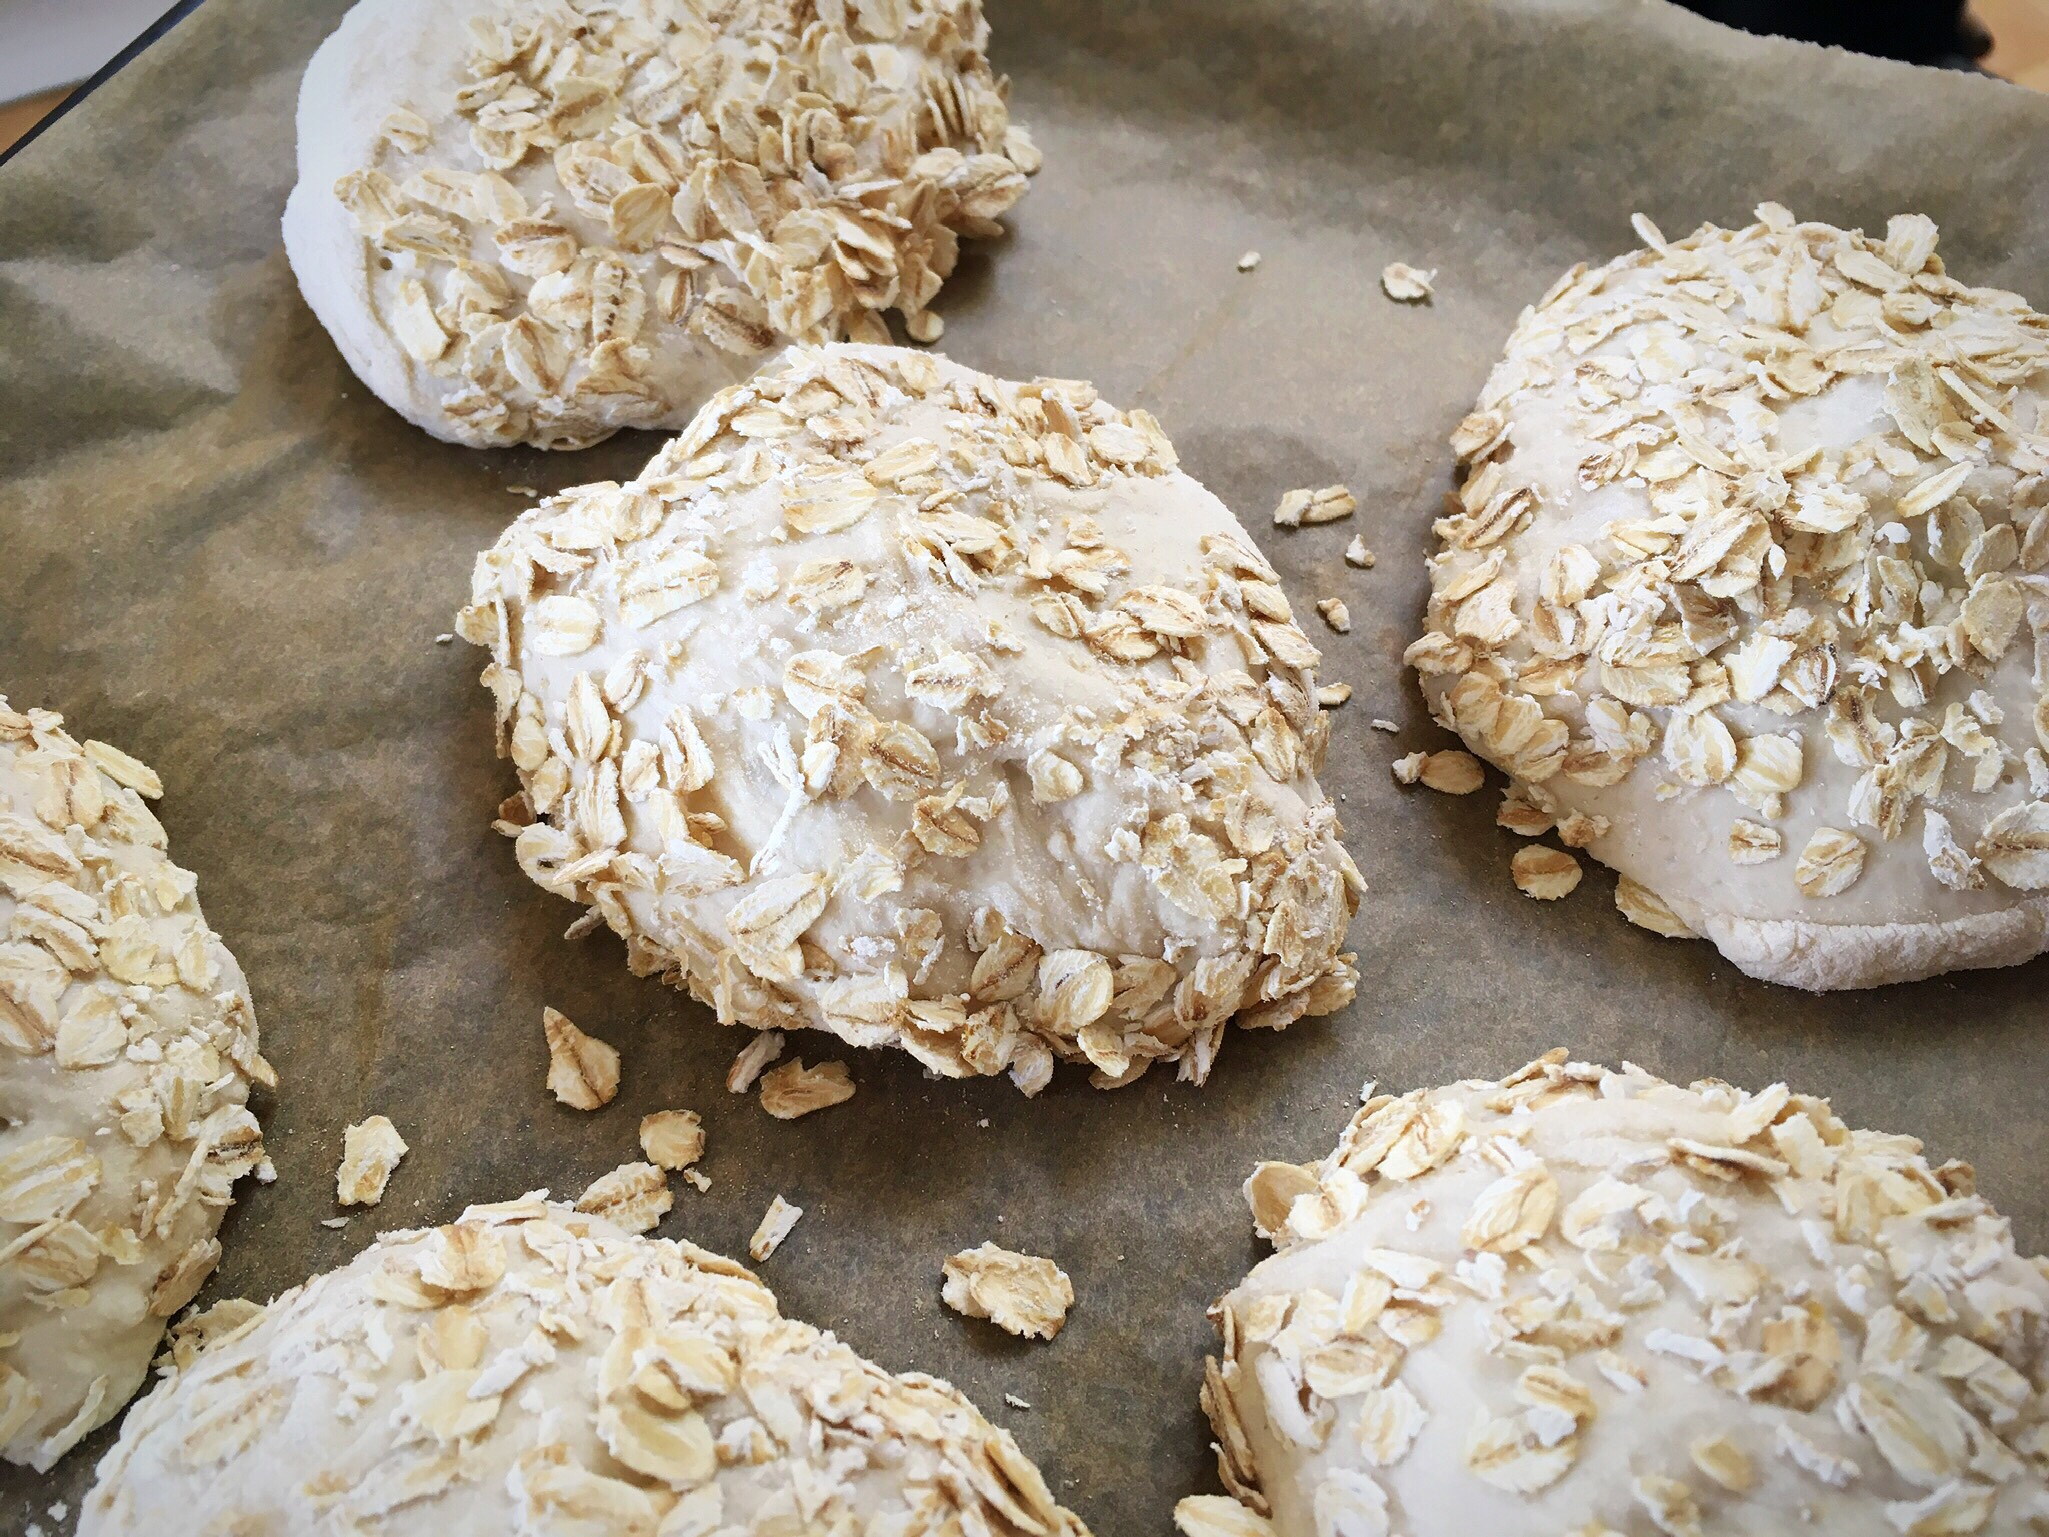
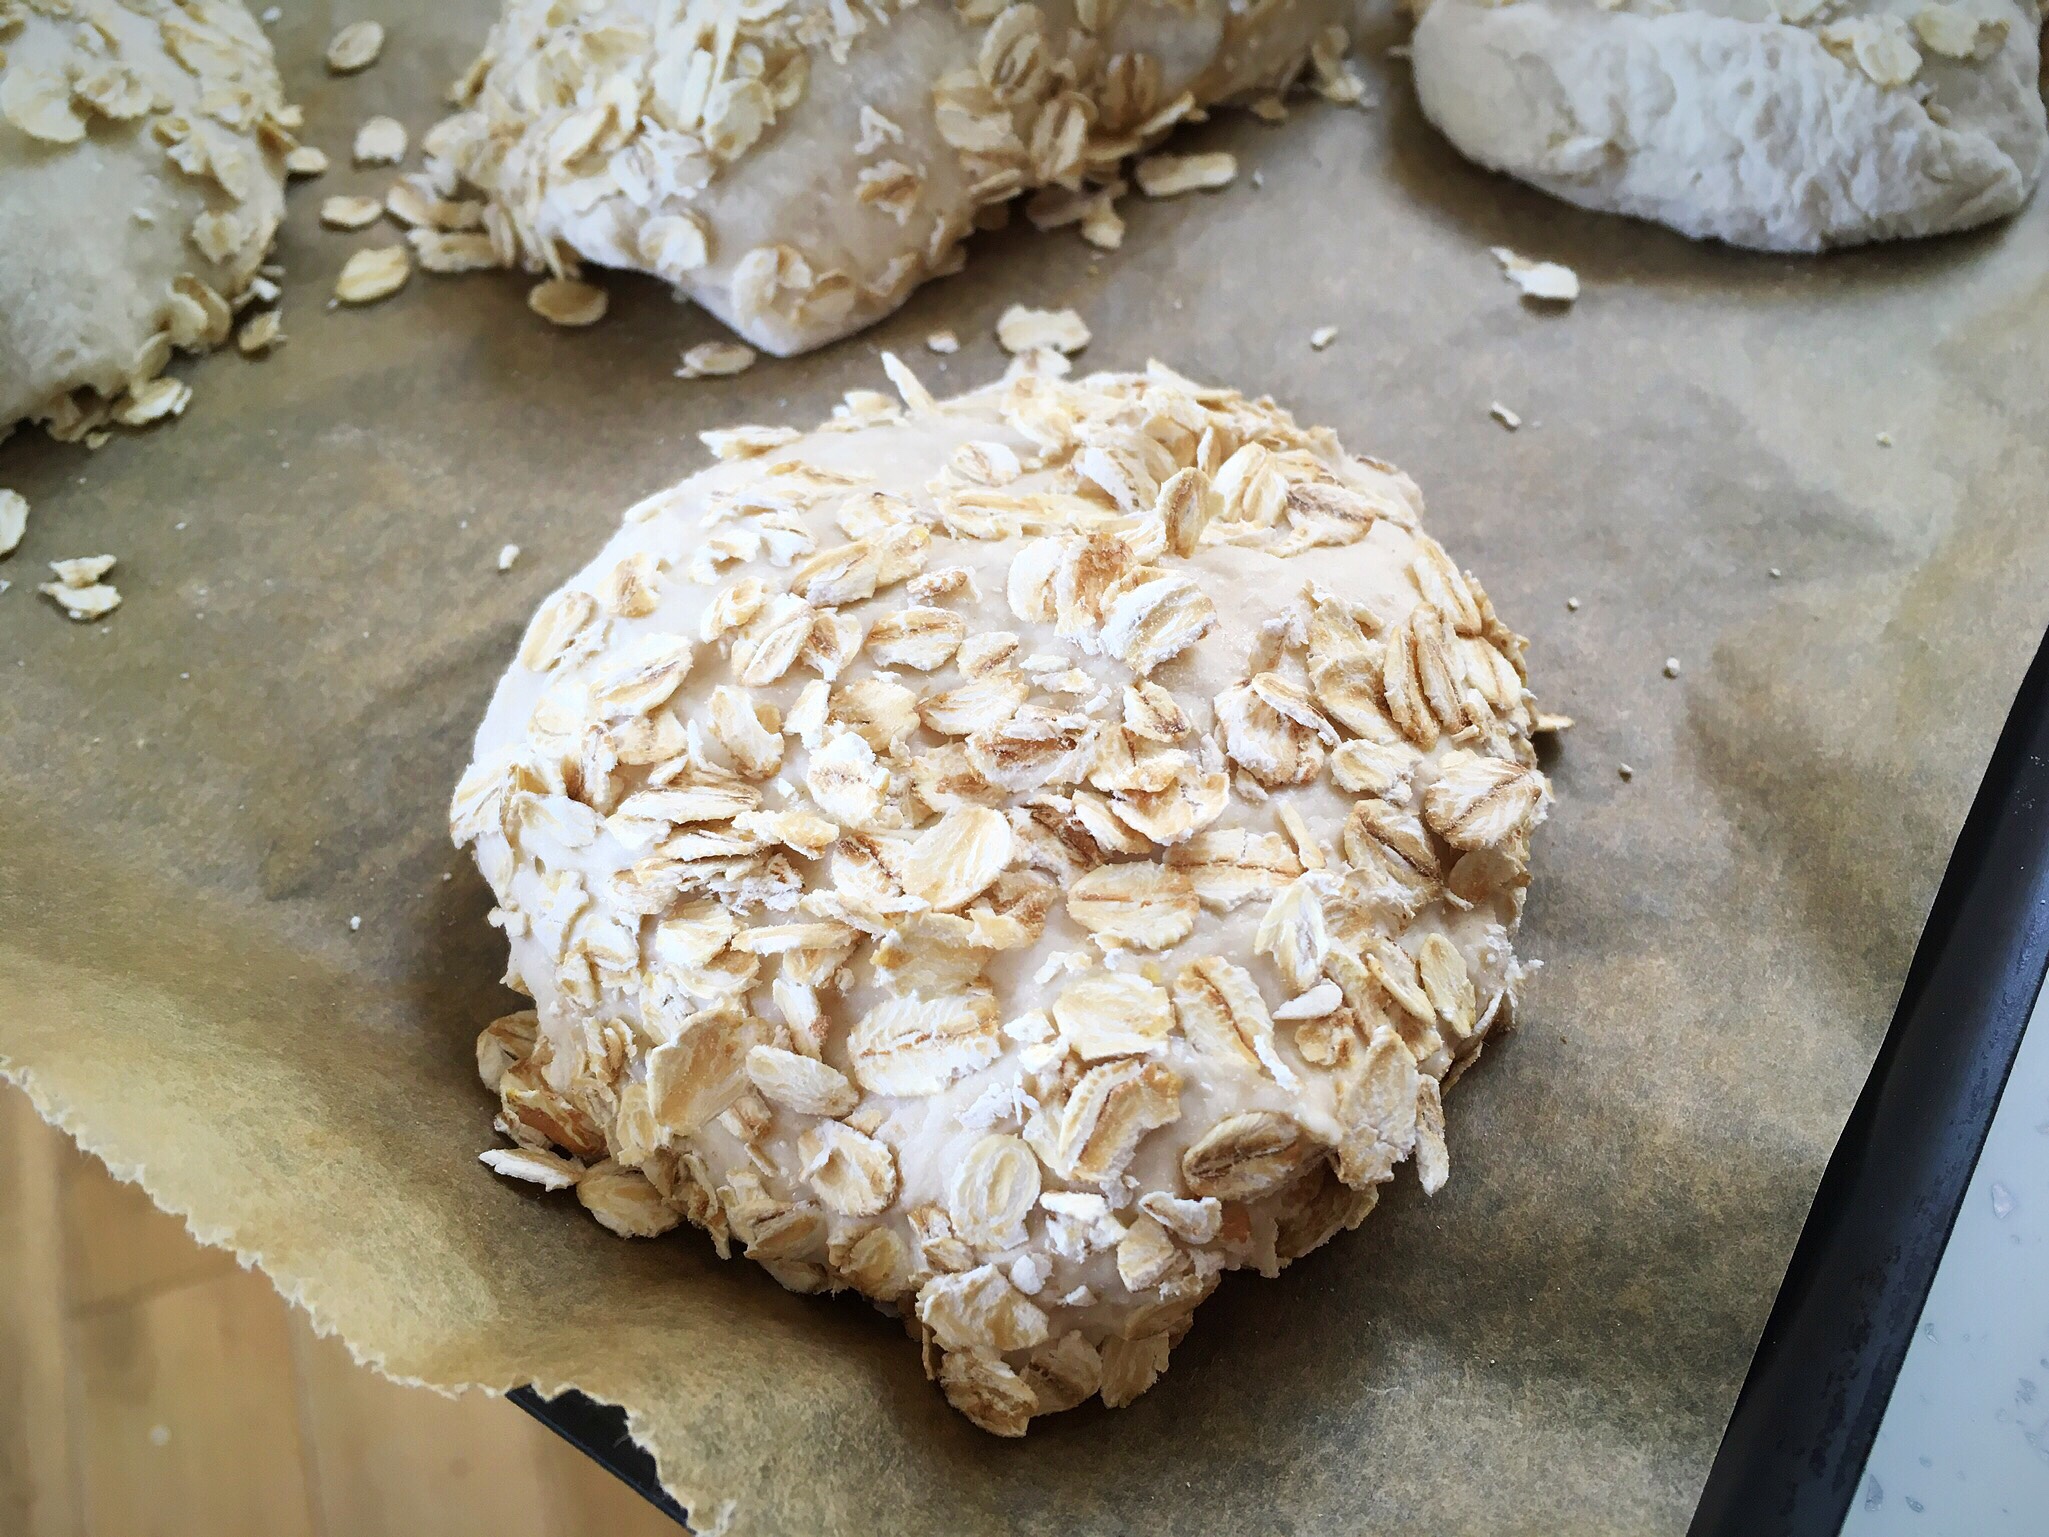


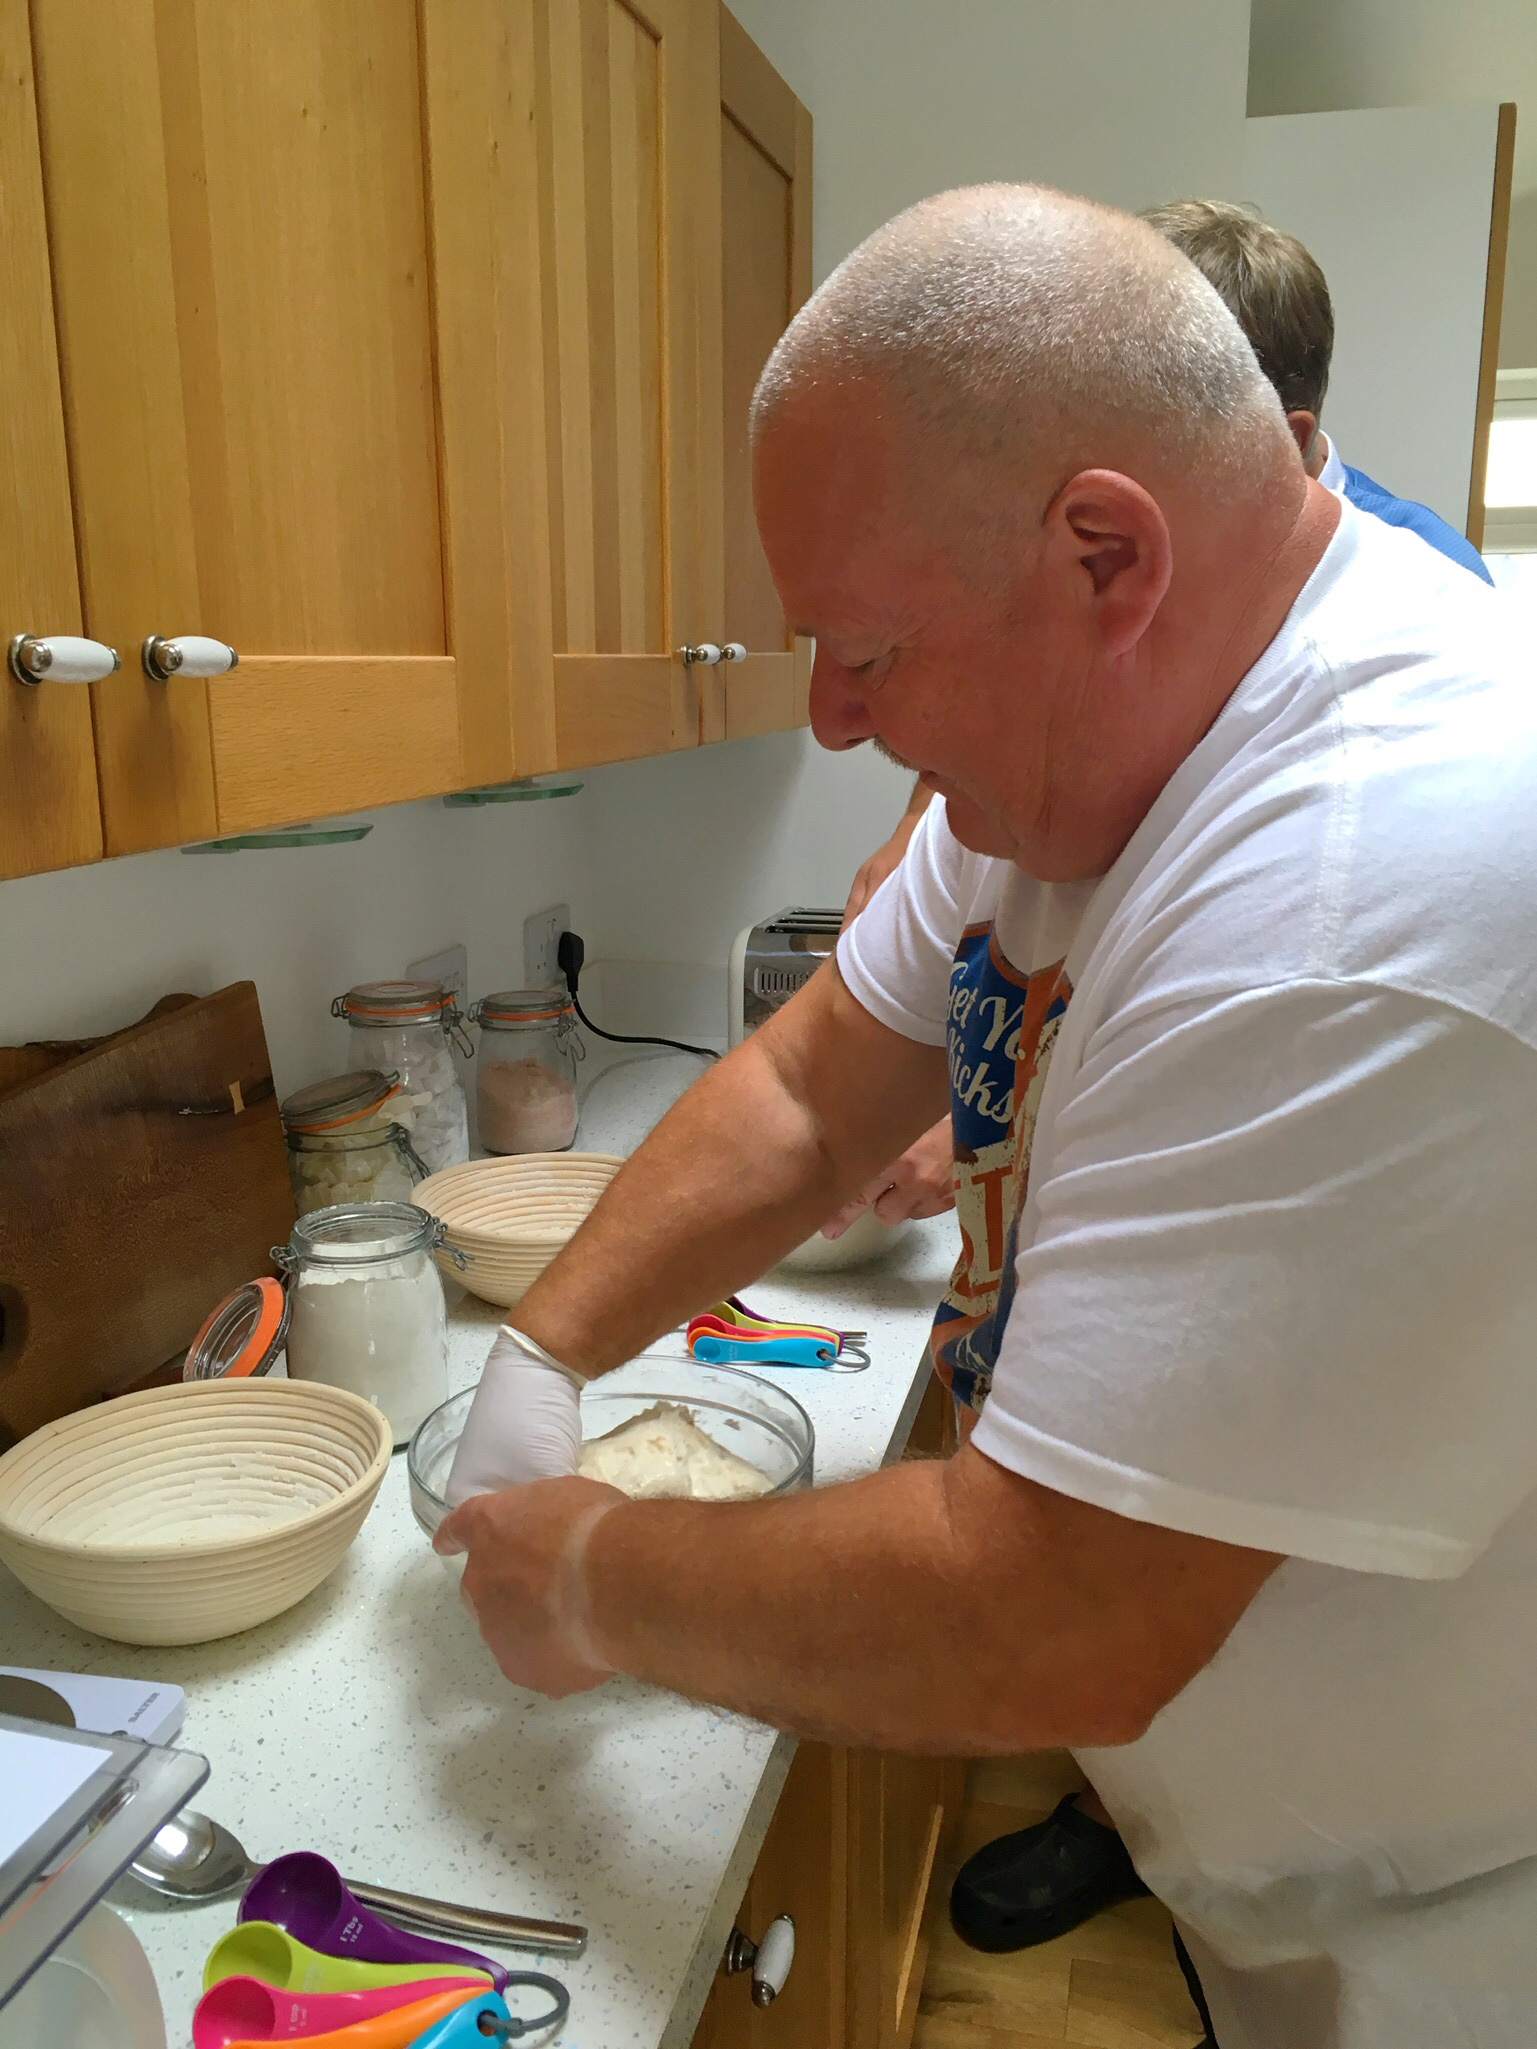
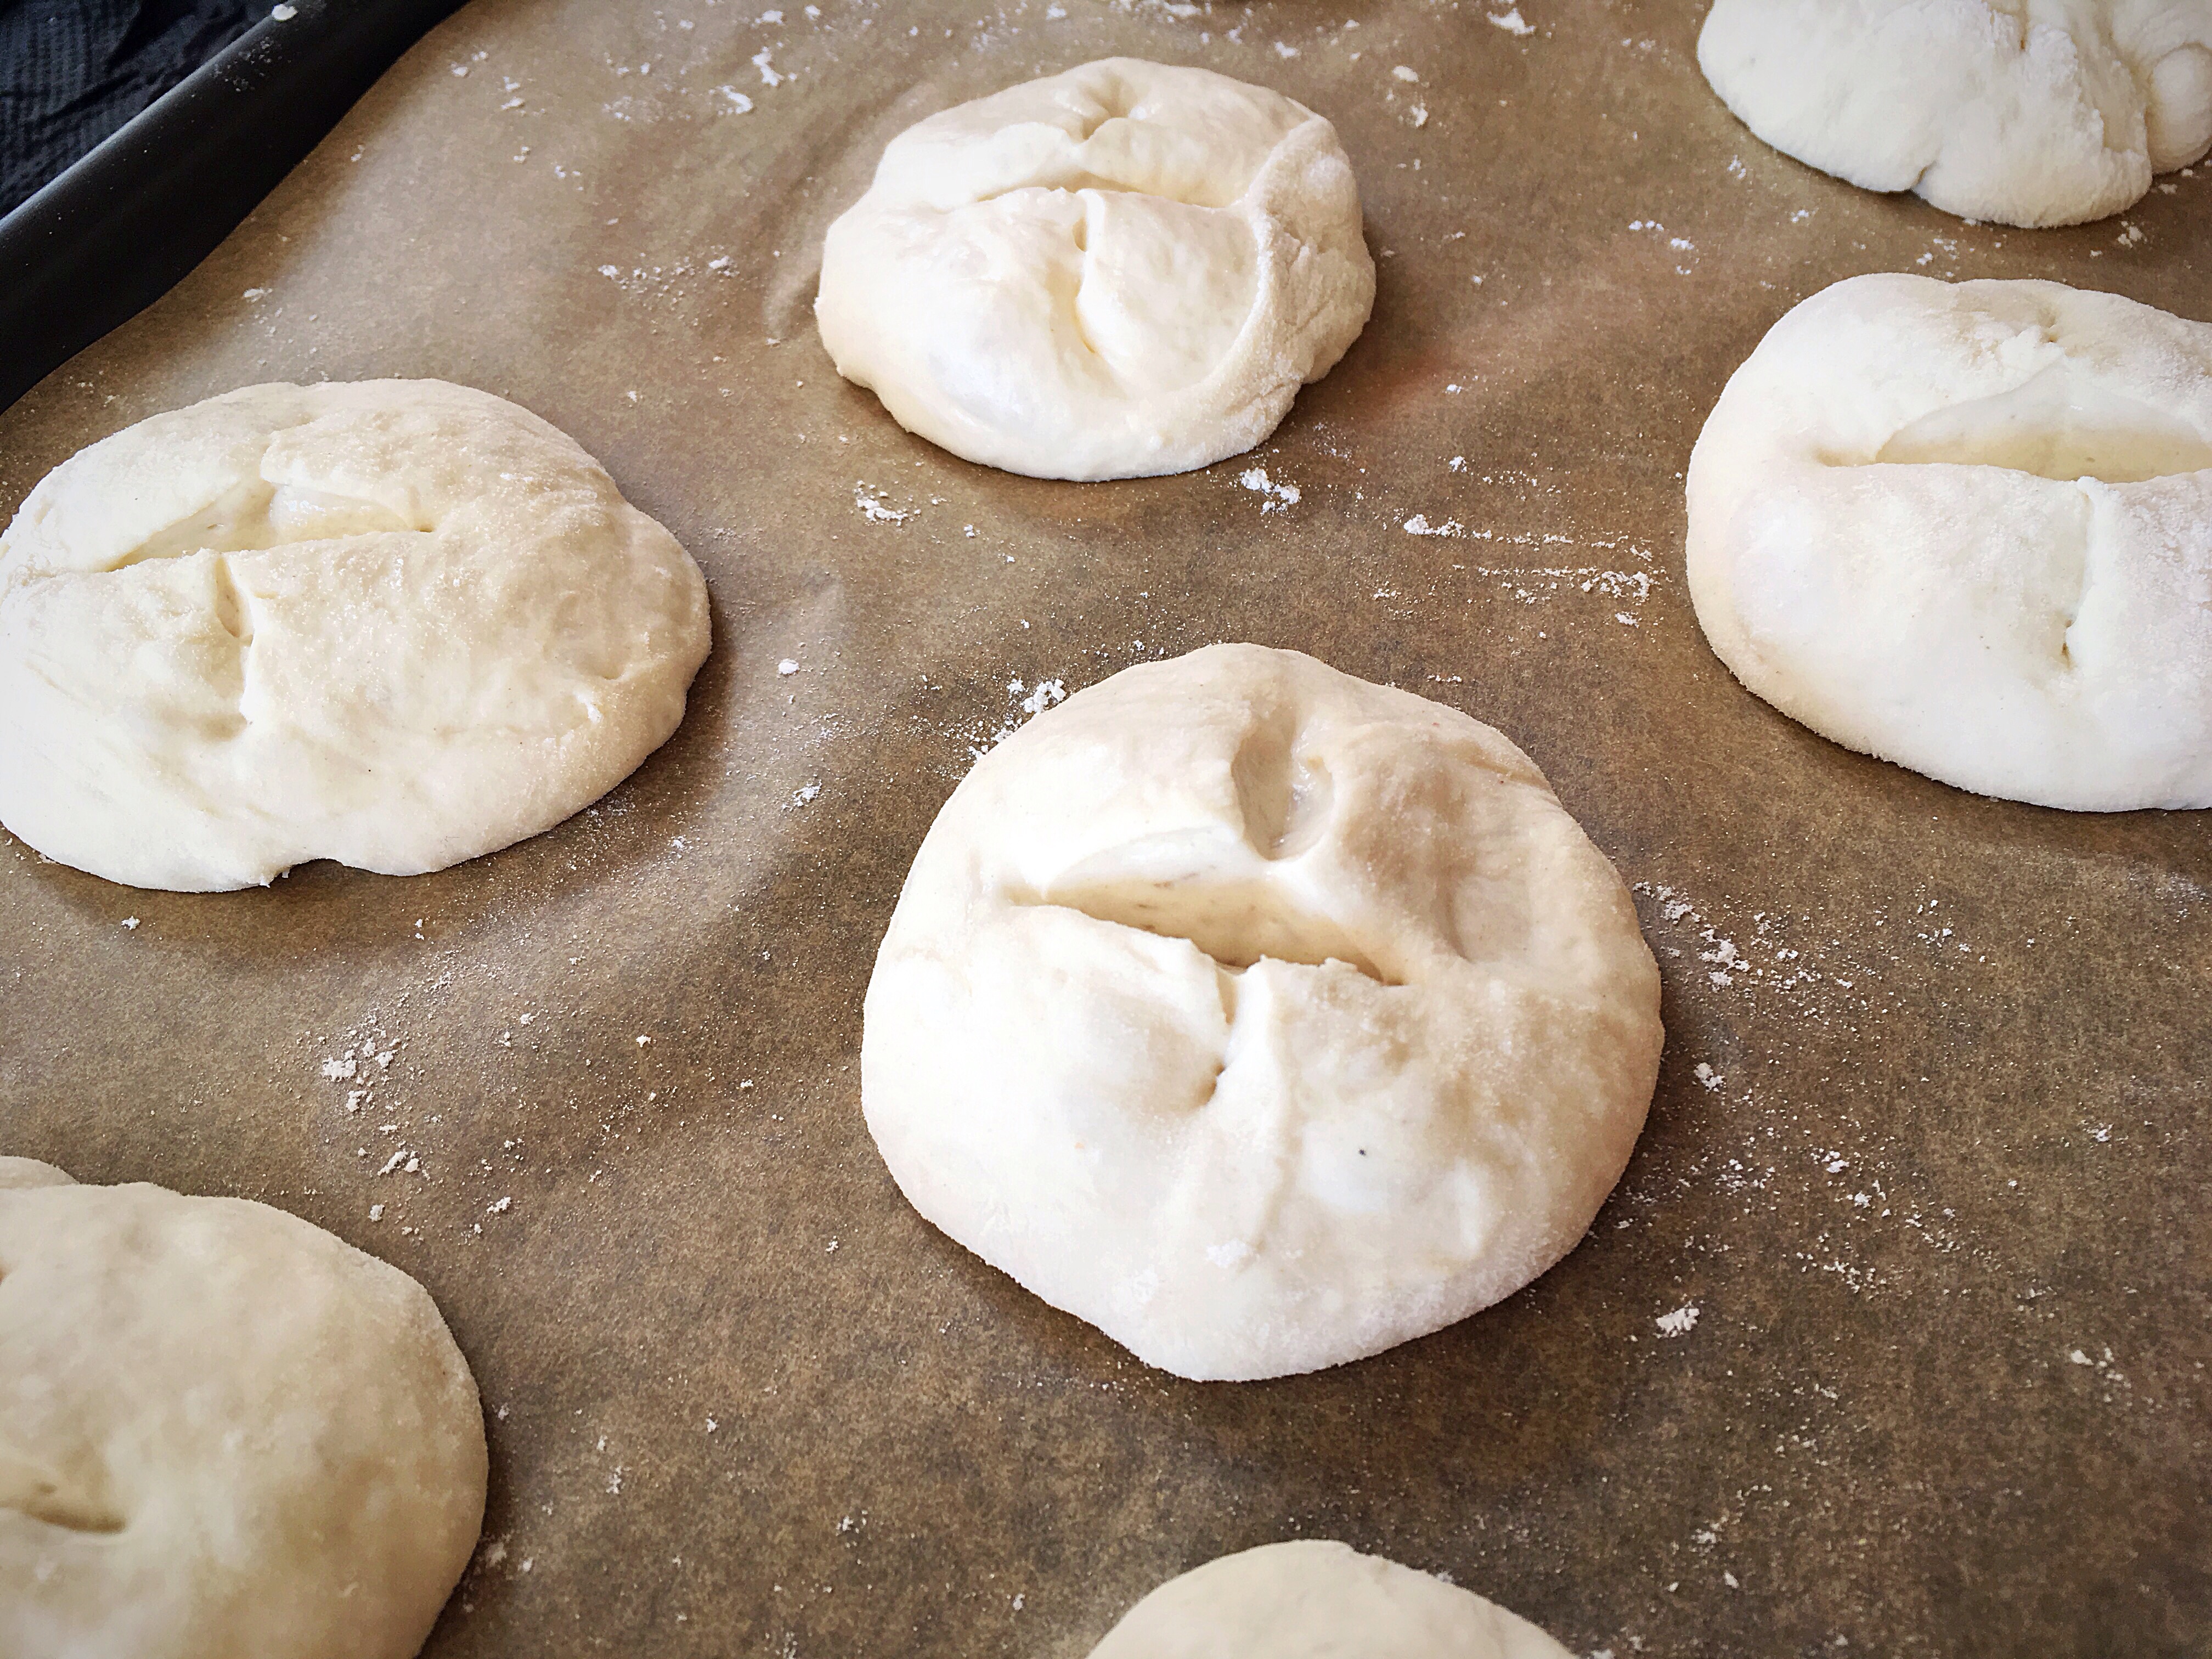
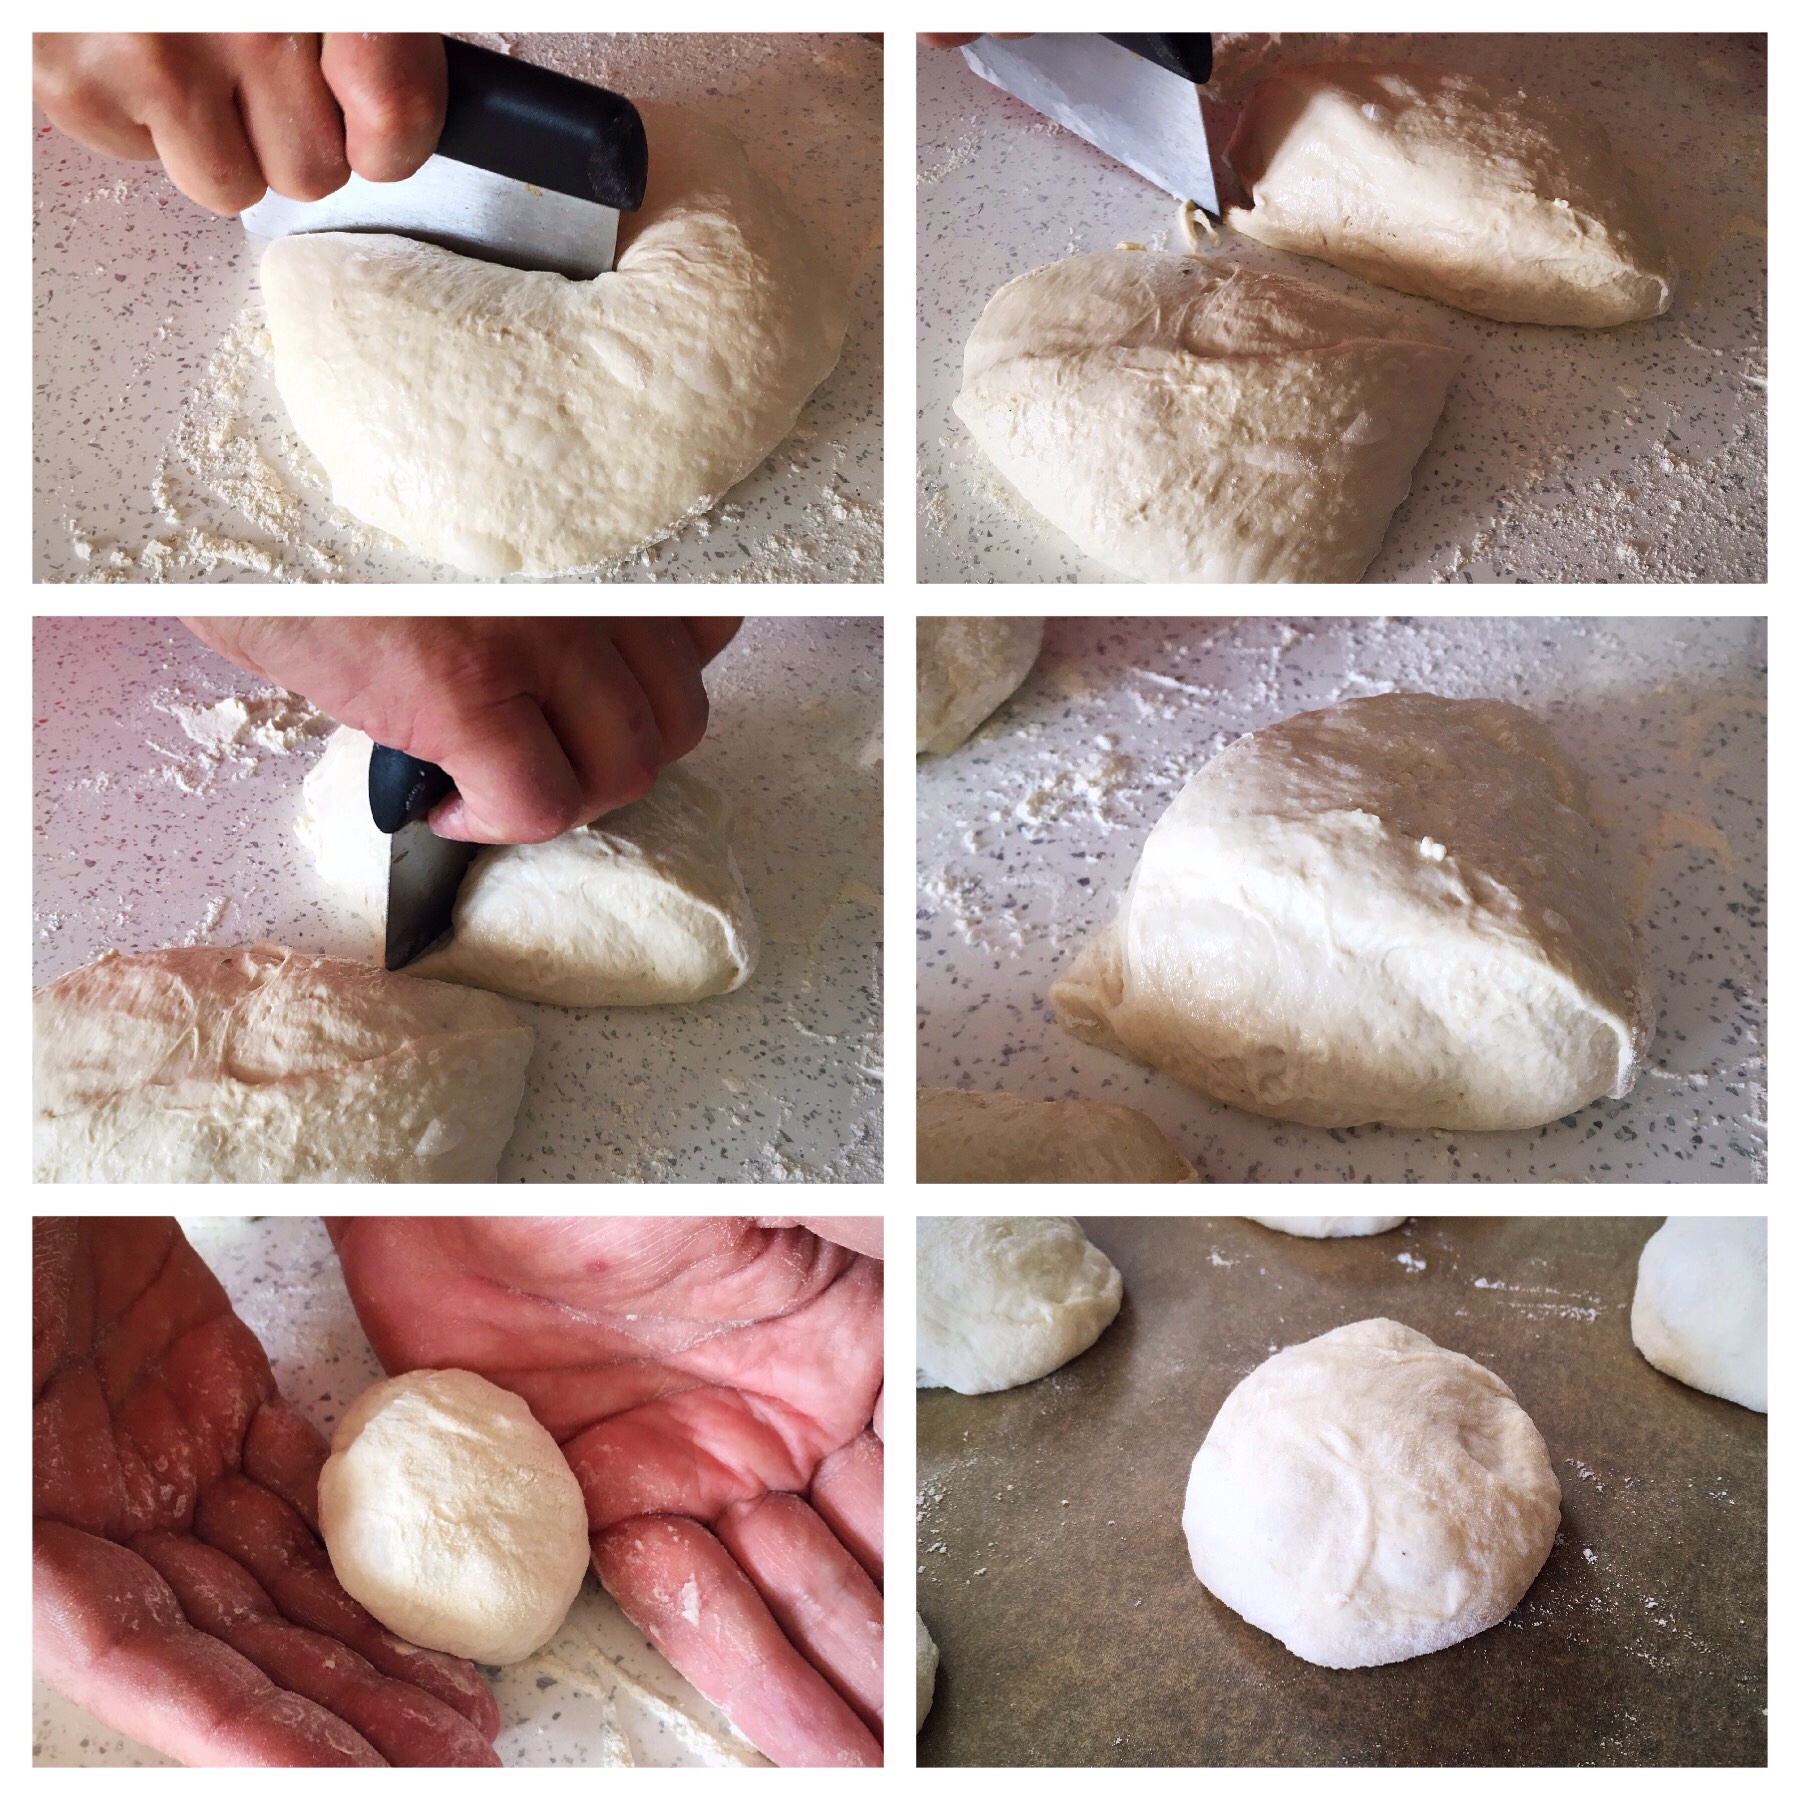 These pieces were rolled gently into rounds with the sides of our hands – very gently, the dough was very light and airy, and we wanted to preserve the bubbles – and placed onto a baking tray lined with parchment paper.