
A question I am asked daily is ‘how long…?’
This could be ‘how long will it take for my new starter to be ready to use?’ or ‘how long will it be before I can use my starter after feeding it?’ or ‘how long will it take for my dough fully proved?’, these are the main questions that come up.
There is only one answer to all of these, or any question of ‘how long…?’ when talking about sourdough which is…
I literally cannot give you an answer to the “how long?” question/s because there is no fixed, definitive answer to any of them.
I cannot ever tell anyone how long any of that things will take because there are too many factors involved. And understanding that and what these factors are will enhance your sourdough exponentially. Time and patience are the bedfellows of sourdough success, hand in hand with flour, temperature and environment. Which can all sound confusing and impossible to manage, but it’s truly simpler than people think, and as soon as you grasp those elements, sourdough making becomes relaxing and more enjoyable.
If I answer those earlier questions, this will give you a guide to what the main considerations are which you can the apply to your kitchen…
Question: how long will it take for my new starter to be ready to use?
Answer: honestly, it will take as long as it takes. All starters are different. Some take 5 days, some take 5 weeks, they’re all individual. It depends on the flour you use, the temperature in your kitchen, the wild yeast activity in your flour. The key is to let it happen, because it will.
Question: how long will it be before I can use my starter after feeding it?
Answer: this will all depend on the strength of your starter, and the room temperature. If it’s chilly, it will be slower; if it’s warmer, it will be faster. Watch it and it will show you when it’s ready, it will have grown and become active and lively.
Question: how long will it take for my dough fully proved?
Answer: again, this will depend on the strength of your starter, and the room temperature. If it’s chilly, it will be slower; if it’s warmer, it will be faster. This is why all of my recipes include time and temperature hand in hand for the main prove. Read my site and my book and lots of my posts on here for more info.
Question: how long can I leave my dough in the fridge before baking?
Answer: it depends on the strength of your dough and the temperature in your fridge, you need to watch your dough and experiment.
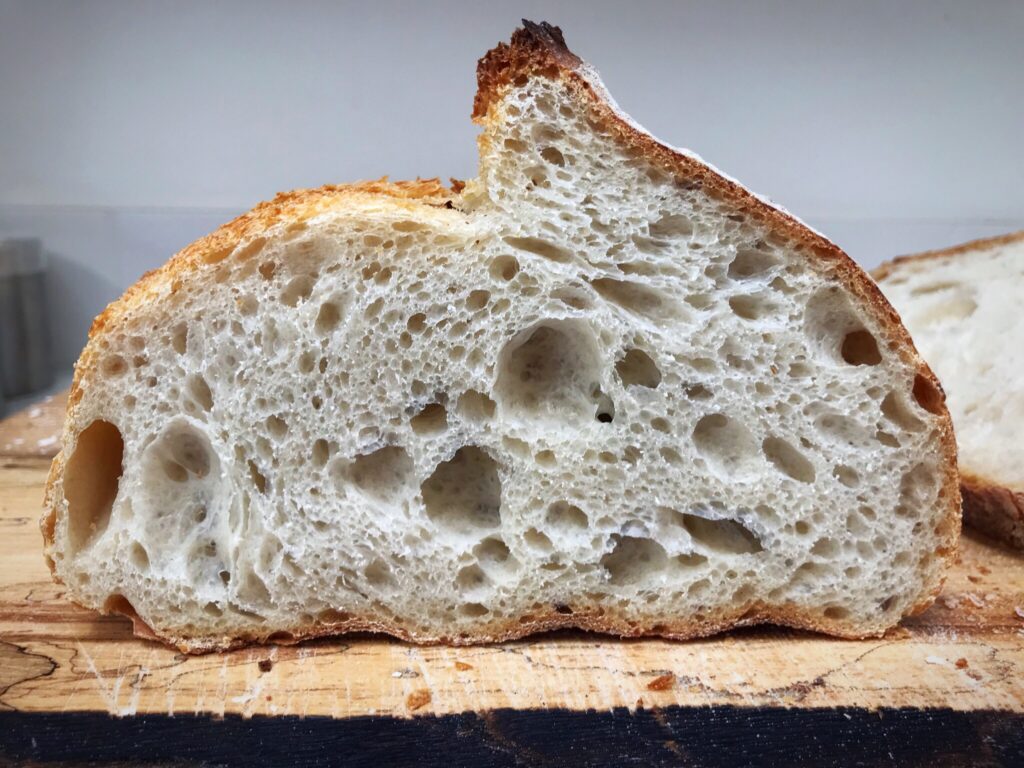
And one final question, that we all ask: how long do I REALLY have to wait to slice into my freshly baked loaf?
Answer: to eat it at its absolute best, at least an hour, otherwise it will be gummy, but truly, it’s totally up to you!
Time, patience, and understanding how room temperature affects sourdough making, are the keys to success. Read my other posts and hints and tips for more information.
I hope this is all helpful. My best advice is:
🌟 Make notes.
🌟 Watch your starter.
🌟 Watch your doughs.
🌟 They will tell you when they’re ready.
🌟 And most of all, enjoy the process xx