These crackers should come with a warning: they are moreish!!! They’re so tasty!
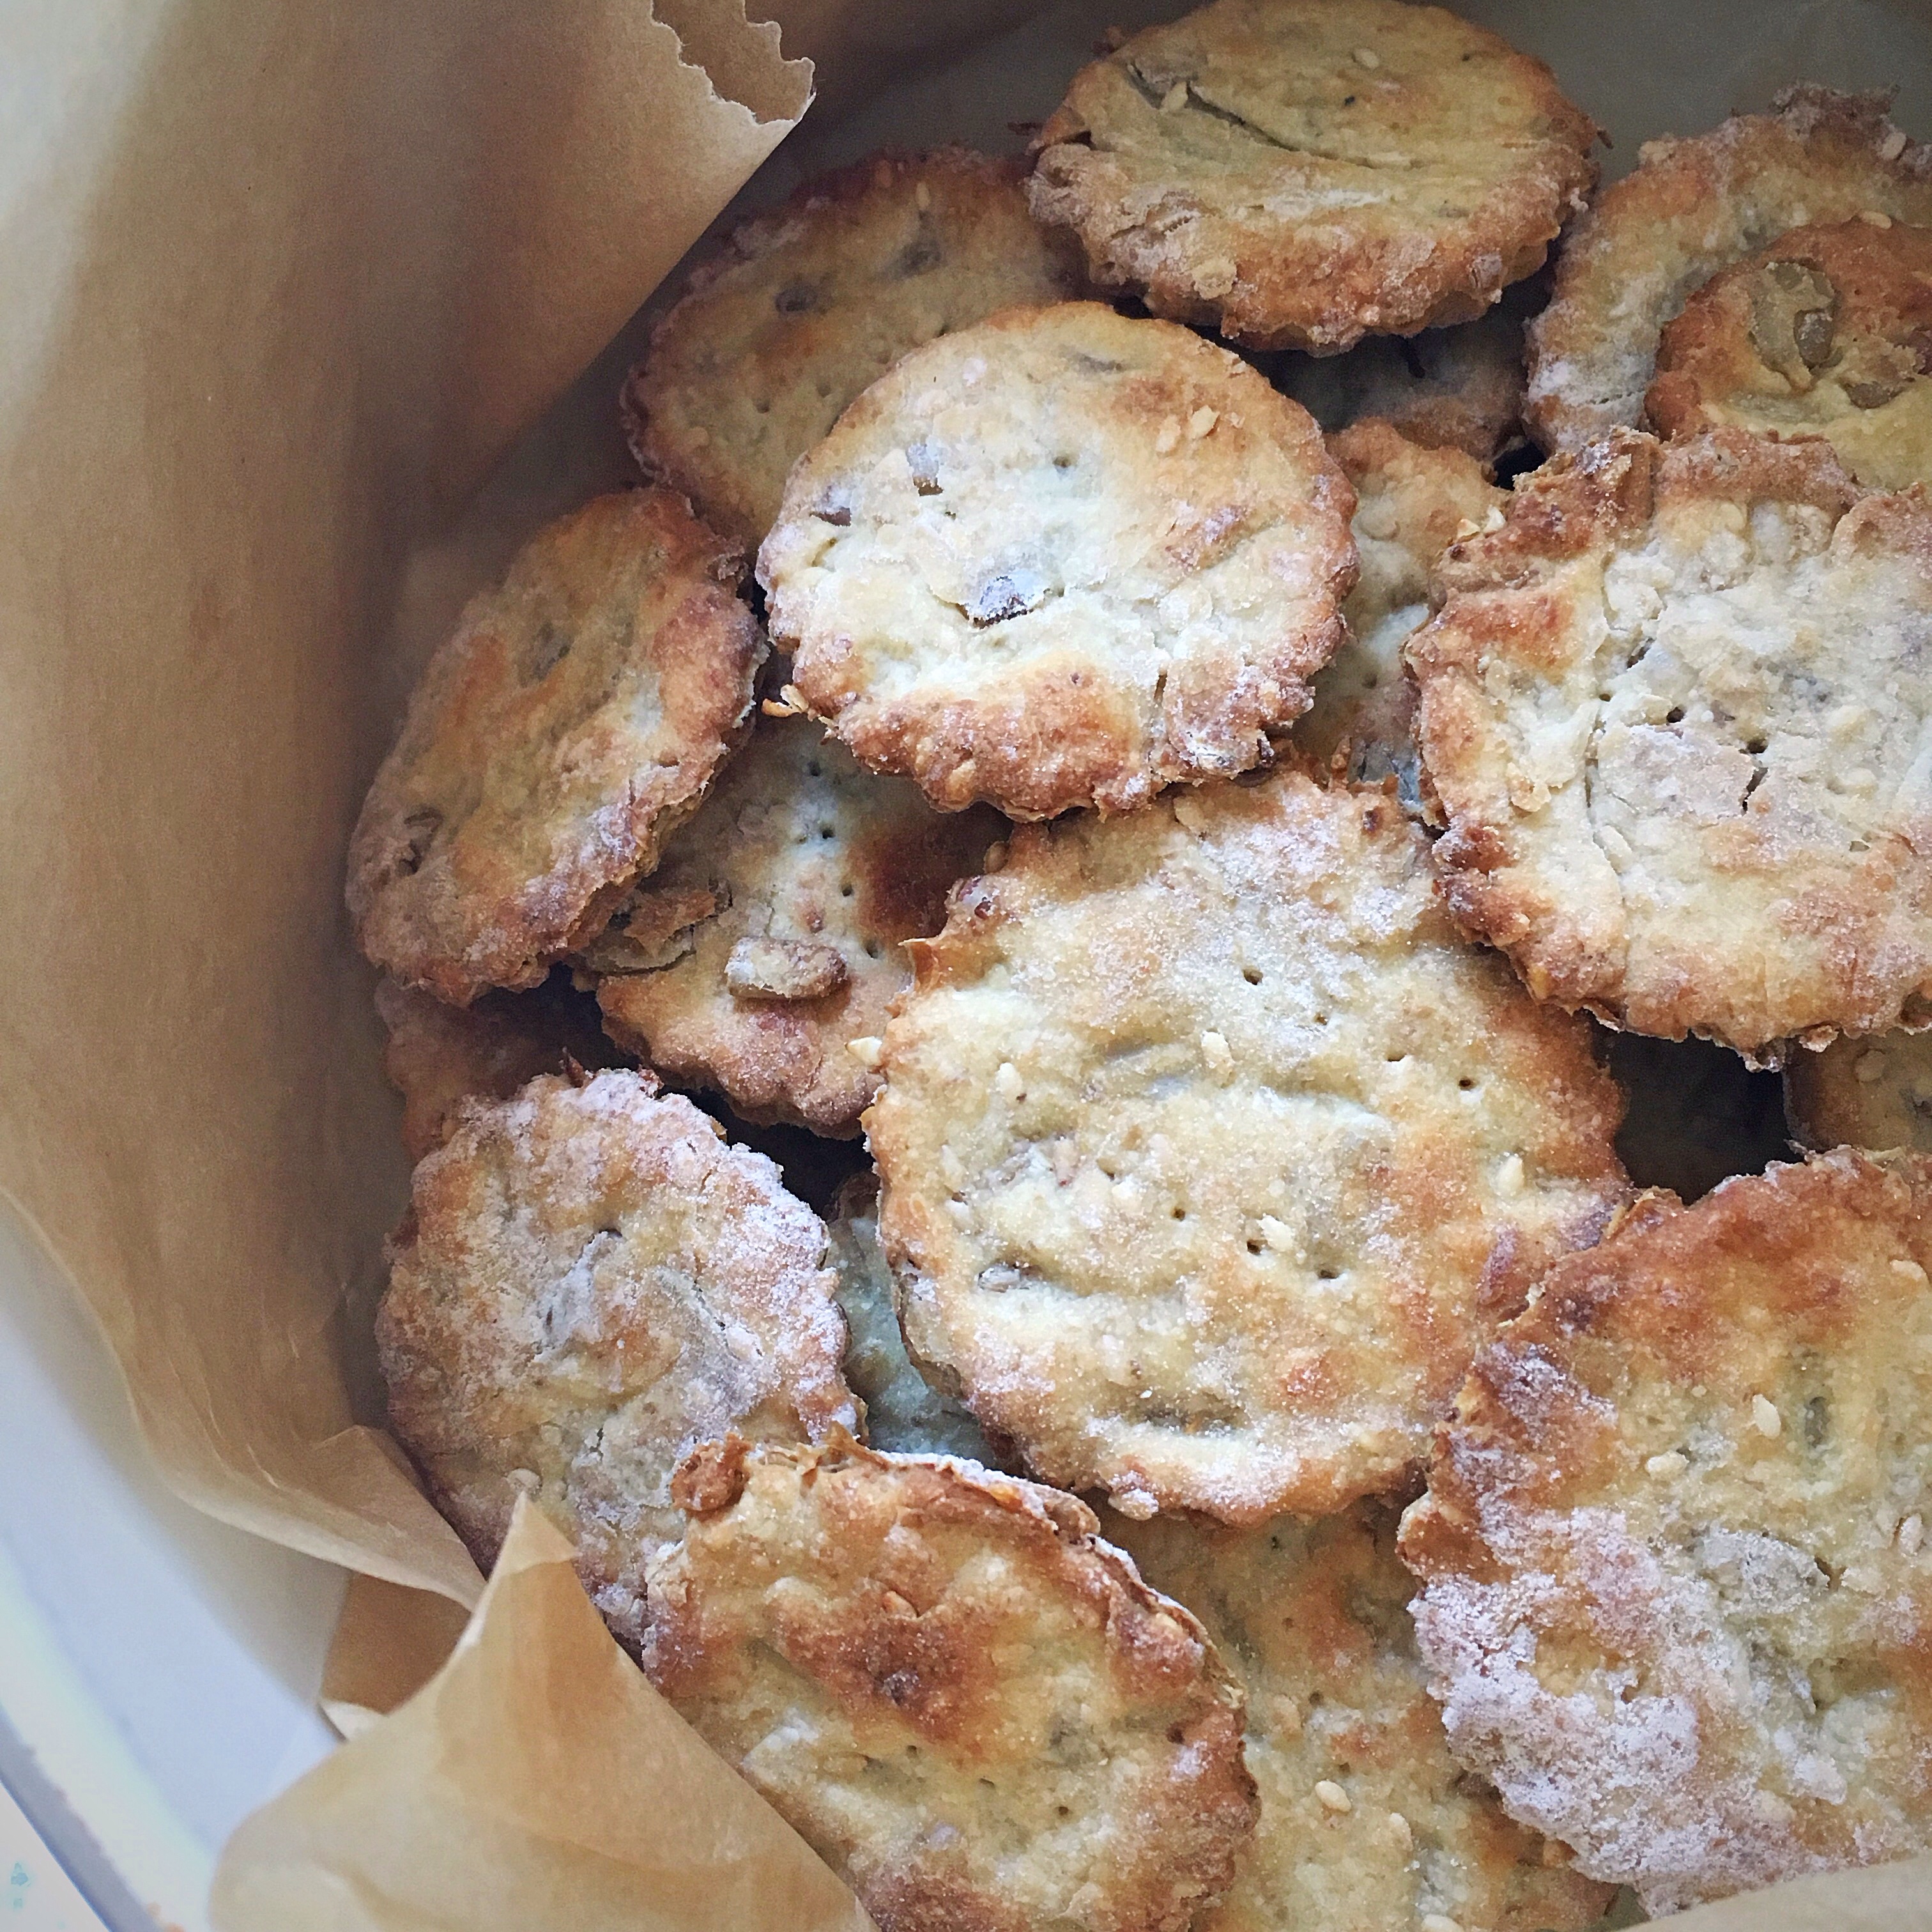
If you have any spare or discard sourdough starter this is a great way to use it up, or, if like me, you manage your starter so that you never have any discard, just feed your starter especially to make these crackers.
I included toasted sesame seeds and sunflowers seeds in these crackers because that’s what I had in the cupboard, but you could also mix it up with pumpkins seeds, linseeds, poppy seeds, whatever you fancy. You could also consider adding some spices and experimenting with flavours you like.
You can also find three cracker recipes in my book which use different flours and additions, and also offer you three different timelines.
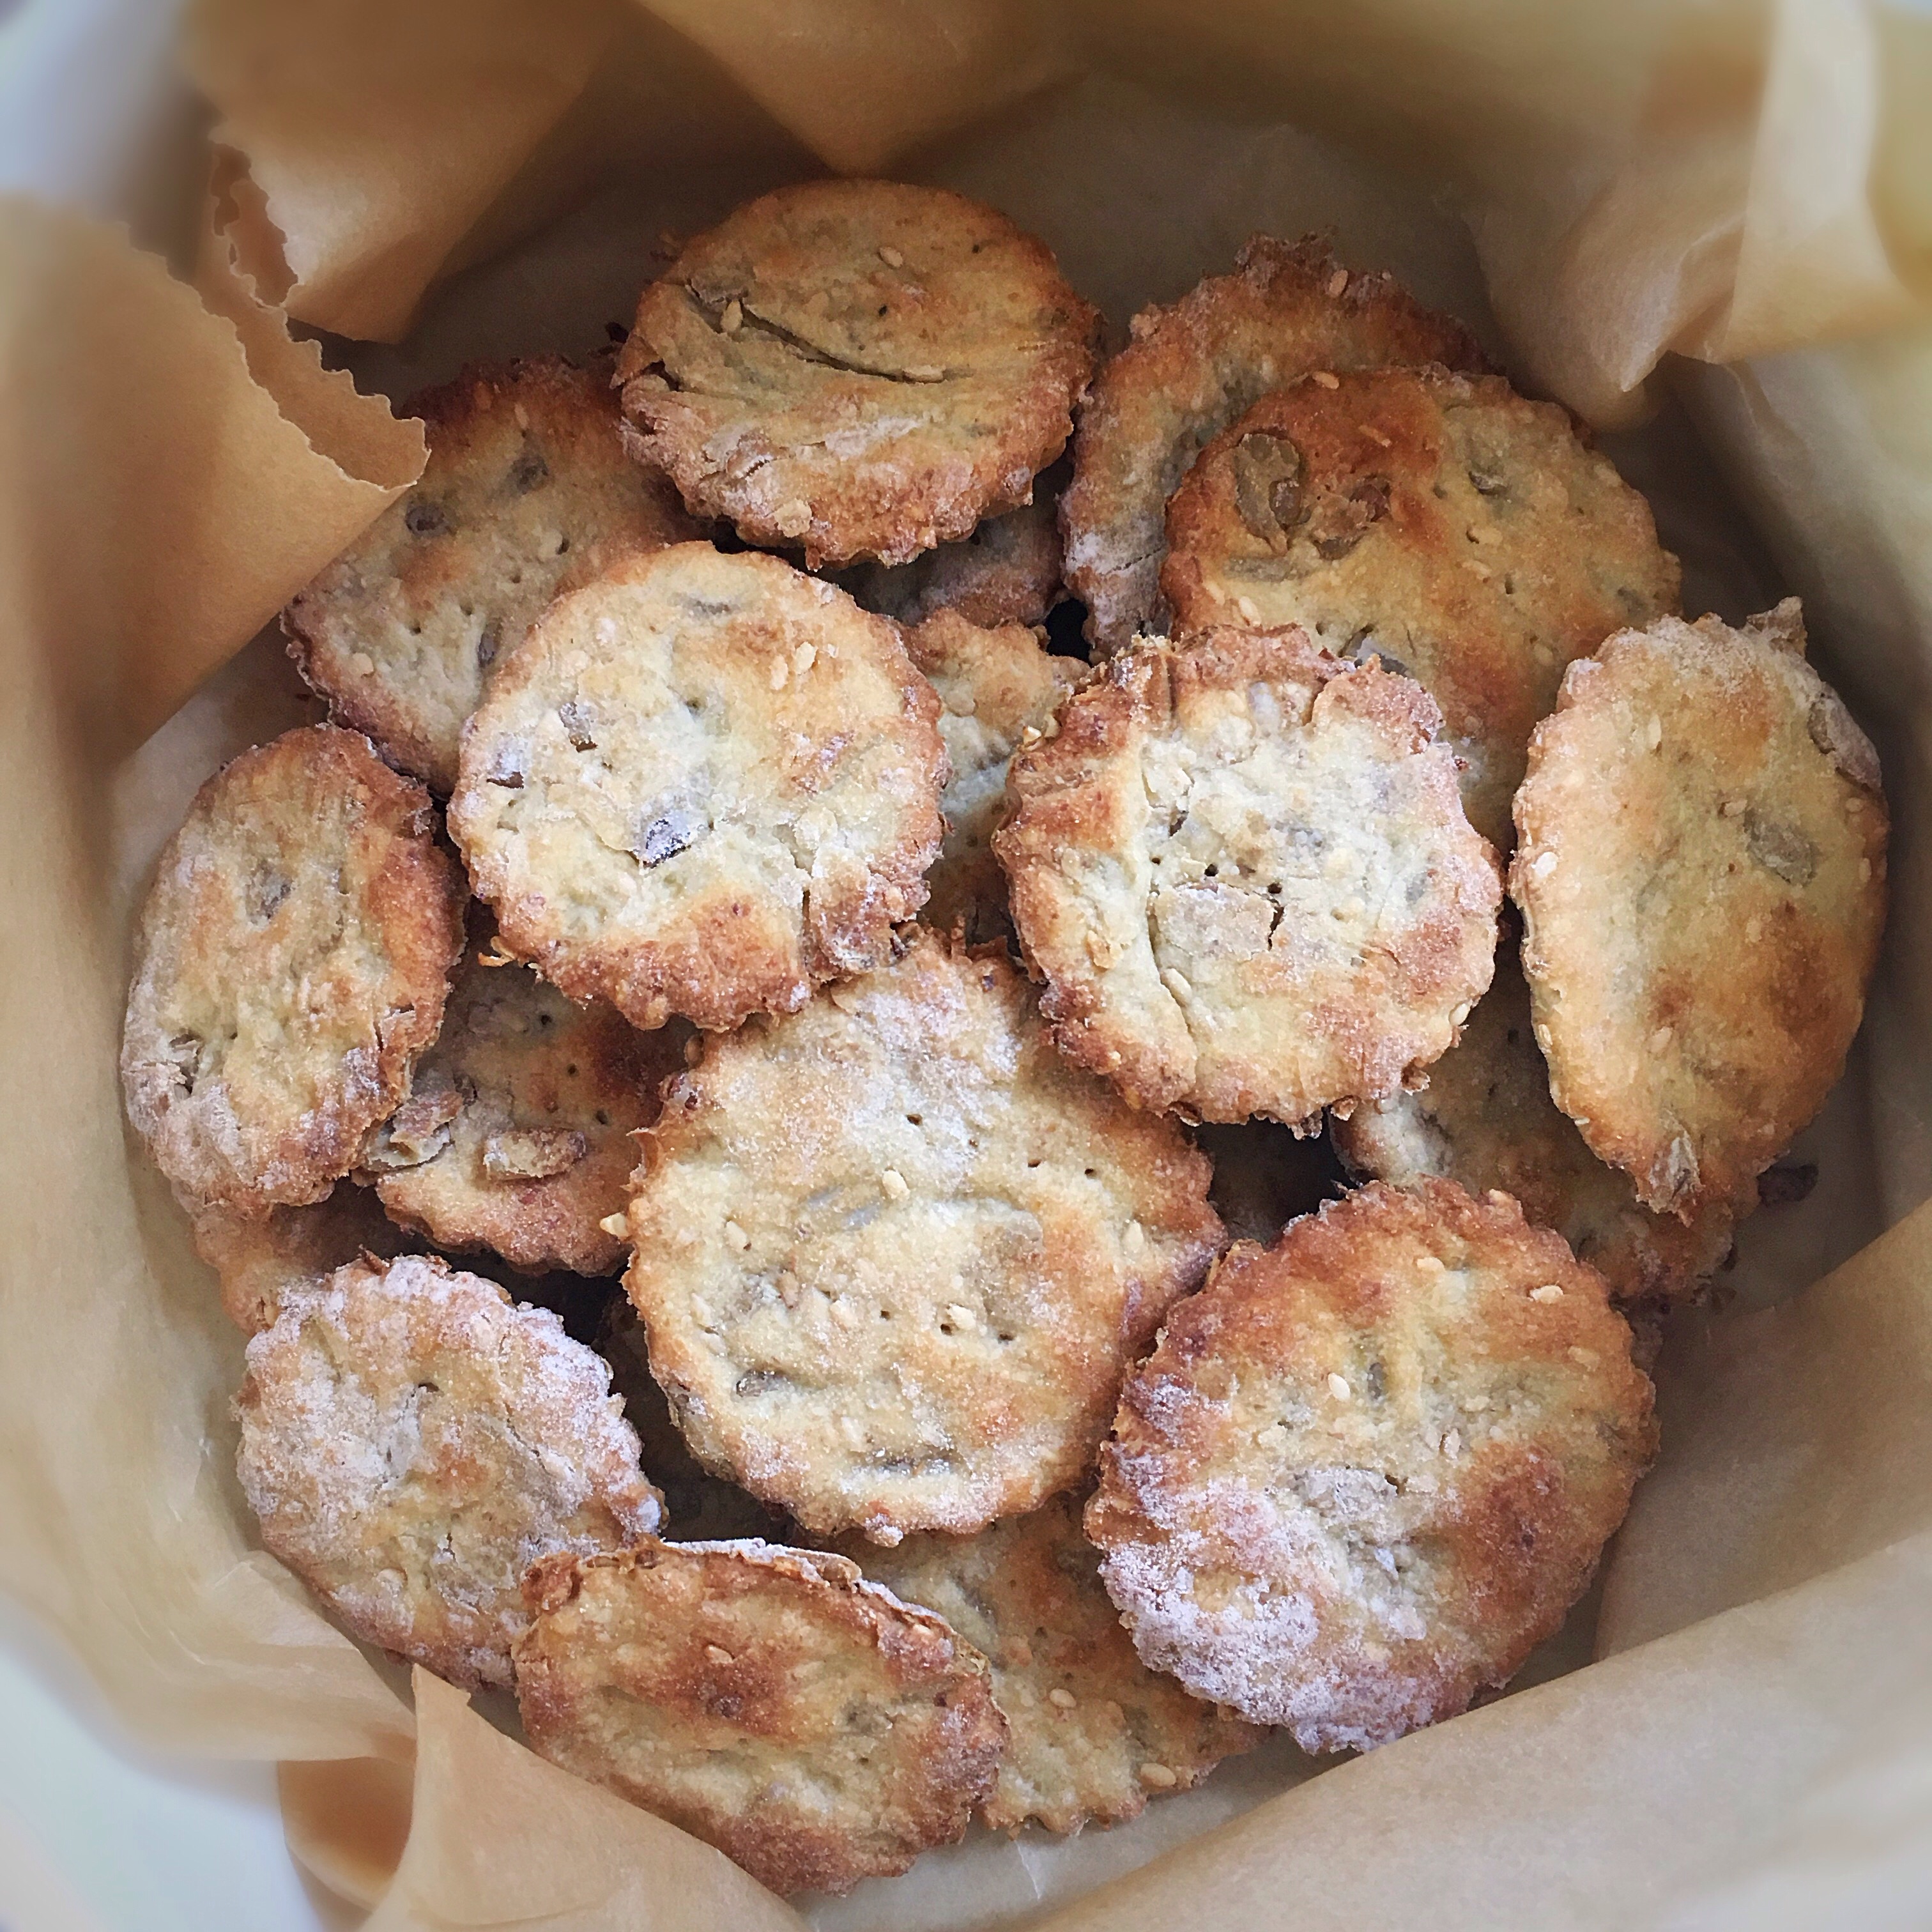
You can easily double up this recipe, they keep well, and freeze well.
Ingredients
100g starter, fed for purpose, or discard
50g rolled oats
25g water
40g mixed seeds
30ml olive oil
1/2 tbsp honey
50g strong white flour
1/2 tsp salt
Method
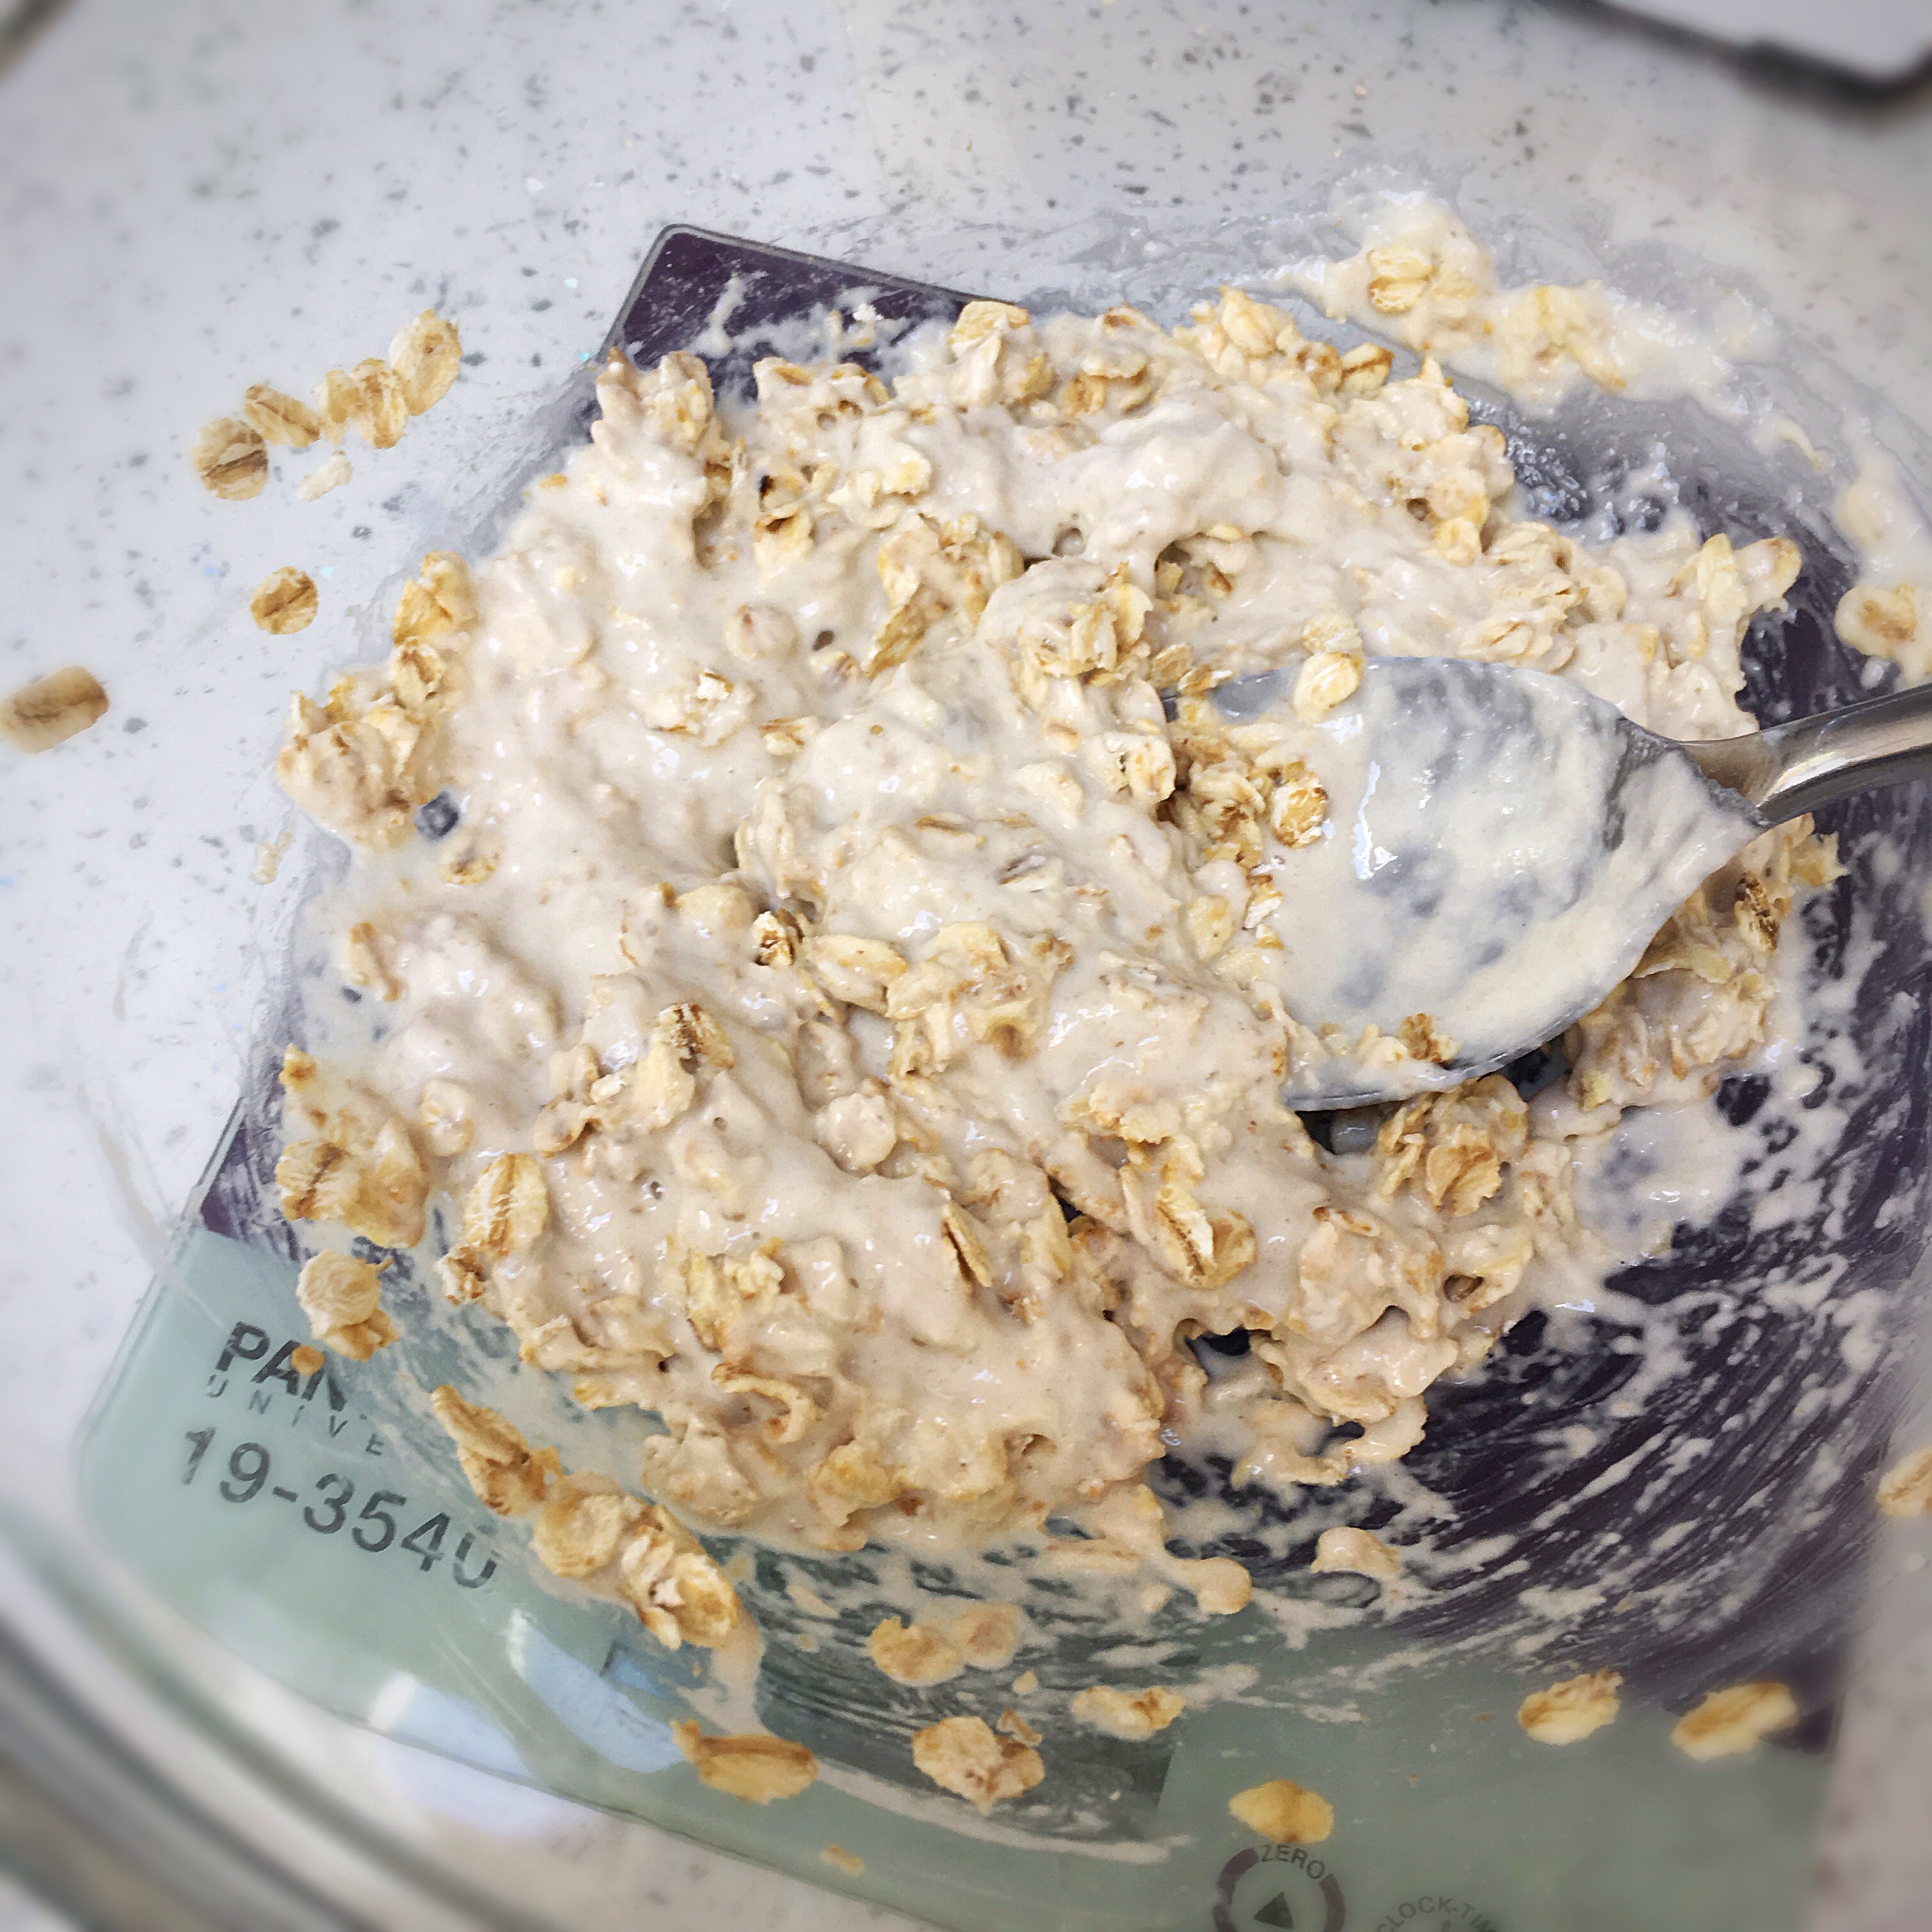
In a medium mixing bowl, mix the oats, starter and water into an oaty sludge (technical term!), cover the bowl and leave it to one side for 2-3 hours.
After this time, you’ll see some little bubbles in the mix where the starter has been doing her stuff. Now stir in all of the other ingredients, mixing it all together really well.
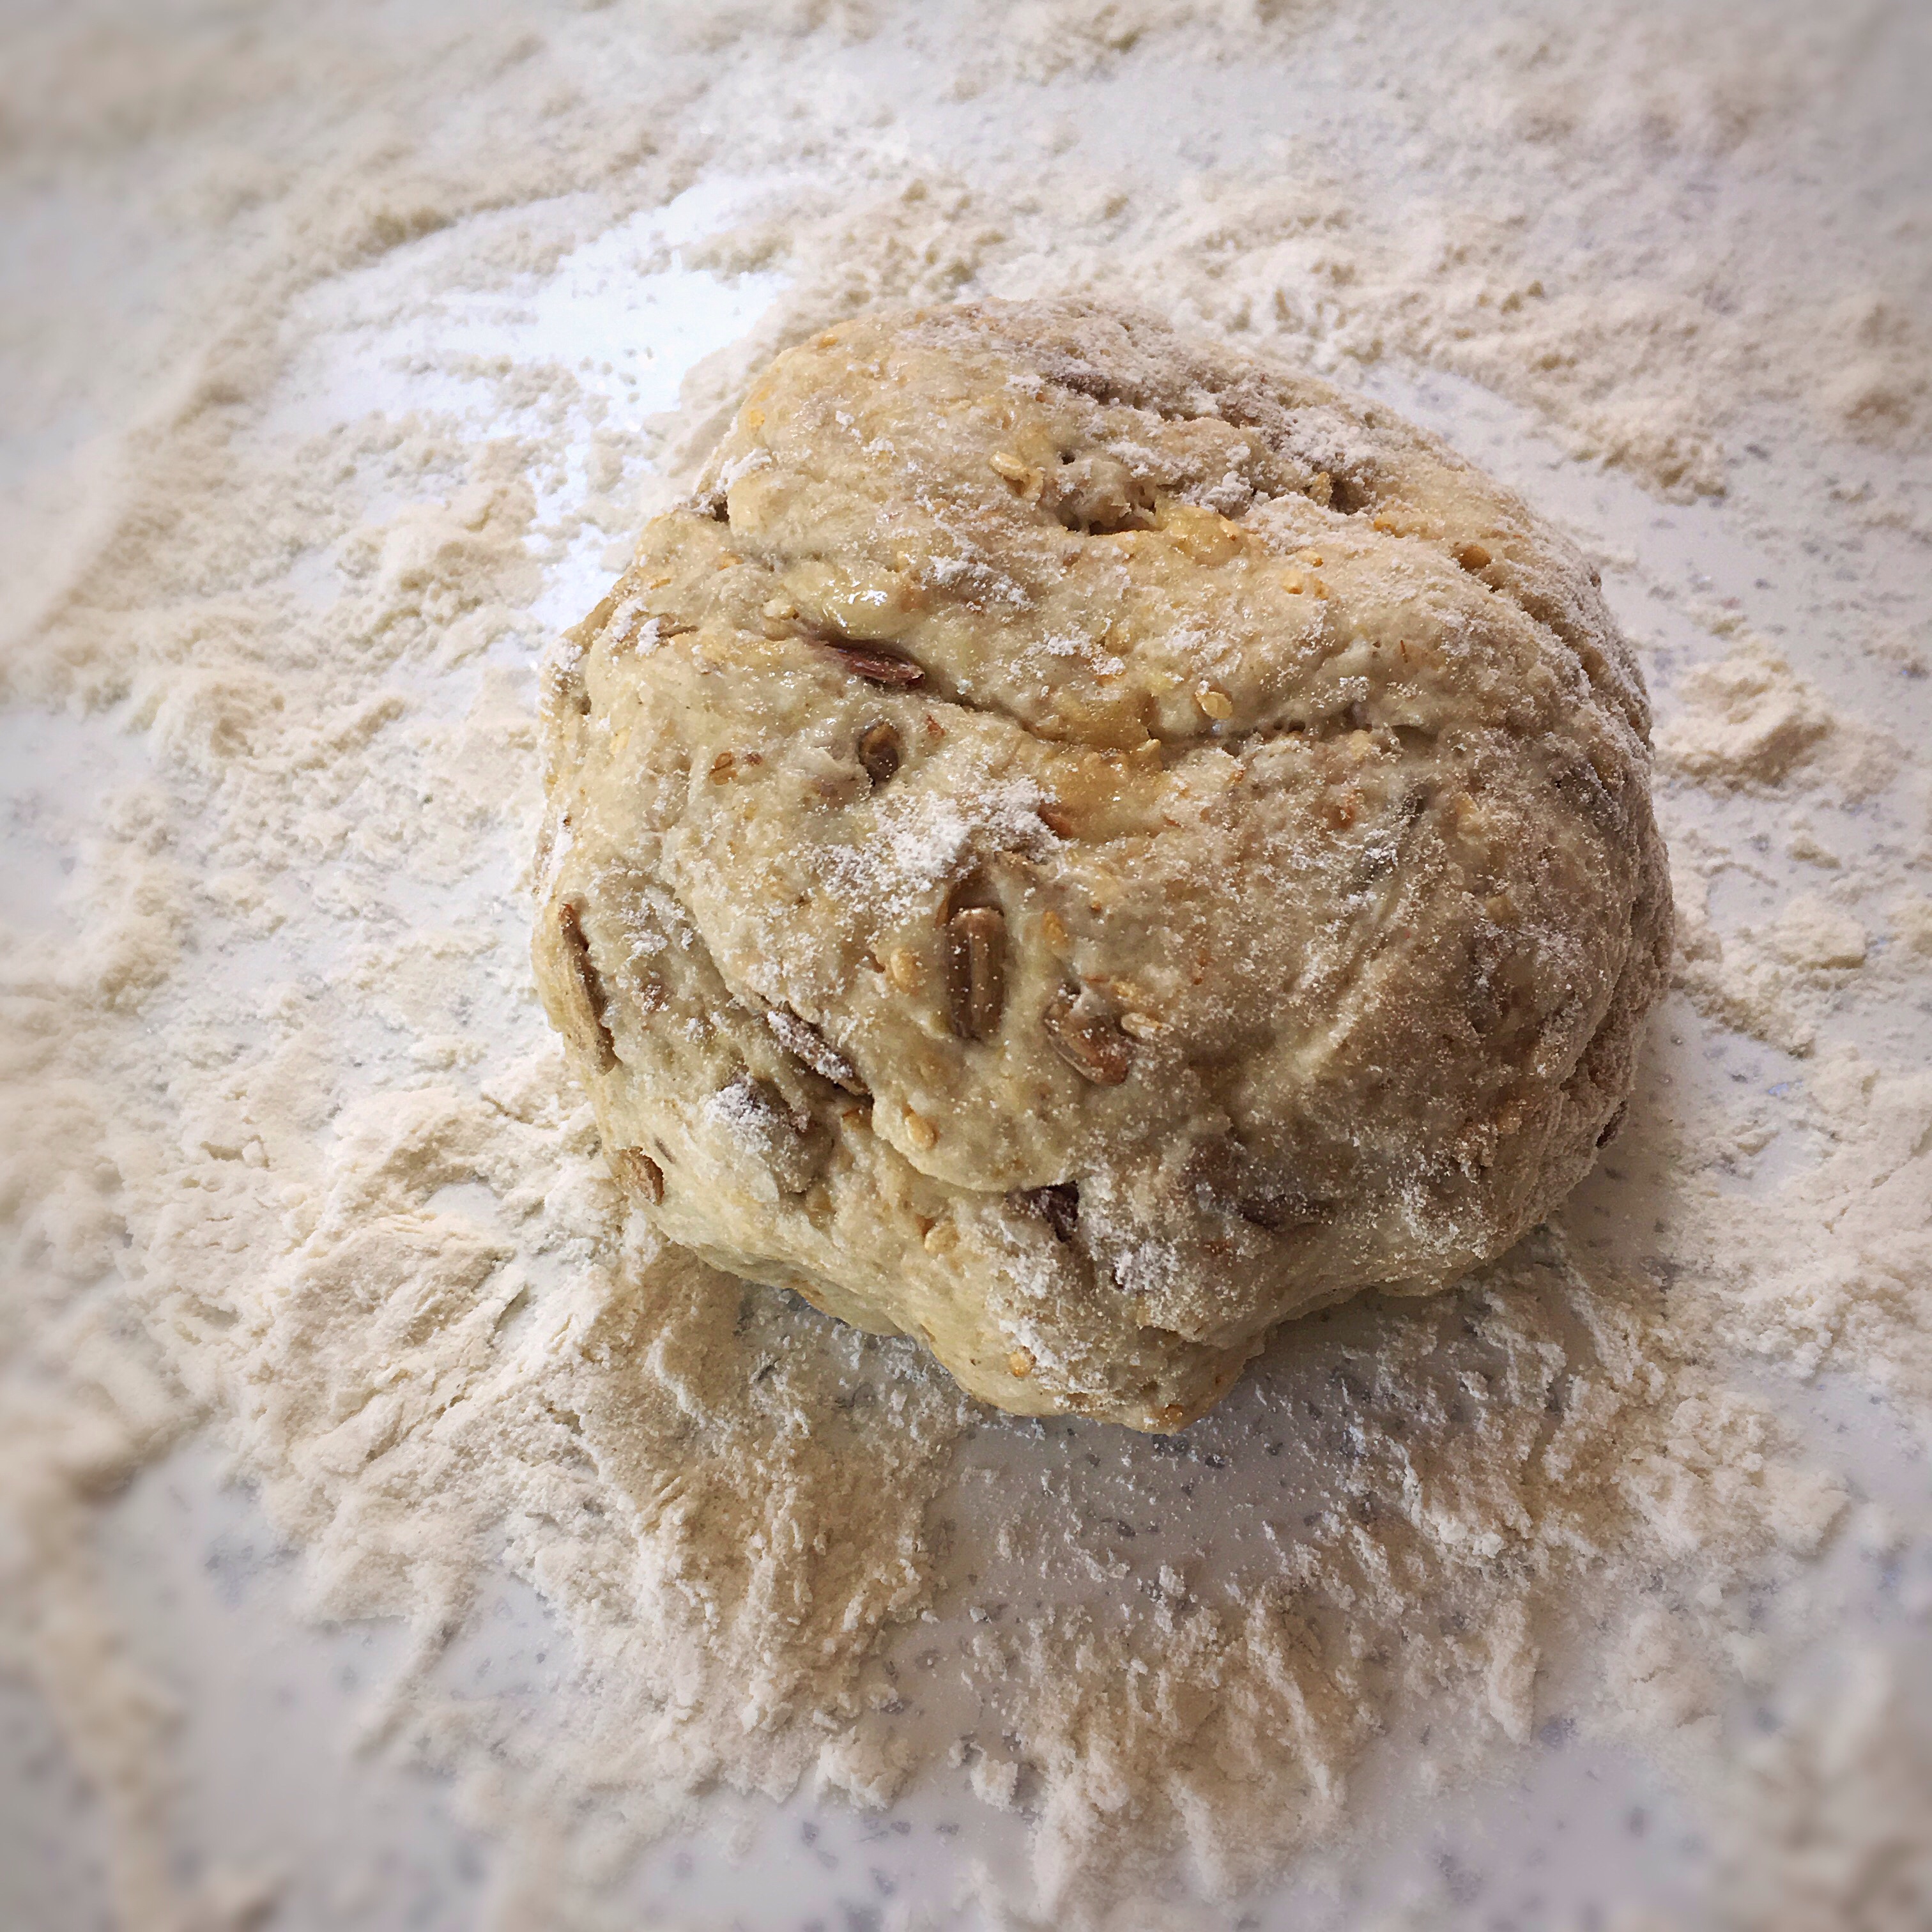
Bring it together into a sticky dough, cover again and leave to rest for at least half an hour.
Preheat your oven to 180C fan/200C non fan.
Dust your counter with flour, turn the dough onto the surface, and roll out to about 2mm thick. You’ll need flour on the rolling pin too, and to keep moving your dough round as your roll it out so that it doesn’t stick to the table.
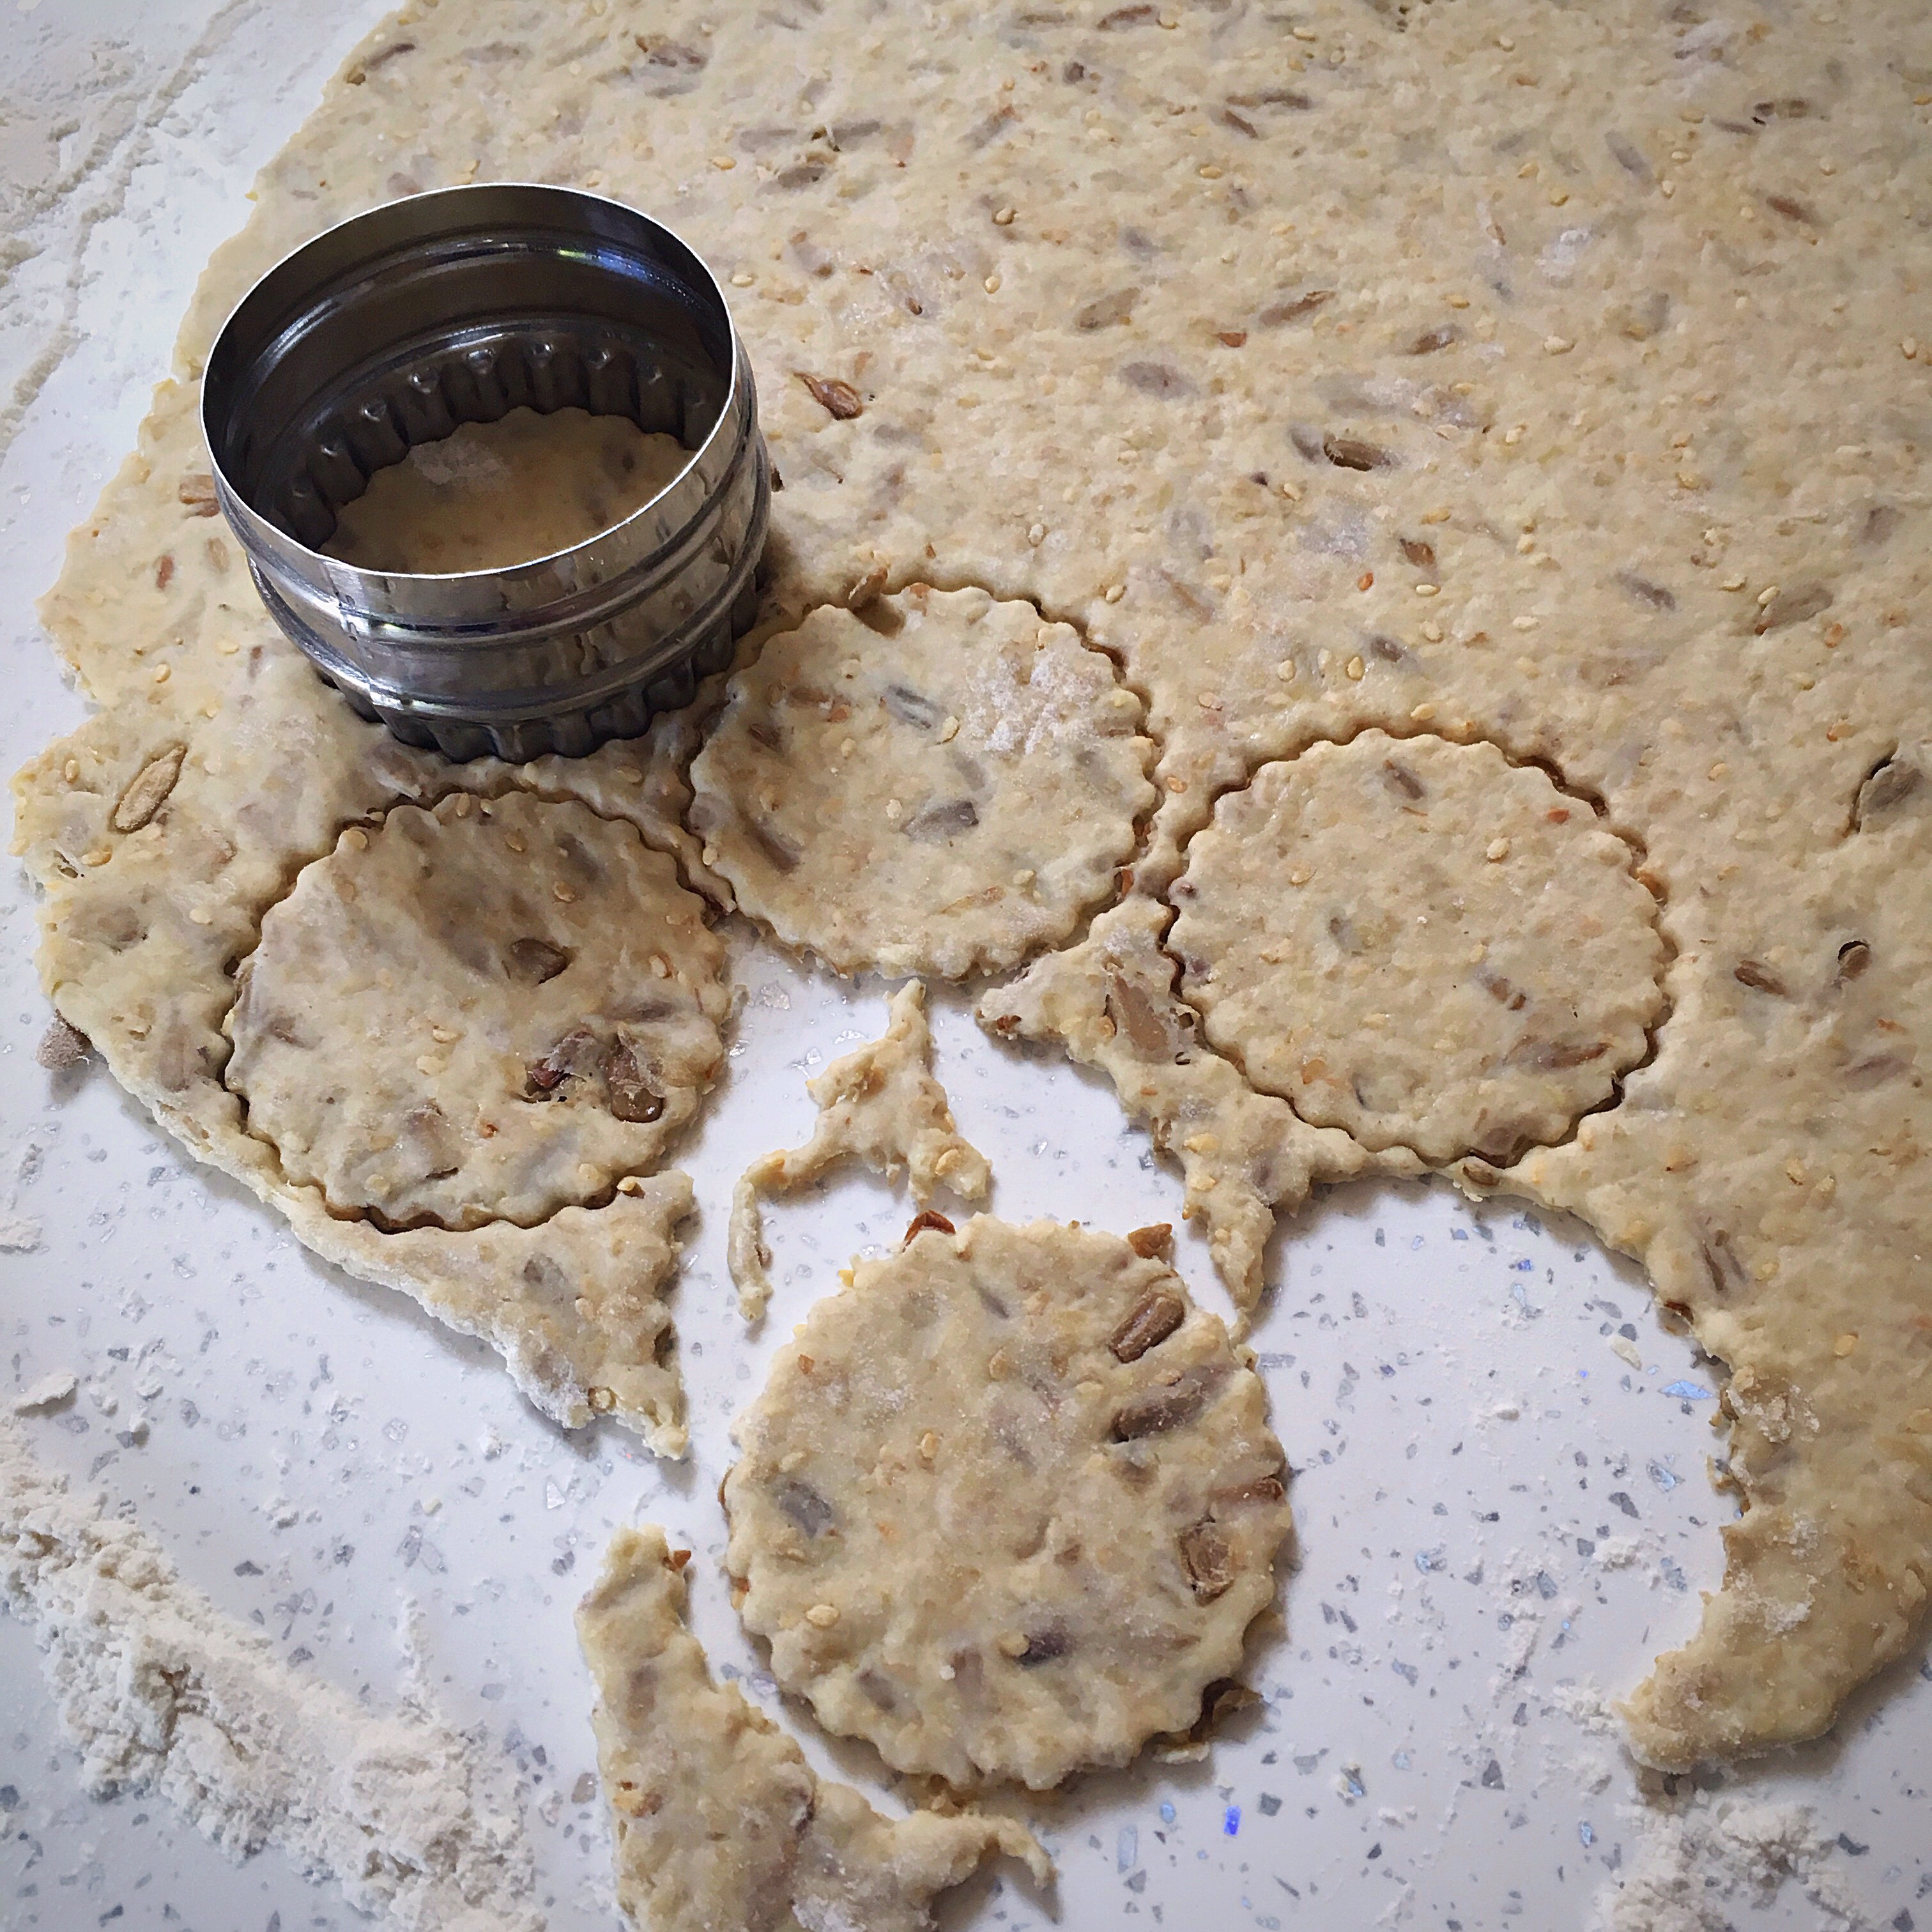
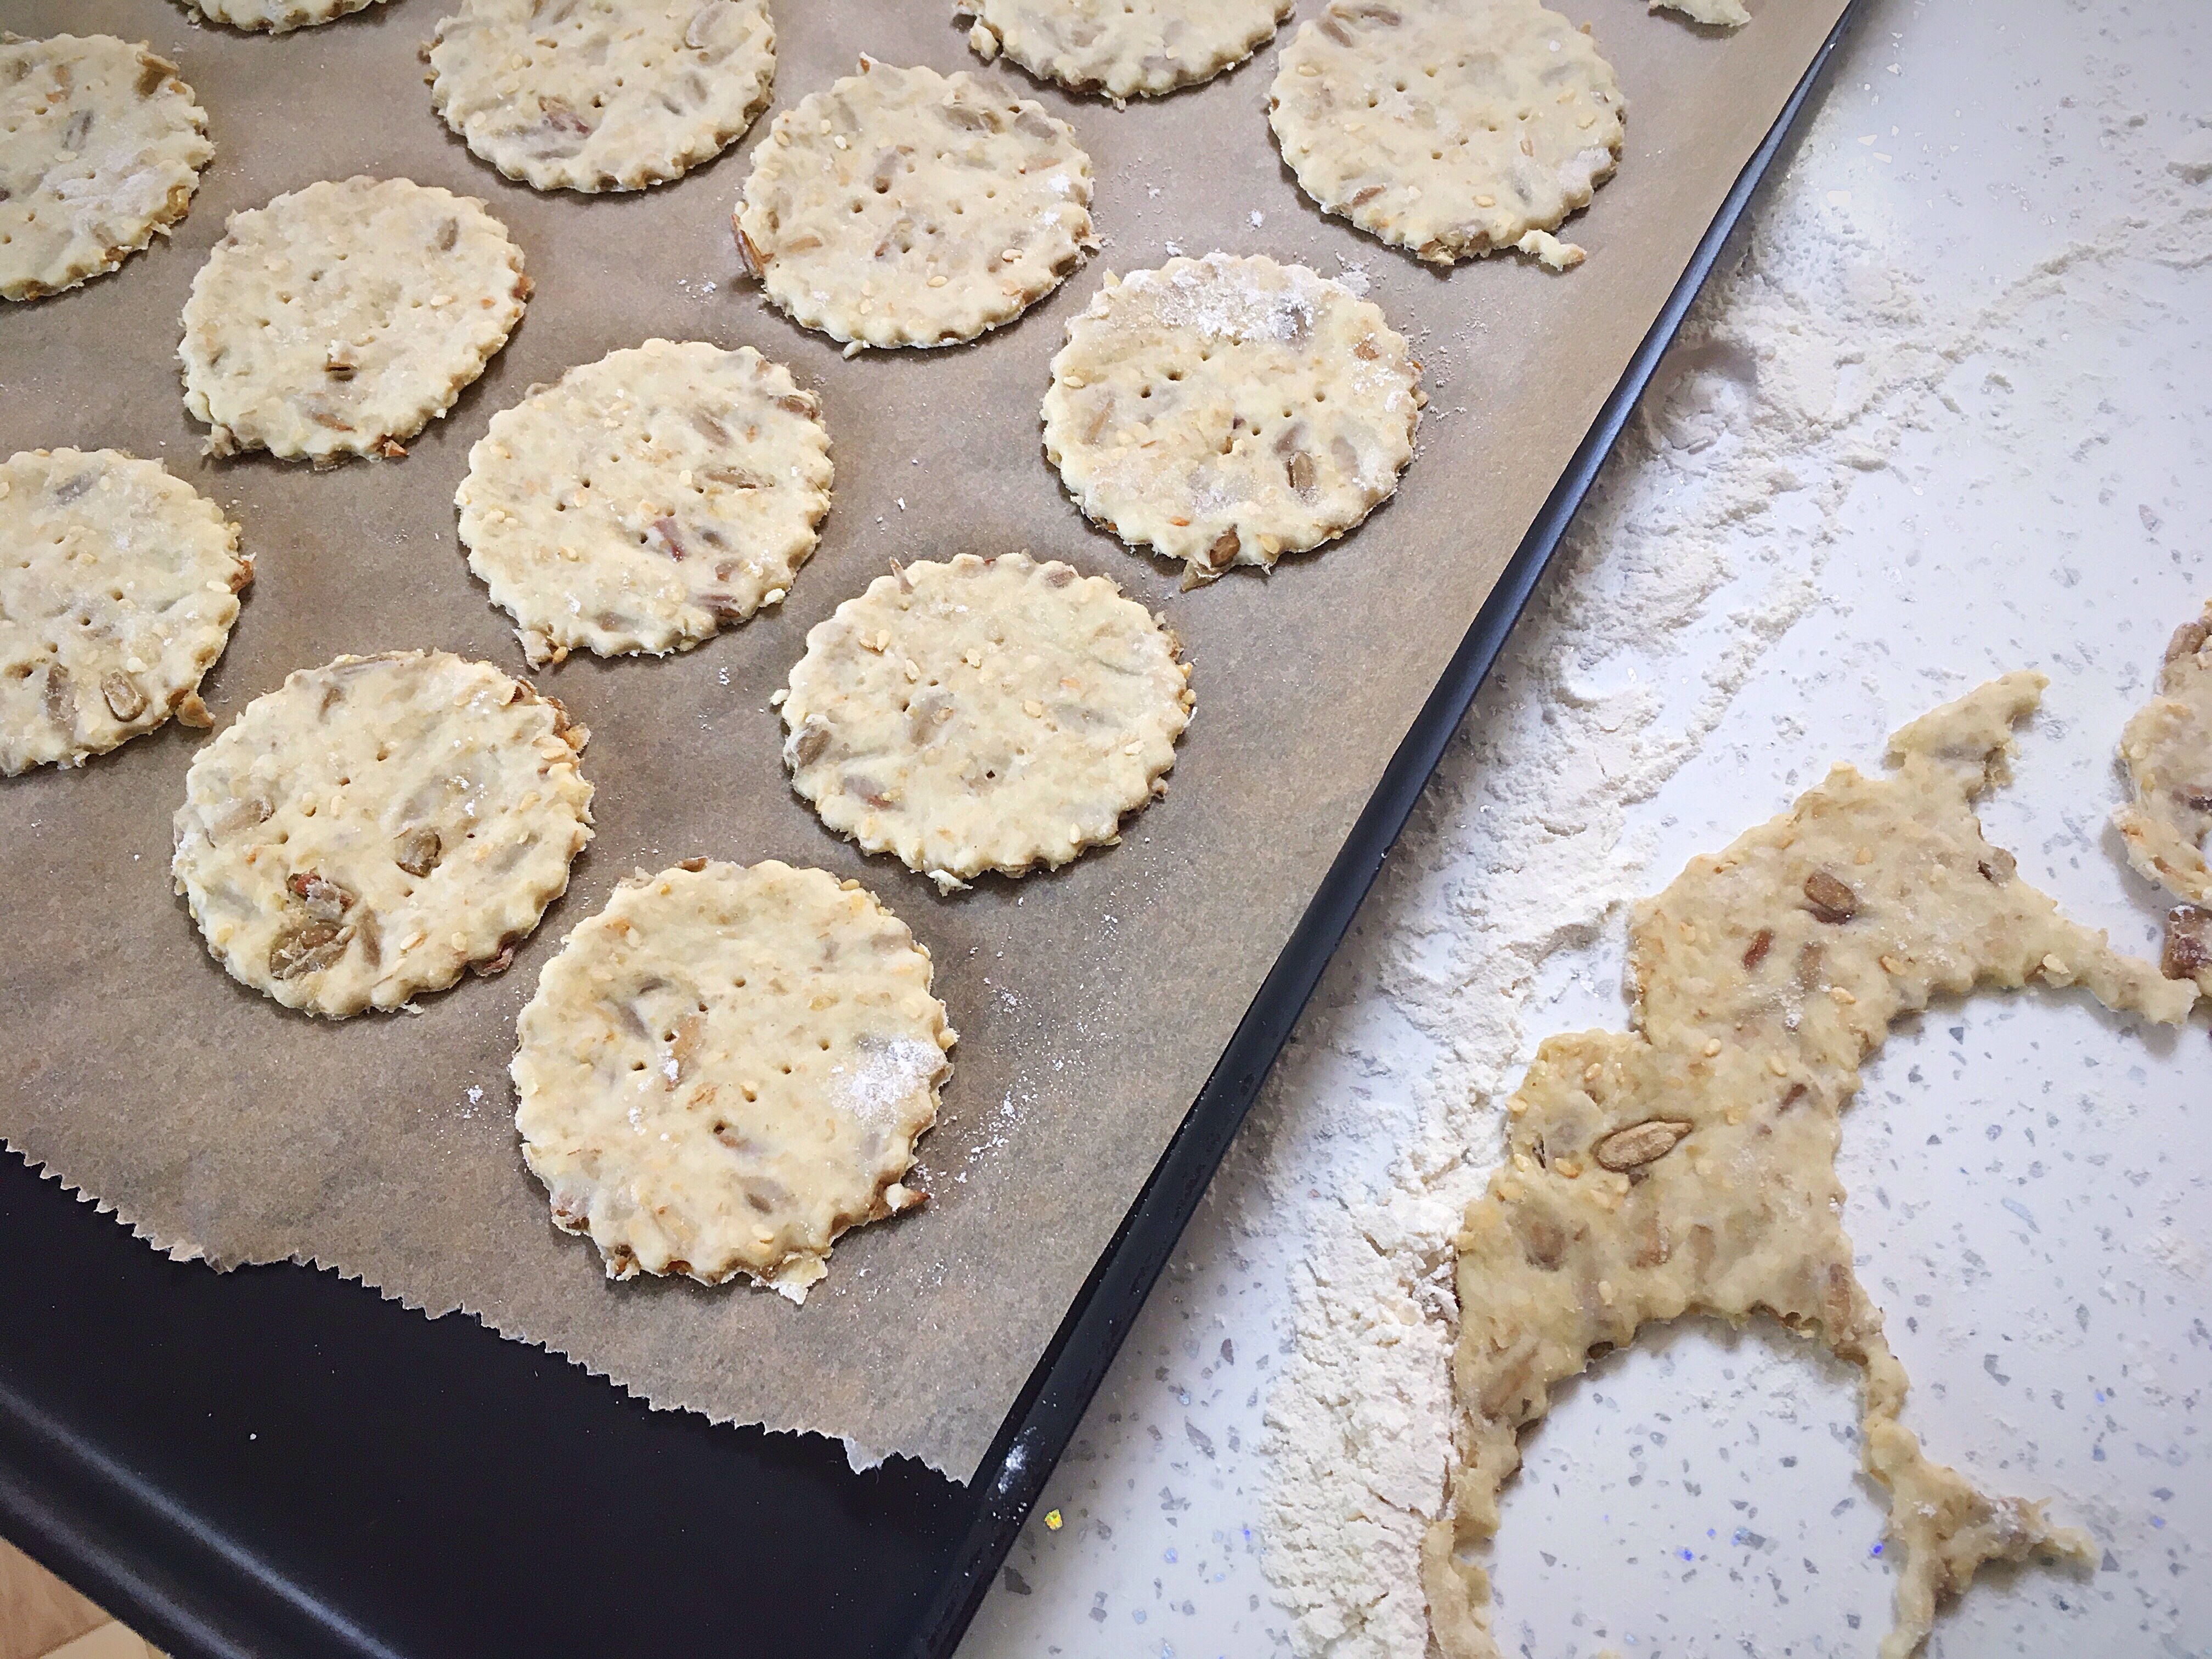
Line your baking tray with baking parchment paper. Cut out your crackers with cookie/biscuit cutters, I used small sizes to make these snack bites, and place onto the tray.
They can be quite close as they don’t spread. You may need to use 2 baking trays.
Prick each cracker with a fork to stop them ballooning.
Bake for 7 mins, then remove the tray, turn the crackers over, return to the oven, and bake for another 7 mins.
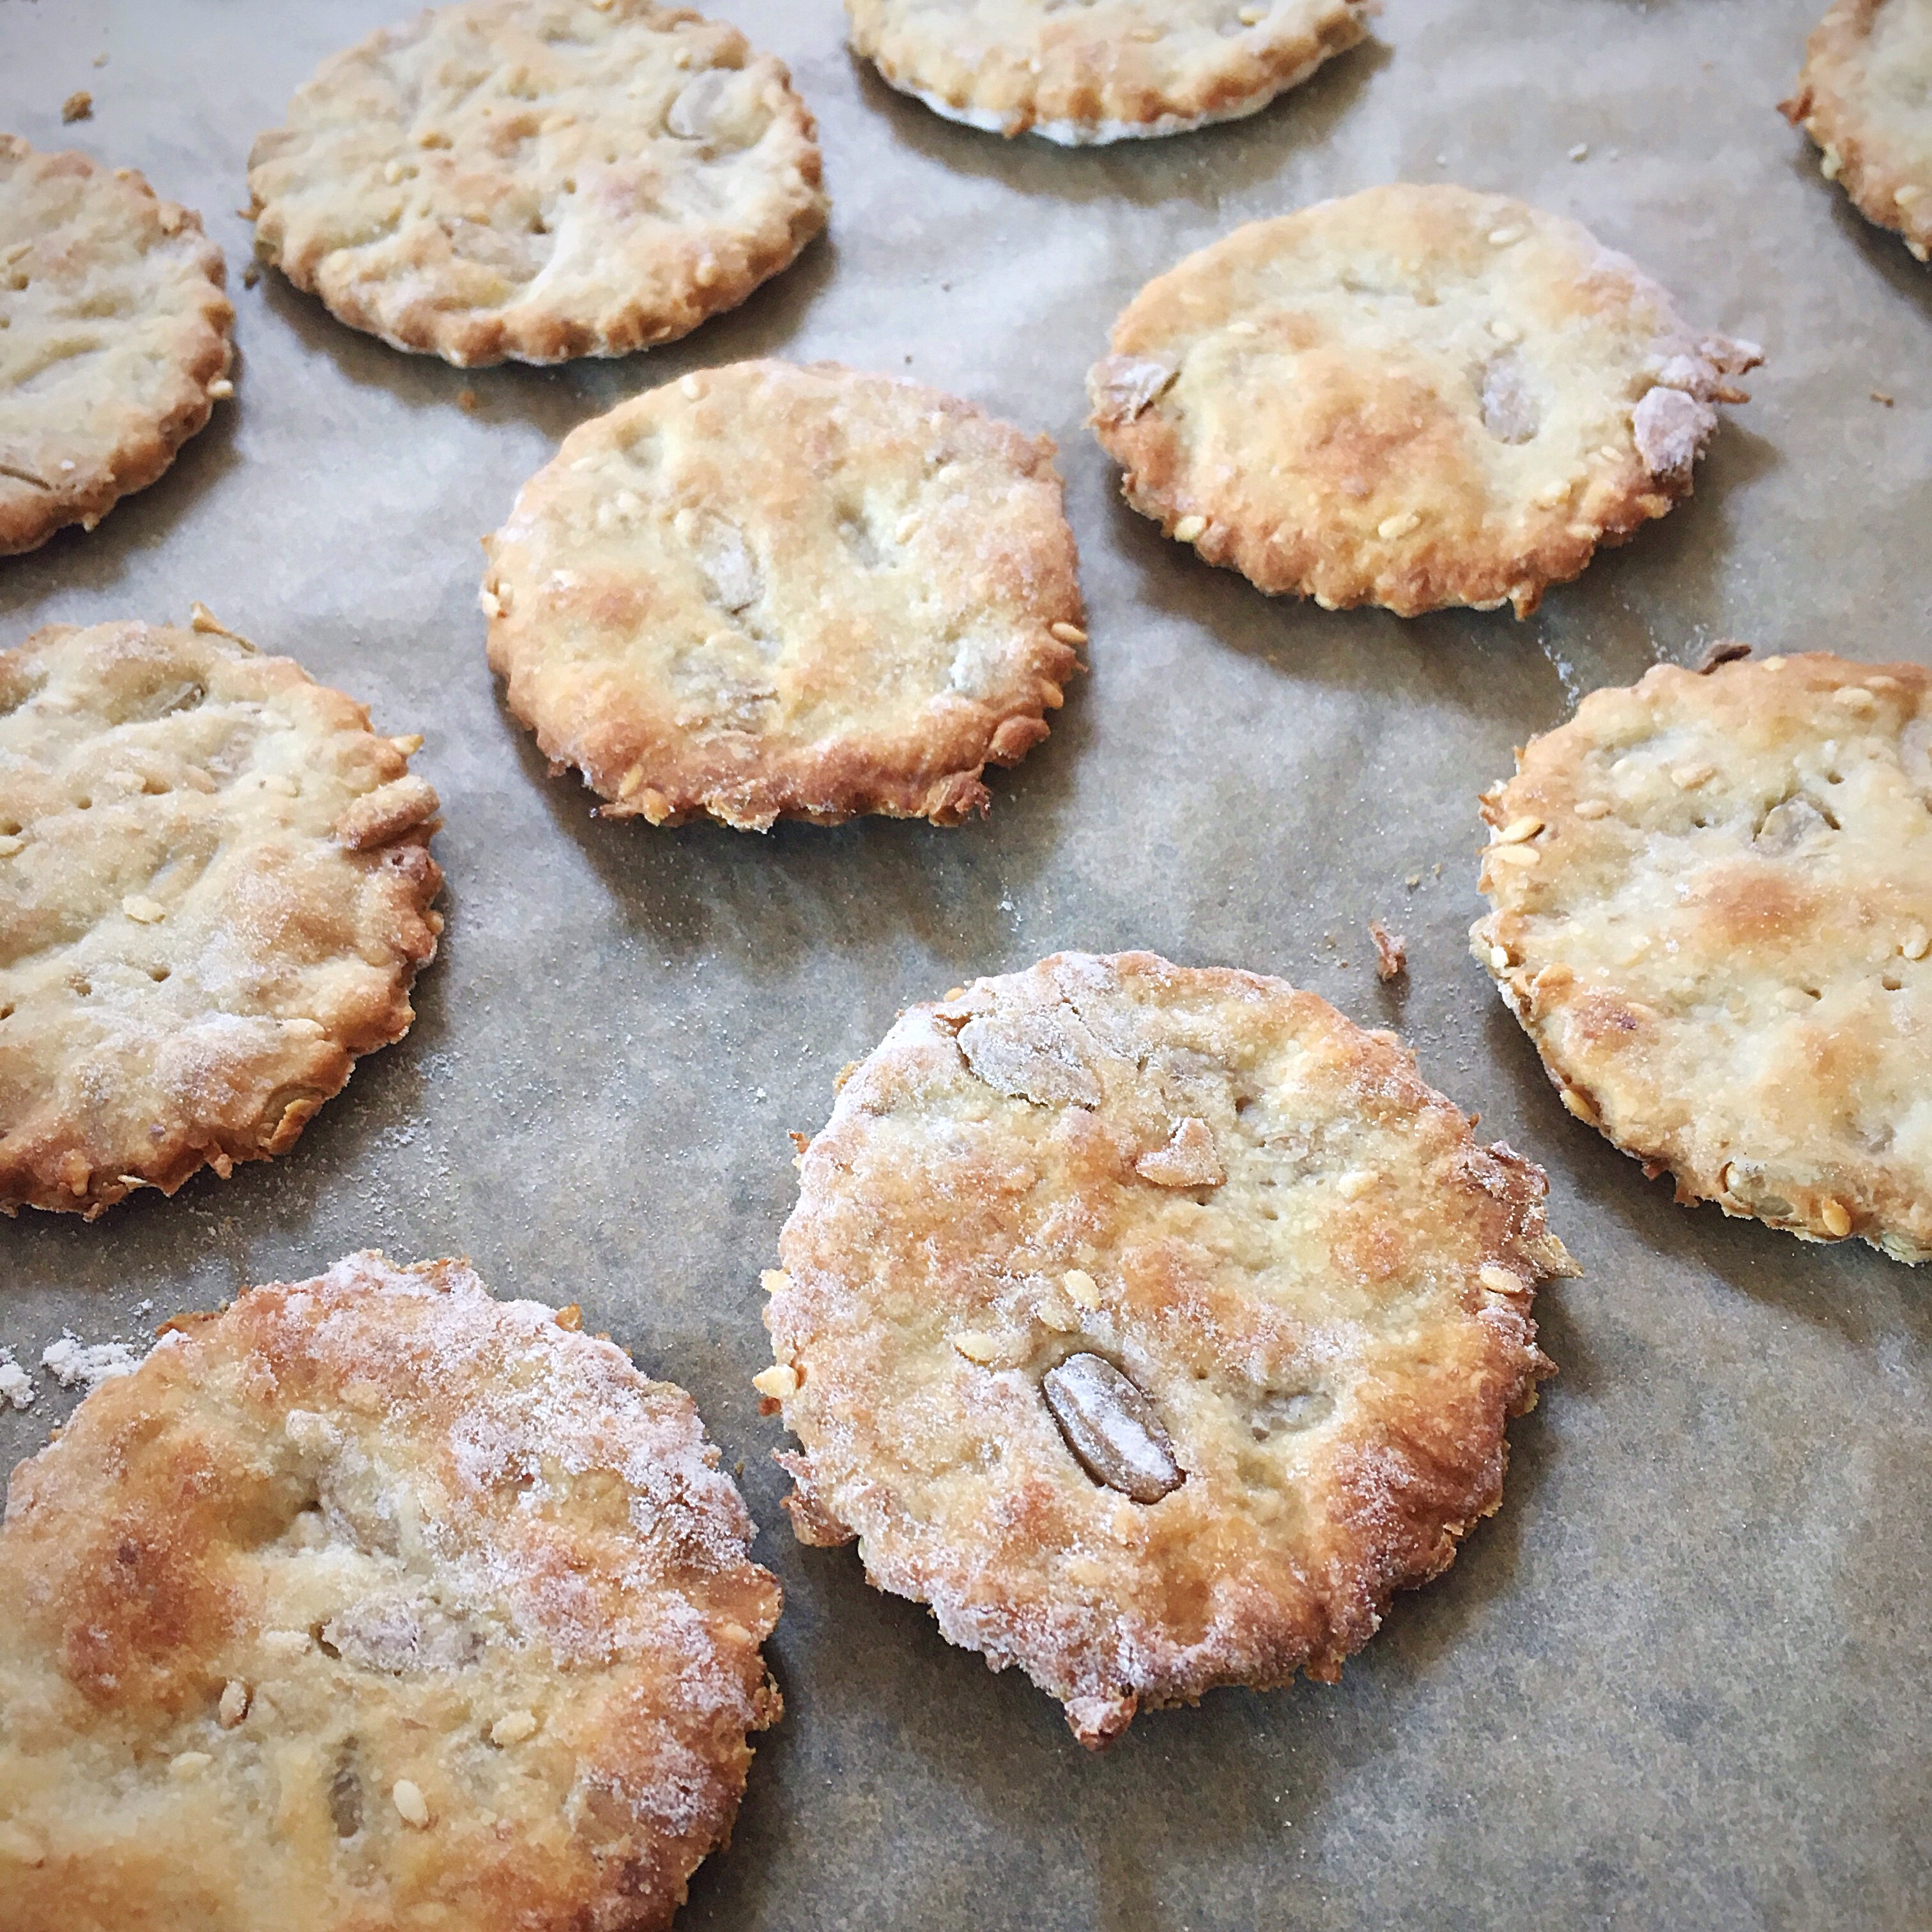

Cool on a rack, they will crisp up even more as they cool.
Eat!!!
If you haven’t eaten them all immediately, they will keep in a tin for a few days.
Check out the rest of this blog for other sourdough ideas or visit my shop to buy my dried starter.
Have a great week!
