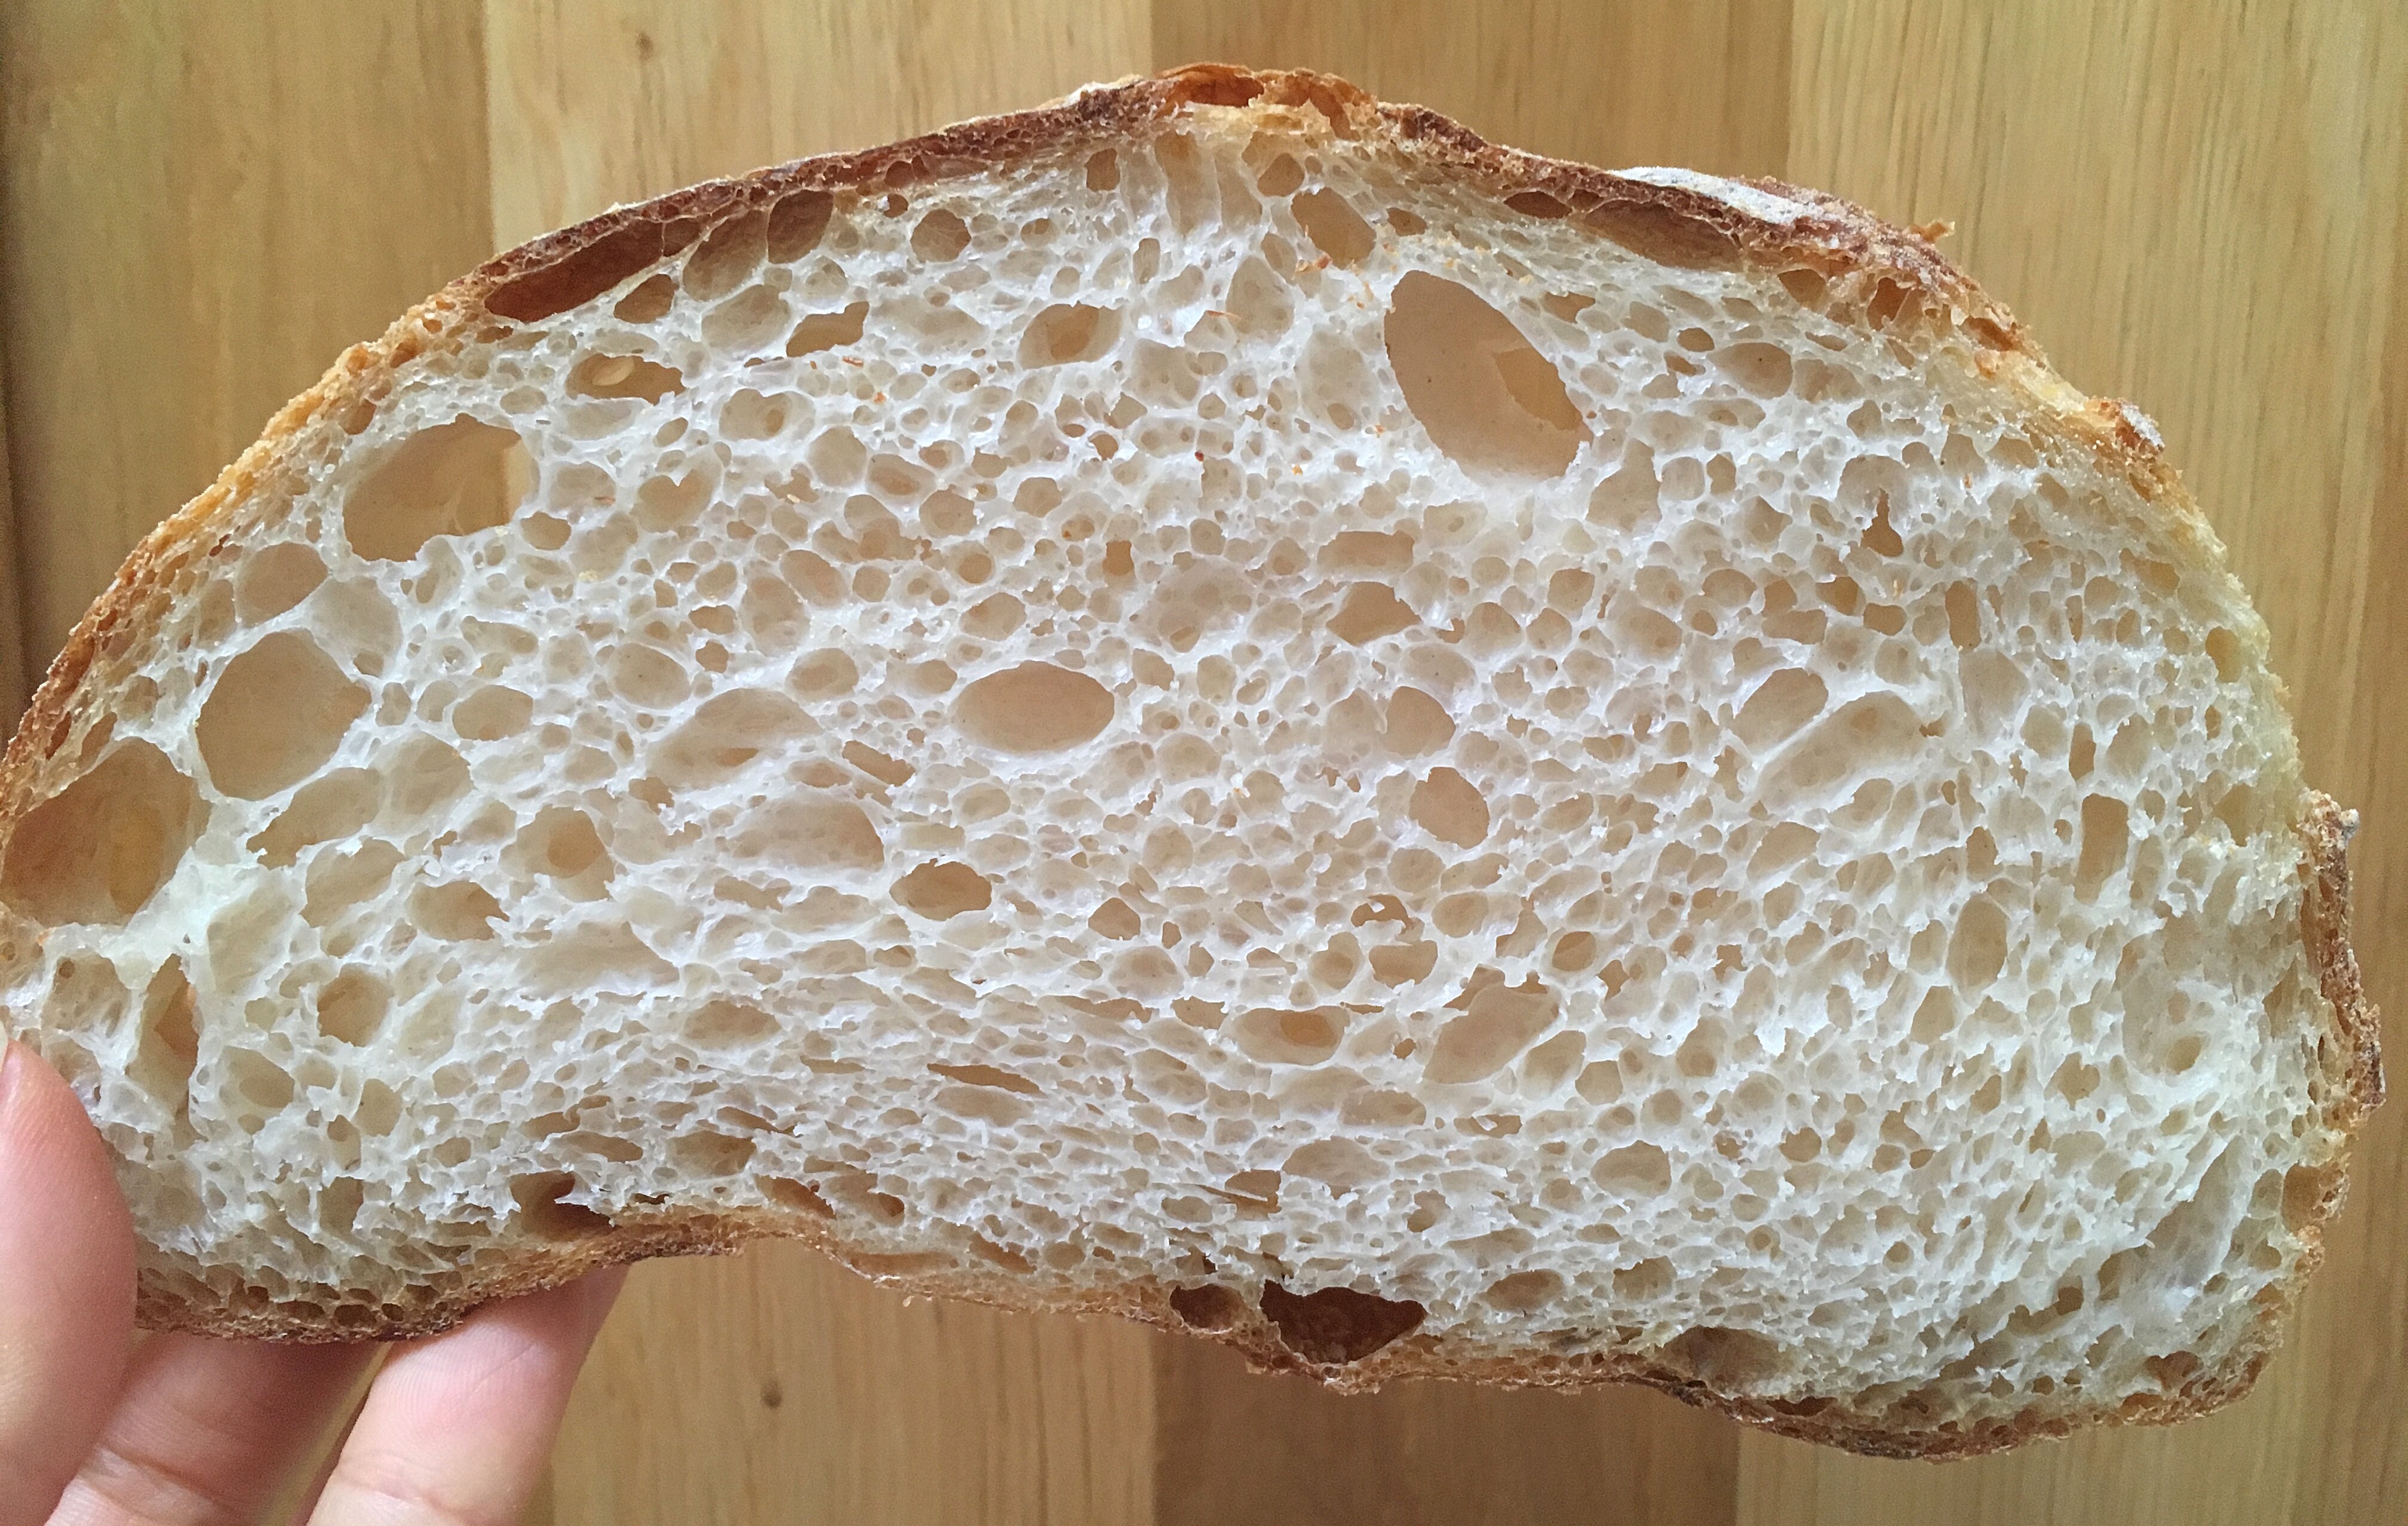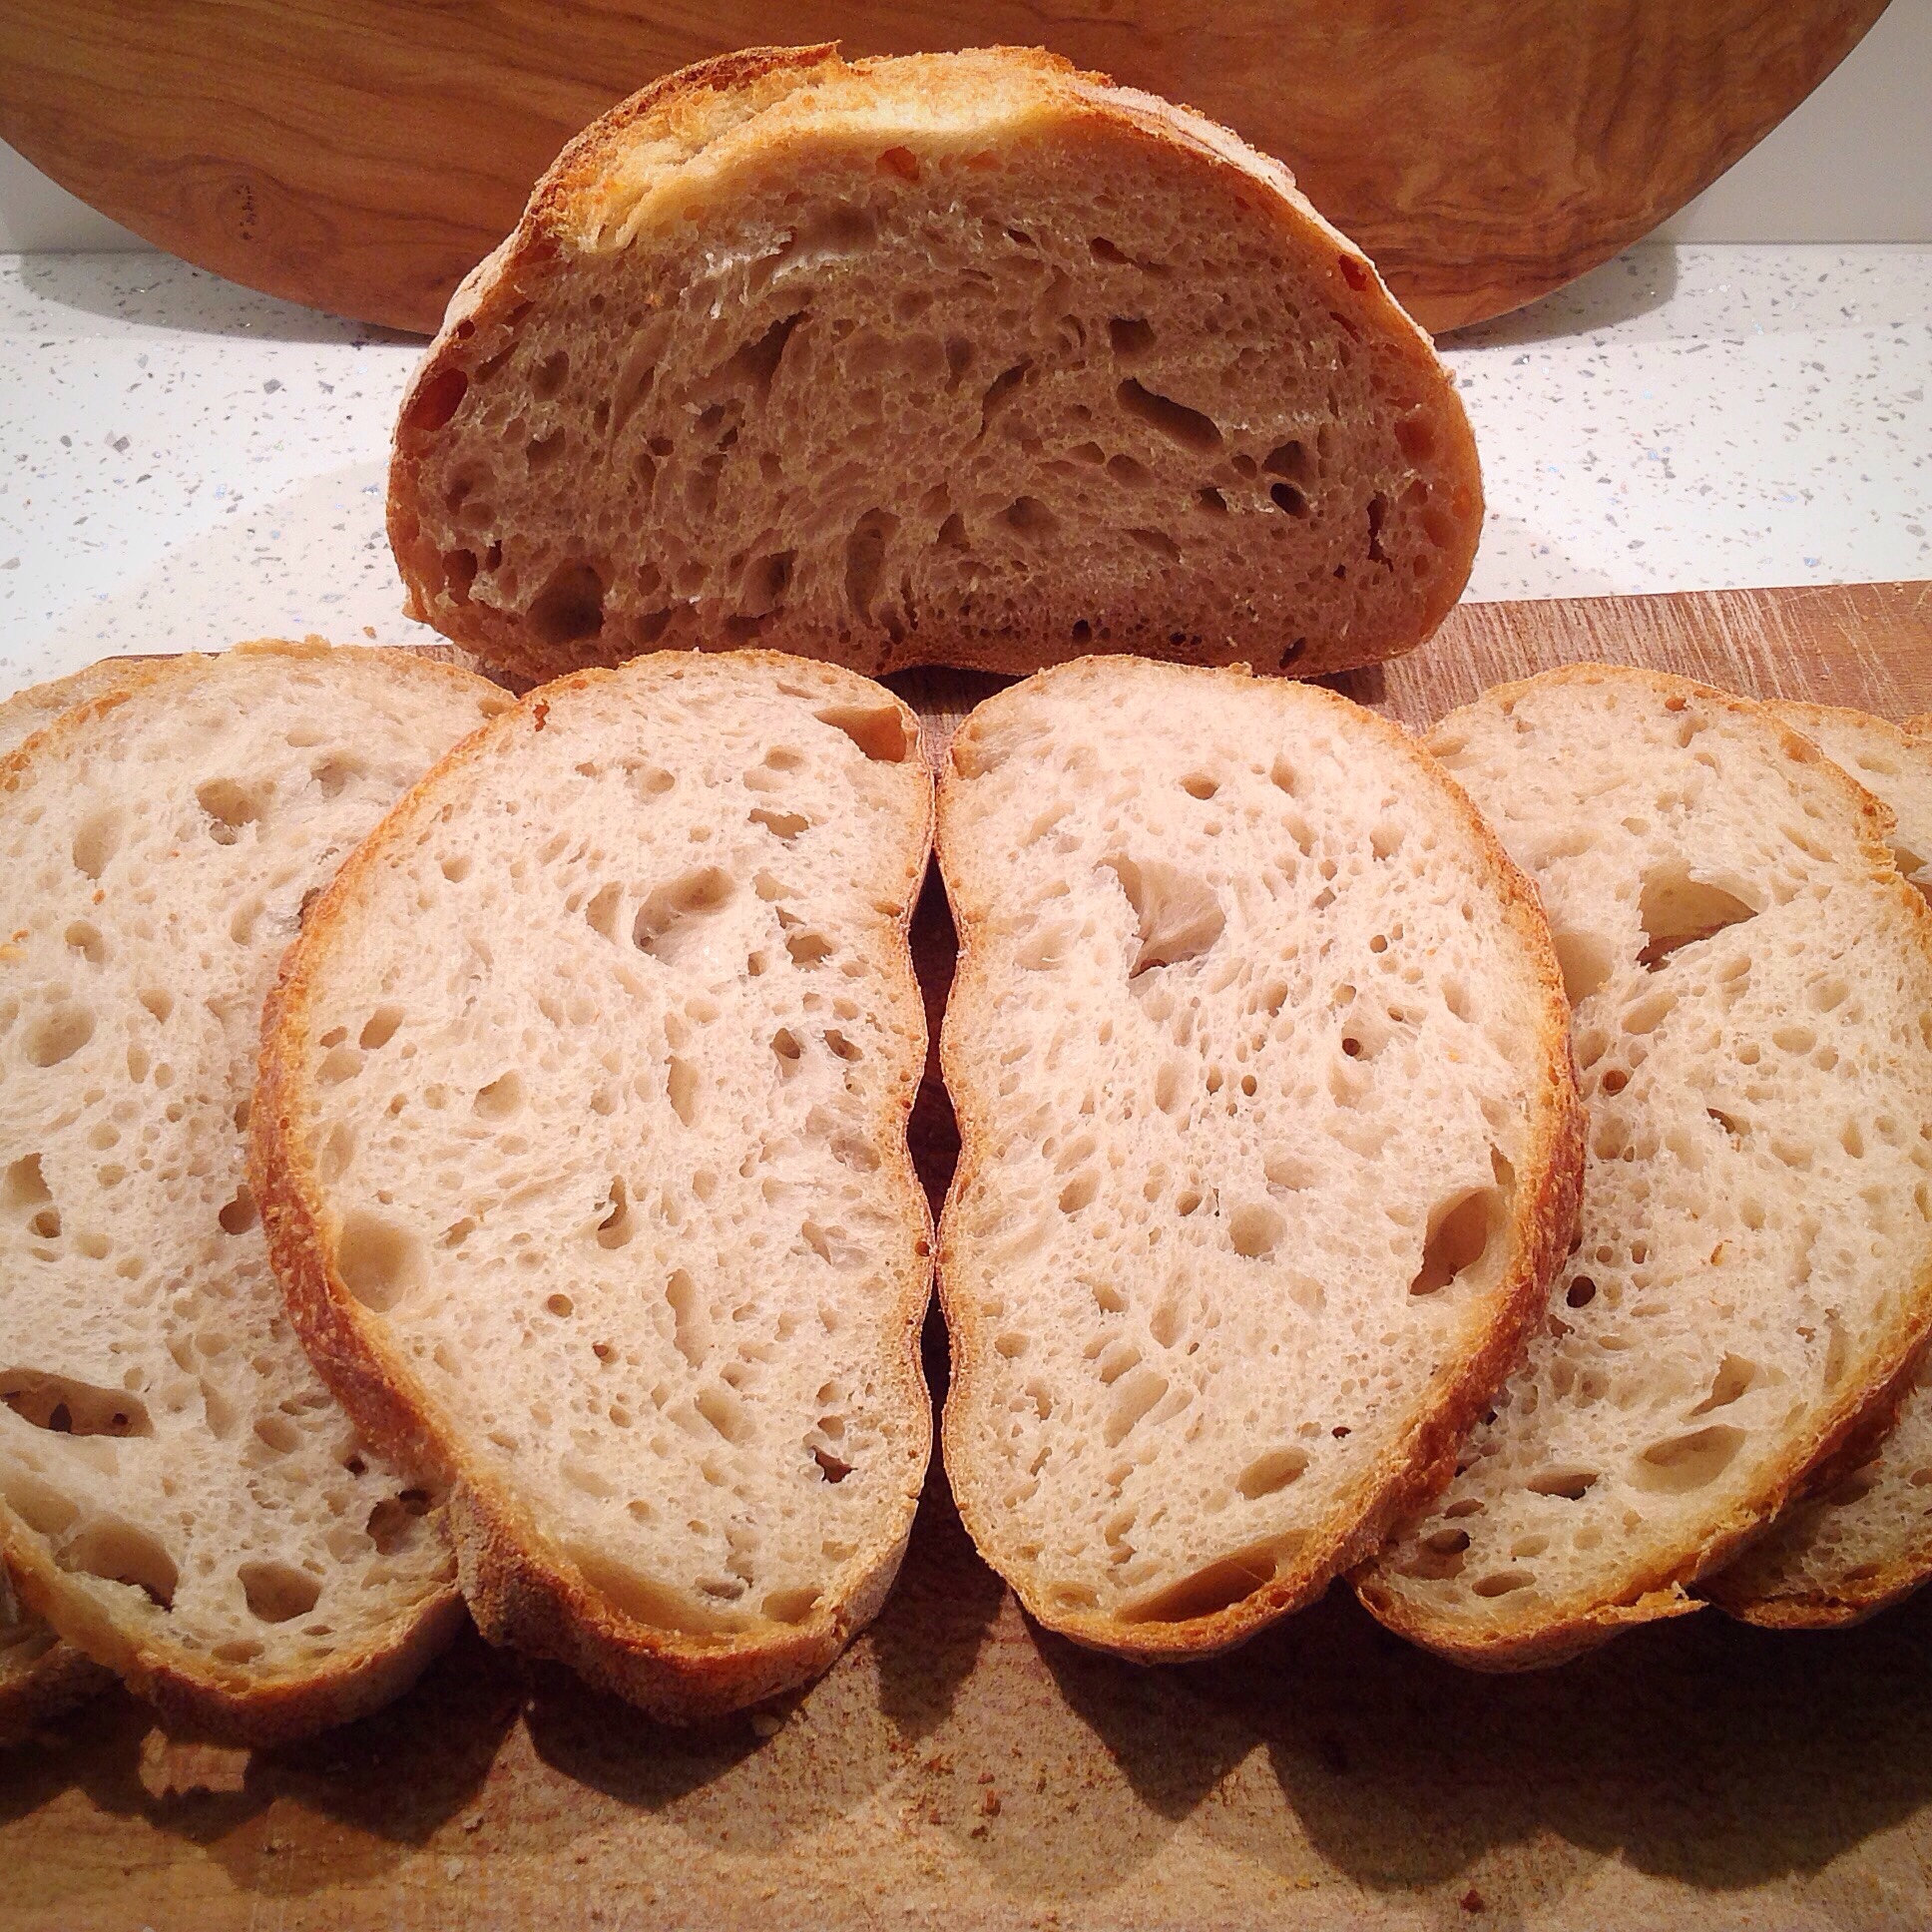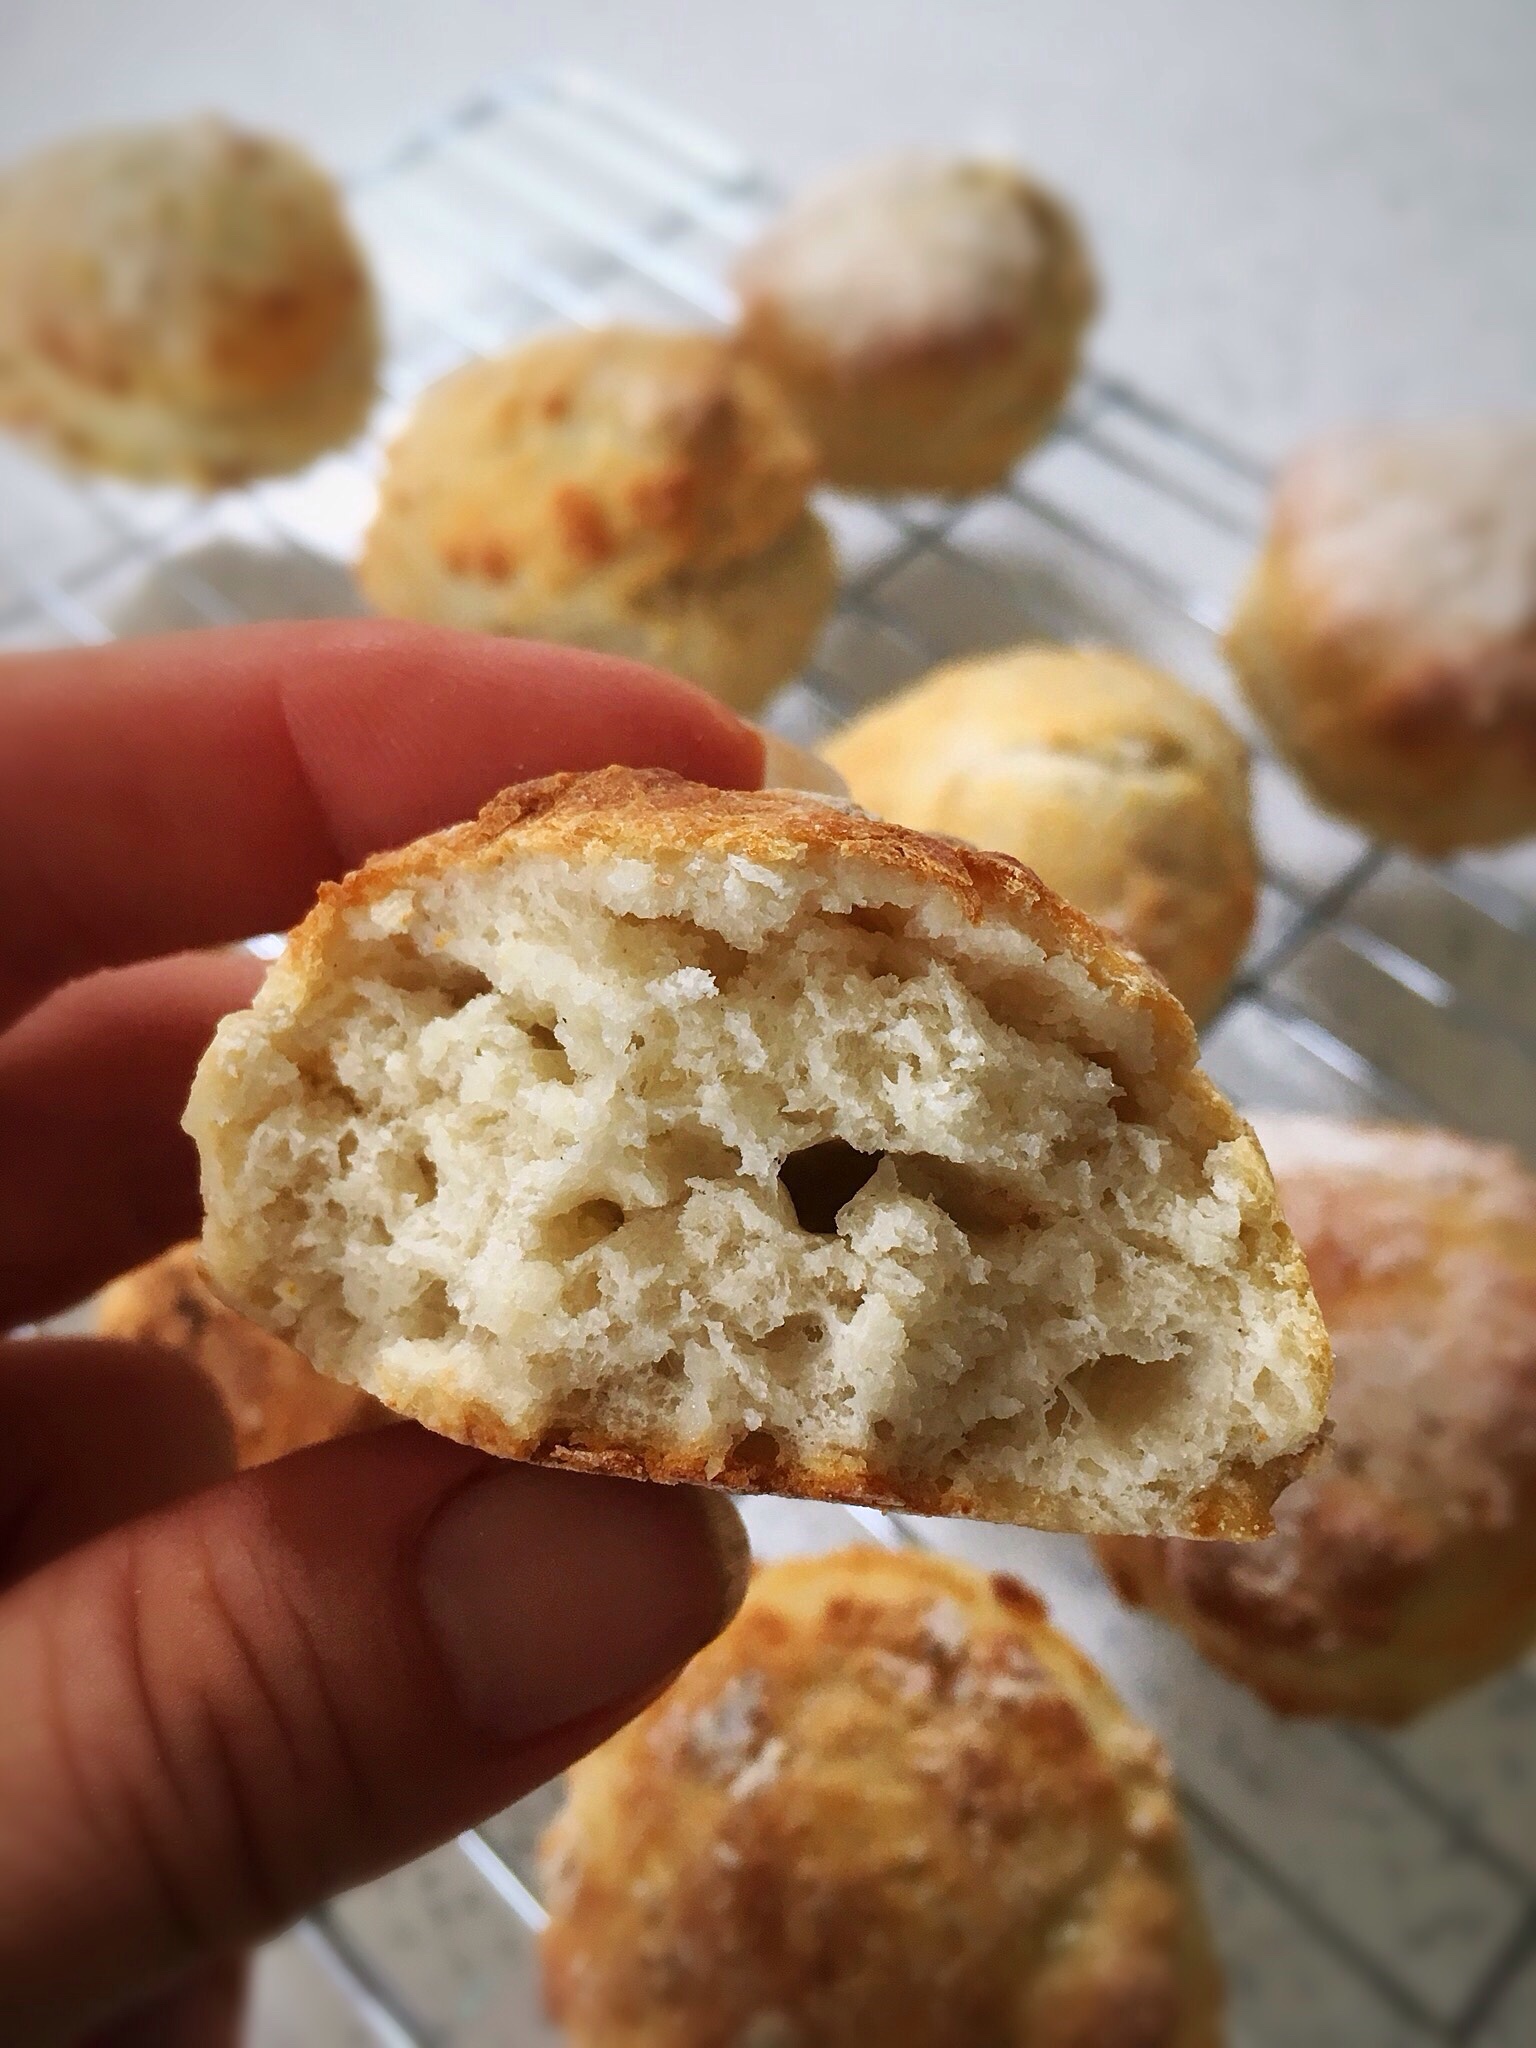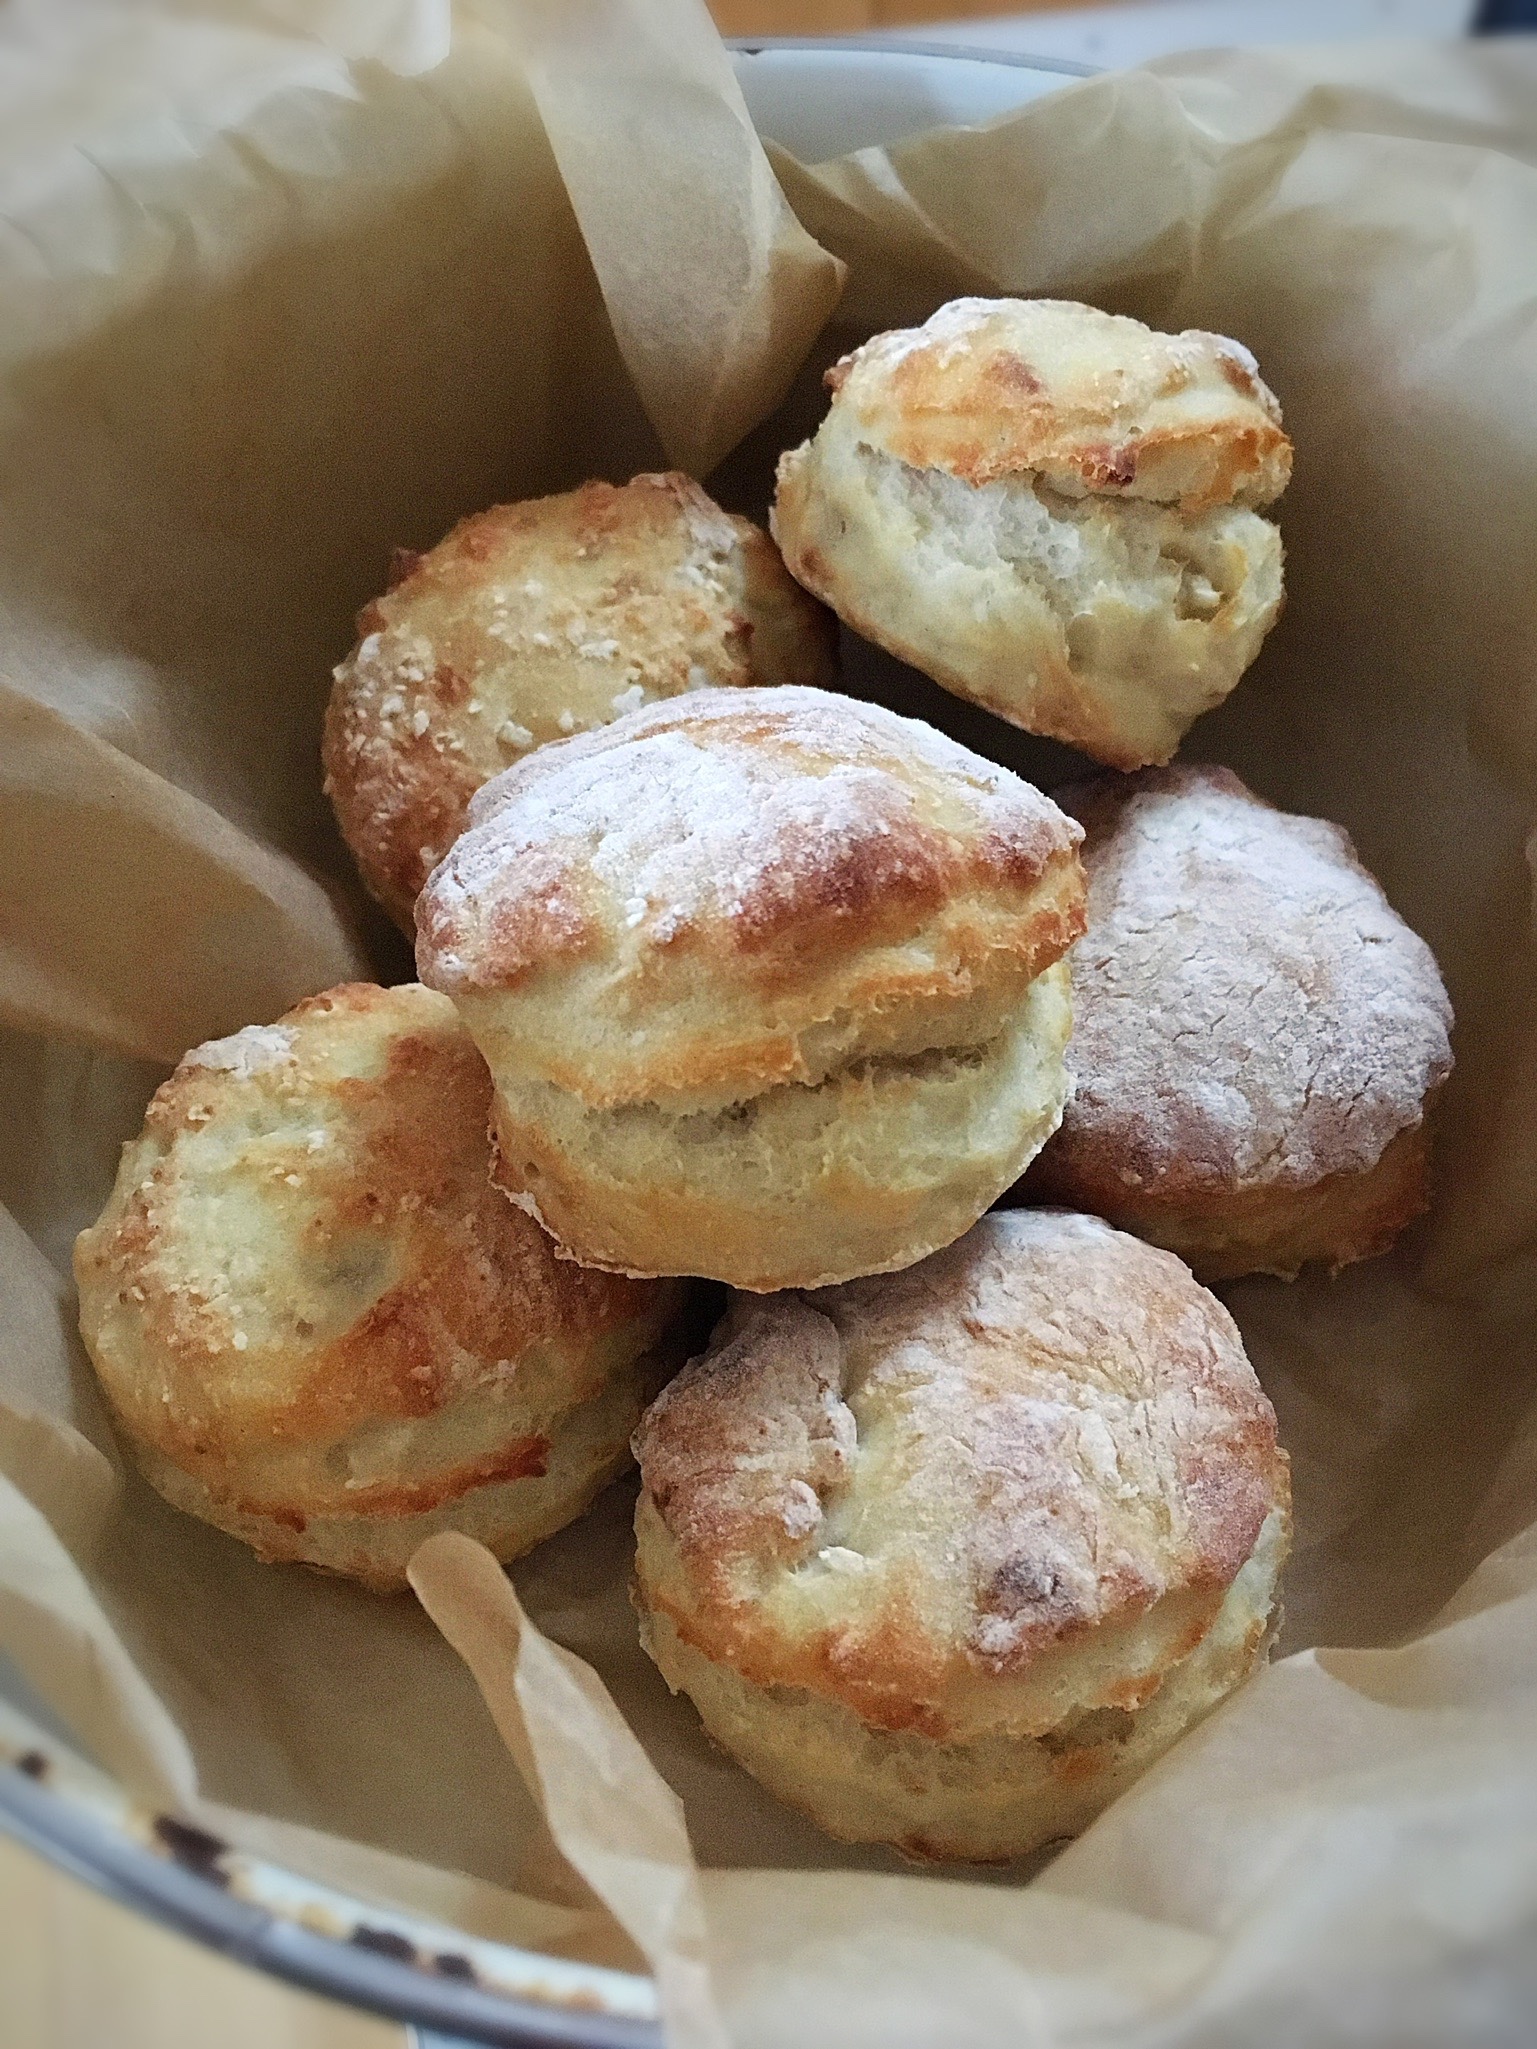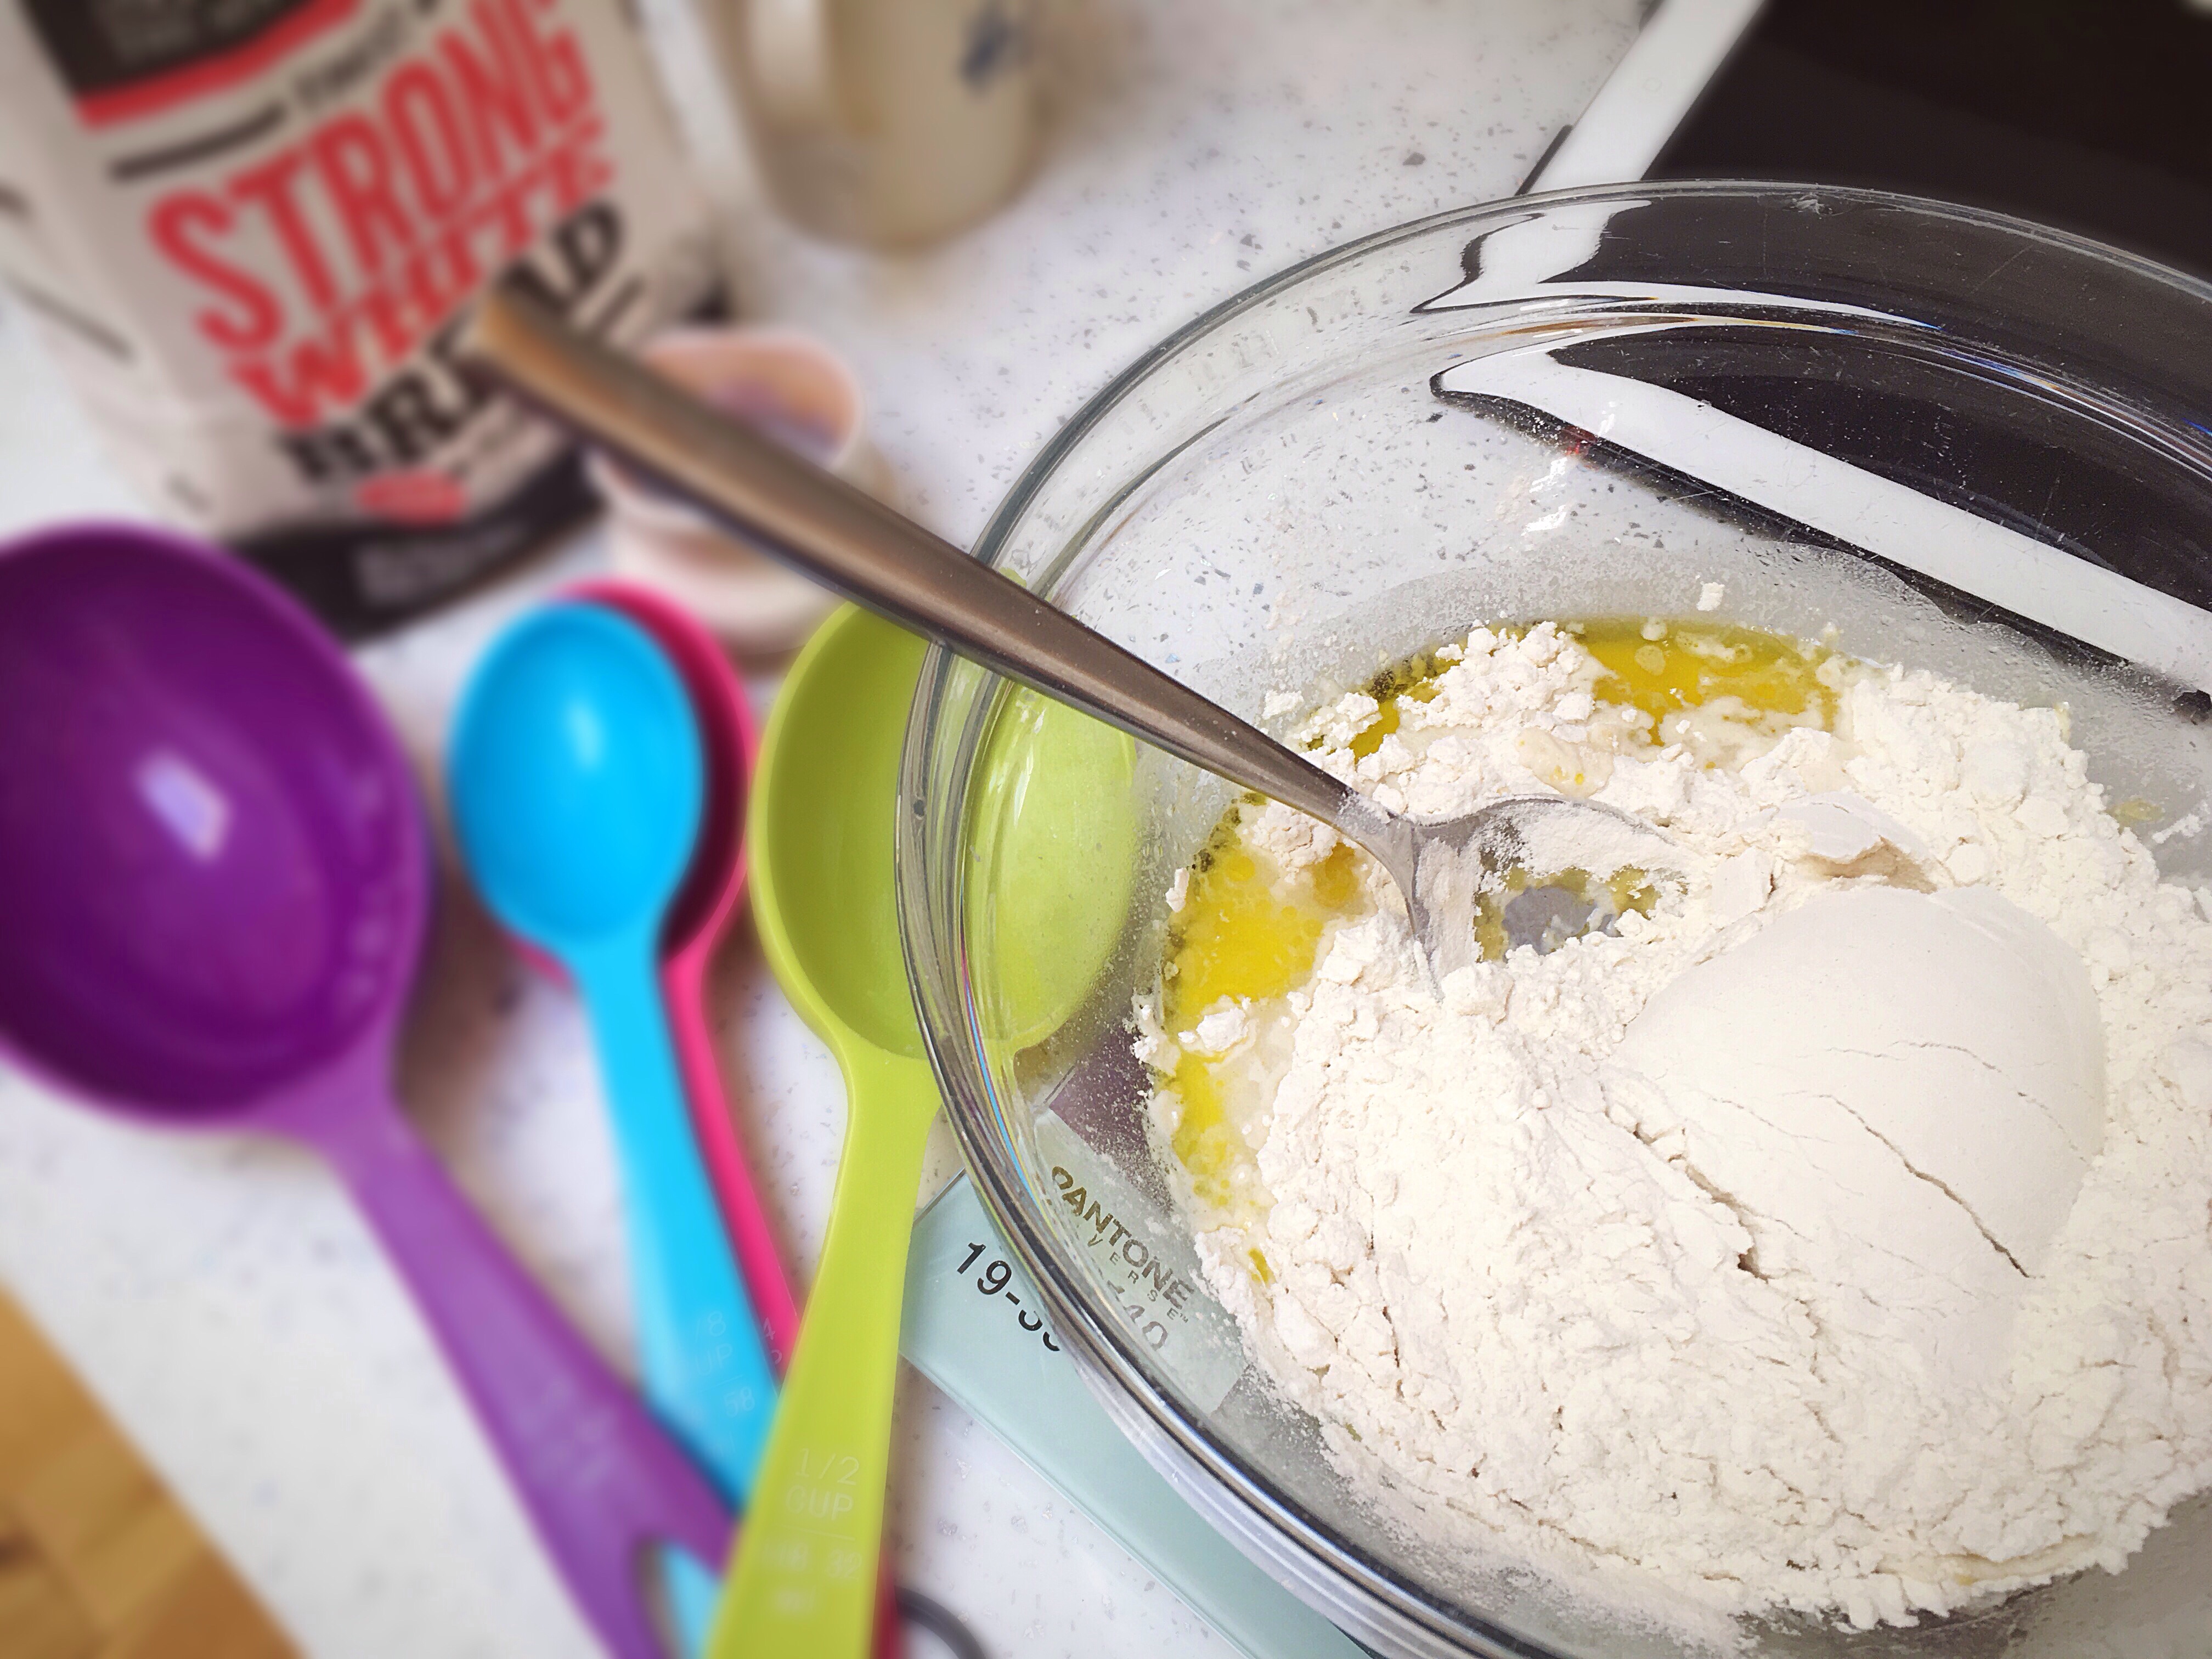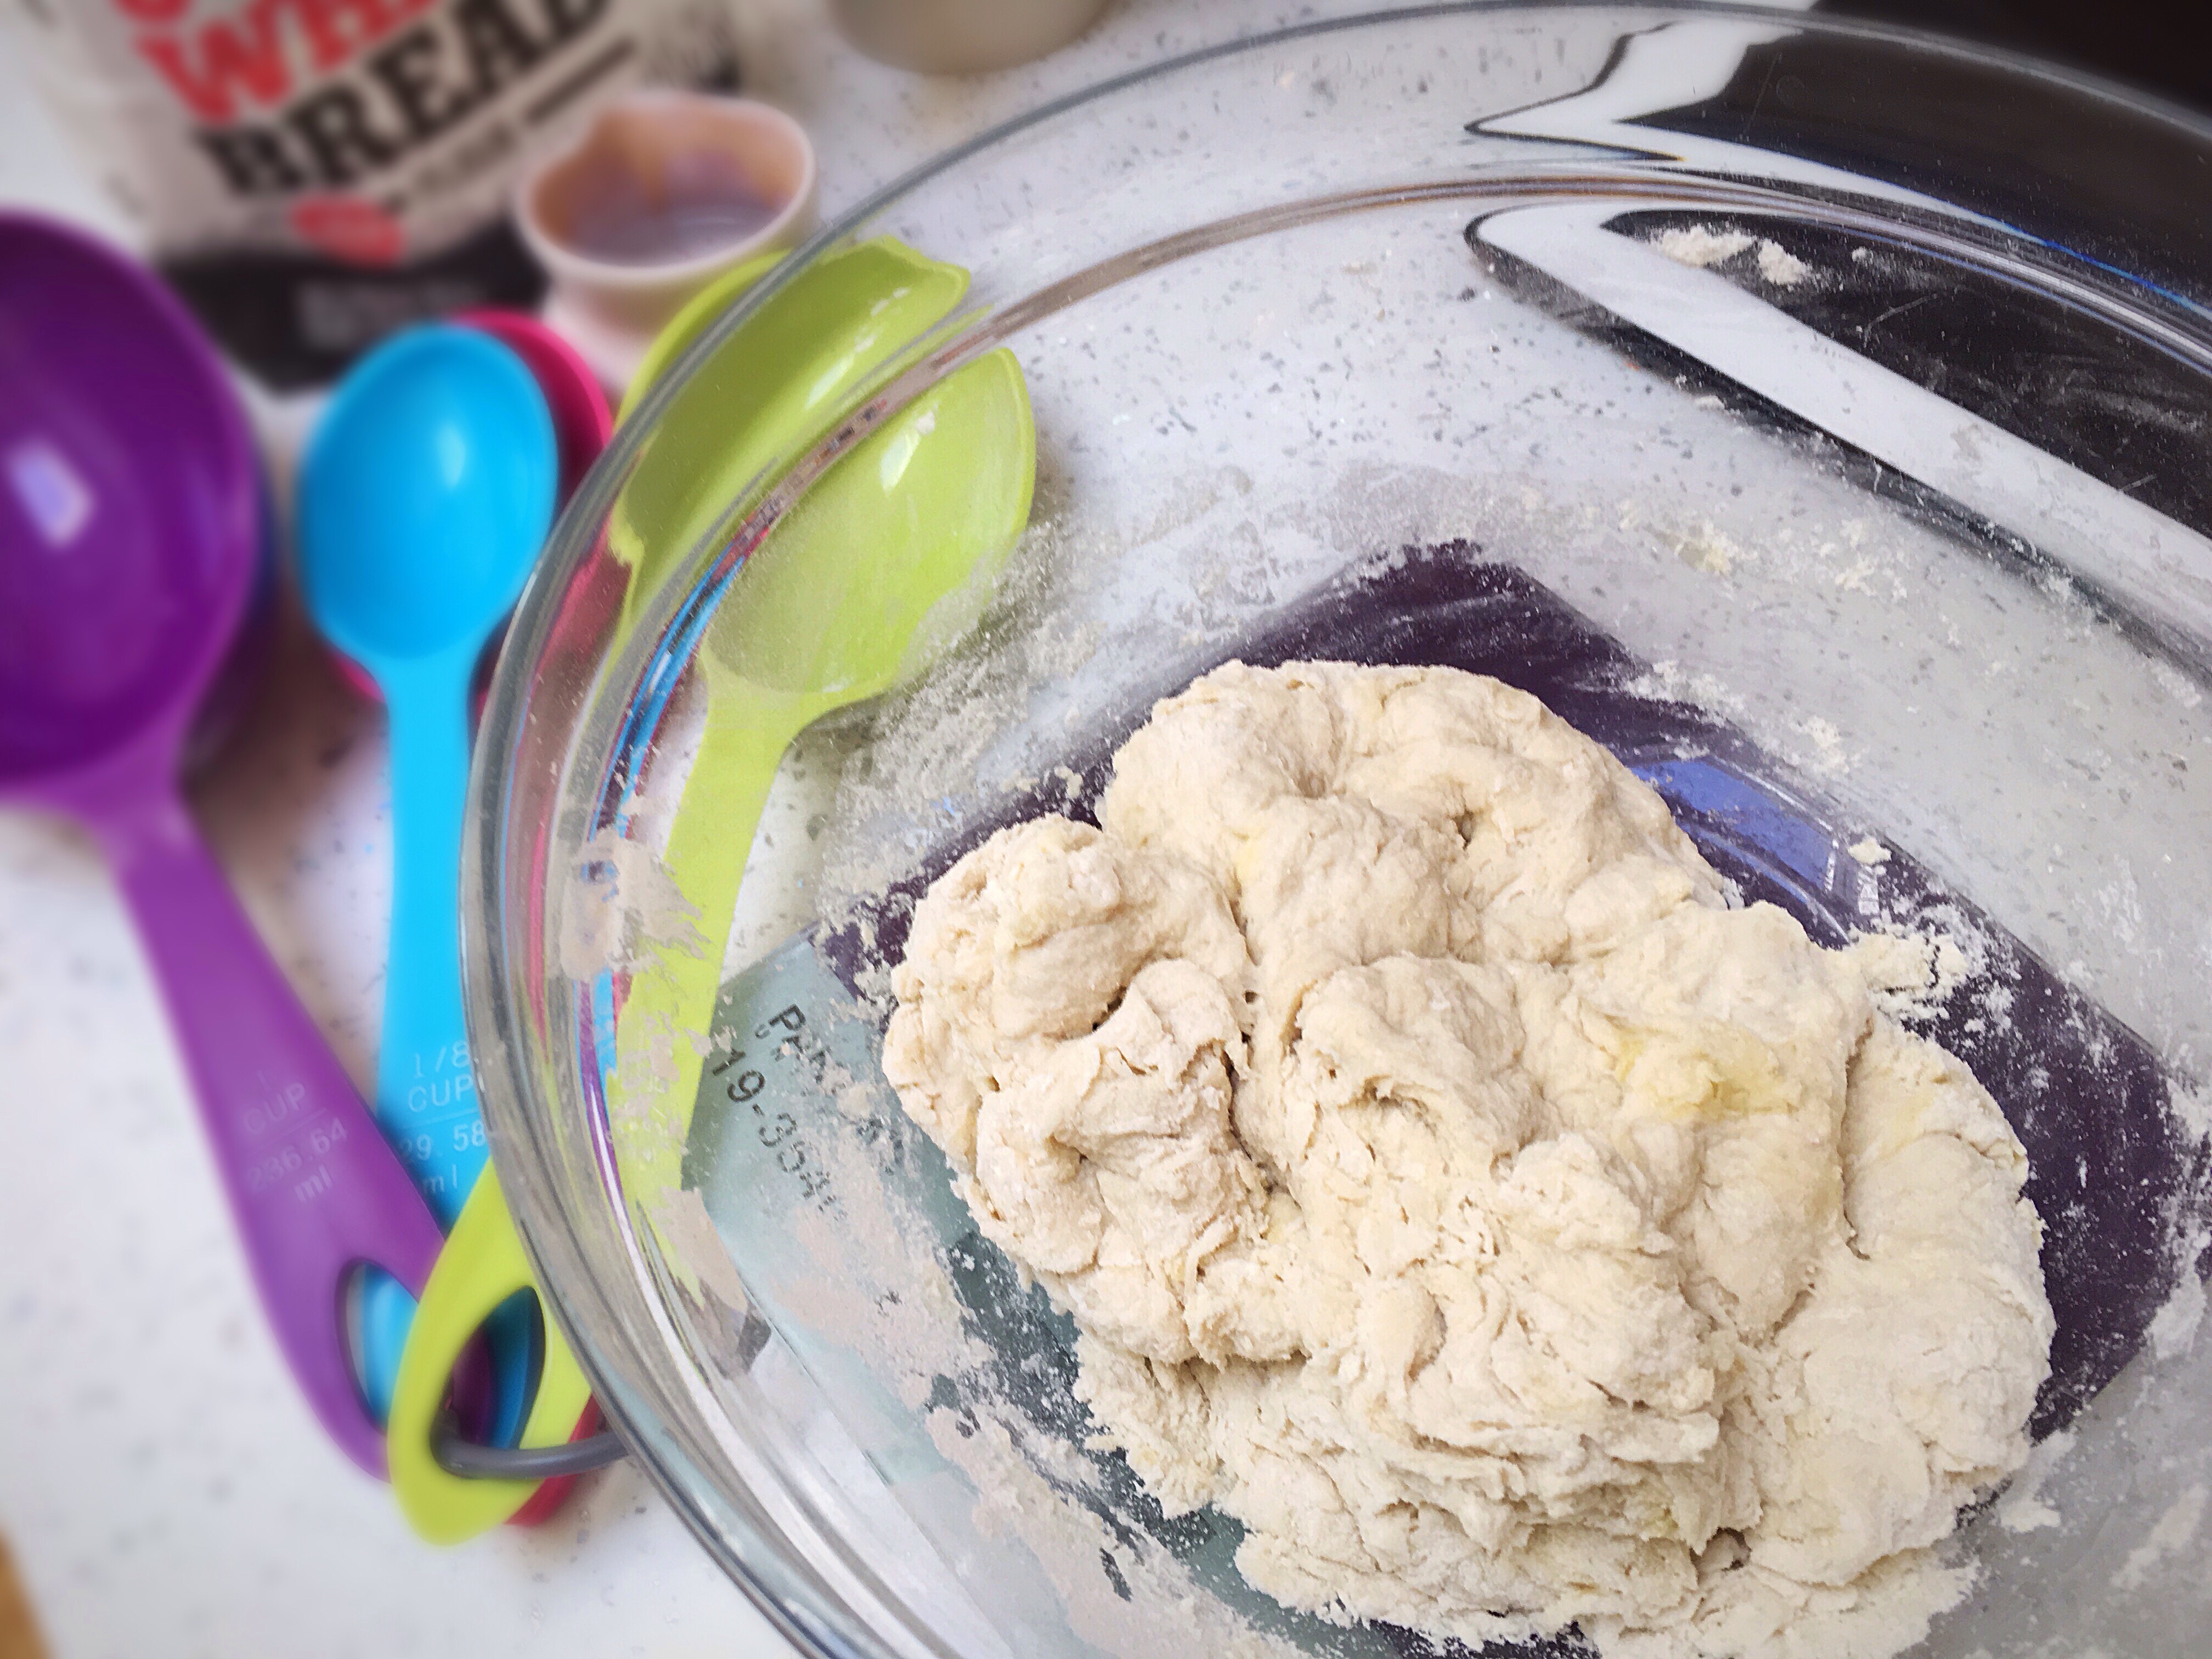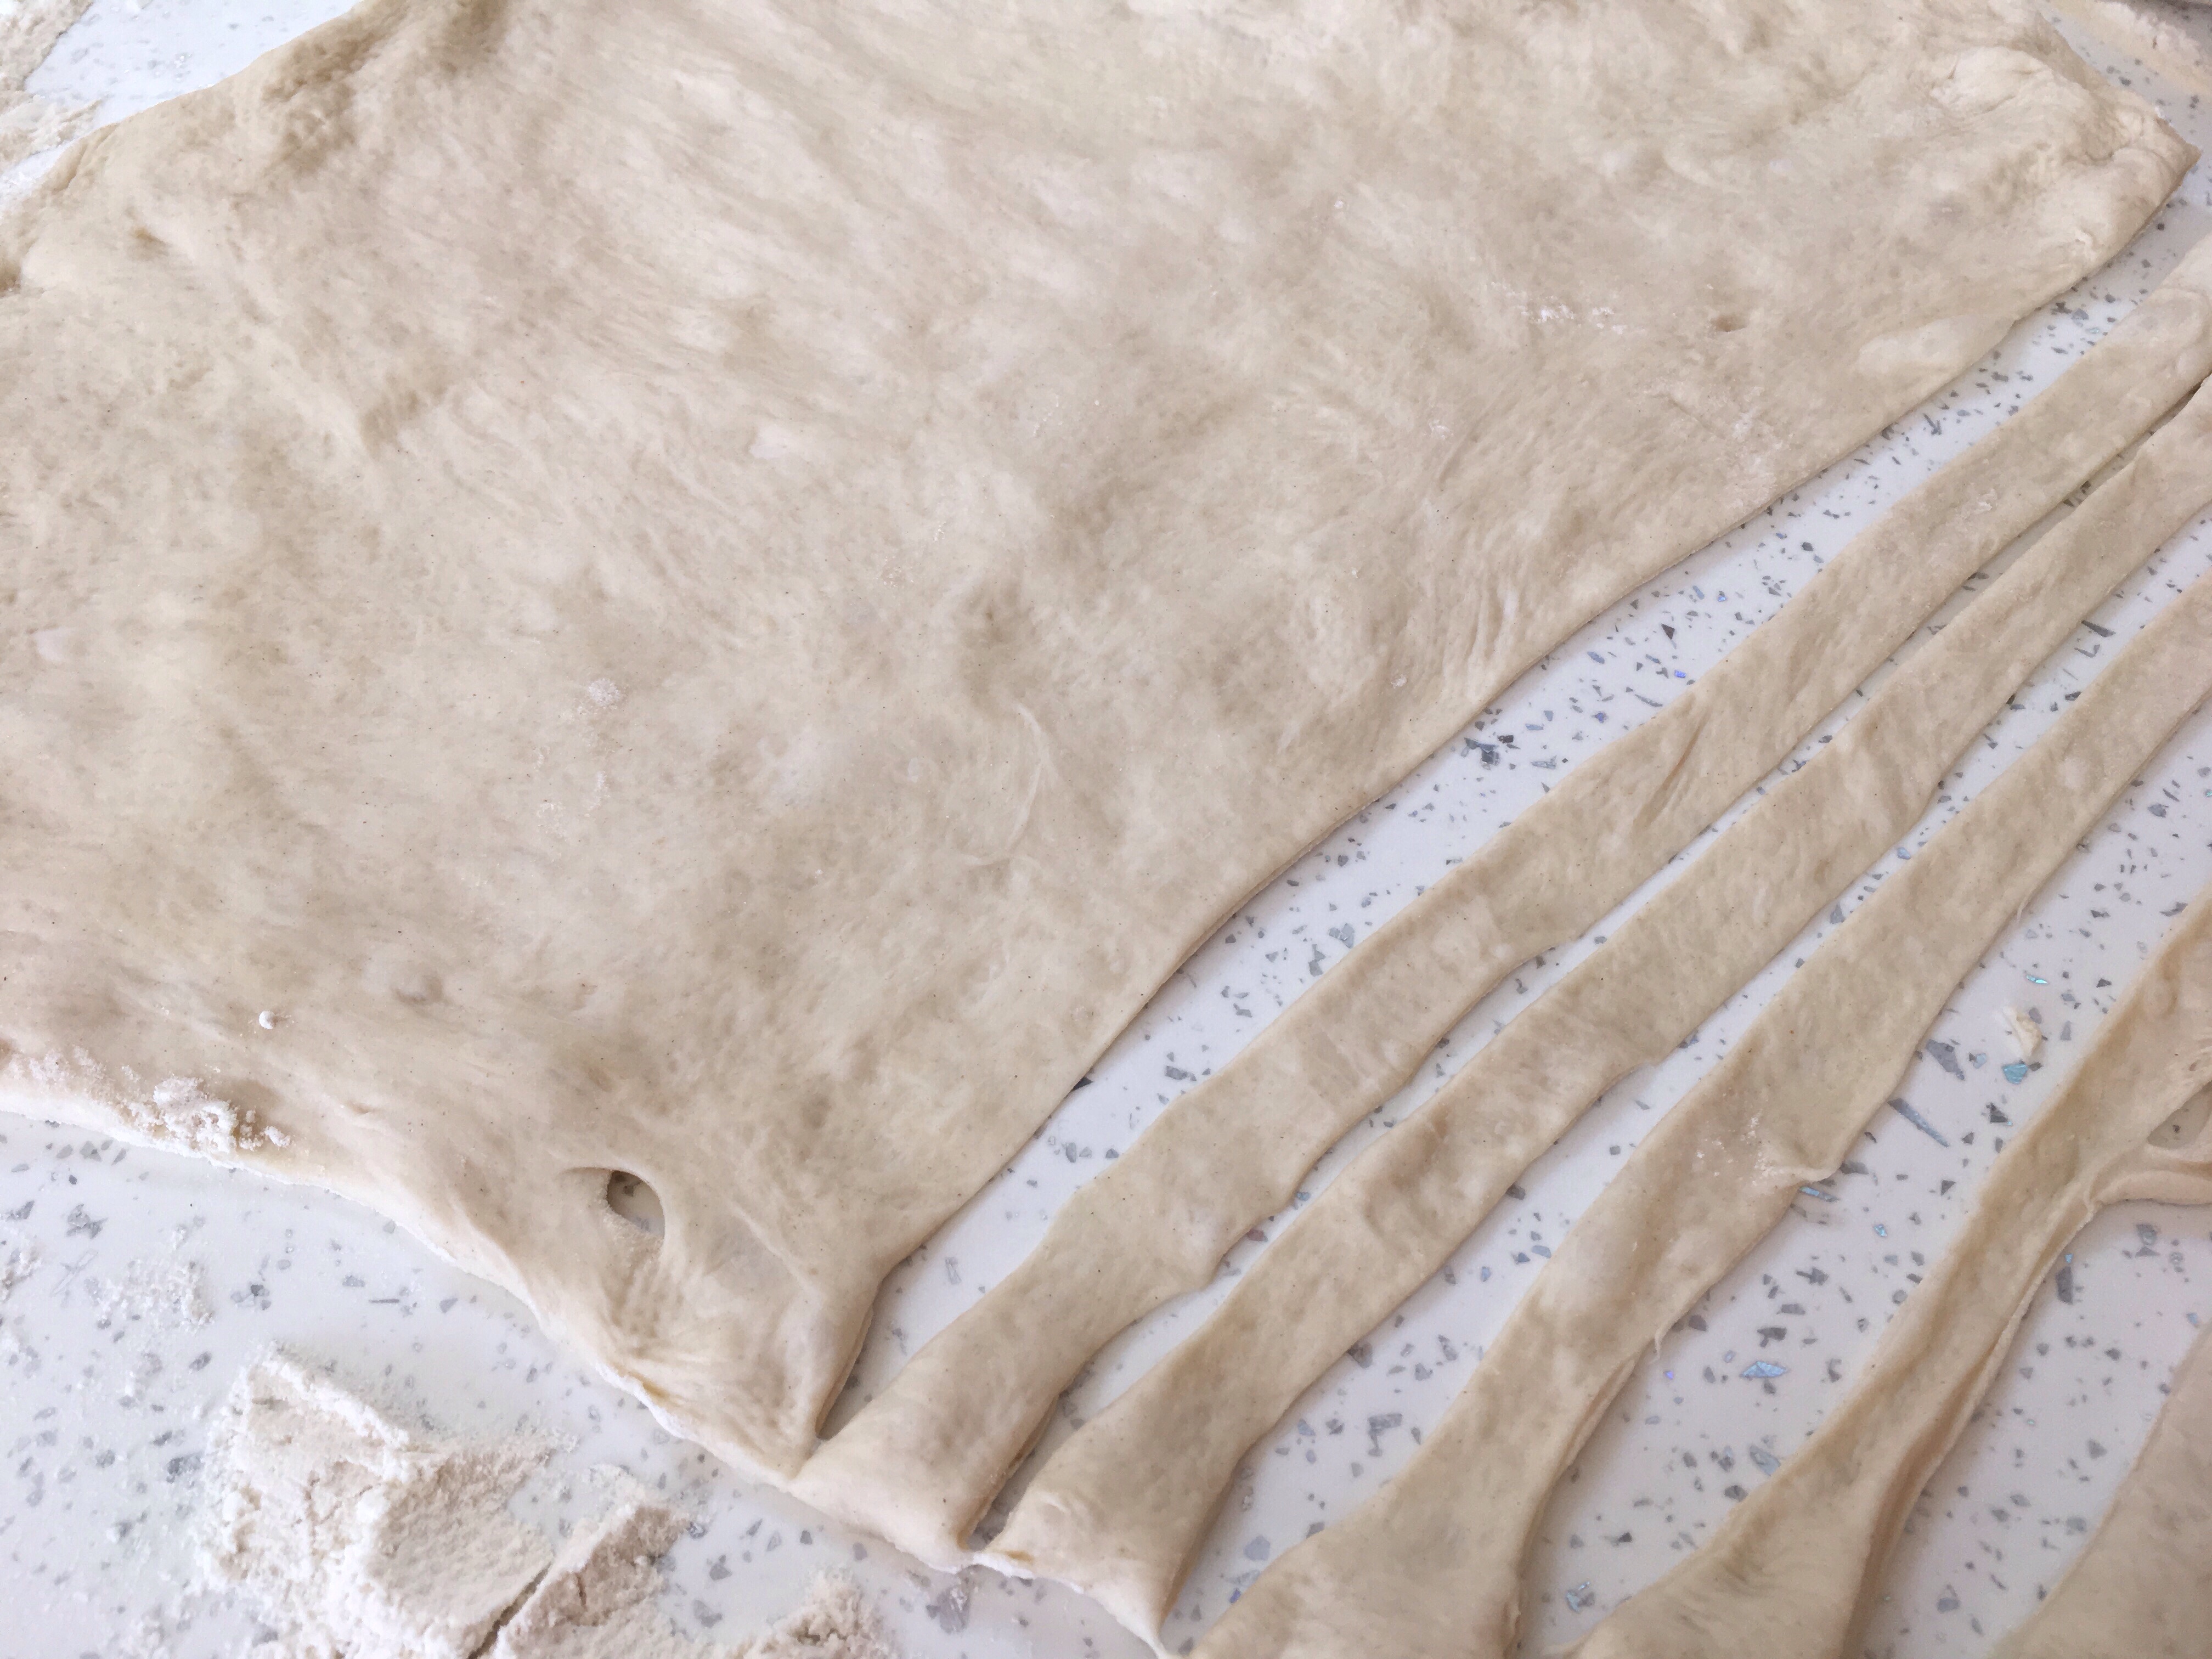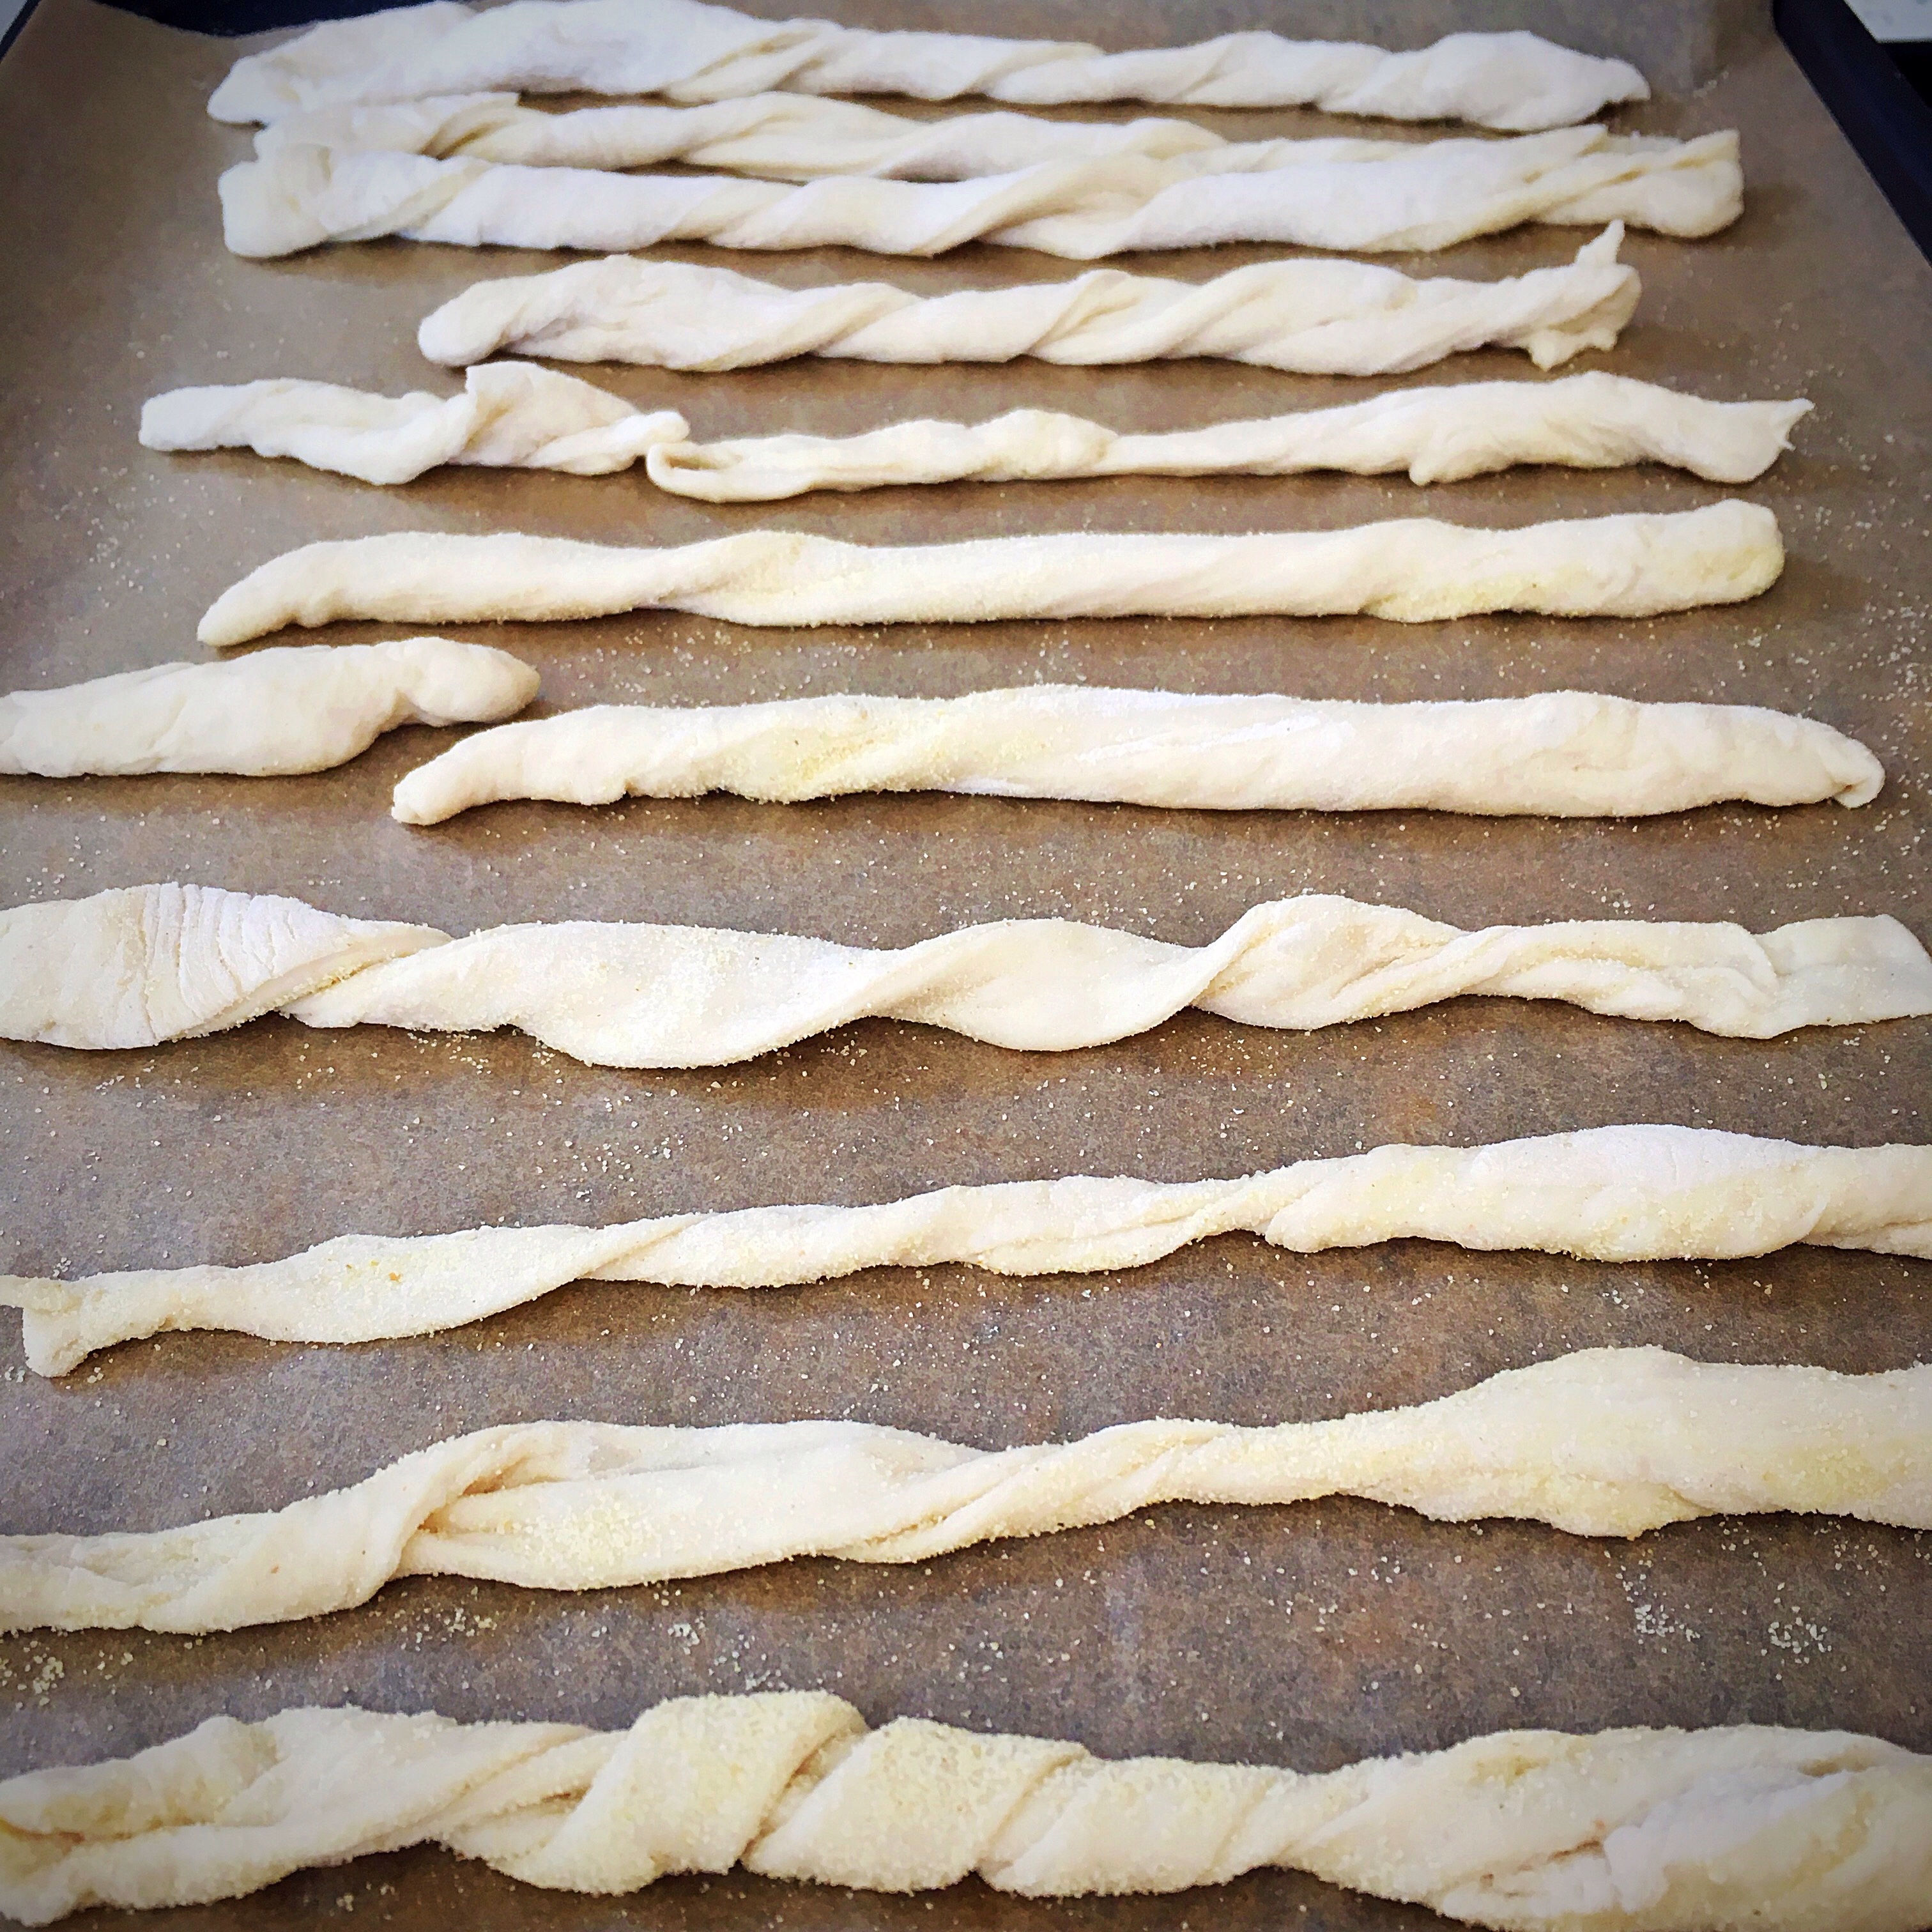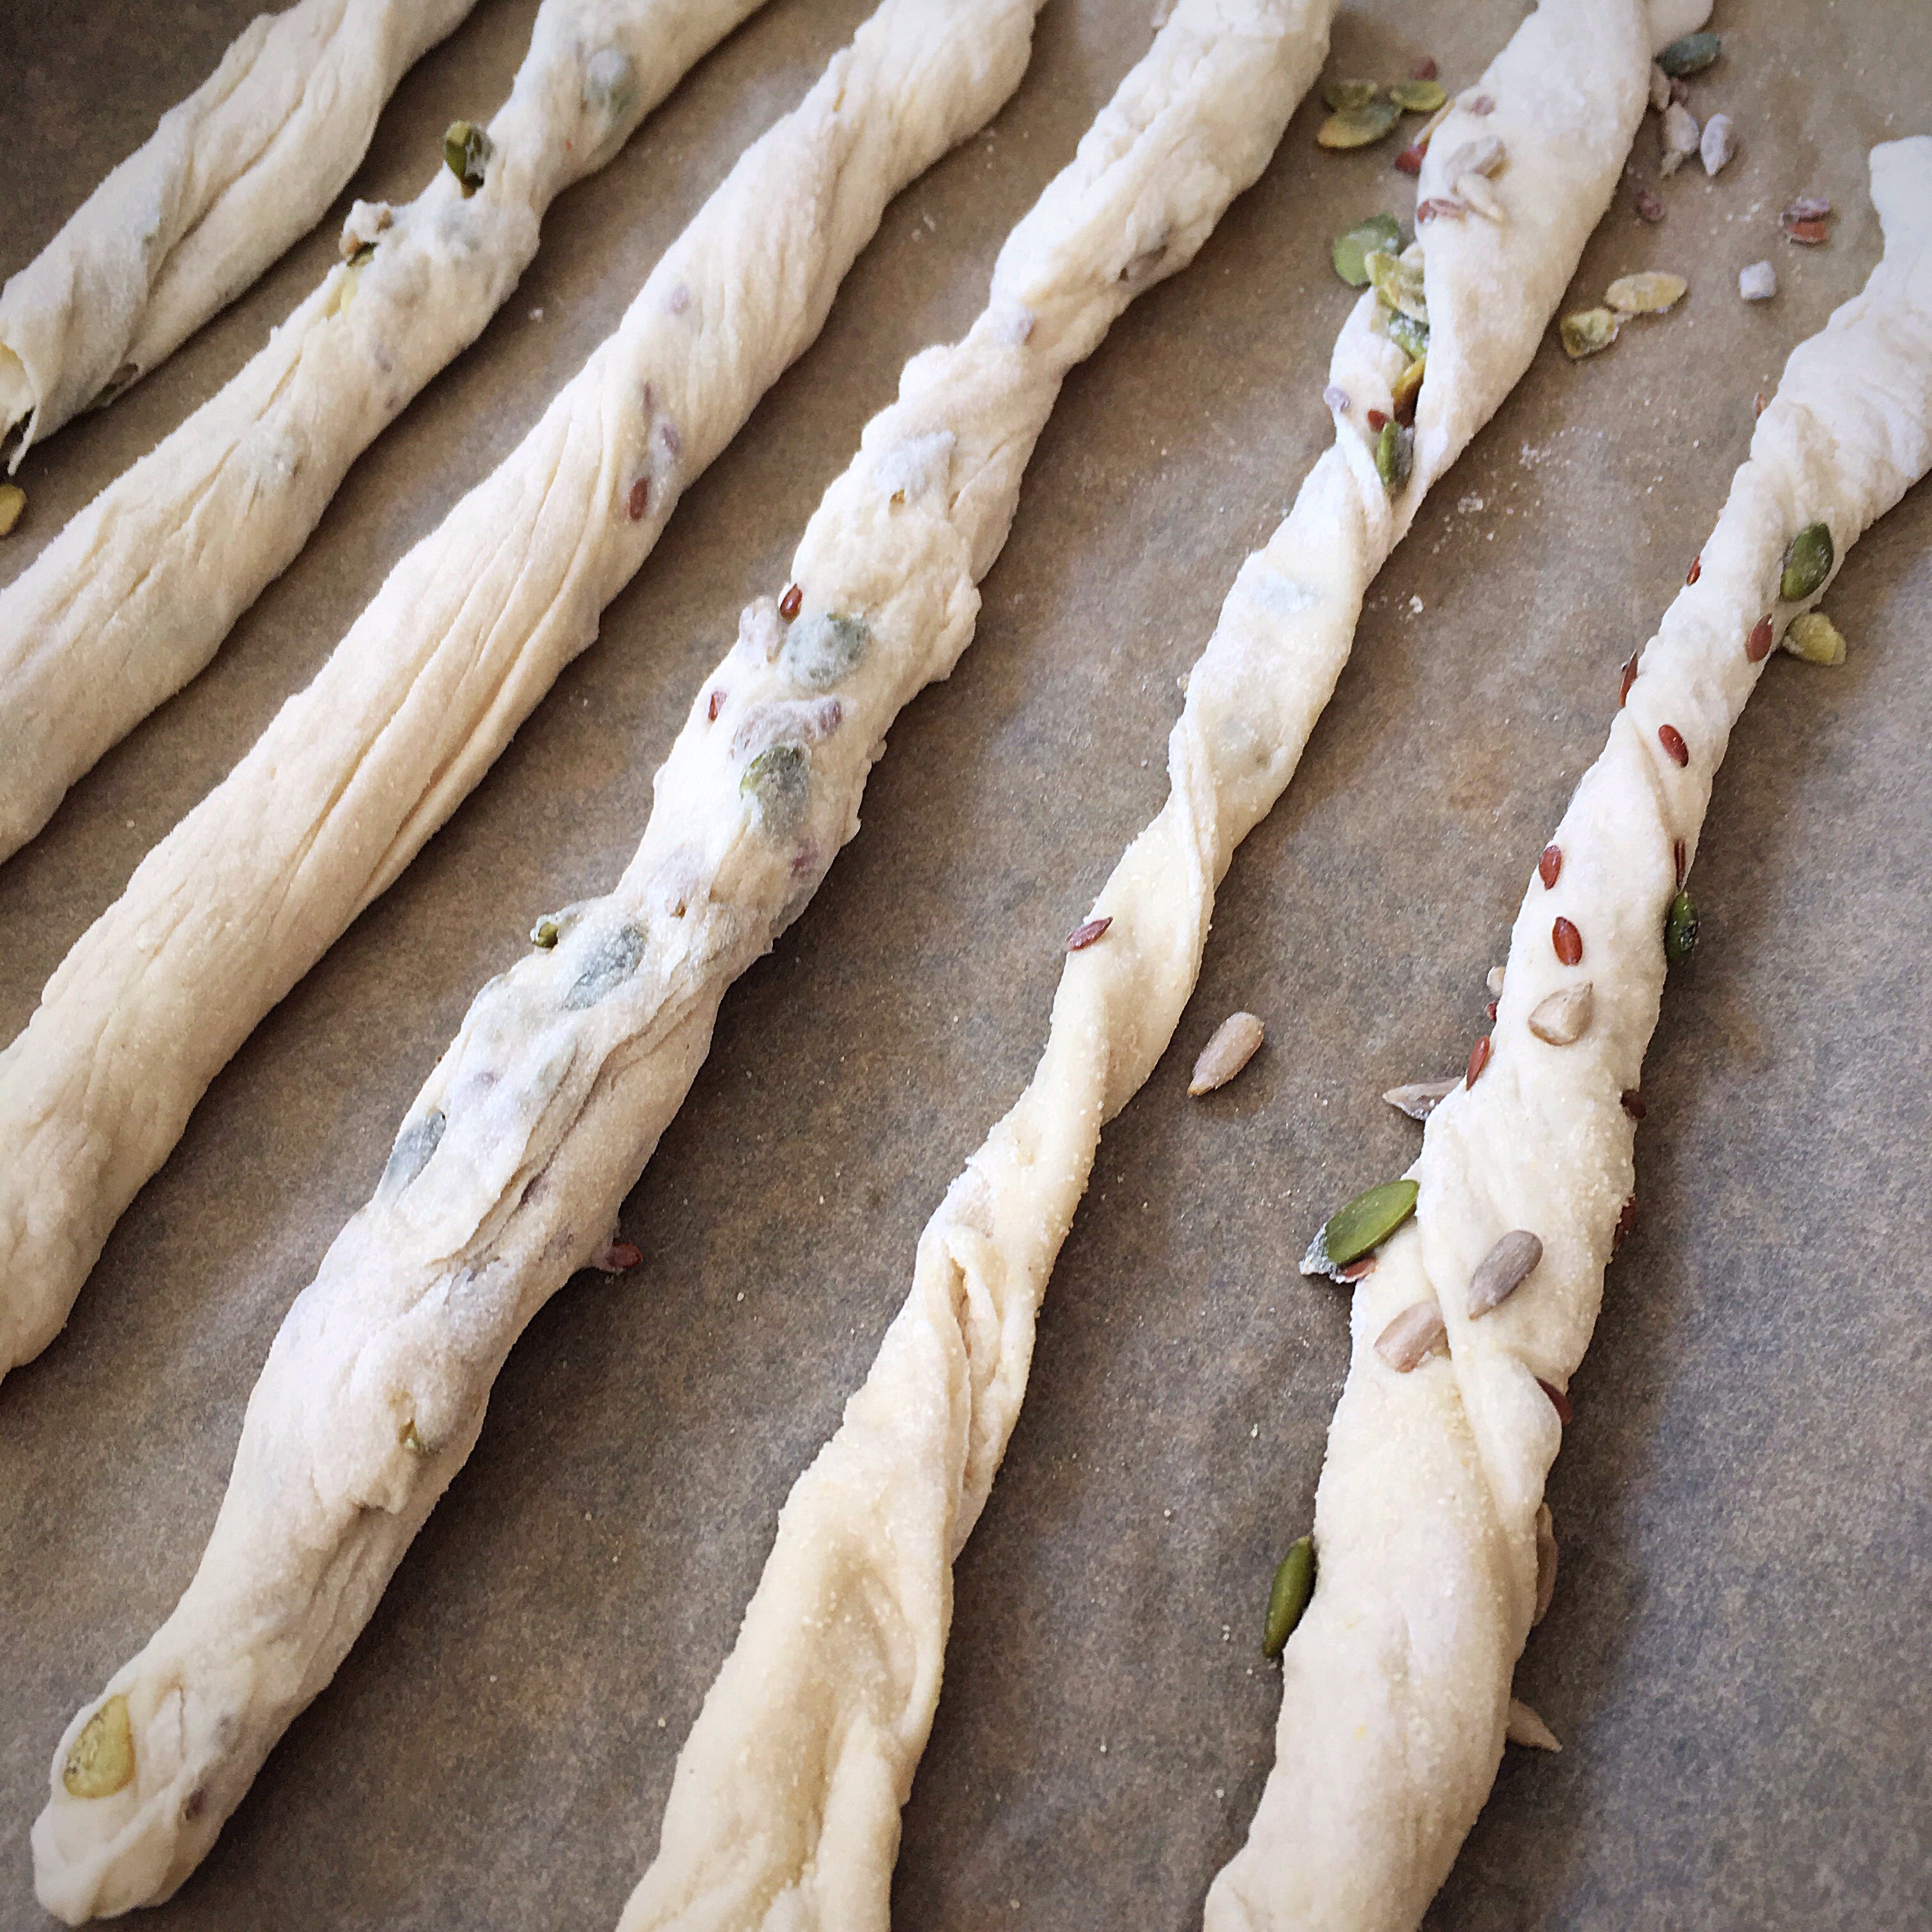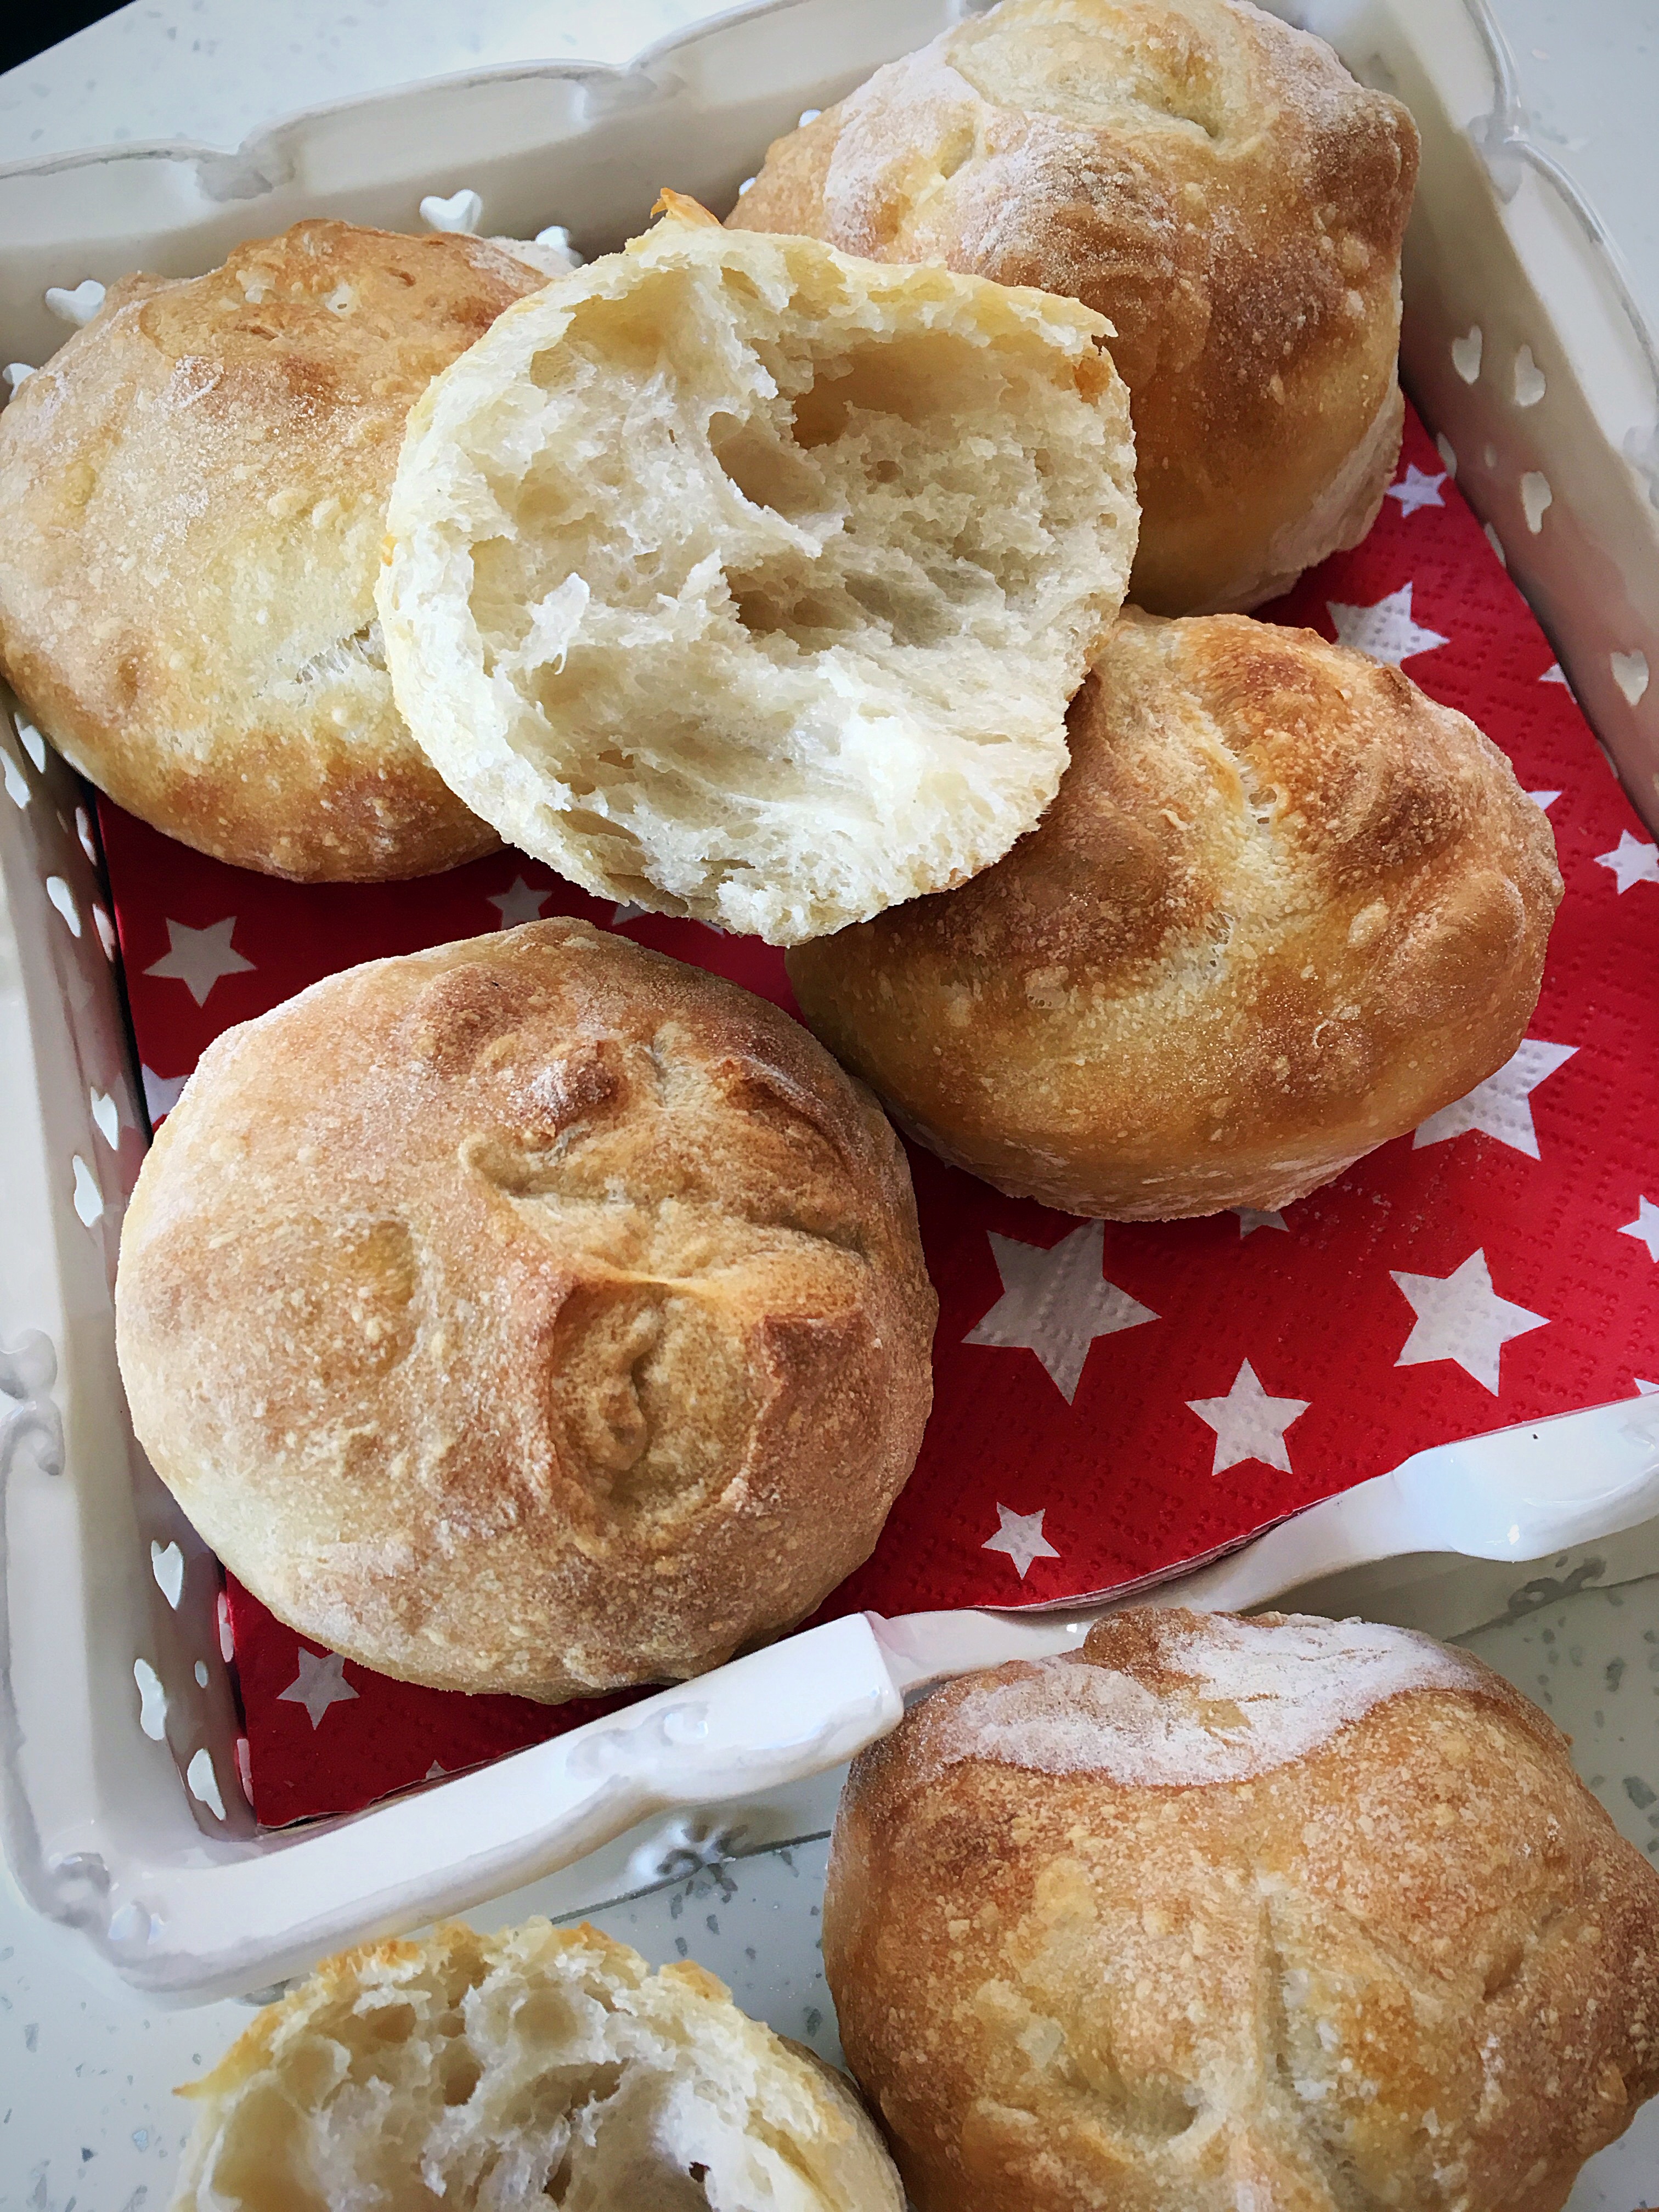
These rolls were made using my master recipe, link to the left, using Shipton Mill finest bakery no.1 white bread flour, but I also think that their Canadian bread flour would work well as it creates a slightly firmer dough in my experience. I also think they’d be lovely with various mixes of flour..
This week my lovely baking friend Steve and I made sourdough rolls together; I followed my master recipe exactly as it is, then after the overnight prove I pulled the dough together gently, placed it onto a floured surface then we cut it into 16 equal portions..as modelled by my lovely helper…
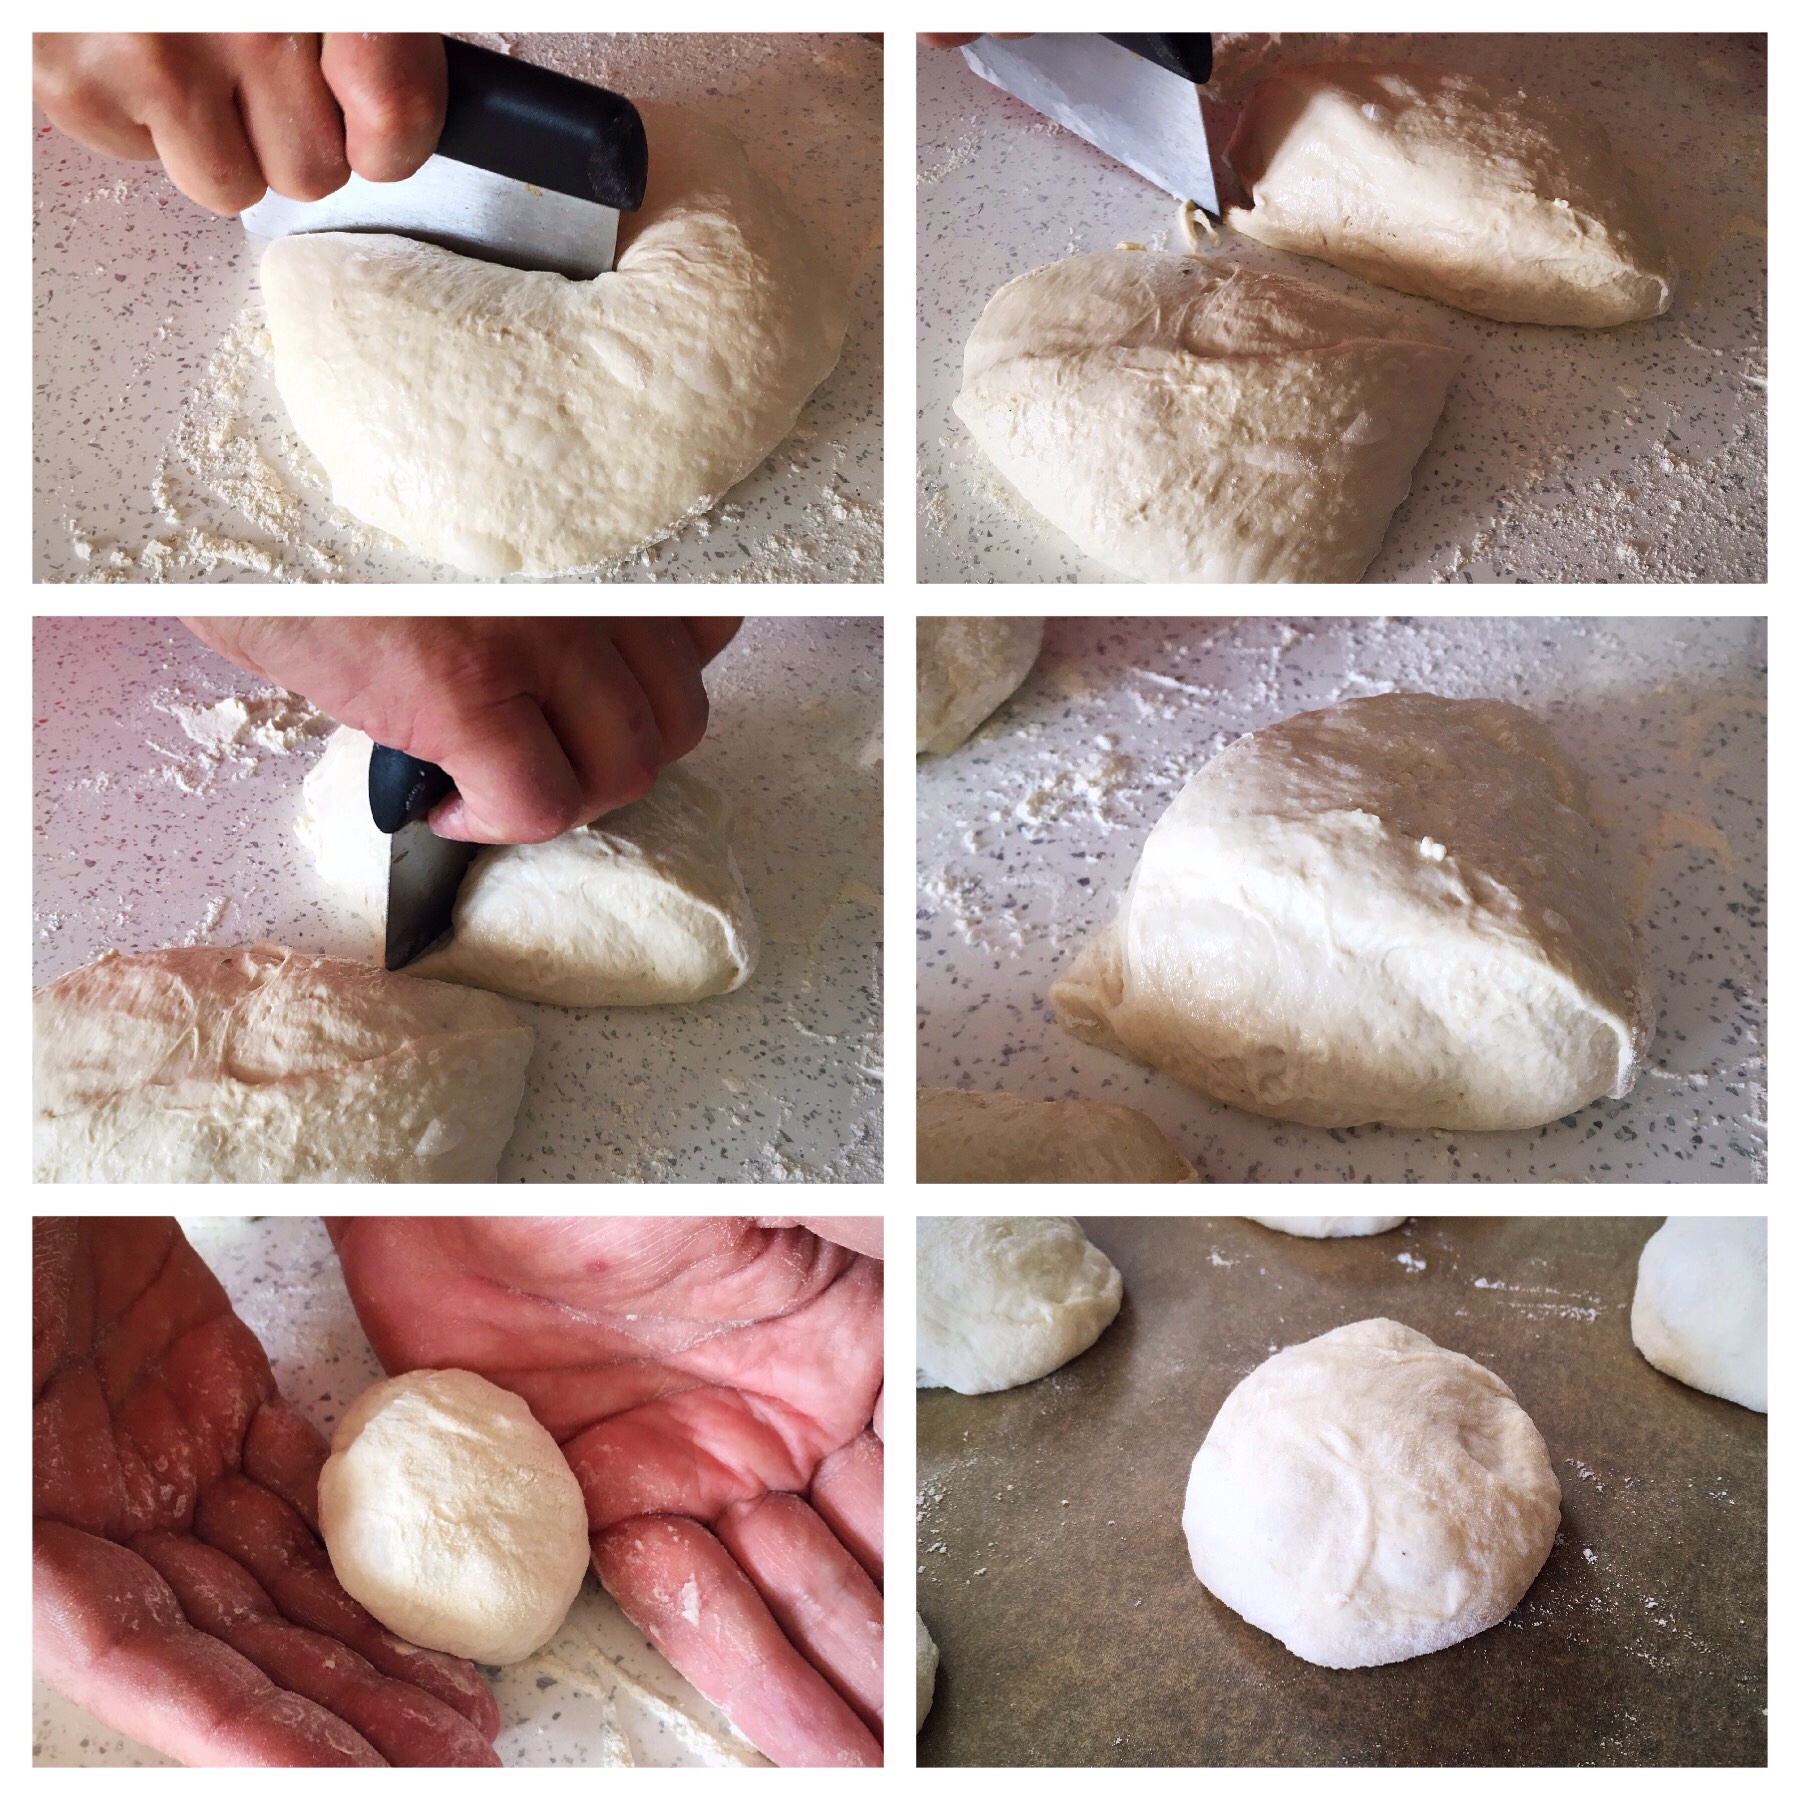 These pieces were rolled gently into rounds with the sides of our hands – very gently, the dough was very light and airy, and we wanted to preserve the bubbles – and placed onto a baking tray lined with parchment paper.
We then left them to sit for 10-15 minutes whilst preheating the oven to 200C fan (220C convection)
As they sat they did spread a little, and grow a little, which is good as it shows that the starter is still active.
They were too soft to score so I snipped crossed in the tops with scissors..
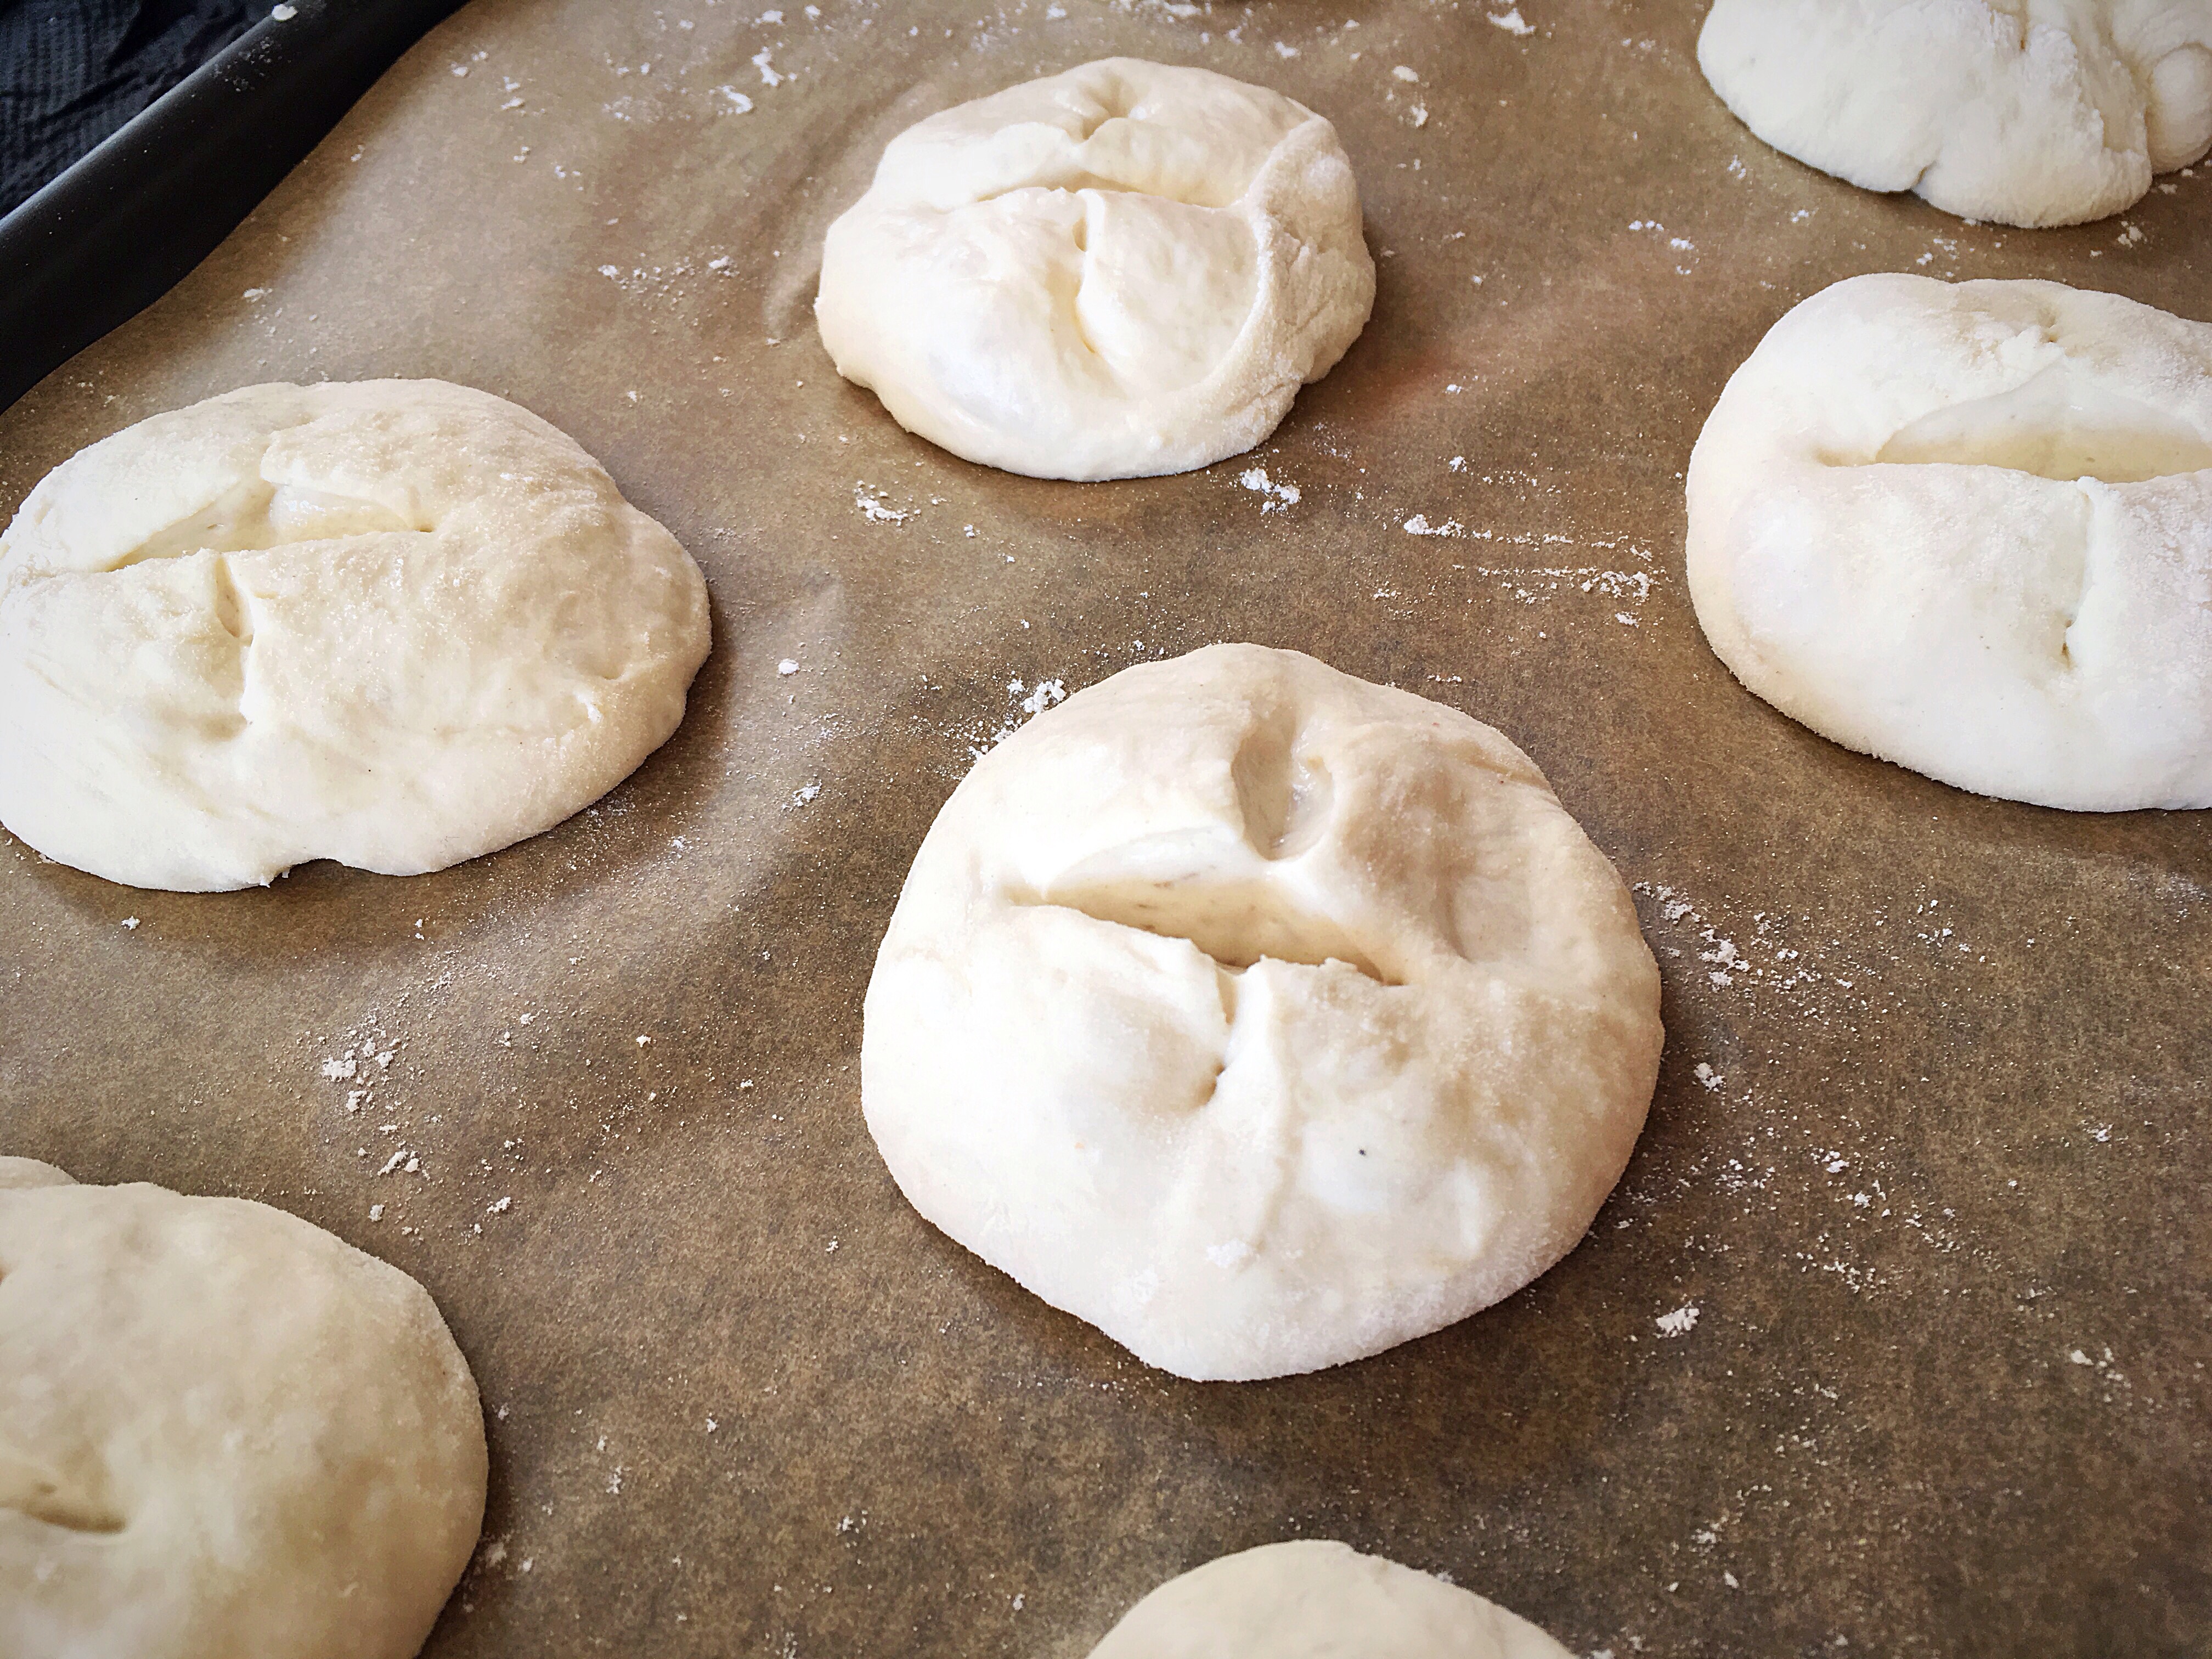
We baked them for about 18 minutes, turning the tray around half way through so ensure an even colour across the top.
As they baked we watched them grow beautifully, up into lovely balls.
They came out lovely and crusty on the outside and soft and holey in the middle.
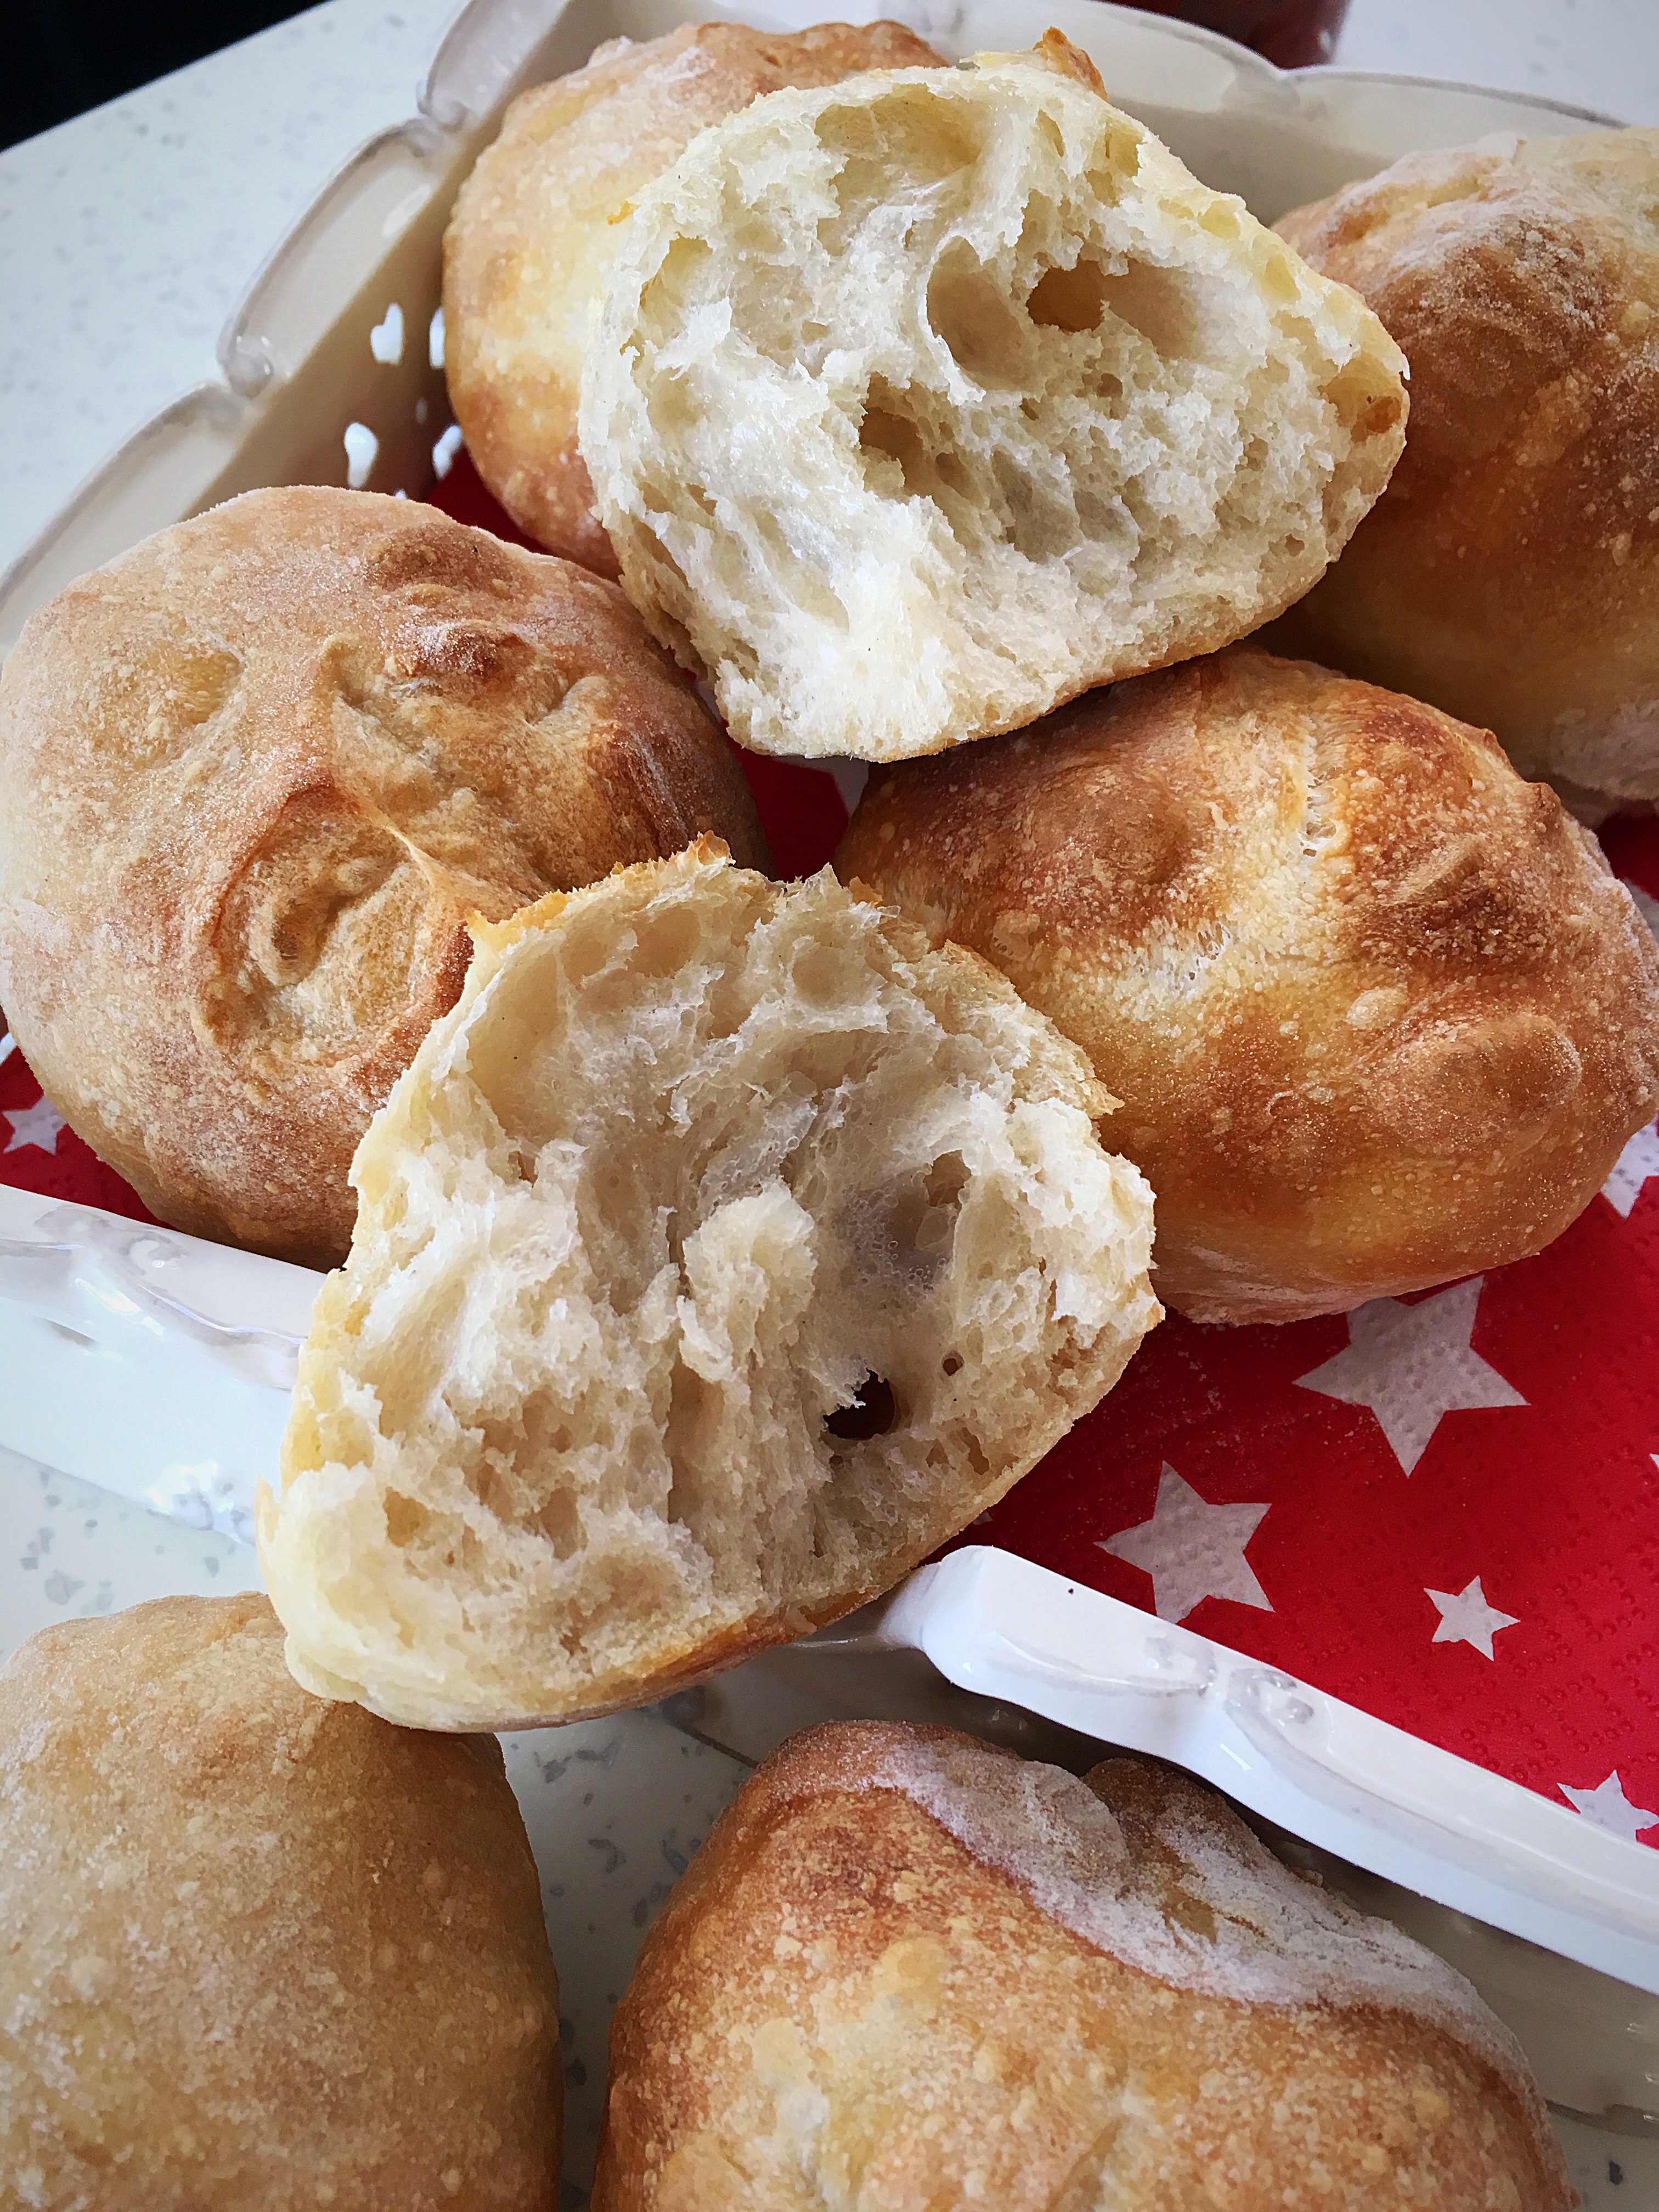
We forced ourselves to let them cool once baked whilst we made some spiced root vegetable soup (I topped my soup with my homemade homous, whilst Steve lashed piles of my homemade harissa on his) to enjoy them with…and it was worth the wait, they were so good!
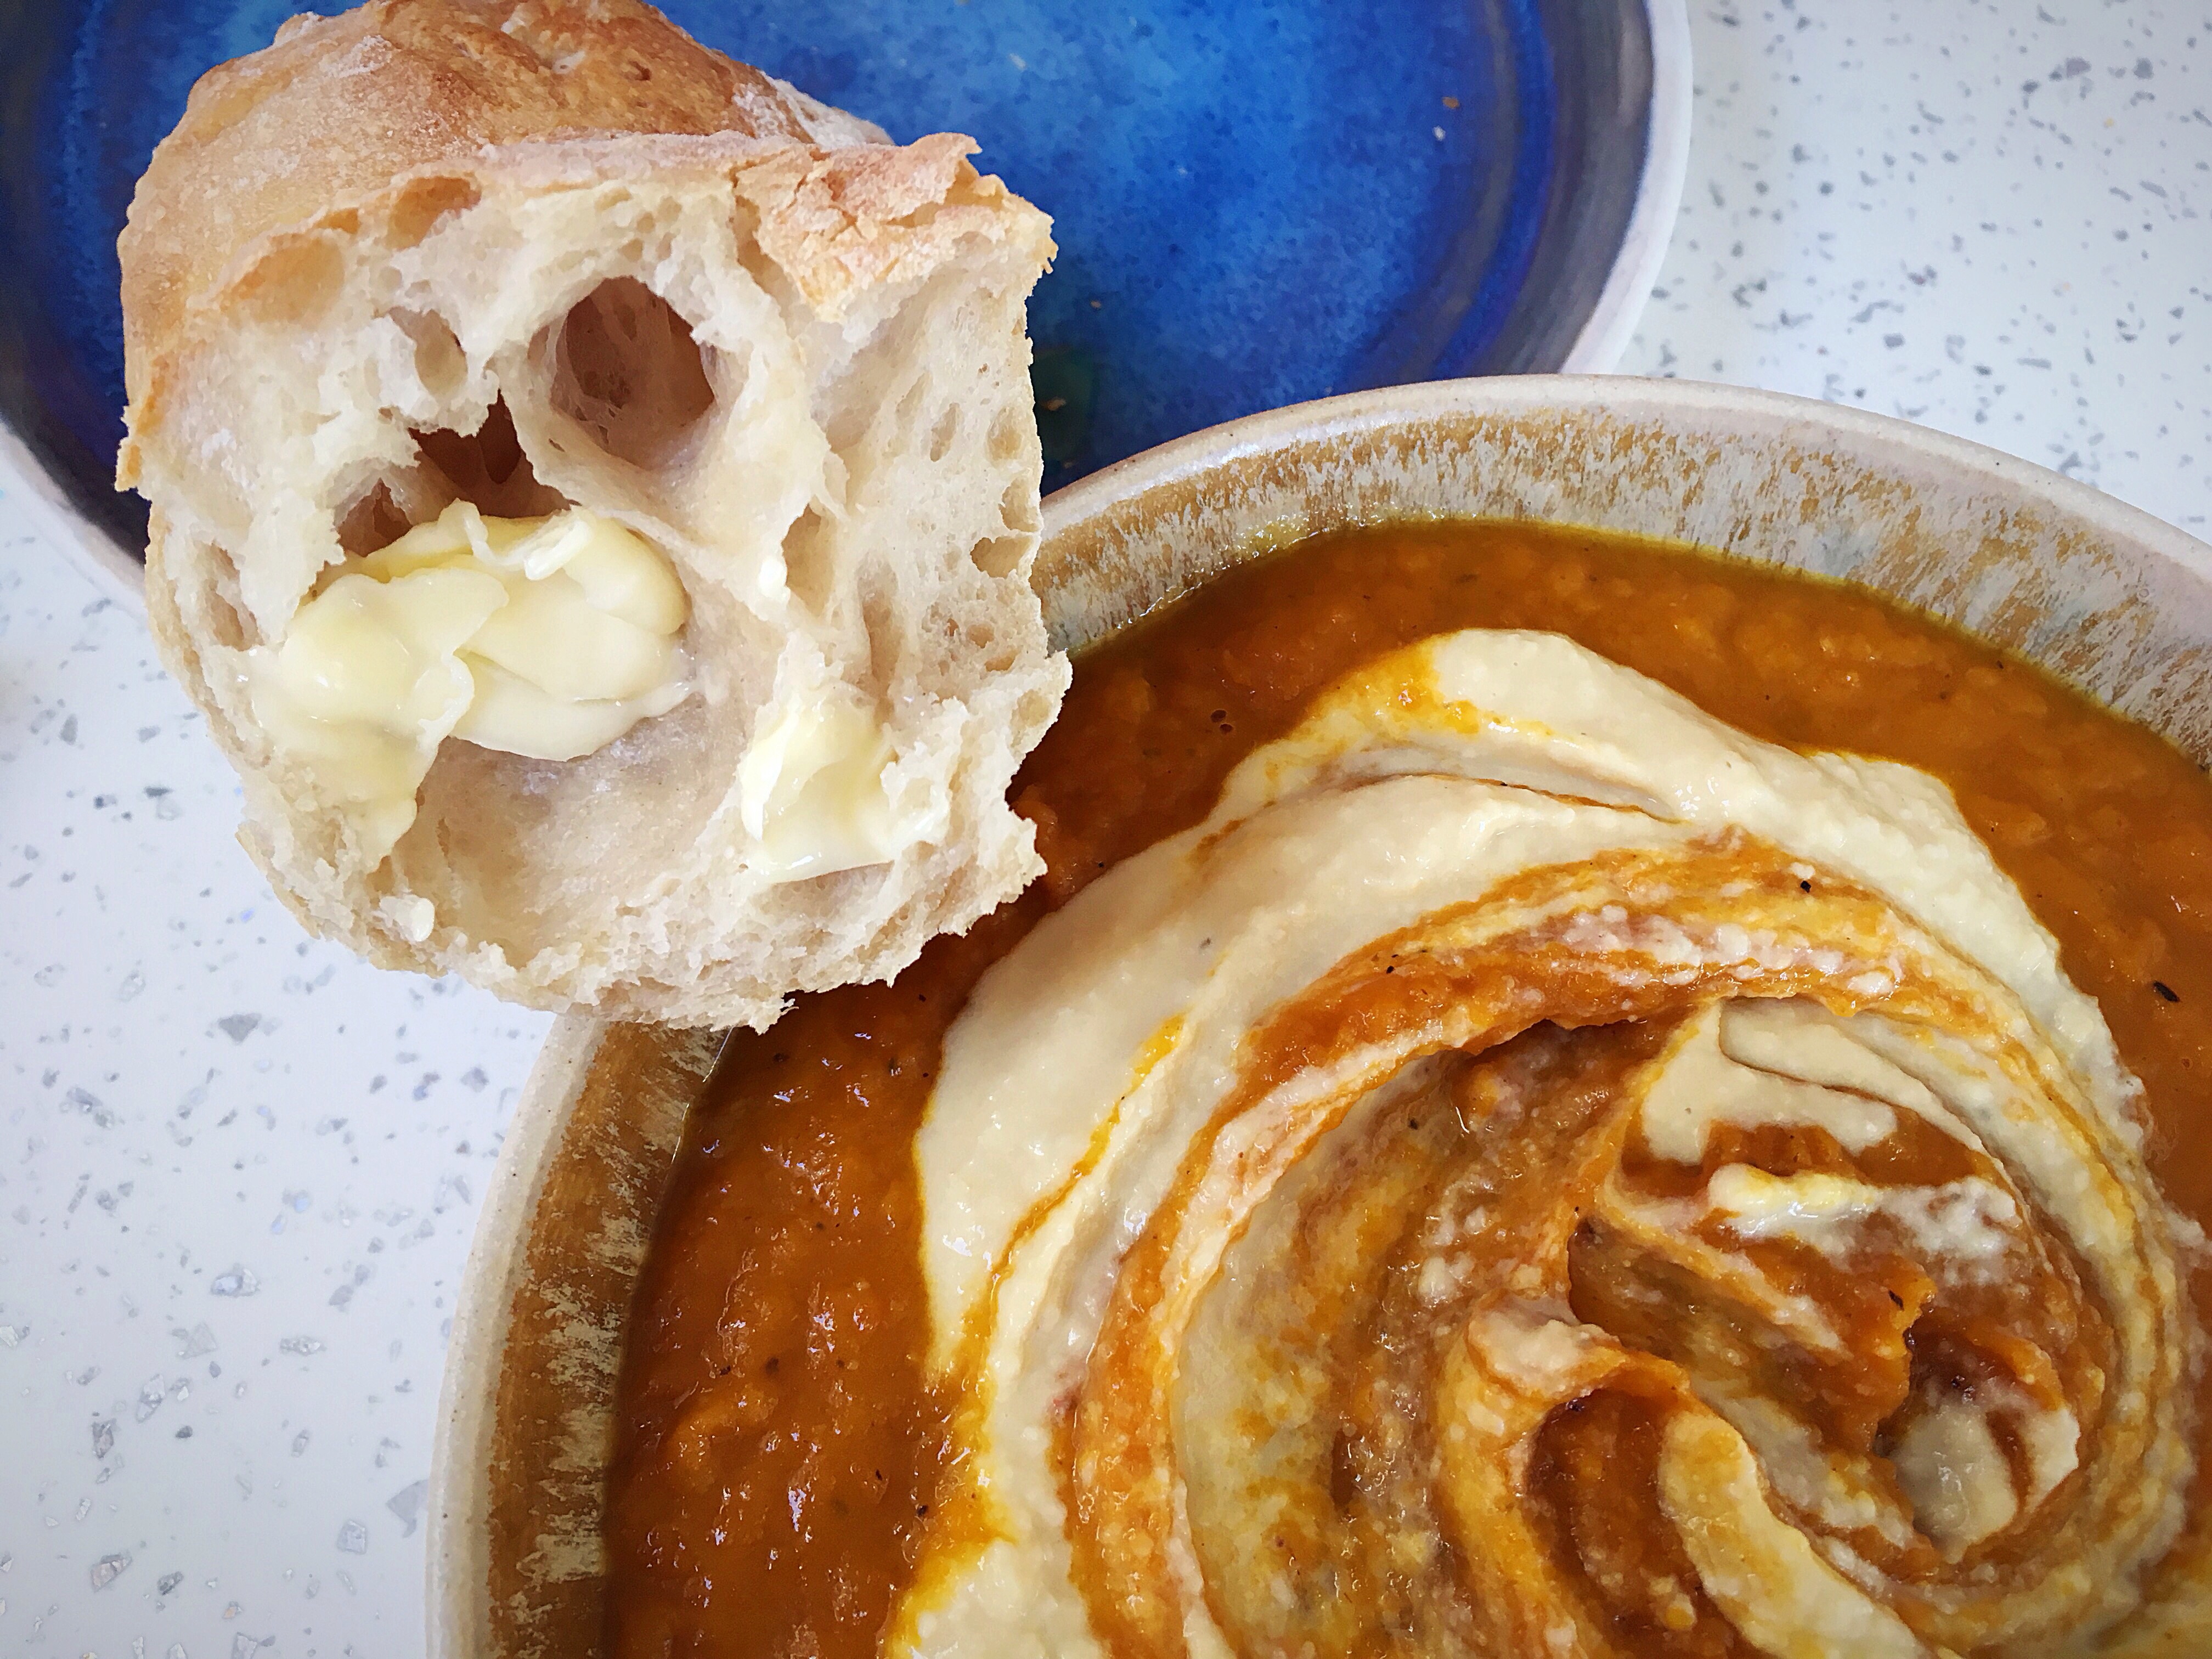
We cut the dough into 16 pieces and made smaller rolls; if you want to make bigger versions, you may need to bake them for a bit longer.
Happy baking!
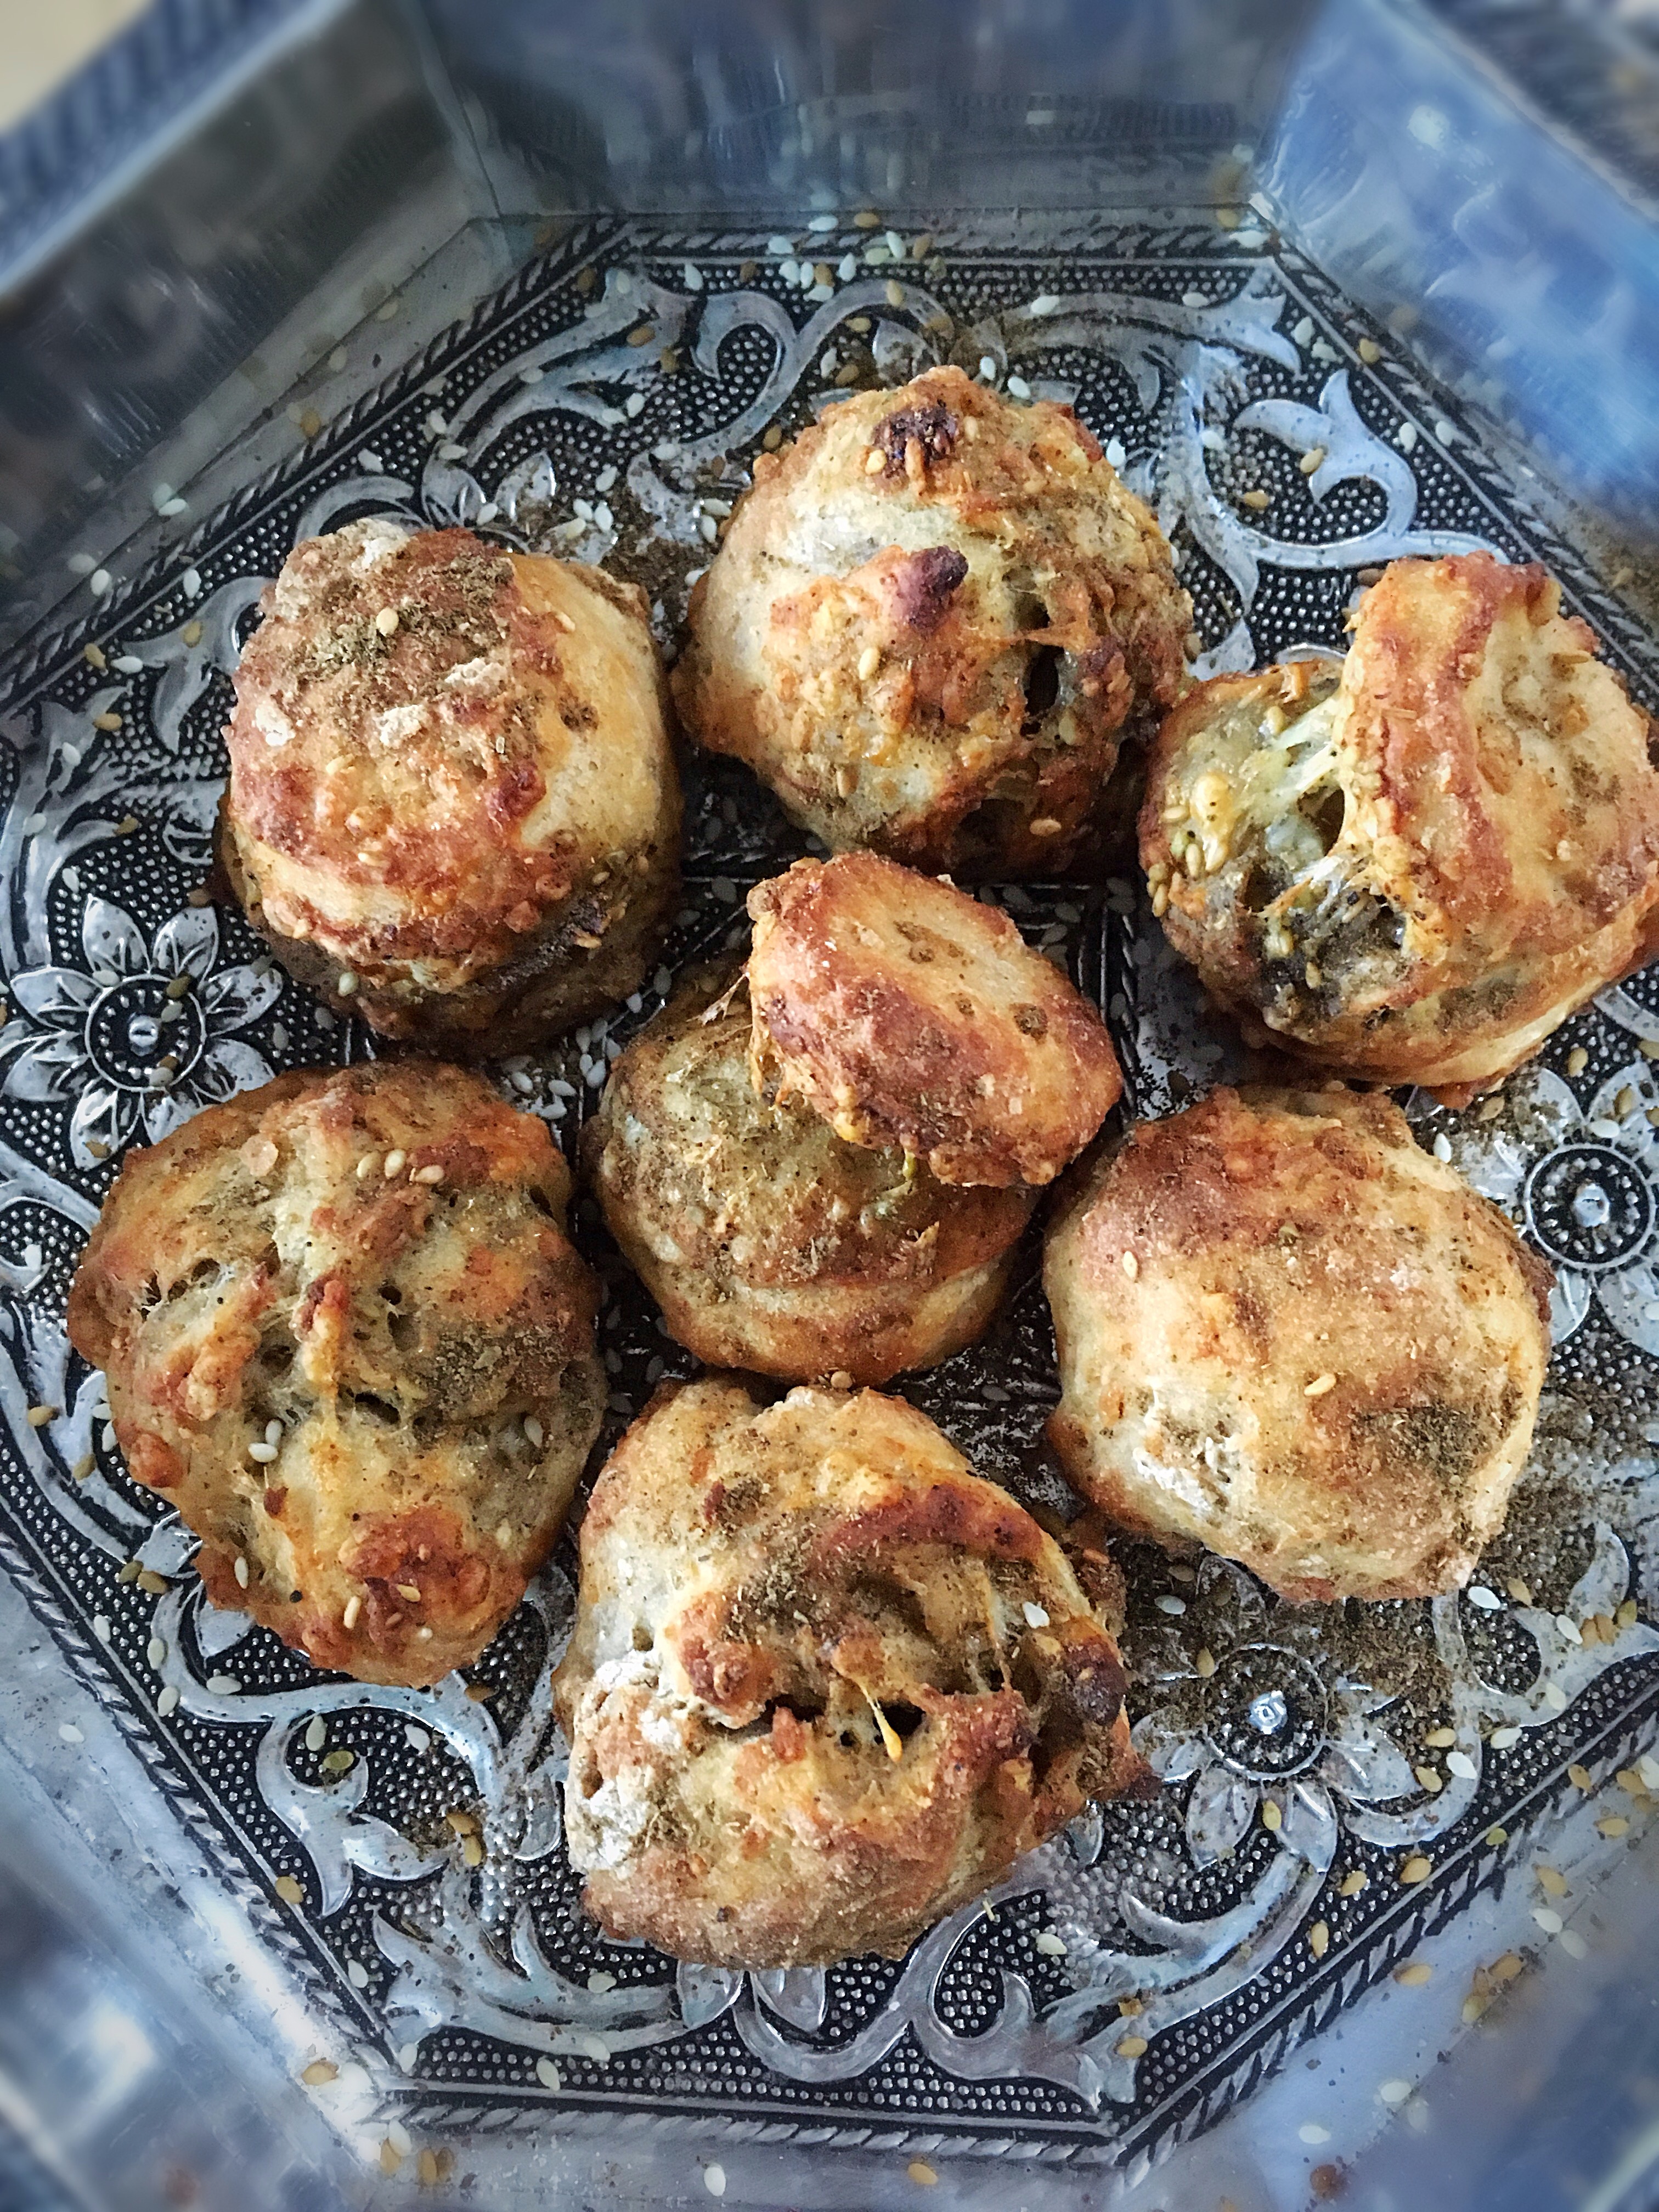
An update: I made rolls again (below) and these were much bigger, I split the dough into 8 this time and I baked them for about 20 mins until slightly browned on the top…
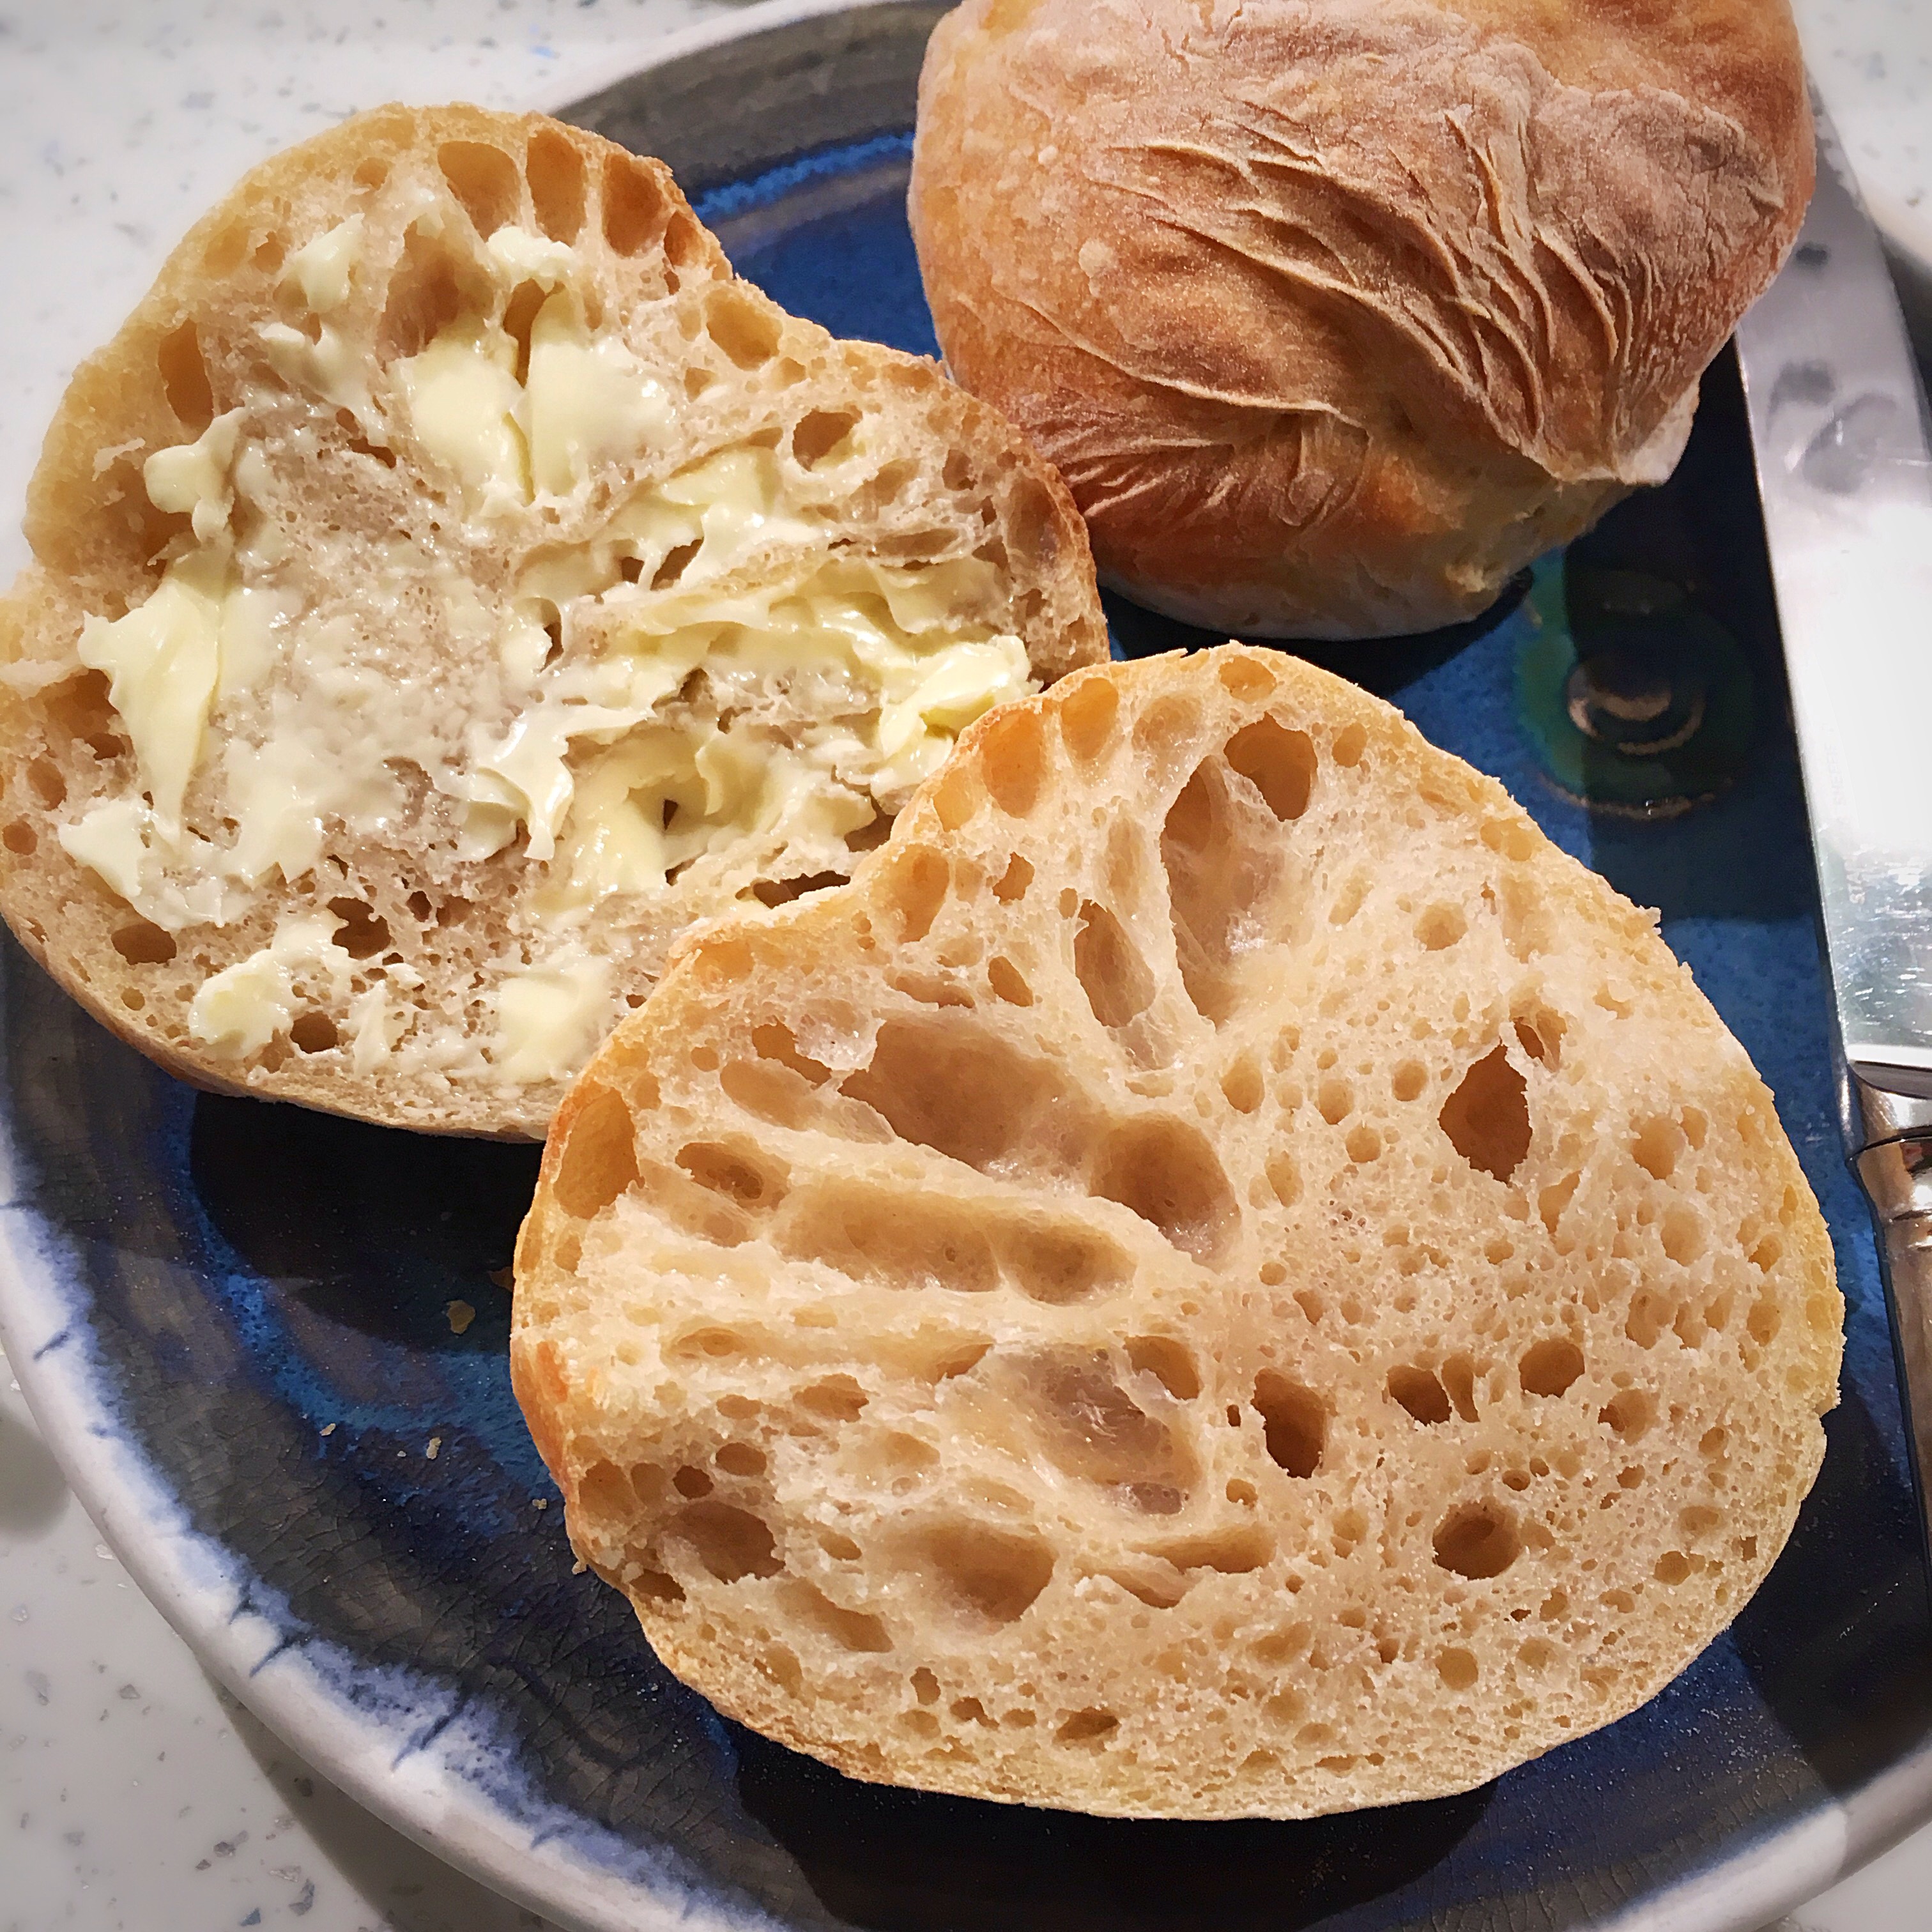
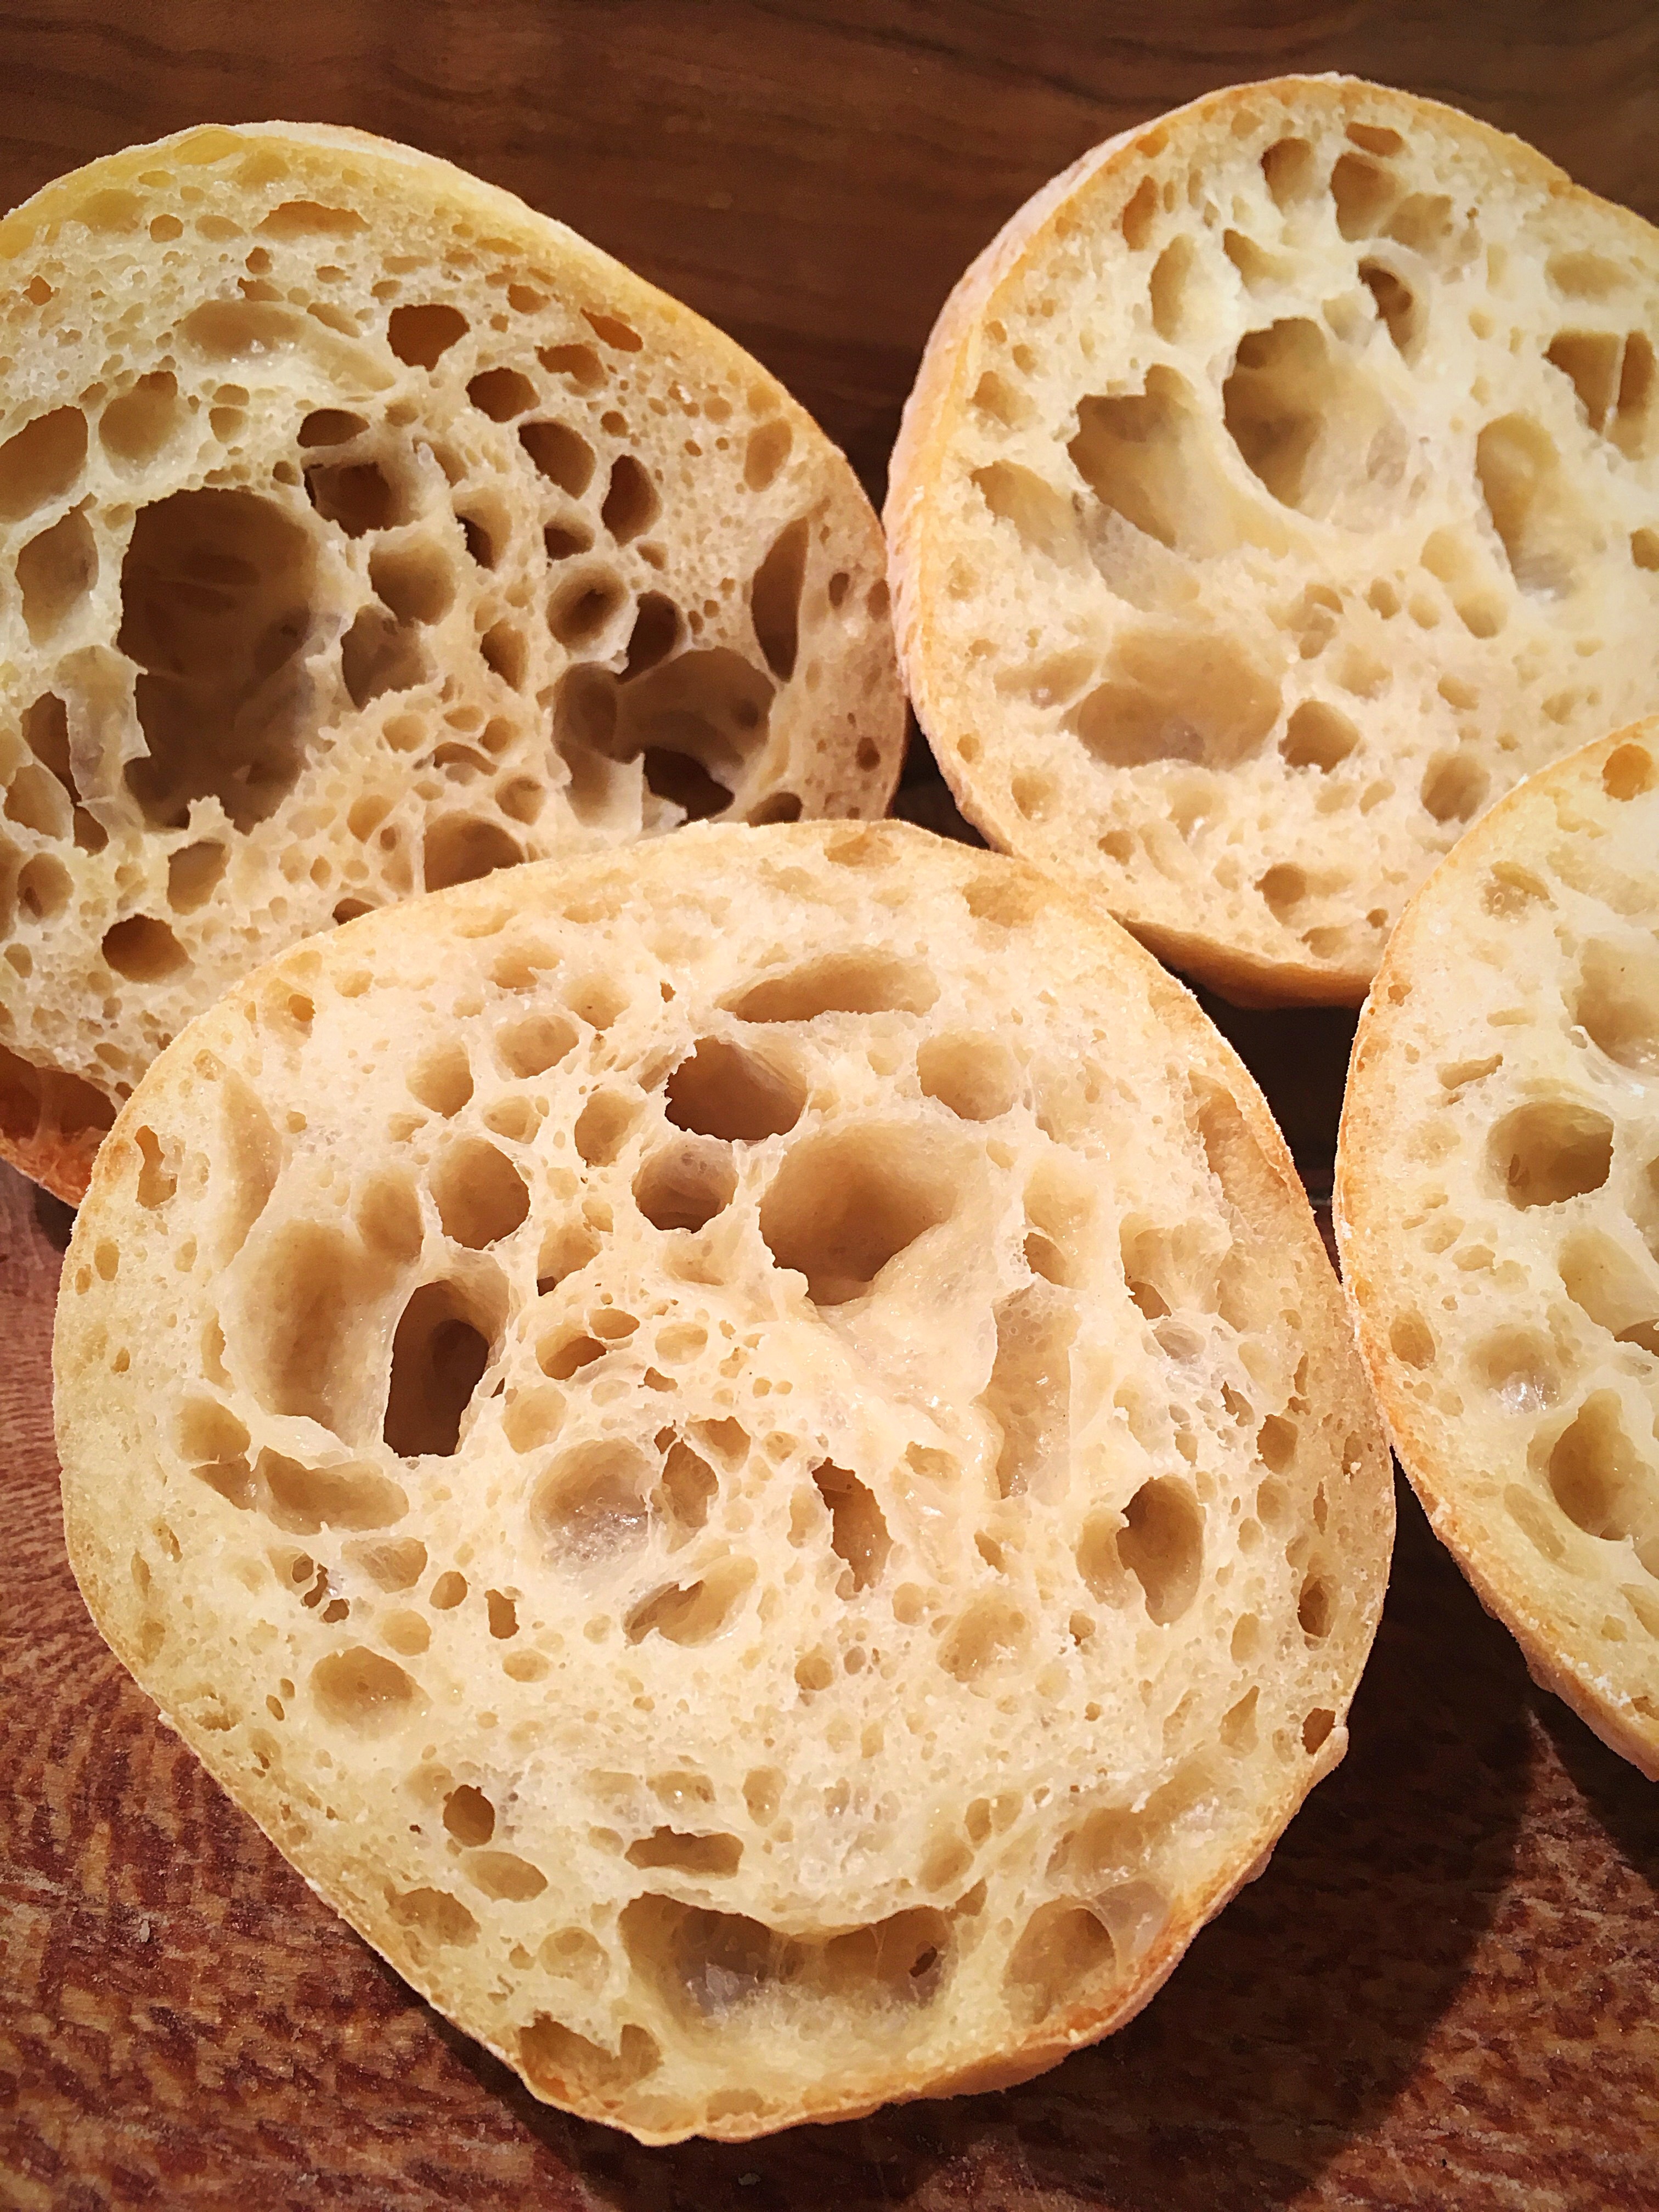
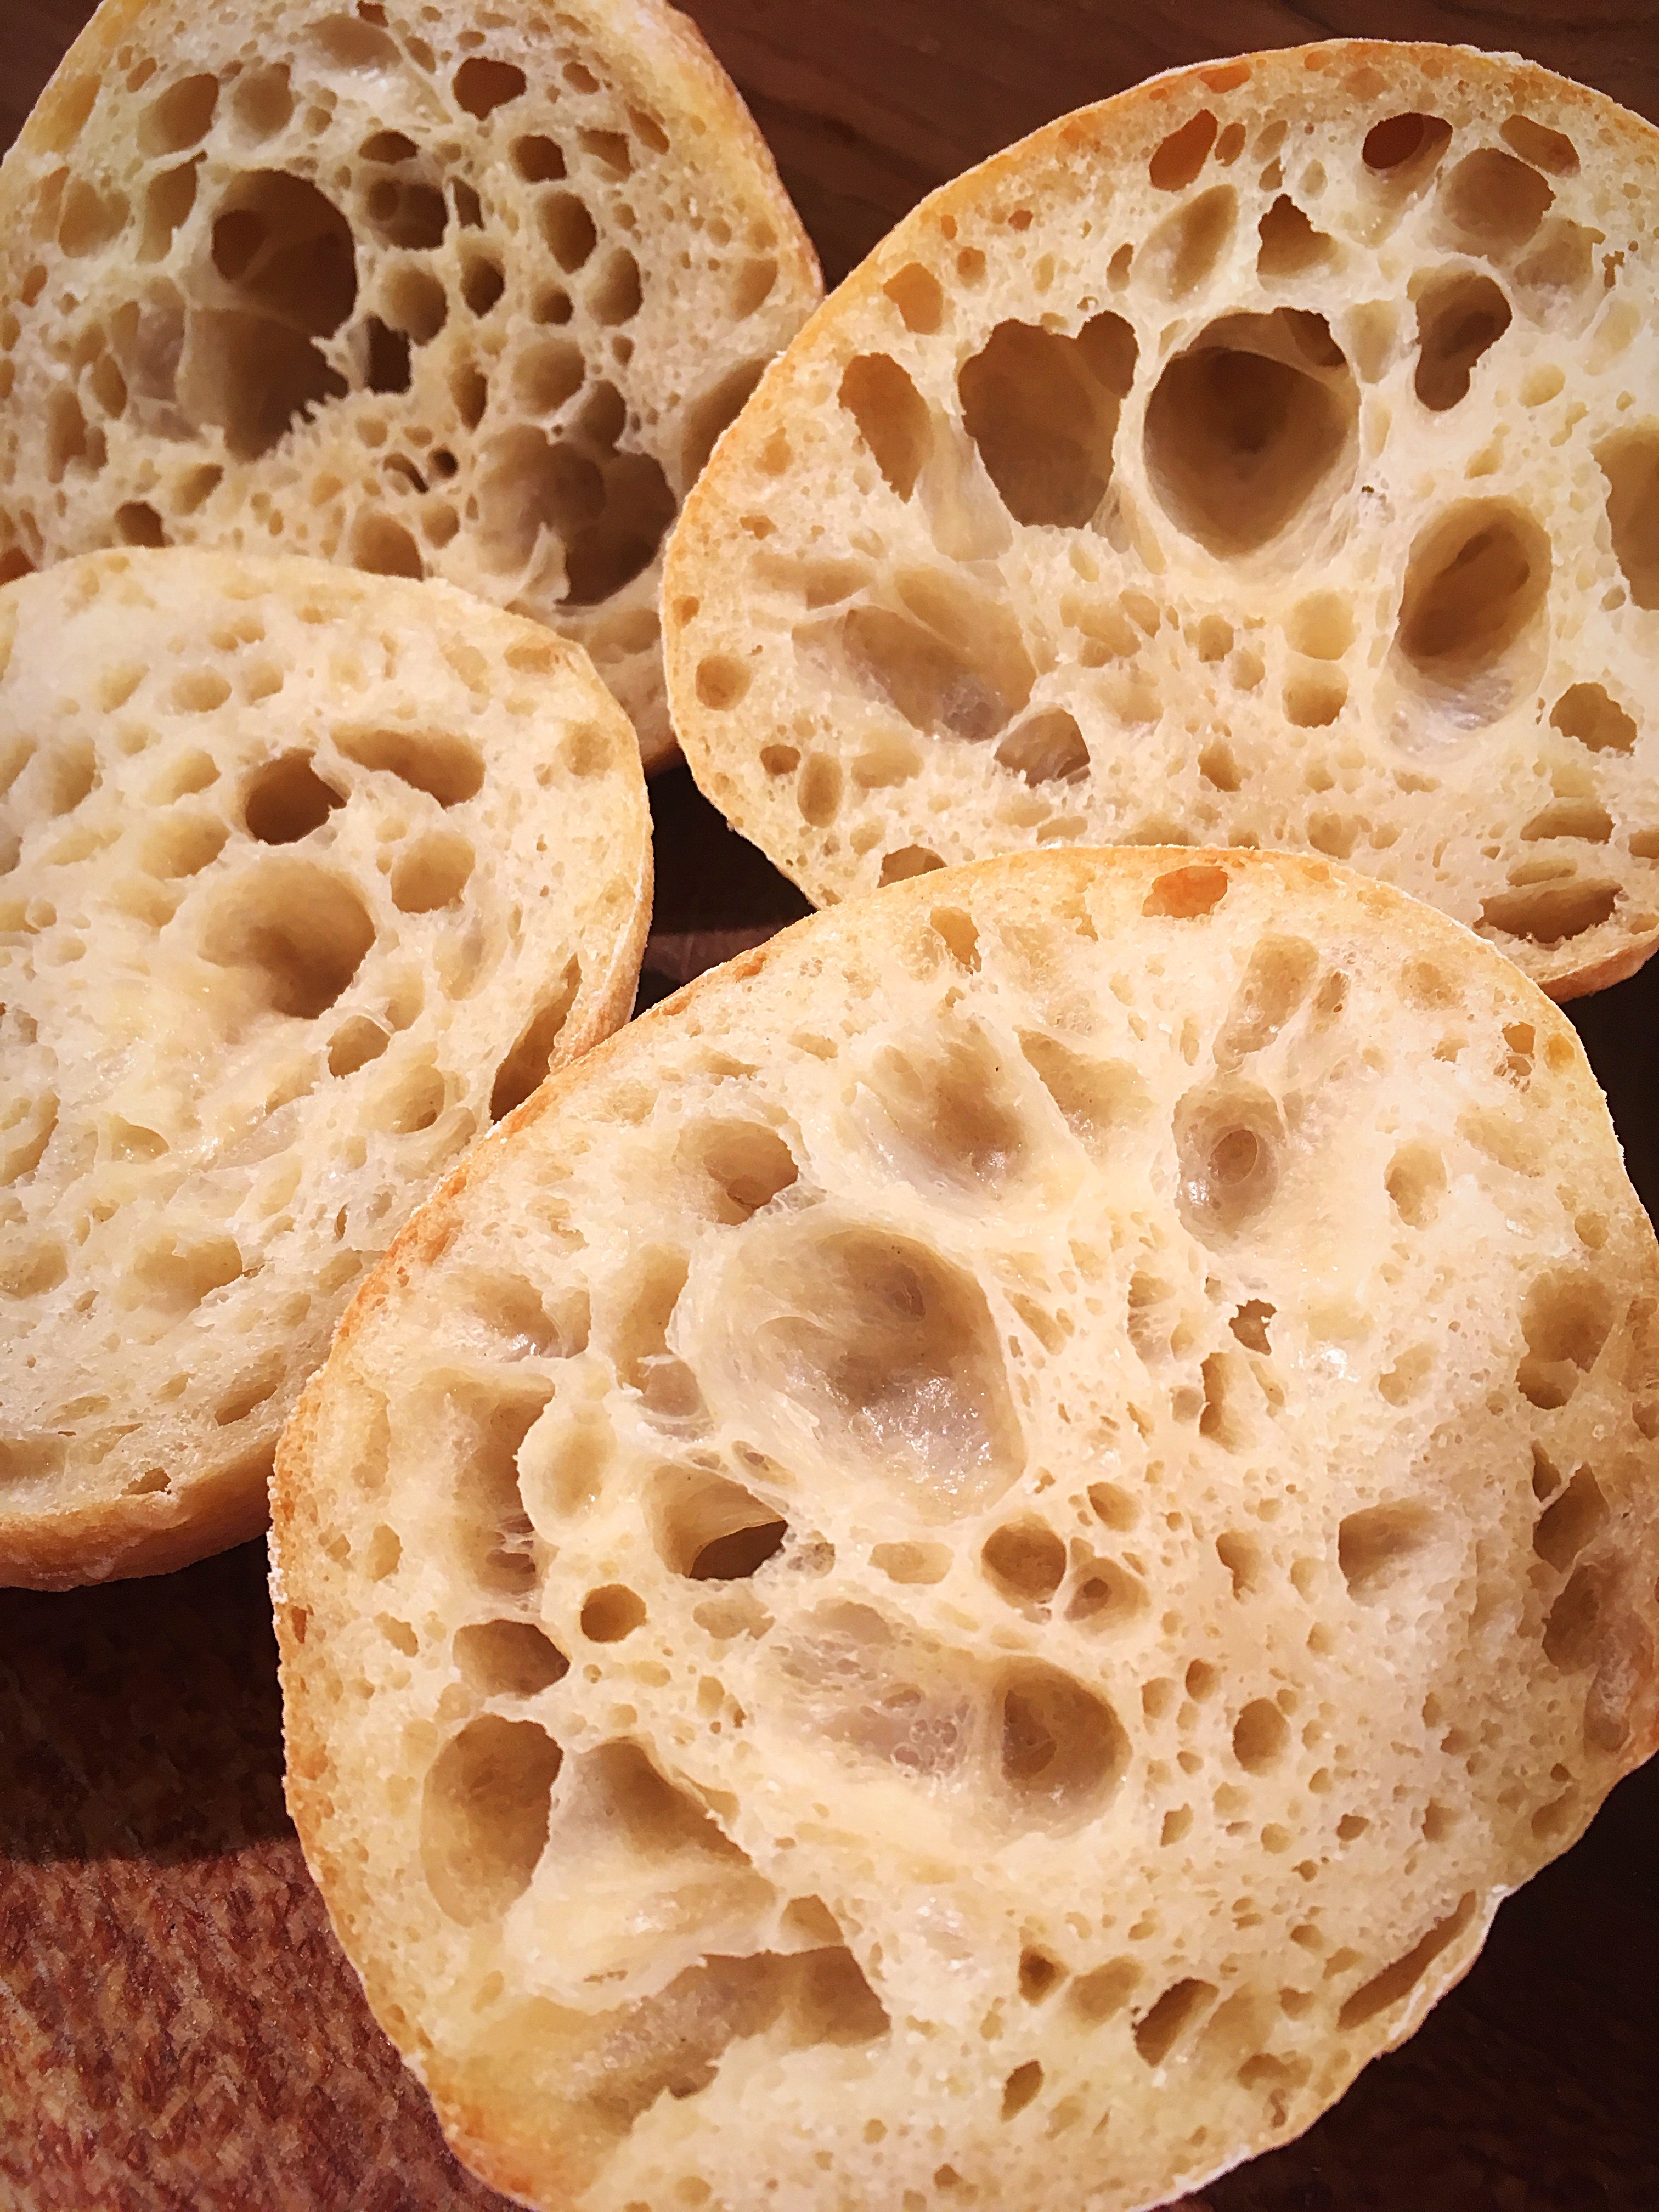
So good!!!
Another update: I baked these rolls from cold; I put the tray in the fridge for 1-2 hours after shaping them, then baked them from a cold start…
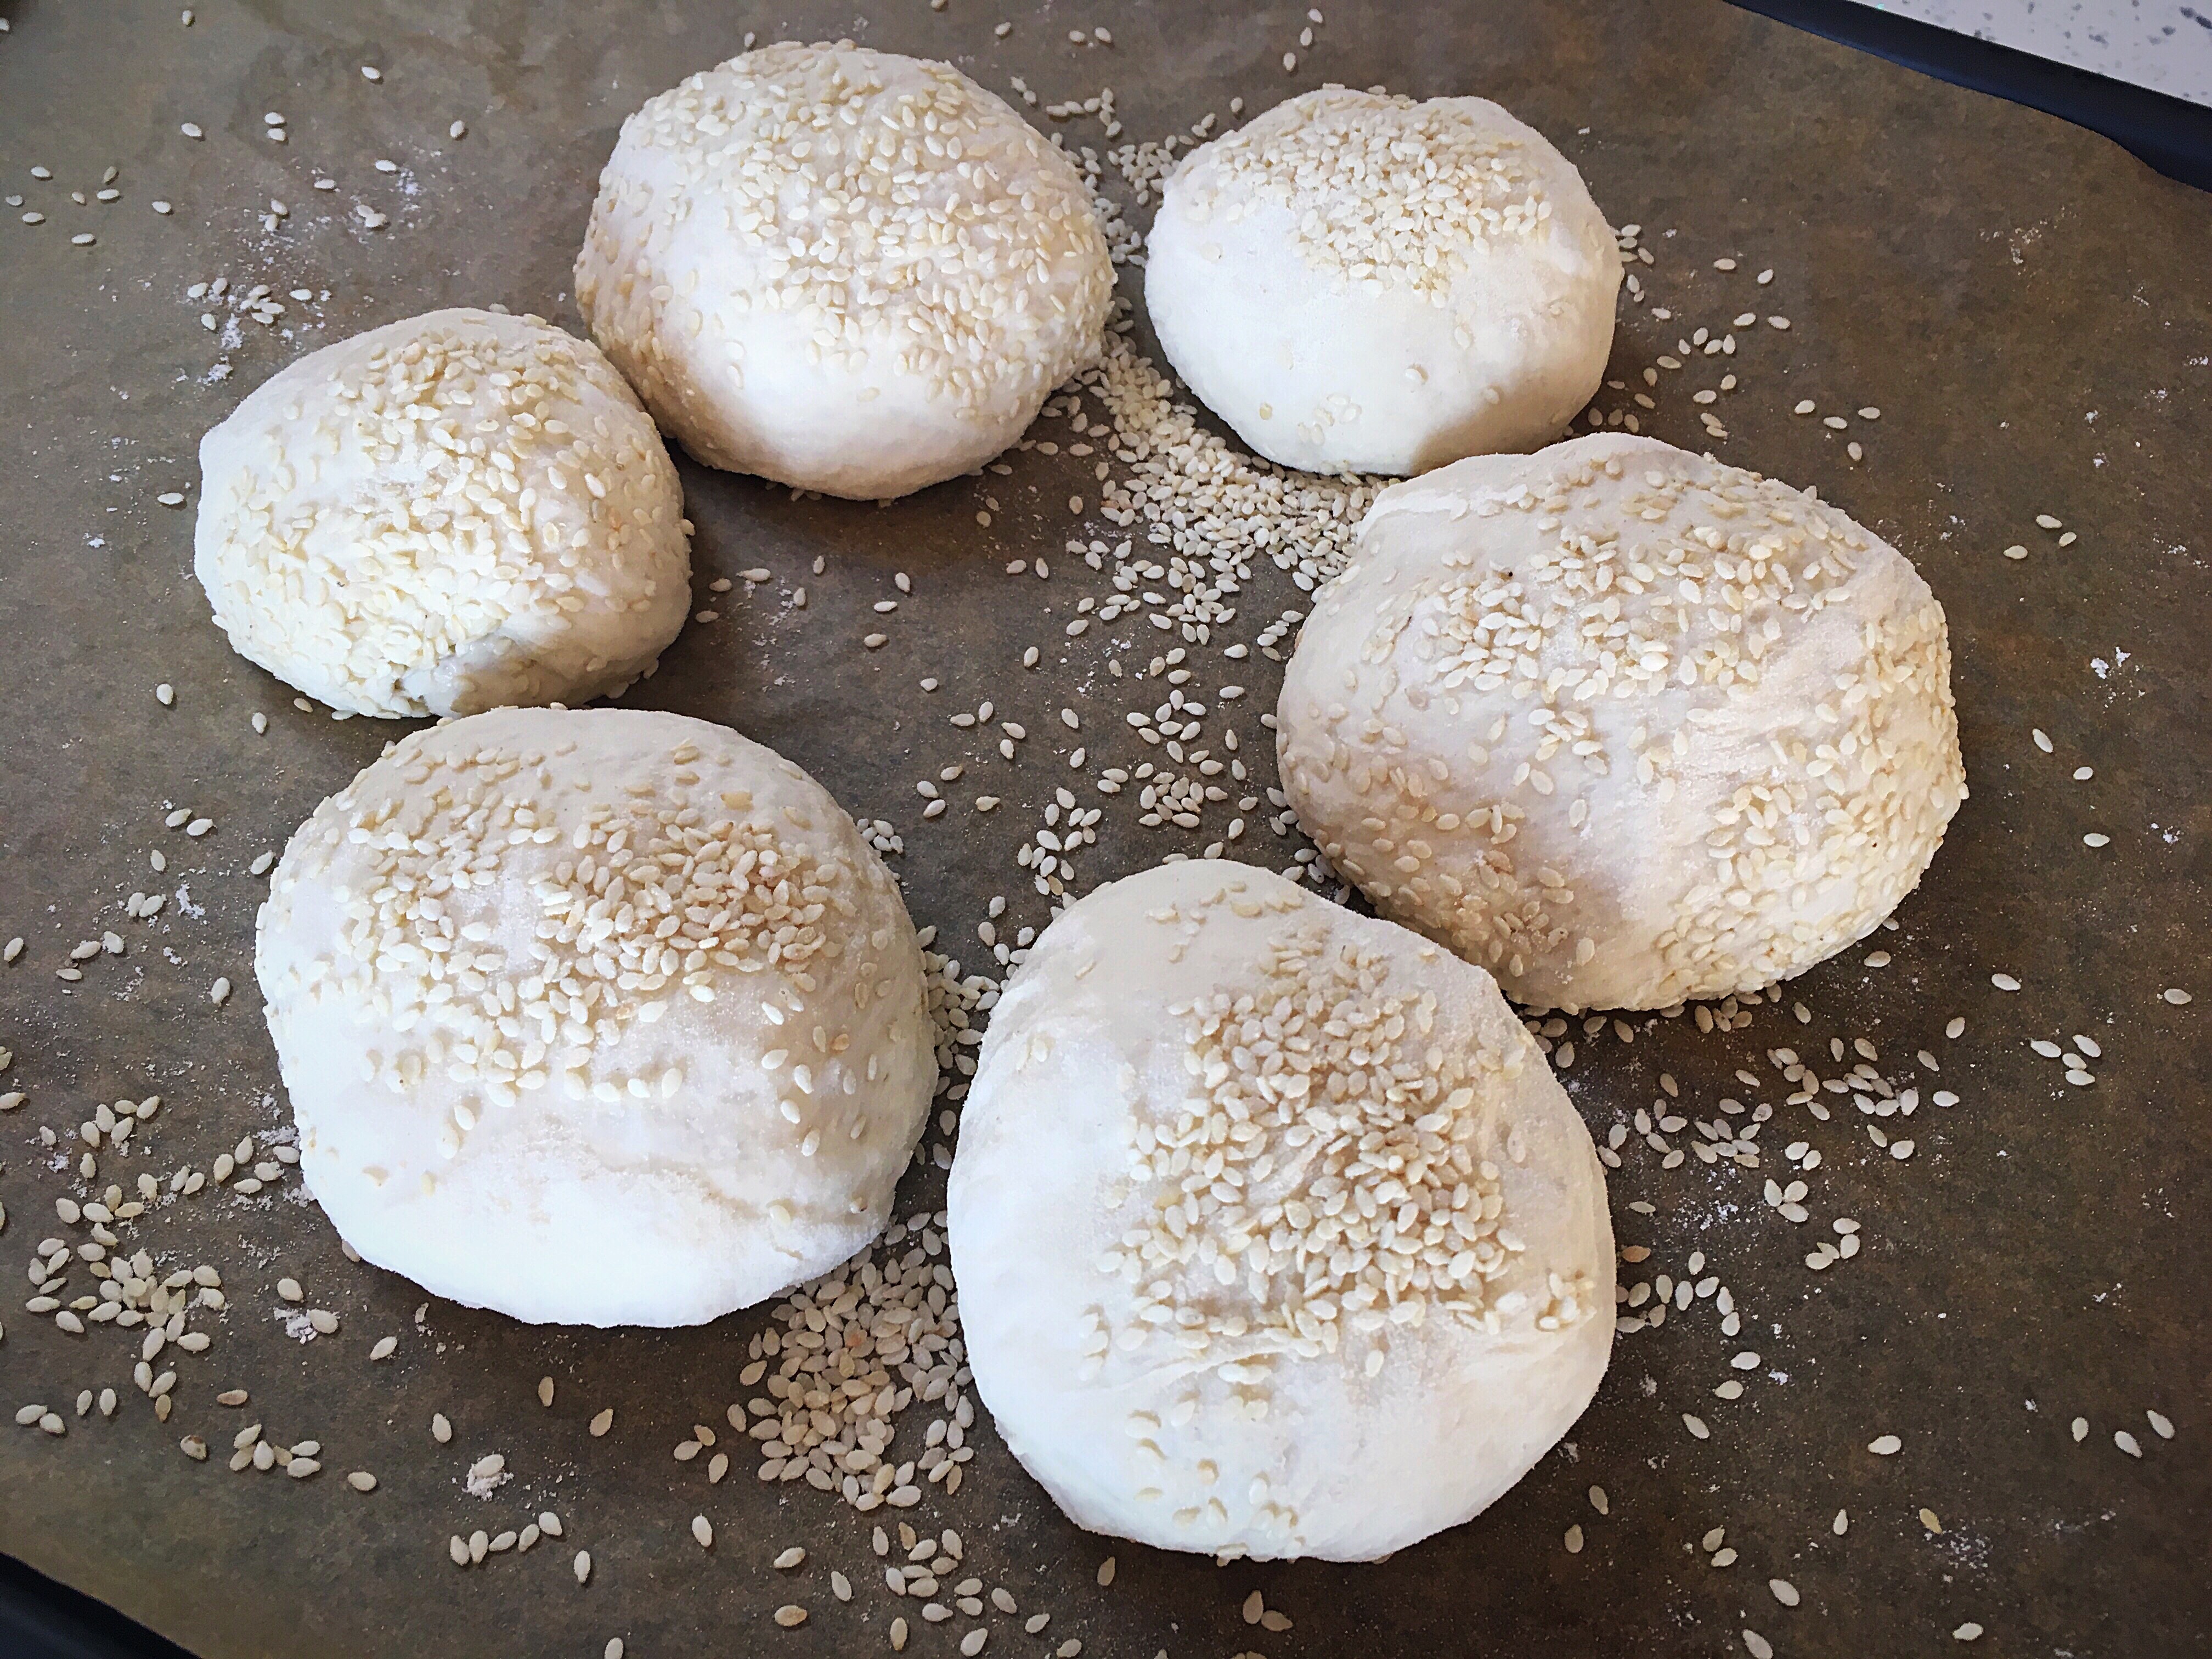
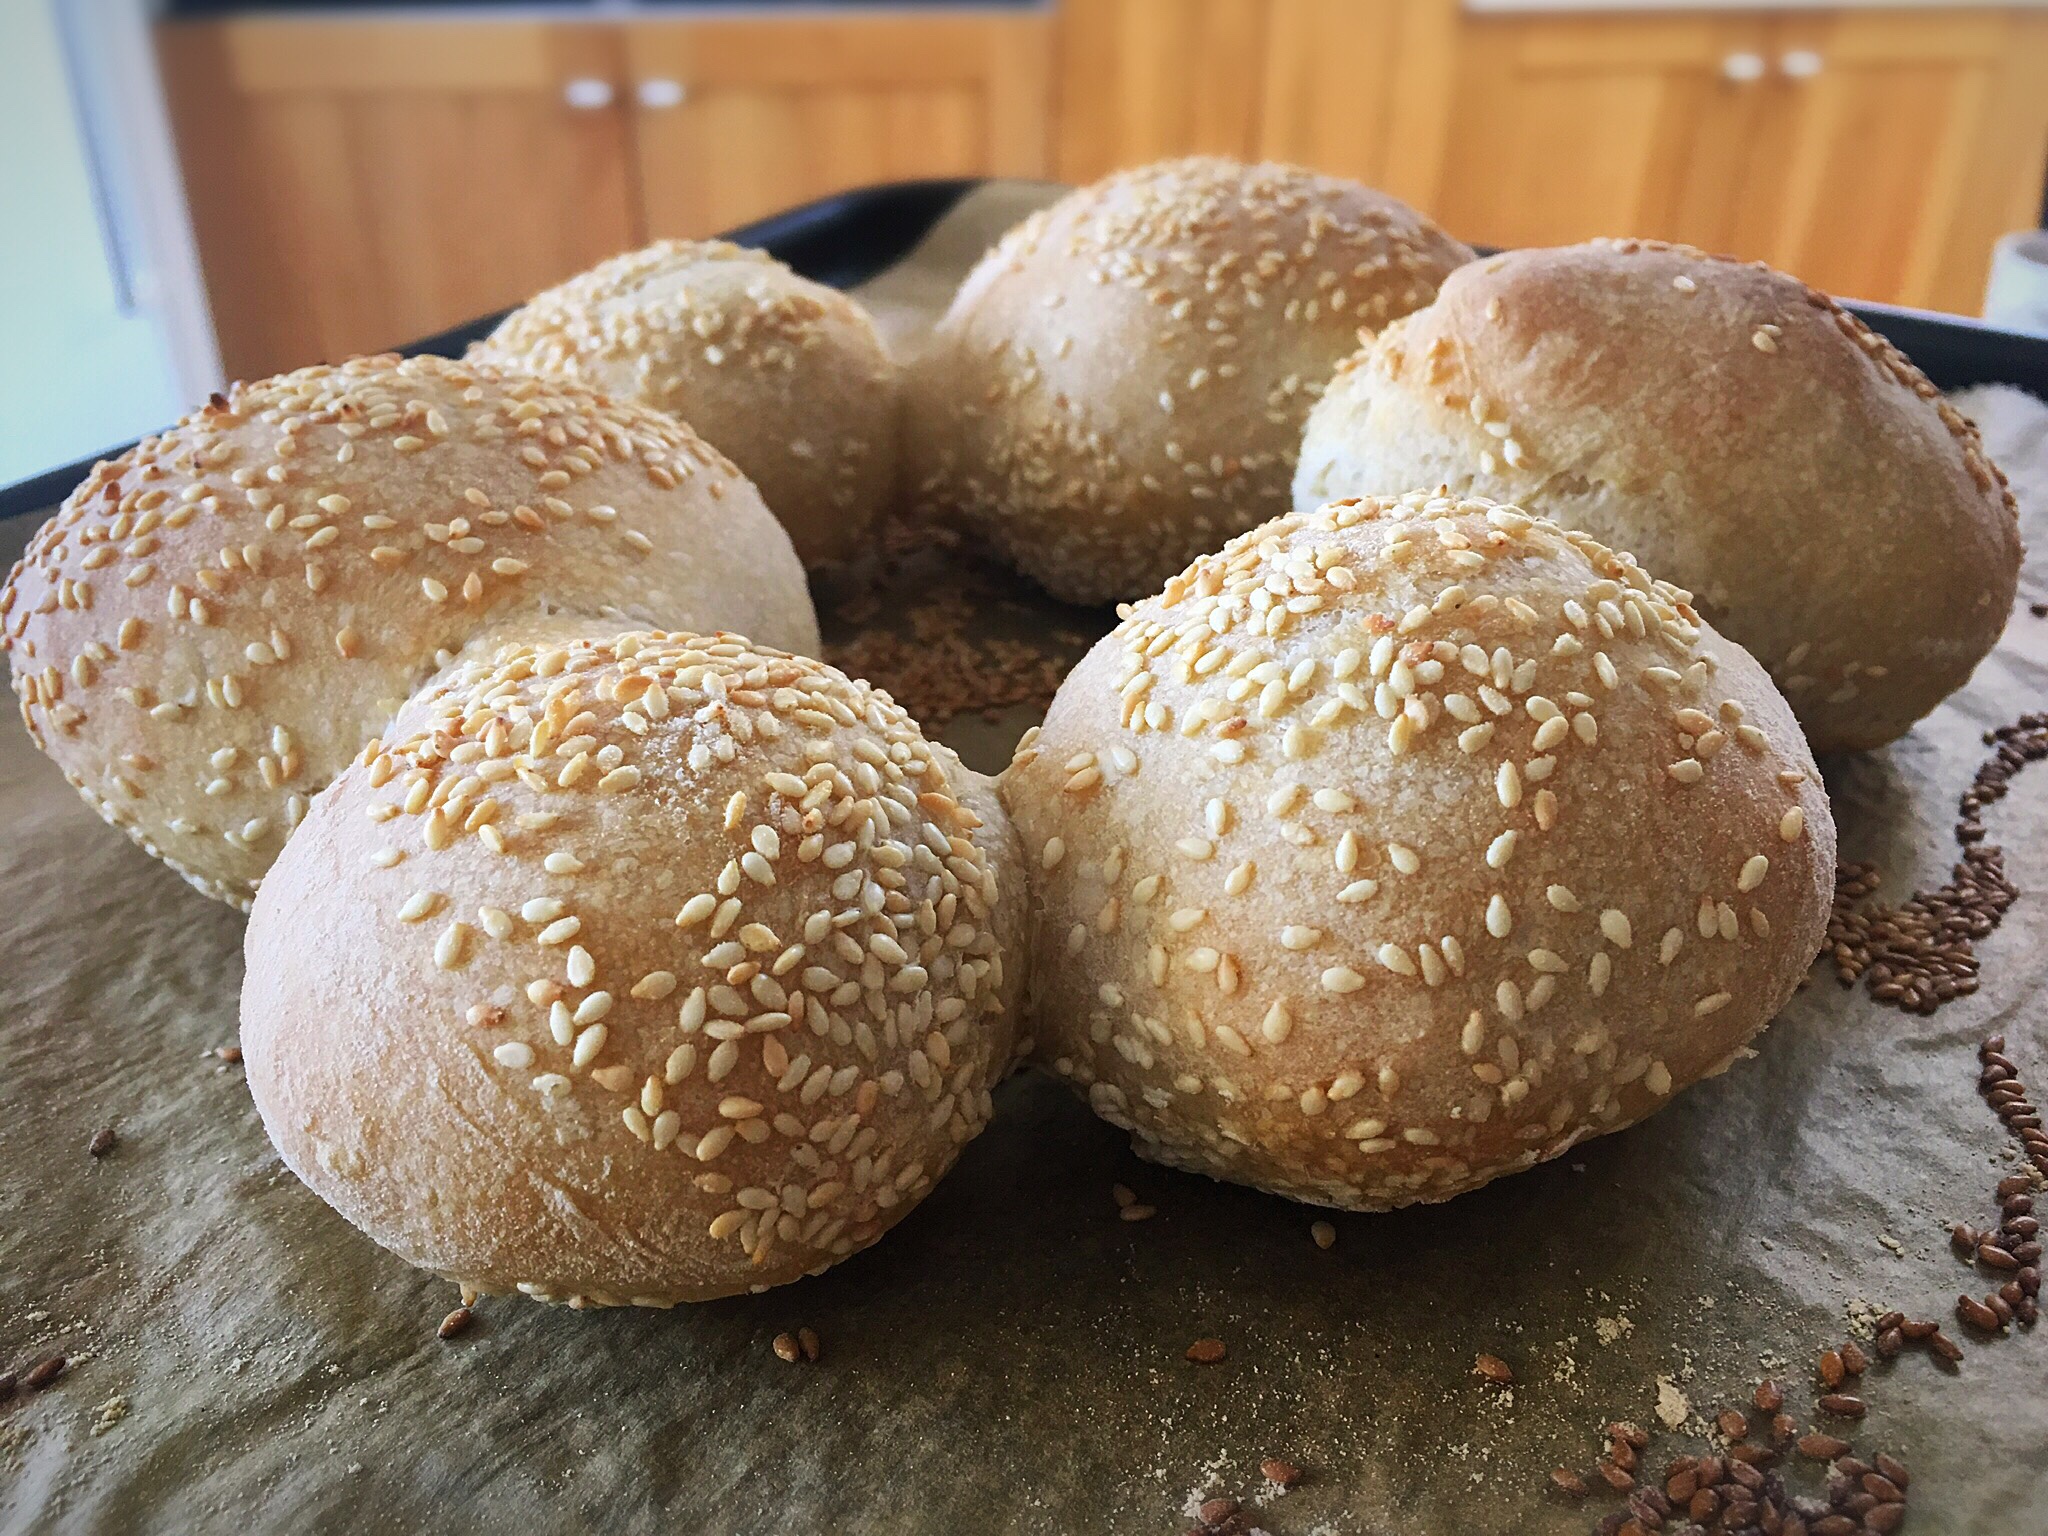
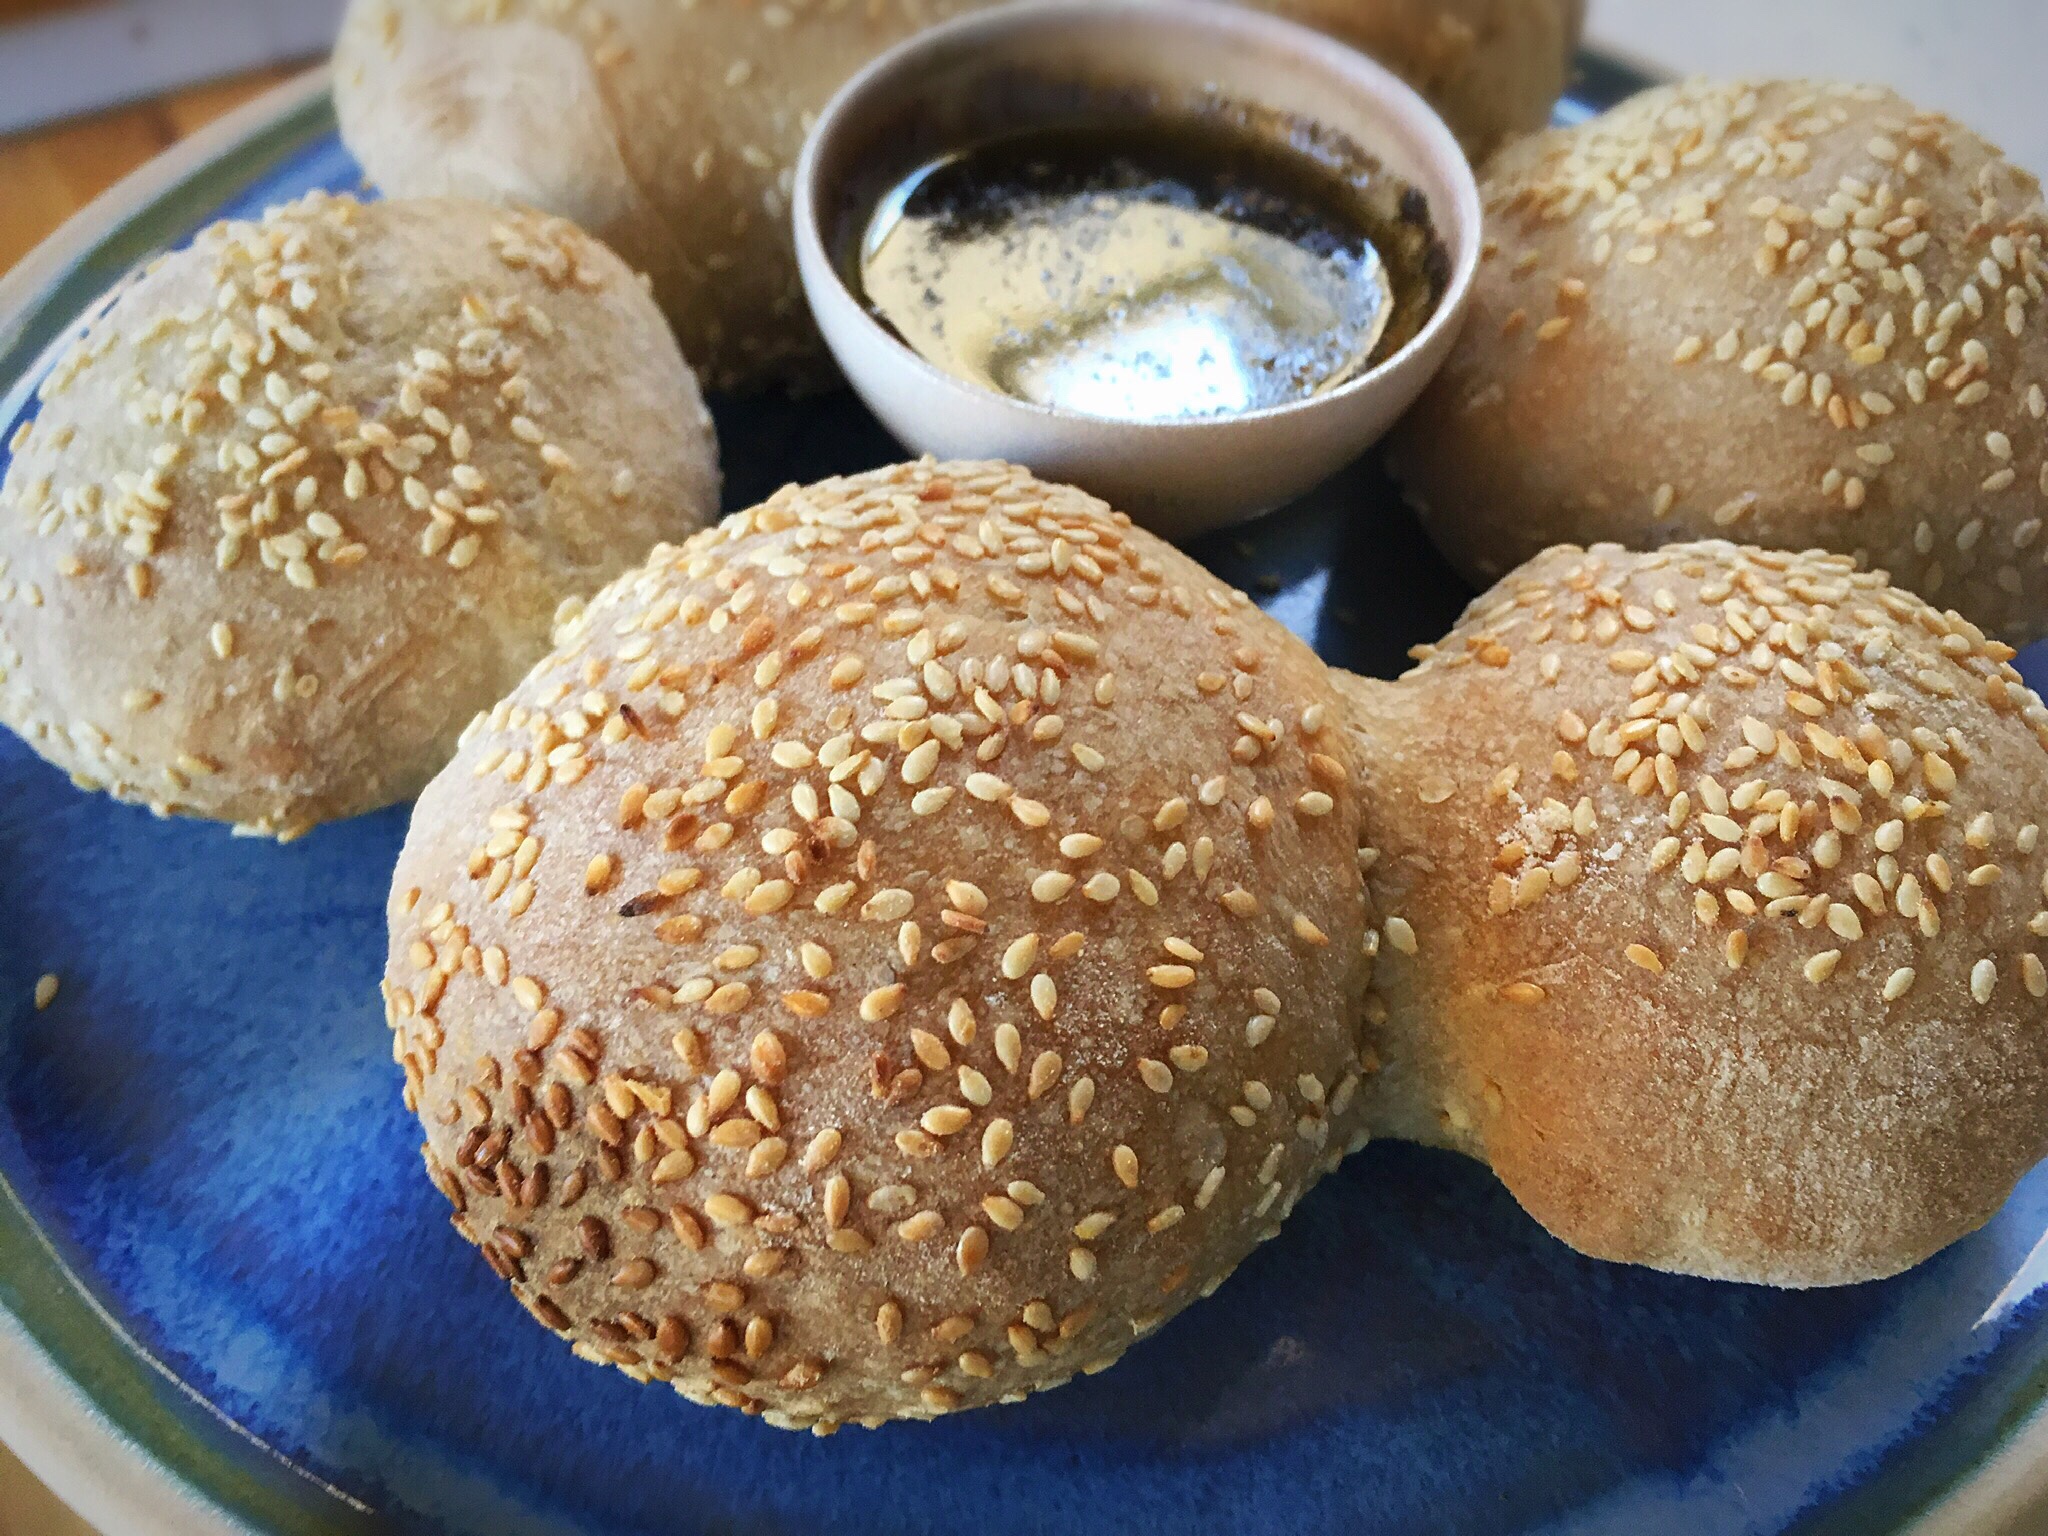
Once I put the tray into the oven, I turned the oven on and up to 200C fan assisted, and left them for 25 mins total. Perfectly baked!

