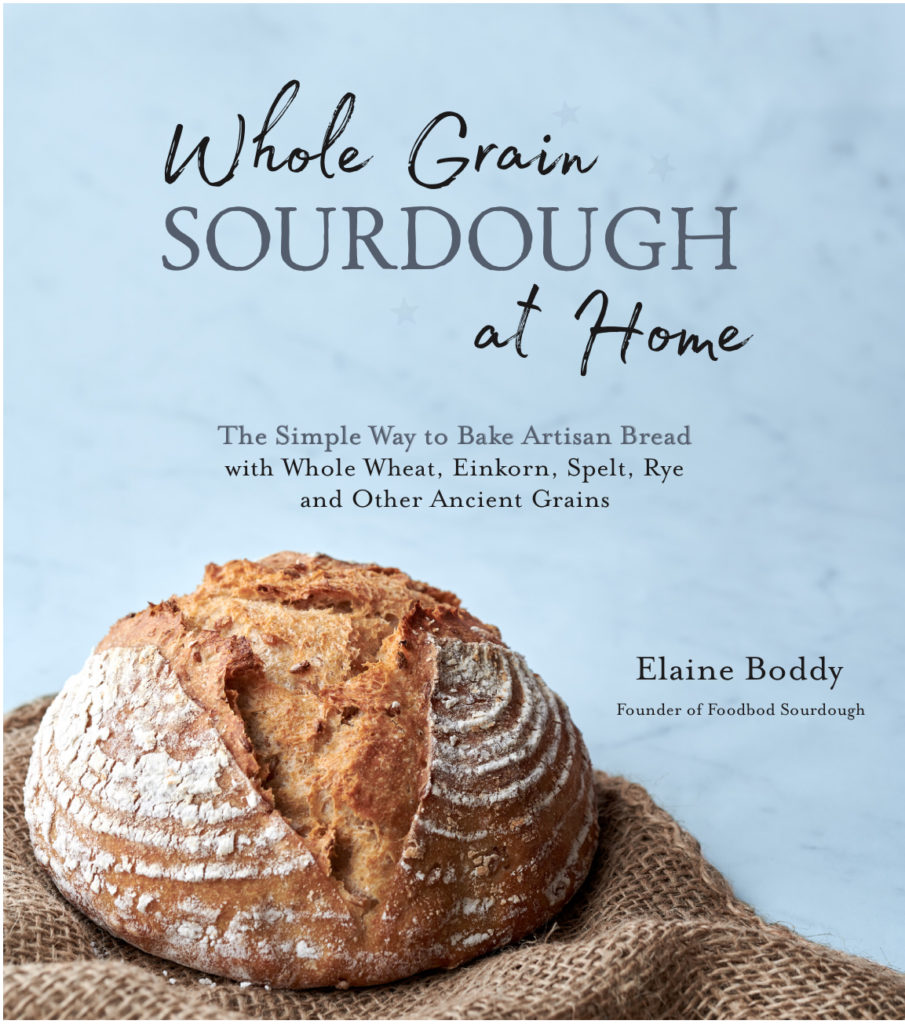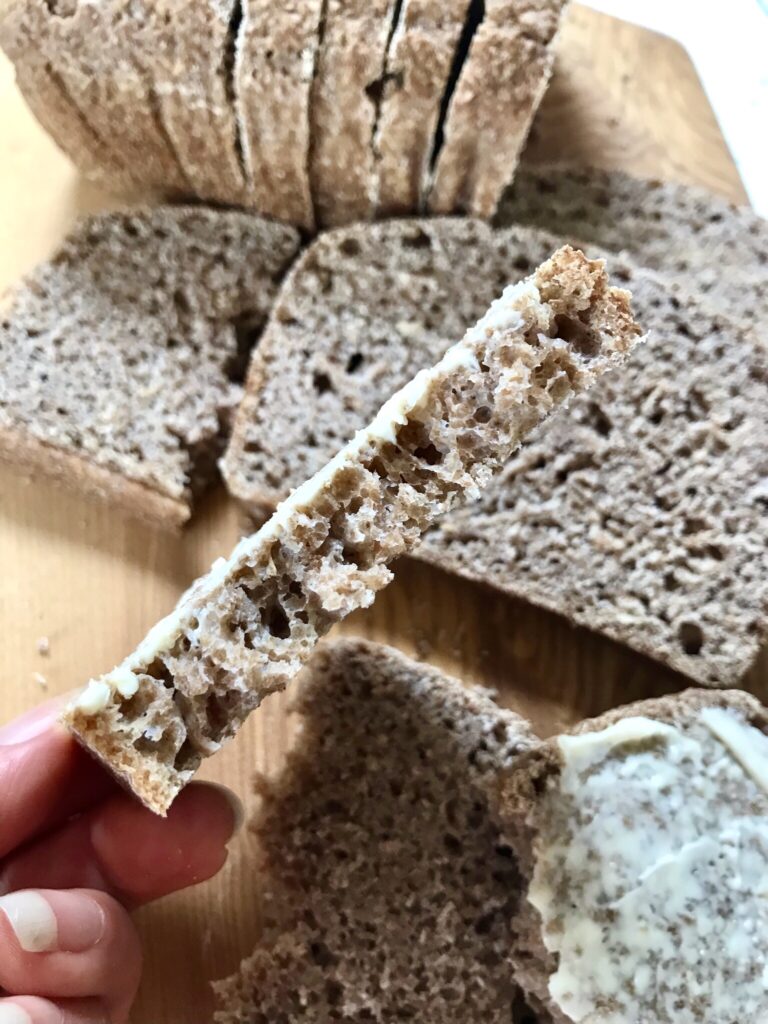
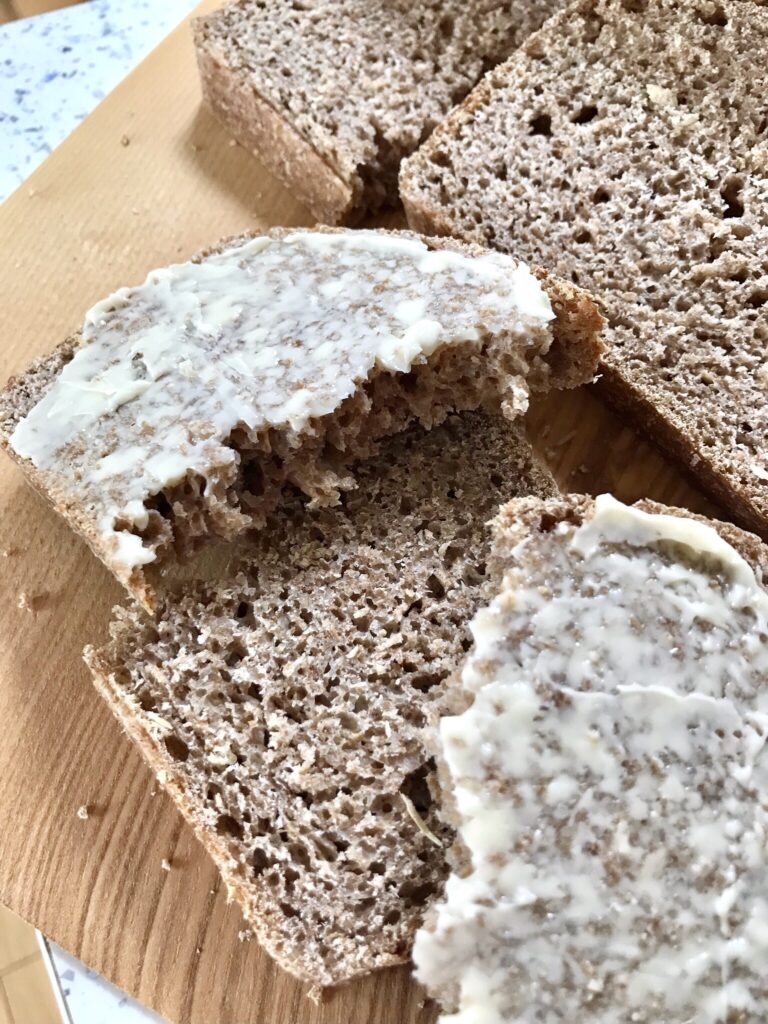
Spelt flour is a beautiful flour to use and produces an amazingly tasty loaf. It is not, however, a straightforward flour to use and benefits from being baked in a loaf tin to give it support. To make this loaf, I followed my master recipe process to make the dough and the process for making sandwich loaves as in my book.
This is the flour I use for this recipe here in the UK.
Ingredients
50g starter (I used my spelt starter, see below)
350g water
1 tsp salt
Method
To make the dough, follow my usual master recipe process as written on my site or in my book, mixing everything up together mid/late afternoon. It may seem dry initially but it does not need extra water, go in with your hands and squeeze the mixture together, so that there is no dry flour left.
Then cover the bowl with your shower cap/cover, and leave it on the counter for 2 hours, this rest time will make it easier to stretch the dough later.
After 2 hours, do a set of stretches and folds on the dough. Wholemeal flour is oily and does not stick to the bowl which also means that when you try to stretch it, the whole dough will lift out of the bowl so I hold the dough in place with one hand, lift a portion with the other hand, pull it up and tuck it over the dough. Do this a few times round the bowl.
This will be a stiff, spongy mix.
Cover the bowl again, let it sit for 1 hour then repeat the stretches. It will only need a few actions.
Do this twice more then cover the dough again and leave it on the counter overnight.
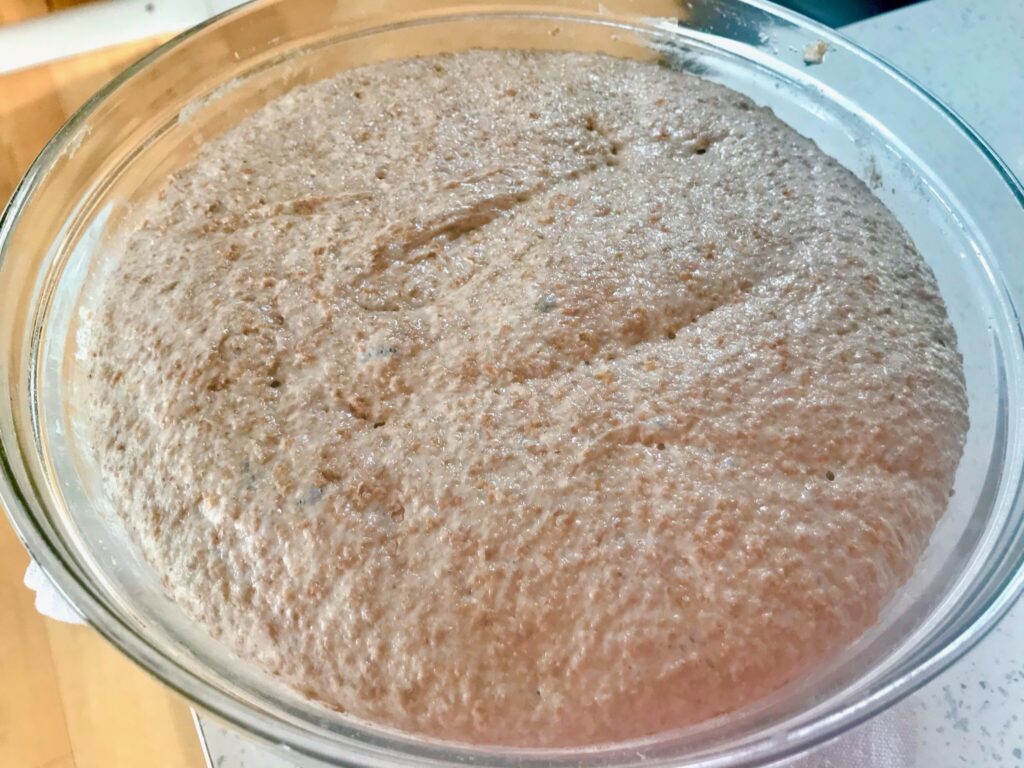
In the morning the dough will have grown to double the size with a smoothish surface.
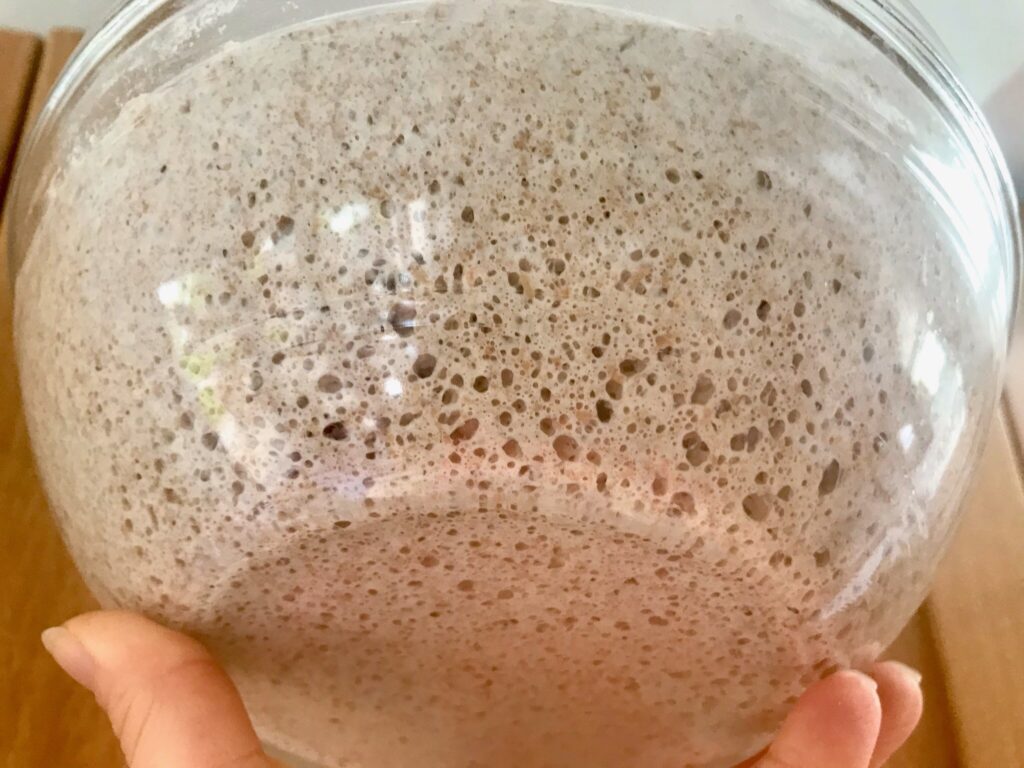
This now needs to be pulled together to go into the tin. This video shows how I do it: https://youtu.be/DHp-TXjLGp0
The dough will be spongy and textured and will not take many pulls to bring it together.
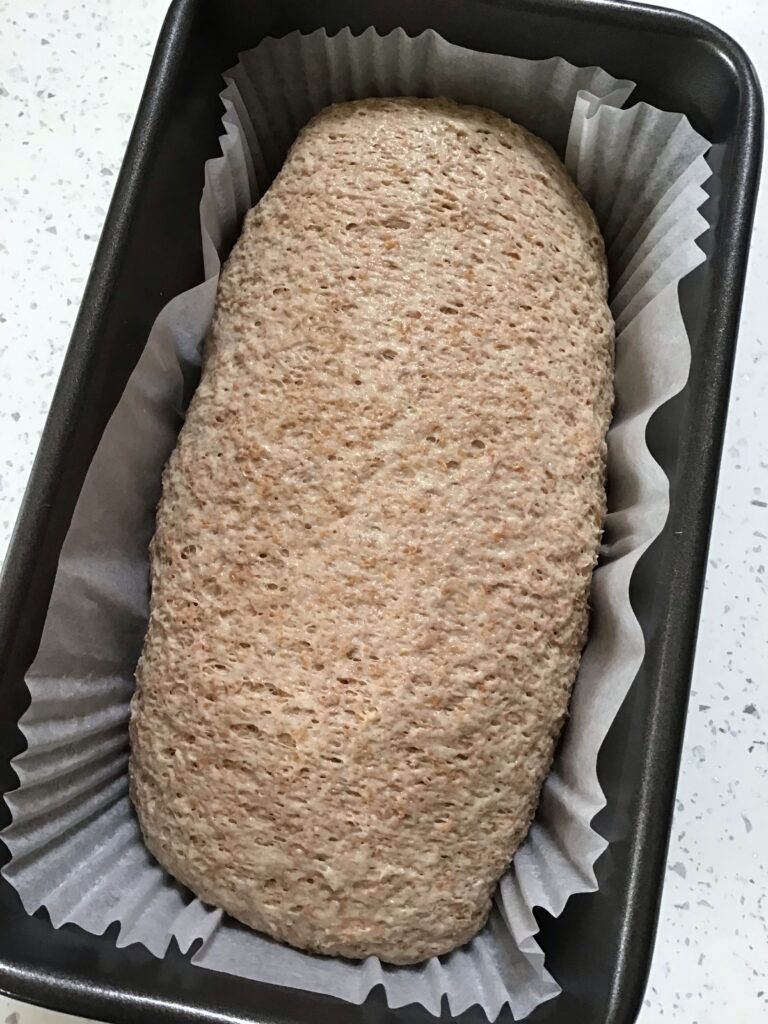
Once it is in the tin as per the video, cover it again, and leave it on the counter.
Let the dough prove again. Once it is level with the edge of the tin, bake.
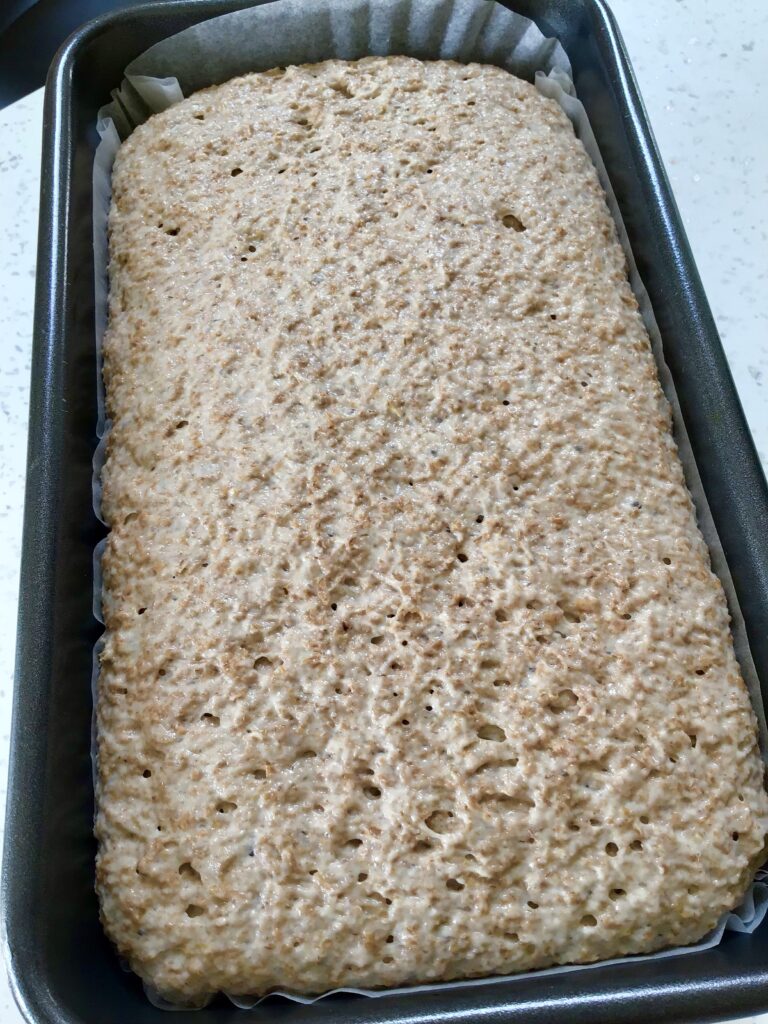
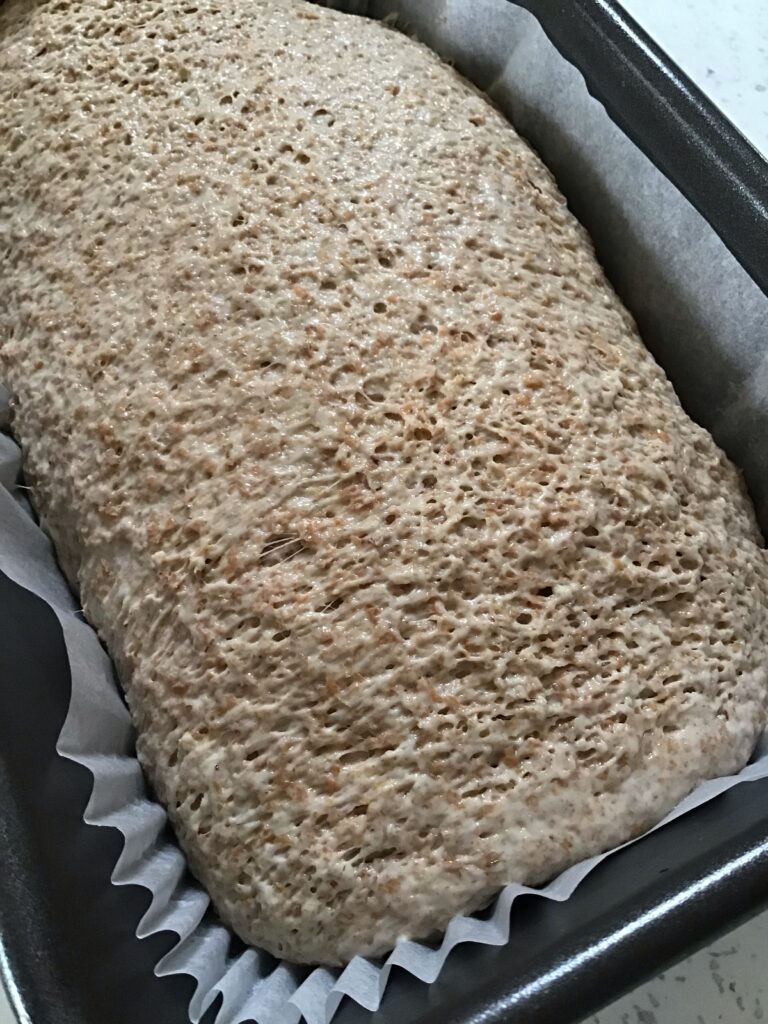
This can be done from a cold start; place the tin with the dough in, uncovered, into the cold oven. Turn the oven up to 180C fan/200C non fan and bake for 45 mins from the time you placed it into the oven.
The loaf will not grow much more as it bakes, the growth is all in the proving, the baking merely consolidates that.
Once baked, remove from the pan, tap the base, and if it sounds hollow, remove the paper and cool on a rack for a good hour at least. If you feel it needs baking for longer, put it back in the oven for 5-10 more minutes.
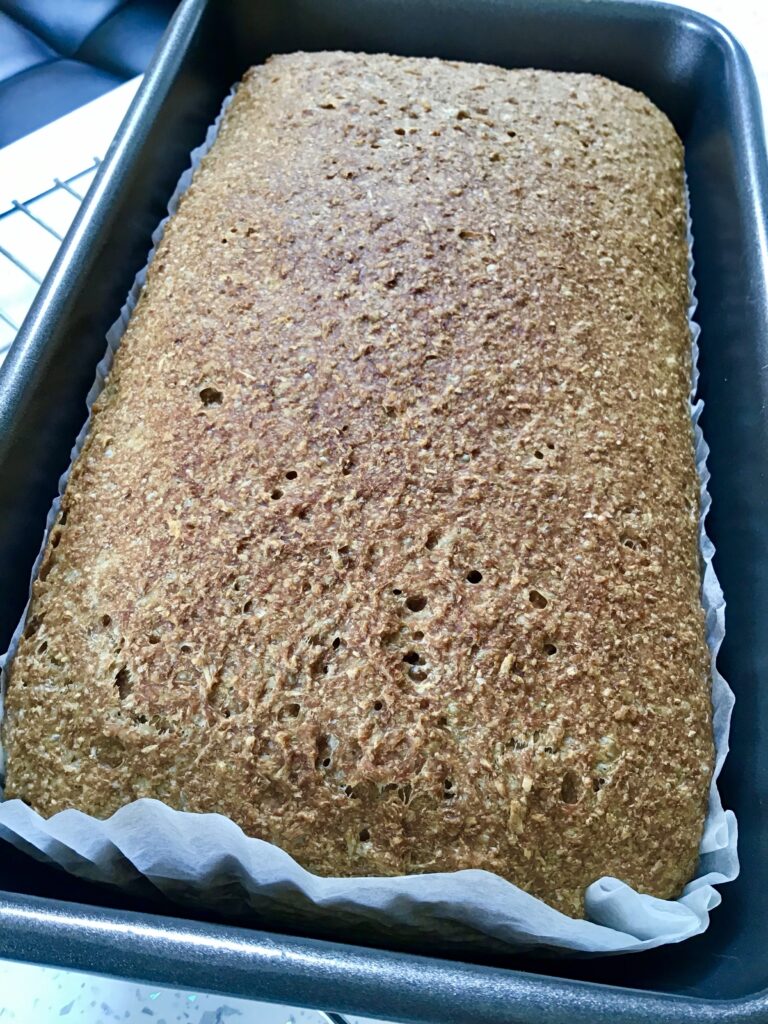
These loaves tend to feel slightly moist which is normal.
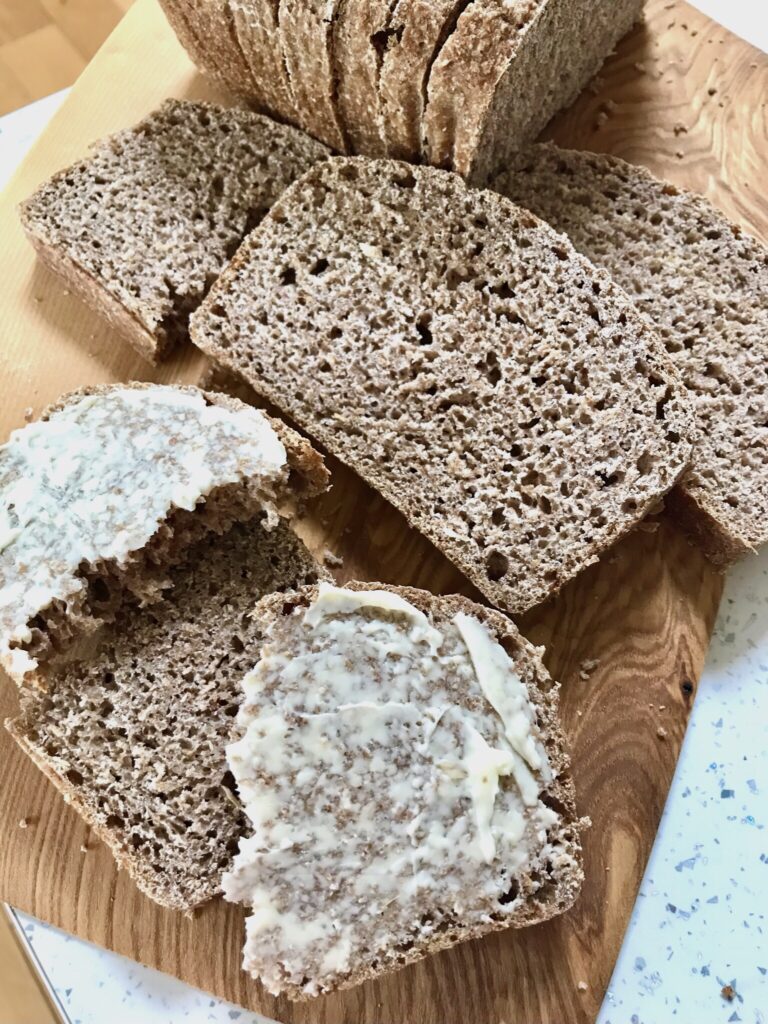
To make this loaf I used a wholemeal/wholewheat starter too to make this a 100% spelt loaf…
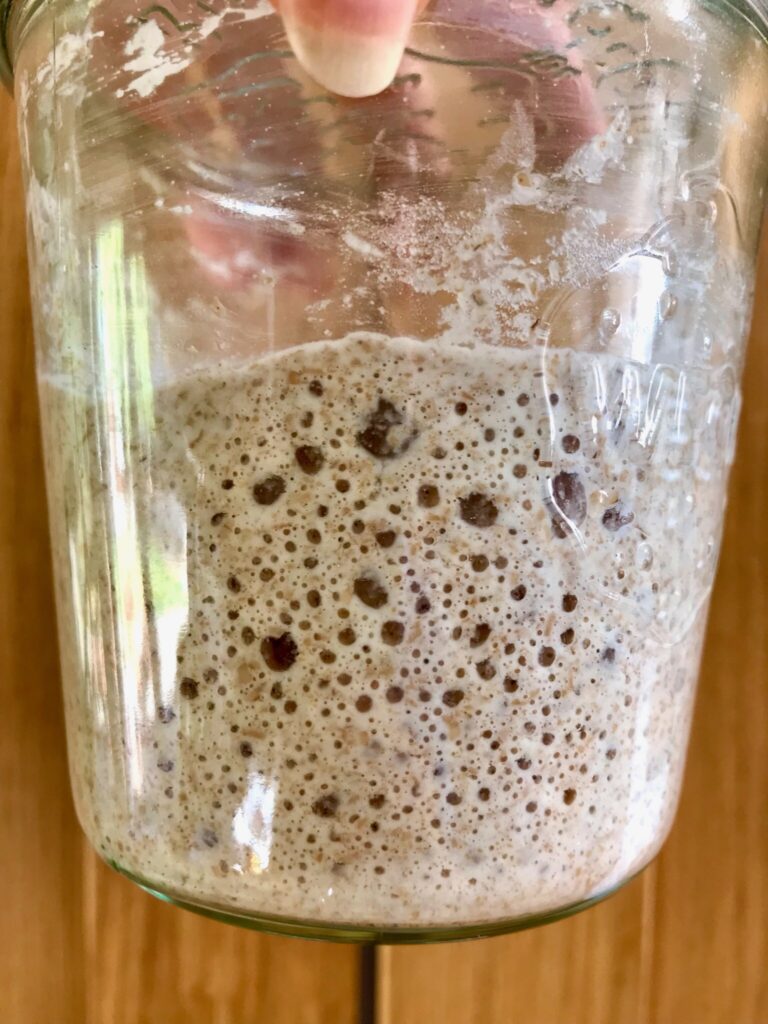
To make your own, follow my guide for making a starter on my site or in my book, exactly as it’s written, just using wholemeal/wholewheat spelt flour. Please note that you can use any type of starter made with any flour, if you want to keep the loaf fully spelt, below are some notes about making a wholemeal/wholewheat spelt flour starter.
Day 1: this will be a thick first mix
Day 2: this will still be a thick mix, but not as much as day 1. There may be a slight liquid forming on surface, this is normal
Day 3: you may see bubbles forming on surface and throughout the mixture, it will have an elastic, thick, bouncy consistency
When you feed it it will be thick, maybe already showing bubbles after mixing and stirring
Over next 24 hours, you should see bubbles appearing, the texture becoming almost spongy, and the volume starting to grow, and a strong wheaty smell developing
Days 4 & 5: the mix will be thick, elastic and textured
Day 6: you will notice a strong smell when the starter is stirred, this is normal, and typical of wholegrain flours. It should also now be textured, bubbly, and thick before feeding
And lovely and thicker after feeding. Bubbles may be appearing as soon as fed and stirred
Day 7: it should be responding to its feed and growing and becoming textured with a bubbly surface.
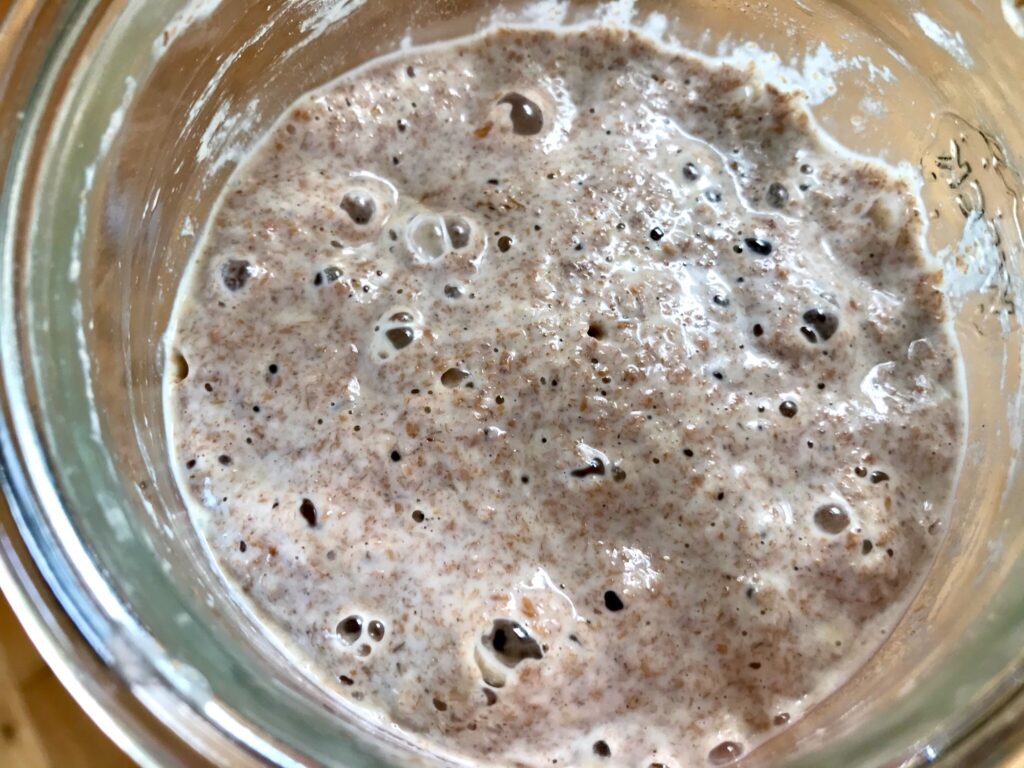
Note that with wholegrain flours, any show of dark liquid on the surface or around the edges is normal.
I hope you enjoy creating your own wholemeal/wholewheat spelt starter and loaf, and enjoy the fabulous flavour! For more ideas about using spelt flour, and lots more wholegrain and ancient grain flours, check out my book “˜Whole Grain Sourdough at Home”.
