In my Facebook group, ‘sourdough with foodbod’, I recently launched a new challenge to feed a portion of our starters with something new, the aim being to have fun and to see what we might create, some ideas will work, and some won’t, and that’s the fun of it…
We always feed our starters the best possible flour and water, but what would happen if we fed them something totally different? A different liquid, or a different type of flour, or something instead of flour? Just to see what would happen, what the reaction would be, what the flavour outcome might be..? The possibilities are endless!
**For this challenge, I highly recommend using just a portion of your precious starter, and keeping the rest safe and sound. So for example, I fed my lovely Star and separated some portions of her into new bowls to have some to play with without affecting my standard cherished base amount. I always always make sure that I keep an unadulterated base amount of my precious, beautiful Star whatever sourdough experiments I do.
For this loaf I fed 50g of Star with my favourite buttermilk & tahini sauce; to make the sauce I blended 50g of tahini with a 284ml pot of buttermilk.
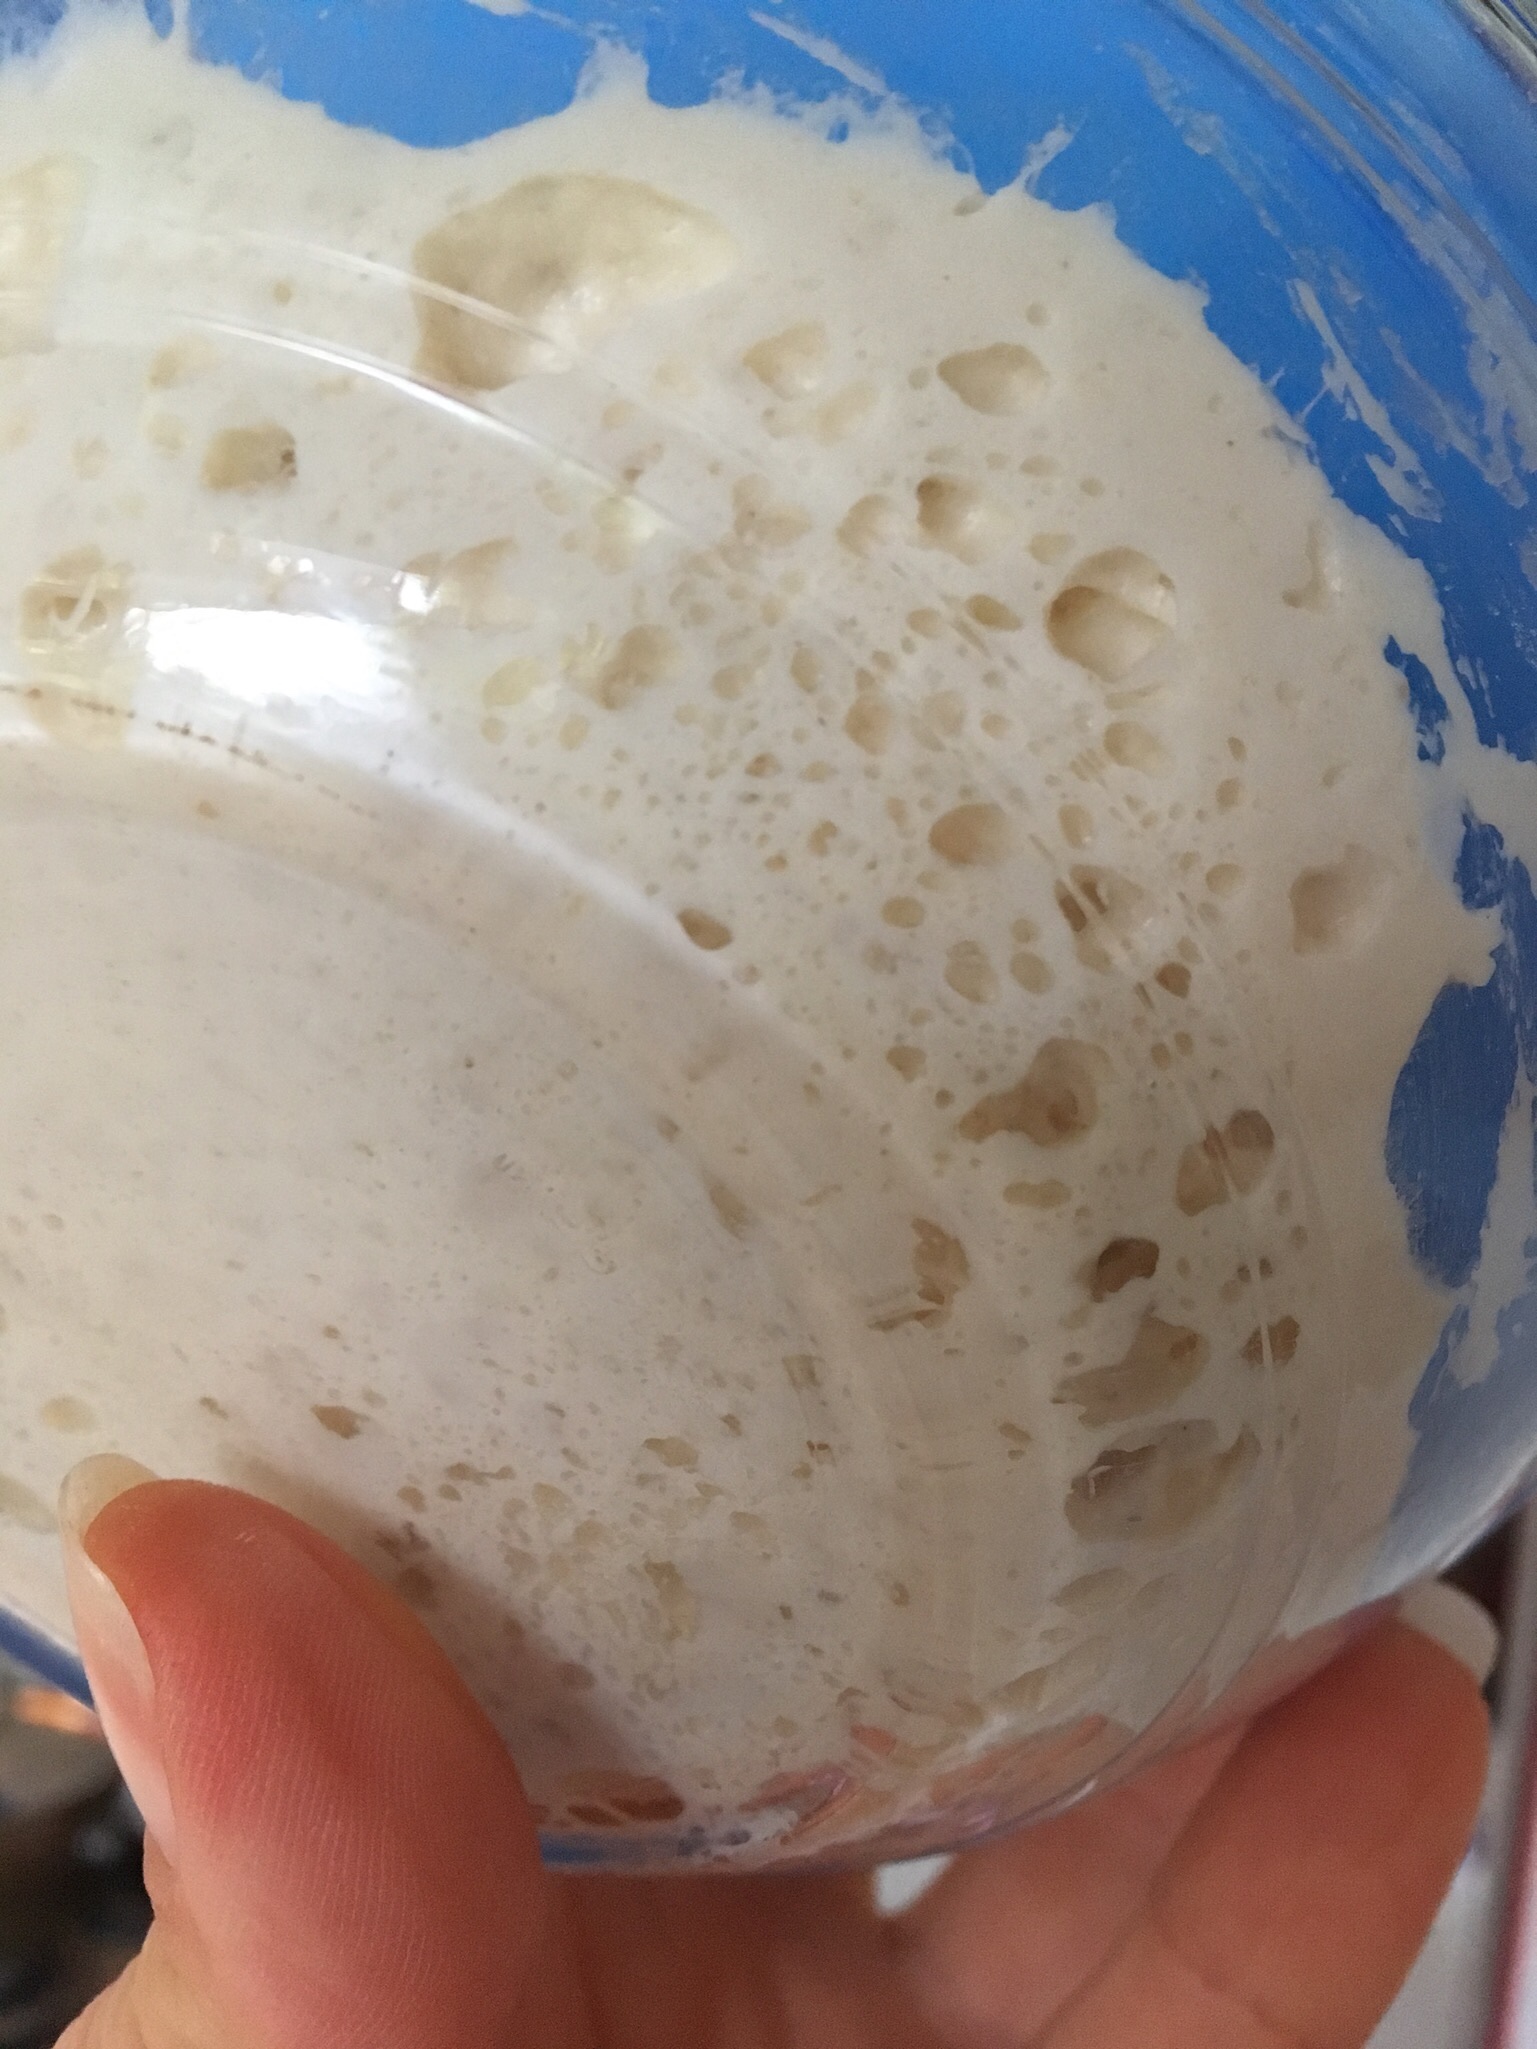
And as you can see, Star liked it as much as I do! This photo above shows the mix after 8 hours.
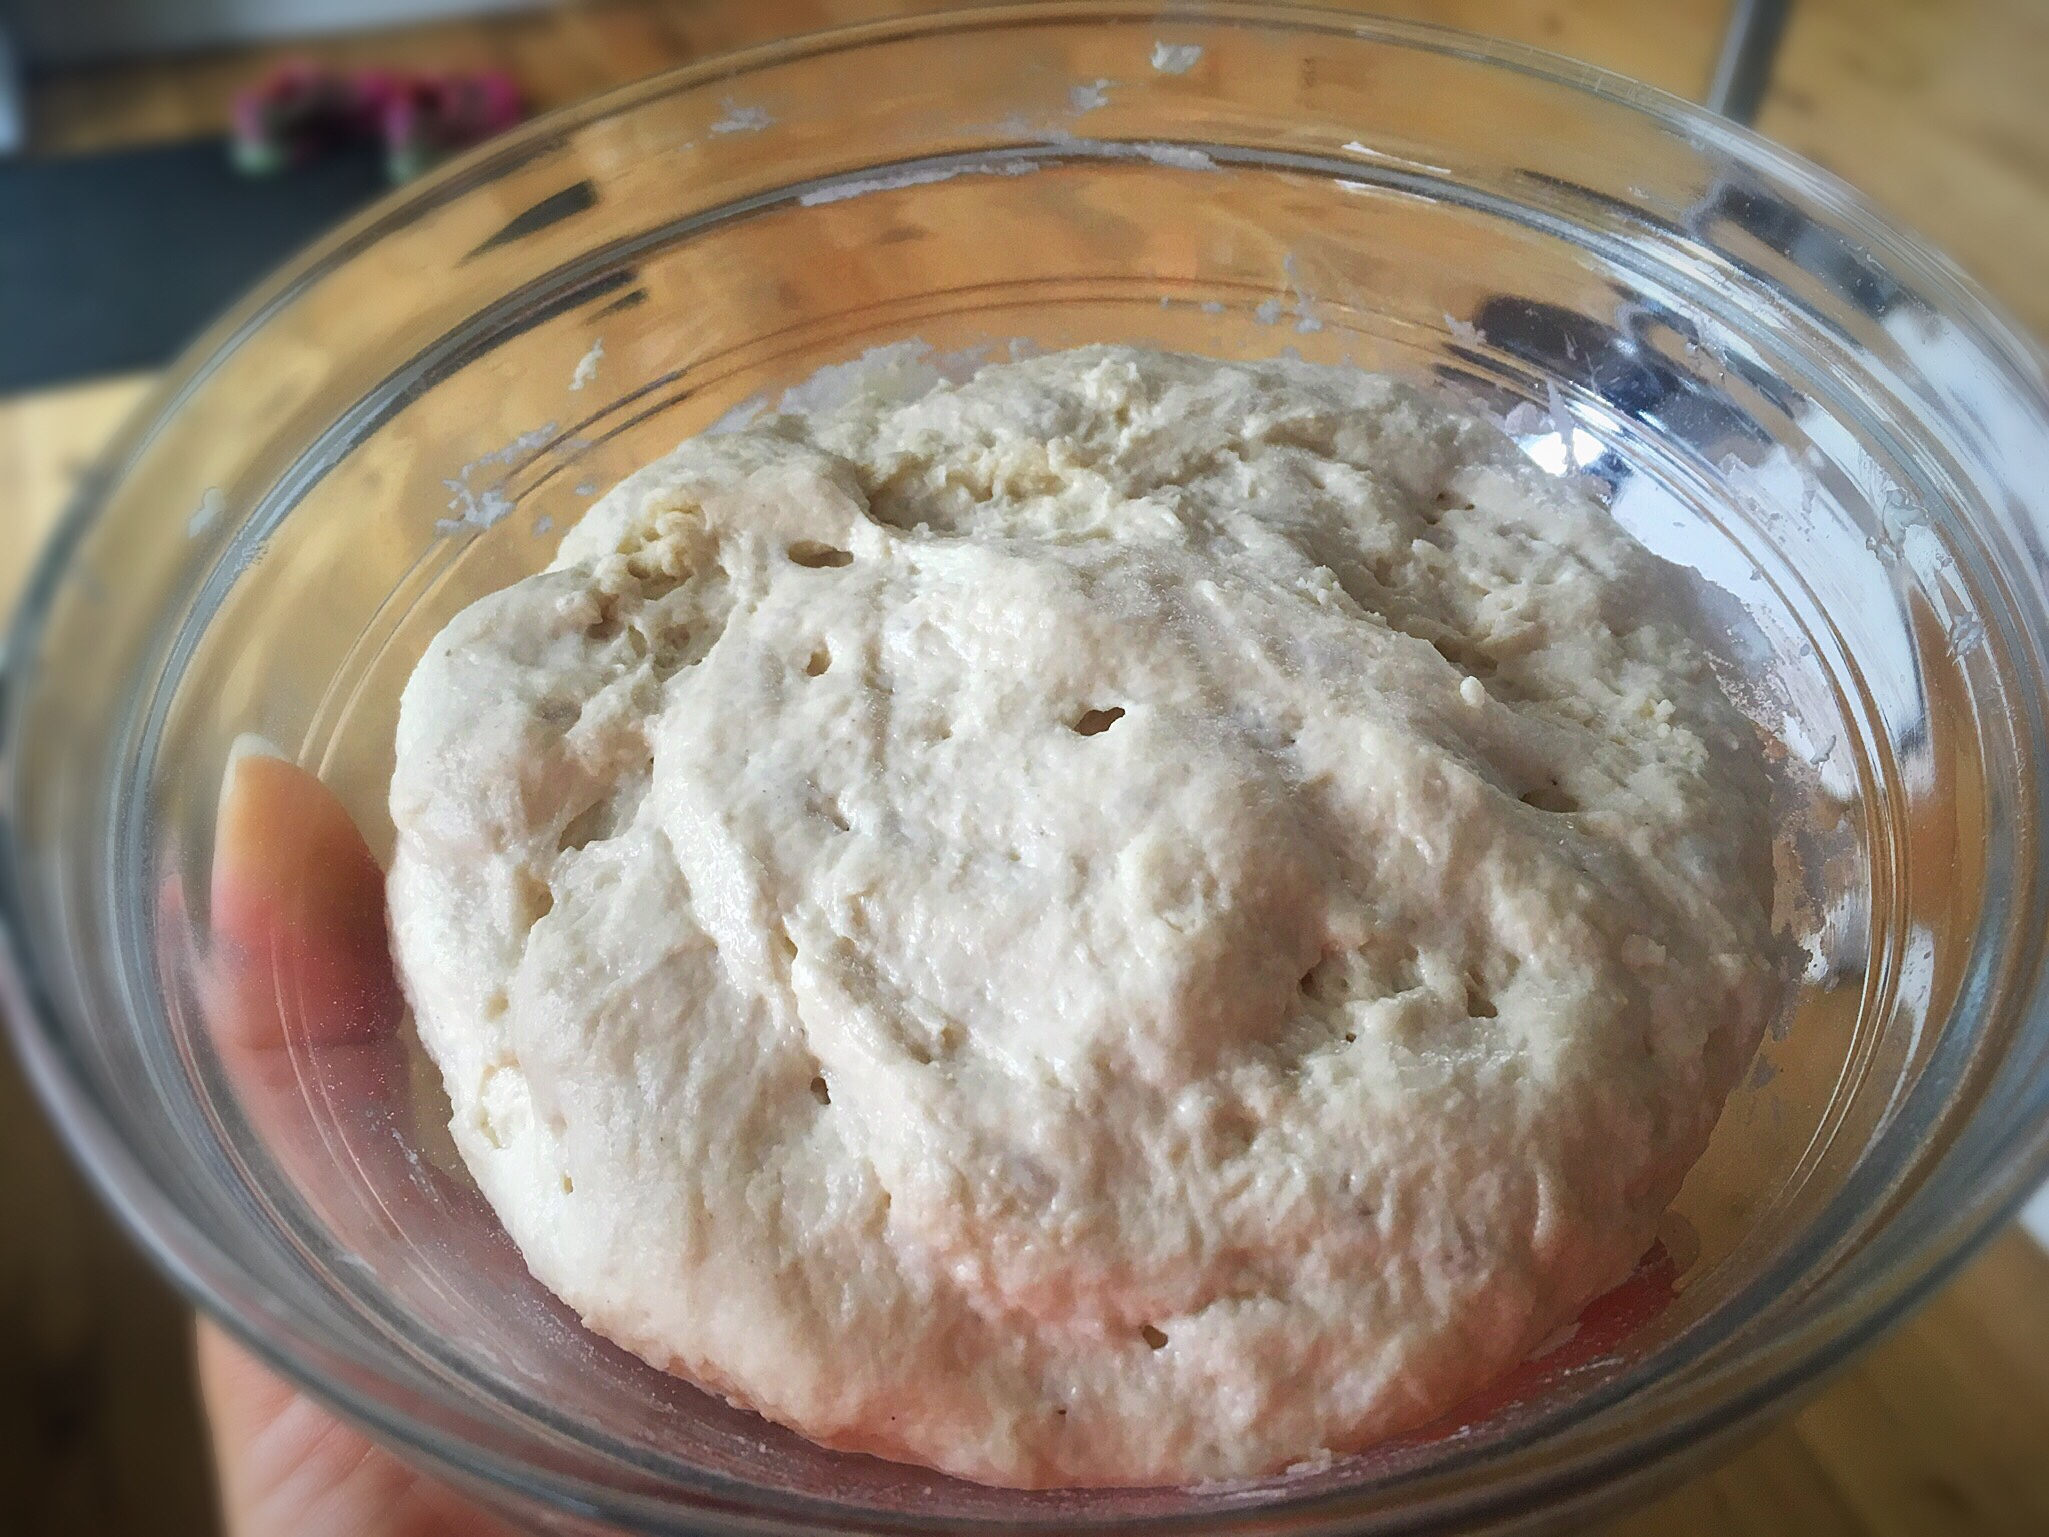
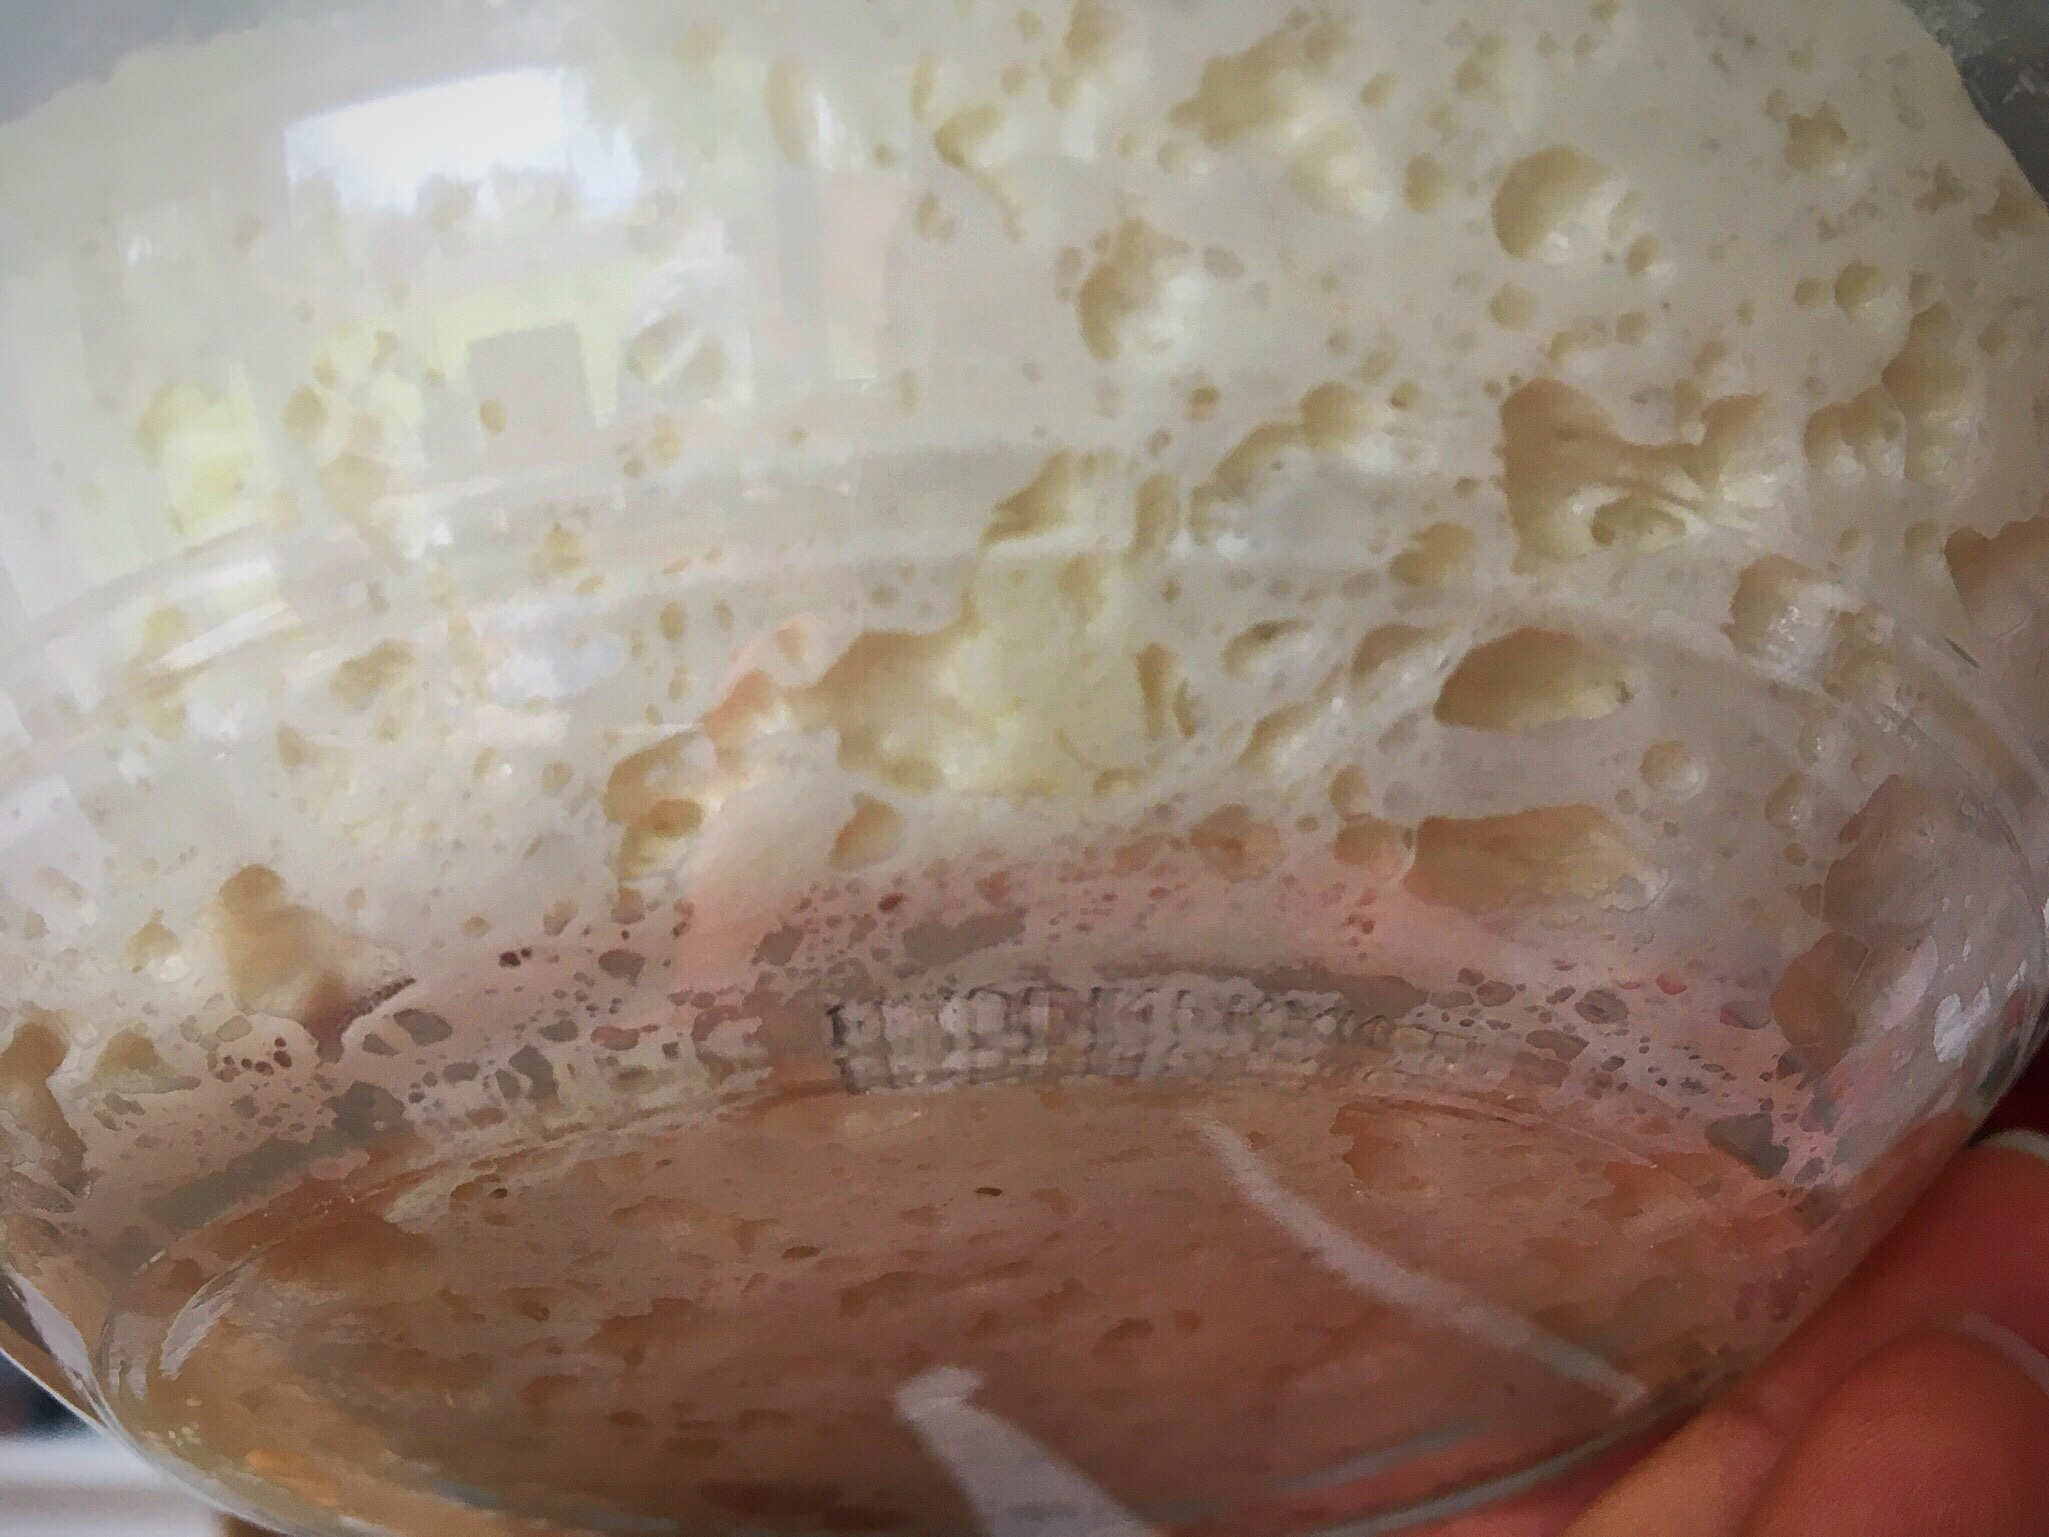
This photo above shows the mix the next morning.
This produced a firm spongy starter, very much like a low hydration starter or ‘pasta madre’, full of lovely texture.
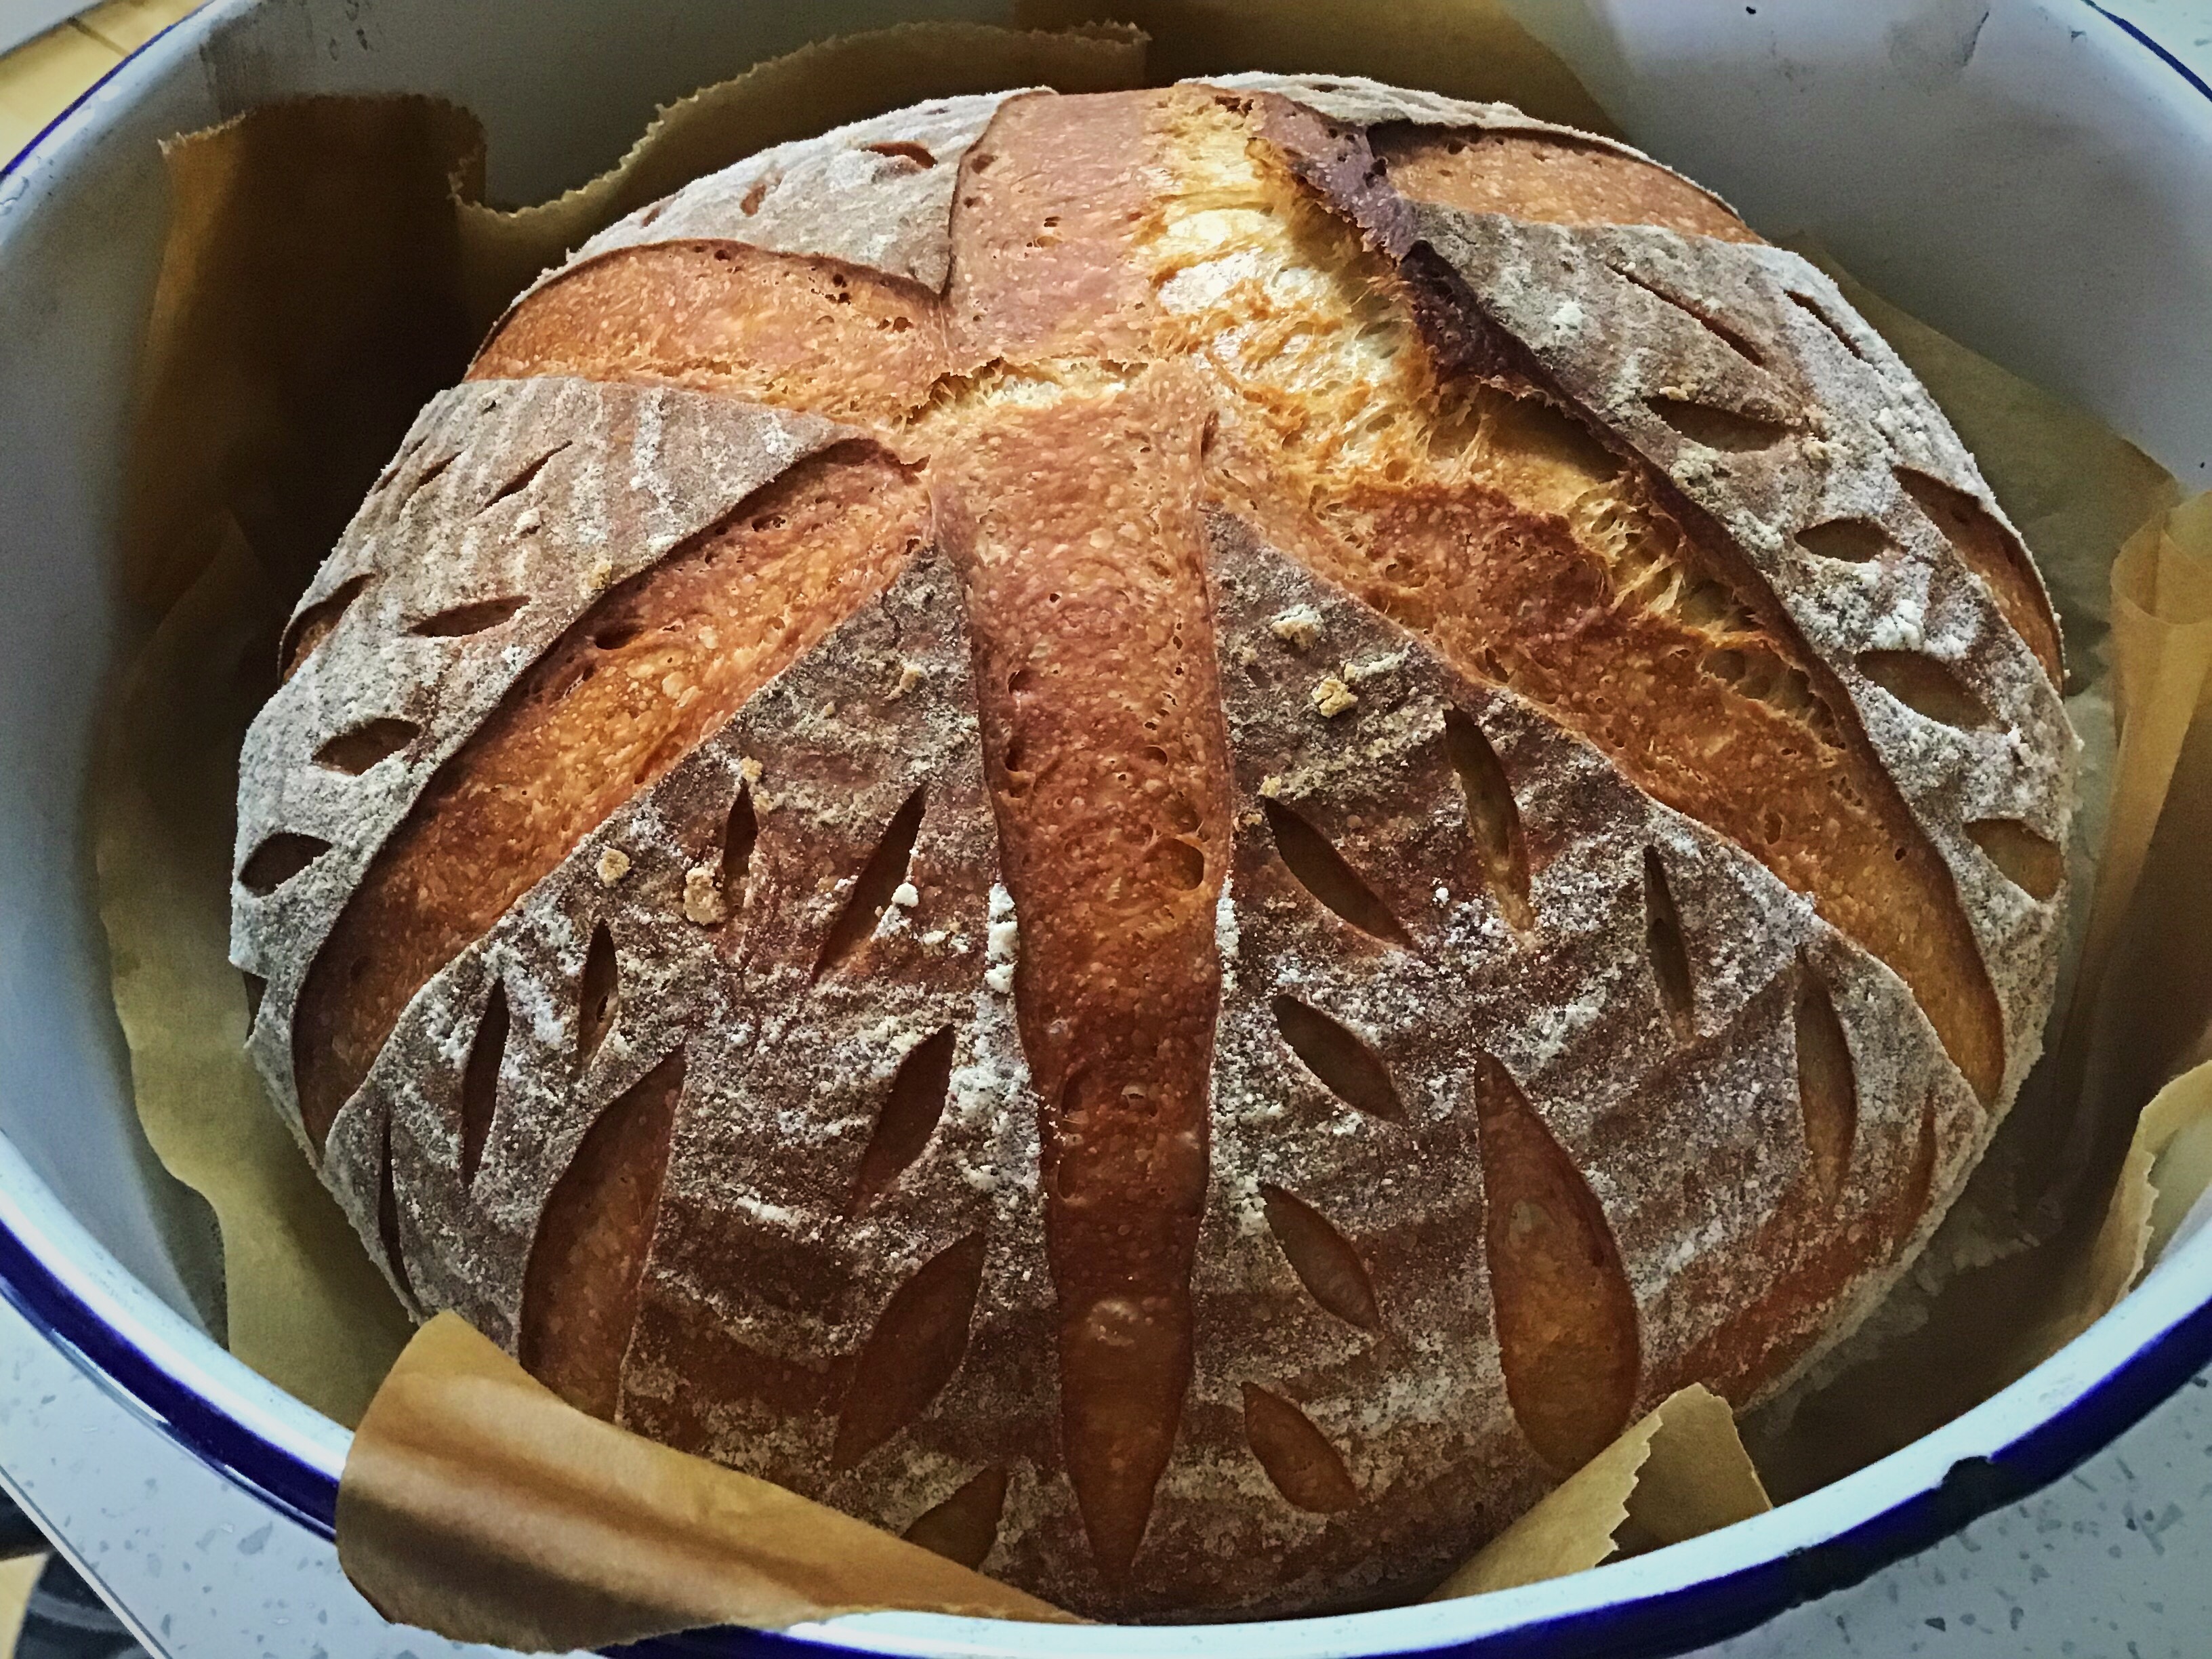
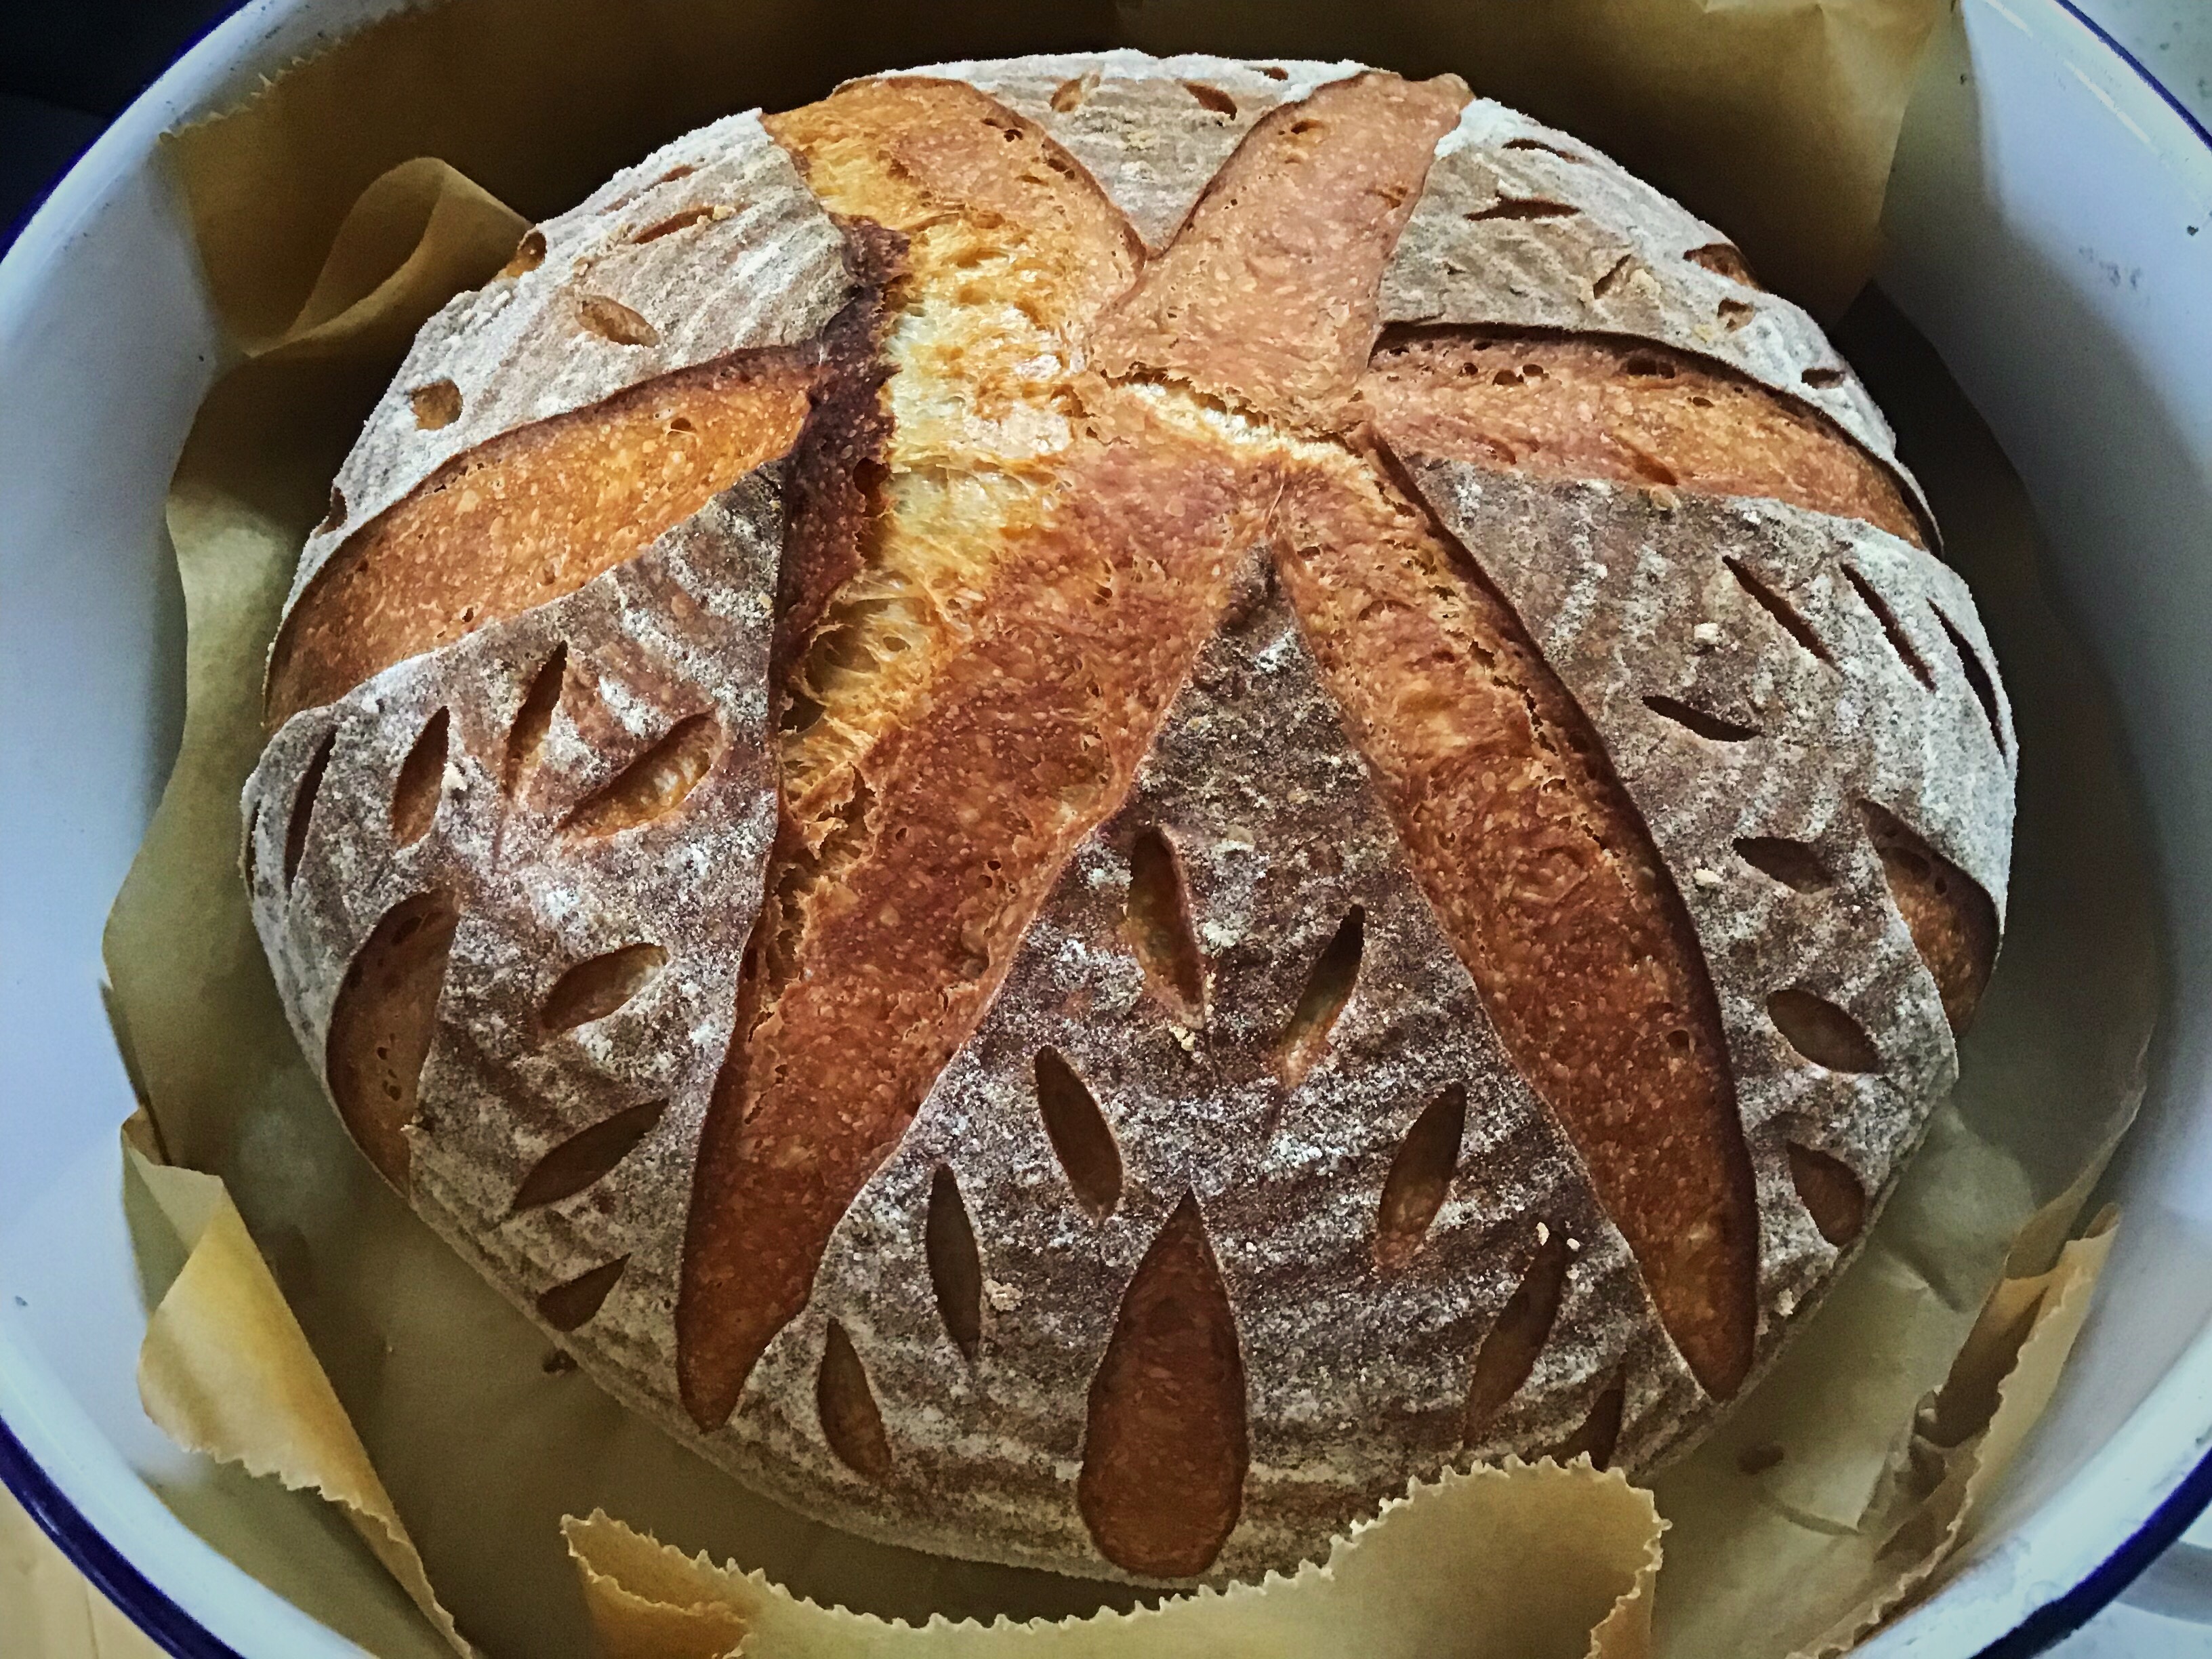
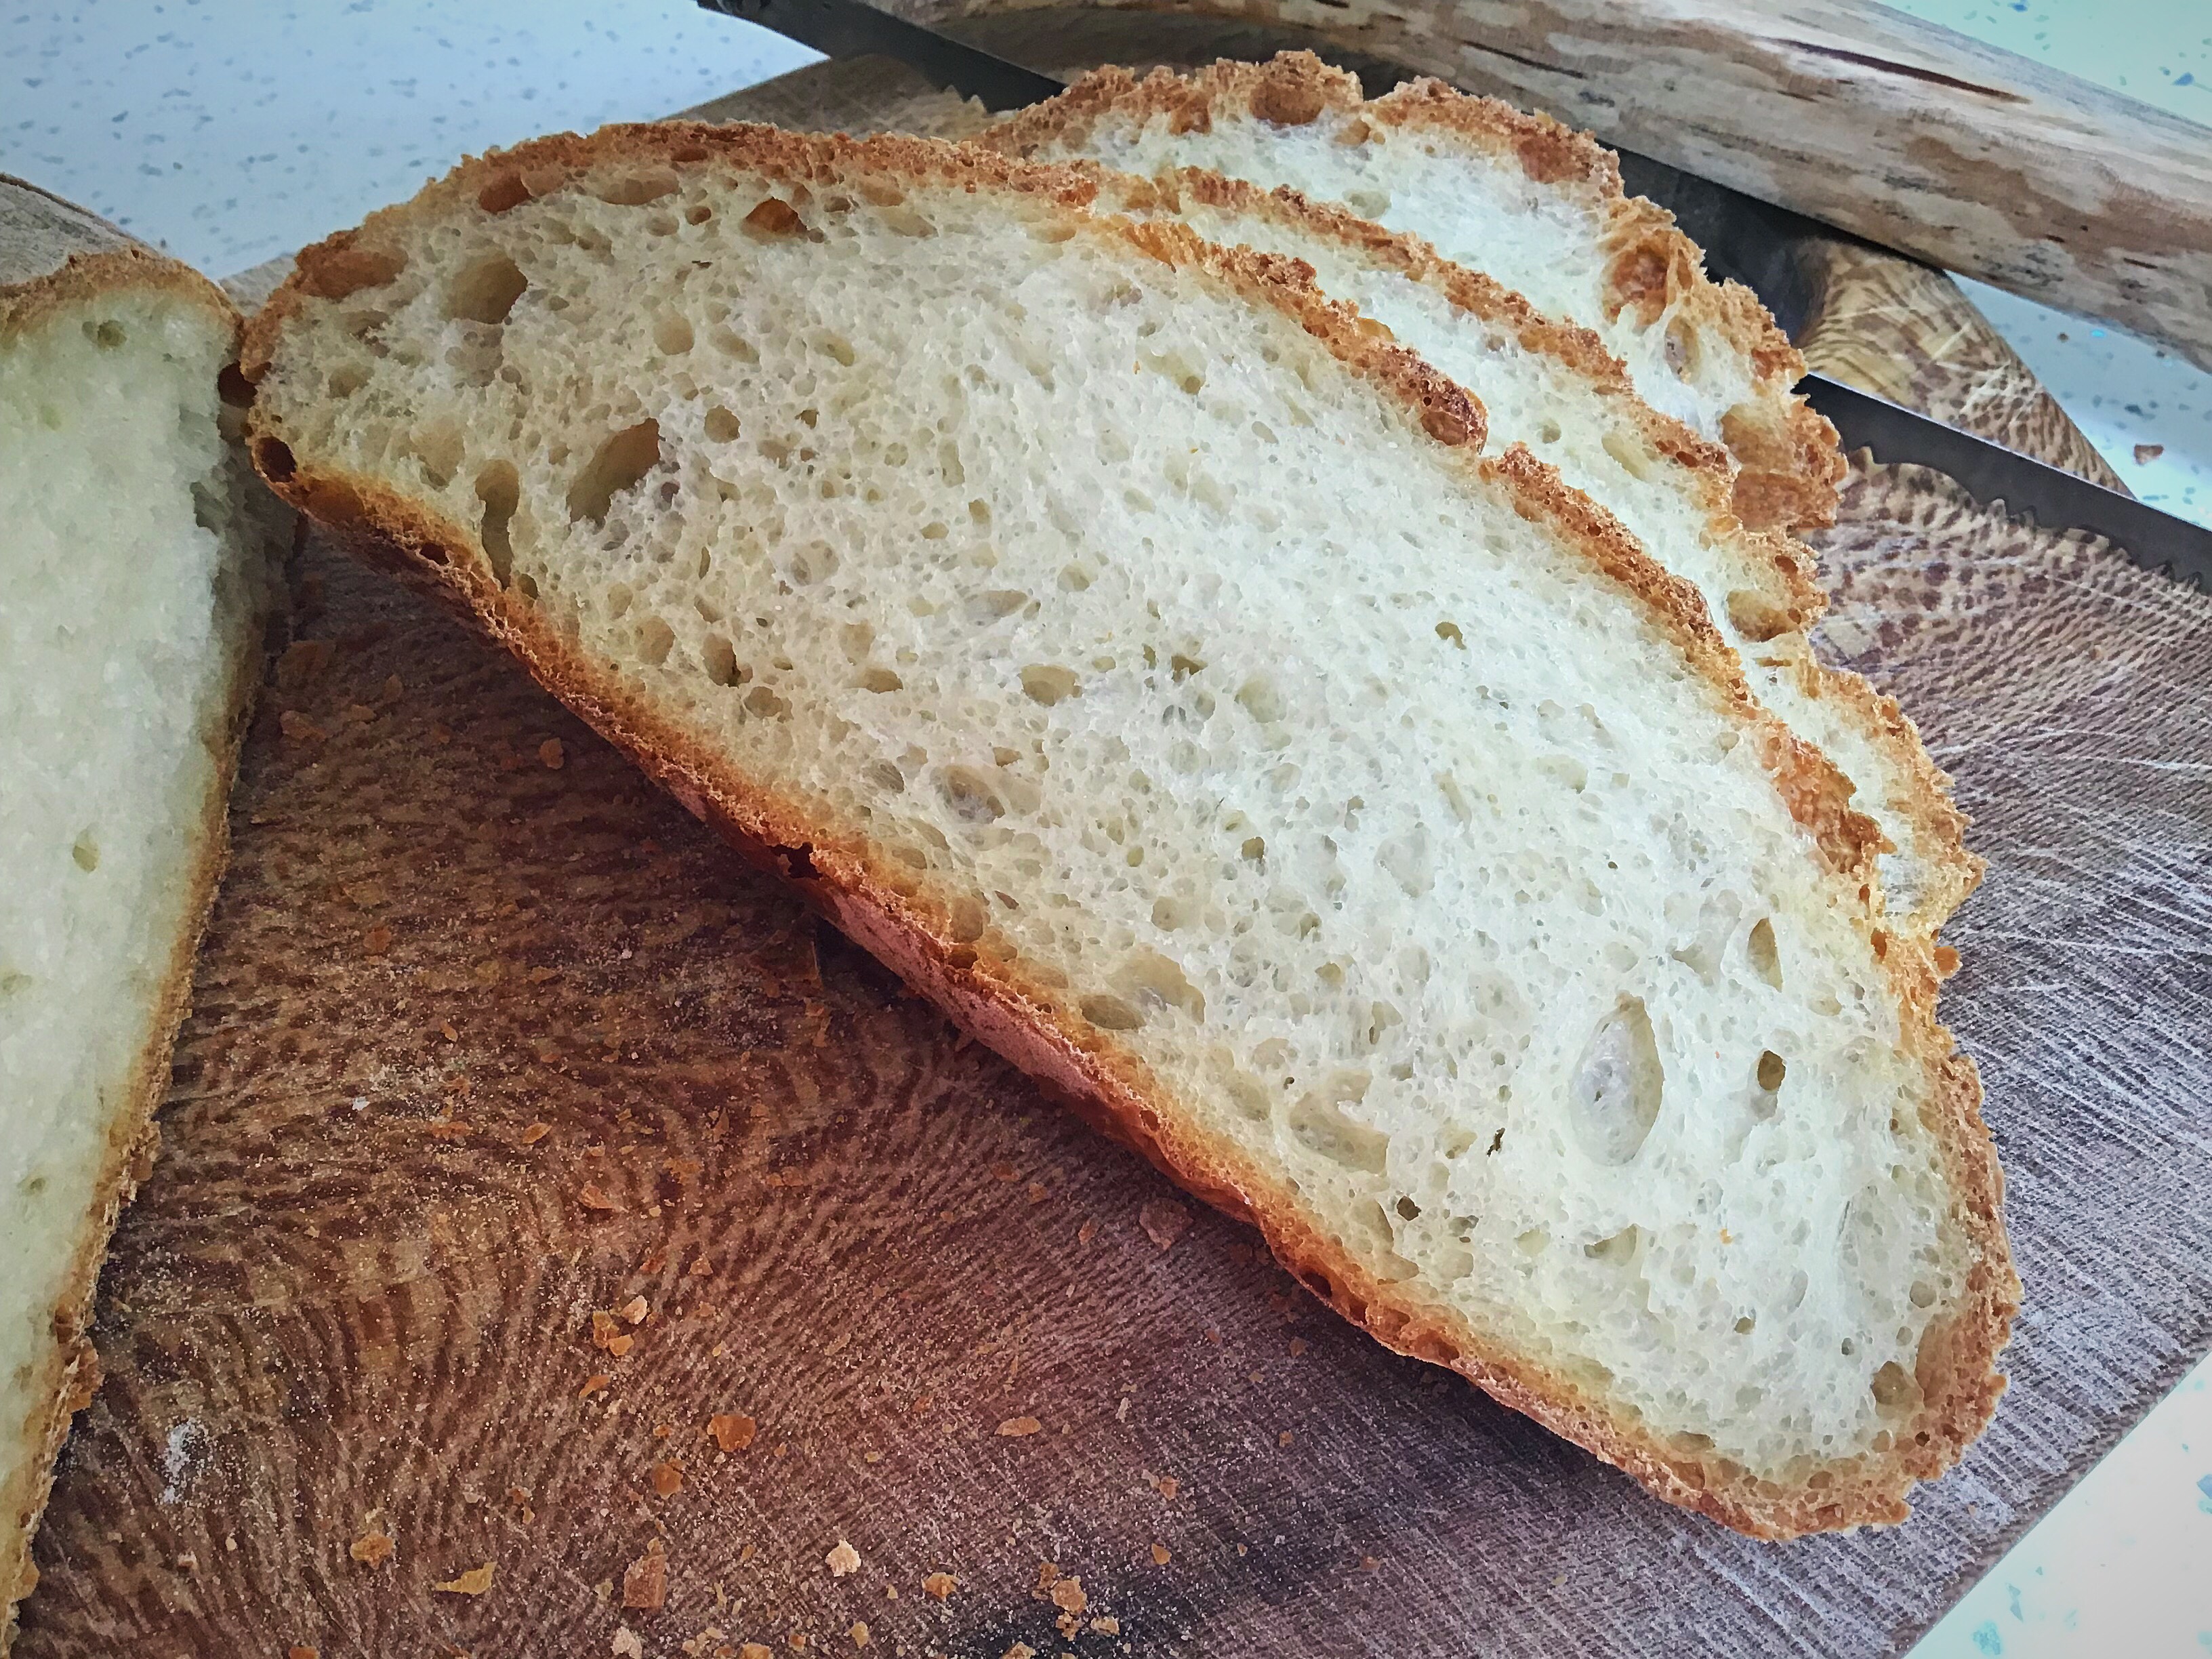
To make the dough I added more tahini to some water (I blended 50g of tahini with 450ml of water) and used that in the dough to add even more flavour, and it worked perfectly. The resulting loaf had a nice crust, and a close crumb, due to the dairy element, and a lovely subtle flavour of sesame seeds. I will definitely do this again.
To try the flavour, you could add the tahini to the dough whilst using your standard starter, or you could play with it like it did.
This is what I did..
Day 1
I fed 50g of Star with 30g of strong white bread flour + 30g of my buttermilk & tahini sauce (details above), covered and left on the counter
8 hours later I fed the whole mixture 50g of strong white bread flour + 50g of buttermilk & tahini sauce, covered and left on the counter overnight
Day 2
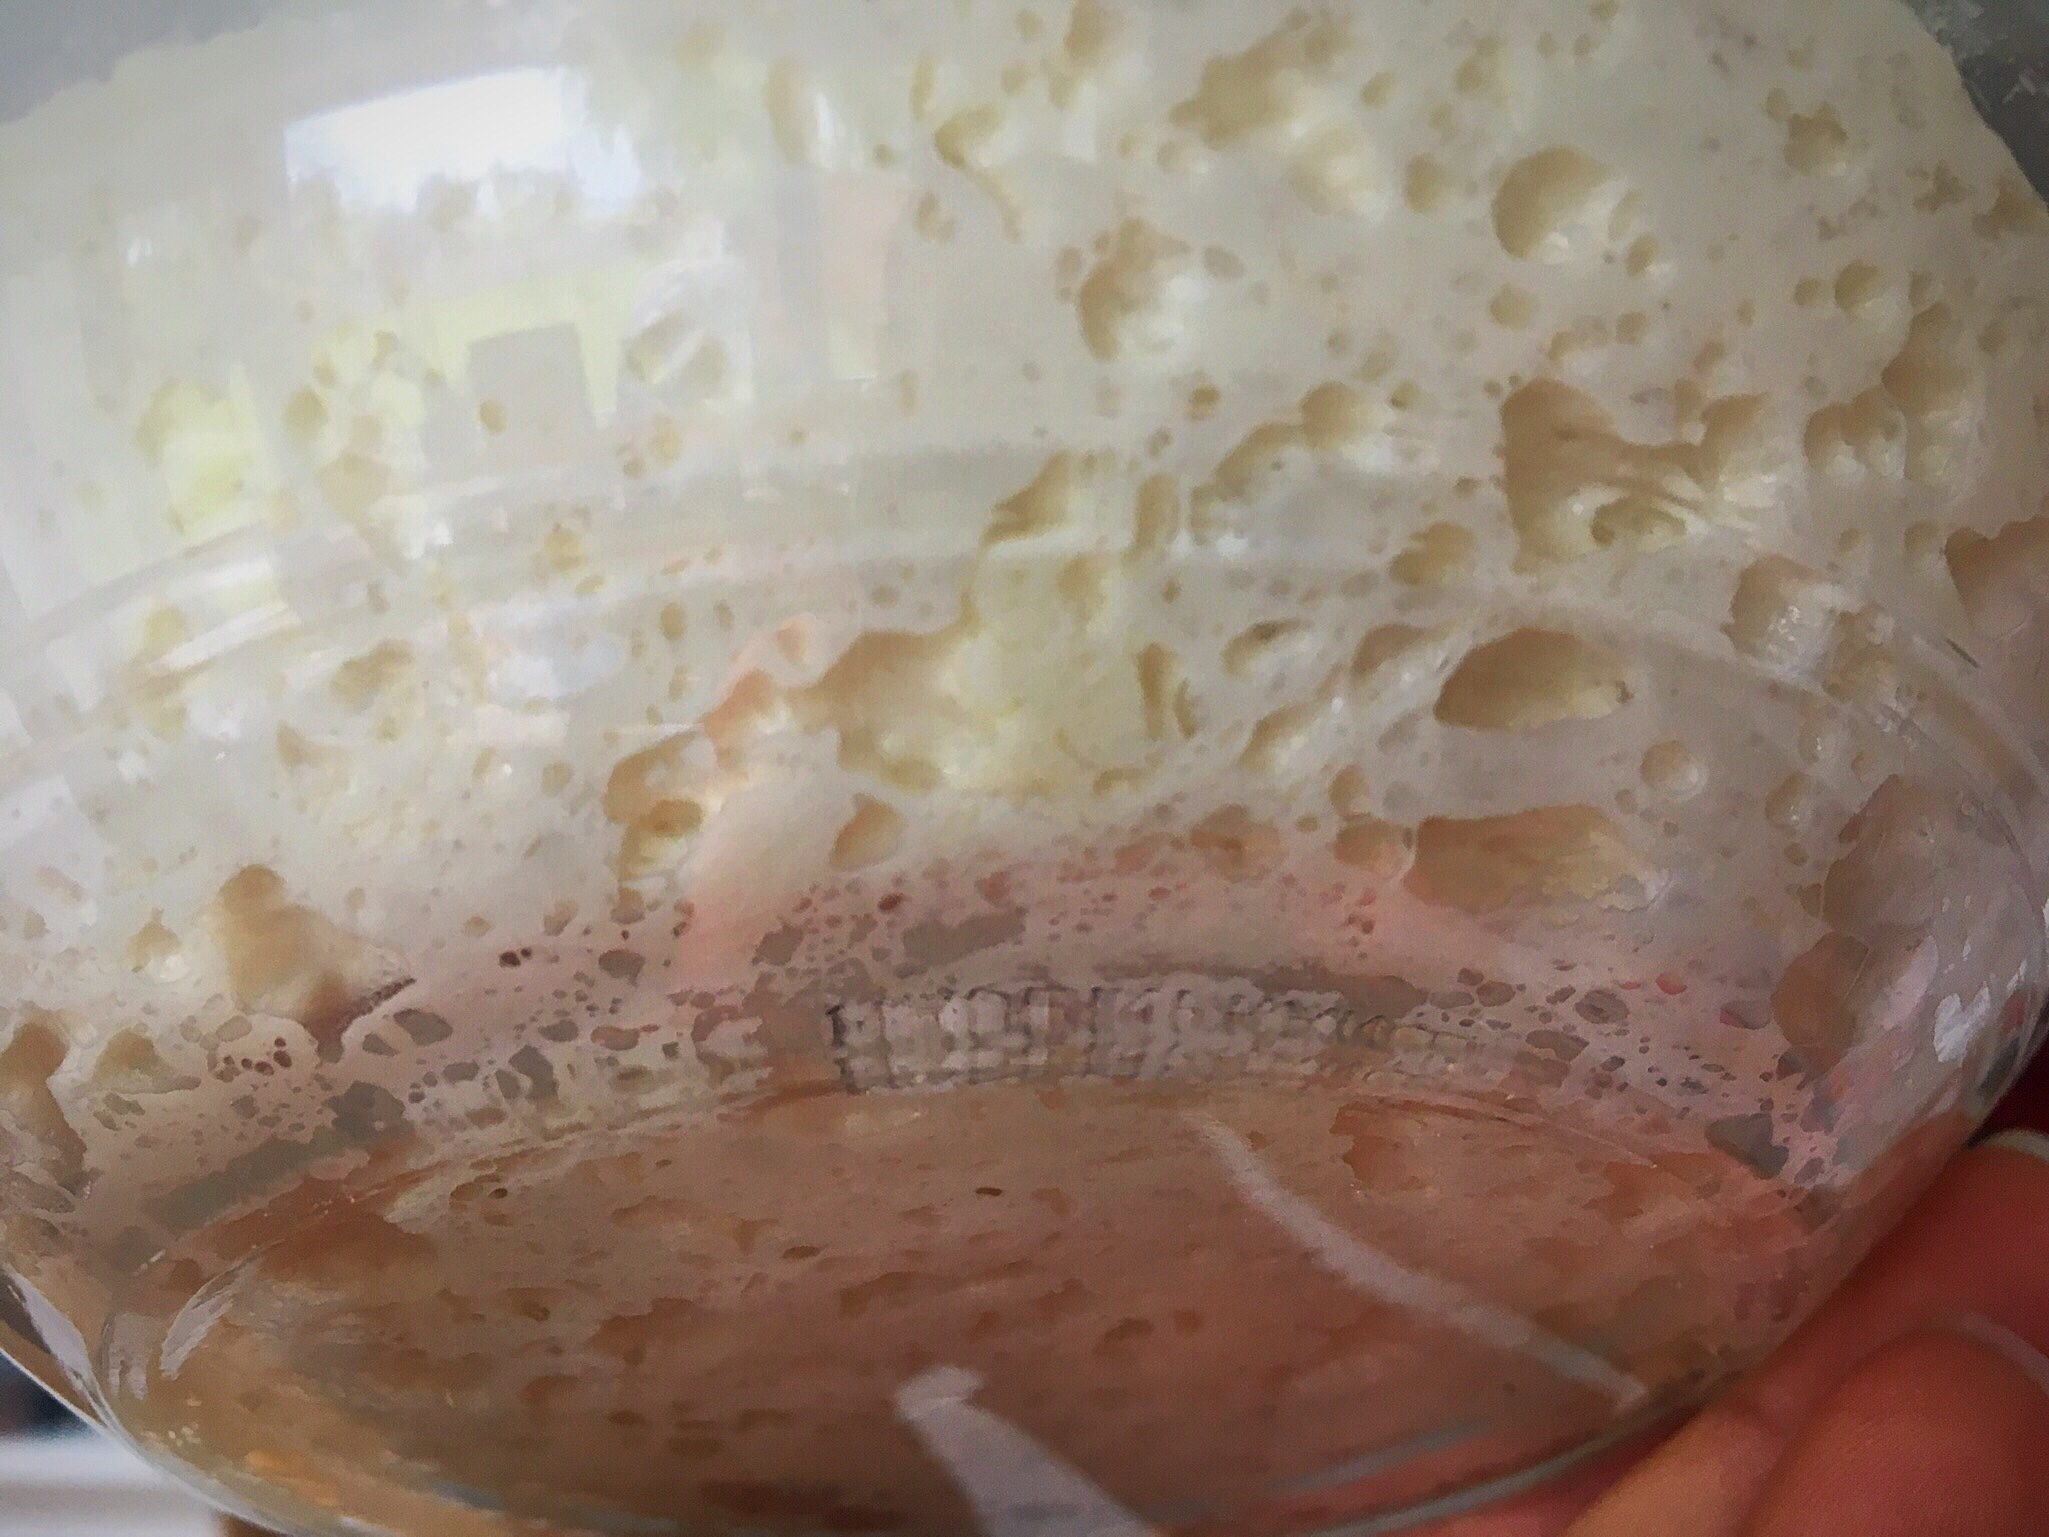
I had a bowl of lovely textured thick happy starter, as seen above.
To mix up the dough I used:
100g of the buttermilk & tahini starter
500g of strong white bread flour
350g of a water and tahini mix
1tsp salt
I then followed my usual process to work with the dough and bake her the next day.
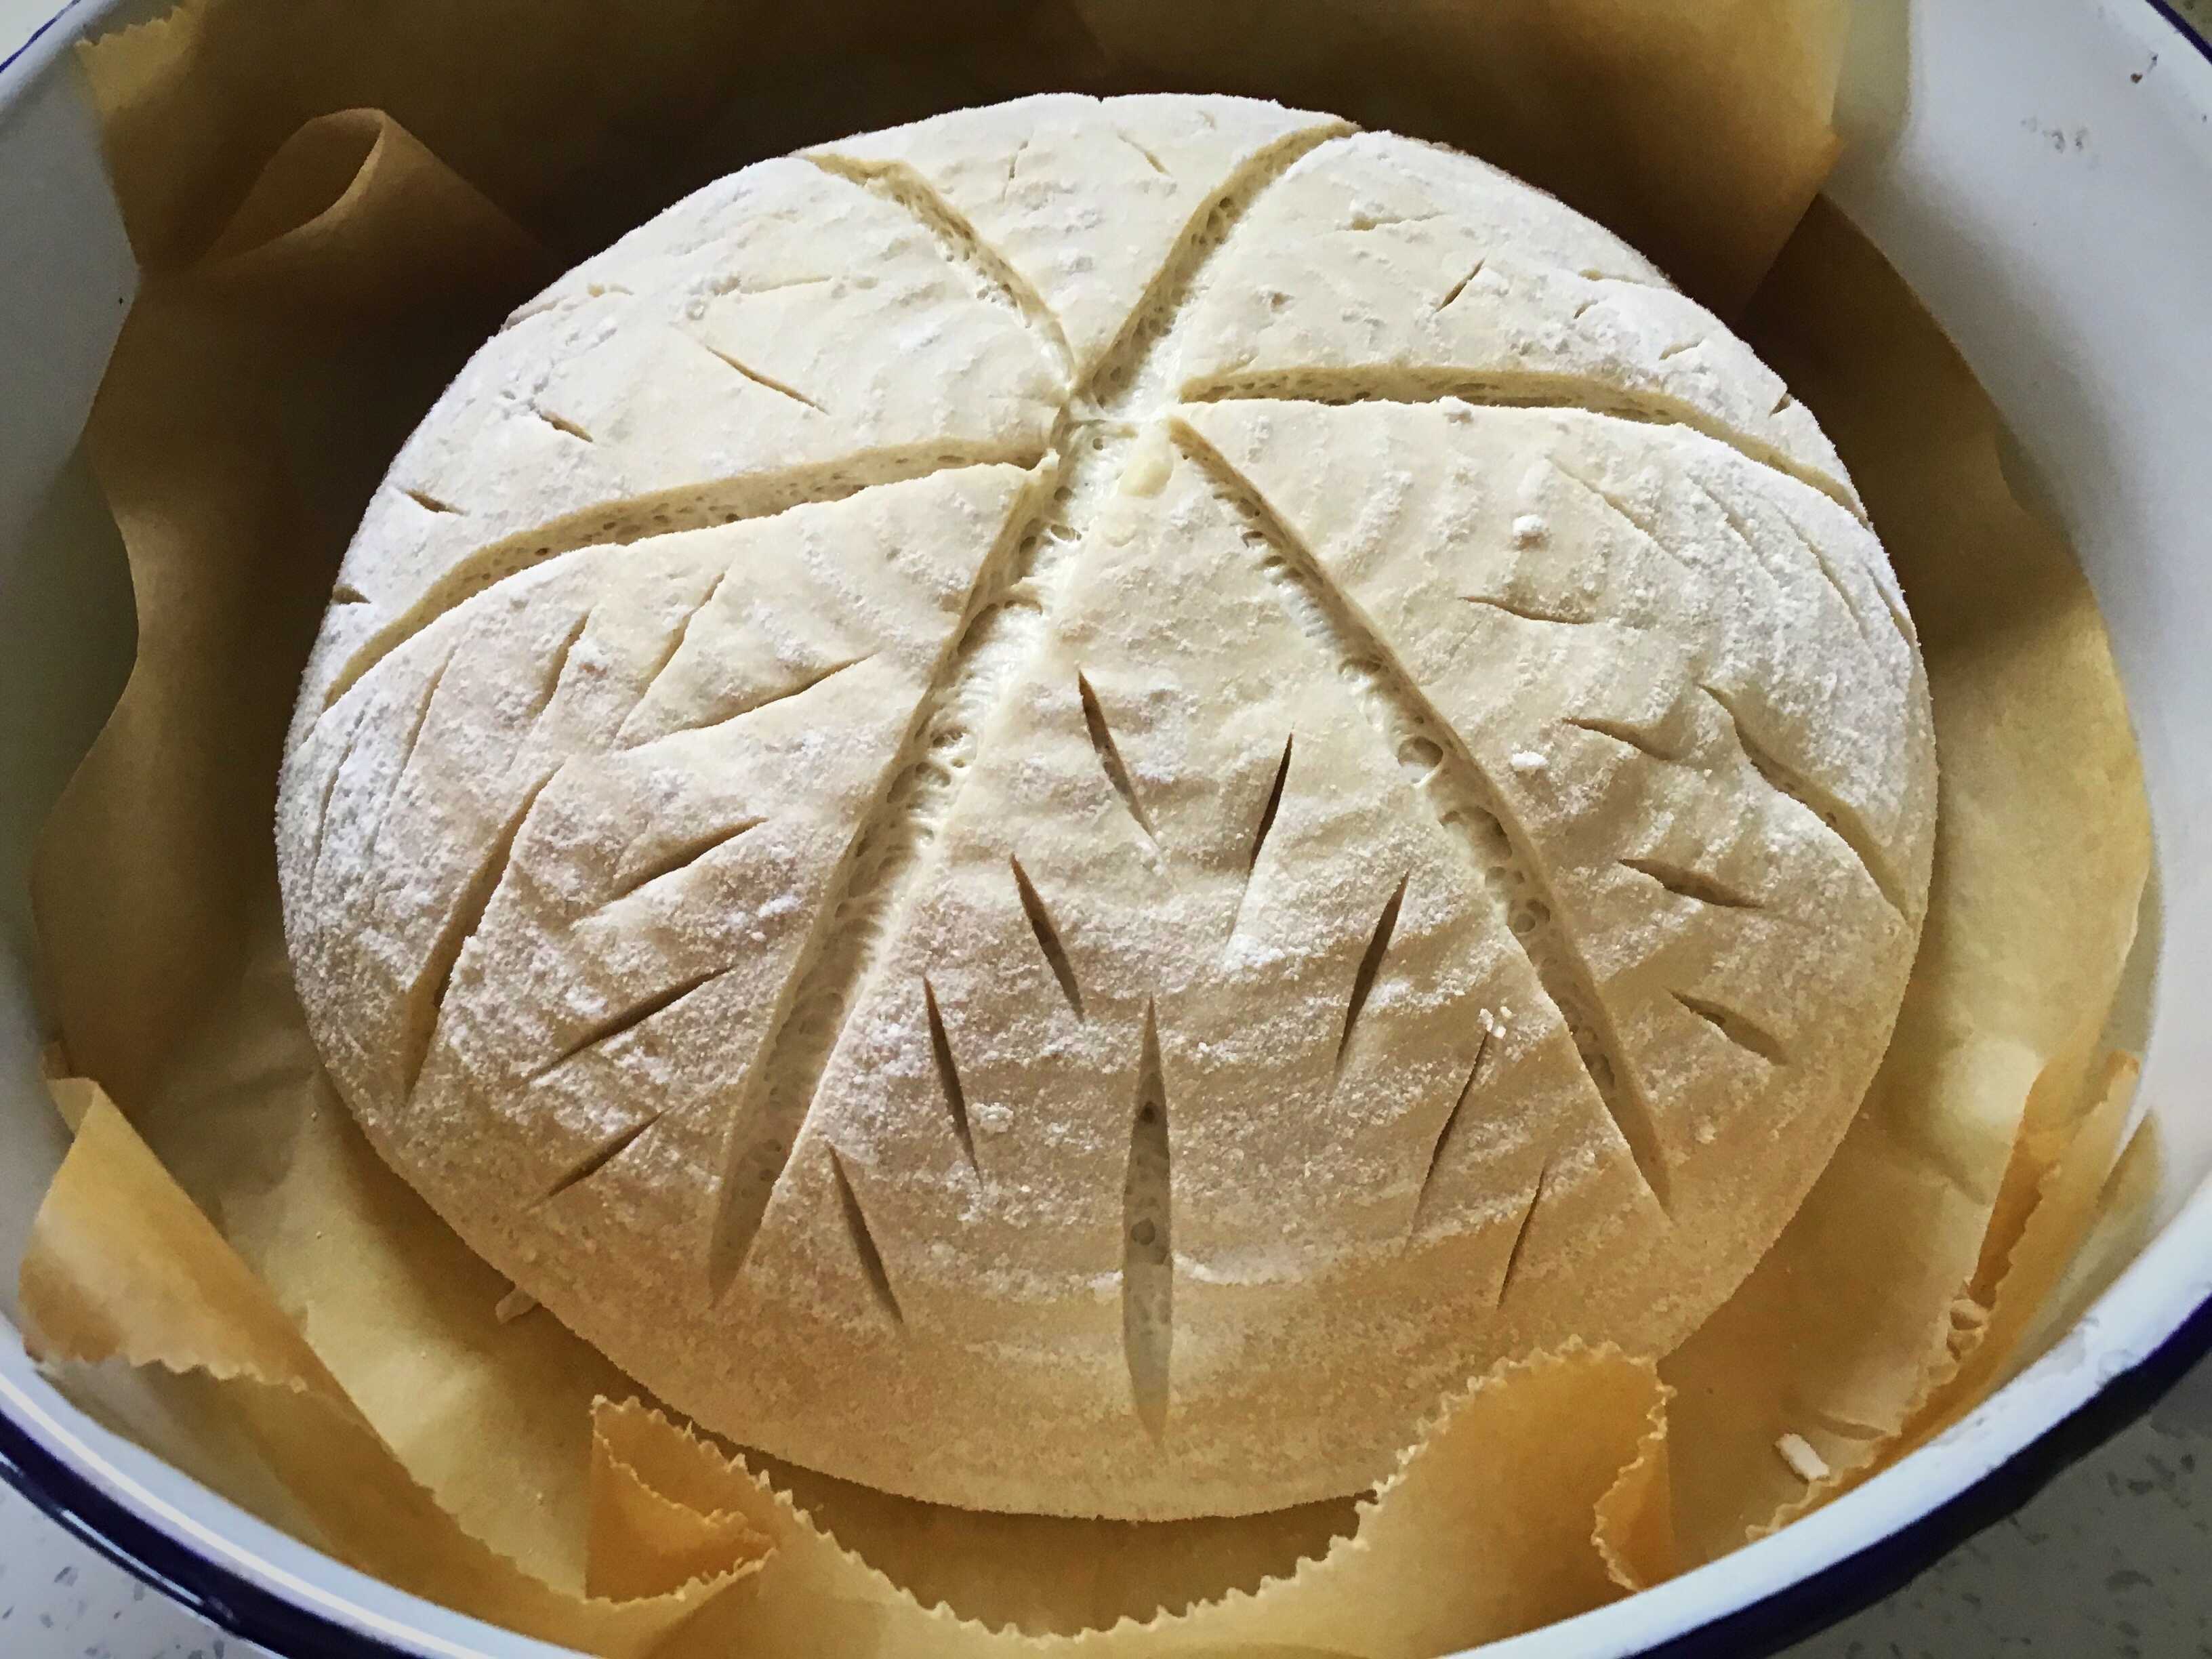
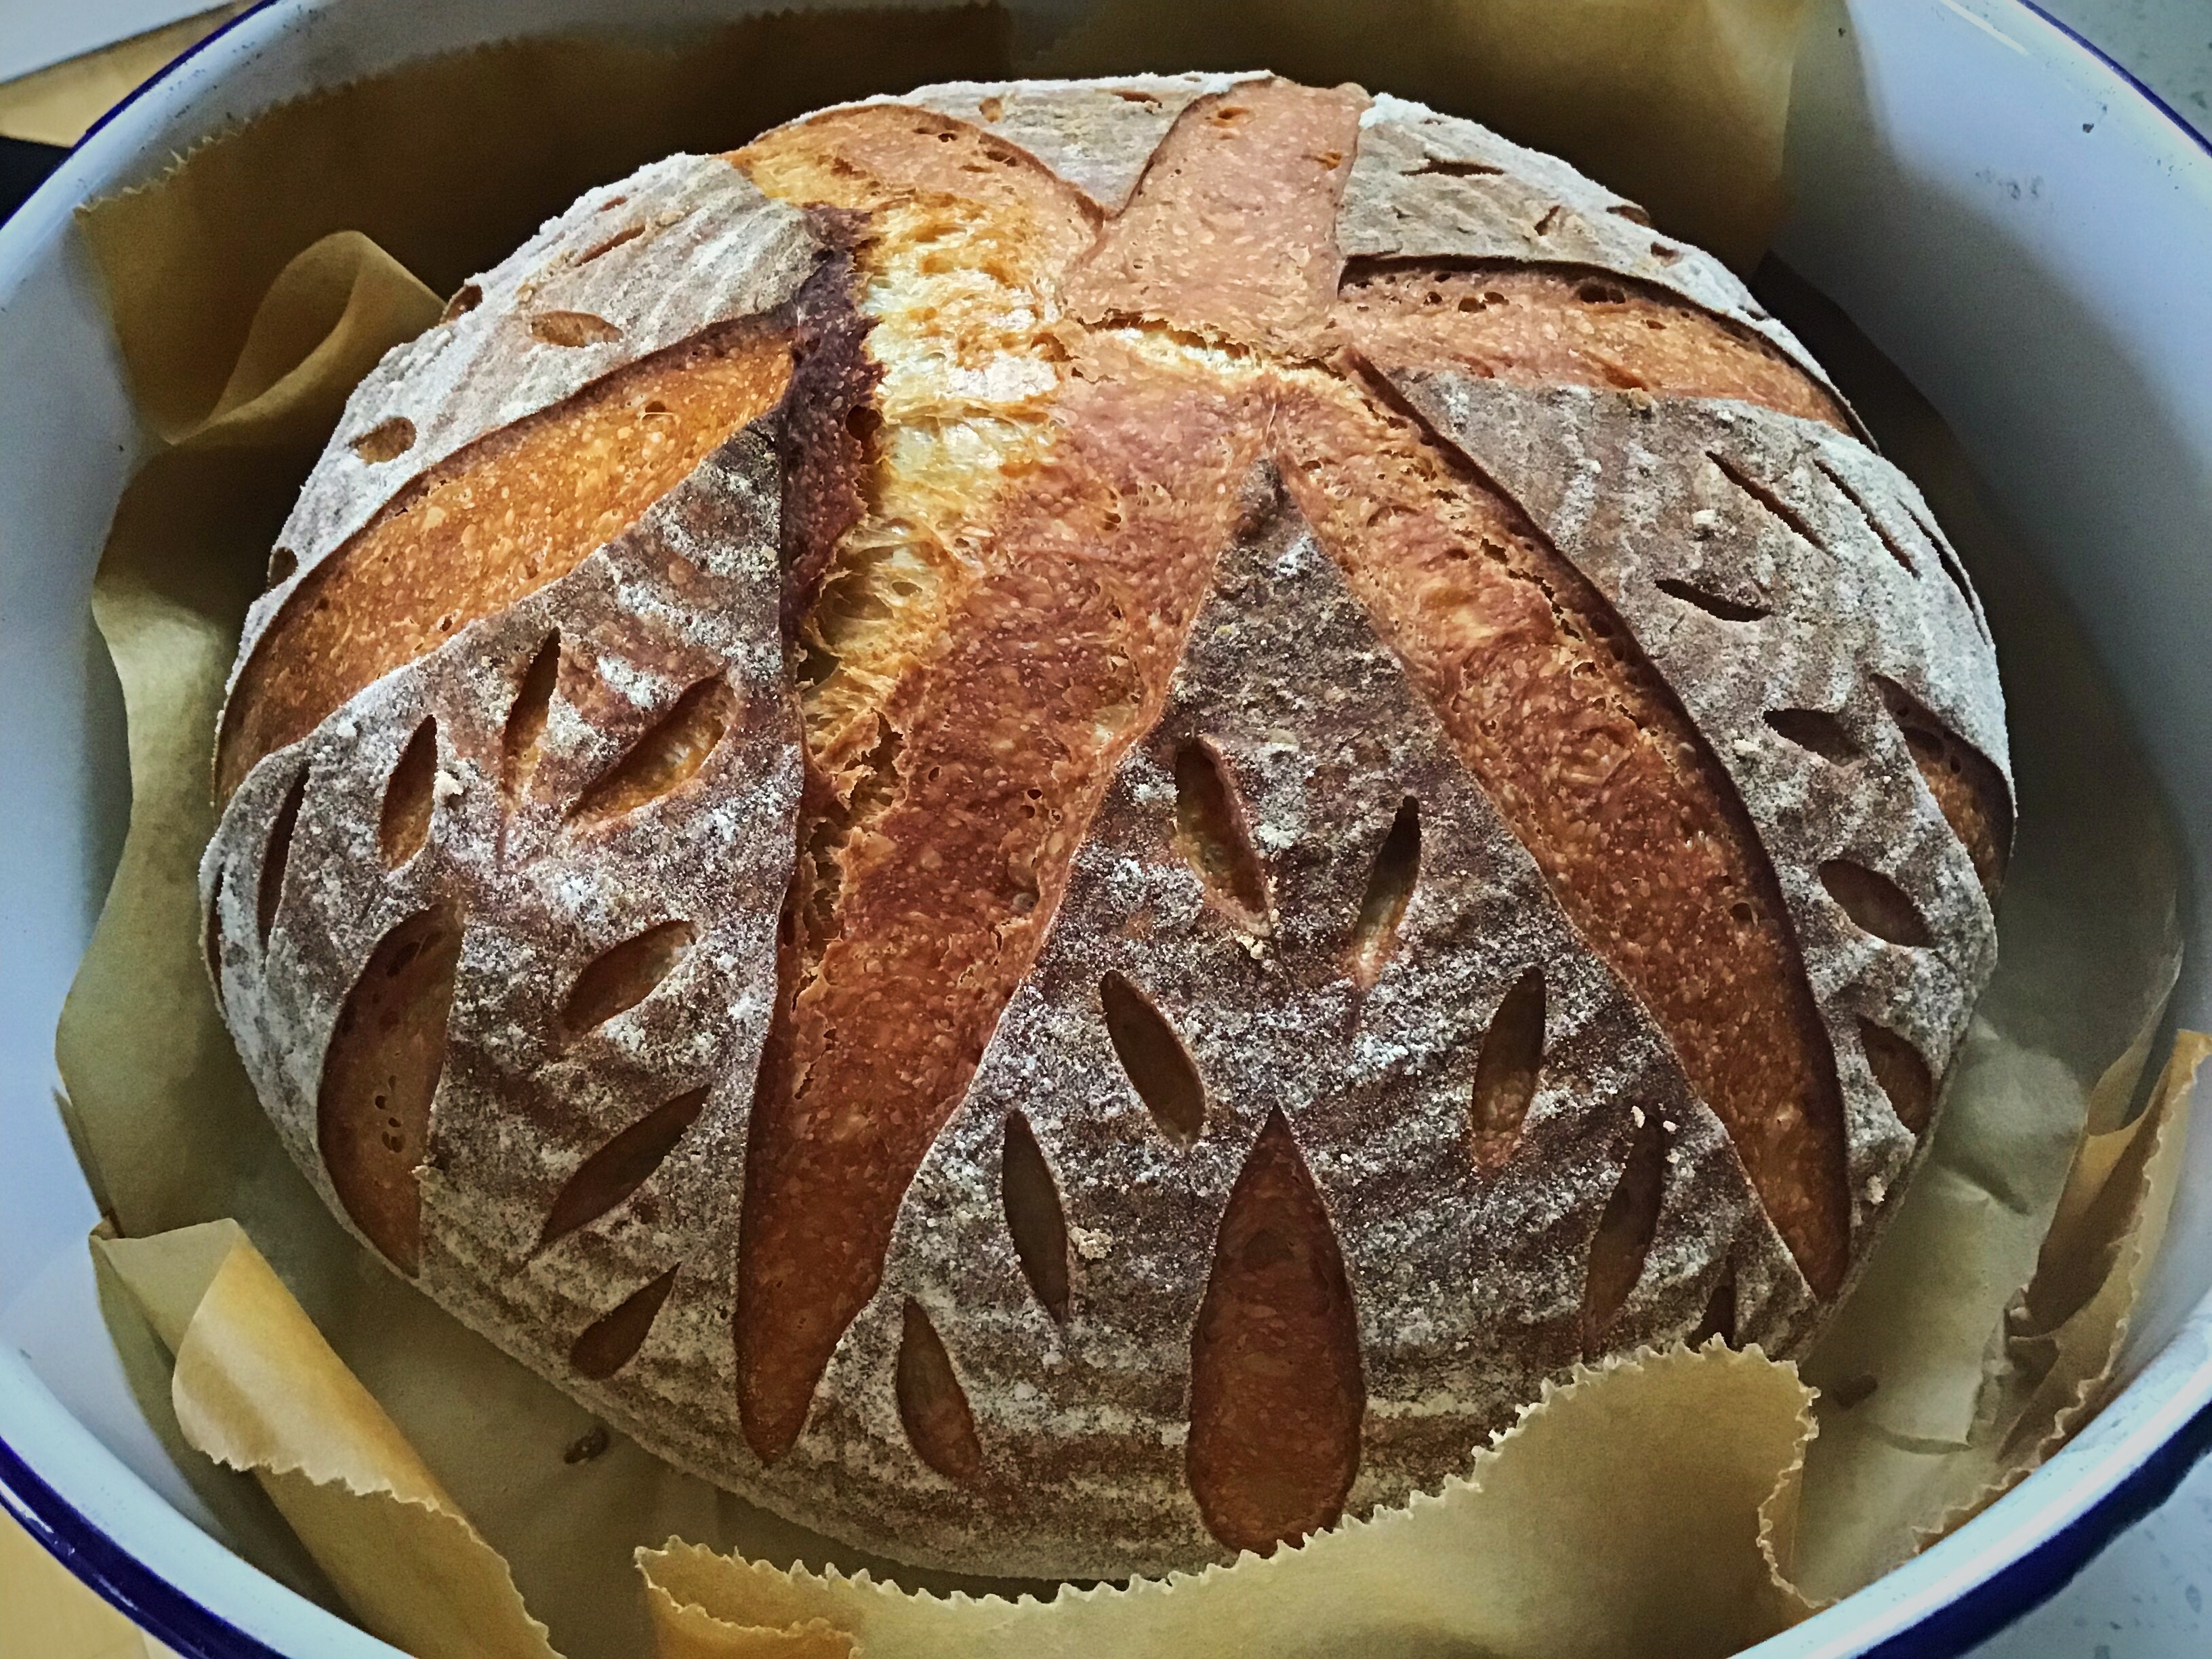
The dough was lovely and firm, a joy to score, and it baked beautifully from a cold start.
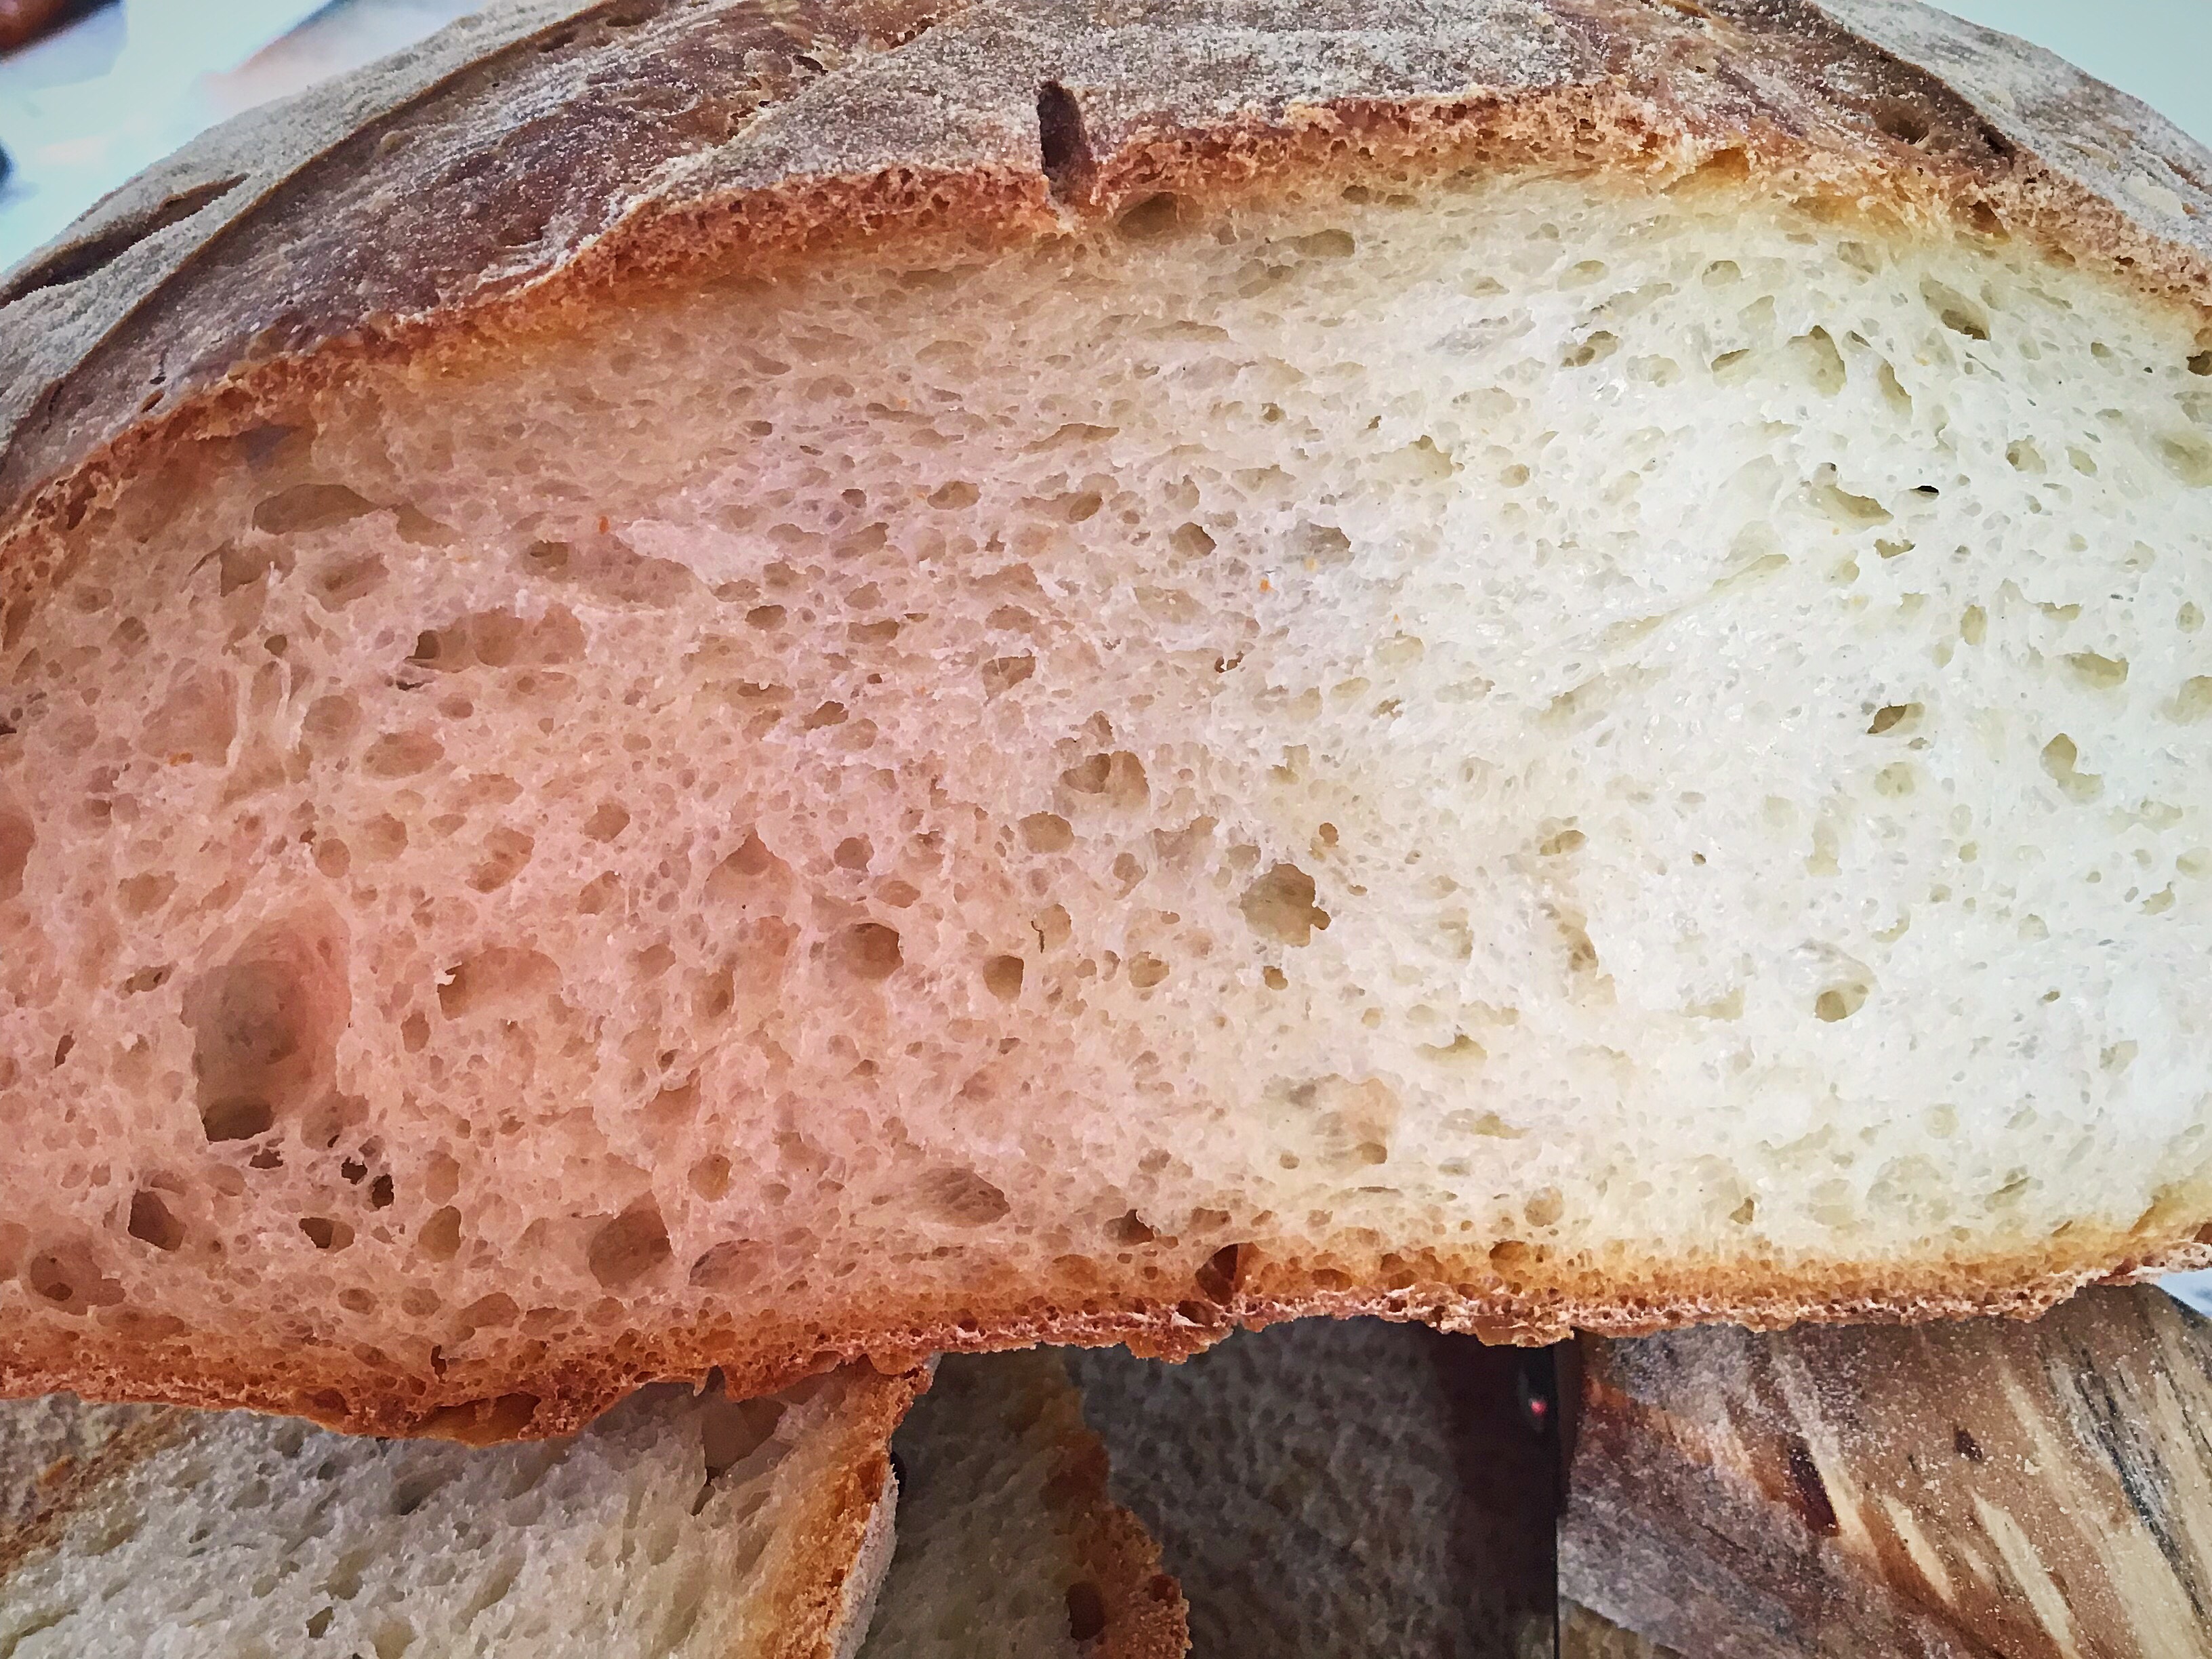
The crumb was closer than other loaves might be, this is due to the dairy element. You could really smell the tahini in the bread and you could taste it in each bite without it being too strong.
Definitely a success in our house!
If you decide to experiment with your starter, do tag me and #starterfun wherever you share it, and enjoy the fun! I’ve already got more experiments to share, coming soon…

