Sourdough rolls…

A basket of biscuits on top of a red and white star paper.

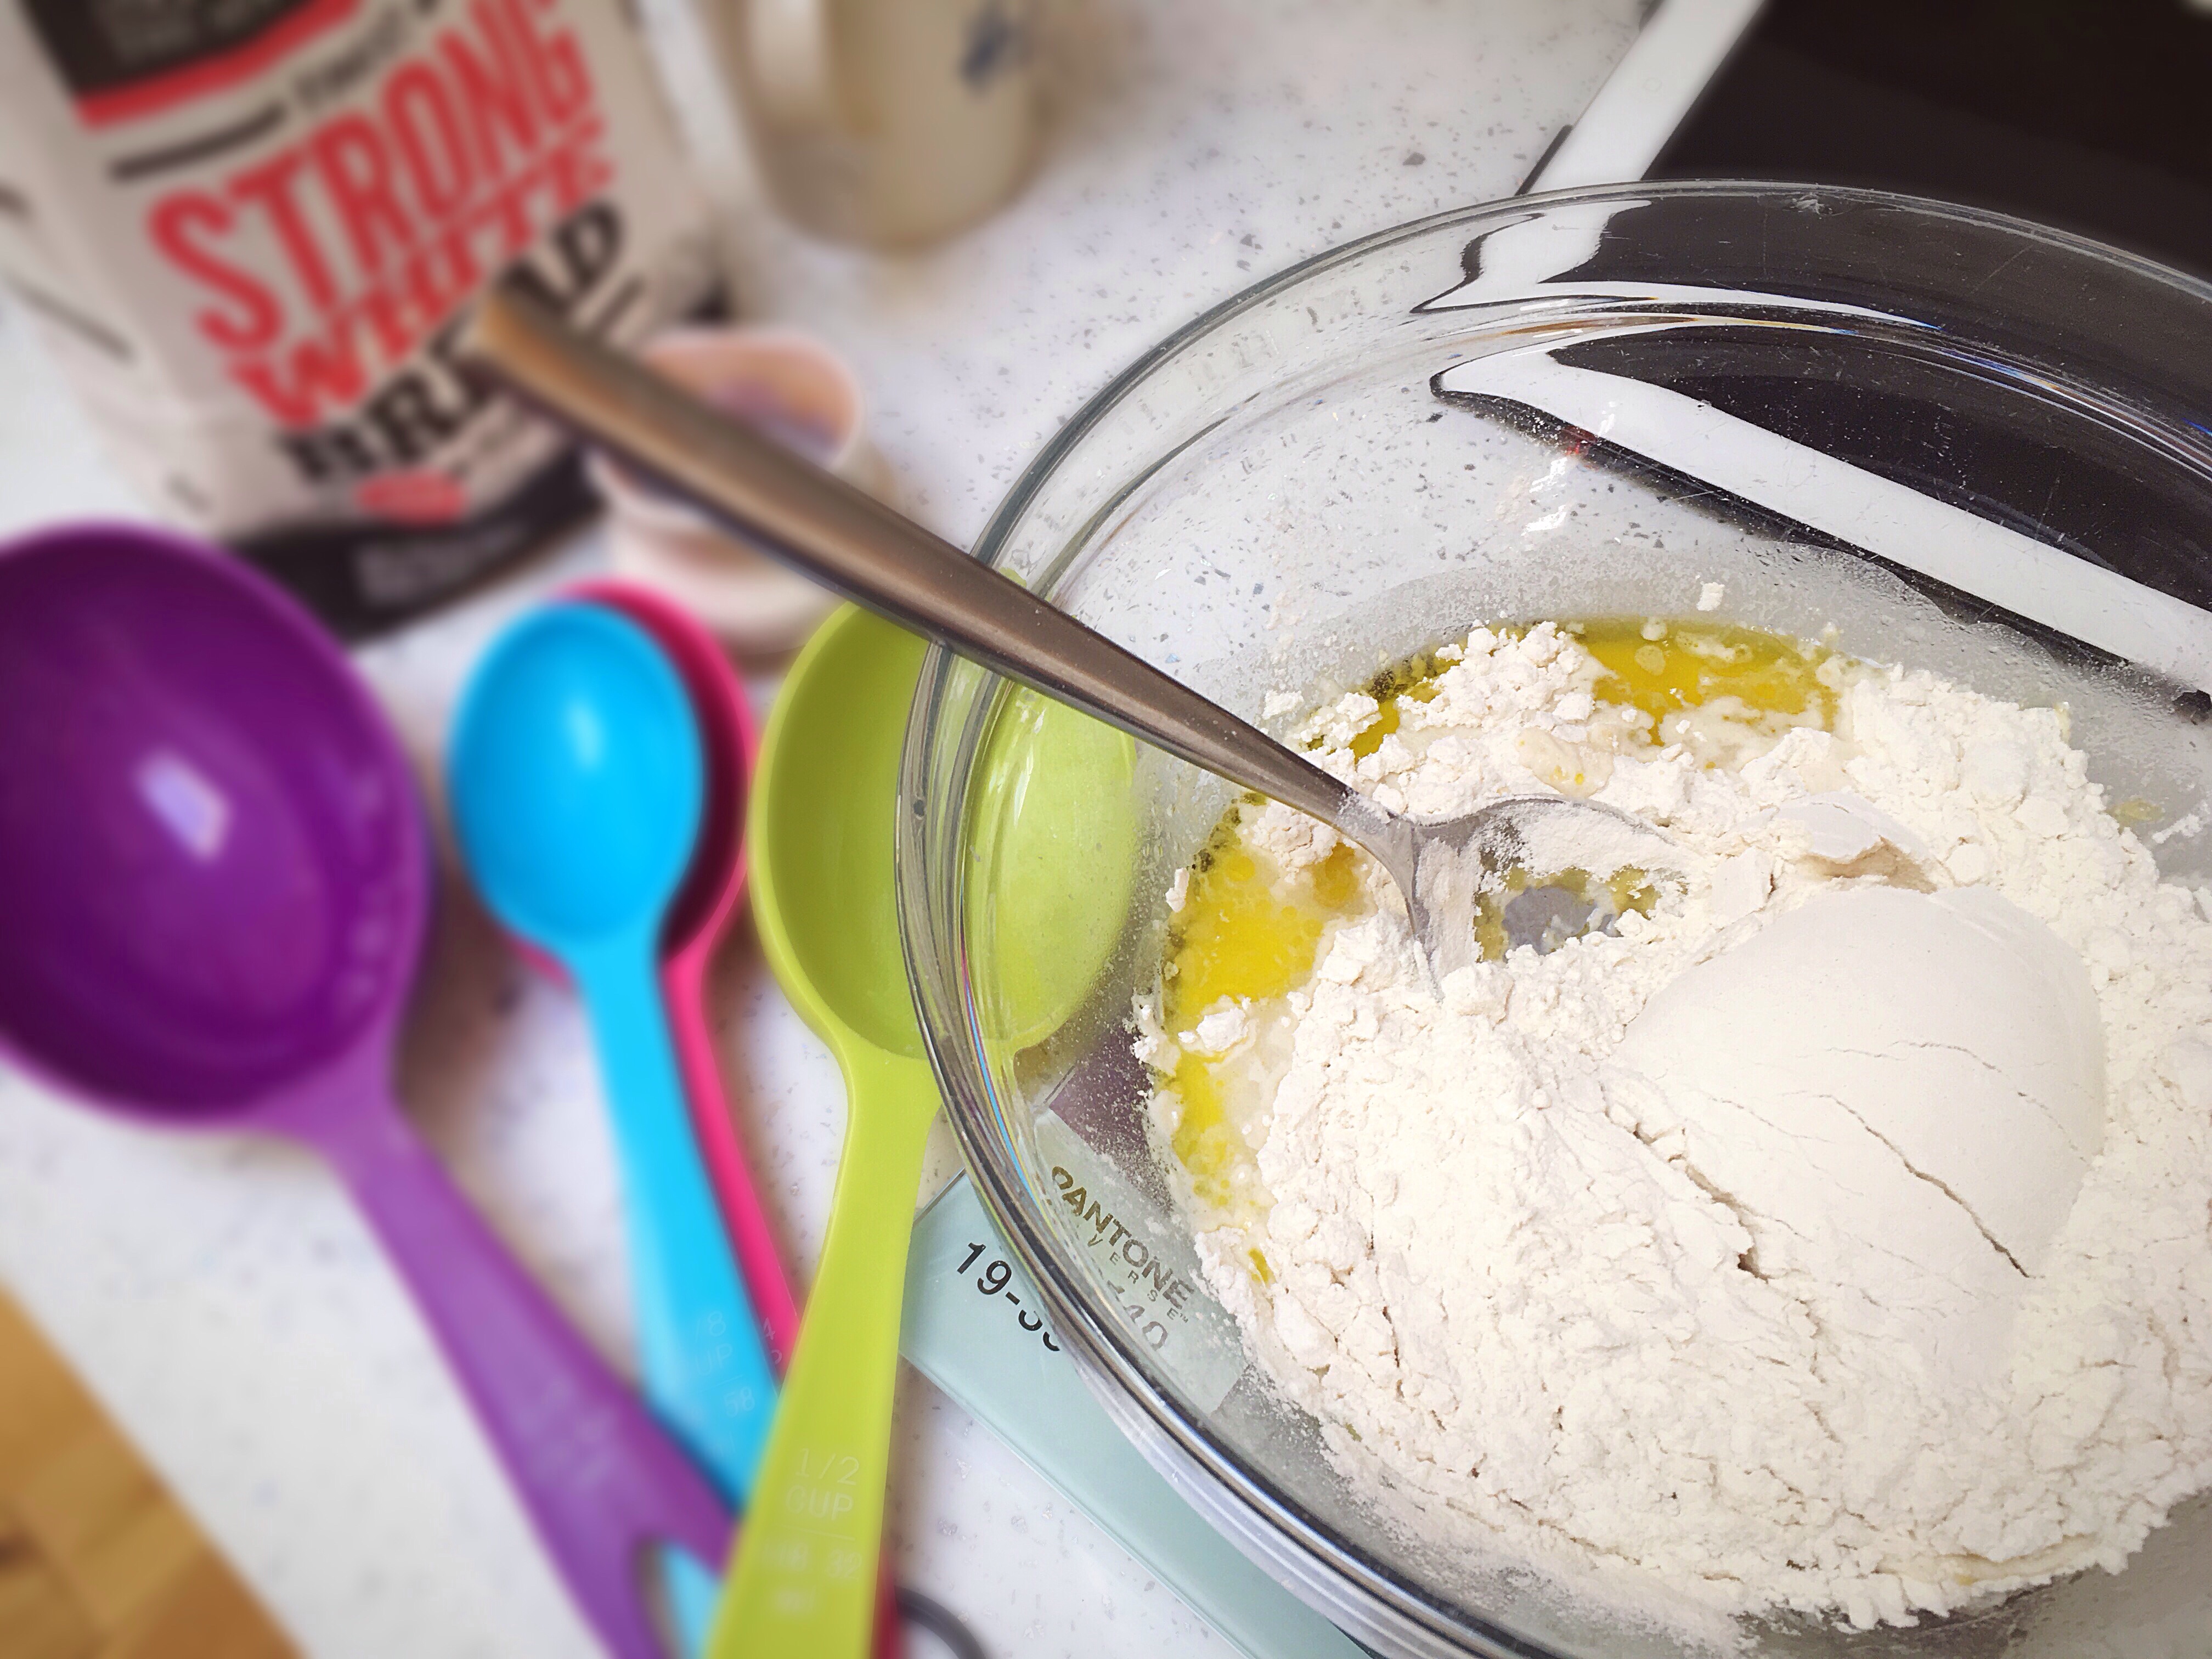
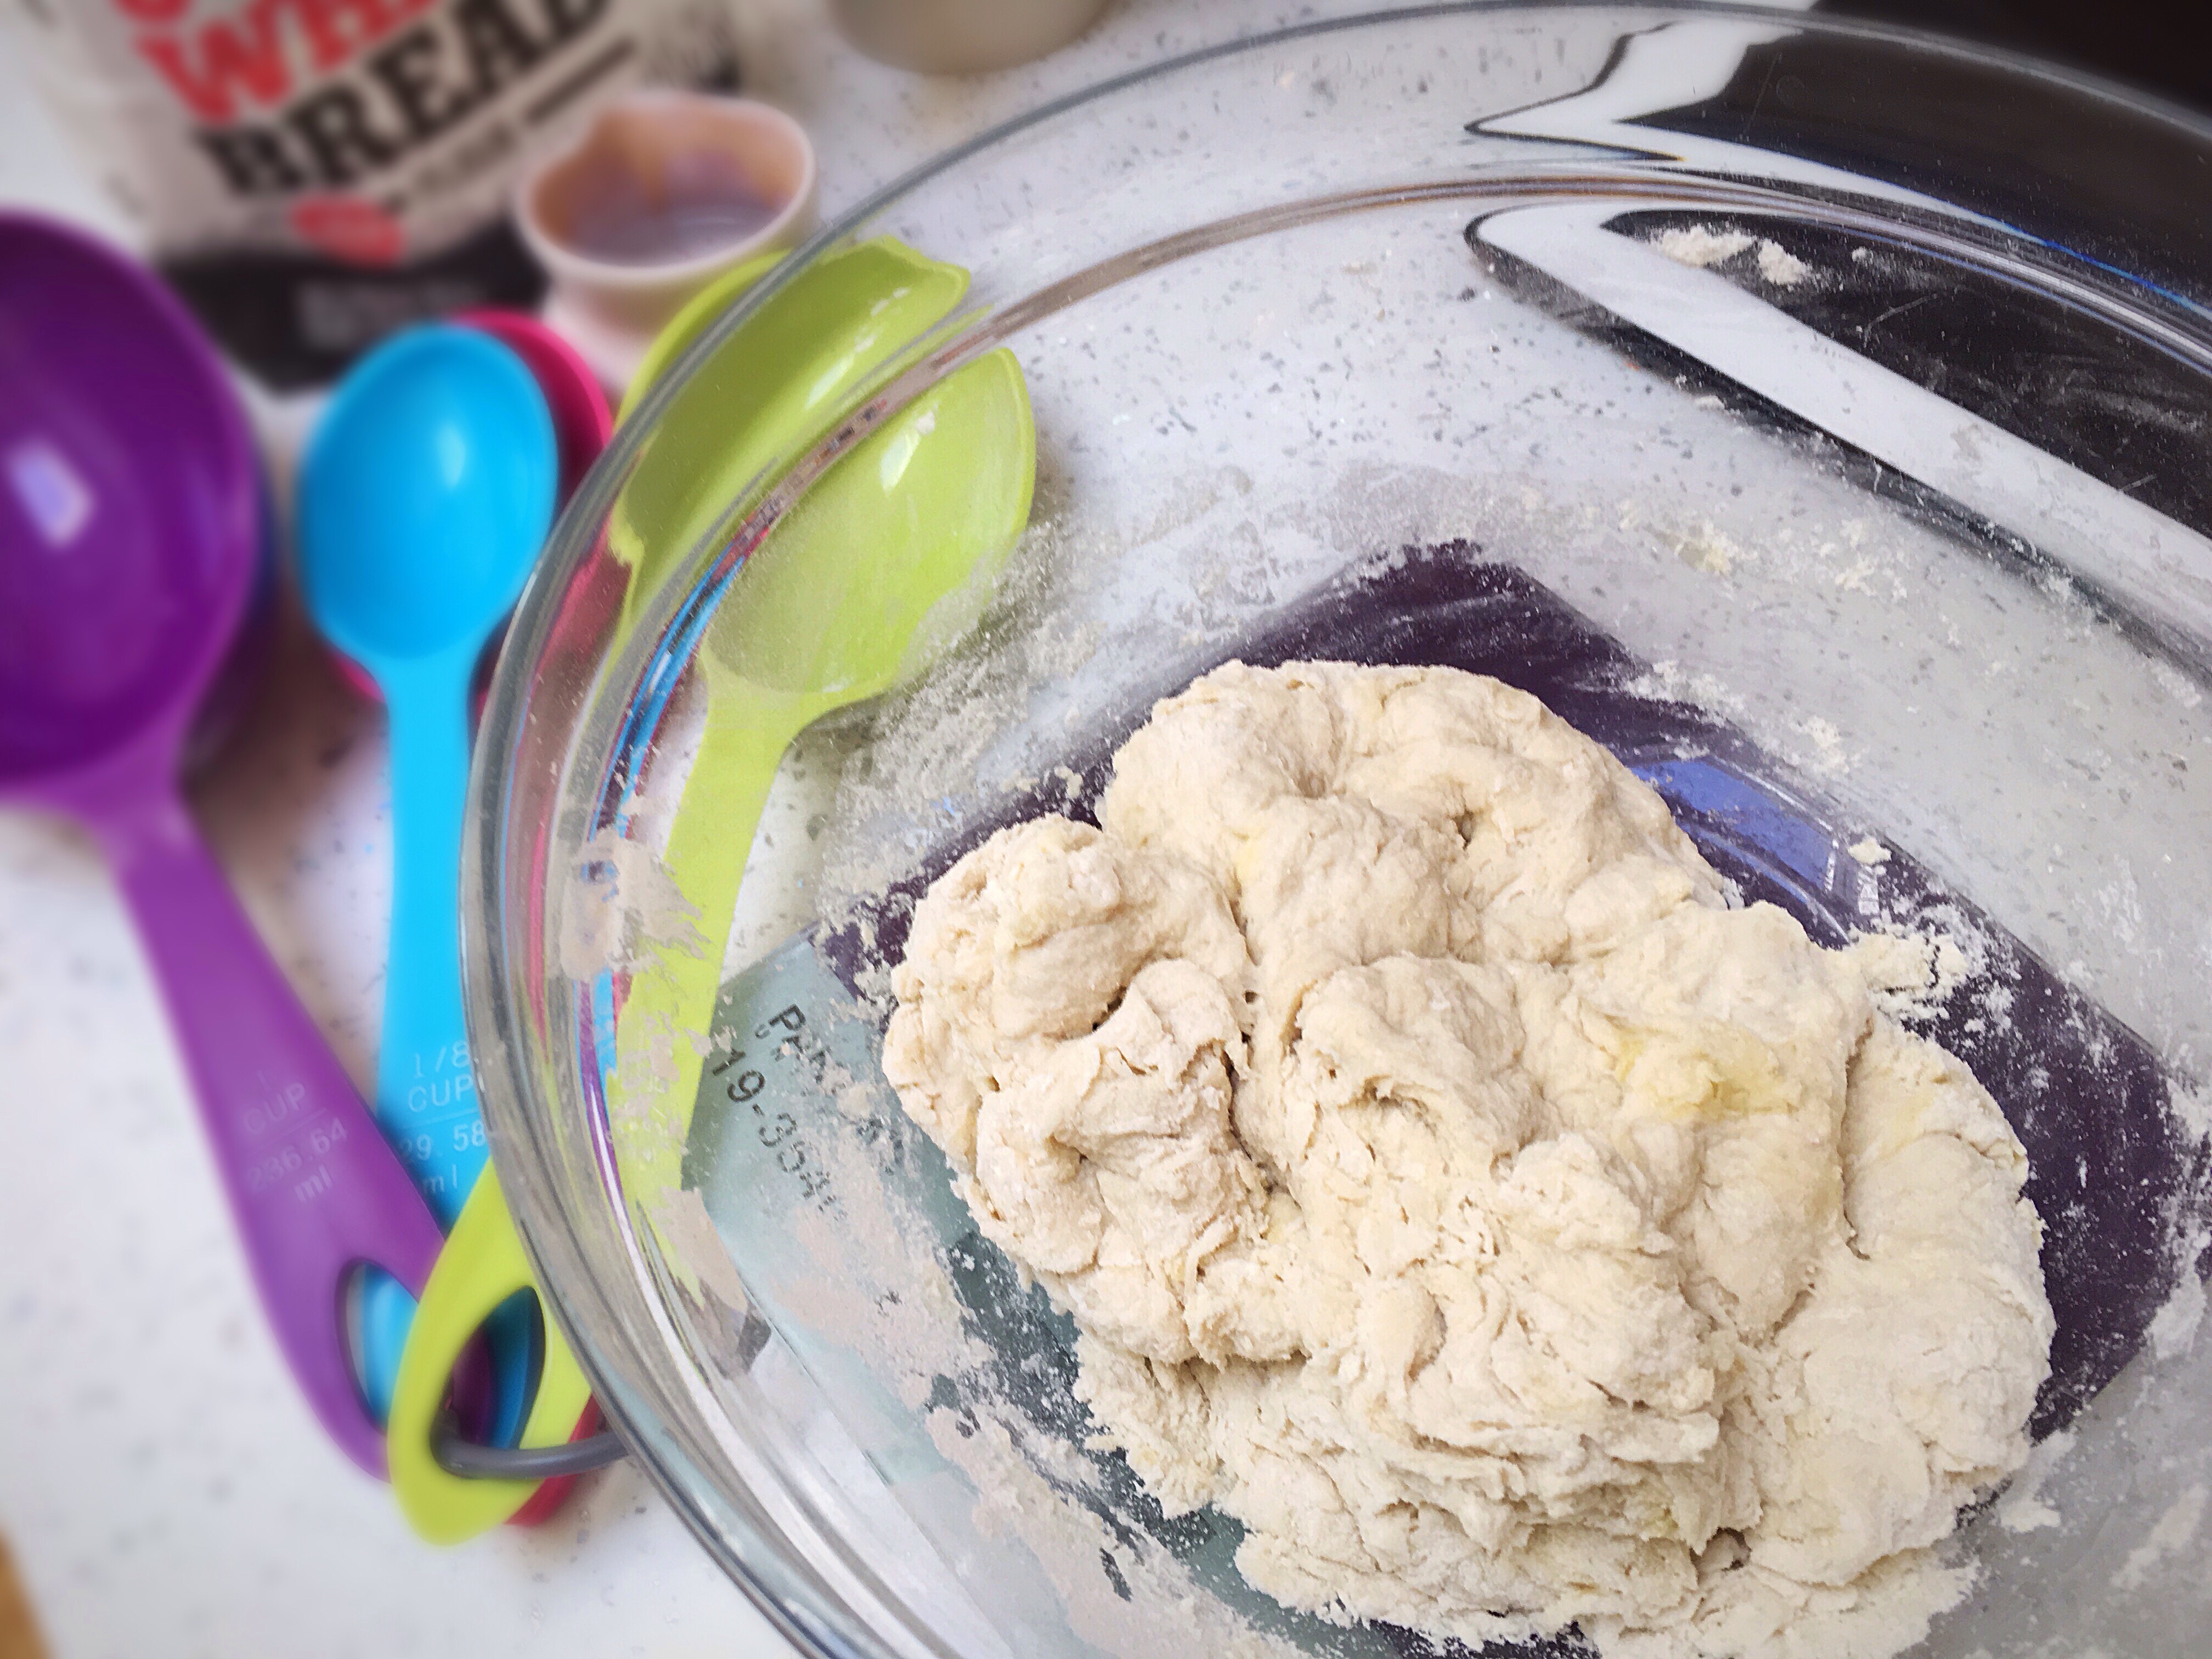
These rolls were made using my master recipe, link to the left, using Shipton Mill finest bakery no.1 white bread flour, but I also think that their Canadian bread flour would work well as it creates a slightly firmer dough in my experience. I also think they’d be lovely with various mixes of flour..

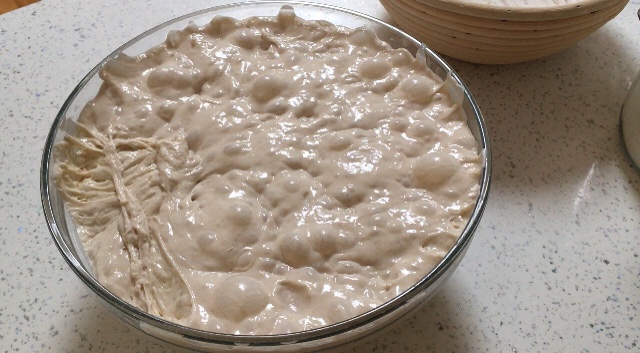
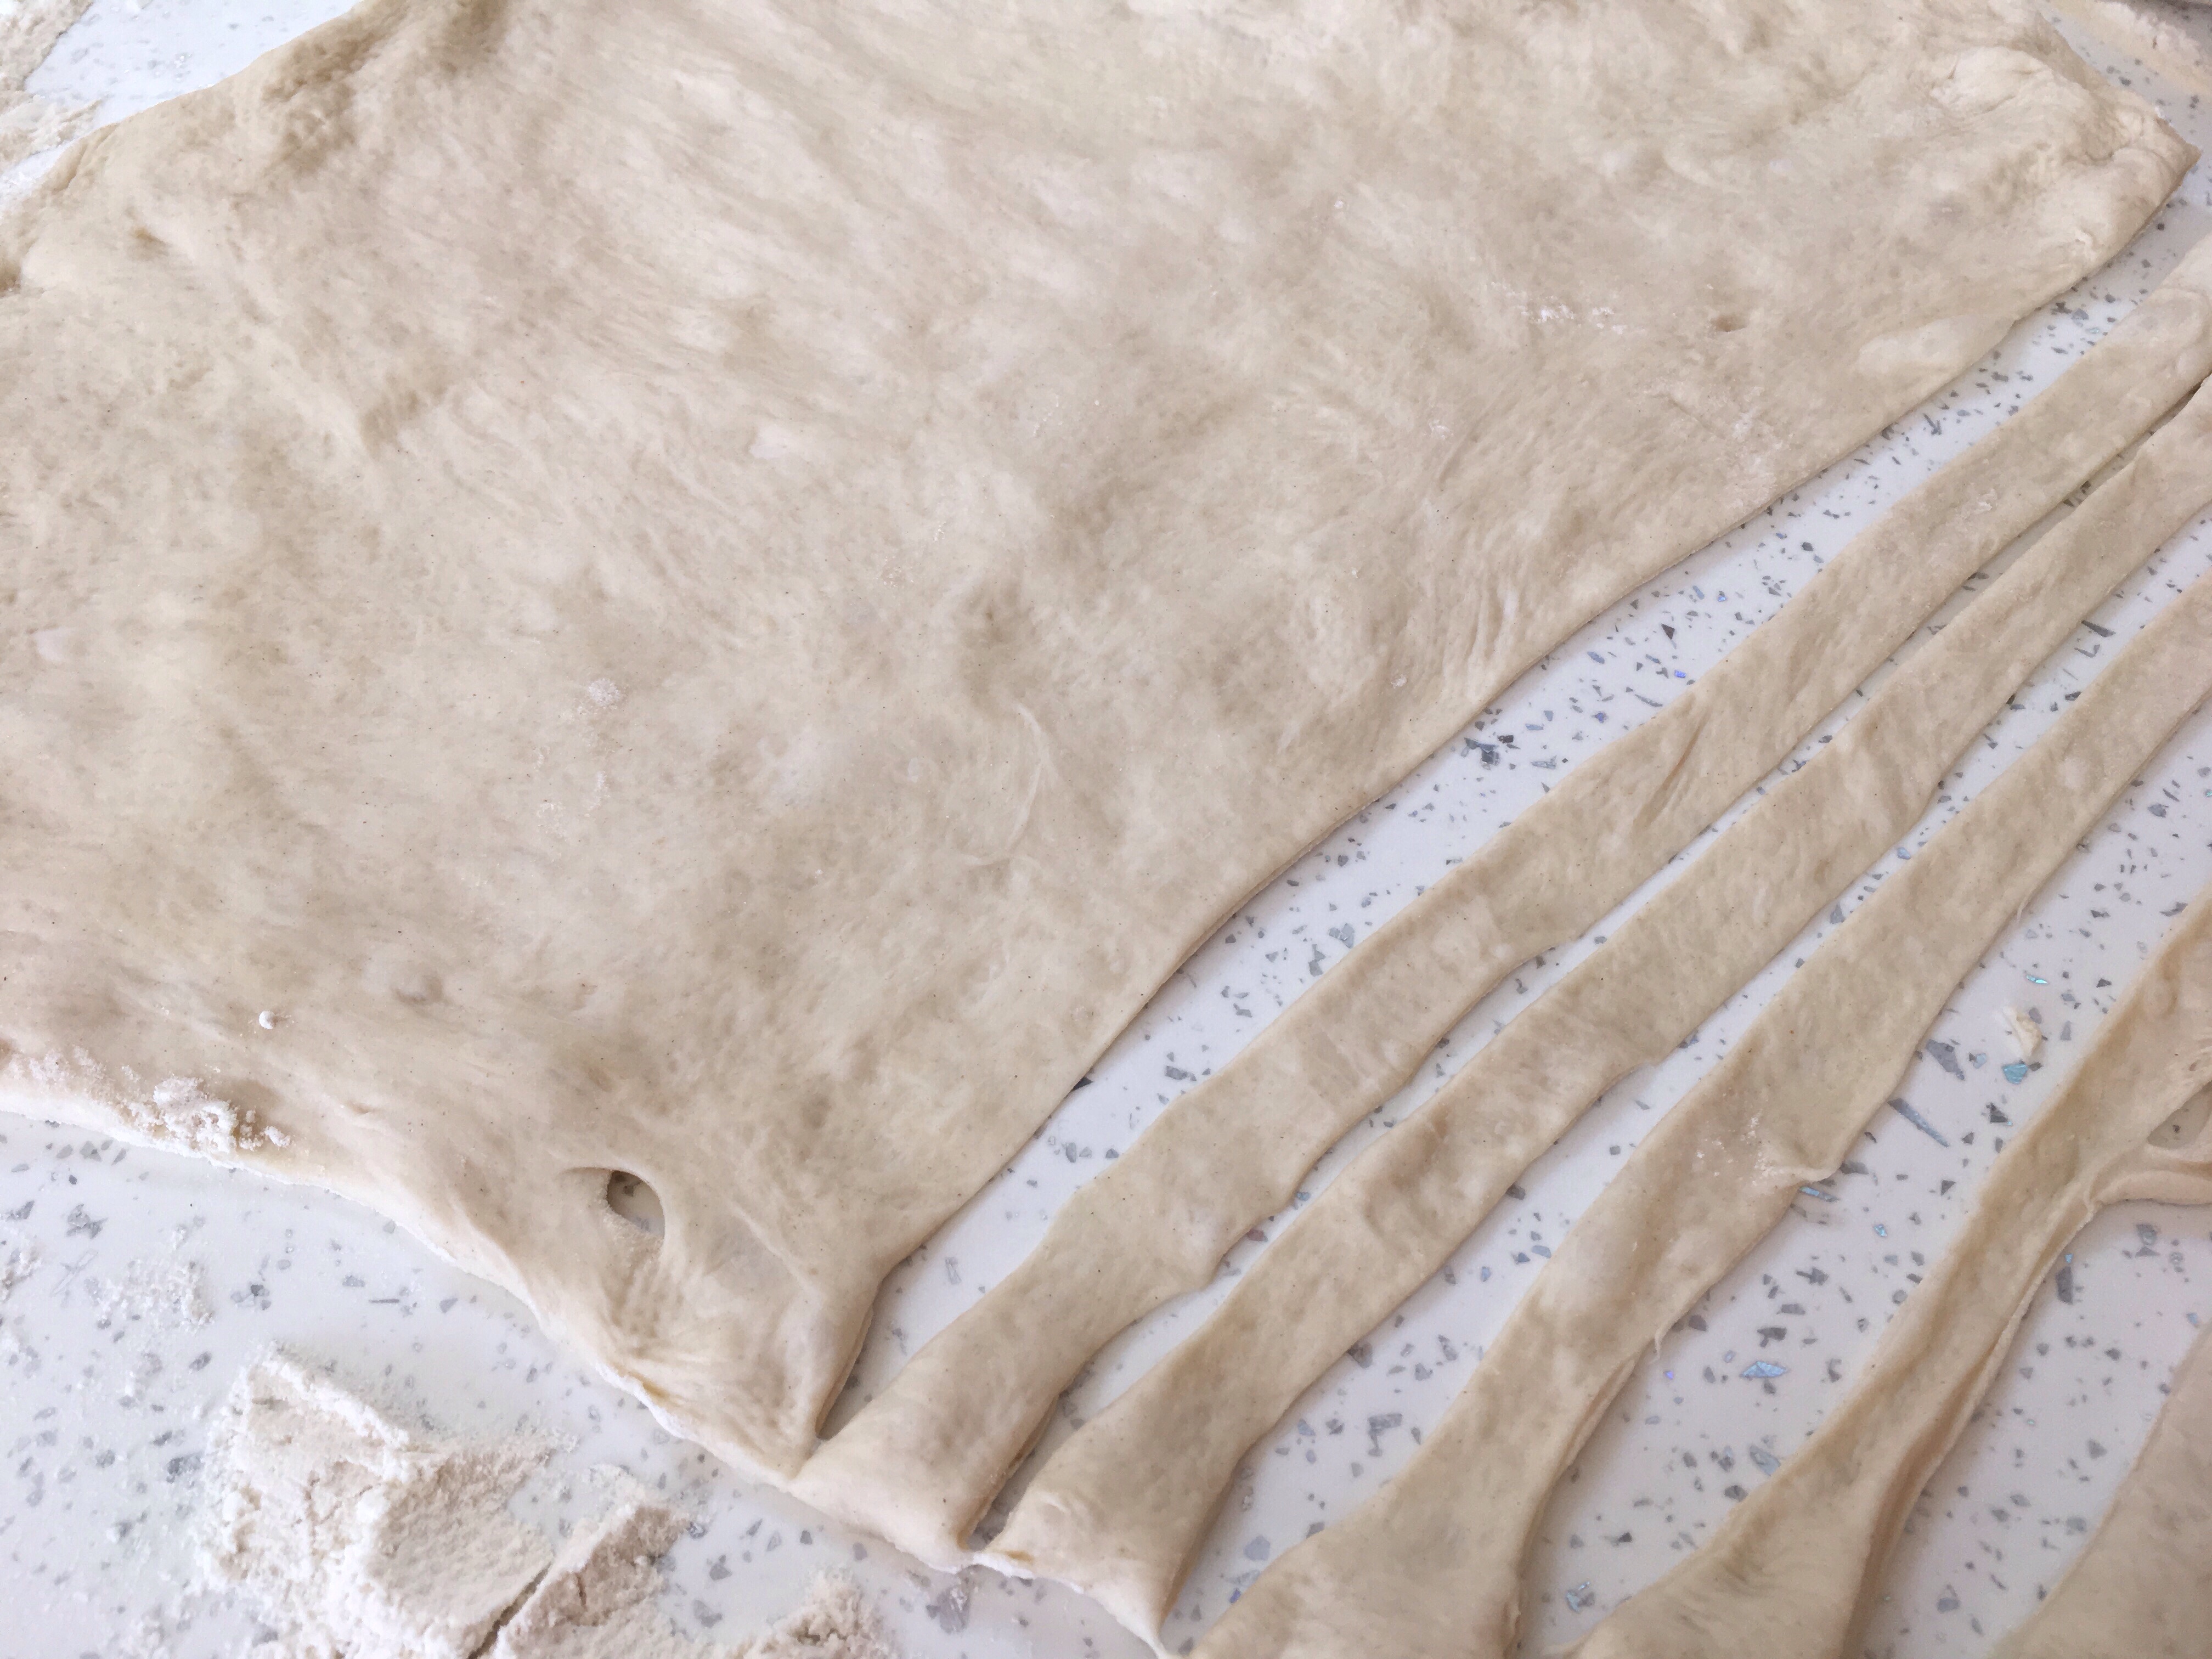
This week my lovely baking friend Steve and I made sourdough rolls together; I followed my master recipe exactly as it is, then after the overnight prove I pulled the dough together gently, placed it onto a floured surface then we cut it into 16 equal portions..as modelled by my lovely helper…

A collage of photos showing how to make bread.
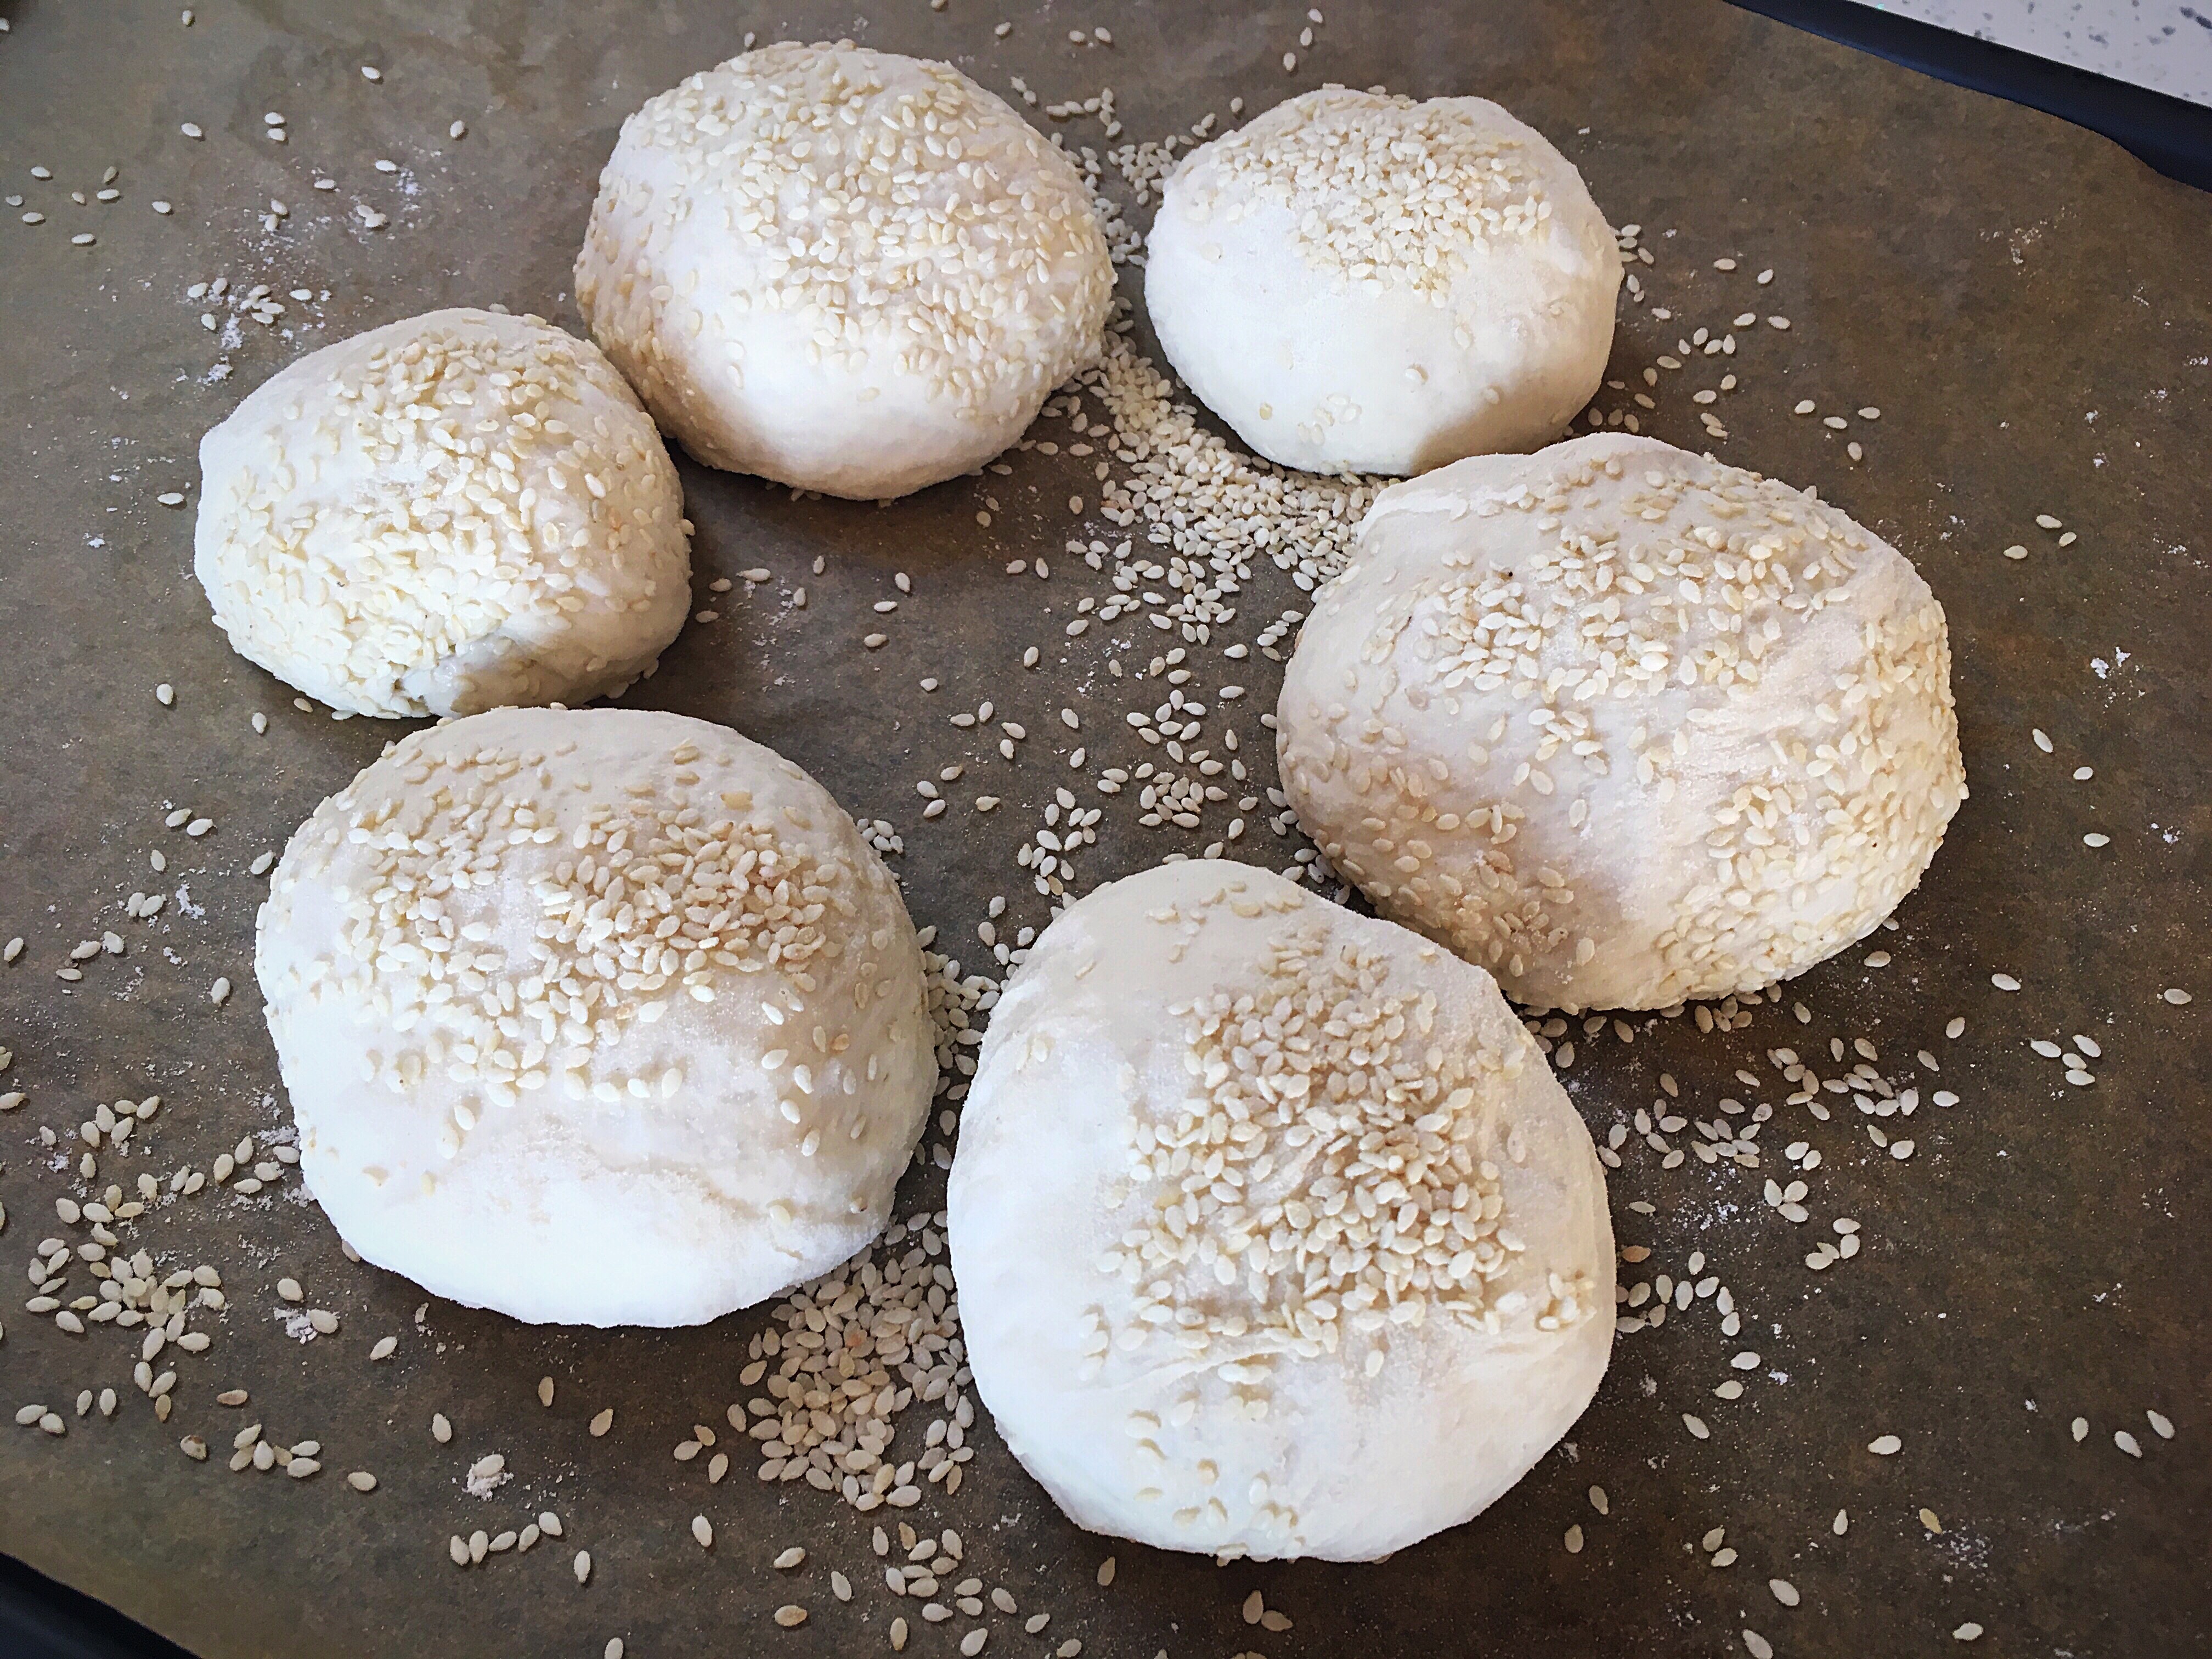
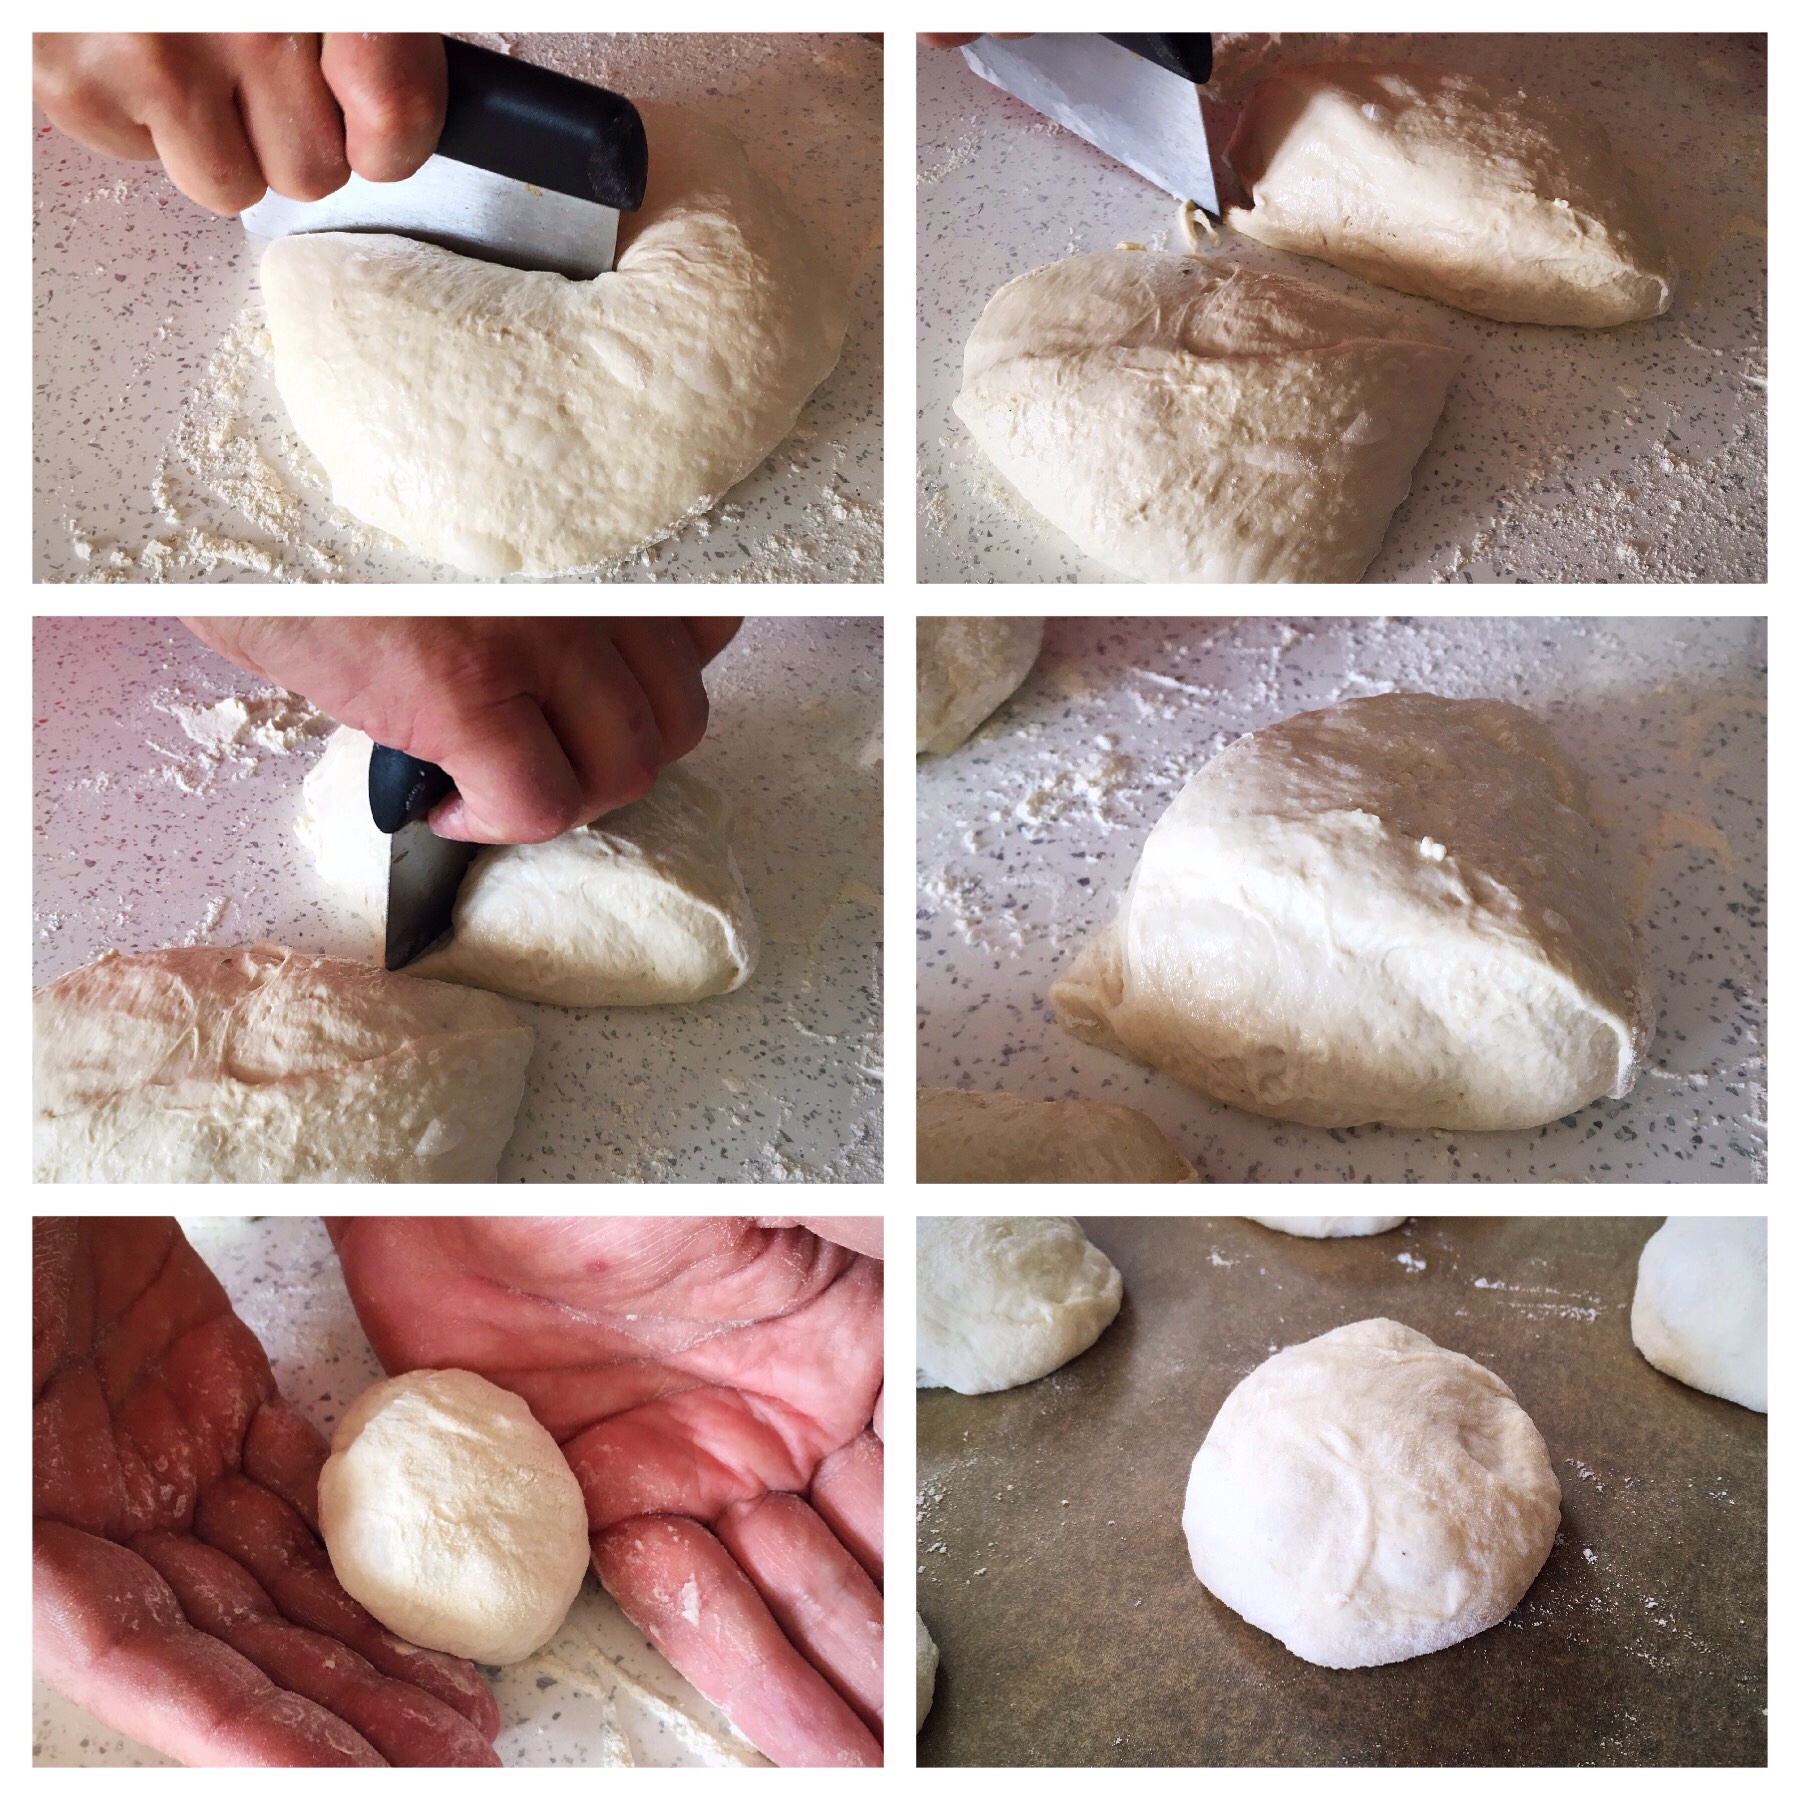
These pieces were rolled gently into rounds with the sides of our hands – very gently, the dough was very light and airy, and we wanted to preserve the bubbles – and placed onto a baking tray lined with parchment paper.

We then left them to sit for 10-15 minutes whilst preheating the oven to 200C fan (220C convection)

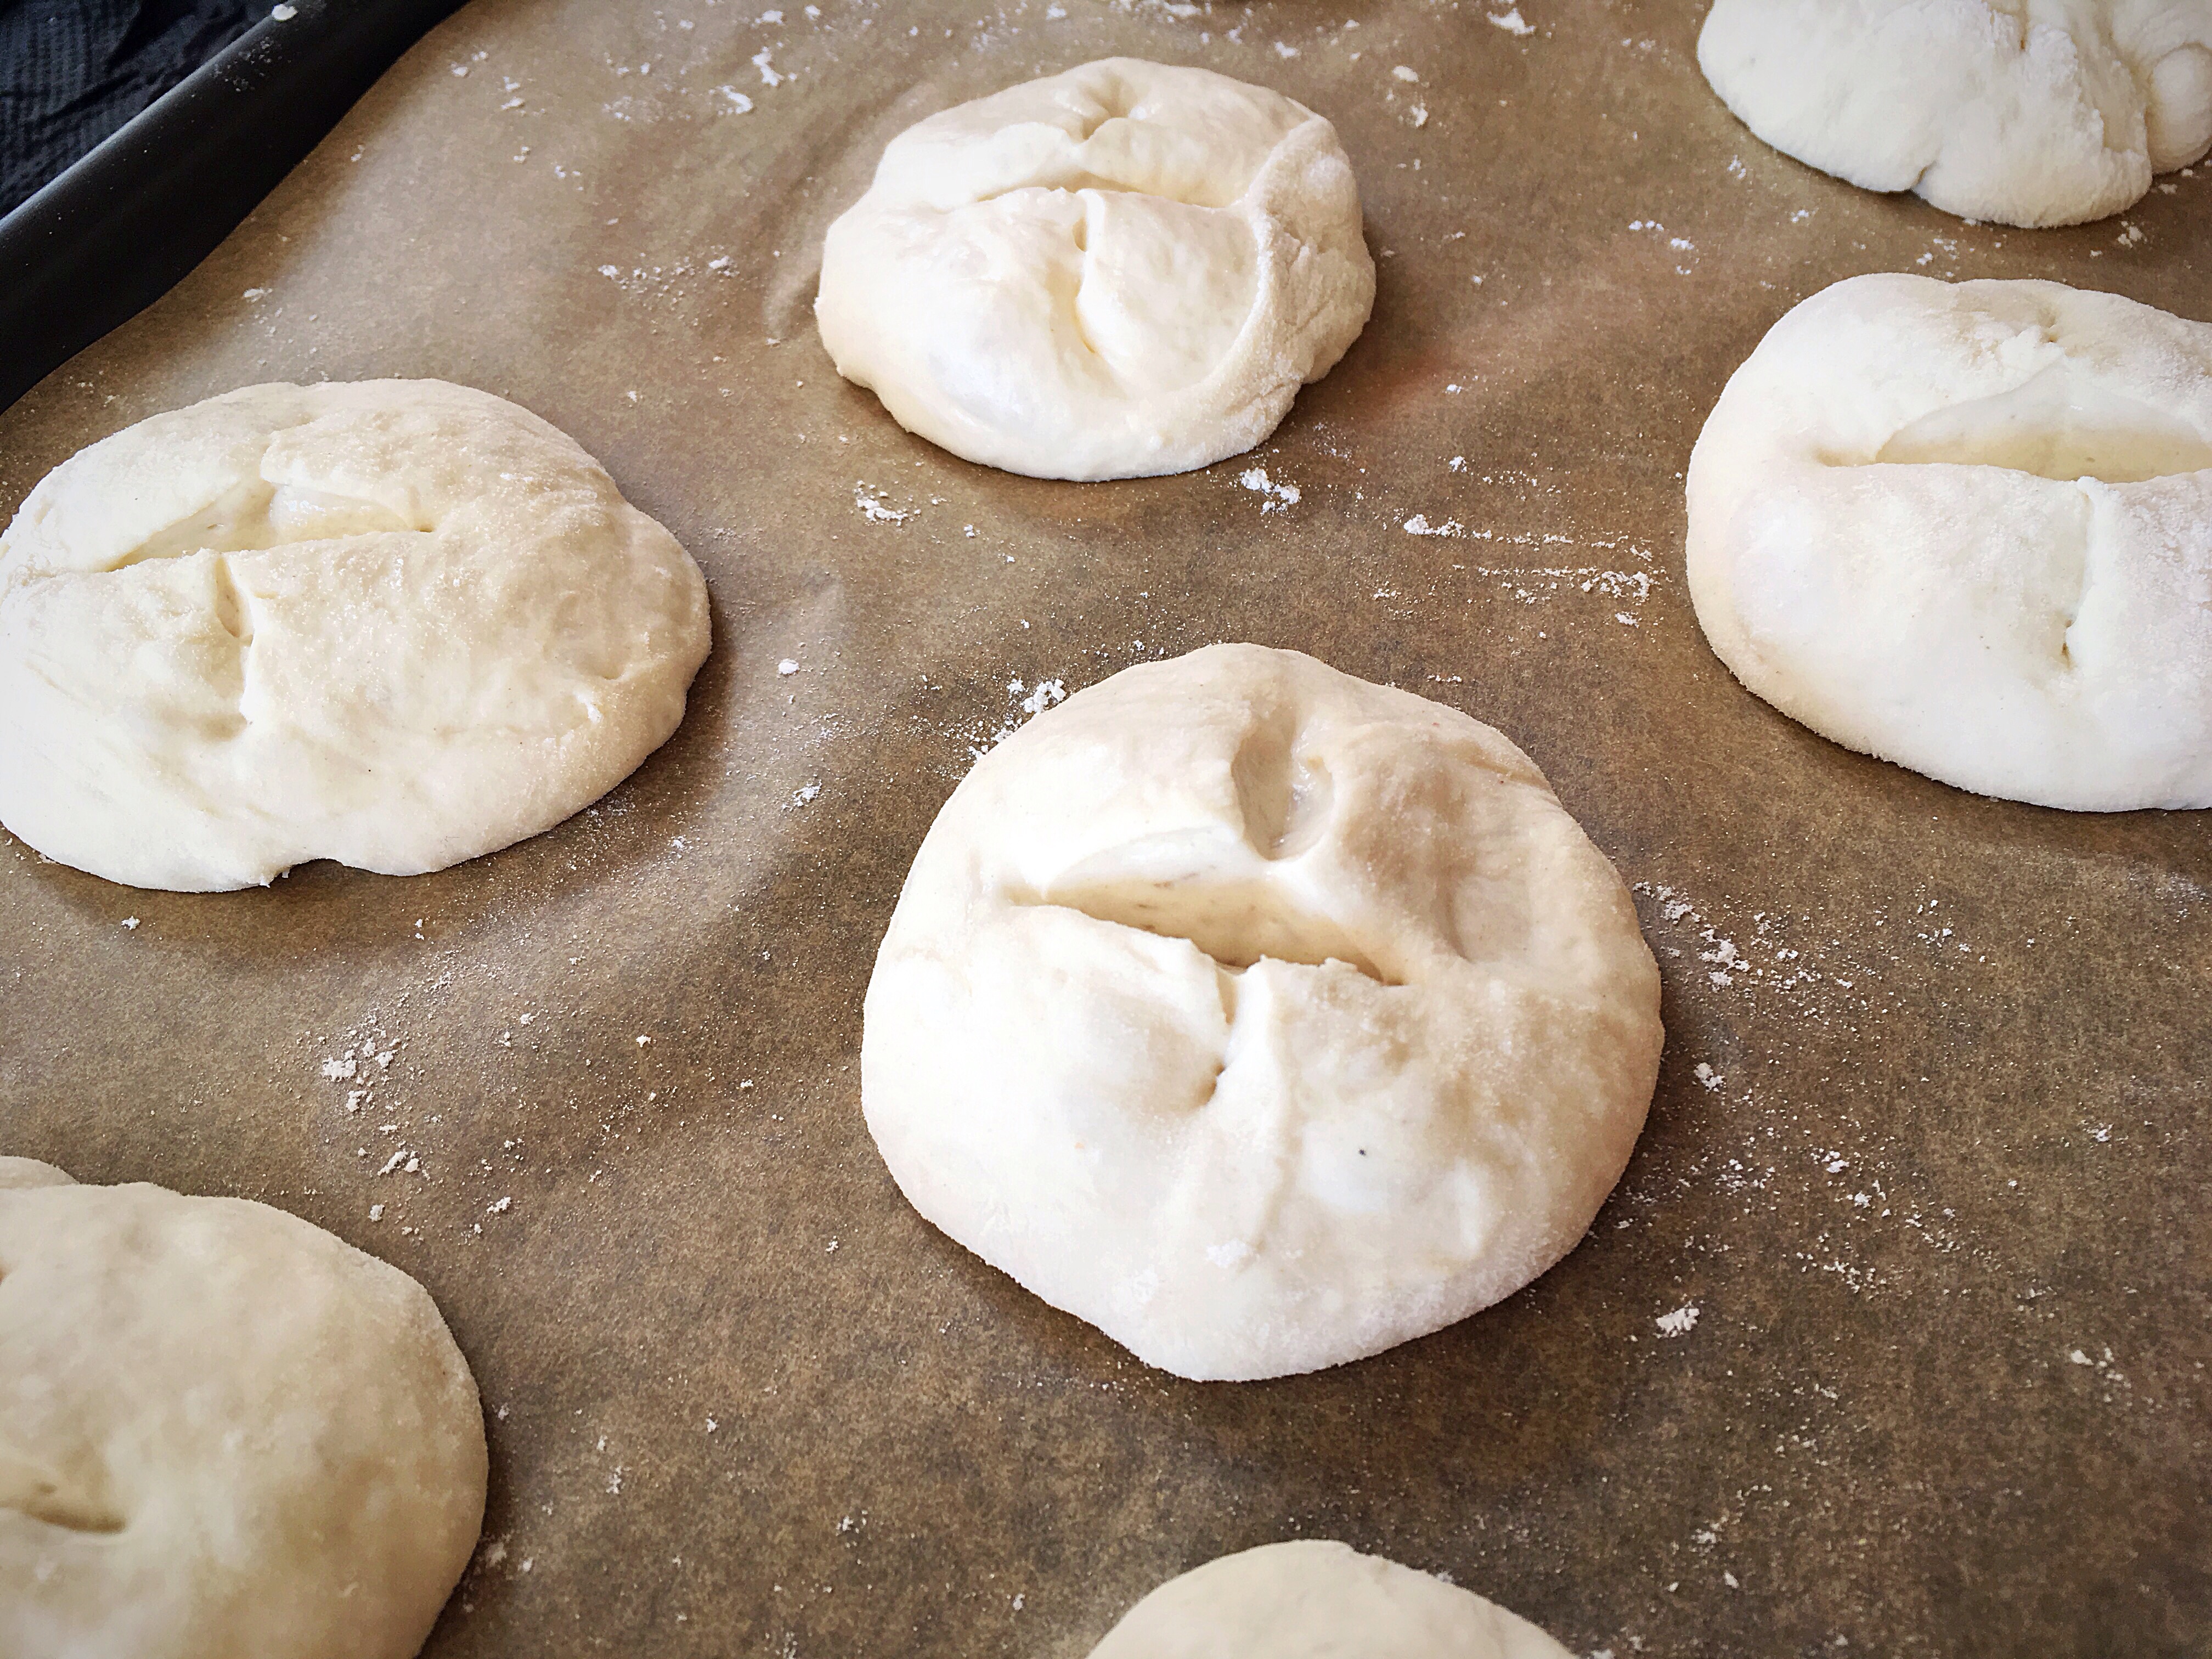
As they sat they did spread a little, and grow a little, which is good as it shows that the starter is still active.

They were too soft to score so I snipped crossed in the tops with scissors..

A close up of some dough on the pan

We baked them for about 18 minutes, turning the tray around half way through so ensure an even colour across the top.

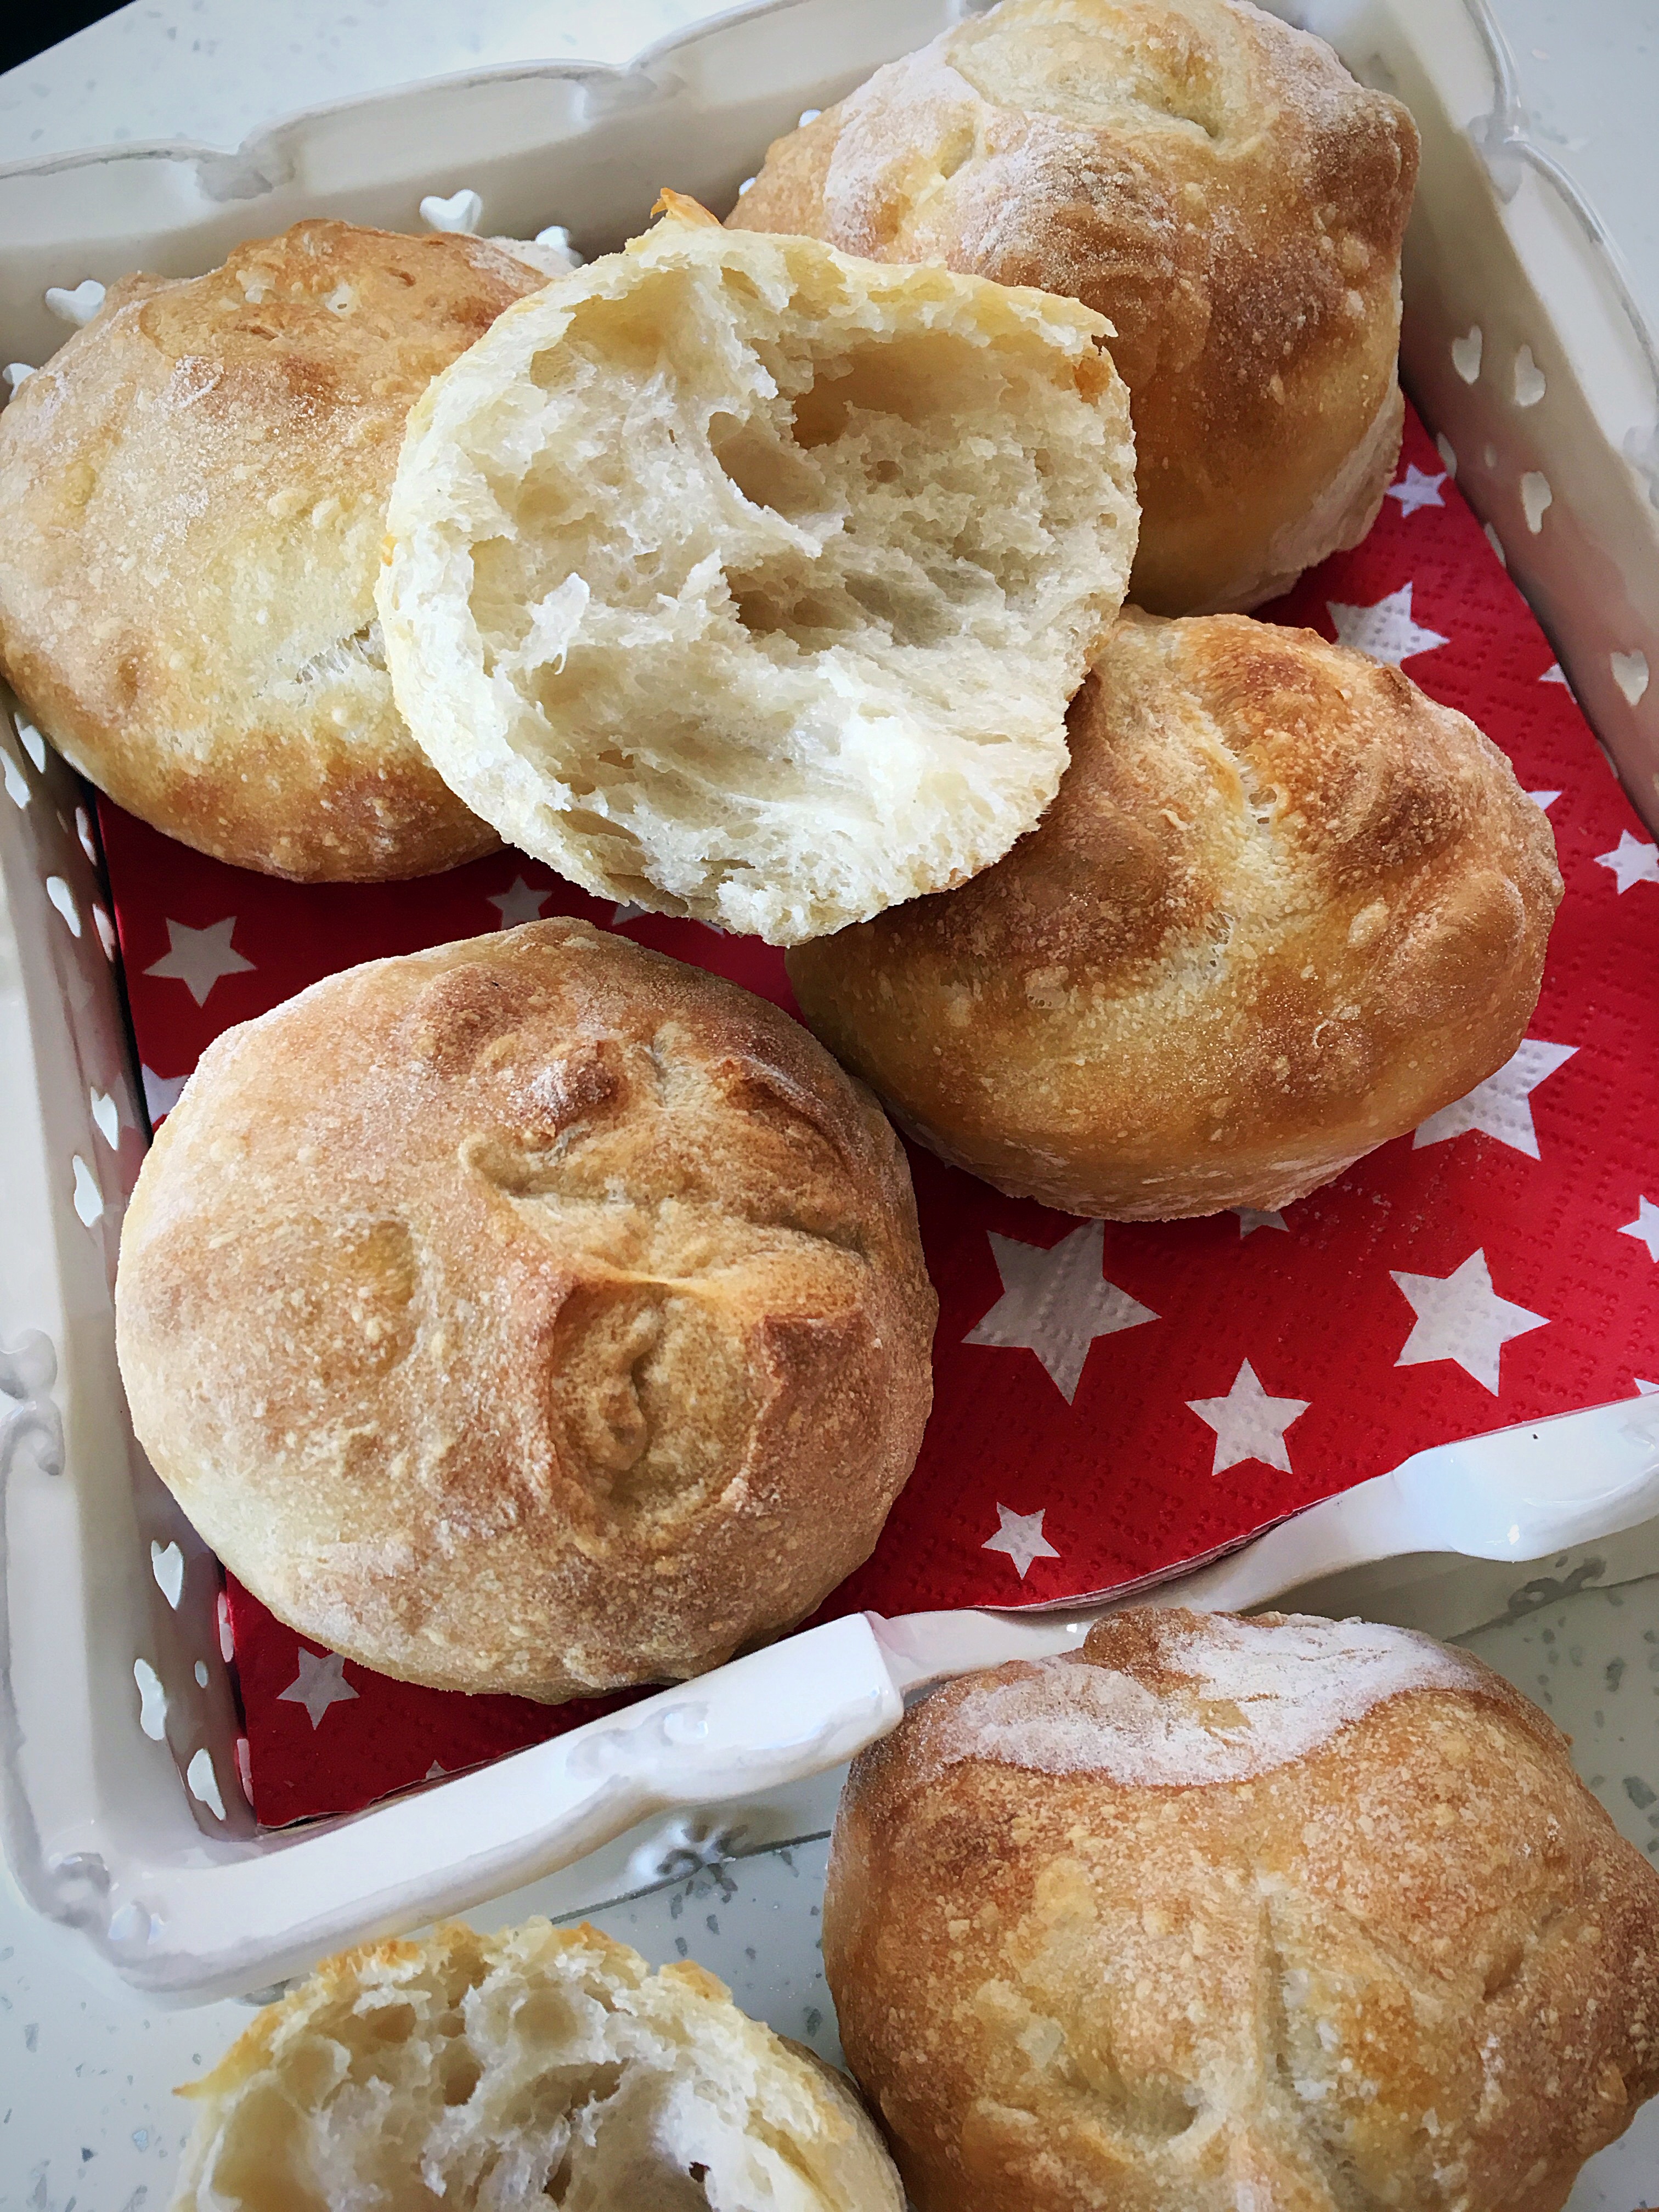
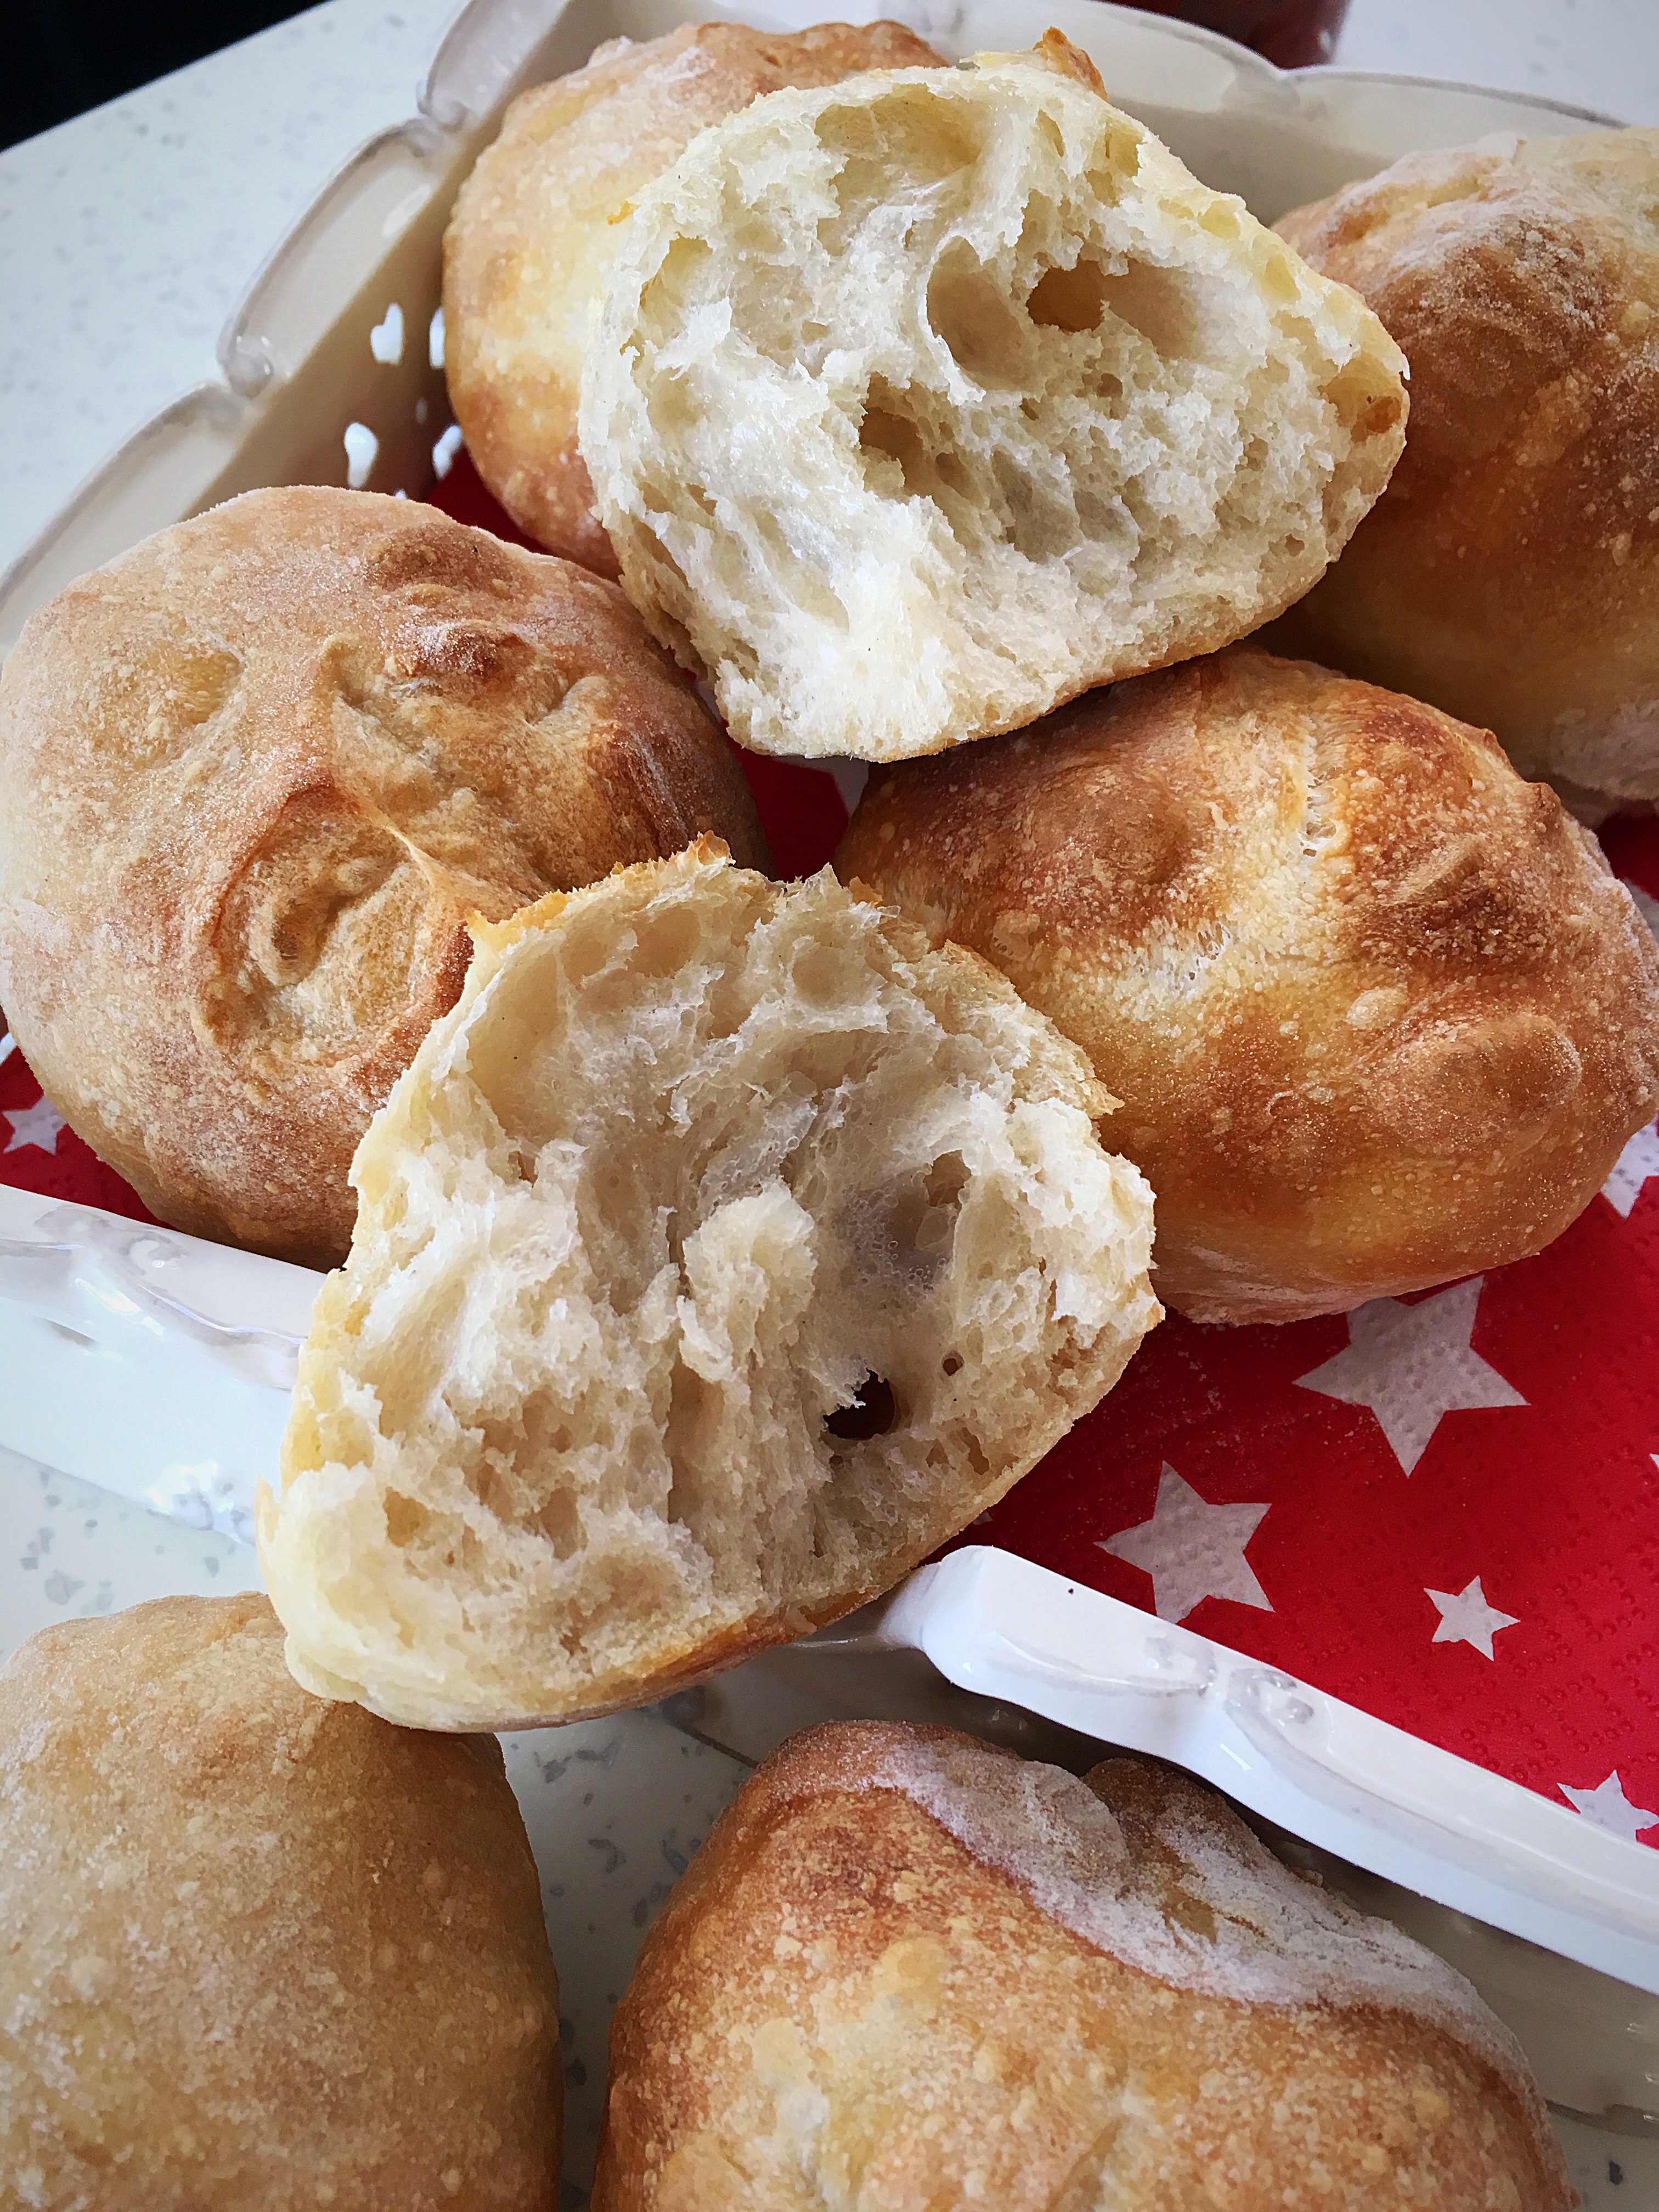
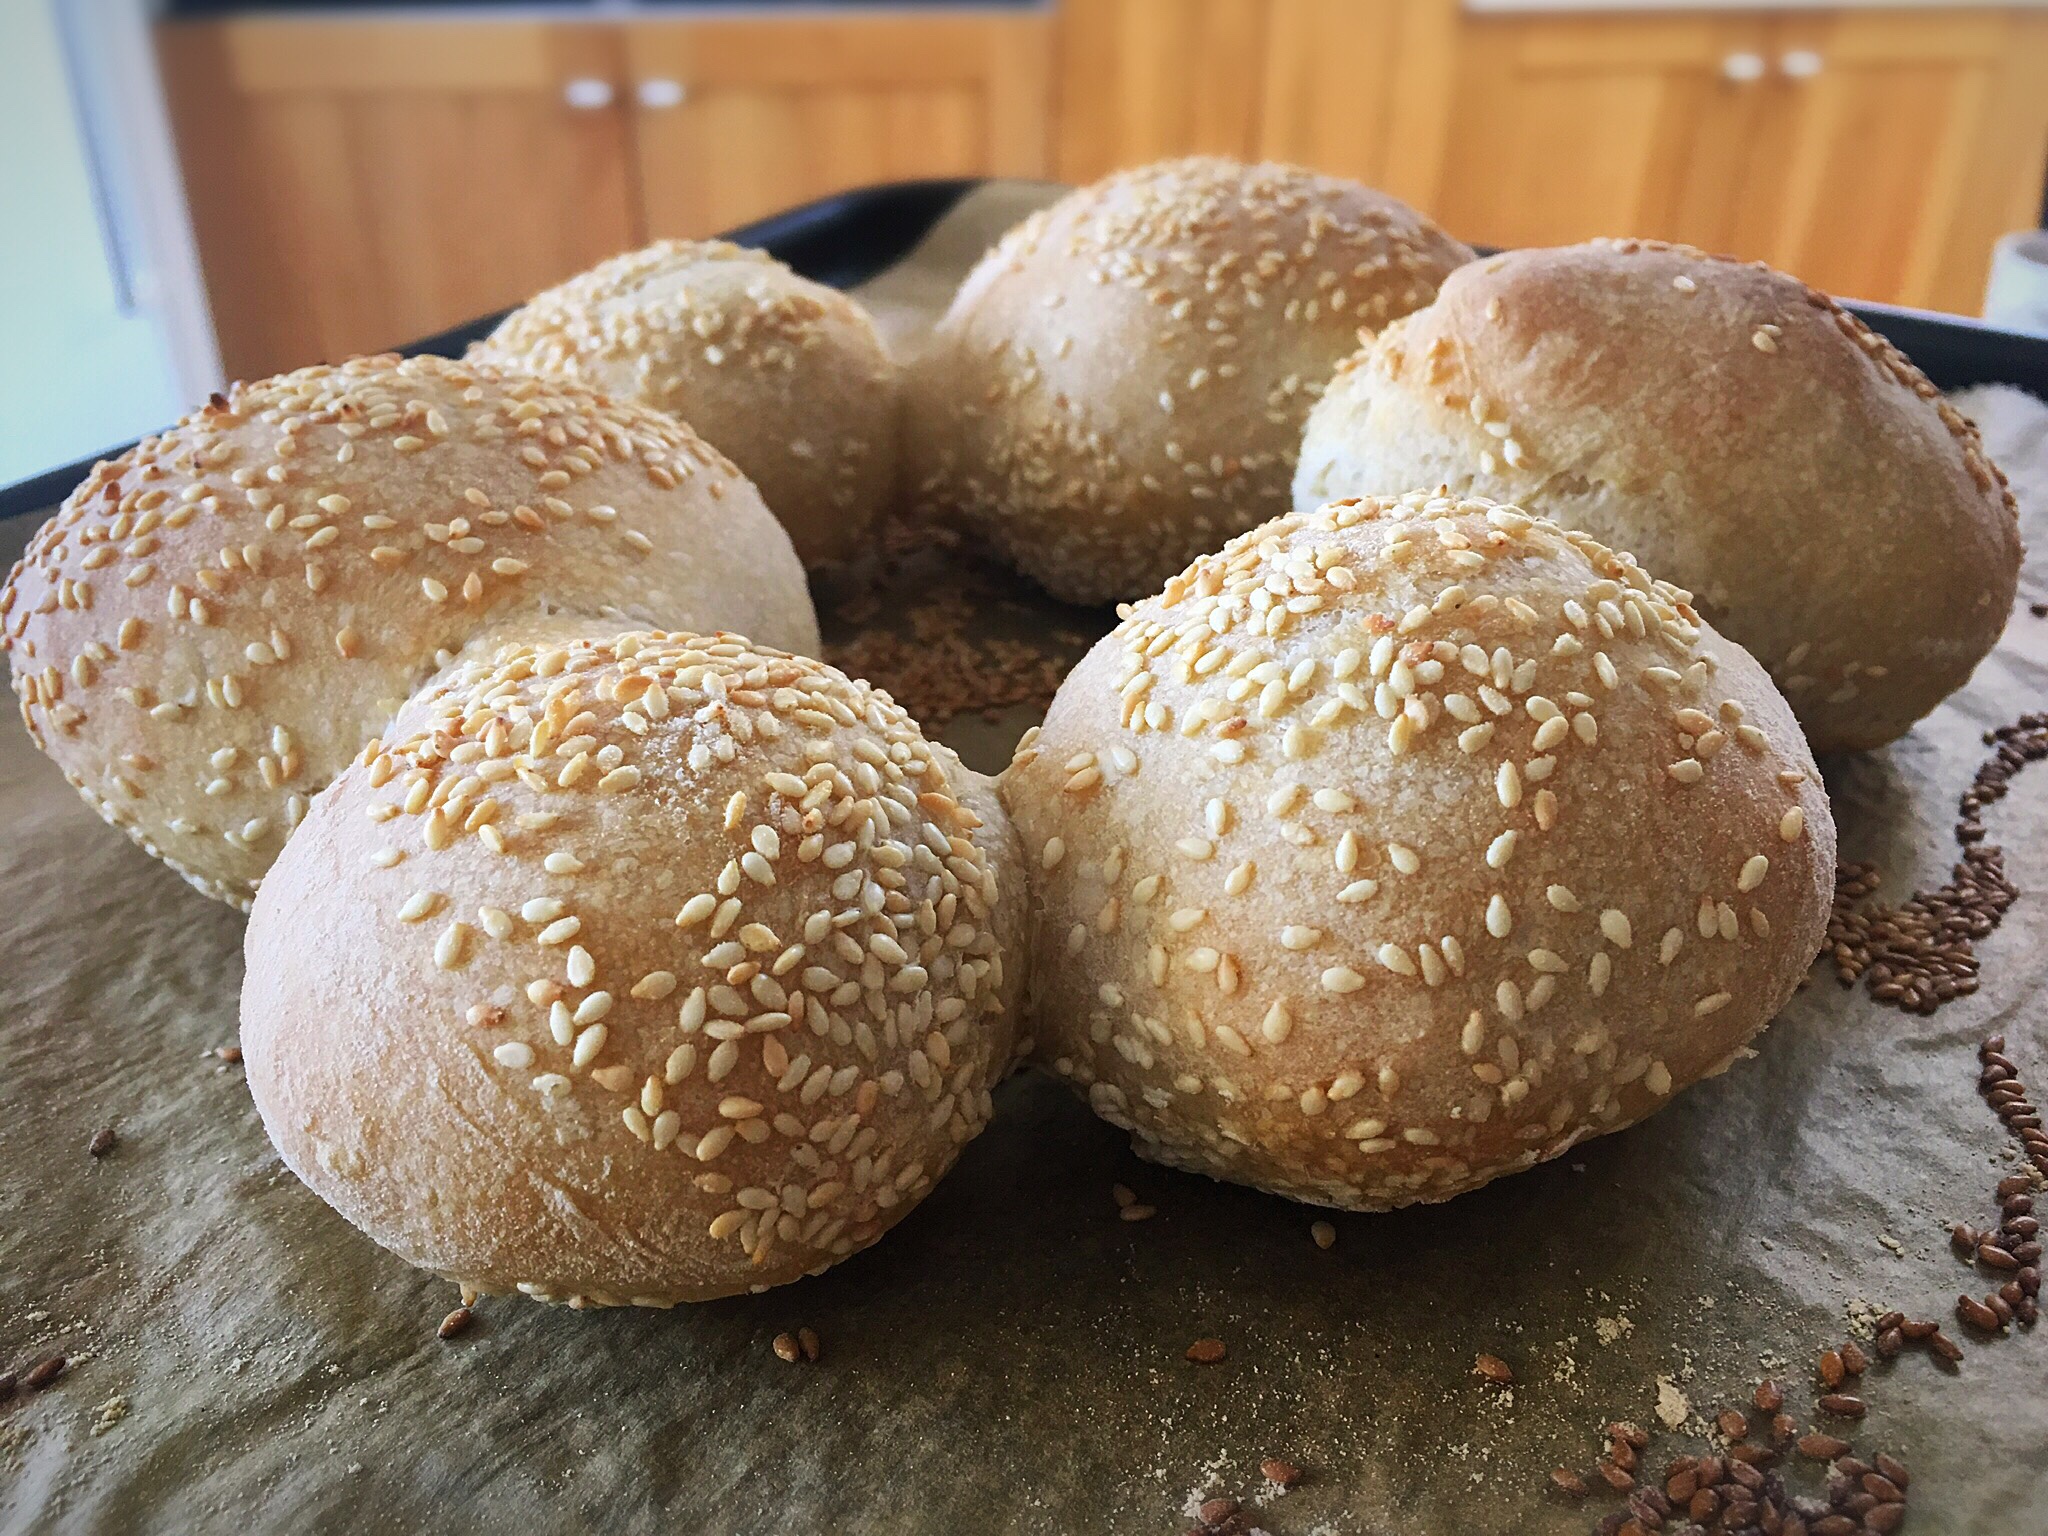
As they baked we watched them grow beautifully, up into lovely balls.

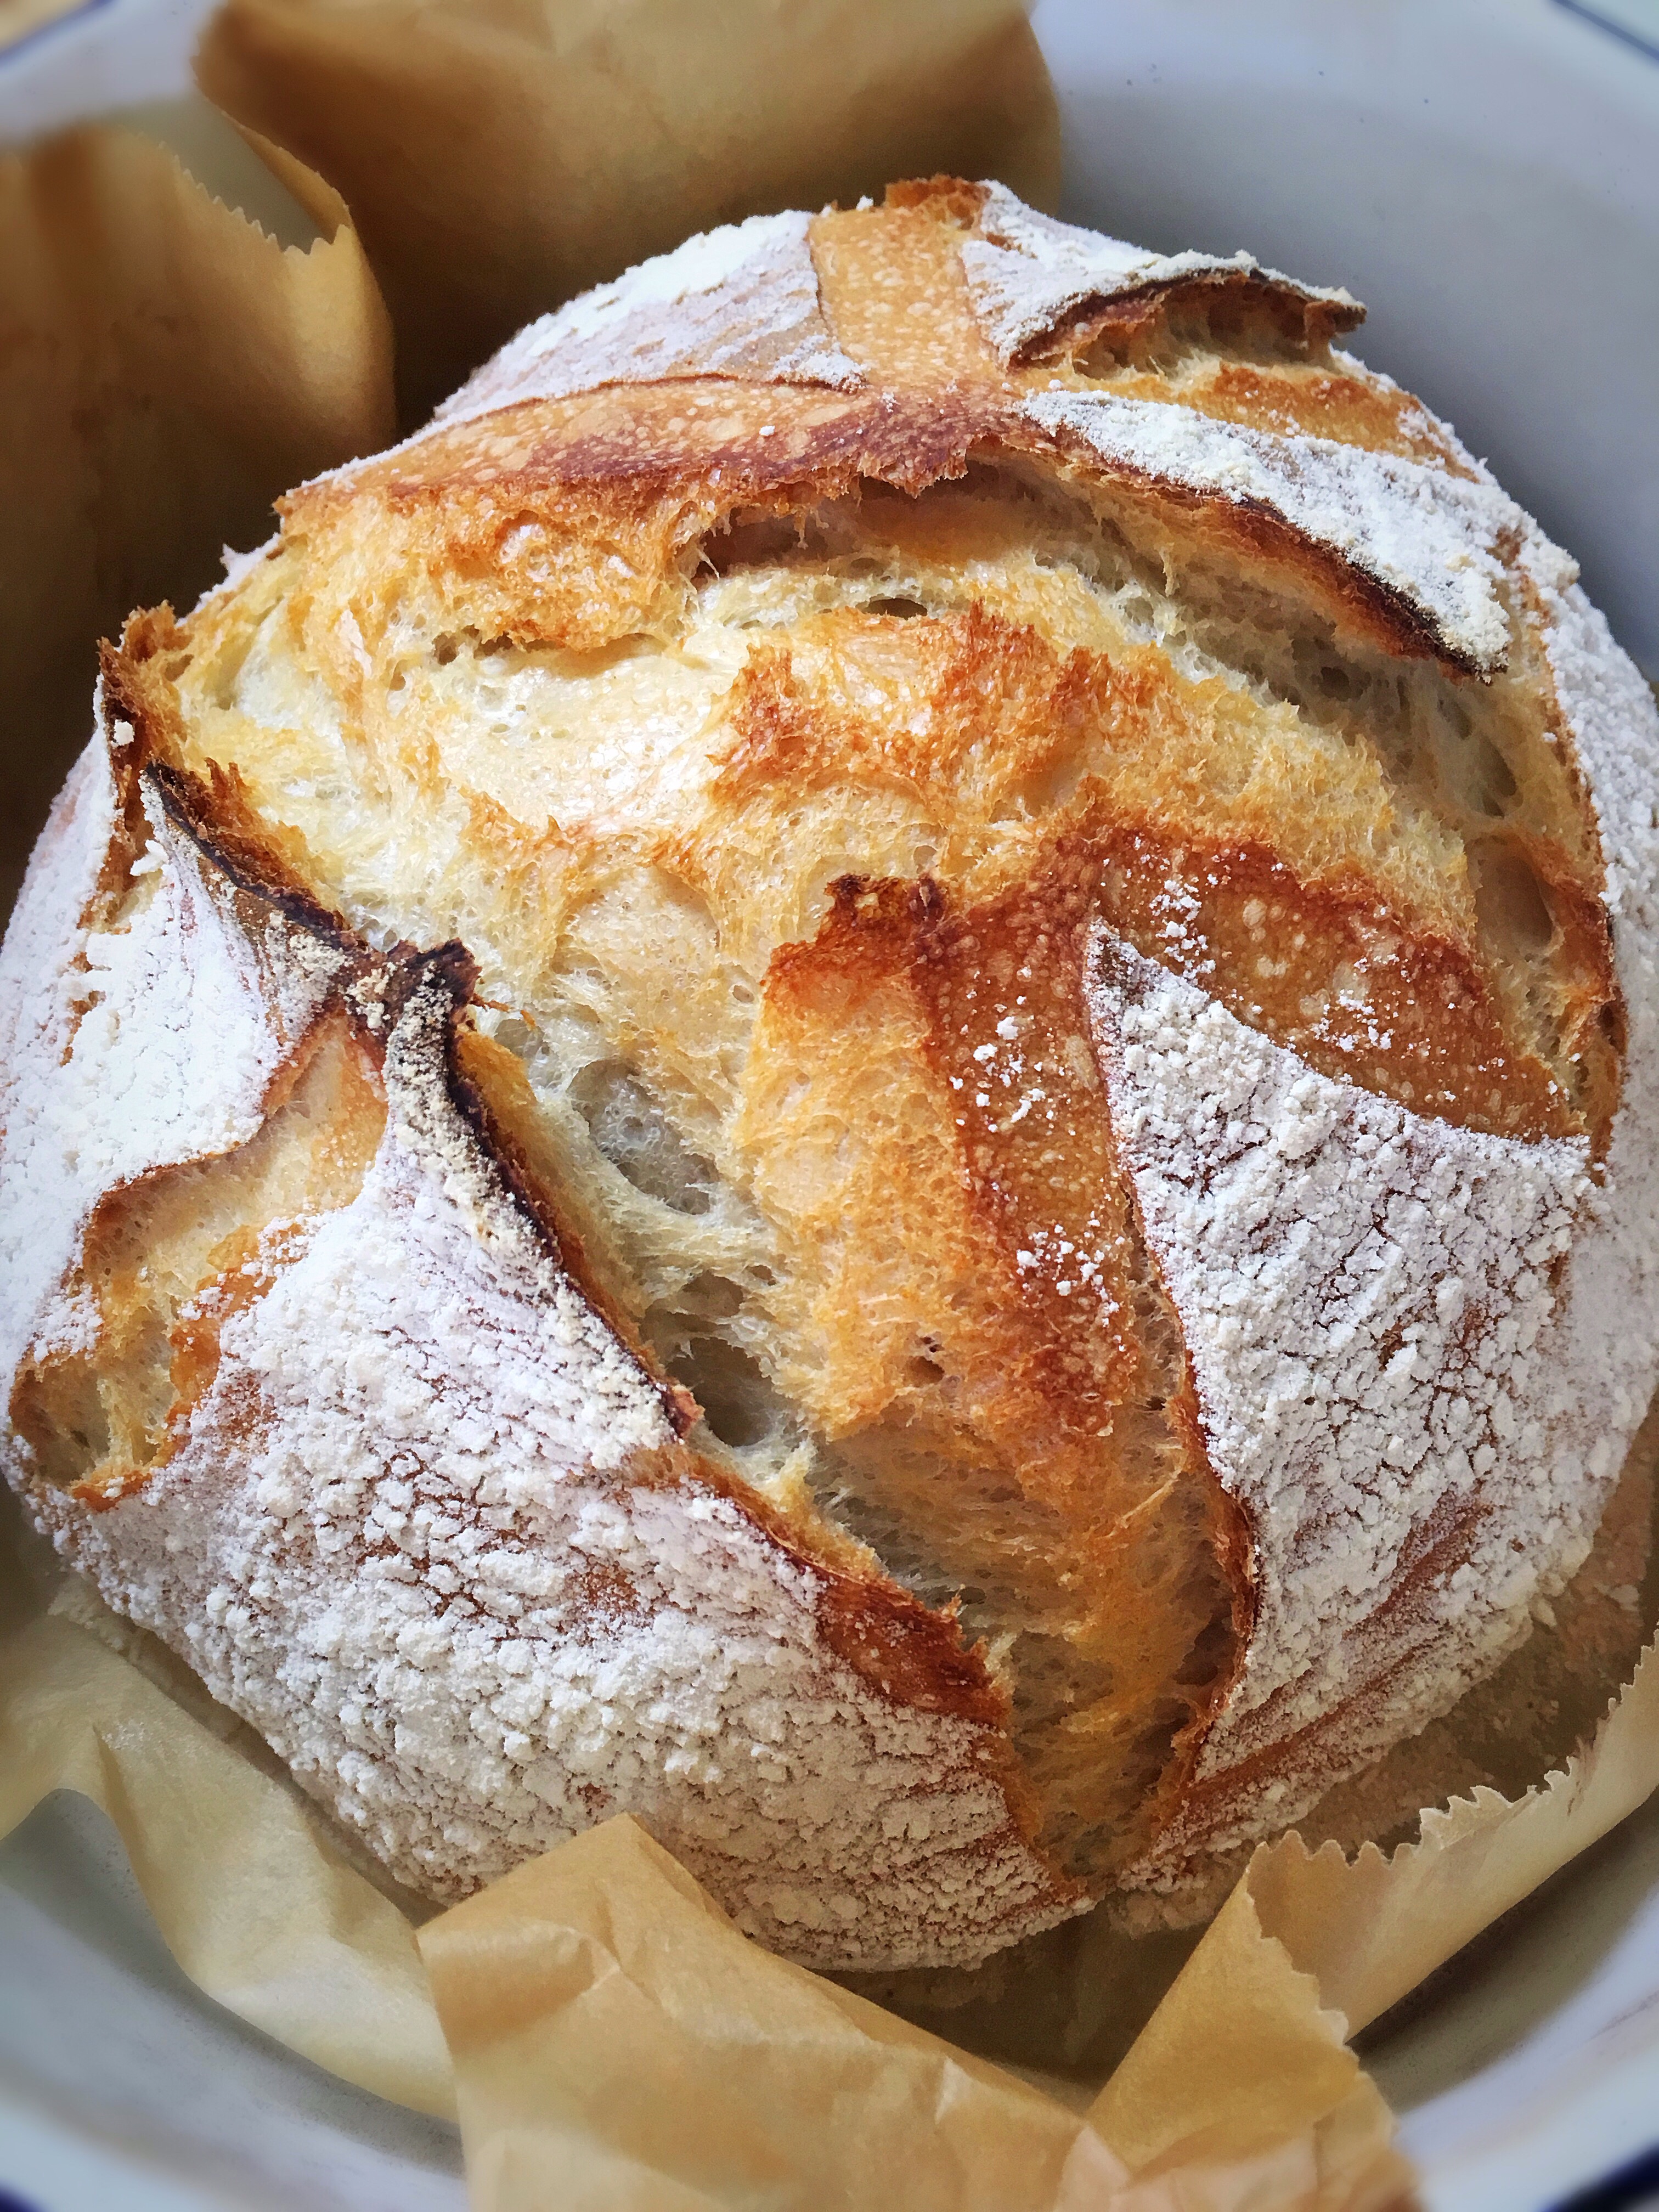
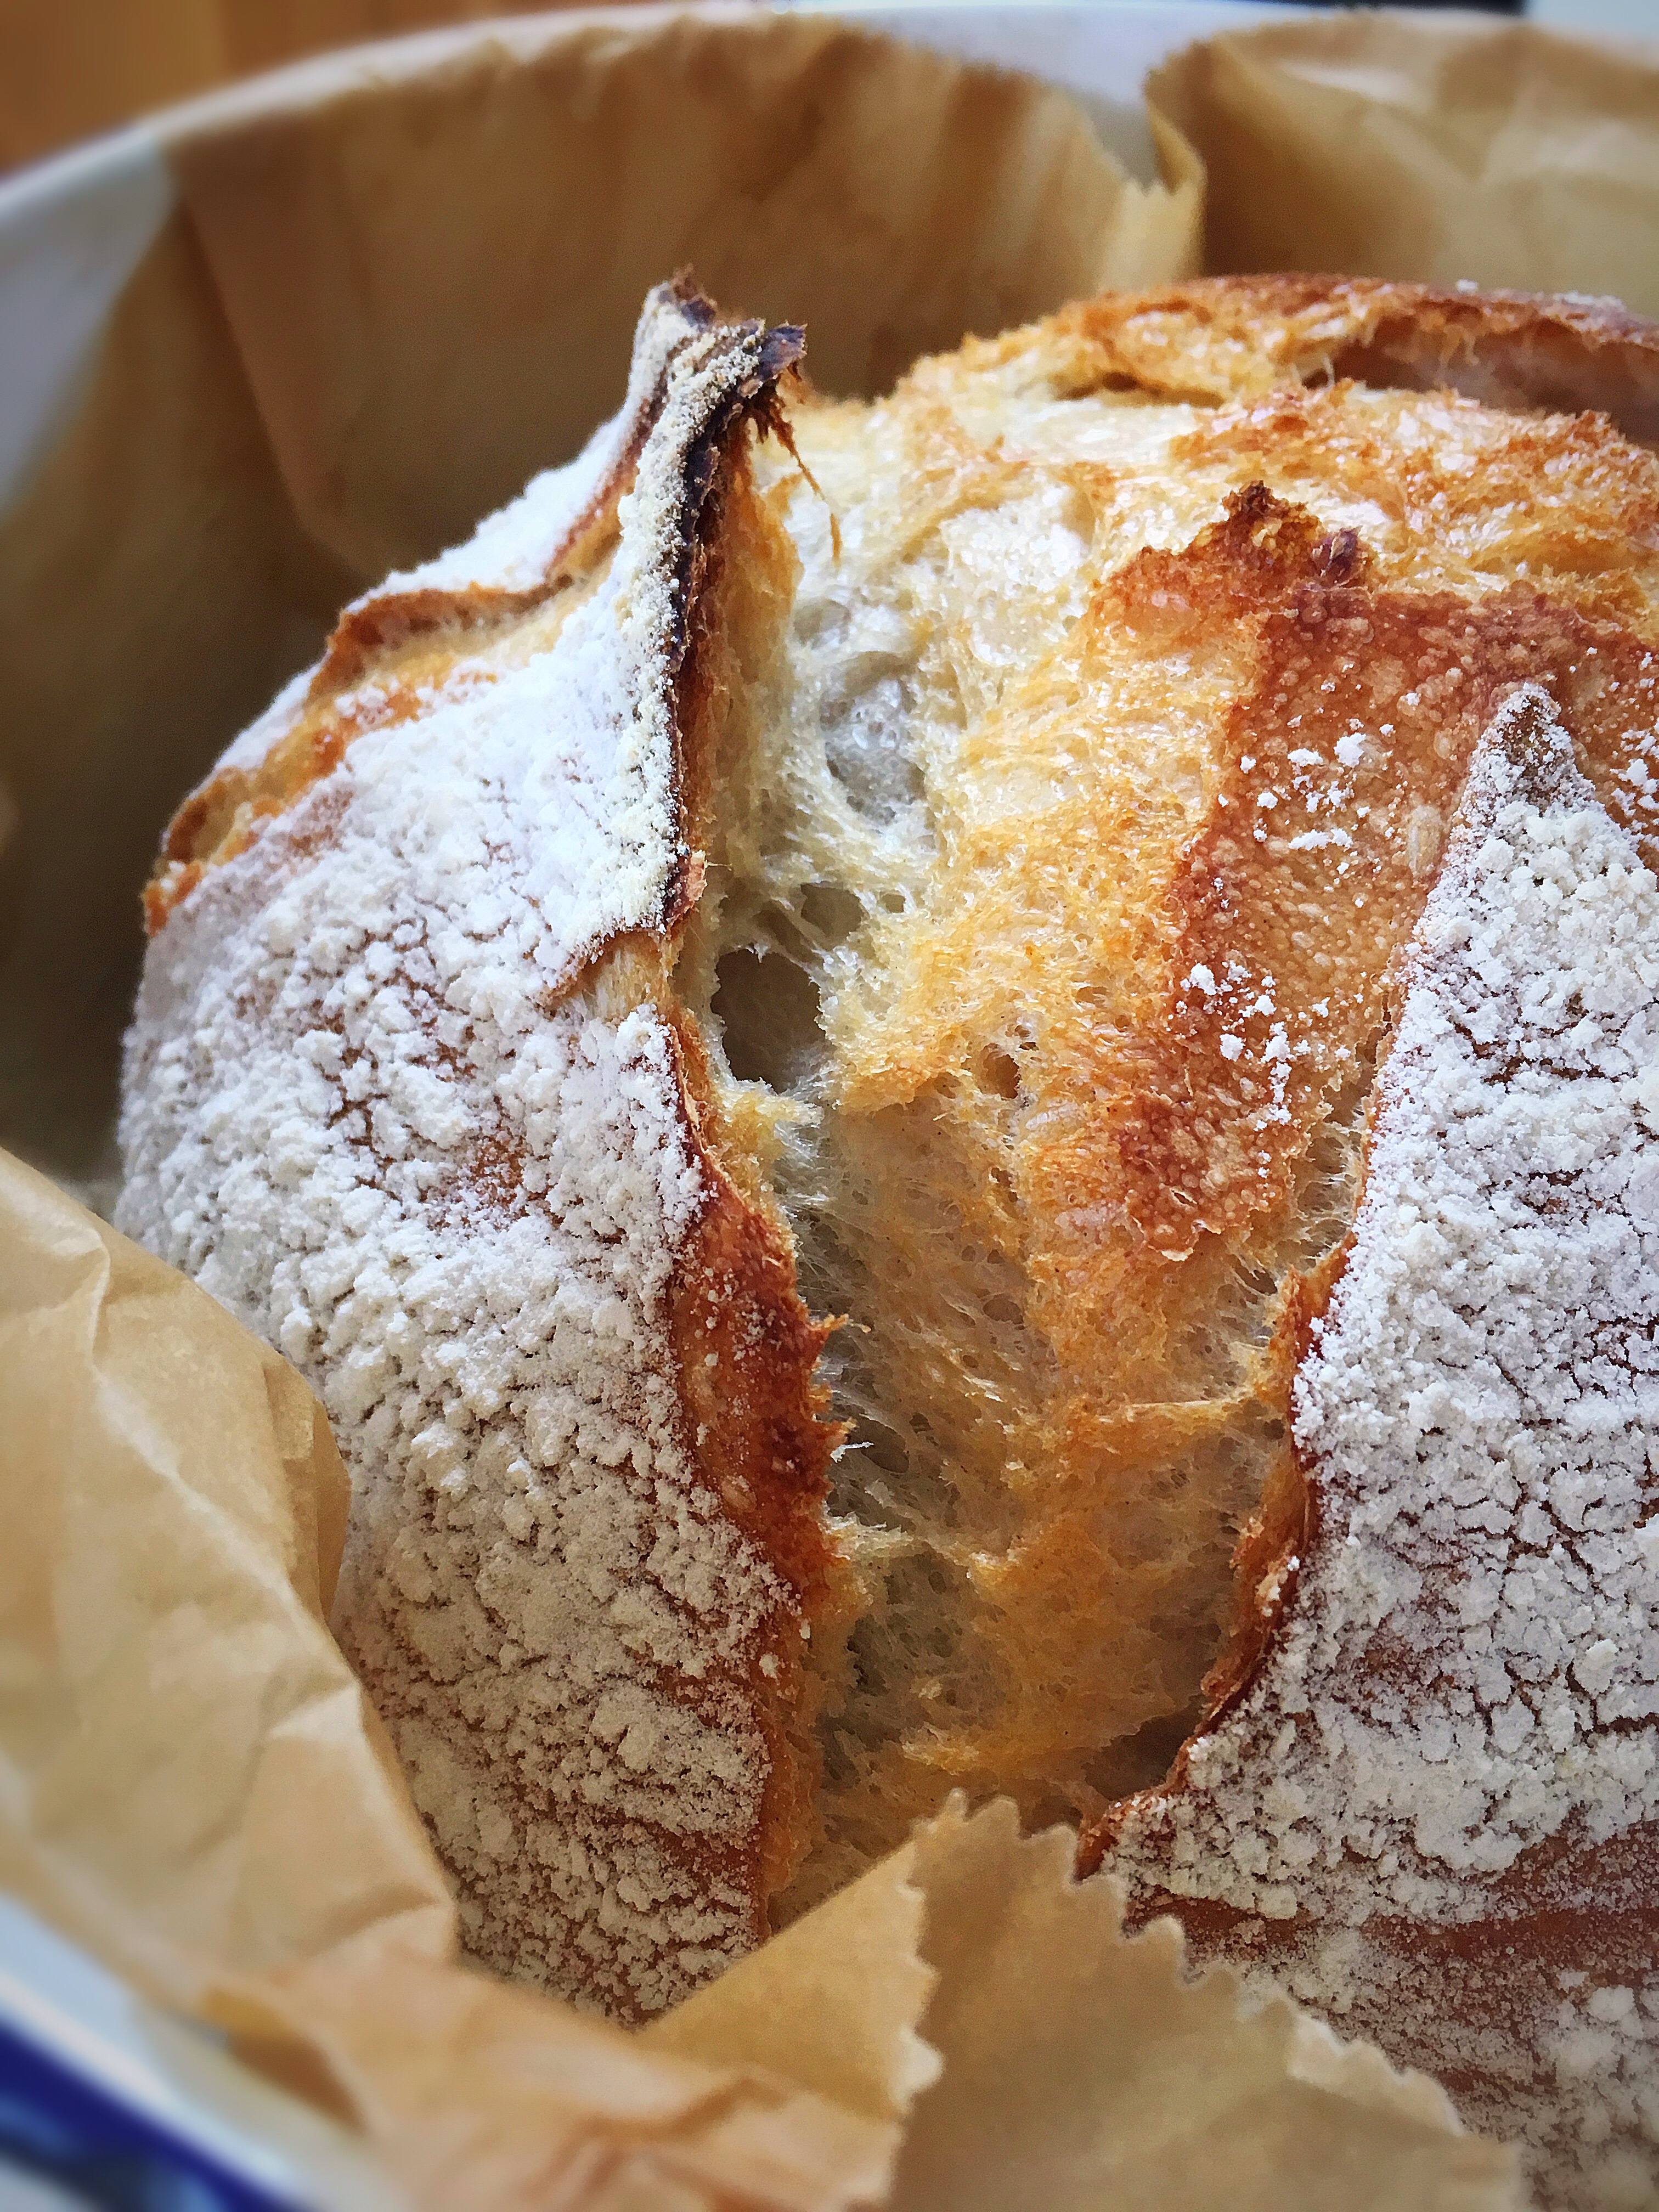
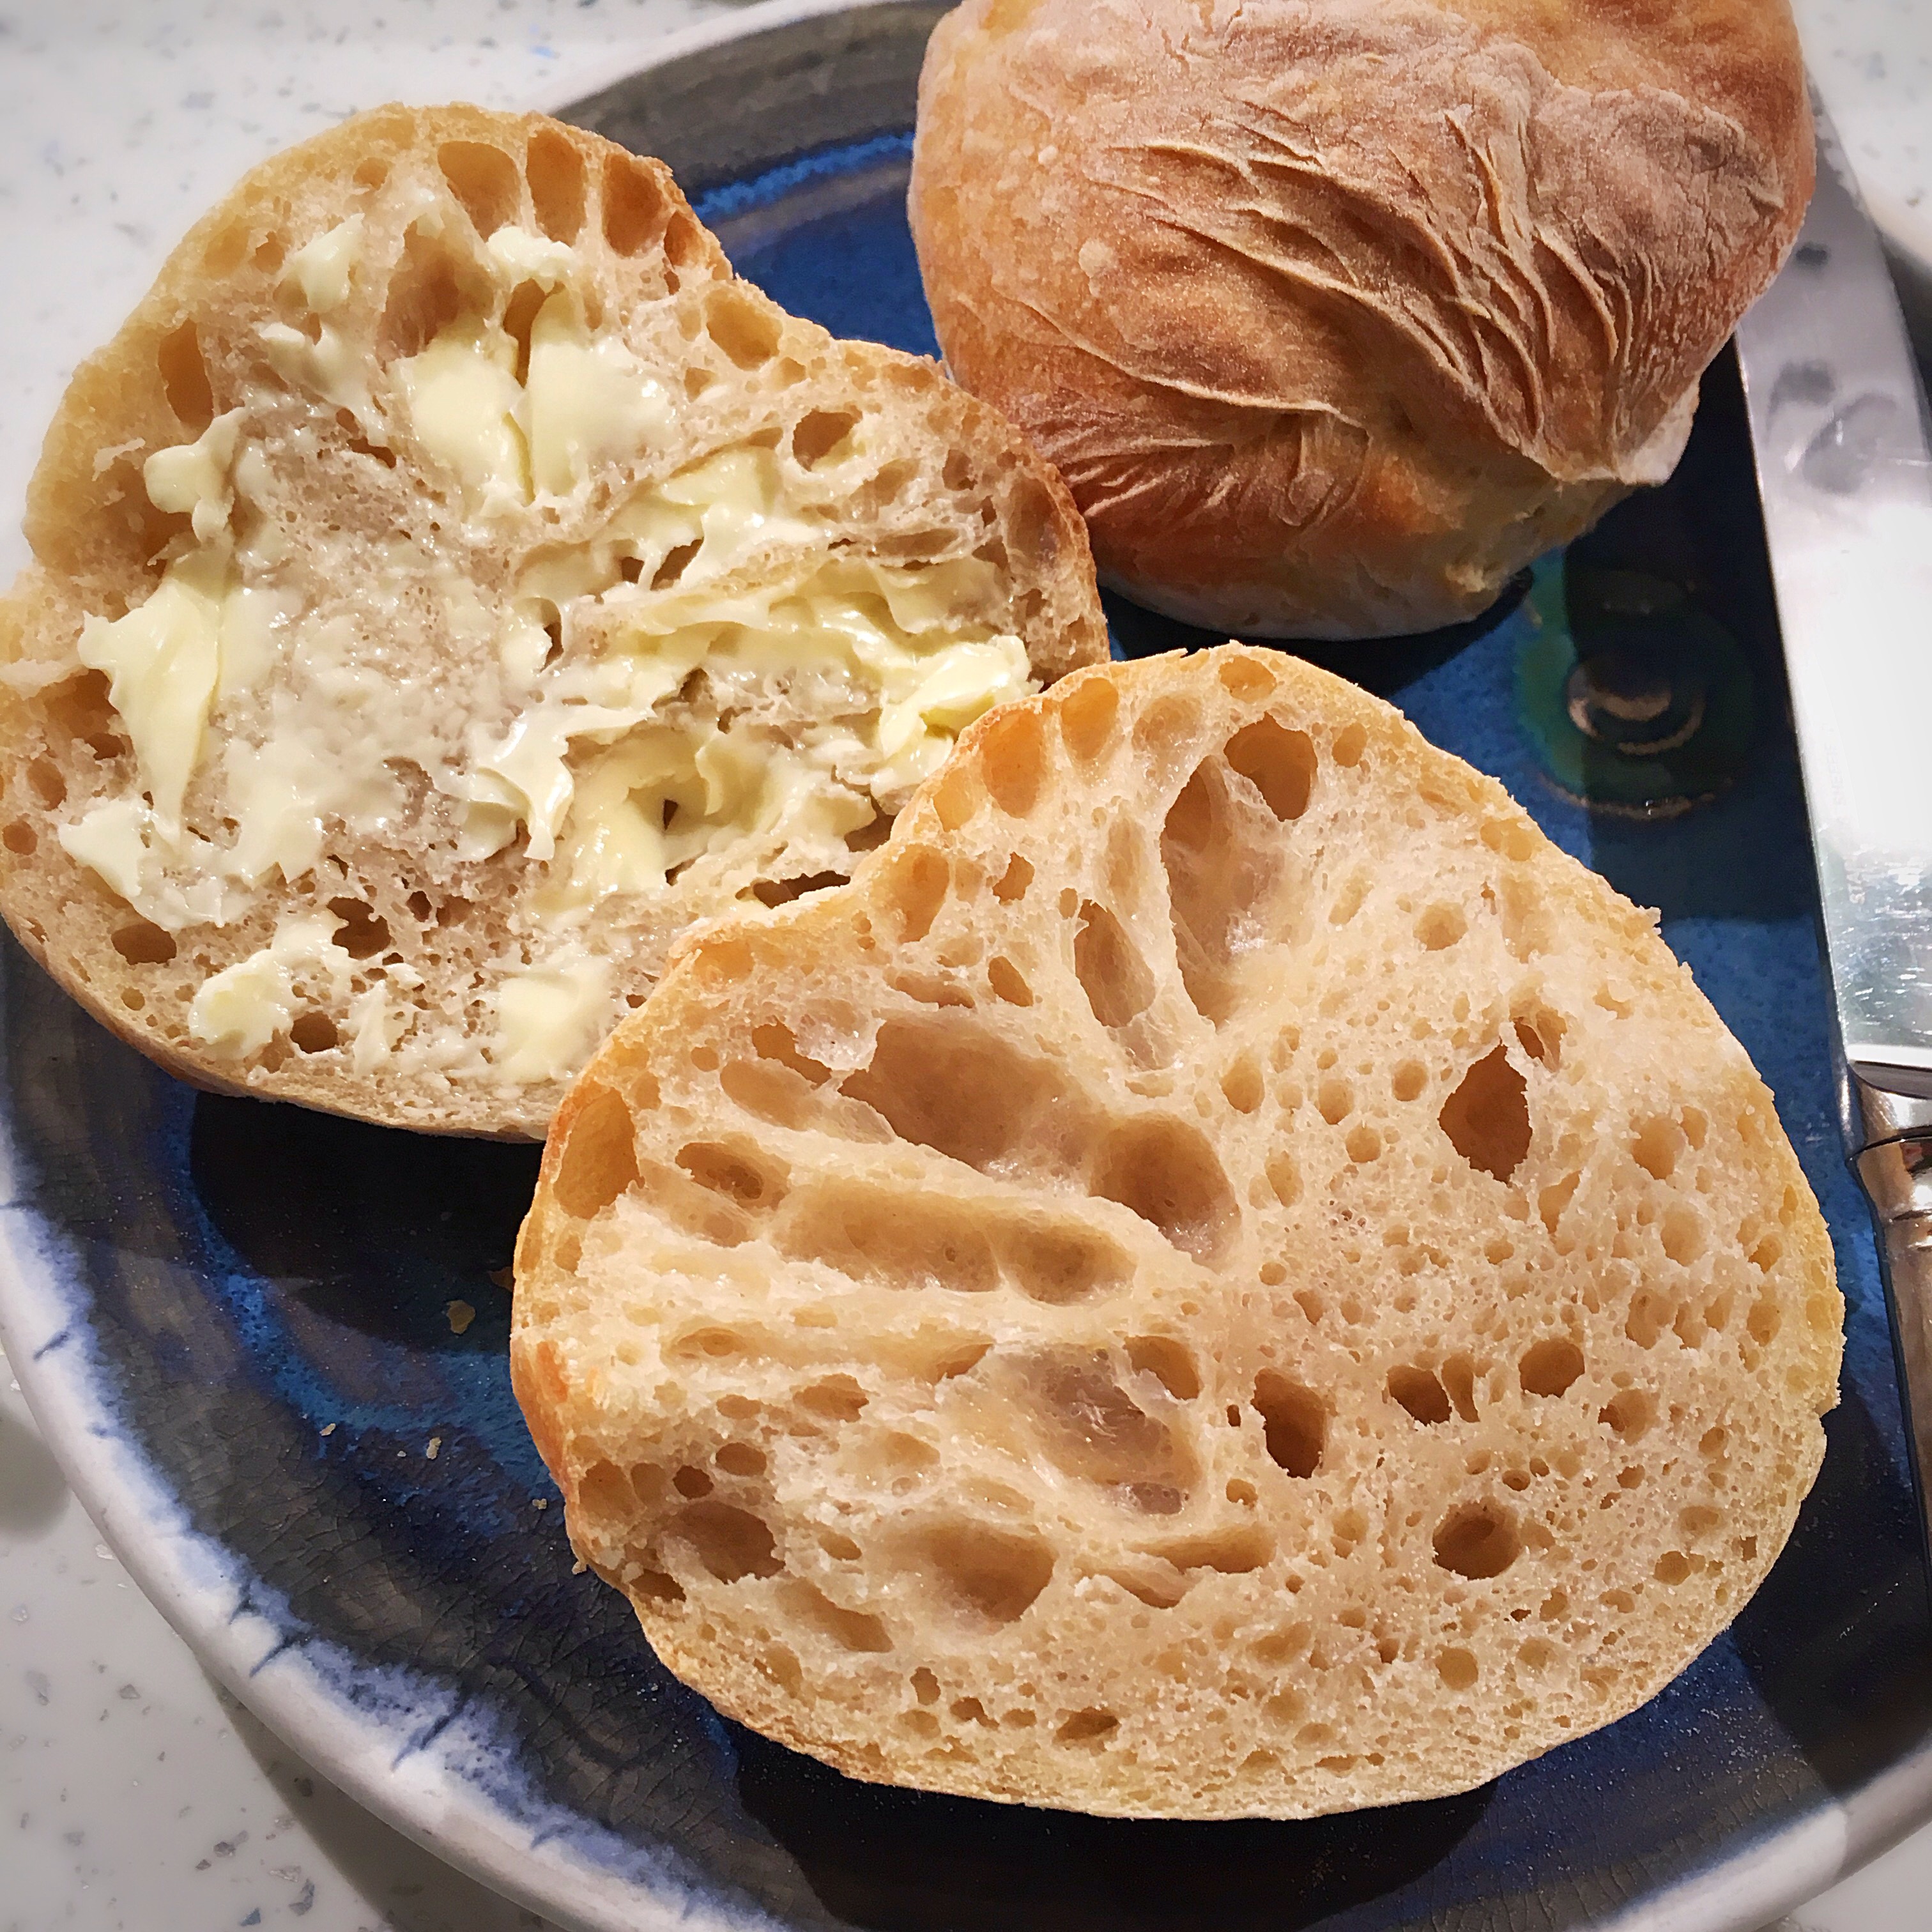
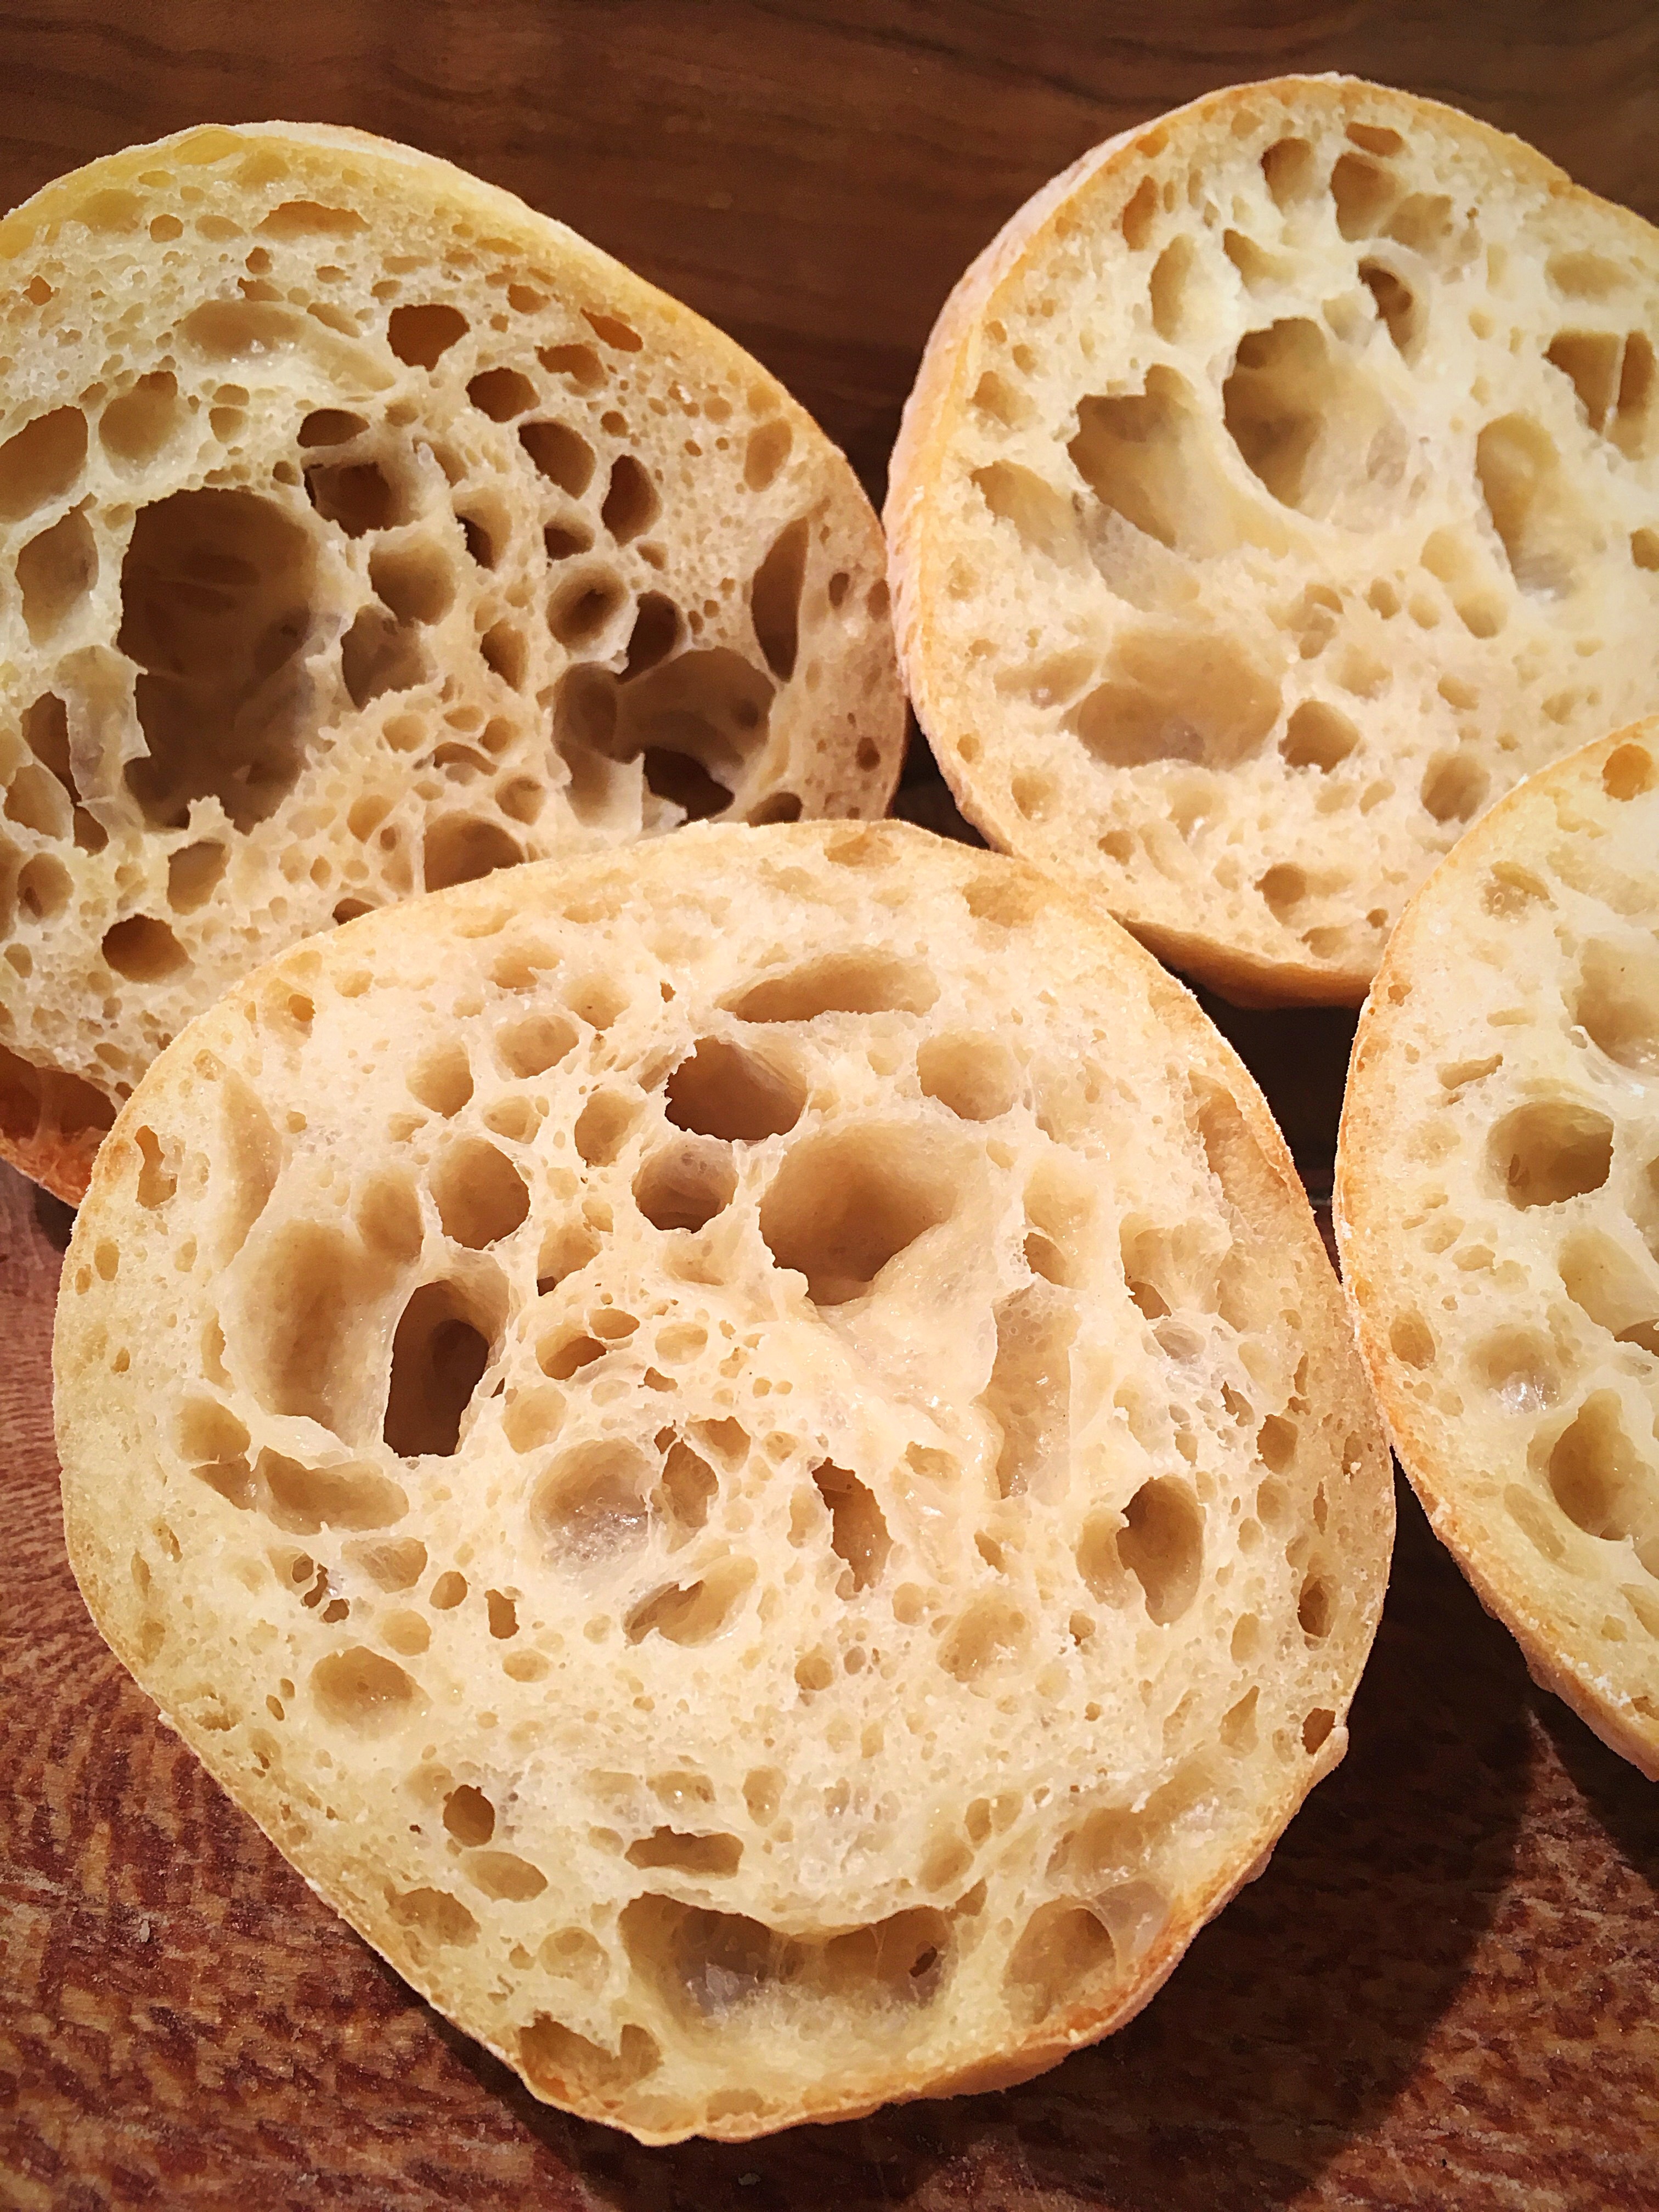
They came out lovely and crusty on the outside and soft and holey in the middle.

A close up of some food on a red and white paper

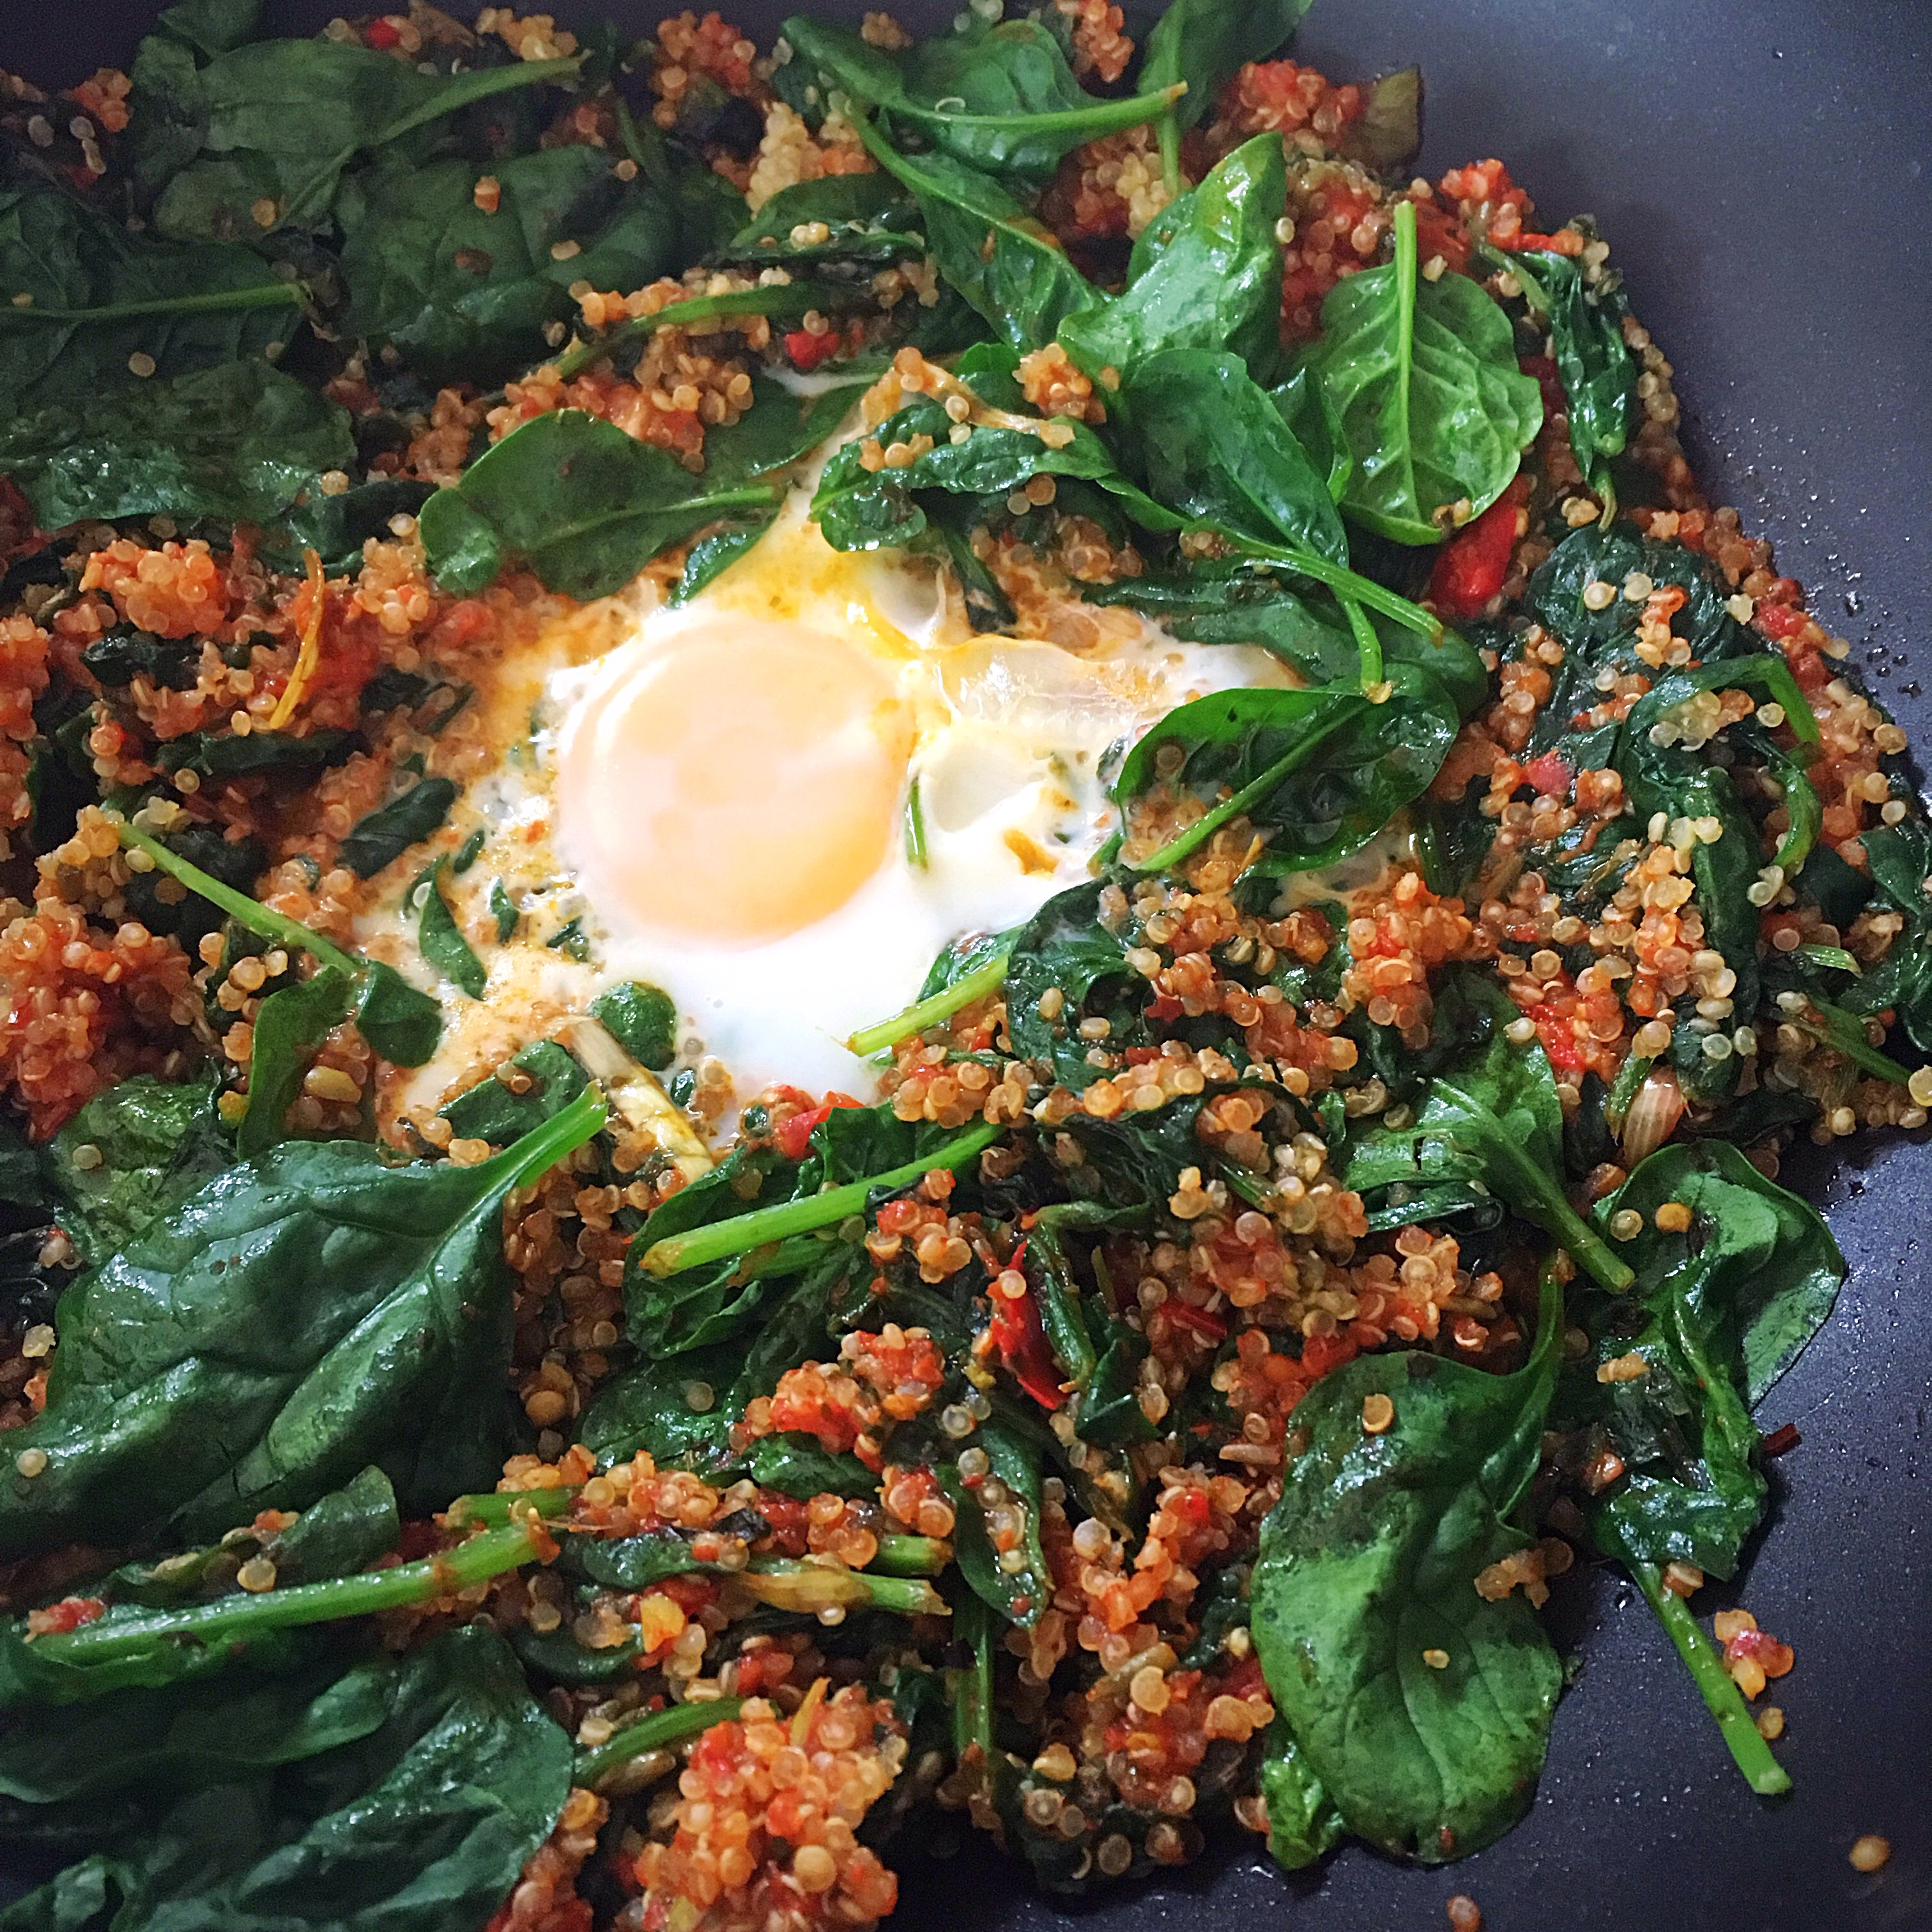
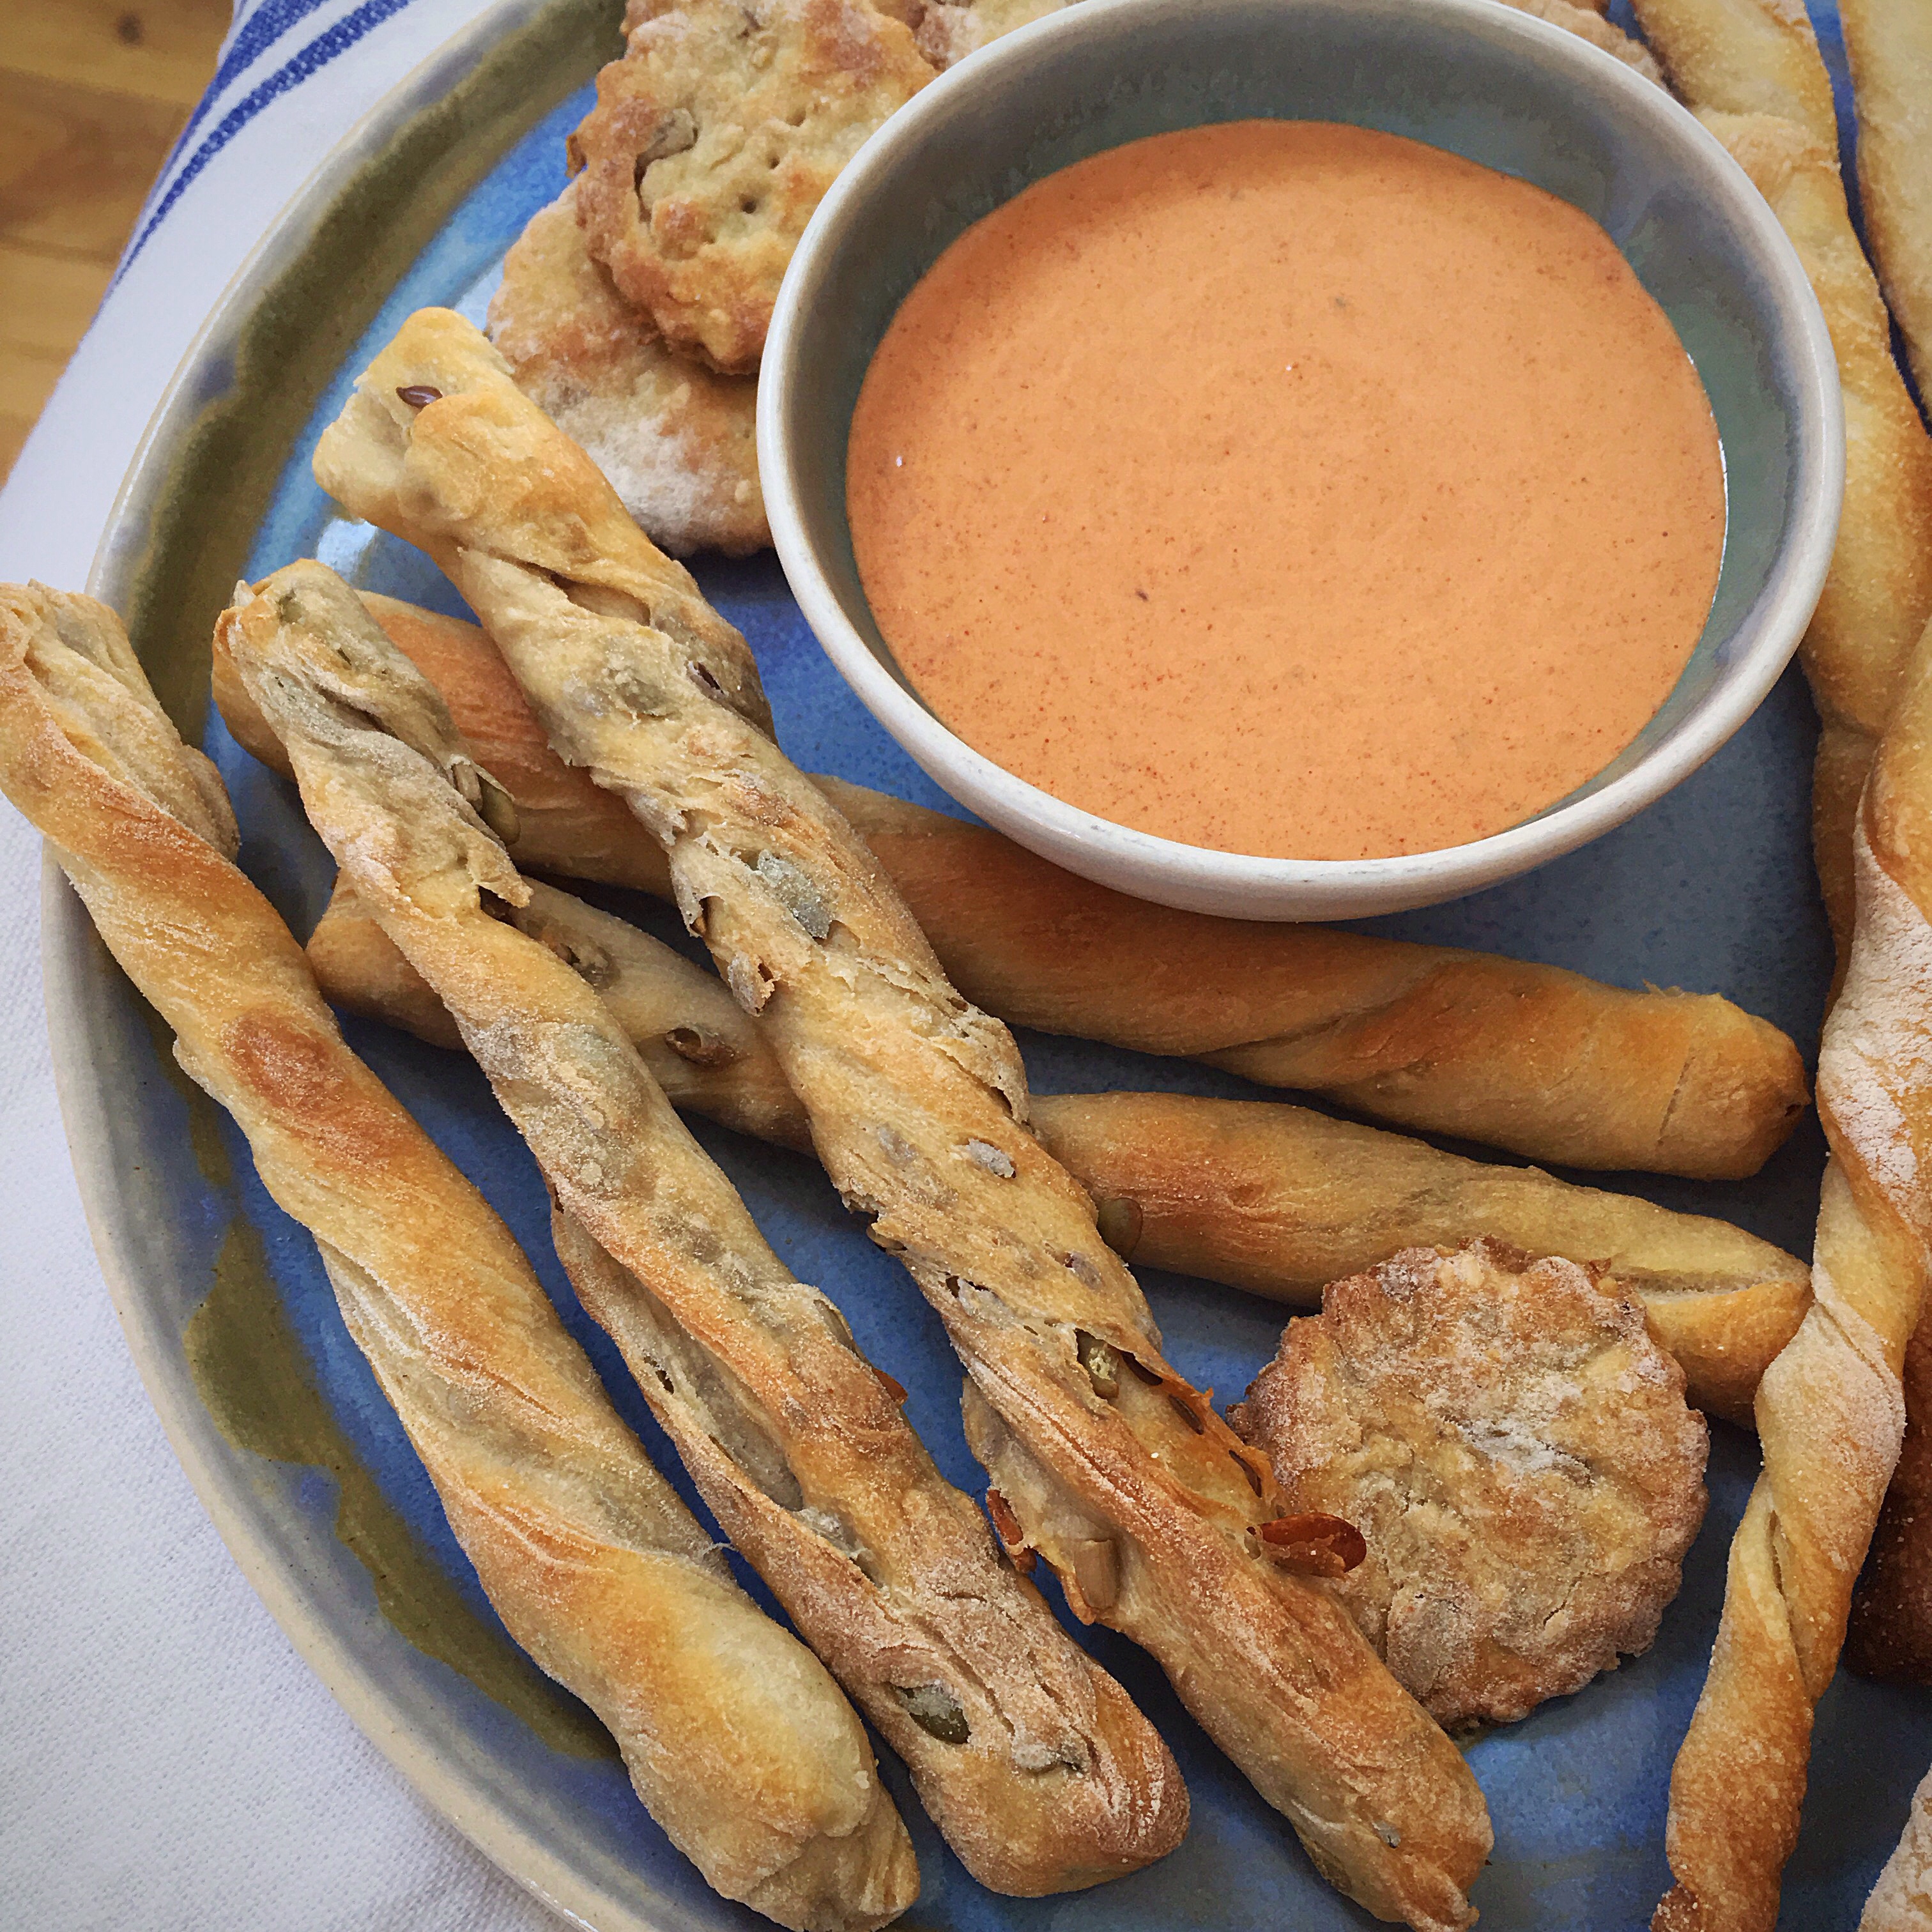
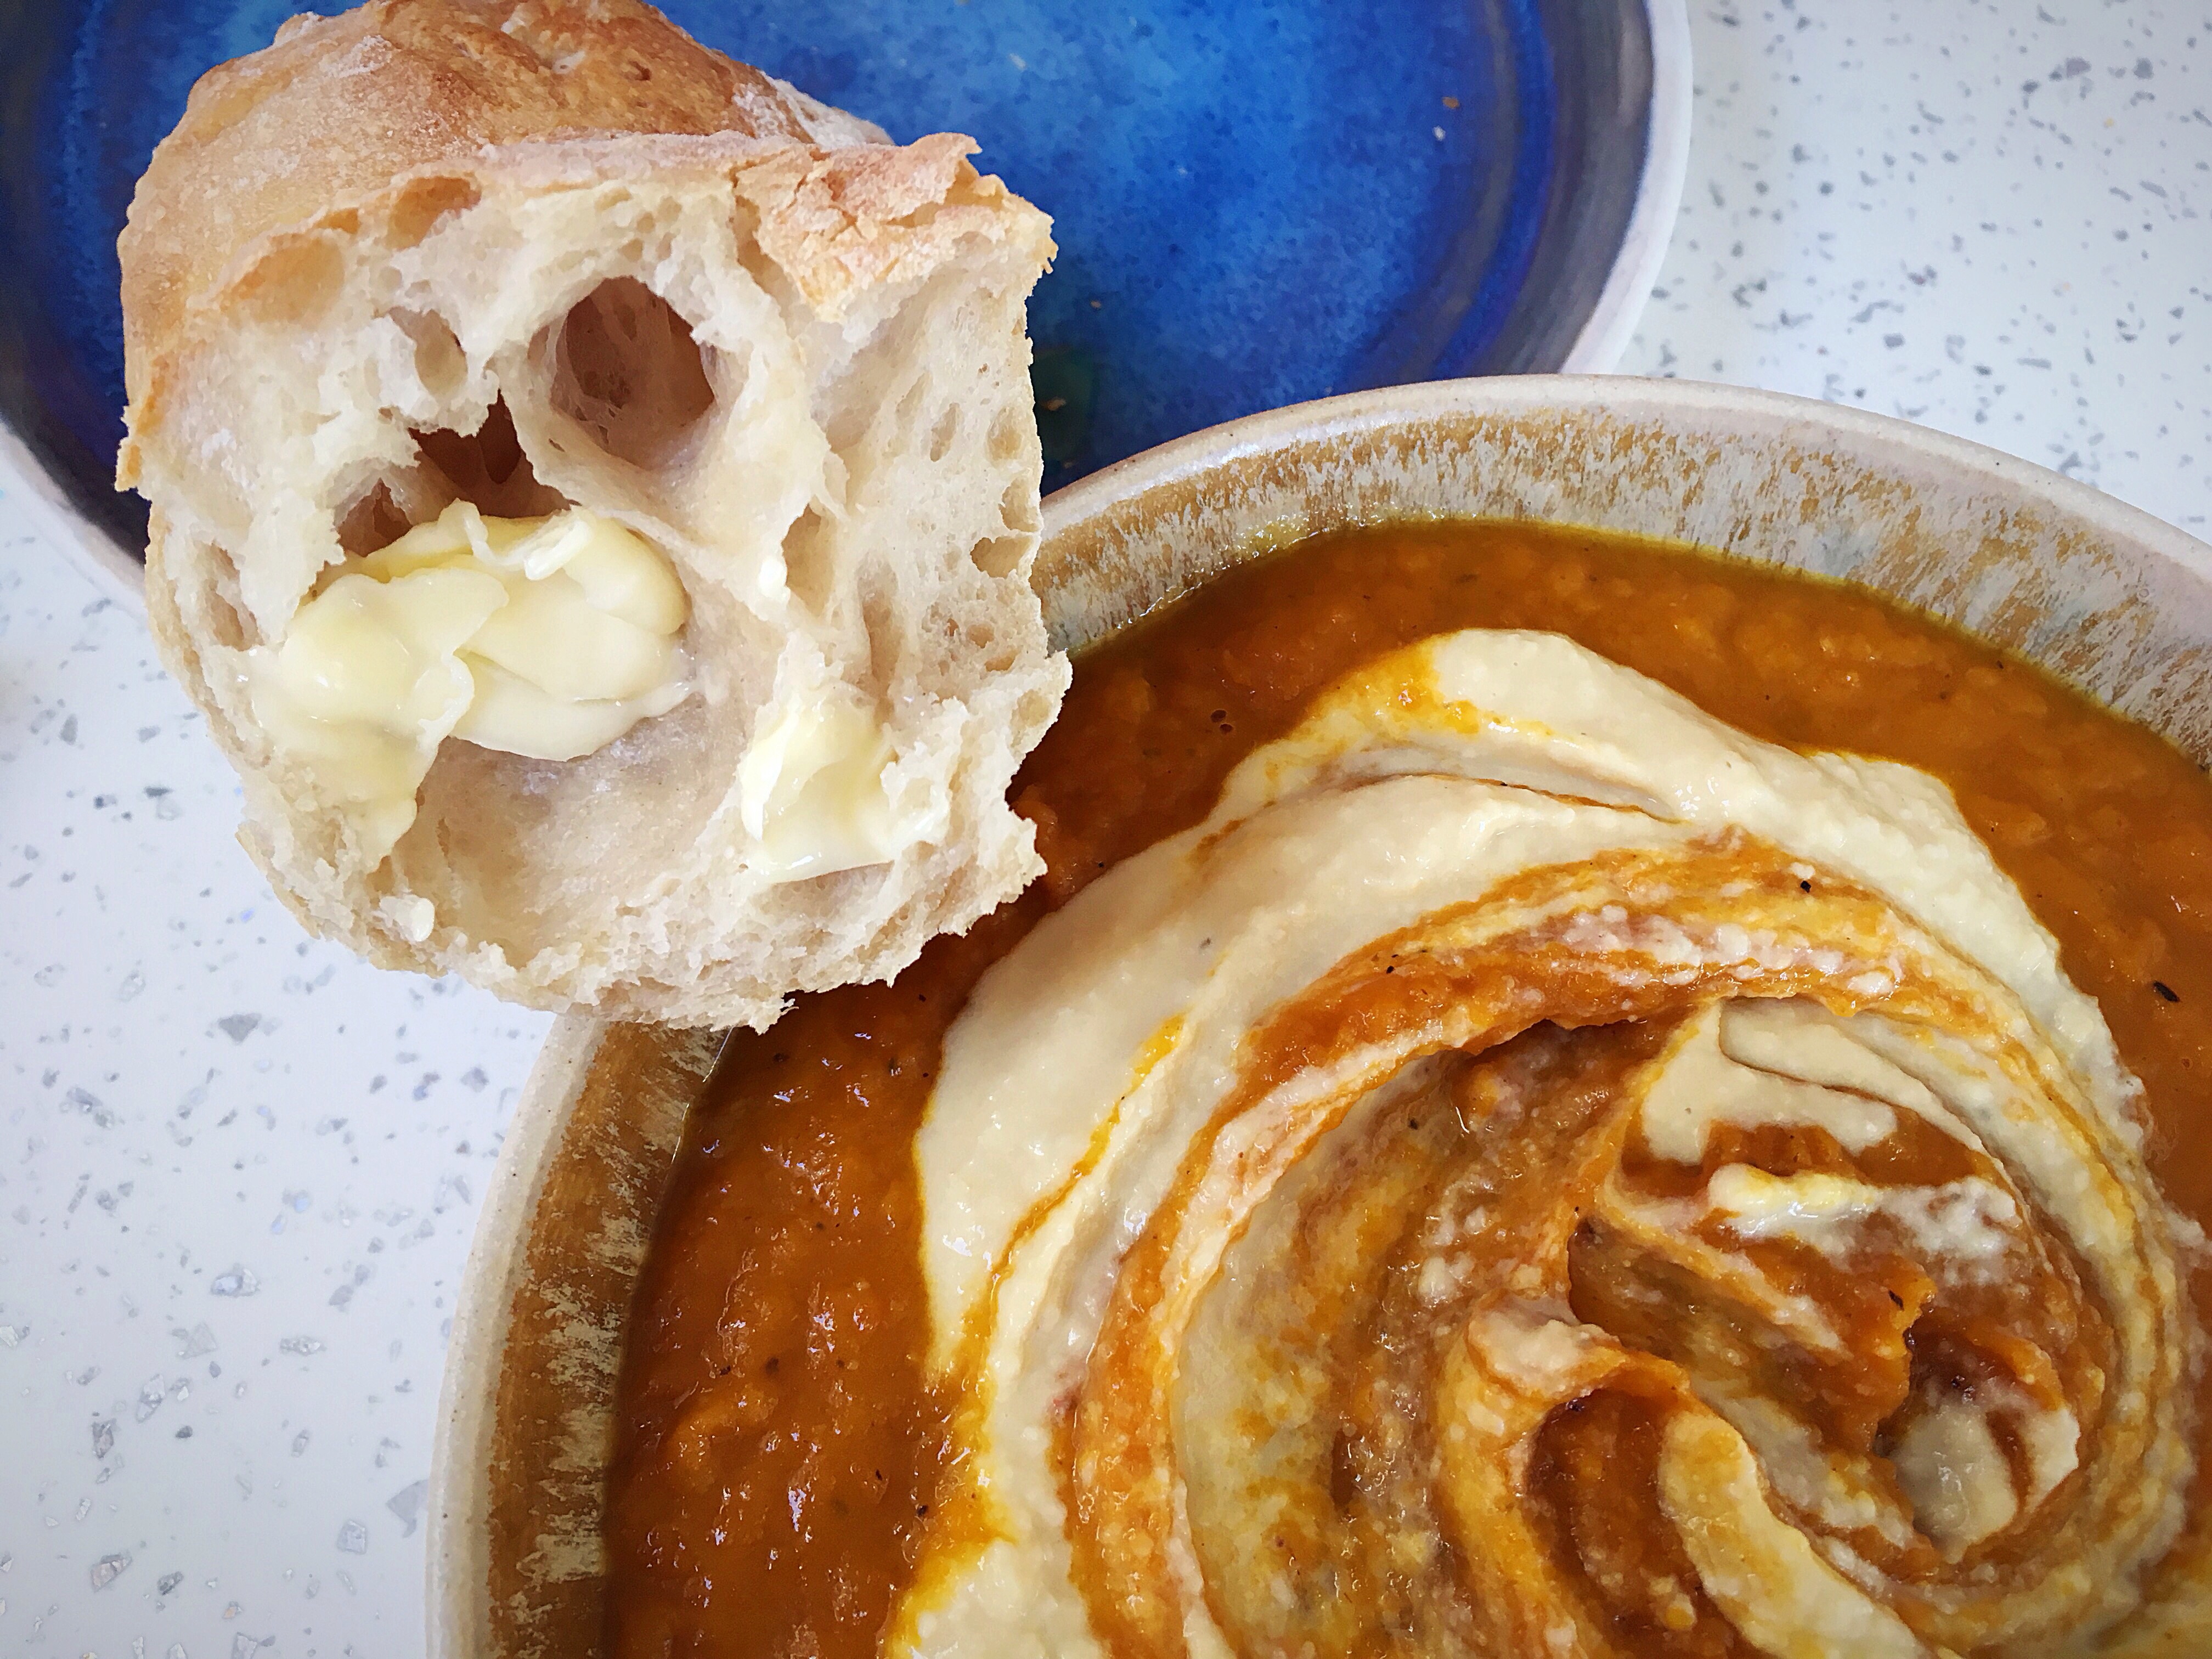
We forced ourselves to let them cool once baked whilst we made some spiced root vegetable soup (I topped my soup with my homemade homous, whilst Steve lashed piles of my homemade harissa on his) to enjoy them with…and it was worth the wait, they were so good!

A bowl of hummus and bread on the table.

We cut the dough into 16 pieces and made smaller rolls; if you want to make bigger versions, you may need to bake them for a bit longer.

Happy baking!

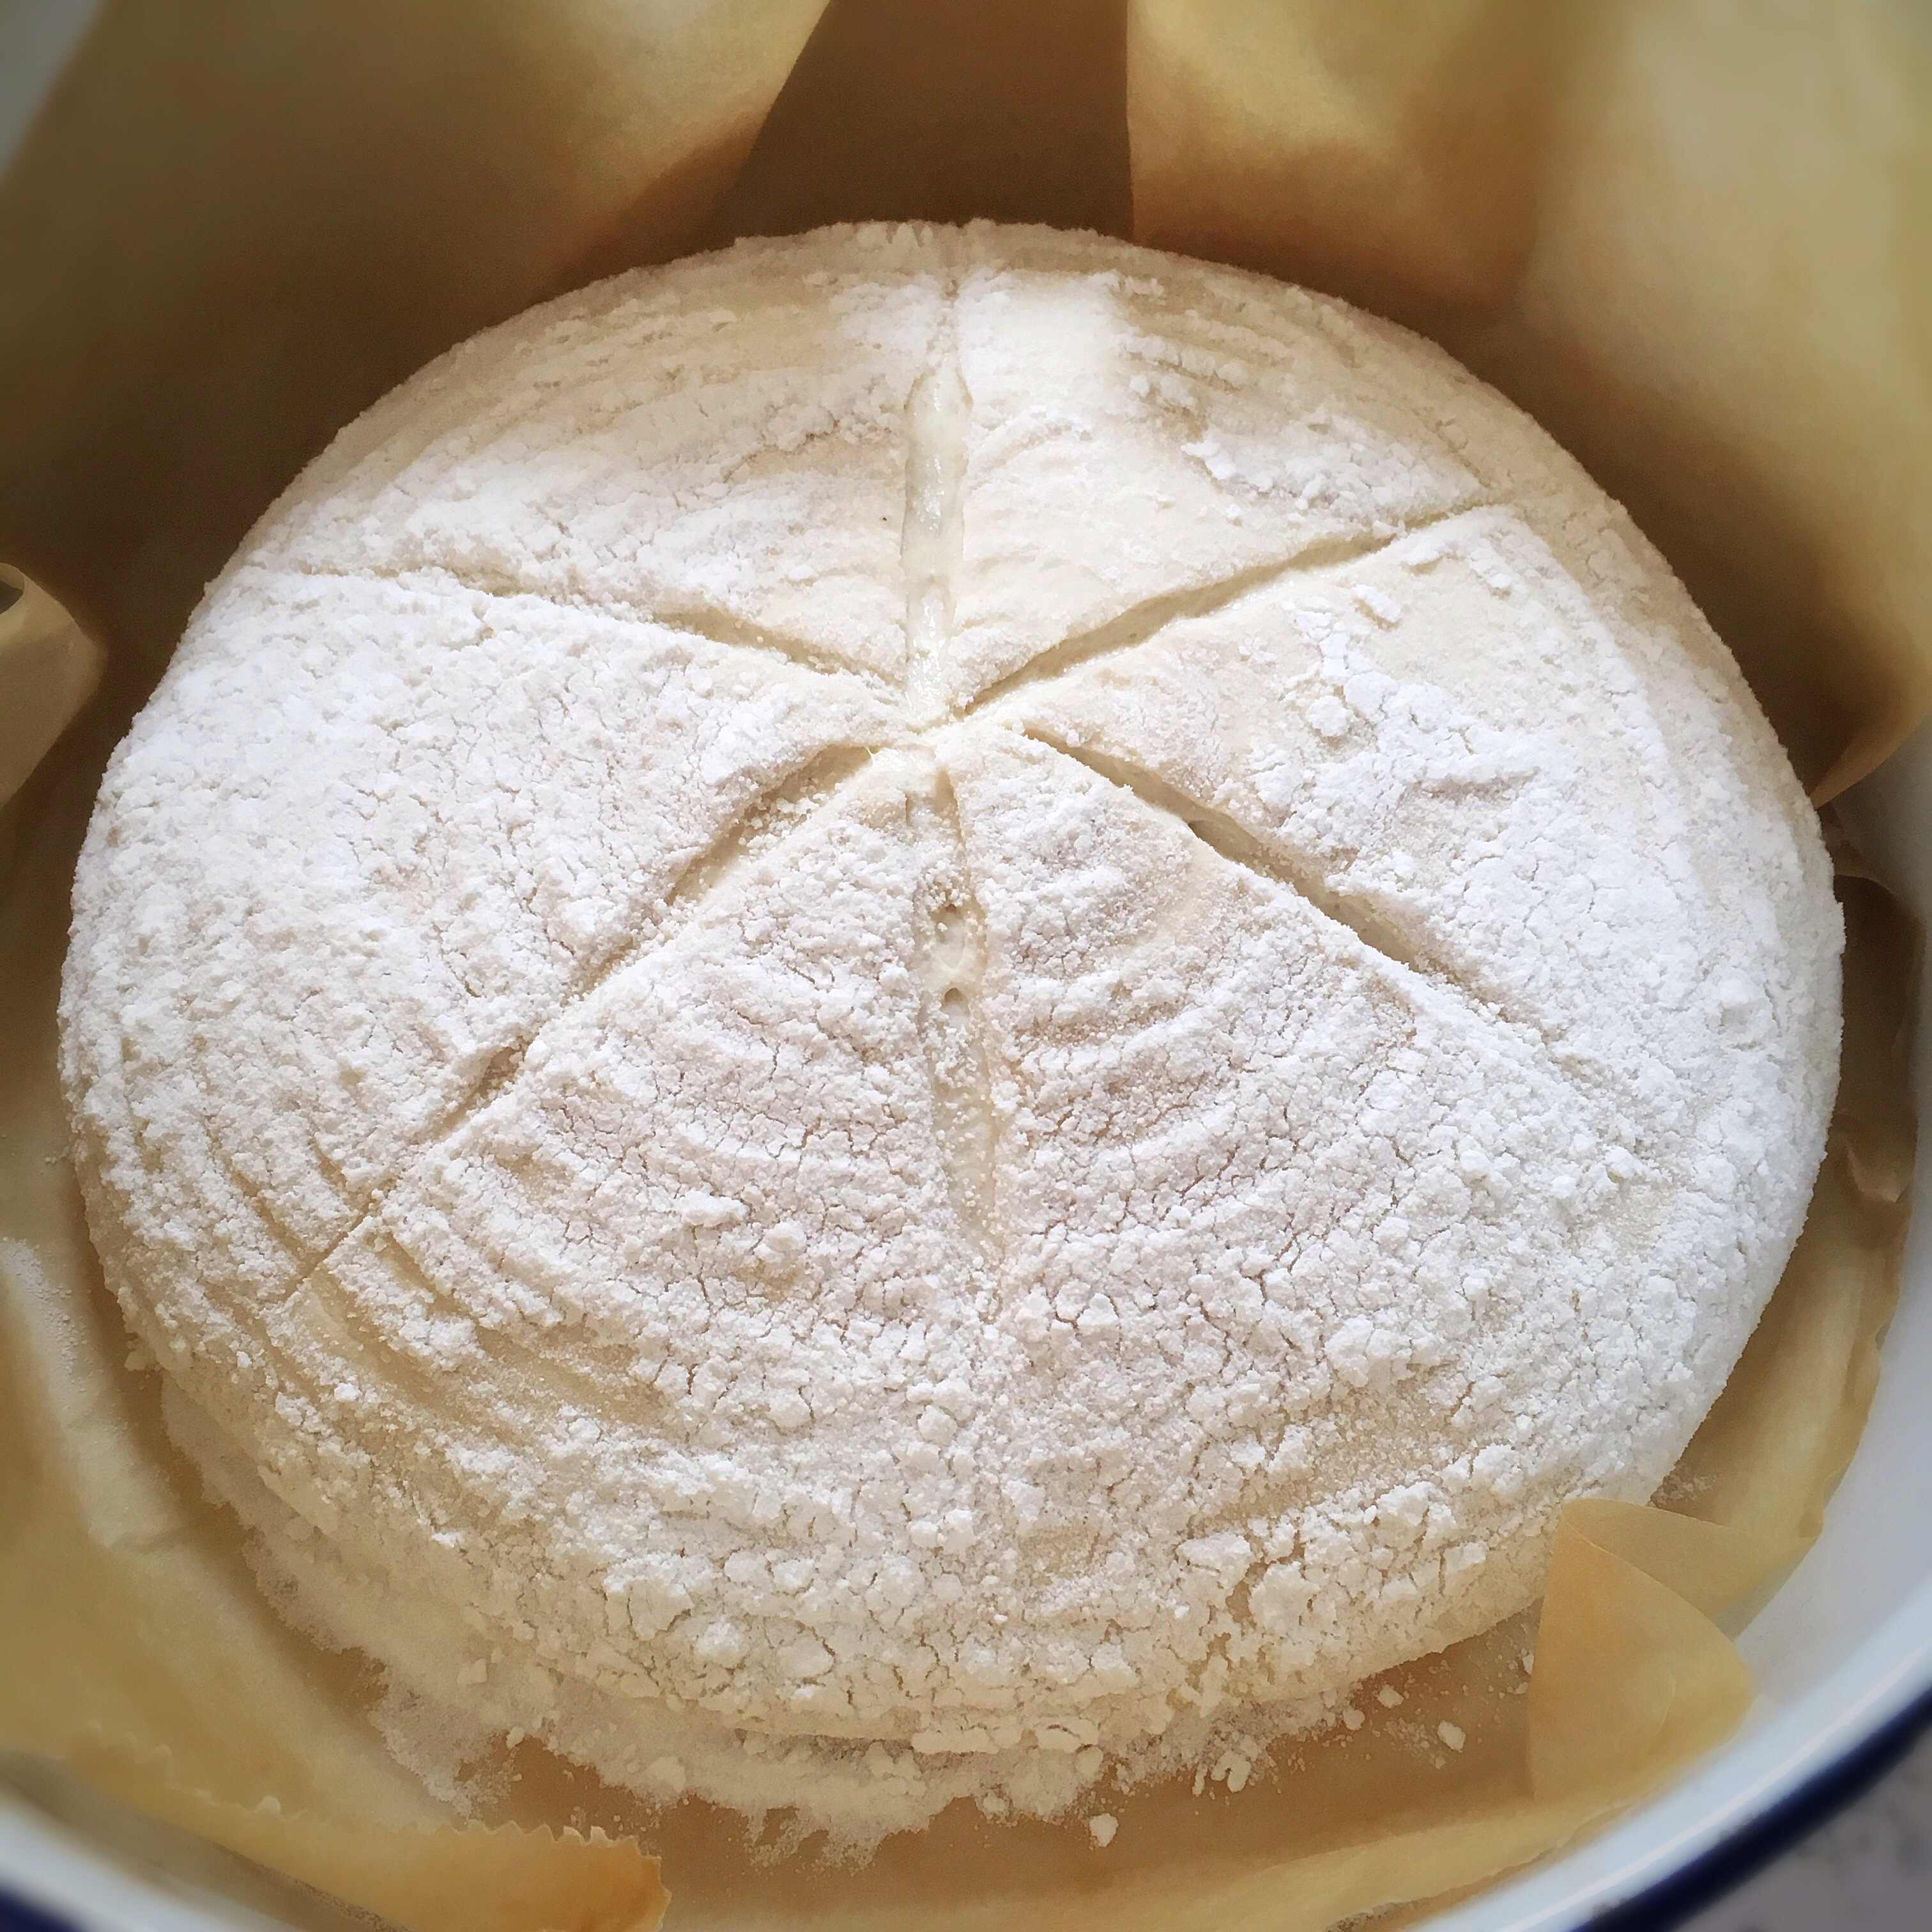
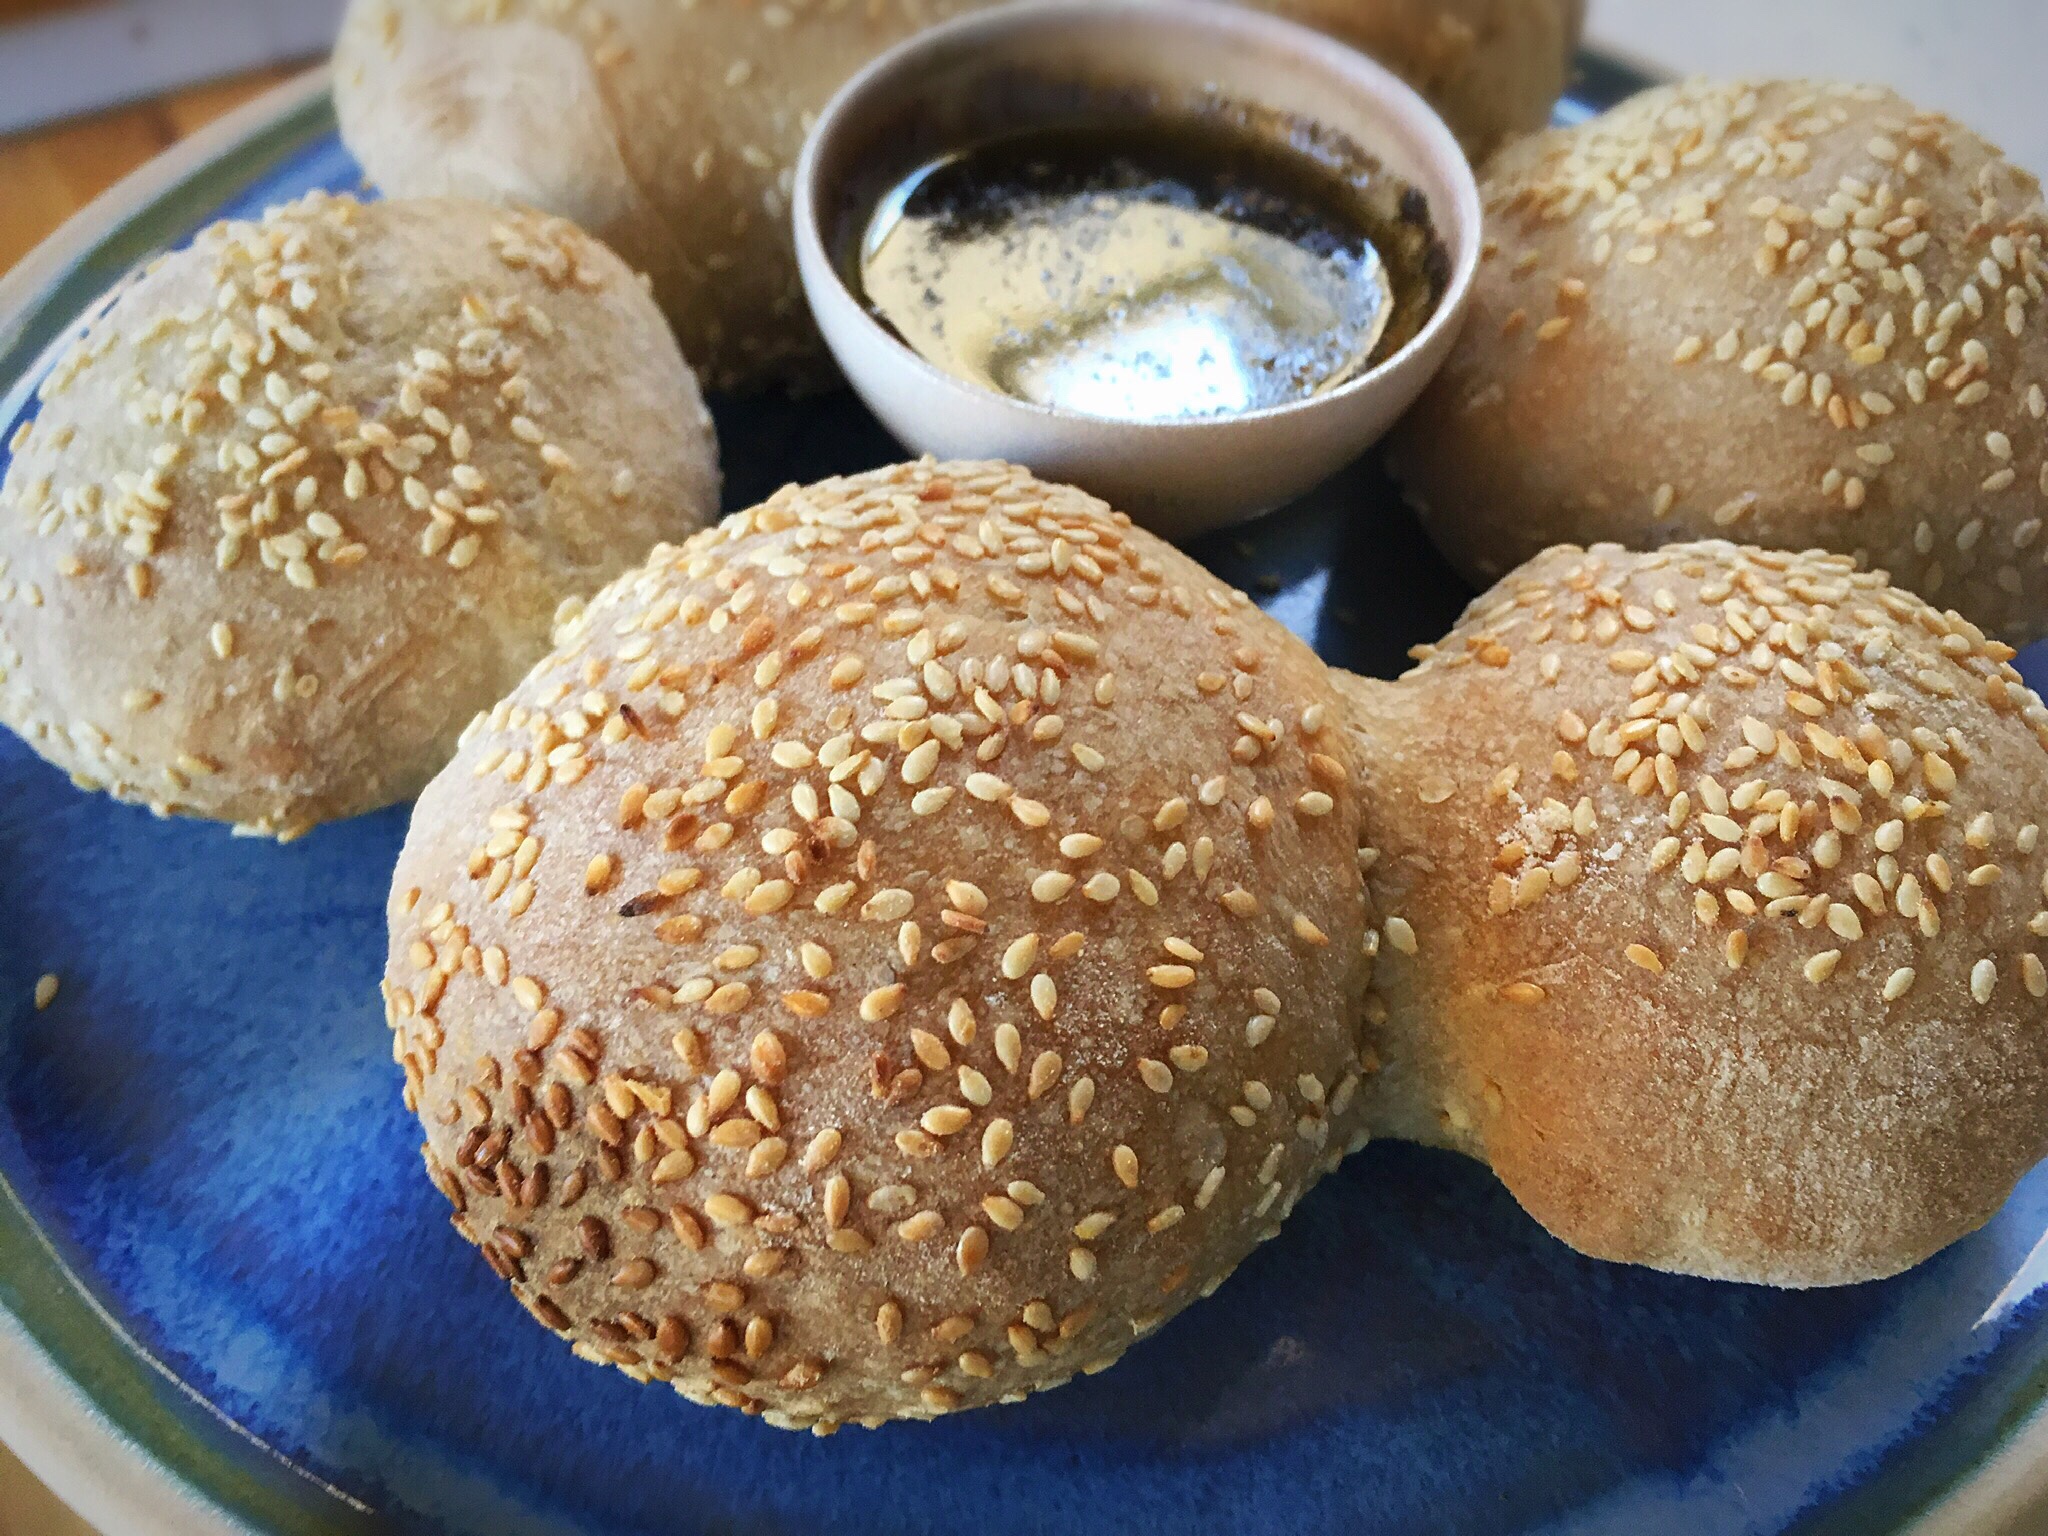
An update: I made rolls again (below) and these were much bigger, I split the dough into 8 this time and I baked them for about 20 mins until slightly browned on the top…

A plate with two different types of bread on it.A close up of some bread on the tableA close up of some bread with holes in them

So good!!!

Another update: I baked these rolls from cold; I put the tray in the fridge for 1-2 hours after shaping them, then baked them from a cold start…

A bunch of cookies are on the tableA bunch of bread rolls are sitting on the tableA plate of sesame seed rolls with dipping sauce.

Once I put the tray into the oven, I turned the oven on and up to 200C fan assisted, and left them for 25 mins total. Perfectly baked!

A course review…

My personal introduction to baking Sourdough bread – Knowledgeable, Enthusiastic and Great Fun.

I’ve been a lover of sourdough bread for a while now but the demise of local bakers restricted me to supermarkets. I’ve tried them all with Waitrose being by far the best. But is it real sourdough? I cook a lot at home and bake bread from tv recipes. But none of them really seem to deliver real sourdough bread. So what’s the answer? A sourdough baking course, of course. Hmmmmm.

Encouraged by my wife who had spotted Elaine on social media, I decided to take the plunge so I booked and went along to Elaine’s course feeling, strange for a retired man, very nervous. Possibly remembering many of the interminably boring management courses I have been forced to attend over the years.

The course was a good half day’s introduction to baking sourdough bread. The great thing is that it was hands on or should that be hands in! Elaine turned out to be a great enthusiastic and patient teacher, putting me at my ease and explaining at a level of detail that was just right for me.  The constant supply of tea and sourdough goodies all adds to the experience. I thoroughly enjoyed the teaching, the baking and the chat. Informality was the key to the day and I went home with some superb self cooked sourdough bread and cheese scones plus course notes to help at home. Boring it was not.

Elaine clearly explains the methods and the equipment you will need to be a successful home baker. Watching and learning and doing it yourself and learning is key. Since the course, I’ve made my own starter and two loaves and things are looking good. I’ve encountered one or two problems or should that be memory lapses since the course but Elaine has been superb with her help, guidance and sympathy.

If you love sourdough and want to cook your own, I couldn’t recommend Elaine’s course more highly. Get motivated and try something refreshingly different.

Brian.

Spelt and white loaf…

A loaf of bread with some type of crust on it

Anyone who knows me from Instagram or my foodbod blog will know that I love grains. I literally love quinoa, spelt, kamut, bulgur wheat, any grain, on its own by the spoonful, or with endless accompaniments…

A bowl of food with spinach and an egg on top.

A recent dish including quinoa

Some of these grains also translate into lovely flours; I’m not a fan of quinoa flour, I find it bitter, but spelt flour and kamut flour are both lovely. They have a lovely nutty flavour to them. They do not translate into strong flours however, they need to be handled with care to bake bread with them.

You can bake 100% spelt flour loaves but my experience has been that they need to be baked in a tin to give them structure.

This loaf therefore is 50% strong white bread flour, 50% spelt flour to give the loaf strength from the bread flour. The spelt flour is very soft and light and the resulting dough is very soft, but still bubbles up beautifully. I used my master recipe in exactly the same way just with the 50:50 mix.

I shared a video on Instagram and Facebook today to show just how light and bubbling the dough was, below is a screenshot of the dough after its overnight proof, it was very light and needed gentle handling. The final proof in the fridge firmed it up sufficiently to be able to score the loaf and it rose beautifully as it baked.

A bowl of food on top of the table.

Form this, above…to this, below…

A round bread sitting in the middle of a bowl.

A loaf of bread with one bite taken out.

A loaf of bread in a bowl with some type of crust.

A loaf of bread with some cheese on top.

Happy Baking!

Sourdough breadsticks…

A plate of bread sticks and dipping sauce.

Following on from the sourdough crackers, this time I bring you the sourdough breadsticks..

A bunch of bread sticks are laying on the table

These also worked really nicely, and even 3 days on from baking, still retained their snap!

As you can see, my shaping isn’t great, or even, but they taste good, so who cares?!

I made some of them unadulterated, as above, and got creative with the others, below, and added some toasted pumpkin, sunflower and linseeds. These were therefore thicker, and less crisp, but my son preferred them for the flavour the toasted seeds added..

A bunch of bread sticks on a cooling rack

NOTE: The dough for these can be prepared then rested in the fridge for a few days until you’re ready to bake them, or used immediately.

Ingredients

250g strong white bread flour

100g water

60g active bubbly starter

1tbsp olive oil

1/2tsp salt

Ground semolina (I used coarse semolina) to sprinkle on the counter

Seeds or other additions of your choice

Method

Mix the water, starter and olive oil together well, then add the flour and salt.

A close up of some food on the counterA bowl of flour and spoons on the table.

Bring it together as well as you can, it will be very stiff.

A bowl of dough is sitting on the table.

Cover with a shower cap or plastic bag, and leave for half an hour.

After the half an hour, perform a set of pulls and folds in the bowl, cover again and leave for another half an hour.

Repeat this another 2 times.

You can now either cover and refrigerate your dough for later use; or cover it again and allow it to rise for 1.5-2 hours.

*if you choose to refrigerate and use later, allow the dough to come up to room temperature for a good hour or more before using it

To make the breadsticks, cover your work surface with some flour, decant the dough onto the surface and spread it to a rectangle with your fingers. It will constantly want to pull back.

Cover it with cling film and leave for 5-10 minutes to settle then spread it out again. Try and even out the thickness across all of the dough to about 5mm.

(This is not particularly easy, my dough was very uneven!)

Prepare a baking sheet (you may need 2 large trays) by laying a piece of baking parchment paper across it.

Sprinkle some semolina on your work surface alongside your dough/tray.

Use a sharp knife or pizza cutter to słice the dough into 1cm strips.

A close up of some dough on top of a table

Roll them in the semolina then place on the lined baking tray.

Because my dough was too thin in the middle and thick at the edges I made twists with some of mine.

A tray of dough is lined up on the counter.

Artist licence!!

At this point you can try wrapping some seeds or spices or whatever you fancy into a few.

A close up of some bread sticks on the table

Once they’re all rolled or twisted and laid on the tray, cover the tray with a clean plastic bag or cling film and leave them to rise for half an hour whilst you heat the oven.

Preheat the oven to 230C fan.

Boil some water, pour it into a pan or oven proof bowl, and add it to the bottom of the oven to create steam.

After half an hour, turn the oven down to 190C fan.

Bake the breadsticks for 15 minutes, remove and cool on a rack.

*my oven has a hot spot so I turned the tray round half way through the bake.

*if the breadsticks are already looking dark at 13 or 14 minutes, use your judgement and remove the tray from the oven

A bunch of bread sticks sitting on top of a sheet.A bunch of bread sticks are on the pan

Enjoy!!!

To store, keep them in an airtight container, I prefer a tin lined with baking paper rather than a plastic box

A plate of bread sticks and dipping sauce.