I use pullman pans a lot in my recipe and when I first got my pullman loaf pans/tins I did not need to line them, but as time has gone on and the coating has started to come away, I find it best to line my pans and the video below shows how I do it.
I use good quality parchment paper, the paper is already 30 cm wide, which is perfect for folding all the way over the top of the pan, and I cut it to 40 cm long, this makes it a perfect size for doing this. When you finish baking and you remove your loaf from the pan, if you then carefully remove the paper from the loaf you can use it many more times so this does not have to be a one off.
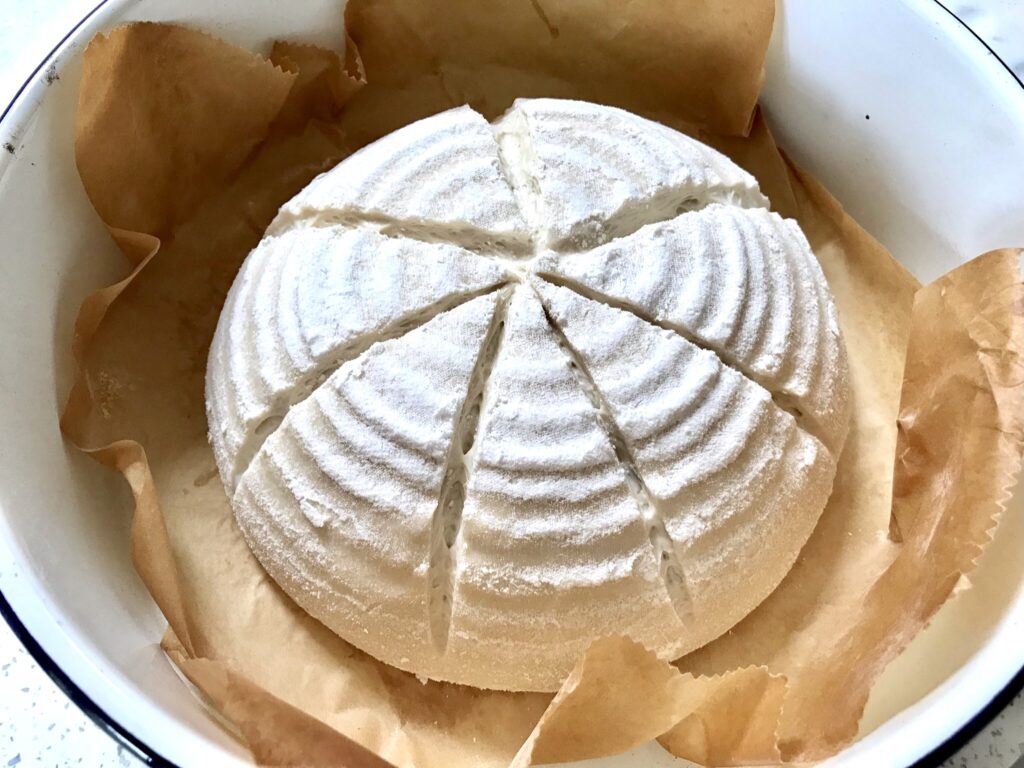
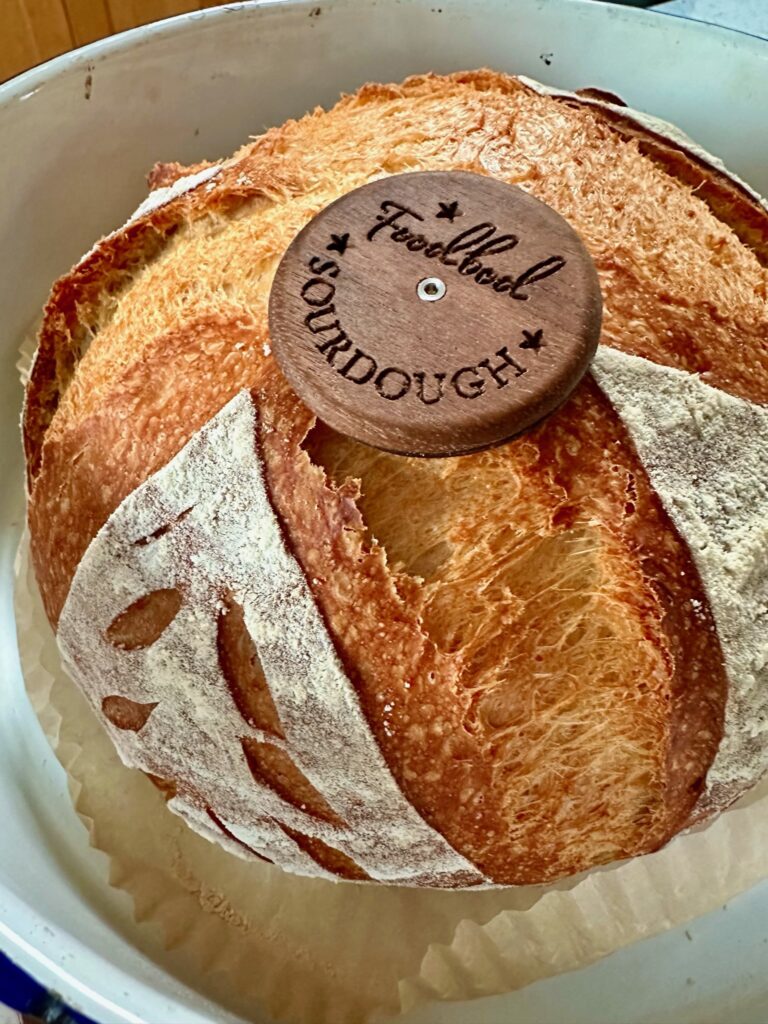
To make this loaf I used my standard sandwich life process. For this loaf, I did not use the lid, for many of my other loafs, I do, please refer to my books for more details and recipes. This page will tell you all about my books and how they differ: https://foodbodsourdough.com/which-book/
You can find this exact size of Pullman pan that I use in the US from https://shanassourdough.myshopify.com which works for all of my recipes in my new book, or find it online in other countries.
The size is 21.5×12.5×11.5cm (8.5x5x4.5â€).