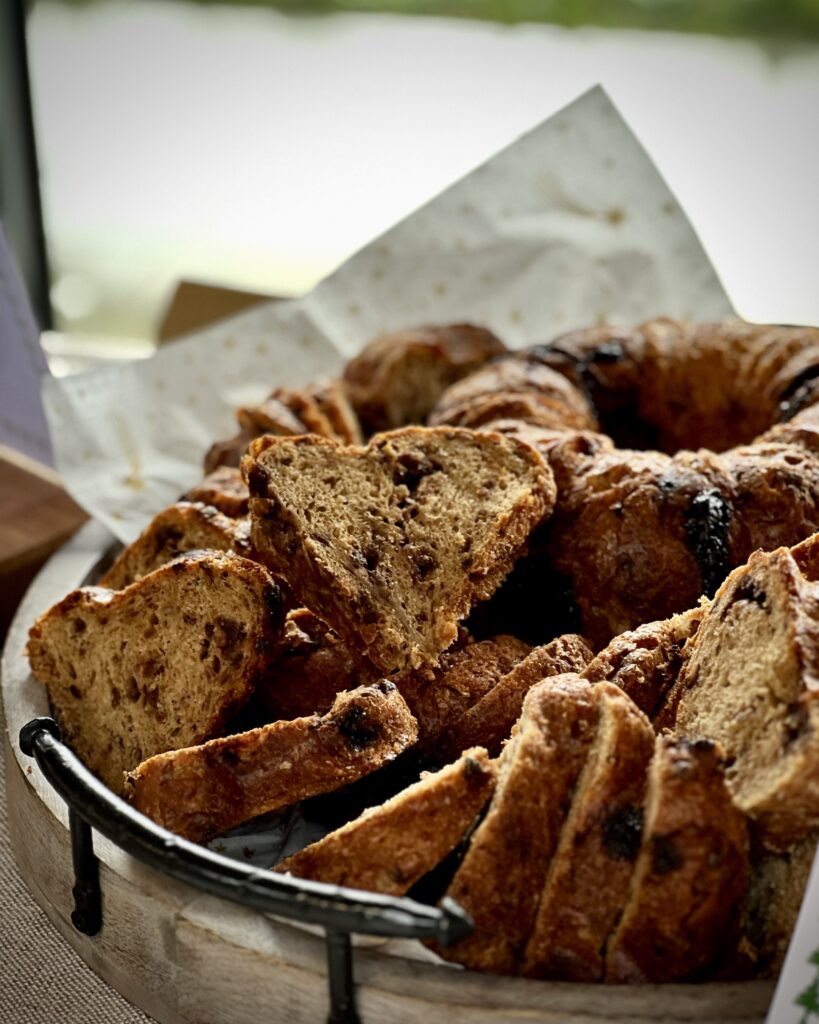
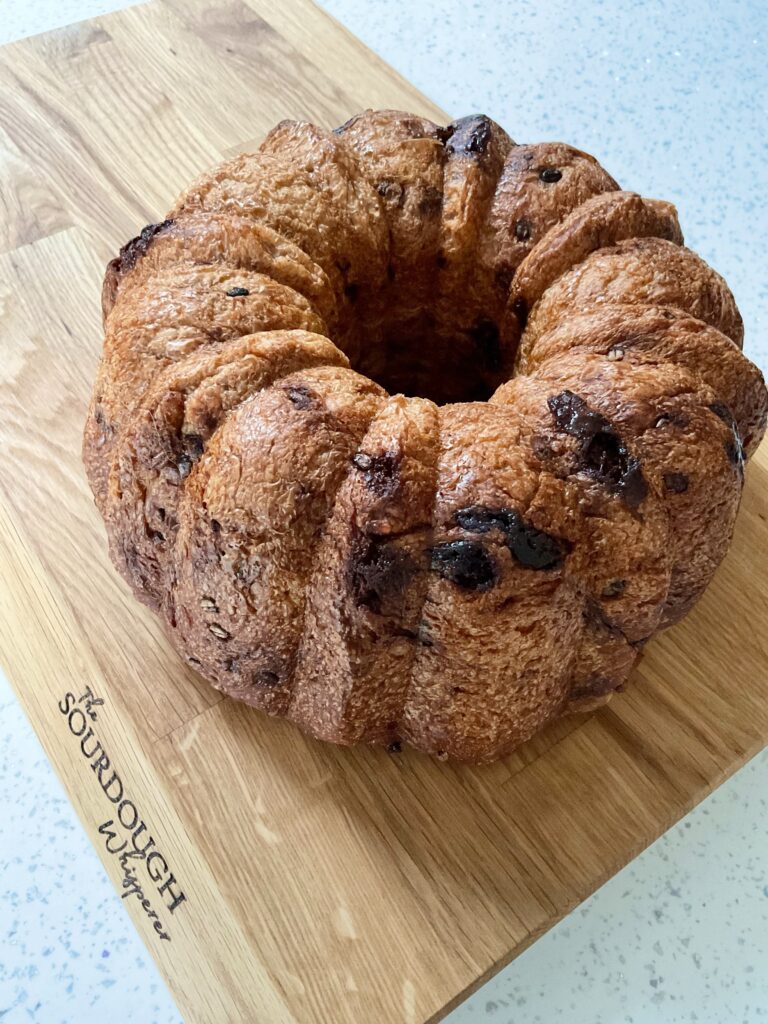
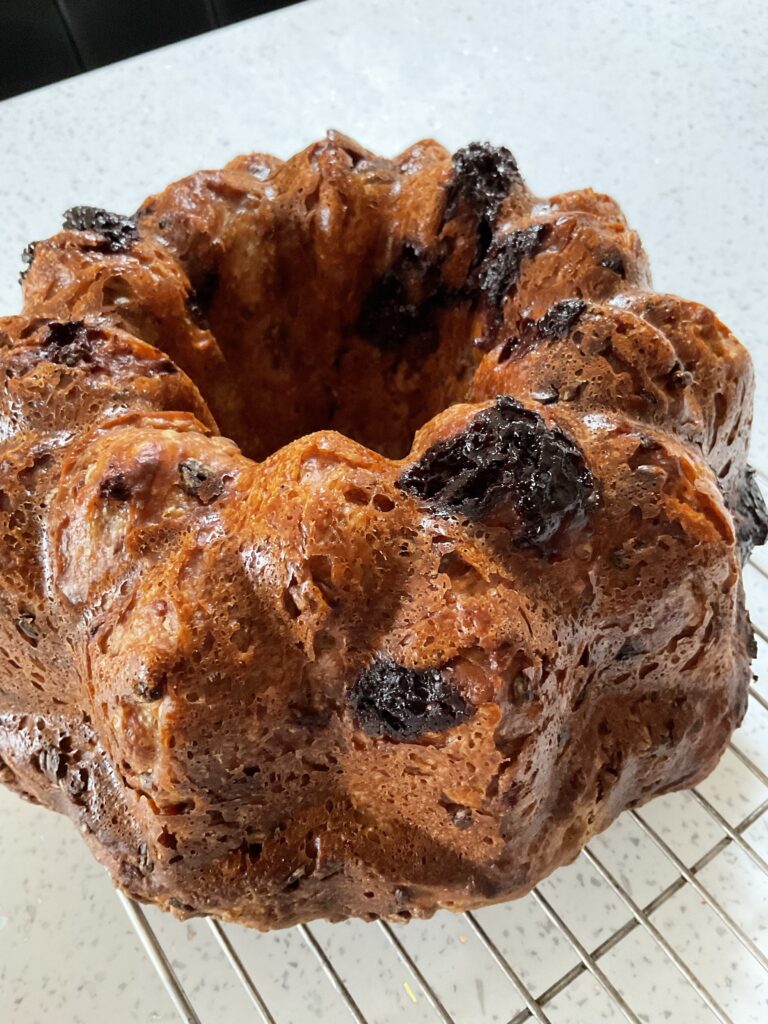
A perfect festive table centrepiece… sourdough meets beautiful flour meets chocolate!
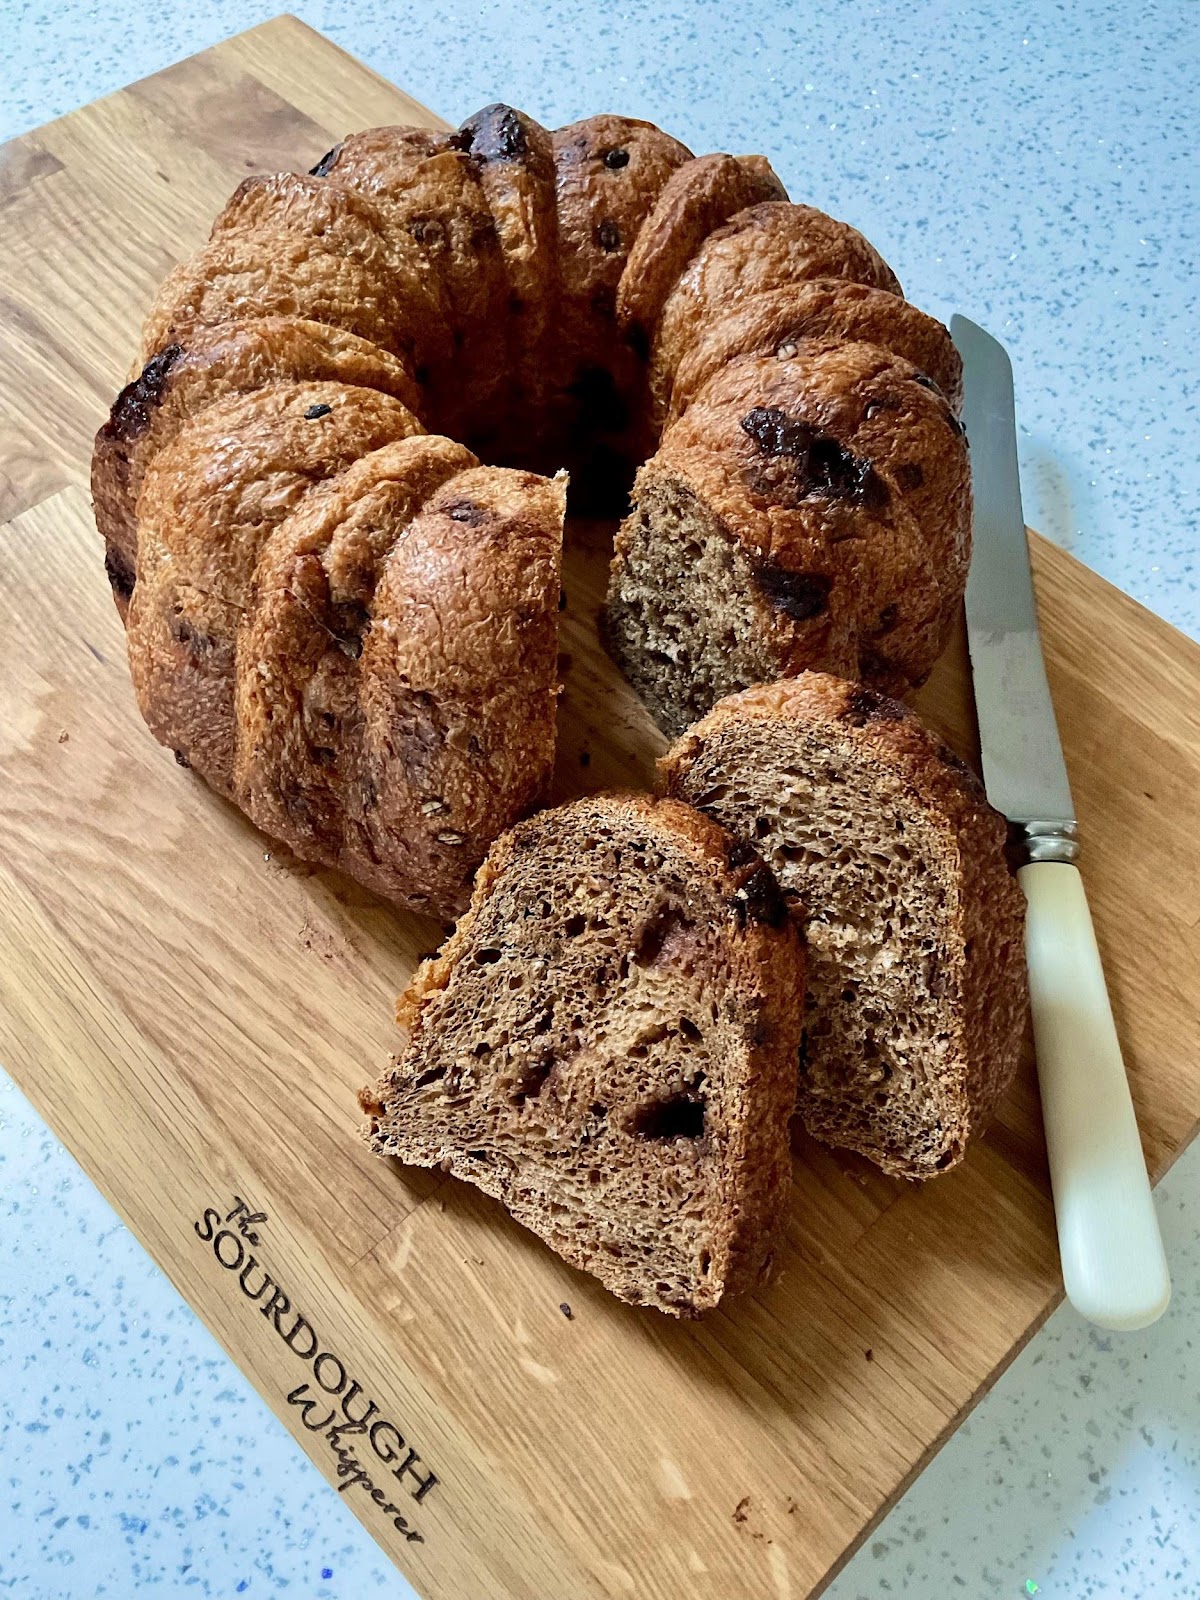
This loaf is a marriage of wonderful flour and yummy chocolate! Cotswold Crunch flour is the best flour in the world in my opinion, it’s so tasty, and so easy to use, and in this recipe I am using it to make an enriched dough, with the added extra of chopped up chocolate to create a moreish loaf, perfect for the festive season, as well as any time you fancy a treat.
🌟🌟🌟 NOTES: The sweetness in the flour and the oat milk all adds to making this a tasty loaf; the butter, or peanut butter, adds an extra richness. And of course, the bursts of chocolate are the jewels of fabulousness throughout! If you want extra sweetness, add honey or sugar to the dough at the start; for my tasters this has been sweet enough, but if your tasters prefer something sweeter, it is easy to tweak.
If you like the chocolate orange idea but do not have access to it, try using your choice of chocolate and some added orange flavouring, maybe an orange essence or extract, orange oil, dried orange powder, or some finely grated orange zest. Suggested amounts for a really good orange flavour: 1 to 2 tsp orange extract or the zest of 1 to 2 oranges.
EDIT: one of my lovely bakers has also suggested using a blood orange infused oil to add the orange flavour.
🌟🌟🌟 This recipe is inspired by a recipe I created for my new book, so if you like it, you might like my upcoming book 🌟🌟🌟
Prep time: up to 24 hours with maximum 30 minutes hands on time
Baking time: 60-70 mins
Essential equipment for this recipe: I bake this recipe in a ‘12 cup’ Bundt tin, measuring 26.7D x 26.7W x 11.4H cm, you could also use a loaf tin or cake tin.
Ingredients:
50g active sourdough starter
400g oat milk, or milk of your choice
500g Cotswold Crunch flour
100g butter or peanut/nut butter of your choice
150g chopped chocolate of your choice, or 1 whole Terrys chocolate orange, opened and chopped up
7g salt, or to taste
Yield: 1 full size loaf
NOTE: You can find Cotswold Crunch here. If you’re not in the UK, try your favourite flour/s, I think a mix of strong white bread flour and wholegrain spelt flour would be nice, and maybe a touch of rye flour too for its natural sweetness.
Method:
Step 1: Late afternoon/early evening, roughly mix together all the ingredients to a sticky lumpy dough; it does not need to be fully mixed at this point, it will become mixed in fully as you complete the next steps. Cover the bowl with a shower cap, and leave the bowl on the counter.
Step 2: After 2 hours, perform the first set of pulls and folds on the dough, lifting and pulling the dough across the bowl all the way round, until it starts to come into a soft chocolate studded ball, then stop. The dough will be sticky. Cover the bowl again and leave it to sit on the counter.
Step 3: After another hour, perform another set of pulls and folds on the dough, covering the bowl afterwards. This will be a big dough, it will be stretchy and textured between the chocolate pieces, and will come together into a soft ball. Cover the bowl again.
Step 4: Leave it counter overnight, it will typically require 8 to 12 hours to fully prove at room temperatures between 18 to 20°C/64 to 68F. If it has been colder, it may need longer.
Step 5: In the morning, the dough will have grown, if it has not doubled in size yet, allow it a few more hours to continue to prove. This is a heavy dough and may take longer to fully prove than others.
Spray a light layer of oil or grease the inside of your Bundt tin with butter if needed.
Once the dough is two times its original size, firmly perform a final set of pulls and folds on the dough to pull it into a ball. The dough will be big and studded with the chocolate pieces. Pick up the ball of dough in one hand, and with your other hand ease a hole into the middle of the ball of dough creating a big bagel shape, then place it into the Bundt pan, placing it over the top of the upright in the middle of the pan, then cover it with the same shower cap. Allow the dough to prove again, letting it fill approximately half to three quarters of the pan. The time this takes will depend on the temperature of your kitchen.
Step 6: To bake, you can bake in a preheated oven or from a cold start. Place parchment paper, followed by a baking sheet, on the top of the Bundt pan, to serve as a lid. As a tip, I then place ceramic baking beads in the pan to hold the pan in place on top of the Bundt tin. If preheating, set the oven to 160°C/320F fan assisted or 180°C/360F non fan assisted/conventional.
If you preheated the oven, bake, covered, for 55 to 65 minutes. If using a cold start, place the covered pan of dough in the oven, set the temperature as above and set a timer for 60 or 70 minutes, or until nicely browned.
Step 7: Remove the loaf from the oven, remove the baking sheet and paper, allow the loaf to cool for 5 minutes, then turn it out onto a wire rack to cool. If you would like the loaf to have more colour, return it to the oven, on the rack, sitting on an oven tray, and bake uncovered for 5-10 minutes. Then remove and cool slightly before slicing – but definitely tuck in whilst warm 🤩🤩🤩🤩🤩
Recipe notes: the dough will be sticky and heavy initially, and it will remain a heavy dough, but it will grow and will bake to something wonderful! If you can’t shape it into a smooth ball, don’t worry, just place it into the Bundt tin as evenly as possible, the tin will shape it for you.