
High temperatures and/or humidity can affect your starter greatly; both can make your starter work a lot faster and therefore it works its way through the flour faster which makes the starter thin, and therefore weak. Making a starter from scratch requires nurturing and doing that in high temperatures just needs a bit of tweaking, which in this case utilises some time in the fridge during the highest temperatures of the day.
Notes:
*I made mine with strong white bread flour and tap water
*You can choose the flour of your choice and you may need to use filtered water if your water is heavily chlorinated or not great quality
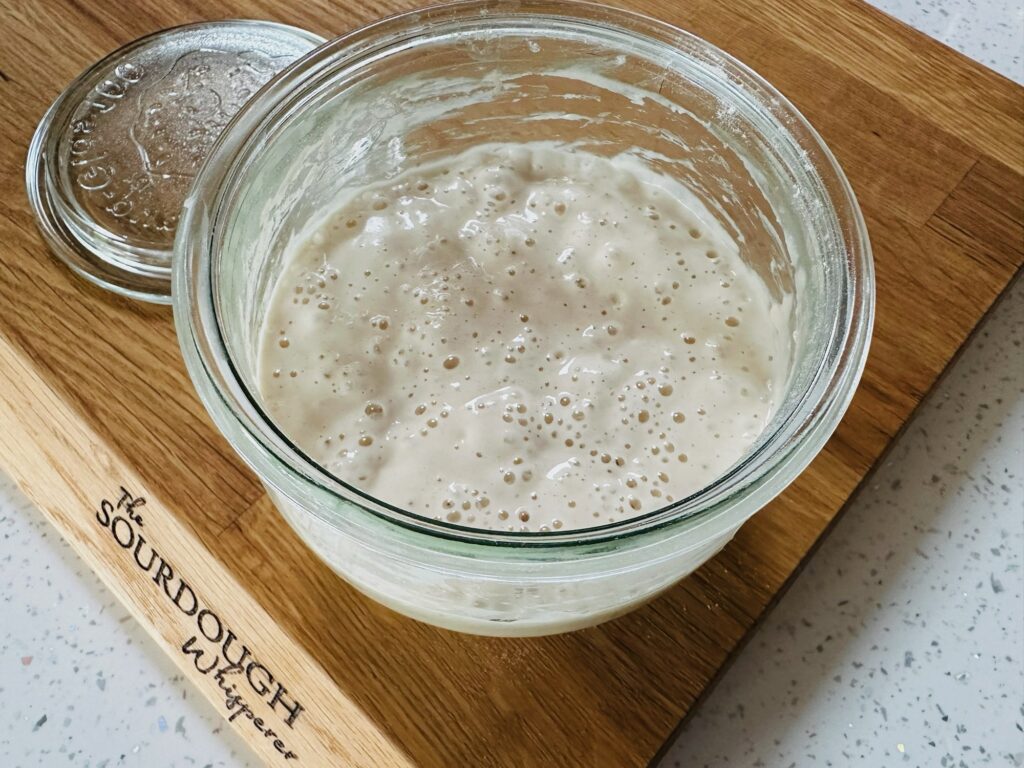
*I use glass Weck 744 tulip jars with their glass lids to make and store my starters
*The difference with this method is that during the day and the highest temperatures the starter is kept in the fridge
*Whilst out of the fridge I left the lid loose; whilst in the fridge I fitted the lid firmly so that the starter wasn’t affected by any of the foods in your fridge
*My timings are a guide based on my household, feel free to amend these to your household
*If your overnight temperatures are up to 22C/72F and/or medium humidity follow the instructions exactly as written
*If you overnight temperatures are over 23C/73F and/or higher humidity read the notes at the end of the page
*I use small quantities to make starters as you really do not need big quantities to make a starter; you will therefore also have little waste, but when you do need to discard, put the spare starter in a bowl and use it in recipes. Resist the temptation to keep it and end up with endless bowls of bits of starters.
Day 1:
6pm: begin making your starter
Mix 50g flour + 50g water
Mix well, but lumps are fine
Day 2:
7am: a few bubbles should be visible
Cover the bowl firmly and put it into the fridge
6pm: take the bowl from fridge, the small bubbles may still be visible
Feed once it has come up to room temperature, 30g flour + 30g water, leave the lid loose and leave out overnight on the counter
Day 3:
7am: the starter should be bubbling a bit, cover firmly and place in the fridge
6pm: take from fridge, once it has come up to room temperature, discard half and feed it 30g flour + 30g water, loosen the lid, and leave on the counter overnight
Day 4:
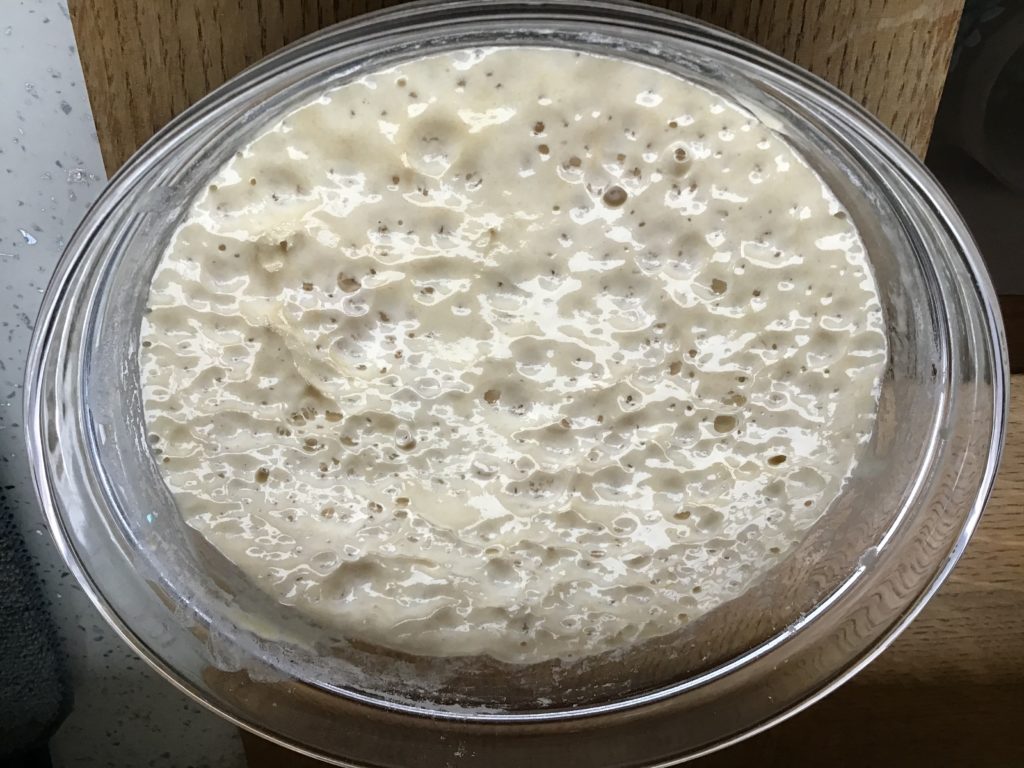
7am: on this day my starter was still very bubbly and smelled quite eggy; cover firmly and place in the fridge
6pm: take from fridge, once it hass come up to room temperature, feed it 30g flour + 30g water, loosen the lid, and leave on the counter overnight
Day 5:
7am: your starter may start to be less bubbly for the next few days, that is normal, keep going, it is still working; cover firmly and place in the fridge
6pm: take from fridge, once it is come up to room temperature, feed it 30g flour + 30g water, loosen the lid, and leave on the counter overnight
Day 6:
7am: on this day my starter was still very bubbly; cover firmly and place in the fridge
6pm: take from fridge, once it has come up to room temperature, discard half and feed it 30g flour + 30g water, loosen the lid, and leave on the counter overnight
Day 7:
7am: on this day my starter was still very bubbly; cover firmly and place in the fridge
6pm: take from fridge, once it has come up to room temperature, feed it 30g flour + 30g water, loosen the lid, and leave on the counter overnight
Day 8:
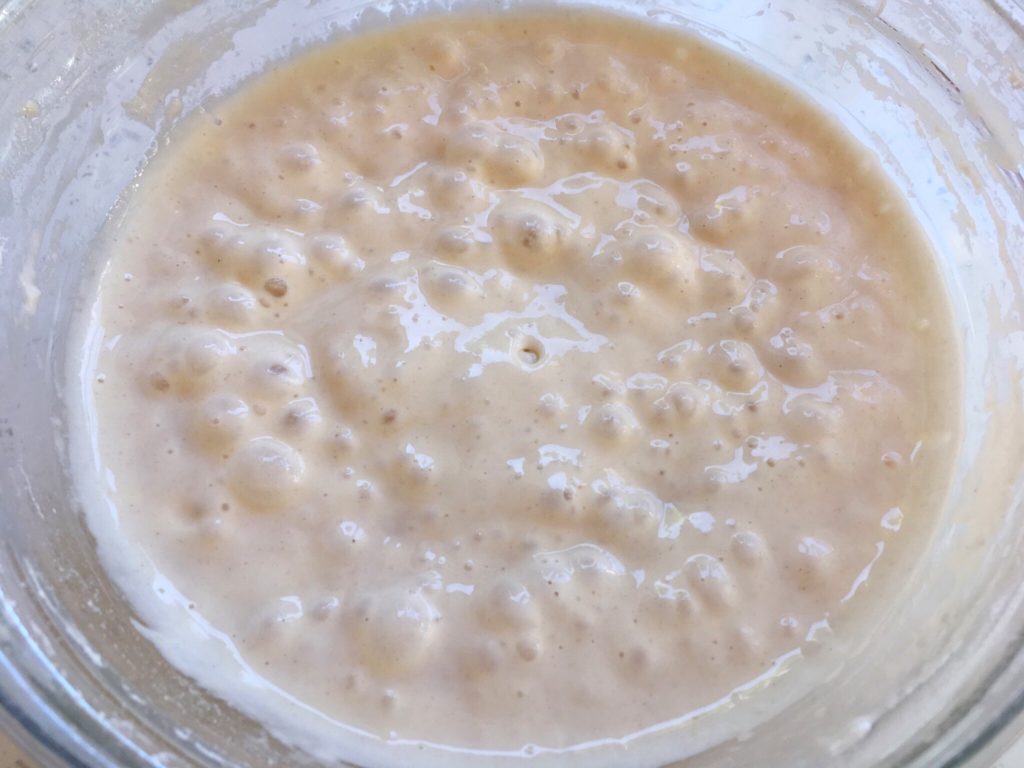
7am: your a starter should be lovely and bubbly and active and possibly ready to use. Feed it 30g flour + 30g water and see how it looks in a few hours. If it looks active and ready to go, try using it for some dough.
If you are not sure, keep going for a few more days and keep building its strength.
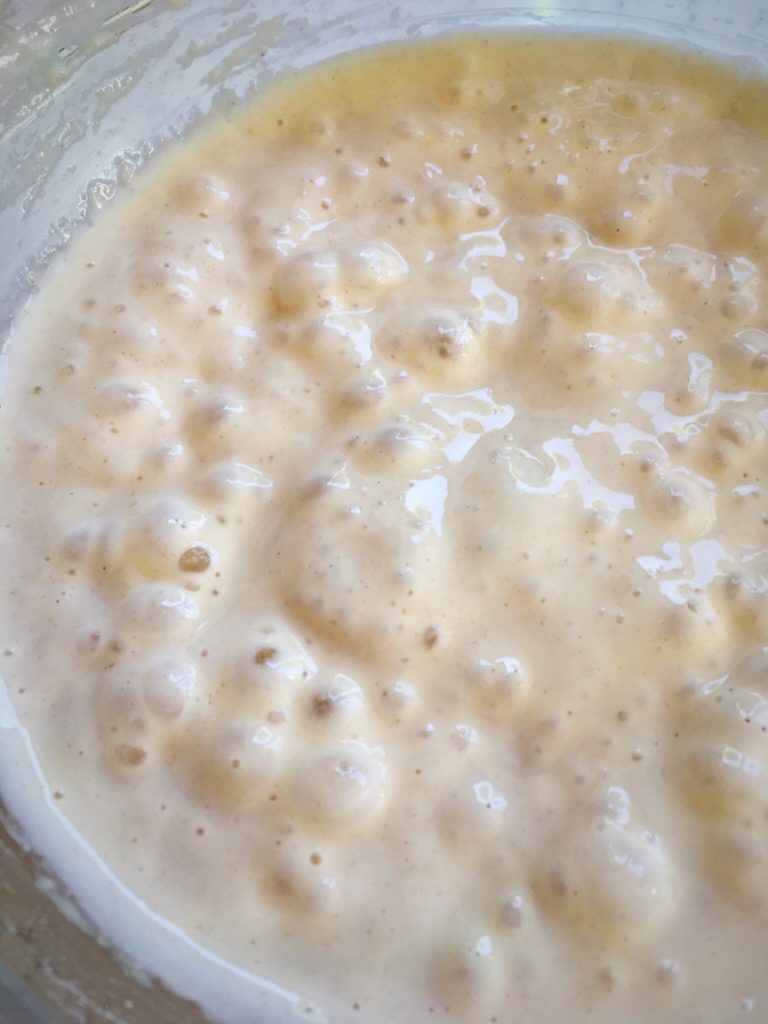
NOTE: If the overnight temperatures are over 23C/73F, you will find that the starter gets very thin and inactive as it uses up all of its flour. In this case it will need feeding twice a day to allow for the heat; follow the same steps but perform the steps for day 1 on the first evening, then perform the actions for day 2 in the morning & day 3 in the evening on the first day; day 4 in the morning & day 5 in the evening on the second day; day 6 in the morning & day 7 in the evening on the third day, and so on.
Continue for at least 7 days.