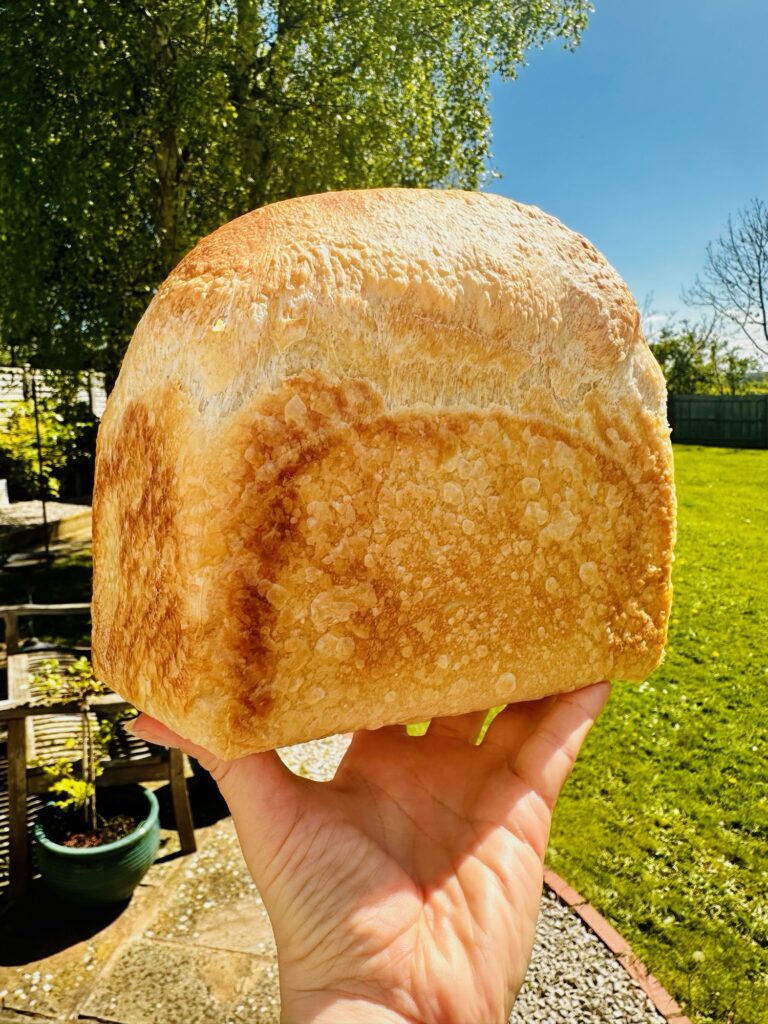
My sourdough sandwich loaf
This recipe takes my standard master recipe and shows how to convert it to make a sandwich loaf. This recipe is the short version, and goes hand in hand with the full length master recipe here, the video of how to then use it to make a sandwich loaf here and the video on my YouTube channel here.
Find the full length step by step sandwich loaf master recipe in my new book, The Sourdough Bible: https://foodbodsourdough.com/the-sourdough-bible-is-coming/
Yield
Makes 1 standard loaf
Ingredients
50 g starter
350 g water
500 g strong white bread flour
7 g salt, or to taste
Timing
The timing and temperatures are here to show a typical proving scenario, but is NOT prescriptive, merely a starting point. If the overnight temperature is colder than stated, the dough will need longer to fully prove; if it is warmer, the dough will need to be made differently from the start with less starter. For more information and help with this, see my FAQs and top tips.
Equipment
Digital scales
Large mixing bowl, ideally 23cm diameter and 9cm deep (2.25 to 2.5 L)
Bowl scraper
Clean shower cap
Pullman loaf pan, 21.5 x 12.5 x 11.5 cm, minus the lid, lightly sprayed with a neutral oil, or lined with baking parchment paper
Wire rack
Method
For best results, start this process in the evening; if you choose to start the dough in the morning, allow time for the dough to fully prove.
Step 1: In a large bowl, roughly mix together all the ingredients, then cover the bowl with your shower cap and leave the bowl on the kitchen counter.
Step 2: After 2 hours, perform a set of pulls and folds on the dough, lifting and stretching the dough across the bowl. Cover the bowl again and leave it on the counter.
Step 3: After 1 further hour, perform 1 more set of pulls and folds on the dough, bringing it into a nice smooth ball. Cover the bowl again and leave it on the counter.
Step 4: Now leave the dough to prove until it has doubled in size. If it is between 18-20C in your kitchen overnight this will take 8-10 hours, see the notes above.
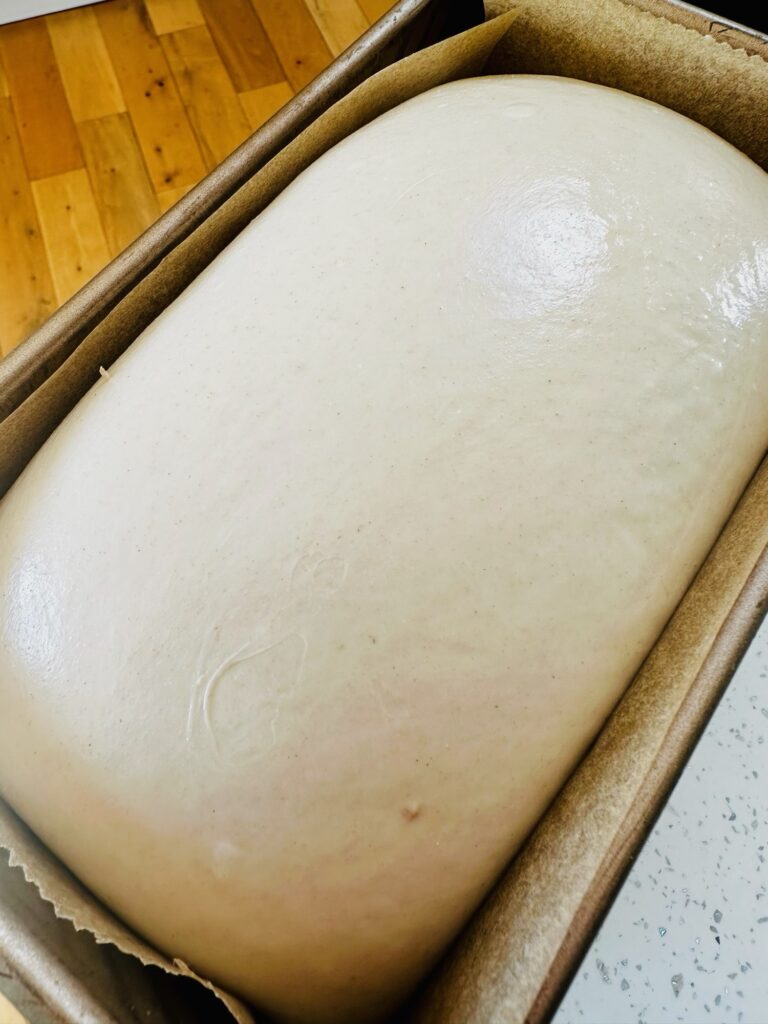
Step 5: Shape the dough for your pan (see the video for how to), cover it with your same shower cap and prove again on the counter or in the fridge. It will grow slowly. Once the dough has grown level with the edge of the pan, it’s time to bake.
Step 6: If you’ve chosen to preheat your oven, preheat to 180°C (360F) fan assisted/convection or 200°C (400°F) non fan.
Step 7: Bake at the above temperatures for 45 to 50 minutes from preheated. Or, if baking from a cold start, bake for 50 to 55 minutes.
Step 8: Remove from the oven and pan, and allow to cool fully before slicing.


So, it will go in the oven with no lid on, correct?
Yes
Did you bake with steam or no steam?
No steam
Can you put it in the refrigerator after shaping to bake later?
Yes
How long should the second proofing take?
That always always depends on the room or fridge temp, this is why it’s best to watch your dough and not the clock.
If I wanted to bake with the pullman lid on for a square loaf would your mini-loaf dough quantity work?
It works best with a half size dough if you’re going to keep the lid on
What pan did you use?
It’s listed in the post 👍🏻
Did you score the loaf?
No, you can see from the smooth surface.